How To: Pencil Gradients
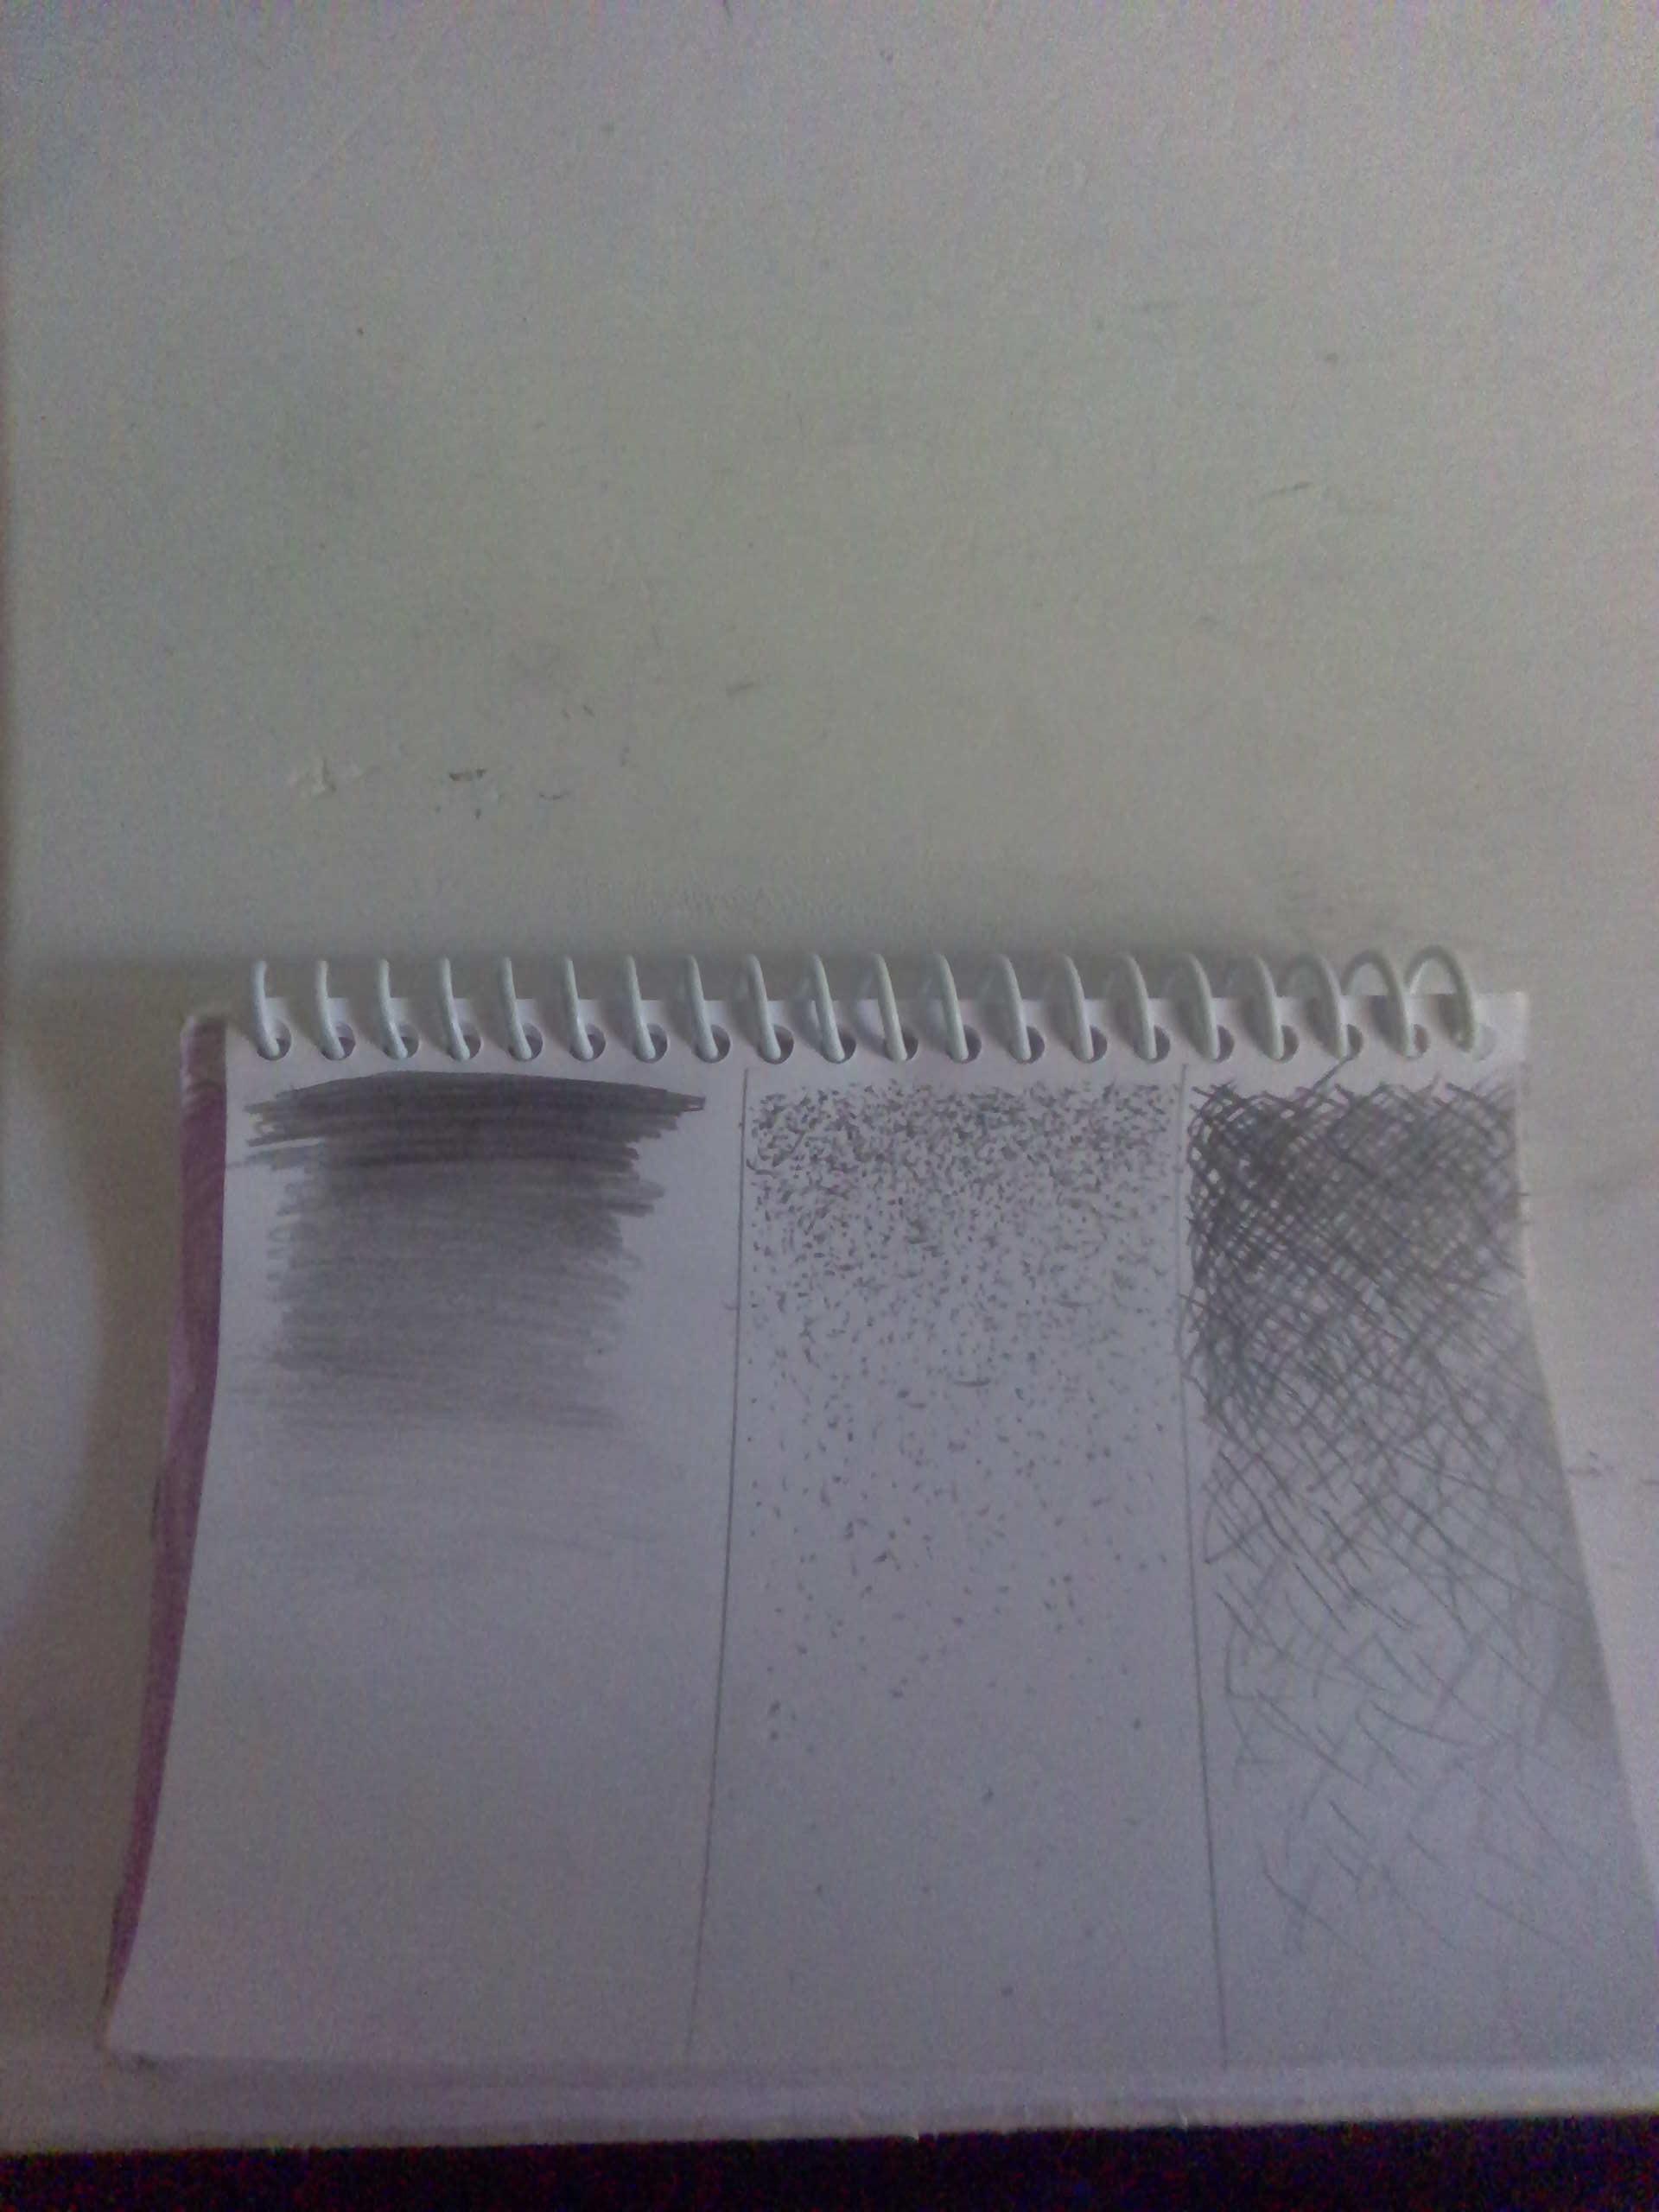
Hi guys! Today, I will be teaching you how to make a simple pencil gradient, for when you want a simple, yet drastic change to your art forms...
Supplies
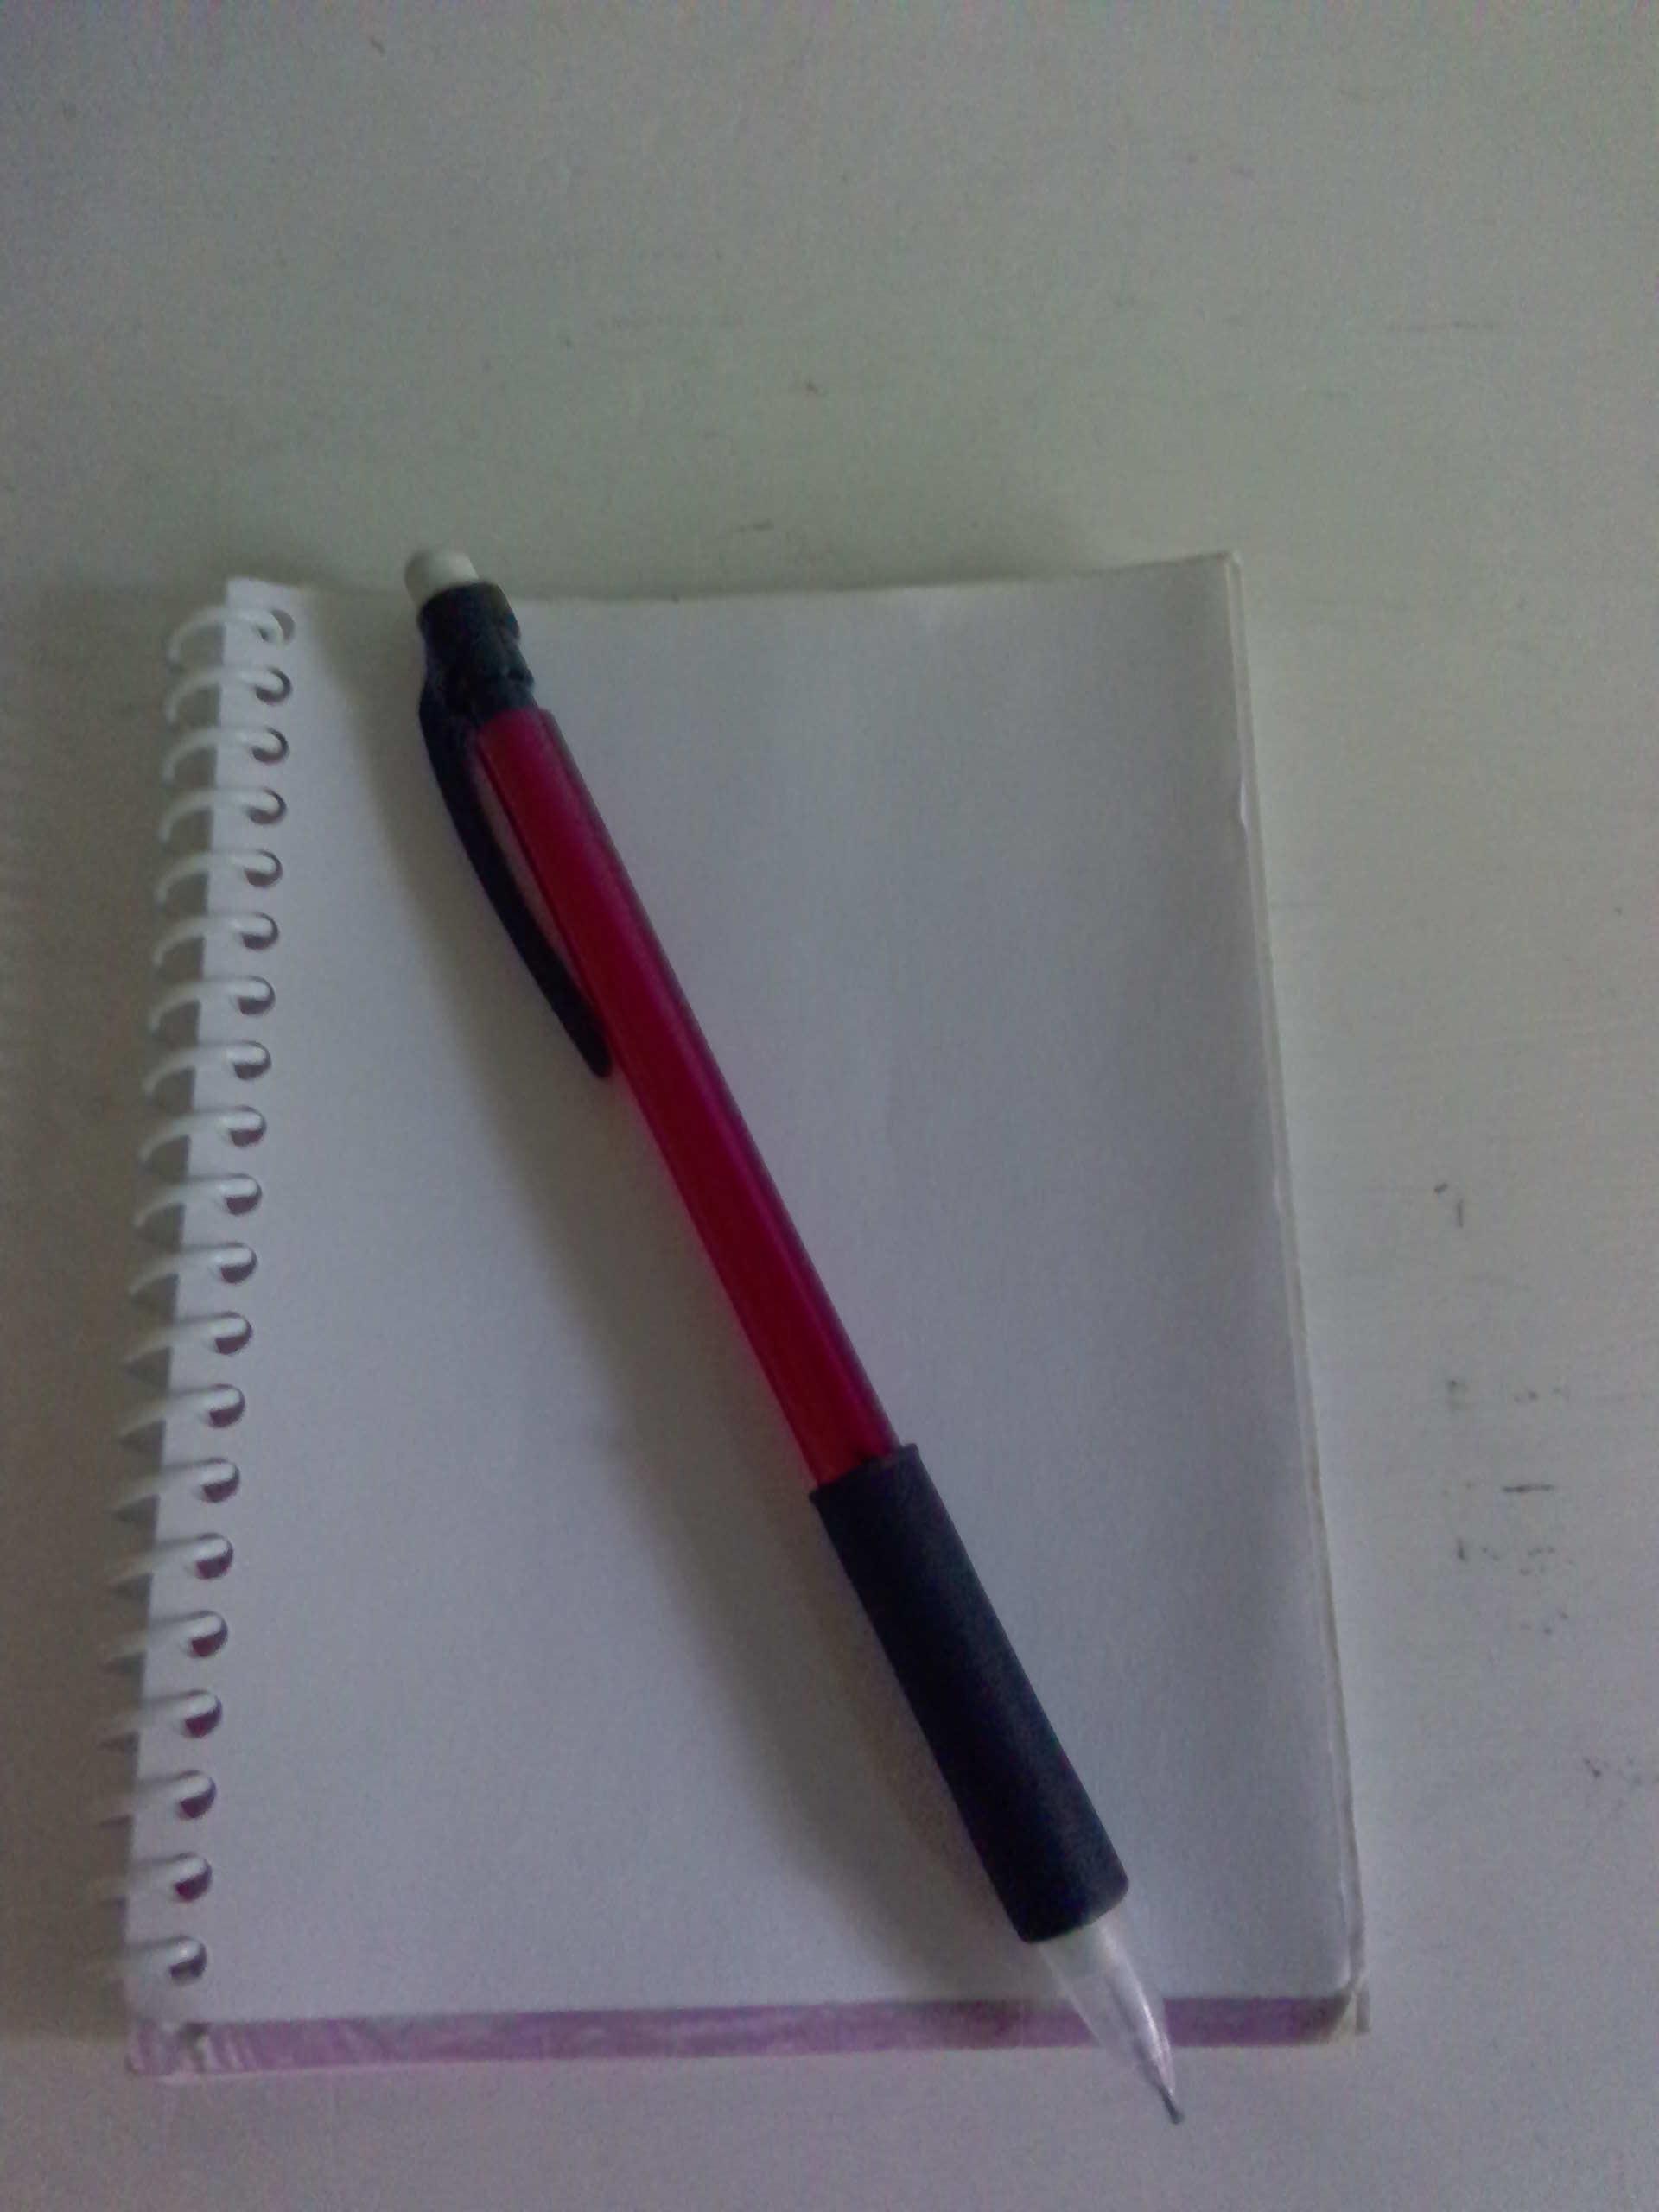
Paper
Pencil
Flat surface
Set Up
To make a gradient, you want a sturdy flat surface, so no bumps arise in the finished product.
Dark to Light
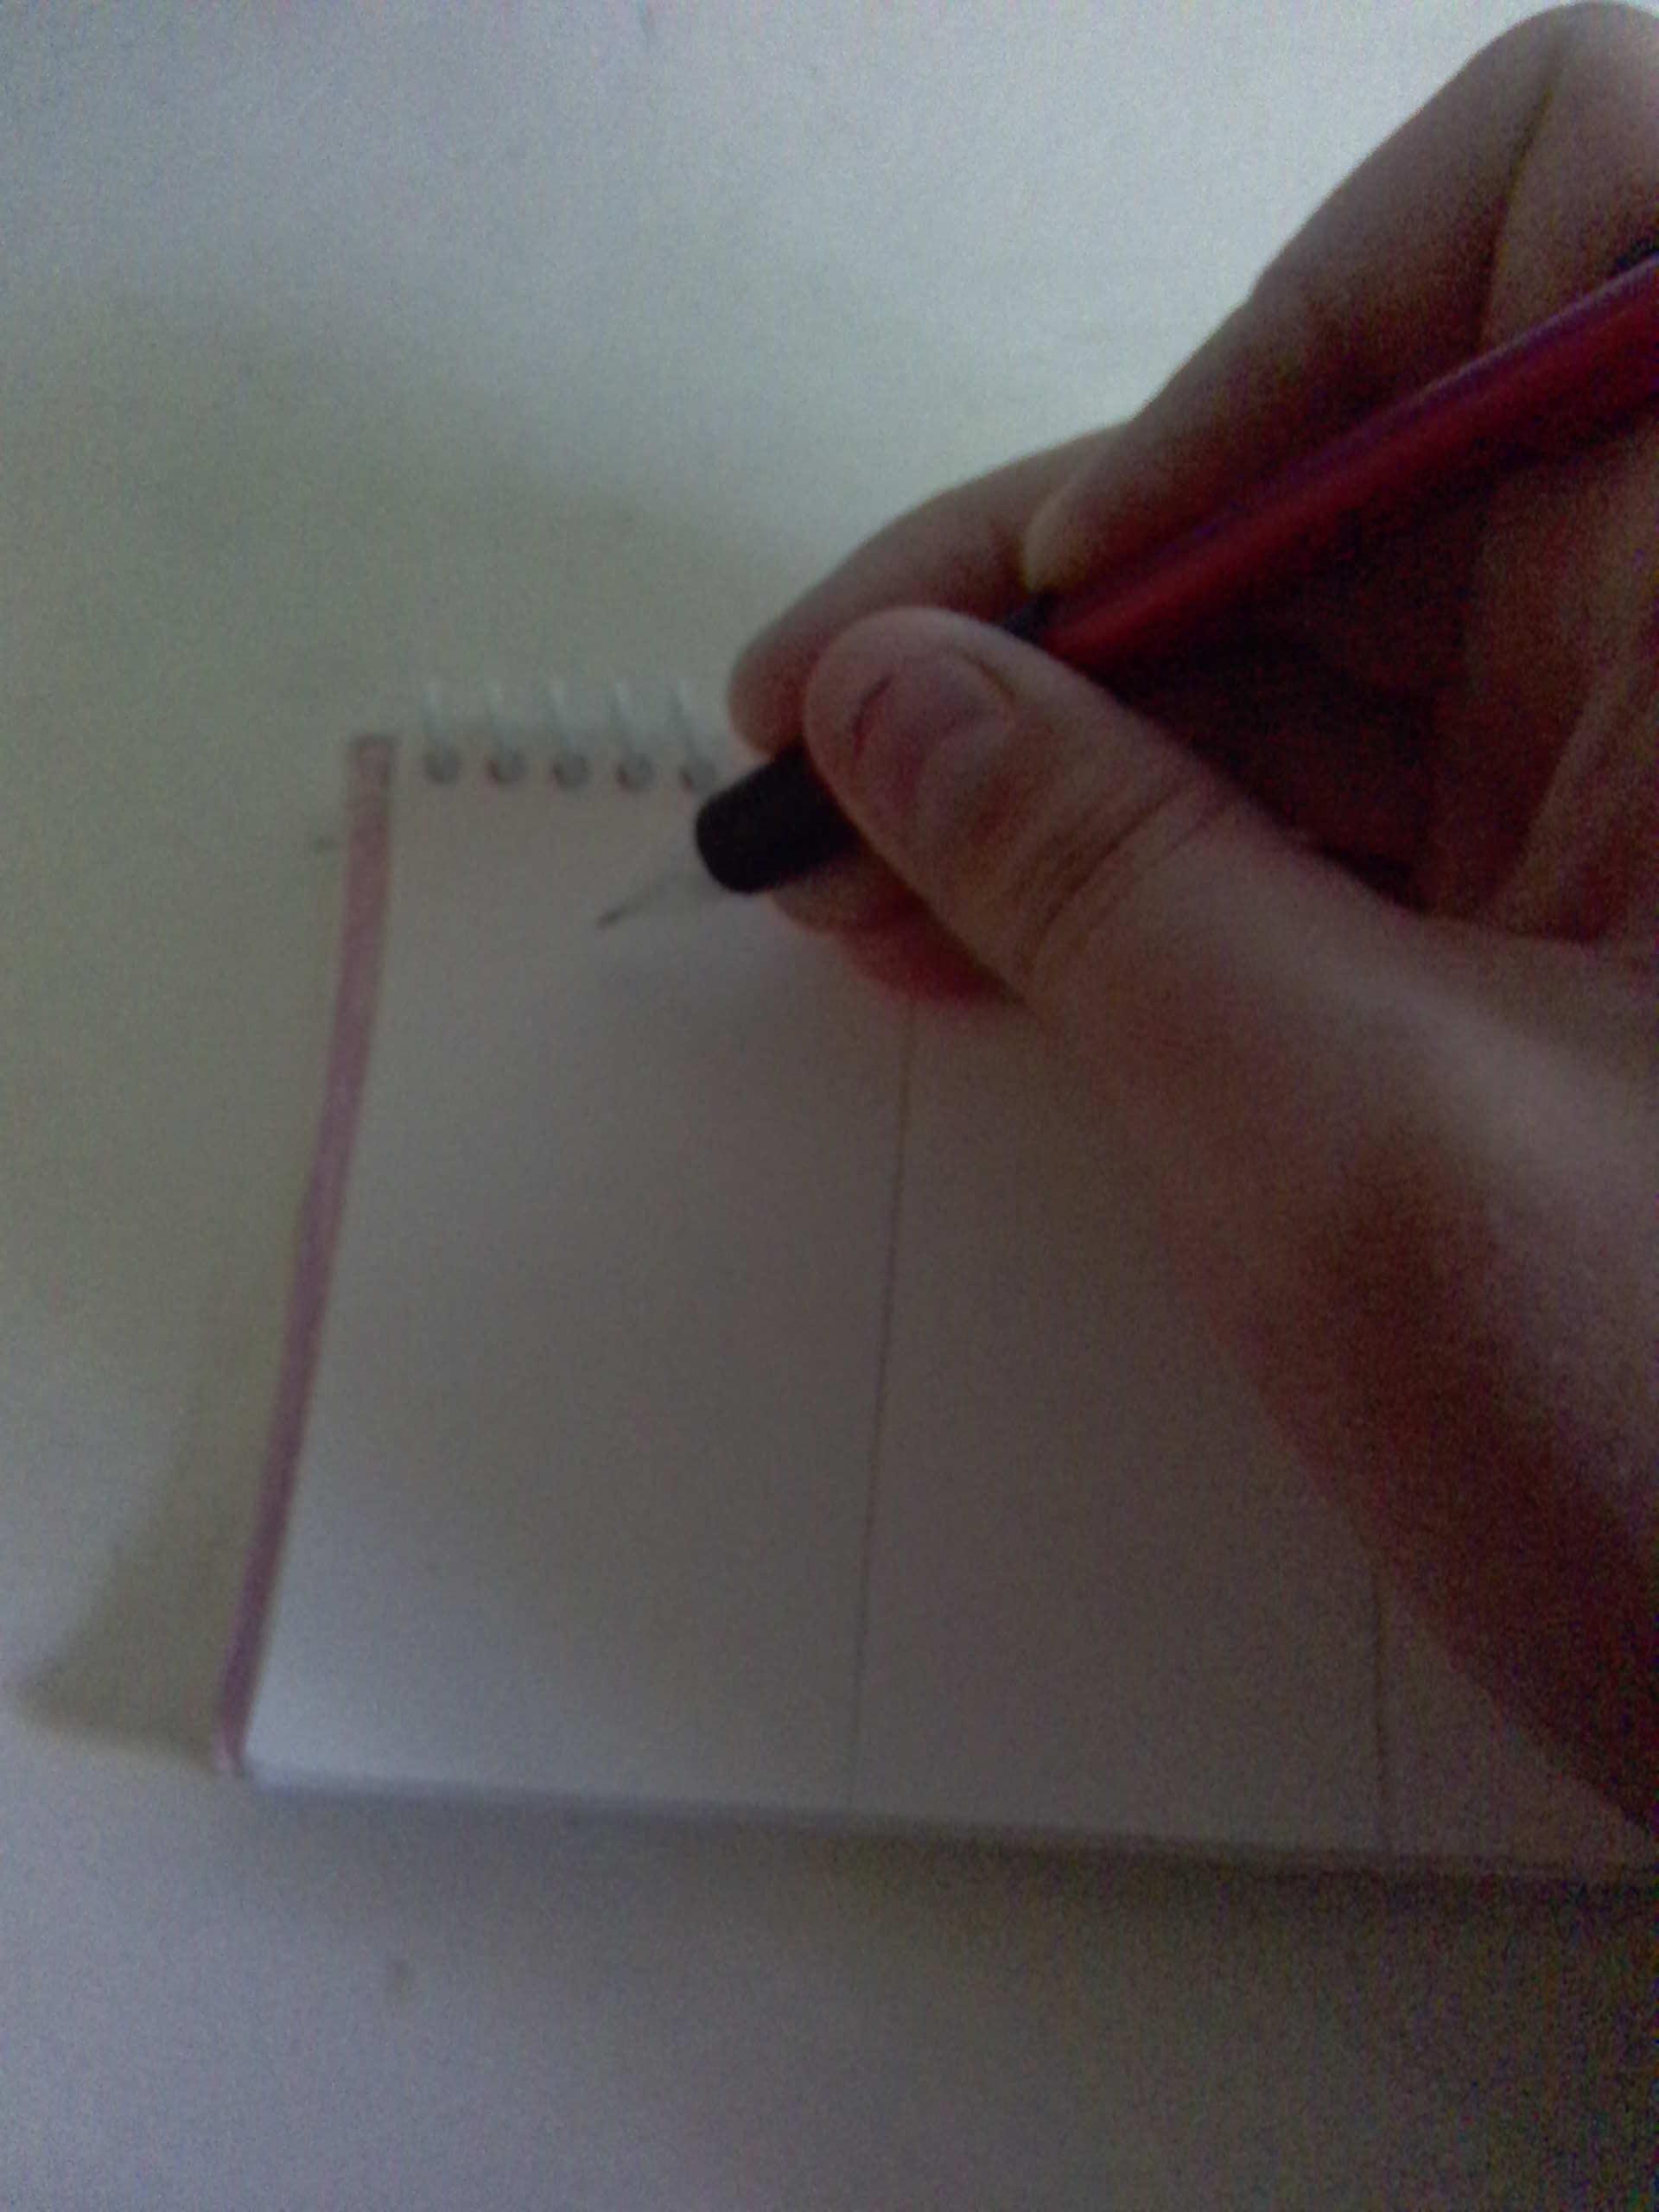
Most importantly, always start from darkest to lightest, as you will find it much harder to do the opposite. Start at one part of your paper and push your pencil in hard.
(Note: Not hard enough to break your pencil!)
Continuing Down
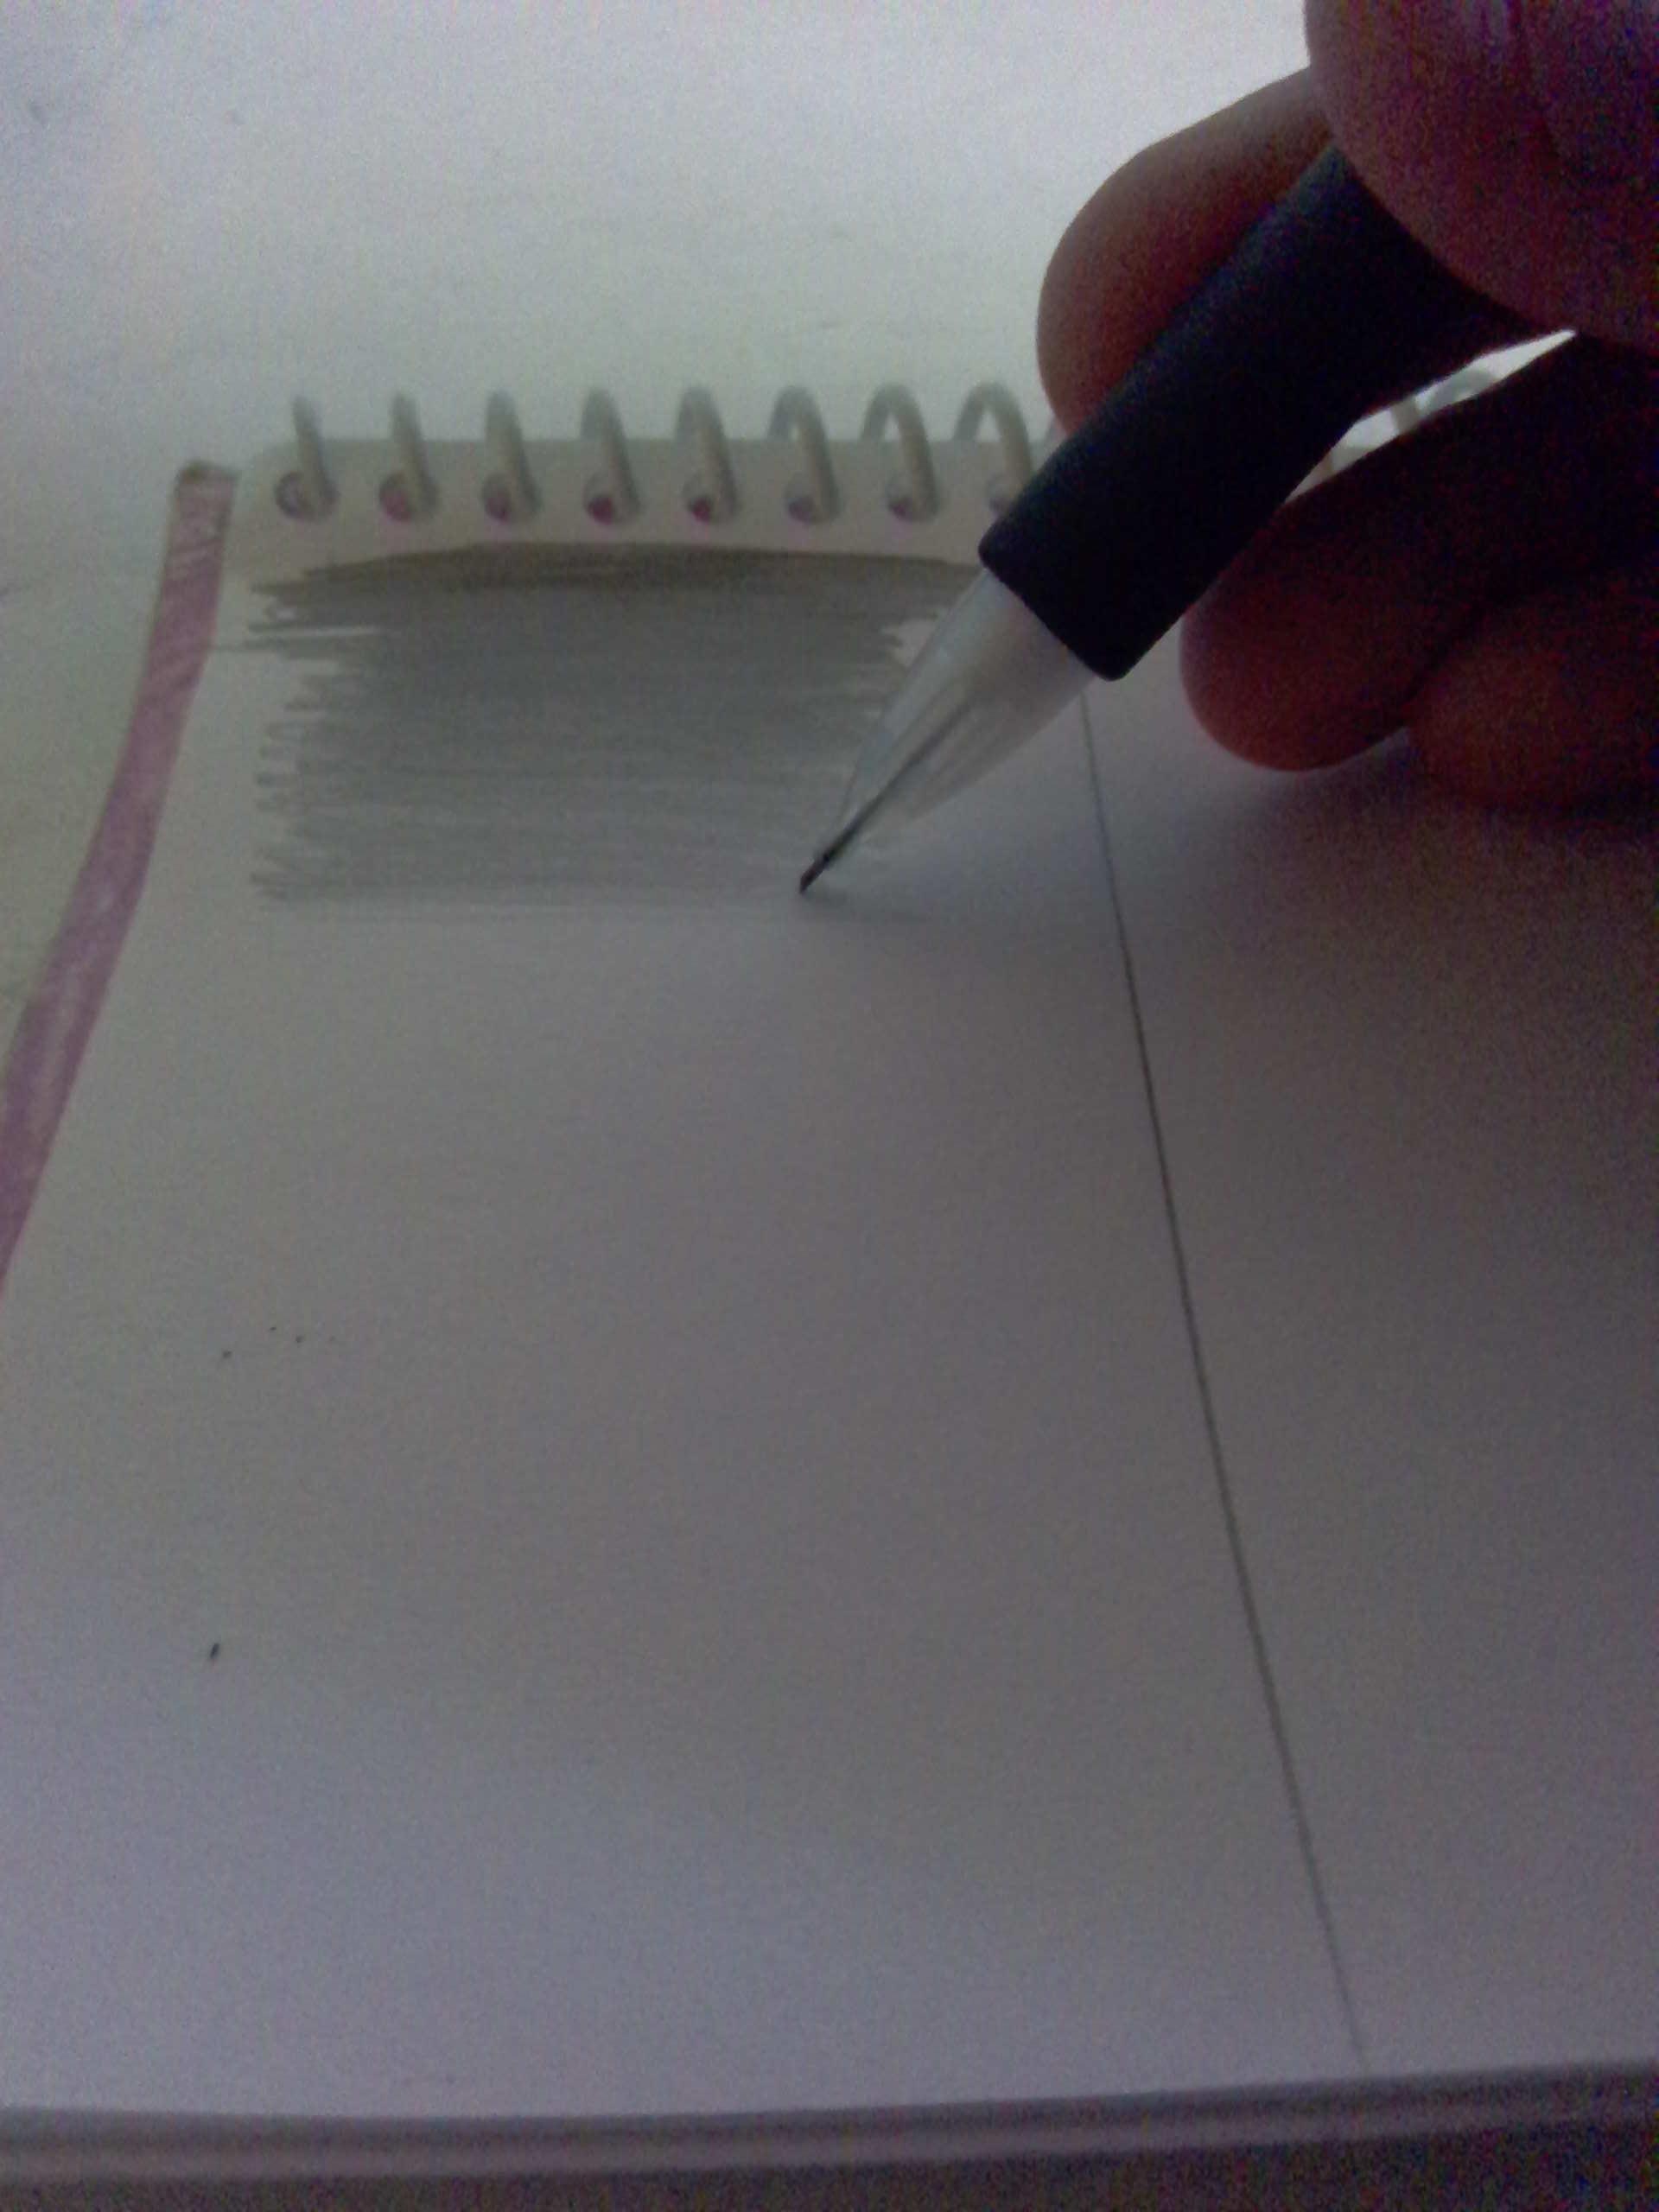
Next, start to color in your gradient, using a side-to-side motion, slowly putting less and less pressure down on your pencil as you go. The less pressure that you have, the lighter your gradient will become.
How to Finish
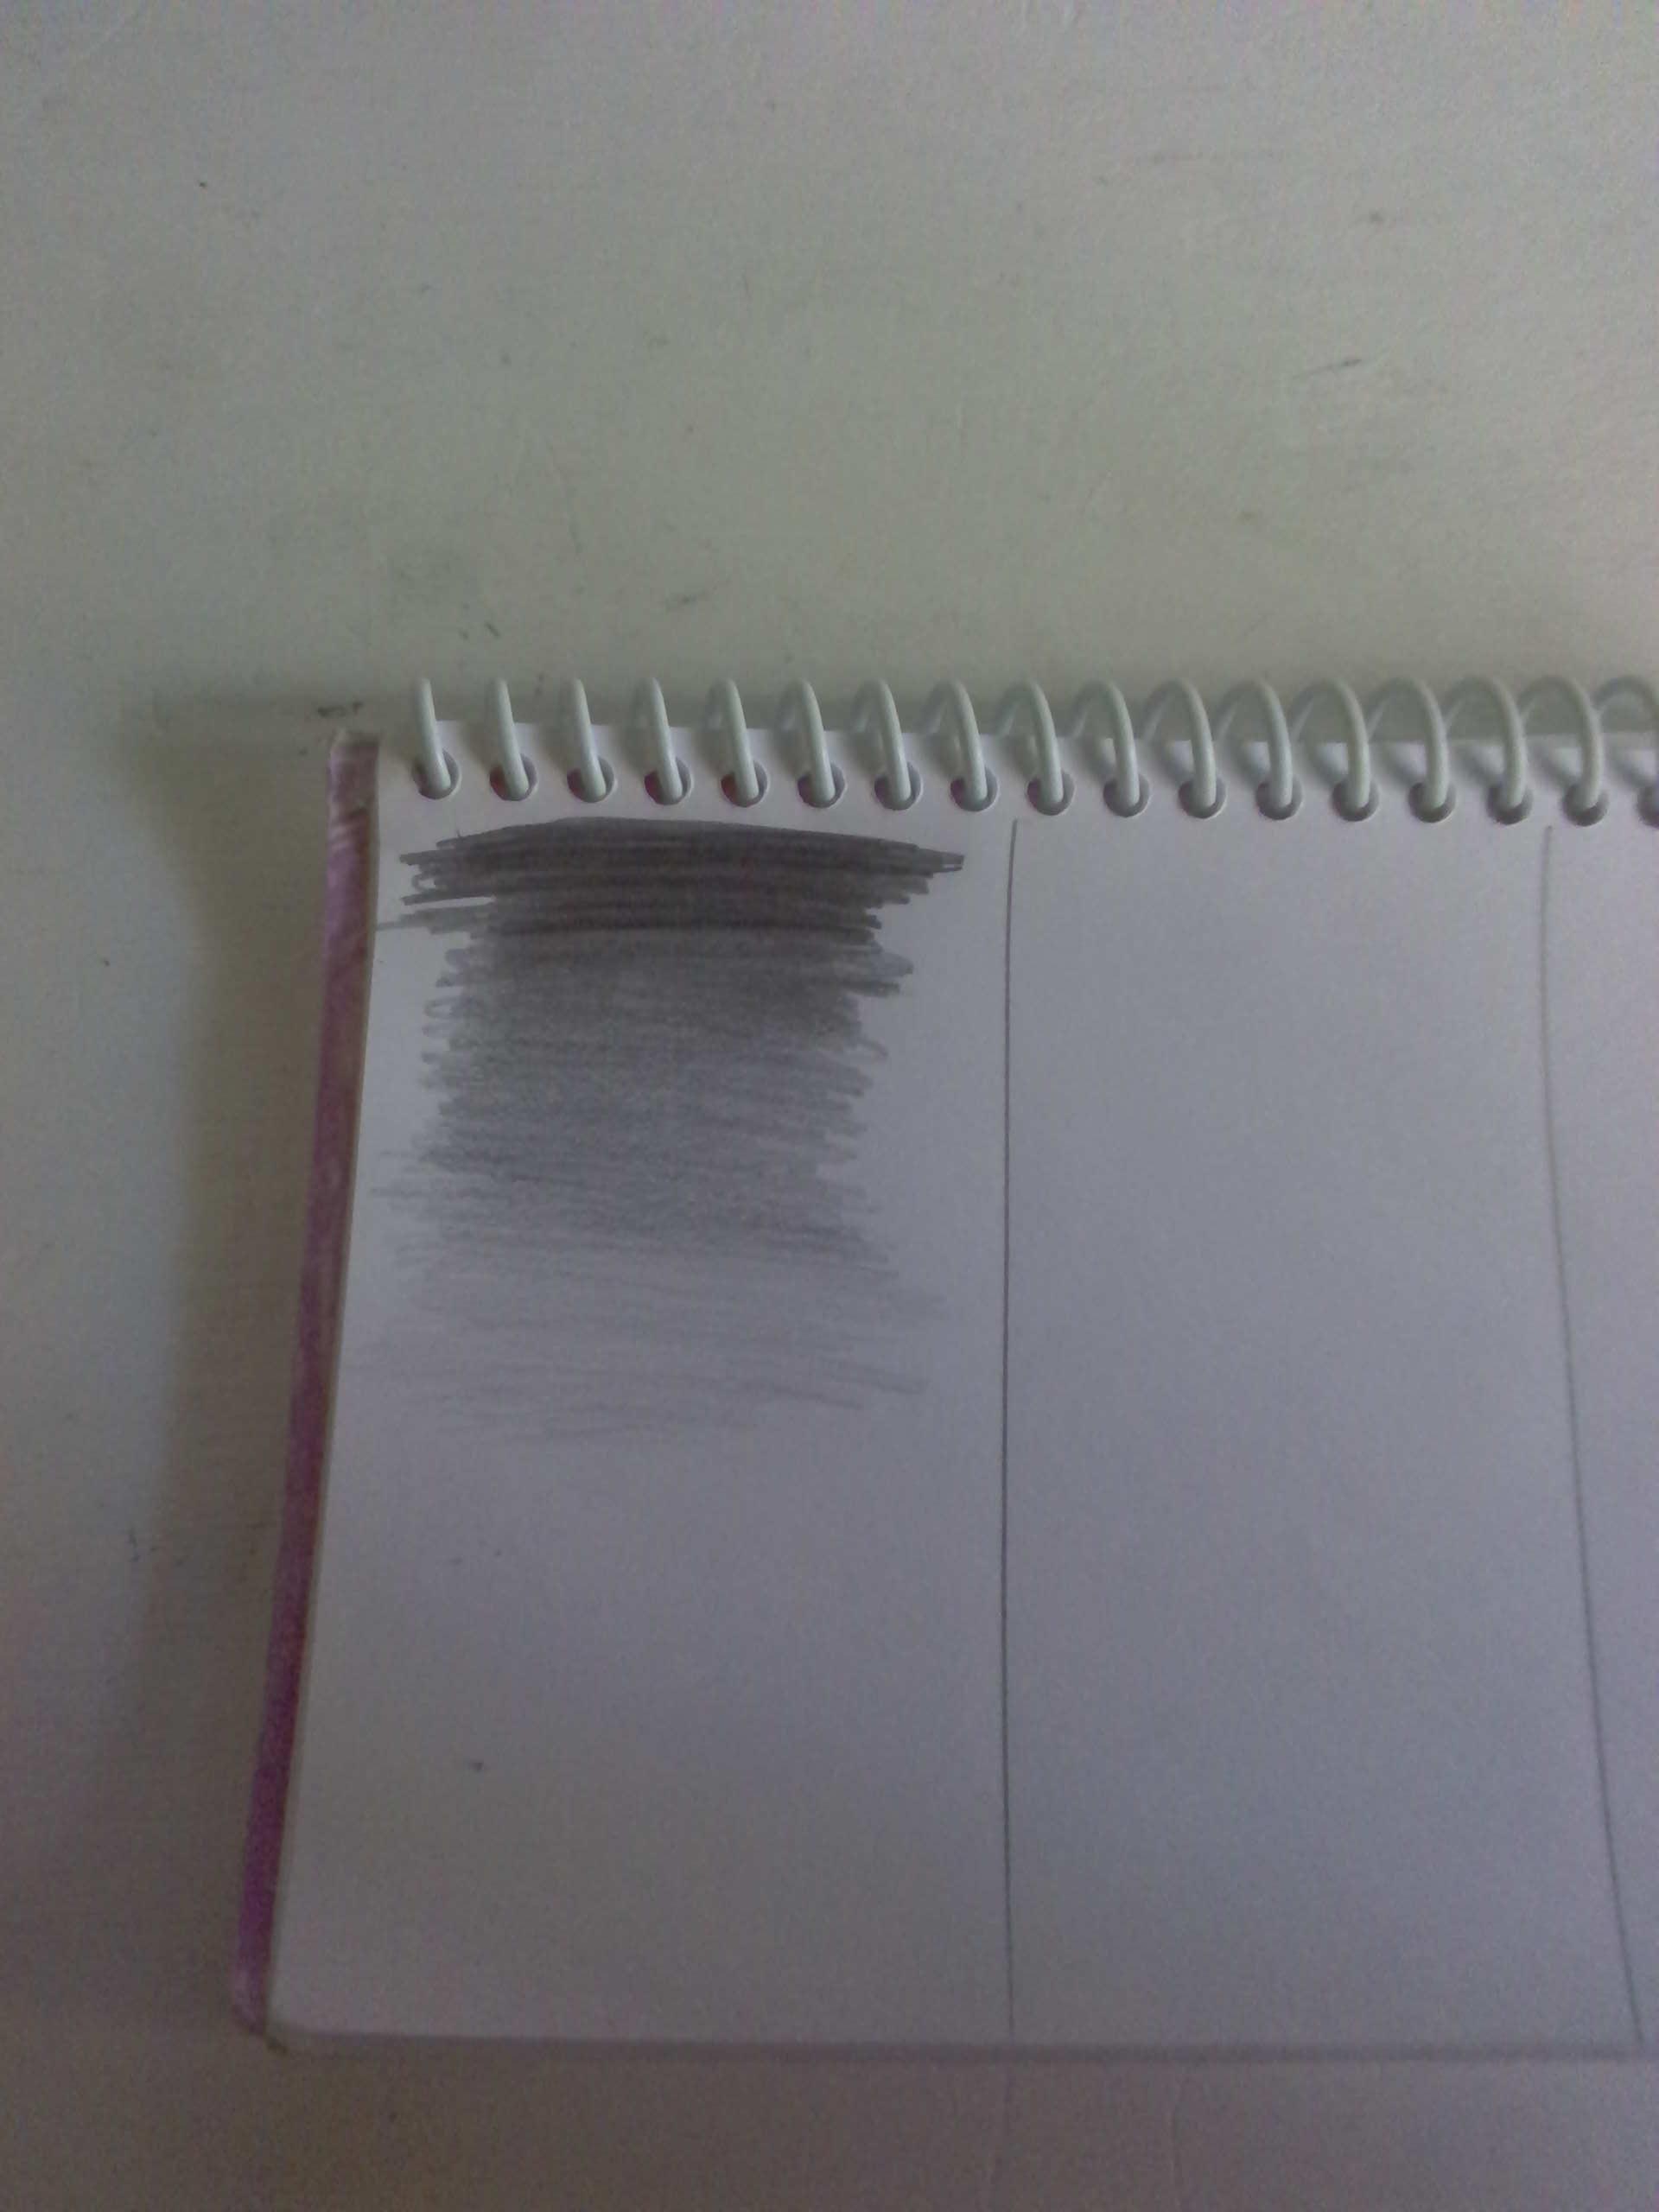
To finish your gradient, draw as slowly and as lightly as you can, to get an extremely light, barley existent color.
Dotted Gradients
For this type of gradient, it consists of high densities of dots, to few dots...
Starting Dark
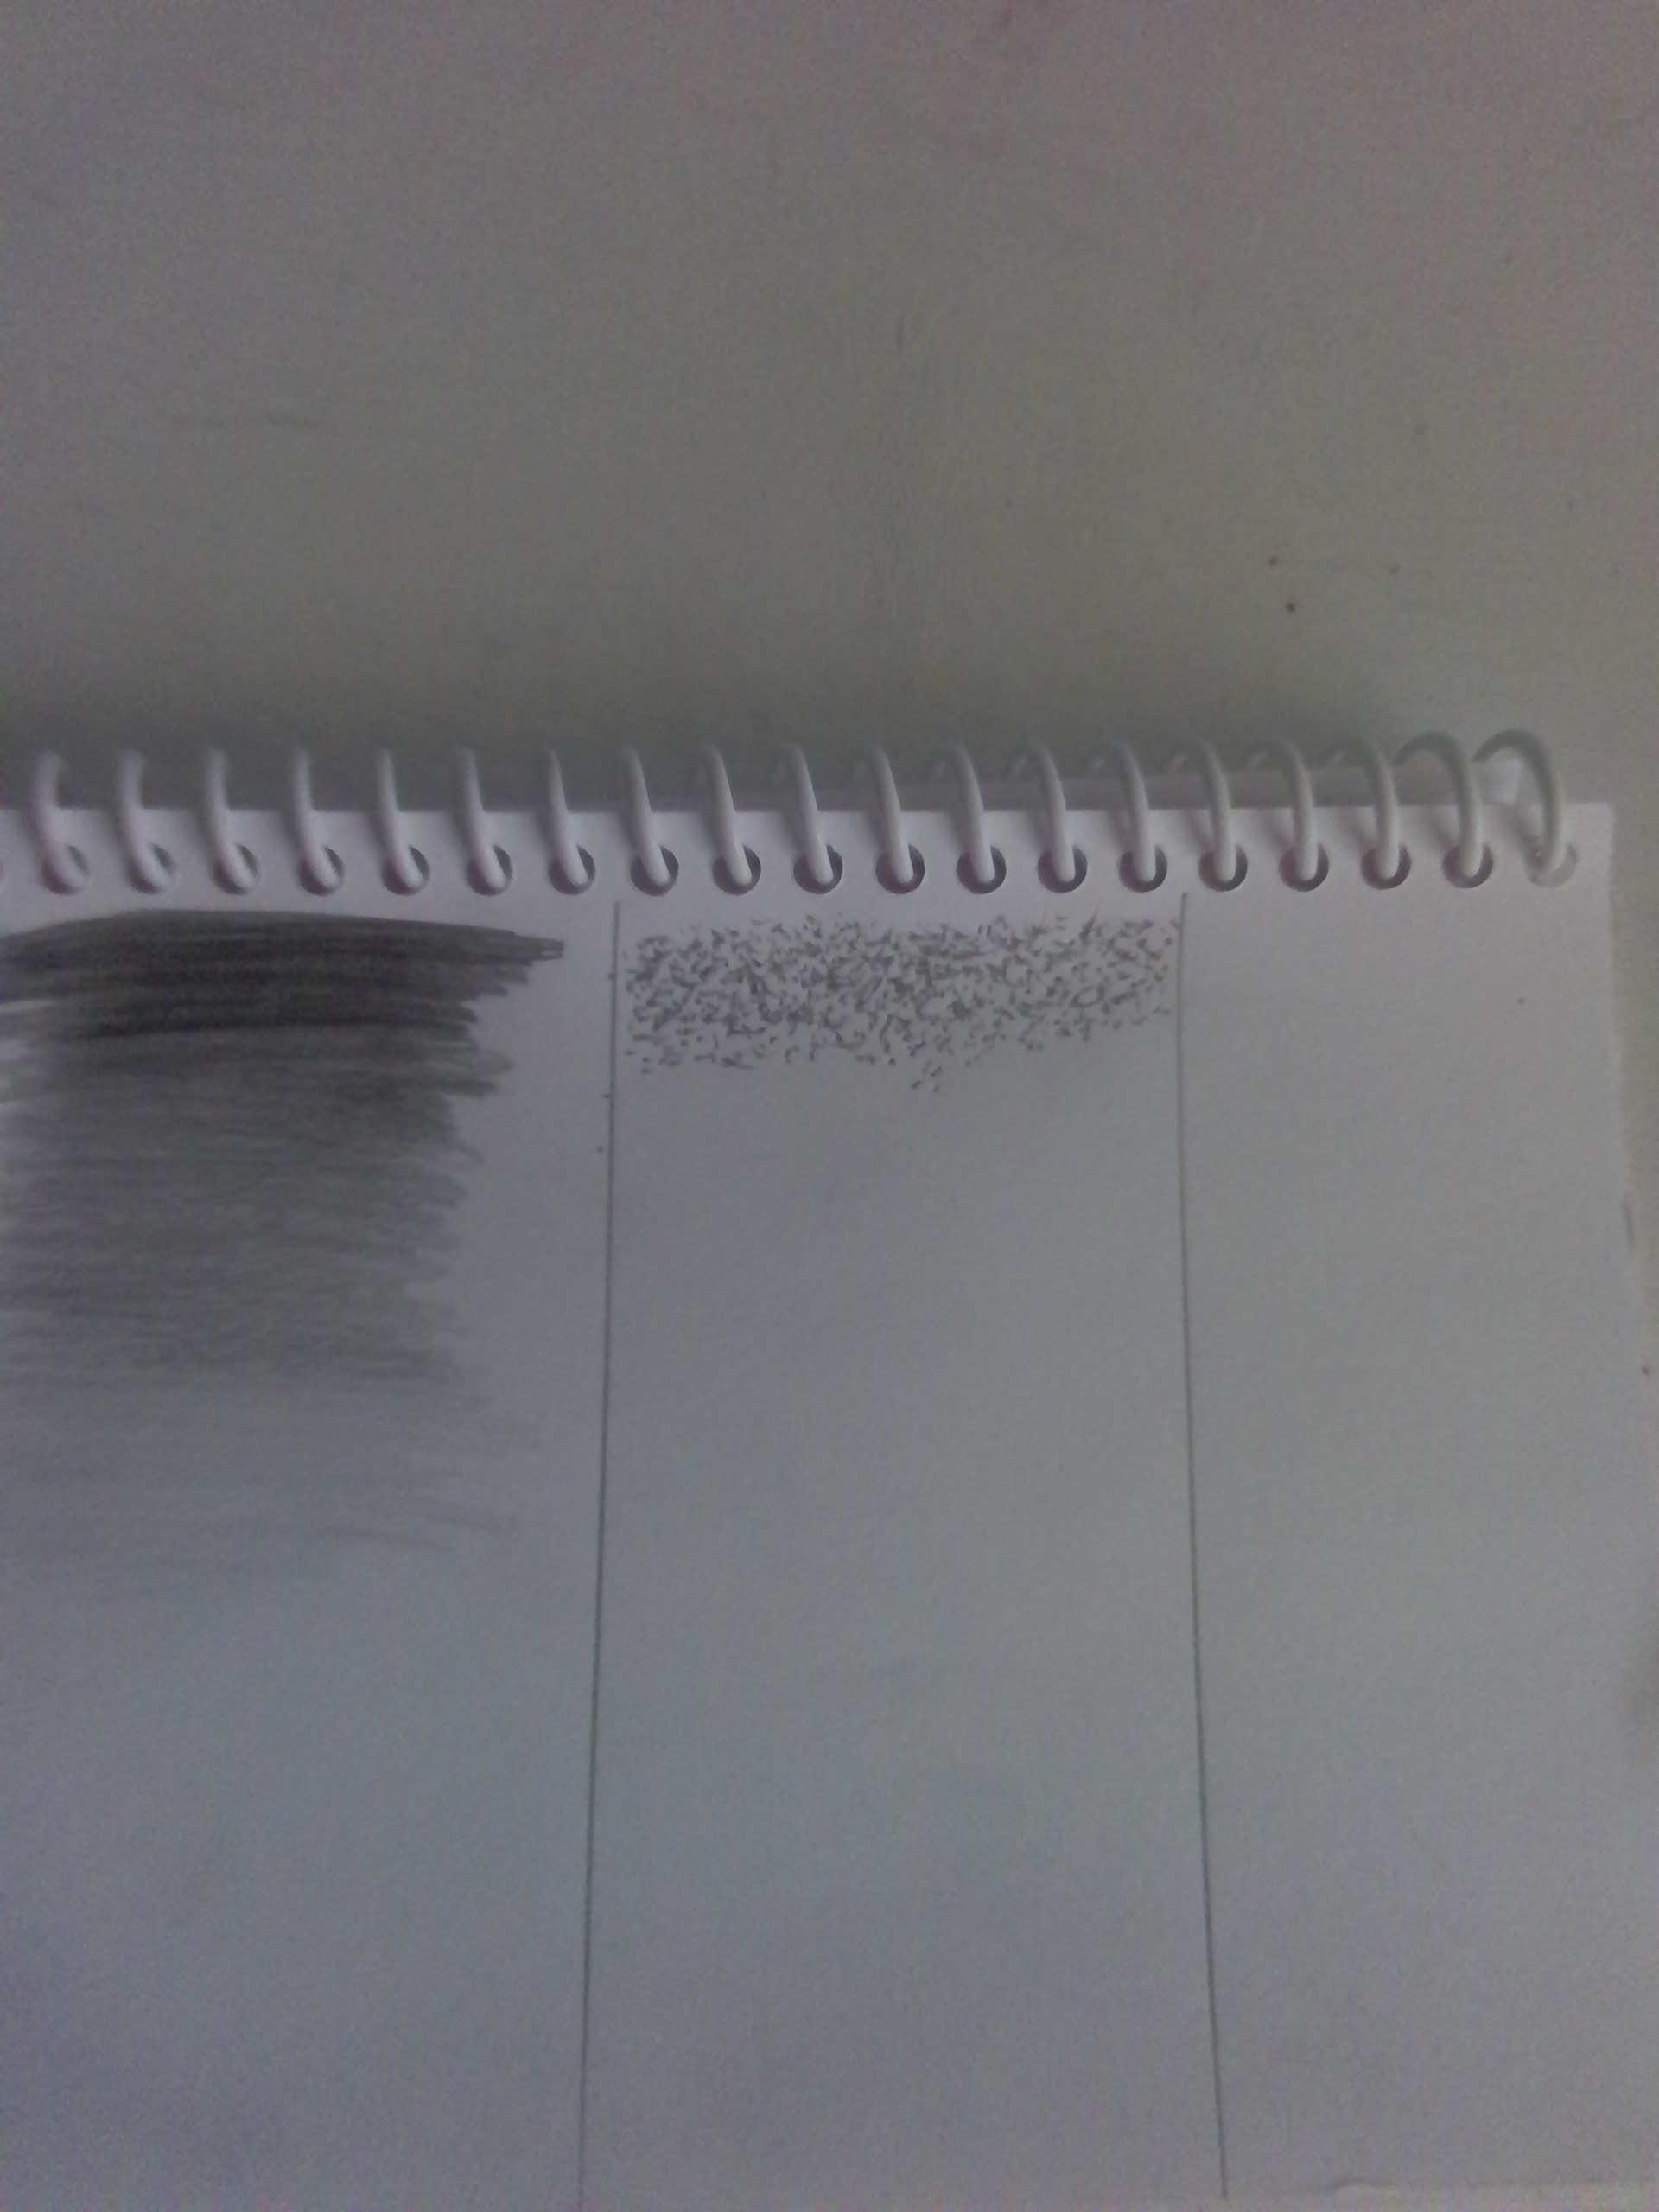
Again, we start with the darker portions first. To do this, just tap your pencil on your paper, (Or lightly stab it, as needed...), And you want as many dots as possible in your first section.
Light to Dark (Again)
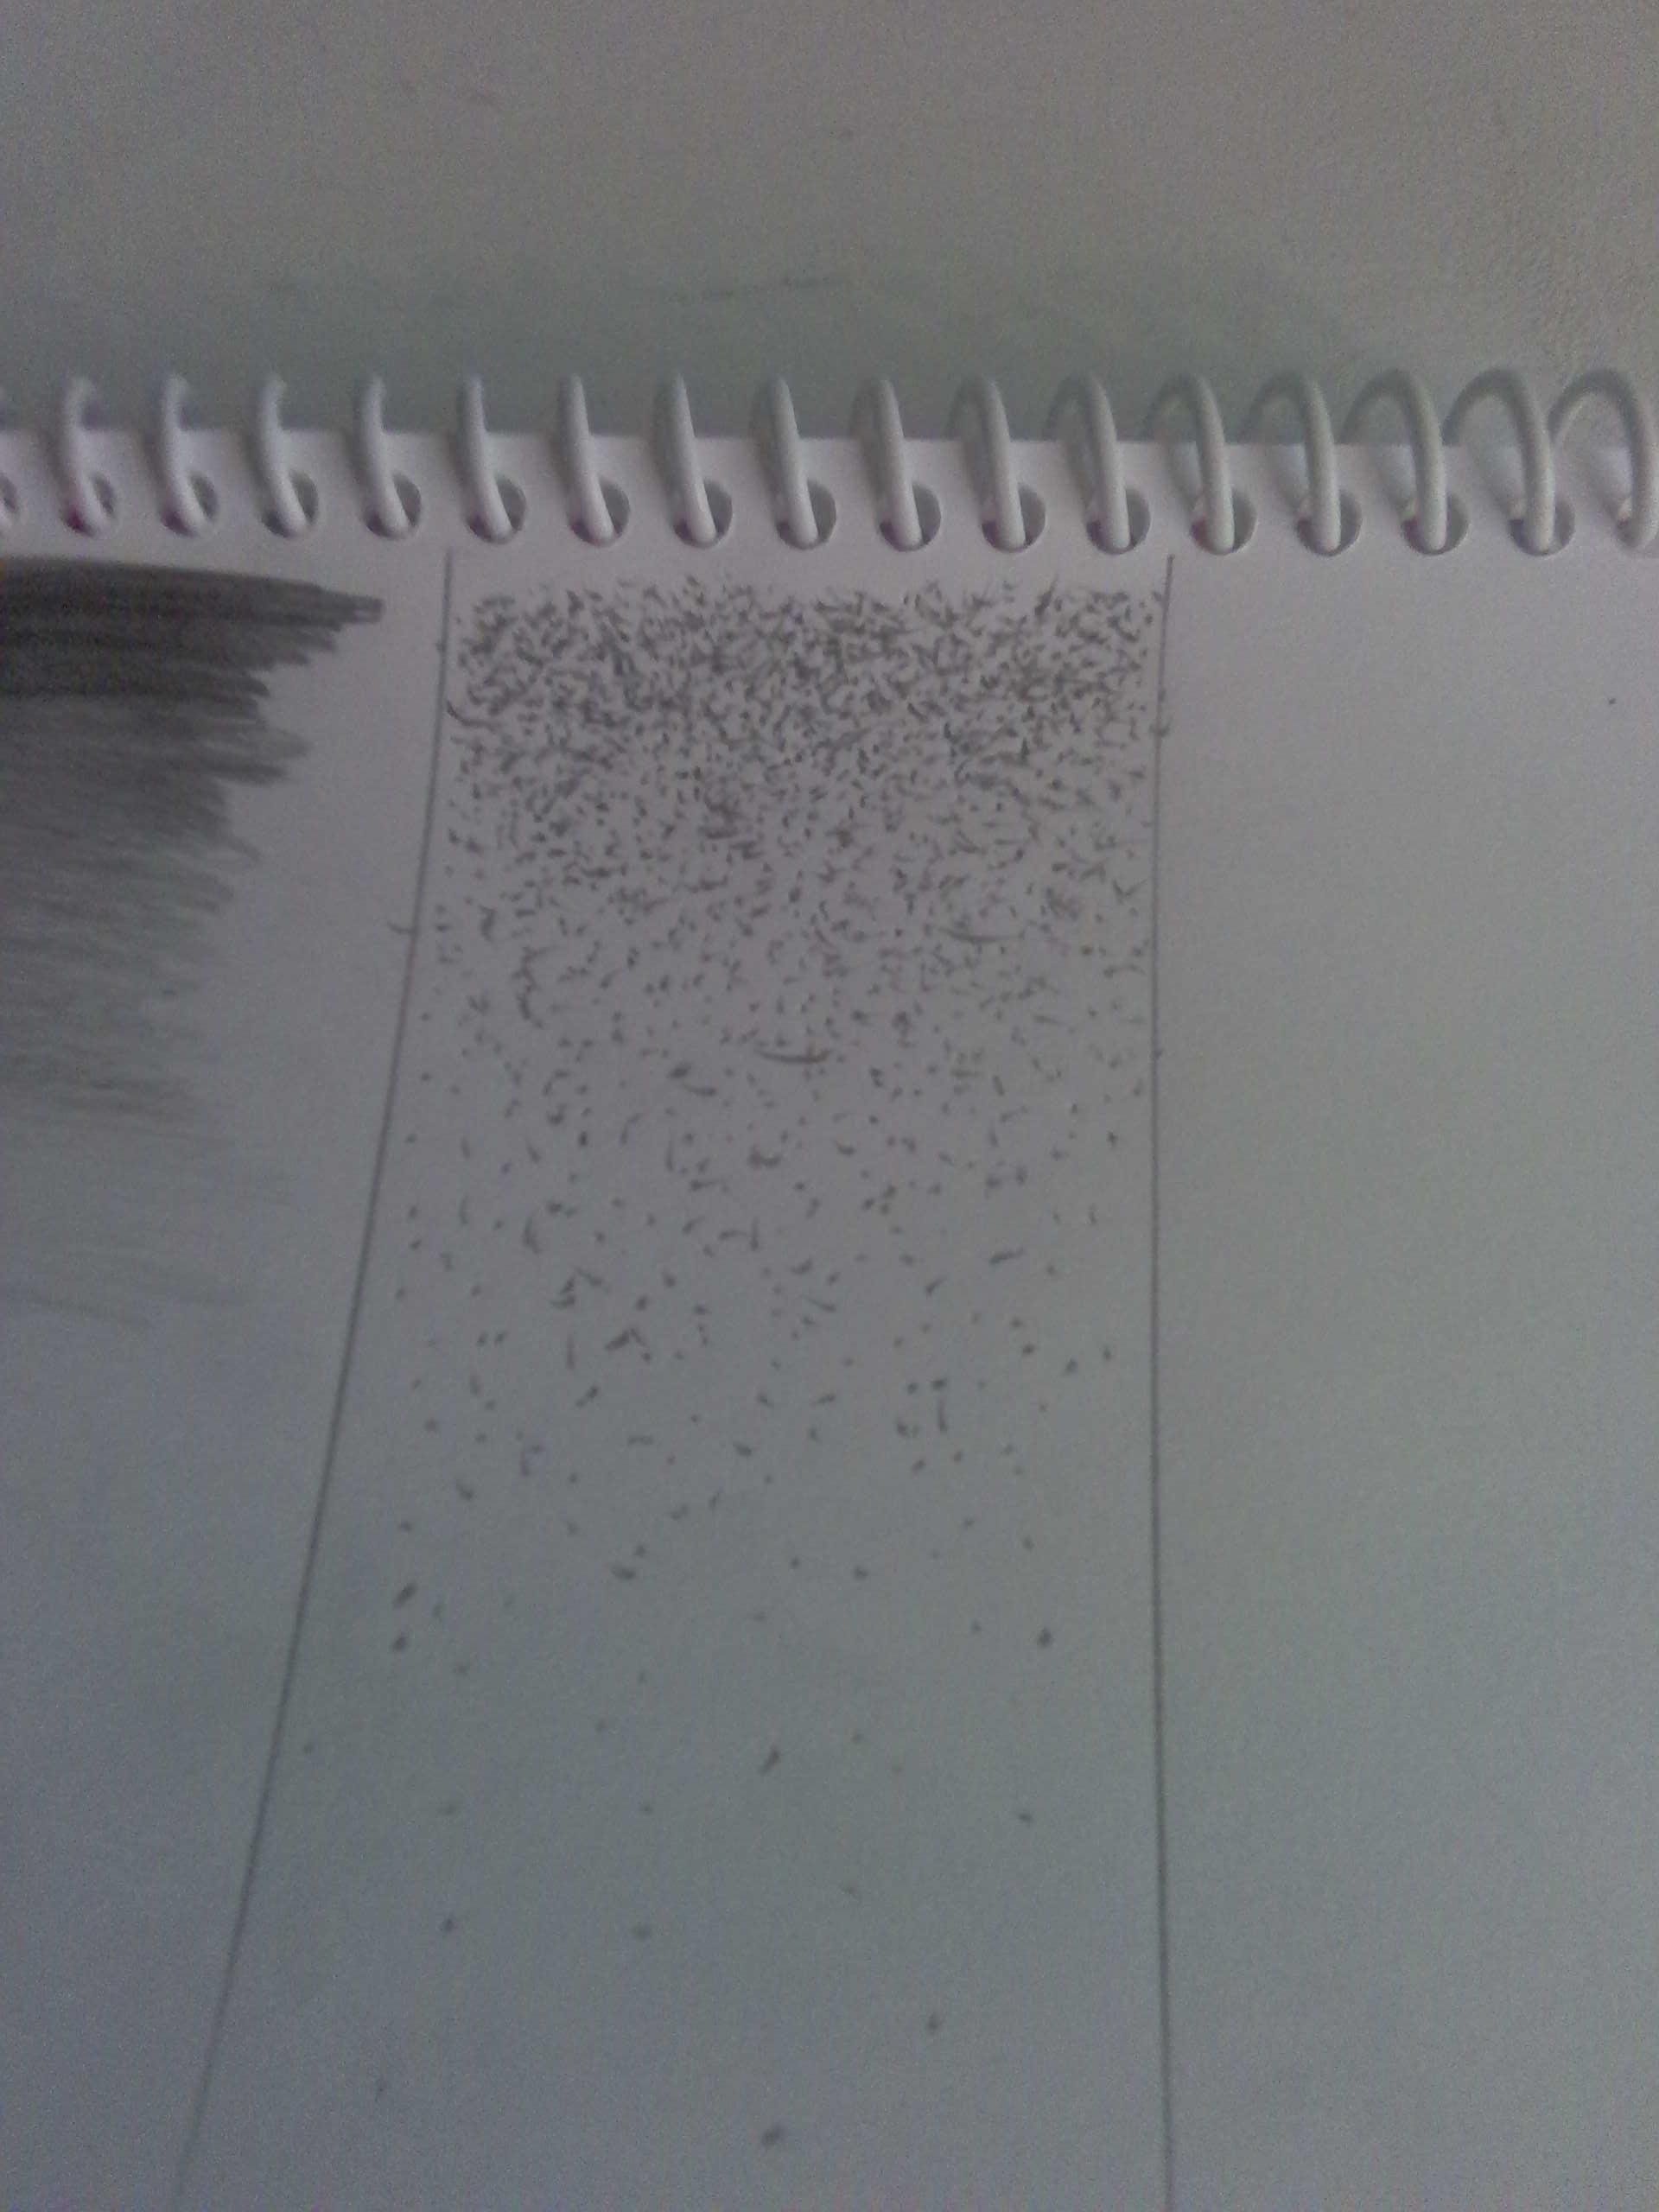
To go to a lighter "color" (density), place down less and less dots to make it seem like a lighter shade. To finish, just stop with your dotting.
(Note: Add more dots wherever it may seem a bit empty)
Cross Gradient
The cross gradient ('X' Gradient) consists of small criss-crosses, or 'X's.
Starting Out Dark
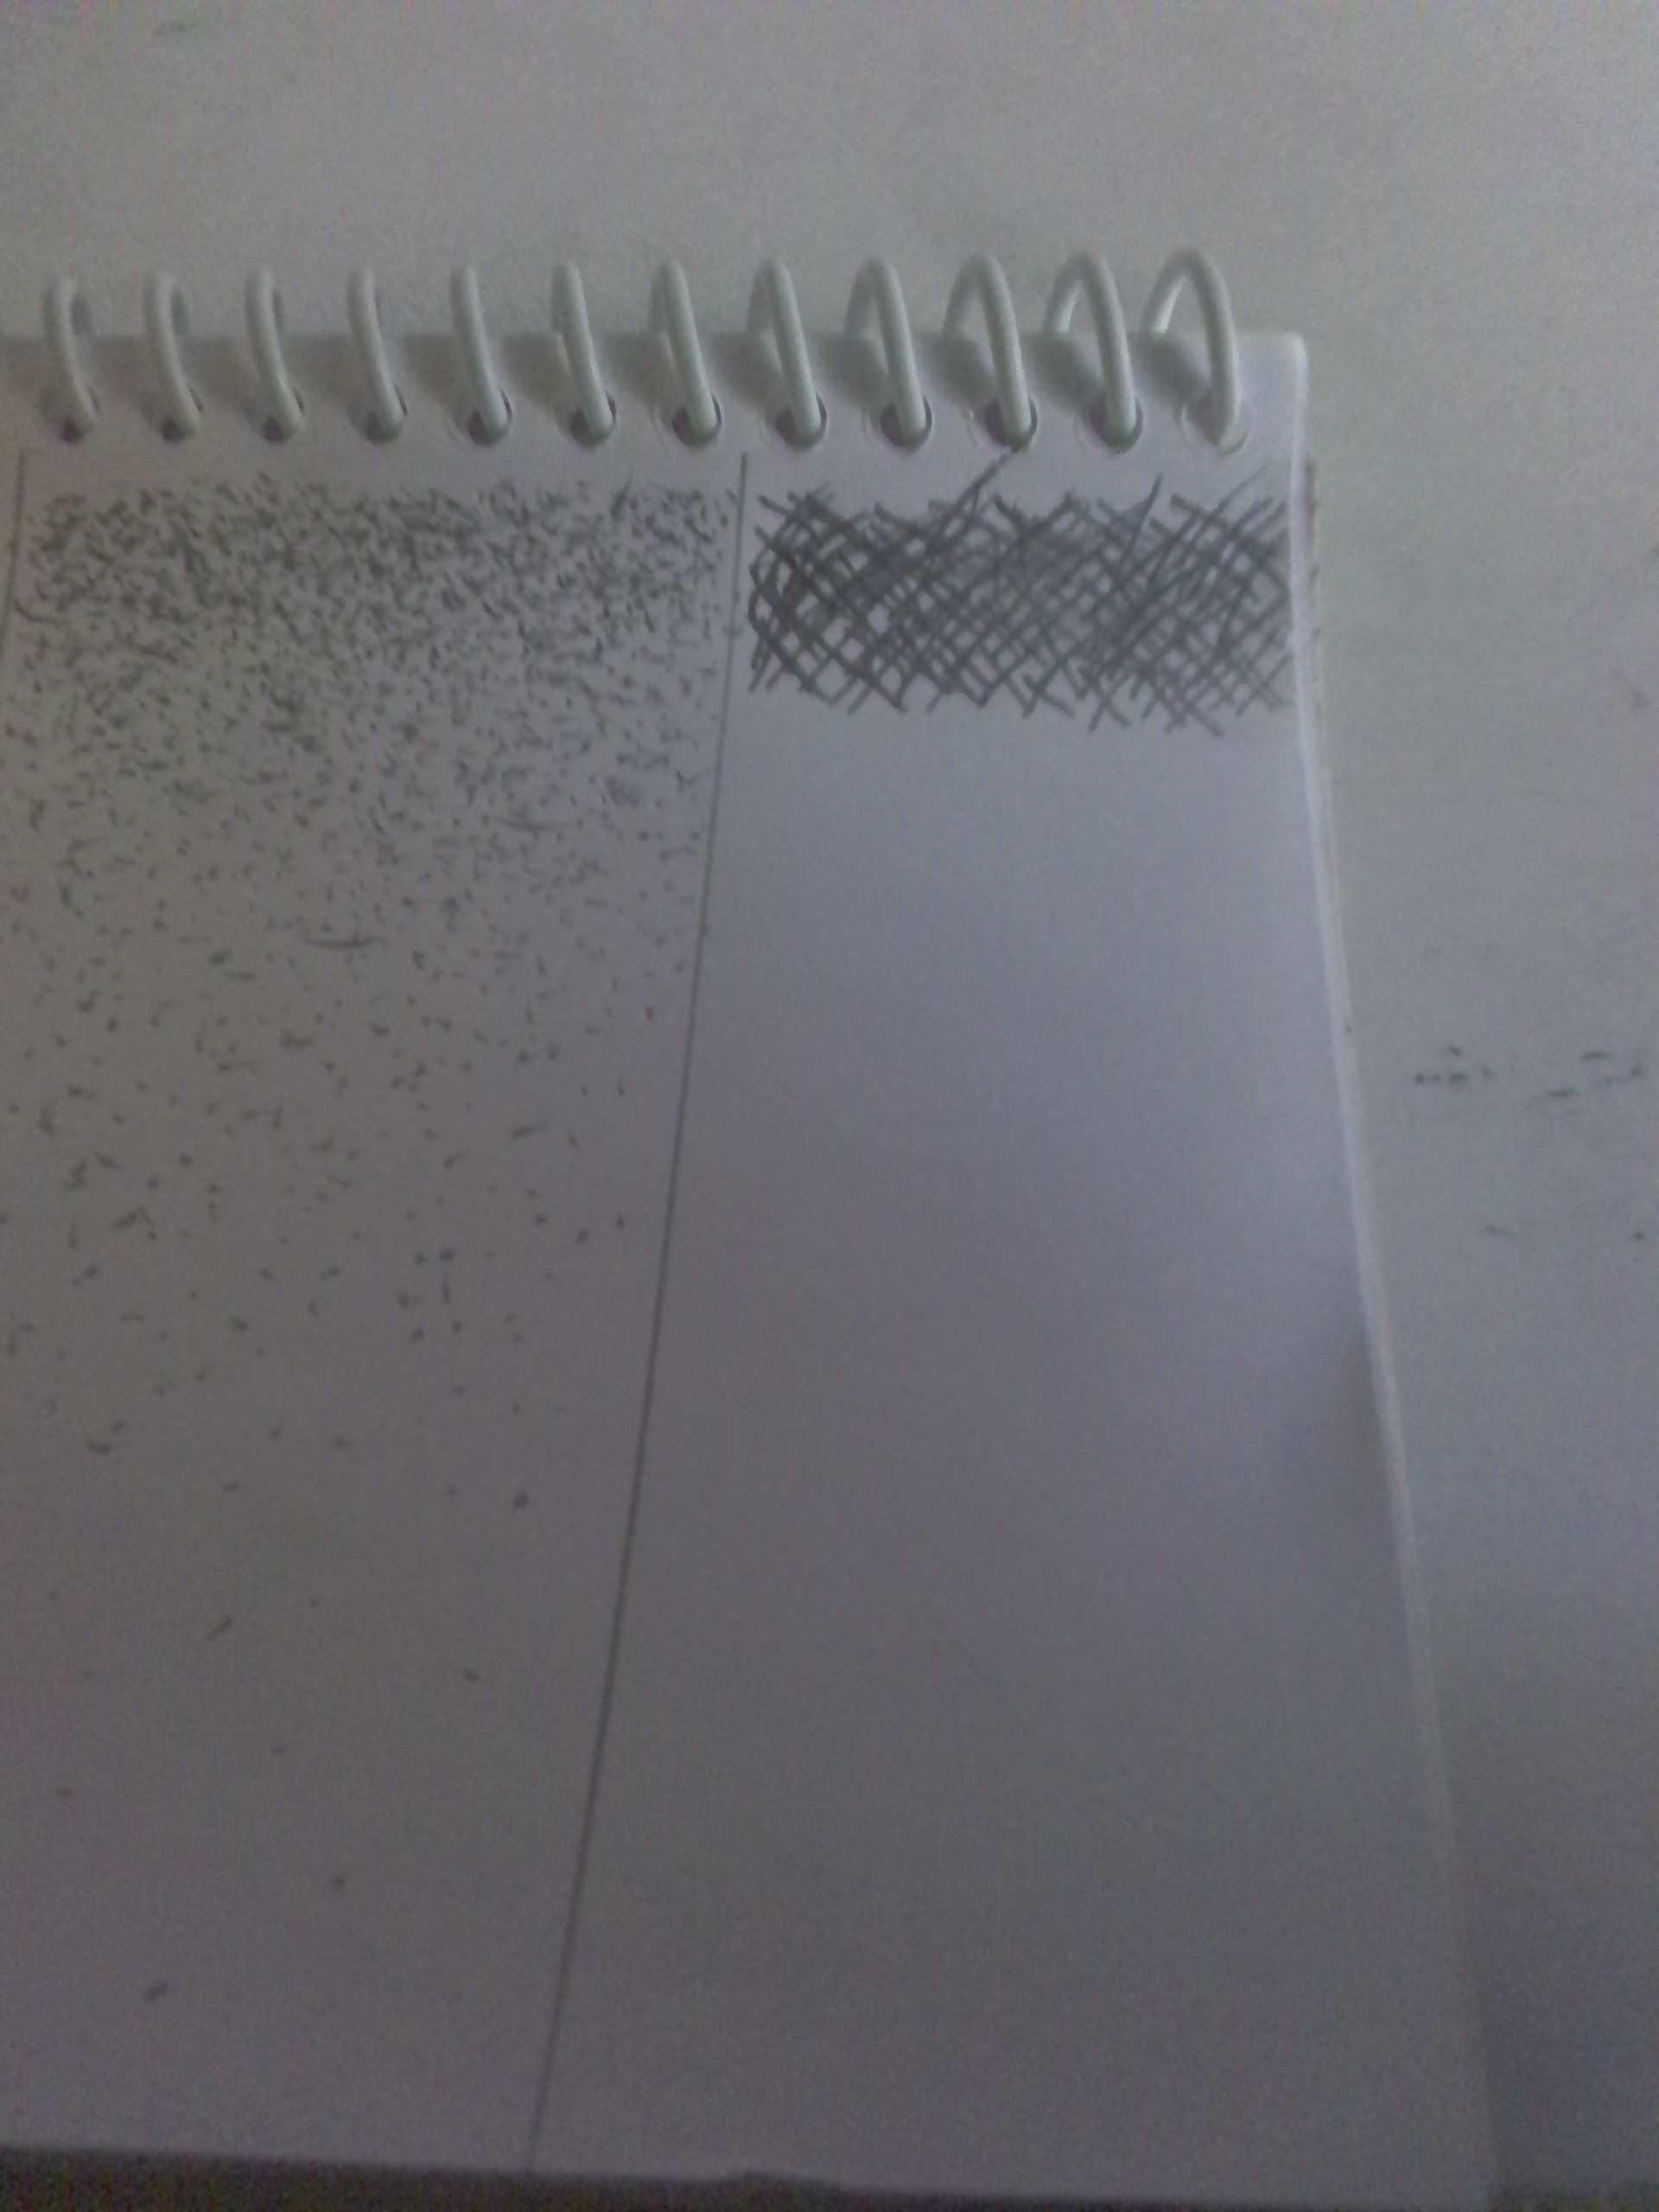
First, start by making lots of 'X's overlapping each other, to create your darkest shade of the gradient.
Dark to Light (Again???)
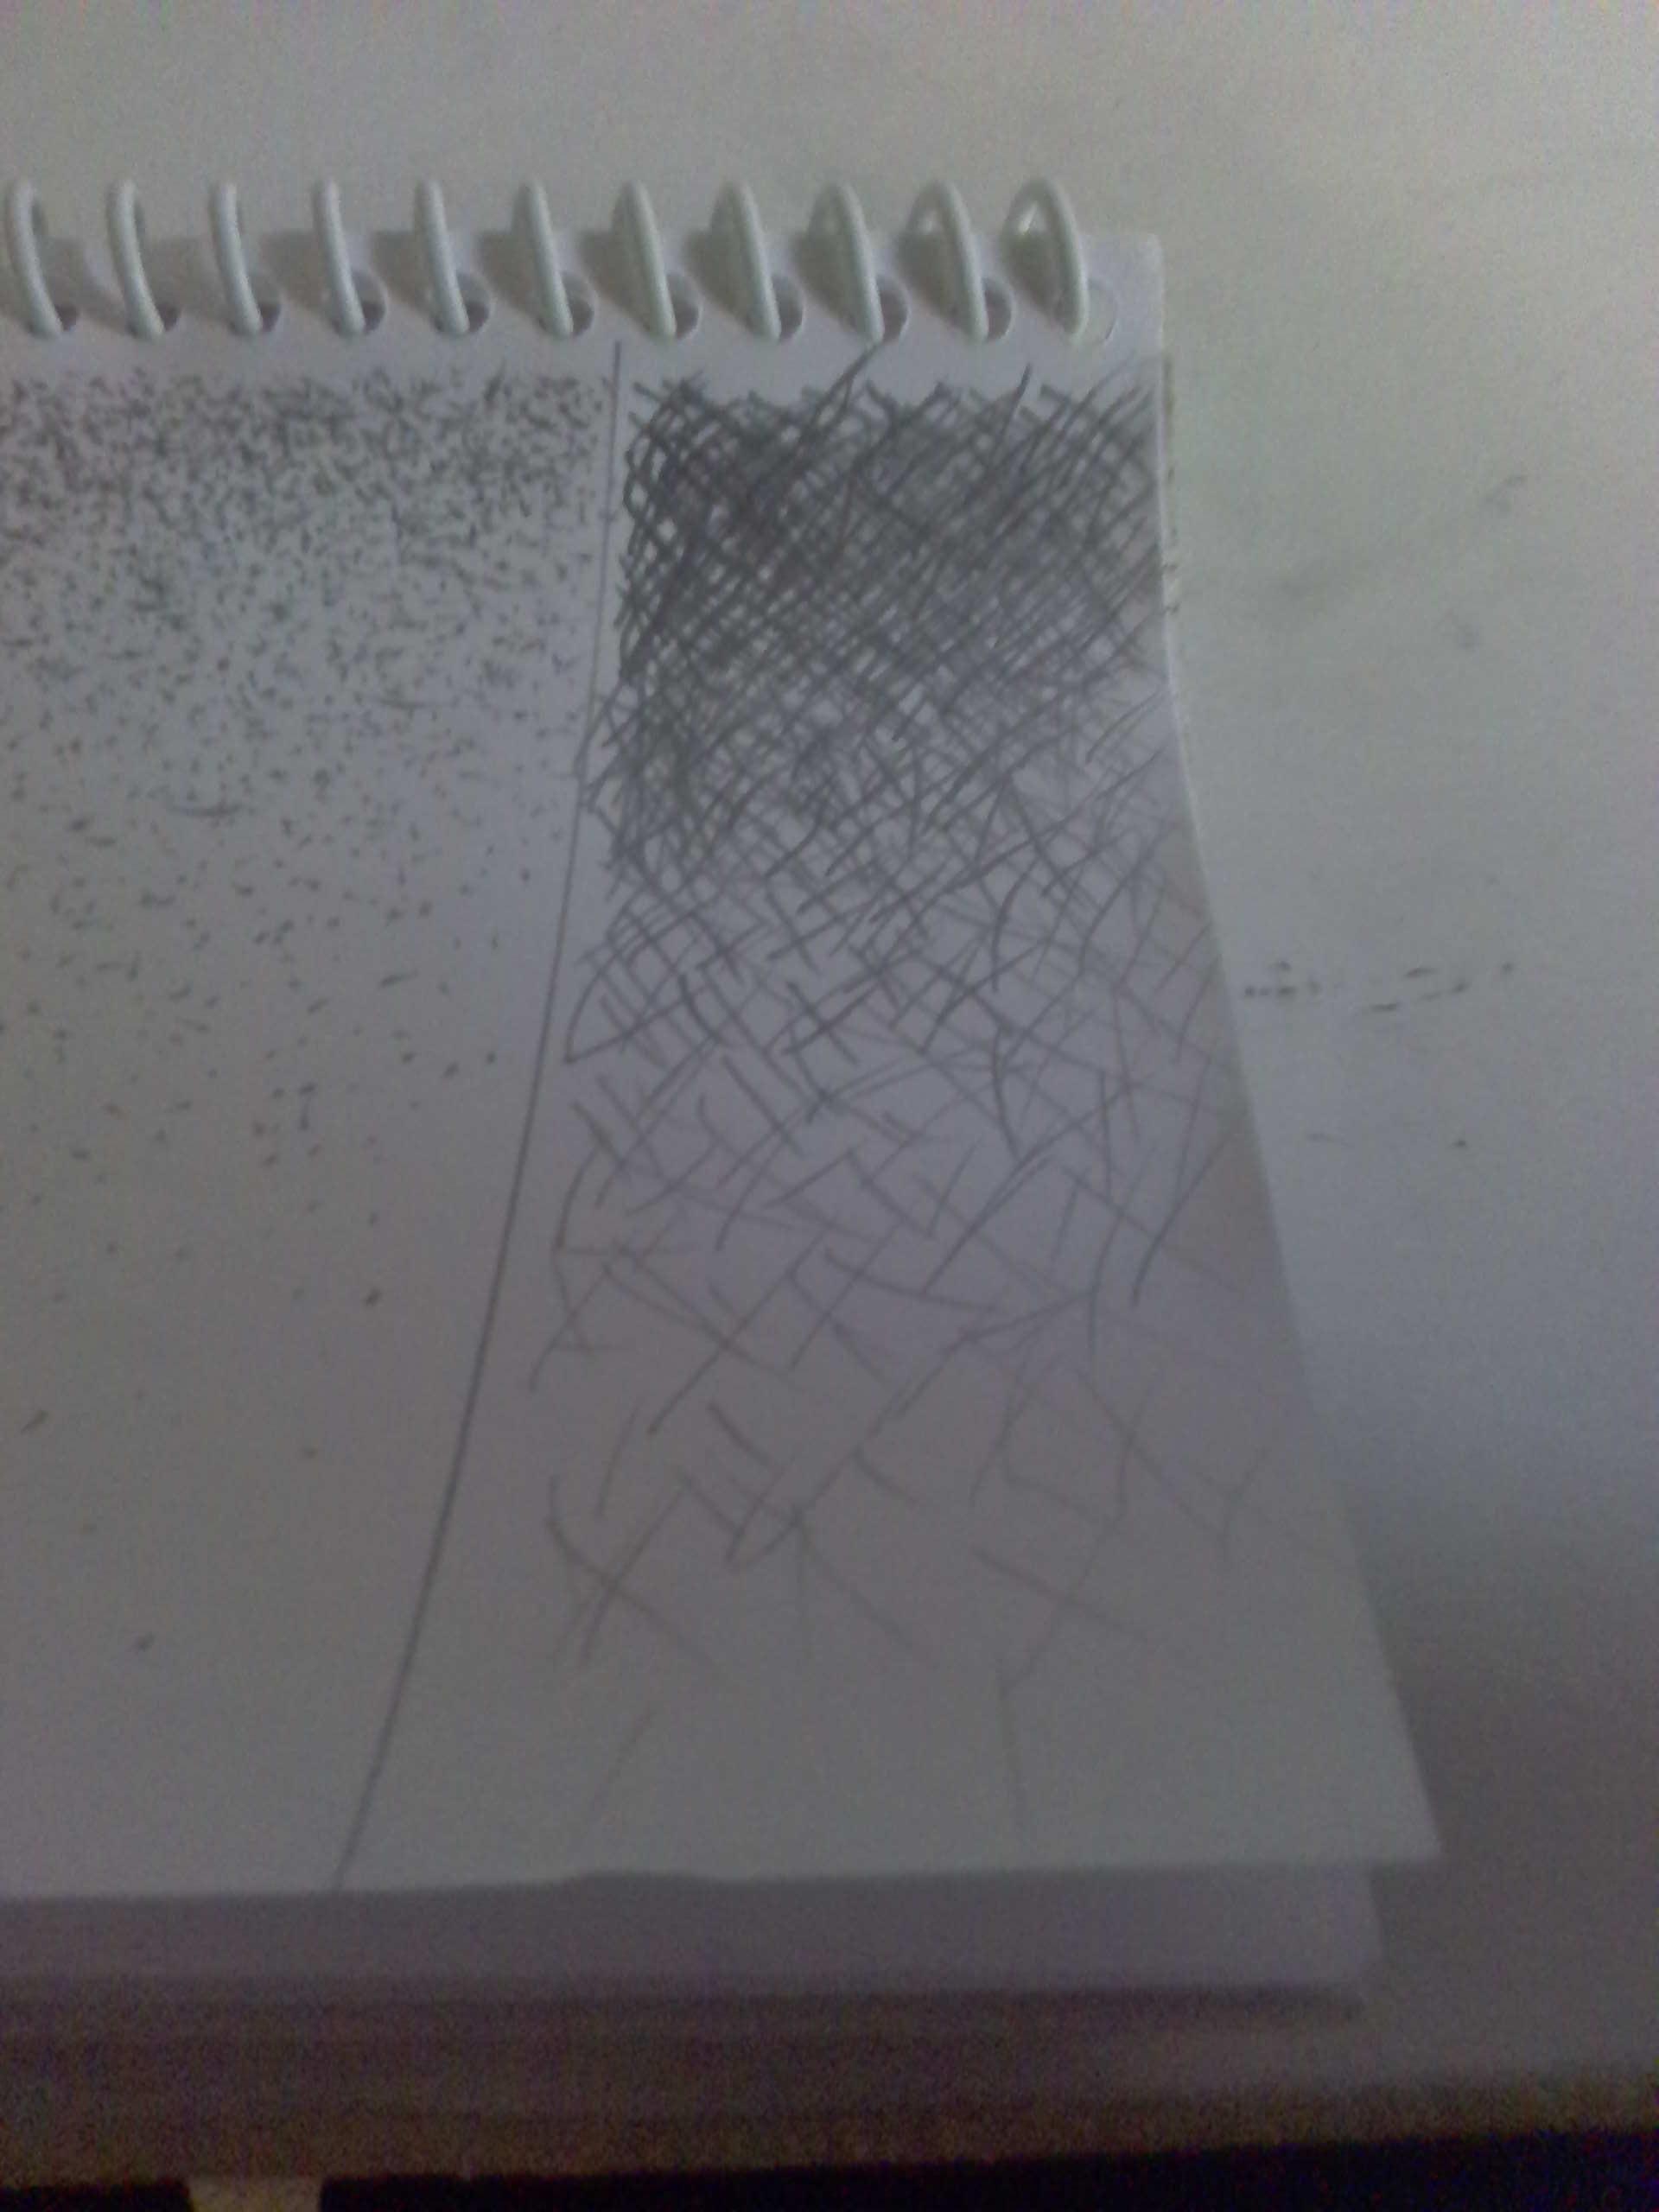
Again, you are moving from a darker shade to a lighter. To make your lighter/less dense shade(s), make less and less slashes on your paper, and no longer draw 'X's. Rather, draw small lines instead.
To finish, just remove your pencil! :)
Conclusion
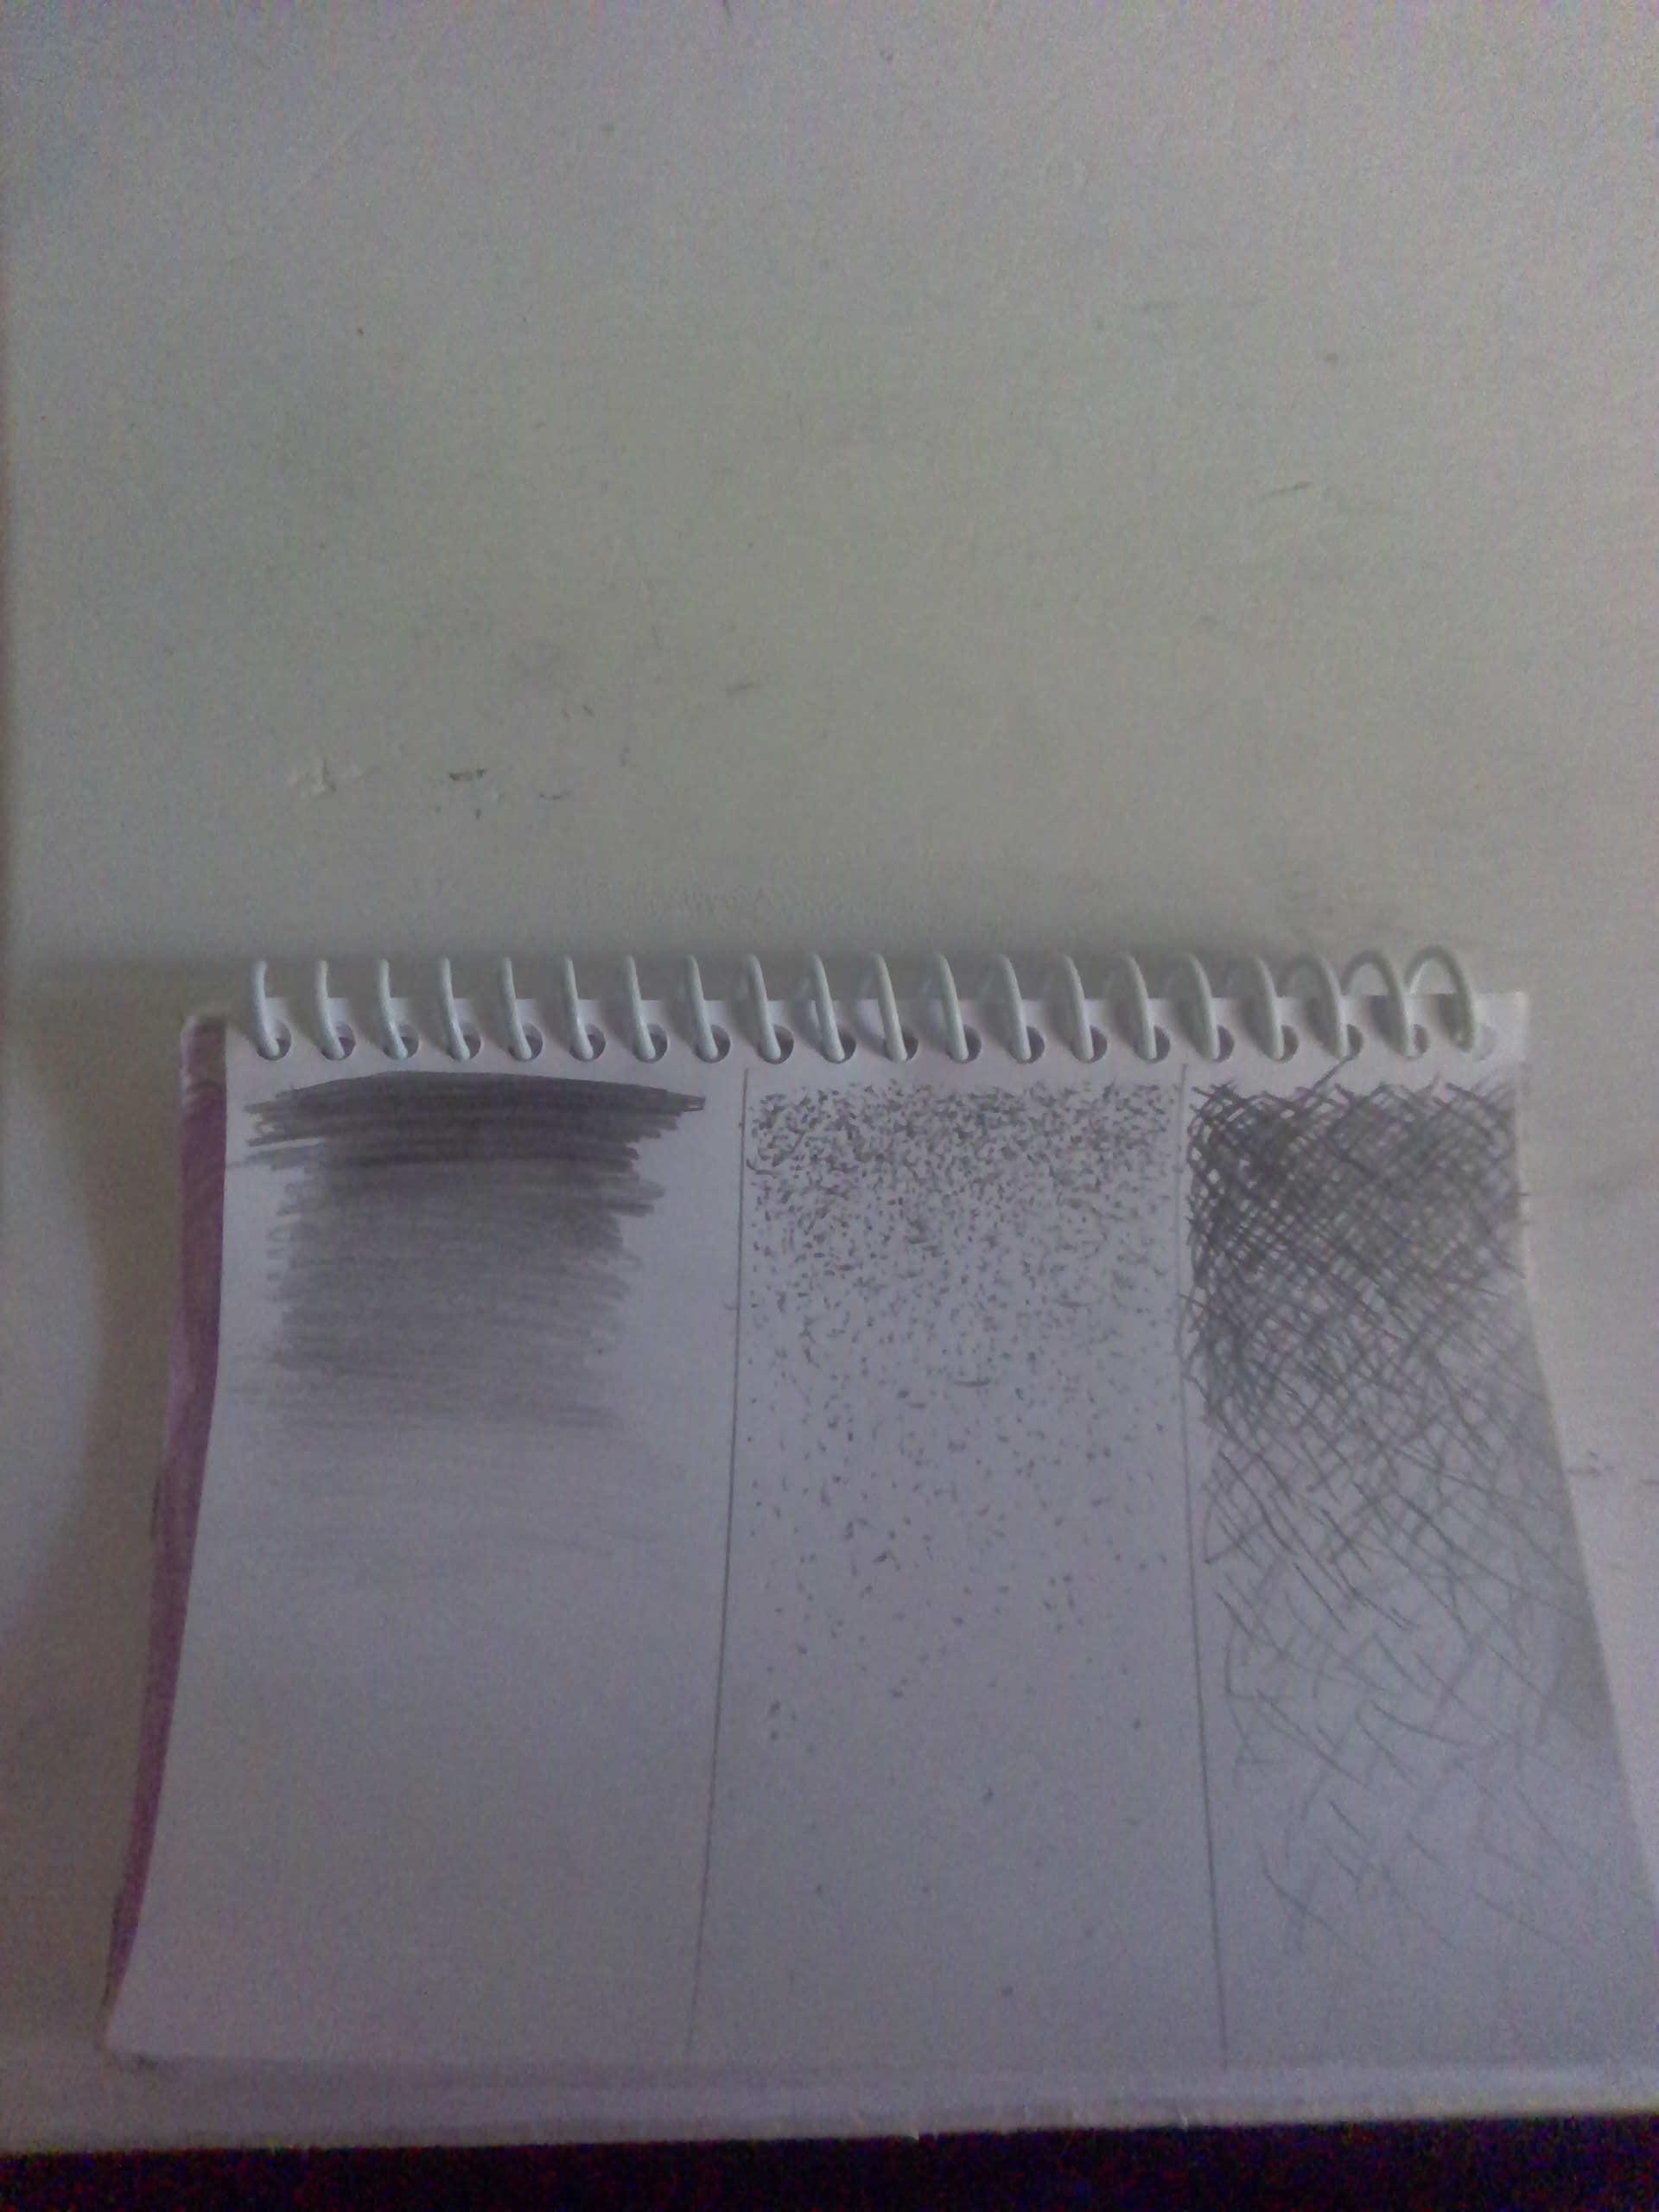
Congratulations! You now know how to make 3 different types of gradients. Have fun with your artwork!
:)