How to Install CHDK
CHDK stand for Canon Hack Development Kit. This is code that you can install on your cameras SD memory card that allows you to access extra features that are normally only available on very expensive professional cameras. You will be able to run scripts and override many of the factory default parameters.
Not every Canon Power Shot supports this hack.
However the CHDK forum is frequently updated with new versions of code.
You Will Need...
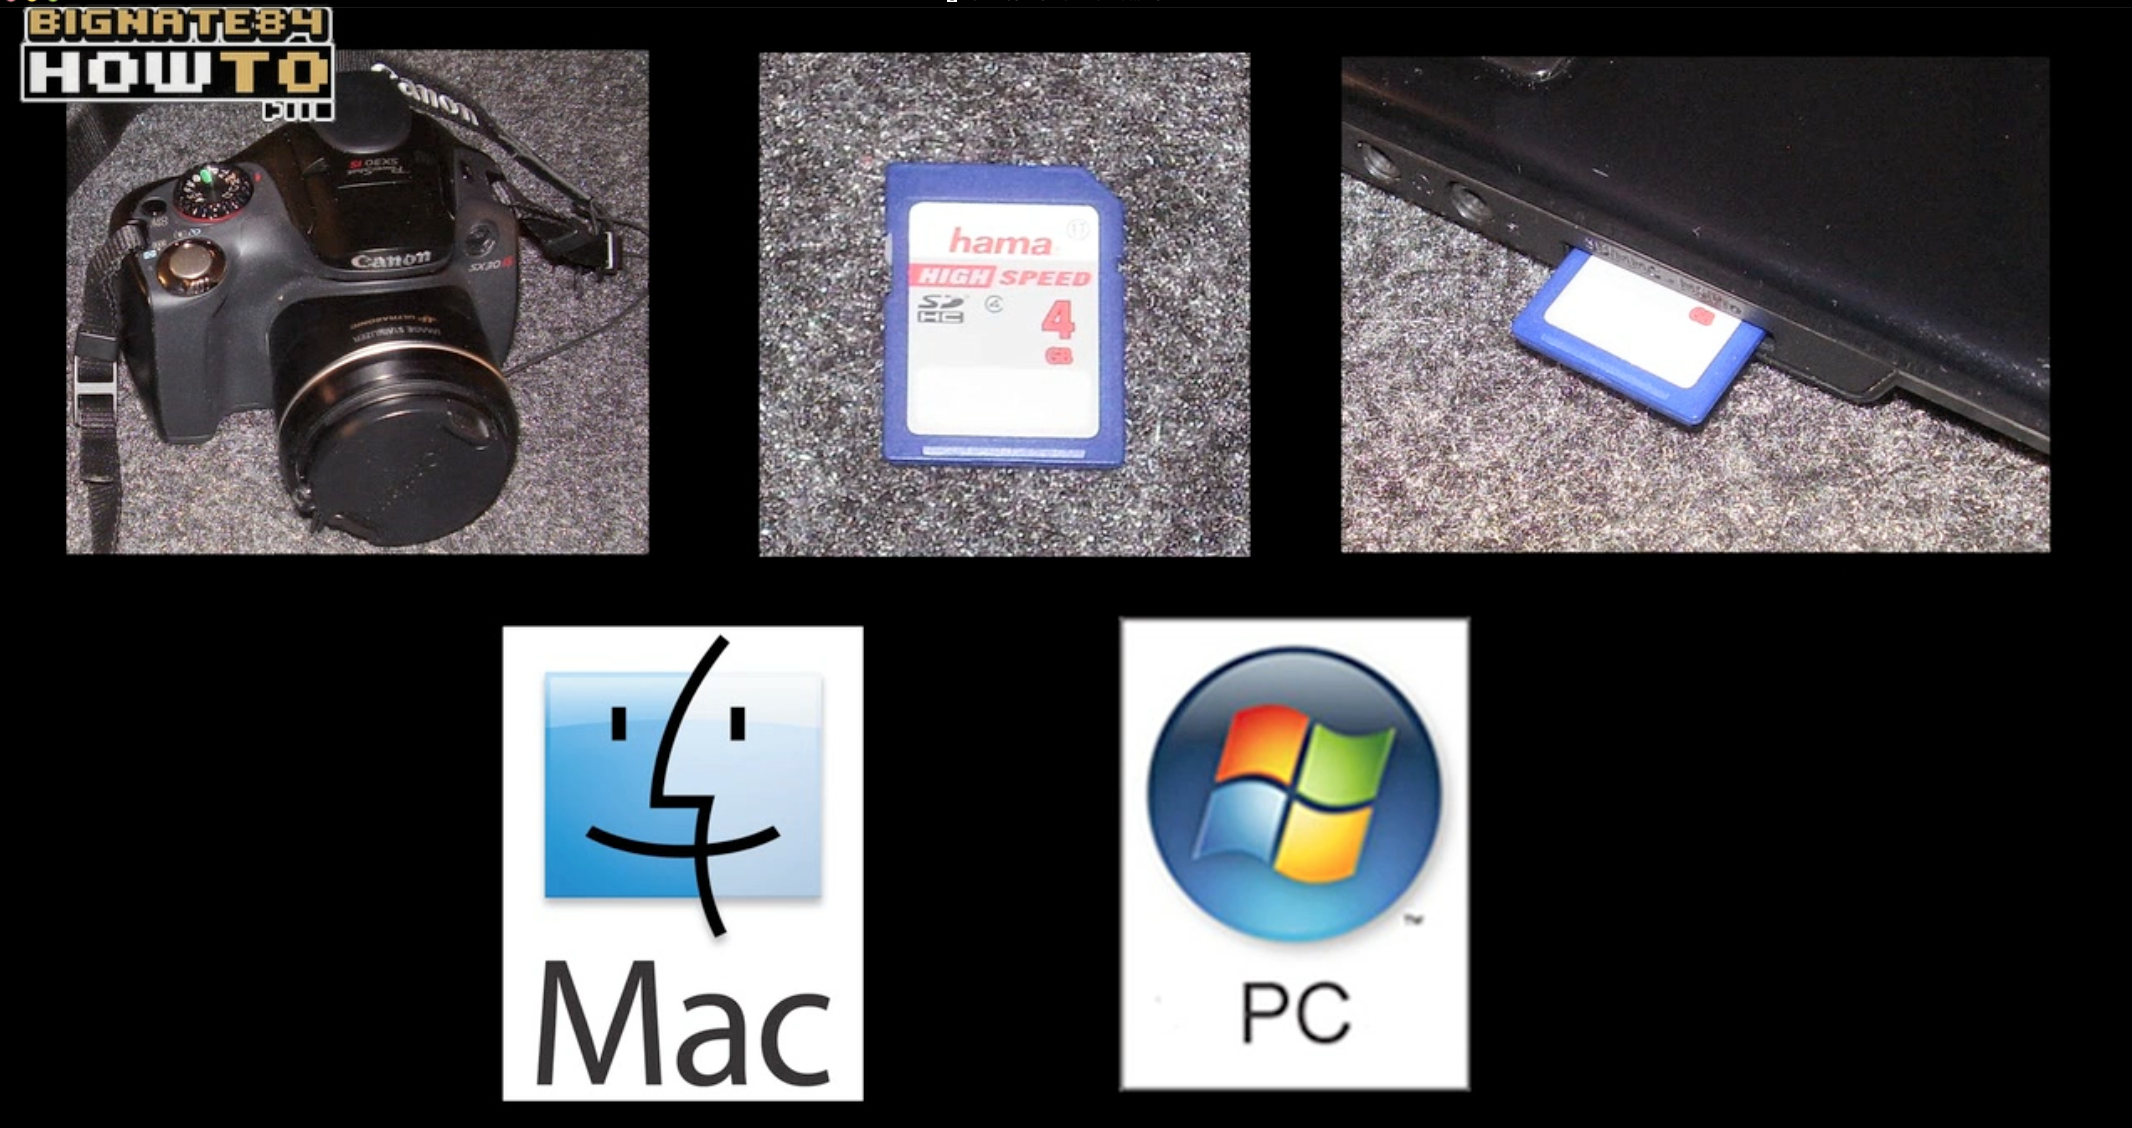
1. Canon Power Shot Camera
2. SD Memory Card
3. SD Memory Card Reader
4. Mac or PC
Remove all pictures before formatting the memory card in Step 1 as they will be erased.
Step 1: Format Your SD memory Card
A. Place the memory card in your camera
B. Turn on the camera
C. Hit the “Menu” Button
D. Scroll over to “Camera Settings”
E. Scroll down to “Format” hit enter, hit OK
Step 2: Determine What Firmware Version Is Installed On Your Camera
A. Create a blank text file named “VER.REQ” or “VERS.REQ”
B. Do this on a PC using NotePad or on a Mac using TextEdit
C. Take the memory card out of the camera and put it into the Mac or PC
D. Drag and drop this “VER.REQ” or VERS.REQ” text file into the root directory of the SD card
E. Safely eject the SD memory card
F. Put the SD memory card back into the camera
G. Turn on the camera and put it in play mode for viewing pictures
H. Hold the “FUNC SET” (function set) button and tap the “DISP” (display button) at the same time.
I. Write down the number that appears next to “Firmware Ver” This is your firmware version.
J. It should look similar to this “1.00N”
K. Don’t worry about the letters before hand or the numbers in parenthesis afterwards
L. Turn off the camera, take out the memory card and put it back in the computer’s SD card reader
The process of creating the "VER.REQ" file can be tricky and is different on Mac's and PC's.
Reference Step 2 in the video for details.
Step 3: Download The Appropriate CHDK Zip File
A. Go to this web site http://mighty-hoernsche.de
B. Scroll down until you see your camera model number
C. Download the zip file associated with your firmware version
D. You have a choice of small and complete
The small version has only the files you need to run CHDK
The complete version has extra stuff like scripts, grids and language files
Step 4: Unzip The CHDK Files
A. On a Mac you need to download Stuffit Expander, and extract the files with that application.
B. On a PC you can right click and select “Extract All” to unzip the files
C. You will see 5 documents and 1 folder
Step 5: Drag & Drop All CHDK Files & Folders Into Memory Cards Root Directory
A. You’ll need to verify that a file named “PS.FI2” is there in the root directory.
B. If that file is not there I'm sorry to say your out of luck, and will not be able to load CHDK via the firmware update method
Step 6: Safely Eject The Memory Card & Place It In The Camera
Step 7: Turn On The Camera By Pressing The Play Button
A. This is very important and CHDK will not work if you turn the camera on using the On/Off button
Step 8: Press The Menu Button
A. Scroll all the way down to “Firm Update” and press “Func.Set”, then press OK
B. You will see a CHDK screen appear briefly on the camera’s display
C. That means YOU DID IT!
Step 9: Tap The Shutter Button
A. This will bring you back into camera mode
B. You will notice some extra features on your cameras display like exact percentage of battery life
Step 10: Press The Shortcut/Alt Button To Toggle To CHDK Mode
A. Once in CHDK mode you will see a blinking in the lower left corner of the display
B. The “Menu” button will now bring you to a new menu with many more options
C. The "Func.Set" button will also bring you to a new menu for loading scripts
To go back to the factory default settings you can turn your camera Off and back On again.
To activate CHDK again repeat steps 7 - 10
More BigNate84 How To Videos
Not every Canon Power Shot supports this hack.
However the CHDK forum is frequently updated with new versions of code.
You Will Need...
1. Canon Power Shot Camera
2. SD Memory Card
3. SD Memory Card Reader
4. Mac or PC
Remove all pictures before formatting the memory card in Step 1 as they will be erased.
Step 1: Format Your SD memory Card
A. Place the memory card in your camera
B. Turn on the camera
C. Hit the “Menu” Button
D. Scroll over to “Camera Settings”
E. Scroll down to “Format” hit enter, hit OK
Step 2: Determine What Firmware Version Is Installed On Your Camera
A. Create a blank text file named “VER.REQ” or “VERS.REQ”
B. Do this on a PC using NotePad or on a Mac using TextEdit
C. Take the memory card out of the camera and put it into the Mac or PC
D. Drag and drop this “VER.REQ” or VERS.REQ” text file into the root directory of the SD card
E. Safely eject the SD memory card
F. Put the SD memory card back into the camera
G. Turn on the camera and put it in play mode for viewing pictures
H. Hold the “FUNC SET” (function set) button and tap the “DISP” (display button) at the same time.
I. Write down the number that appears next to “Firmware Ver” This is your firmware version.
J. It should look similar to this “1.00N”
K. Don’t worry about the letters before hand or the numbers in parenthesis afterwards
L. Turn off the camera, take out the memory card and put it back in the computer’s SD card reader
The process of creating the "VER.REQ" file can be tricky and is different on Mac's and PC's.
Reference Step 2 in the video for details.
Step 3: Download The Appropriate CHDK Zip File
A. Go to this web site http://mighty-hoernsche.de
B. Scroll down until you see your camera model number
C. Download the zip file associated with your firmware version
D. You have a choice of small and complete
The small version has only the files you need to run CHDK
The complete version has extra stuff like scripts, grids and language files
Step 4: Unzip The CHDK Files
A. On a Mac you need to download Stuffit Expander, and extract the files with that application.
B. On a PC you can right click and select “Extract All” to unzip the files
C. You will see 5 documents and 1 folder
Step 5: Drag & Drop All CHDK Files & Folders Into Memory Cards Root Directory
A. You’ll need to verify that a file named “PS.FI2” is there in the root directory.
B. If that file is not there I'm sorry to say your out of luck, and will not be able to load CHDK via the firmware update method
Step 6: Safely Eject The Memory Card & Place It In The Camera
Step 7: Turn On The Camera By Pressing The Play Button
A. This is very important and CHDK will not work if you turn the camera on using the On/Off button
Step 8: Press The Menu Button
A. Scroll all the way down to “Firm Update” and press “Func.Set”, then press OK
B. You will see a CHDK screen appear briefly on the camera’s display
C. That means YOU DID IT!
Step 9: Tap The Shutter Button
A. This will bring you back into camera mode
B. You will notice some extra features on your cameras display like exact percentage of battery life
Step 10: Press The Shortcut/Alt Button To Toggle To CHDK Mode
A. Once in CHDK mode you will see a blinking in the lower left corner of the display
B. The “Menu” button will now bring you to a new menu with many more options
C. The "Func.Set" button will also bring you to a new menu for loading scripts
To go back to the factory default settings you can turn your camera Off and back On again.
To activate CHDK again repeat steps 7 - 10
More BigNate84 How To Videos