How to Do a Lego / Star Wars Stop Motion Animation
by Swaggington in Living > LEGO & K'NEX
36654 Views, 23 Favorites, 0 Comments
How to Do a Lego / Star Wars Stop Motion Animation
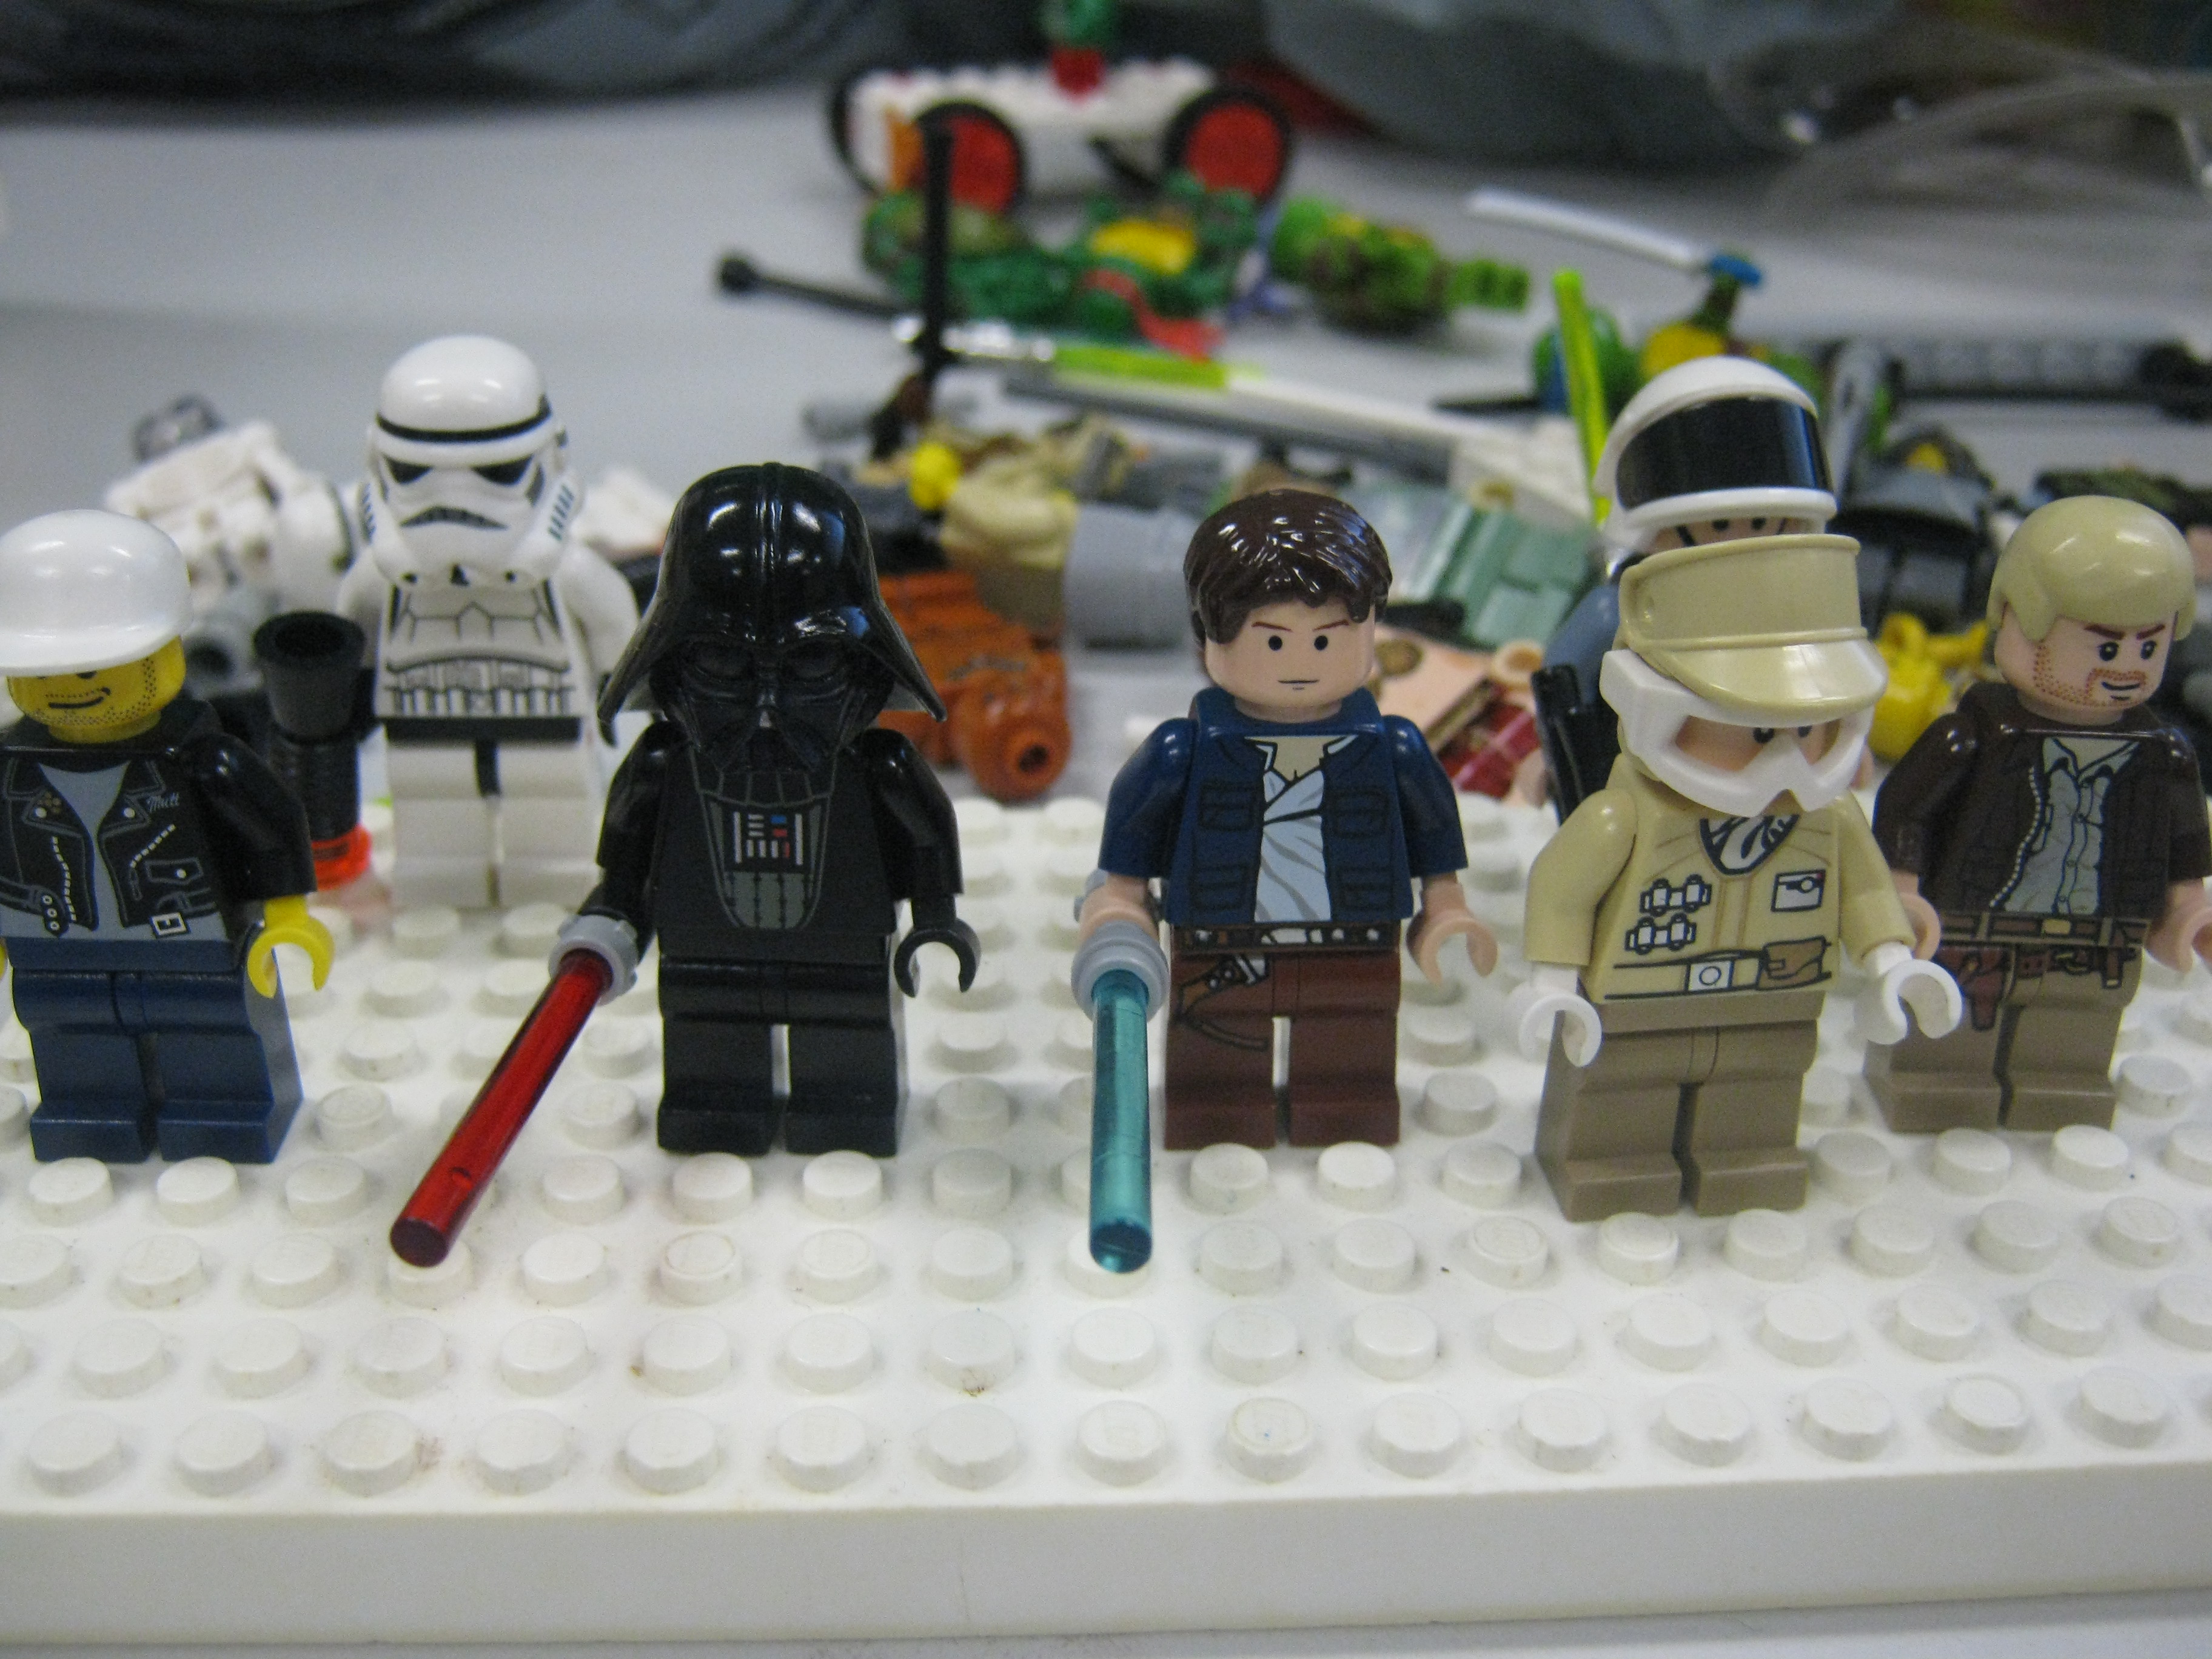
Lego is one of the best ways to do a stop motion animation.
It is easier than using larger toys, and it looks very good by comparison, and will take less time to do.
It is easier than using larger toys, and it looks very good by comparison, and will take less time to do.
Building the Set
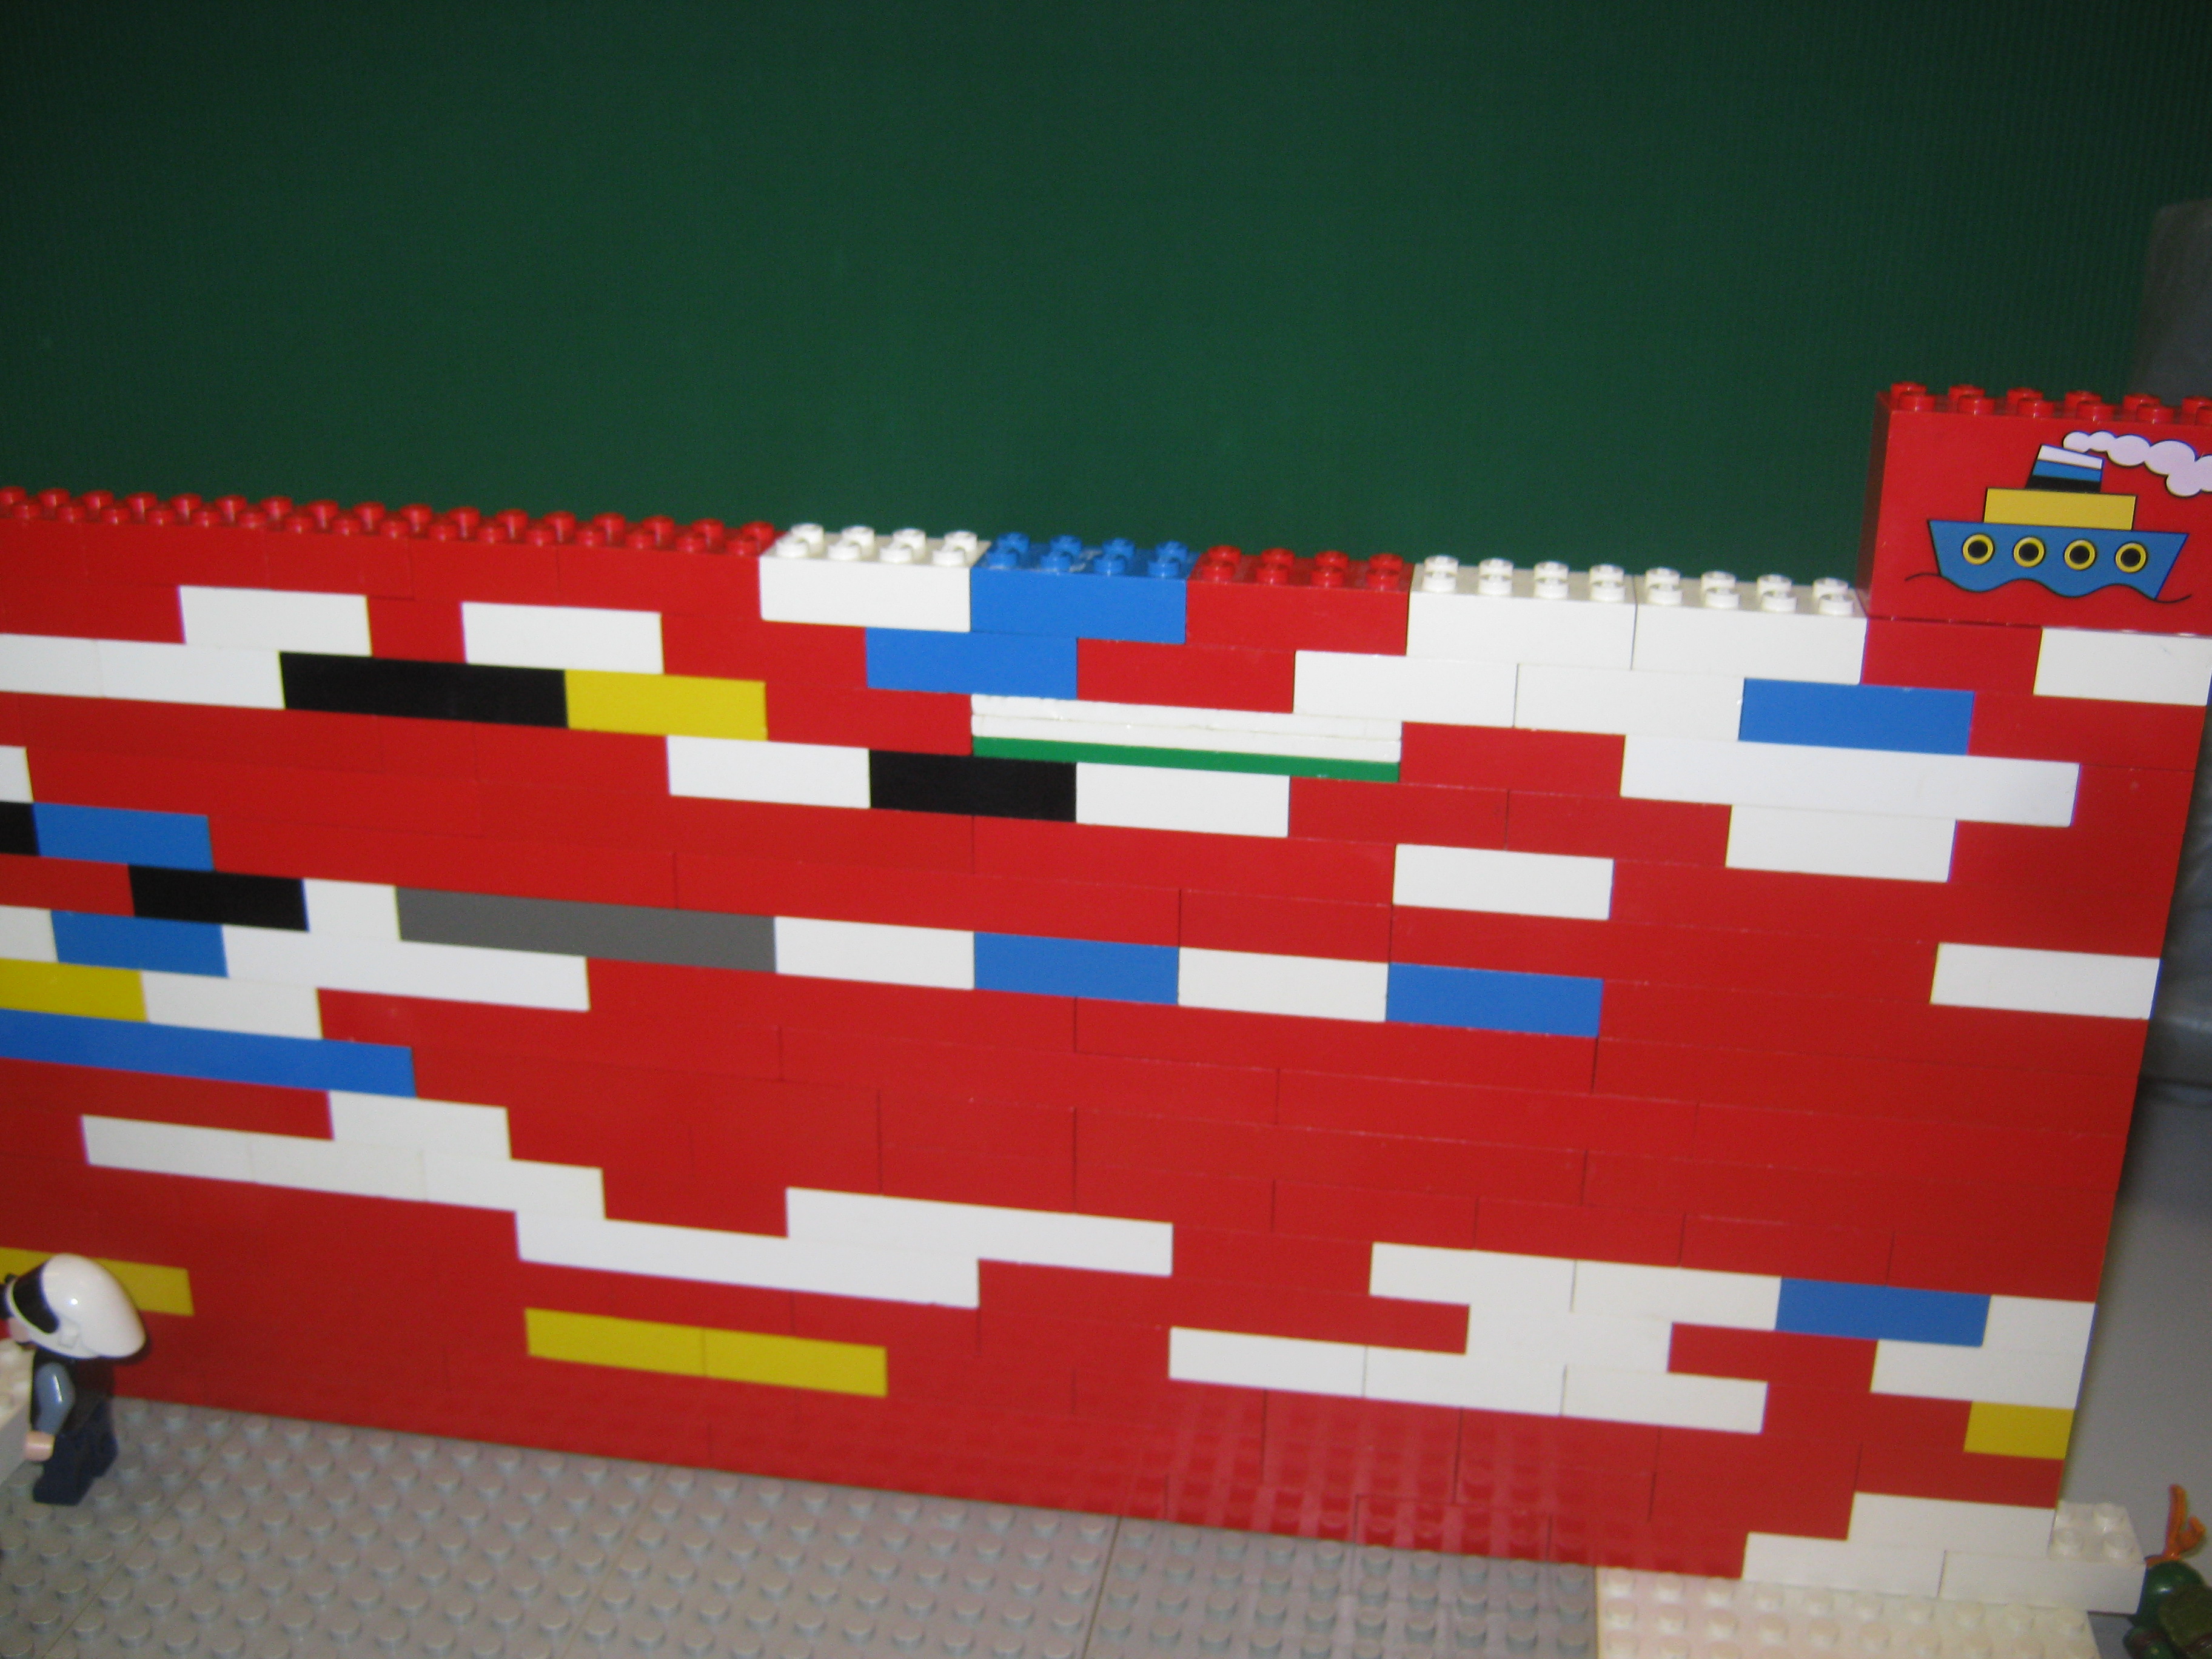
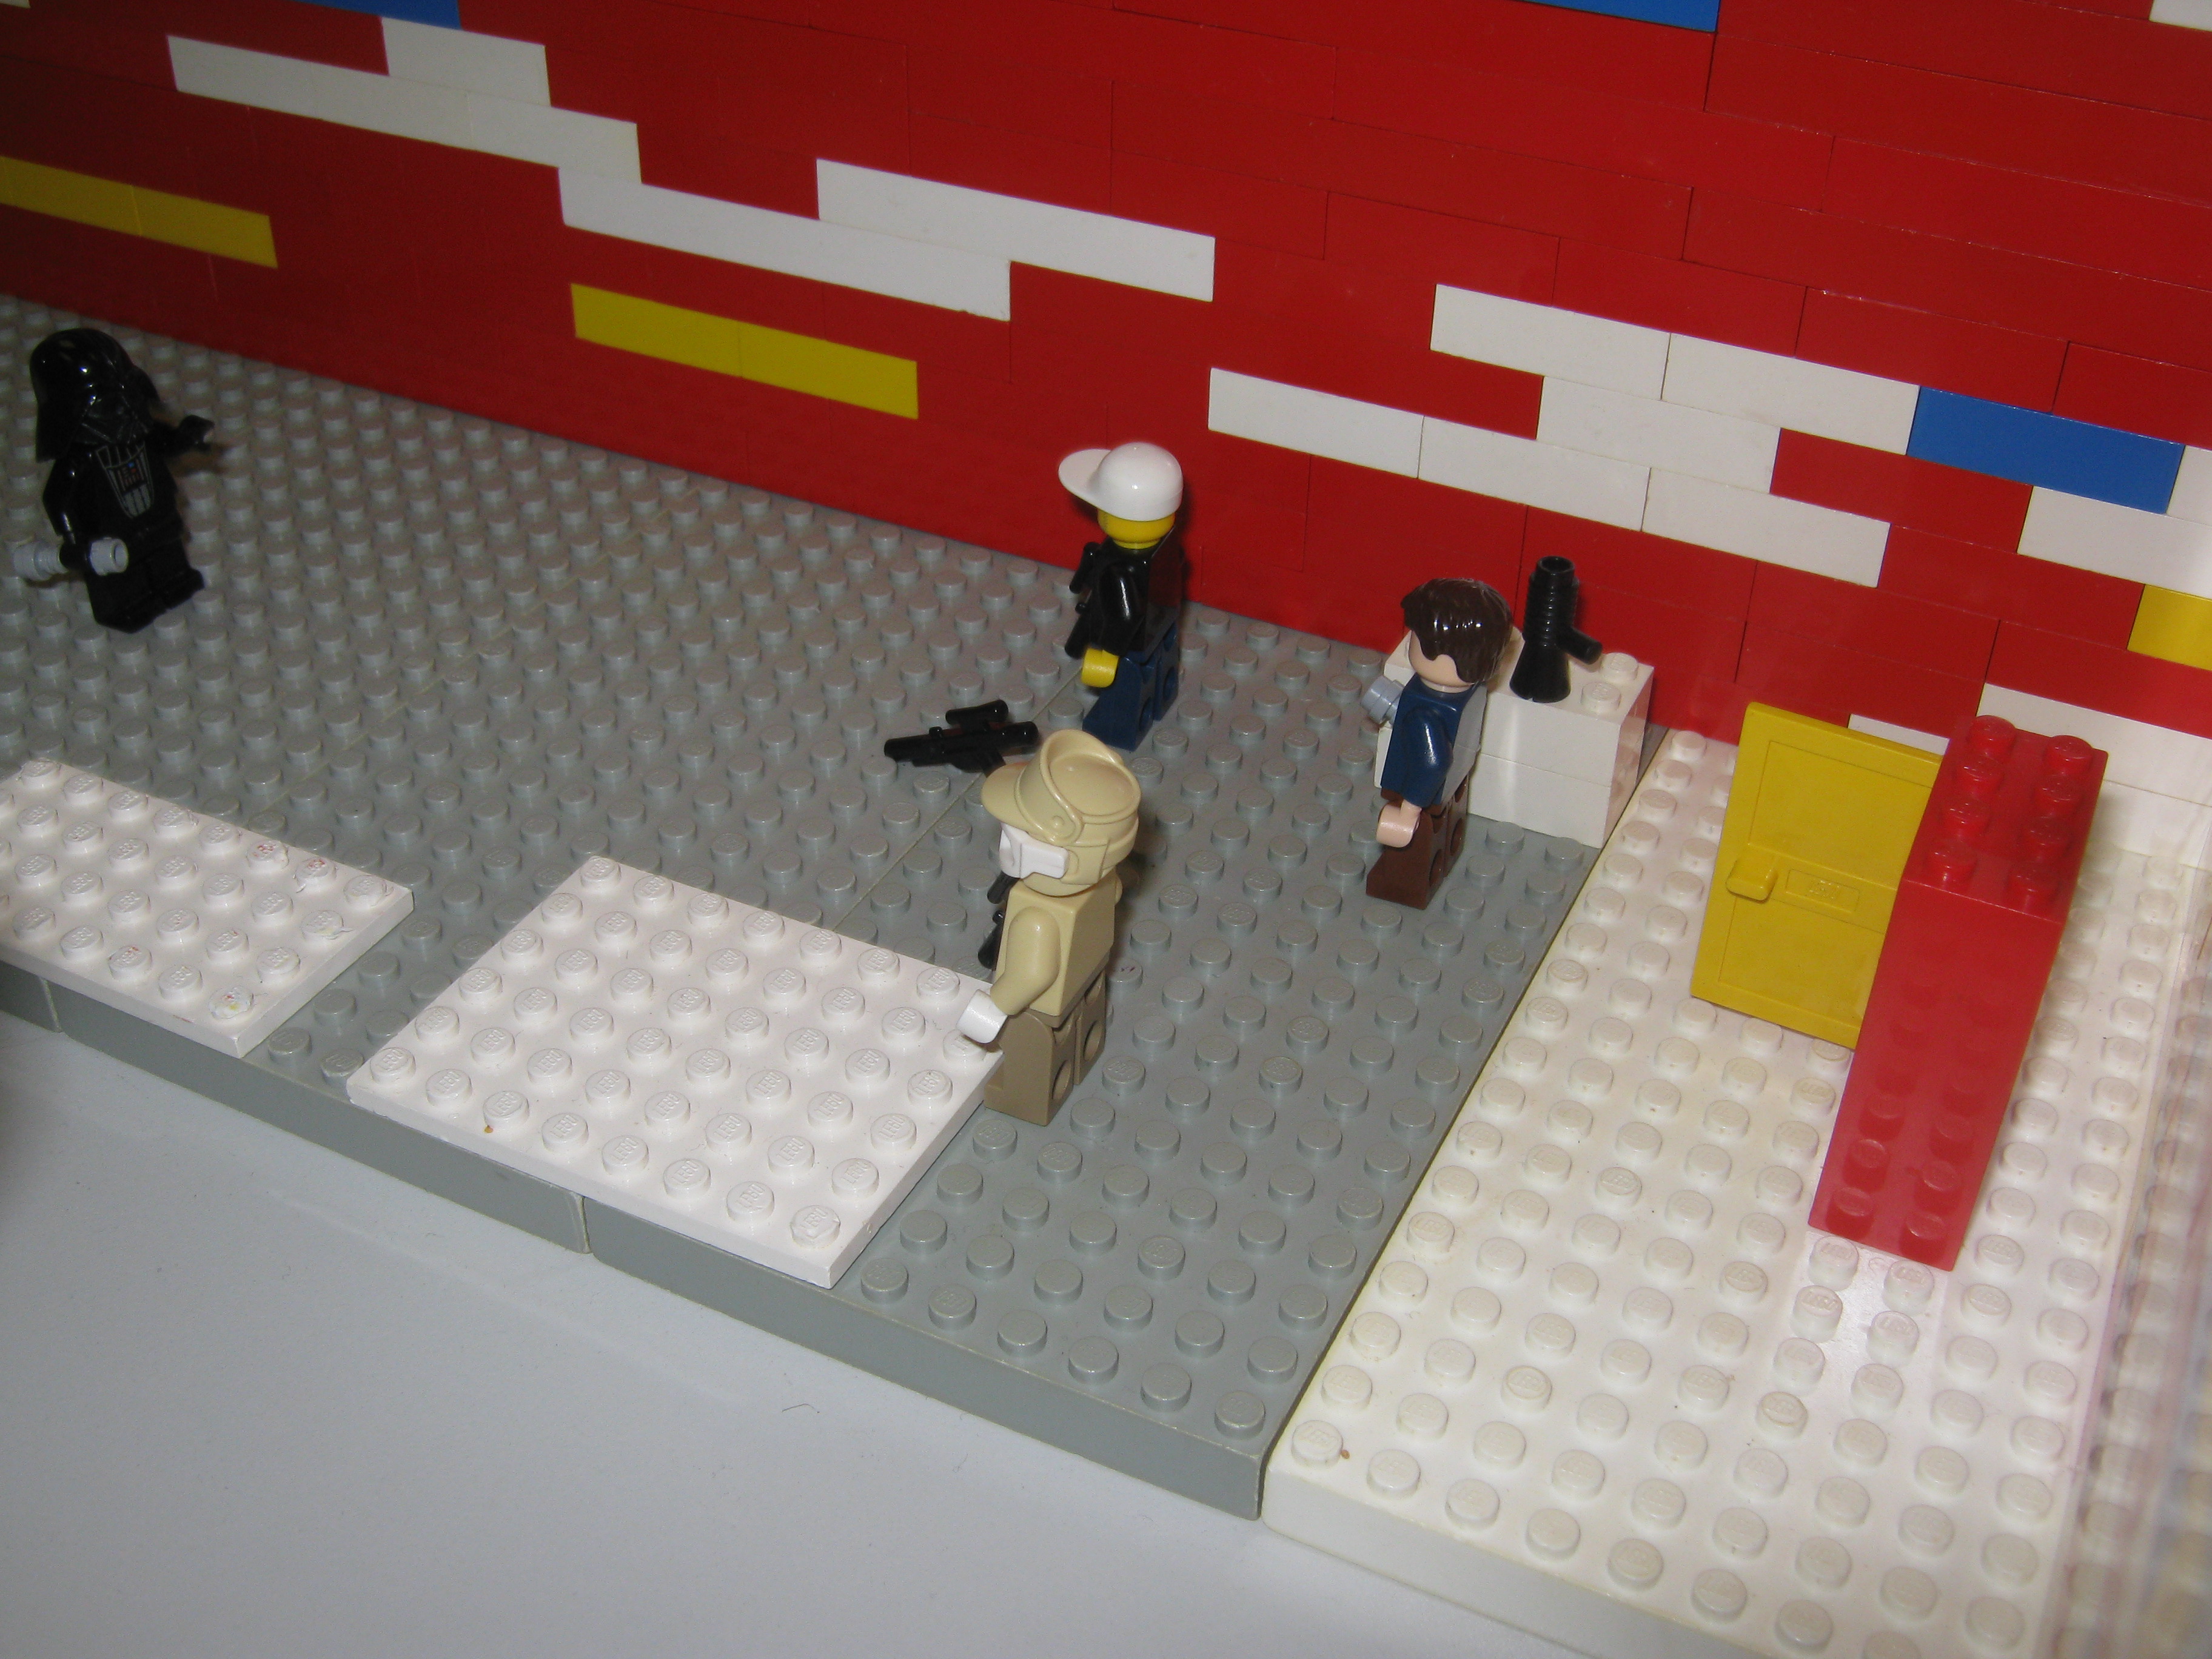
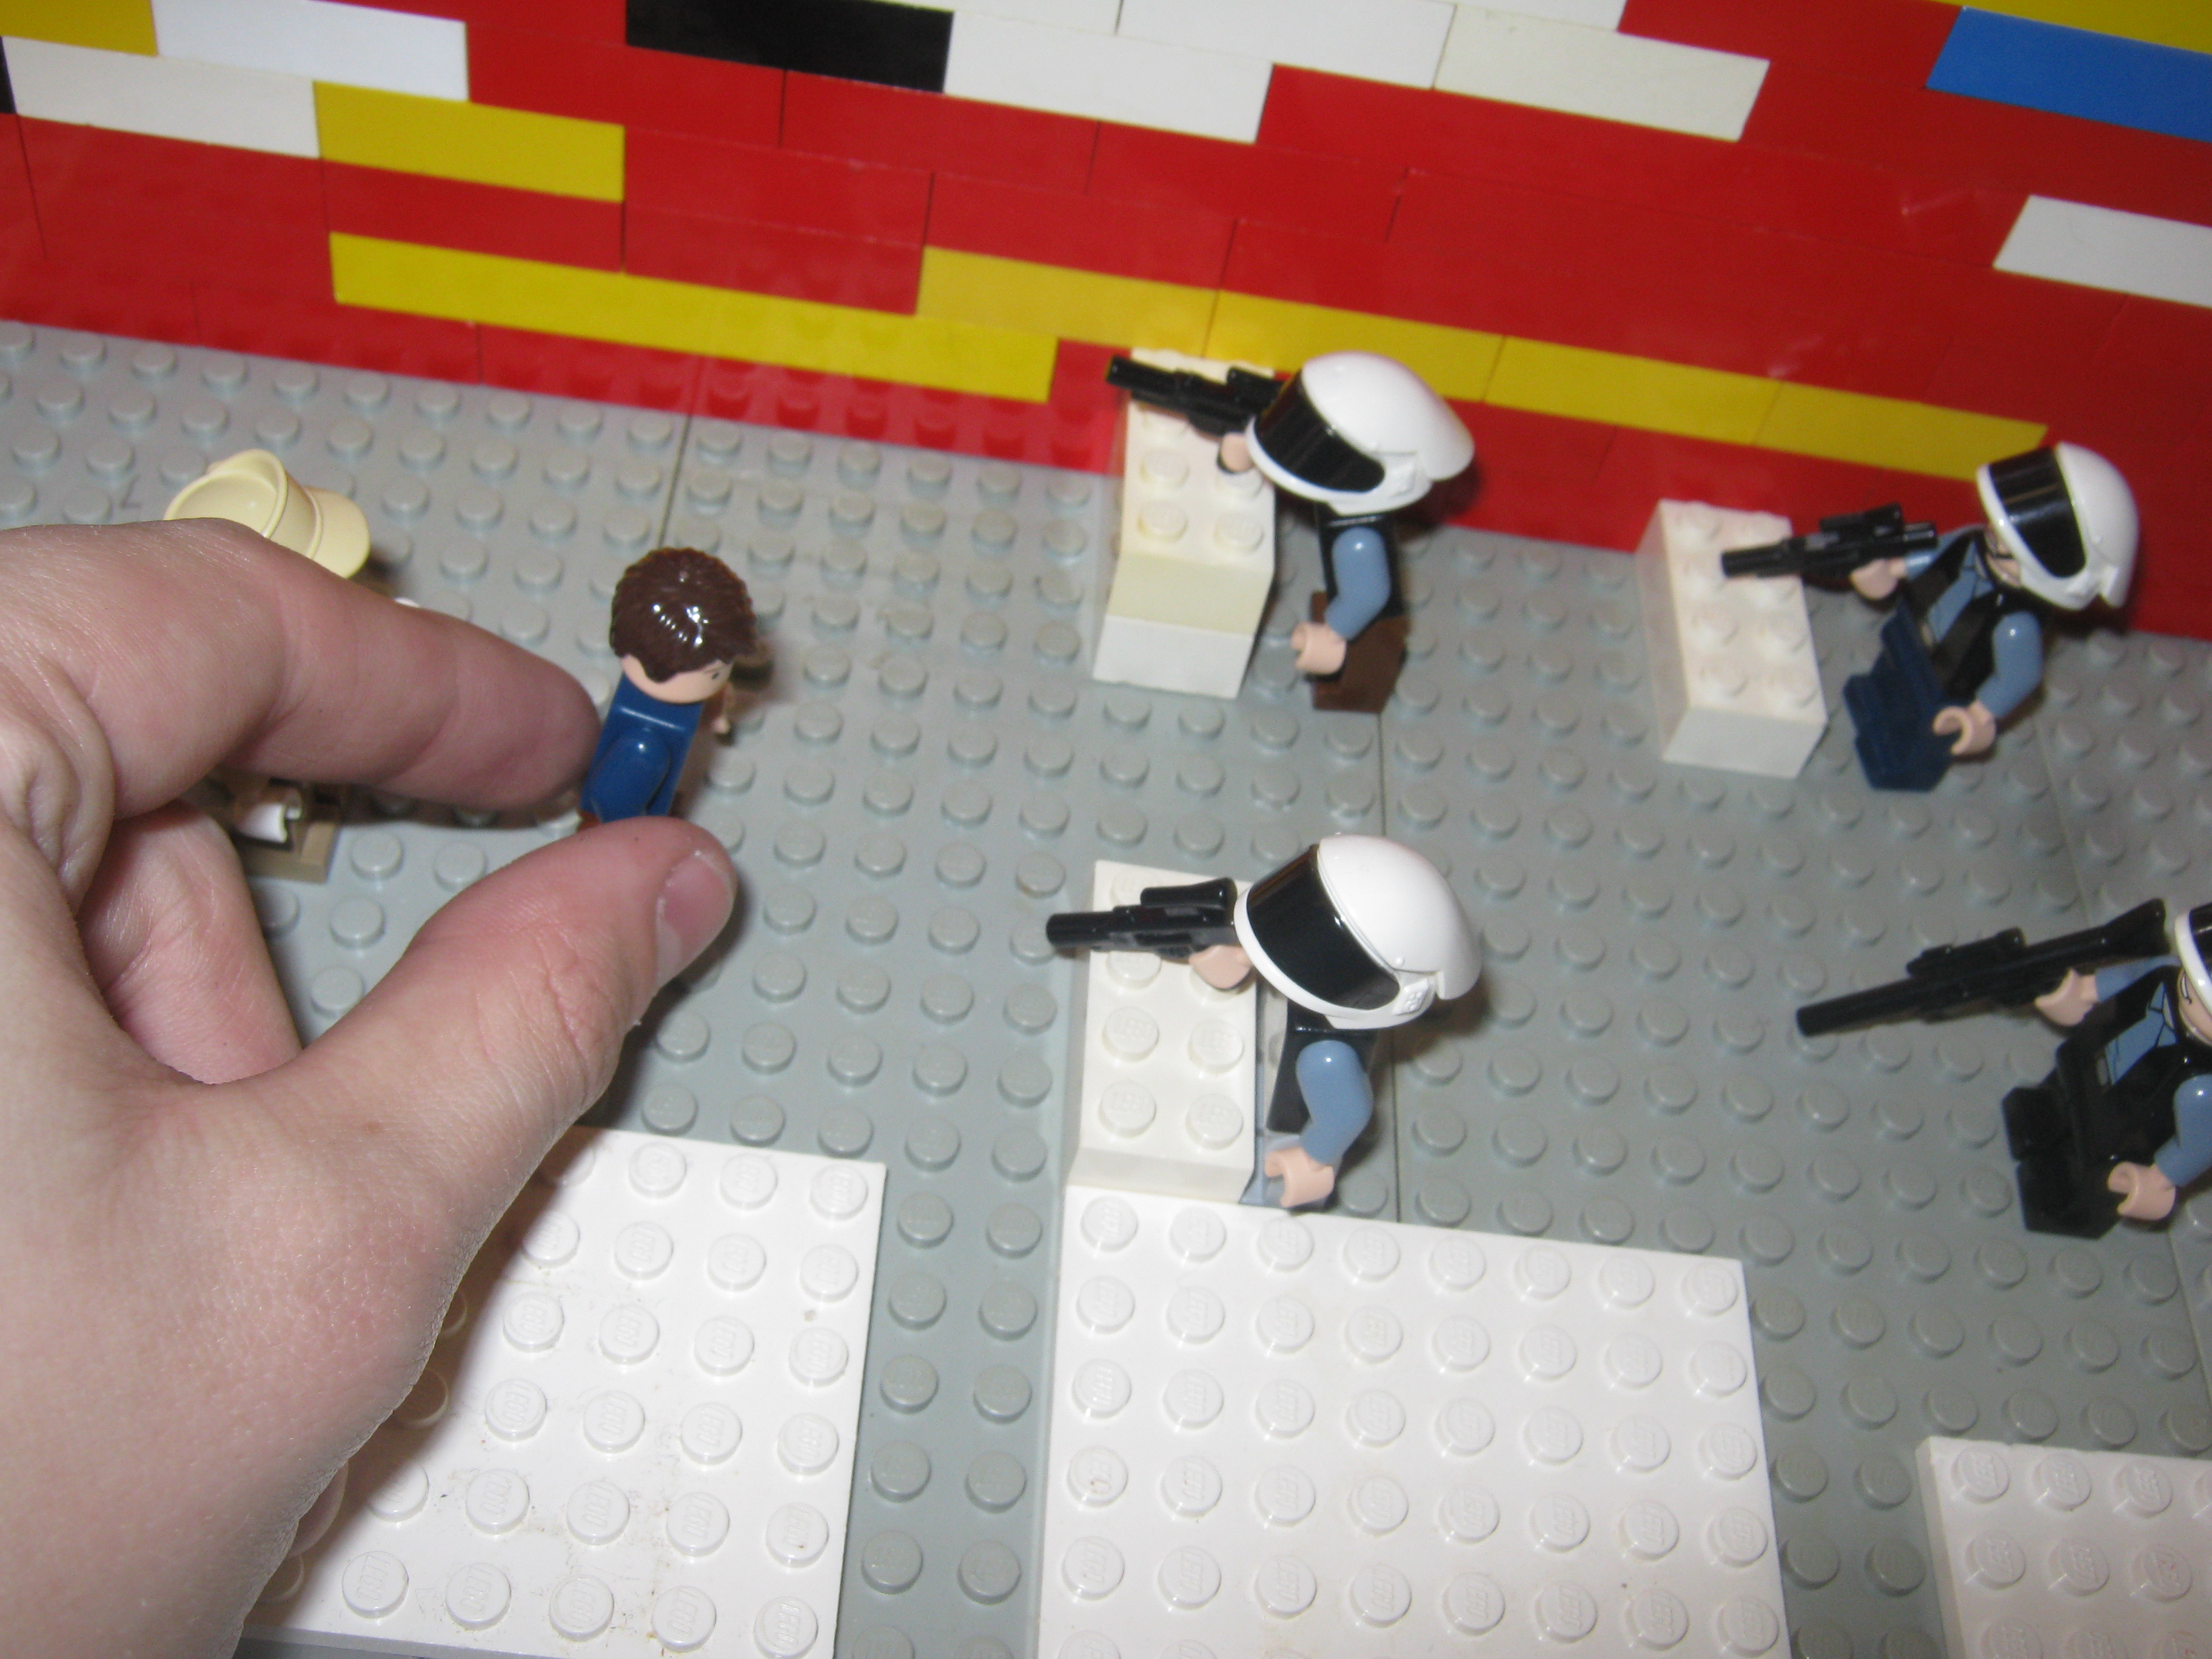
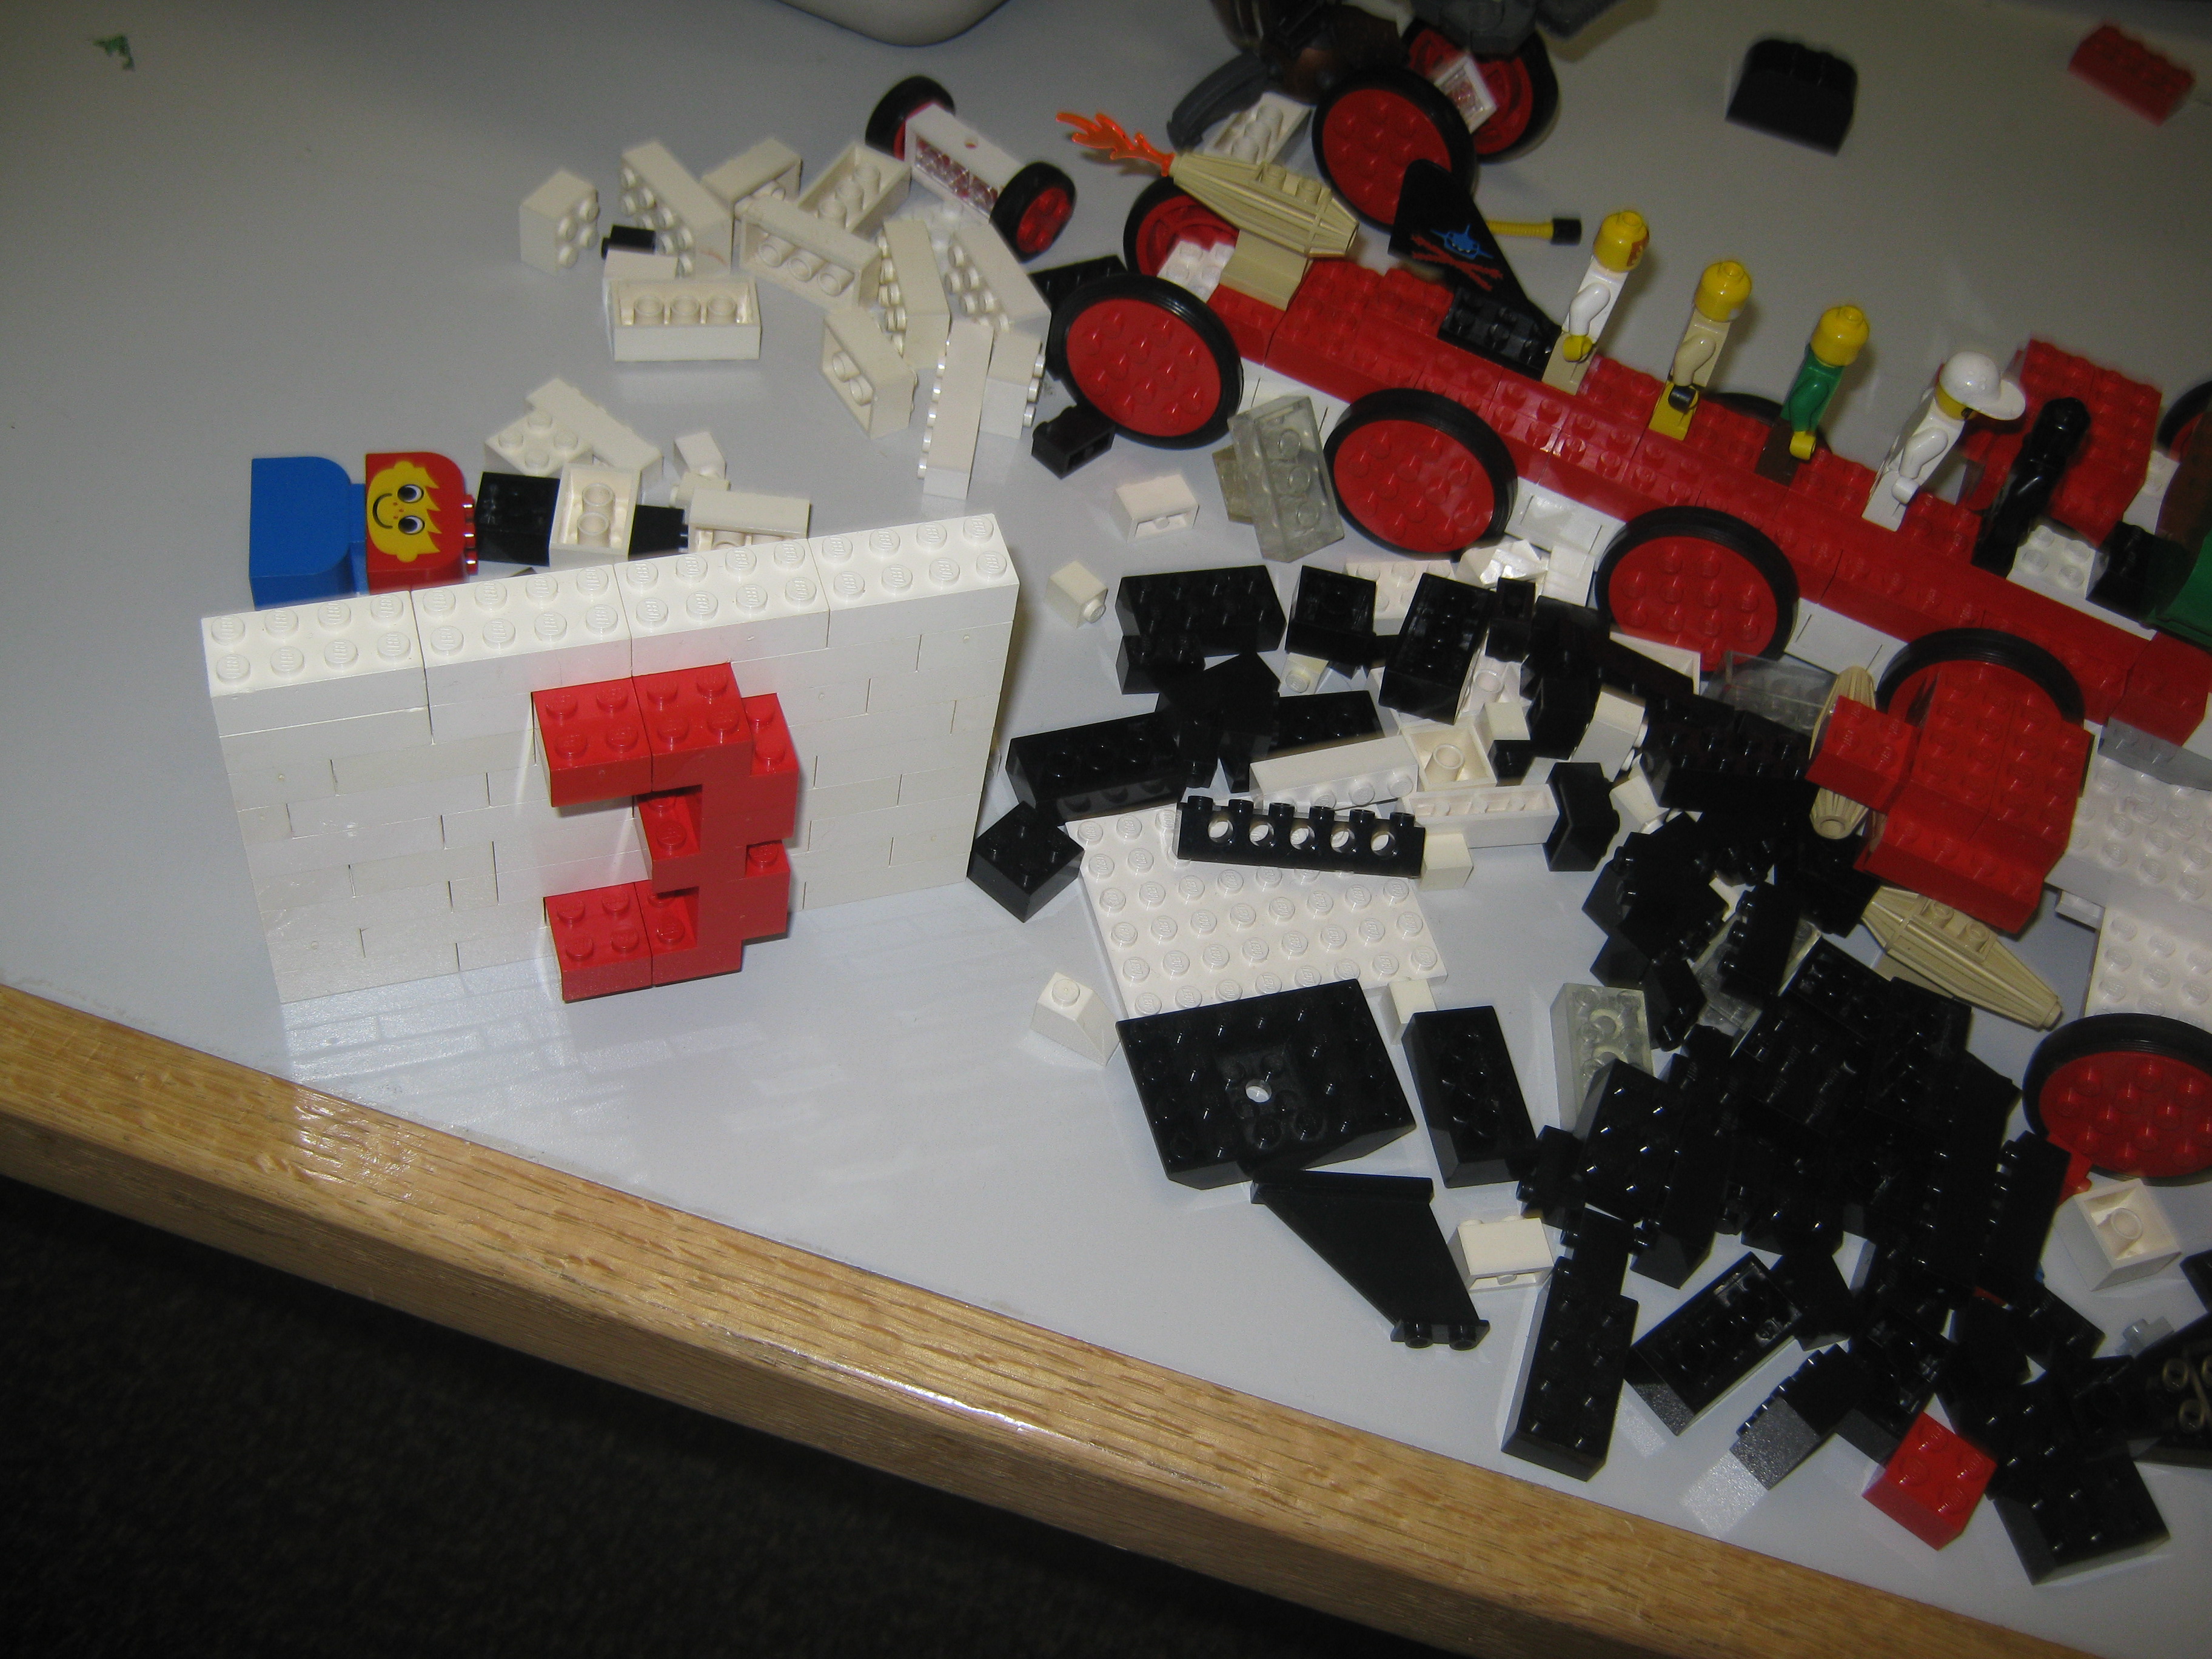
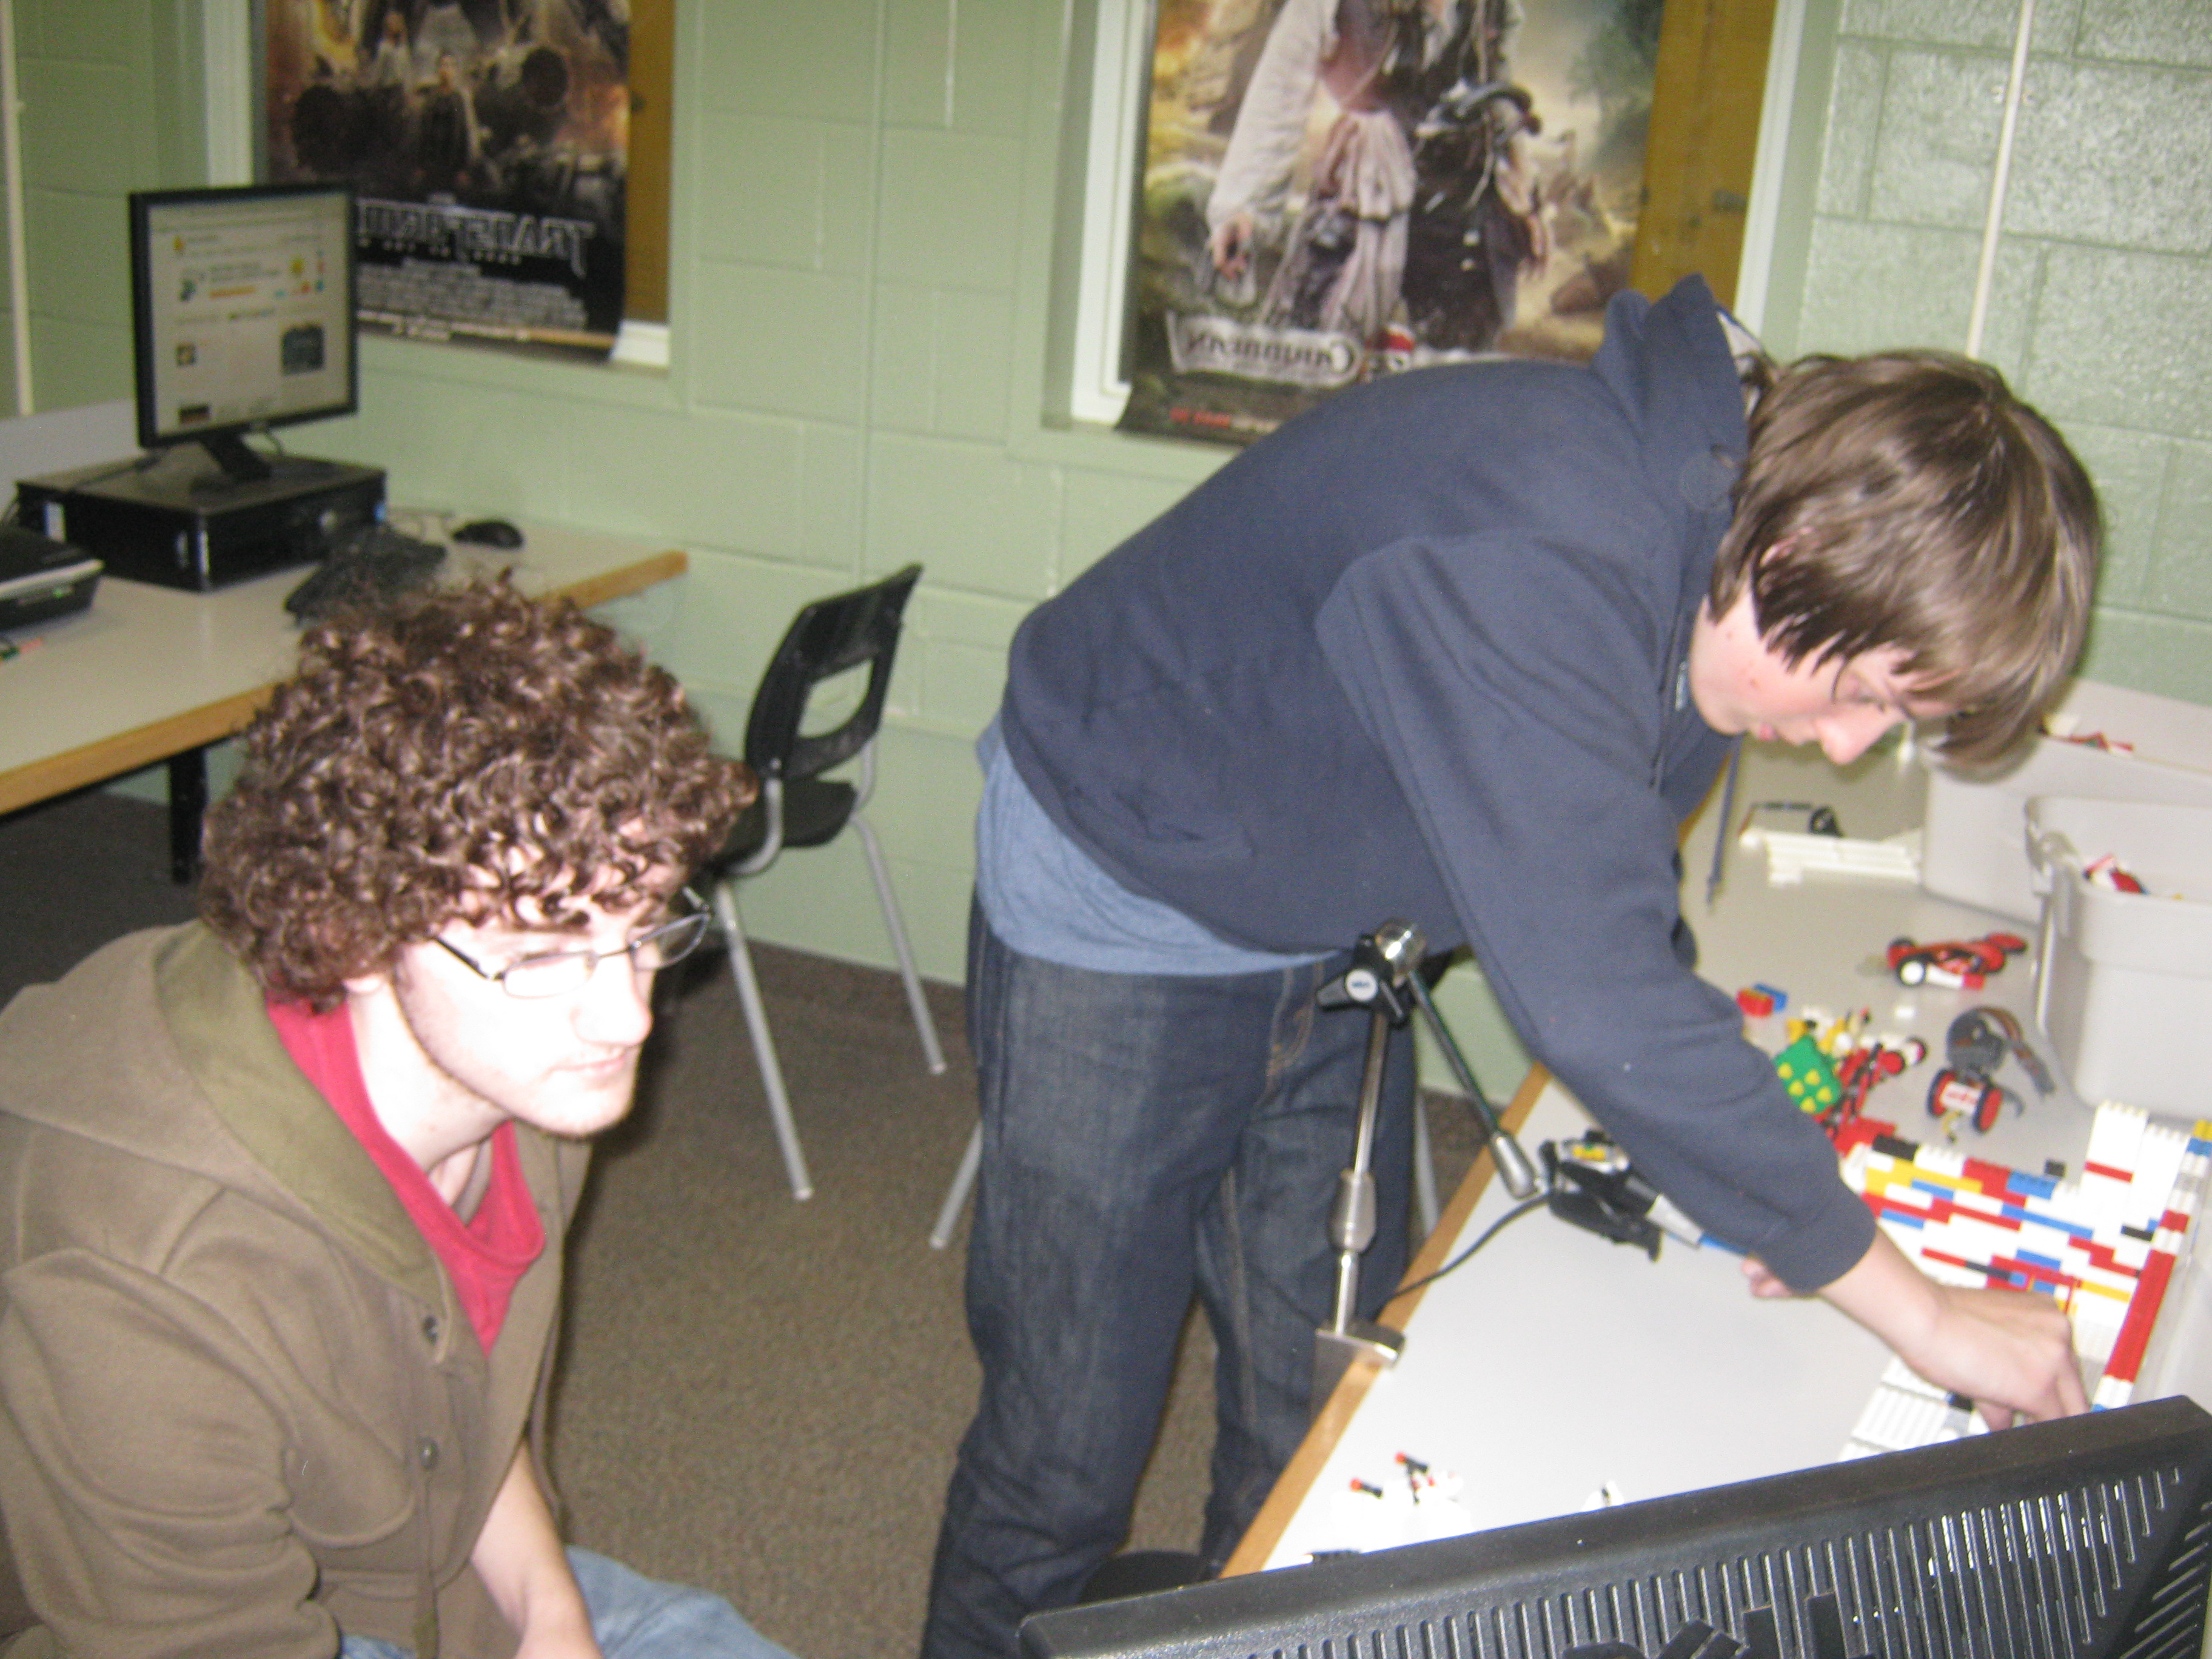
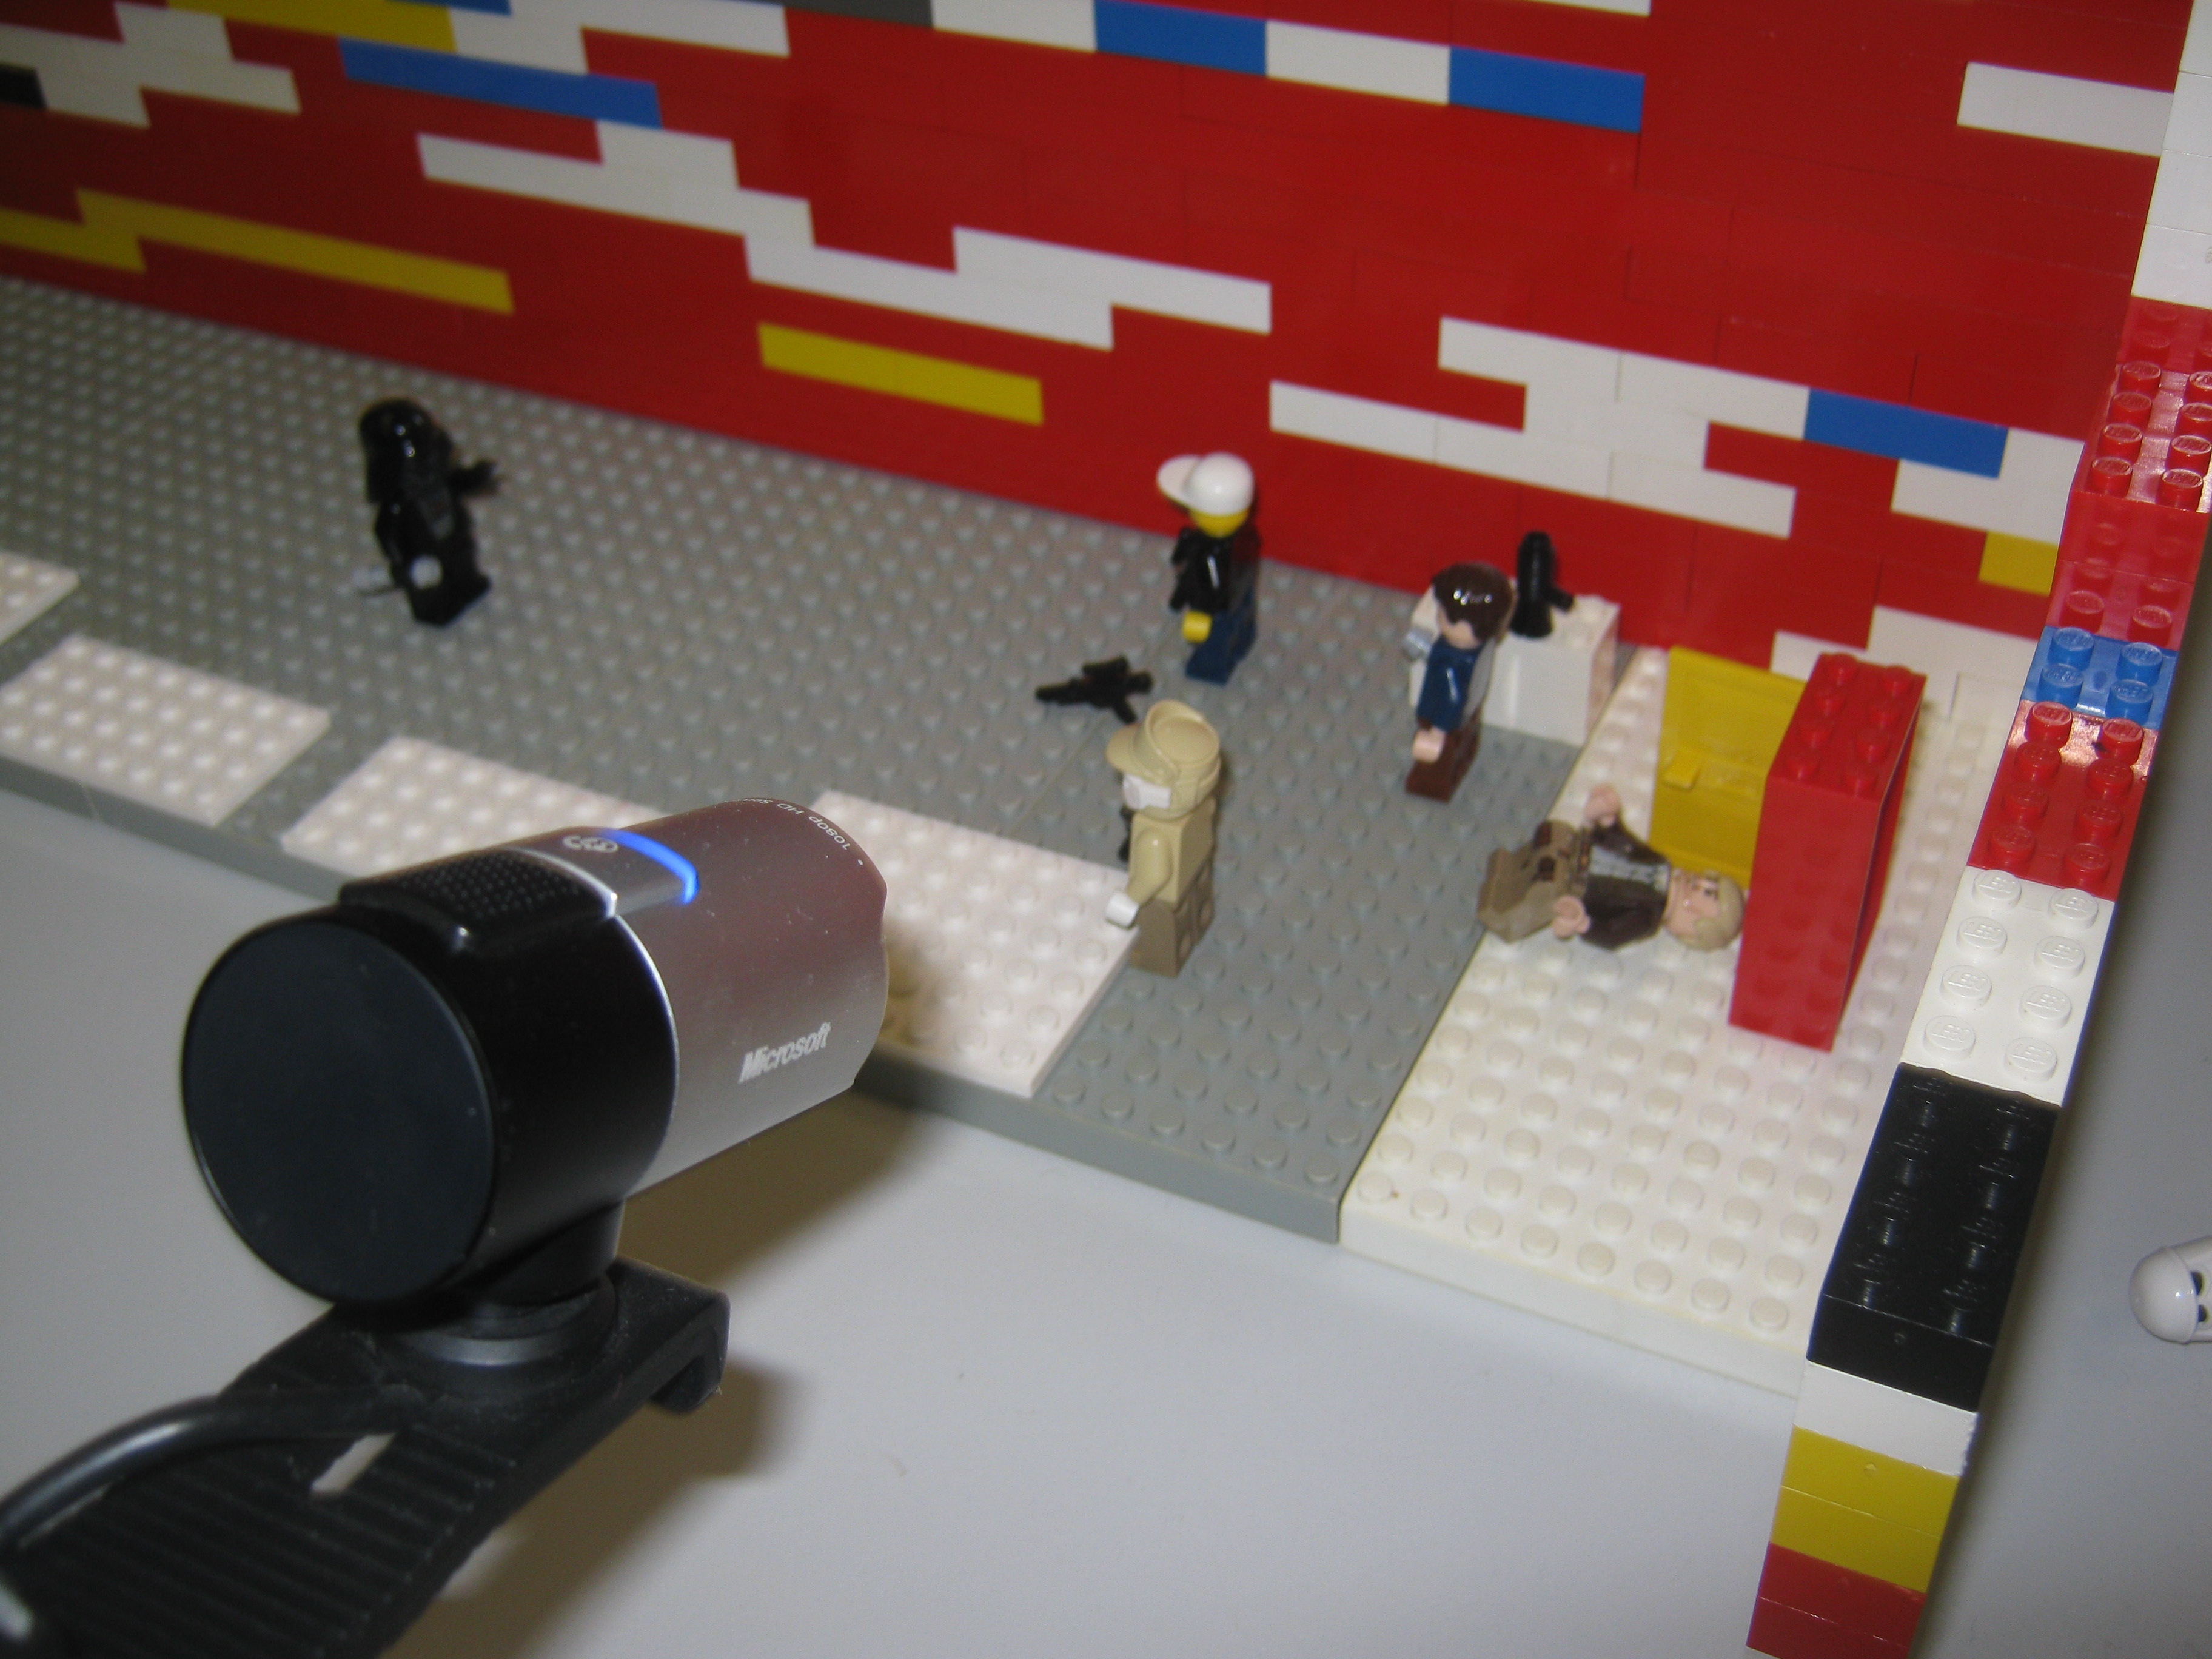
Basic things you will need for a set are:
- A stand/ground for the characters to walk on
- A background
- Walls on the sides
Walking
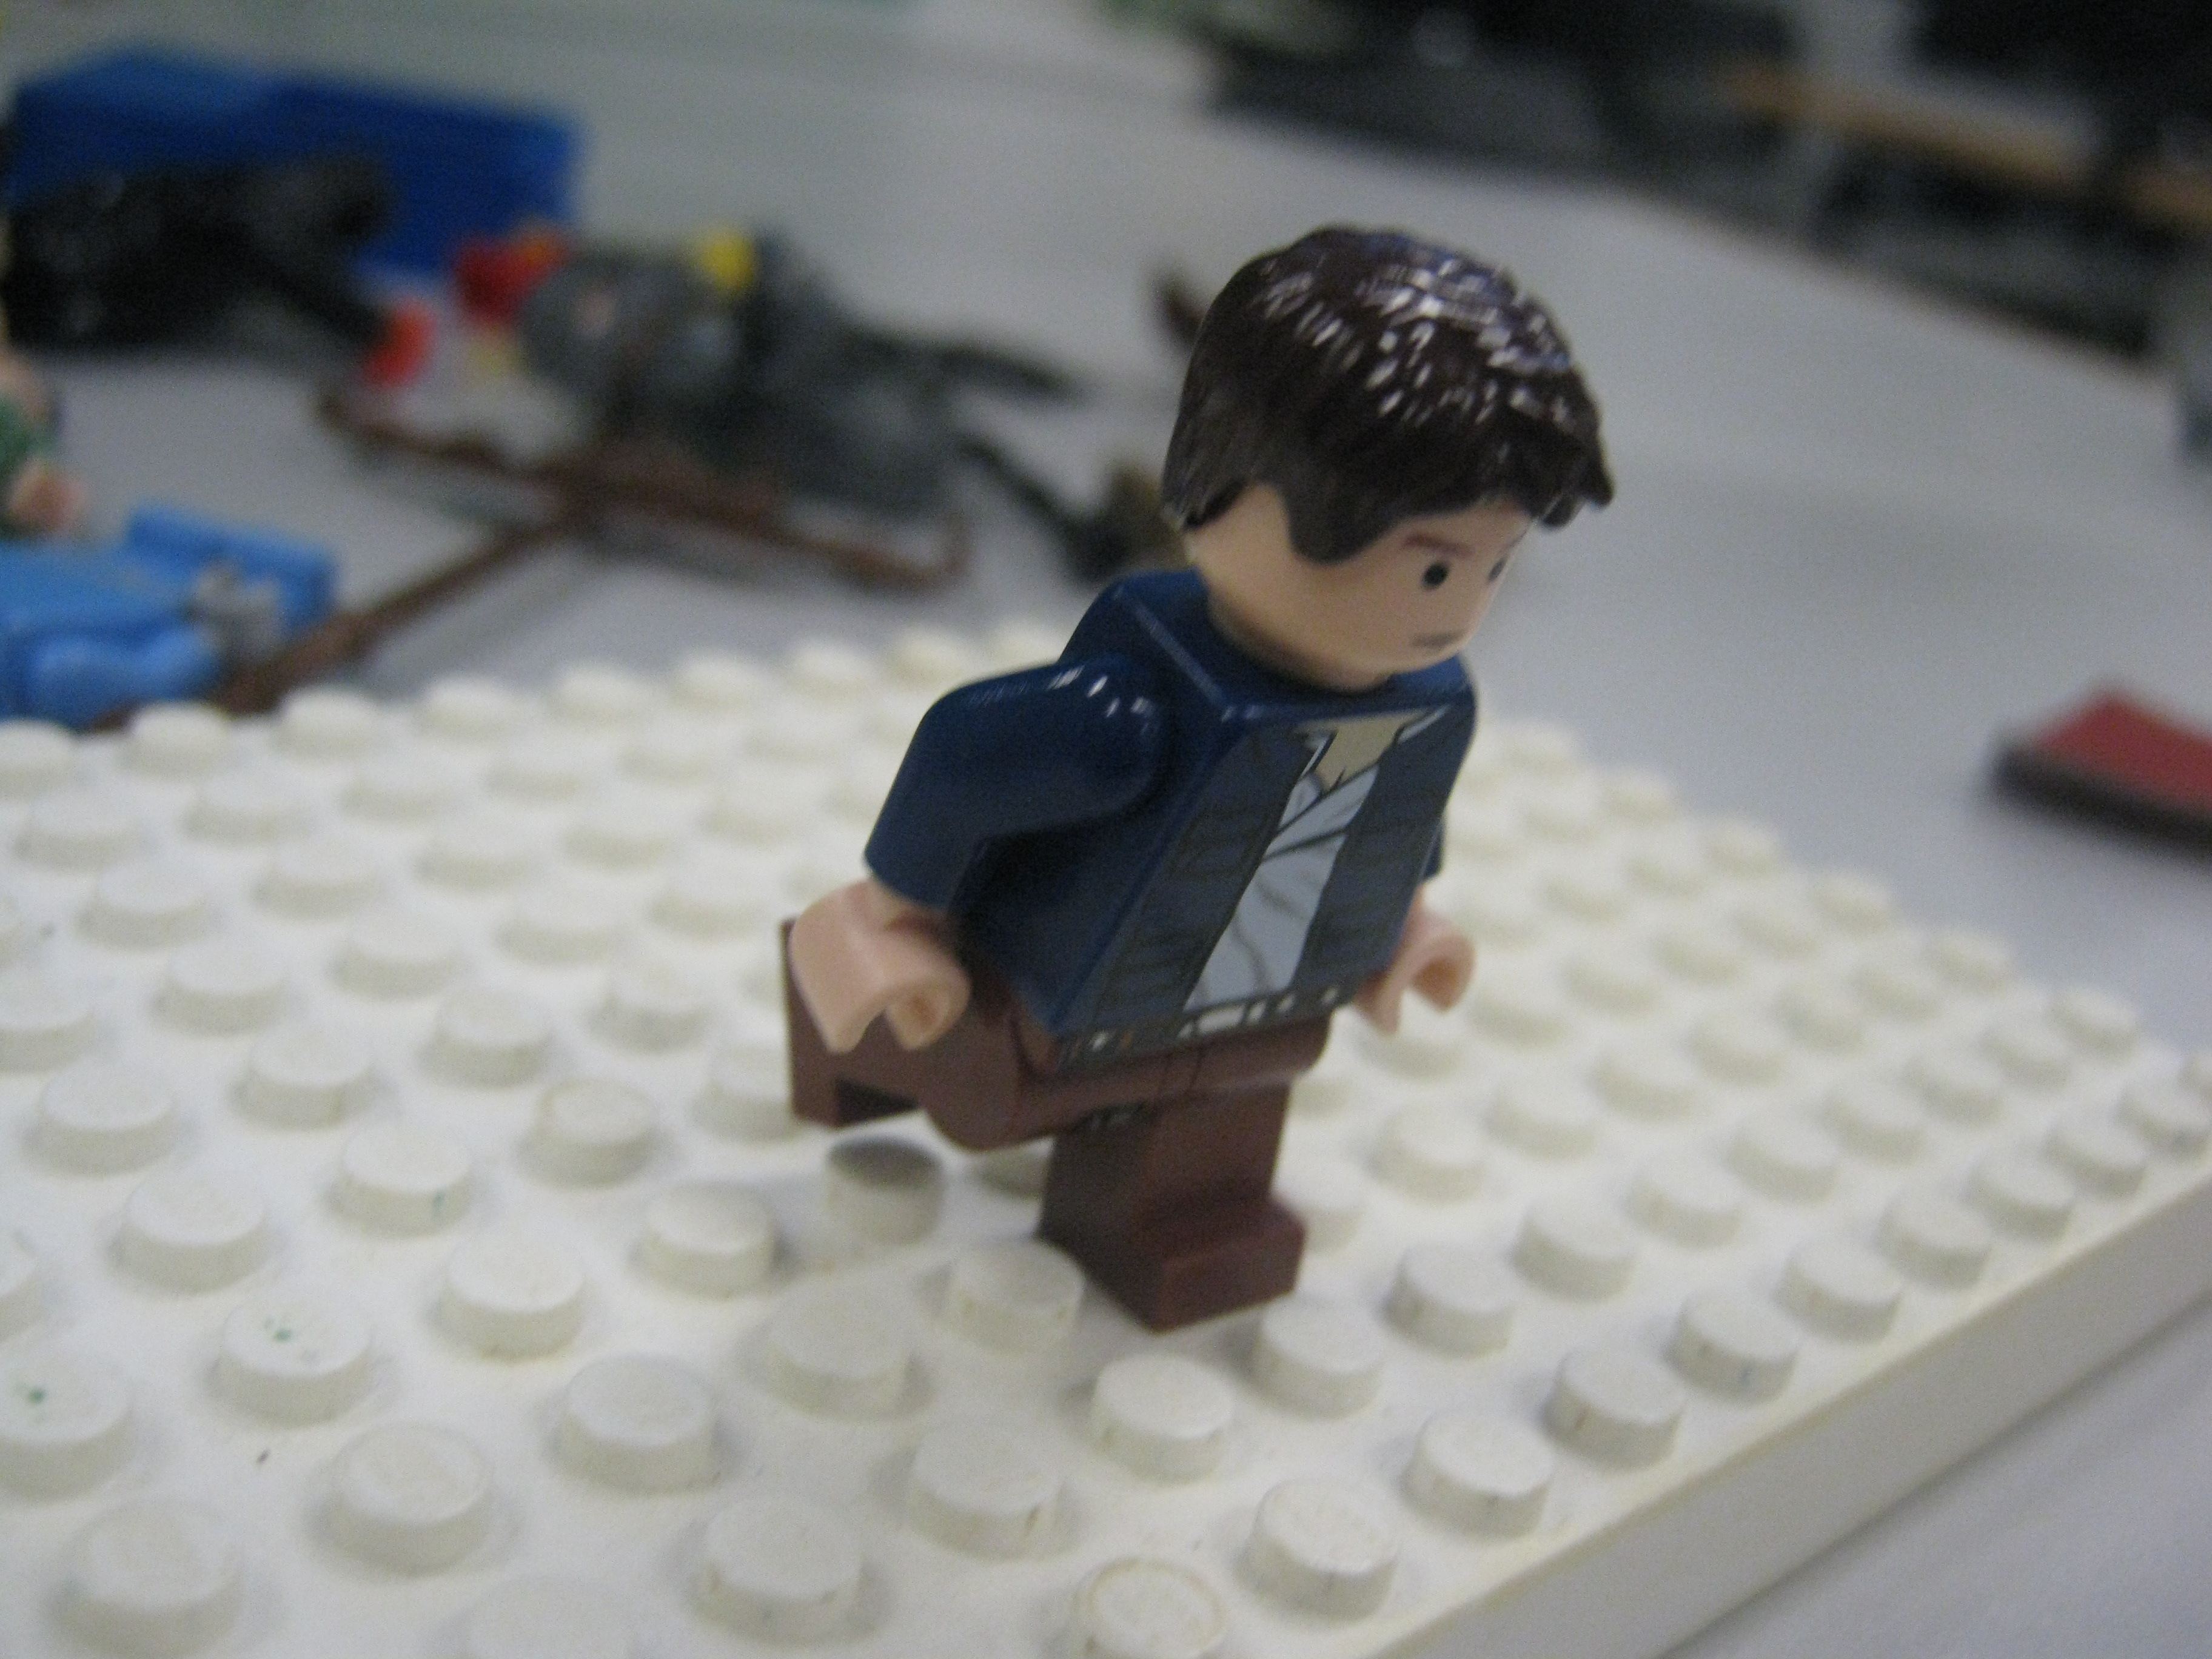
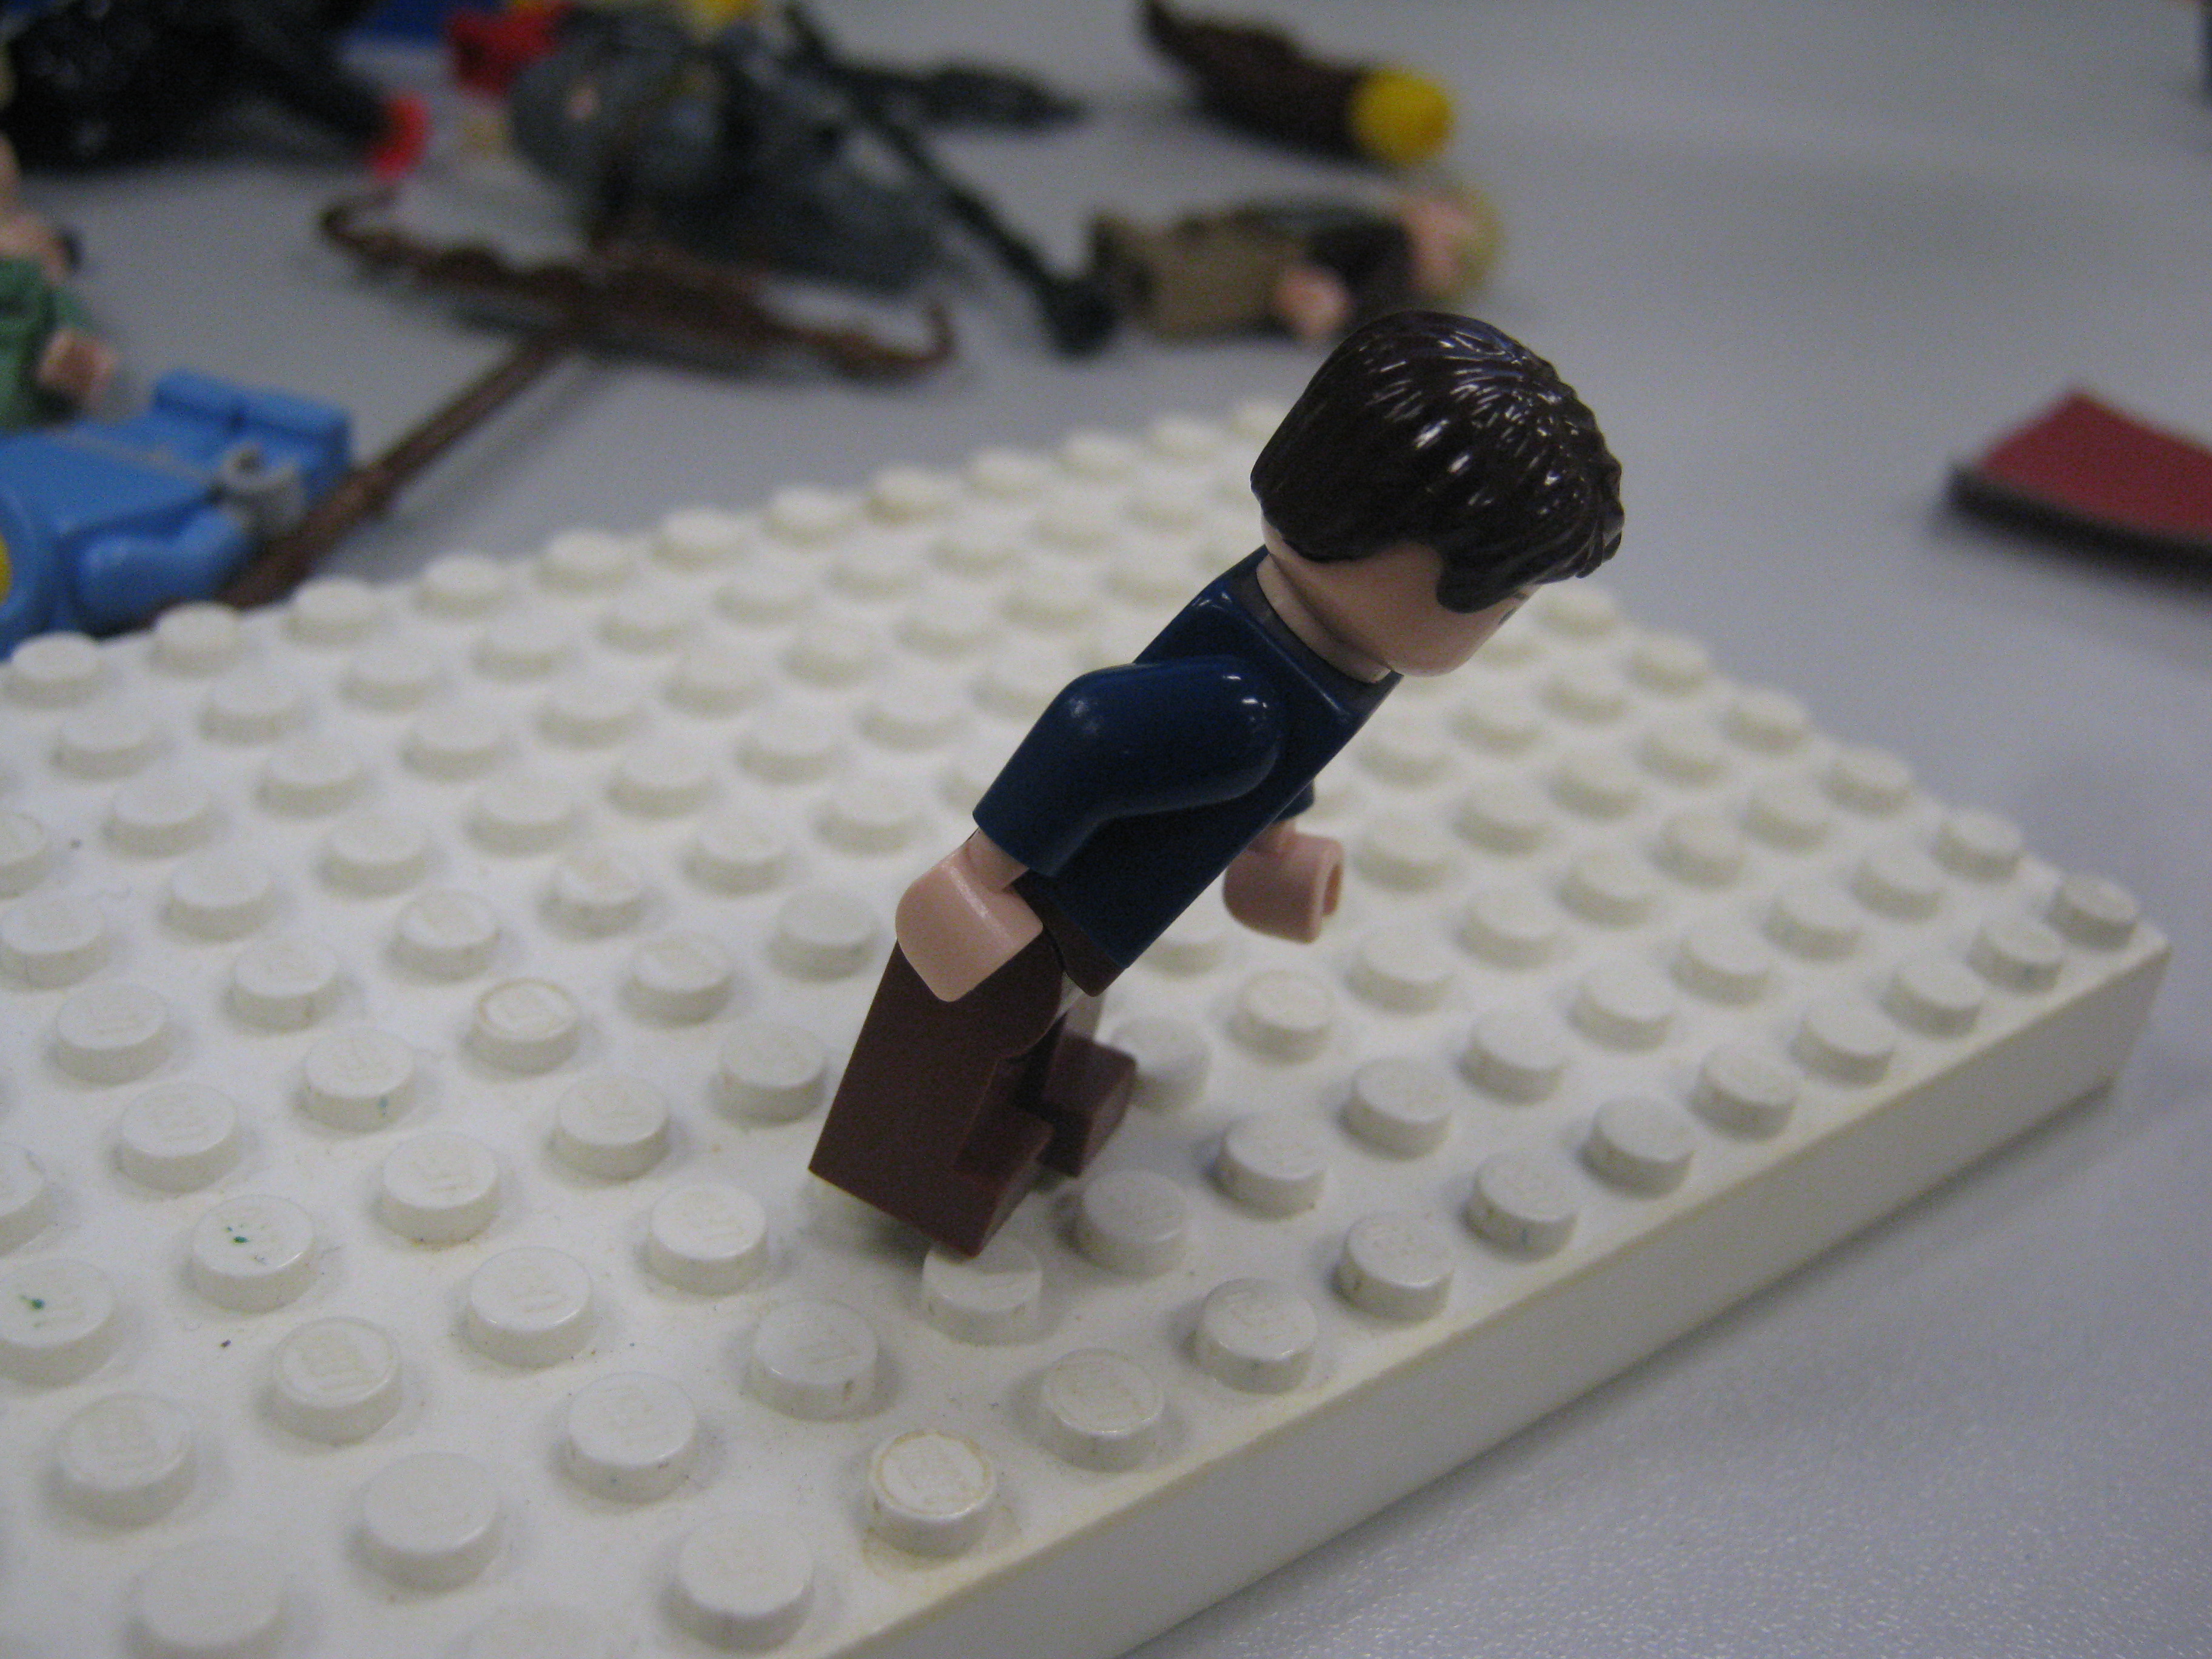
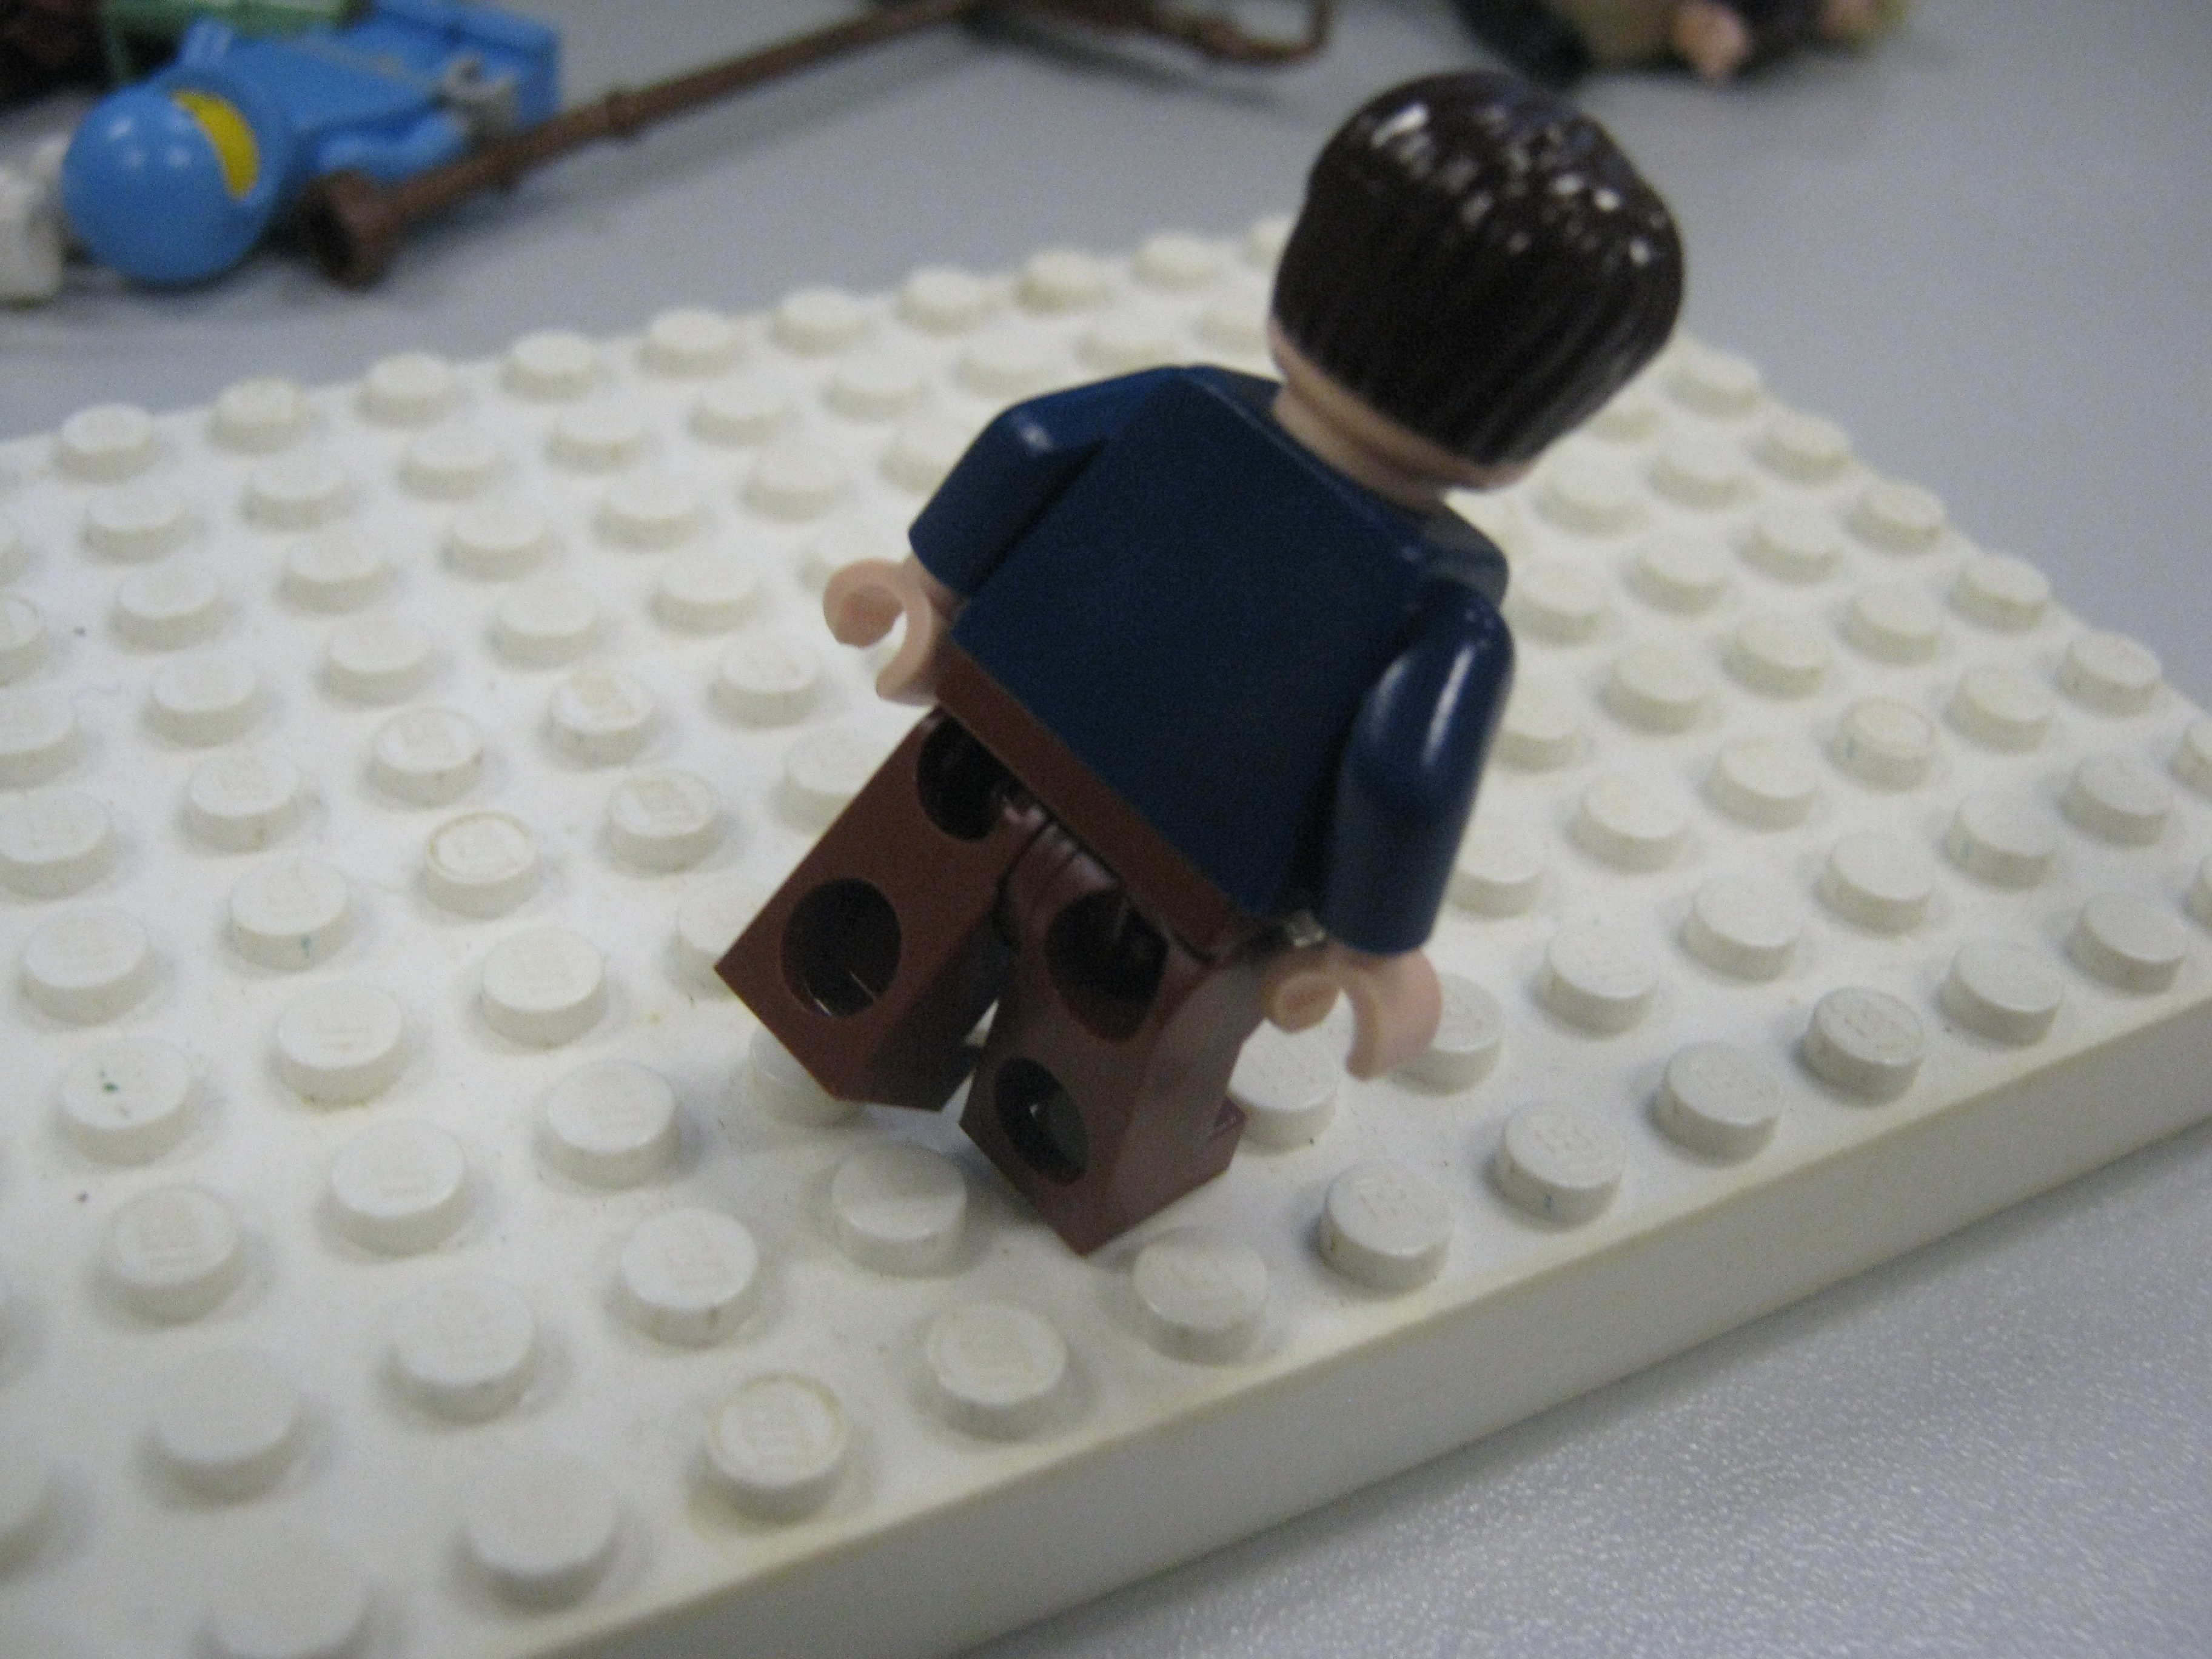
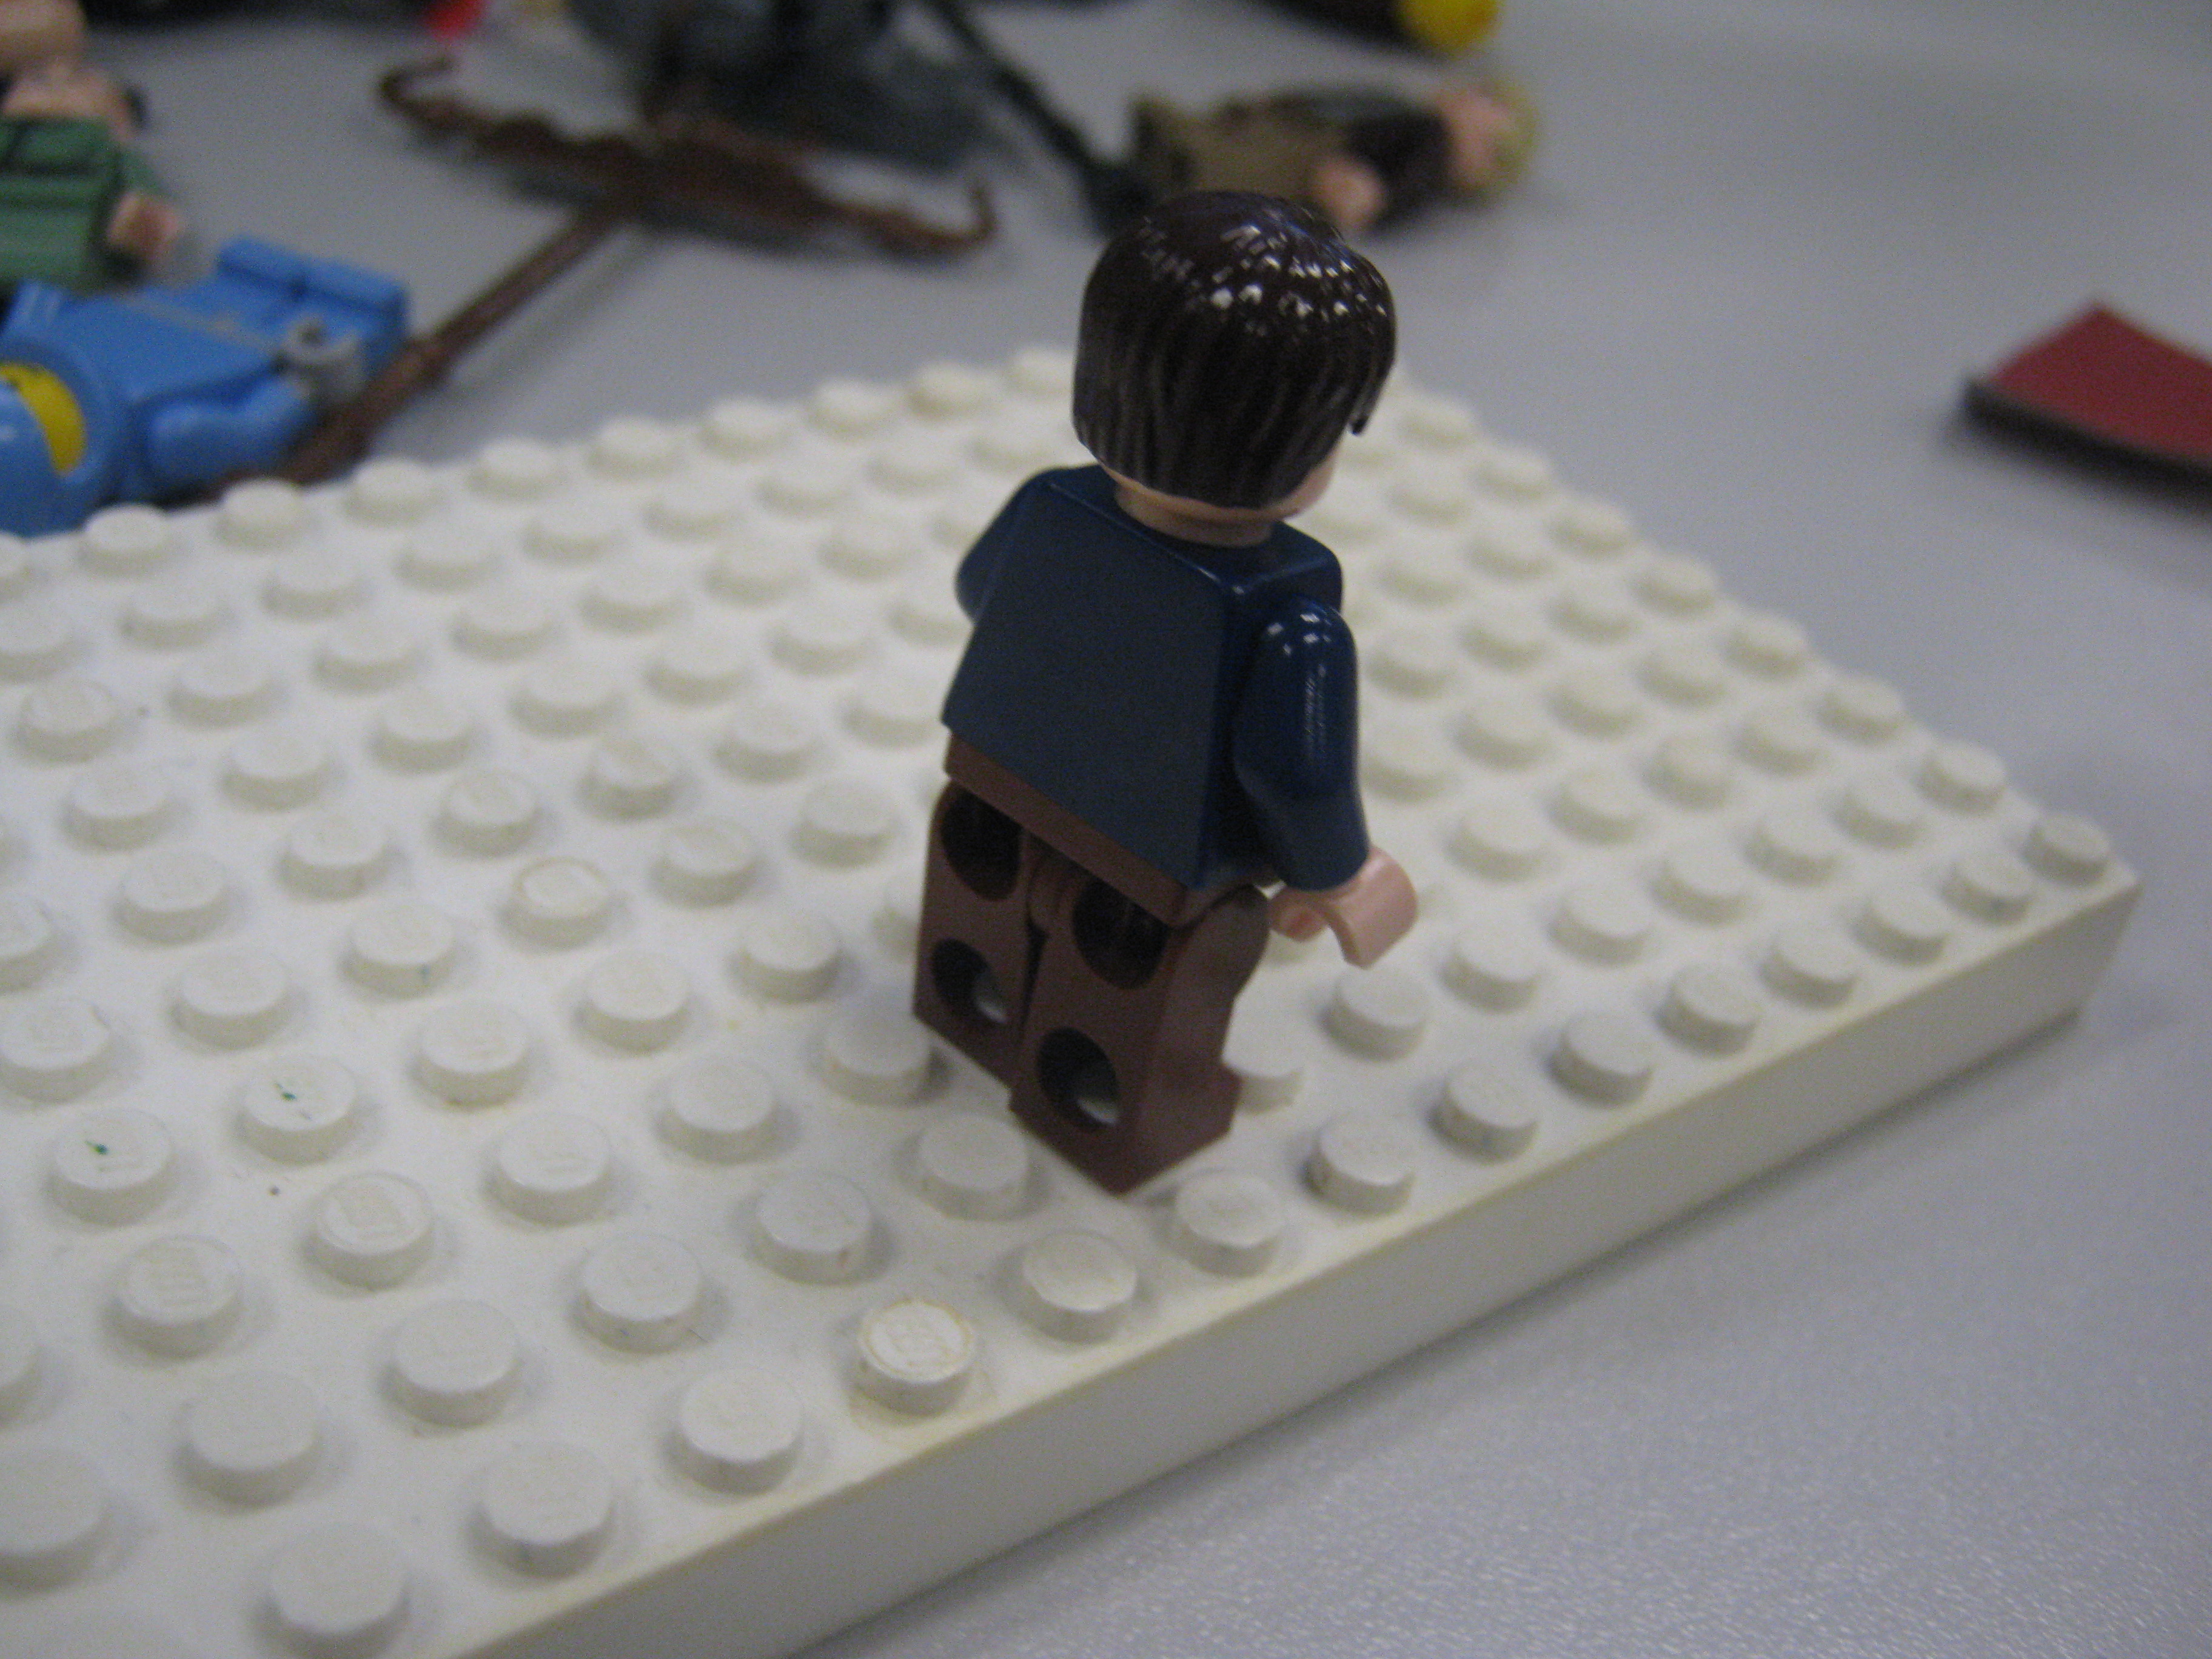
When making the Lego characters walk, you move one leg at a time, taking pictures for each step. Preferably two frames at a time.
When making them run, make them kick back as they run. And move their arms with the legs.
When turning, do the same movements.
When making them run, make them kick back as they run. And move their arms with the legs.
When turning, do the same movements.
Shooting/Blood
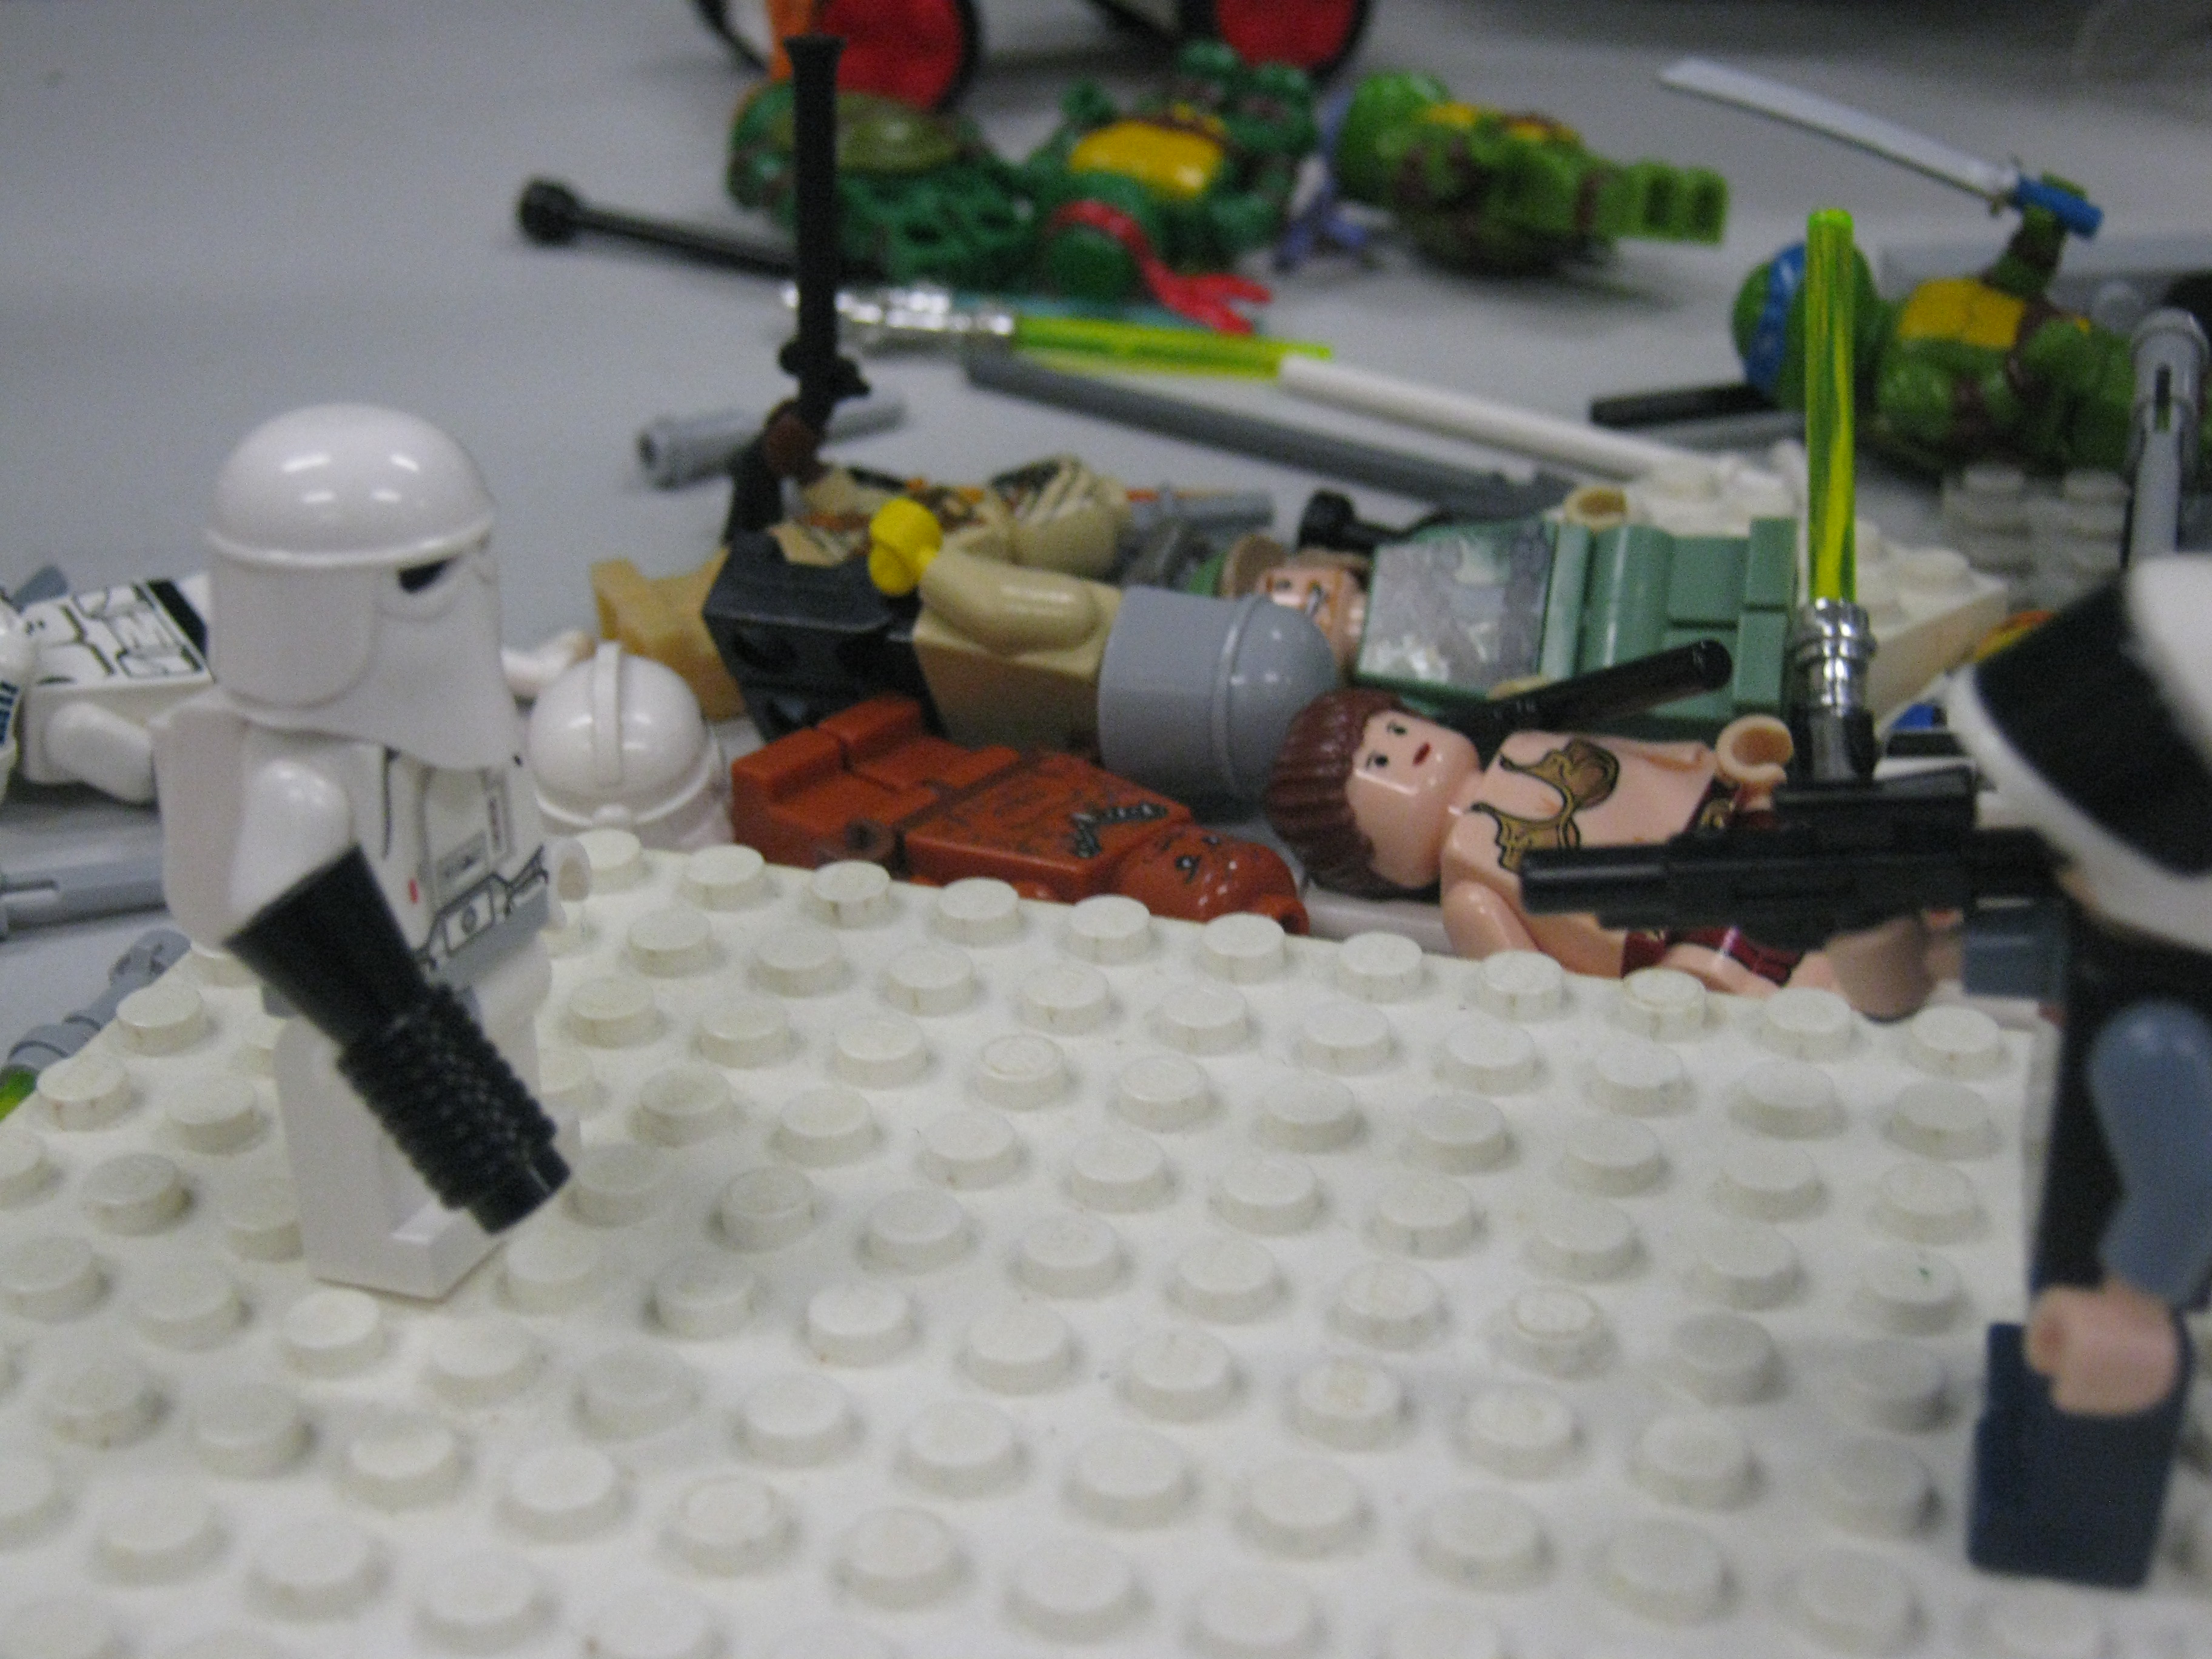
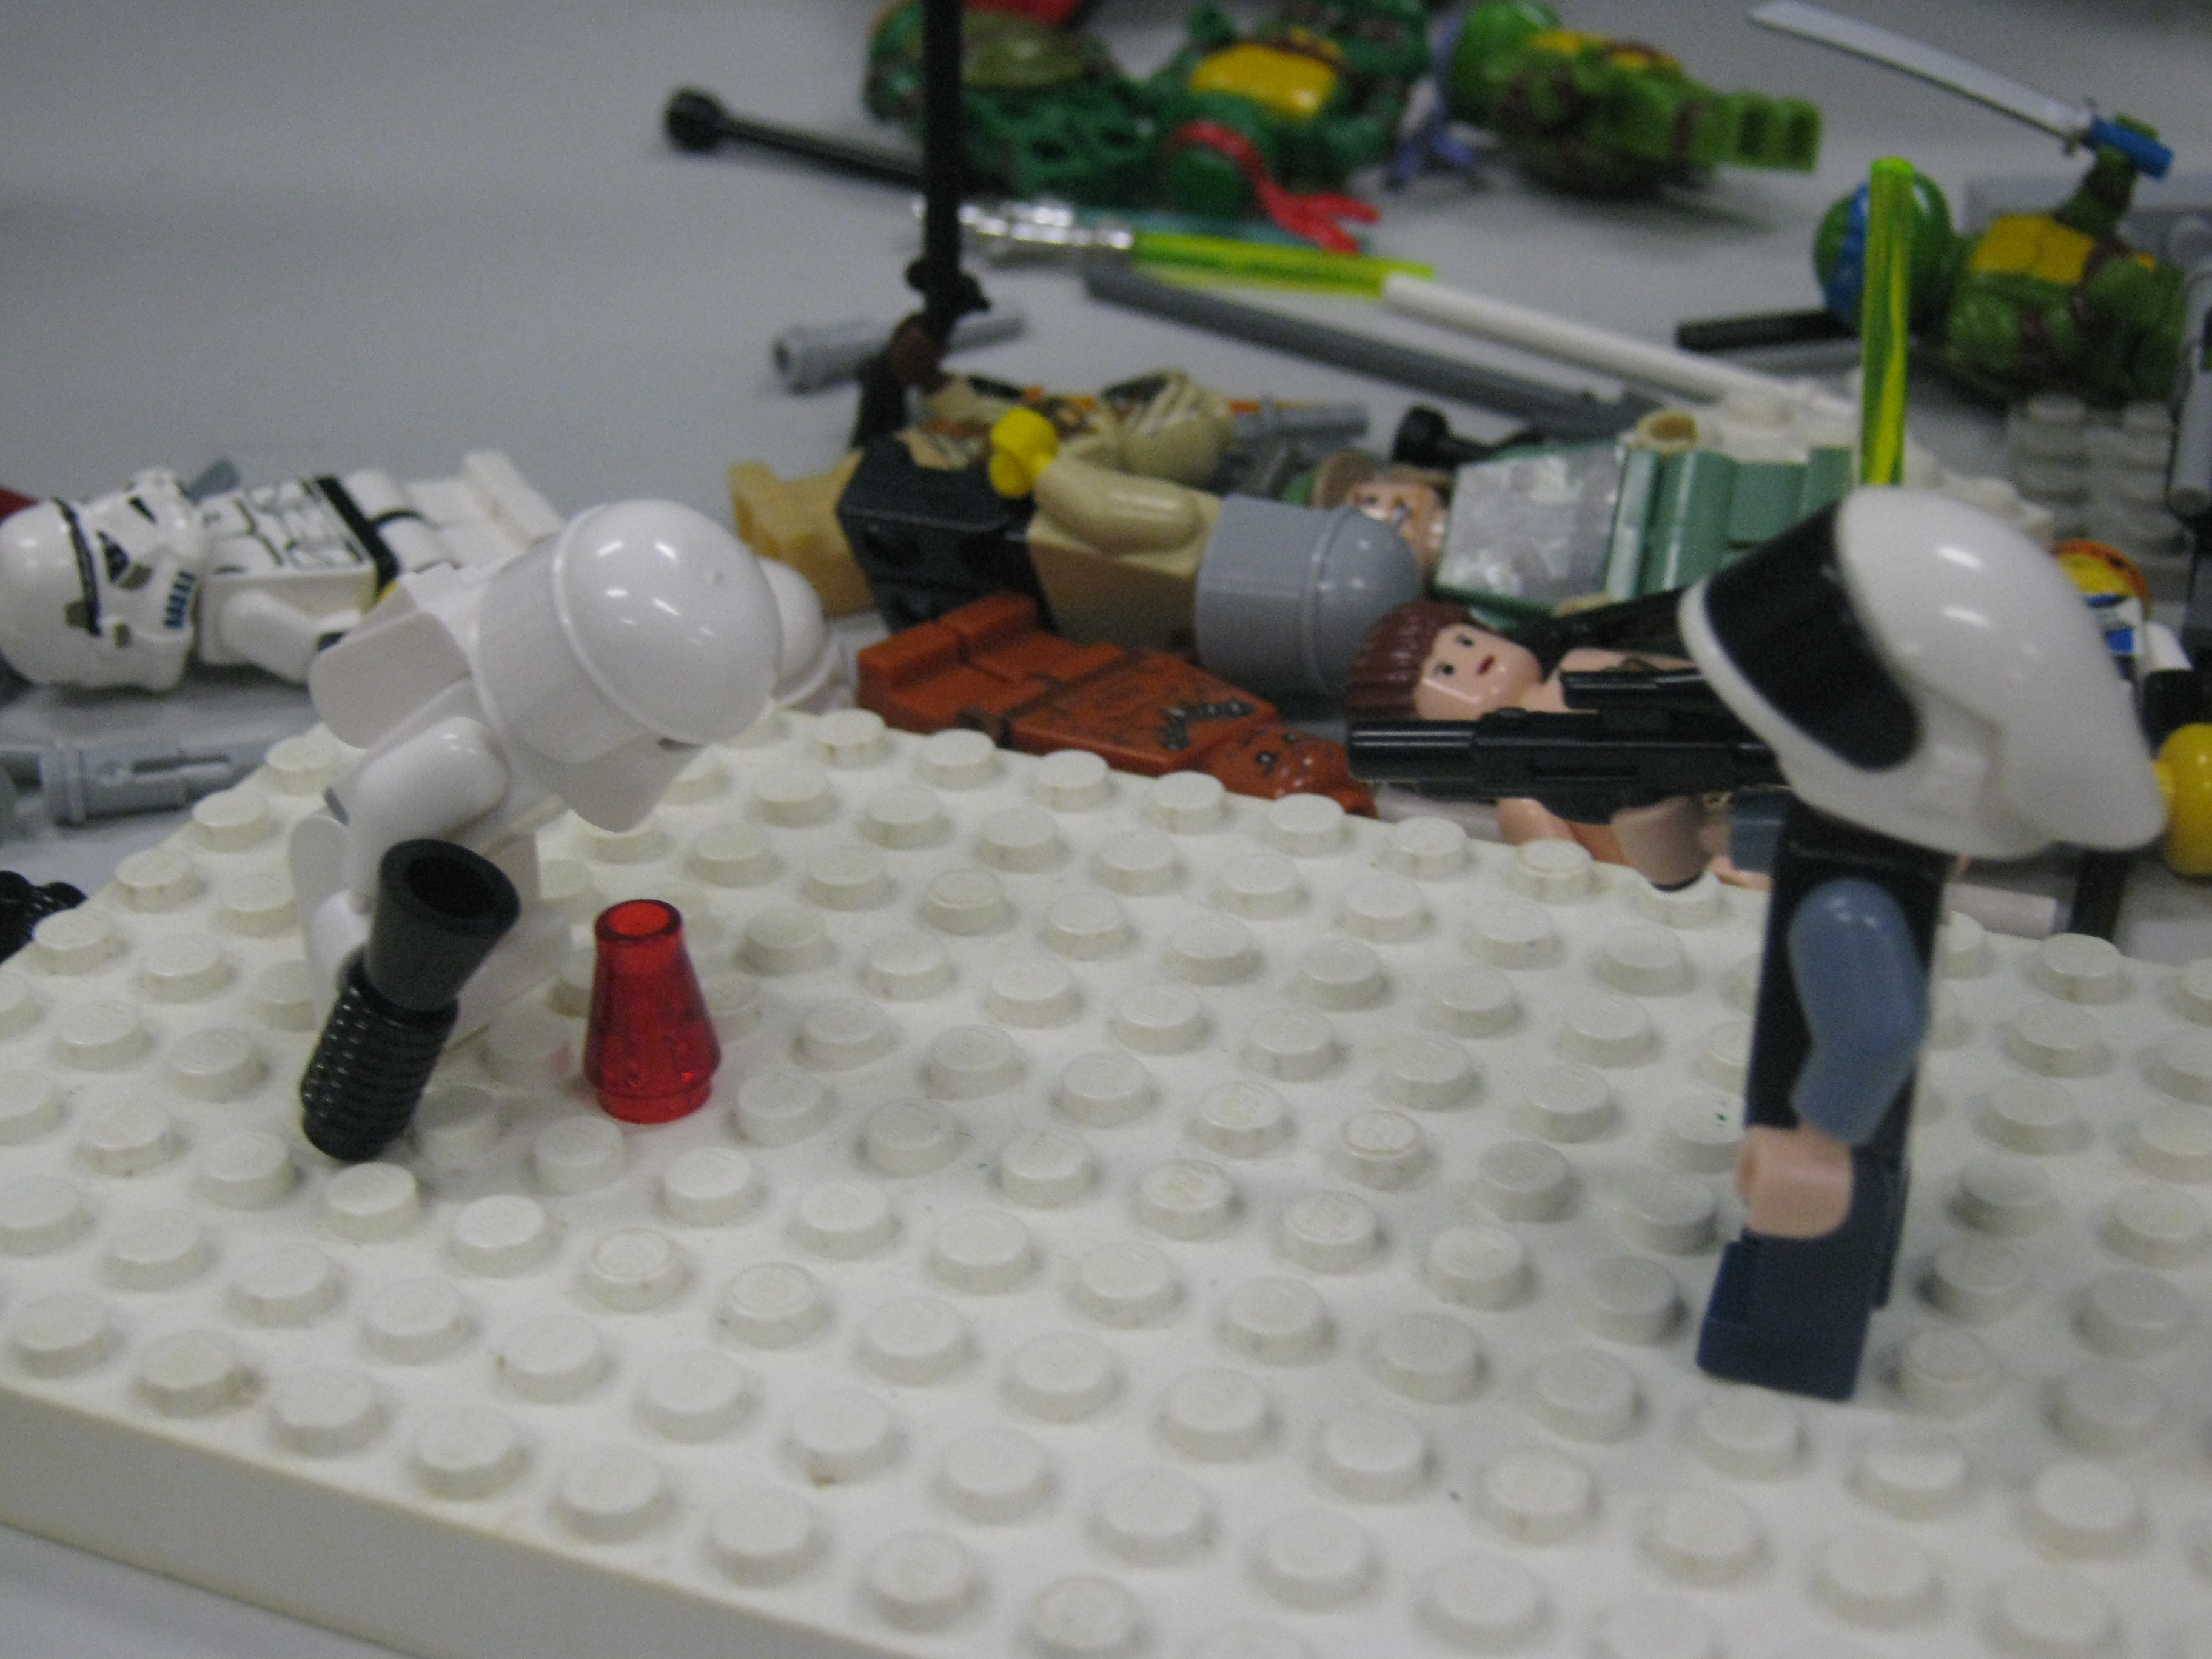
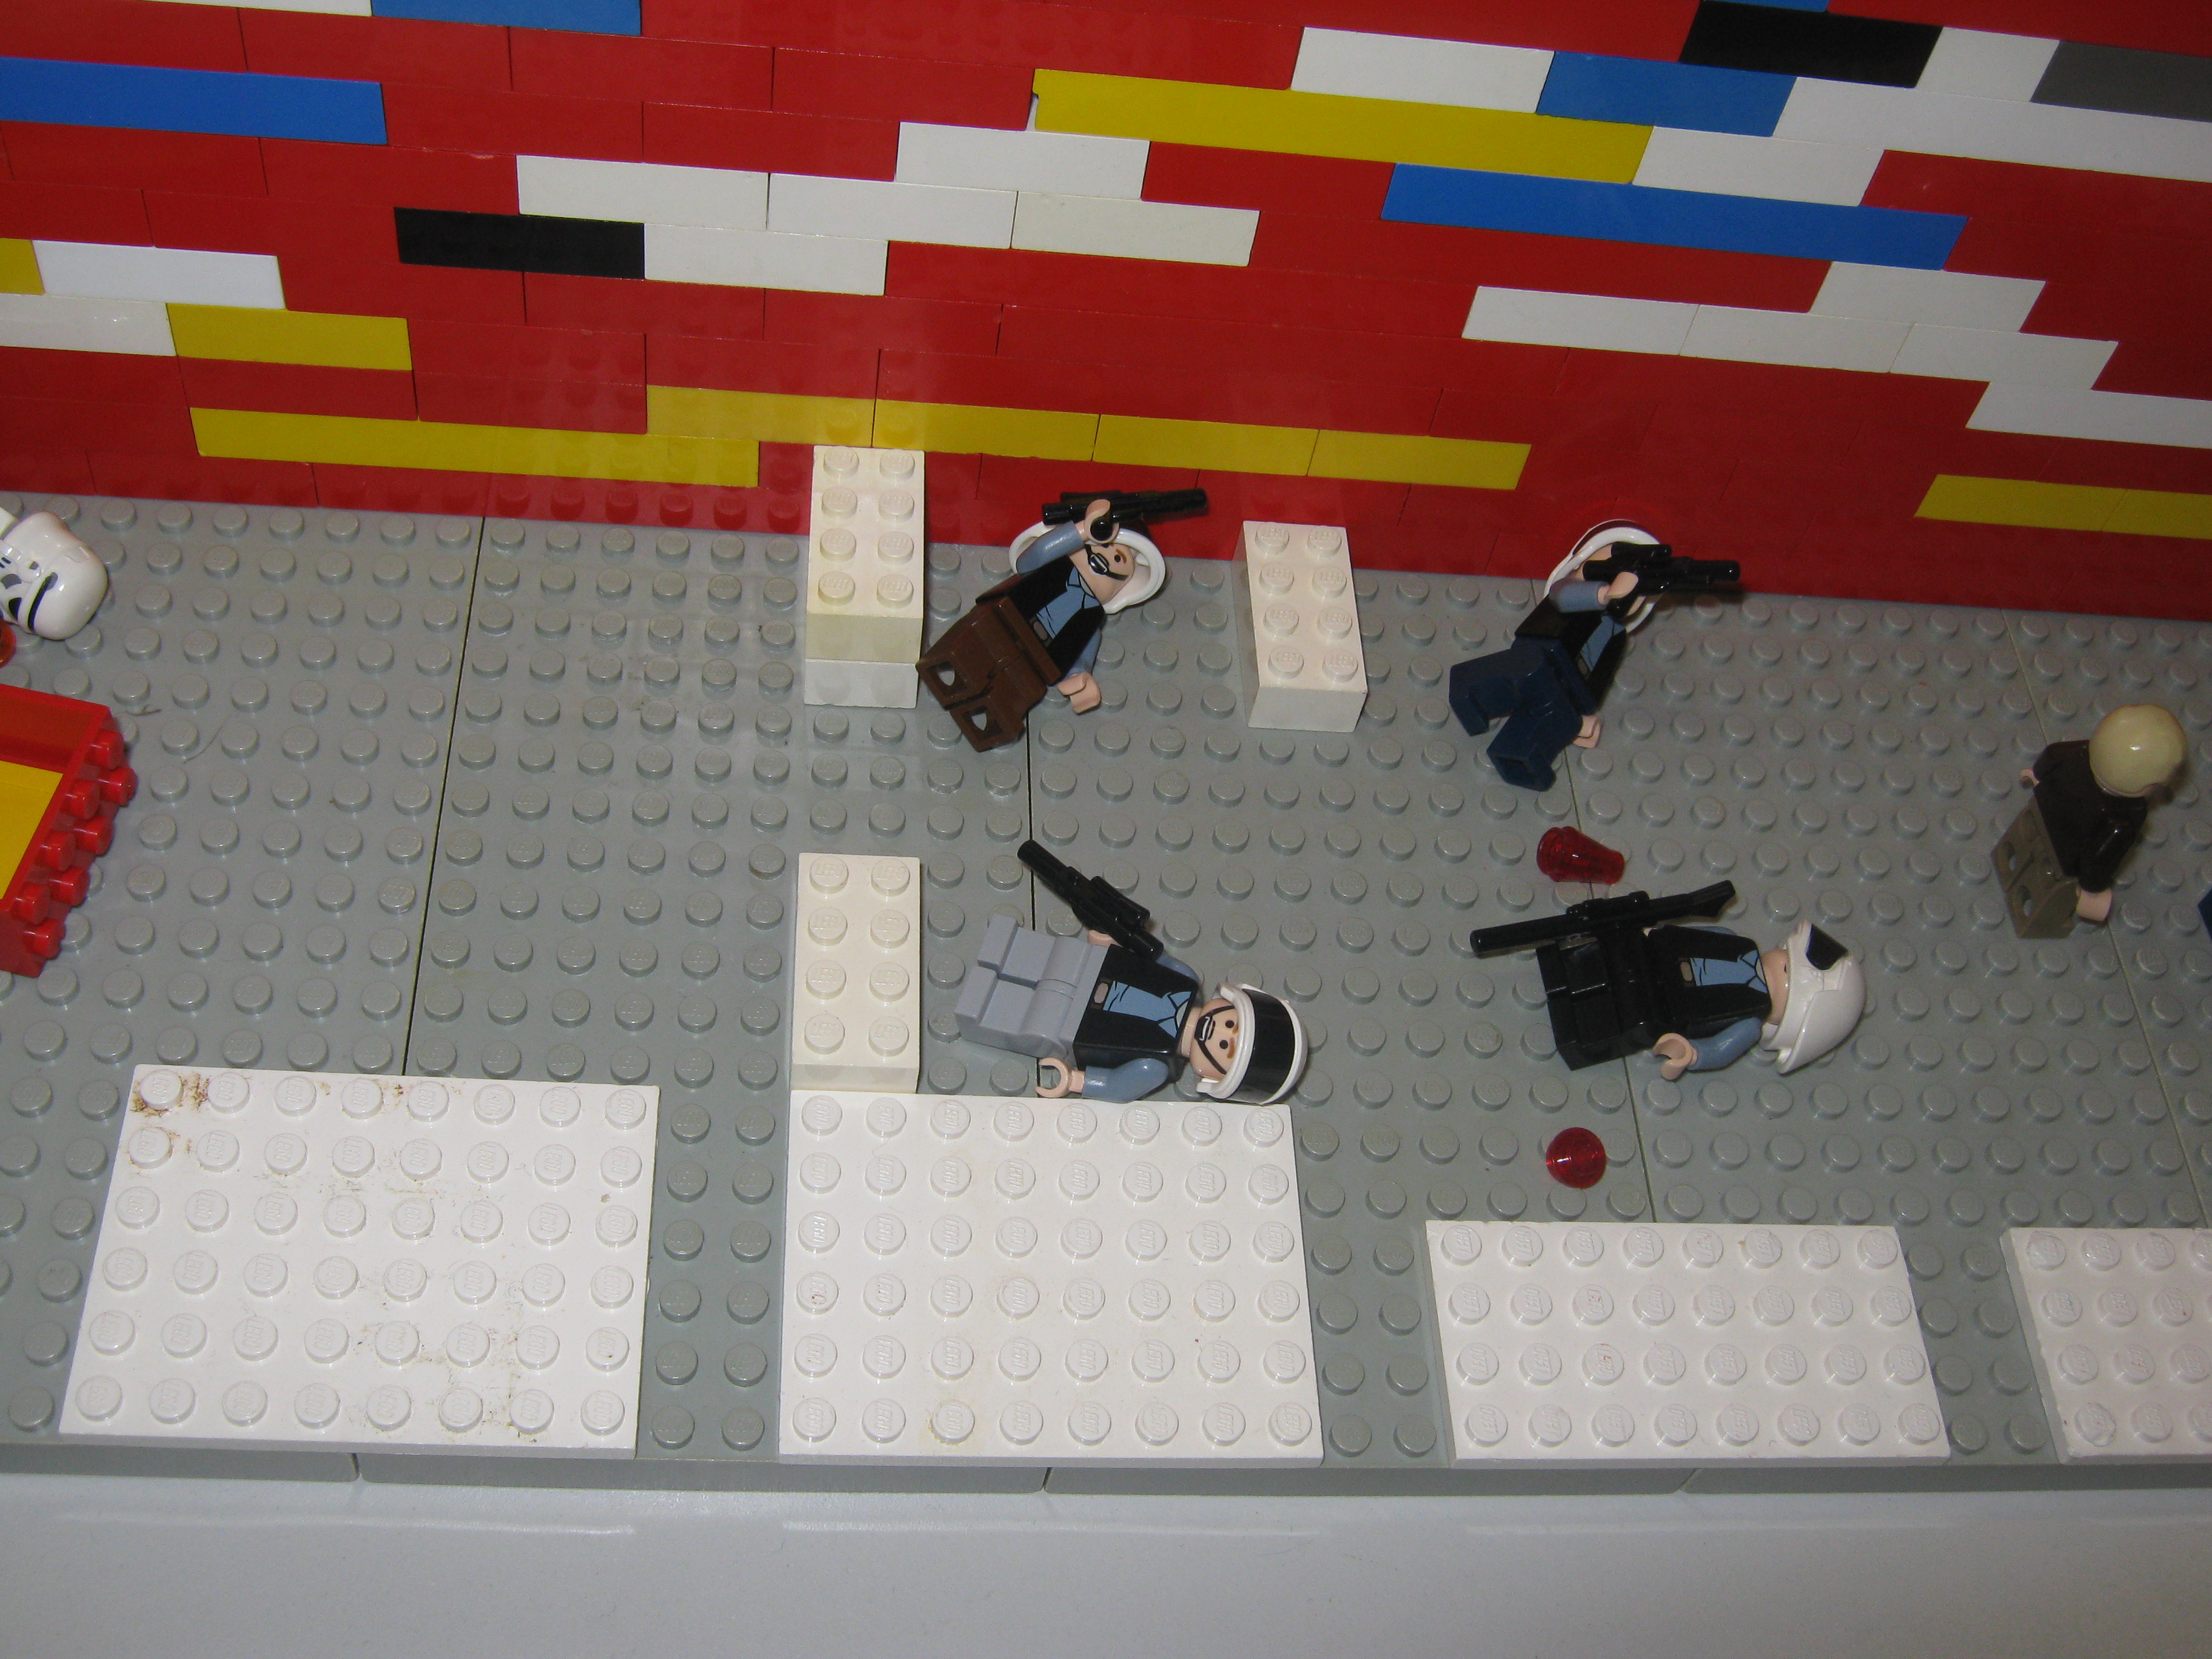
When you want to film someone shooting/being shot, you will want to add blood or gunshots/lasers.
This is to add effects with Lego, you could add effects with a computer program, but putting the Lego in yourself gives the fight a better feel.
Blood may be a little too violent for what you want, but you could still add small Lego blocks to simulate gunfire, and where the bullet/laser is hitting. It could be sparks if you want.
Sword/Lightsaber Fighting
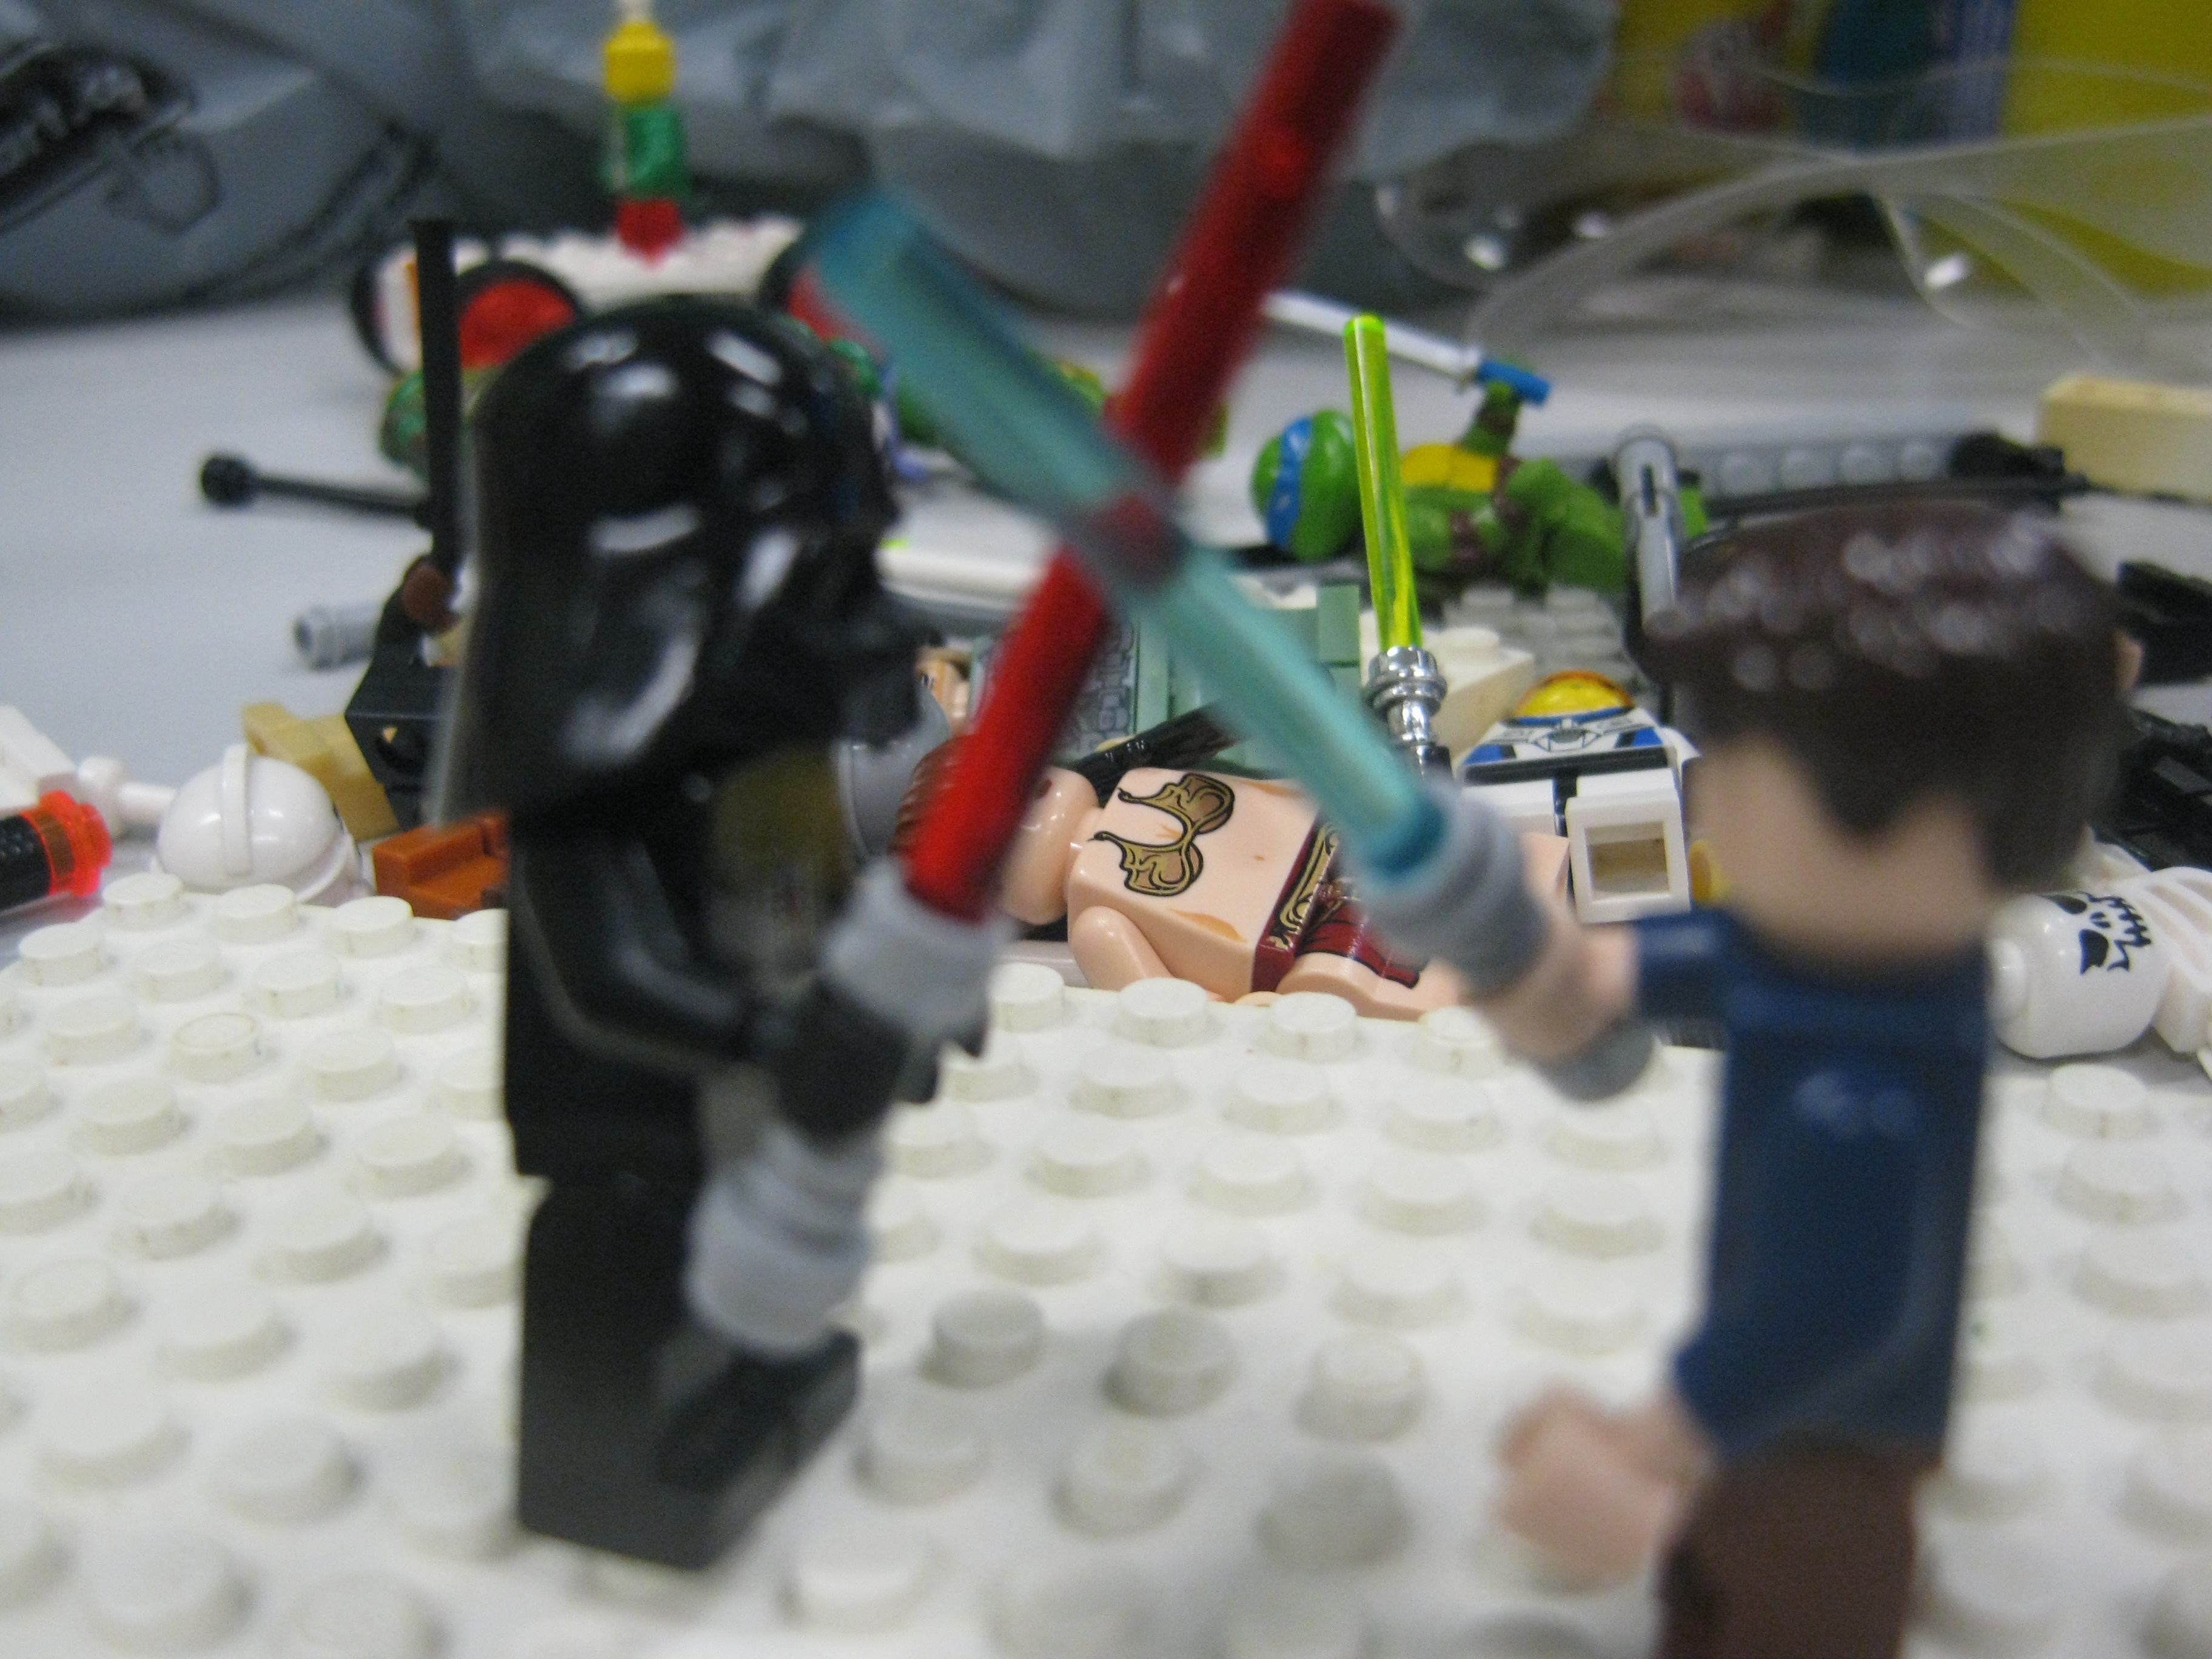
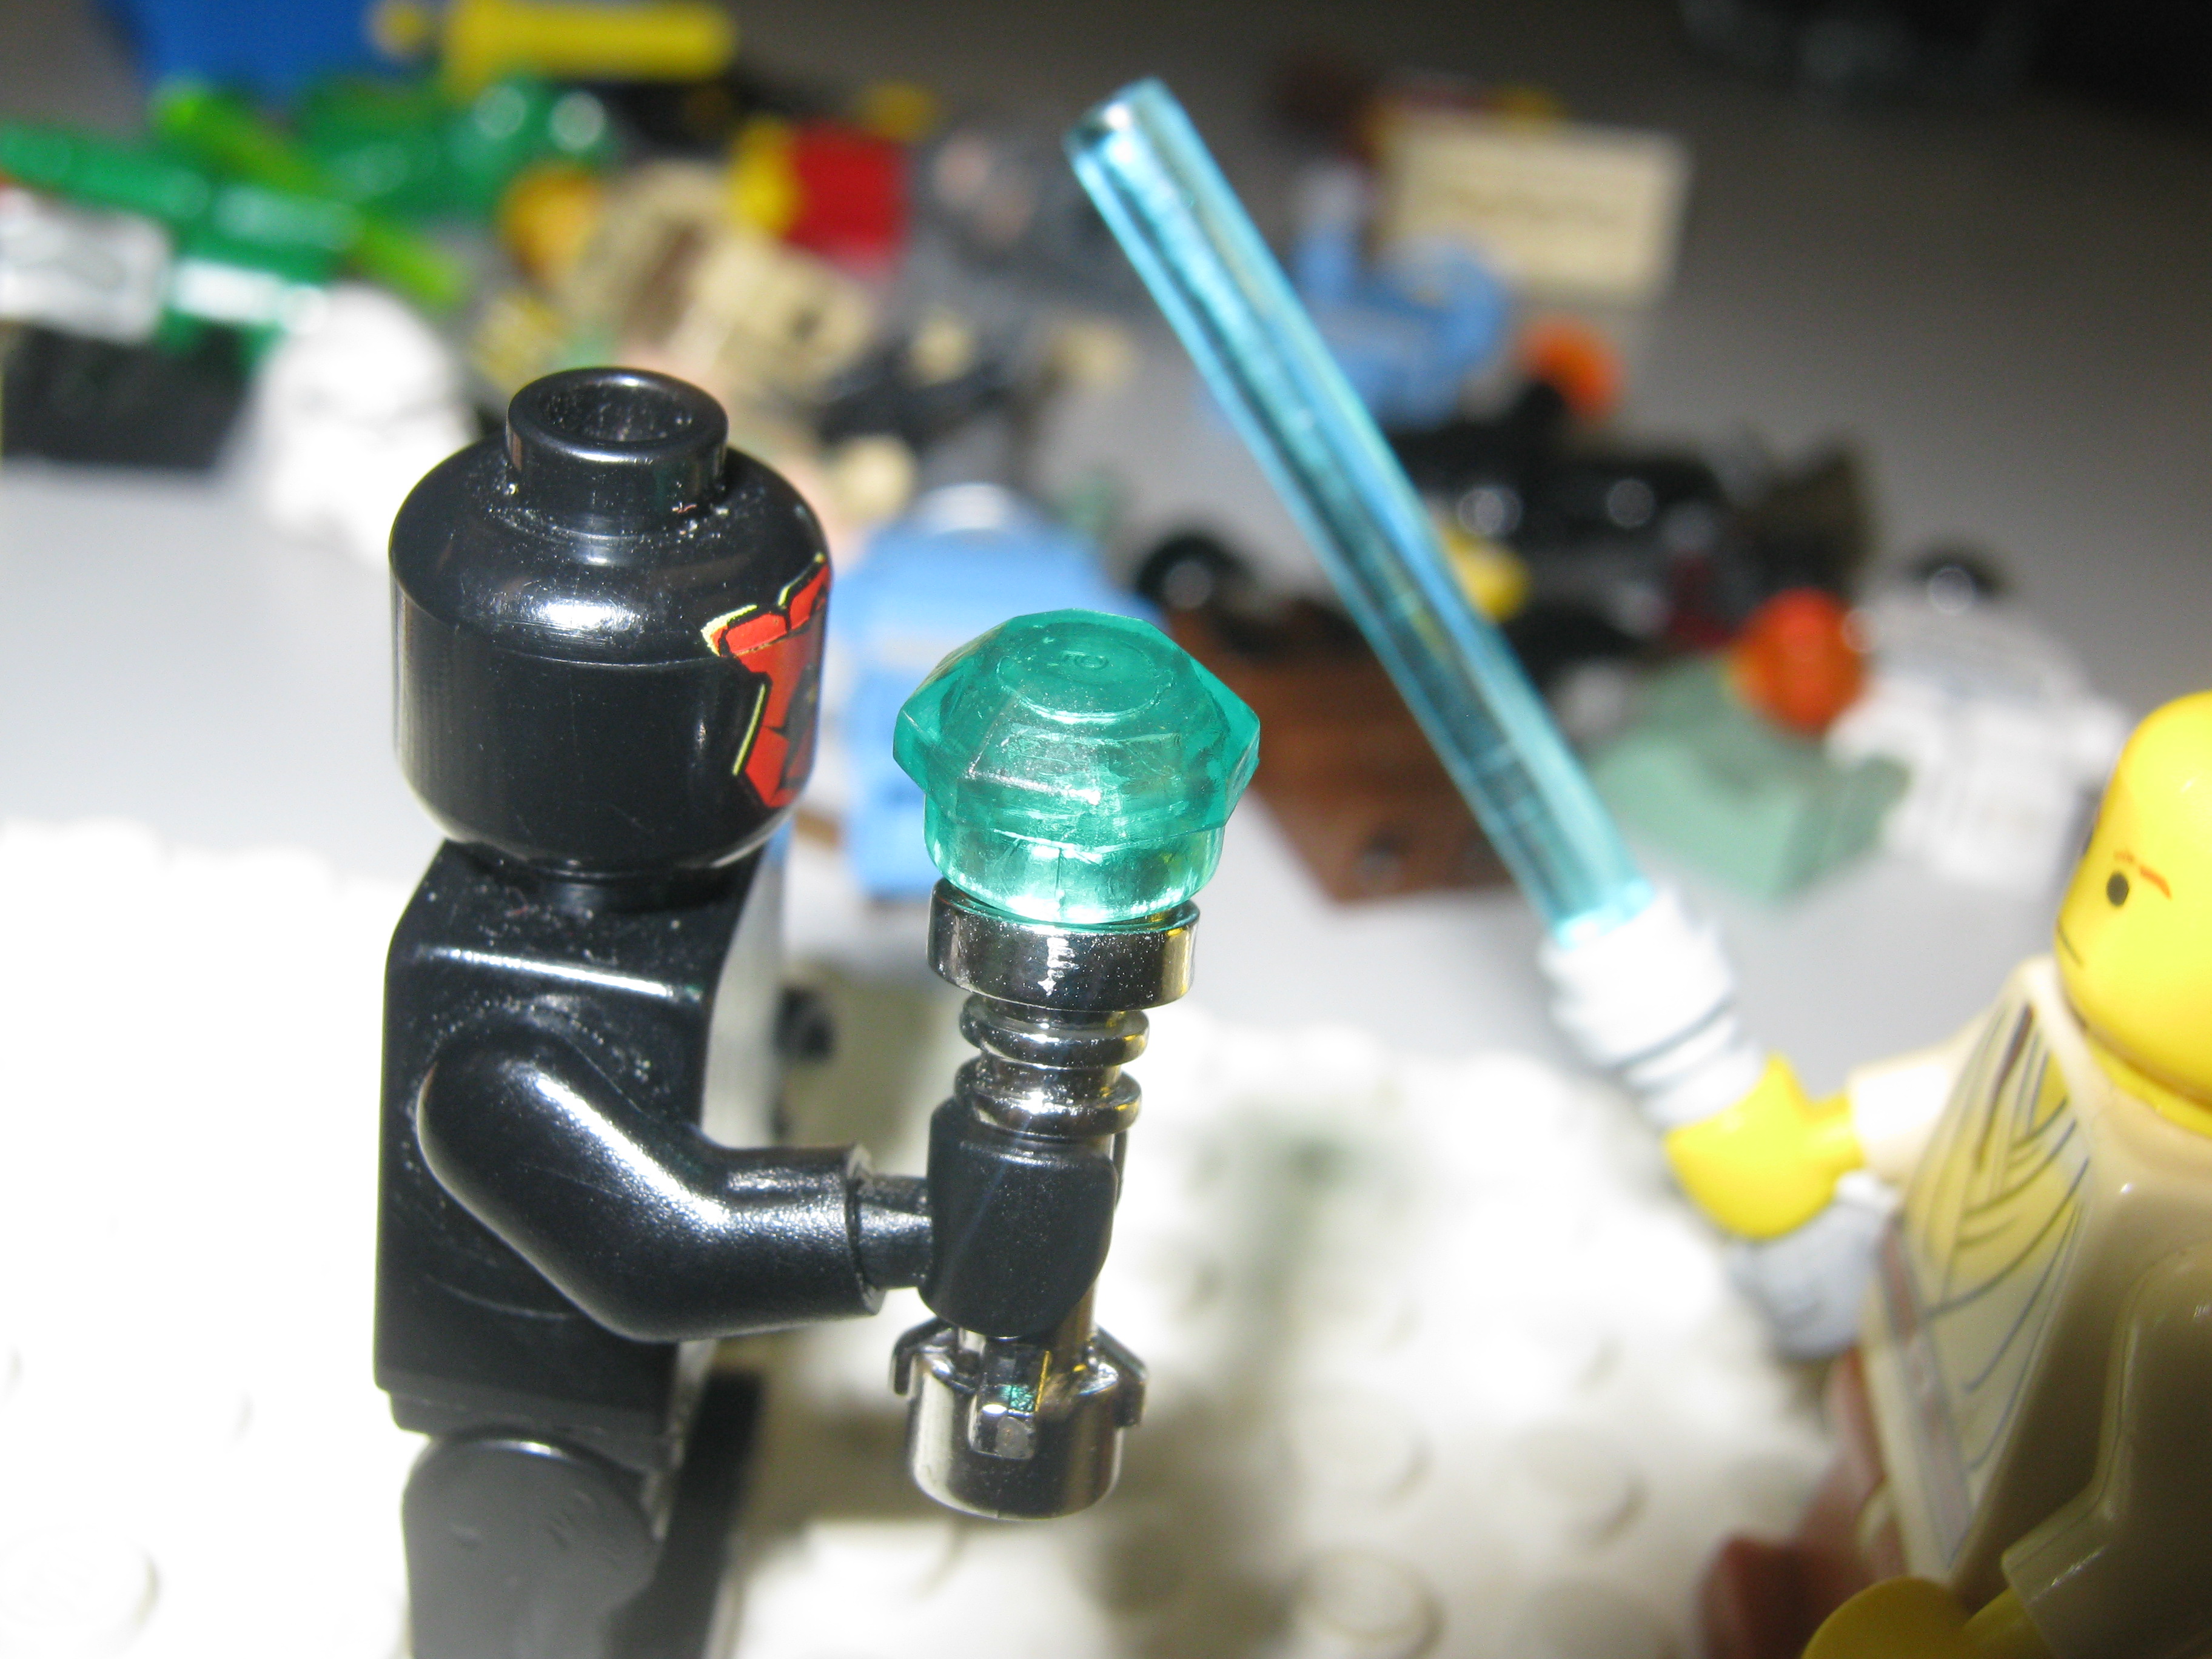
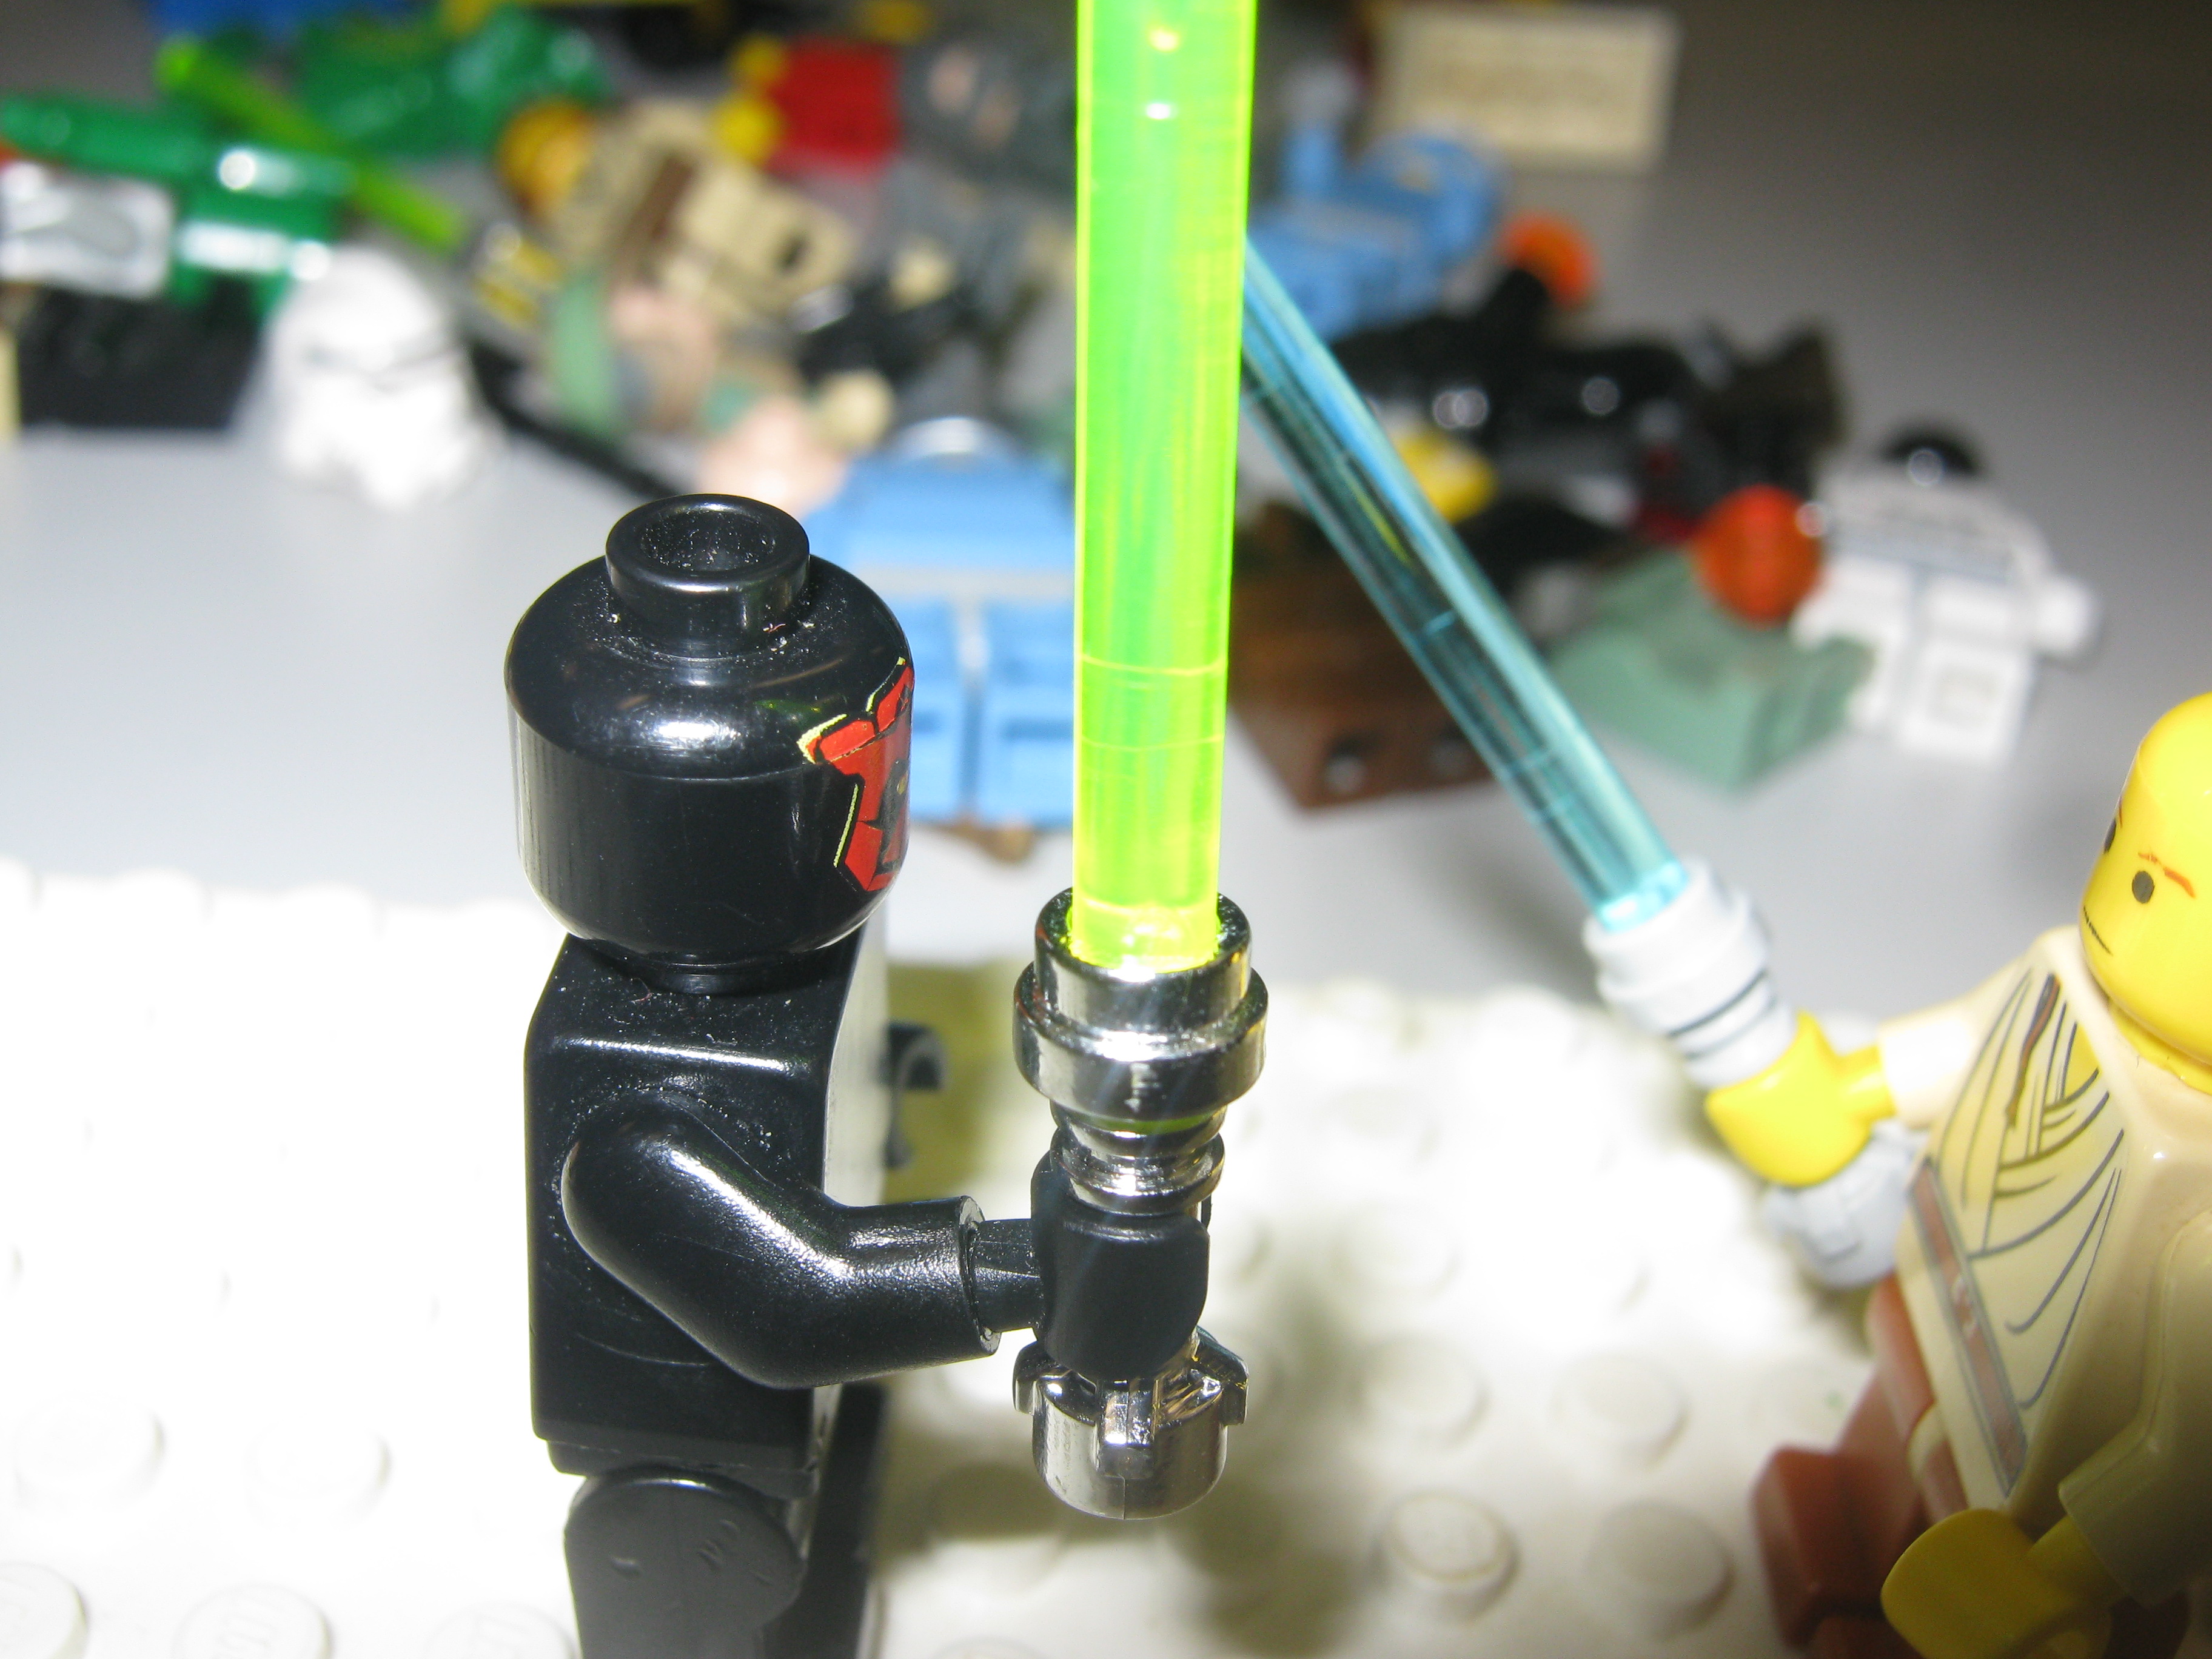
Sword fighting can look really good, and is relatively easy to animate.
Move them at the same time to make it look the best, don't just move one at a time.
When you "clash" swords, move the characters back and forth to simulate them pushing each other.
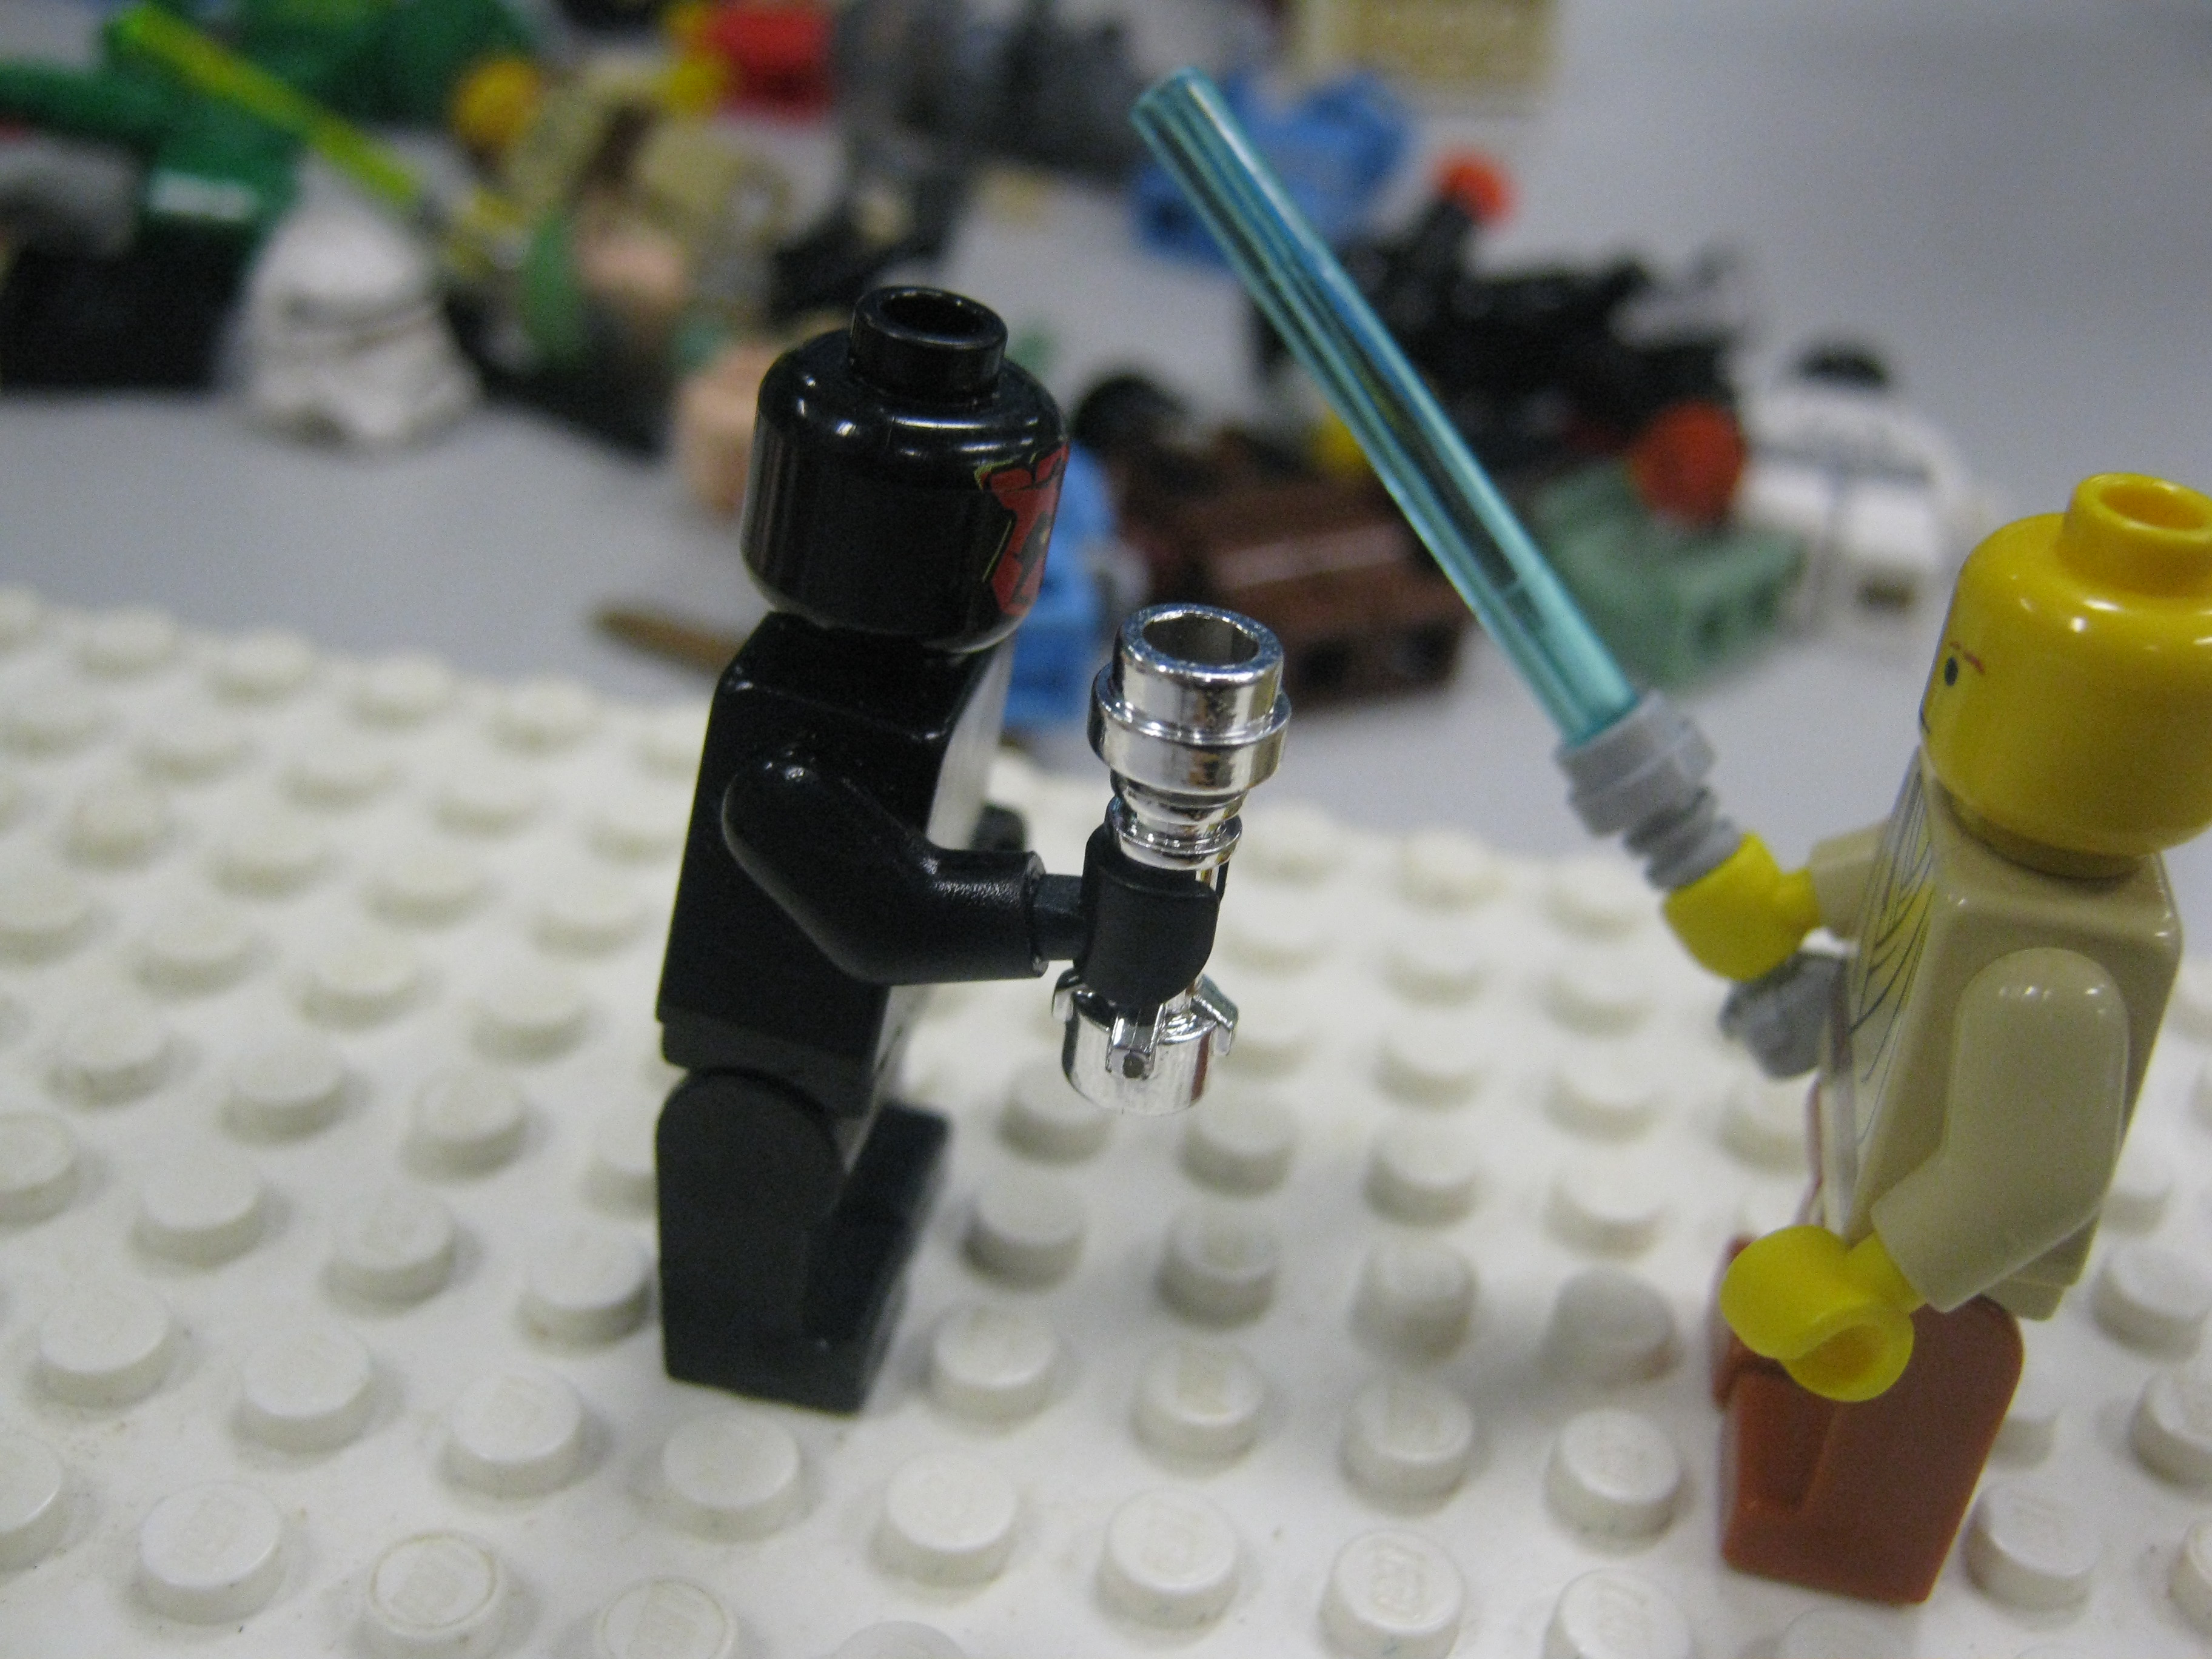
Lightsabers are a better looking type of sword fight, because of the colors and brighter look to it.
When turning the lightsaber on, you could start with the handle and then add the blade in the next shot, however, it will look much better if you put a small Lego piece on the handle in between the stages of being off and on. It makes it look like a flash, and that the blade is coming out of the handle, so it doesn't just appear on.
Fire/Blowing Things Up
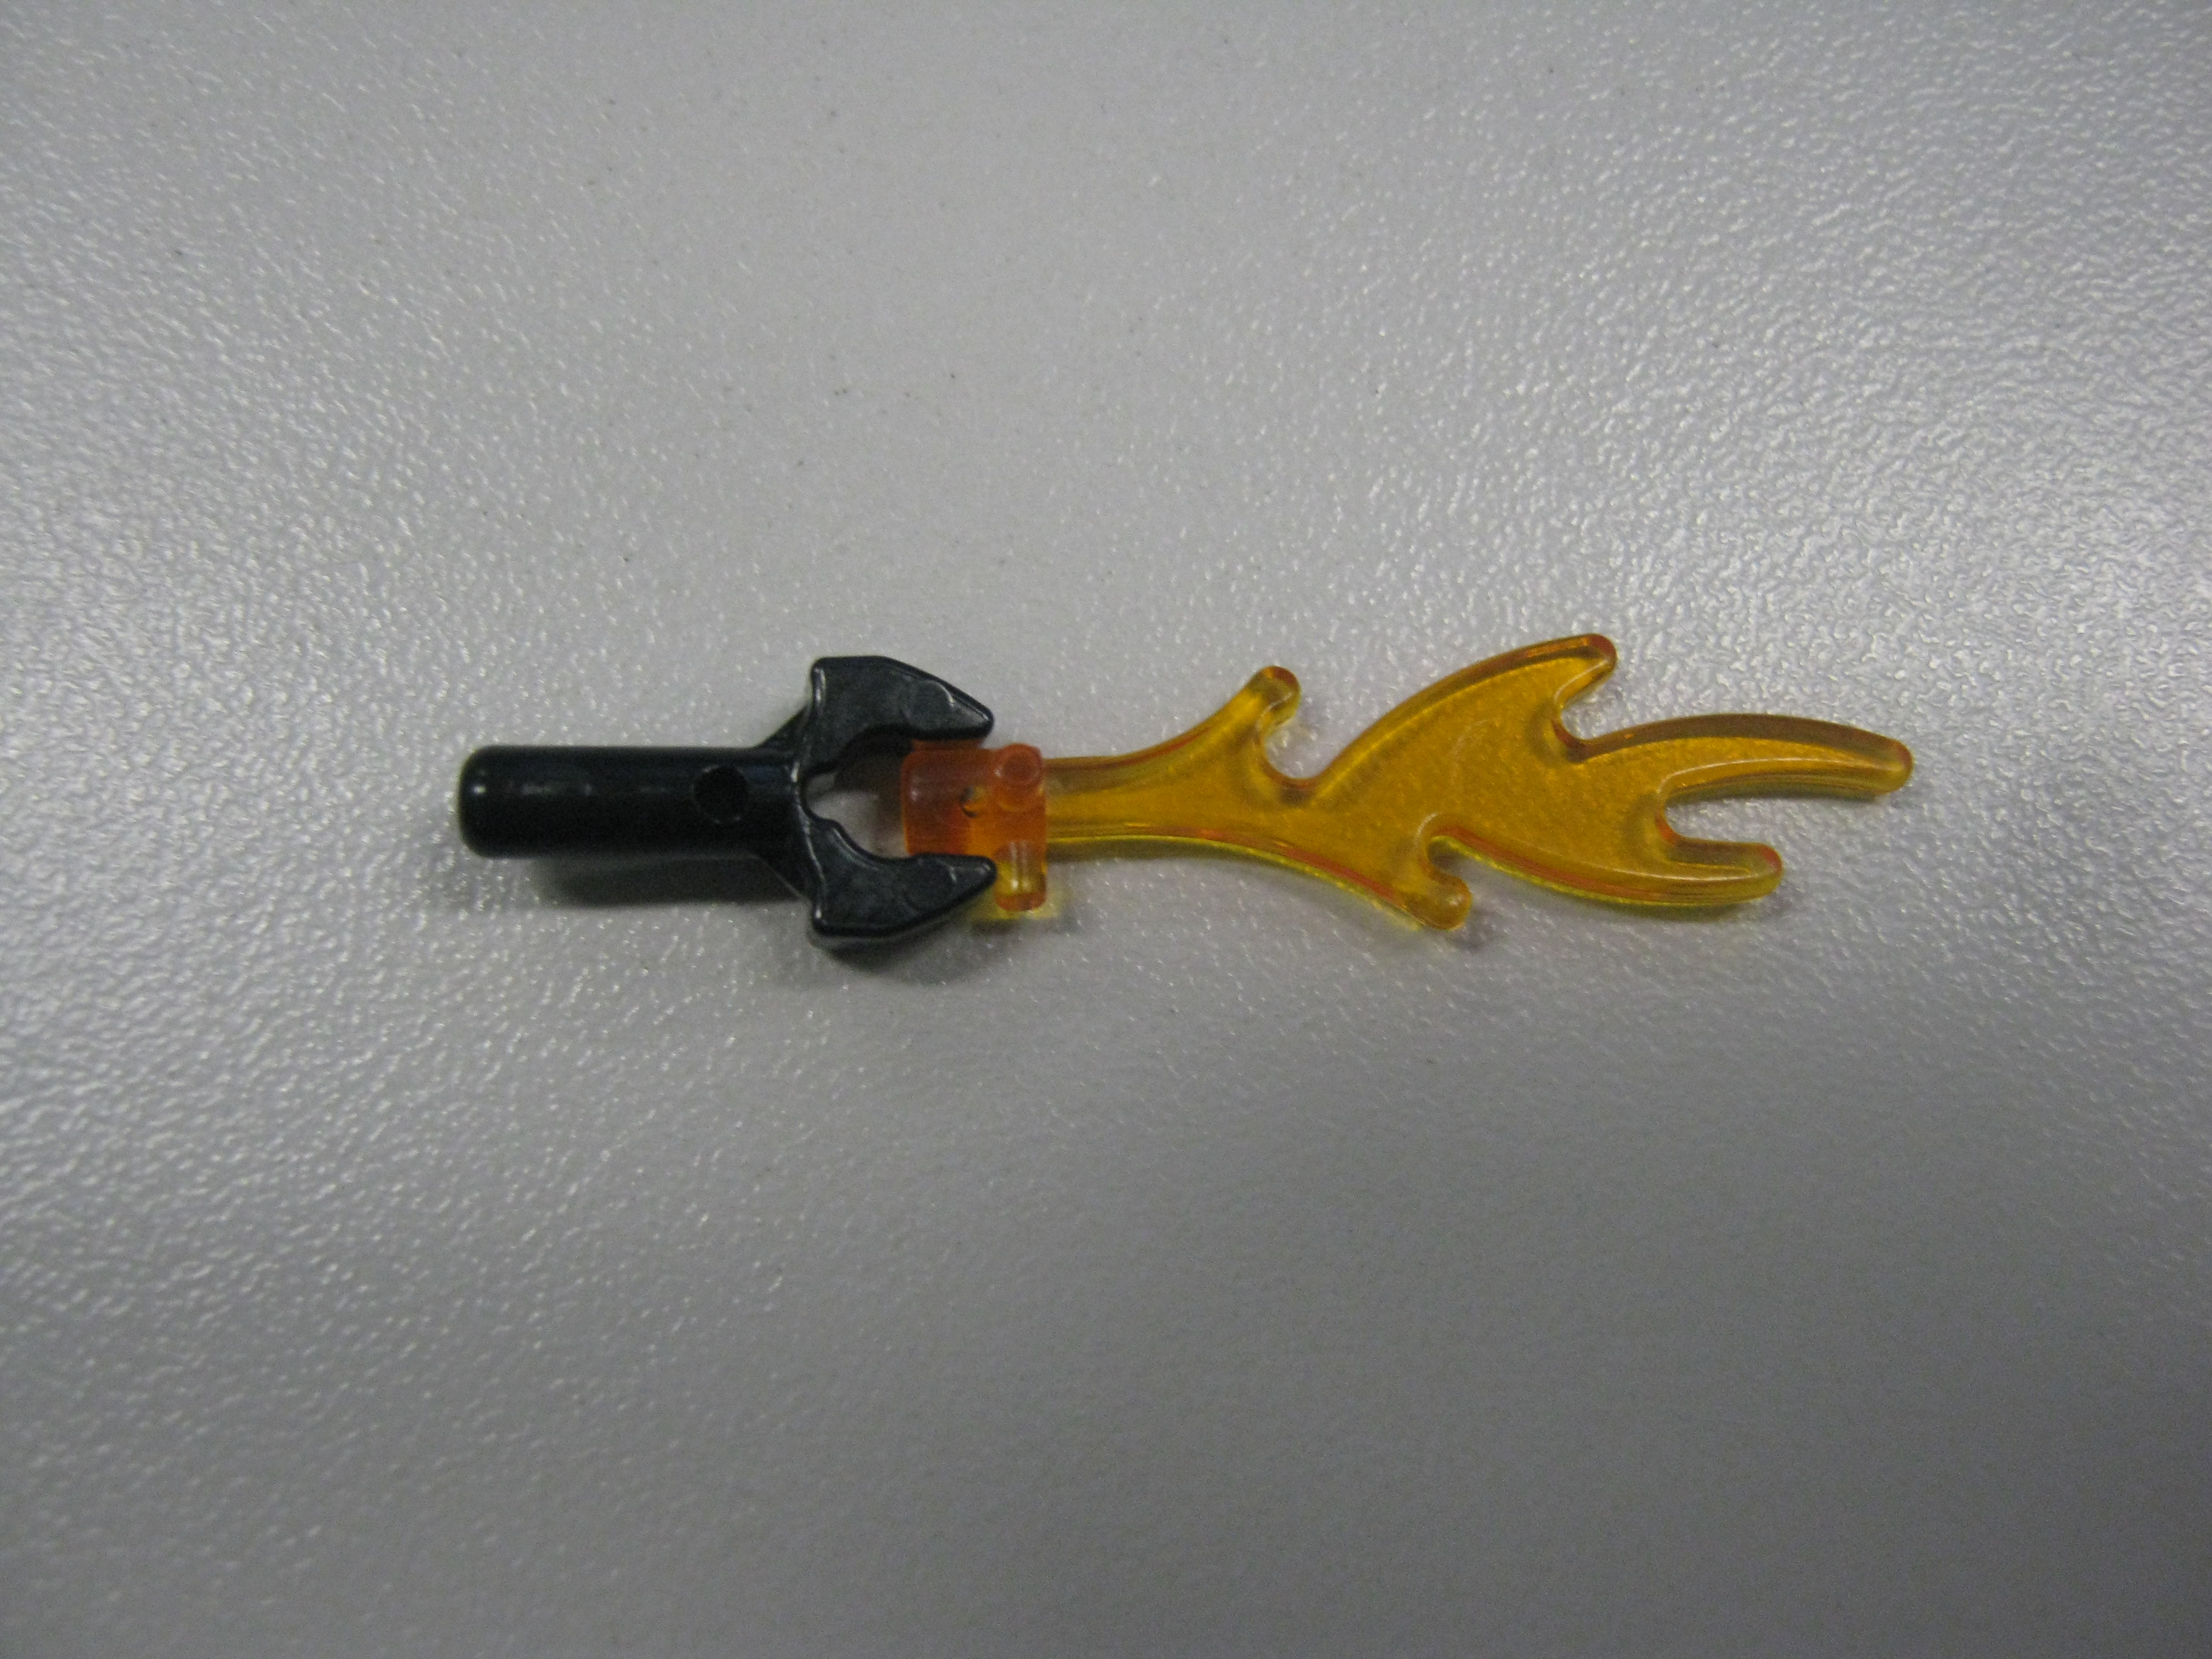
Fire is something that could be added in post production, but if you have a fire Lego piece, then you can do it in the animation.
If you have a fire piece you could place it in someone's hands, and spin it around in each frame.
When making explosions, you should add the fire Lego, or red or orange Lego blocks around it, and move them away from the explosions.
You should add sound effects in after, to give it more realistic feel. And even to help people understand what's happening.
Portals
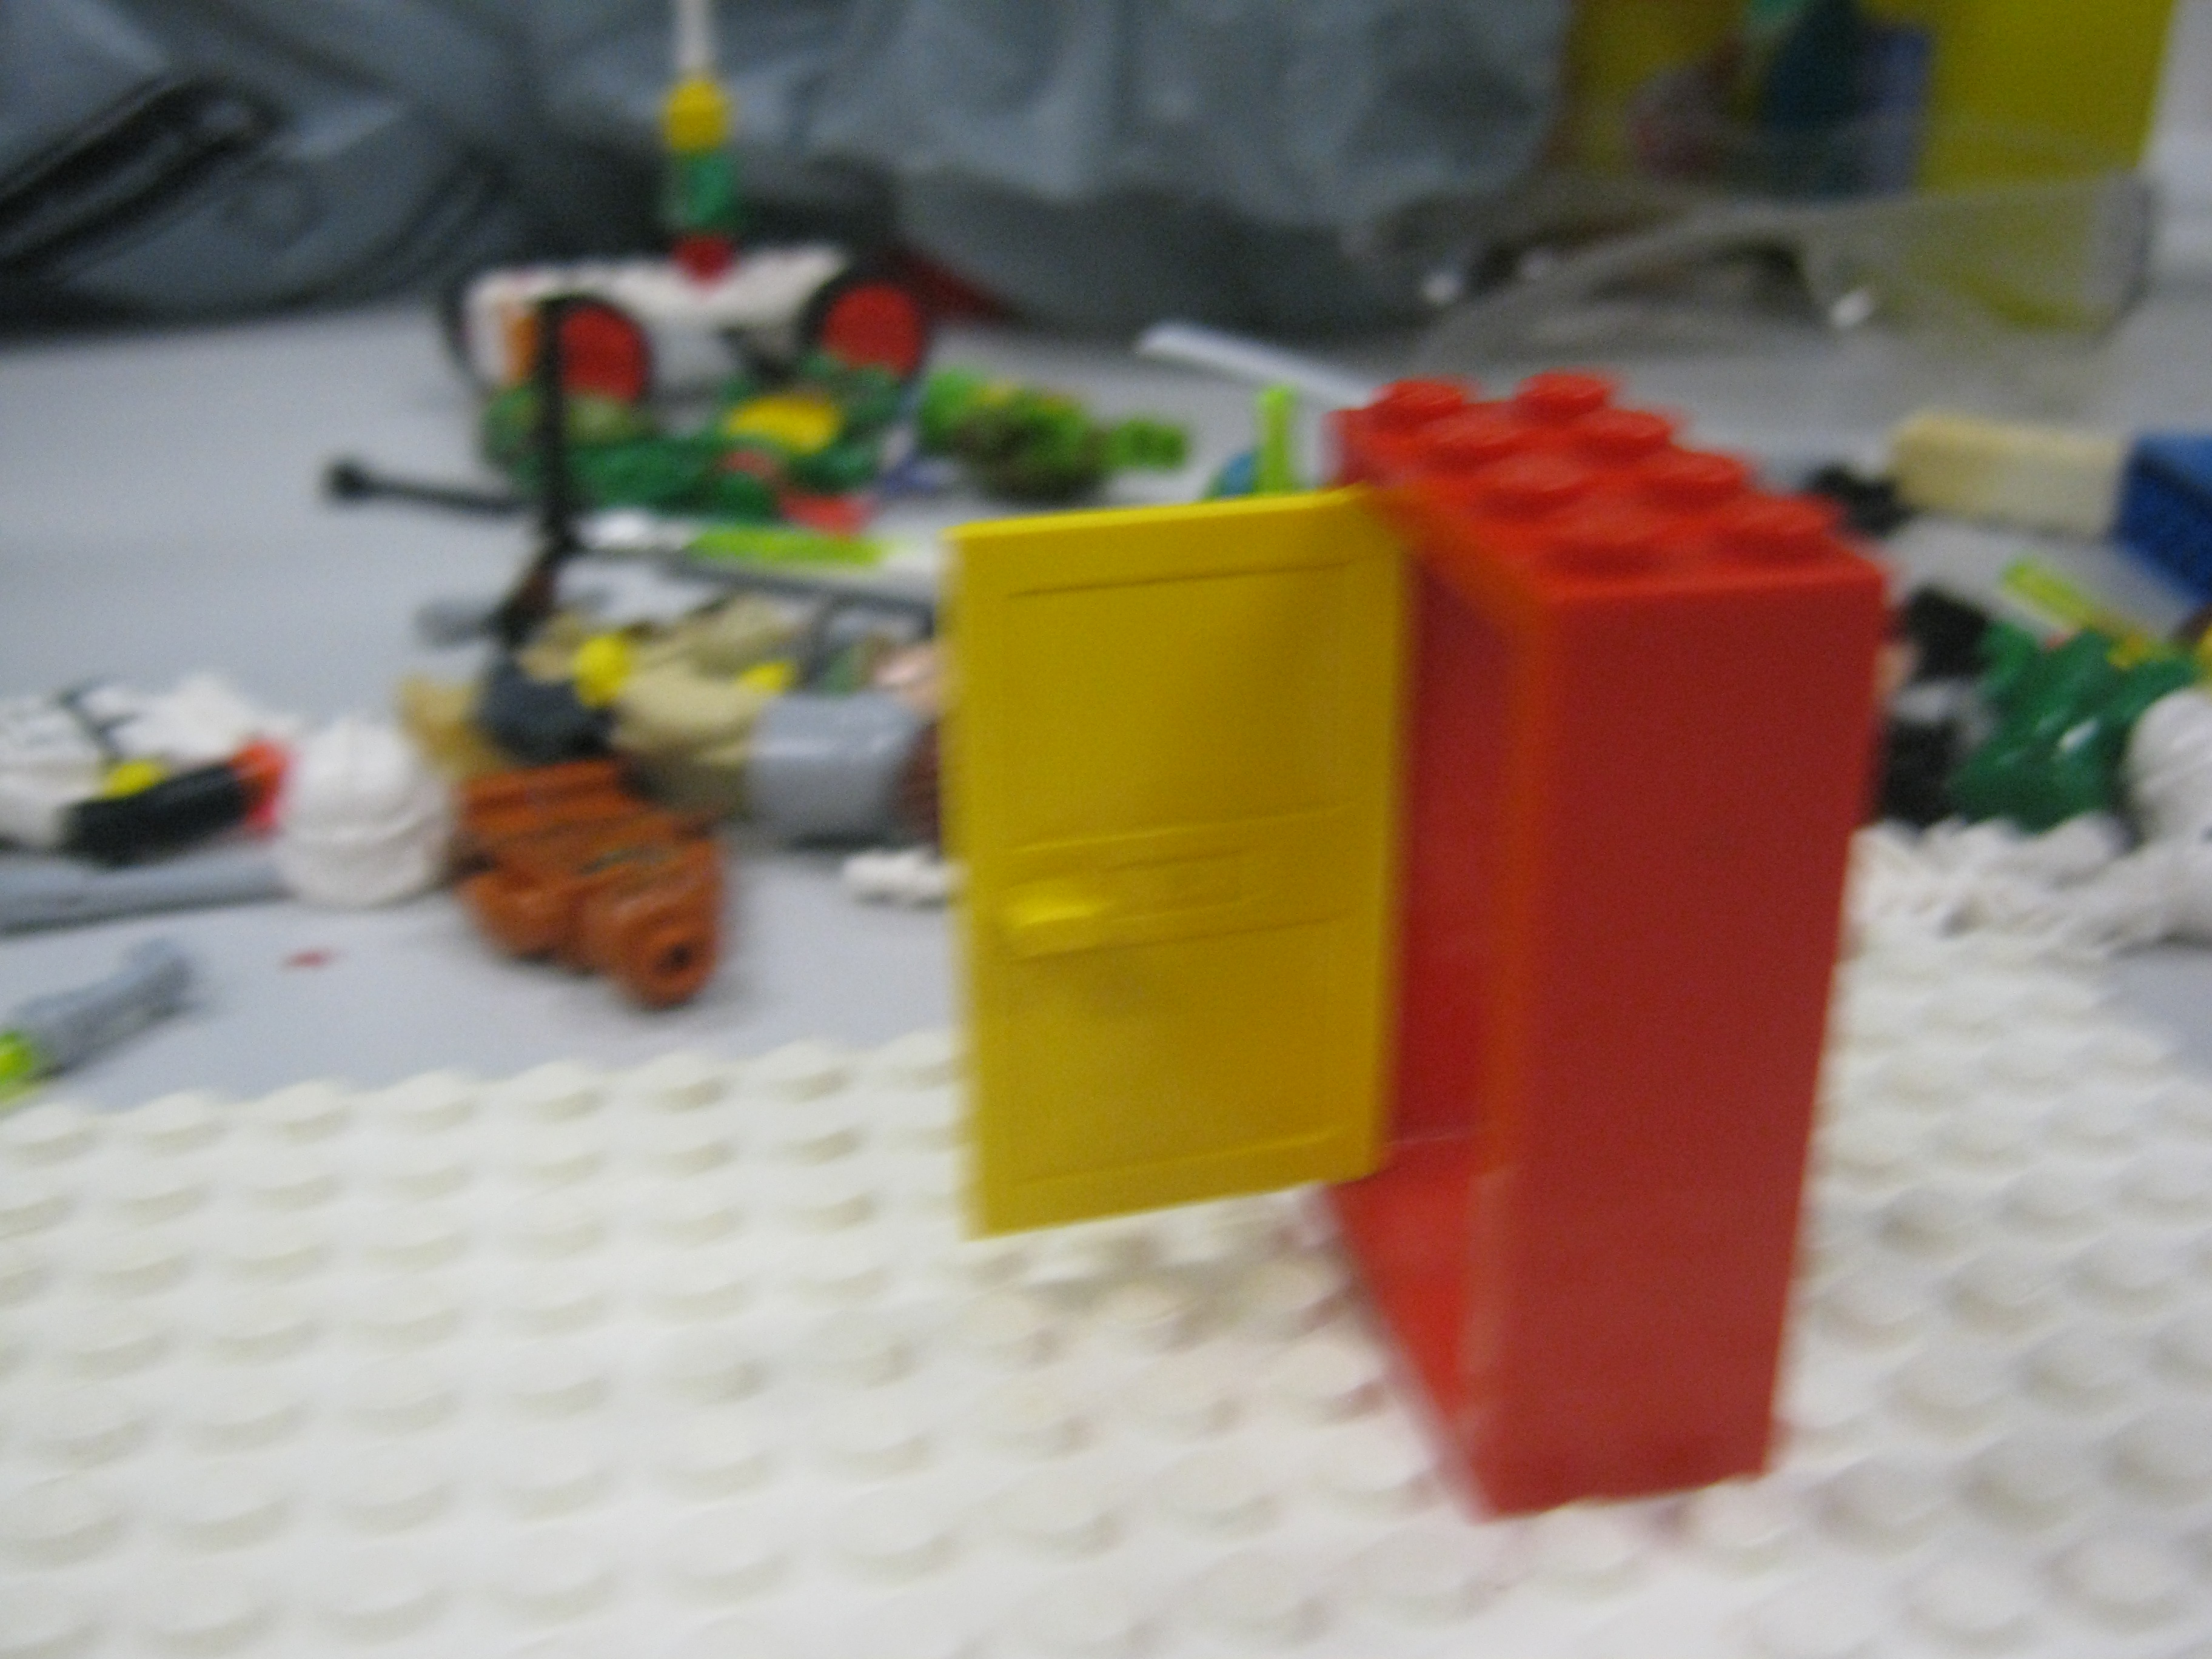
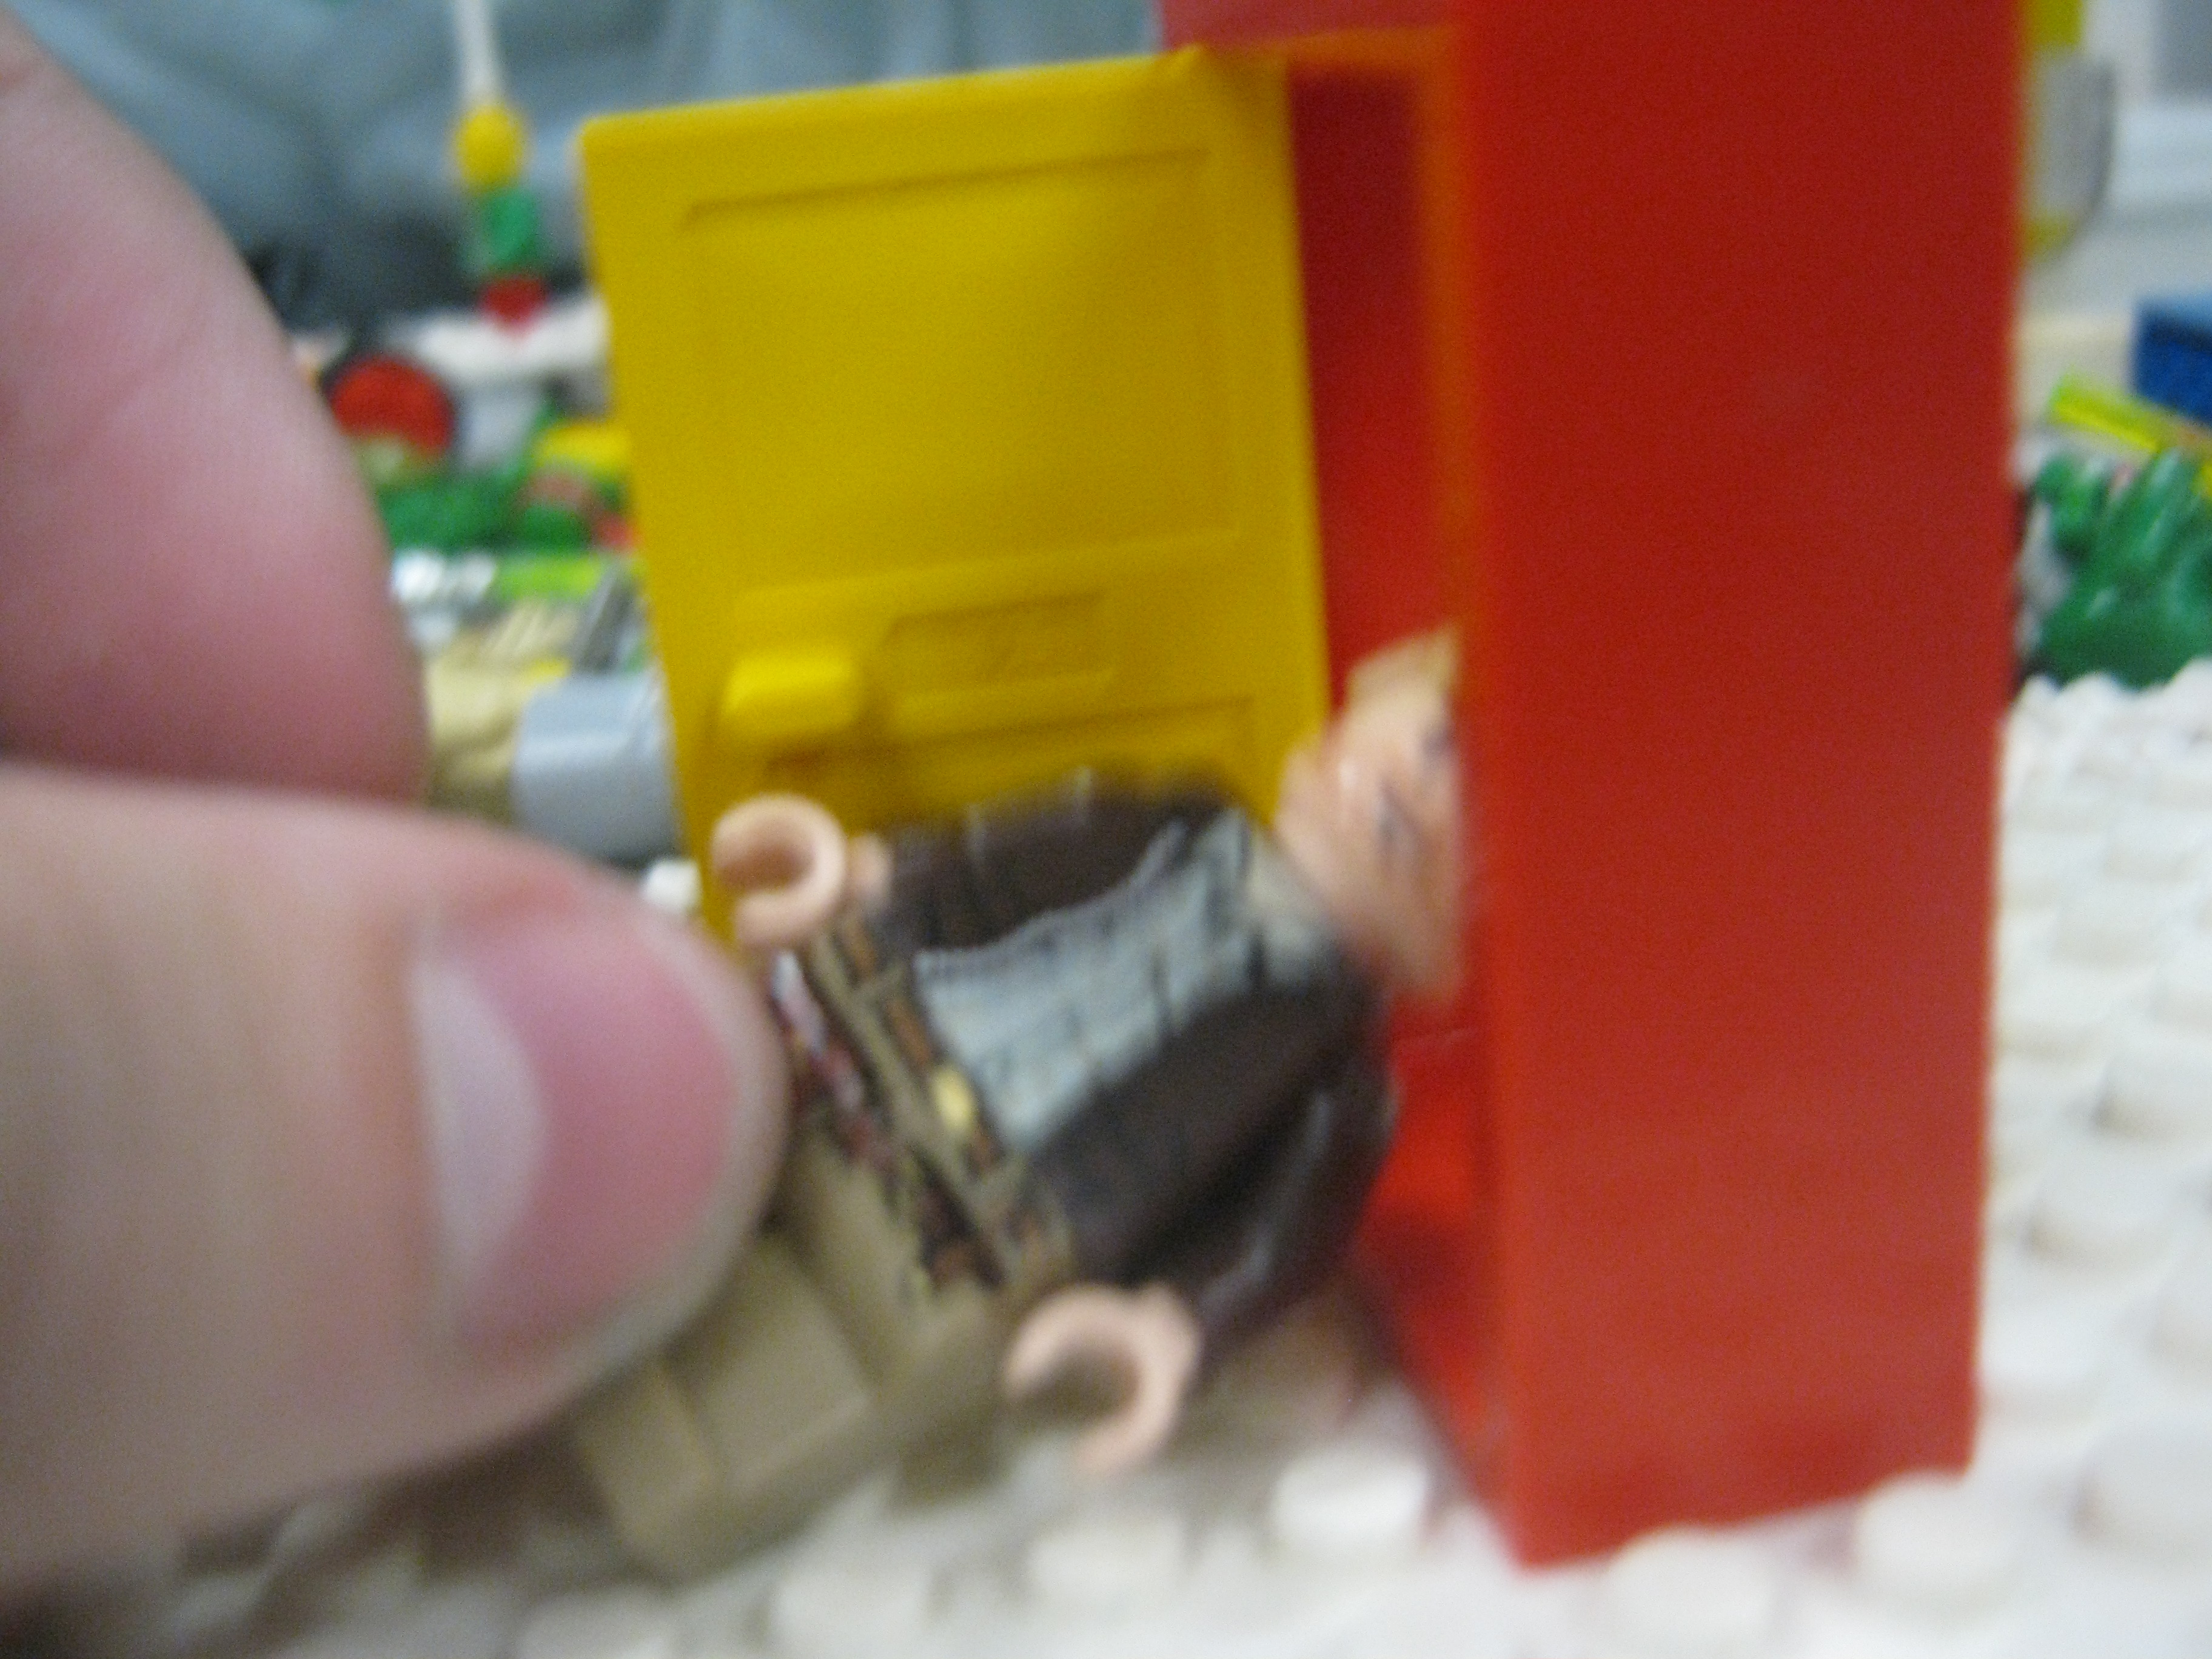
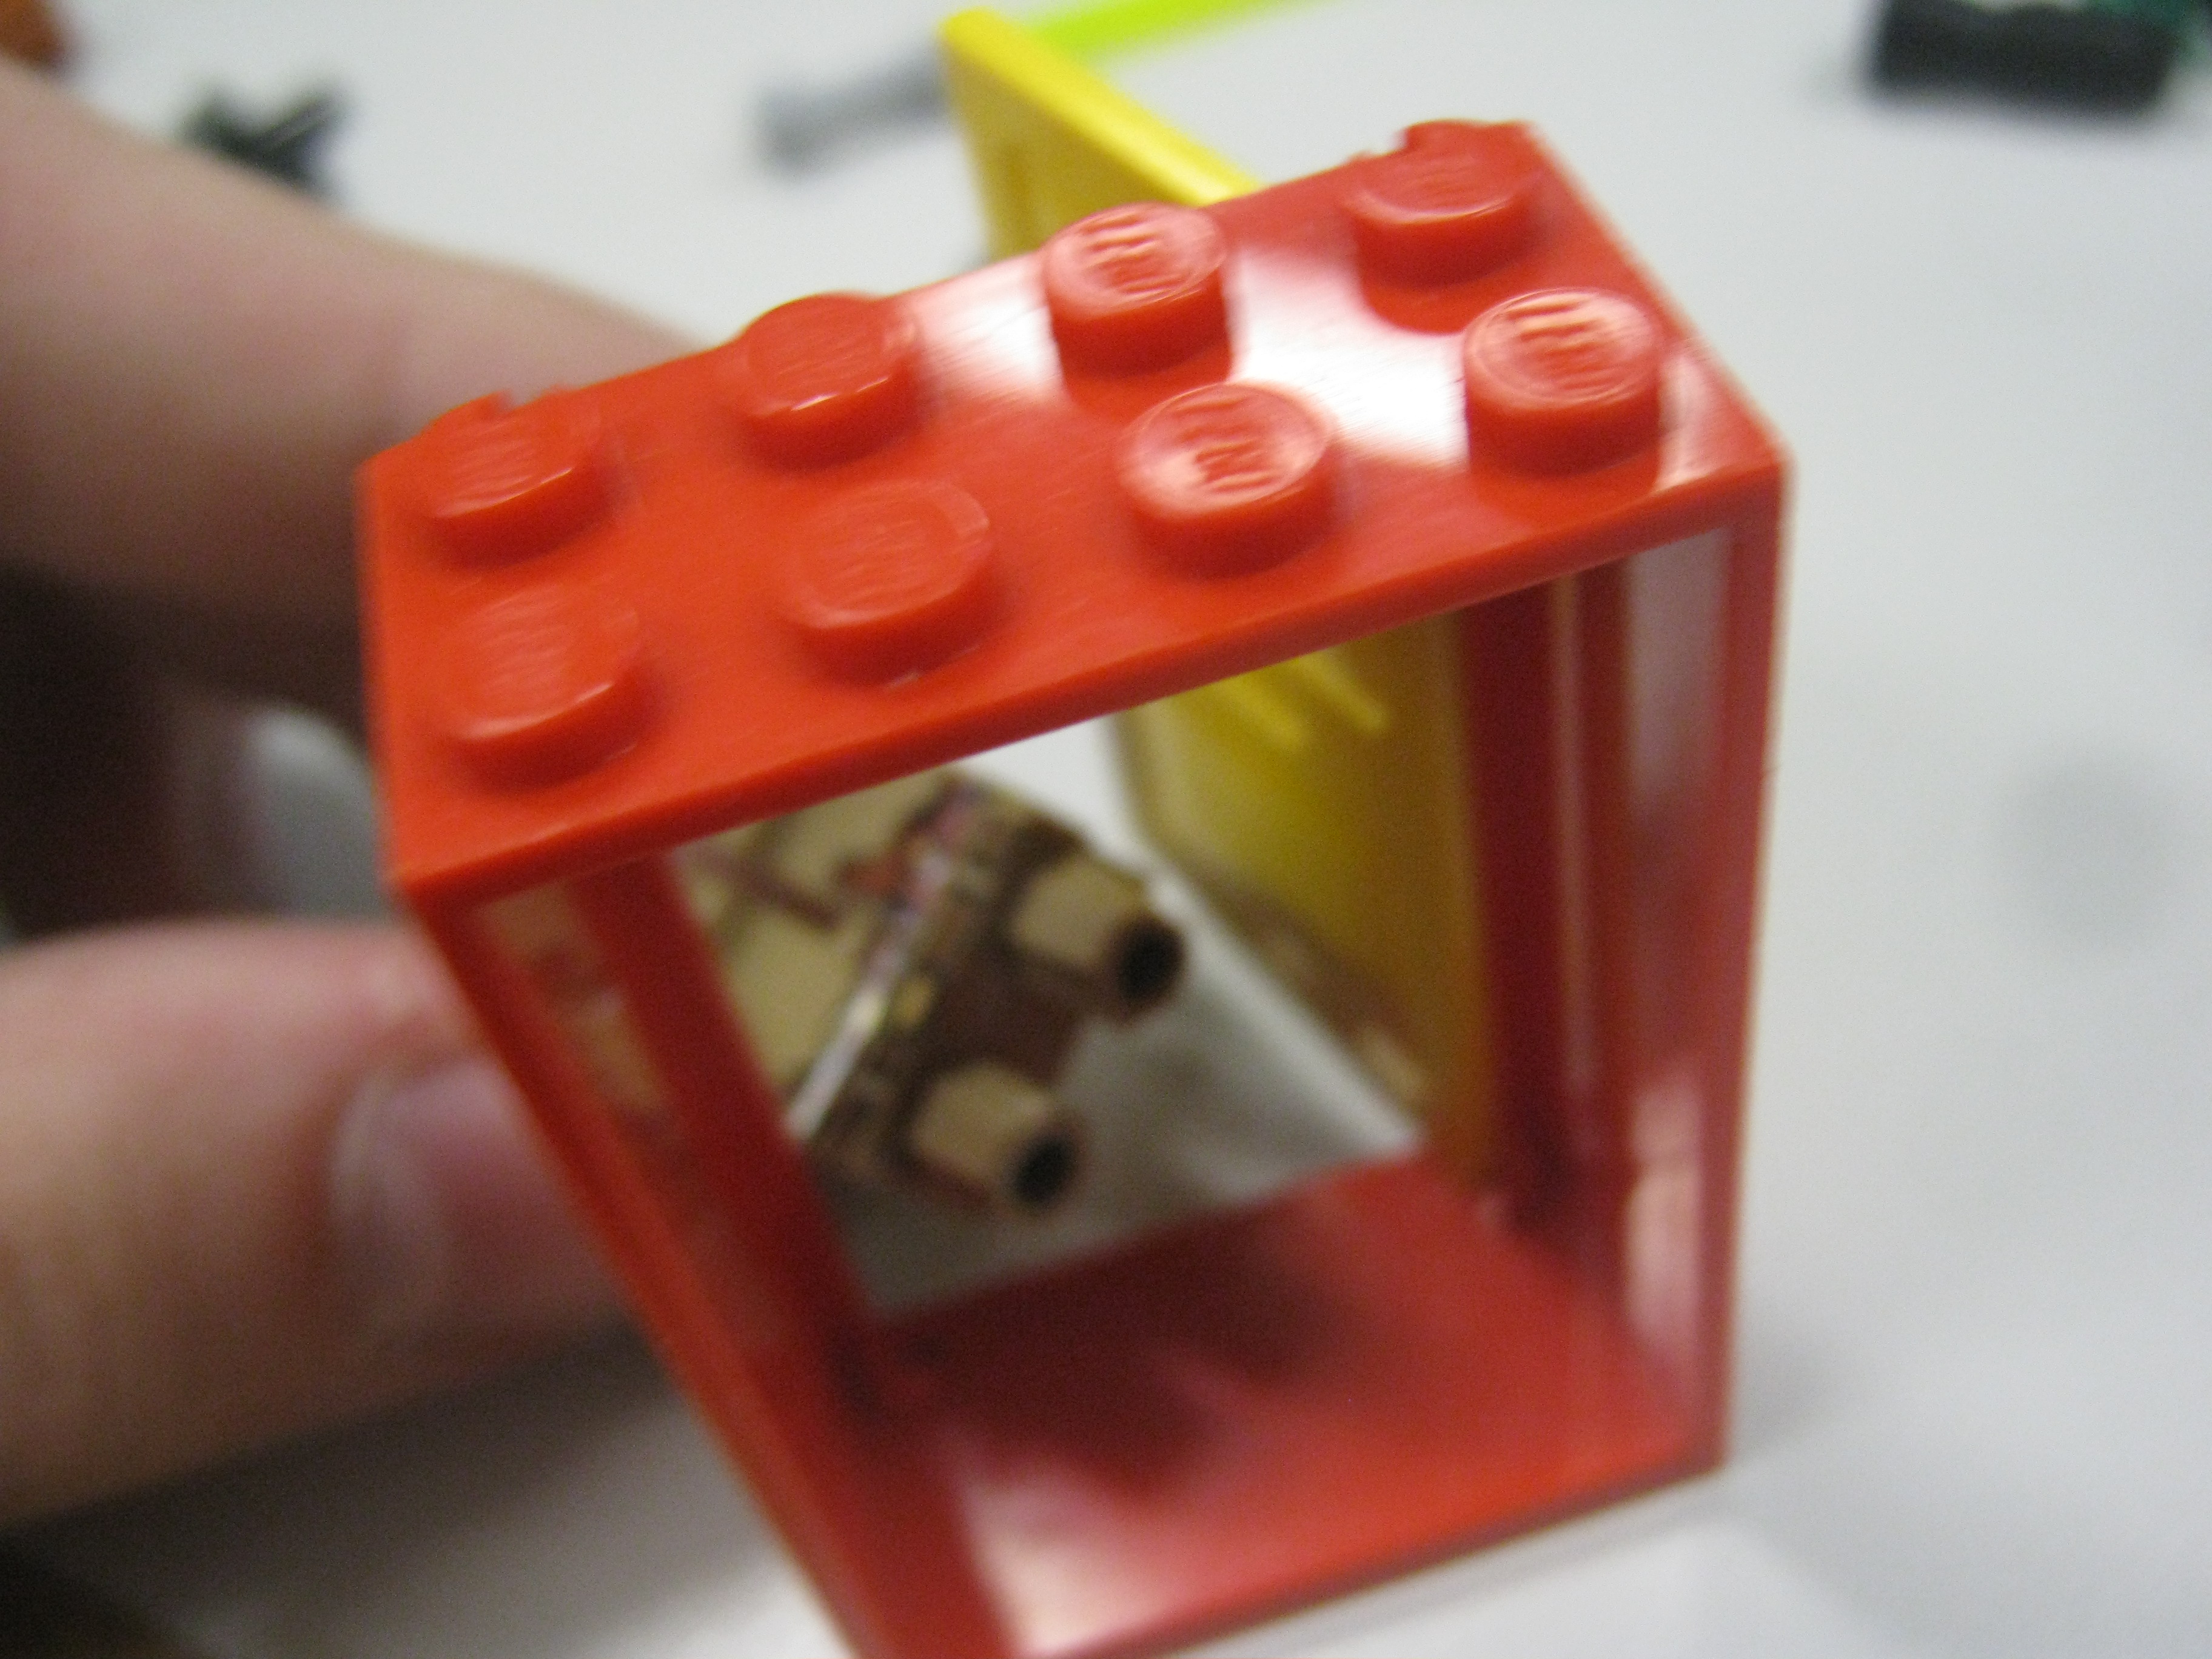
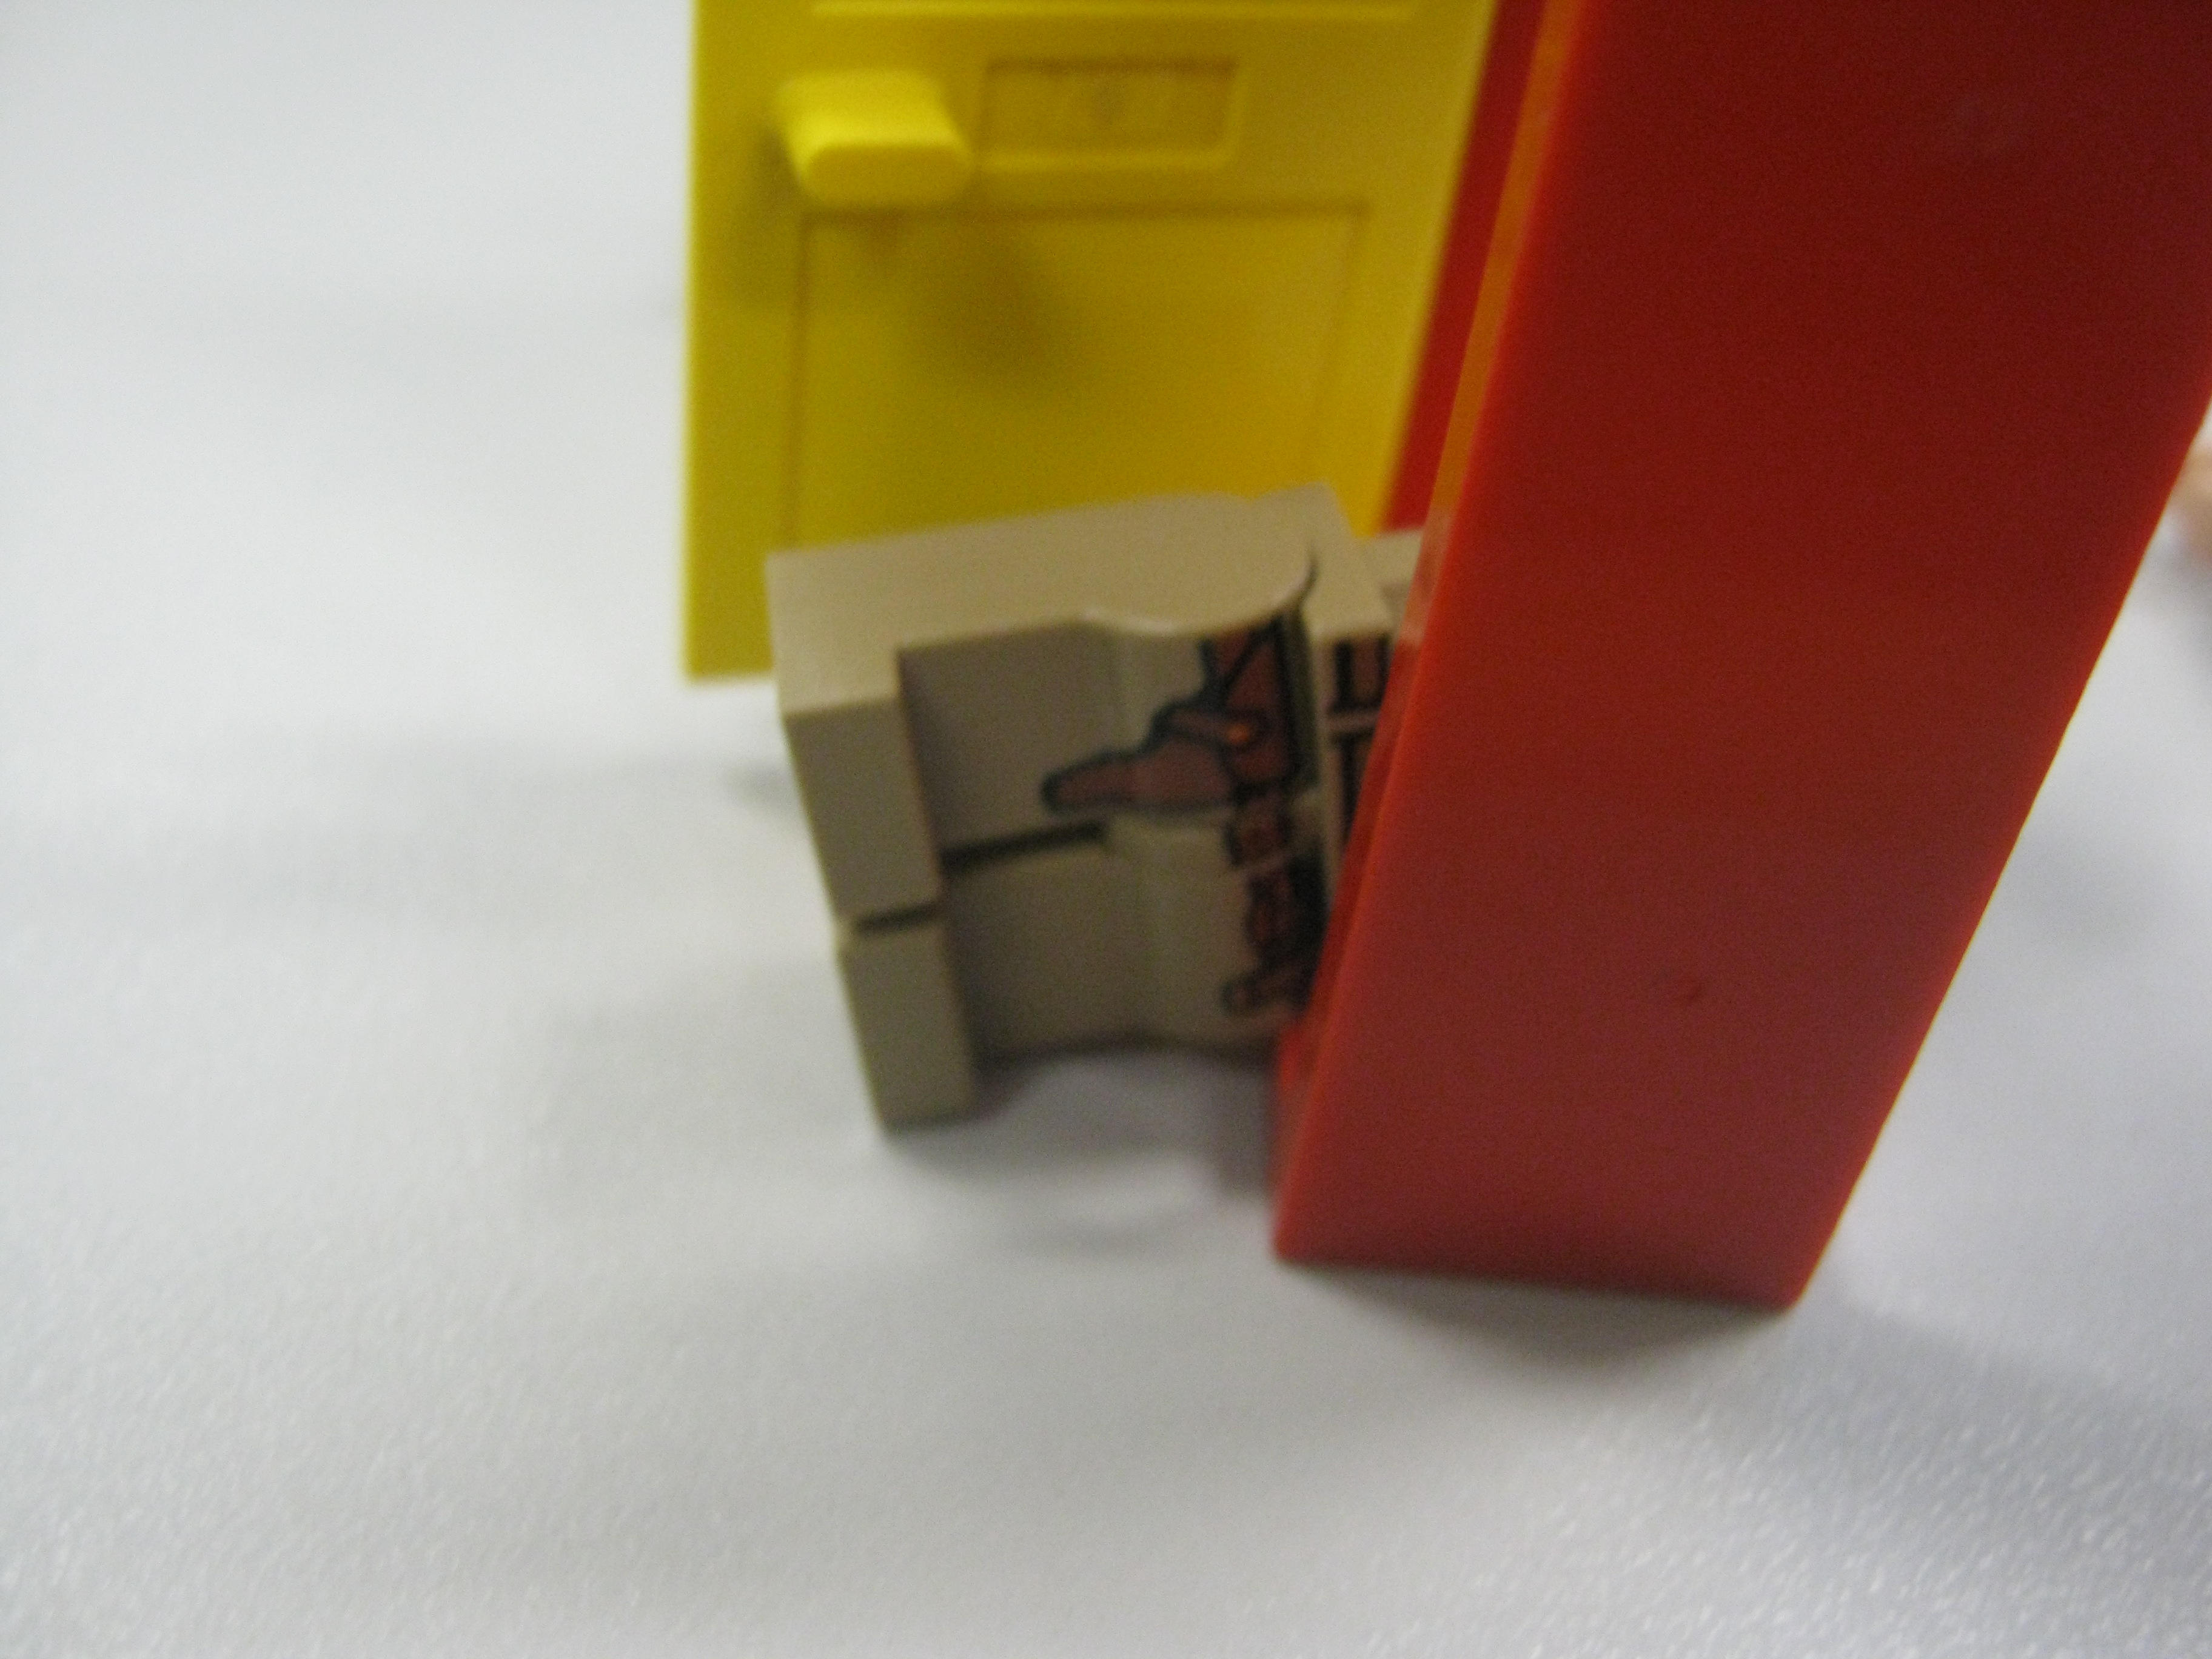
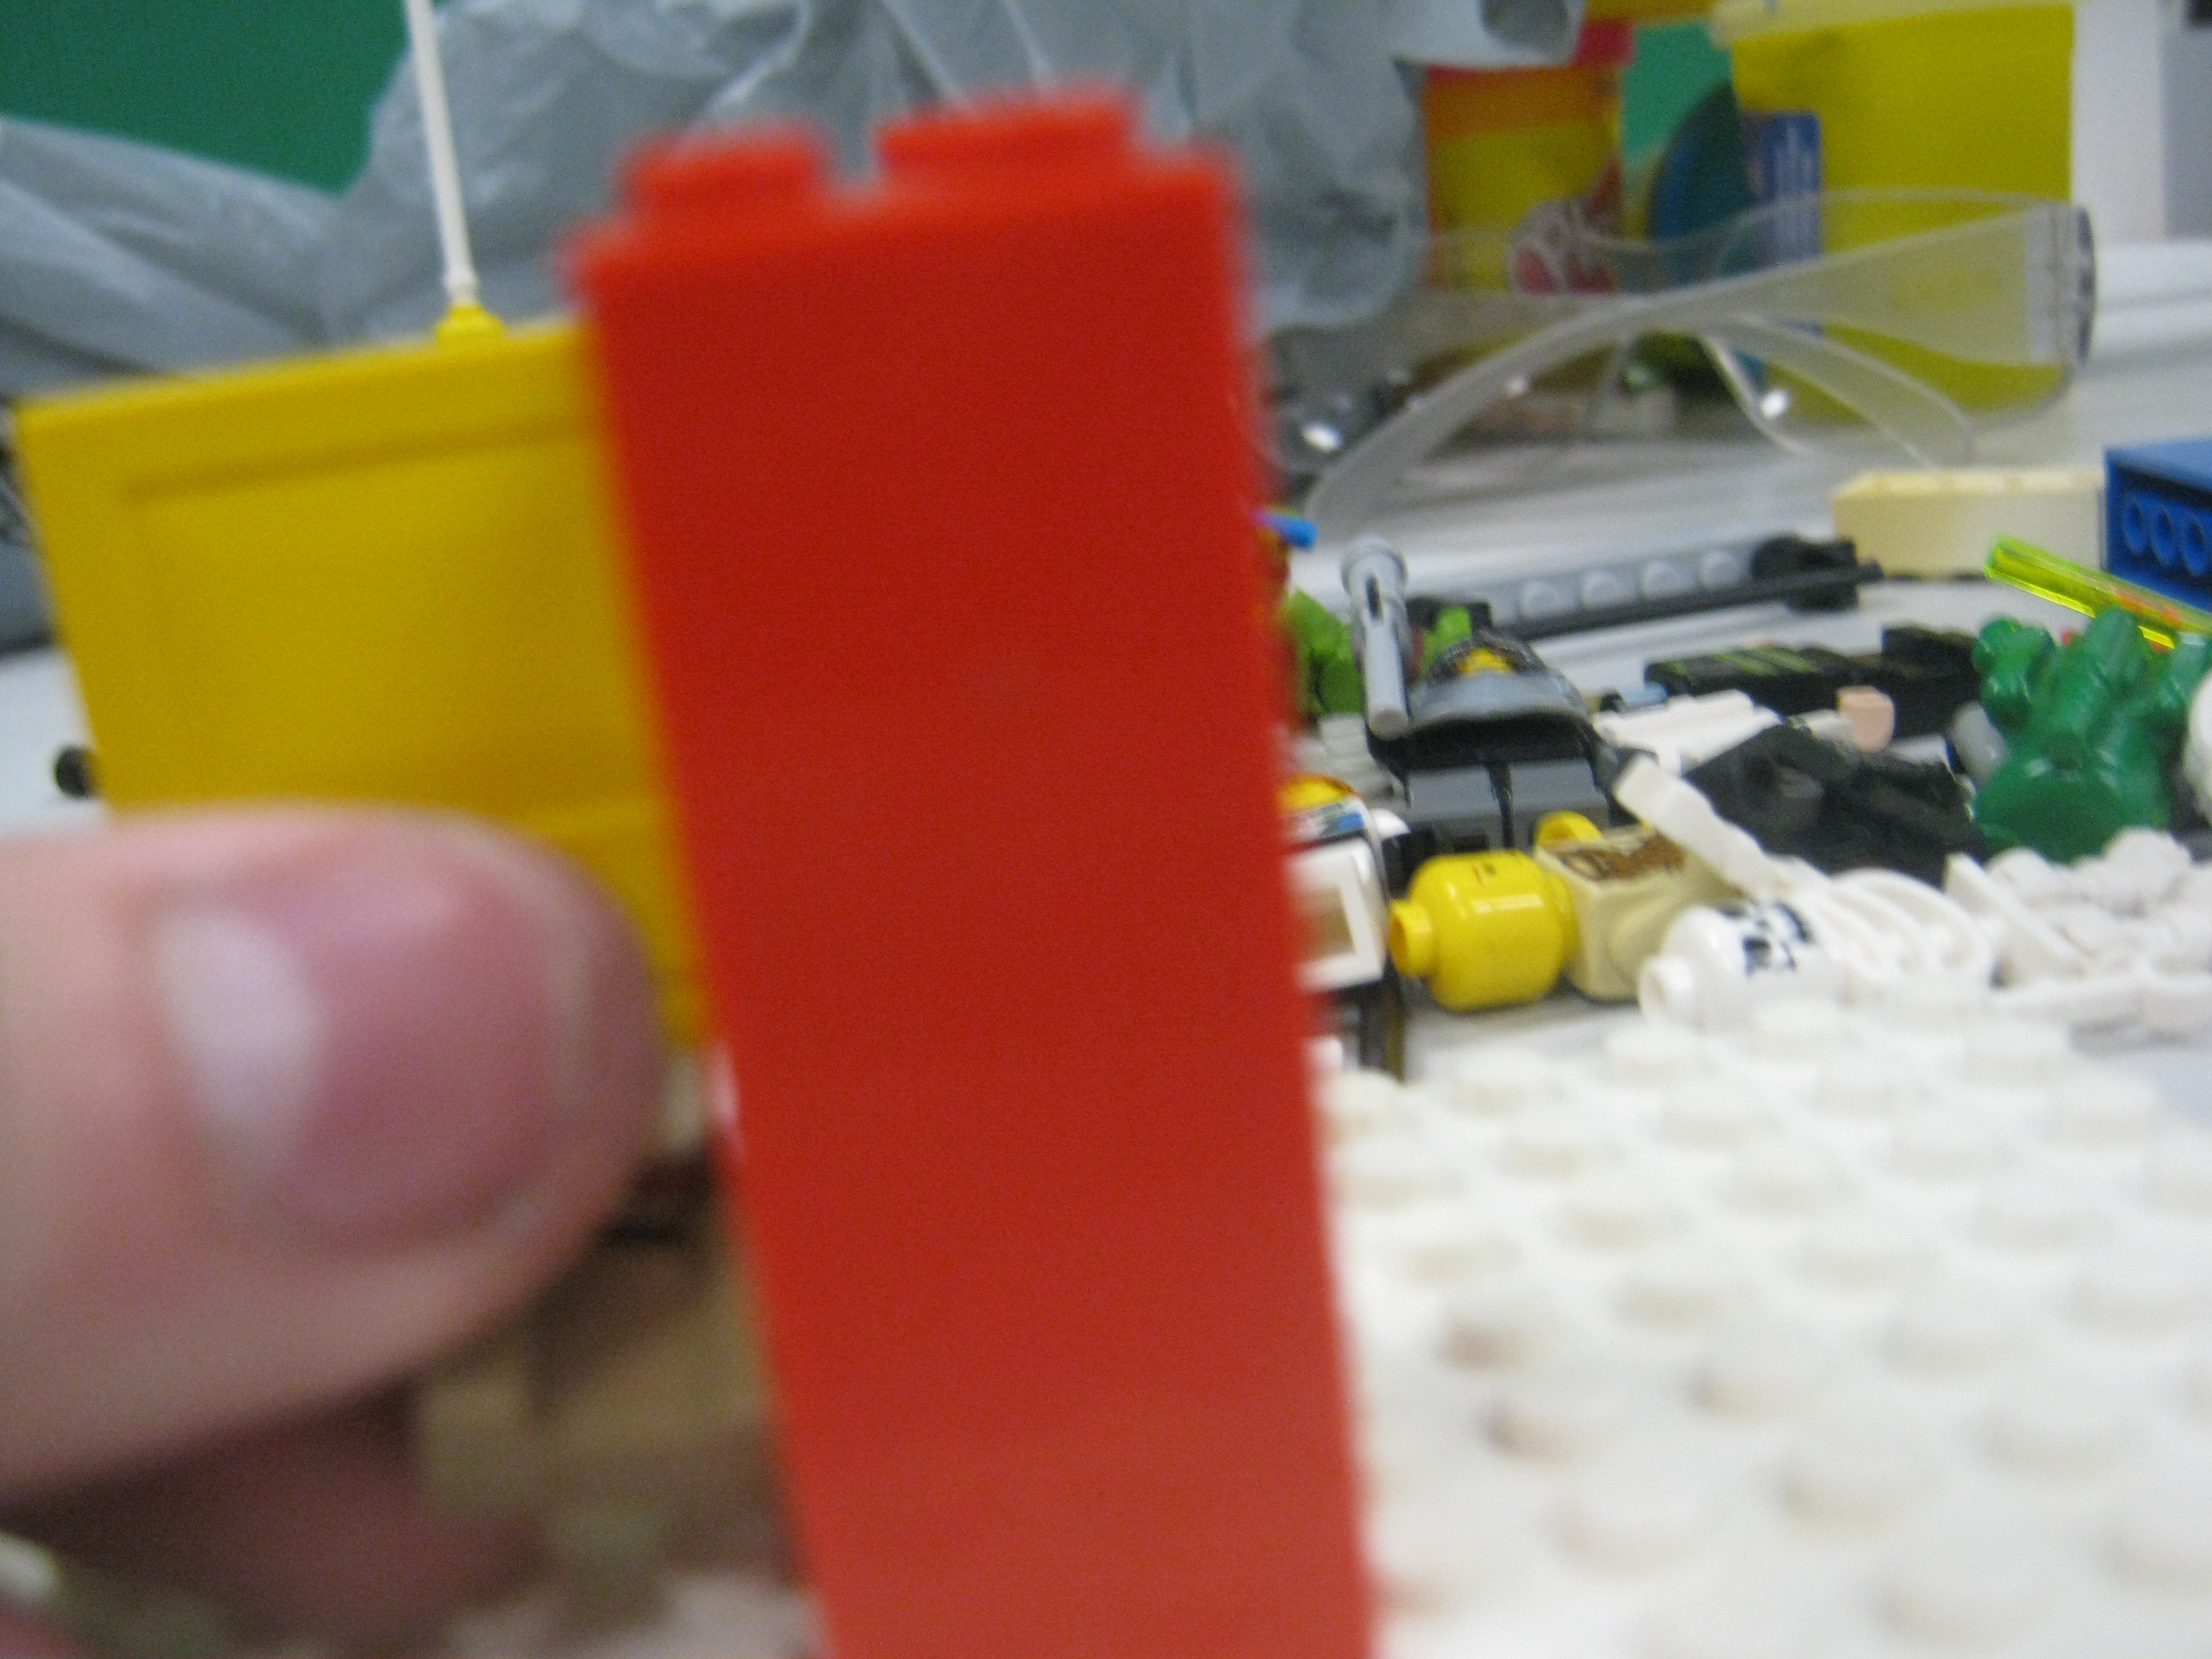
If you want to make portals you could use a door Lego, or just make your own out of normal Lego pieces.
Put some one in head first, then remove their head and put them in more. Then remove the torso and put the legs in, this will give the appearance that someone is going through a portal if you're looking at it from the side.
When walking through a door/portal, keep the door open, blocking the view of the other side of the door.
Then put the character in the doorway and move them through. This will make it look like he is walking through the doorway normally.
Throwing
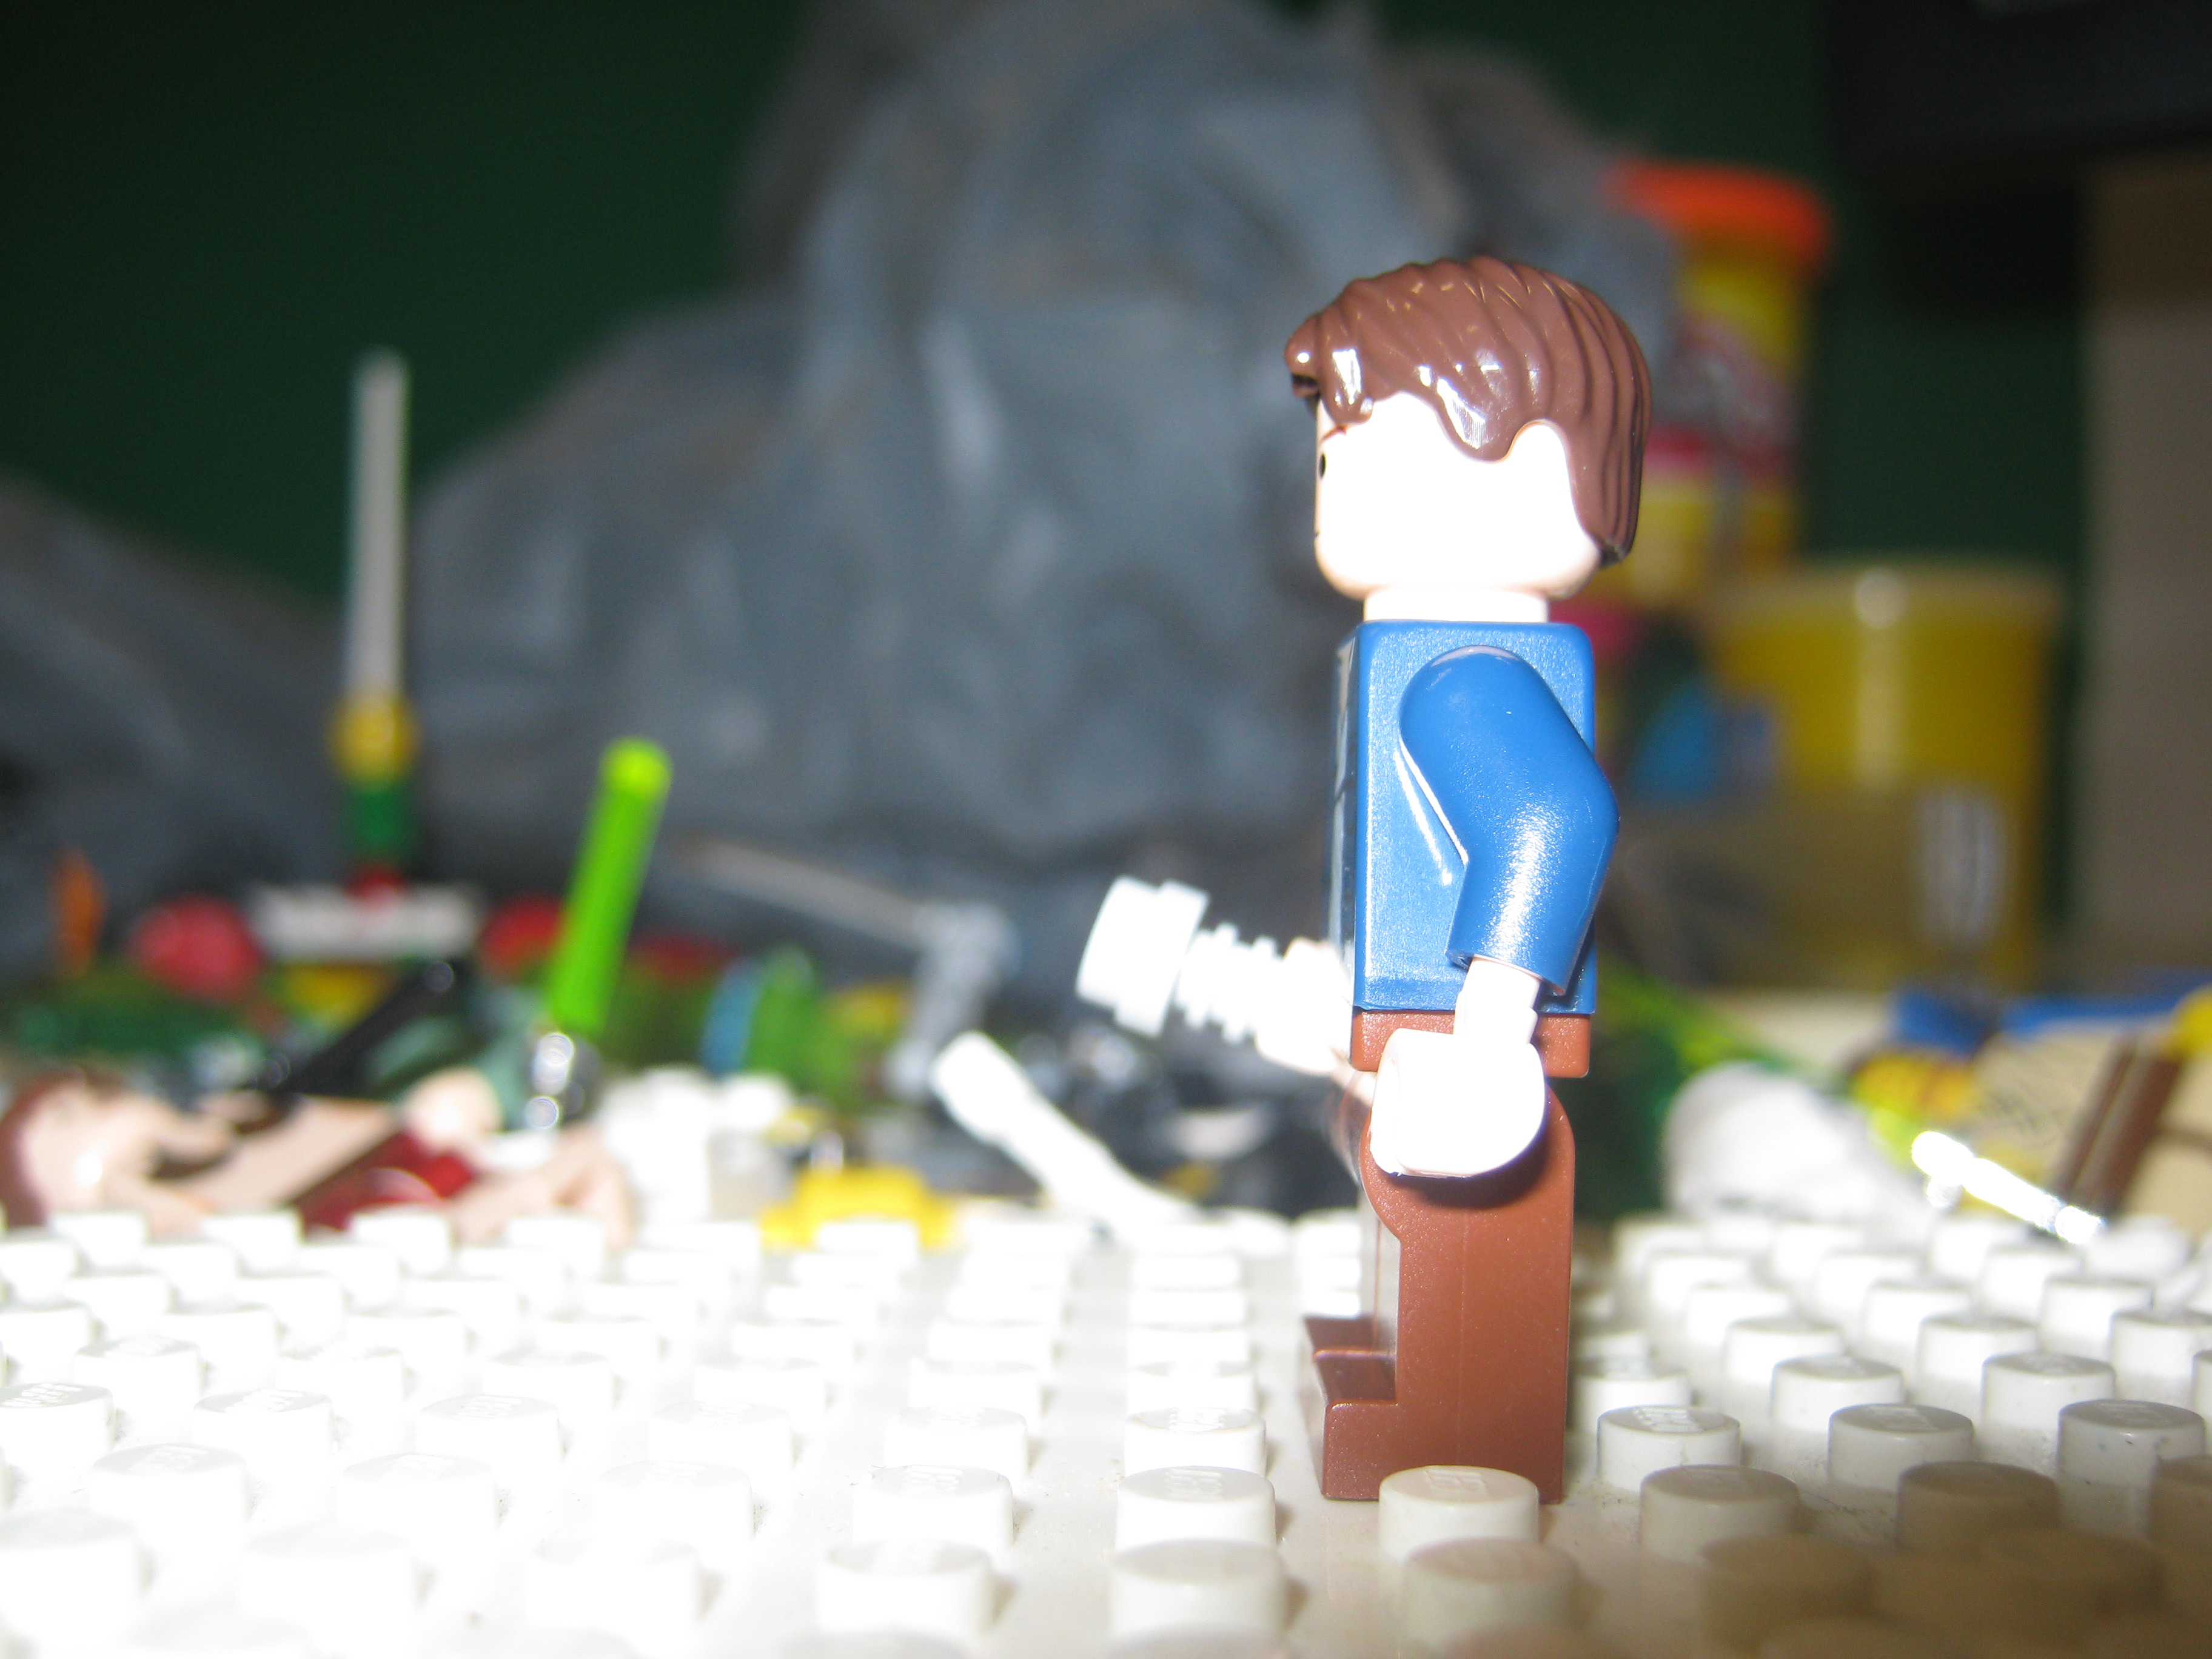
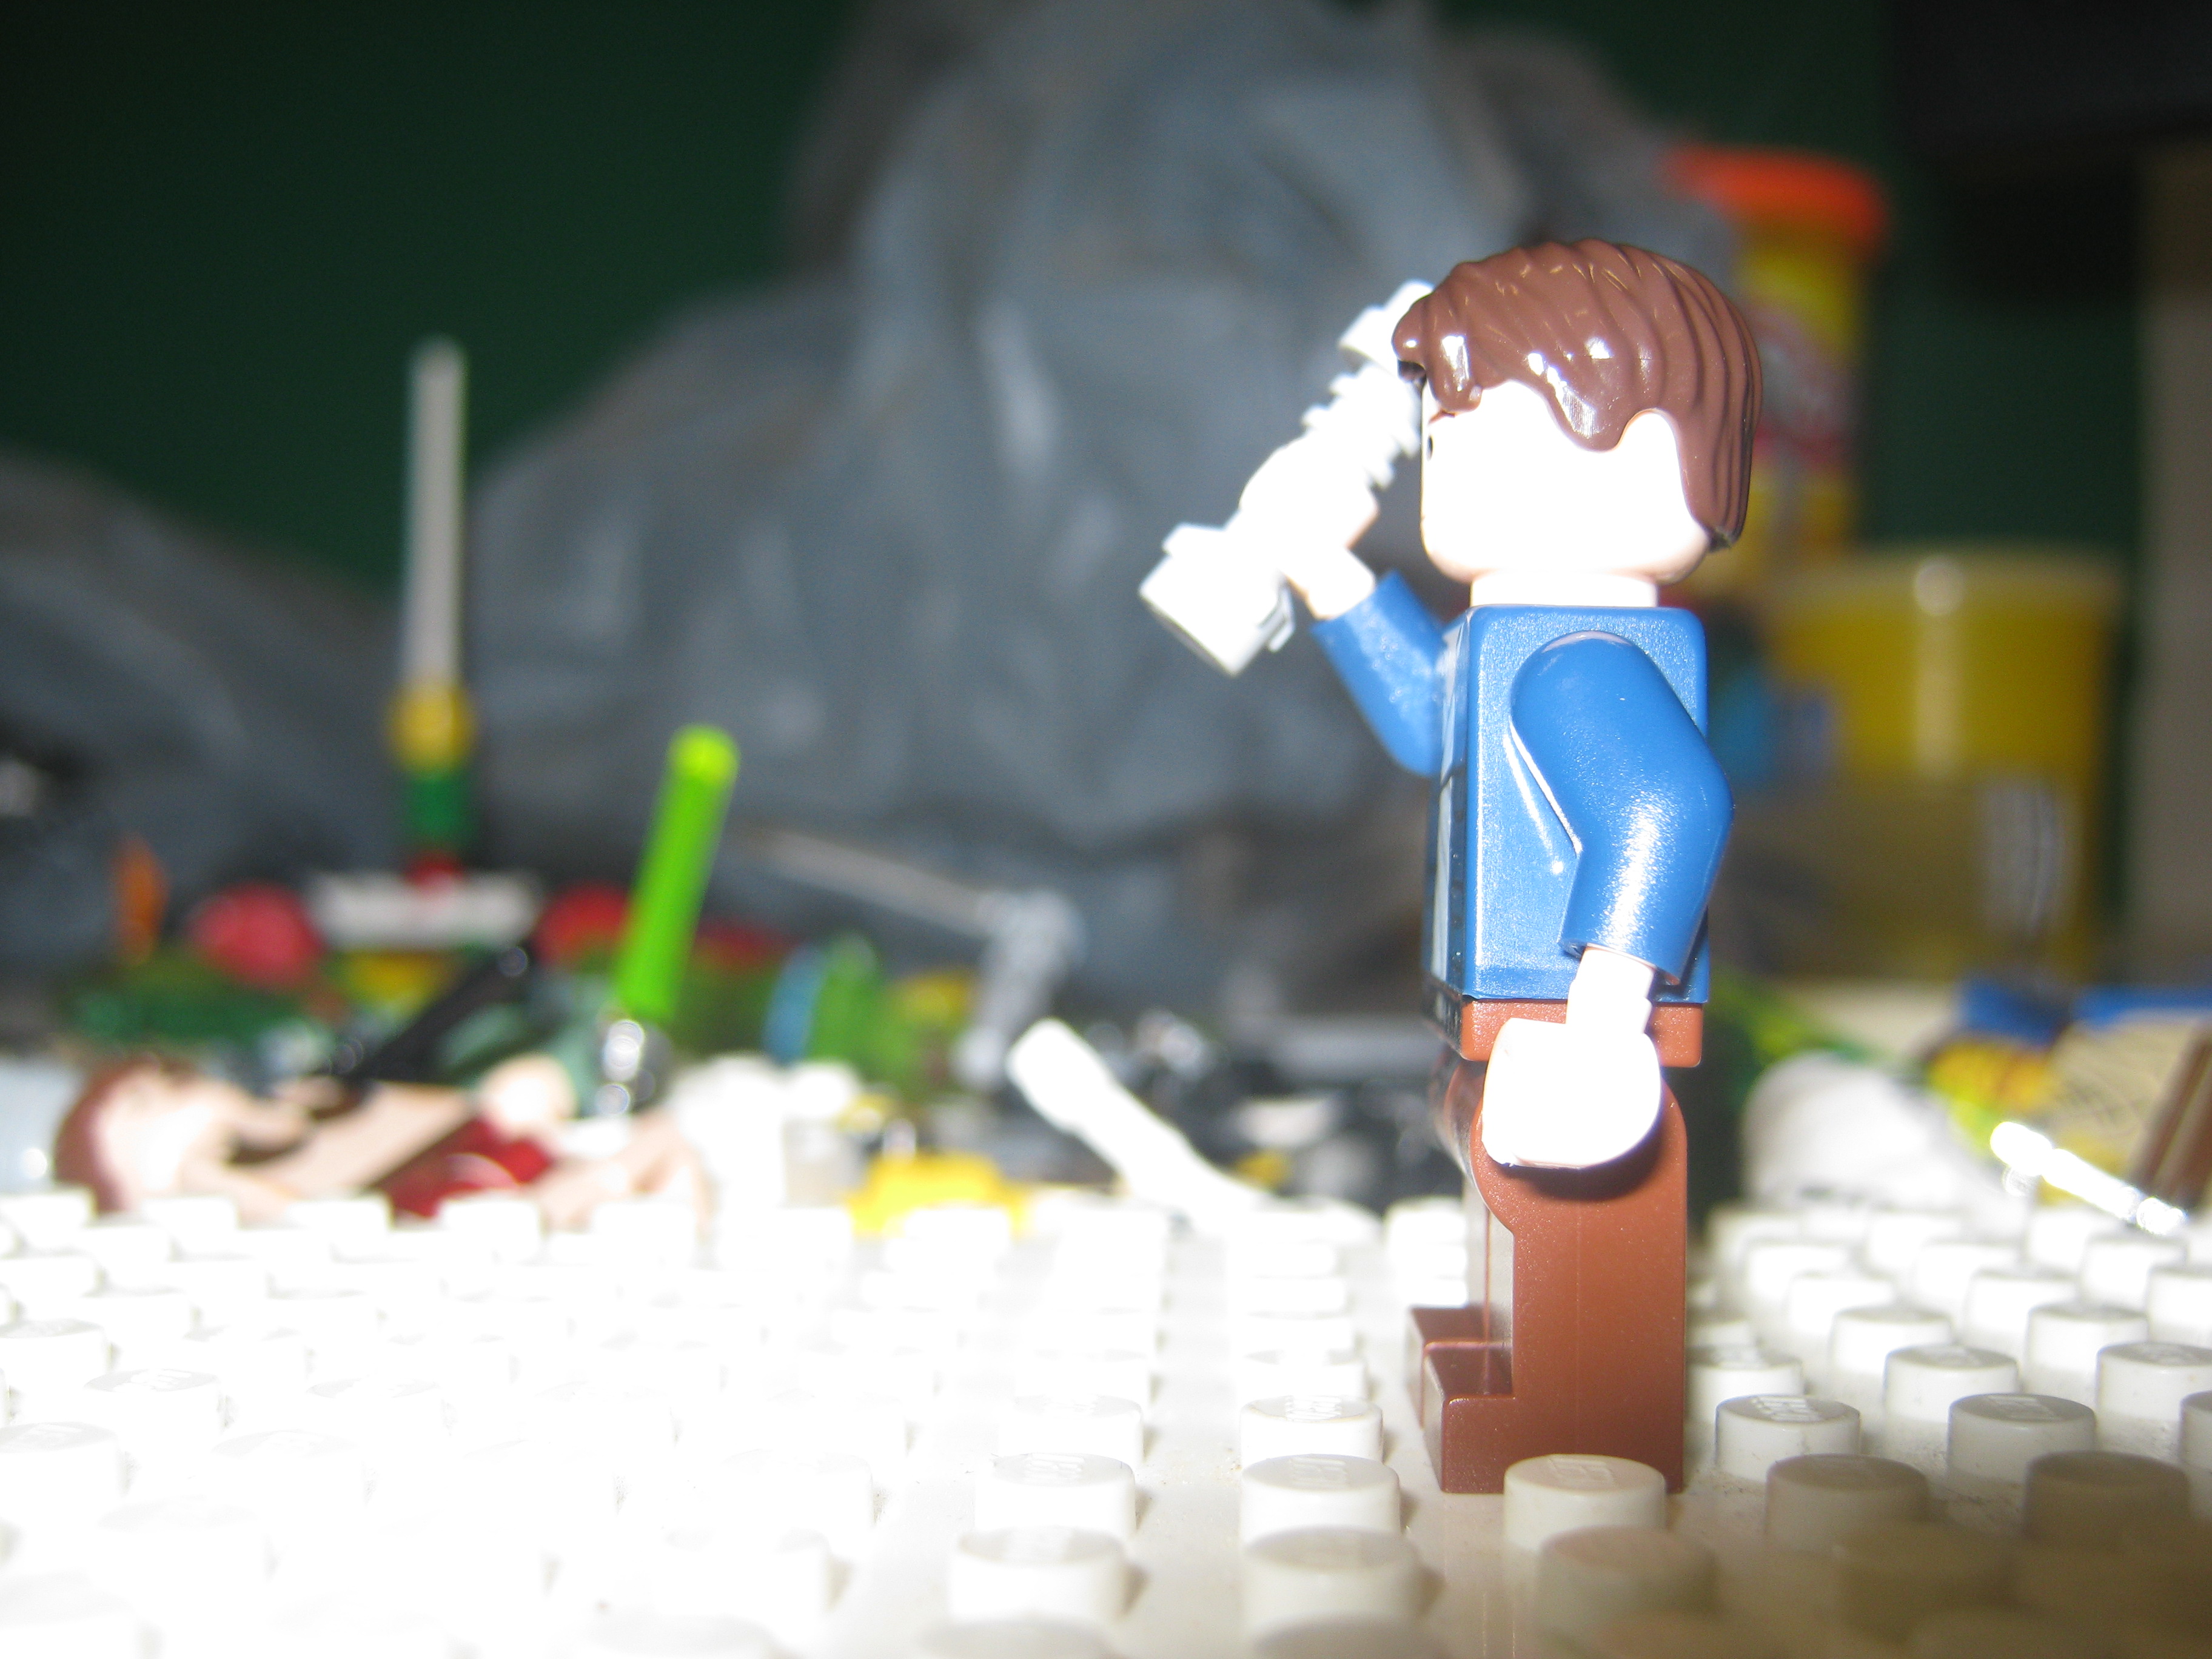
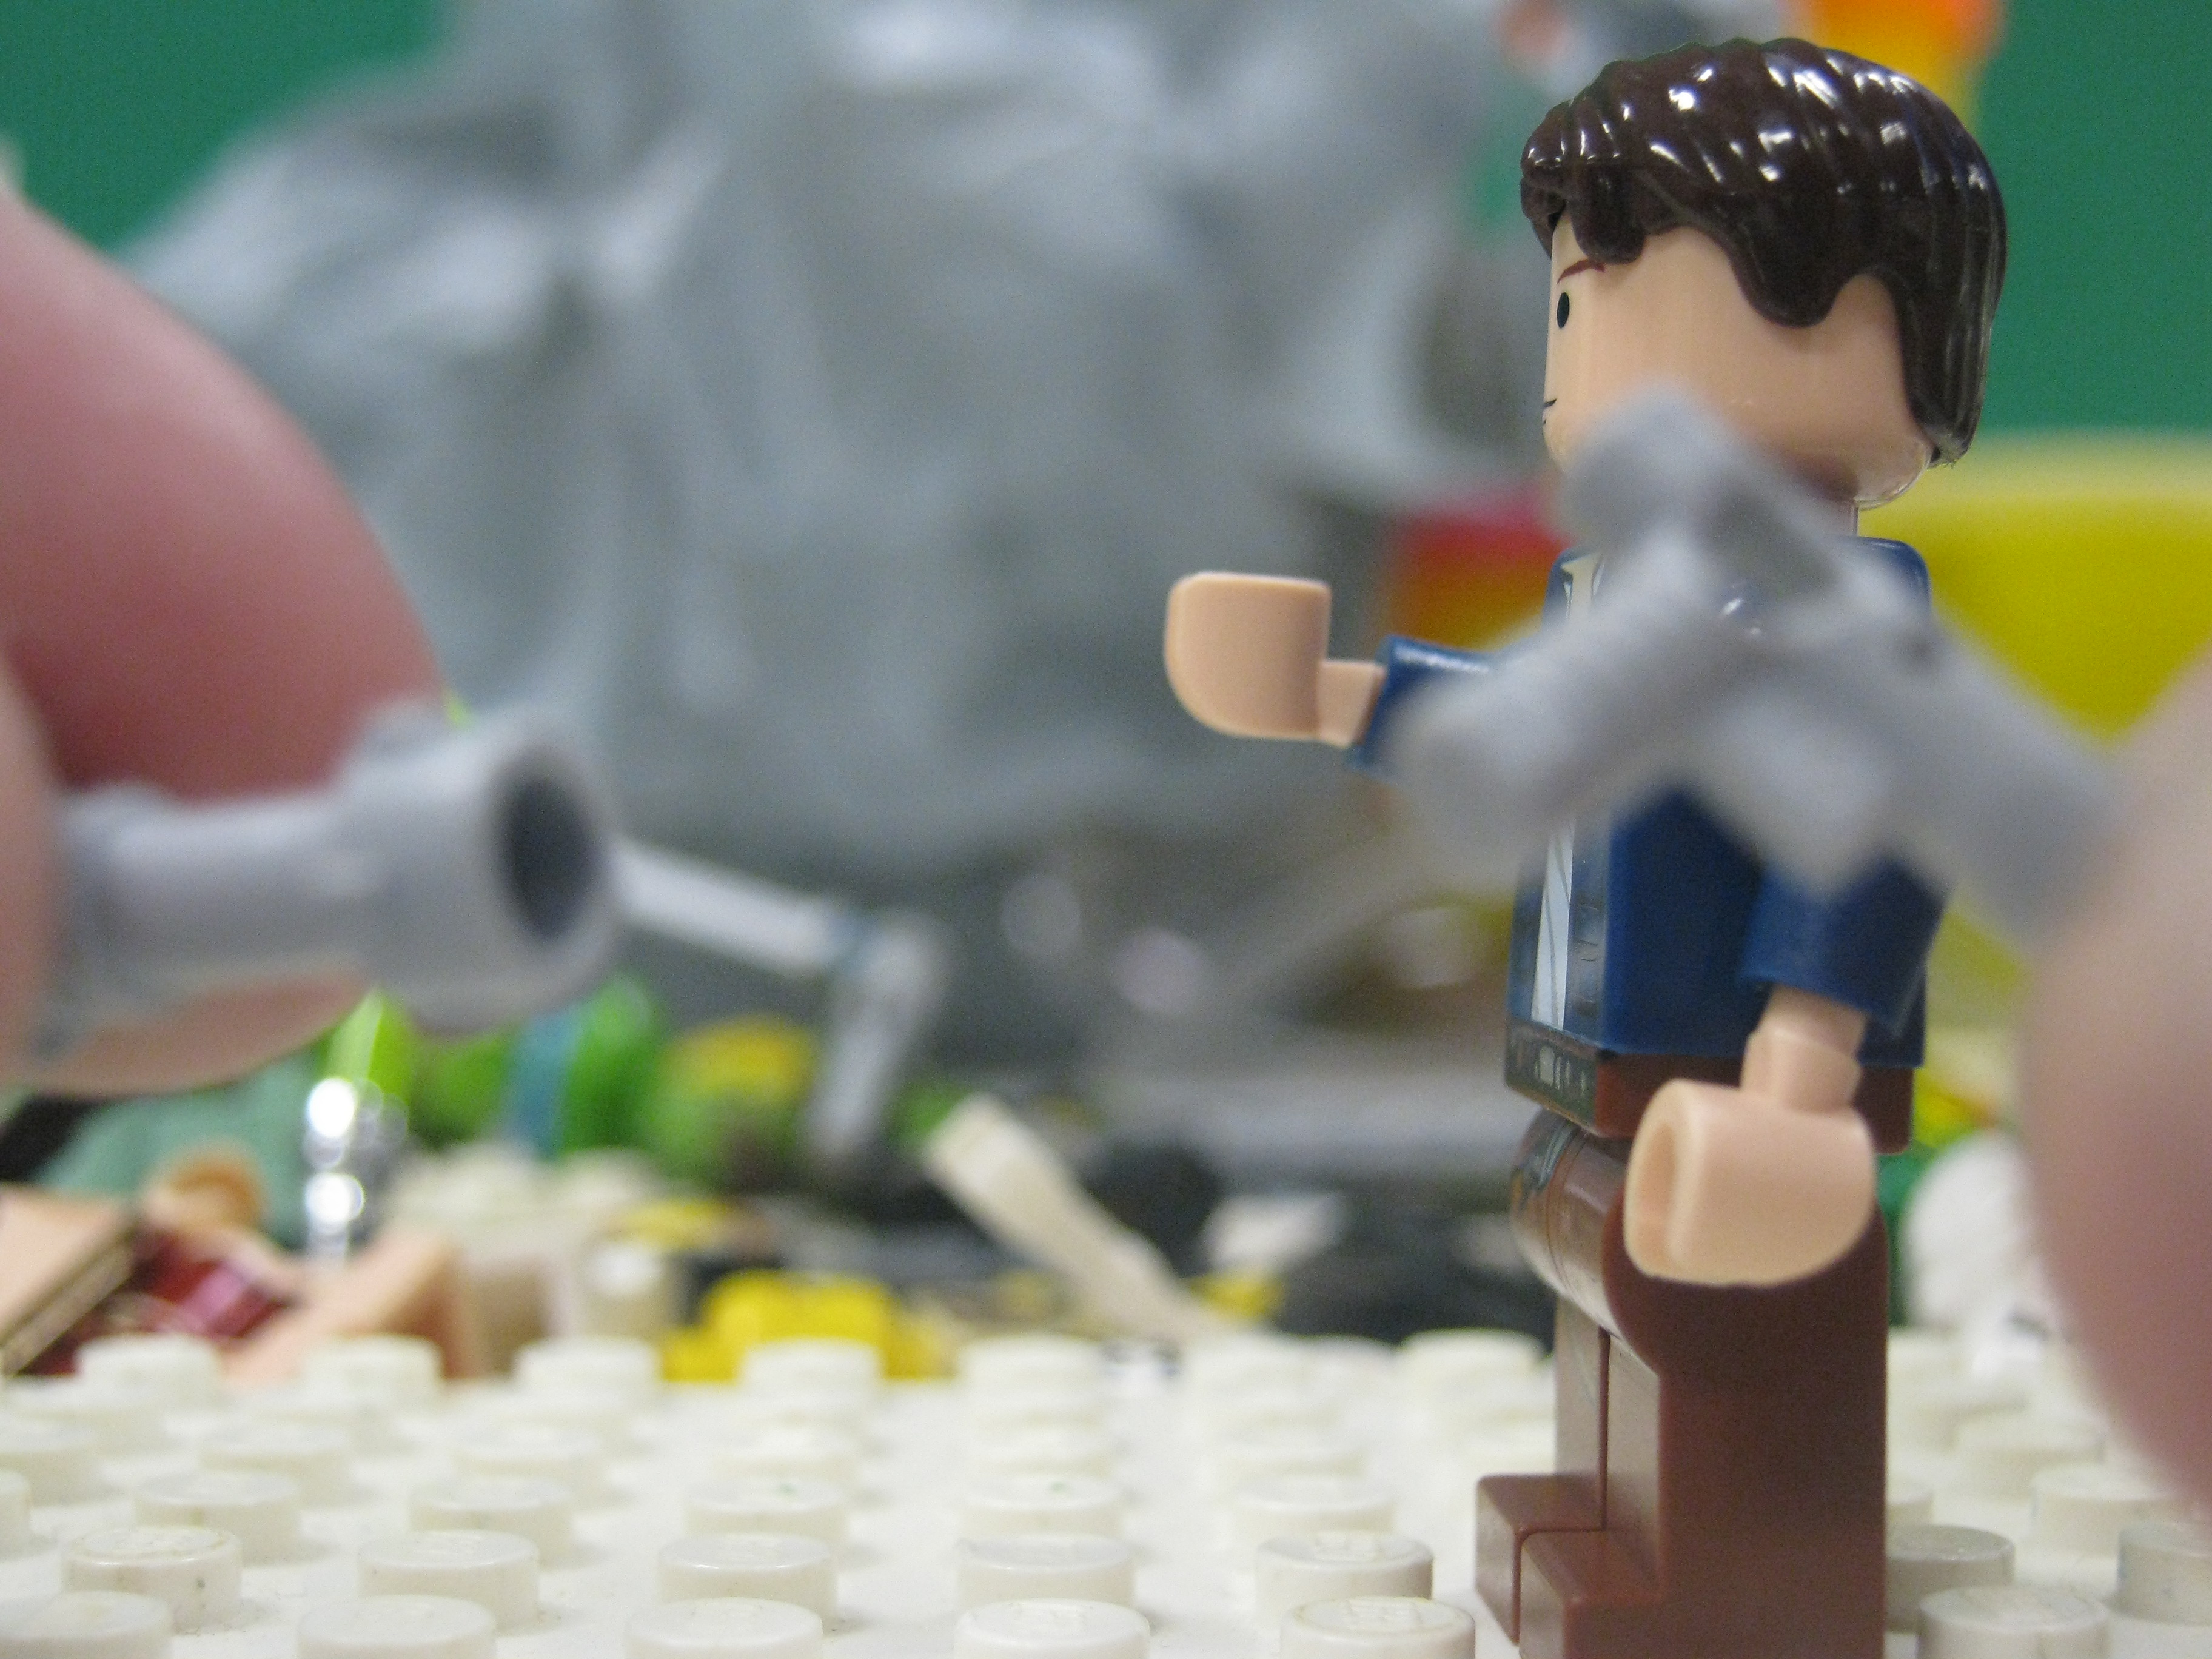
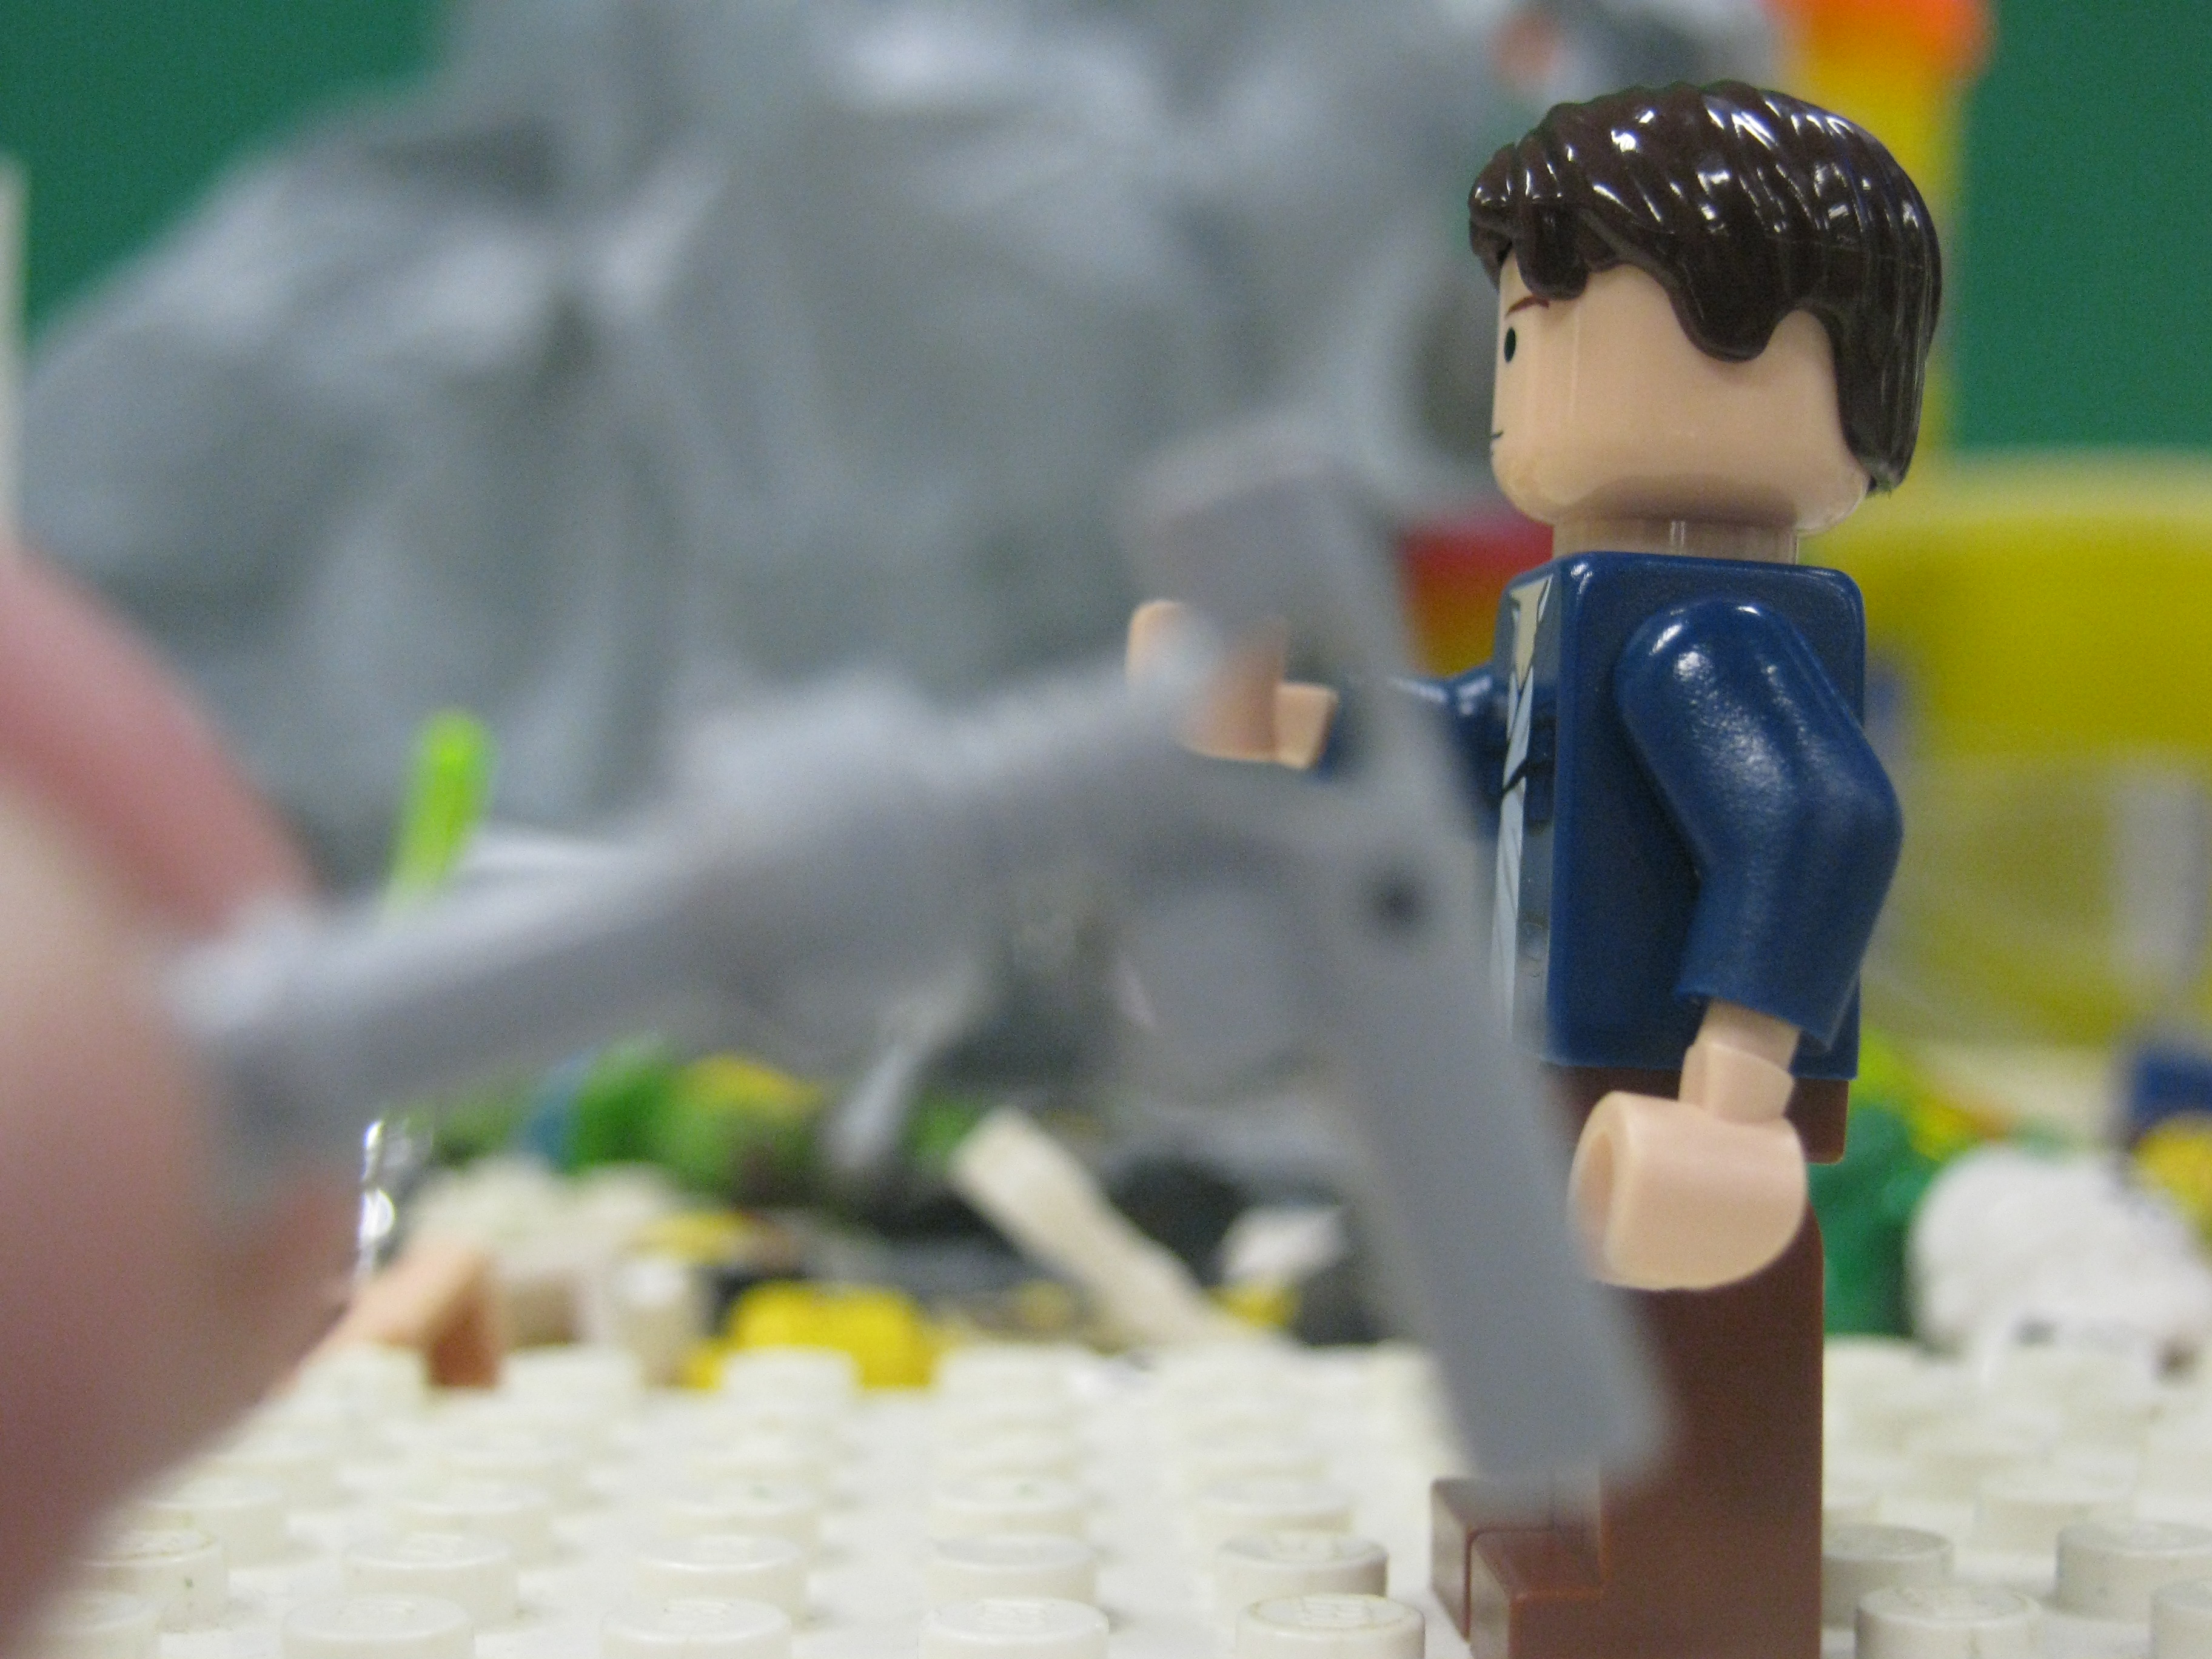
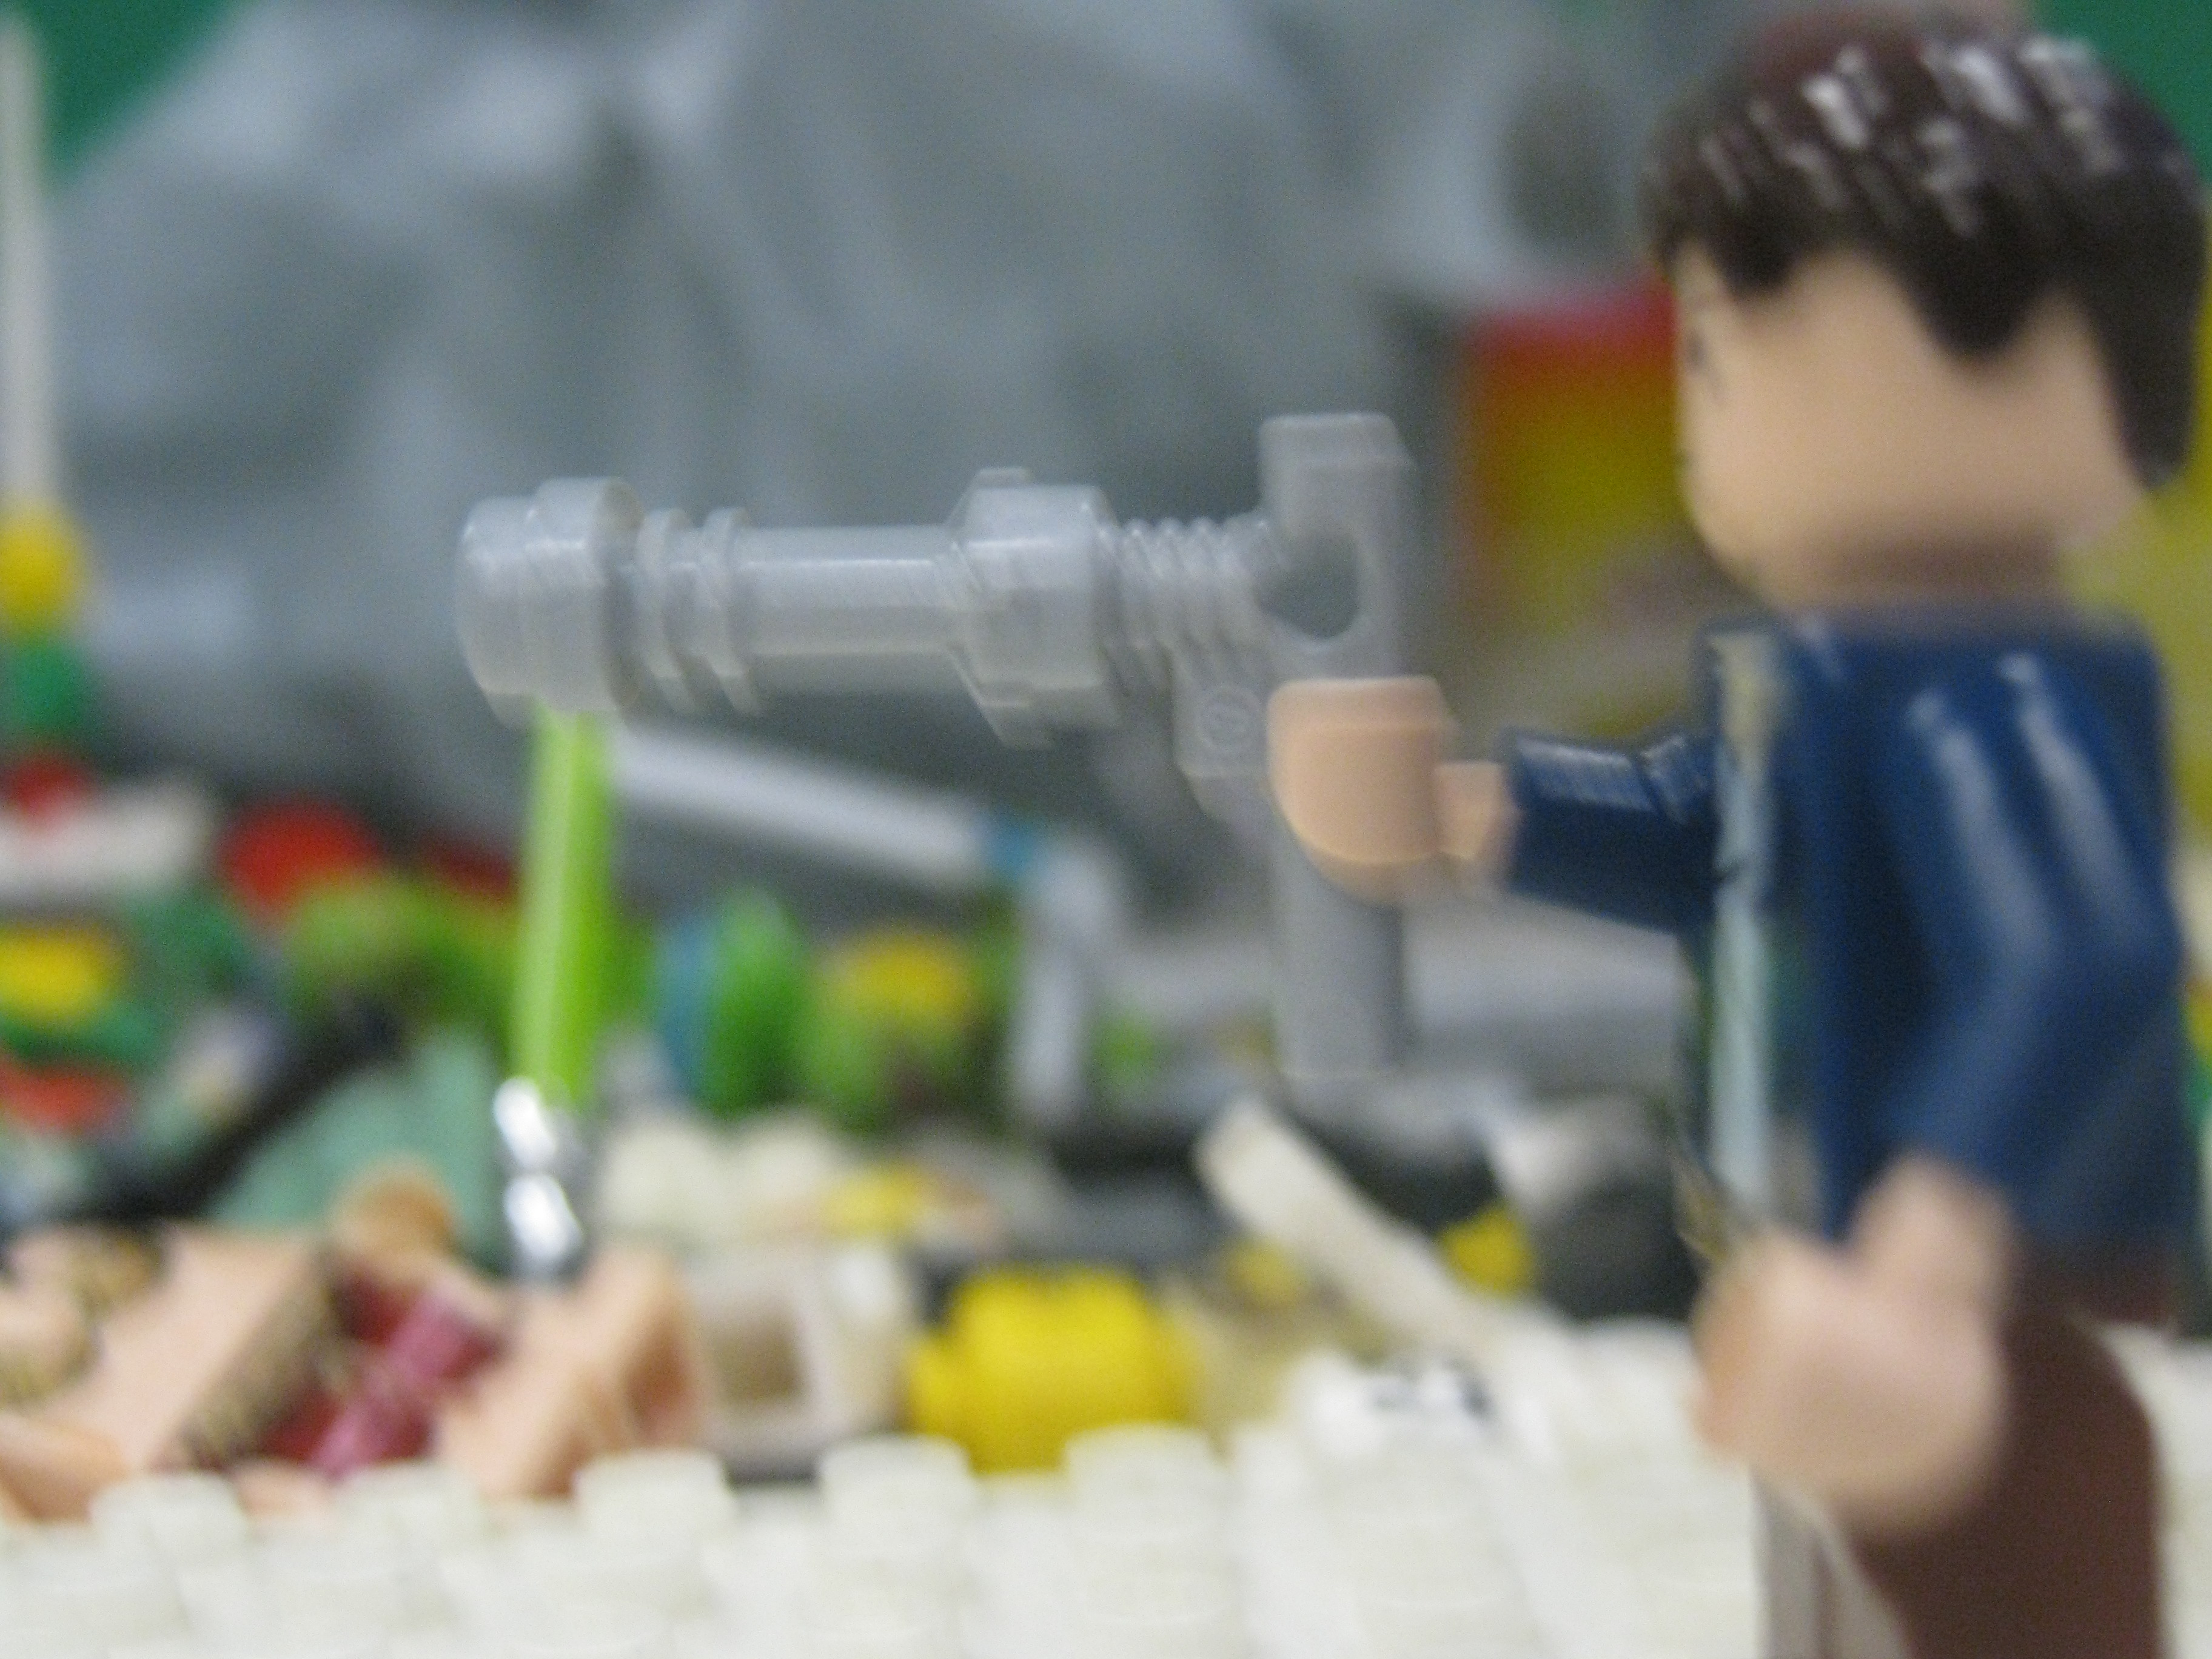
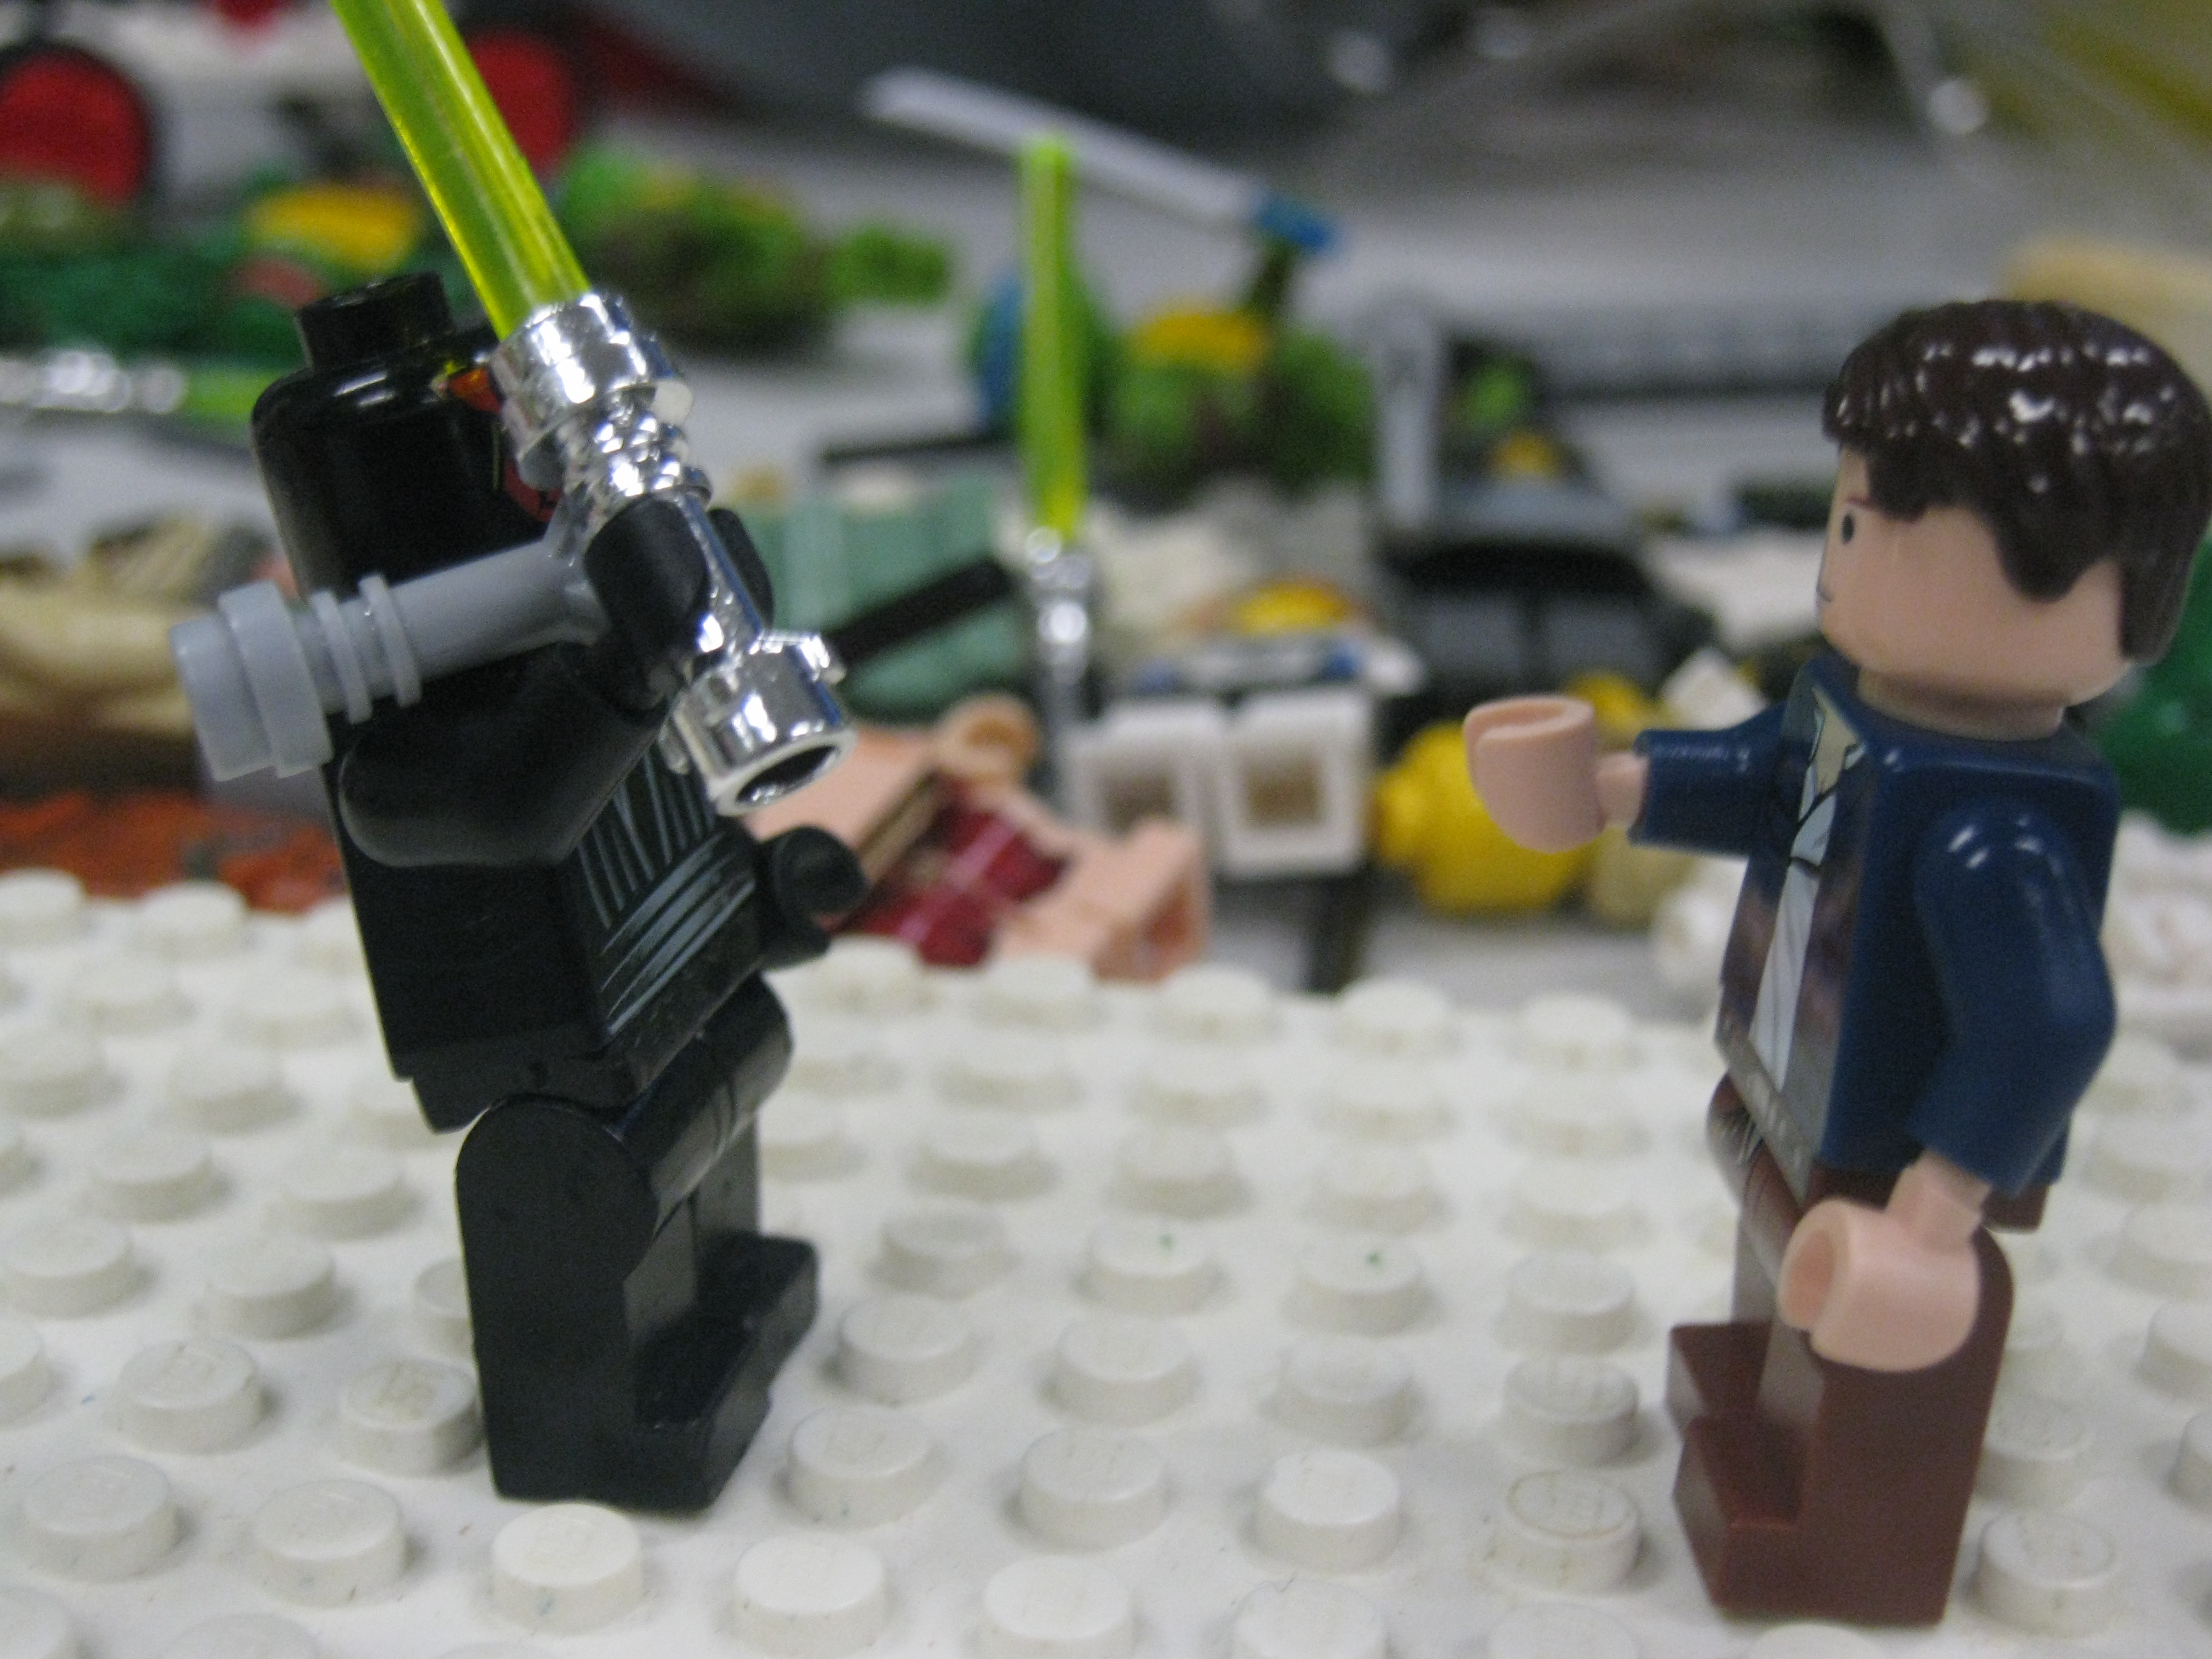
Make the character wind up, raising his arm, getting ready to throw.
Right when what the character is throwing is ready to be released, connect what he is throwing to a small piece of the same color that he could hold on to.
Only use this for one or two frames, so that people wont be able to notice it.
Next, put what he is throwing onto the the character he is throwing it at. I just rested it on the character's arm up against his face.
Then make the character that has been hit lean back and fall to simulate that he has been hit.
Premiere
For the effects of my video, I used Premiere
For the basics of Premiere, I followed my friend's instructable which covers the basics of Adobe Premier
Link to instructable:
https://www.instructables.com/id/The-Basics-of-Adobe-Premier/
For the basics of Premiere, I followed my friend's instructable which covers the basics of Adobe Premier
Link to instructable:
https://www.instructables.com/id/The-Basics-of-Adobe-Premier/
Premier 2
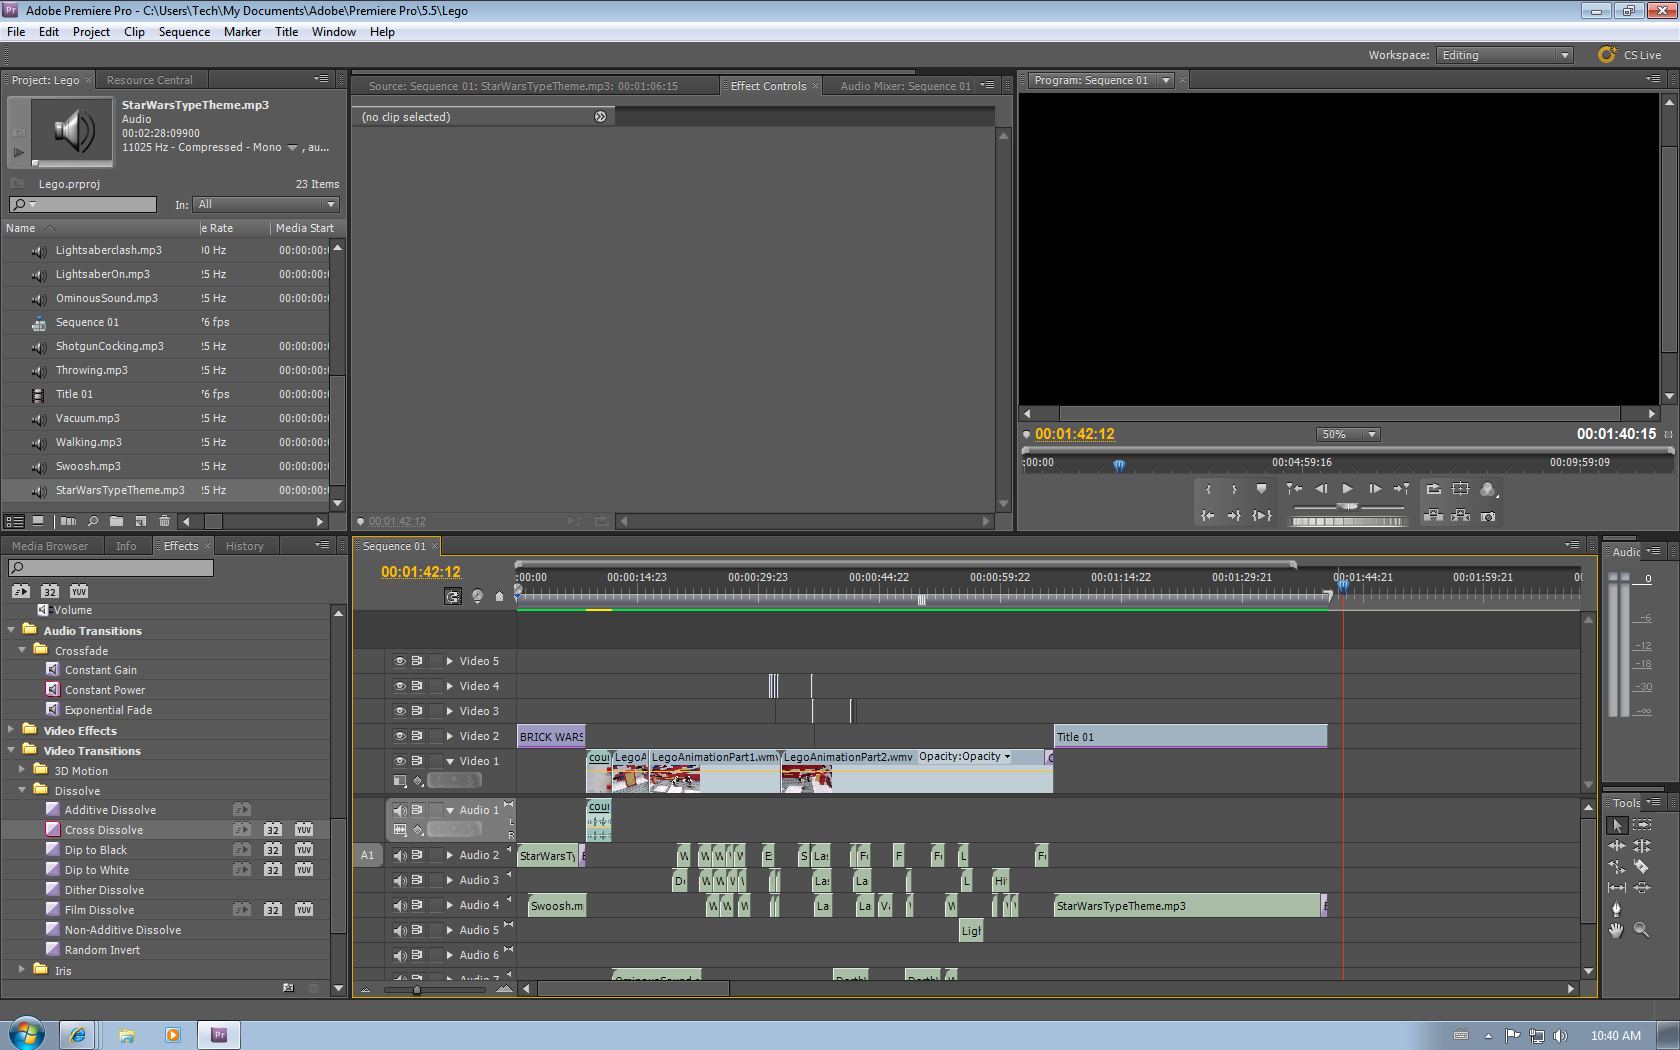
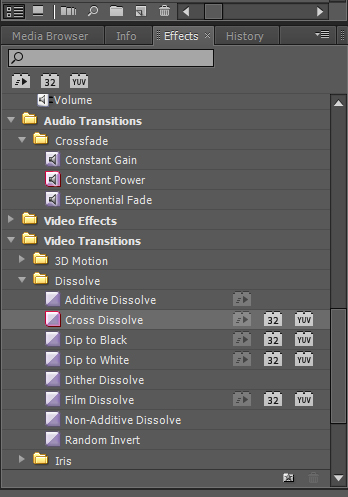
I put the videos I made into Premiere to begin my editing.
I added various sound files I had saved into the video, there are various sites to get these, and there are a large amount.
The video and audio effects can be found in the bottom left section of the screen. To use these, just drag them onto the video/audio files you have imported.
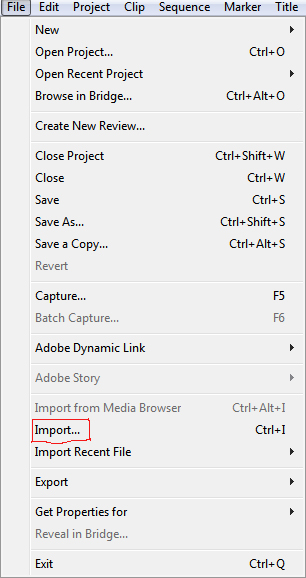
To import files, simply click "File" and select "Import"
Once they are imported, drag them onto the track.
Premier 3: Laser Effects
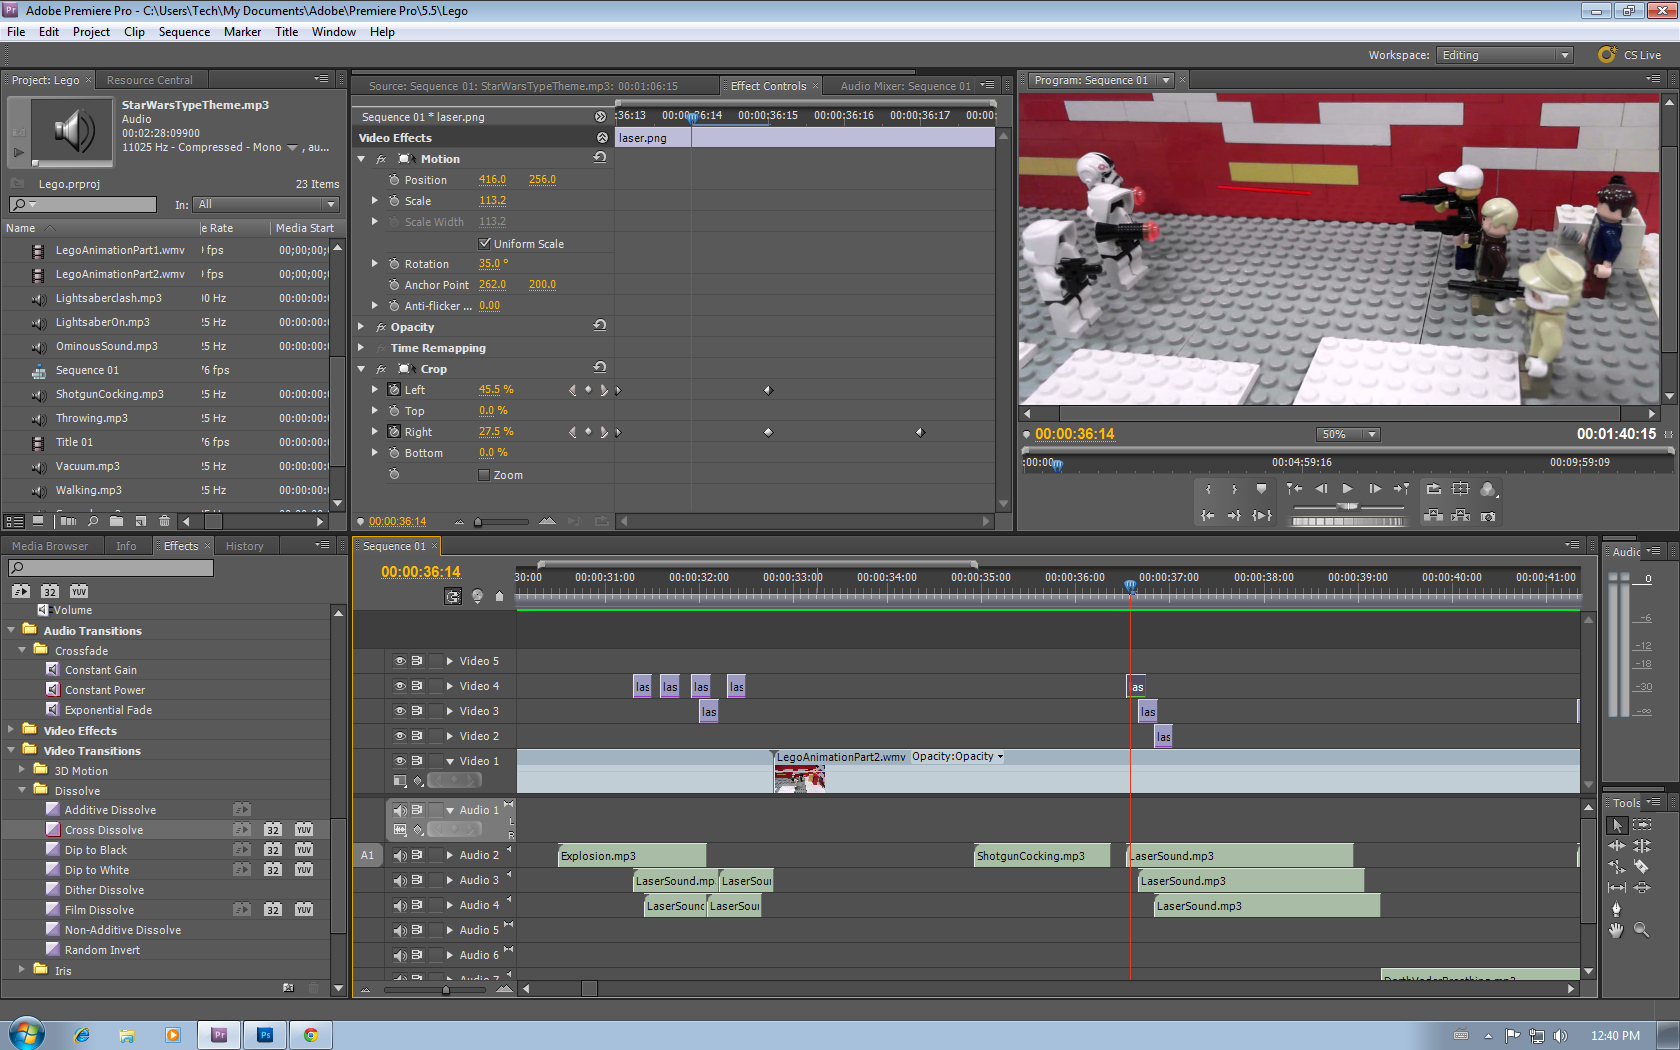
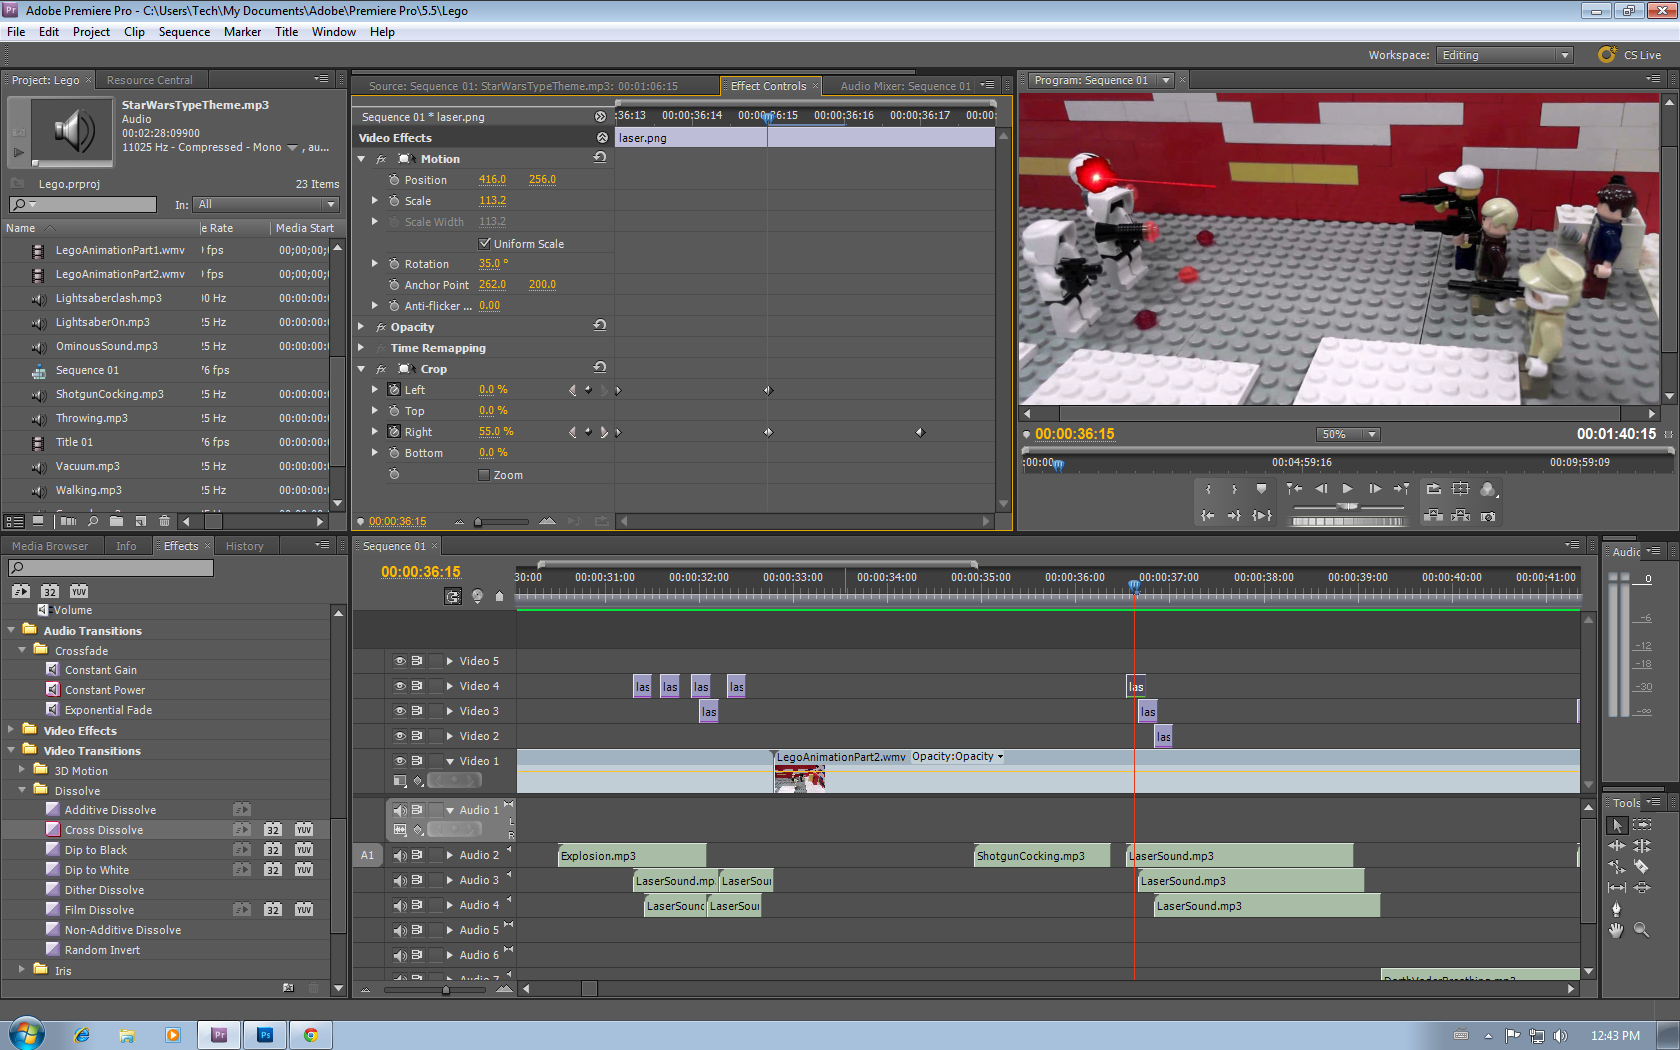
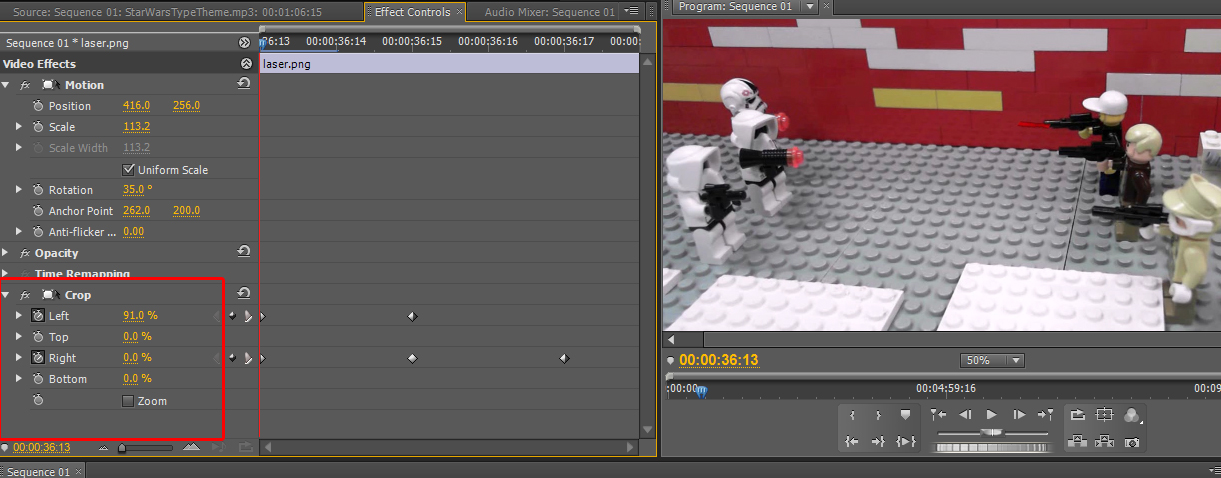
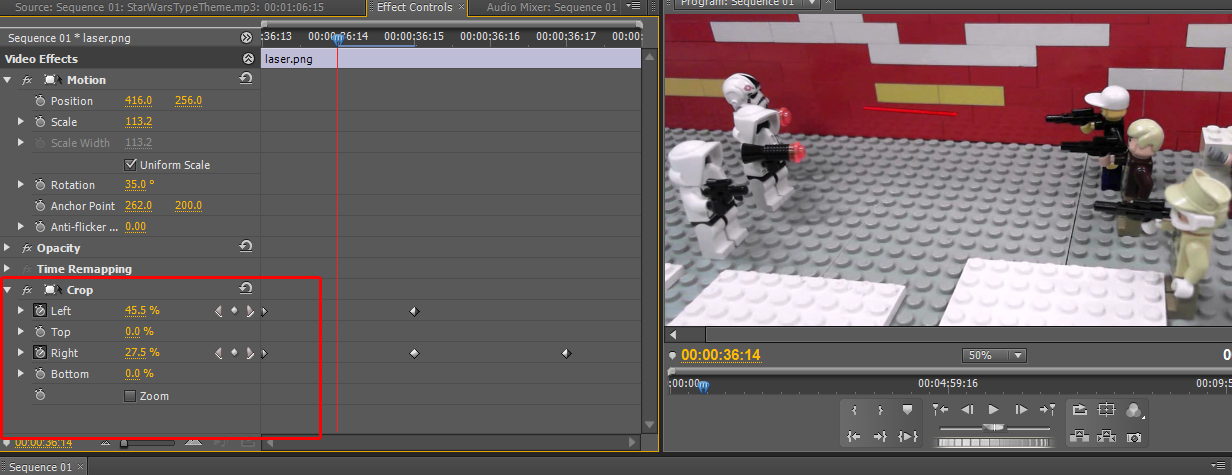
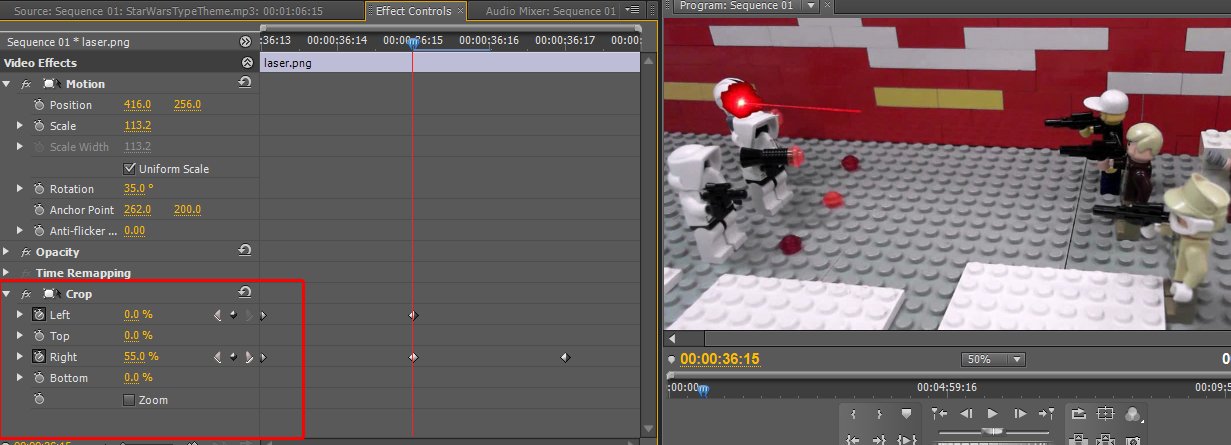
After Effects would be used for this usually, but if you don't have access to it, it can be done in Premiere as well.
The laser was photoshopped and then imported into Premiere.
The laser was photoshopped and then imported into Premiere.
Special Thanks

Special Thanks to:
Mr. Chunks
Premiere Help
johannschmidt
Countdown intro
Mr. Noack
Editing and additional help
Mr. Chunks
Premiere Help
johannschmidt
Countdown intro
Mr. Noack
Editing and additional help