How to Create Dragonballs in Blender: Cycles Render
by divine vipers in Circuits > Art
3708 Views, 5 Favorites, 0 Comments
How to Create Dragonballs in Blender: Cycles Render
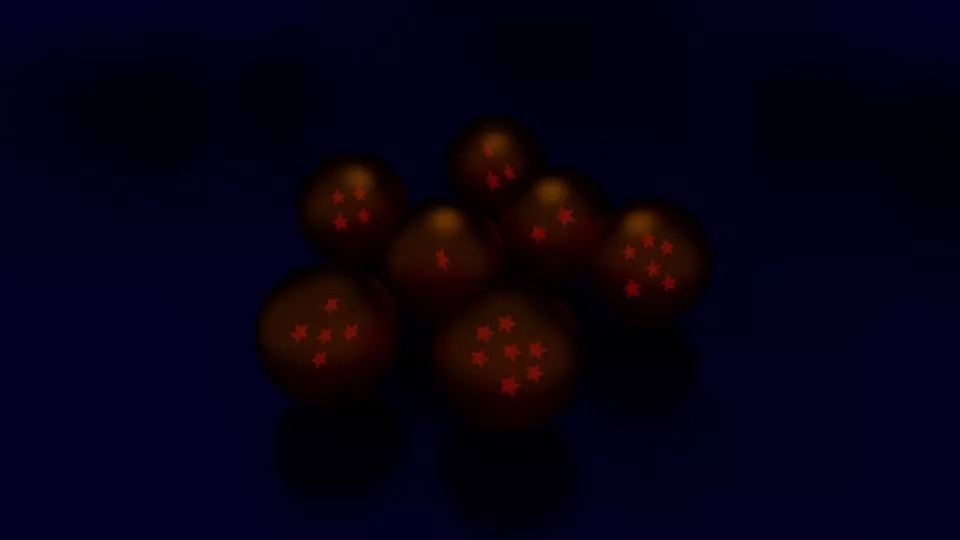
In this instructable, I will show you how to create the Dragonballs from DBZ in Blender. Letsa' go!!!
Creating the Balls.
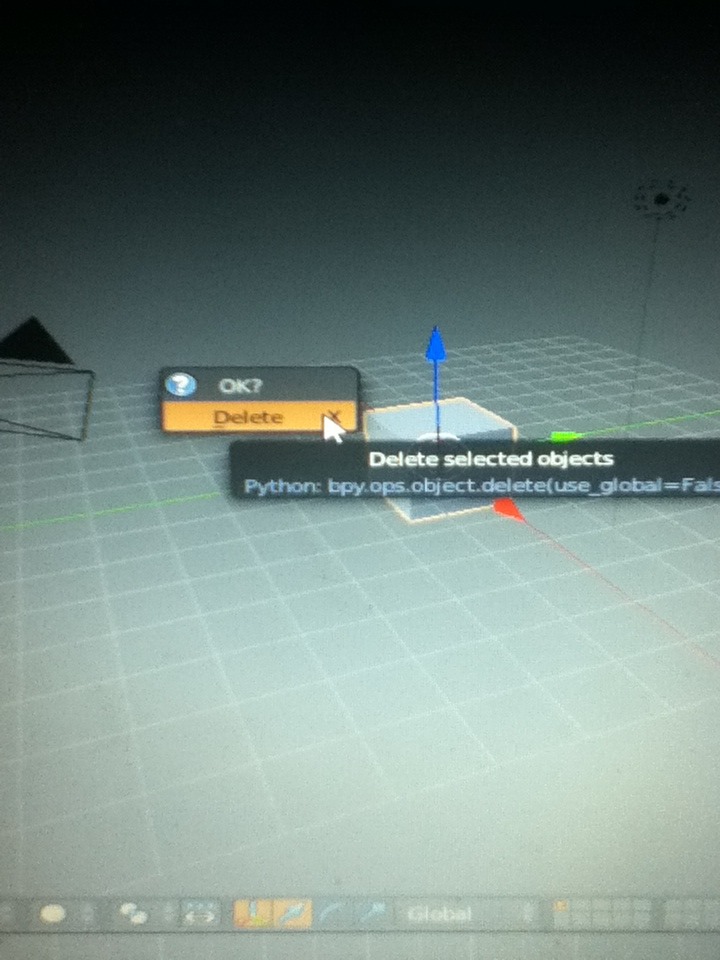
Now, the first step is to load up blender and remove that cube. (Press 'x' and then 'enter')
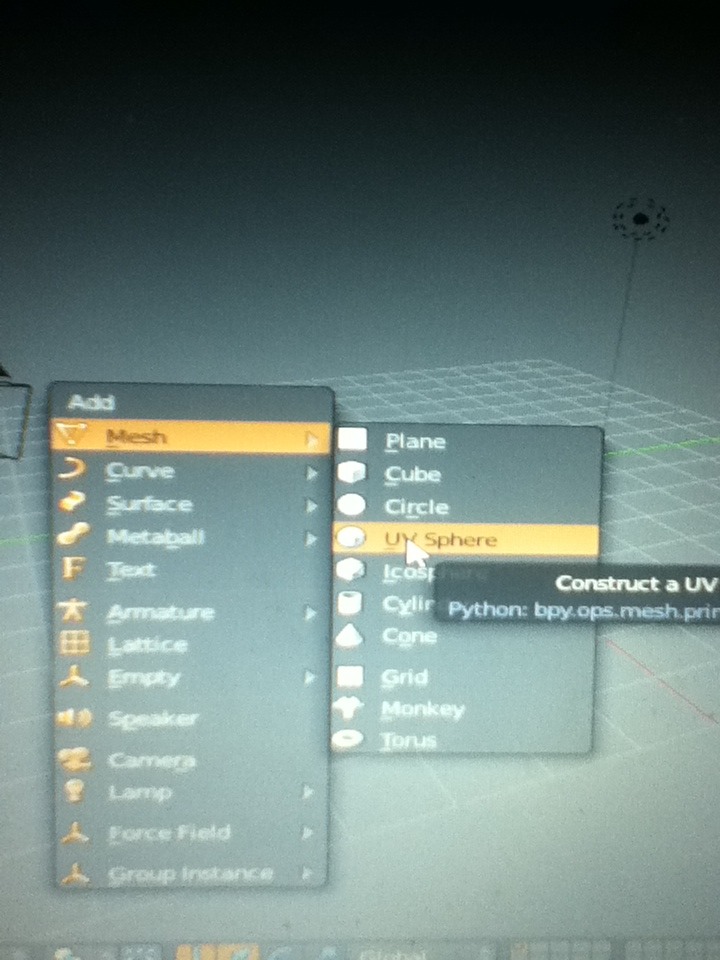
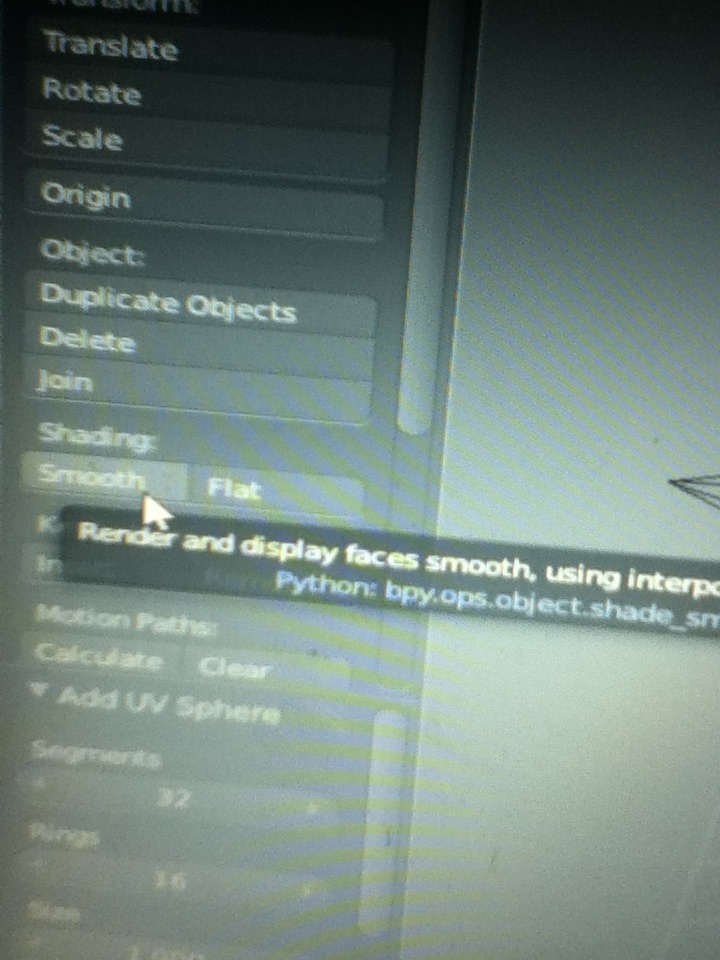
Now we can press (Shift+A) and select 'UV Sphere' and press the 'Smooth shader' to the left.
Now we have that out of the way we can texture the ball. To do this we need to have the Blender render changed to Cycles render.
Now we can press (Shift+A) and select 'UV Sphere' and press the 'Smooth shader' to the left.
Now we have that out of the way we can texture the ball. To do this we need to have the Blender render changed to Cycles render.
Texturing the Balls
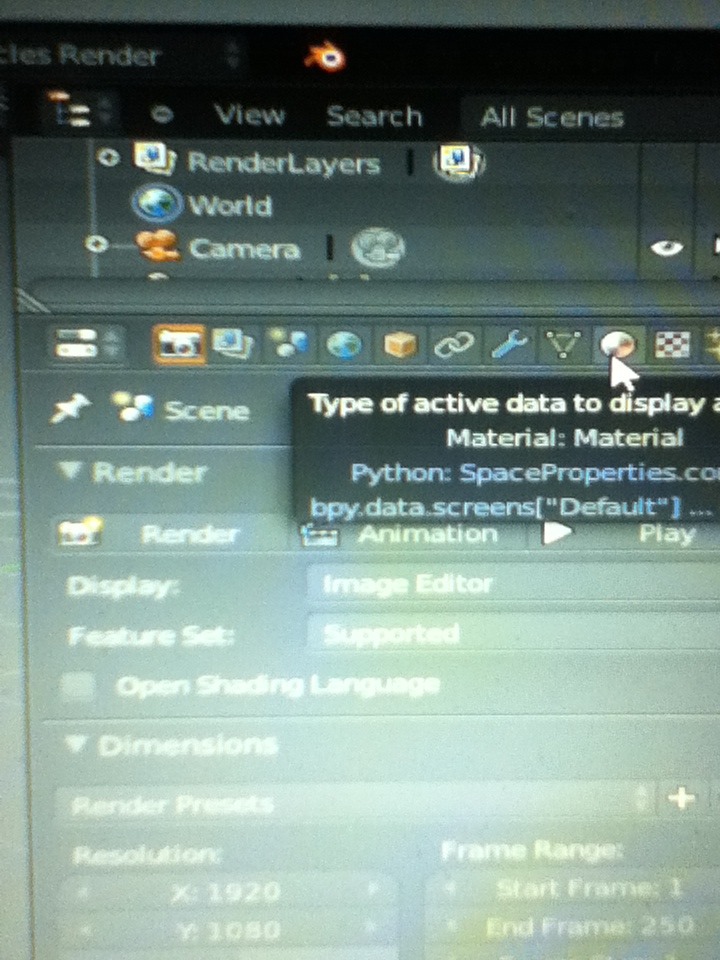
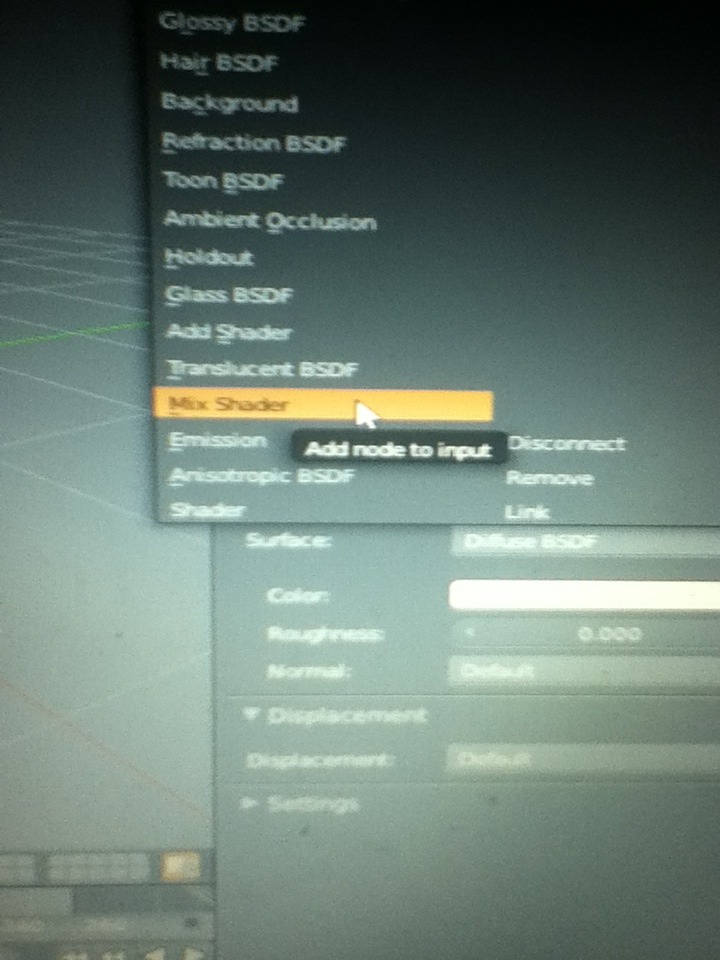
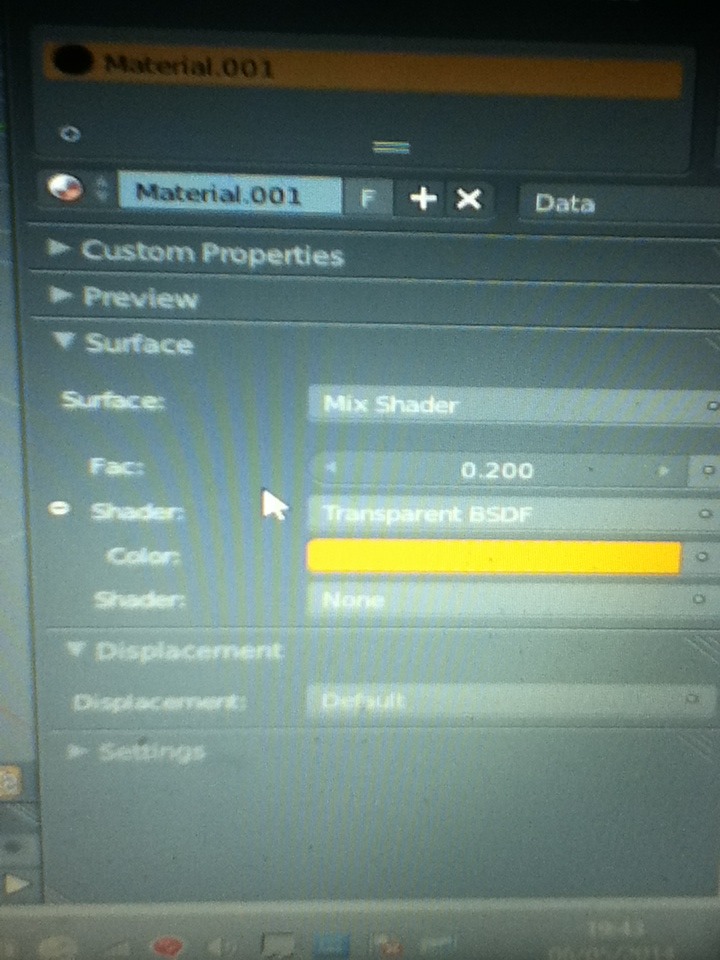
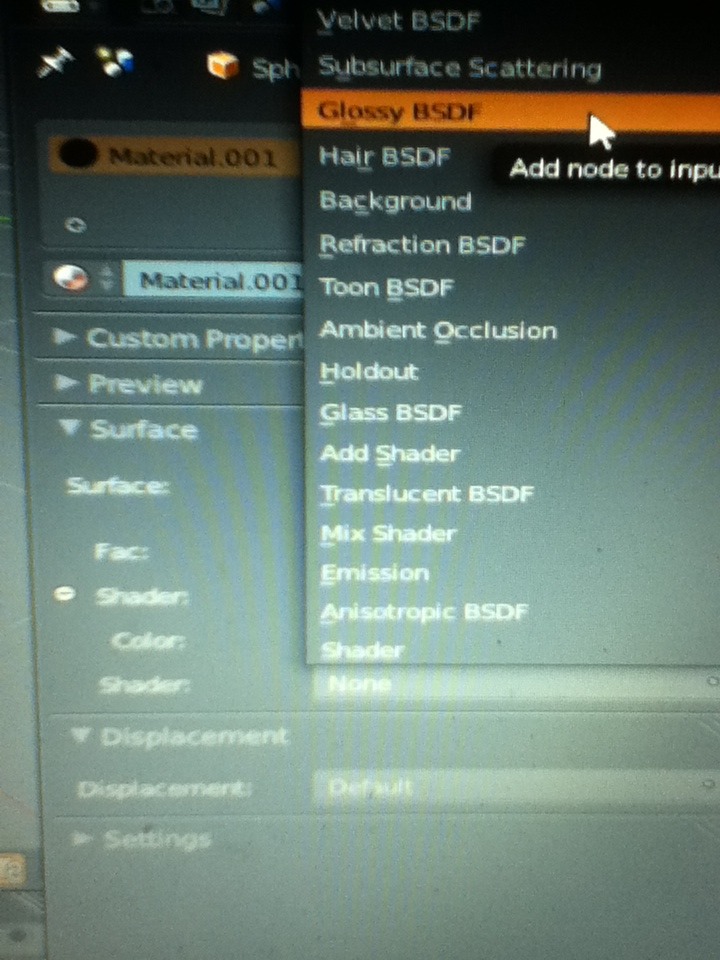
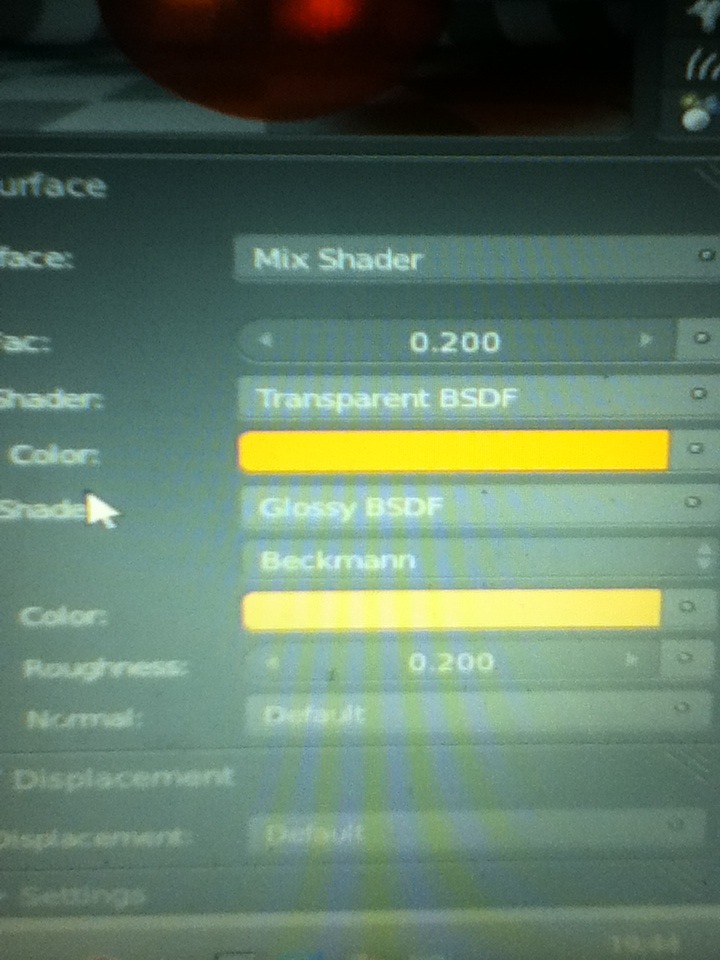
Now we have Cycles render on we can begin to texture the ball.
To do this we drag out the Menu on our right until we see a red radioactive symbol. (Best definition ever). And press on it.
Now you need to press on new to create a new texture. There should be some options under a tab named surface. Open that tab if it isn't already.
Now there should be a drop box with the word 'Diffuse' in it. Press on this and a bunch of options will appear. You need to select 'Mix Shader'
Now under the Dropbox there should be a box labeled 'Fac'. Click on the slider and type in a value of ( .200 ) but without the brackets.
Now we need to select the top drop box out of the two labeled 'None' and a bunch of options will appear. Select the one labeled as 'Transparent BSDF' and change to colour to any shade of orange you would like.
For the second box labeled 'None' (the only box labeled 'none' now). You will need to click and set this as 'Glossy BSDF' and change the colorectal to be the same shade of orange but make it slightly lighter. And also Shane the roughness value to '0.100'
Now this step is complete.
Creating the Stars.
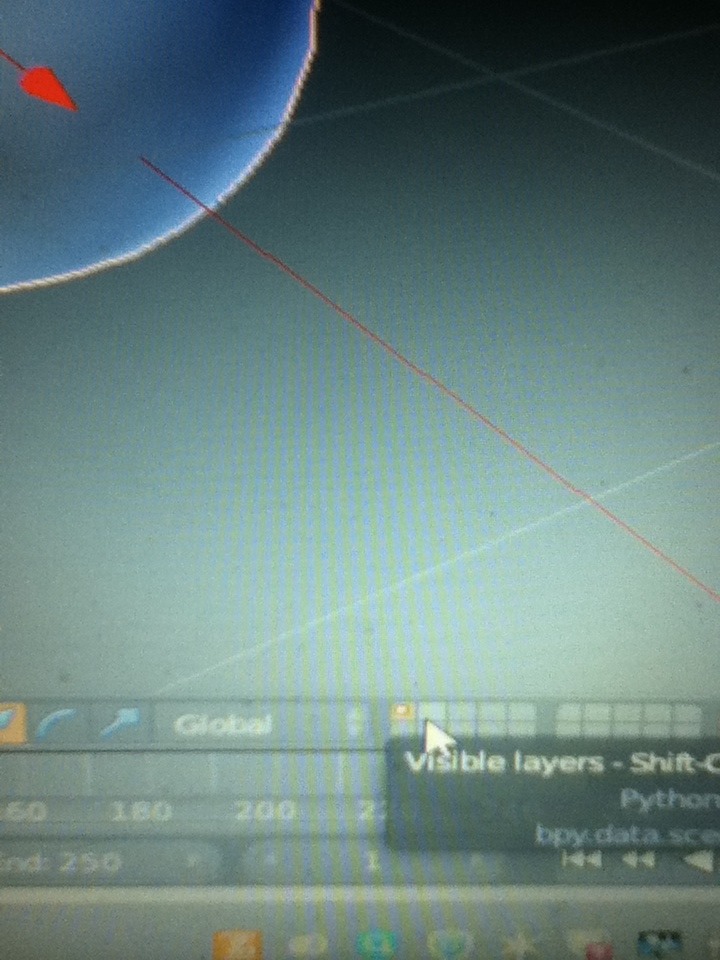
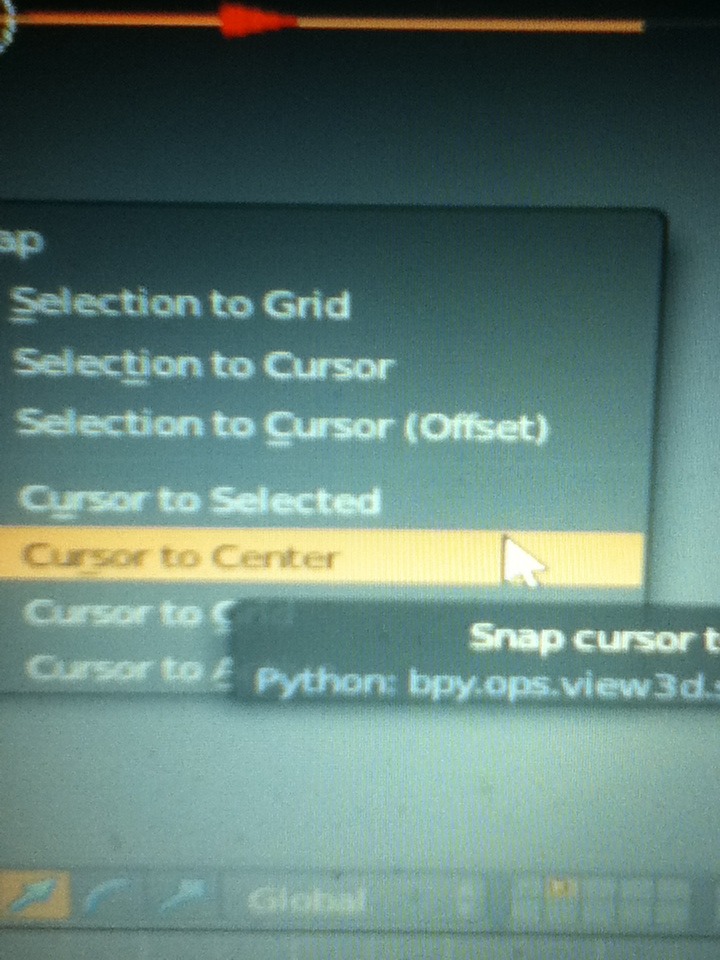
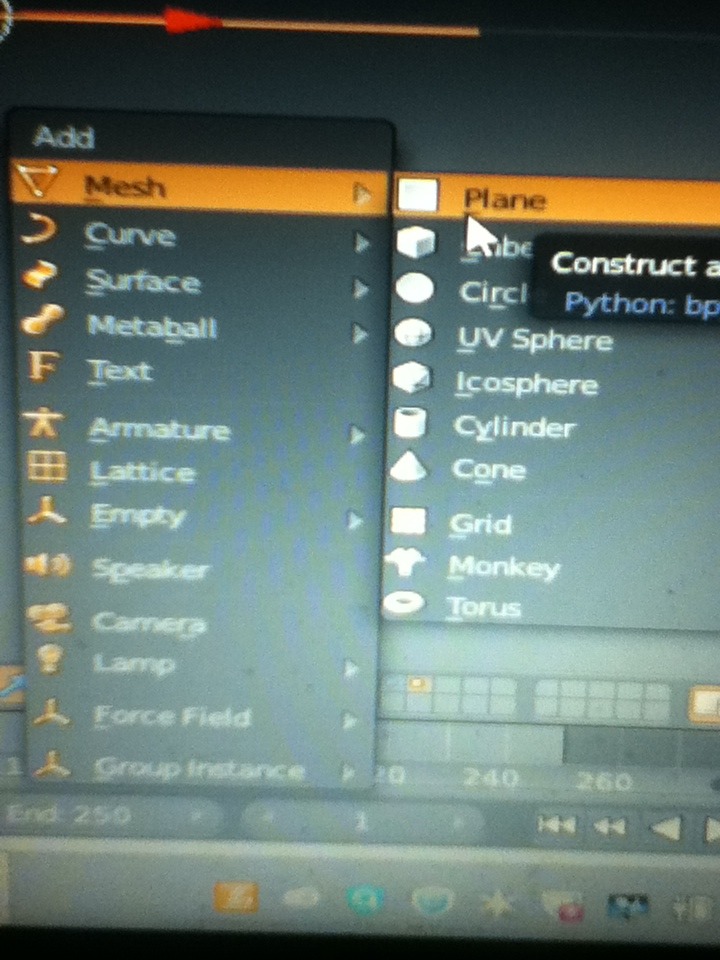
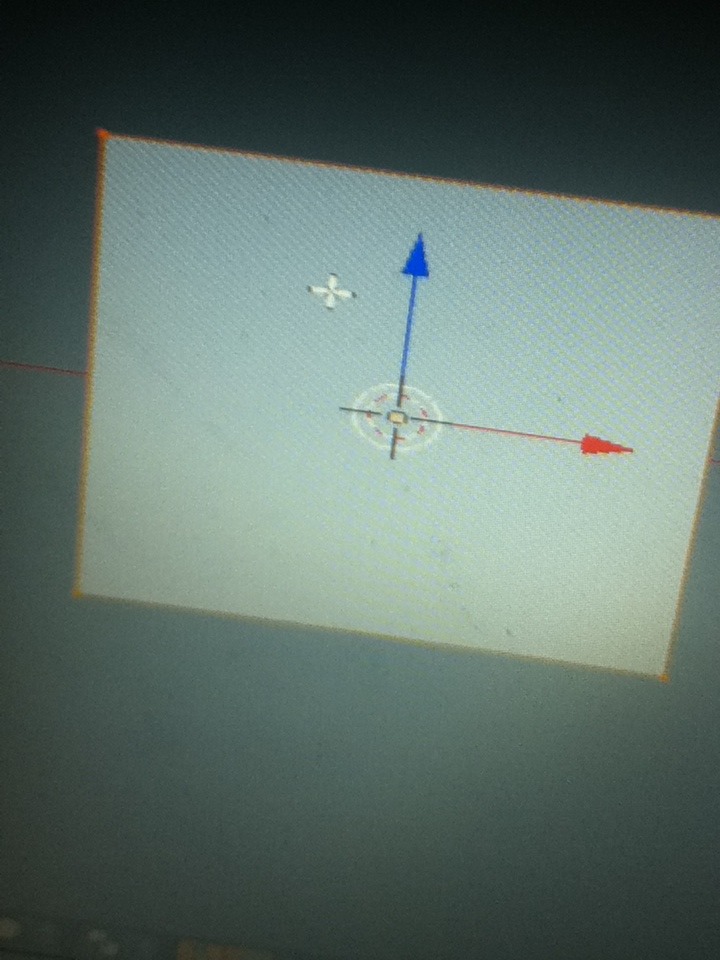
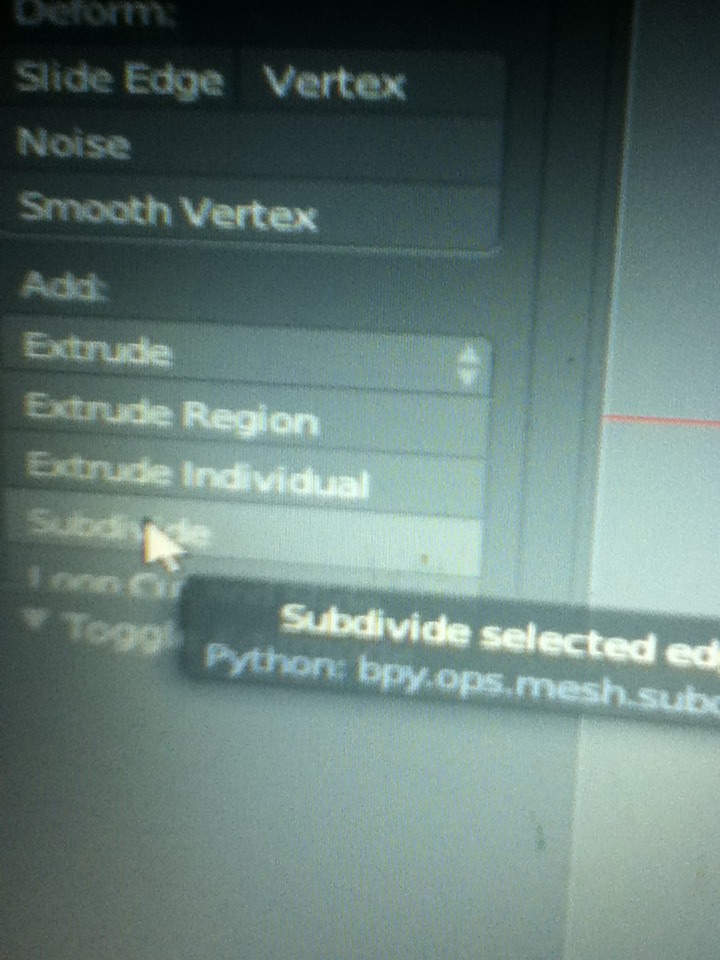
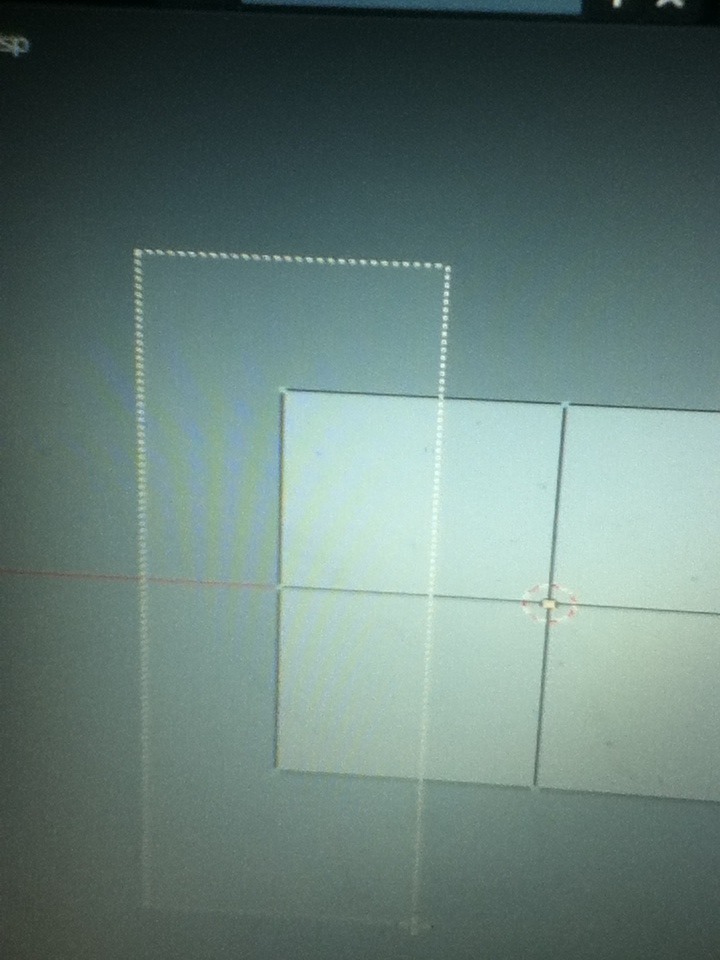
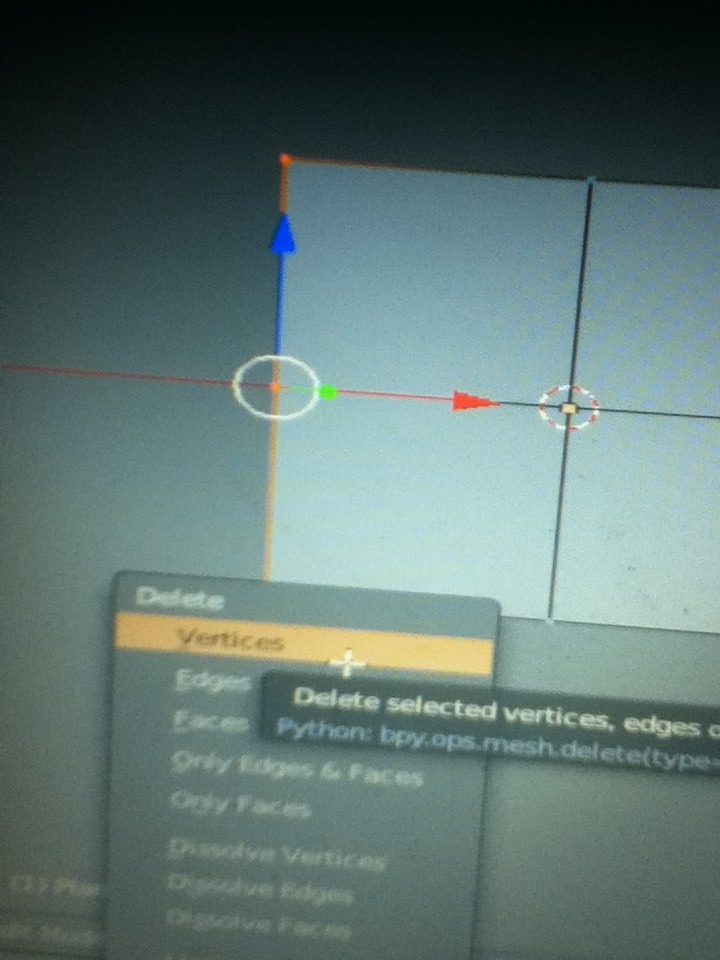
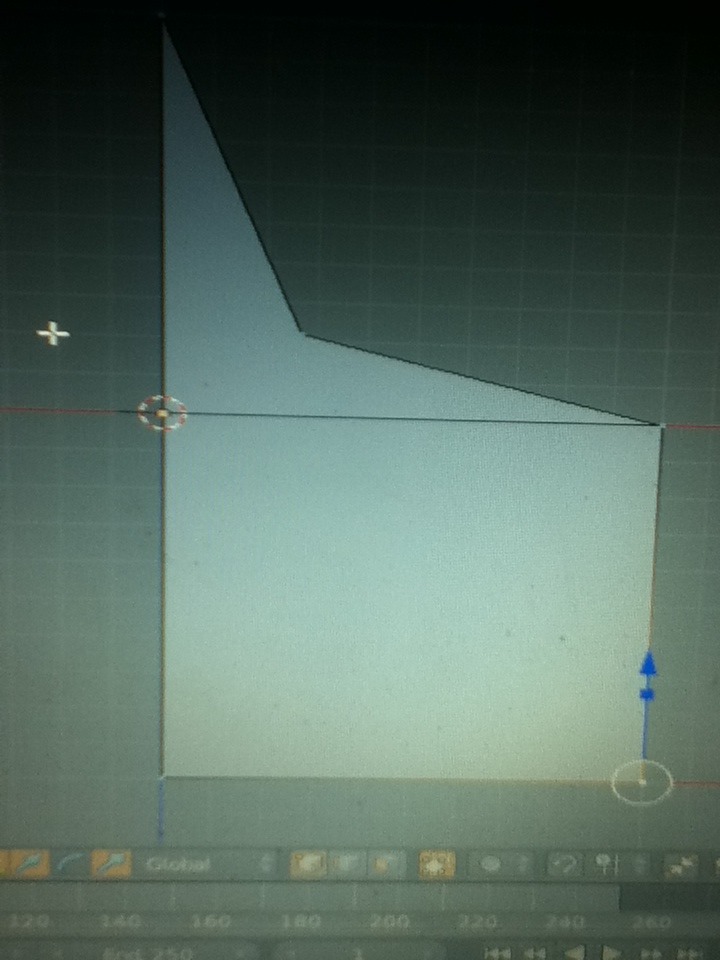
For this we need a new layer. So we will press onto the second box next to the 'Global' tab at the bottom of the screen.
Now press '1' to go to front view and press 'Shift+S' and select 'Cursor To Center' and now press 'Shift+A' and select 'Plain'.
We can now rotate it to face us by pressing 'R' then 'X' then '90' then press 'Tab' to toggle into edit mode and press the 'subdivide' button on the left options panel.
We now need to press 'A' to deselect everything and then 'B' to box select the 3 vertices on our left and press 'X' and select vertices.
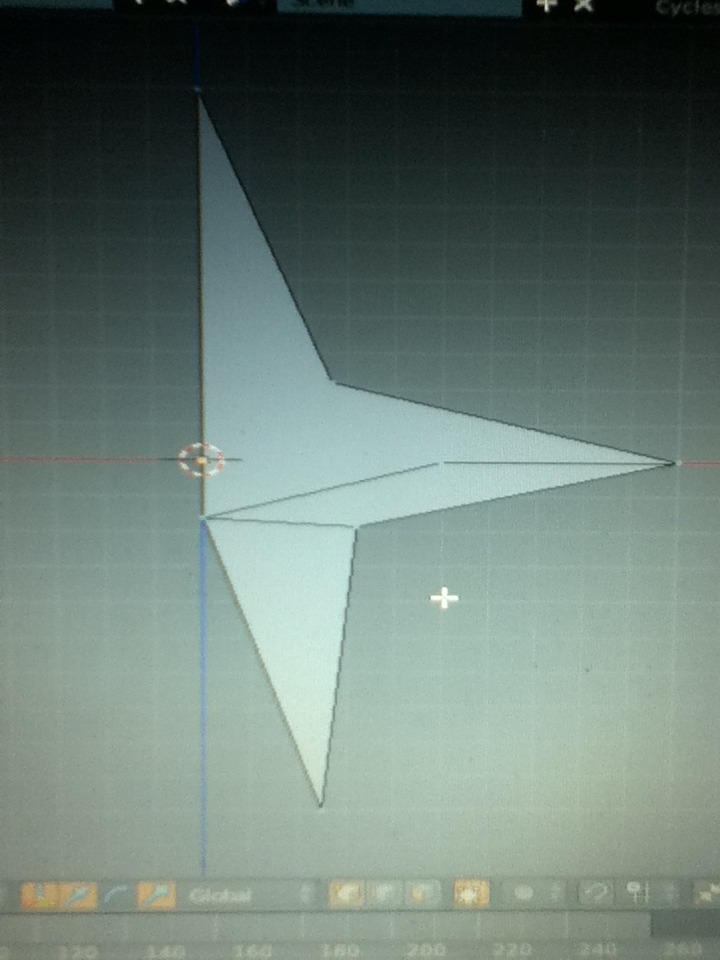
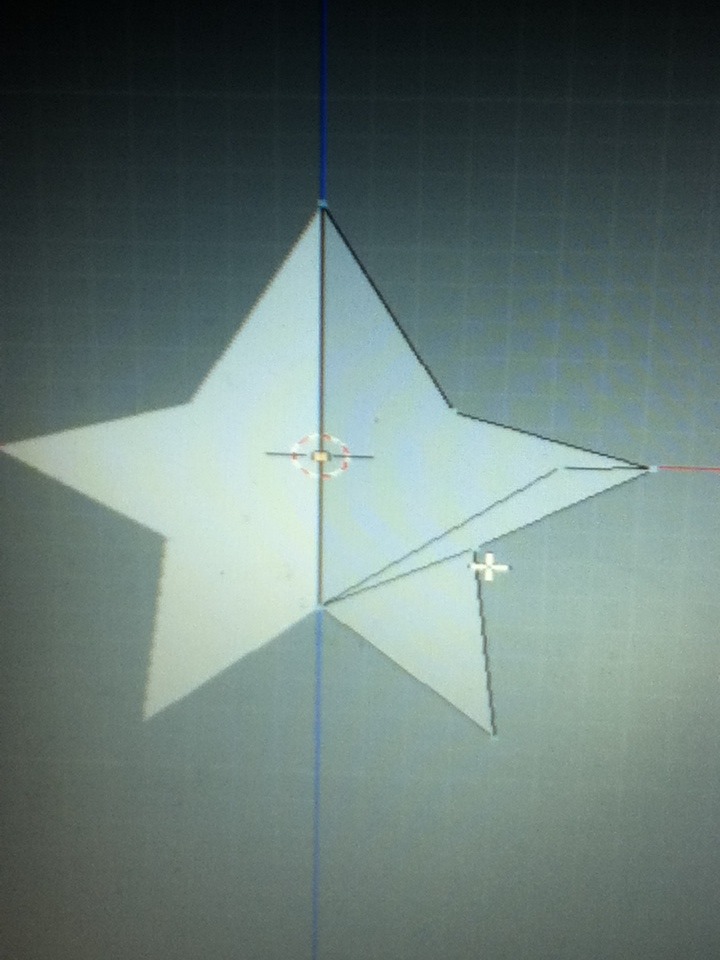
Now to get to creating the star shape. Right-click the top right vertacy and use the blue axis to bring it down to a suitable place and use the red axis to brig it in to make the top half of a star. Also do the same to the bottom right to create the bottom. Now, drag the bottom left vertacy out to create 3 points and now drag the centre vertacy down a bit to give it a better star shape.
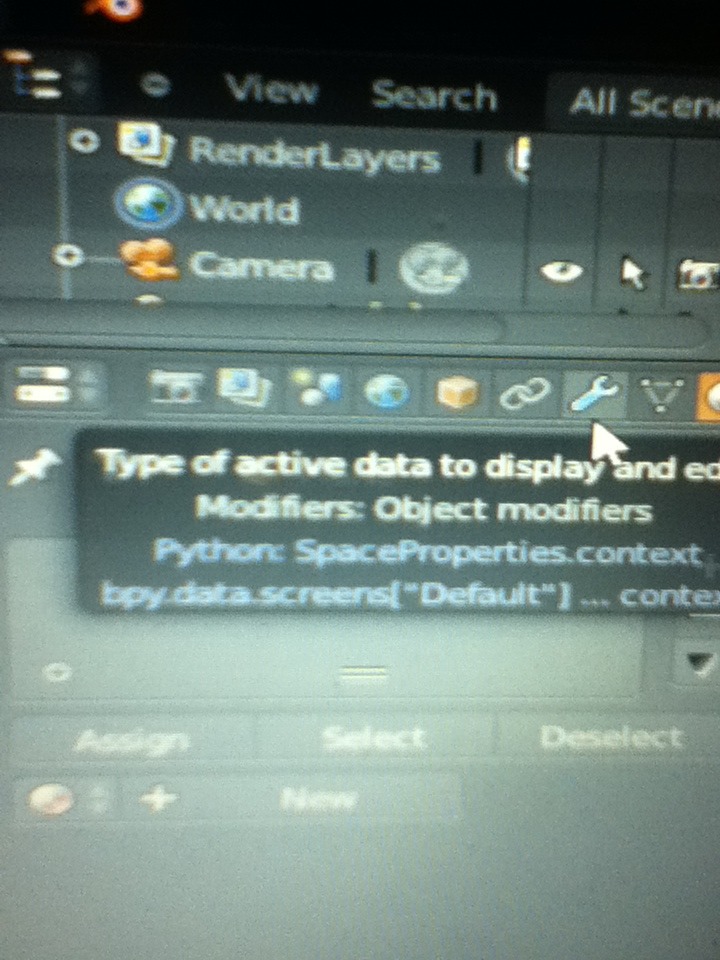
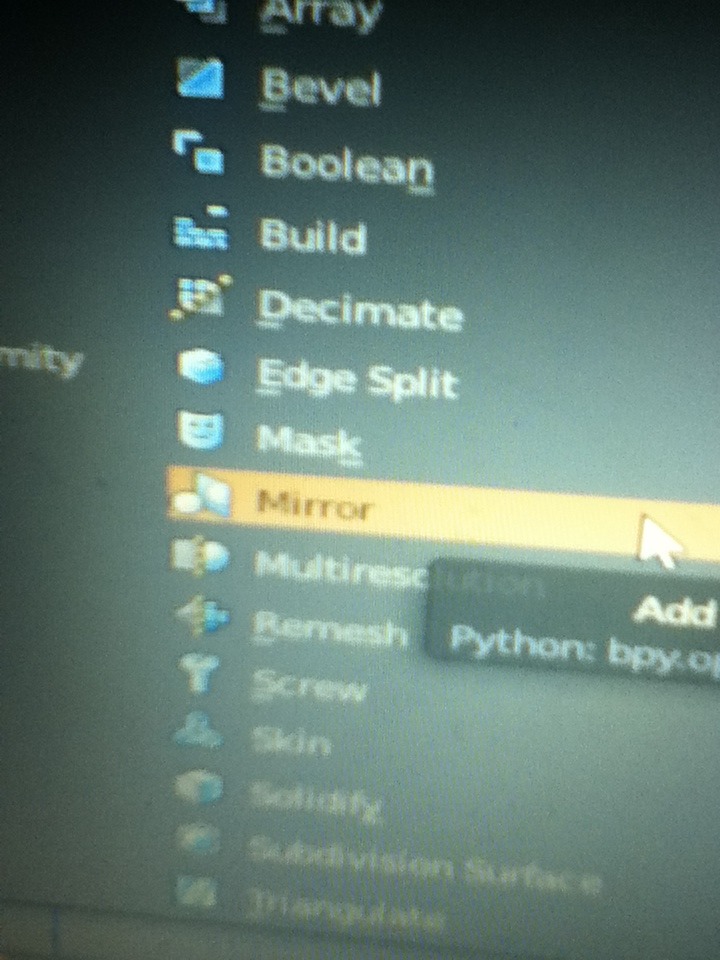
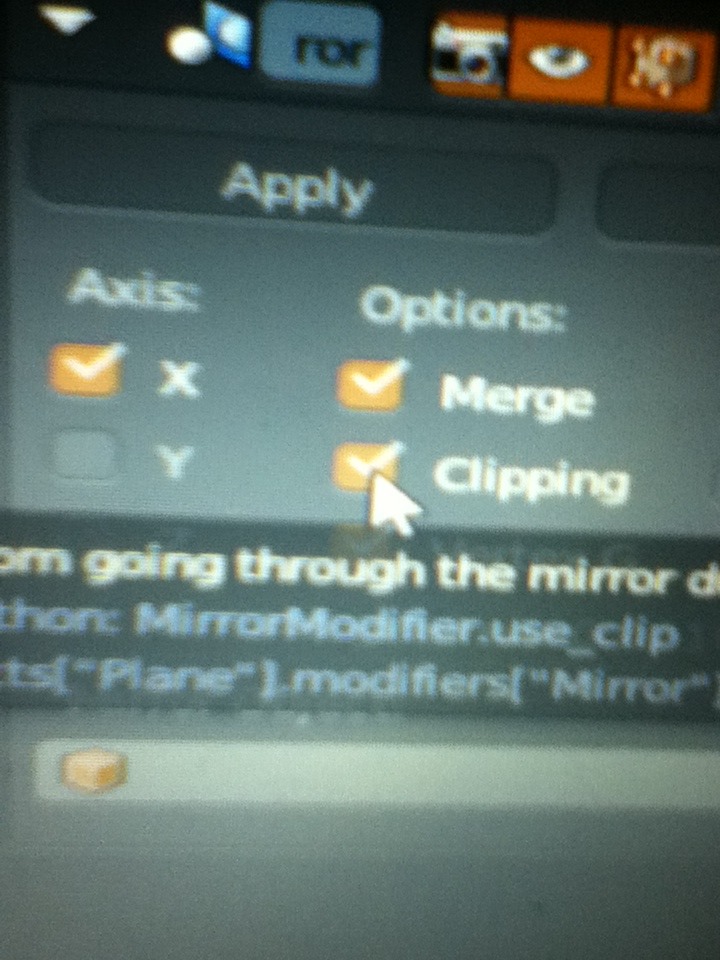
Now we need to add a mirror modifier and we do this by pressing on the wrench icon in the right panel and select add modifier and press 'Mirror'. Now make sure 'Clipping ' is ticked to make sure it links the star as one object. This will complete the star so just press 'Apply'.
Texture the Star.
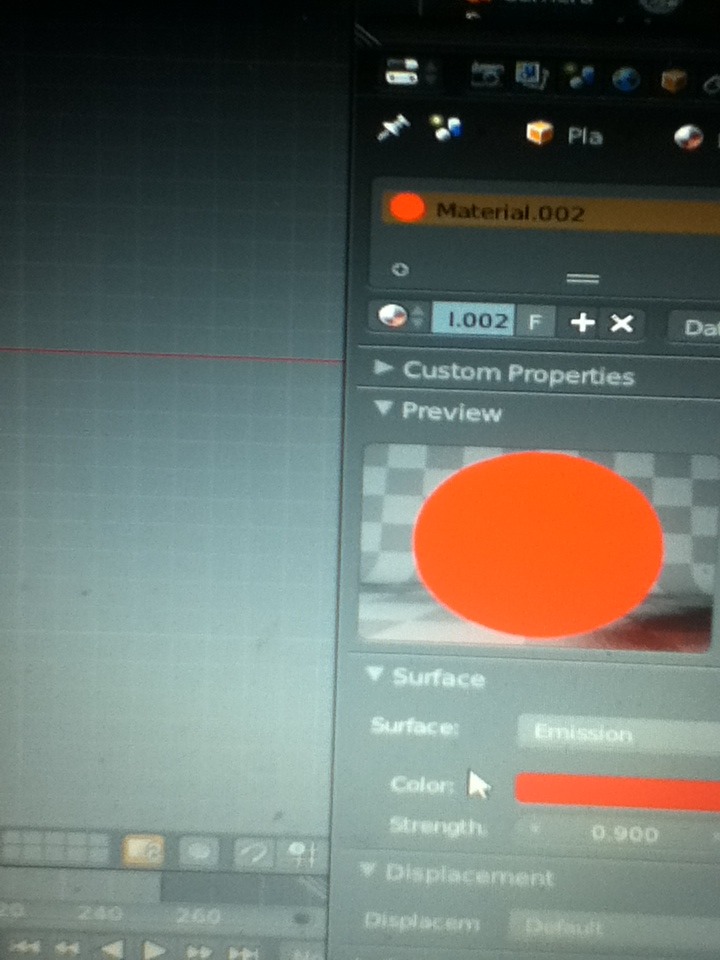
For this all you want to do is basically the same as for the ball but we change the 'Diffuse' to emission and colour it red and set the emission value to ' .3 '
Adding the Star.
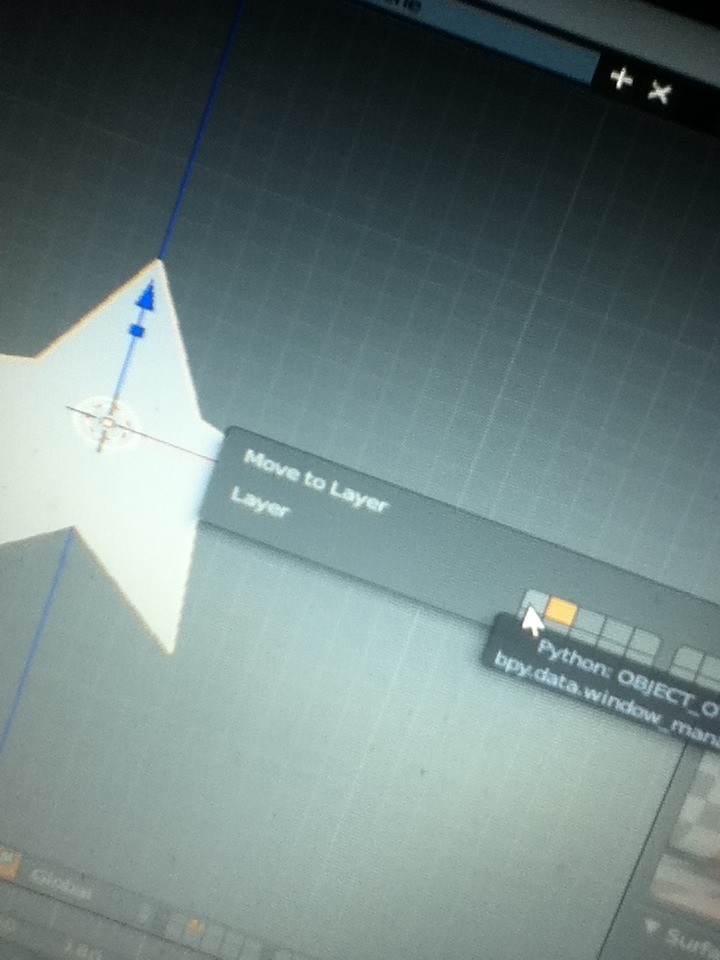
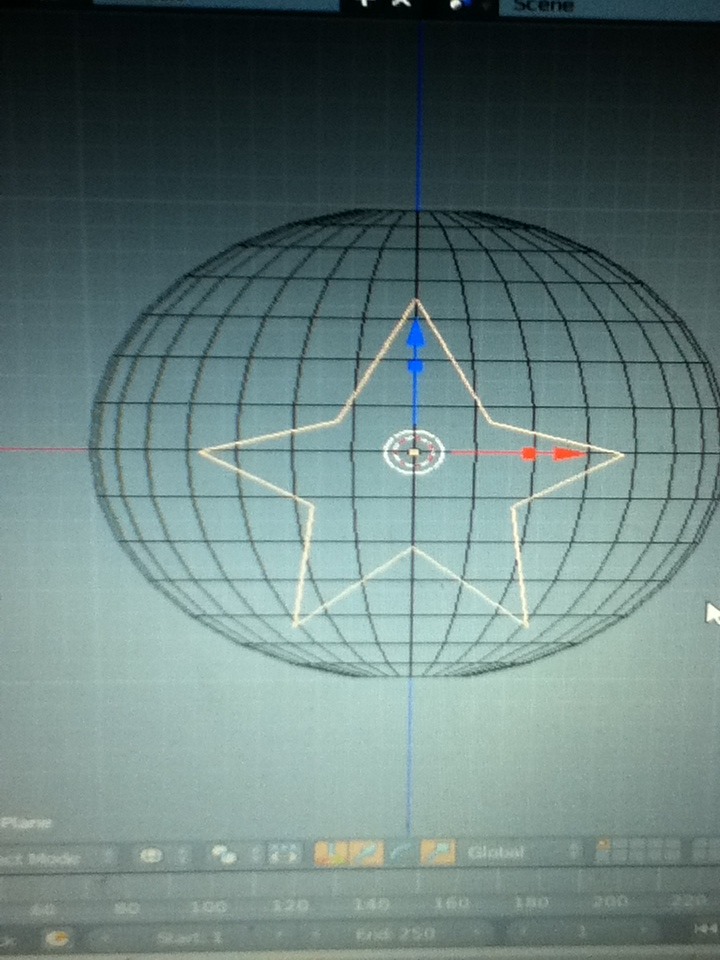
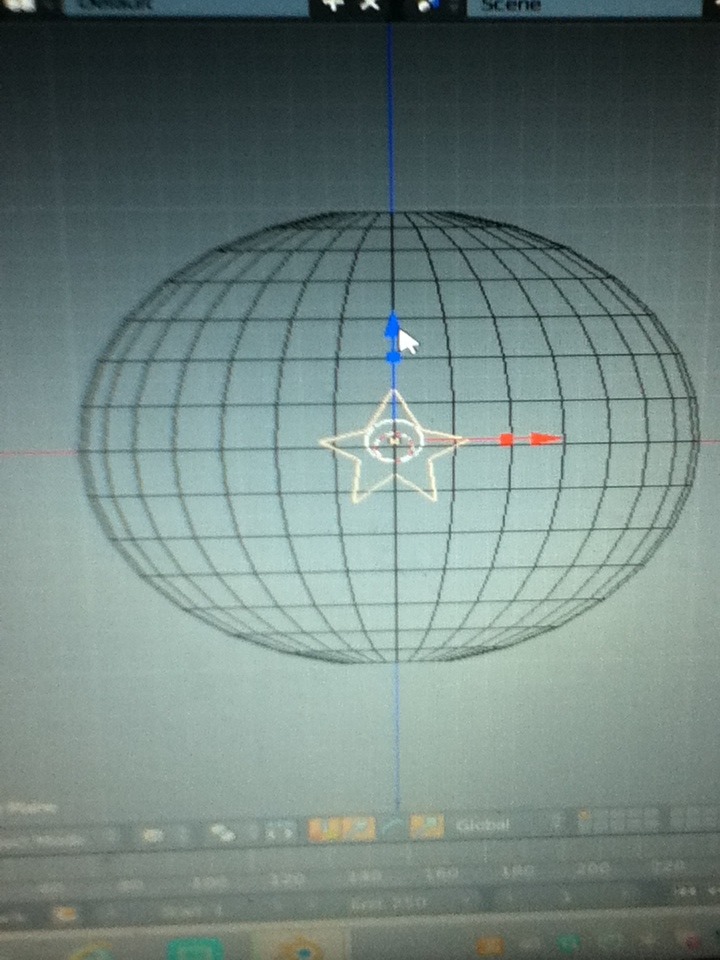
To add the star we need to select it and then press 'M' and click on the layer that the ball is on. (Layer 1). And then we change back to layer 1 and press the 'z' key to turn to wireframe mode and position the star in place using the red, green or blue arrows. You may have to scale the star down to get an accurate fit.
Camera and Render
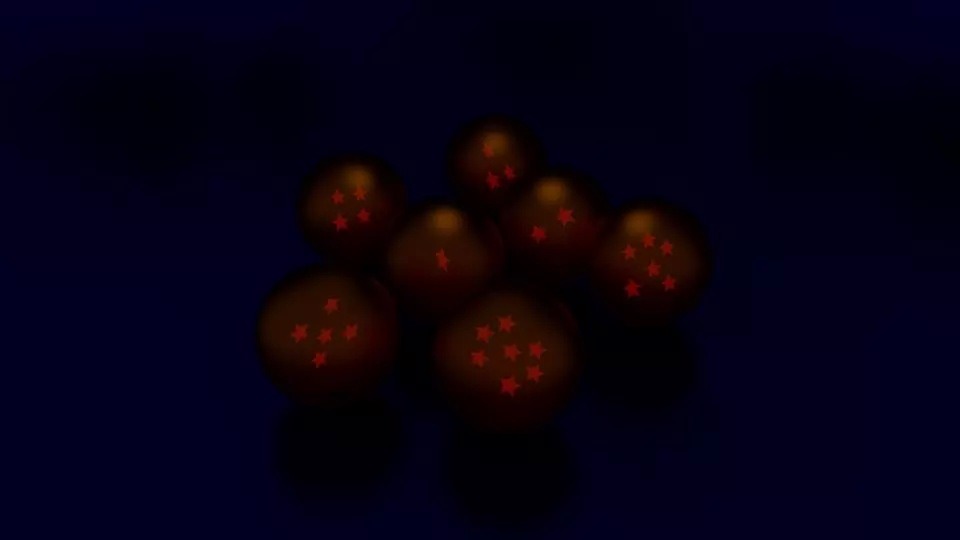
All we have left to do is position the camera and render our image. You can use the red, blue or green arrows to position the camera and press 'R' to rotate it. You can view the camera by pressing '0' on the number pad.
Now we can press the small camera on the right panel and scroll down and open the tab labeled 'sampling' and change the preview and render values to 300 or 600. And press render.
Leave a comment and tell me what things I should try next. ;)
Now we can press the small camera on the right panel and scroll down and open the tab labeled 'sampling' and change the preview and render values to 300 or 600. And press render.
Leave a comment and tell me what things I should try next. ;)