How to Archive Sewing or Other Types of Patterns.
5888 Views, 68 Favorites, 0 Comments
How to Archive Sewing or Other Types of Patterns.
Working with the same pattern, altering multiple ways and making all the size ranges ( xs to xl) I ran in to a problem. This cant be done with one pattern. Rather than buy many of the same pattern, I came up with this method.
This Instructable is for a fabric pattern I am going to augment and use as a leather pattern. Archiving the original pattern and all variations helps in the metamorphosis of your design ideals.
This Instructable is for a fabric pattern I am going to augment and use as a leather pattern. Archiving the original pattern and all variations helps in the metamorphosis of your design ideals.
Tools and Materials

Tools & Materials
Scissors and or a roll cutter
Ruler
Pen and a Sharpie
Transparent Tape
Clear Packing Tape
Card Stock 8.5 x 11 67 to 110lb.
Scanner not shown
Pattern
Scissors and or a roll cutter
Ruler
Pen and a Sharpie
Transparent Tape
Clear Packing Tape
Card Stock 8.5 x 11 67 to 110lb.
Scanner not shown
Pattern
Paper Layout
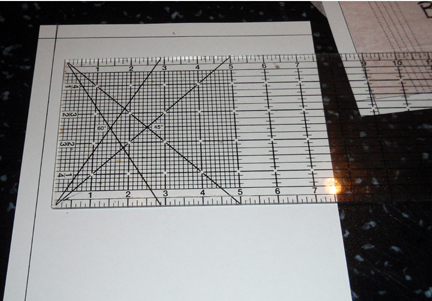
Using a pen and ruler draw a 1/2" border around the Paper. This is for alignment and squaring purposes.
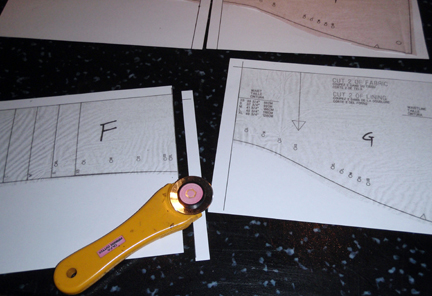
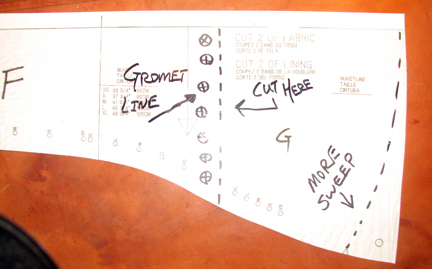
Pattern Cutting
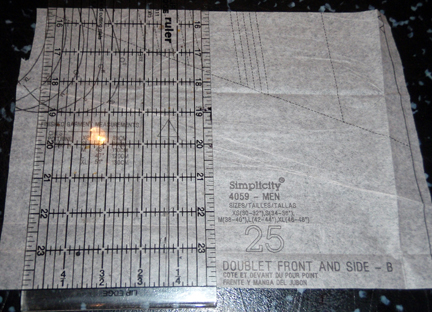
Cut your pattern on at least two edges square Internally and leave at least 1/4 " on the outer edges. Remember to cut within the new borders you drew on the paper ( 7 1/2 x 10" maximum size for a cut pattern piece ). I try to not to cut apart words or other information on the pattern that I think should stay on one section even if I use extra paper.
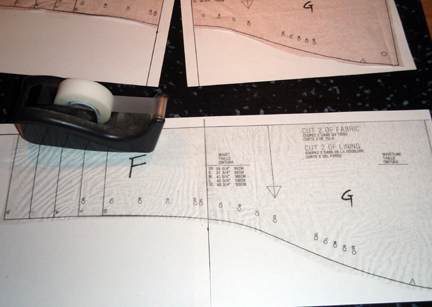
Pattern Layout and Marking
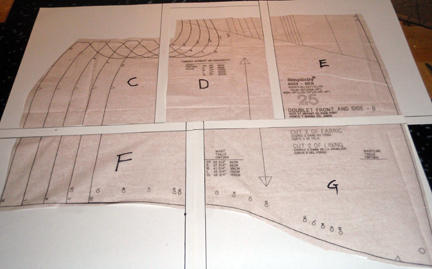
Tape the pattern squarely on the paper with translucent tape inside the boundaries and mark pieces.
Scanning
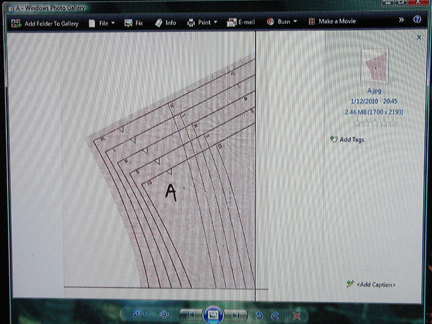
Scan all pieces as .jpeg at 100%. I scan in color then render in grayscale on the computer. On my scanner the scan in black and white setting often produces undesirable results. I Use Photoshop to adjust and render the image into grayscale. Here is how to do it in windows photo gallery.
1. Open image in photo gallery.
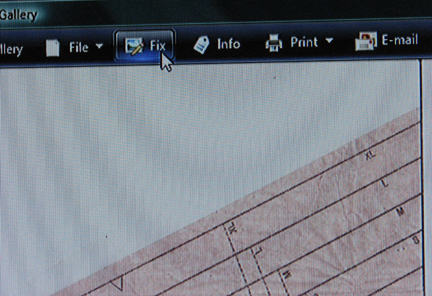
2. Open Fix ( Pic 2)
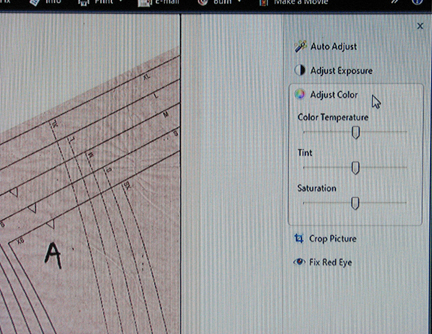
3. Go to Adjust Color ( Pic 3)
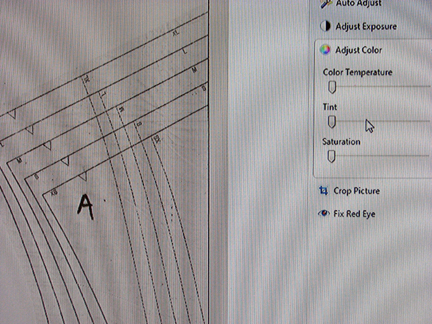
4. Adjust Slide Bars To Zero Value.
1. Open image in photo gallery.
2. Open Fix ( Pic 2)
3. Go to Adjust Color ( Pic 3)
4. Adjust Slide Bars To Zero Value.
Before and After Scanning to Printing

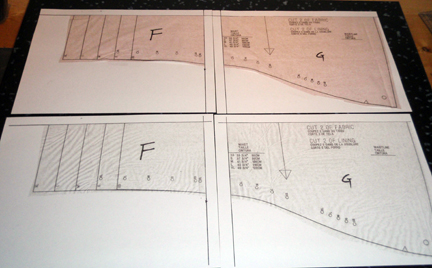
Print all pieces at a 1 to 1 ratio (100 % ). You now have a completed pattern .
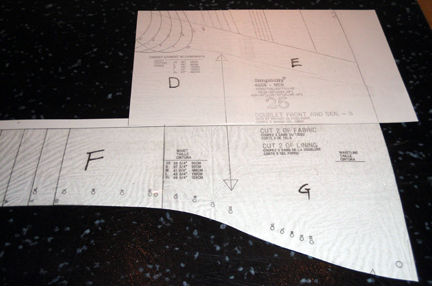
Putting It Together.
Cut Tabs off on one side leave other side on for attachment
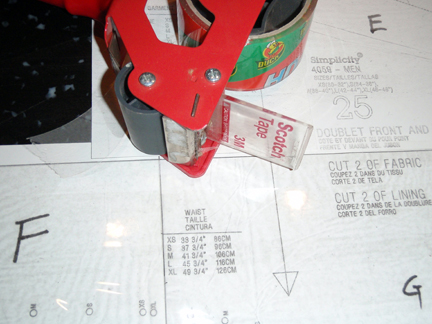
Align and Tape
Align and tape all pattern pieces with translucent tape.
Laminating
I use heavy duty clear packing tape to laminate both sides of my finished pattern. This gives me a nice thick edge to trace or cut around.I Can also make notes and adjustments on the pattern with a dry erase marker .
Adjust at Will
The adjustments I make on the pattern will be cut out and re- scanned on the layout paper from step 2 and taped back in to position or I will just re print the pattern. These patterns can now be shared amongst friends.