How to Add Customised Images to Your Blog Post
by kirstyburgess in Design > Websites
715 Views, 1 Favorites, 0 Comments
How to Add Customised Images to Your Blog Post
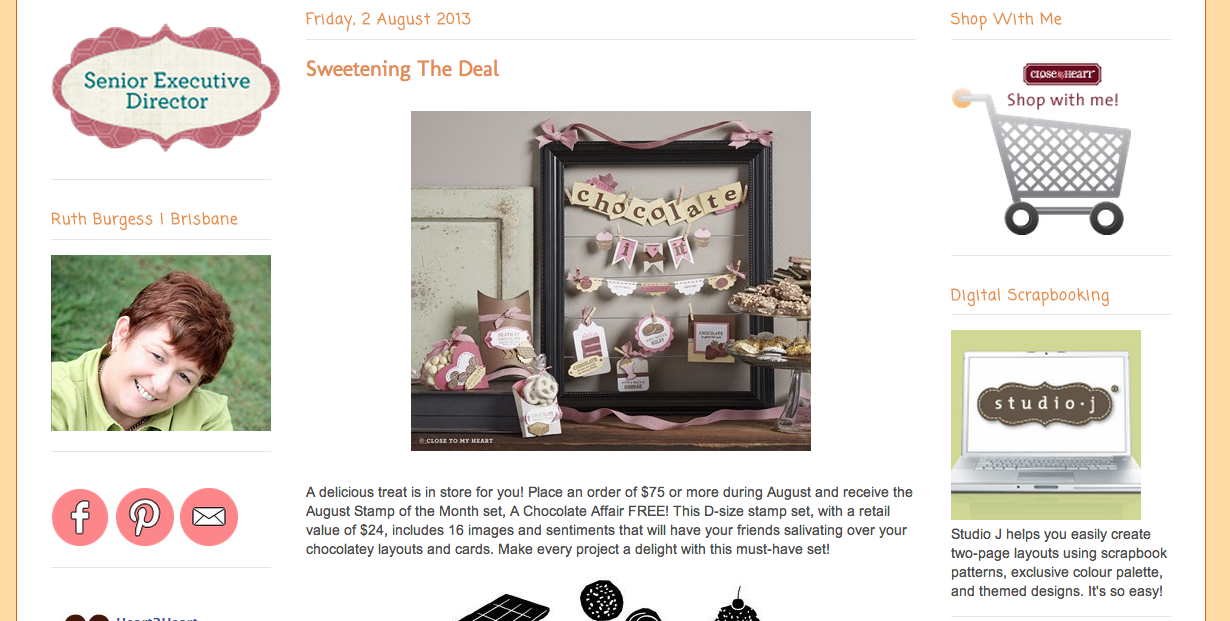
A step by step guide on how to add images effectively to your blogger post
Click the Insert Image Icon
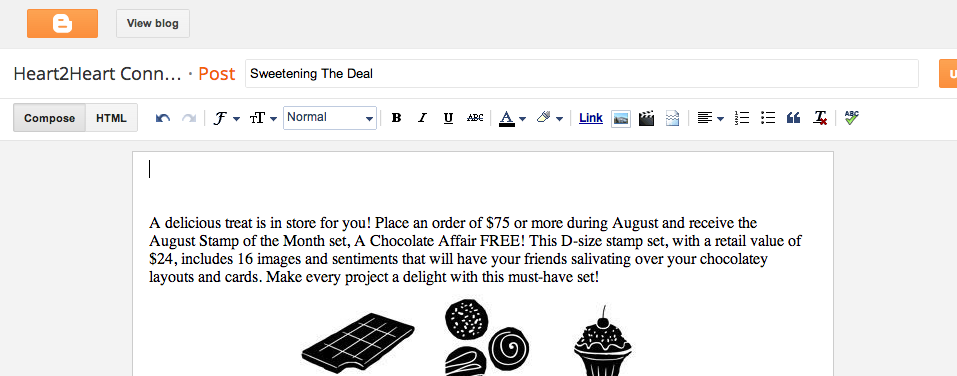
Click to place your cursor where you want the image to be seen.
Click the "Insert Image" icon in the top menu (see picture).
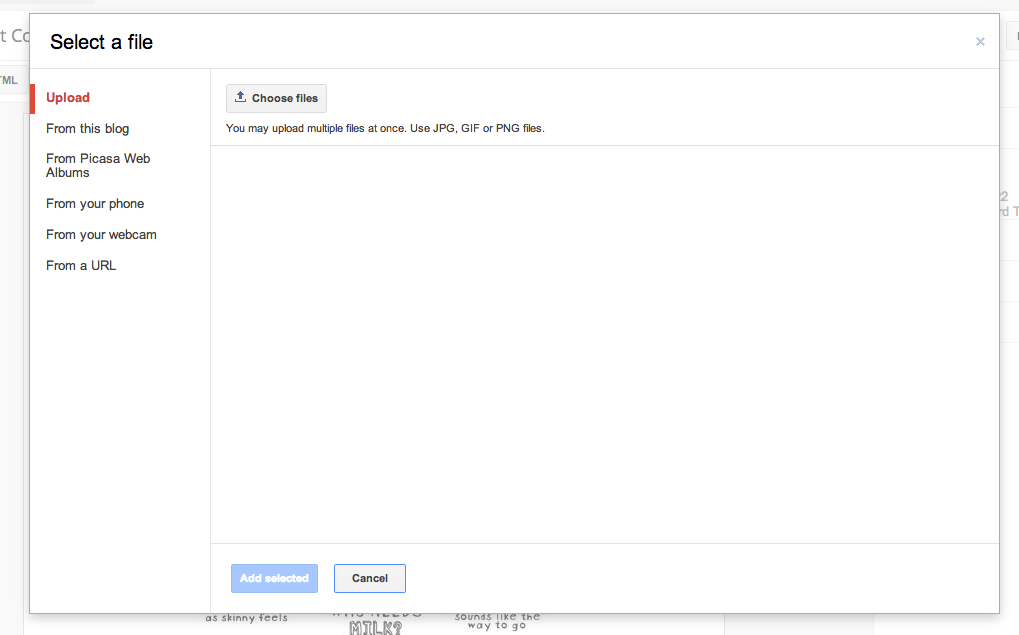
A new mini window will appear.
Click the "Insert Image" icon in the top menu (see picture).
A new mini window will appear.
Upload Your Image
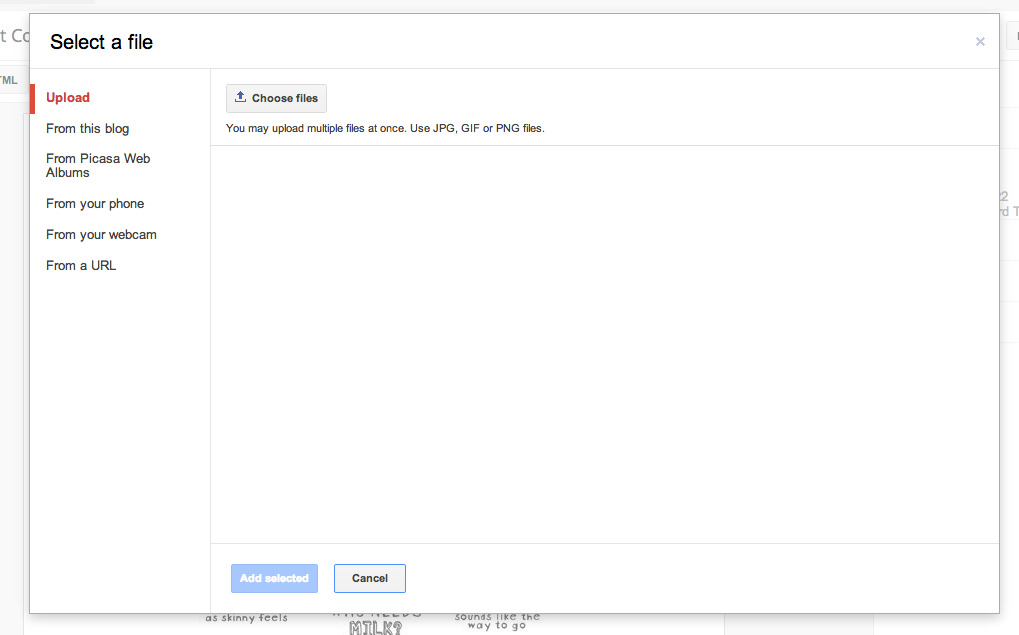
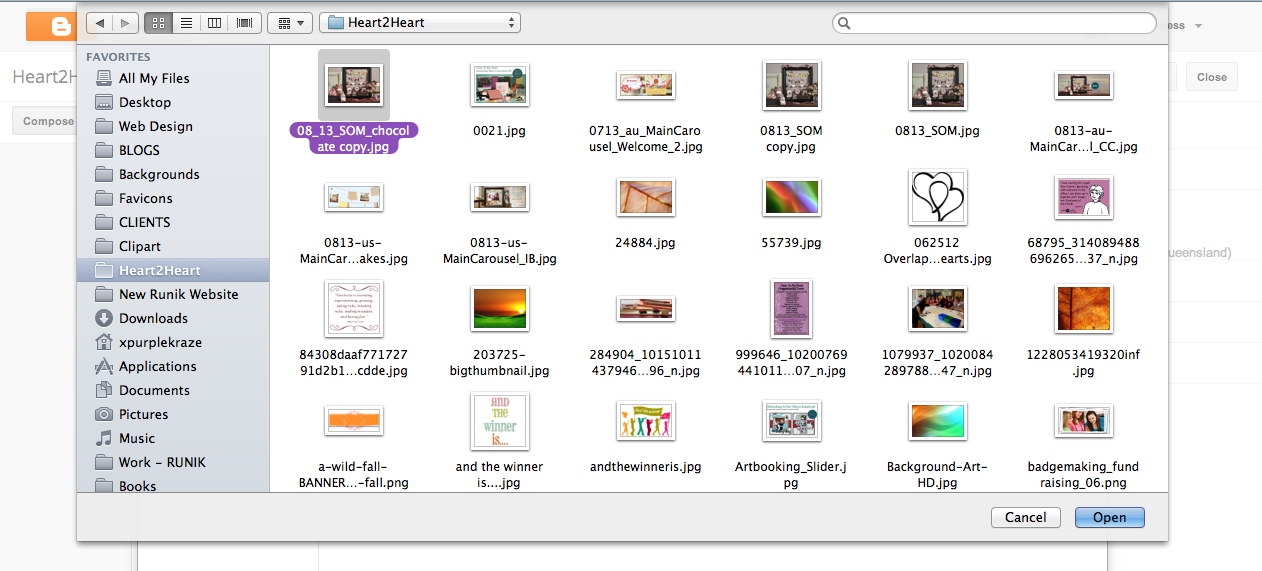
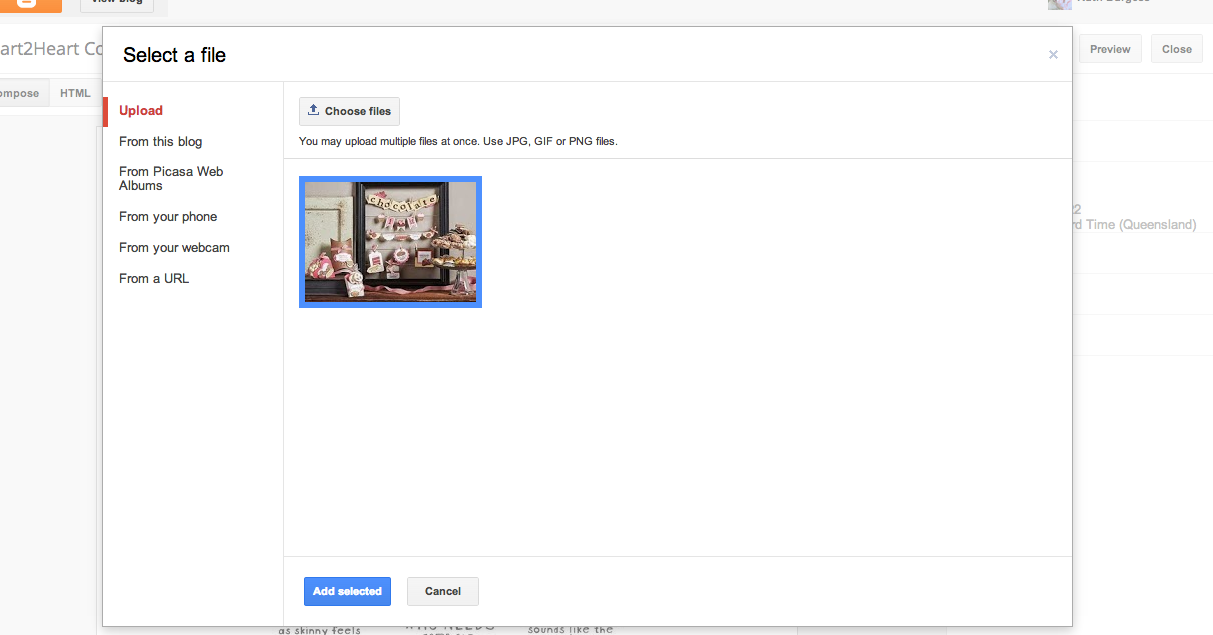
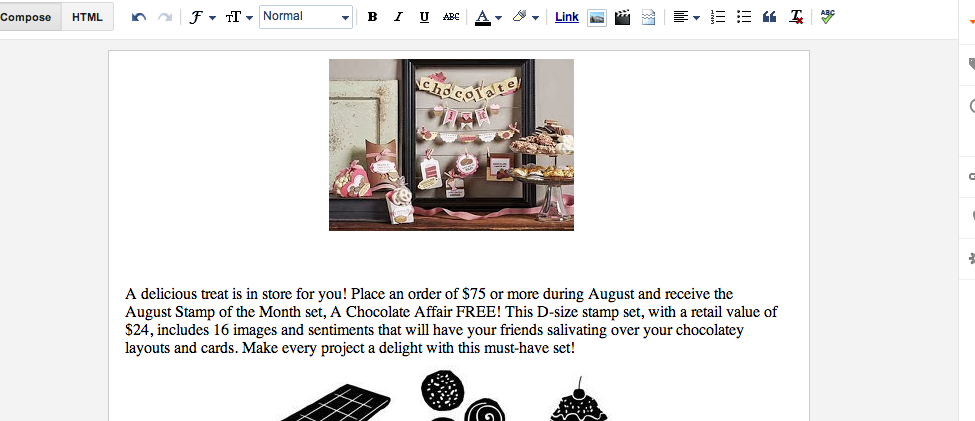
Click "Choose Files" and find the image you want to upload in your files.
Click your file image and press "Open" (or double click the image).
Note: If you want to upload more than one image just hold down Control/Command while selecting your file images. Press "Open" after you have selected all your images.
Your image/s will now show in your mini-window. Click all the images you want uploaded into the post so they are highlighted with a blue border, and click "Add Selected".
Your picture/s will now be in your post. But we're not done yet!
Edit Image
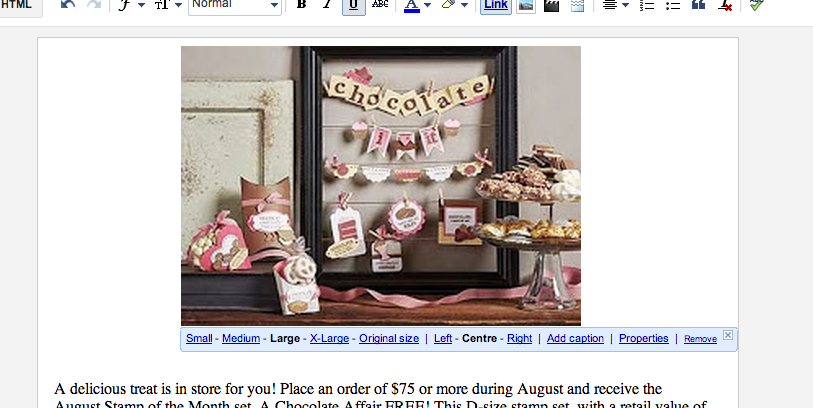
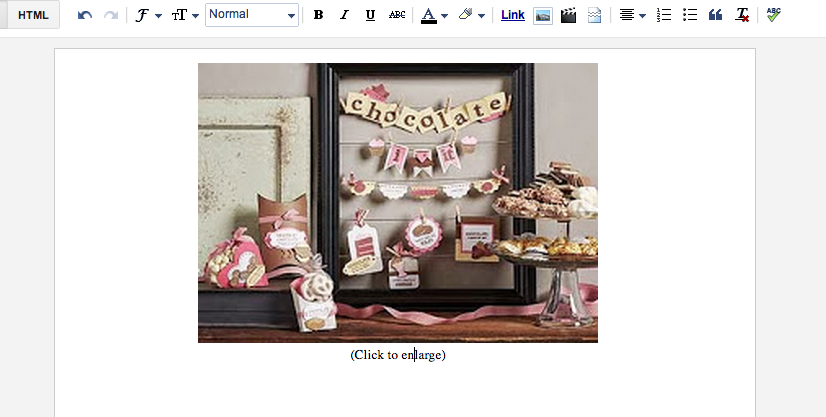
Your image/s will automatically be uploaded to a pre-determined size in the post (depending on the image).
To change the size just click on the image.
You will see various options come up in a bar.
To resize, click on either "Small" "Medium" "Large" "Extra-Large" or "Original Size". Most pictures will fit nicely with "Large" but you can always preview your post to see how it looks on the page.
You can also align your image to the left, center, or the right in this options bar. Your text will wrap around the image if you select left or right. (Note: I have selected Center in the example image above so the text in bumped below).
And you can also add a caption to the image for additional info. E.g. "Click to enlarge".
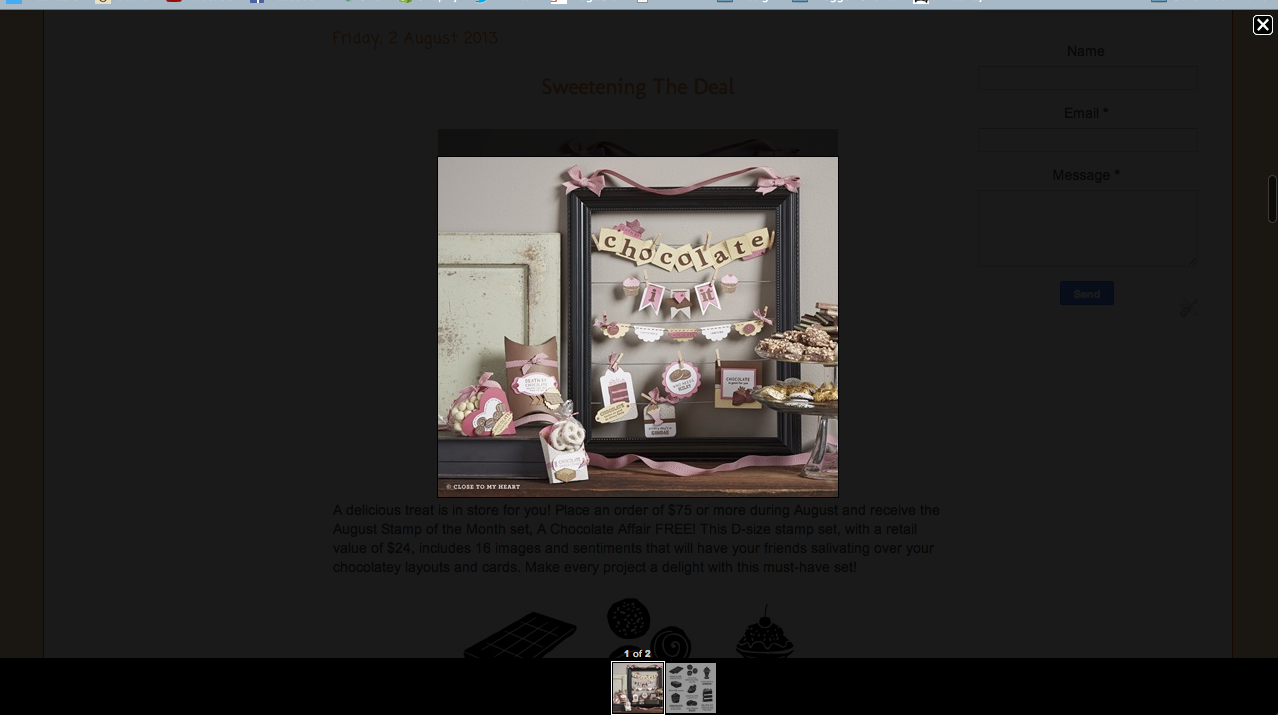
Note: When a reader clicks on an unlinked image, it will automatically be enlarged for them to see (see picture).
You now have a post image!
Continue to the next step to learn to add links to your images.
Add Link to Your Image

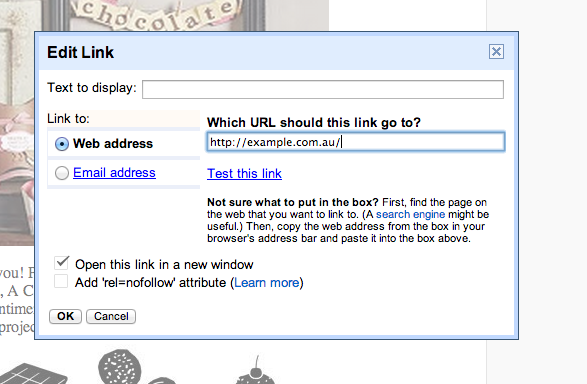
Add a link to your image by clicking on your image until it's highlighted and clicking "Link" in the menu bar.
This opens a mini window.
Type in the address URL you want the image to link to. (Note: No need to fill in "Text to display")
Ensure the box is ticked next to "Open this link in a new window".
Click "OK".
Your image is now linked!
When a reader clicks on the image, a new tab or window will open with the link you specified.