How (NOT!) to Make an EL Edison Lamp | Electroluminescent "Coil" Nightlight
by Yonatan24 in Circuits > Gadgets
13564 Views, 116 Favorites, 0 Comments
How (NOT!) to Make an EL Edison Lamp | Electroluminescent "Coil" Nightlight


In this instructable, I am going to show you How To Make An Electroluminescent Edison Lamp. Well, that, was what this Instructable was originally about.
I thought of attaching EL Wire inside a mason jar at an up-and-down zigzag way, Which would make it look like a pretty awesome Edison Lamp! Though it might look like it, But "EL" is the abbreviation of Electroluminescent, Not Edison Lamp
So, I bought 1 meter of EL Wire on eBay. After waiting about a month for it to arrive, I tested it out, But while experimenting with it, I accidentally didn't match the polarity when I plugged it in, And I burnt the inverter! I was so mad that I burnt it! I knew that if I ordered a new one, Then it wouldn't arrive in time so I could enter it in the Make it Glow Contest. After about an hour, I remembered that it wouldn't be the "end of the world" if I didn't enter it in the Make it Glow Contest, So I ordered another one (because they're so cheap!).
A few days ago the EL arrived in the mail (after the contest closed), And I was really happy that I could finally make my EL Edison Lamp! So today, I started making my lamp, Only to find out that: This doesn't work really well... (more on that later)
So I decided to make something else, A different kind of EL lamp!
What You'll Need


Materials:
1 Meter of Orange Electro-Luminescent Wire* (It comes with a 12V inverter)
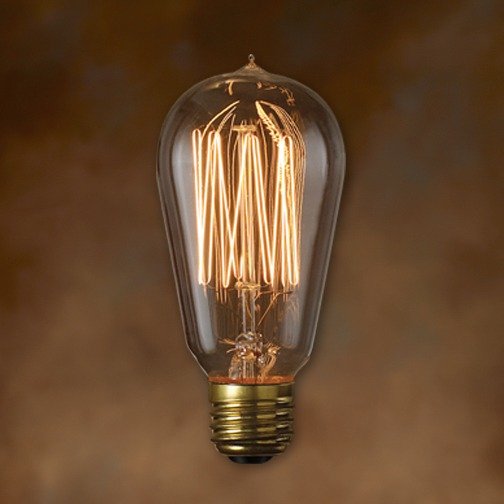
A Tall Glass Mason Jar that has a small Circumference (Without the Sticker)
5.5mm Female Connector (This isn't what I used, But it is a lot better)
*Note about EL: I bought 1 meter which was originally priced at $0.85, But the price now is $2.60 :(
Tools:
Hot Glue Gun
Soldering Iron +Solder
The Edison Lamp Fail


As I mentioned earlier, I wasn't able to make the EL Edison Lamp that I wanted, But I did think of something else that I could make.
Basically, What made me change my mind and decide to make something else, Was that I wasn't able to hold the EL Wire properly inside of the jar, I couldn't get it to fold in an acute enough angle, And it just didn't fit! It also didn't help that I searched on the internet and no-one has ever made something like this before...
The pictures above show part of what I started to make, Before I changed my mind.
You might ask: "Okay, You changed your mind, But what did you decide to do?" I decided to wrap the EL Wire around a mason jar, This might not sound interesting, But it actually looks really cool! This isn't a regular Edison Lamp, But did turn out to be an awesome nightlight!
On a second thought, What I made does actually look like an Edison Lamp, It looks like Spiral Edison Lamp
Hot Glue the EL Wire


I chose to use Hot Glue to glue the EL Wire onto the Mason Jar. I was pretty surprised to see that it adhered with a lot of strength, Even though the glass is very smooth. And don't worry, The EL won't melt, The outer sheathing of EL is made of PVC which melts at 160 °C (320 °F), And the temperature of a hot glue gun is about 120 °C (248 °F).
First, I glued the end of the EL wire to the bottom part of the Mason Jar
After that, I wrapped the EL Wire around the Mason Jar, While trying to keep the distance between each wire as equal as possible, As you can see in picture 2
To finish it off, I glued the other end (The end that connects to the black wires) to the top part of the Mason Jar.
Extra Protection/Strength

I added some hot glue onto one side of the Mason Jar to help stop the EL Wire from shifting and ruining the alignment. I put as little hot glue as I could, But this side will be hidden anyway because it will be facing the wall
Solder the 5.5mm Female Connector, and Then Insulate It W/ Hot-Glue


I used a 5.5mm female connector that I salvaged from an electronic device, If you use the screw connector that I gave a link to in the "What You'll Need" step, Then you won't need to solder.
I soldered the inverter's wires to the 5.5mm female connector. Remember to pay attention to the polarity, If you don't, You'll burn your inverter! That means: Red wire to the connector's middle connection (+), And black wire to the connector's outer connection (-). If this confuses you, It is explained in the first picture
After soldering, I insulated the connections with more hot glue, For an insulation task like this one, Hot glue is easier to use than heat-shrink tubing
Done!


Done! You can now plug it in and it should give a soft orange glow, It now be perfect as a nightlight for my room!
Update: I think I might start making these as small presents, Because they are so easy to make! I showed this lamp to quite a bit of people in the last few days, And everyone thinks it's really cool (and want to touch it!)