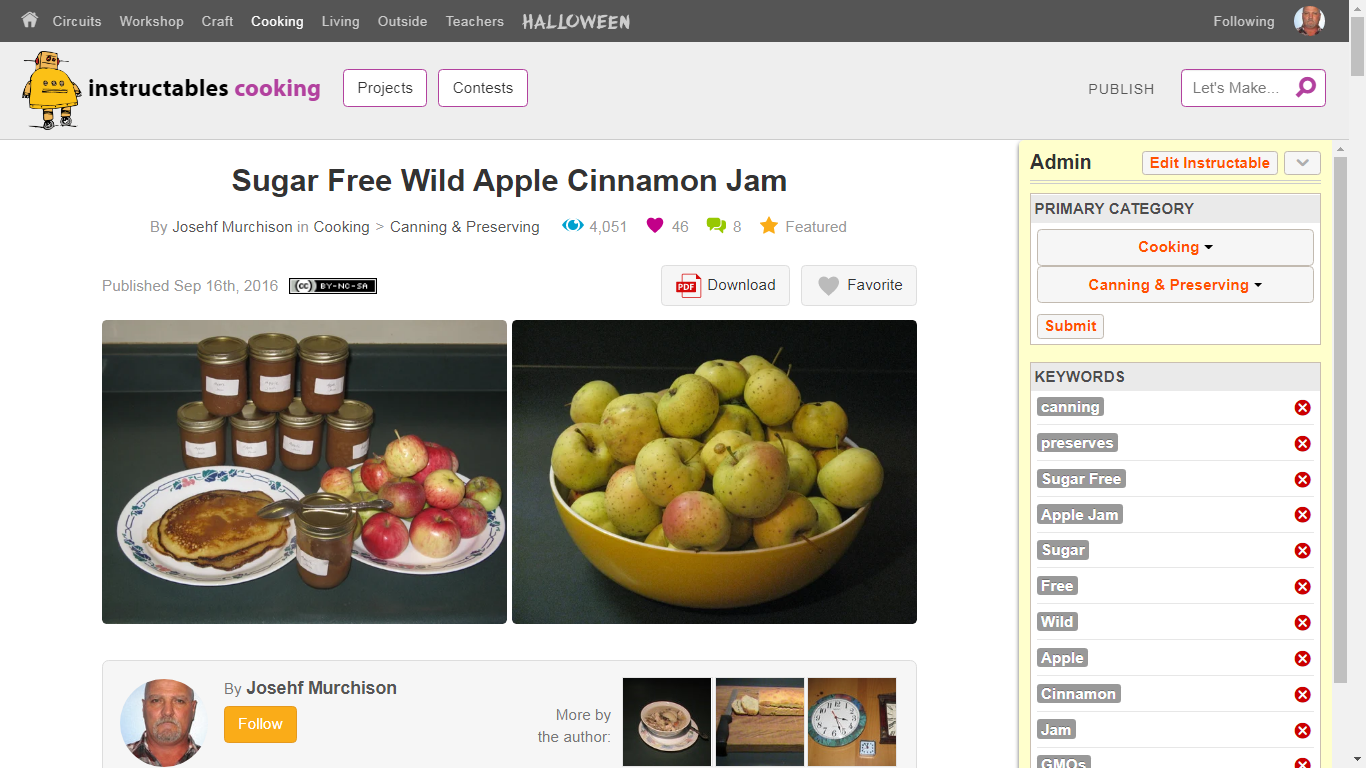
How I Write an Instructable
by Josehf Murchison in Workshop > Organizing
1421 Views, 4 Favorites, 0 Comments
How I Write an Instructable
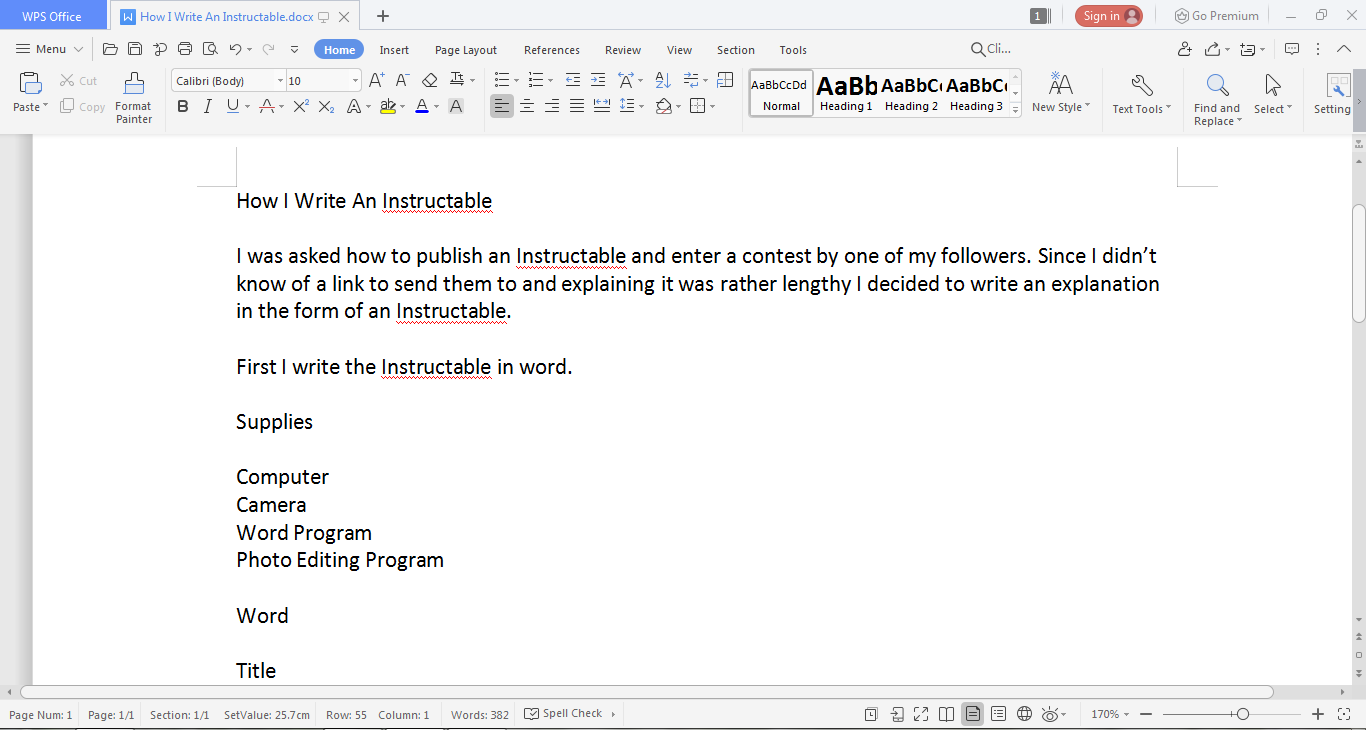
I was asked how to publish an Instructable and enter a contest by one of my followers. Since I didn’t know of a link to send them at first to and explaining it was rather lengthy I decided to write an explanation in the form of an Instructable.
However after looking for a bit I found a couple.
https://www.instructables.com/How-to-Write-an-Inst...
https://www.instructables.com/How-to-make-a-great-...
There wasn't a lot of the nuts and bolts about the editor at Instructables.
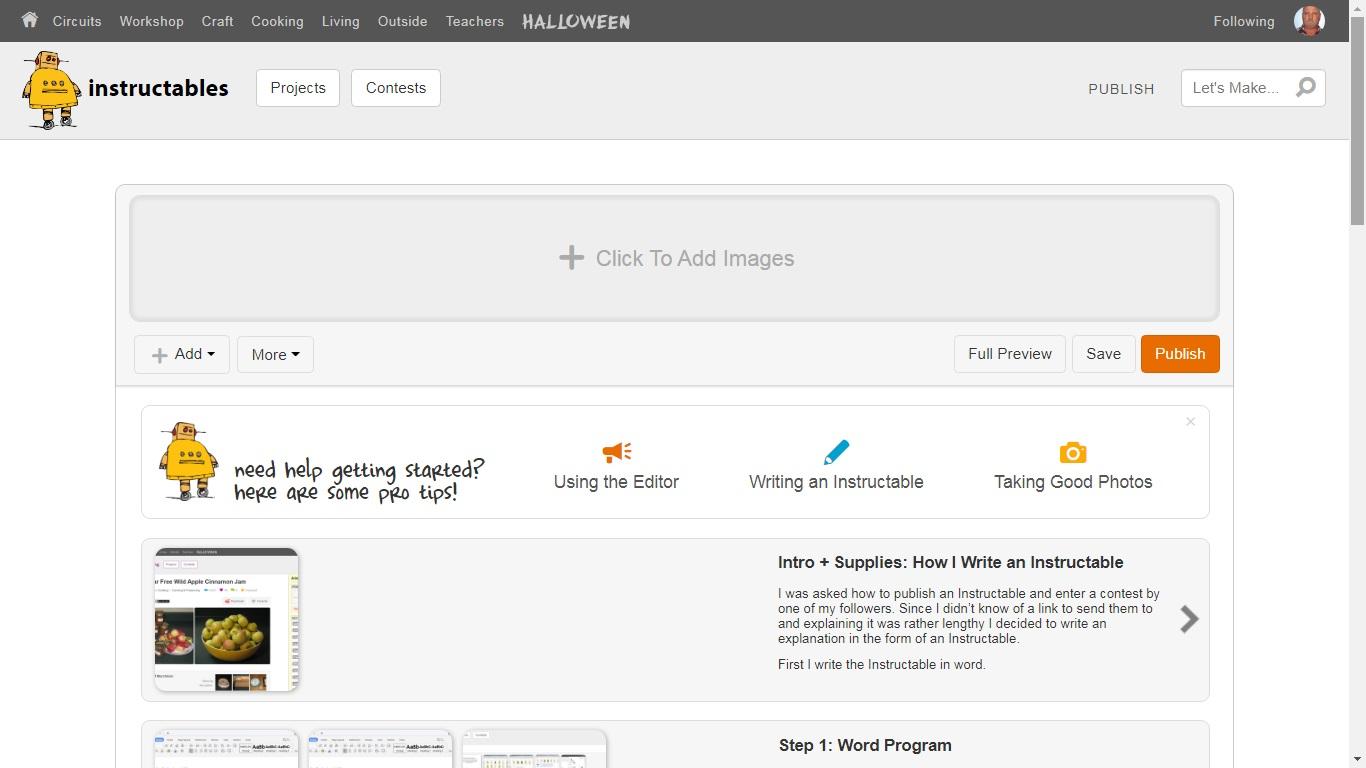
First I write the Instructable in word.
Supplies
Computer
Camera
Word Program
Photo Editing Program
Word Program
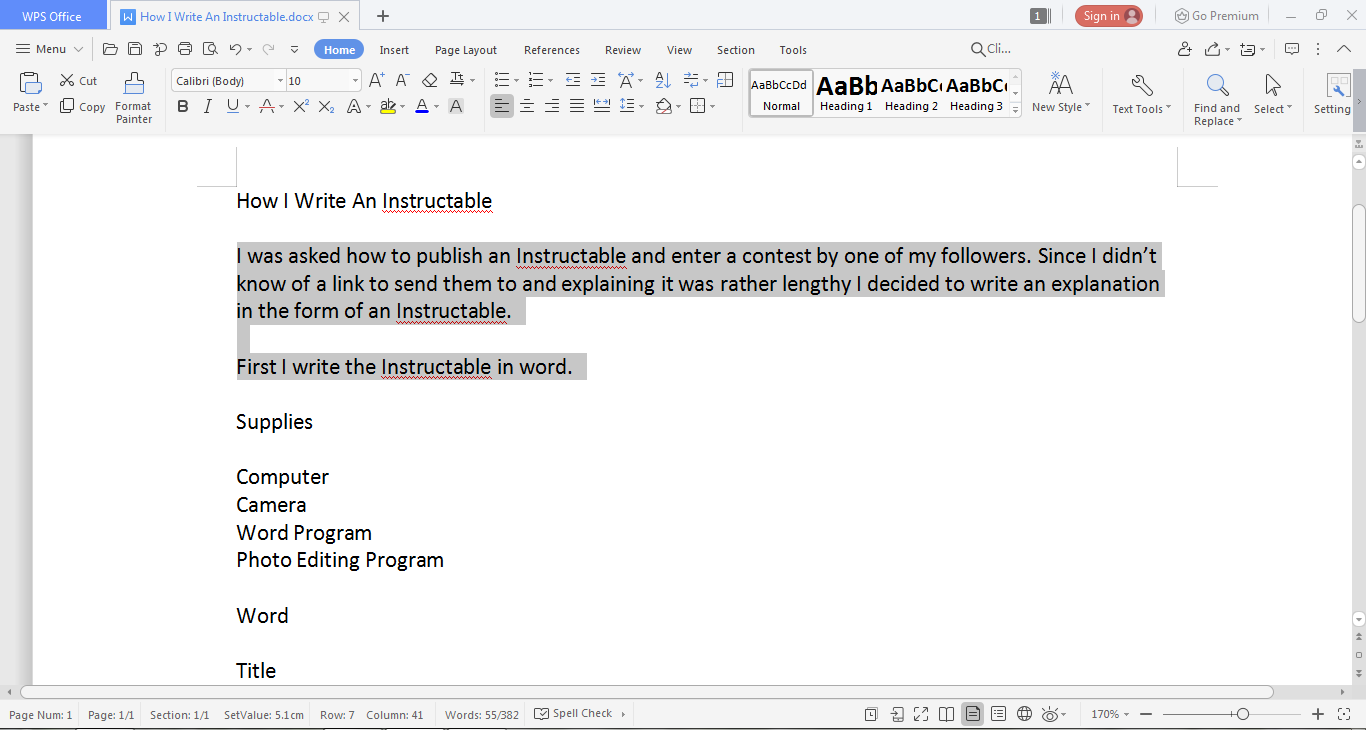
I write in word, there I can spellcheck, grammar check, use the thesaurus, and other tools.
Start with the Title, Intro, and Supplies, these are usually in the first page of the editor.
And then each of the steps one step at a time.
Epilogue or closing paragraph and step, I always like closure.
Last tags or keywords for when you publish.
Now when I am ready to publish I can select the text I want, use the shortcut keys for copy, (Ctrl + C), and paste the text in the editors text box with the shortcut keys, (Ctrl + V)
Photos
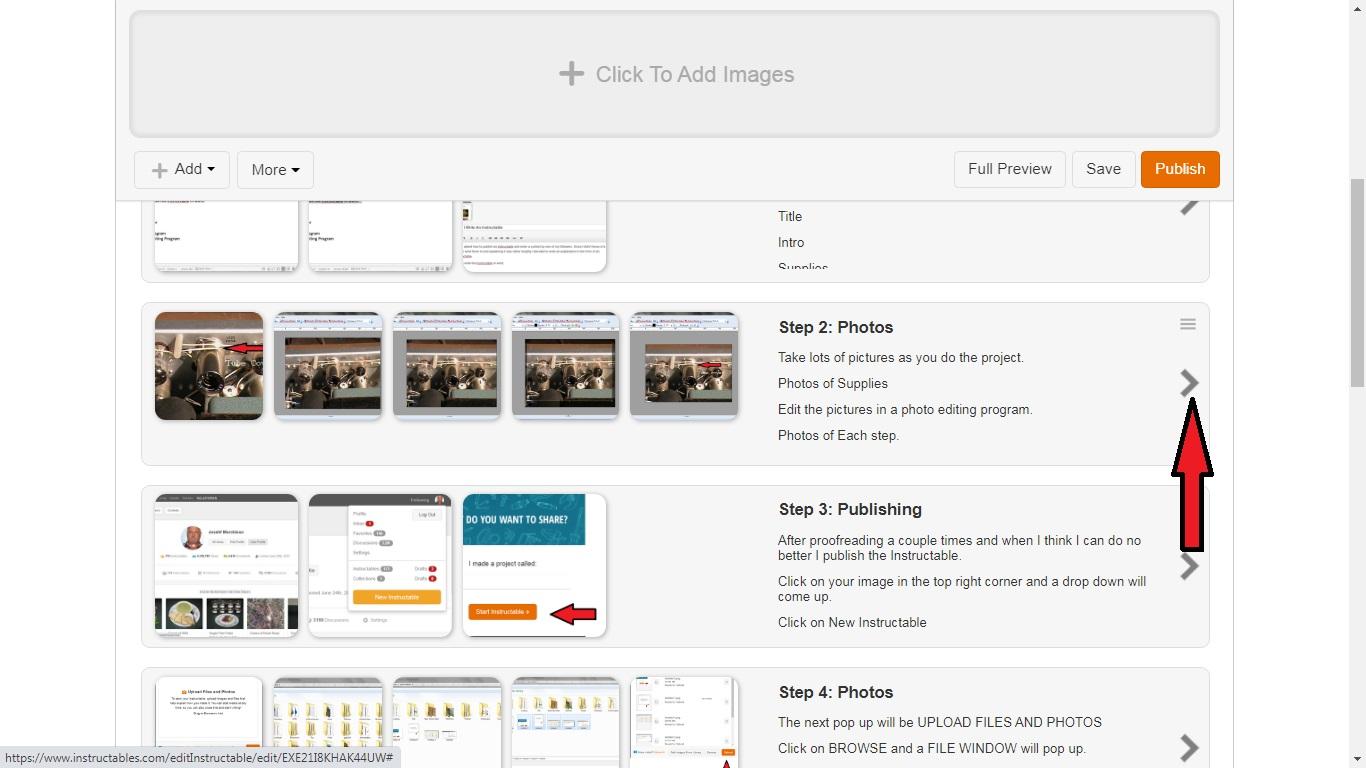
Take lots of pictures as you do the project and select the best for your Instructable.
Photos of Supplies
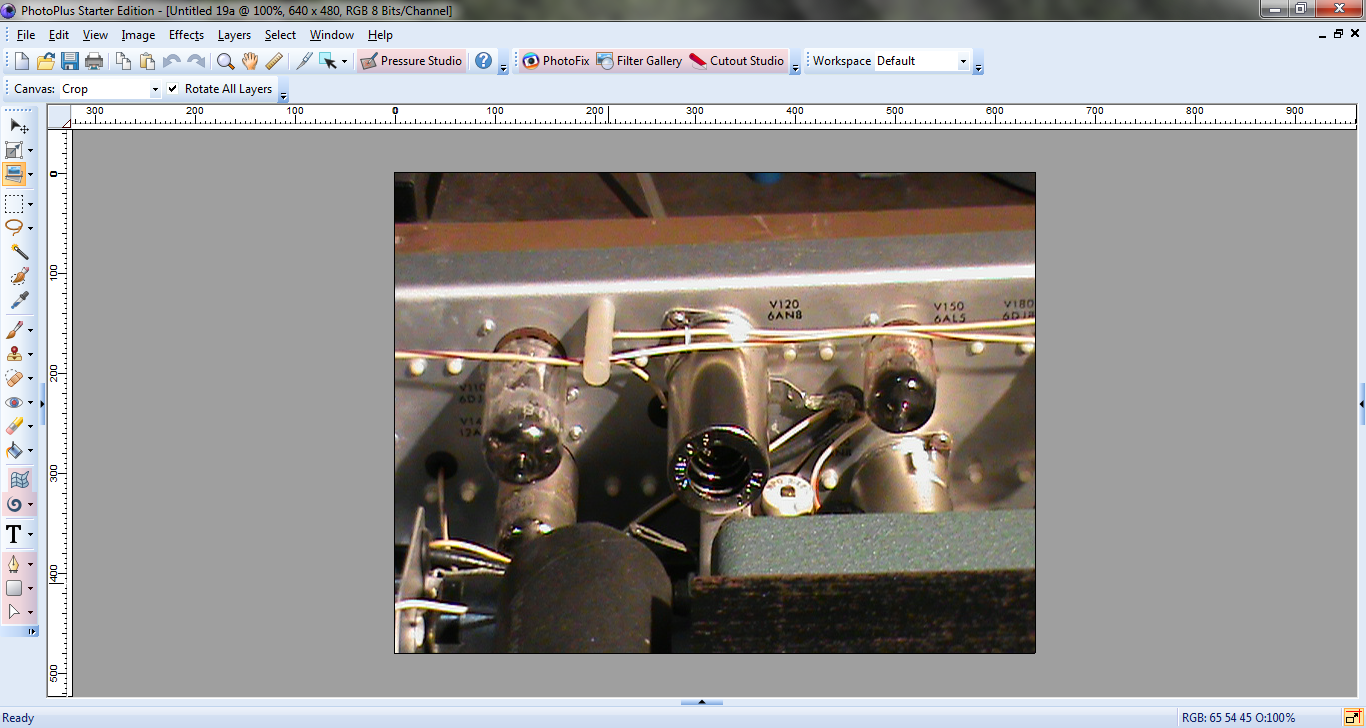
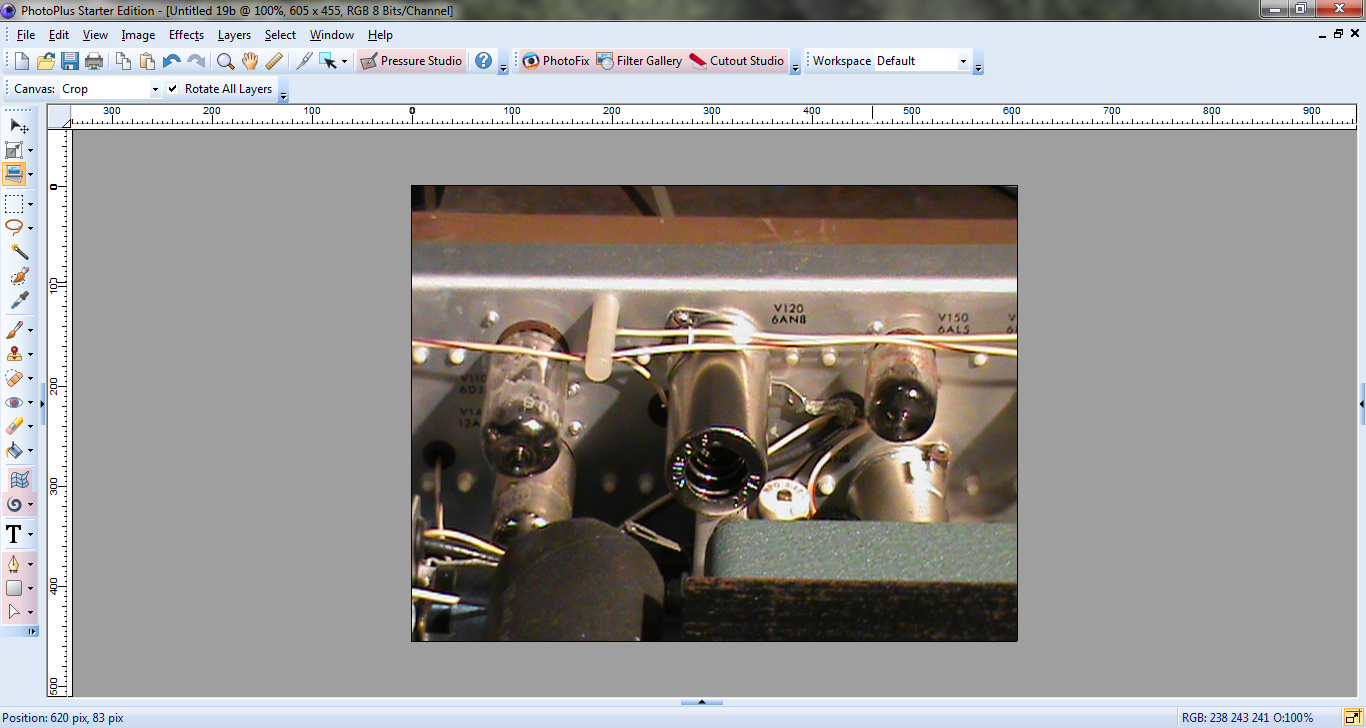
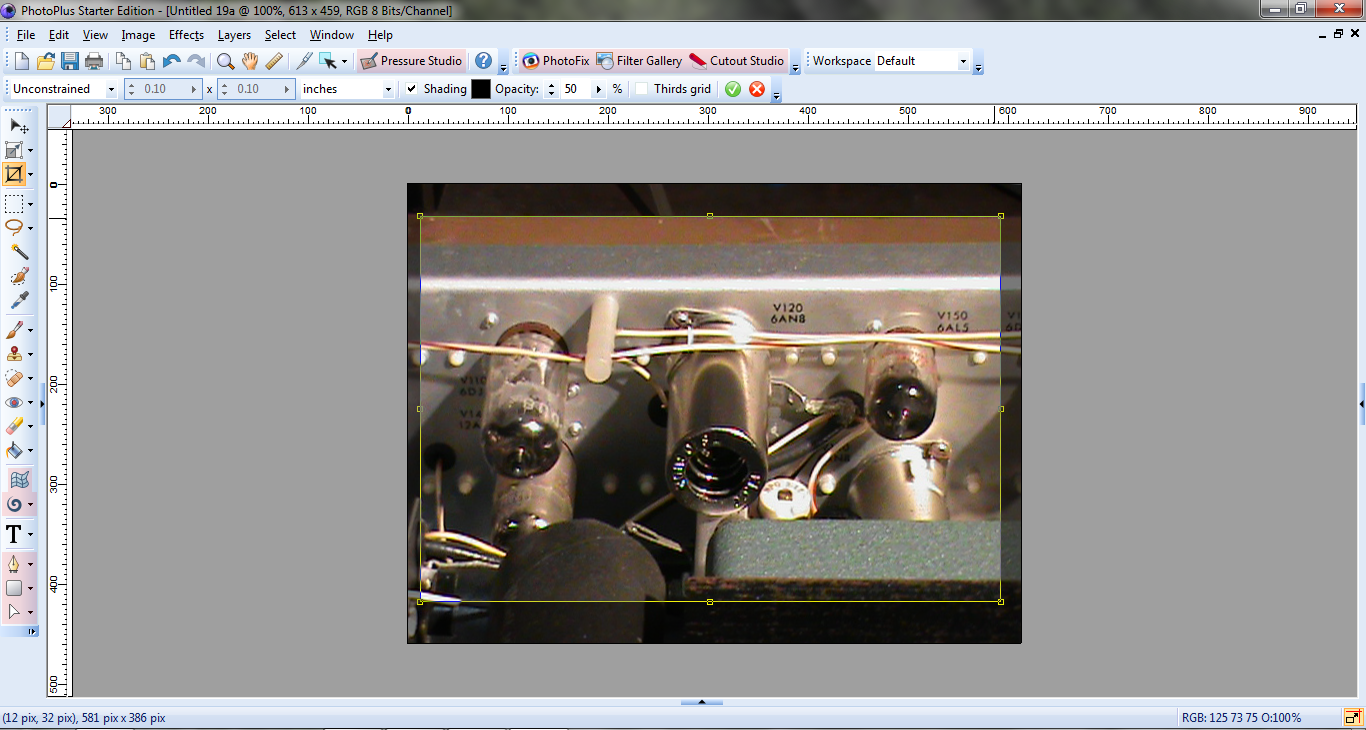
Edit the pictures in a photo editing program, there are lots of free photo editing programs on the web.
Photos of Each step.
Edit the pictures in a photo editing program before going on to the next step if you can. If the photos do not come out well you might need to redo the project just to get good picks.
Photos of The finished project. I like to use a photo of the finished project in the Intro.
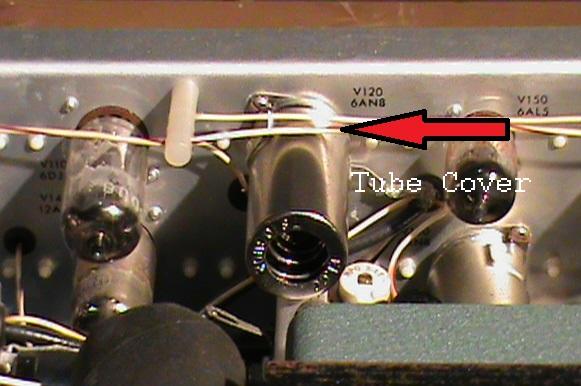
Photo editing programs allow me to straiten the image, crop the edges to center the image, as well as add information to the image.
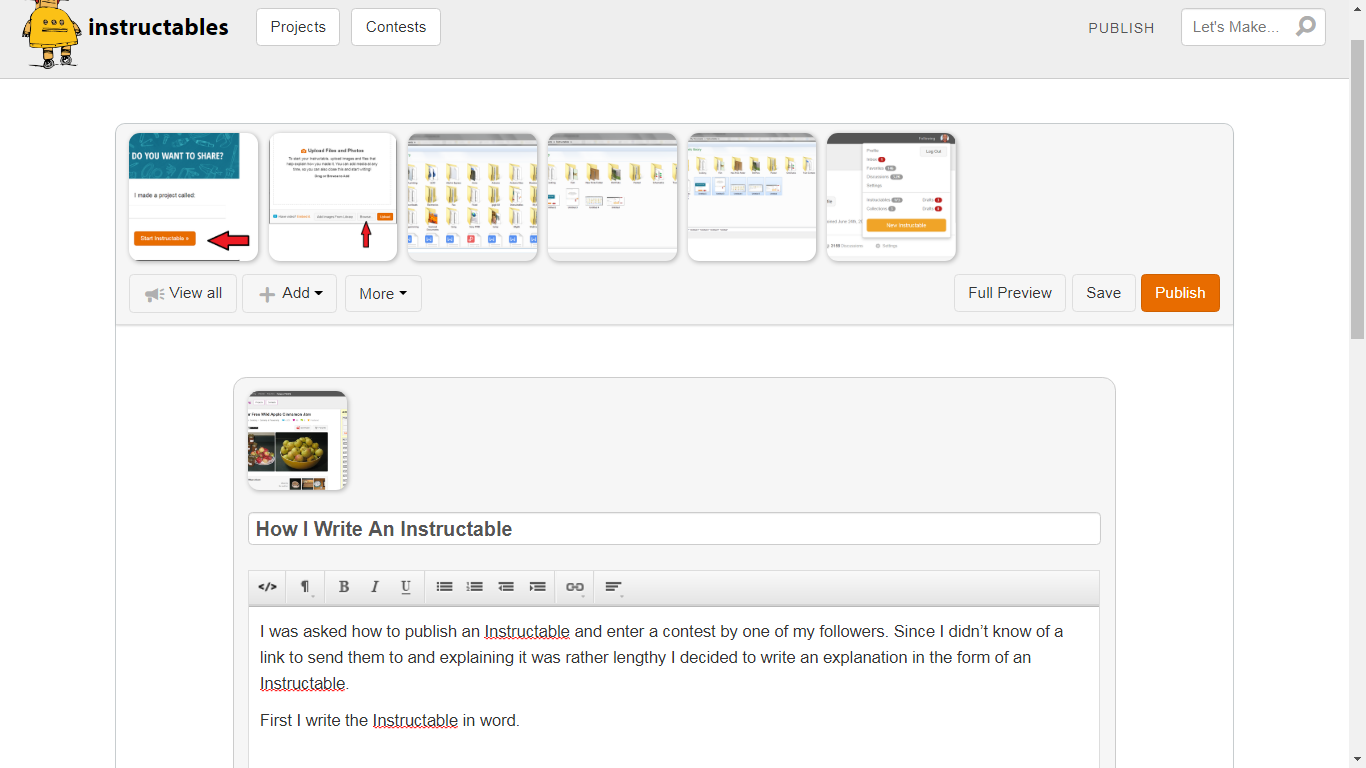
Publishing
After proofreading a couple times and when I think I cannot do any better I publish the Instructable.
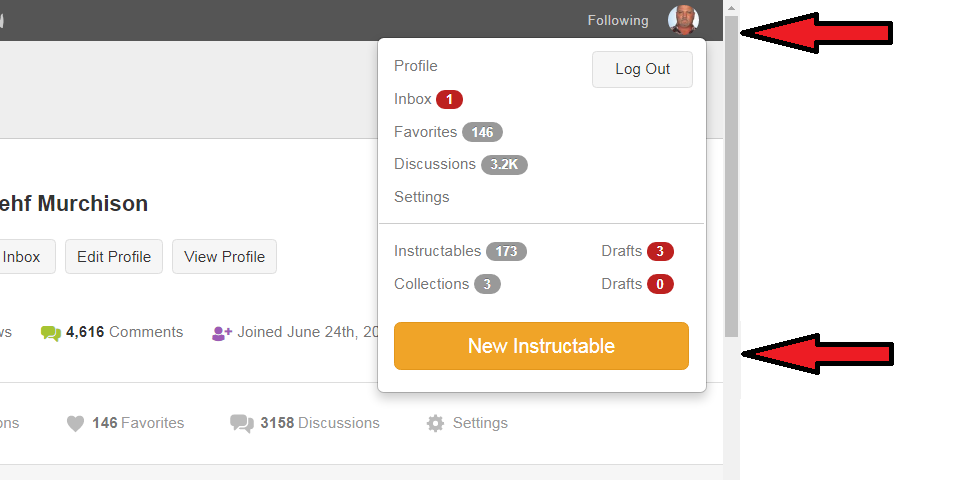
Click on your image in the top right corner of your member page, a drop down will come up.
Click on New Instructable
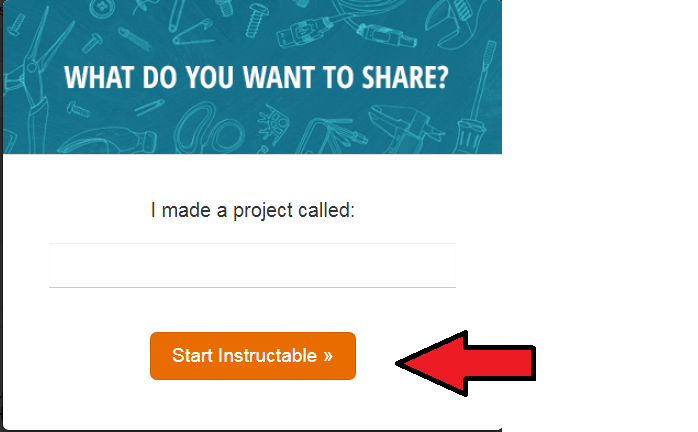
A pop up called WHAT DO YOU WANT TO SHARE will com up.
Enter the title of your Instructable and click on START INSTRUCTABLE
Photos
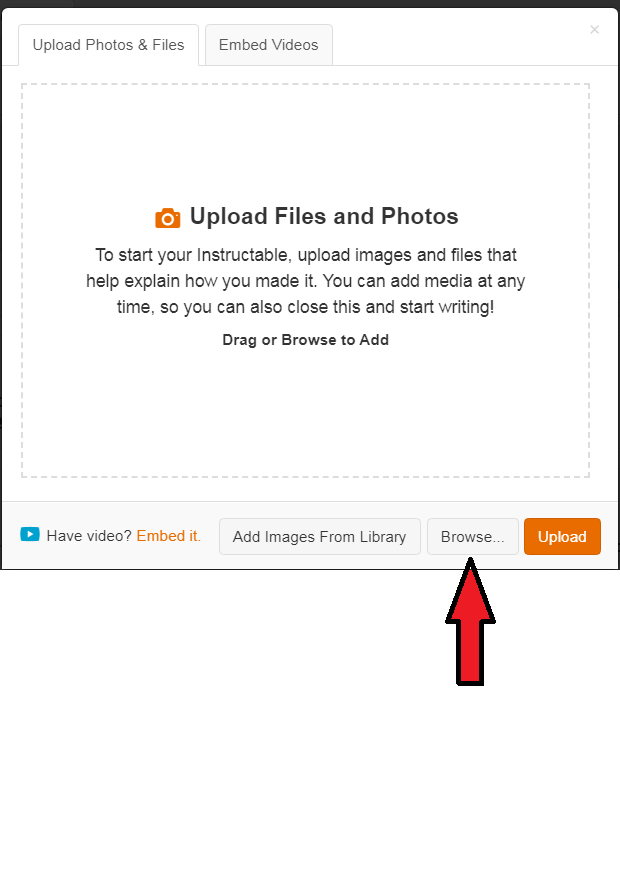

The next pop up will be UPLOAD FILES AND PHOTOS
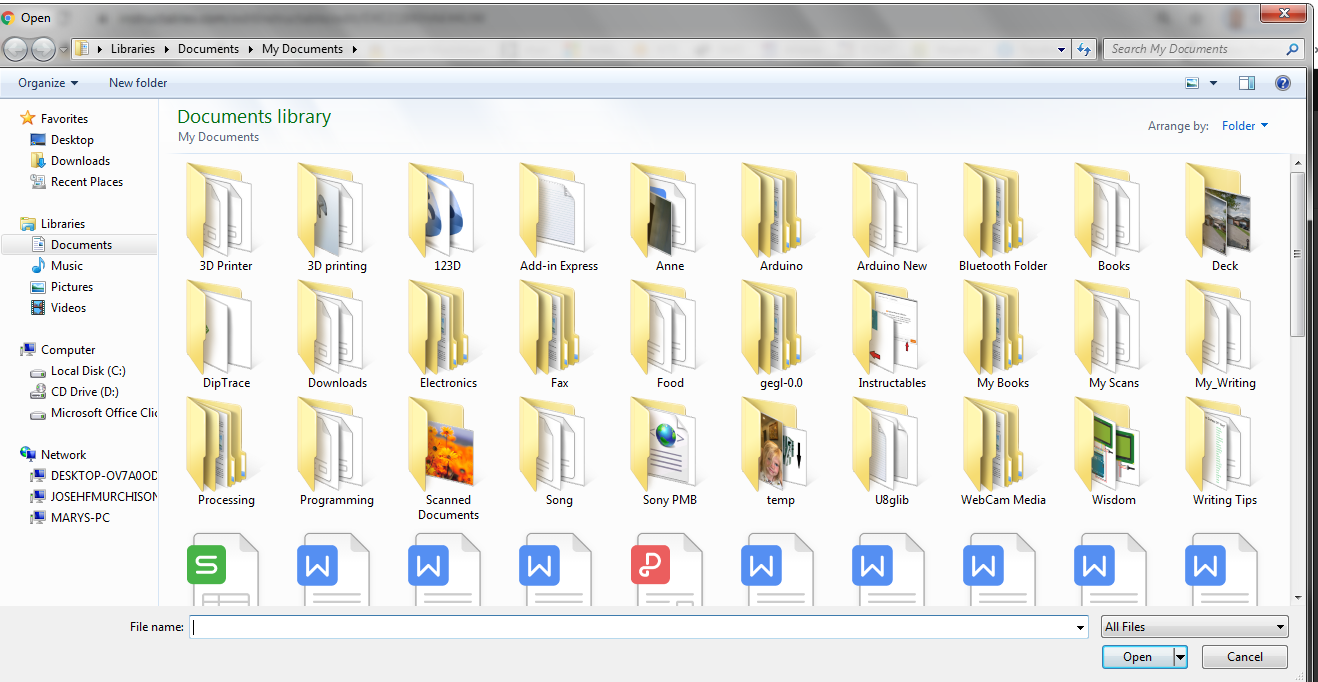
Click on BROWSE and a FILE WINDOW will pop up.
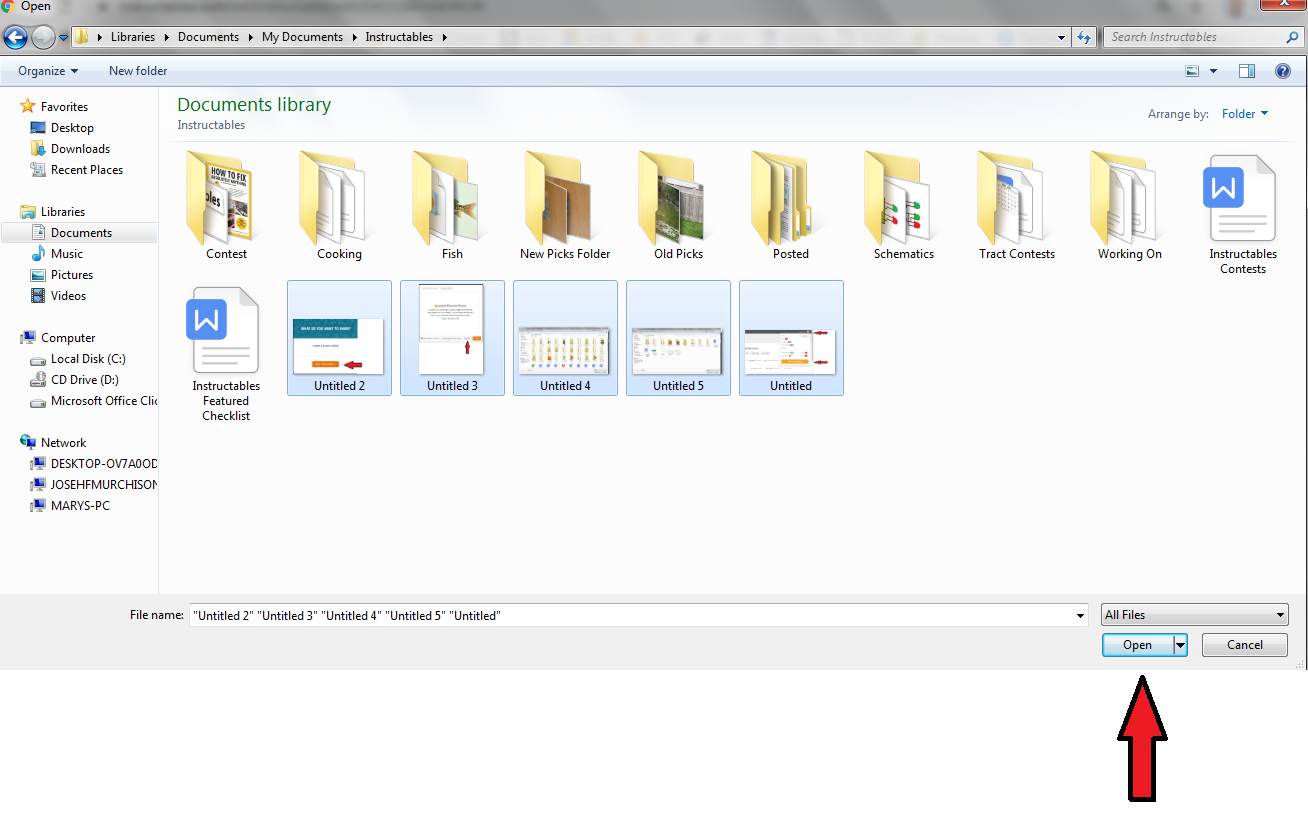
Go to where your photos and files for you project are stored on your computer.
Highlight the photos and files you want to upload to your Instructable and click on OPEN.
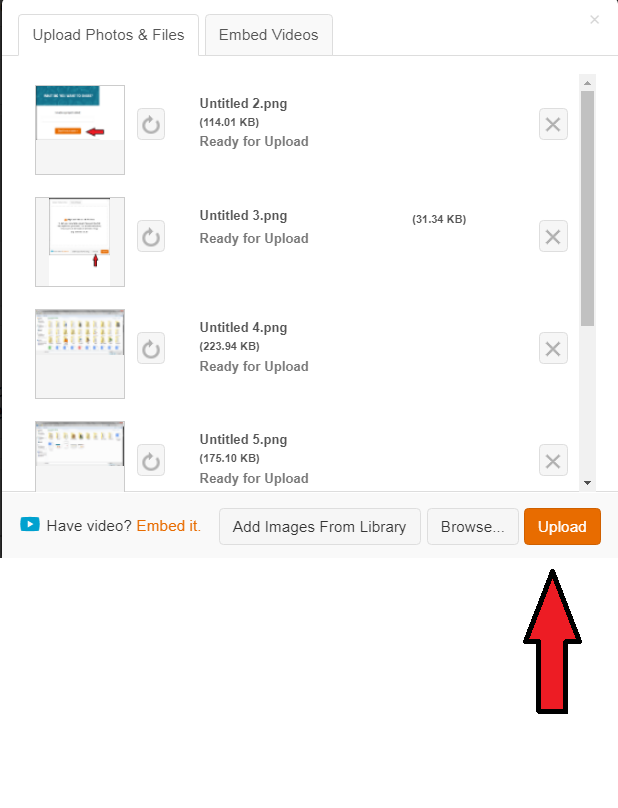
This time UPLOAD FILES AND PHOTOS will pop up with your photos and files in it.
Click on UPLOAD
Now your files will start to upload.
Upload Done
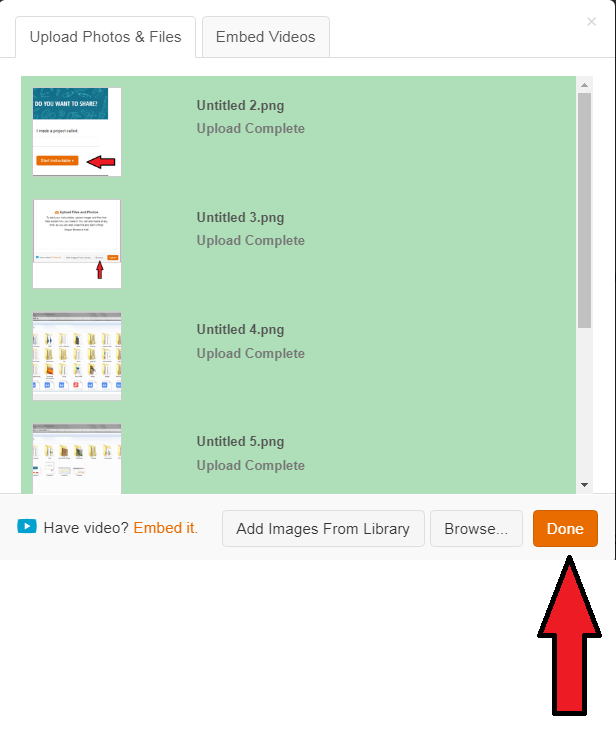
When they are finished uploading the background will turn green.
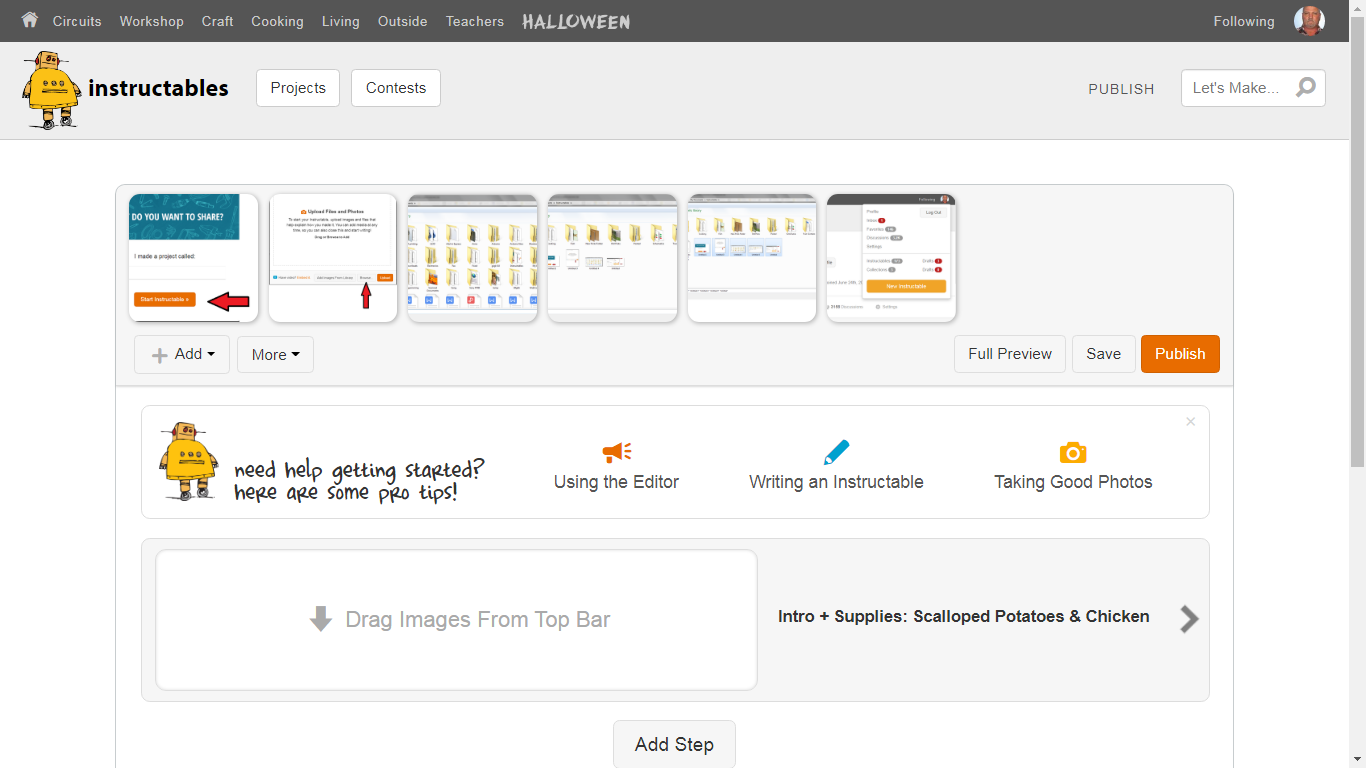
Click on DONE and the EDITOR will com up with your photos in the Top Bar.
From here you can start to write your Instructable.
Start to Write Your Instructable
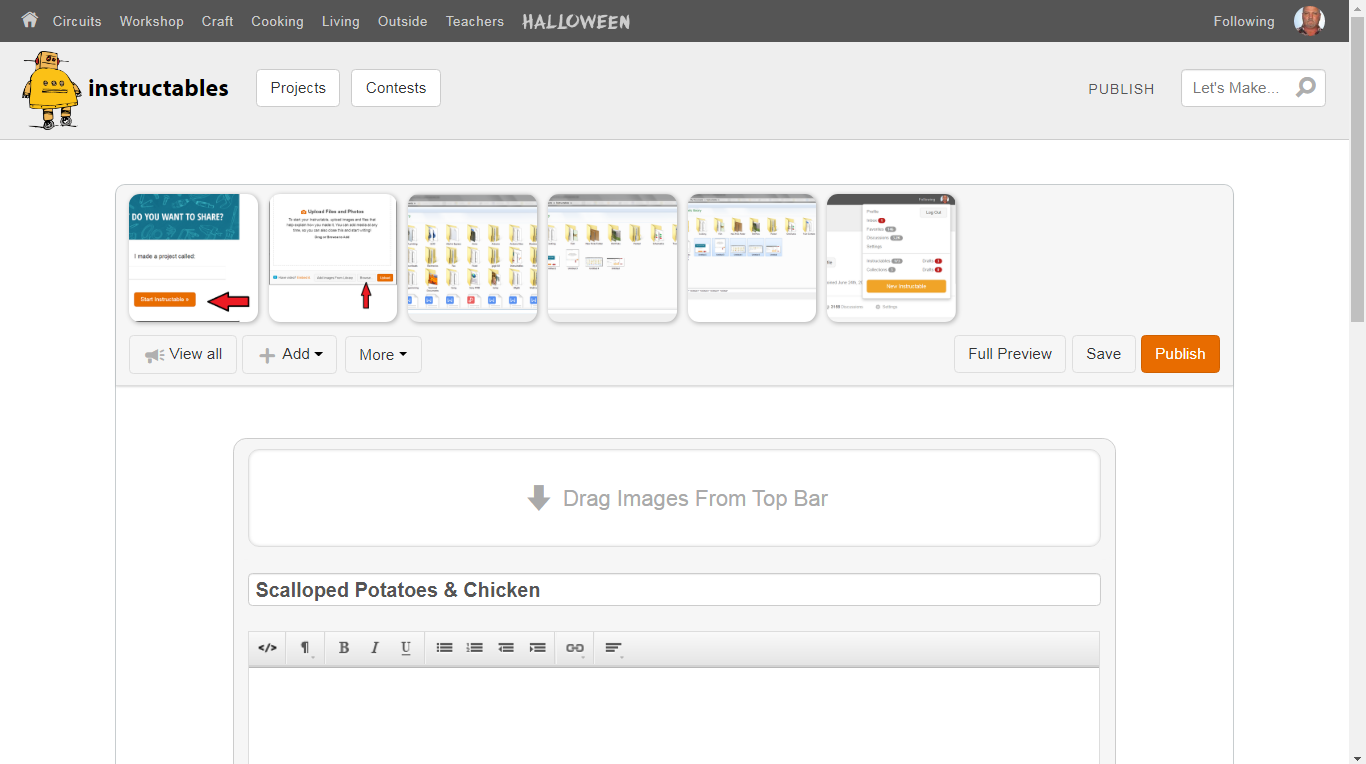

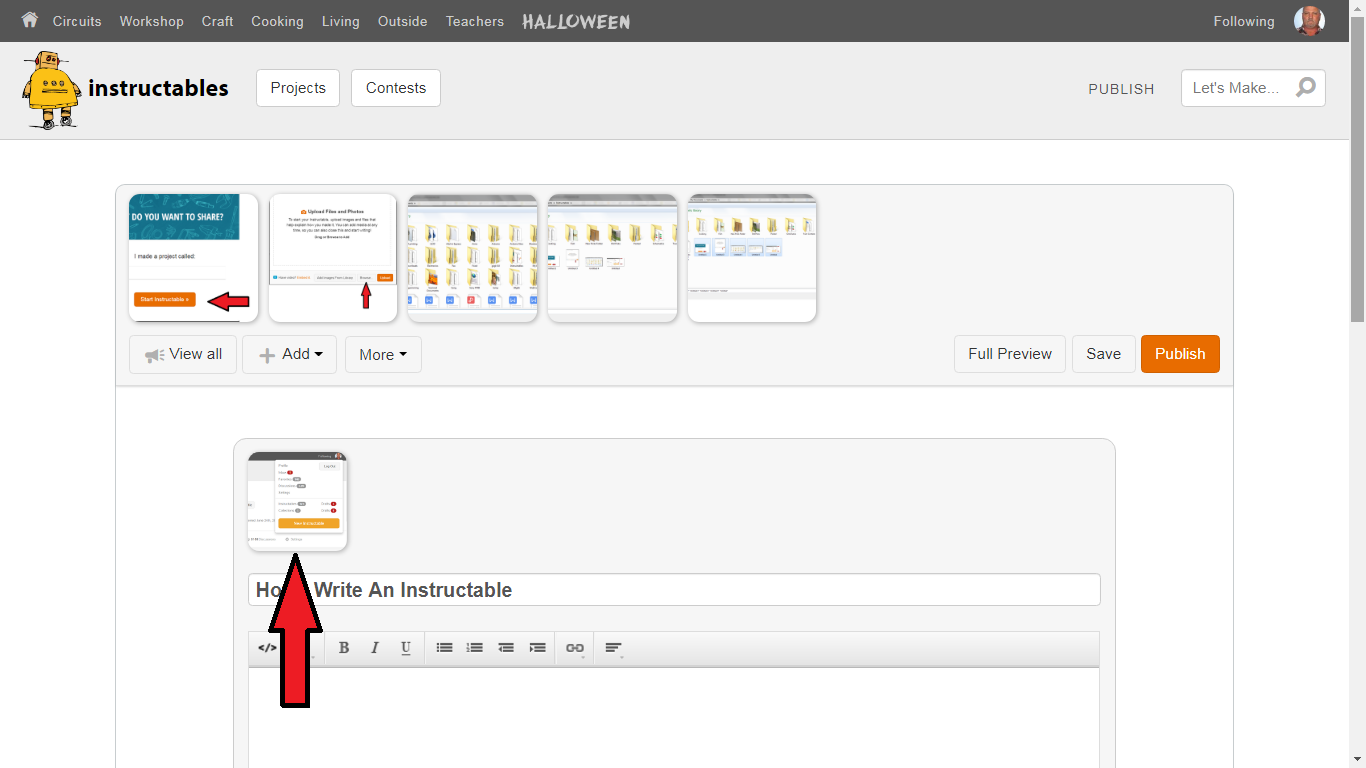
Click on the arrow beside the title of your Instructable and it will open the Intro editor.
From here you can change the title.
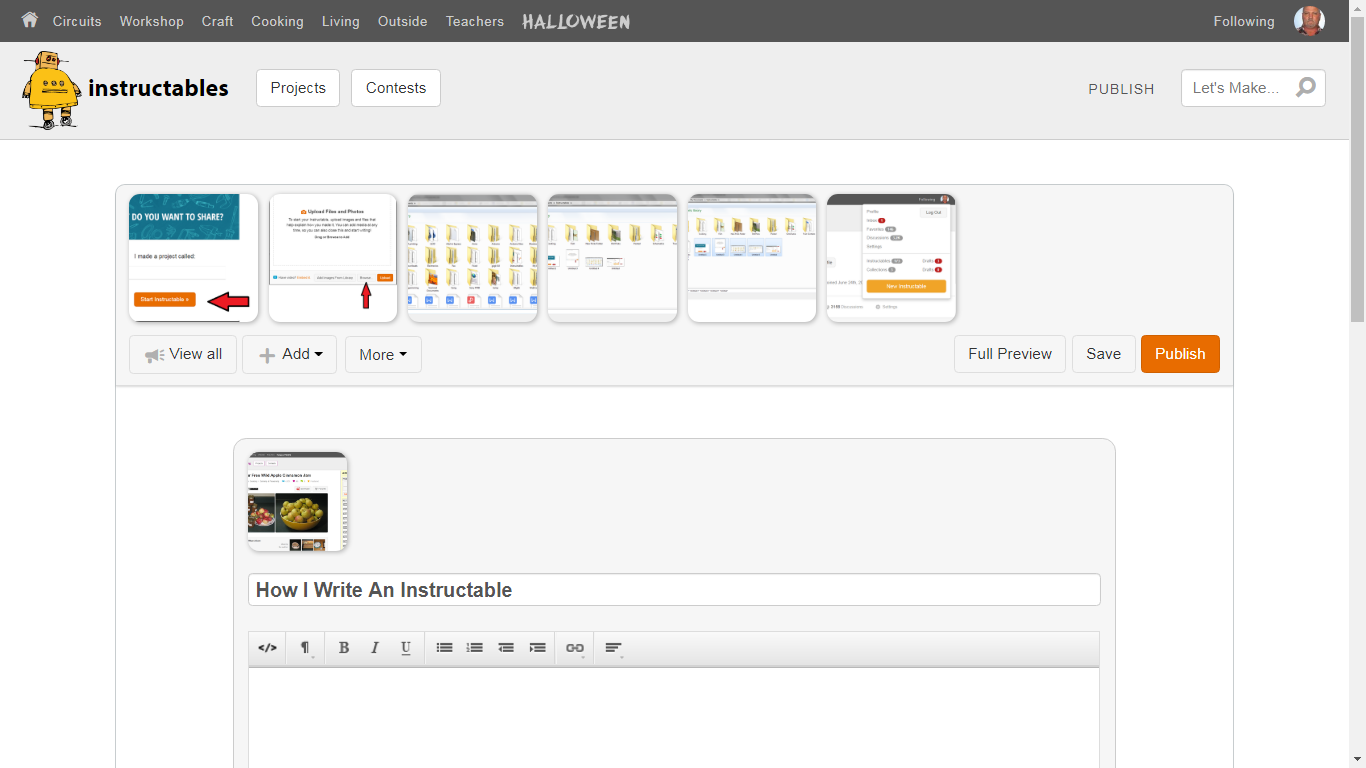
Add pictures by clicking on an image in the Top Bar and dragging them to your step.
And you can type your text into the text box or copy and past like I described in step 1.
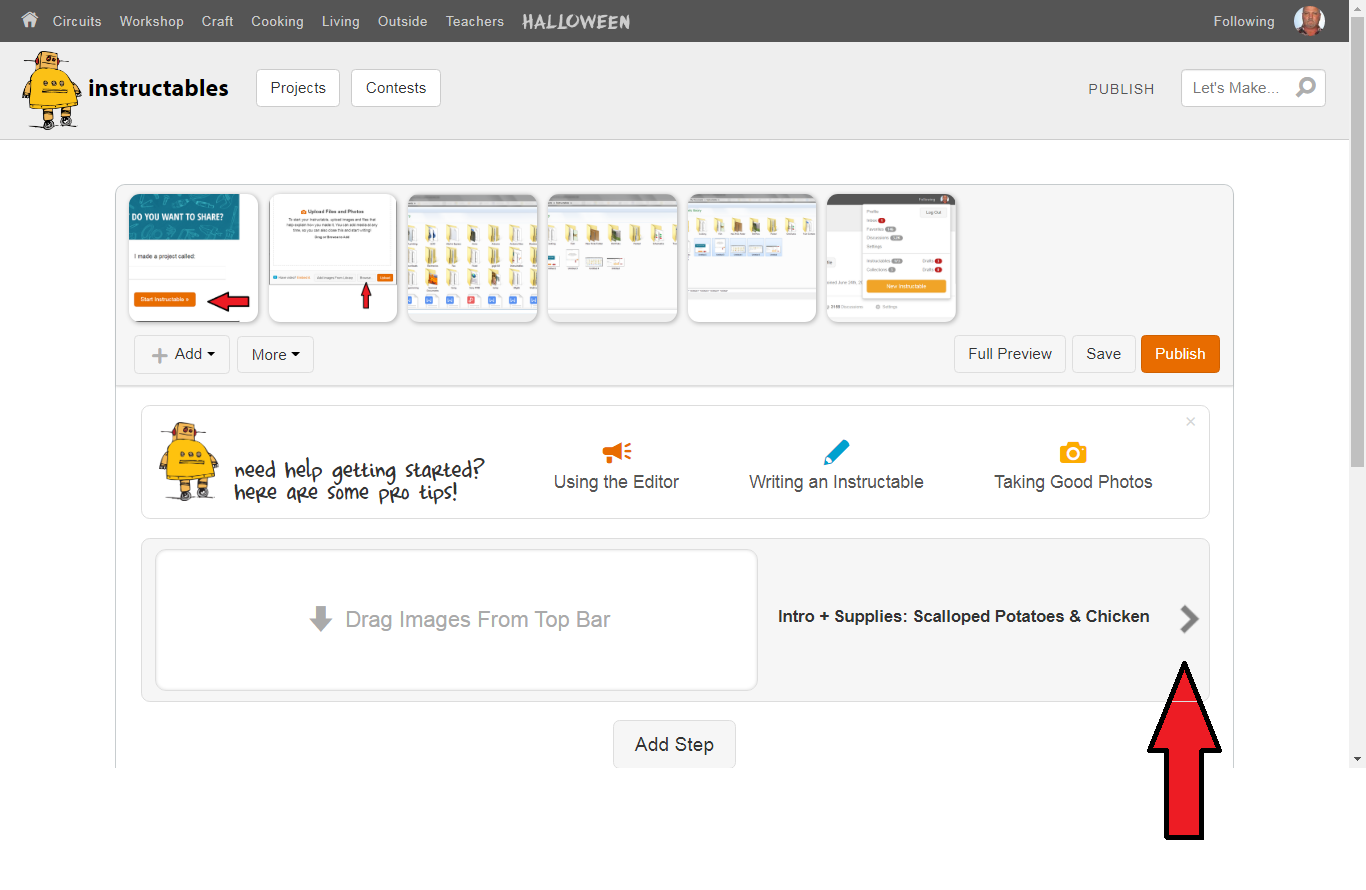
Adding a Step

At any time even after publishing you can add steps to your Instructable.
Go to the step you want the new step in your Itstructable to follow.
Click on Add
Click on Step.
The editor will add the new step after the step you are on to your Instructable.
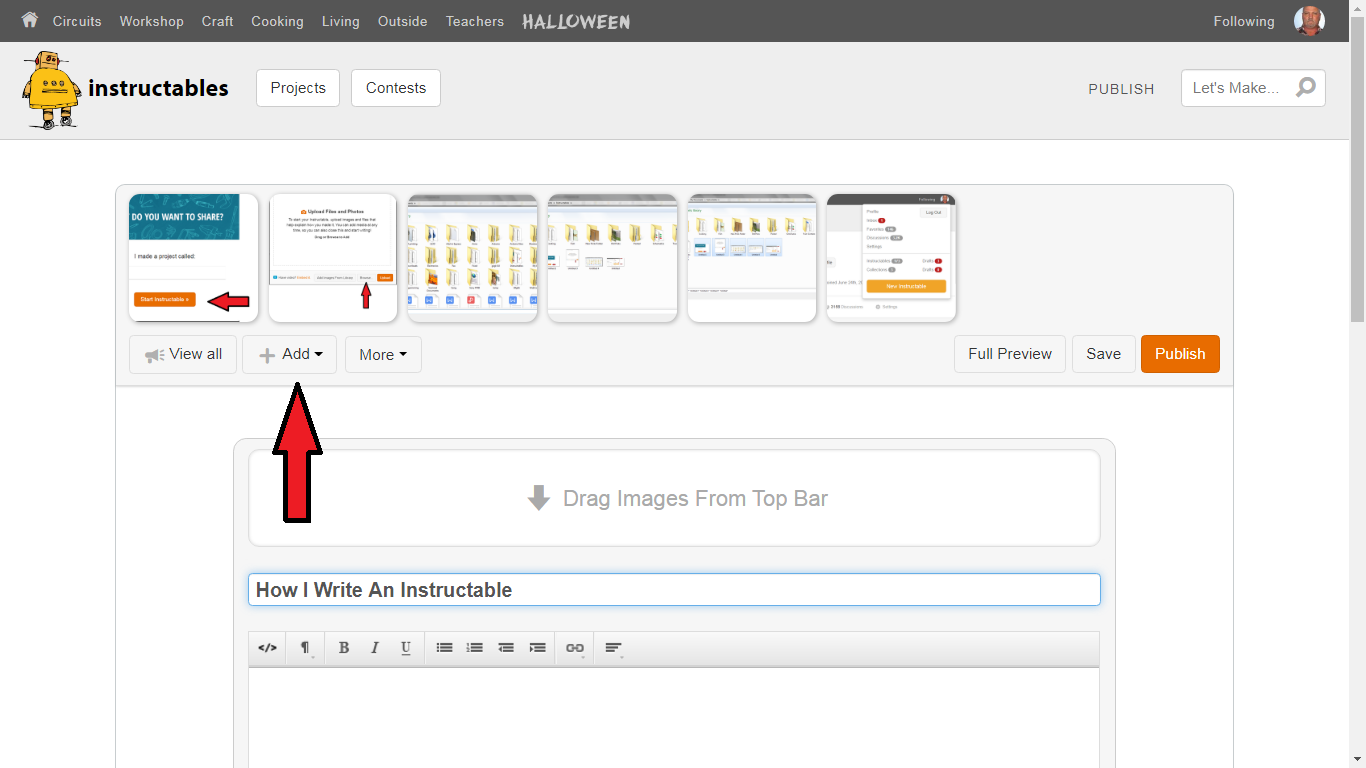
Adding Photos & Files
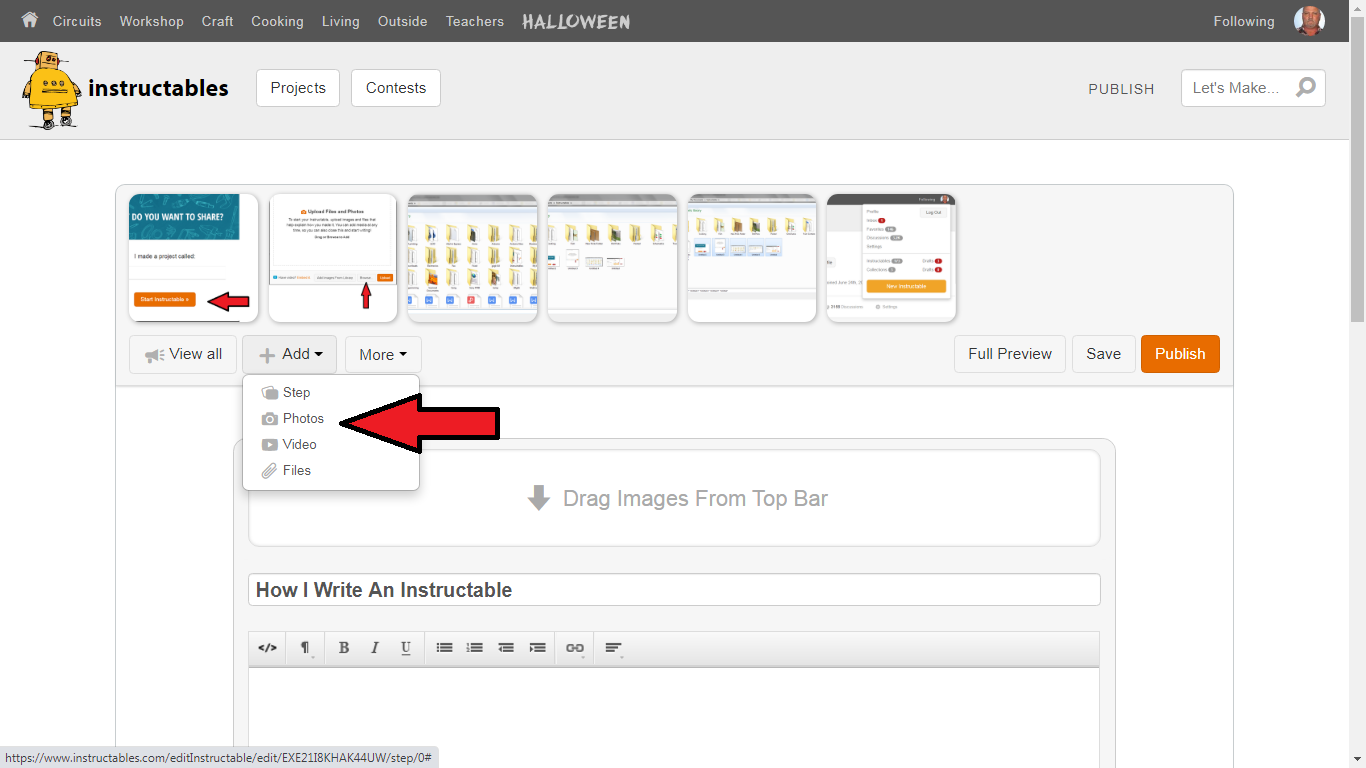
At any time even after publishing you can add photos, or files.
Just click on Add
Click on photos or files.
Follow the same steps as in step 4 and add what you want to add to your Instructable.
Editing
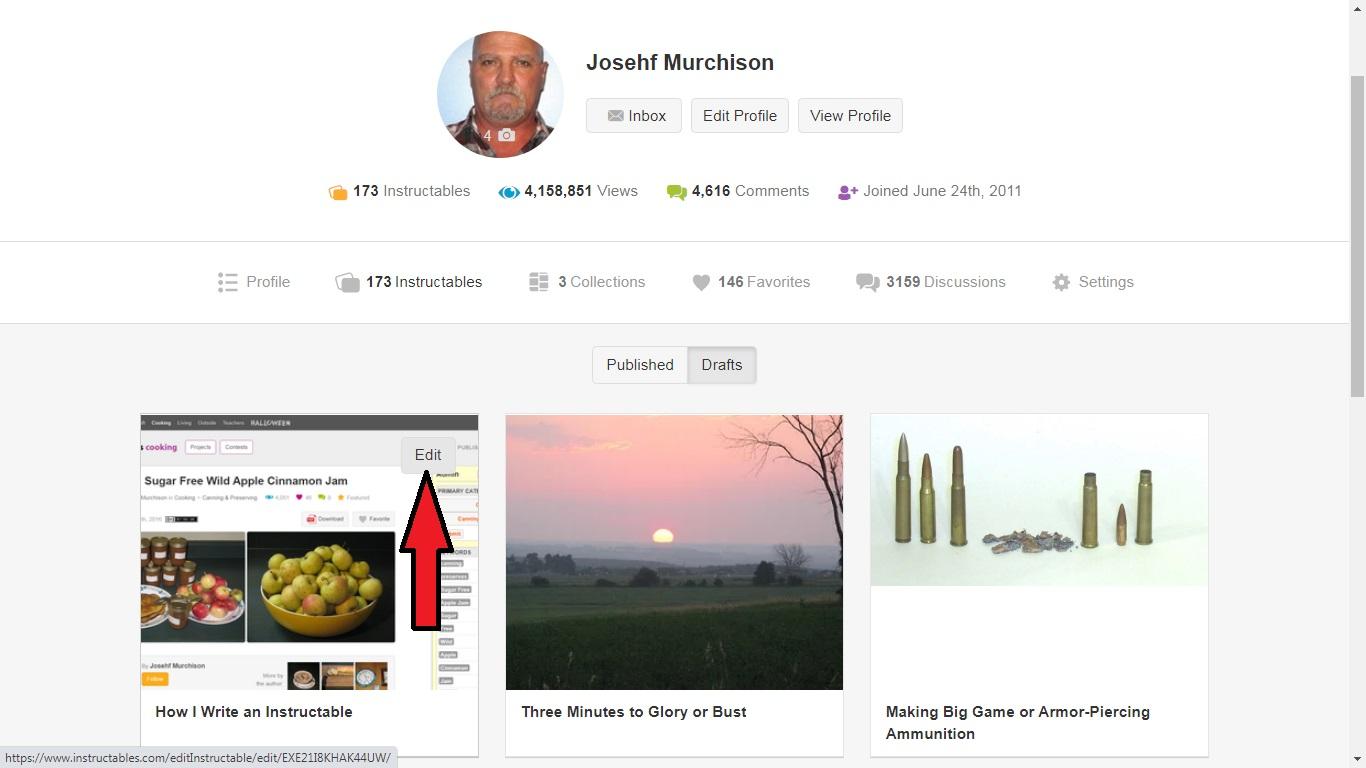
You can edit your Instructable at any time whether it is Published or in Drafts.
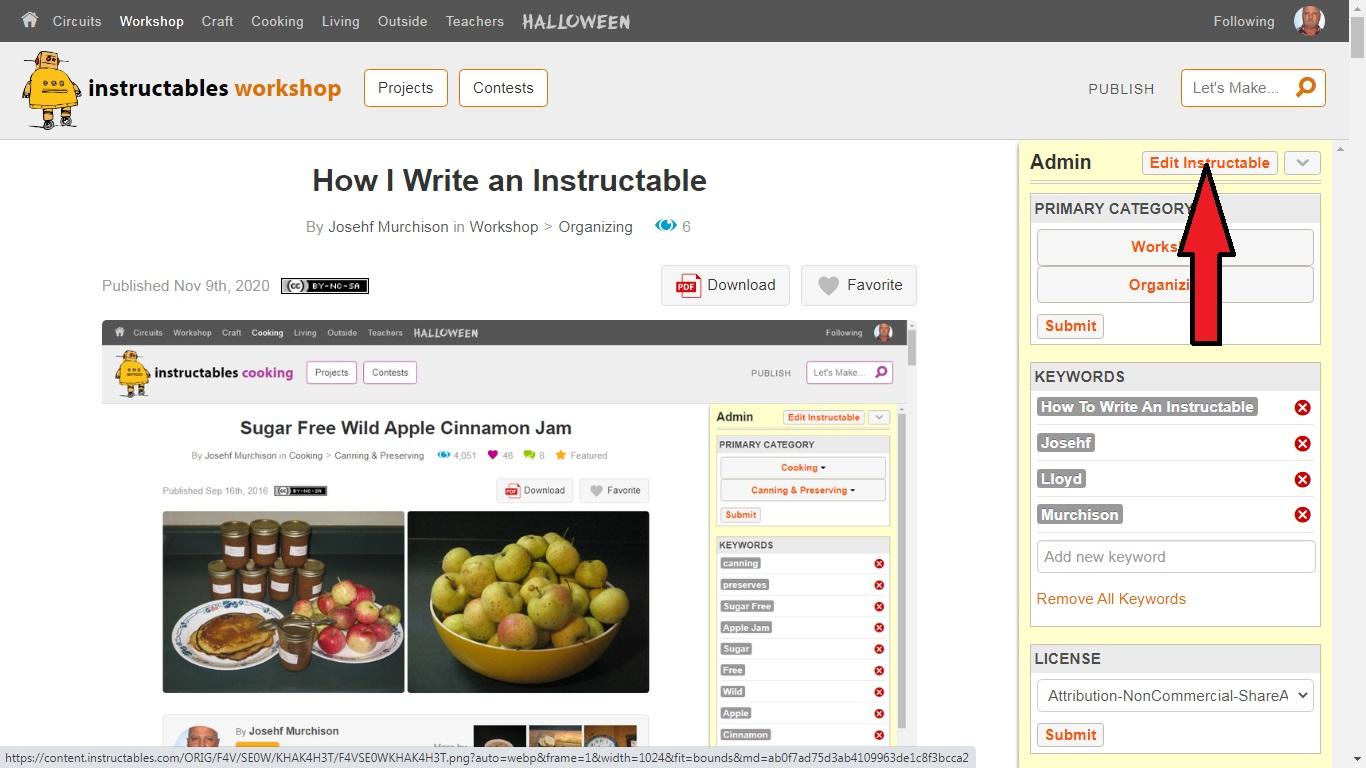
When the Instructable is published click on Edit Instructable.
Go to your Instructable in drafts and when you put your pointer over the cover image the Edit button will show.
Click on Edit and it will take you to the editor.
Scroll to the step you want to edit and click on the arrow to the right and it will take you into the editor of that step.
Publishing and Entering a Contest
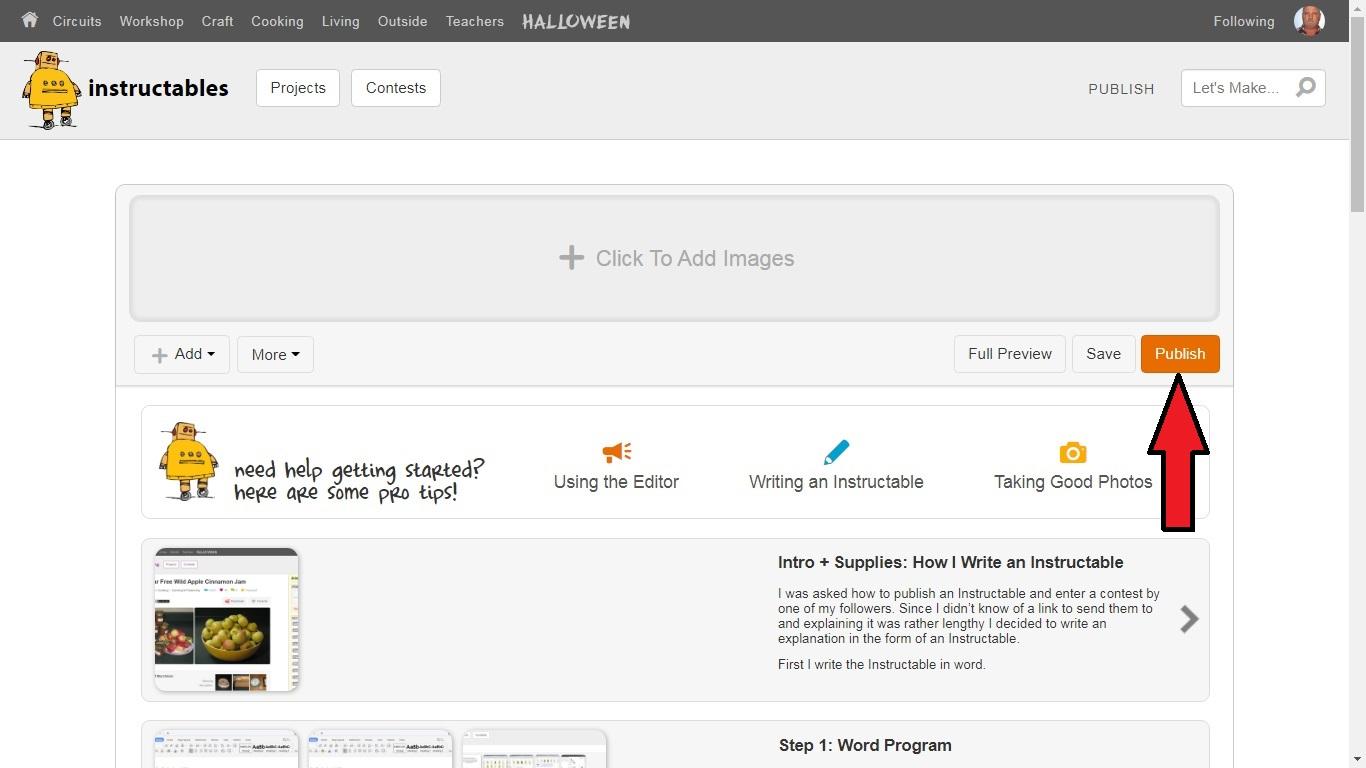
When you are ready to publish click on publish in the project editor.
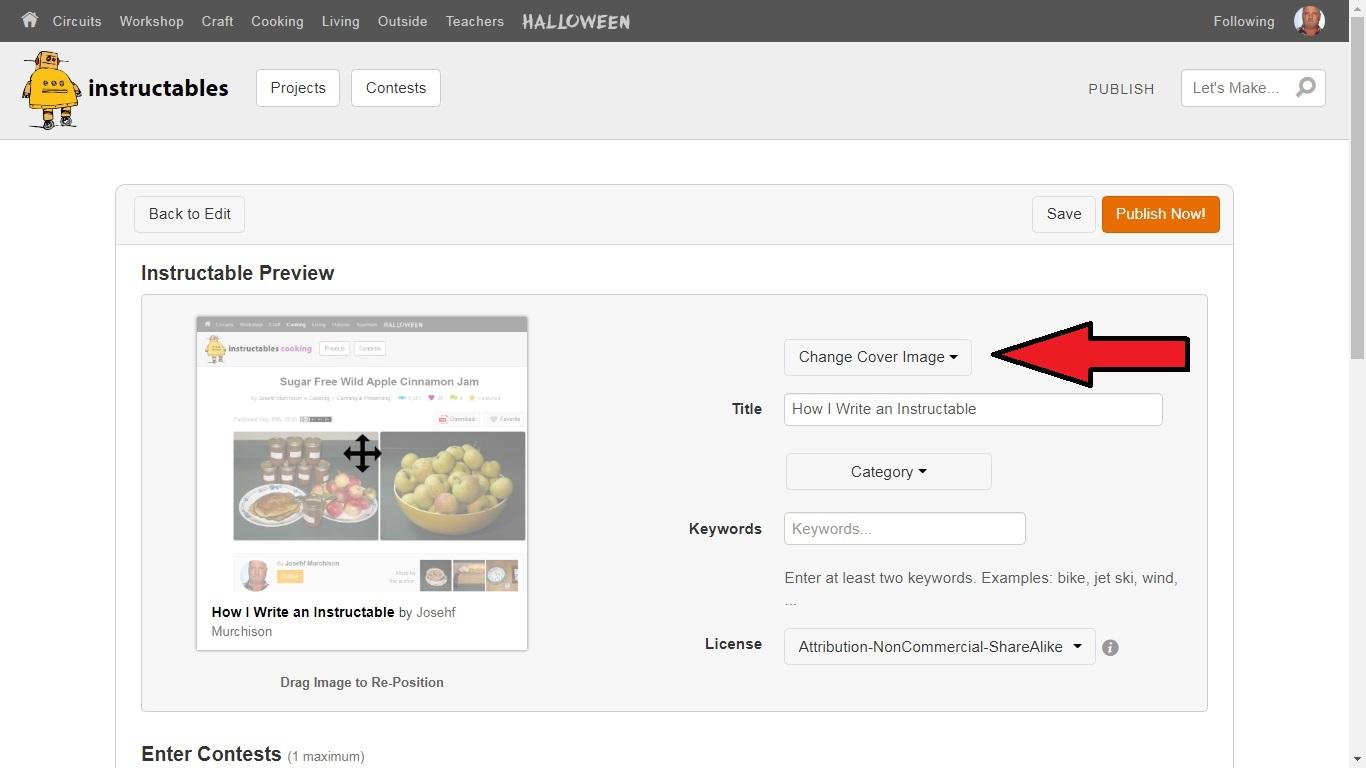
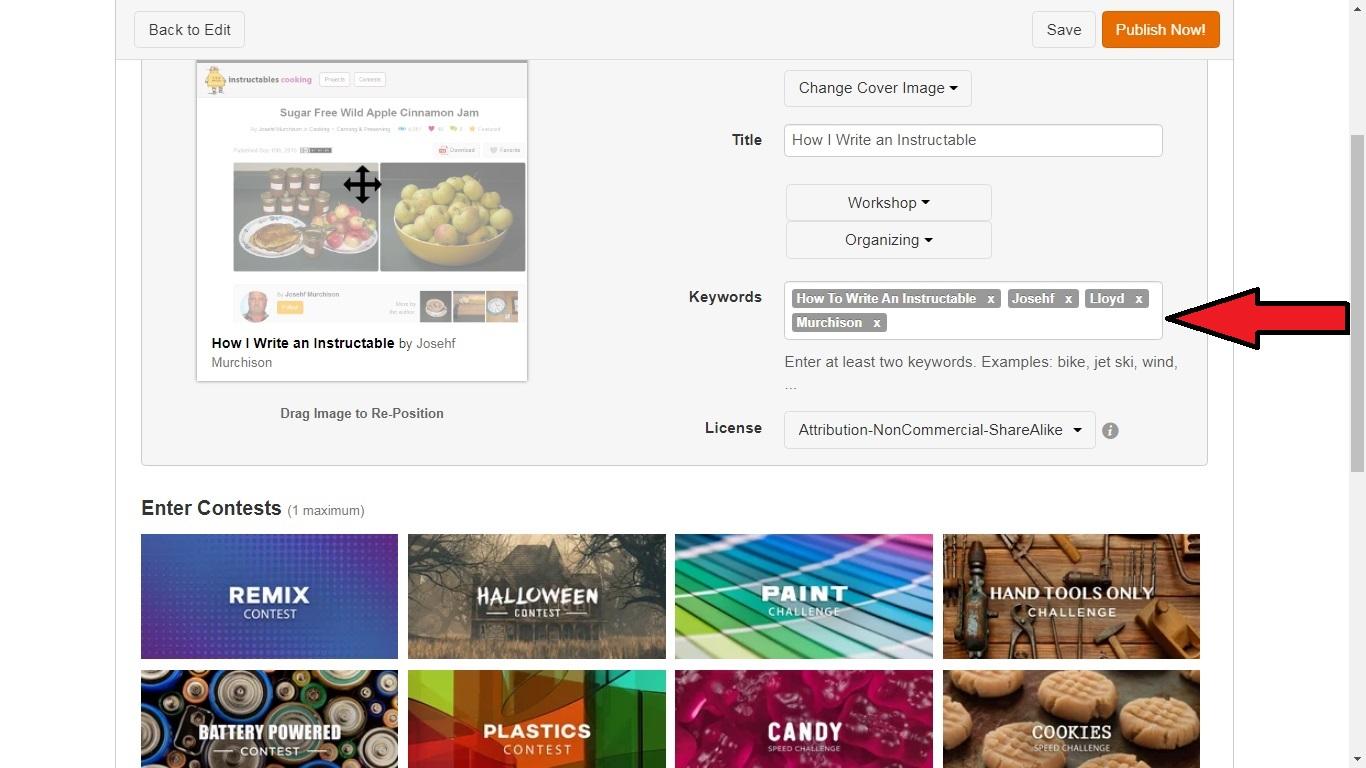
You can pick a cover image or keep the one you have.
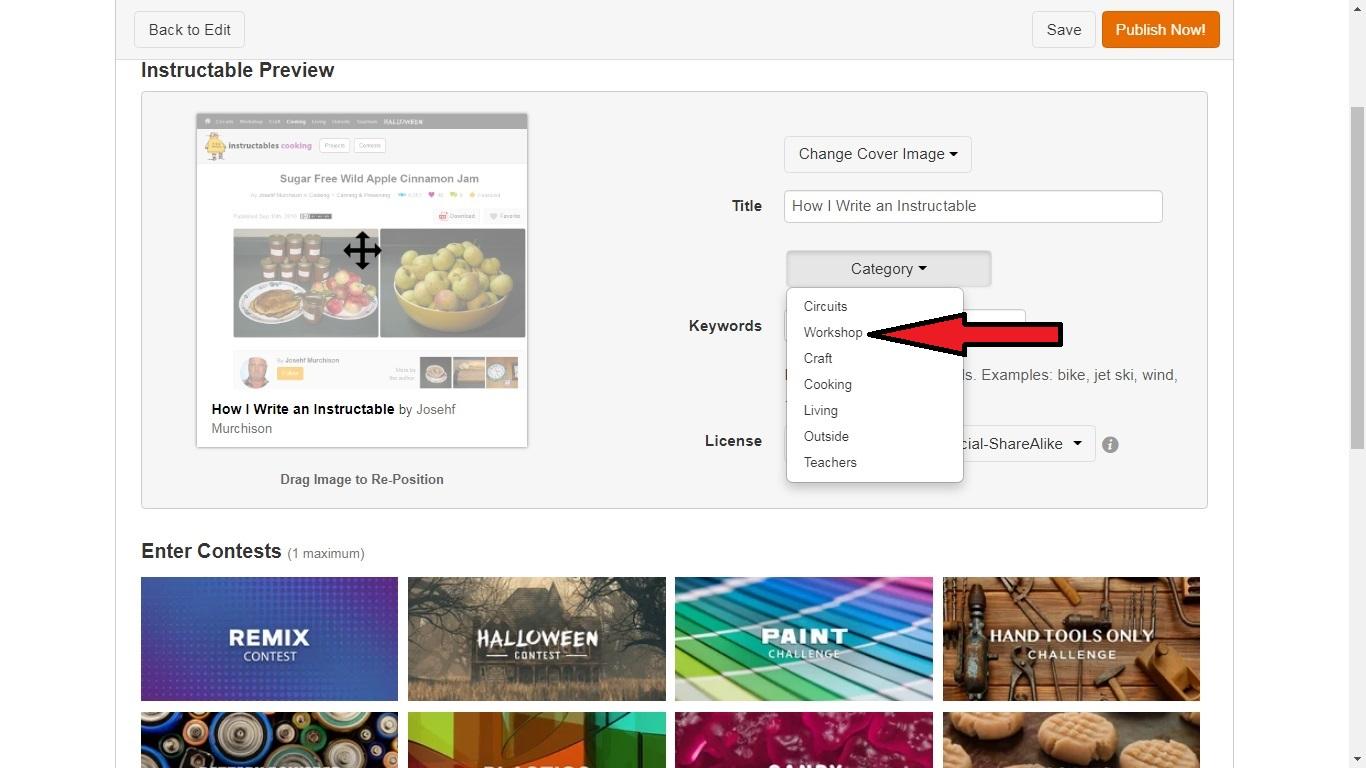
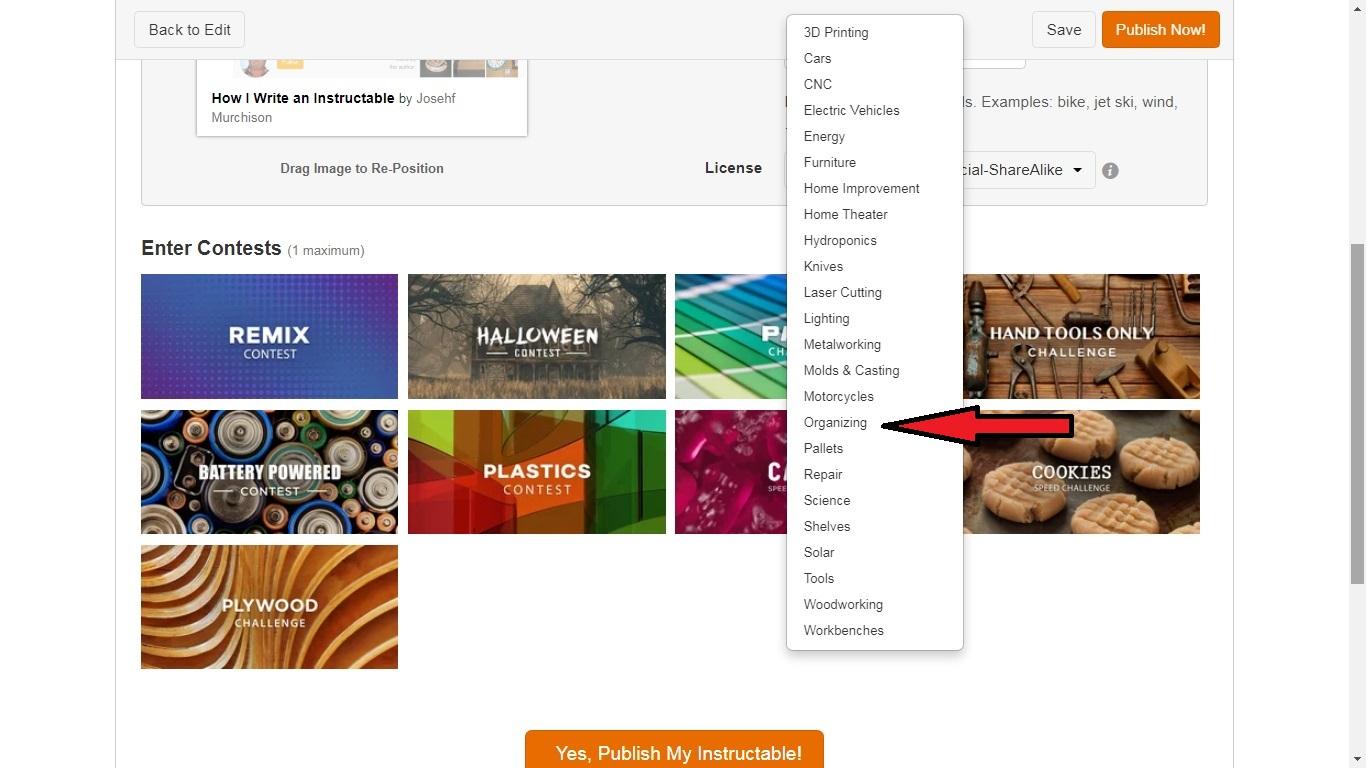
Pick a category
Pick a channel
Add Keywords
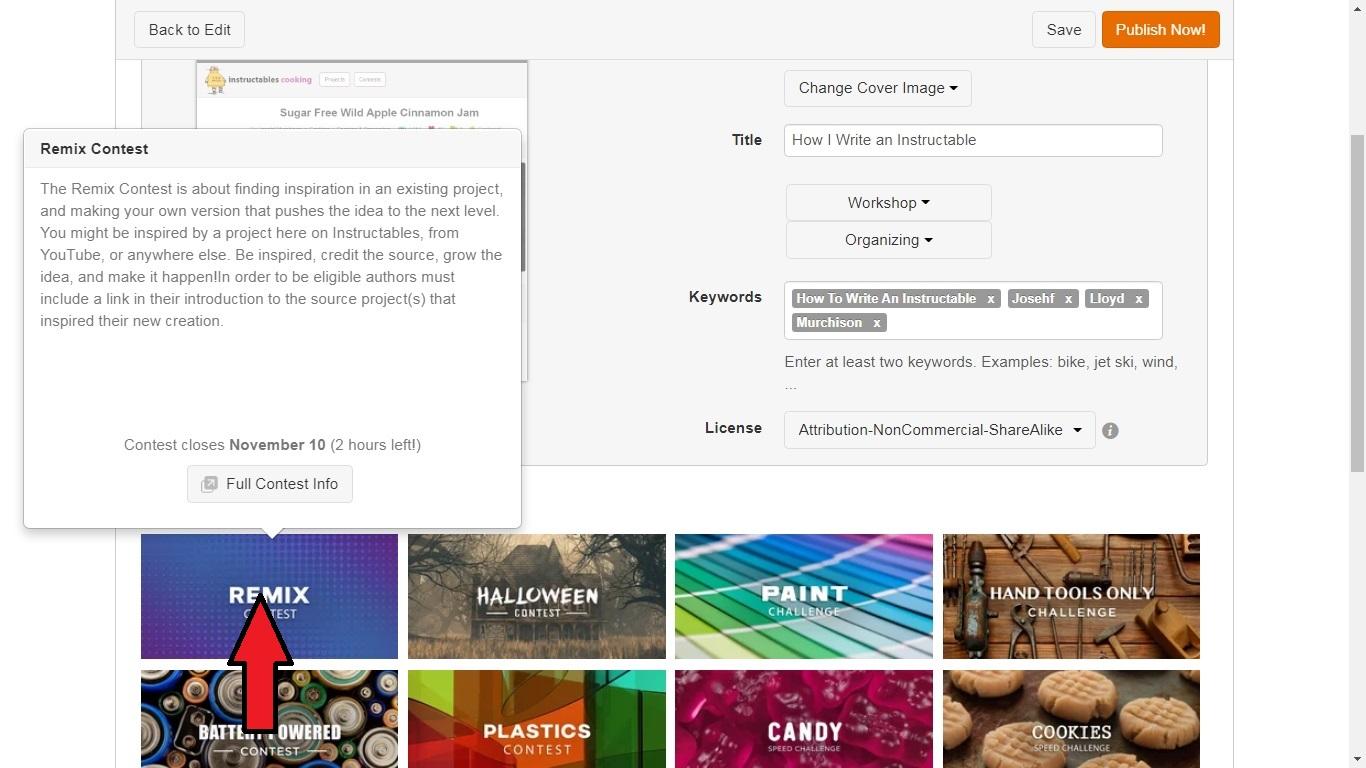
Select a contest
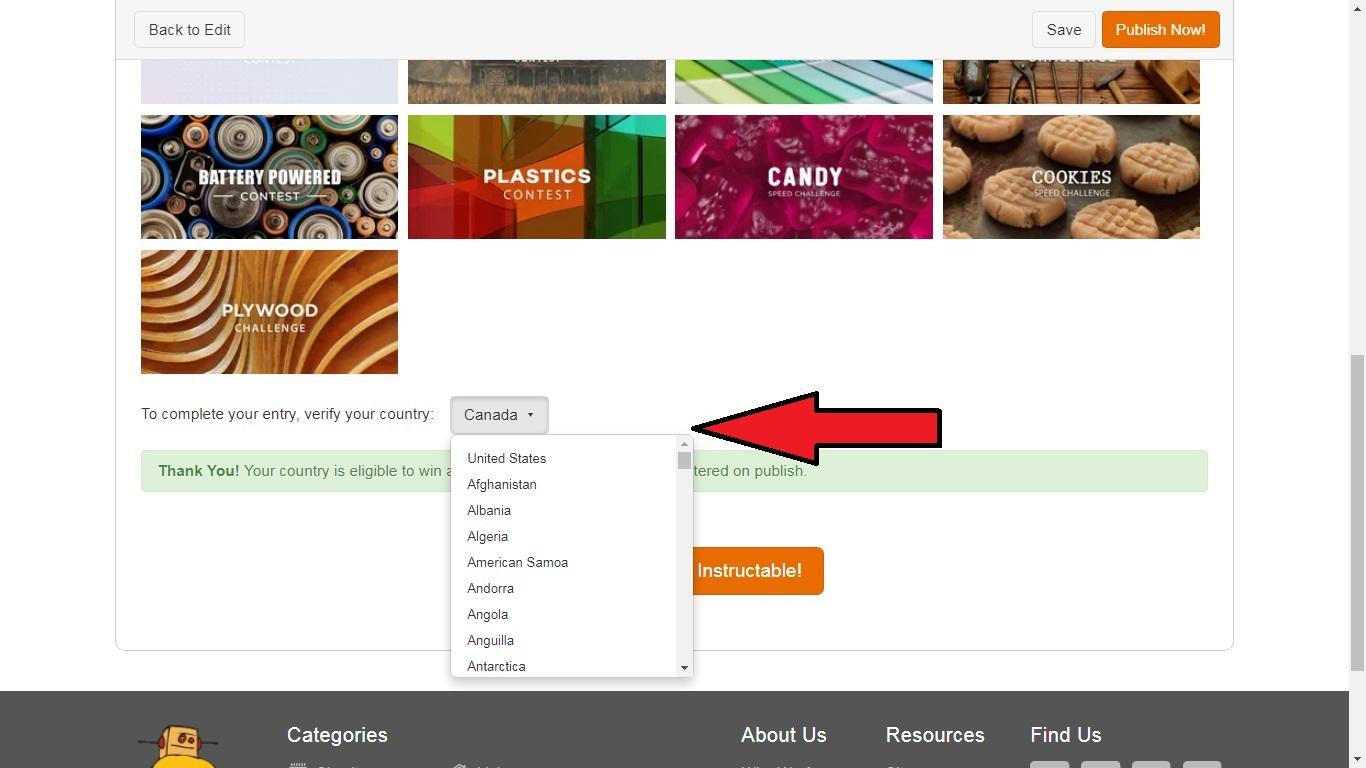
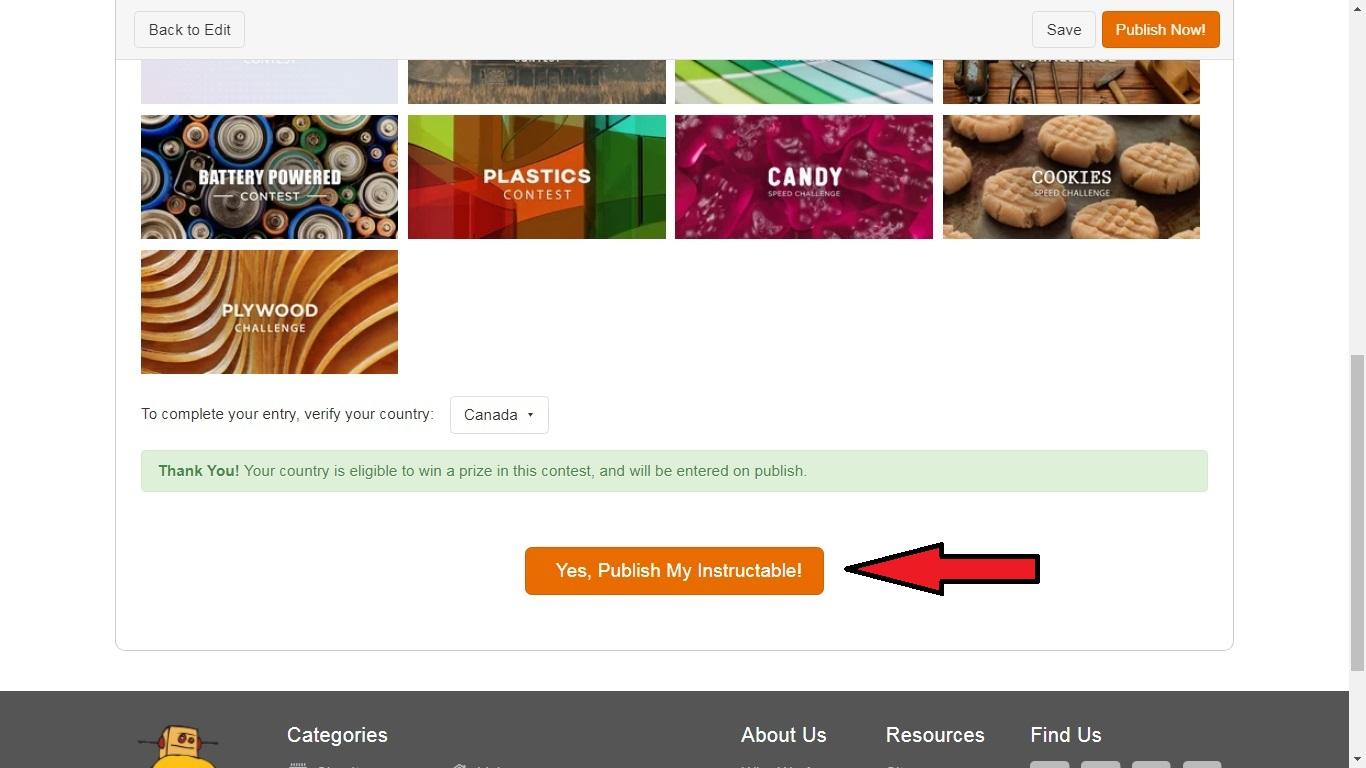
Select a country if the contest needs one.
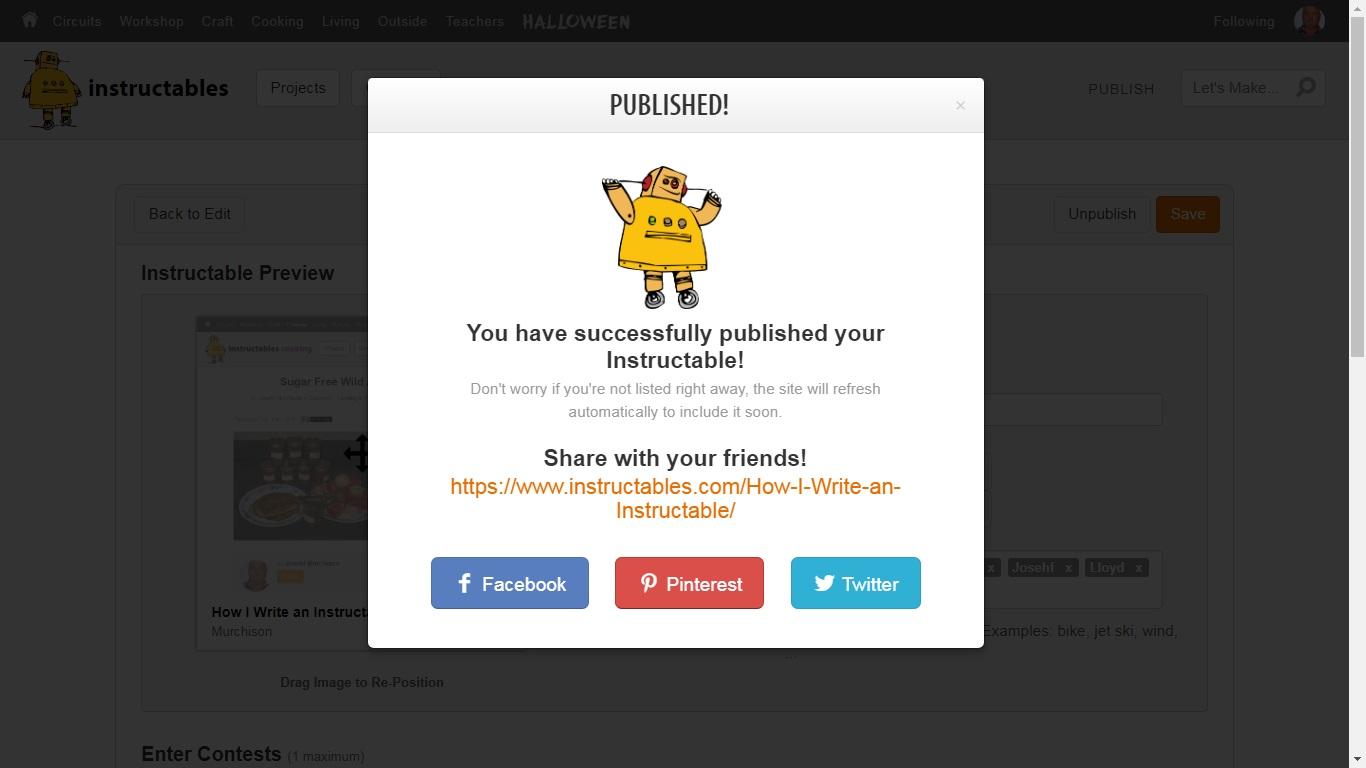
Click on Yes Publish My Instructable.
If everything went OK you should get a dancing robot saying, "You have successfully published your Instructable". This doesn't mean you are entered in the contest it may be a few days before your entry is accepted.