How I Made an Autodesk Student Ambassador Locket?
by alamtania in Design > Software
1928 Views, 9 Favorites, 0 Comments
How I Made an Autodesk Student Ambassador Locket?
This project is dedicated to the Autodesk's Student Expert Network . I was awarded the status of Autodesk Student Ambassador a few months ago, along with which came my student ambassador logo, tech tattoos and laptop bag.
Just among one of my random things, I thought of making a model of the Ambassador logo and give it a form of a locket. The model is published on Autodesk Gallery too.
Software required:
Fusion 360 by Autodesk
Pre-requisites:
Although the Instructables is meant to be for beginners, it is recommended to have some basic knowledge of the software.
Lessons recommended:
Fusion 360 class (Lessons: 1-5 and 9)
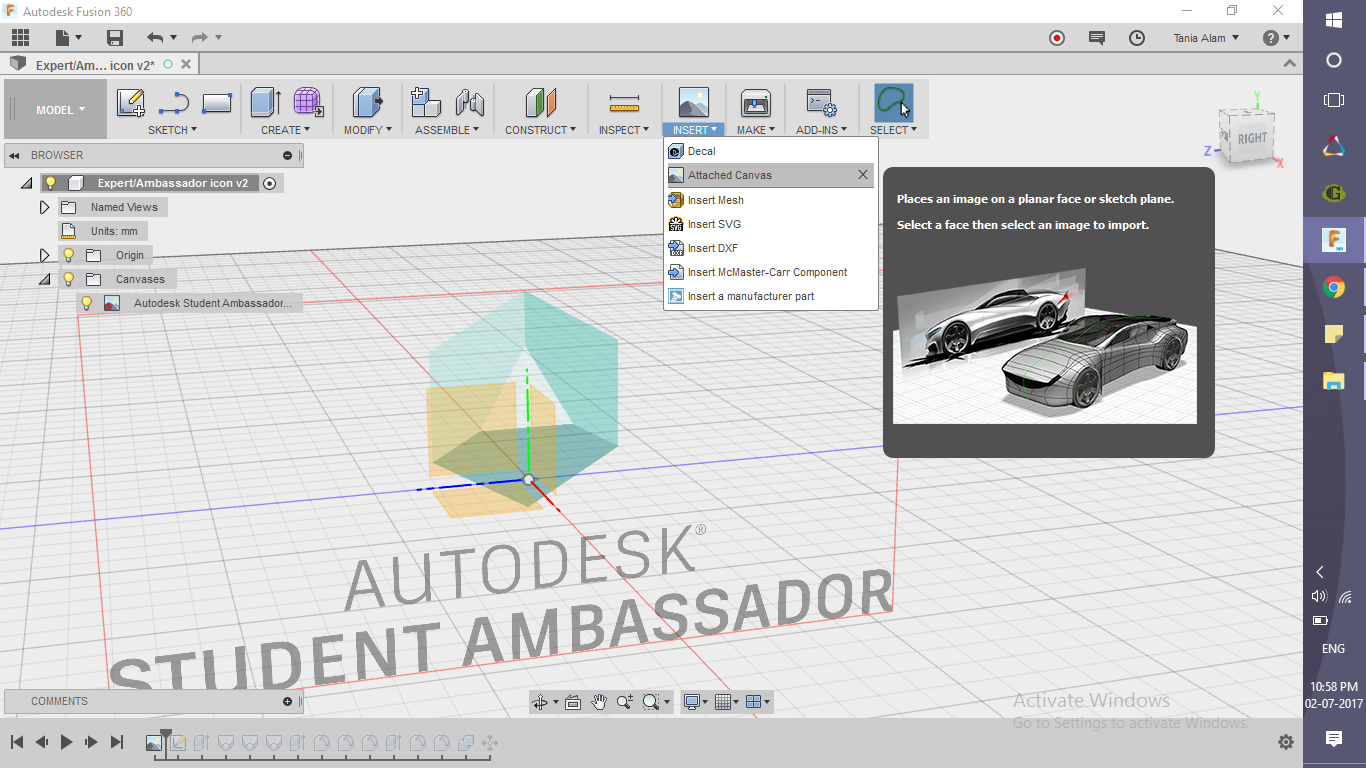
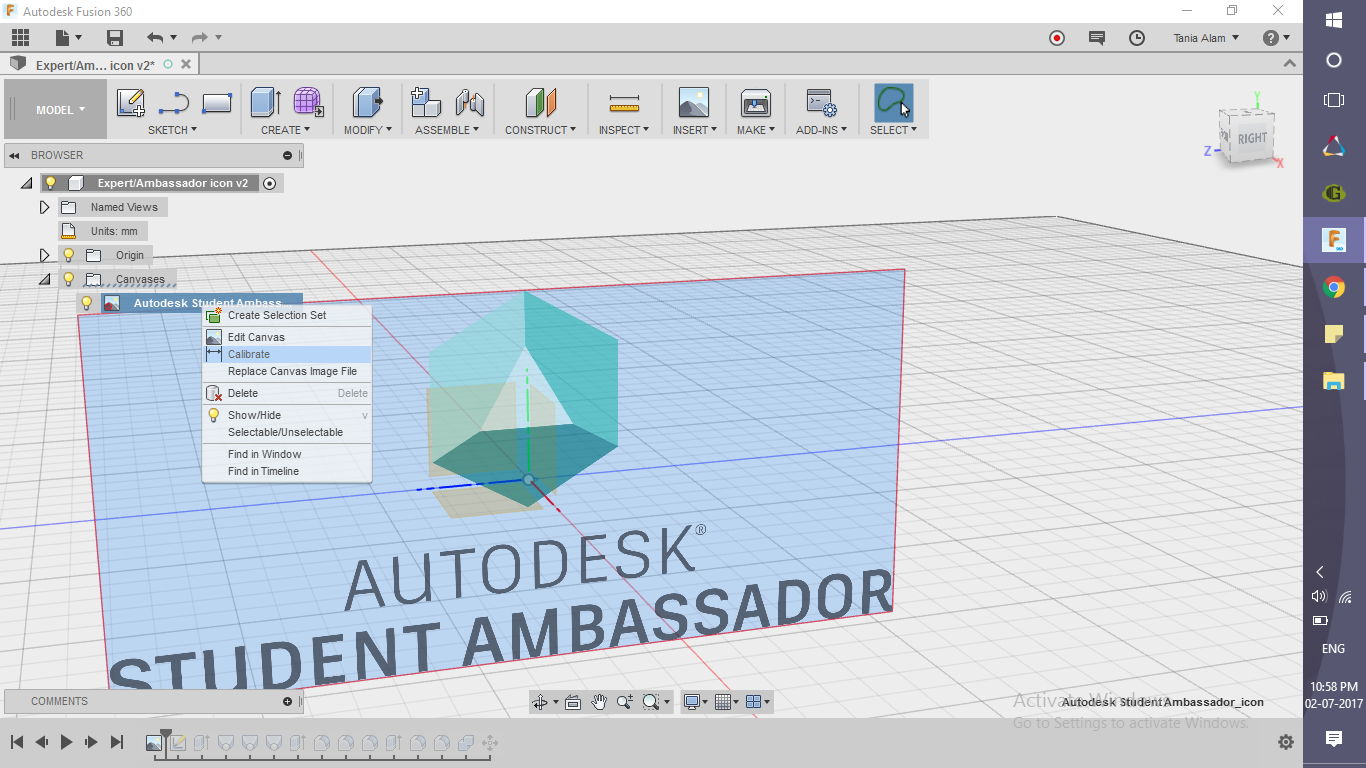
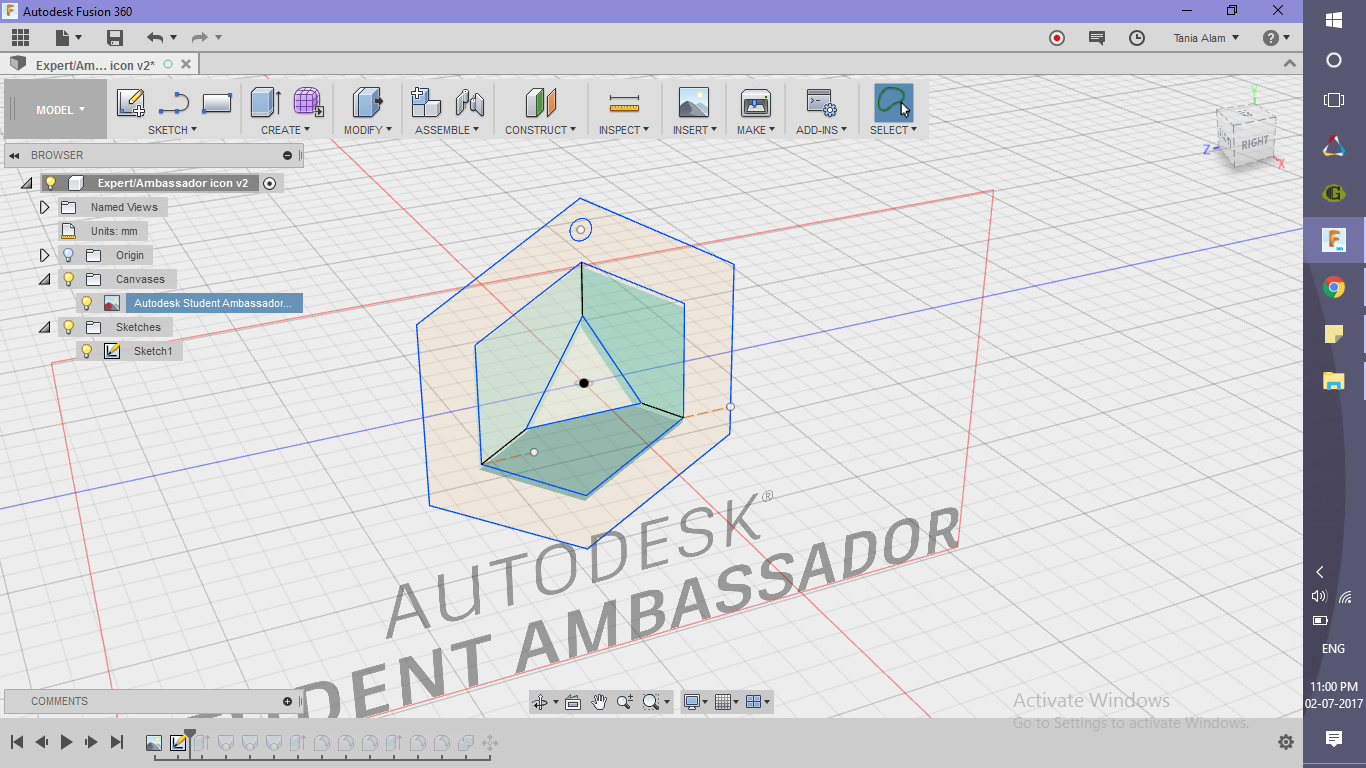
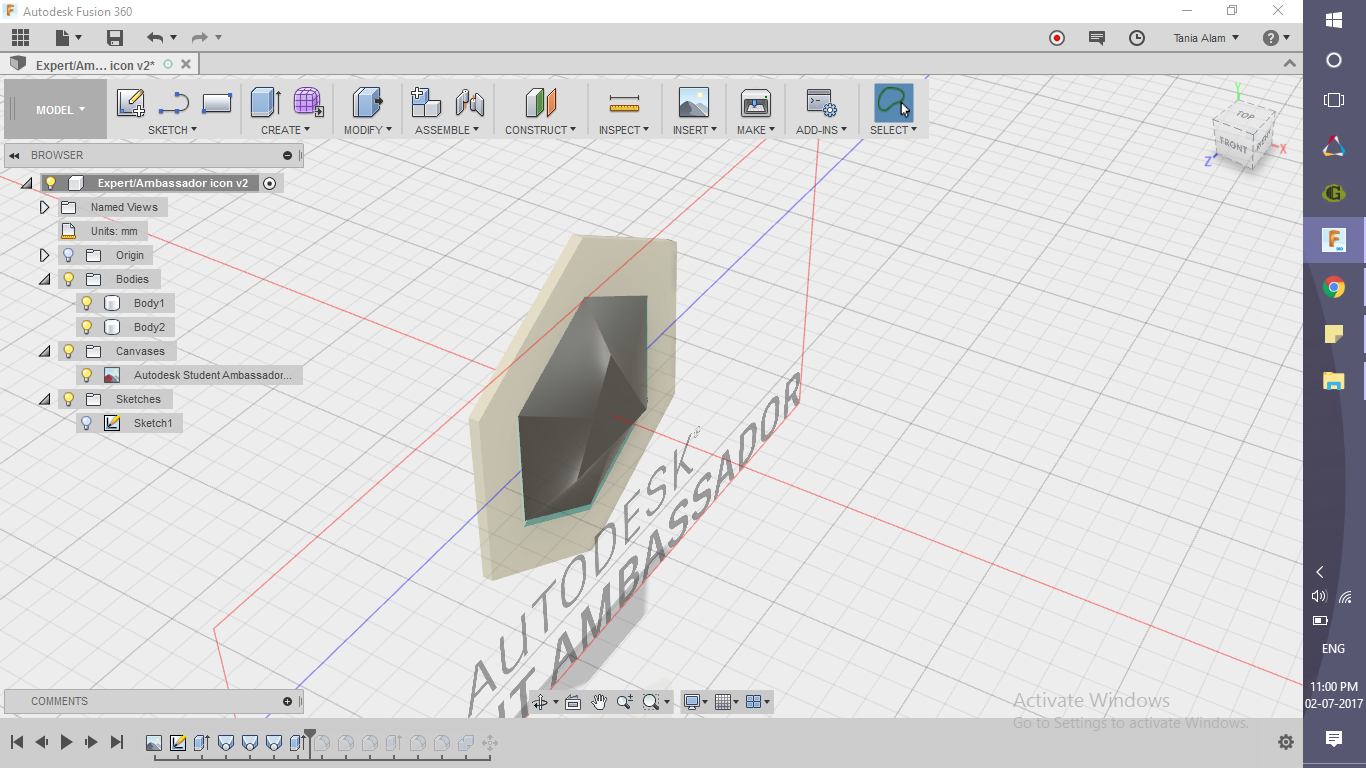
Sketch the Profile
.png)
.png)
.png)
- Attach the Student Expert logo as a Canvas
- Edit the canvas and change it's visibility
- Calibrate the canvas to a suitable dimension
- Choose the same plane and sketch all the lines
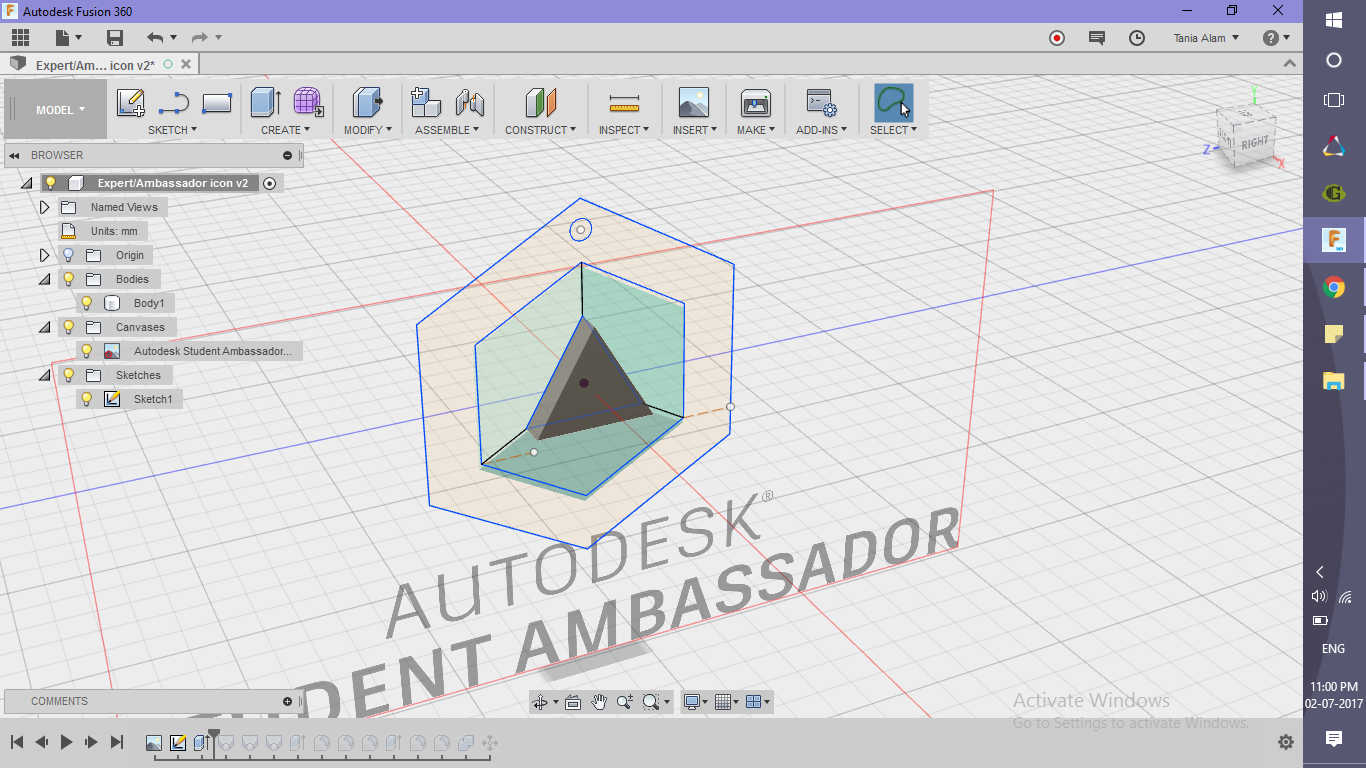
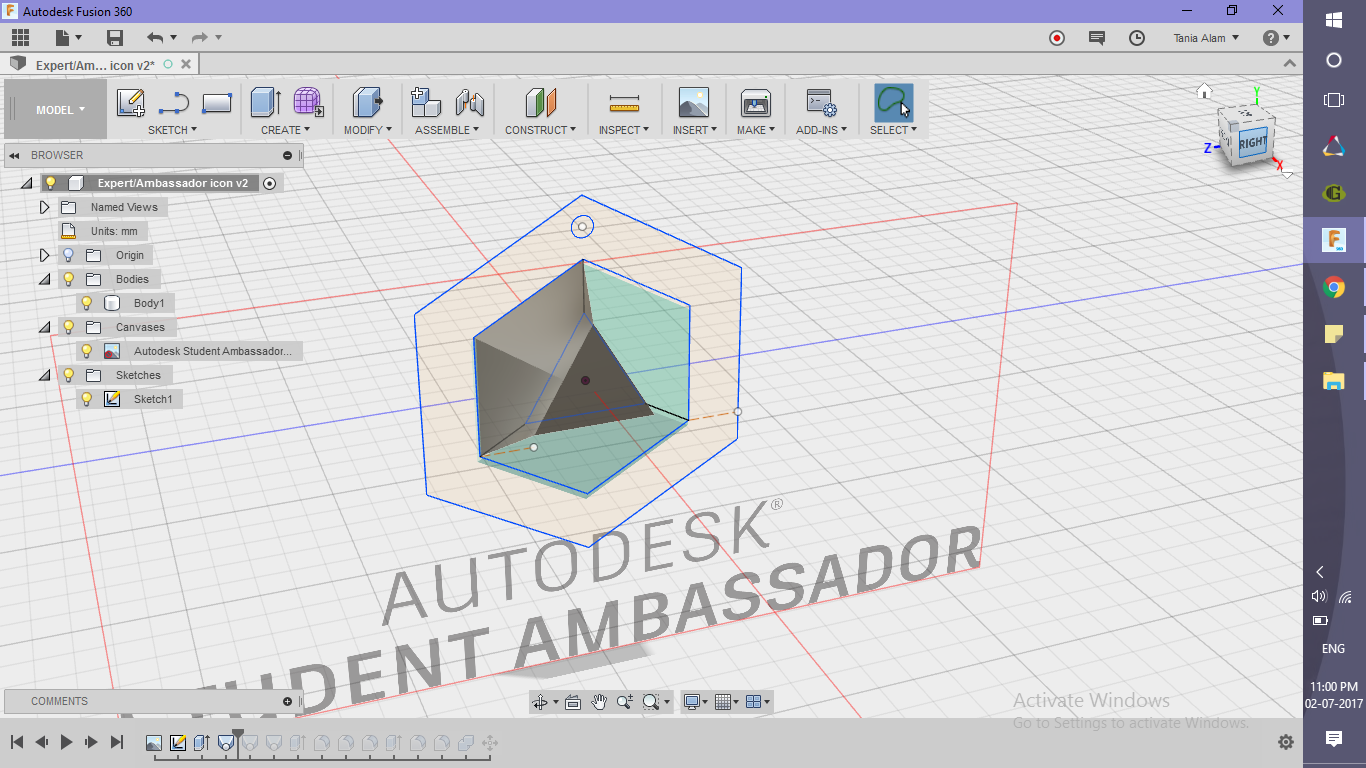
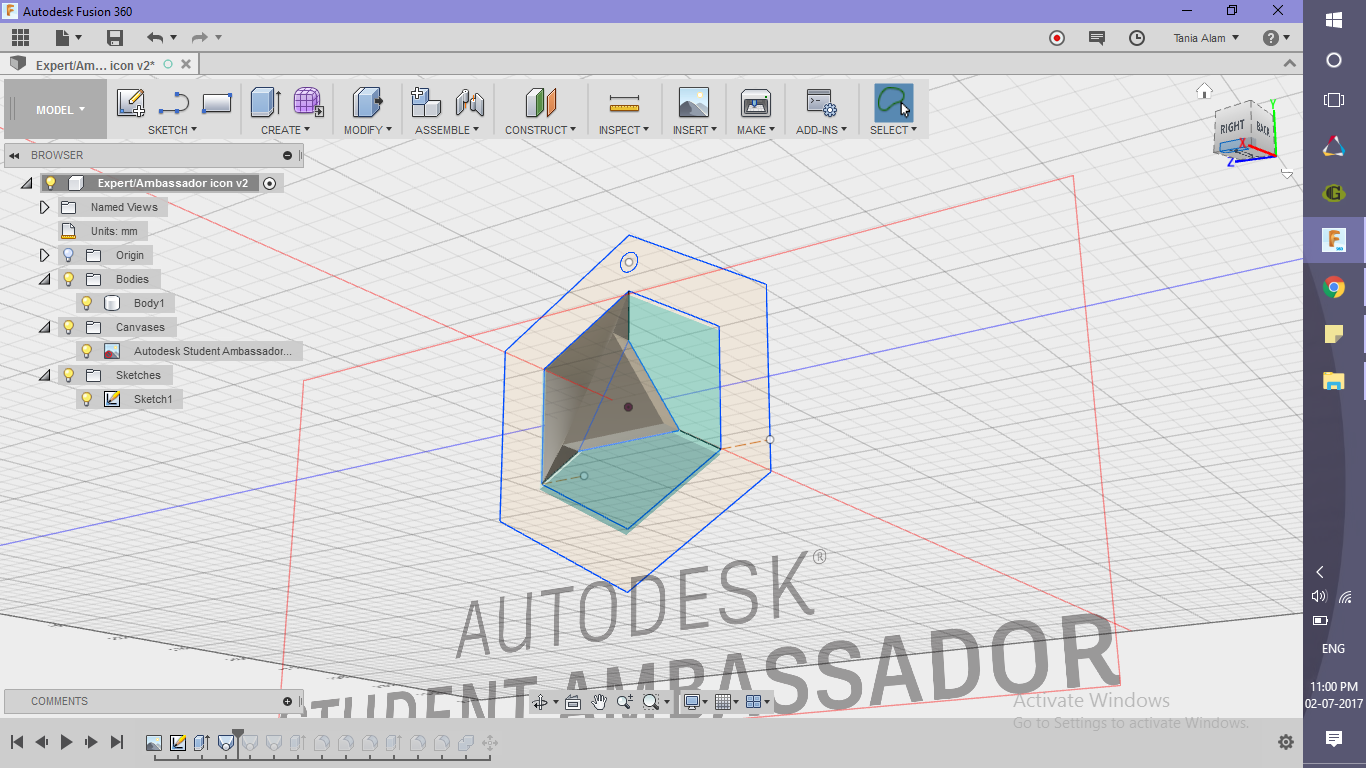
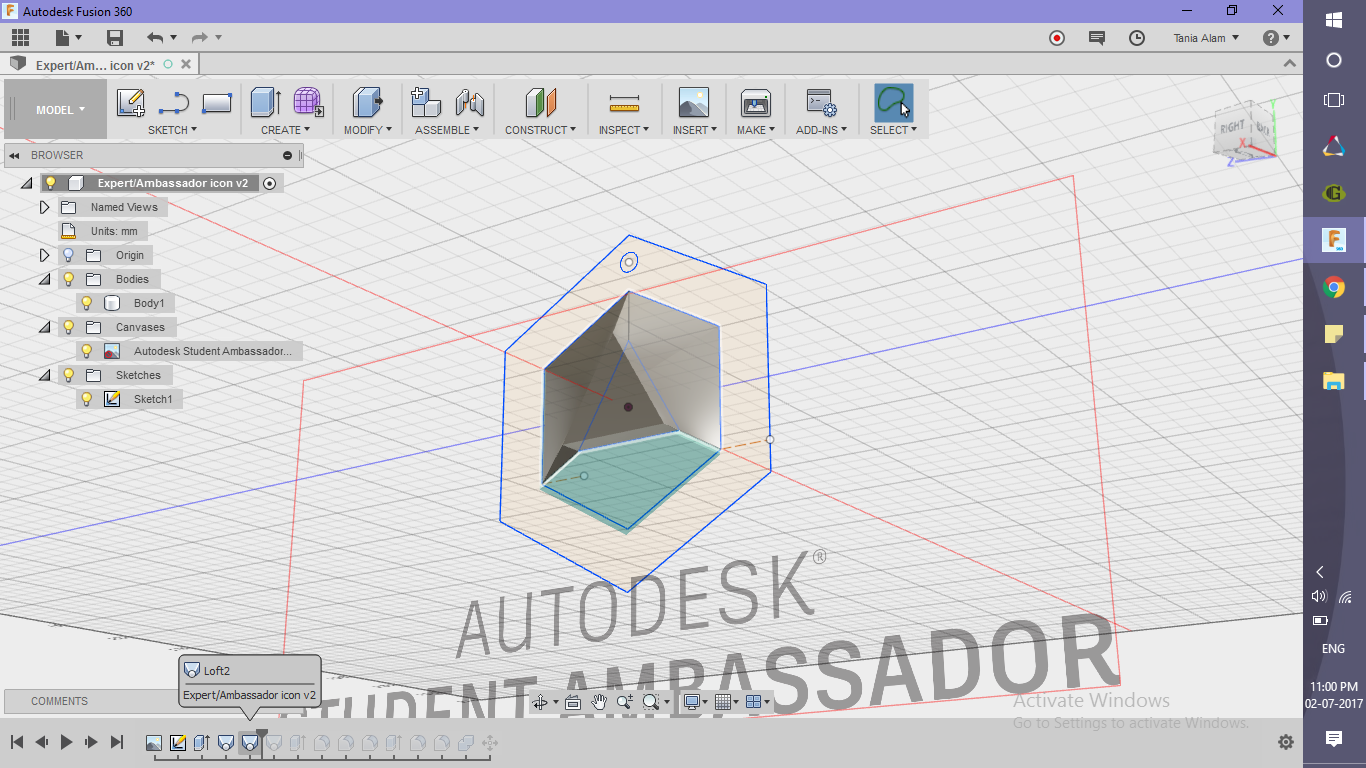
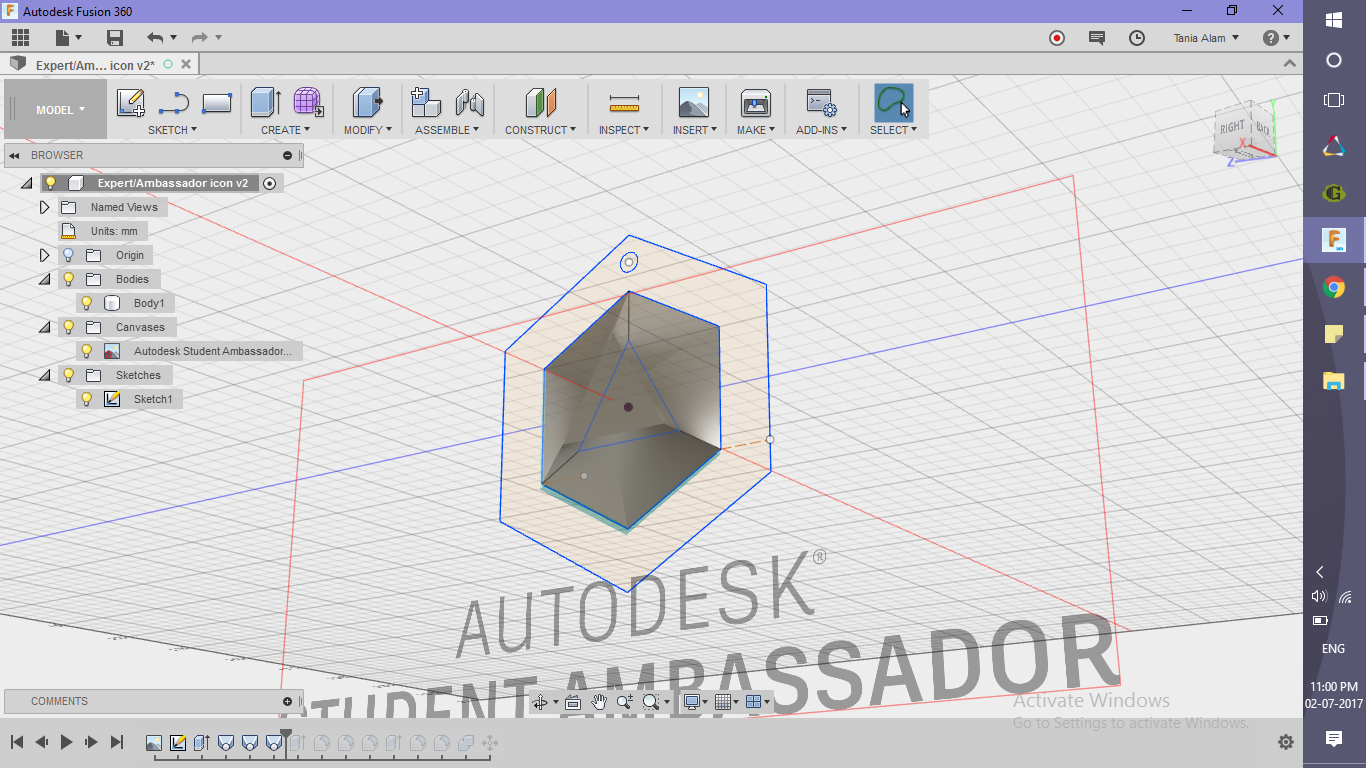
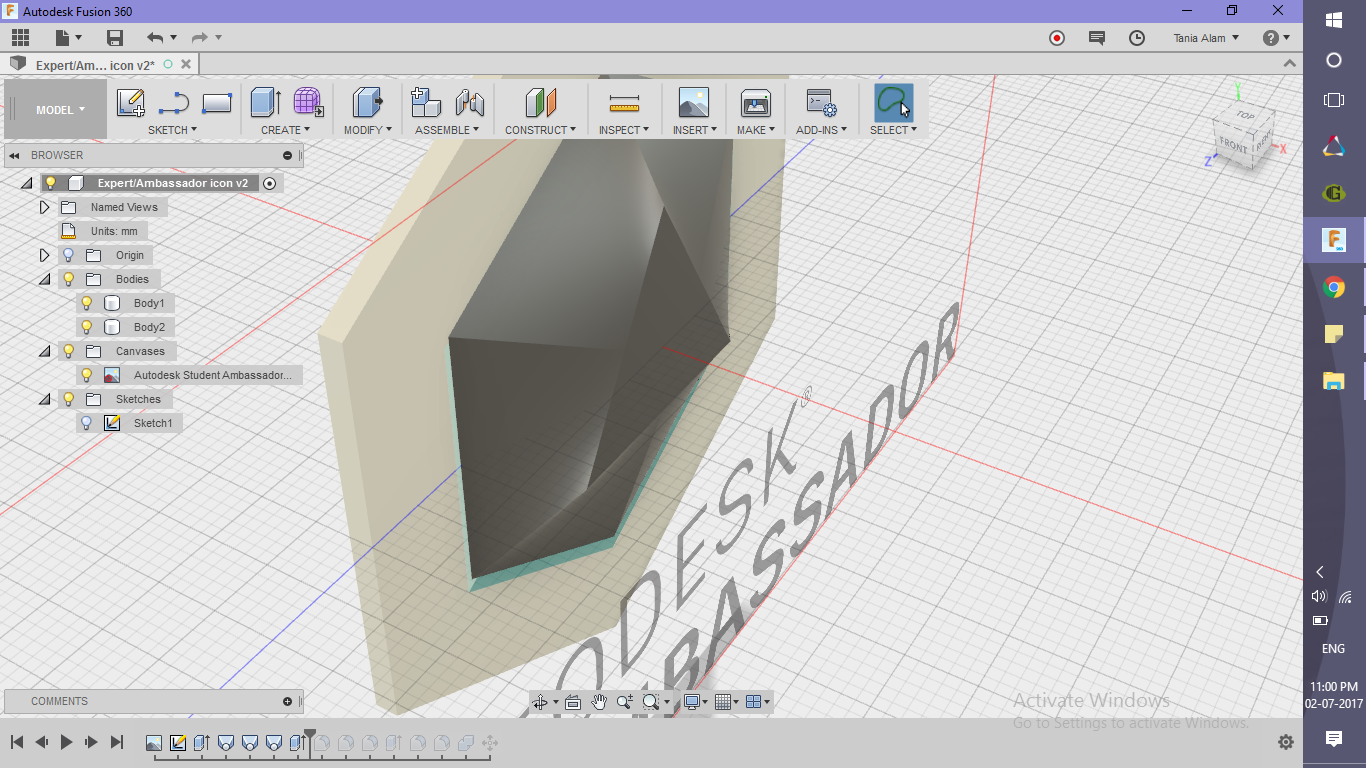
Make the Lofts
.png)
.png)
.png)
.png)
- Extrude the central triangle to a certain height (2mm)
- Choose the perpendicular profiles to create 3 "Lofts" accordingly
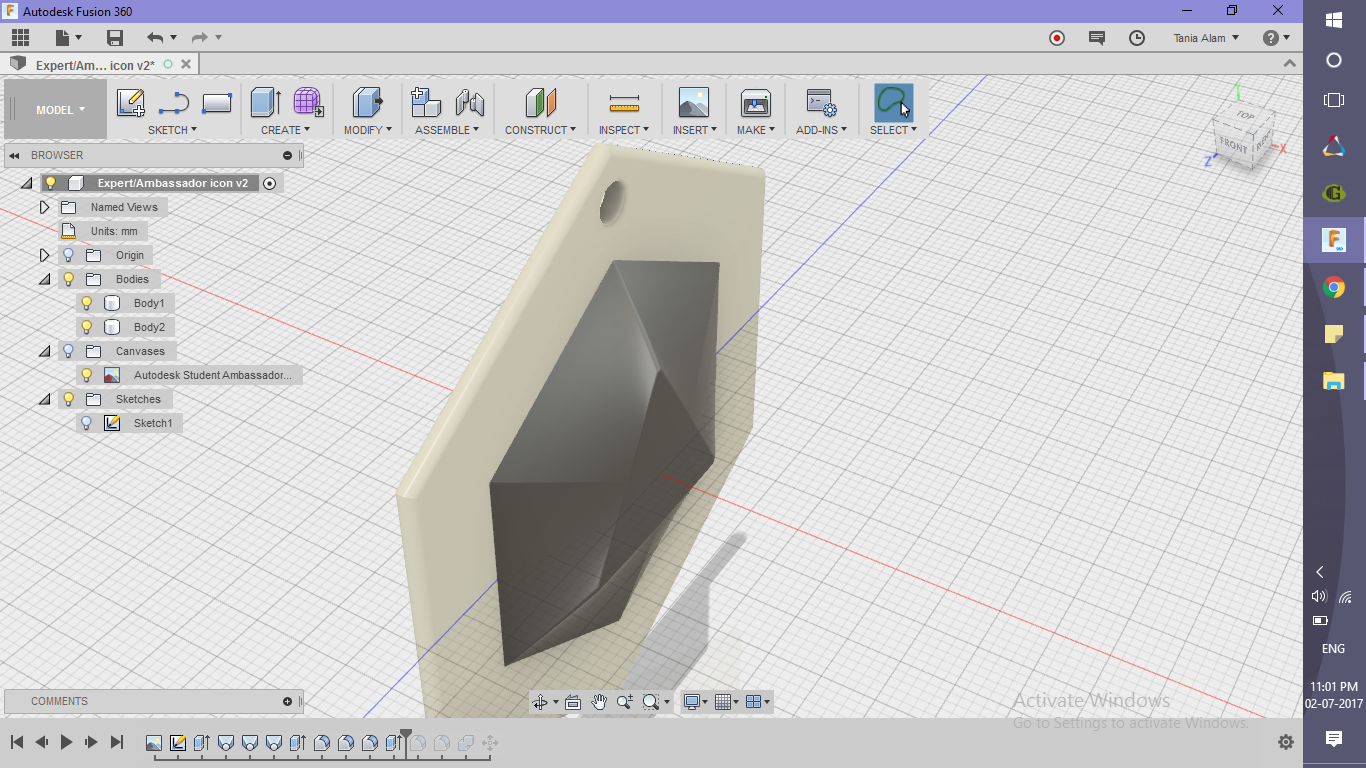
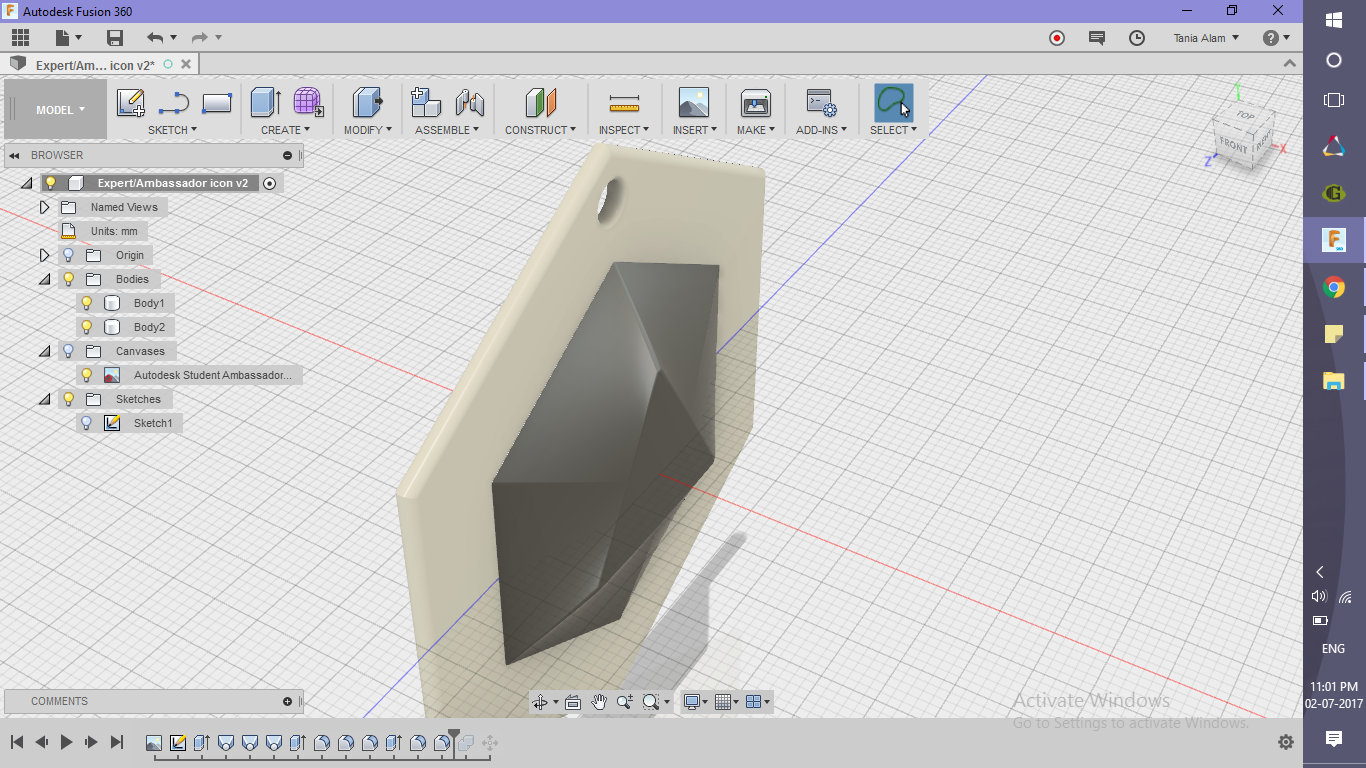
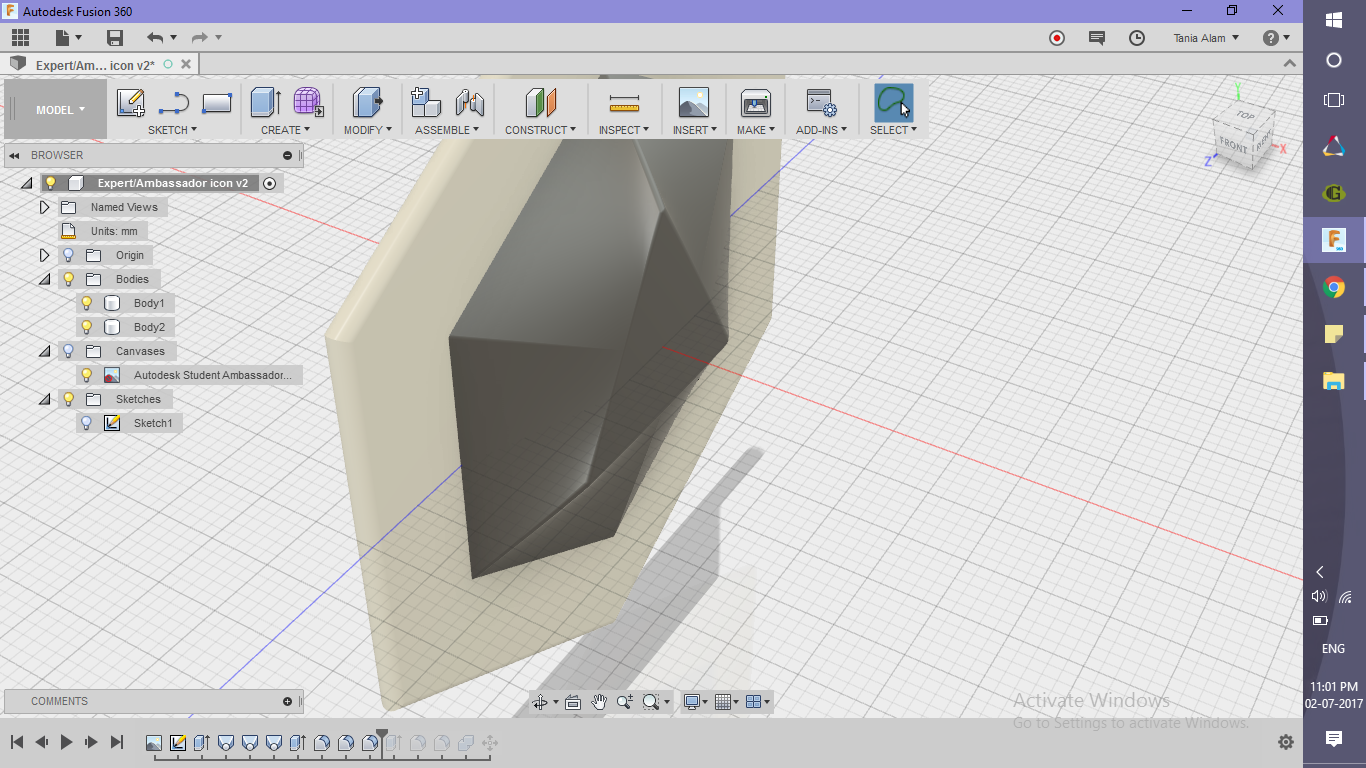
Create the Locket Base
.png)
.png)
.png)
.png)
.png)
Add Some Finishing
.png)
.png)
.png)
.png)
Add fillets to all the sharp edges and make sure the surfaces look smooth. Refer to the screenshots if you want some help in finding the edges to be filleted.
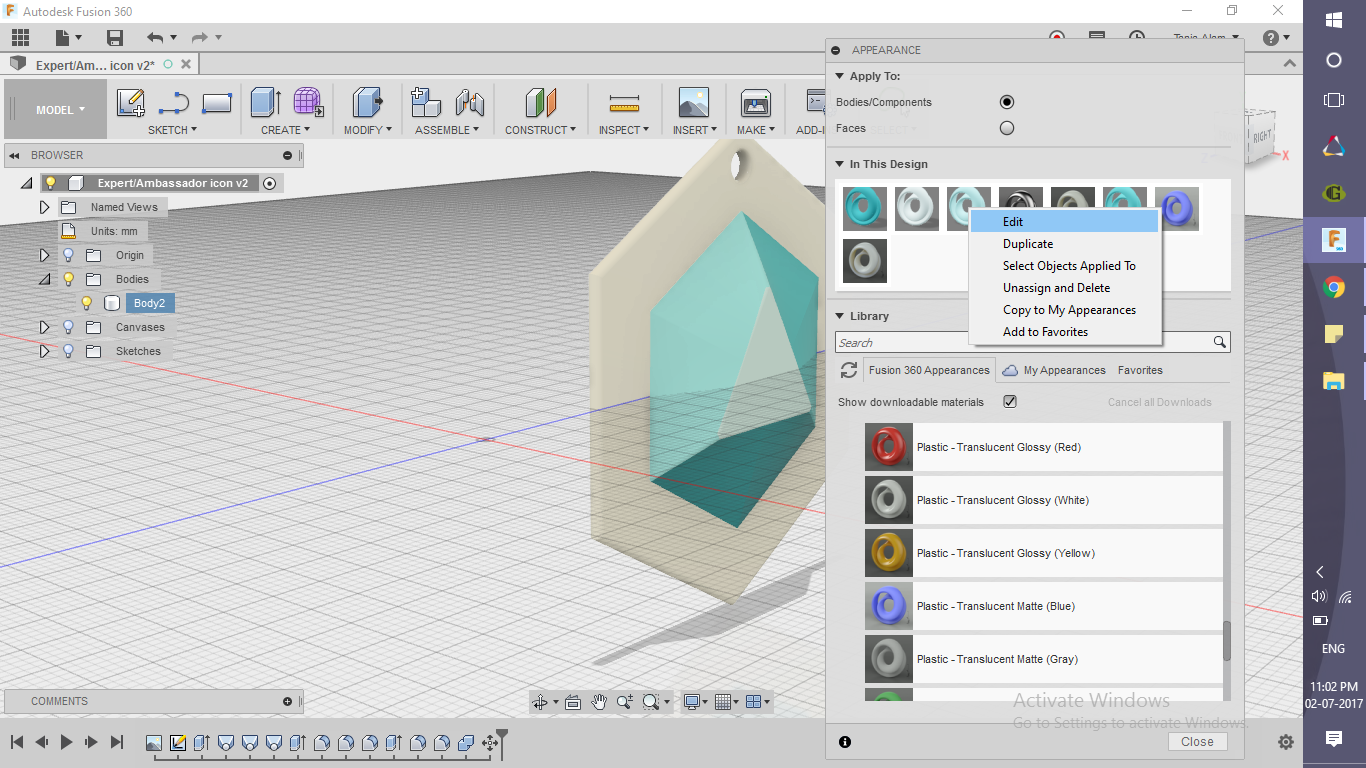
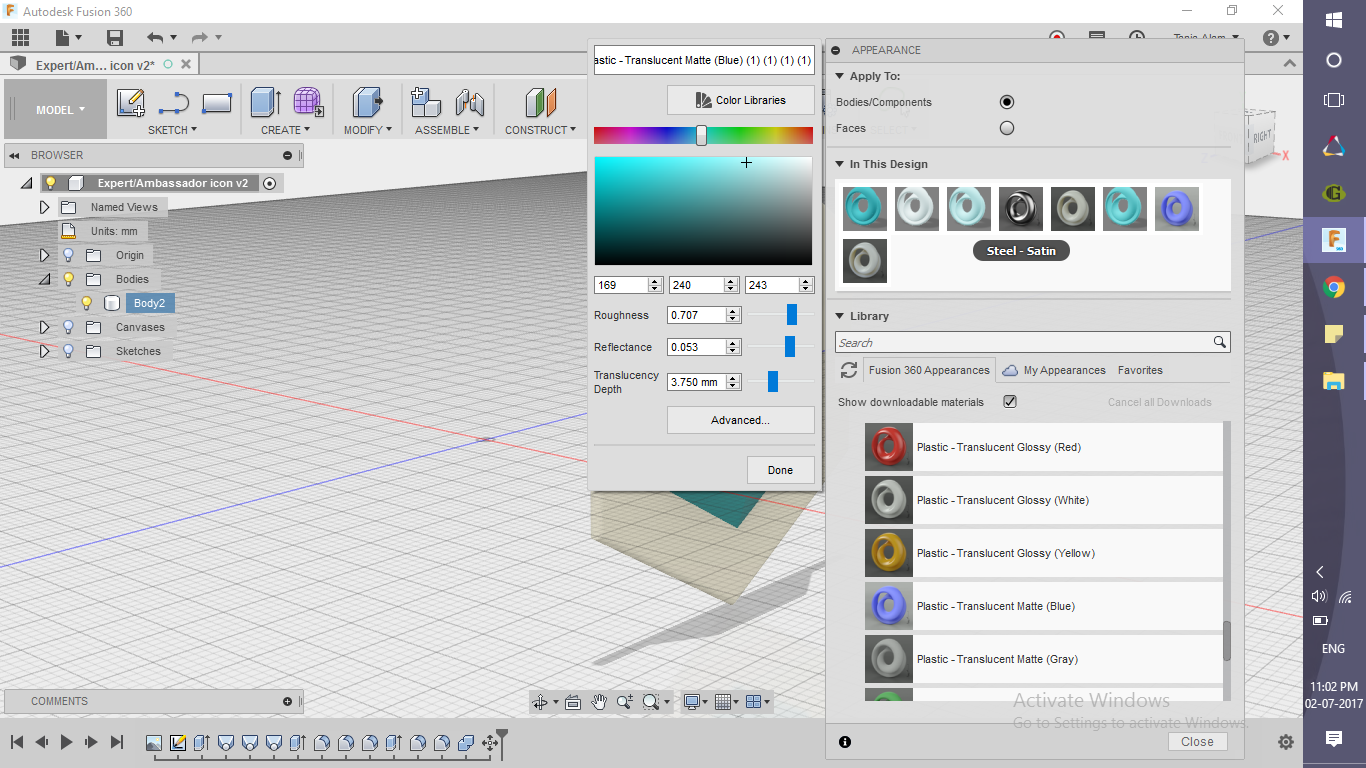
Add the Appearance
.png)
.png)
.png)
.png)
.png)
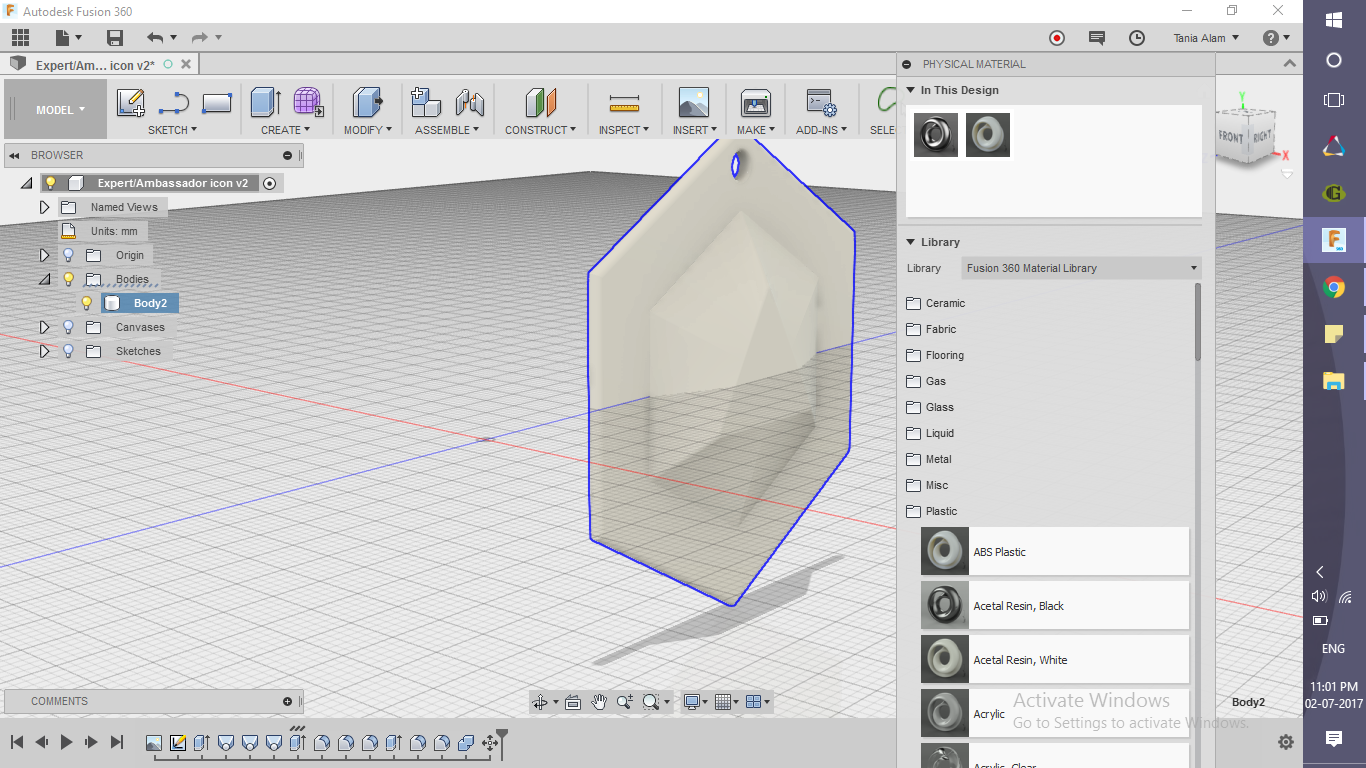
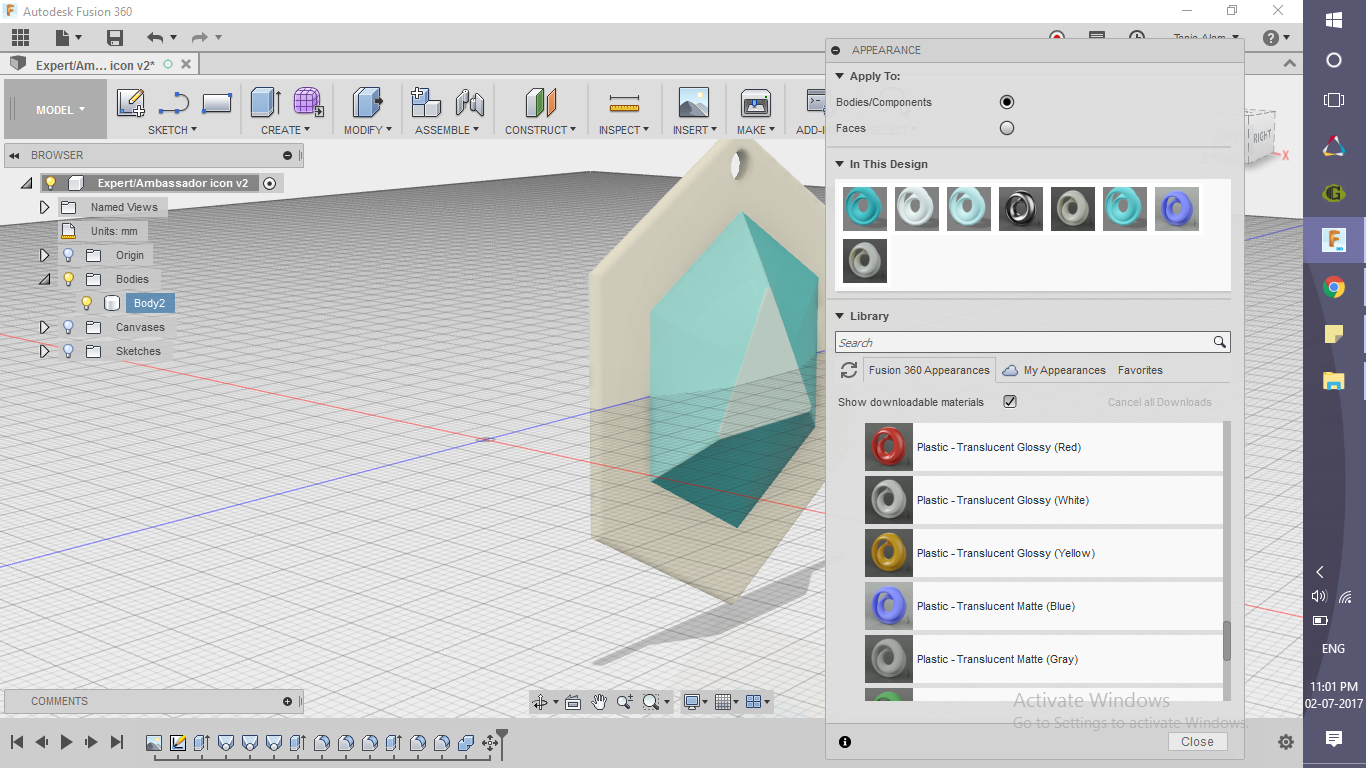
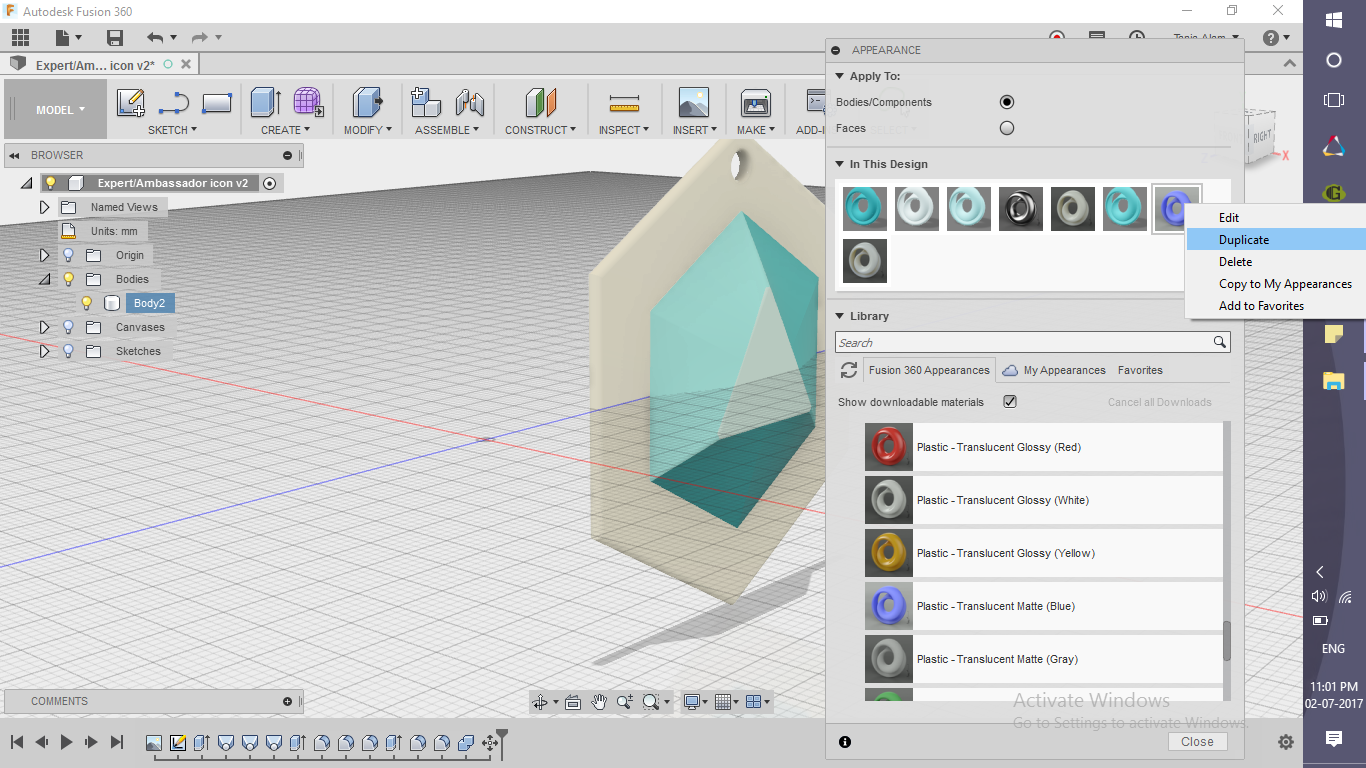
- Add the physical material (choose a metal)
- Add the appearance (Choose from Paints)
- Some colors are there by default, other need to be edited (Steps in picture)
Get the Renderings!
Once you save the file it'll automatically start the four basic renderings of the home, front, top and right side views.
If you could make this successfully, please share your renderings here using the "I Made It" button and let everyone know!
Also if you made this locket, you may like this Student Expert locket too.