How I Made a Fruit Basket Using "Web" in Fusion 360?
by alamtania in Design > Software
1846 Views, 1 Favorites, 0 Comments
How I Made a Fruit Basket Using "Web" in Fusion 360?


A few days ago I realized I haven't used the "Ribs" feature of Fusion 360. So I thought of using it in this project. The simplest application of the "Ribs" feature can be in the form of a fruit basket, isn't it? See how to use this feature in the following steps.
Software required:
Fusion 360 by Autodesk
Pre-requisites:
Although the Instructables is meant to be for beginners, it is recommended to have some basic knowledge of the software.
Lessons recommended:
Fusion 360 class (Lessons: 1-5 and 9)
Create the Basic Structure
.png)
.png)
.png)
.png)
.png)
.png)
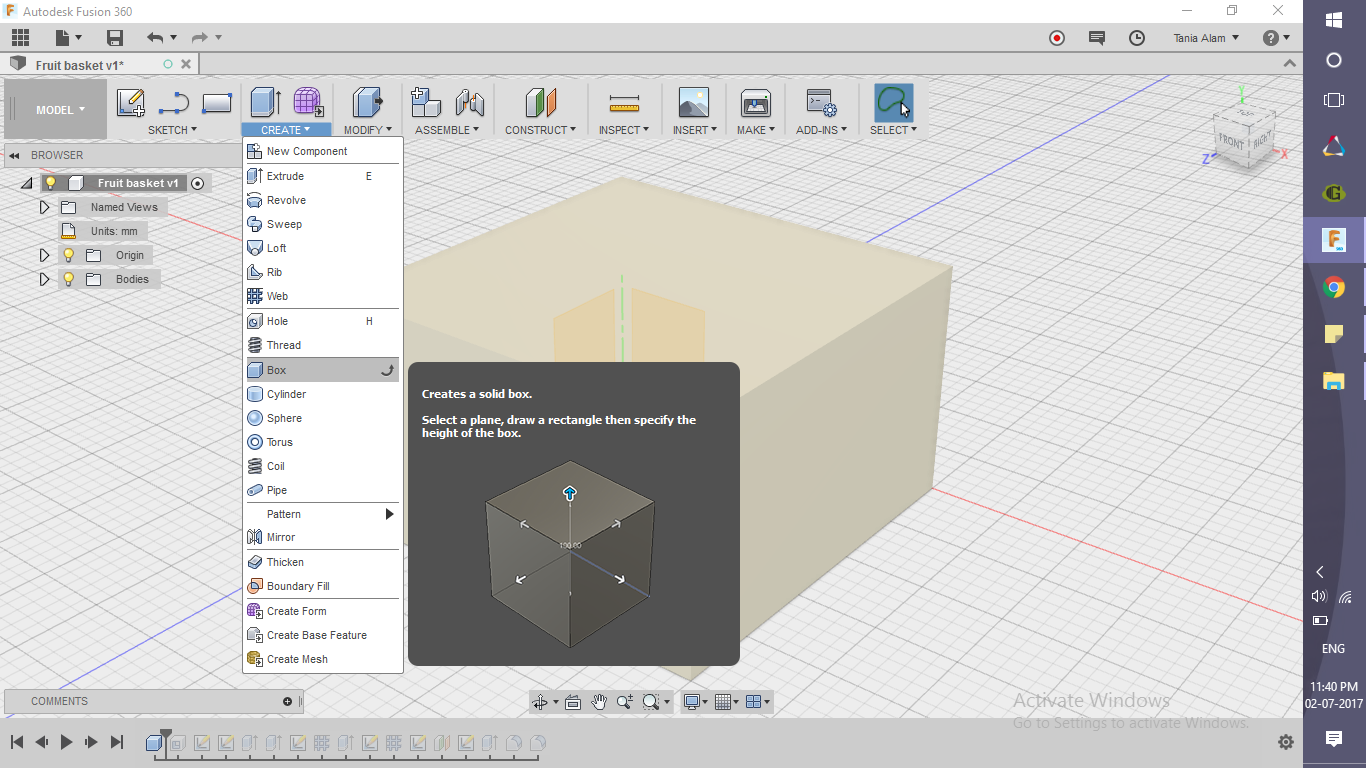
- Create a box
- Go to "Create" Tab
- Click on Box command
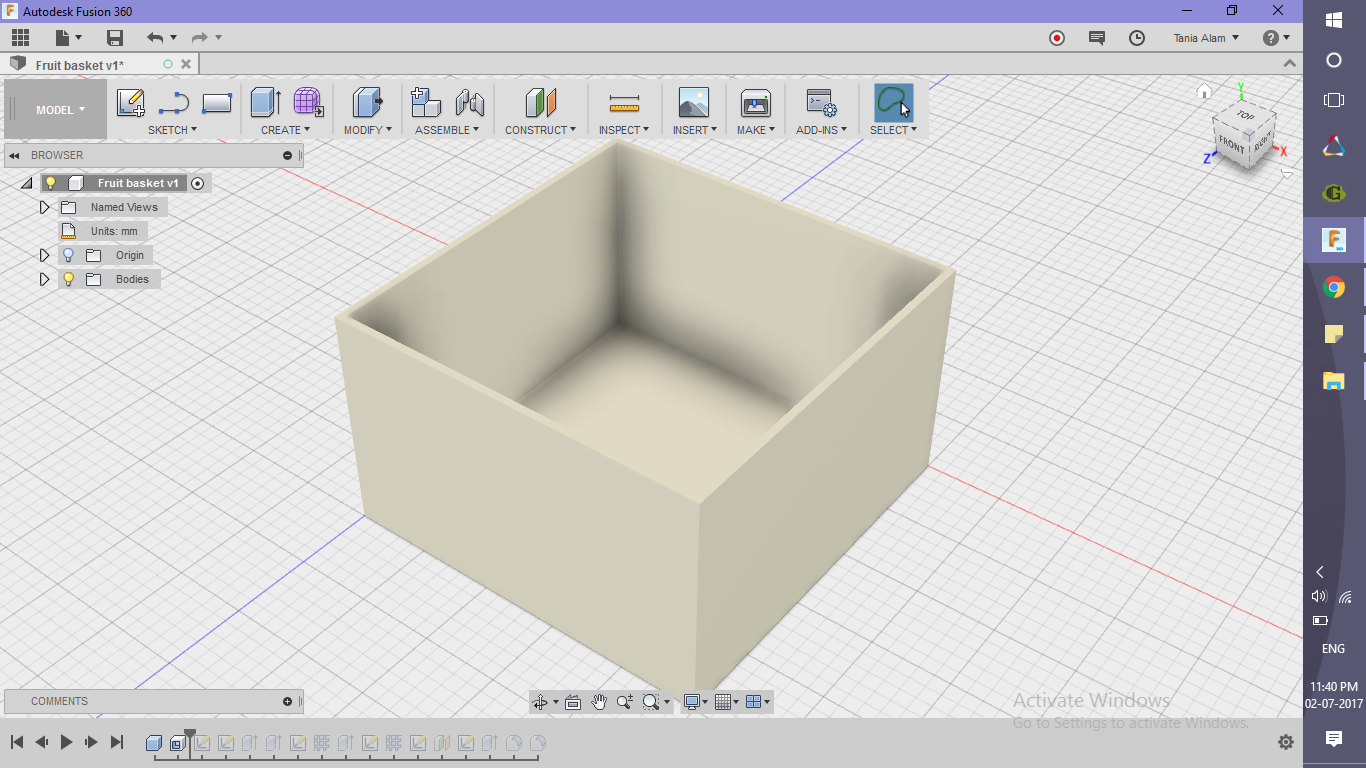
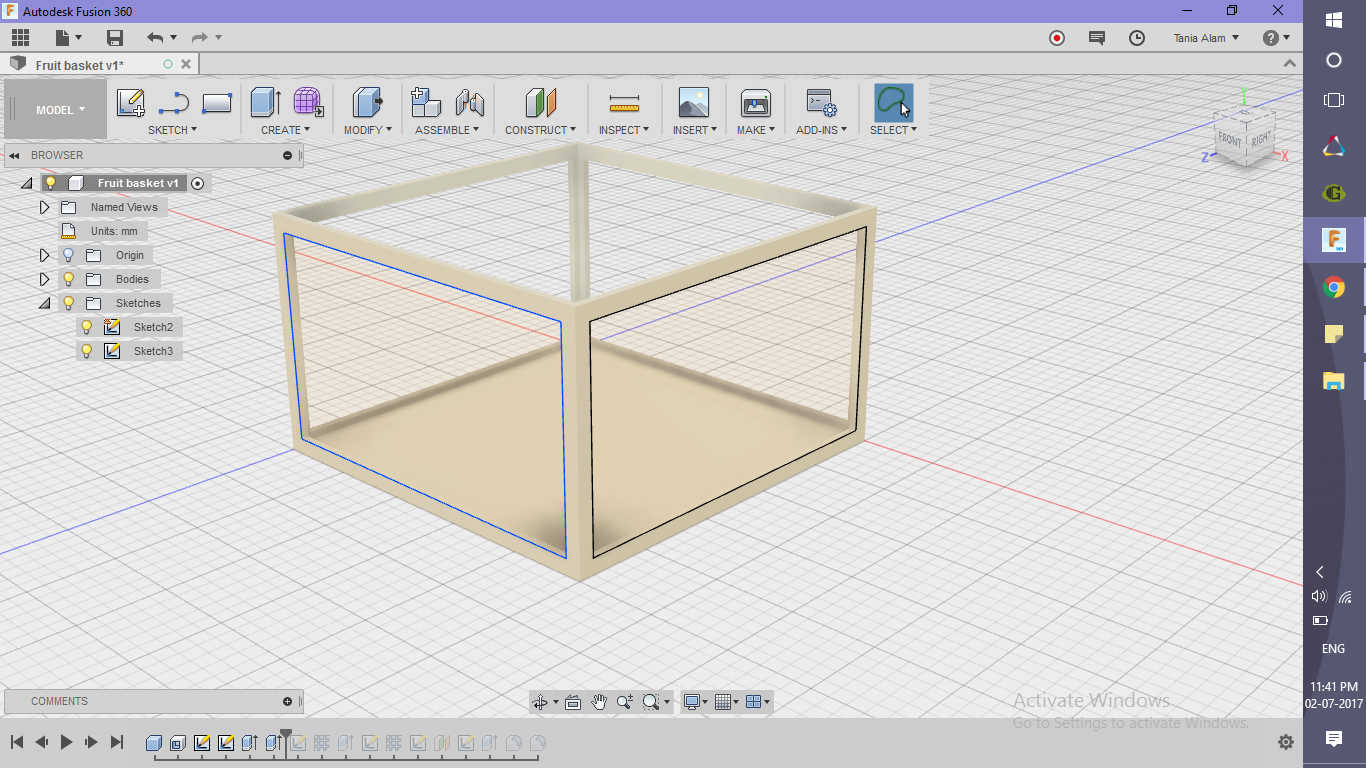
- Create the hollow space
- Go to "Modify" tab
- Click on Shell command
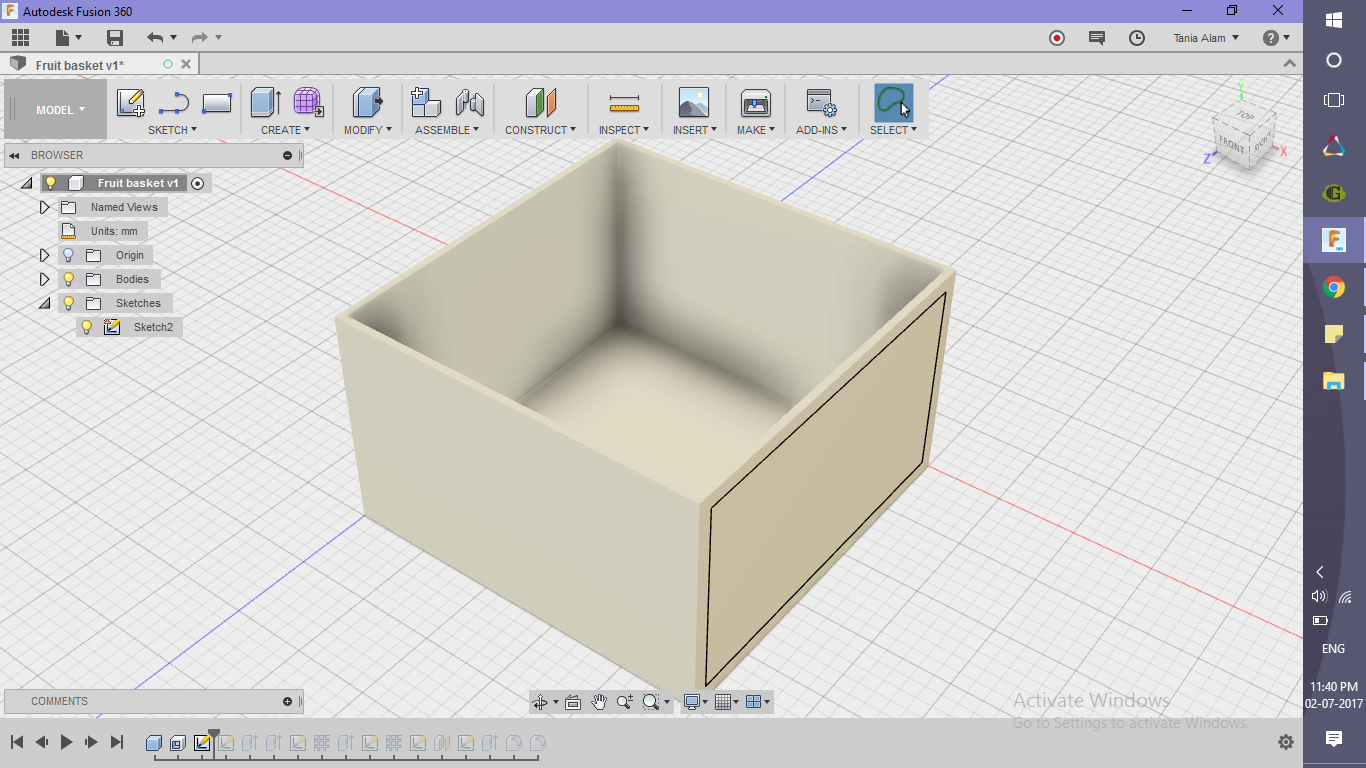
- Cut the sides
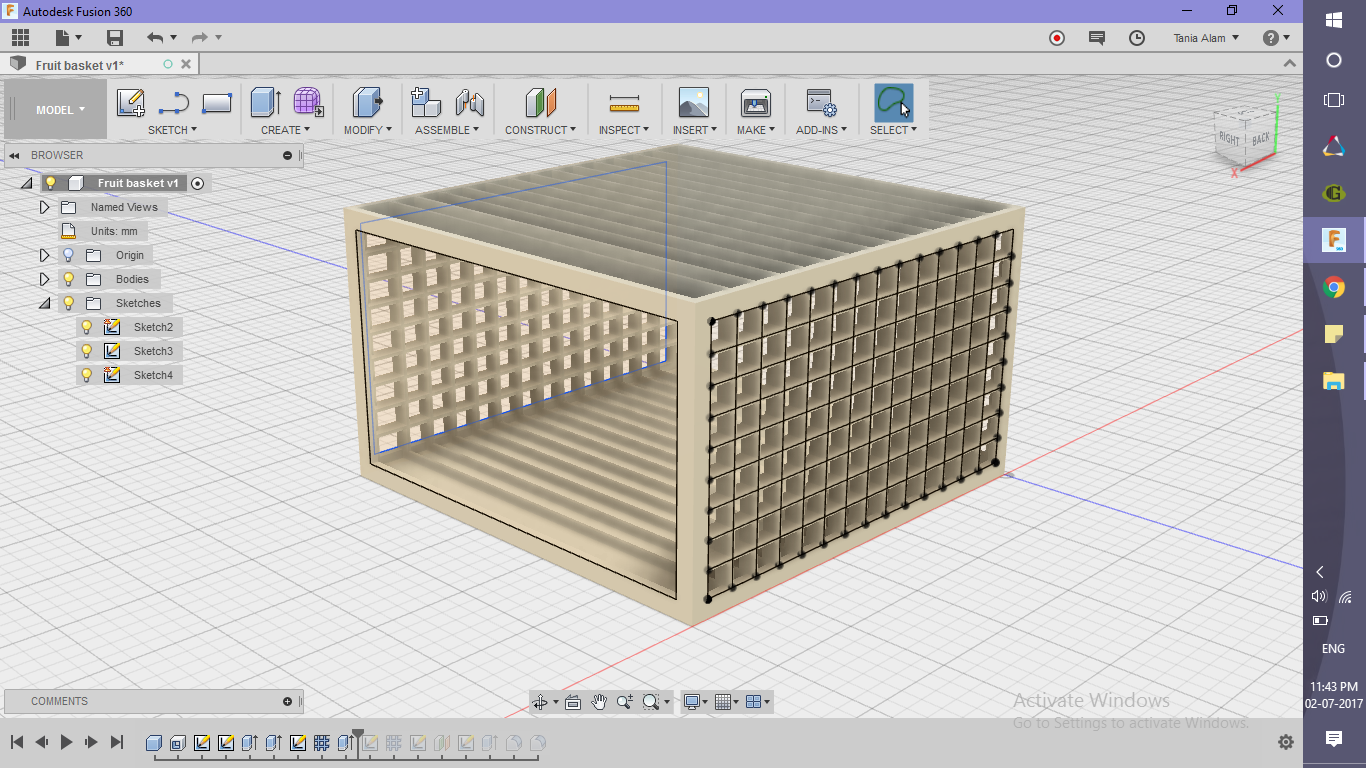
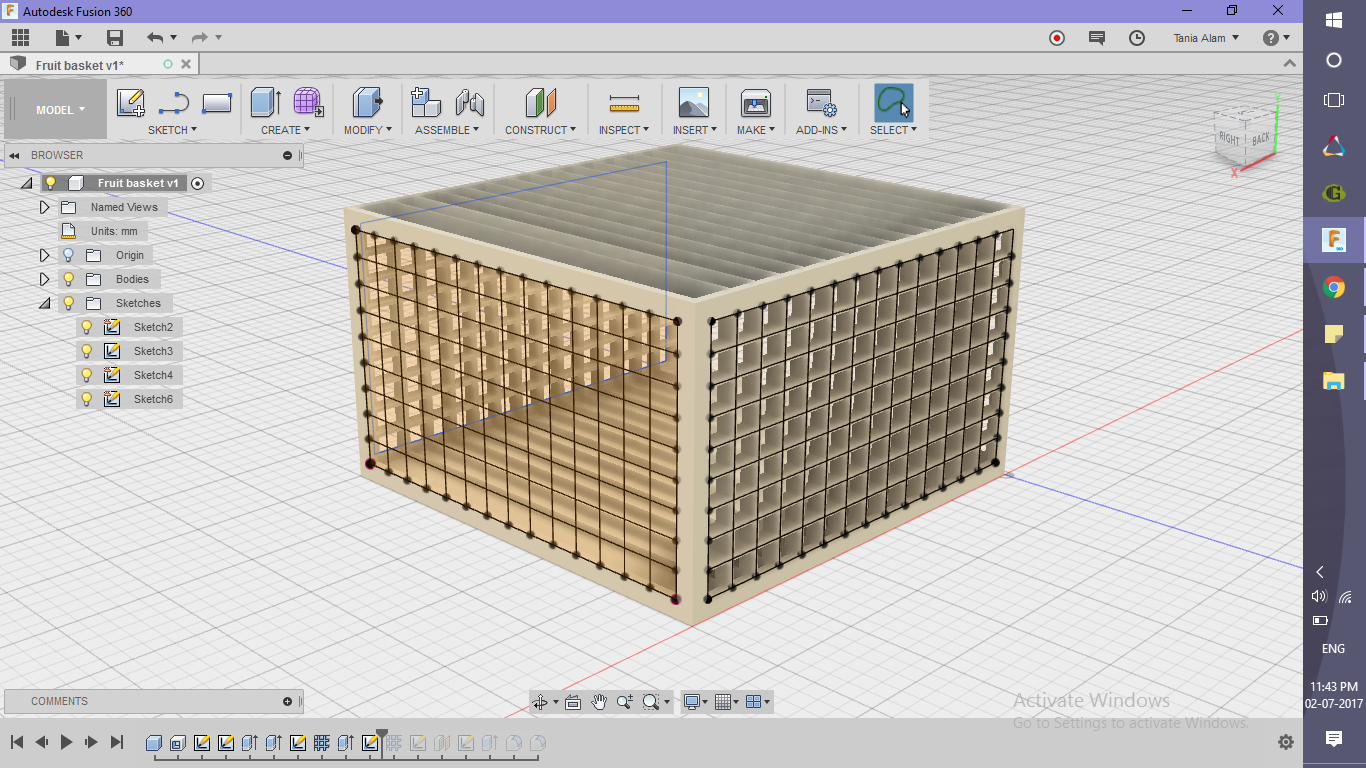
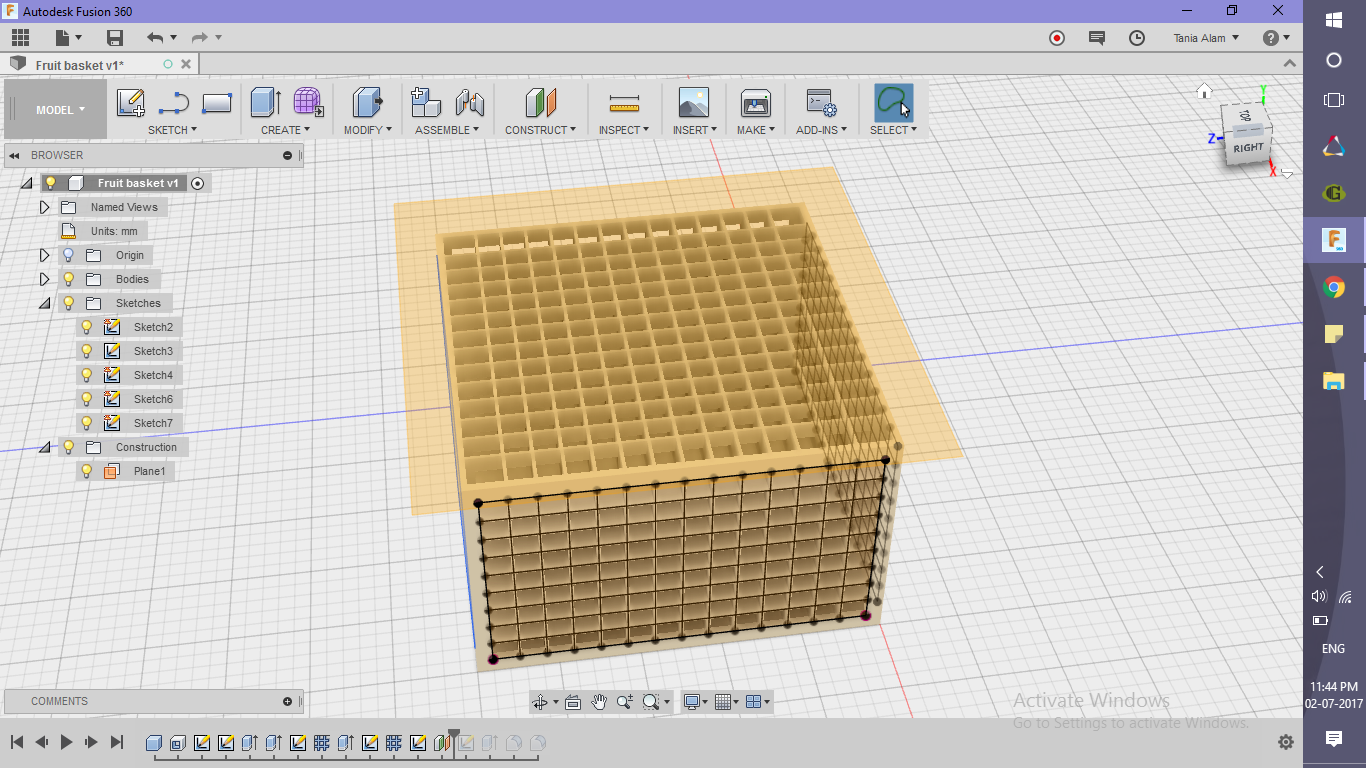
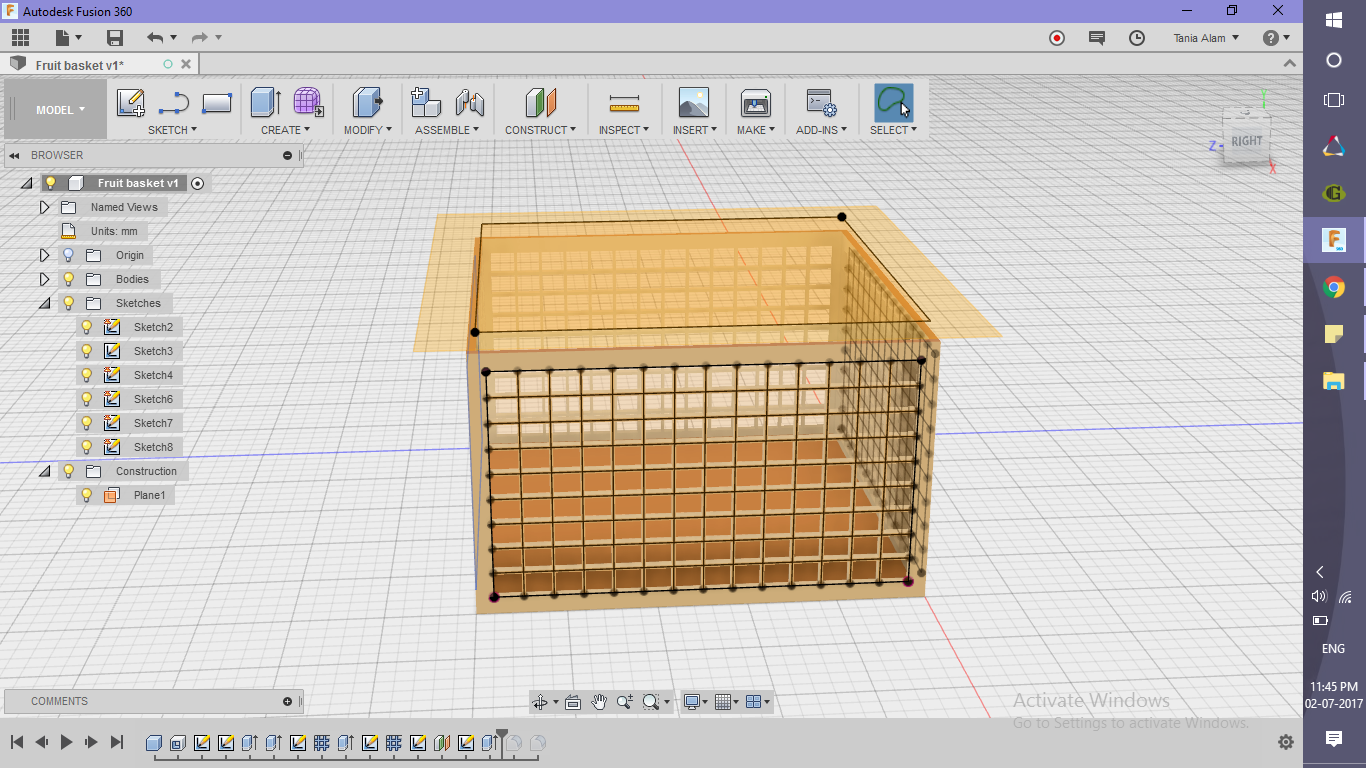
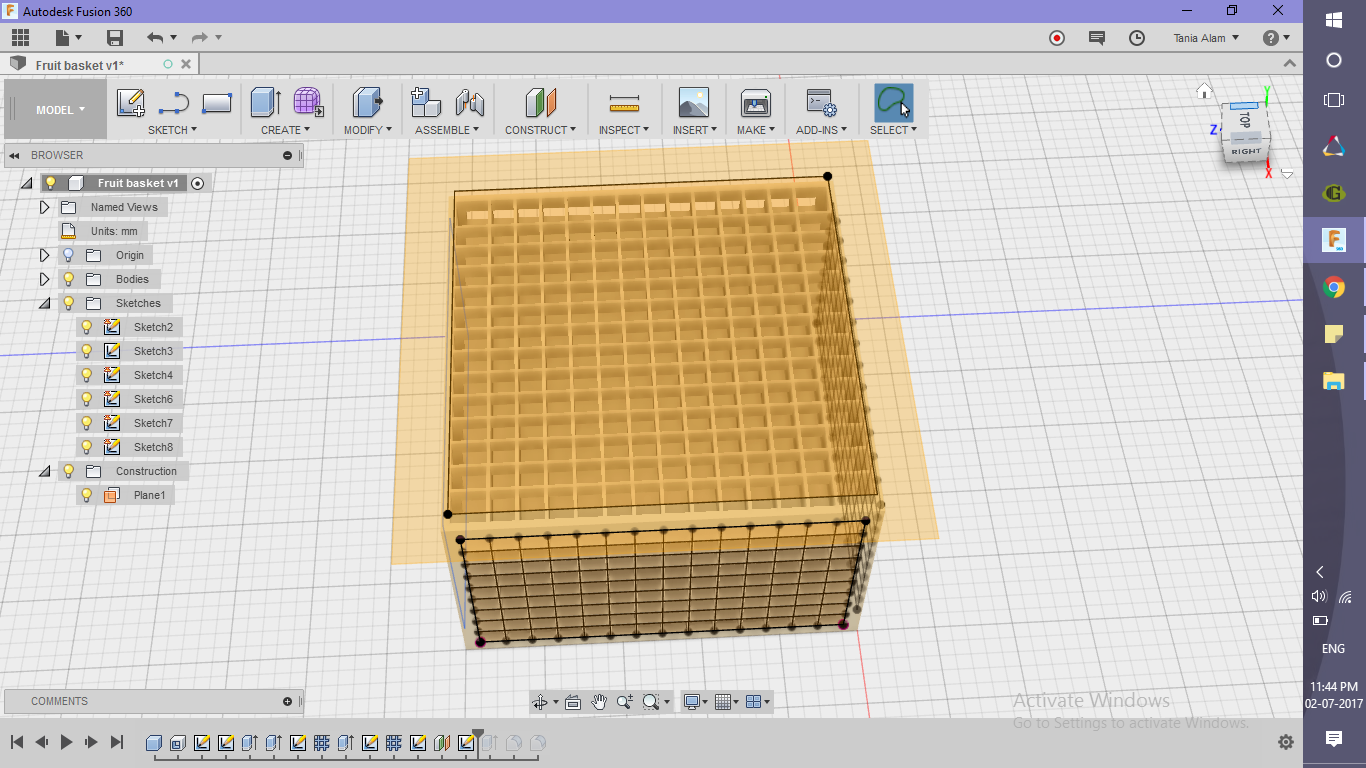
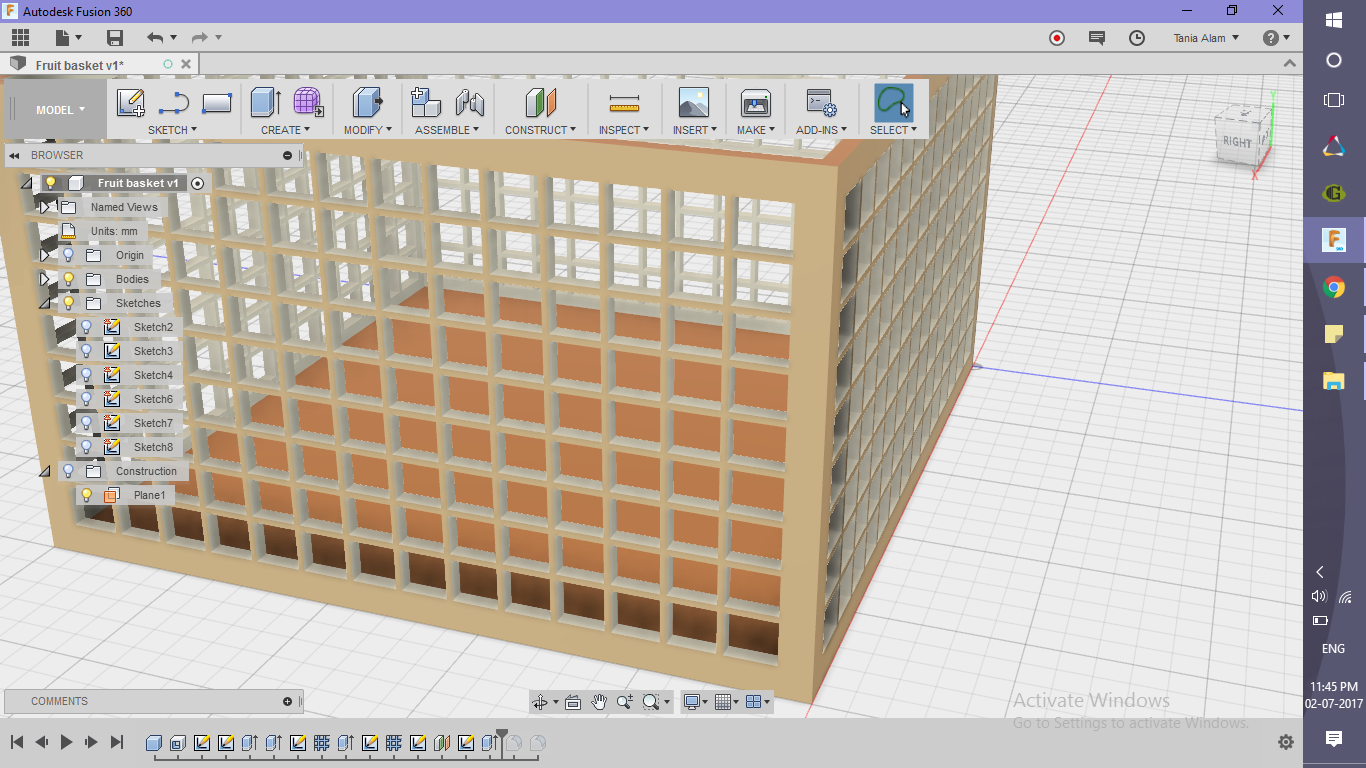
Create the Web
.png)
.png)
.png)
.png)
.png)
.png)
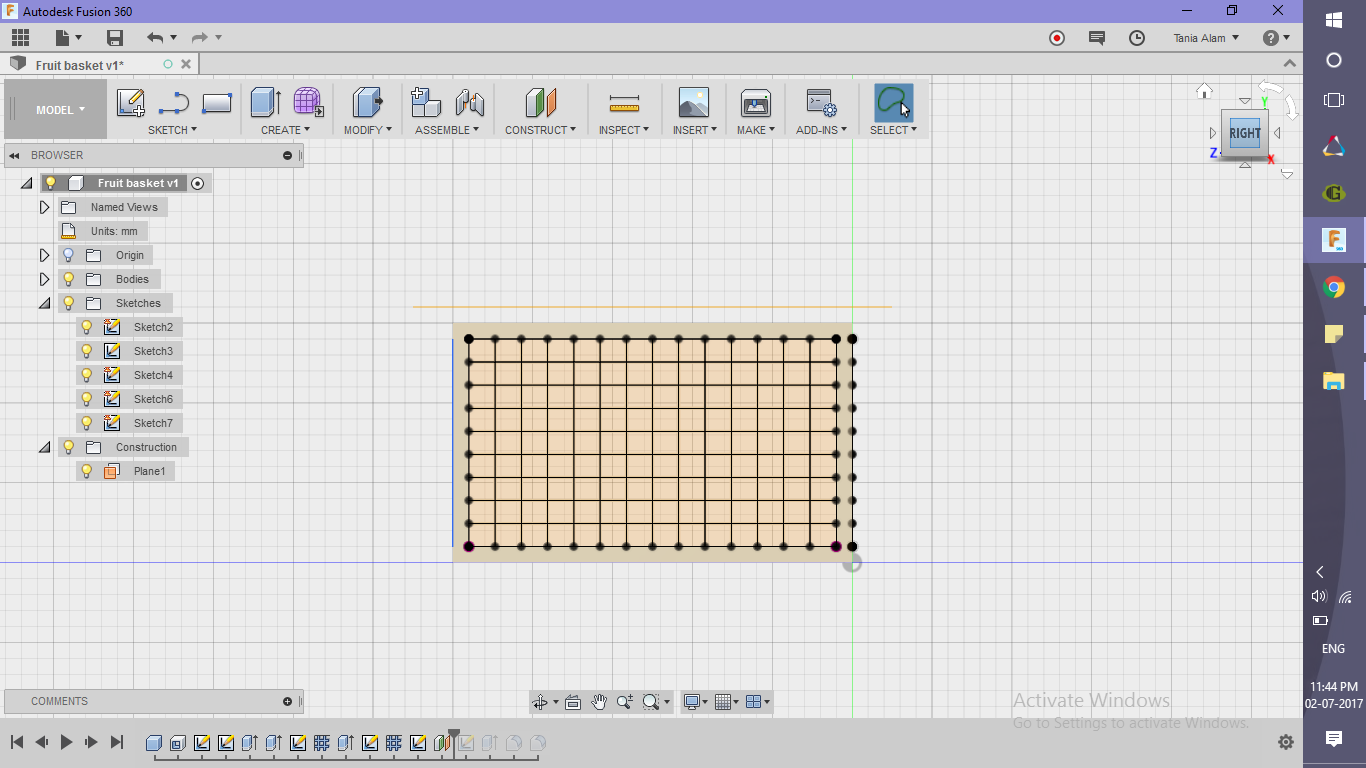
- Create sketch (Sketch>> Create Sketch)
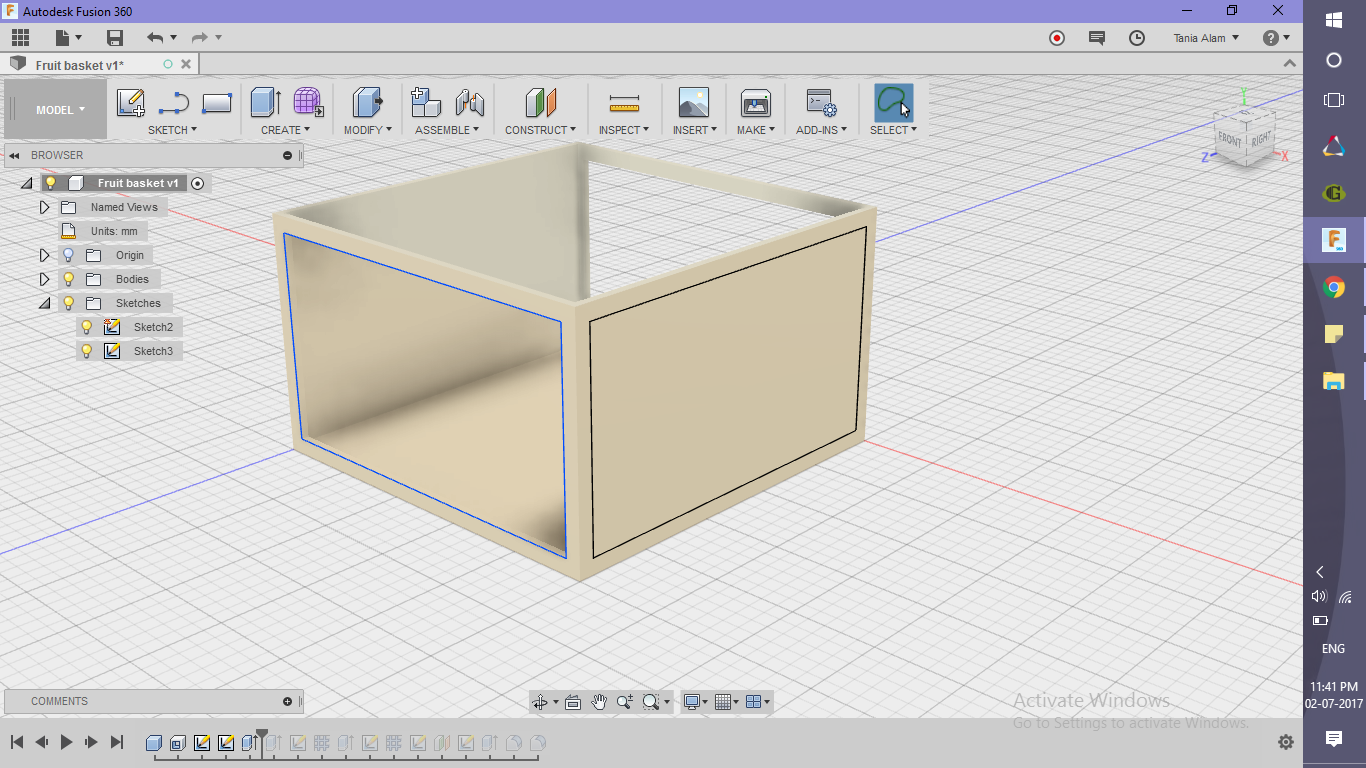
- Choose one of the sides as your sketch plane
- Draw a horizontal and a vertical line
- Use rectangular pattern to make a number (15-20) of parallel horizontal
- Repeat the same command for vertical lines as well
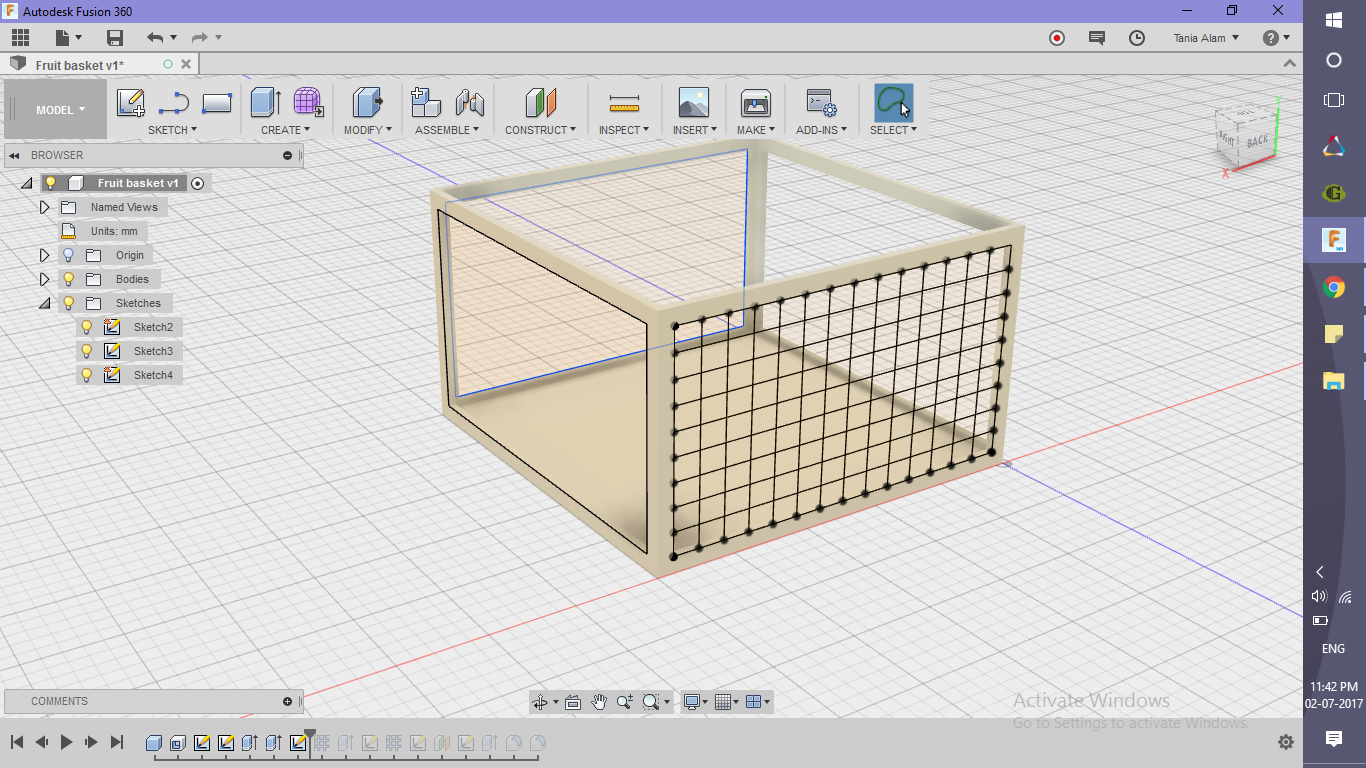
- Go to "Create" tab
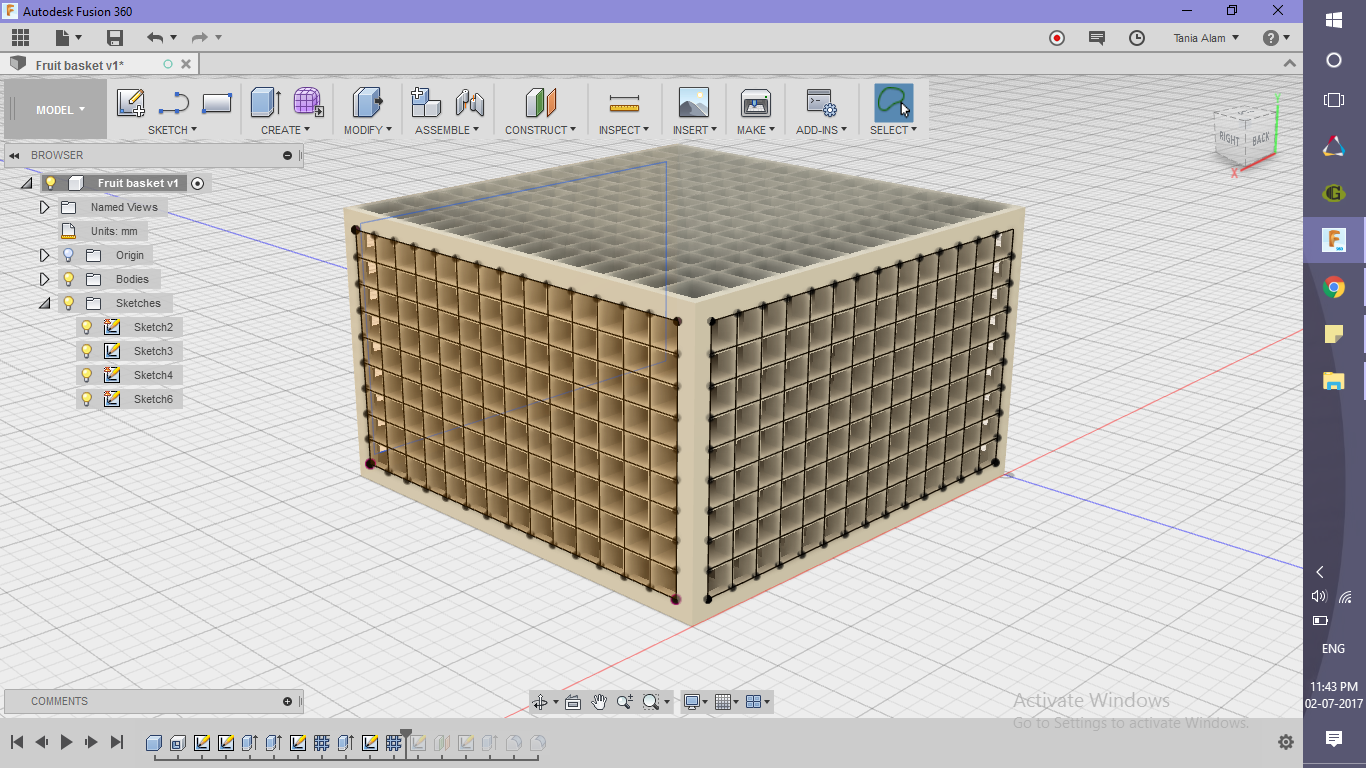
- Click on the "Web" command
- Select all the lines (using Ctrl button) and put width up to the opposite face
- Do the same for the adjacent lateral side
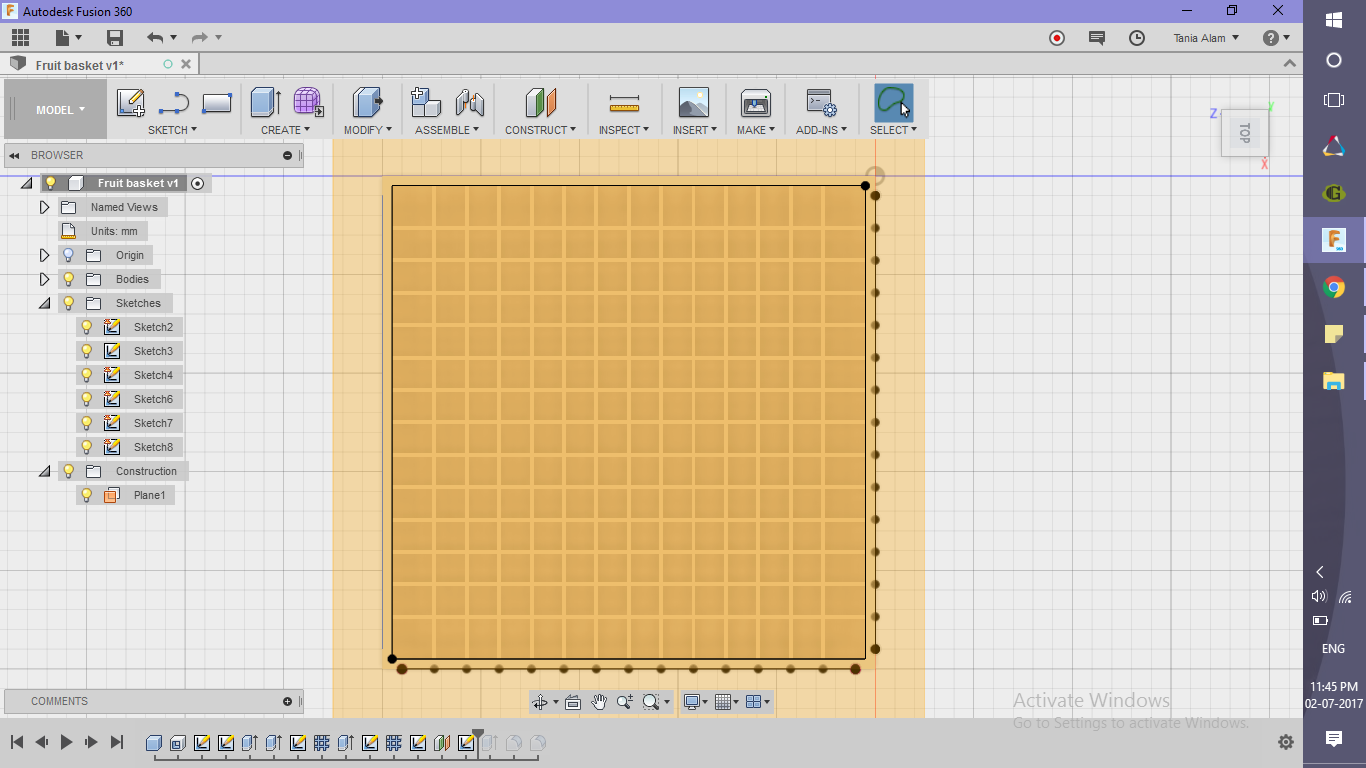
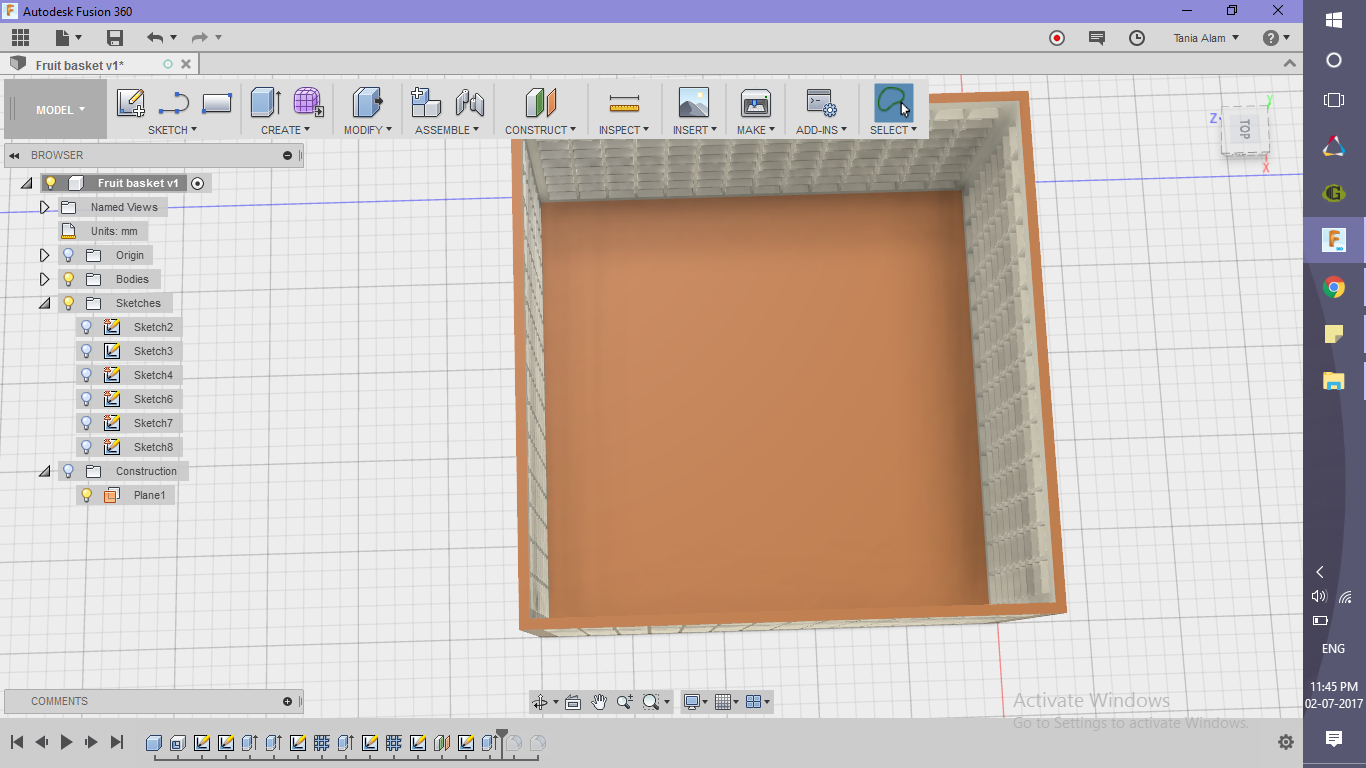
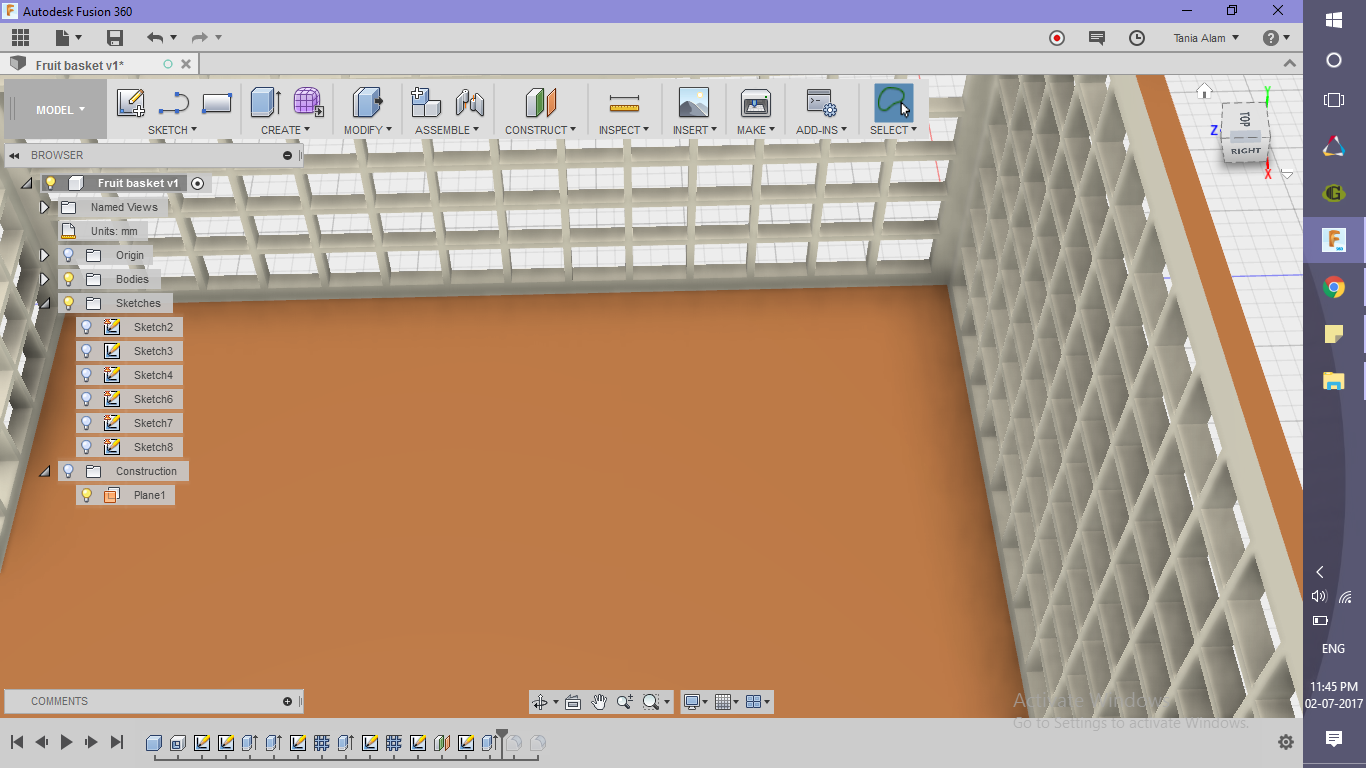
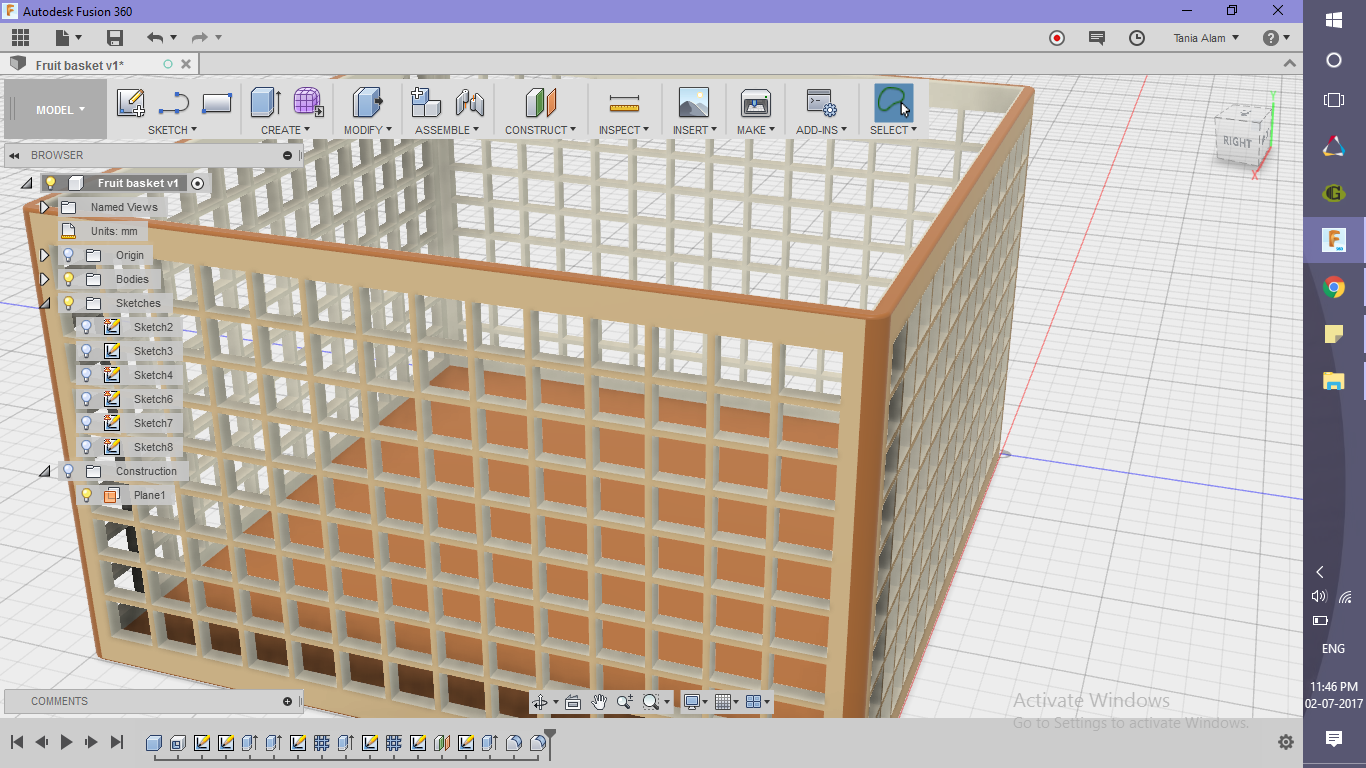
Clear the Geometry
.png)
.png)
.png)
.png)
.png)
.png)
.png)
.png)
.png)
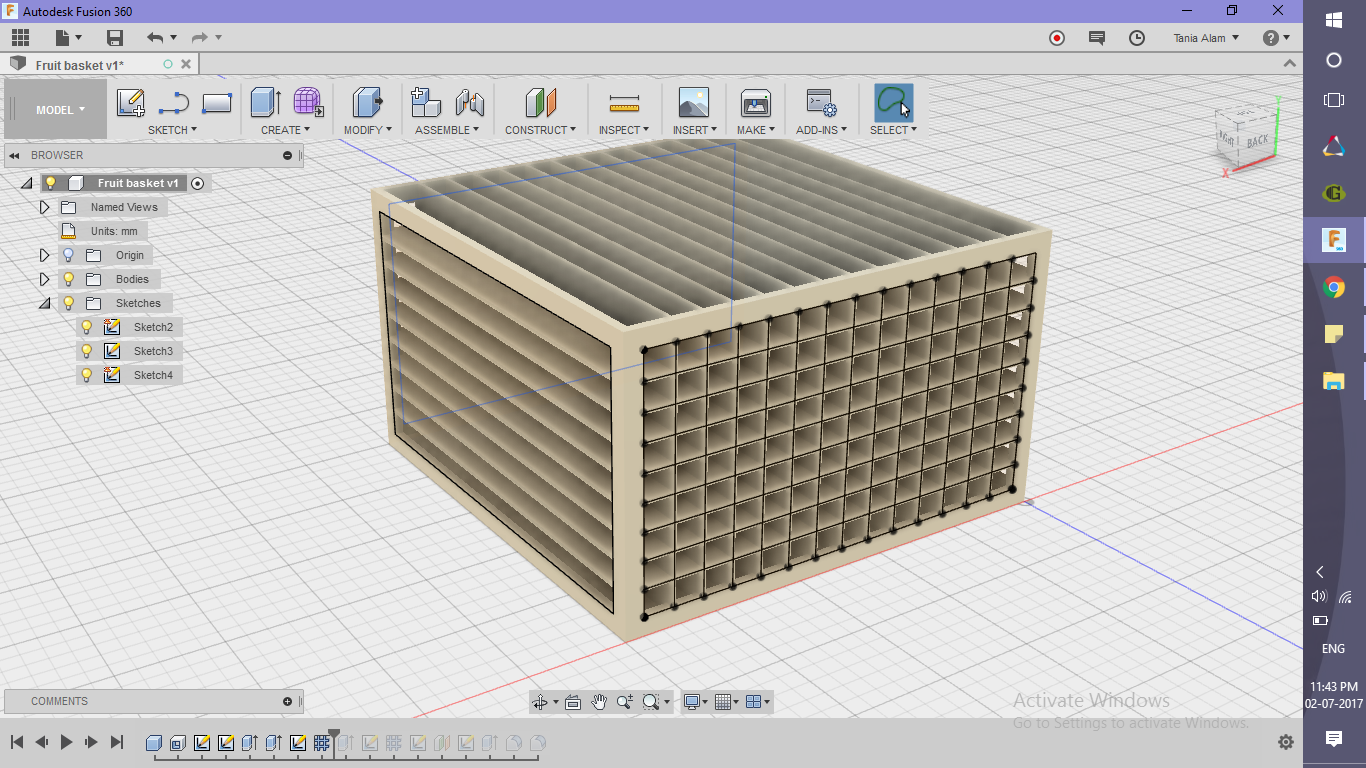
Now that you have made the ribs, you need to make a hollow space inside the basket using the following steps.
-
Cut all the extra parts of the web
- Go to "Construct" tab
- Click on Offset Plane command
- Sketch a rectangle using the offset plane as your sketch plane (Sketch>> Rectangle)
- Extrude it up to the inner face of the basket
- Check if the operation is set as "Cut" (not "Join")
- Check if all the unnecessary parts are removed
-
Add fillets wherever you see sharp edges
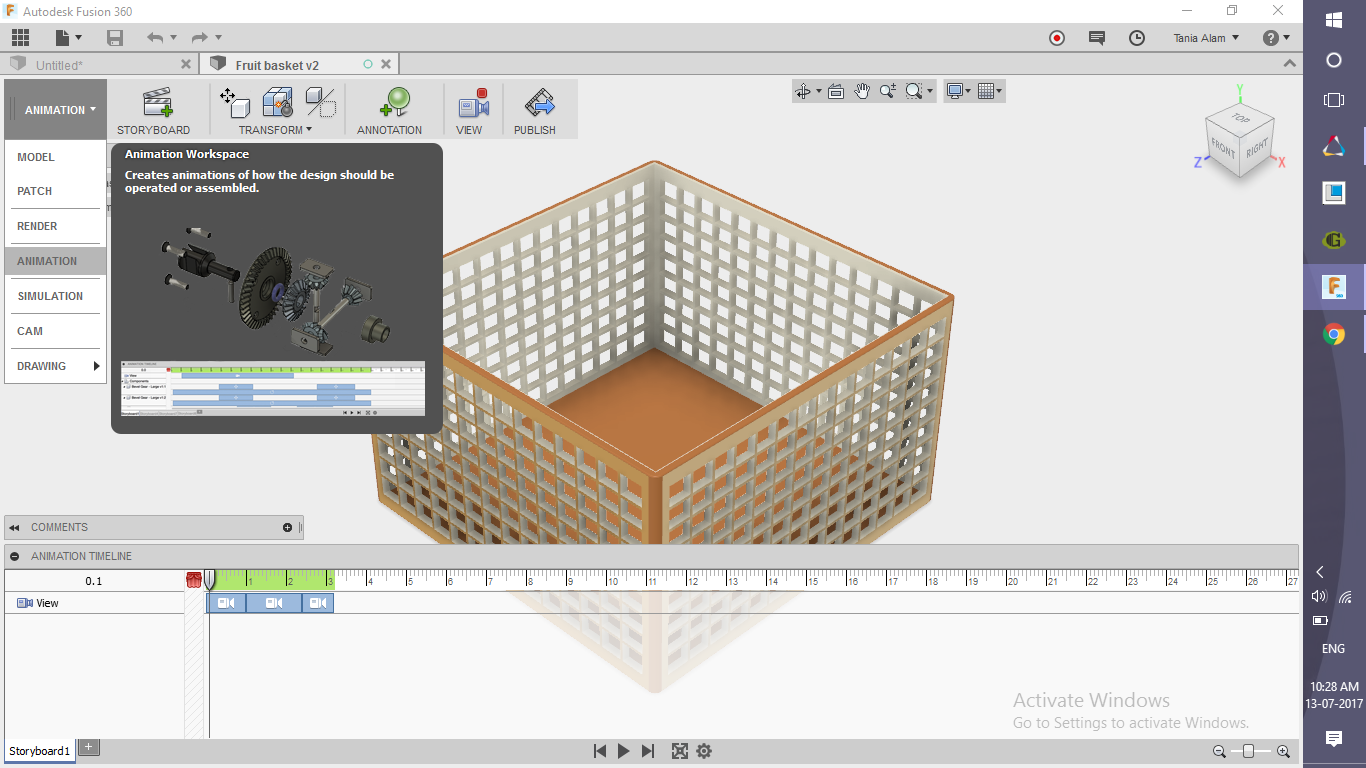
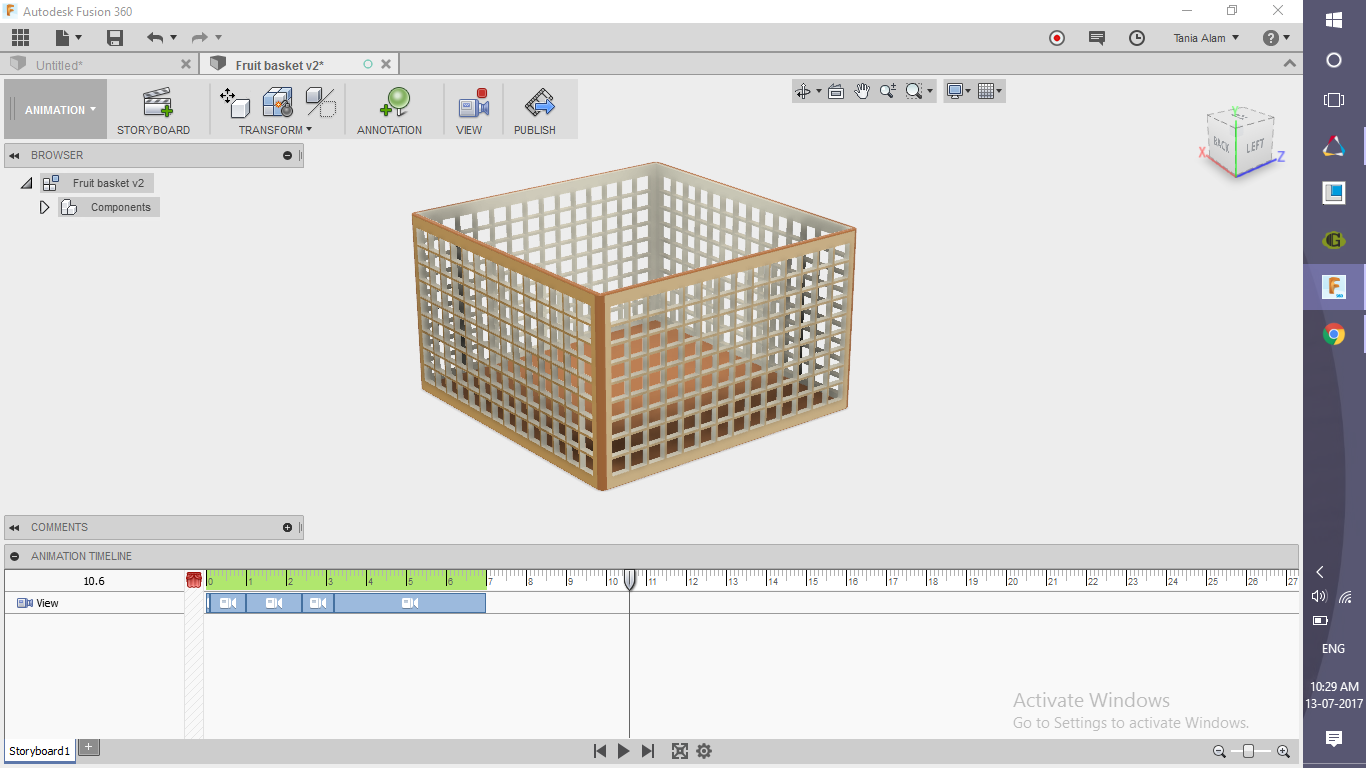
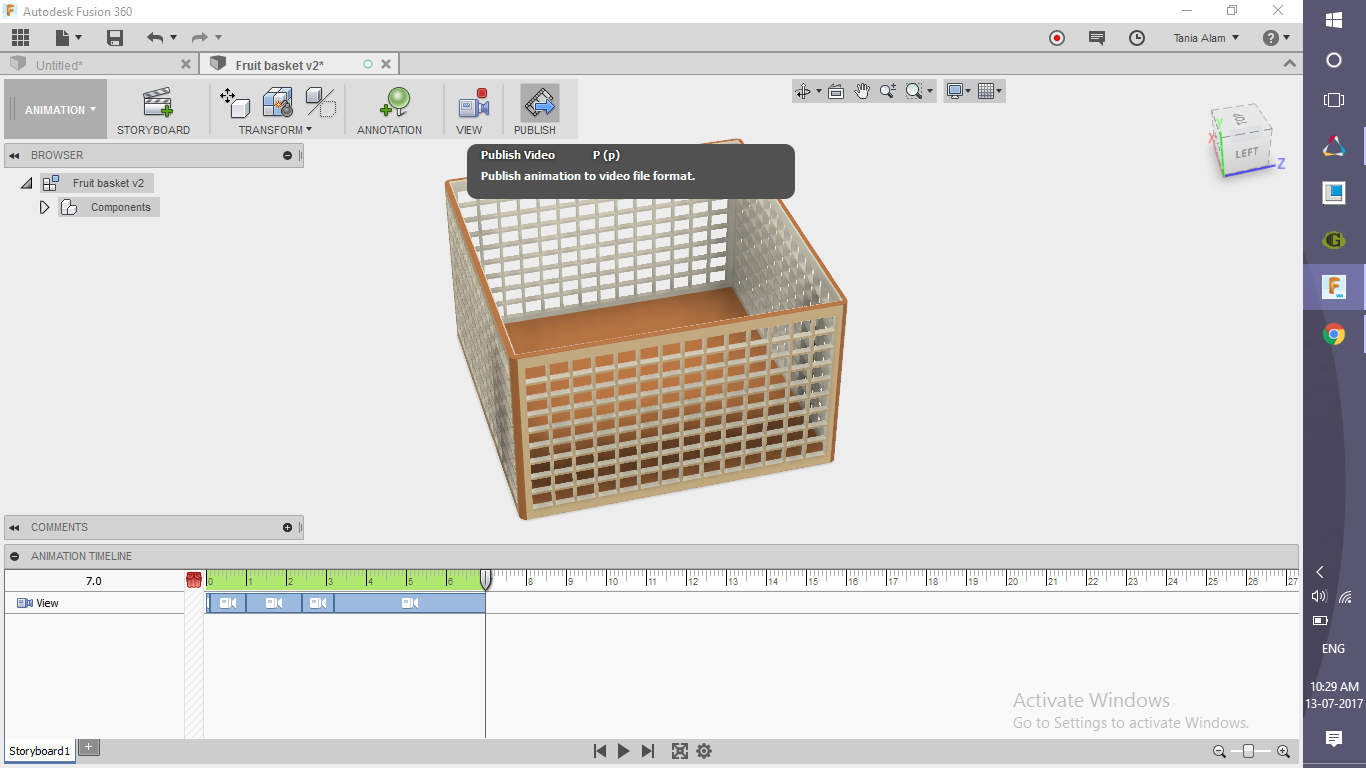
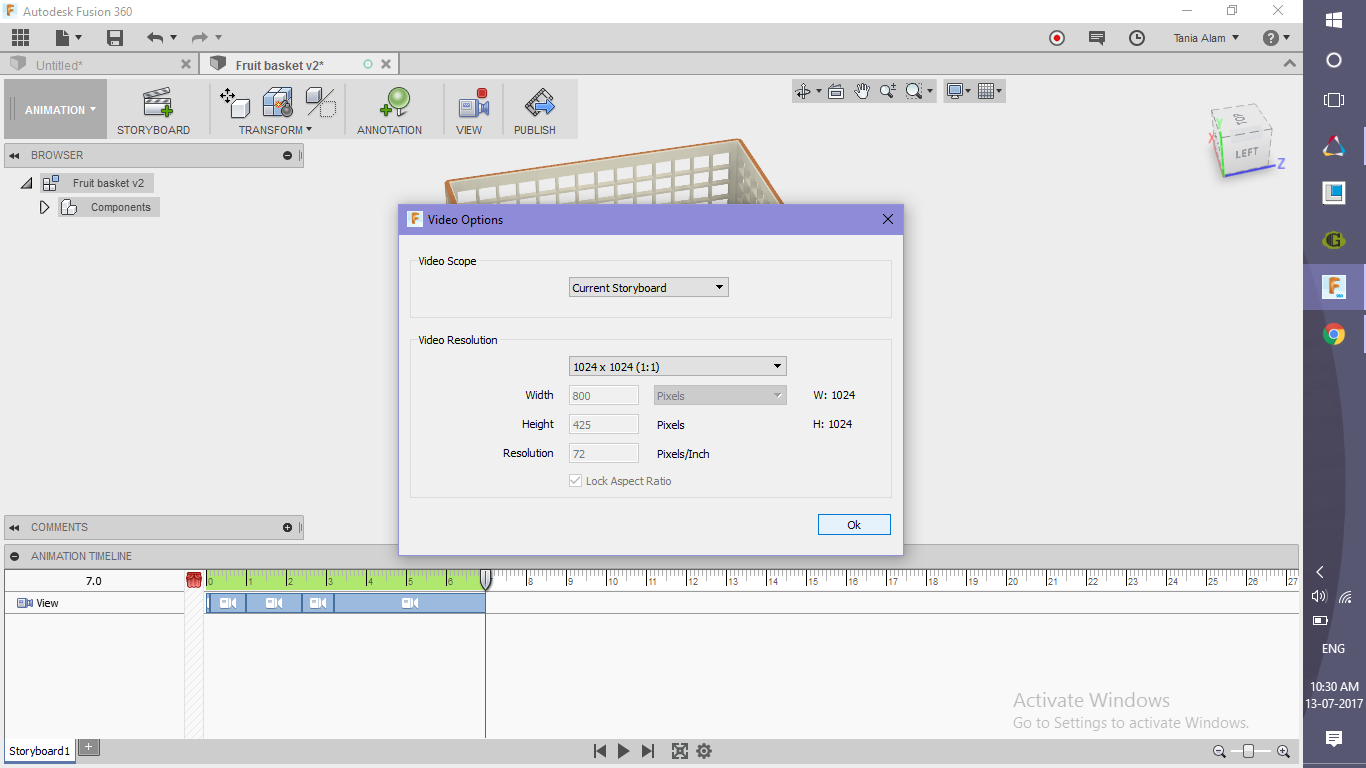
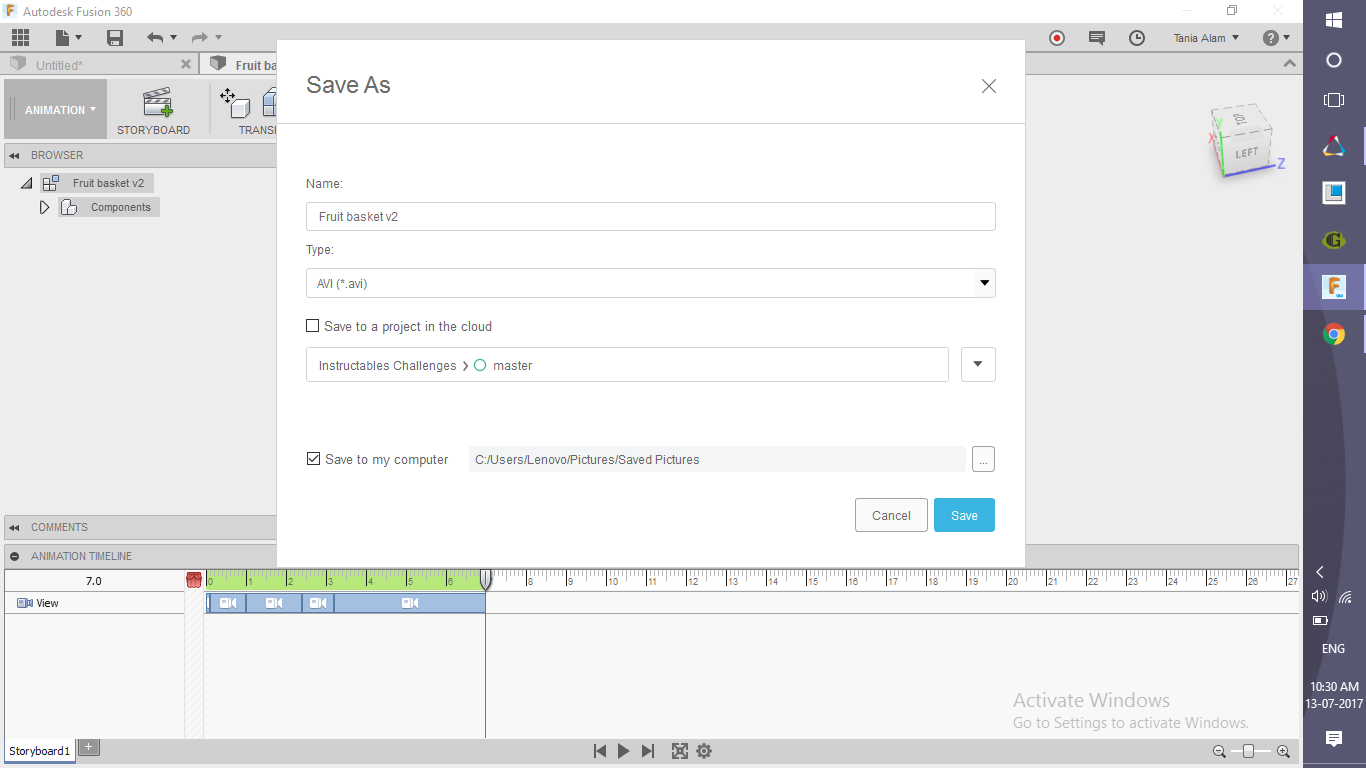
Create an Animation Video (optional)
.png)
.png)
.png)
.png)
.png)
.png)
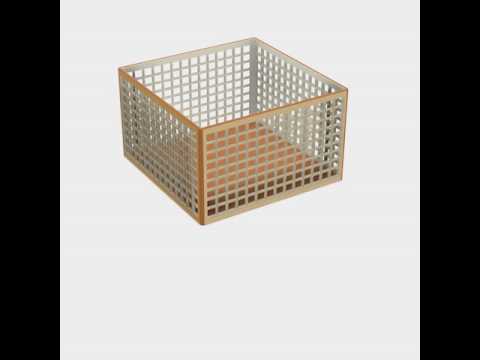
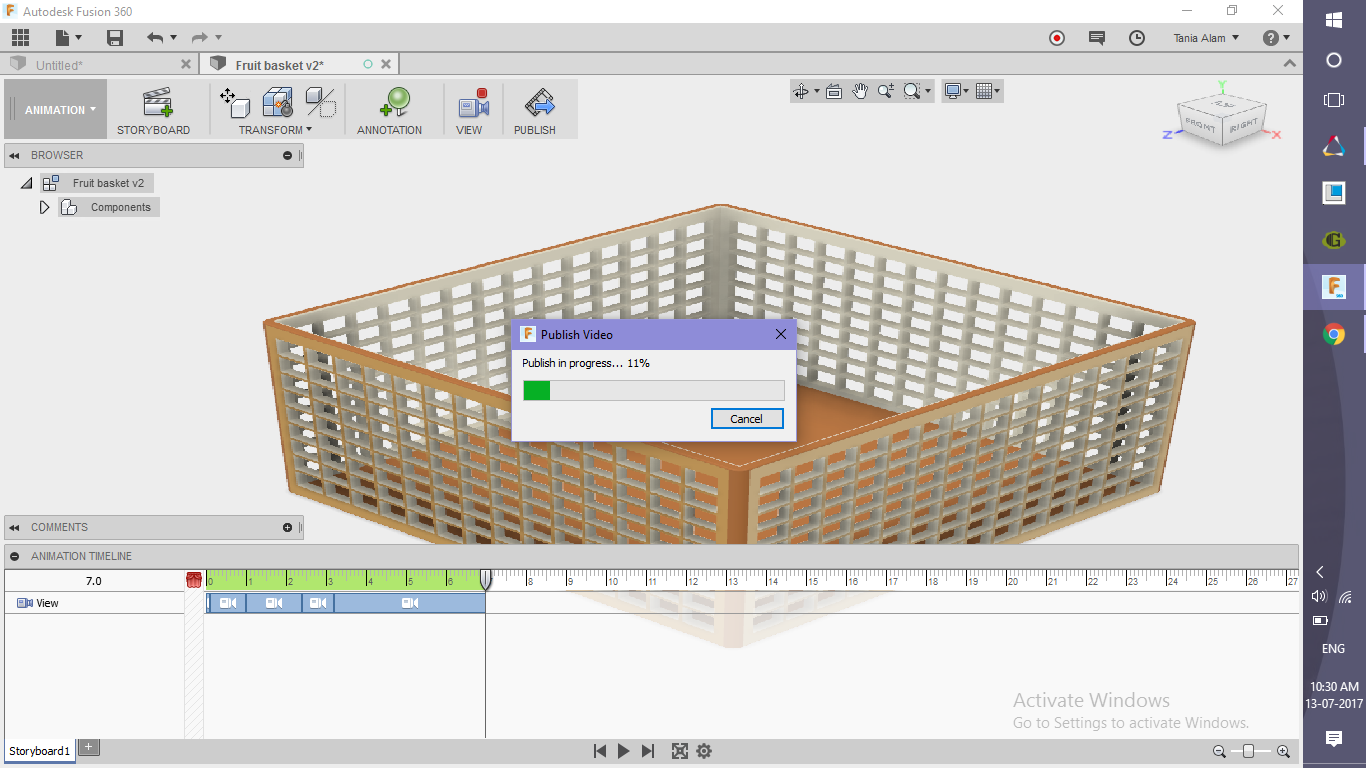
You can also create an animation video of this model. I've attached an animation I made for your reference. The steps to follow are:
- Go to "Animation" workspace
- Move the Cursor (the one in the tab popped out below)
- Move the model the way you like and it'll get recorded
- Click on the play icon
- Once satisfied with the animation, click on "Publish"
- Save it in your project file
Get the Renderings!
.png)


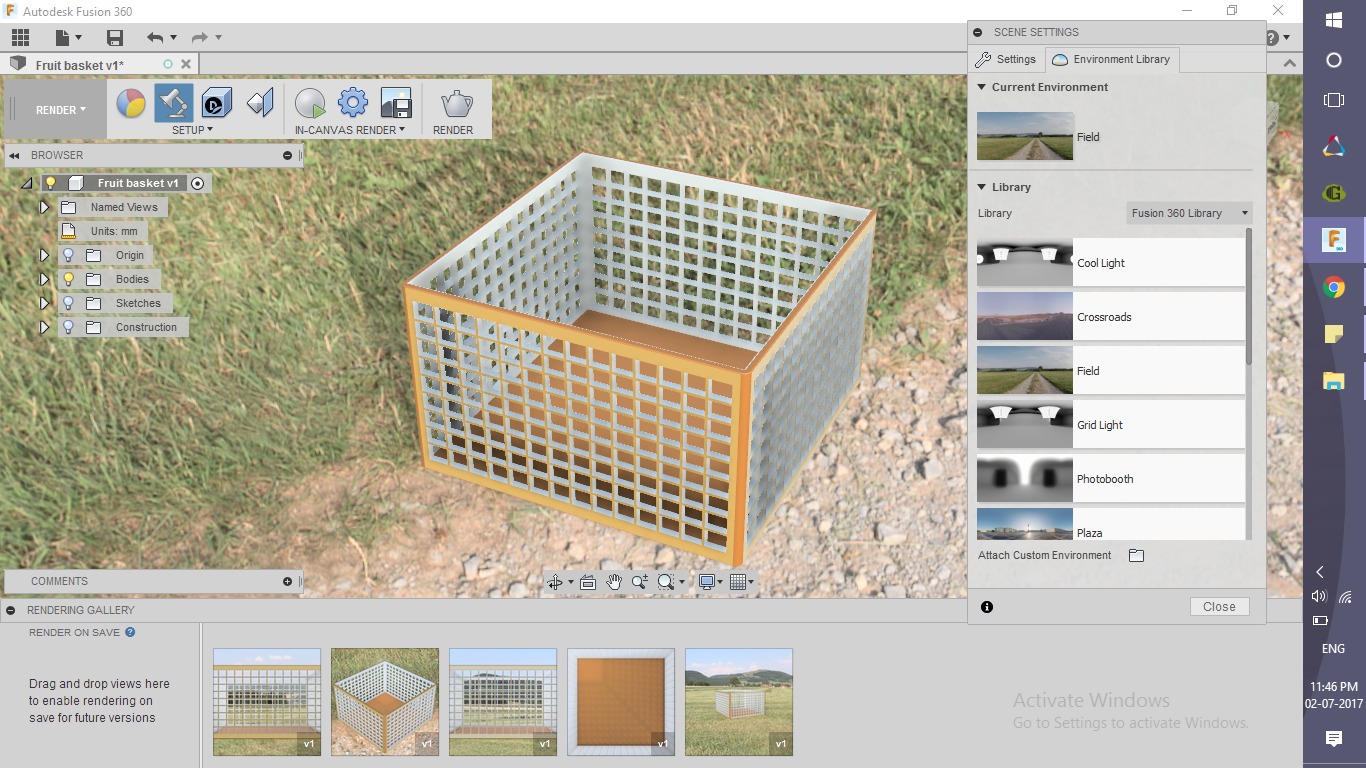
- Change the Scene Settings
- Go to "Step up" tab
- Click on "Scene Settings"
- Go to Background option in the pop-up
-
Activate "Environment" option and choose an environment (I've used "Fields")
Once you save the file, rendering will start automatically. Also, if you worked so hard making this, share your renderings here using the "I Made It" button and let everyone know!