How I Made Smartphone Bluetooth Controlled PWM Light for My Kids
by ahmedebeed555 in Circuits > Arduino
3195 Views, 9 Favorites, 0 Comments
How I Made Smartphone Bluetooth Controlled PWM Light for My Kids
Here is my Channel on Youtube:
AeroArduino
In this instructable I'm gonna show you how I made this simple Bluetooth Smartphone controlled PWM LED light for my kids. This is a simple but beautiful Arduino project to make.
I've used this awesome application ArduDroid from Mr. Hazim Bitar.
I really want to express my thanks to Mr. Hazim for this great app he has made available for us to control Arduino using Smartphone without writing a single line of code.
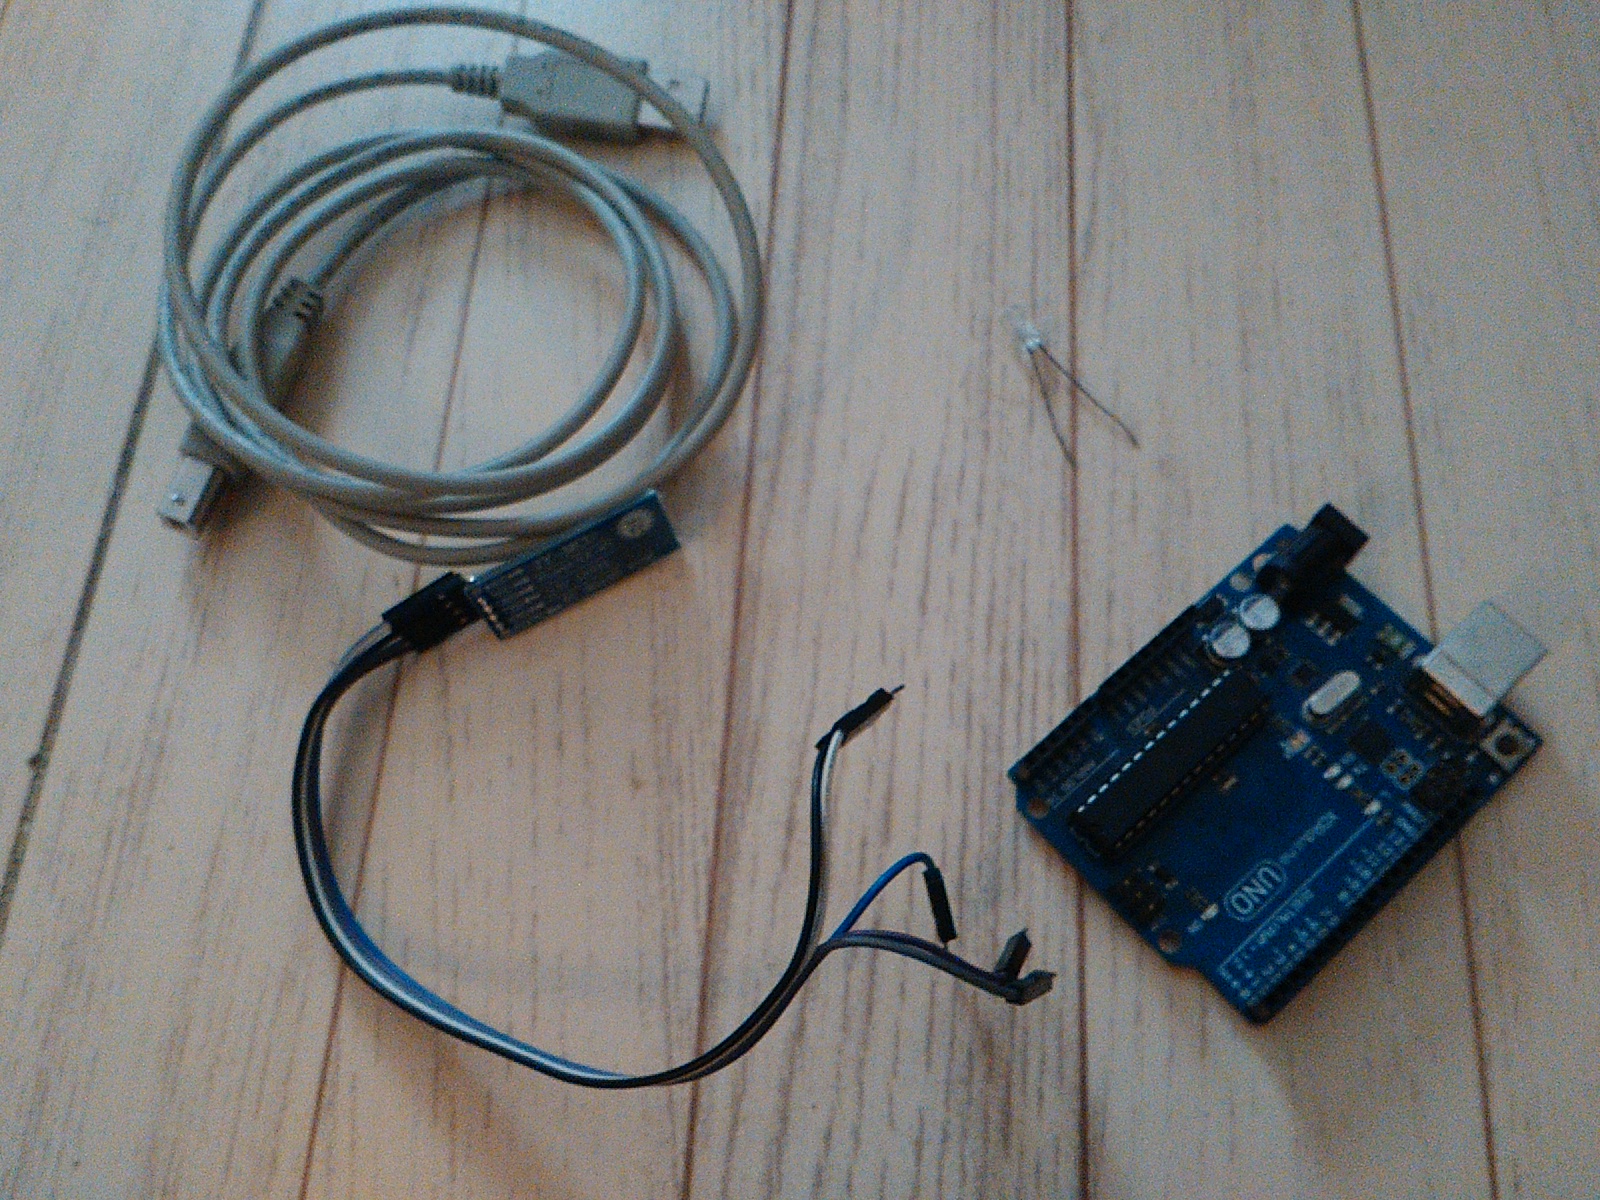
Components
Circuit

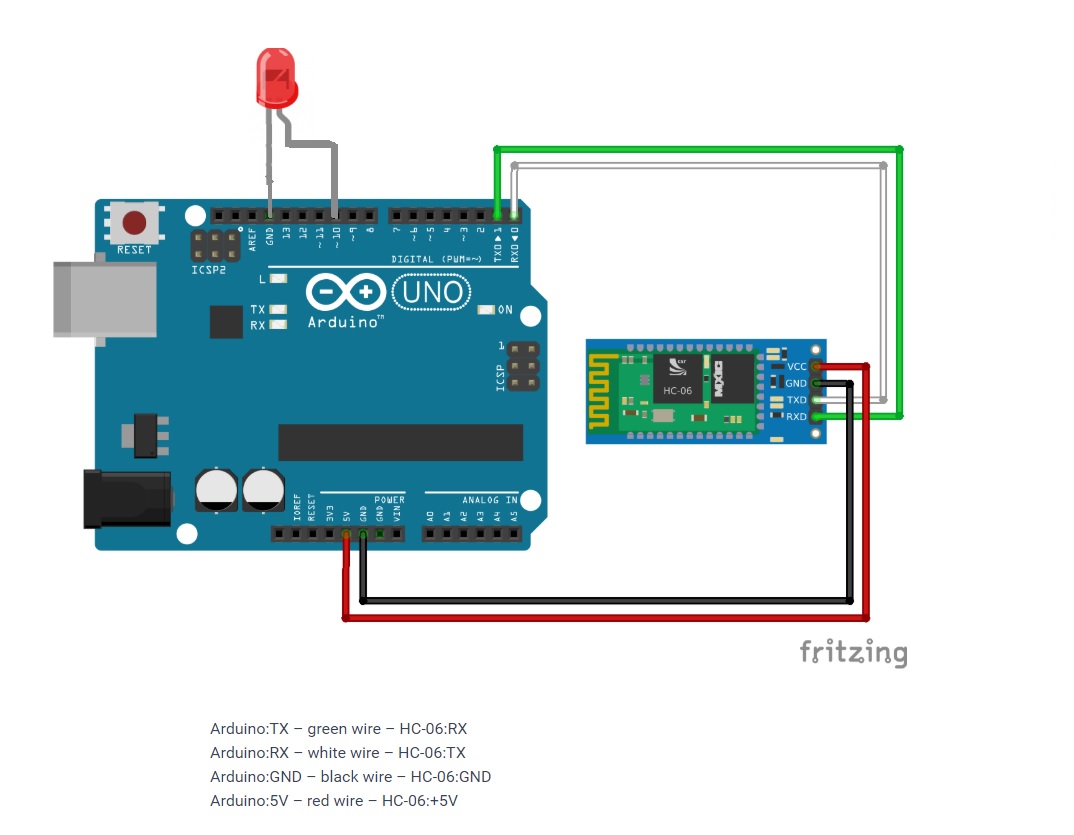
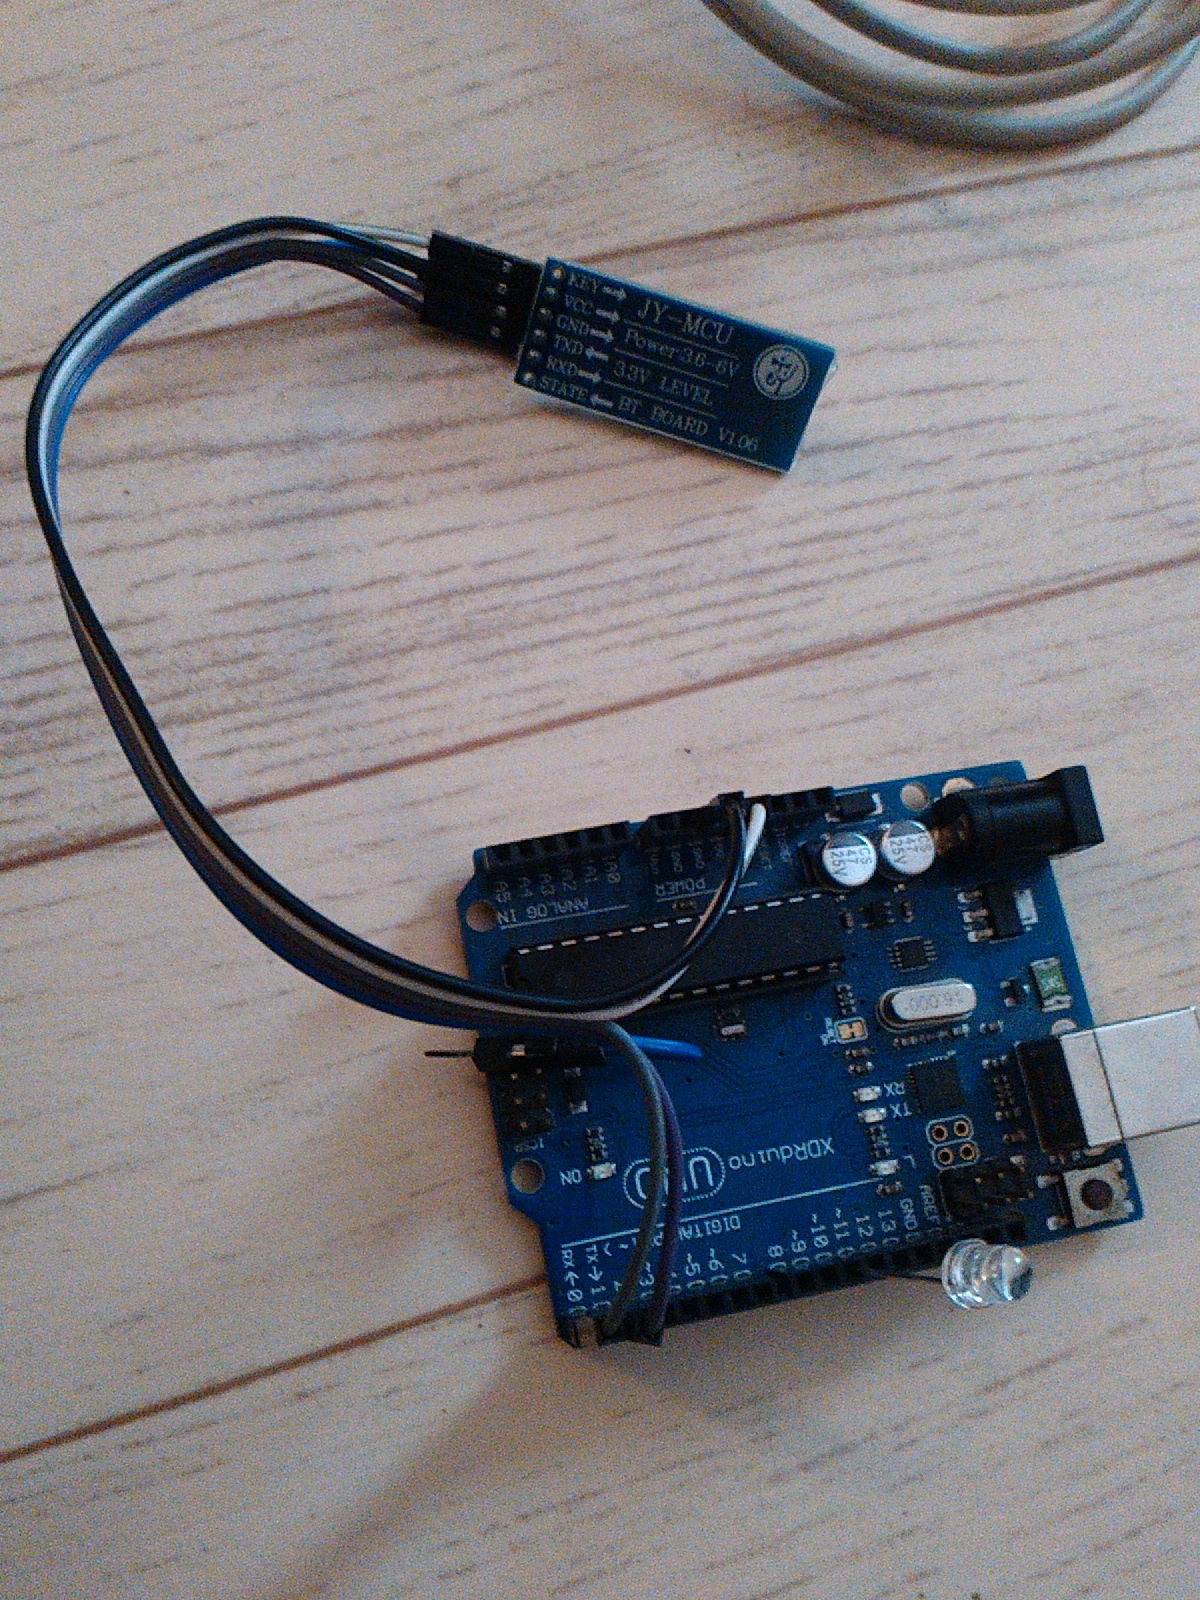
The circuit is so simple. I connected the LED to Arduino PIN number 10. You can connect it to that PIN or to any other PIN that can generate Analog PWM signal.
Note: PWM PINS are marked with the ~ sign.
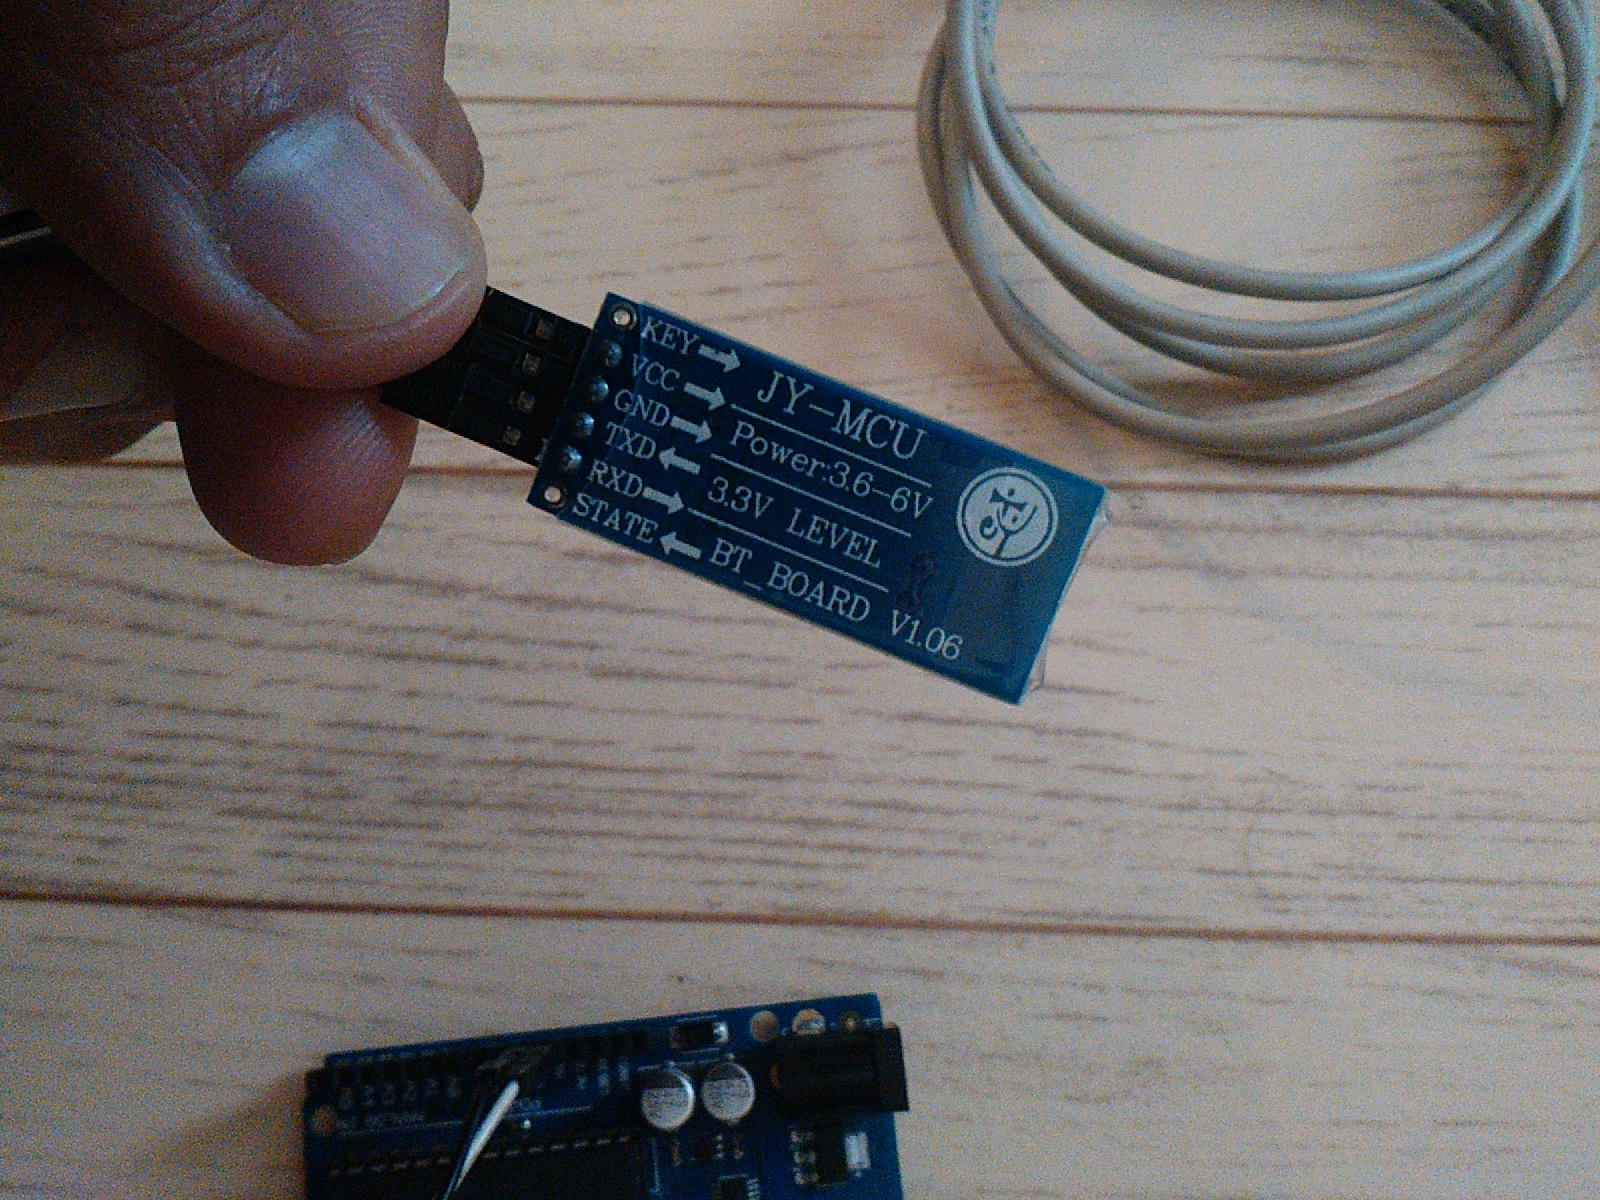
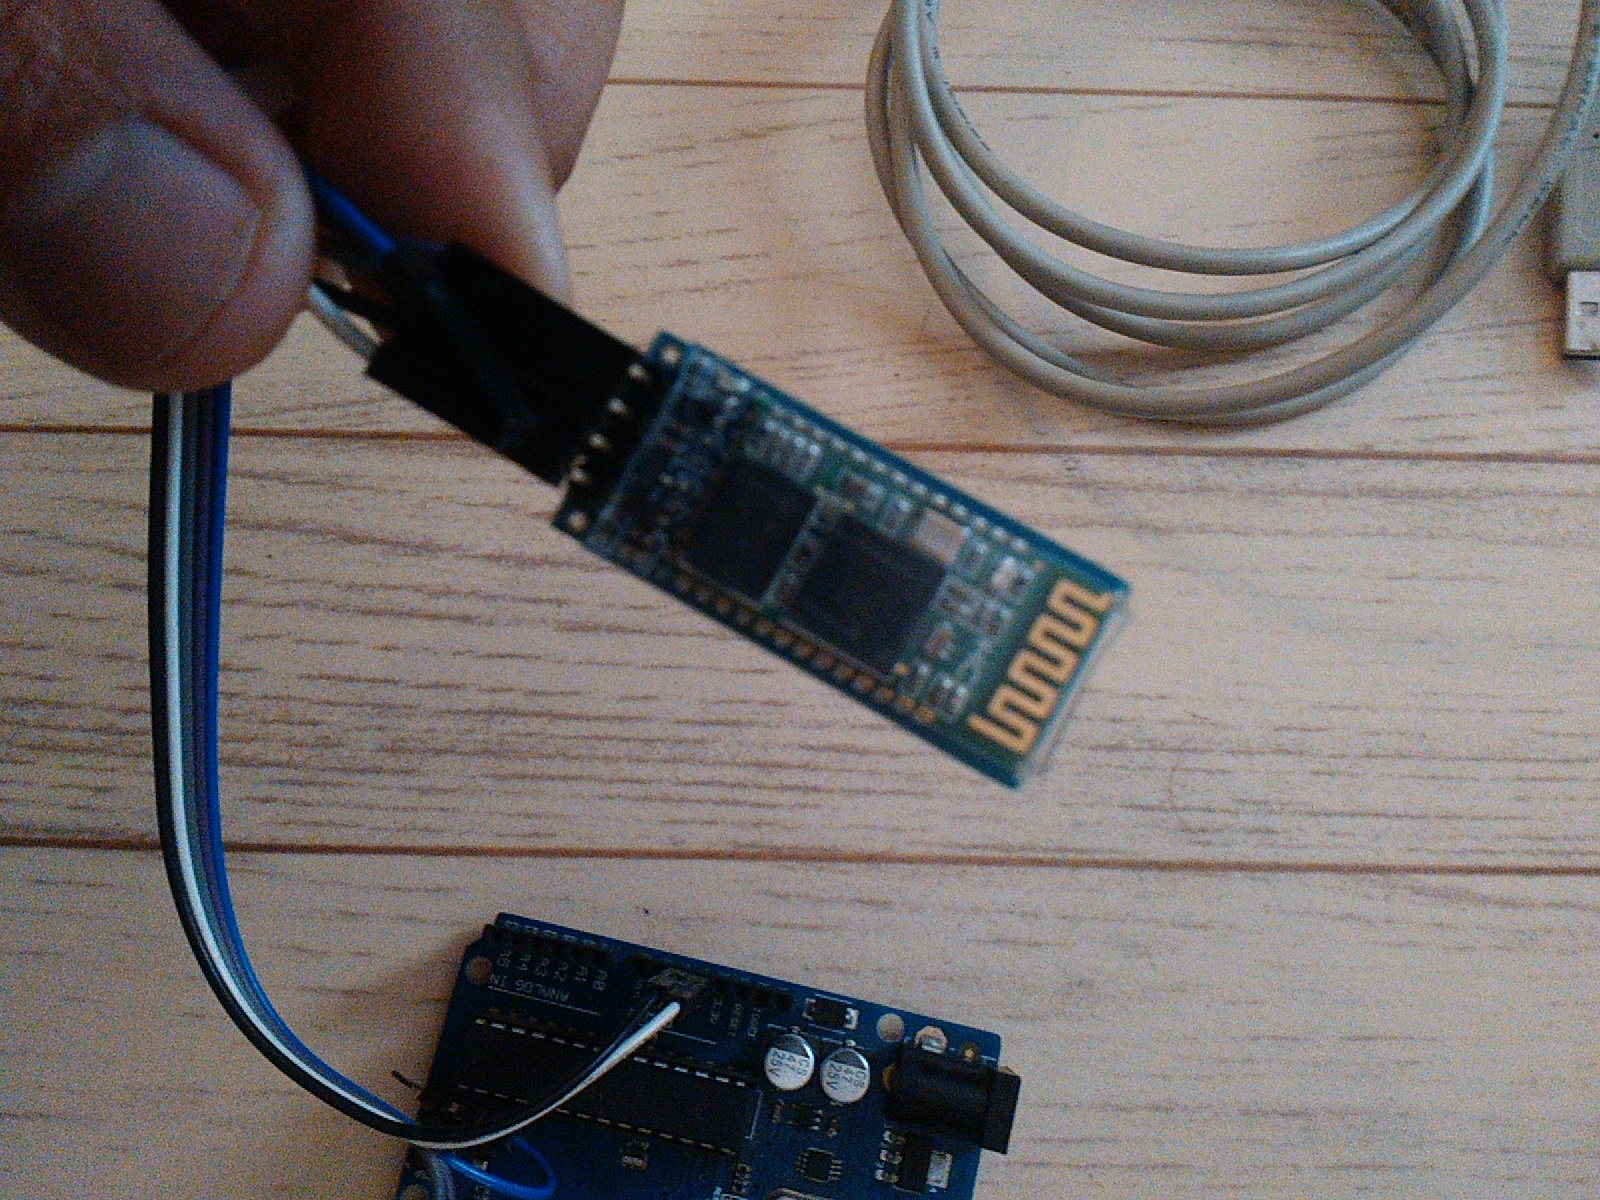
Then I connected the Bluetooth module to the Arduino UNO as follows
HC-06 Bluetooth module Arduino UNO
GND <-------> GND
VCC <-------> VCC
RX <-------> TX
TX <-------> RX
Note that you better not connect the Bluetooth Module to Arduino Board when Arduino is connected to the PC. This is because Arduino is connected to the PC on the same serial port on which Bluetooth Module is connected by default. And that can cause some weirdness in Arduino response during code uploading.
We can overcome this problem in future projects by changing the PINS on which Bluetooth is connected to Arduino UNO using Arduino function called SoftSerial().
But here we'll only connect Bluetooth Module after we upload the code and then connect the PC as a USB power source.
Upload Arduino Code
I just copied the code and then pasted it into Arduino IDE.
You can find the code at the application's website
http://www.techbitar.com/uploads/2/0/3/1/20316977/ardudroid.ino
Downloads
Run the App and Control Your Arduino
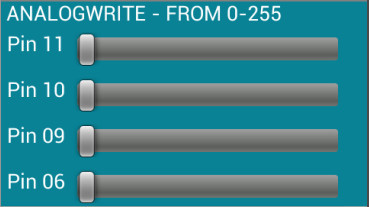

You can find that useful app from techbitar.com
http://www.techbitar.com/ardudroid-simple-bluetooth-control-for-arduino-and-android.html
or from Google Play
https://play.google.com/store/apps/details?id=com.techbitar.android.Andruino
Then you need to connect your Smartphone with the Bluetooth Module. You can do so by pressing the Connect to Bluetooth Button on the App.
Then choose your Bluetooth Module from the Bluetooth devices.
Once you have connected Bluetooth Module with the Smartphone you note that Bluetooth Module has its LED steady instead of flashing while not connected.
Now you can control LEDs from your Smartphone as follows:
The PIN 13 Red LED on the Arduino Board can be controlled ON/OFF using the PIN 13 Button on the App.
The LED you connected to PIN 10 can be controlled ON/OFF using the PIN 10 Button on the App.
The LED you connected to PIN 10 can be controlled Dimming using the PIN 10 Slider on the App.
Thank you for reading. Stay tuned for more projects.