House With Garage
Introduction: I chose to design a house with a garage and desk using the program tinkercad. I wanted to design a house because I am a high school student in a drafting and design CTE class. I love my class so much it made me want to design a house for this competition.
Supplies
- tinkercad
- 3D printer
- support cleaning apparatus
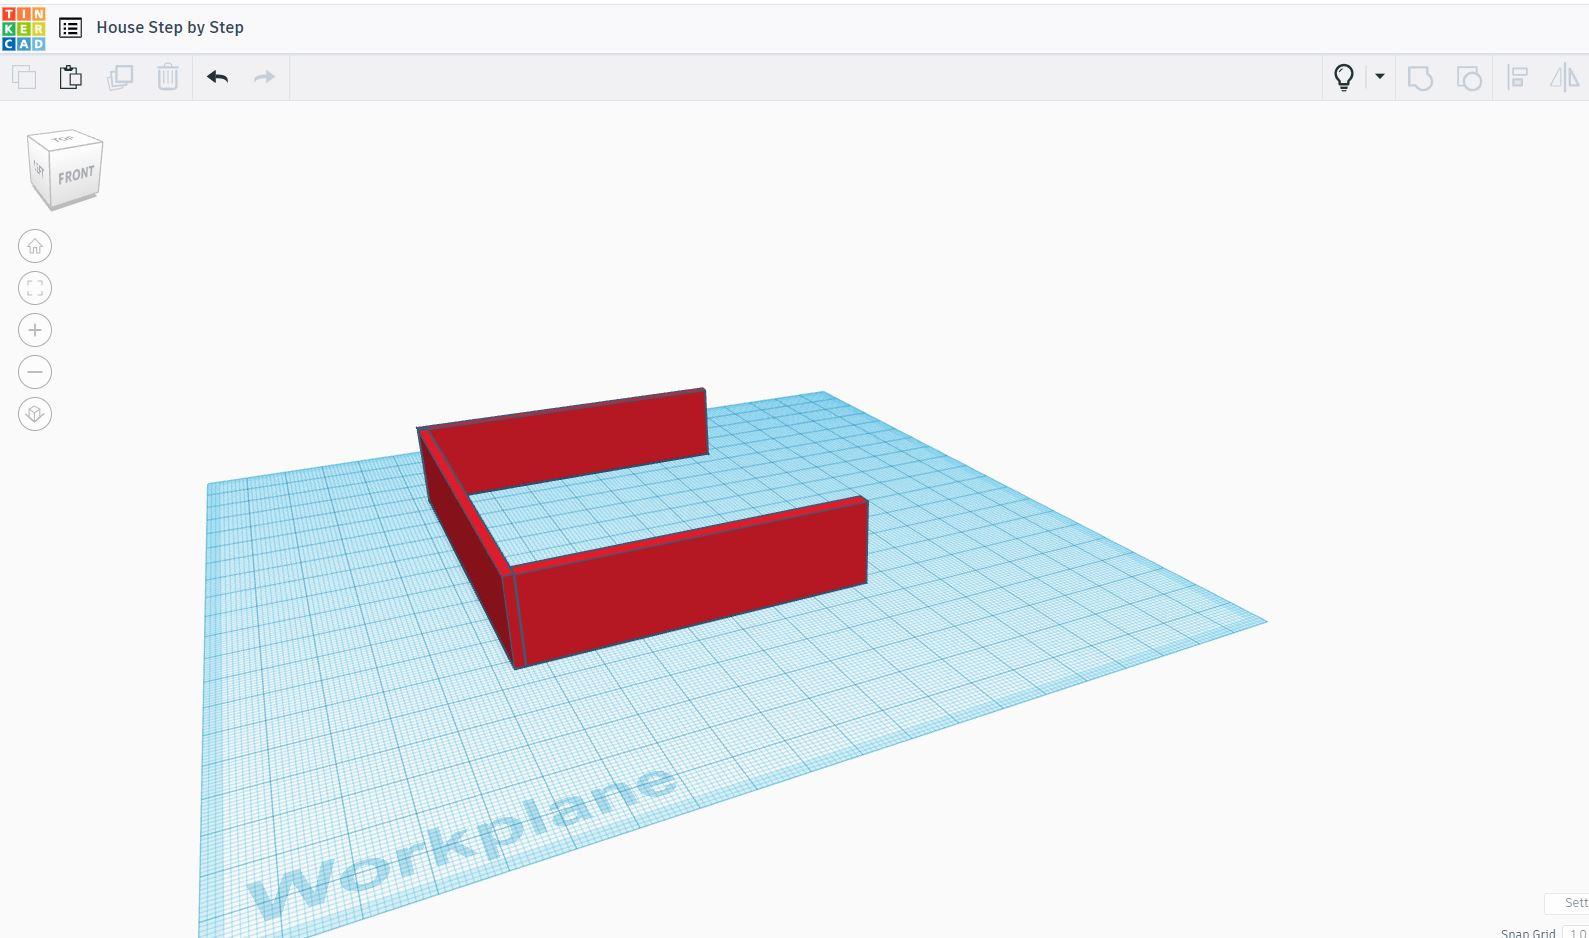
I started by creating a file in Tinkercad and made my first floor walls
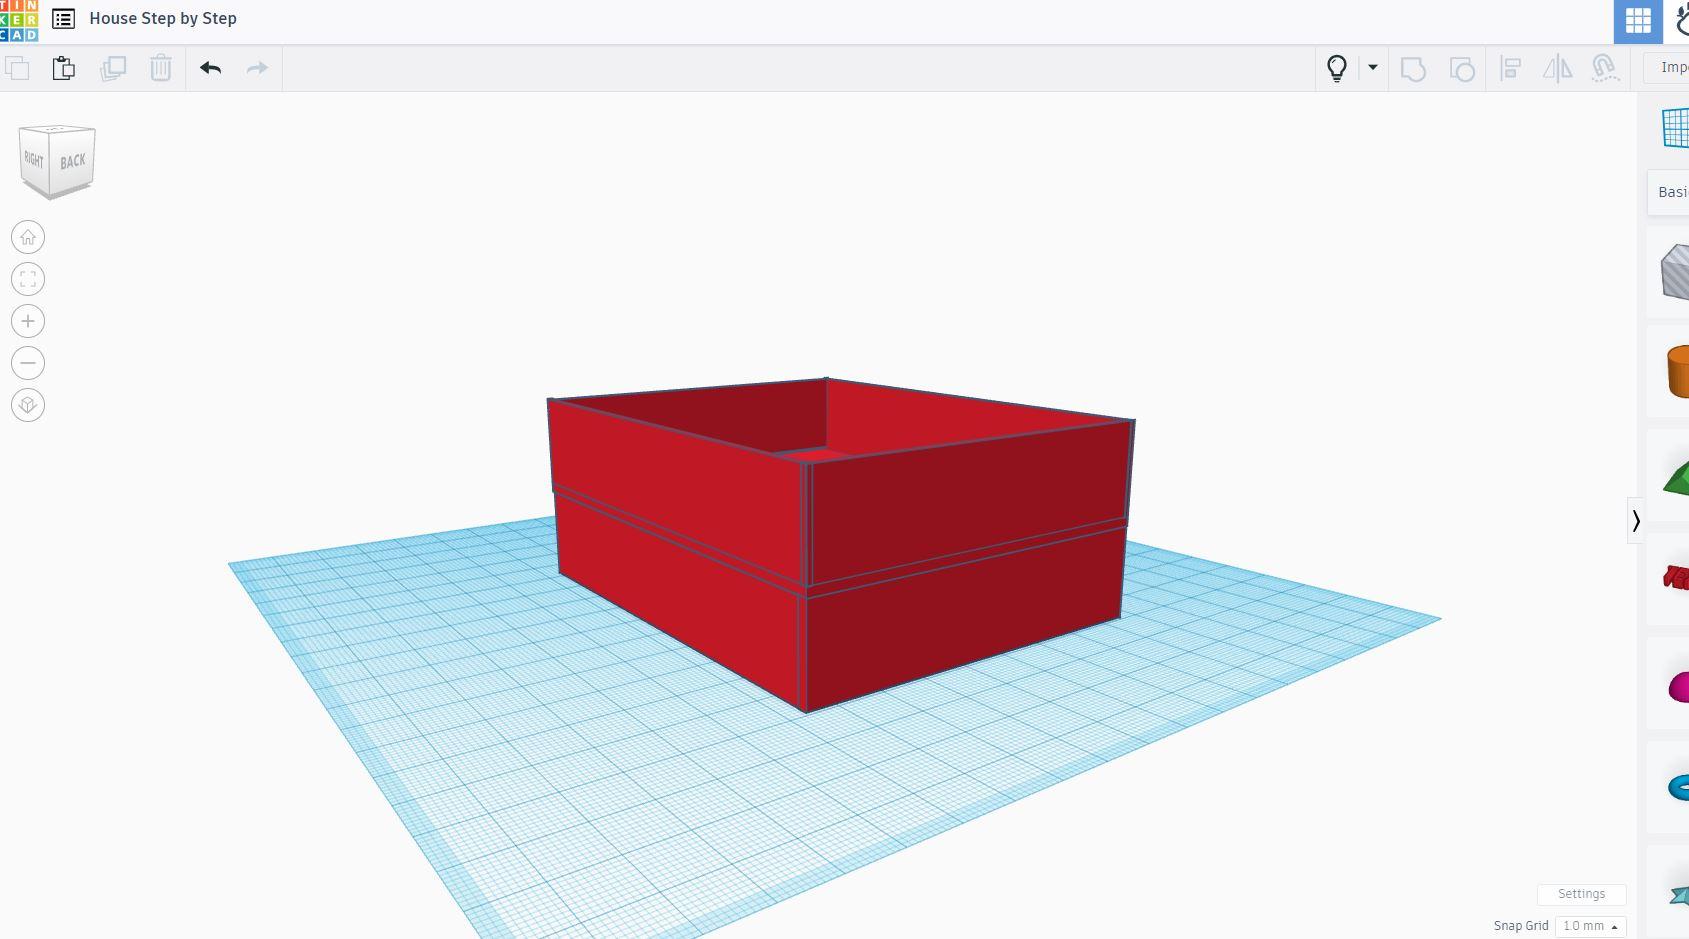
I added a second floor with walls
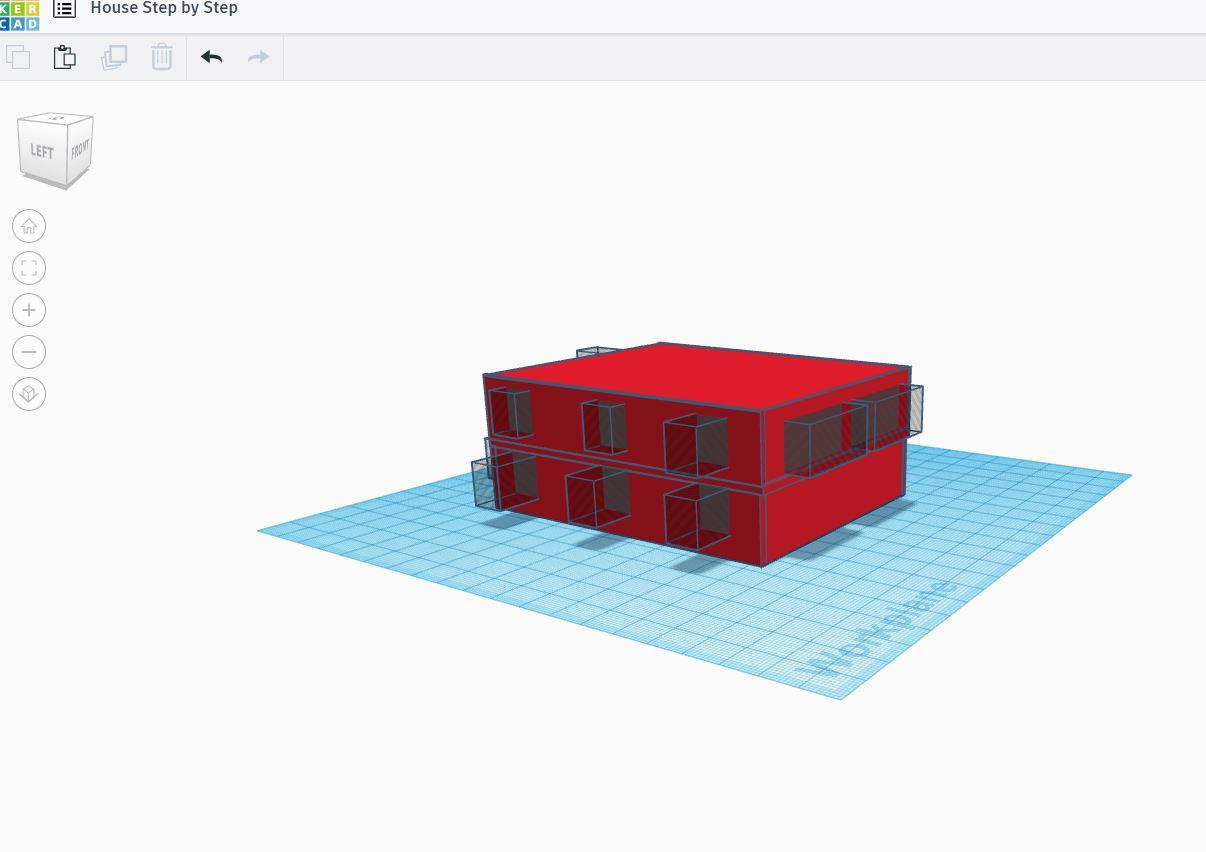
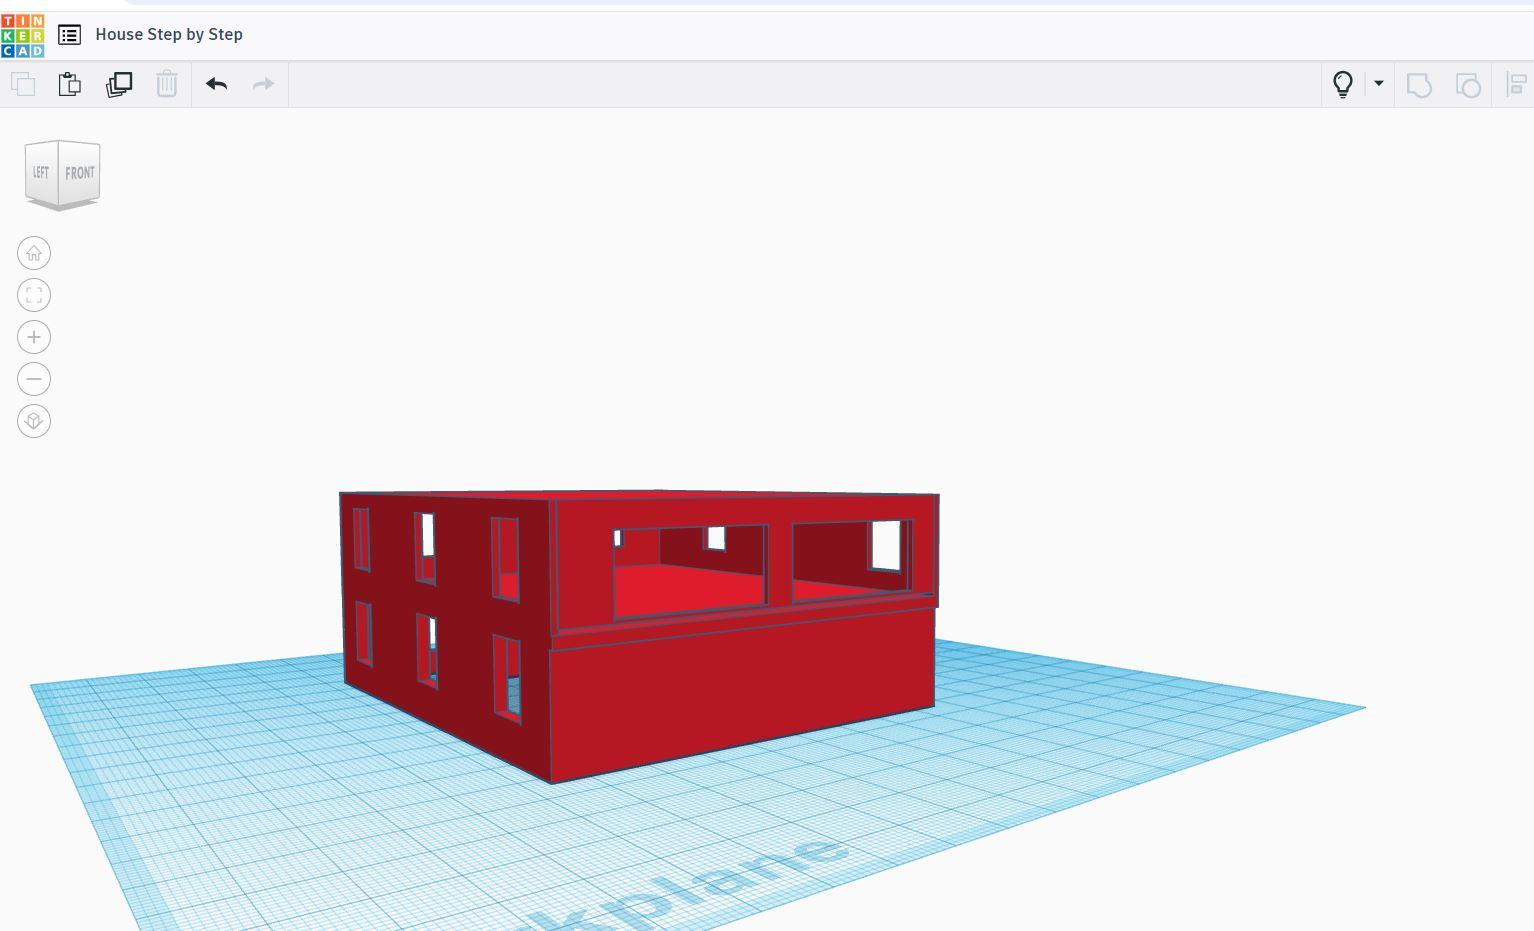
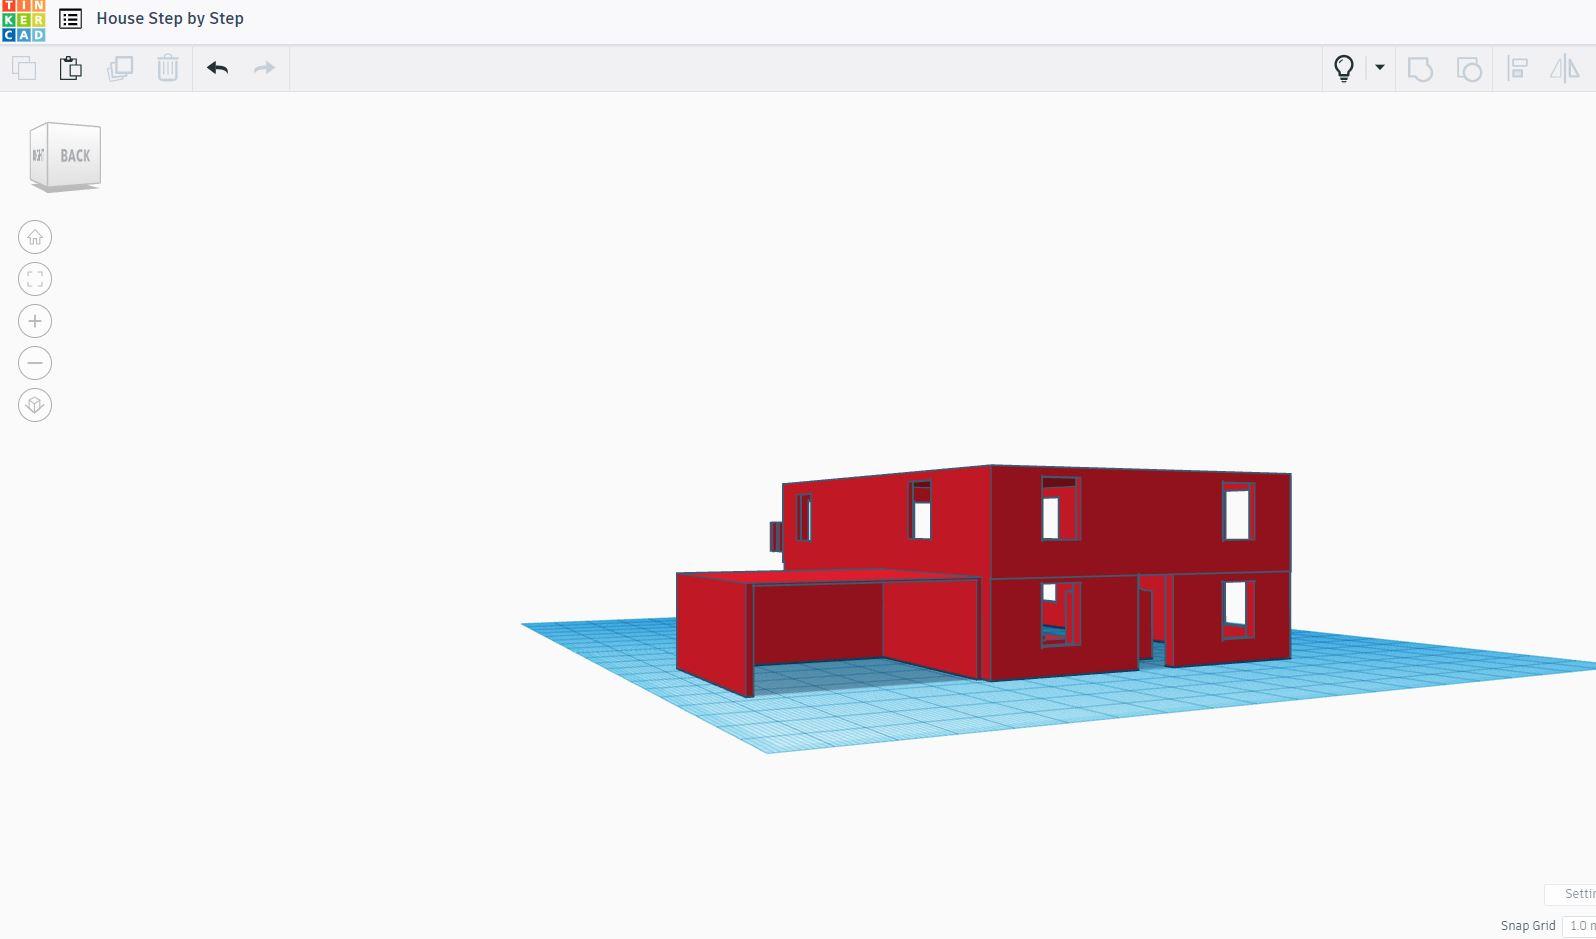
I added windows by creating hole cutouts in the walls on the first and second level
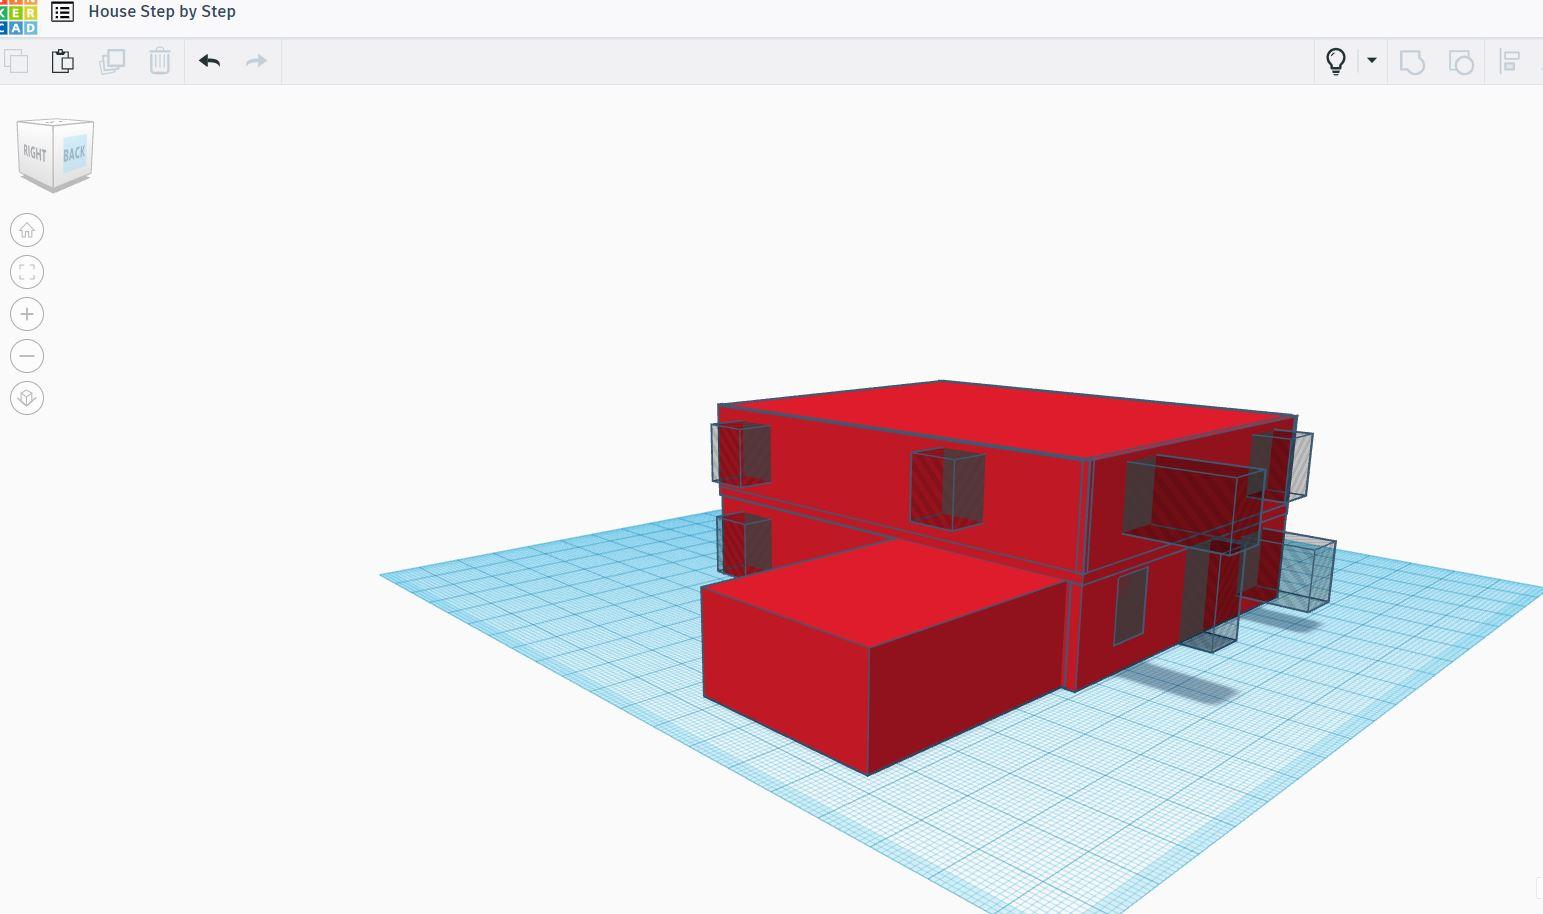
I added the garage on the side of the house
I created a garage door by adding a rectangular hole to the garage
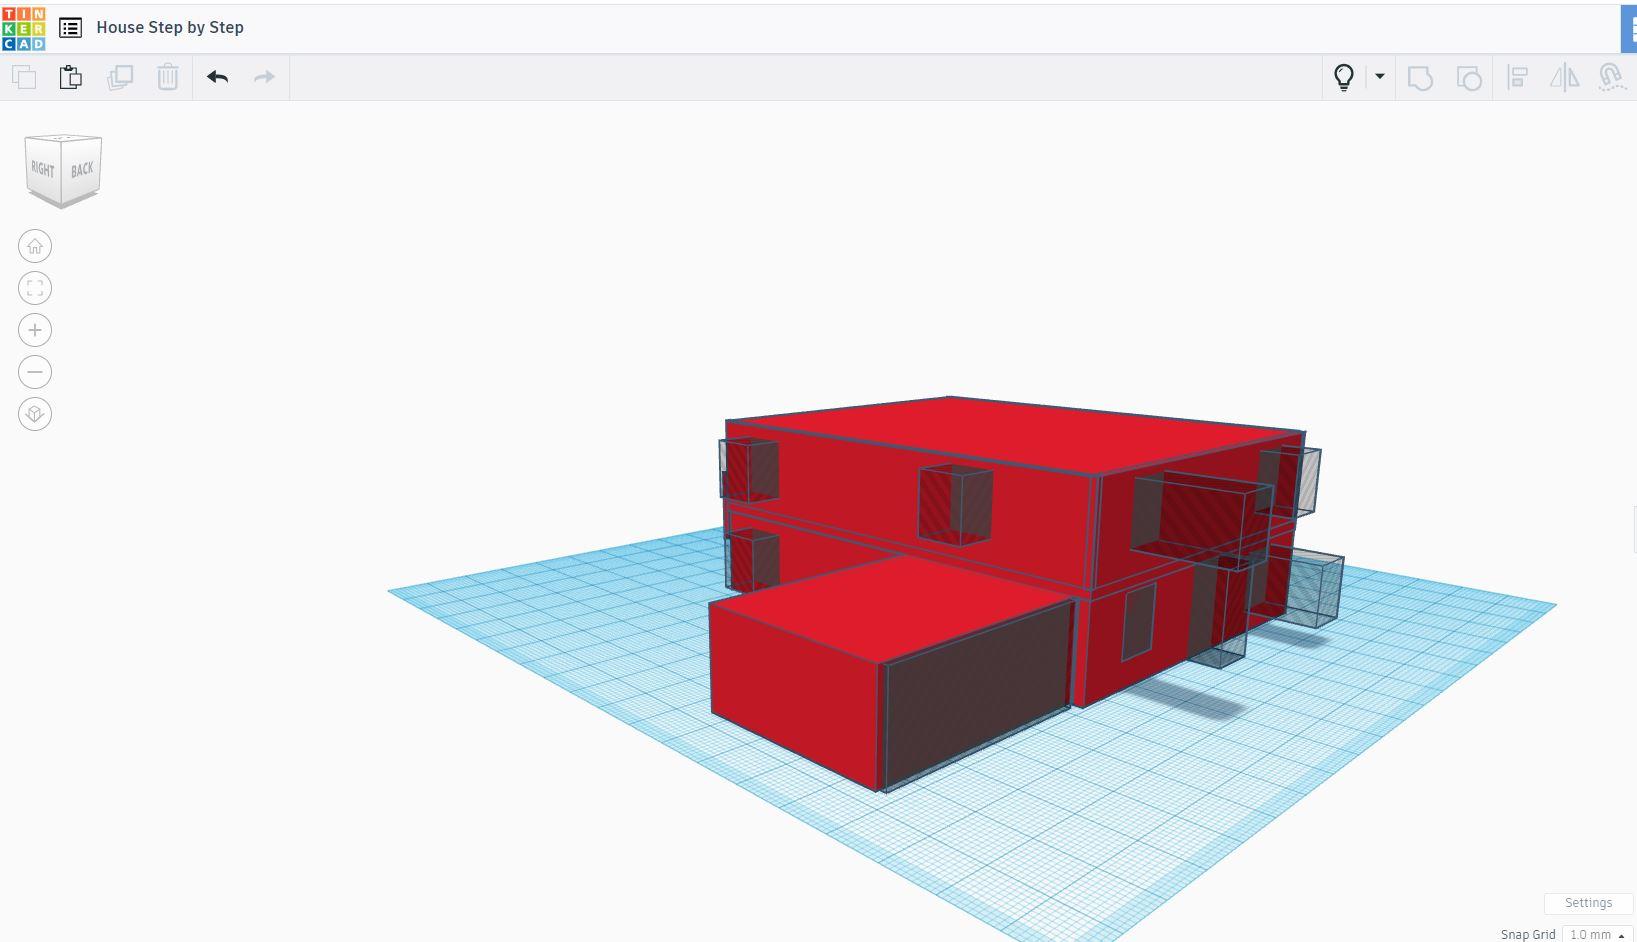
I added two sliding doors to serve as an entrance to the balcony
grouped the holes and the walls together
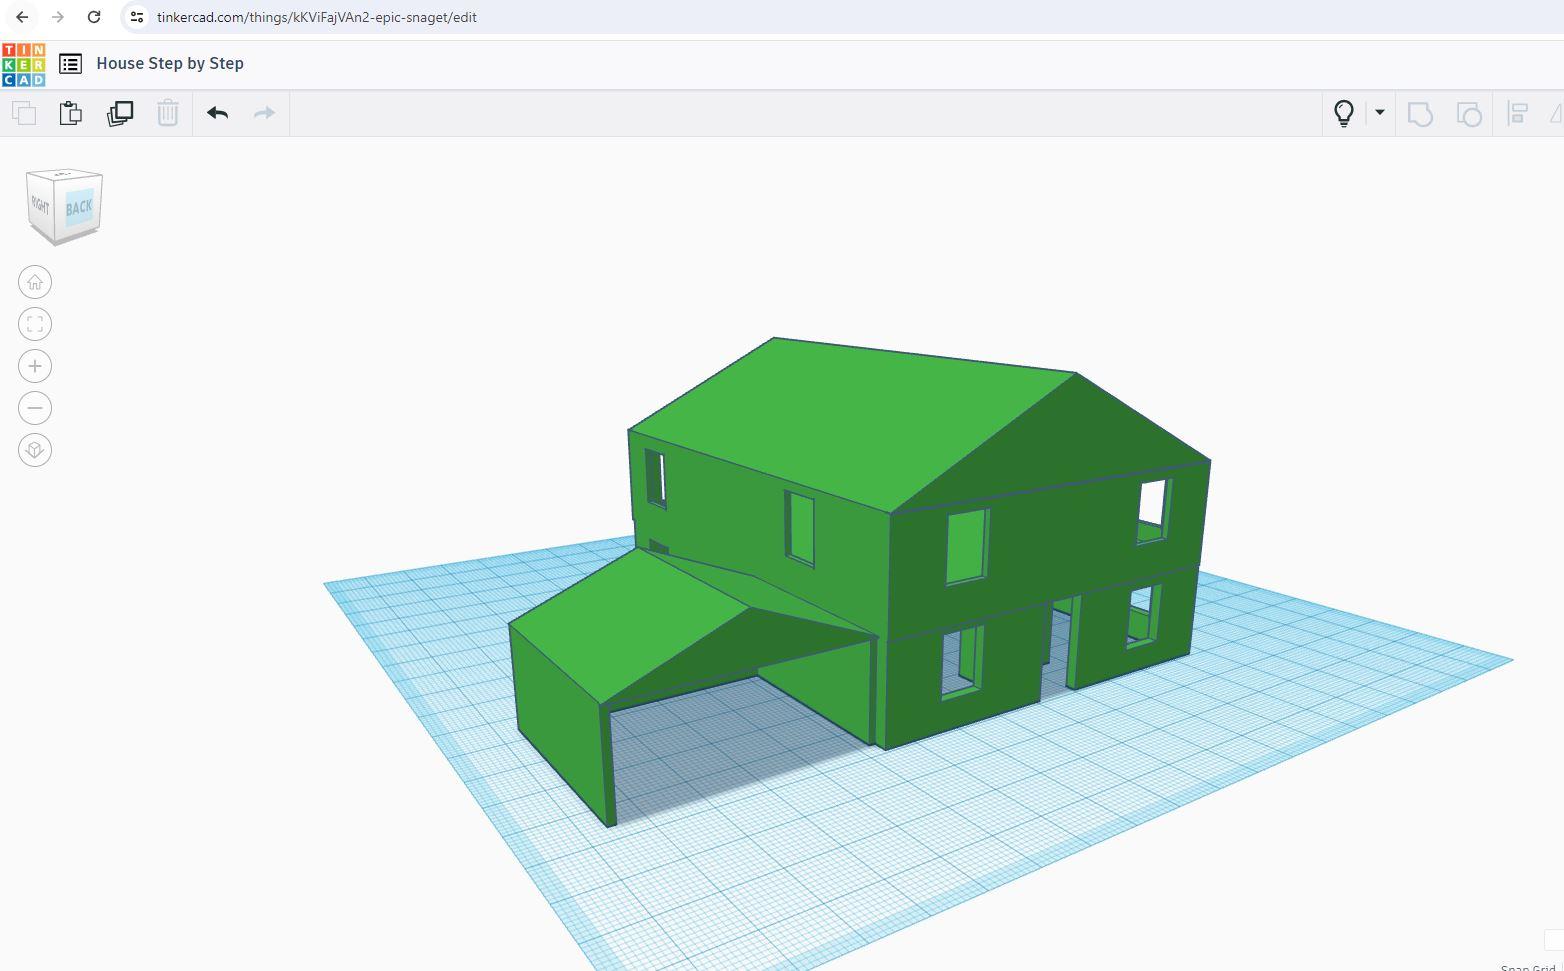
added a roof to both the garage and house
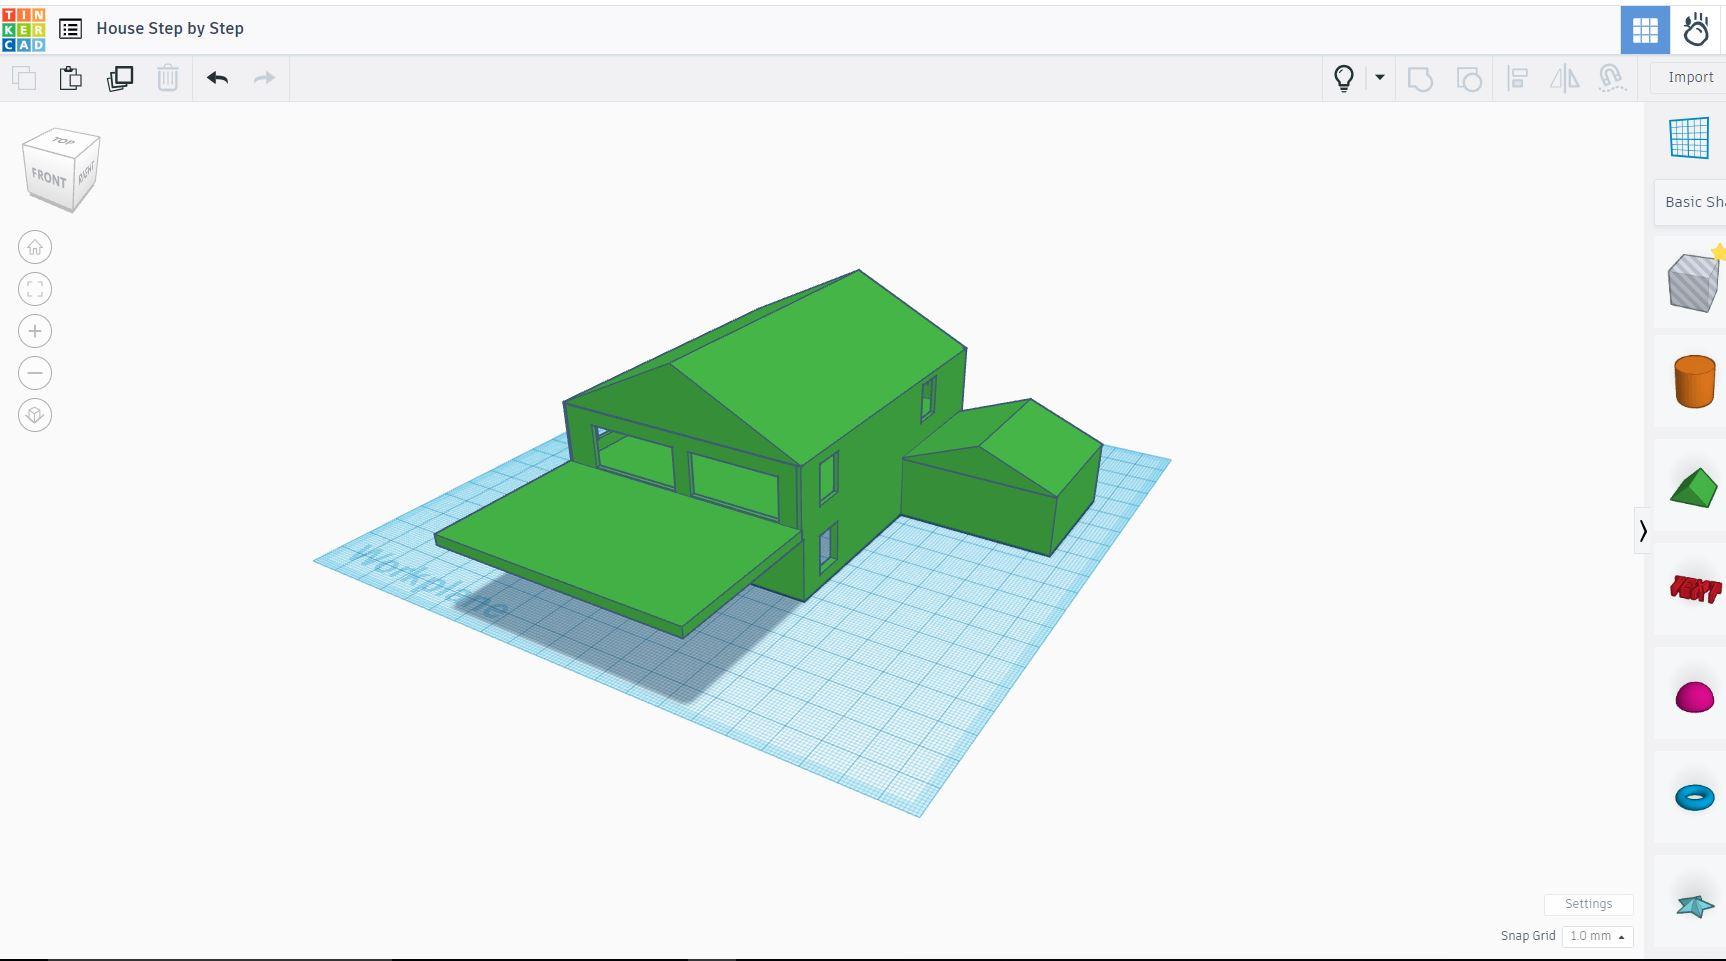
created a floor for the balcony
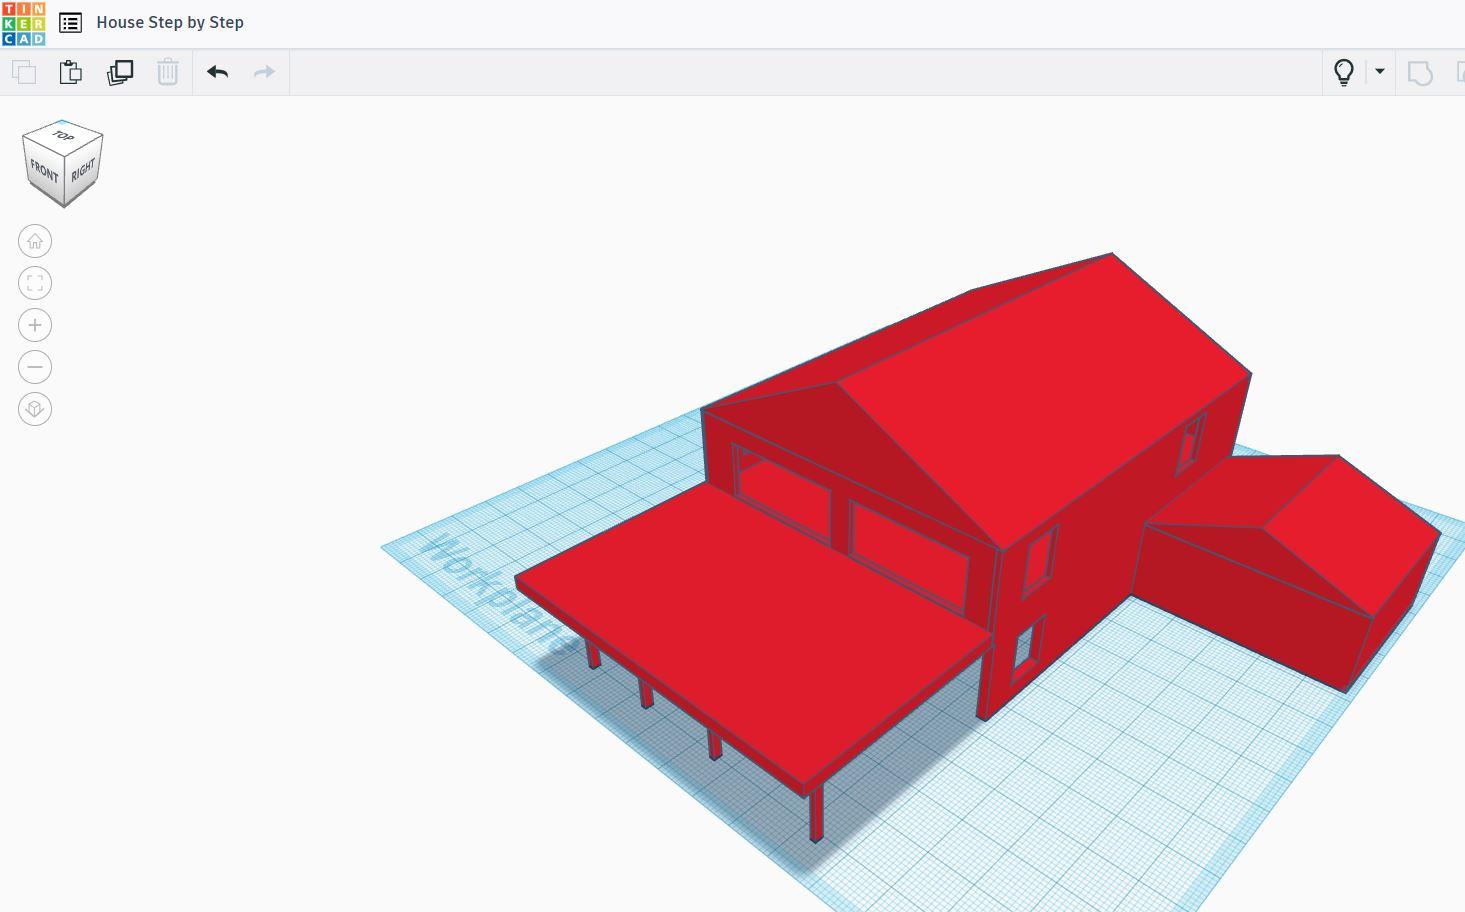
create support beams under balcony
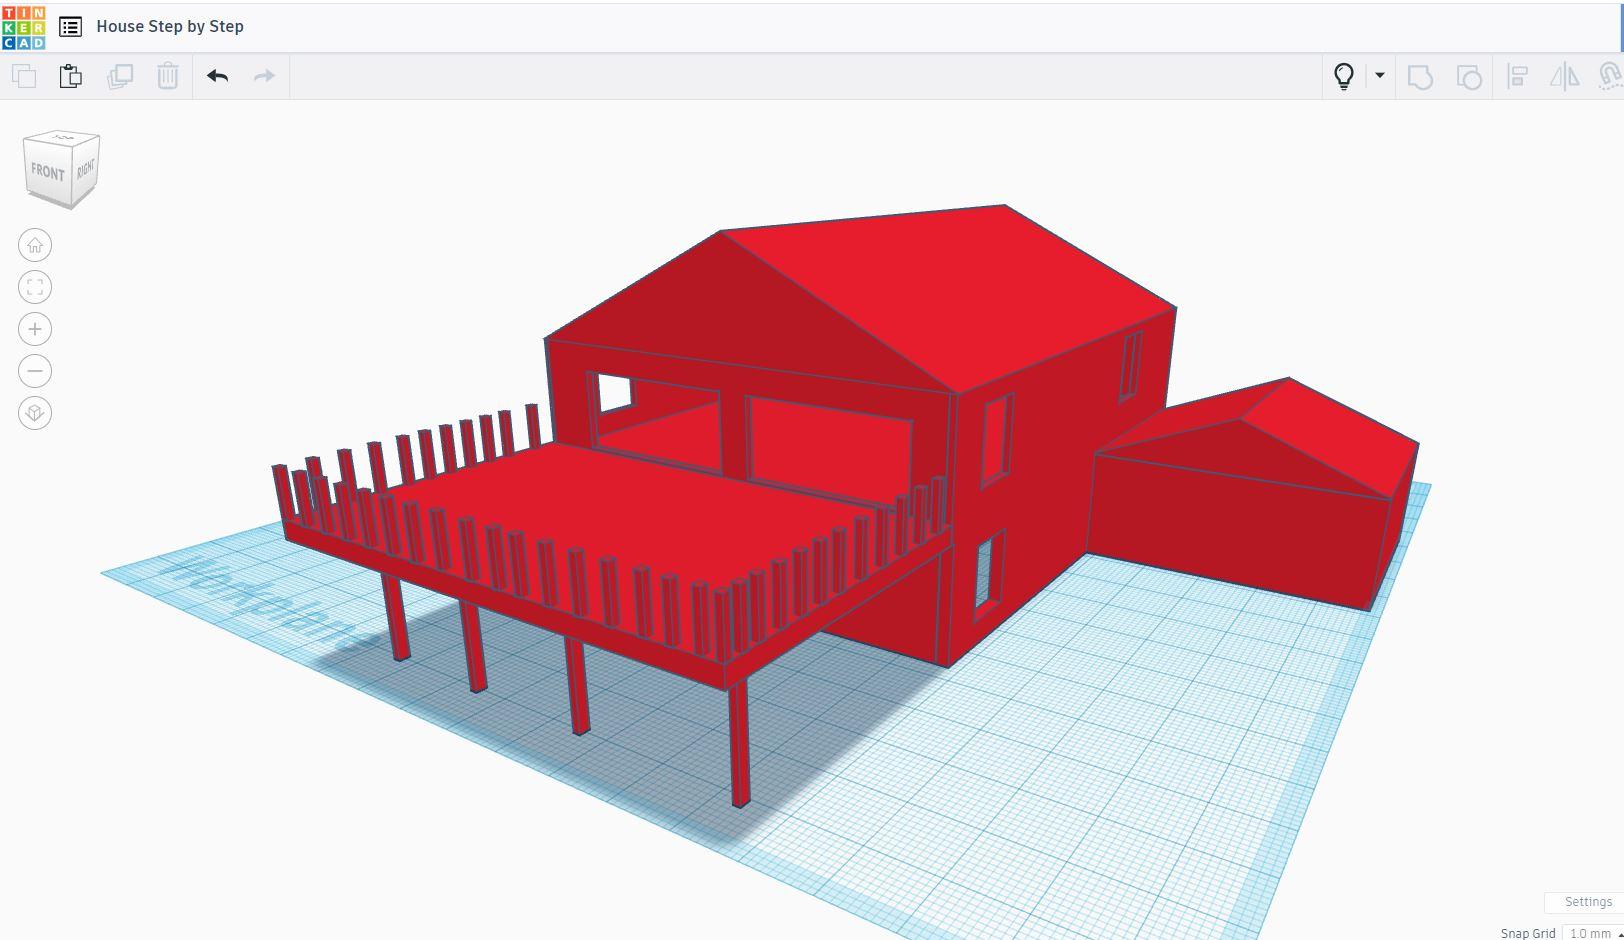
Put balusters around balcony floor to start a railing

finish the railing with a handrail
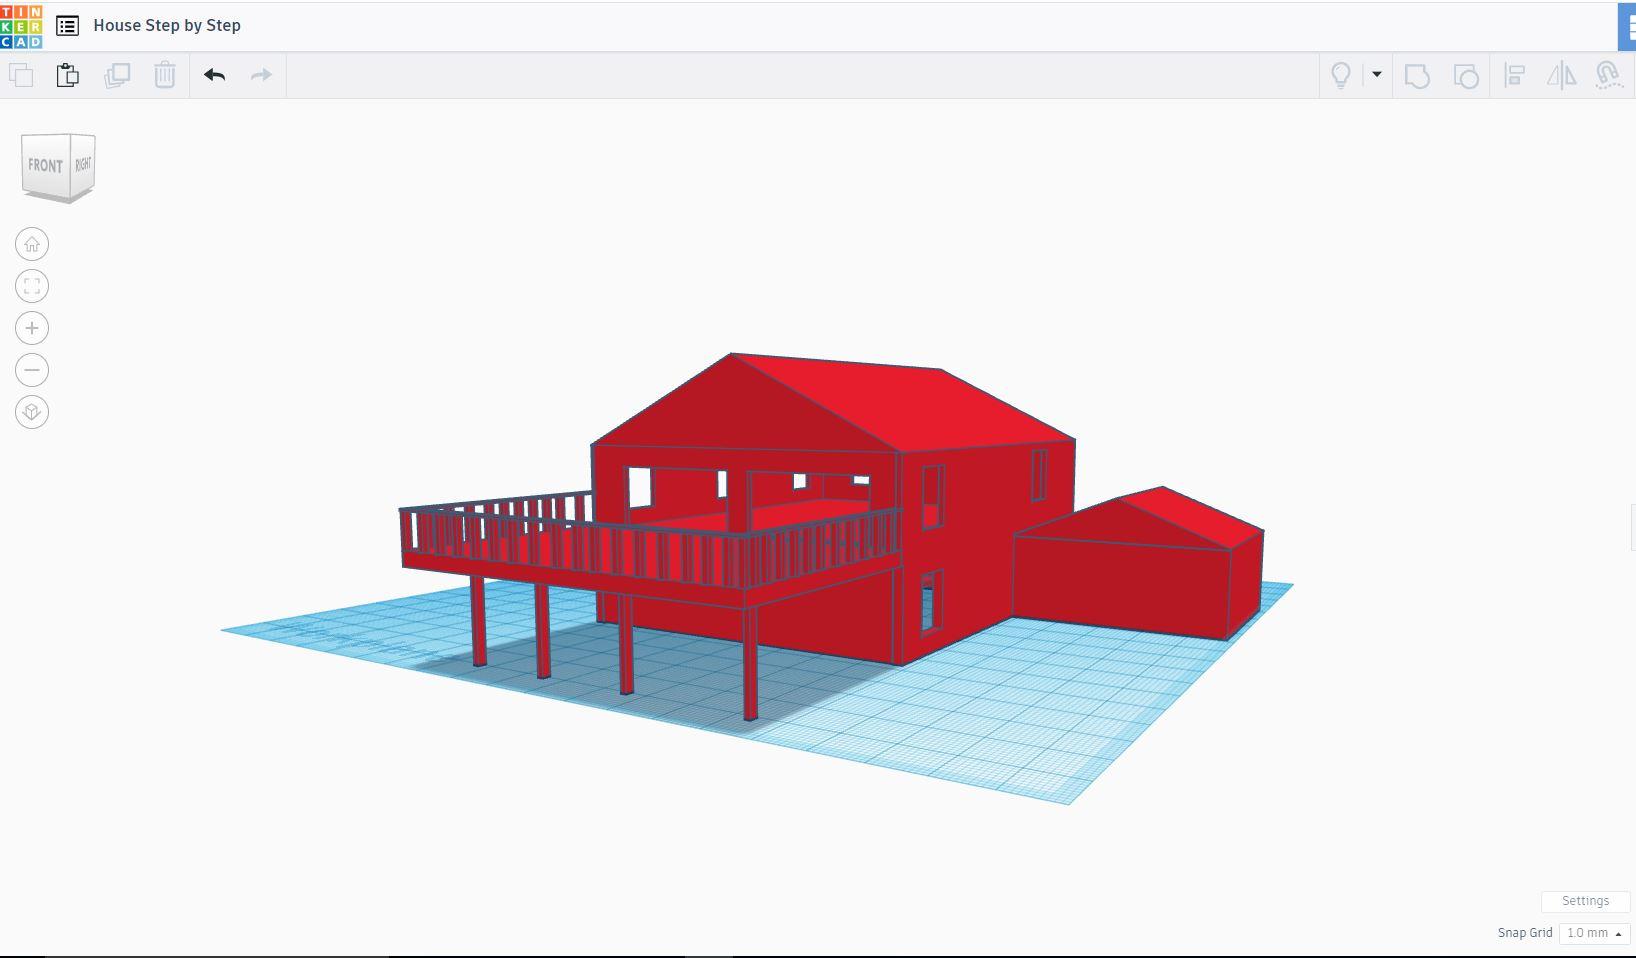
3D print
Download STL file and print with 3D printer
Place in support cleaning apparatus to remove white support material
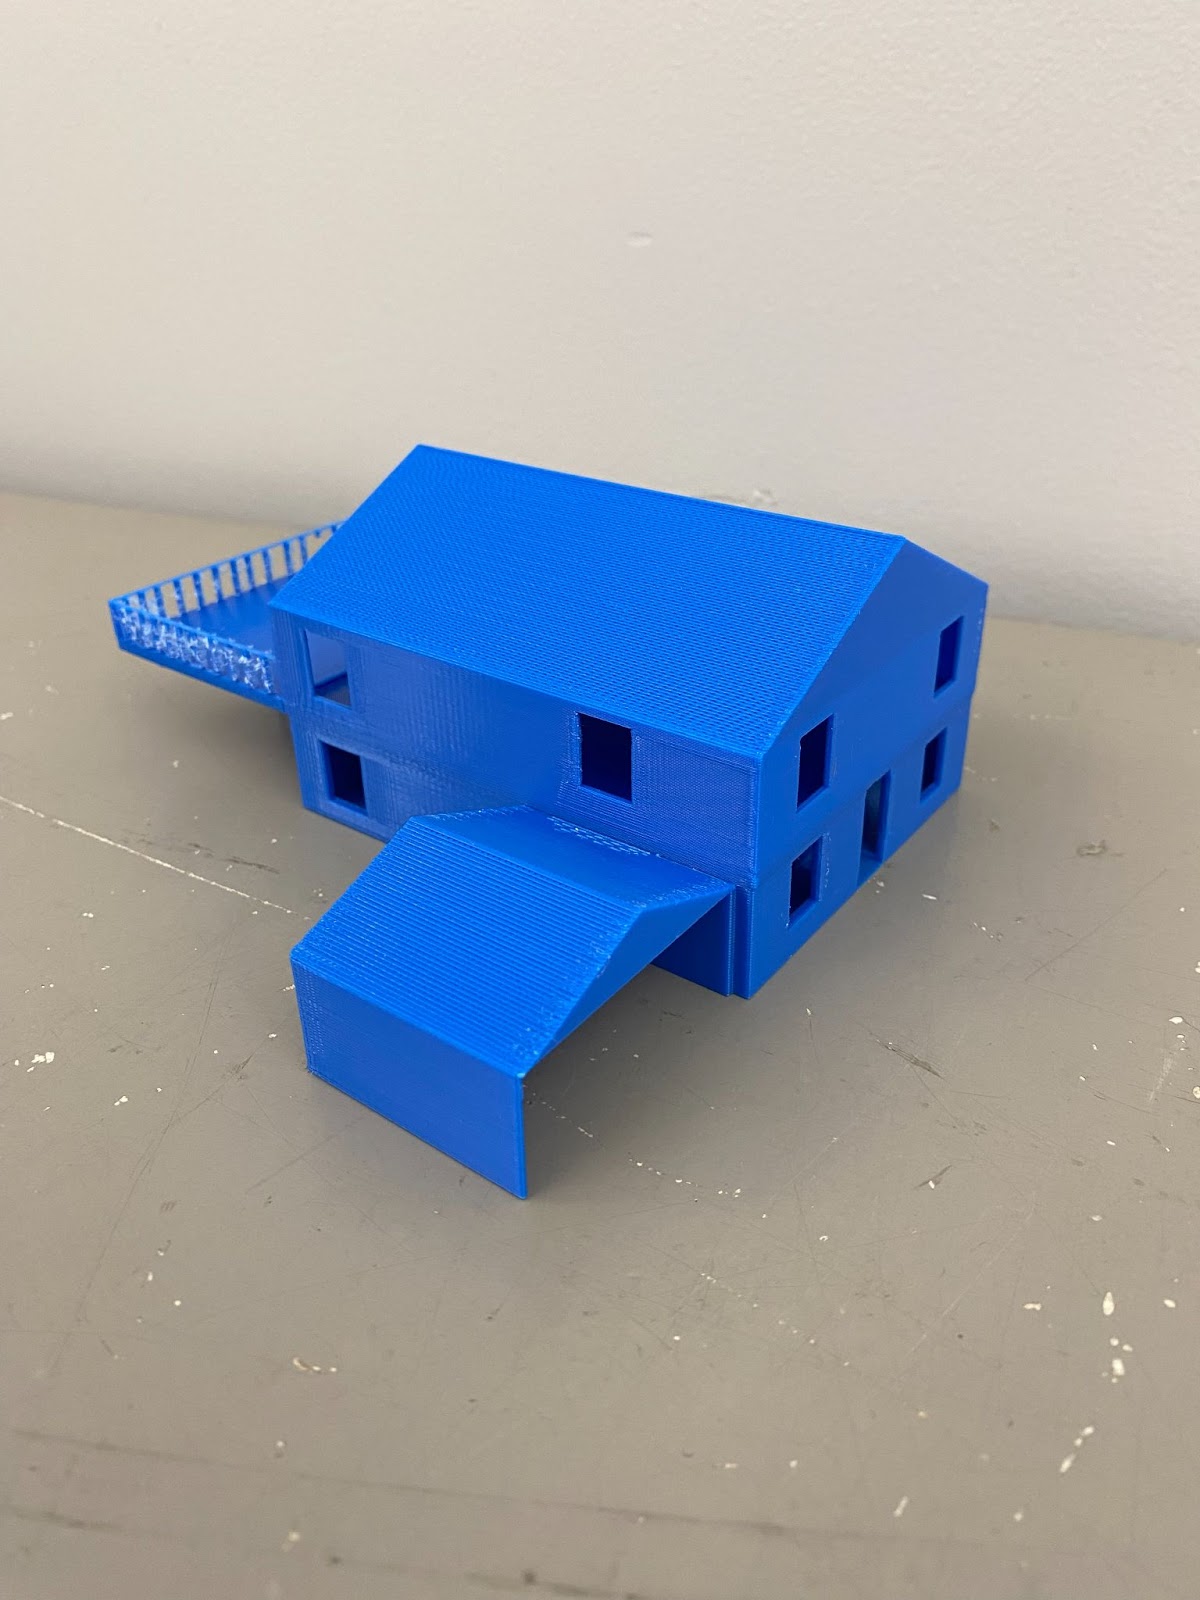
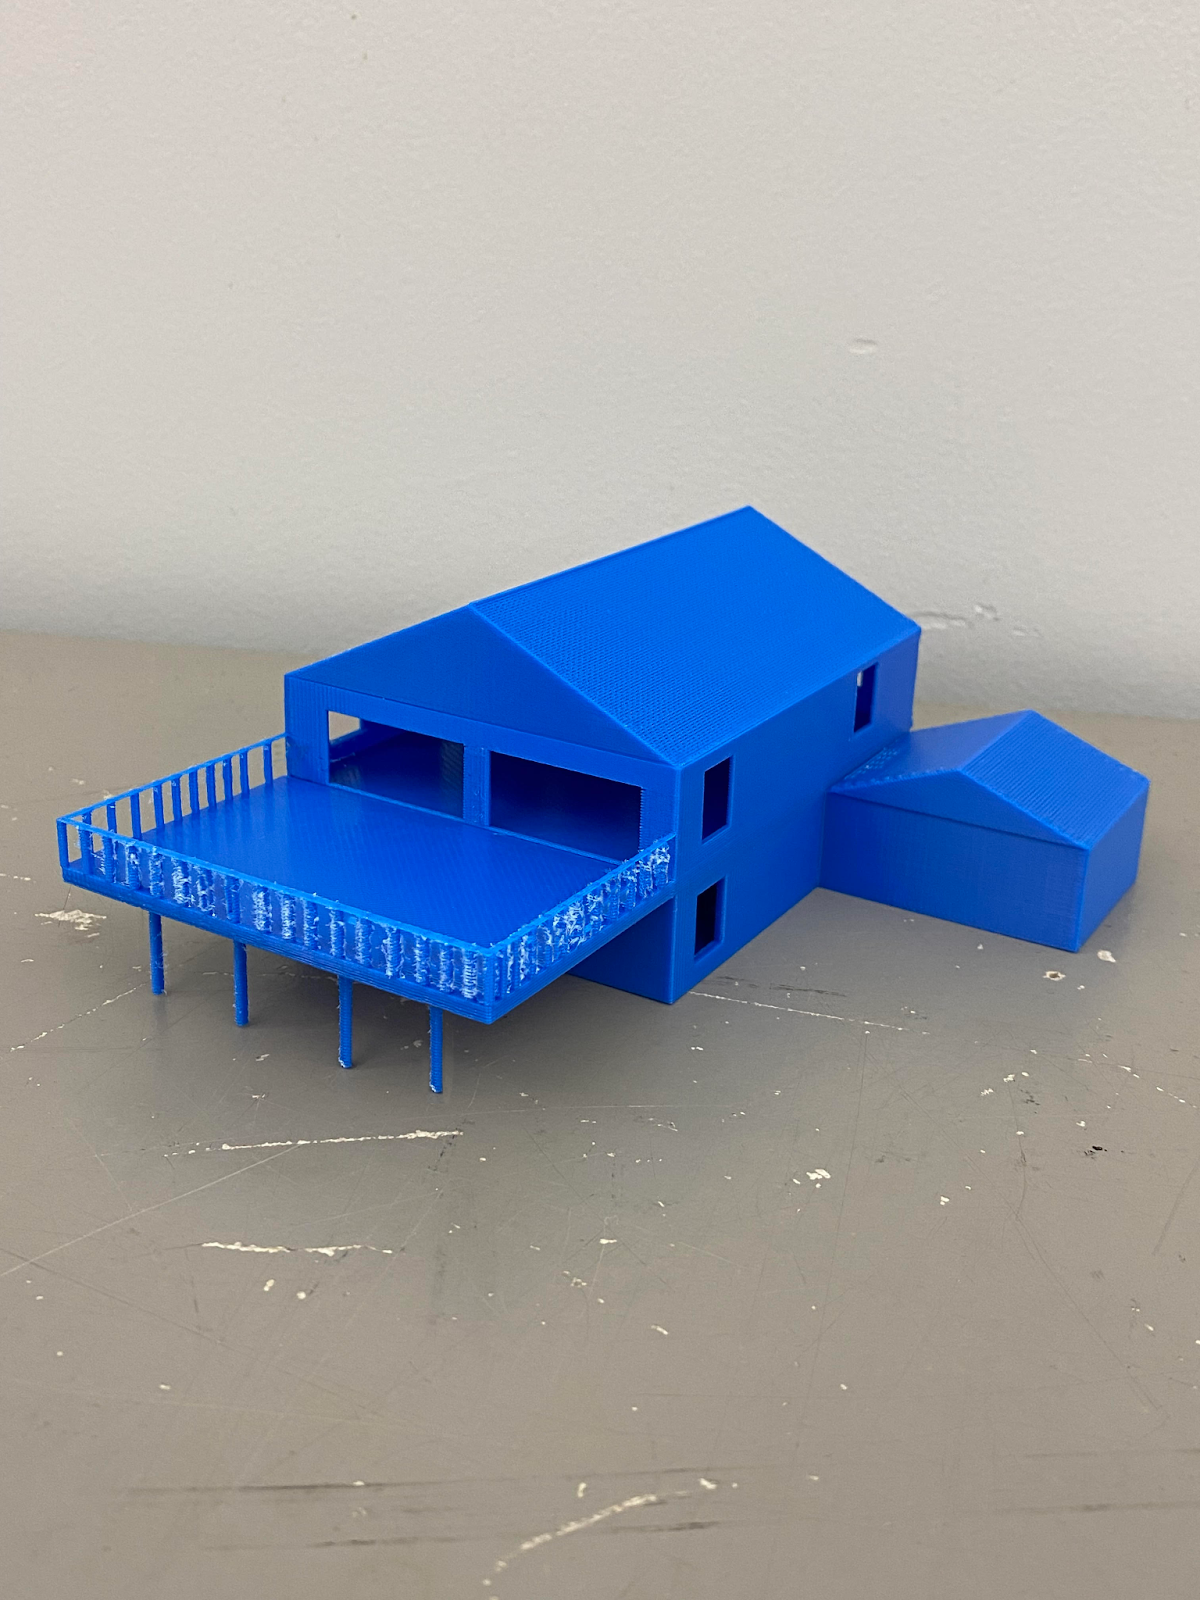
the finished product