House Walkthrough Tutorial
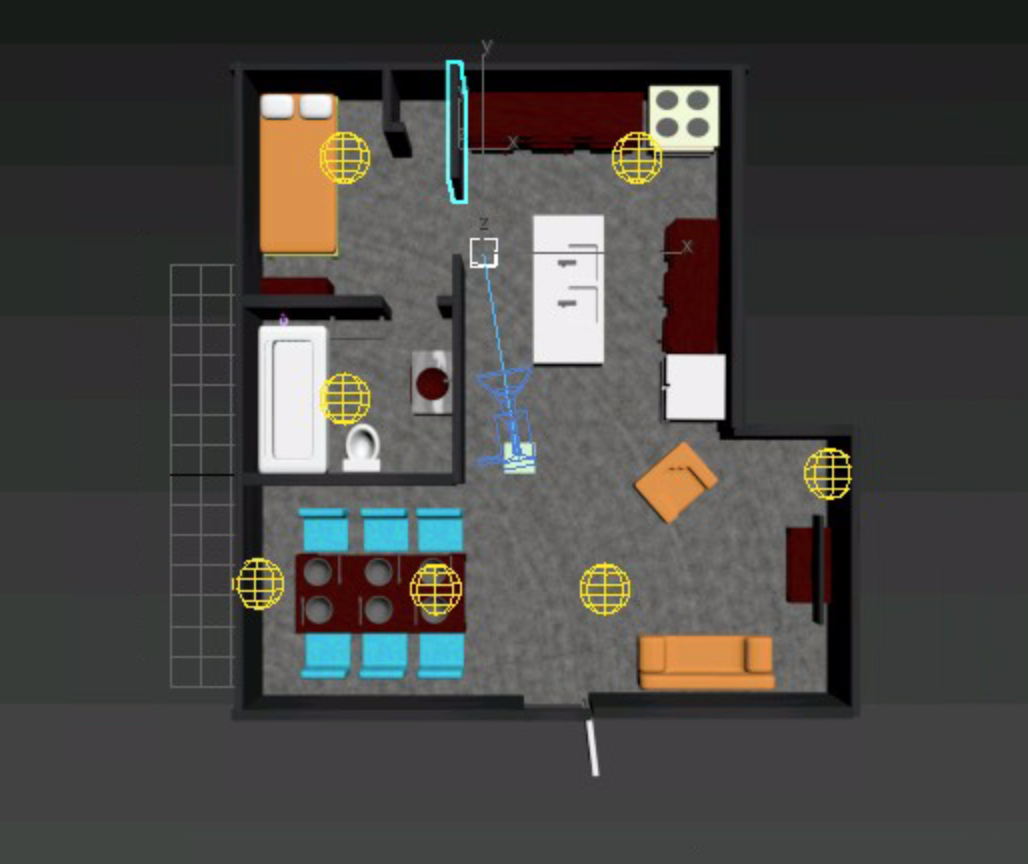
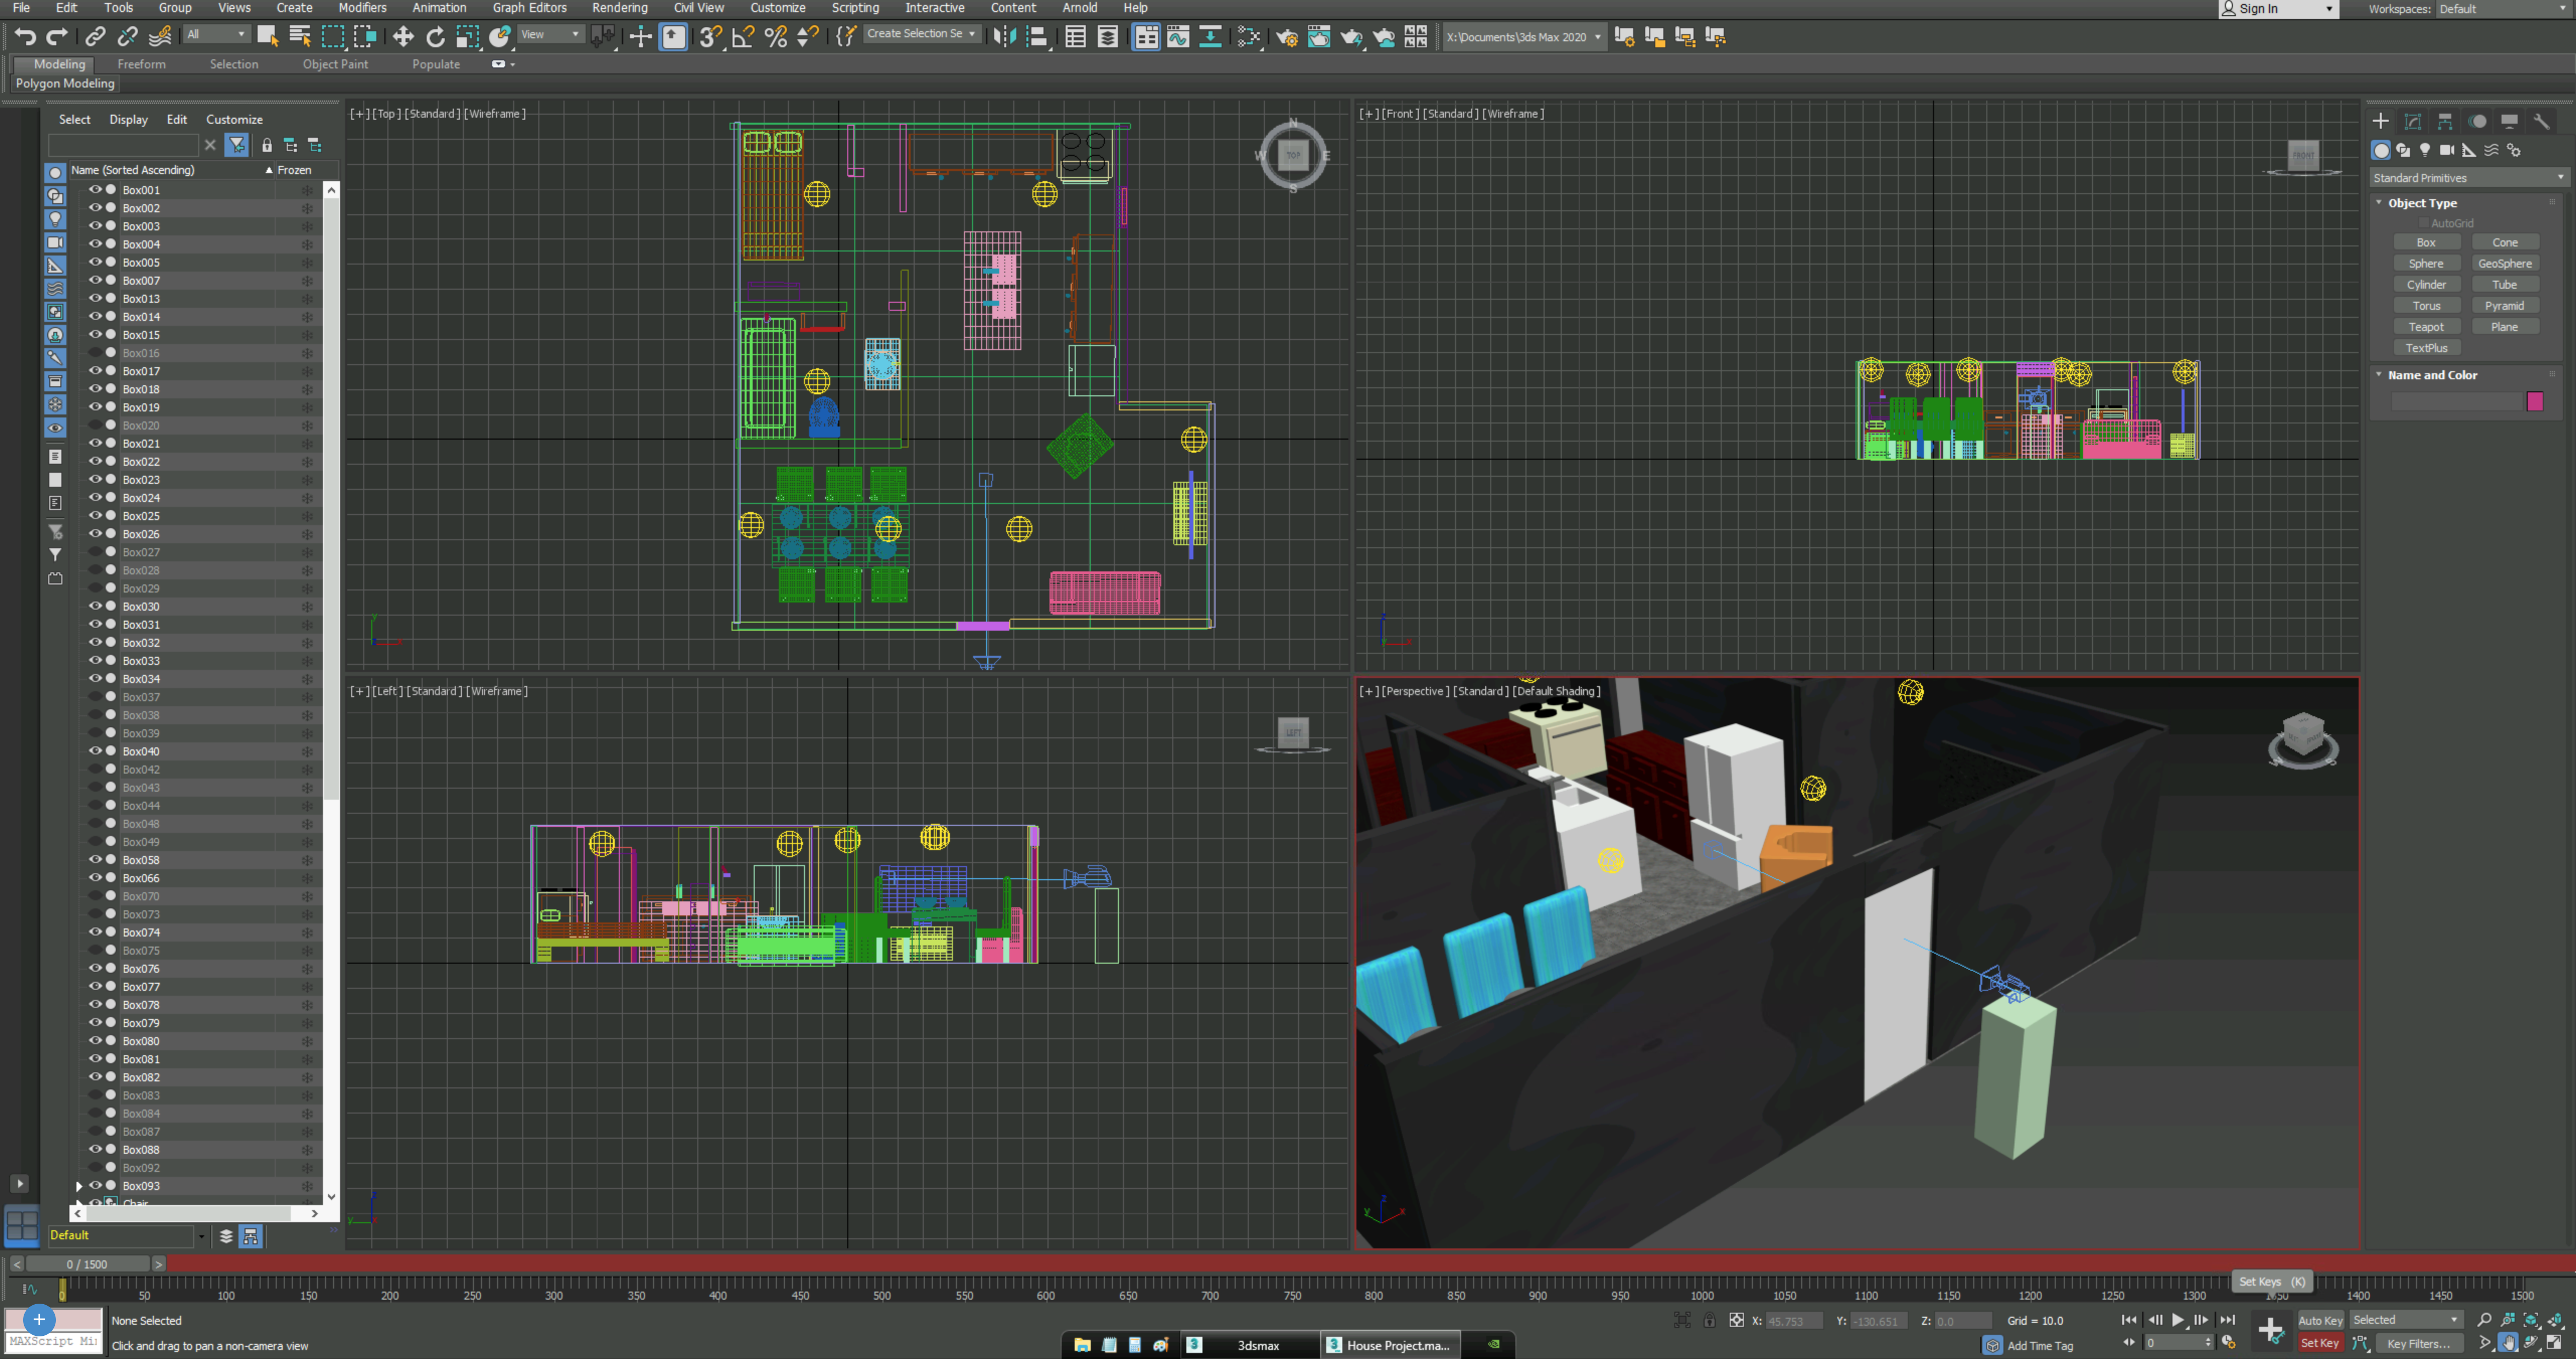
Hey Everyone! Today I'm going to show you how to create a 3D model of a house and how to animate a walkthrough of that house. At the end of this tutorial you should be able to sucessfully design and model a 1 story house floorpan as seen in the example picture here.
Supplies
3Ds Max Program
Designing the Floorplan and Walls
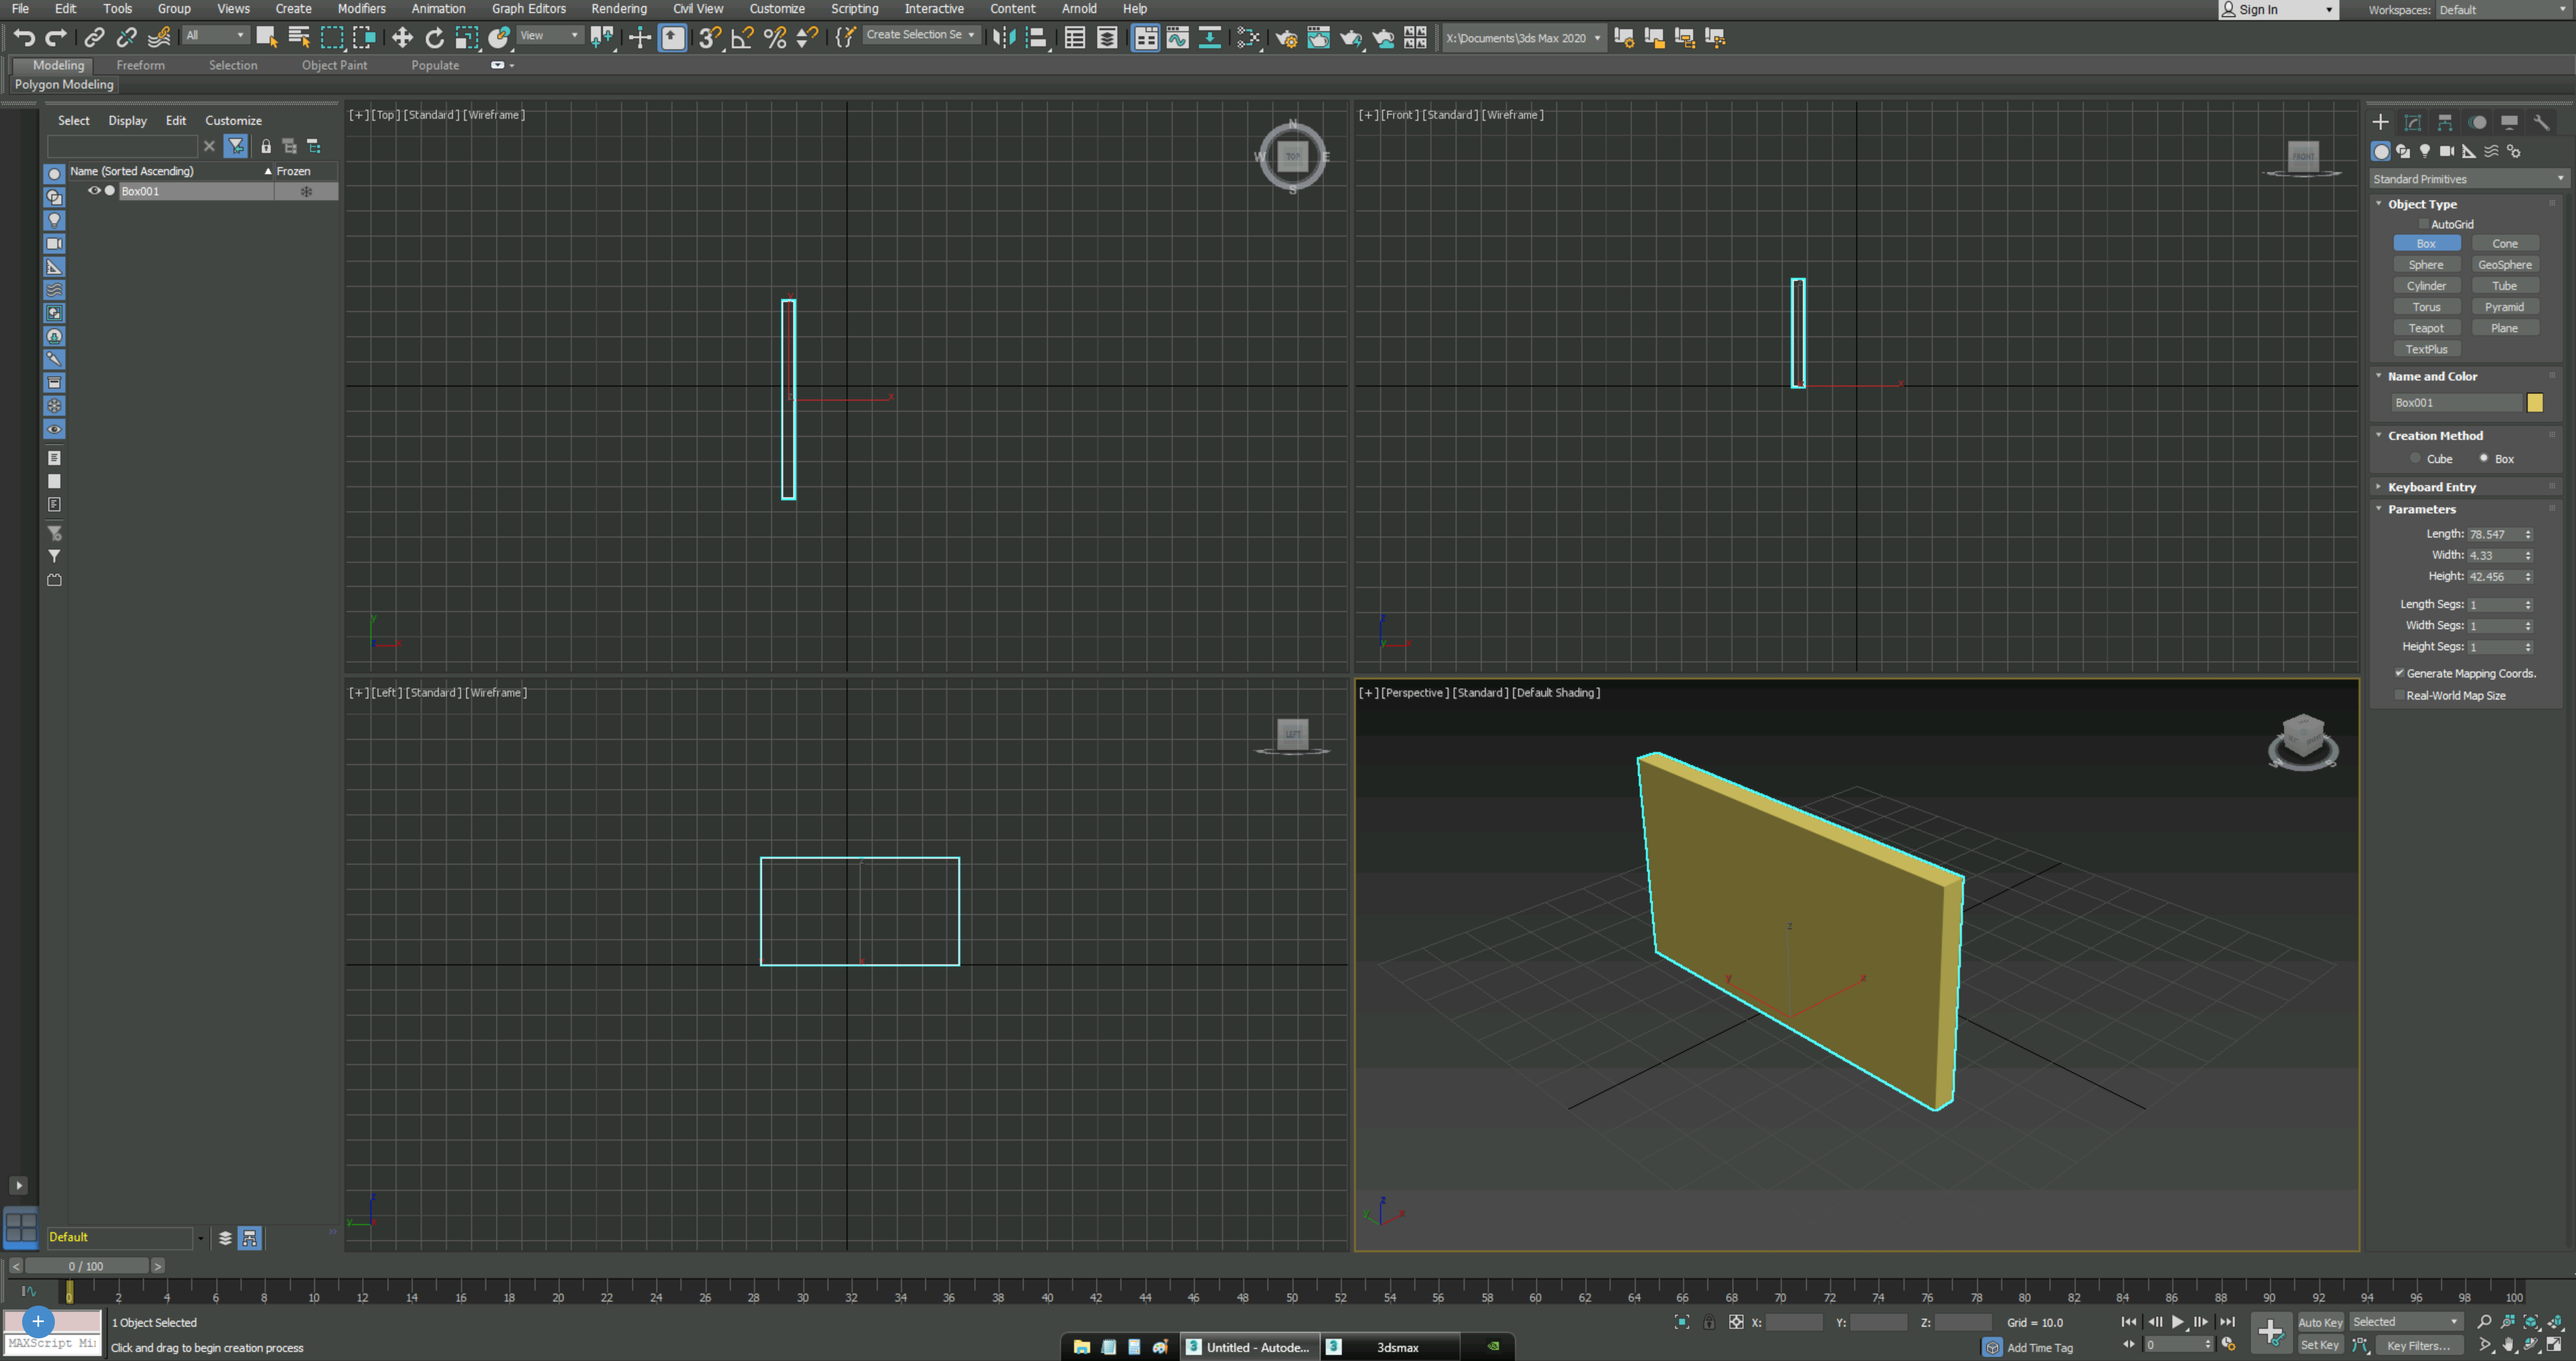
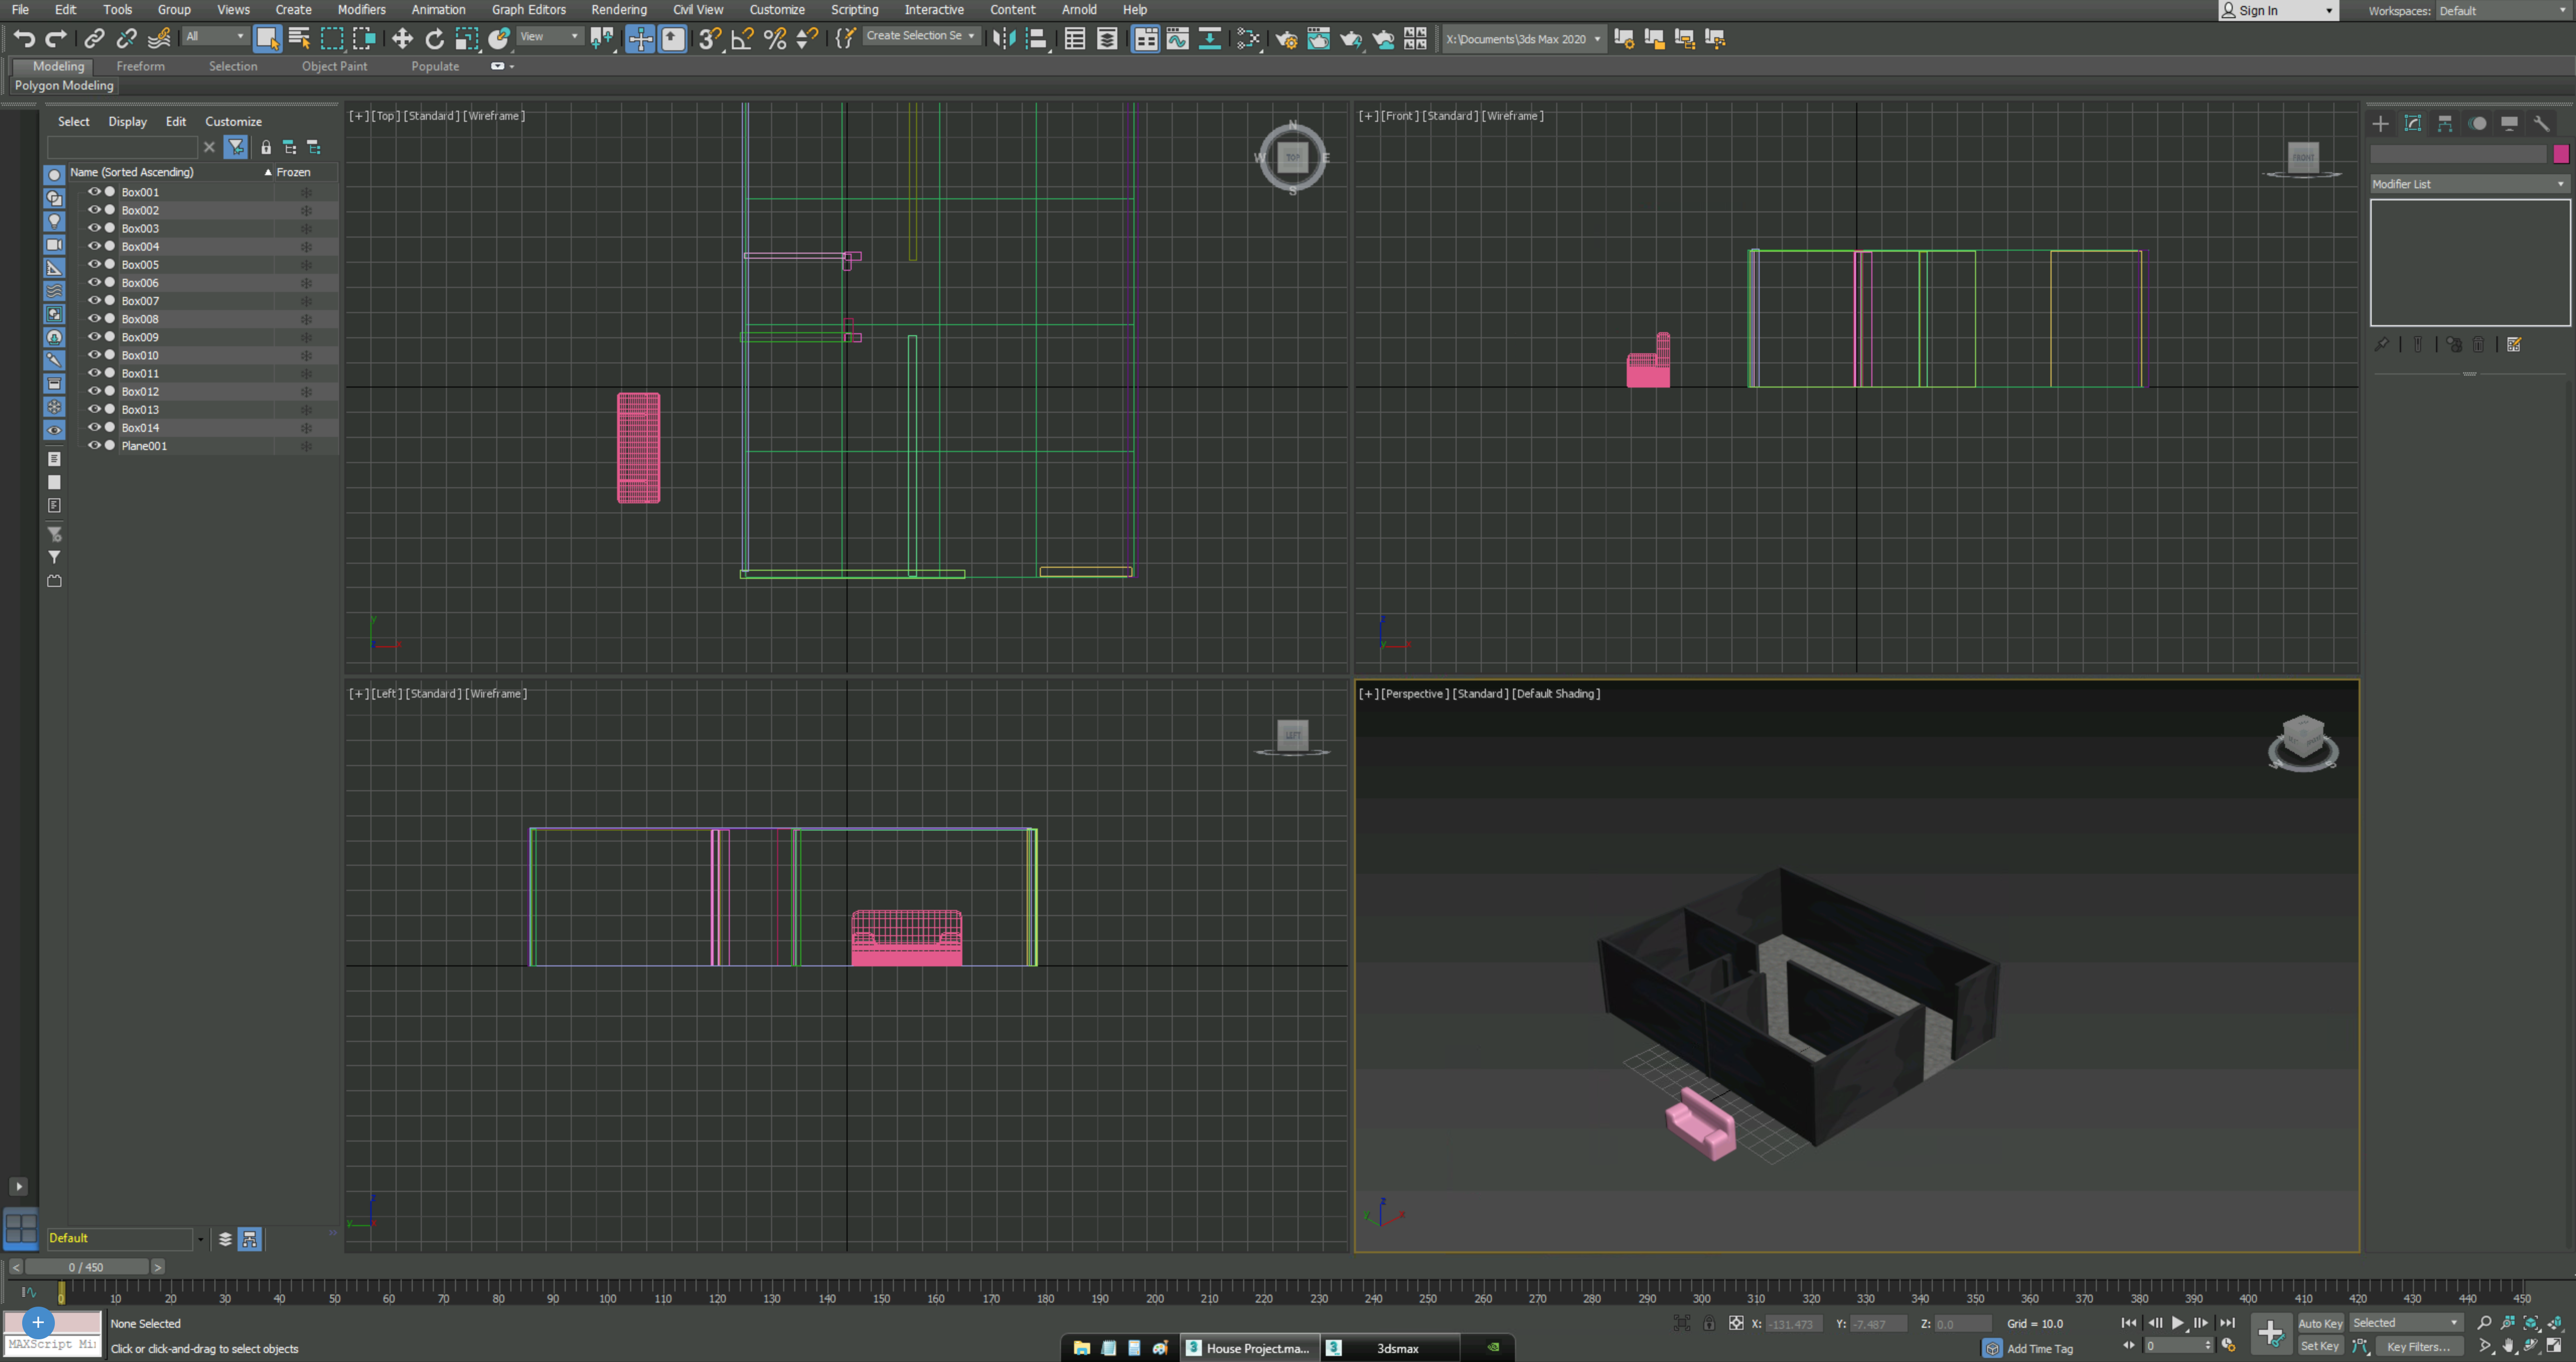
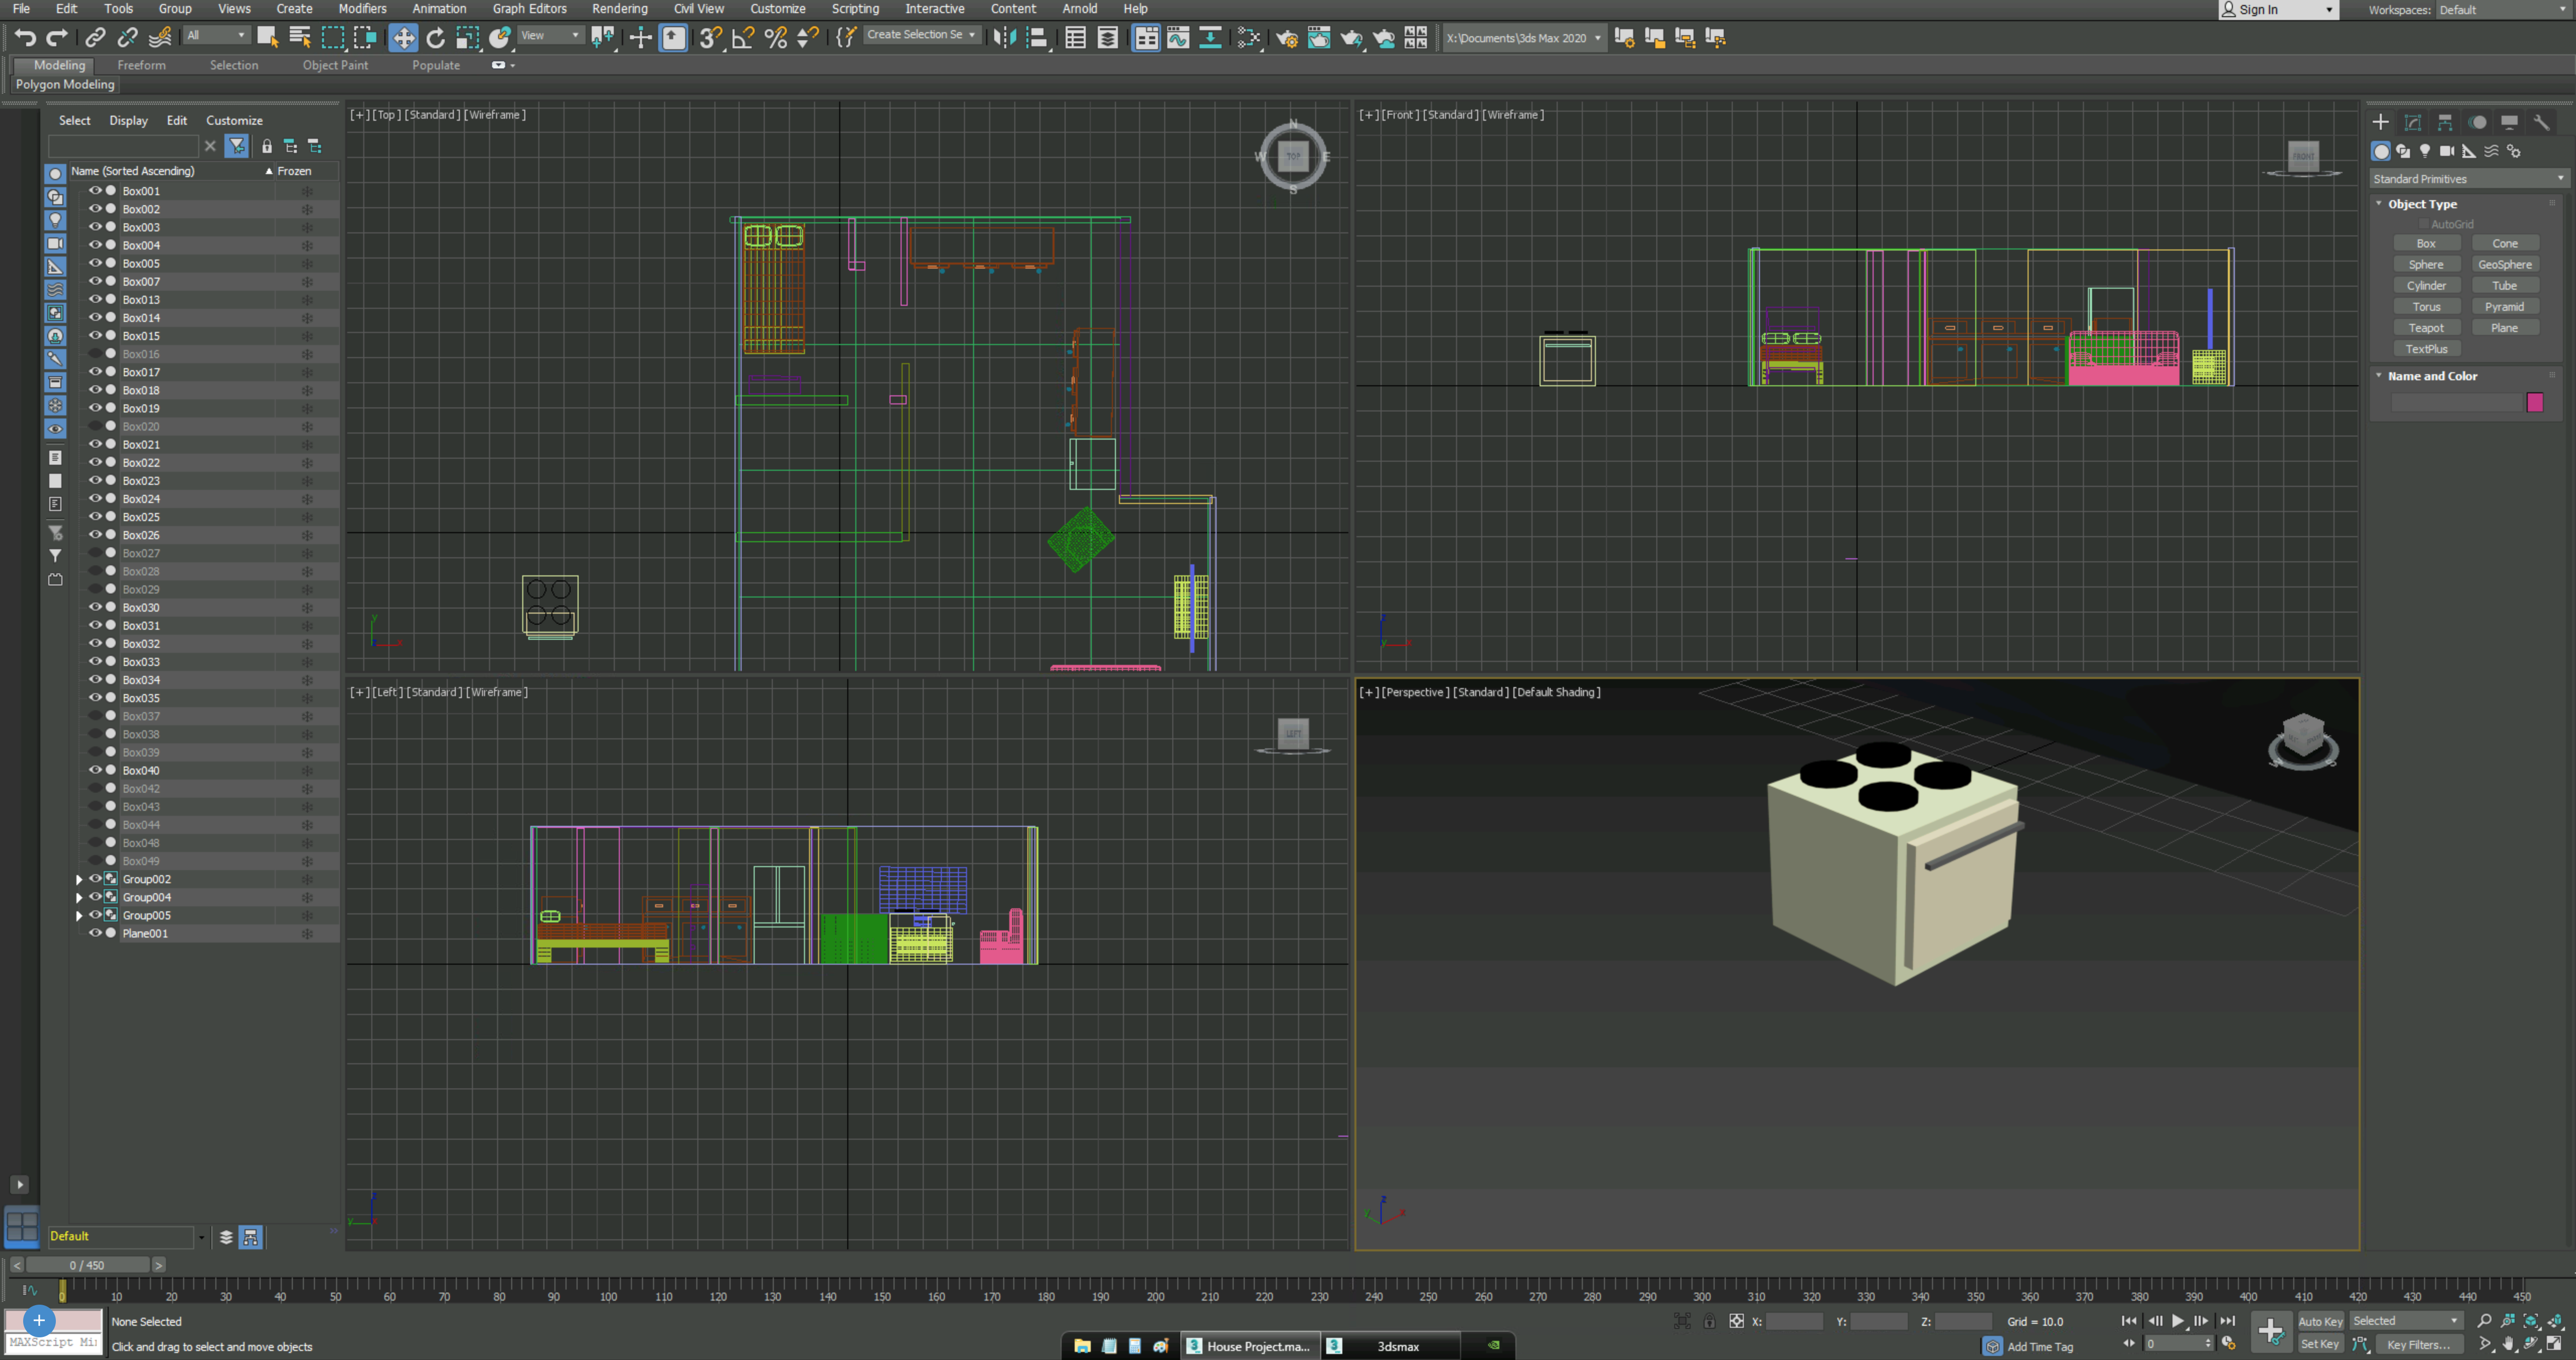
For this first step you are going to want to start off by creating simple box shapes as seen in the first picture. Don't worry about the color of these objects yet, we can fix that later. For now all you want to do is figure out what type of layout you want your house to have, and then place your walls. When placing a floor, you can simply use a plane shape. If you don't want to just have a box house like in the example, you can you Boolean and subtract to shape your plane all you want.
Creating the Furniture and Household Objects
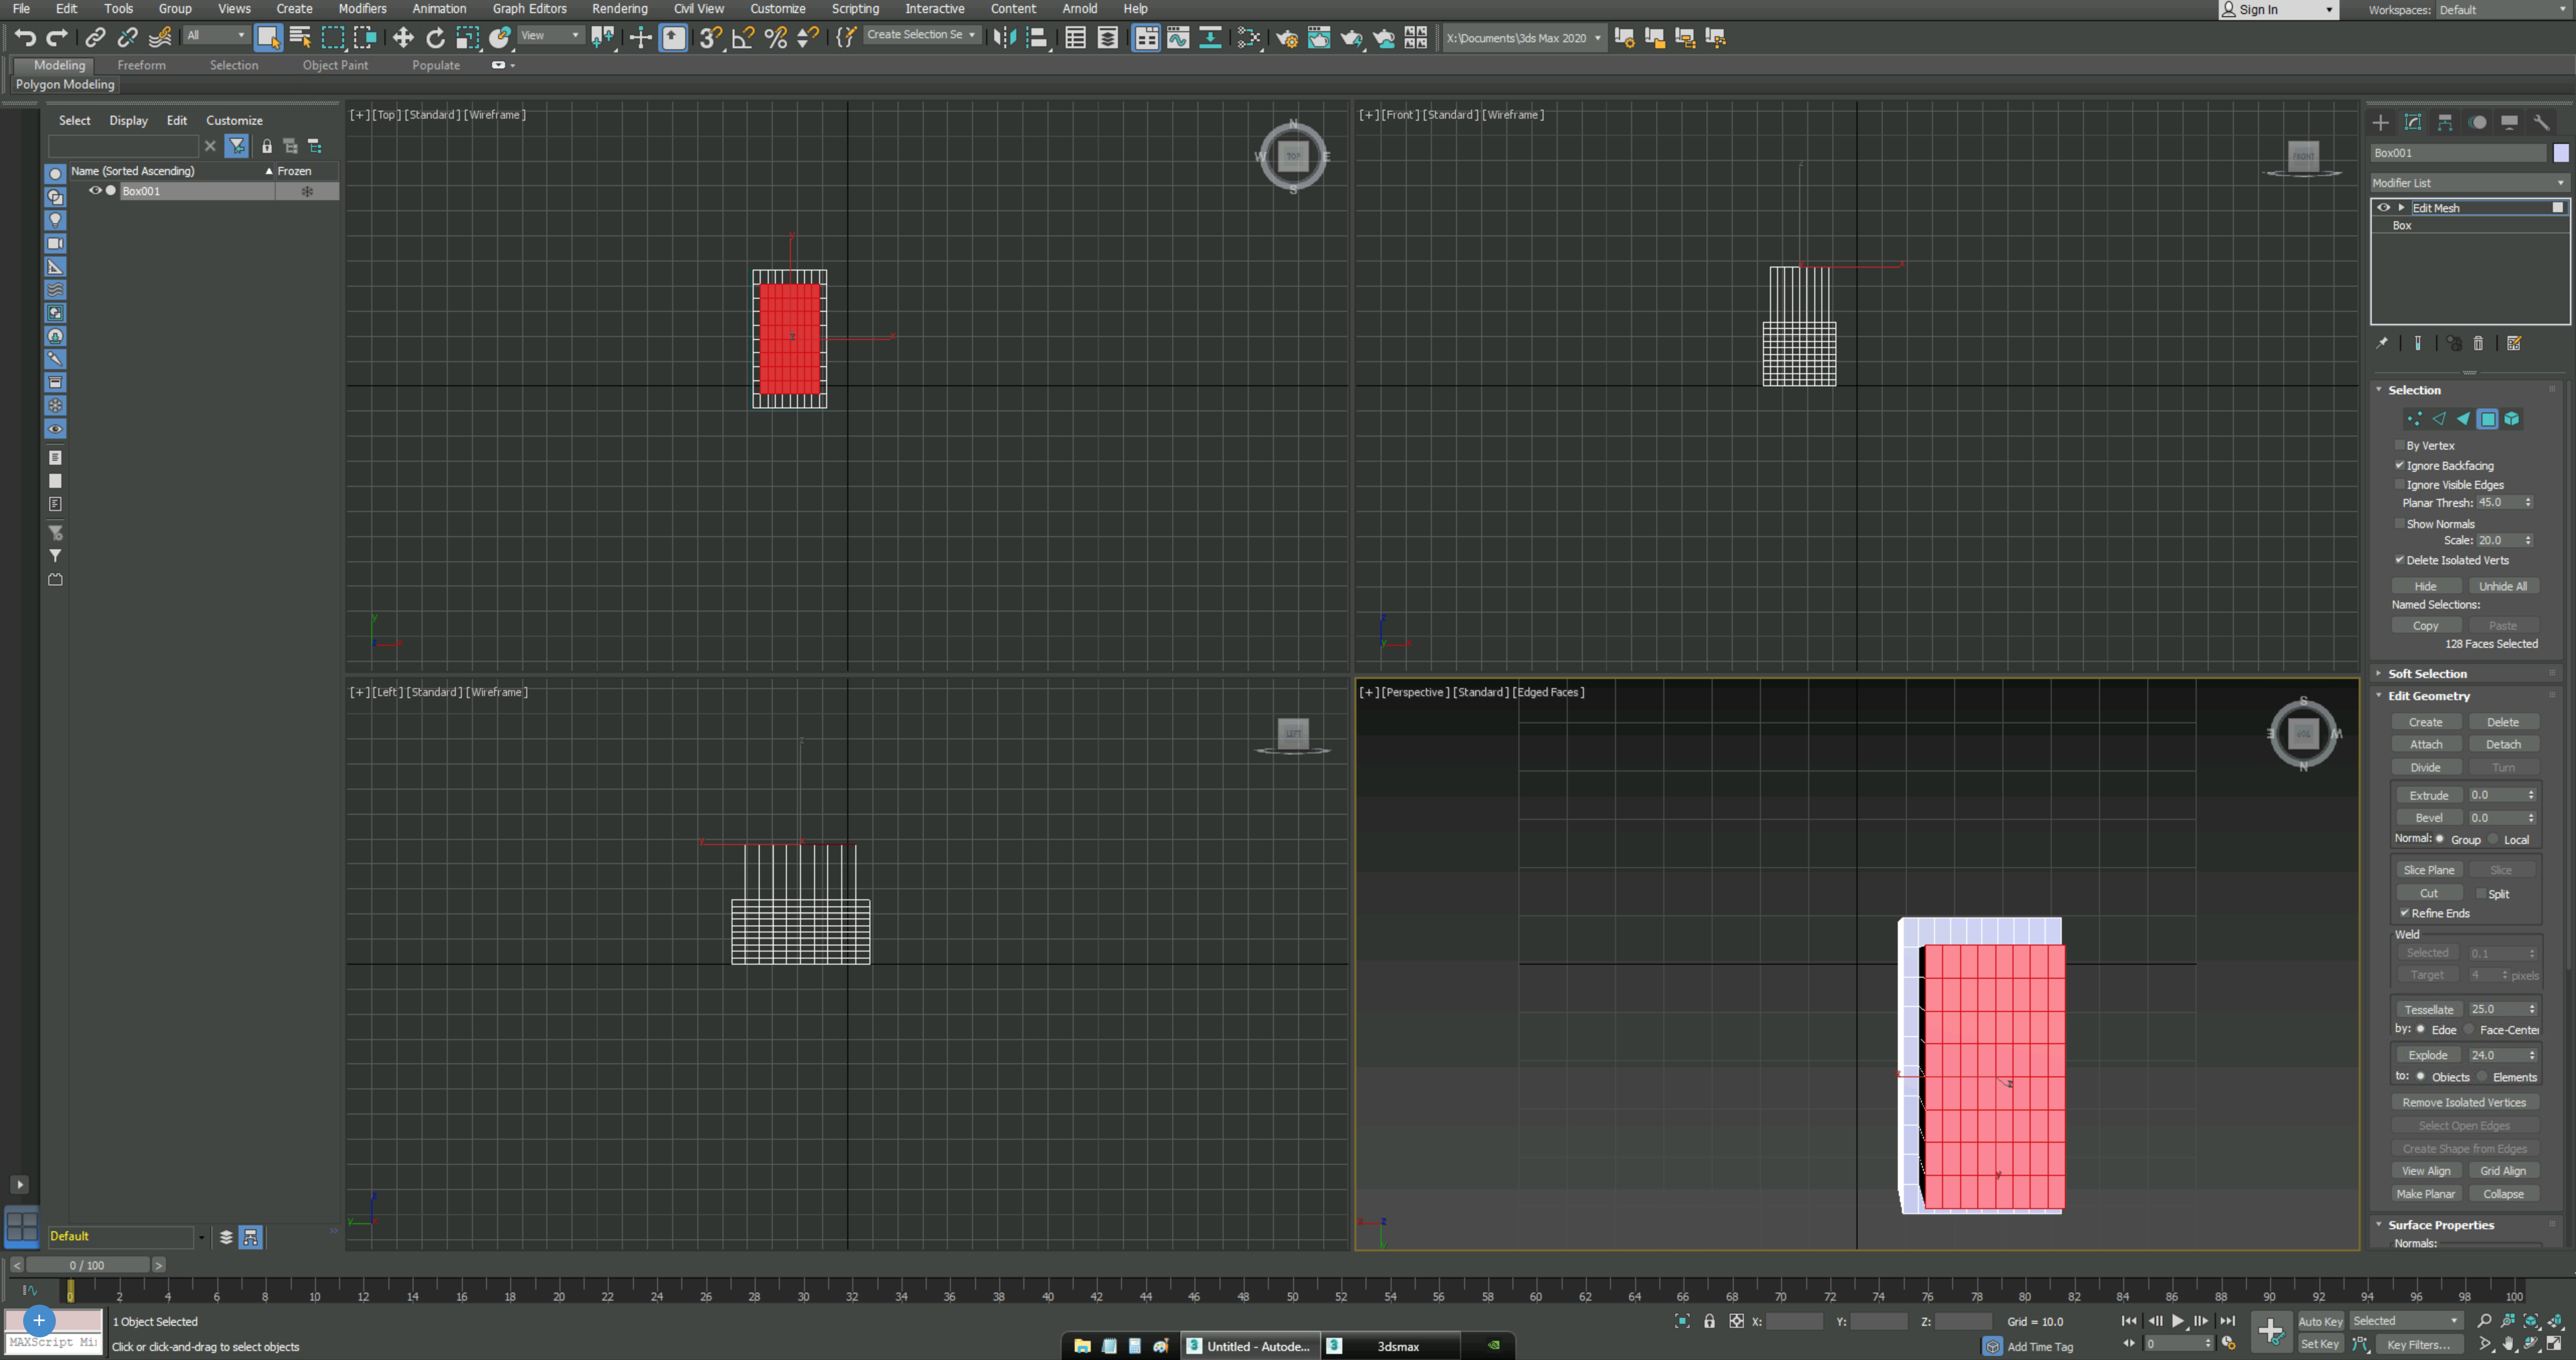
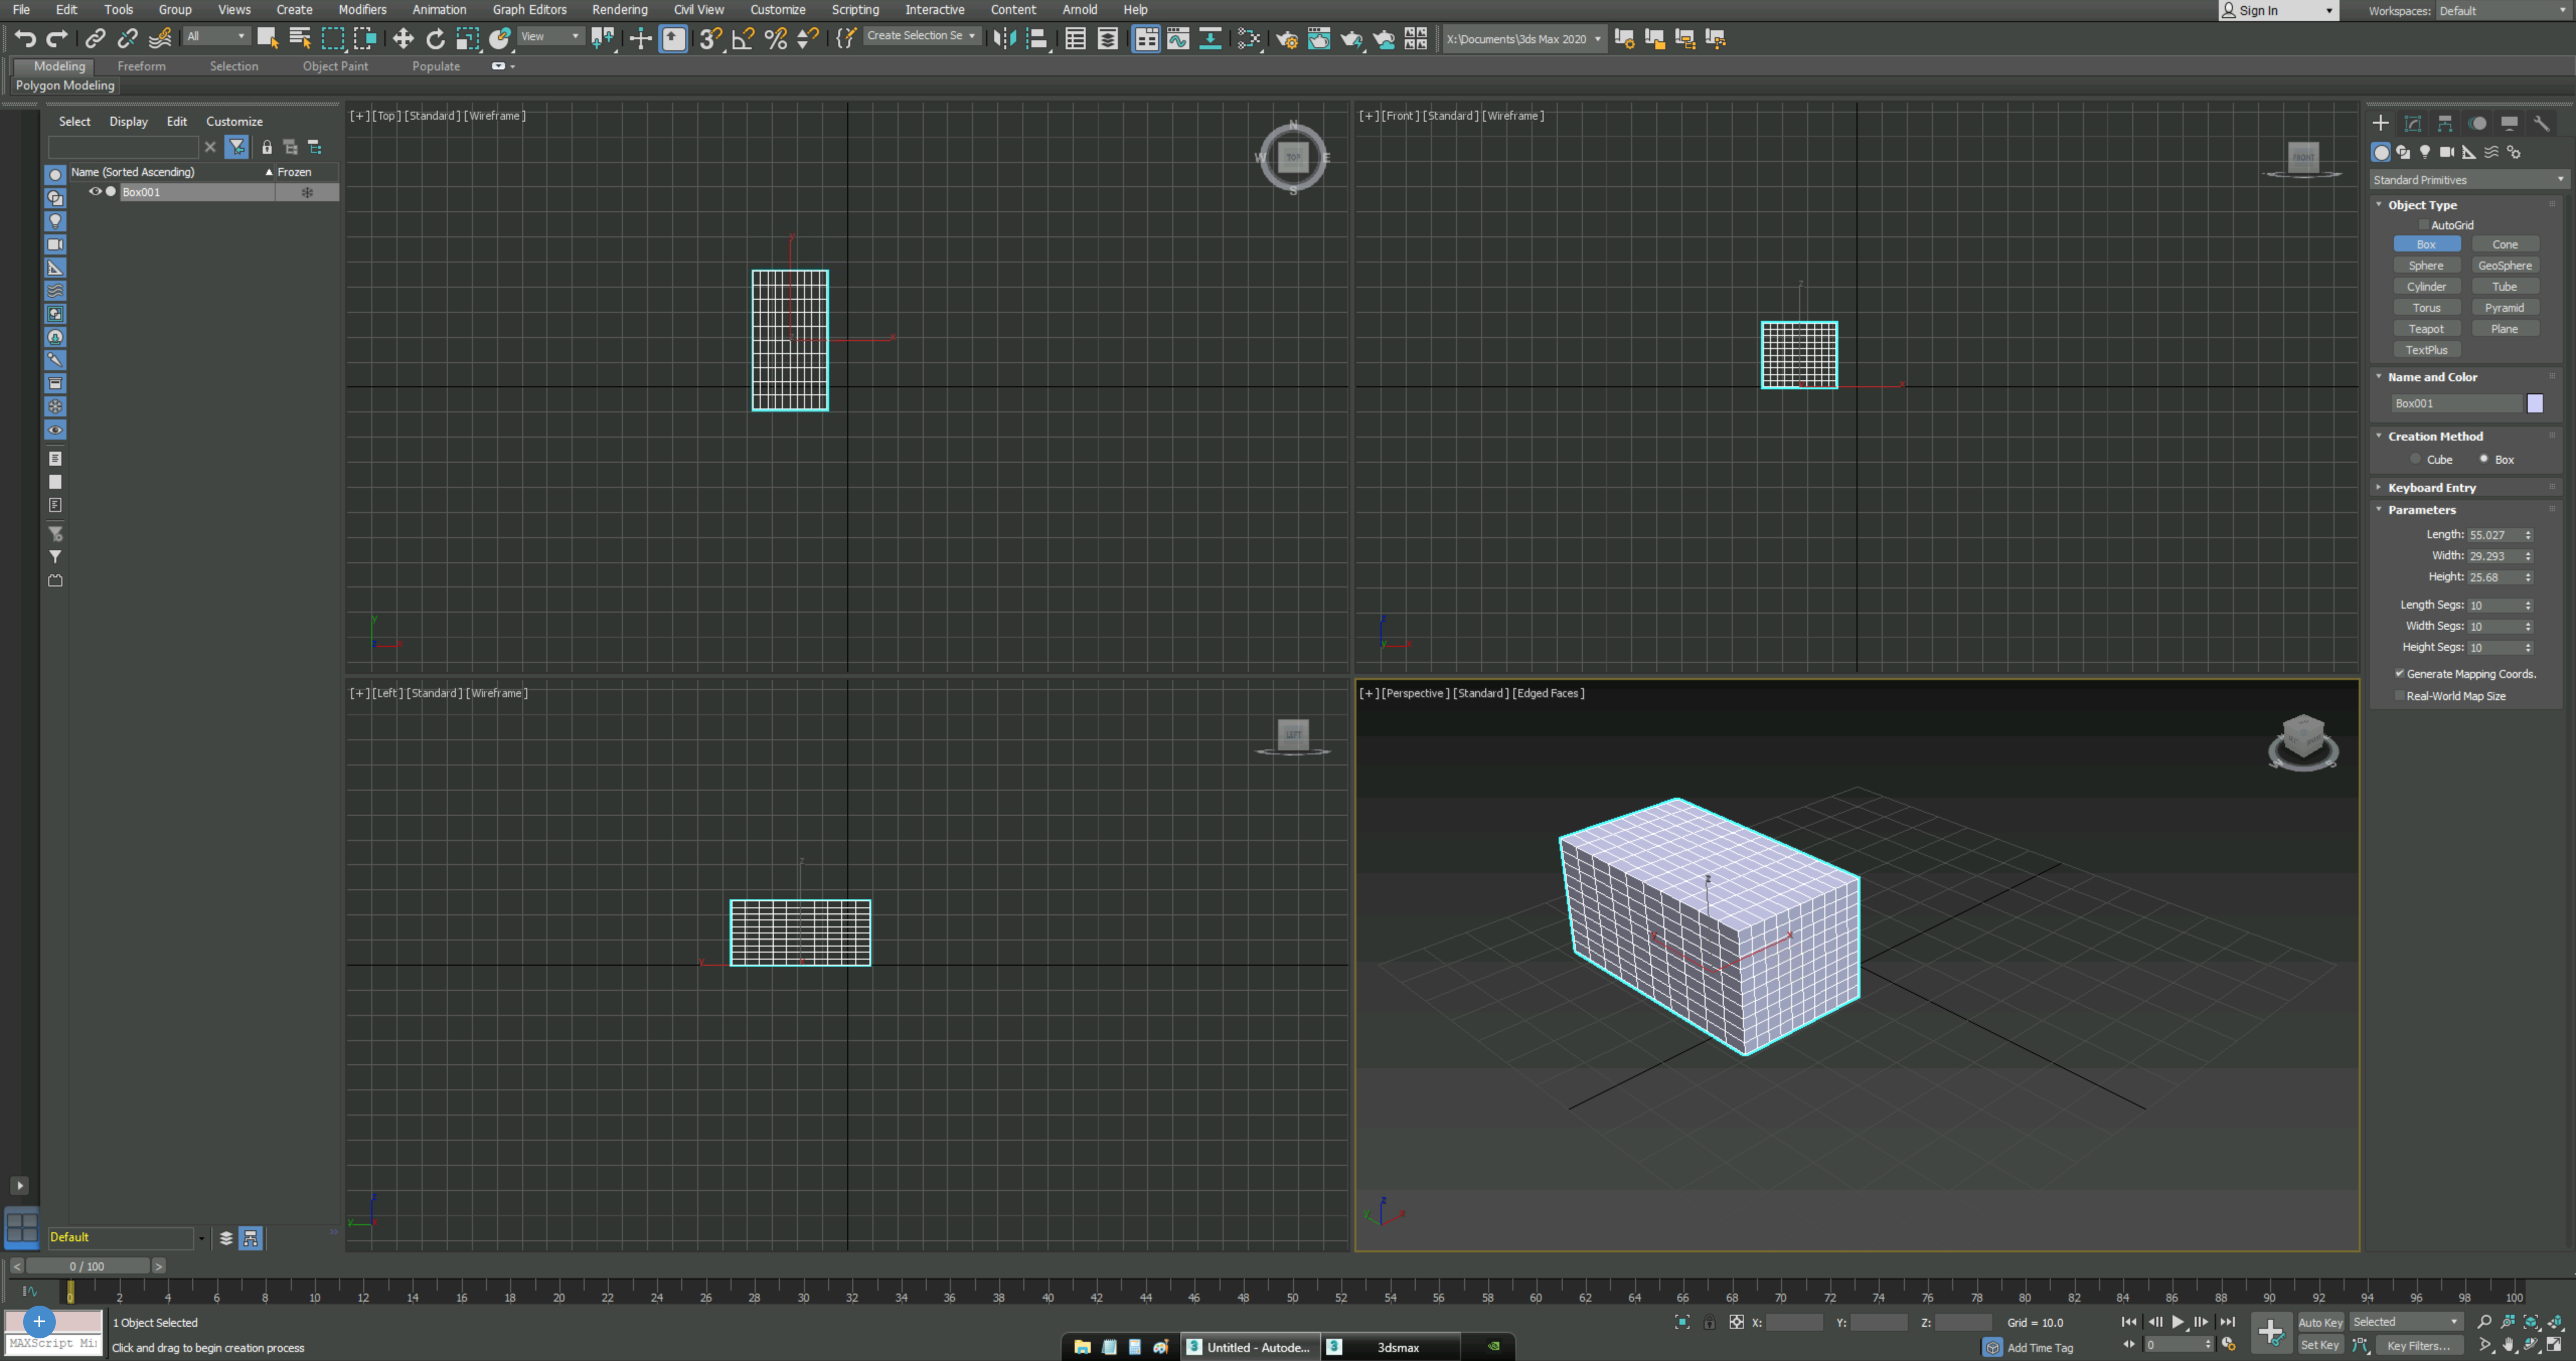
After you finish designing your intial floorplan, its time to start thinking about how you're going to decorate the house. You can start off with whatever room you want, but I find it easier starting with one and going room by room. As seen in the example, for most objects in your house you won't be able to just place a singular shape like a box or a sphere. In the couch example, you can see that I have made arm rests and a back, and the couch is smooth unlike a normal shape. To acheive this, all you have to do is create a box shape with peferebly 10 units on each side. Then, head over to the modifyer list and select edit mesh. Use faces as your way of selecting then select the units you want to move. Once selected, head on down to the extrude button and bam, you got a couch. To make it look smooth like the example, in the modifyer list find "MeshSmooth". After that create the rest of the objects for the house.
Arranging Your Objects
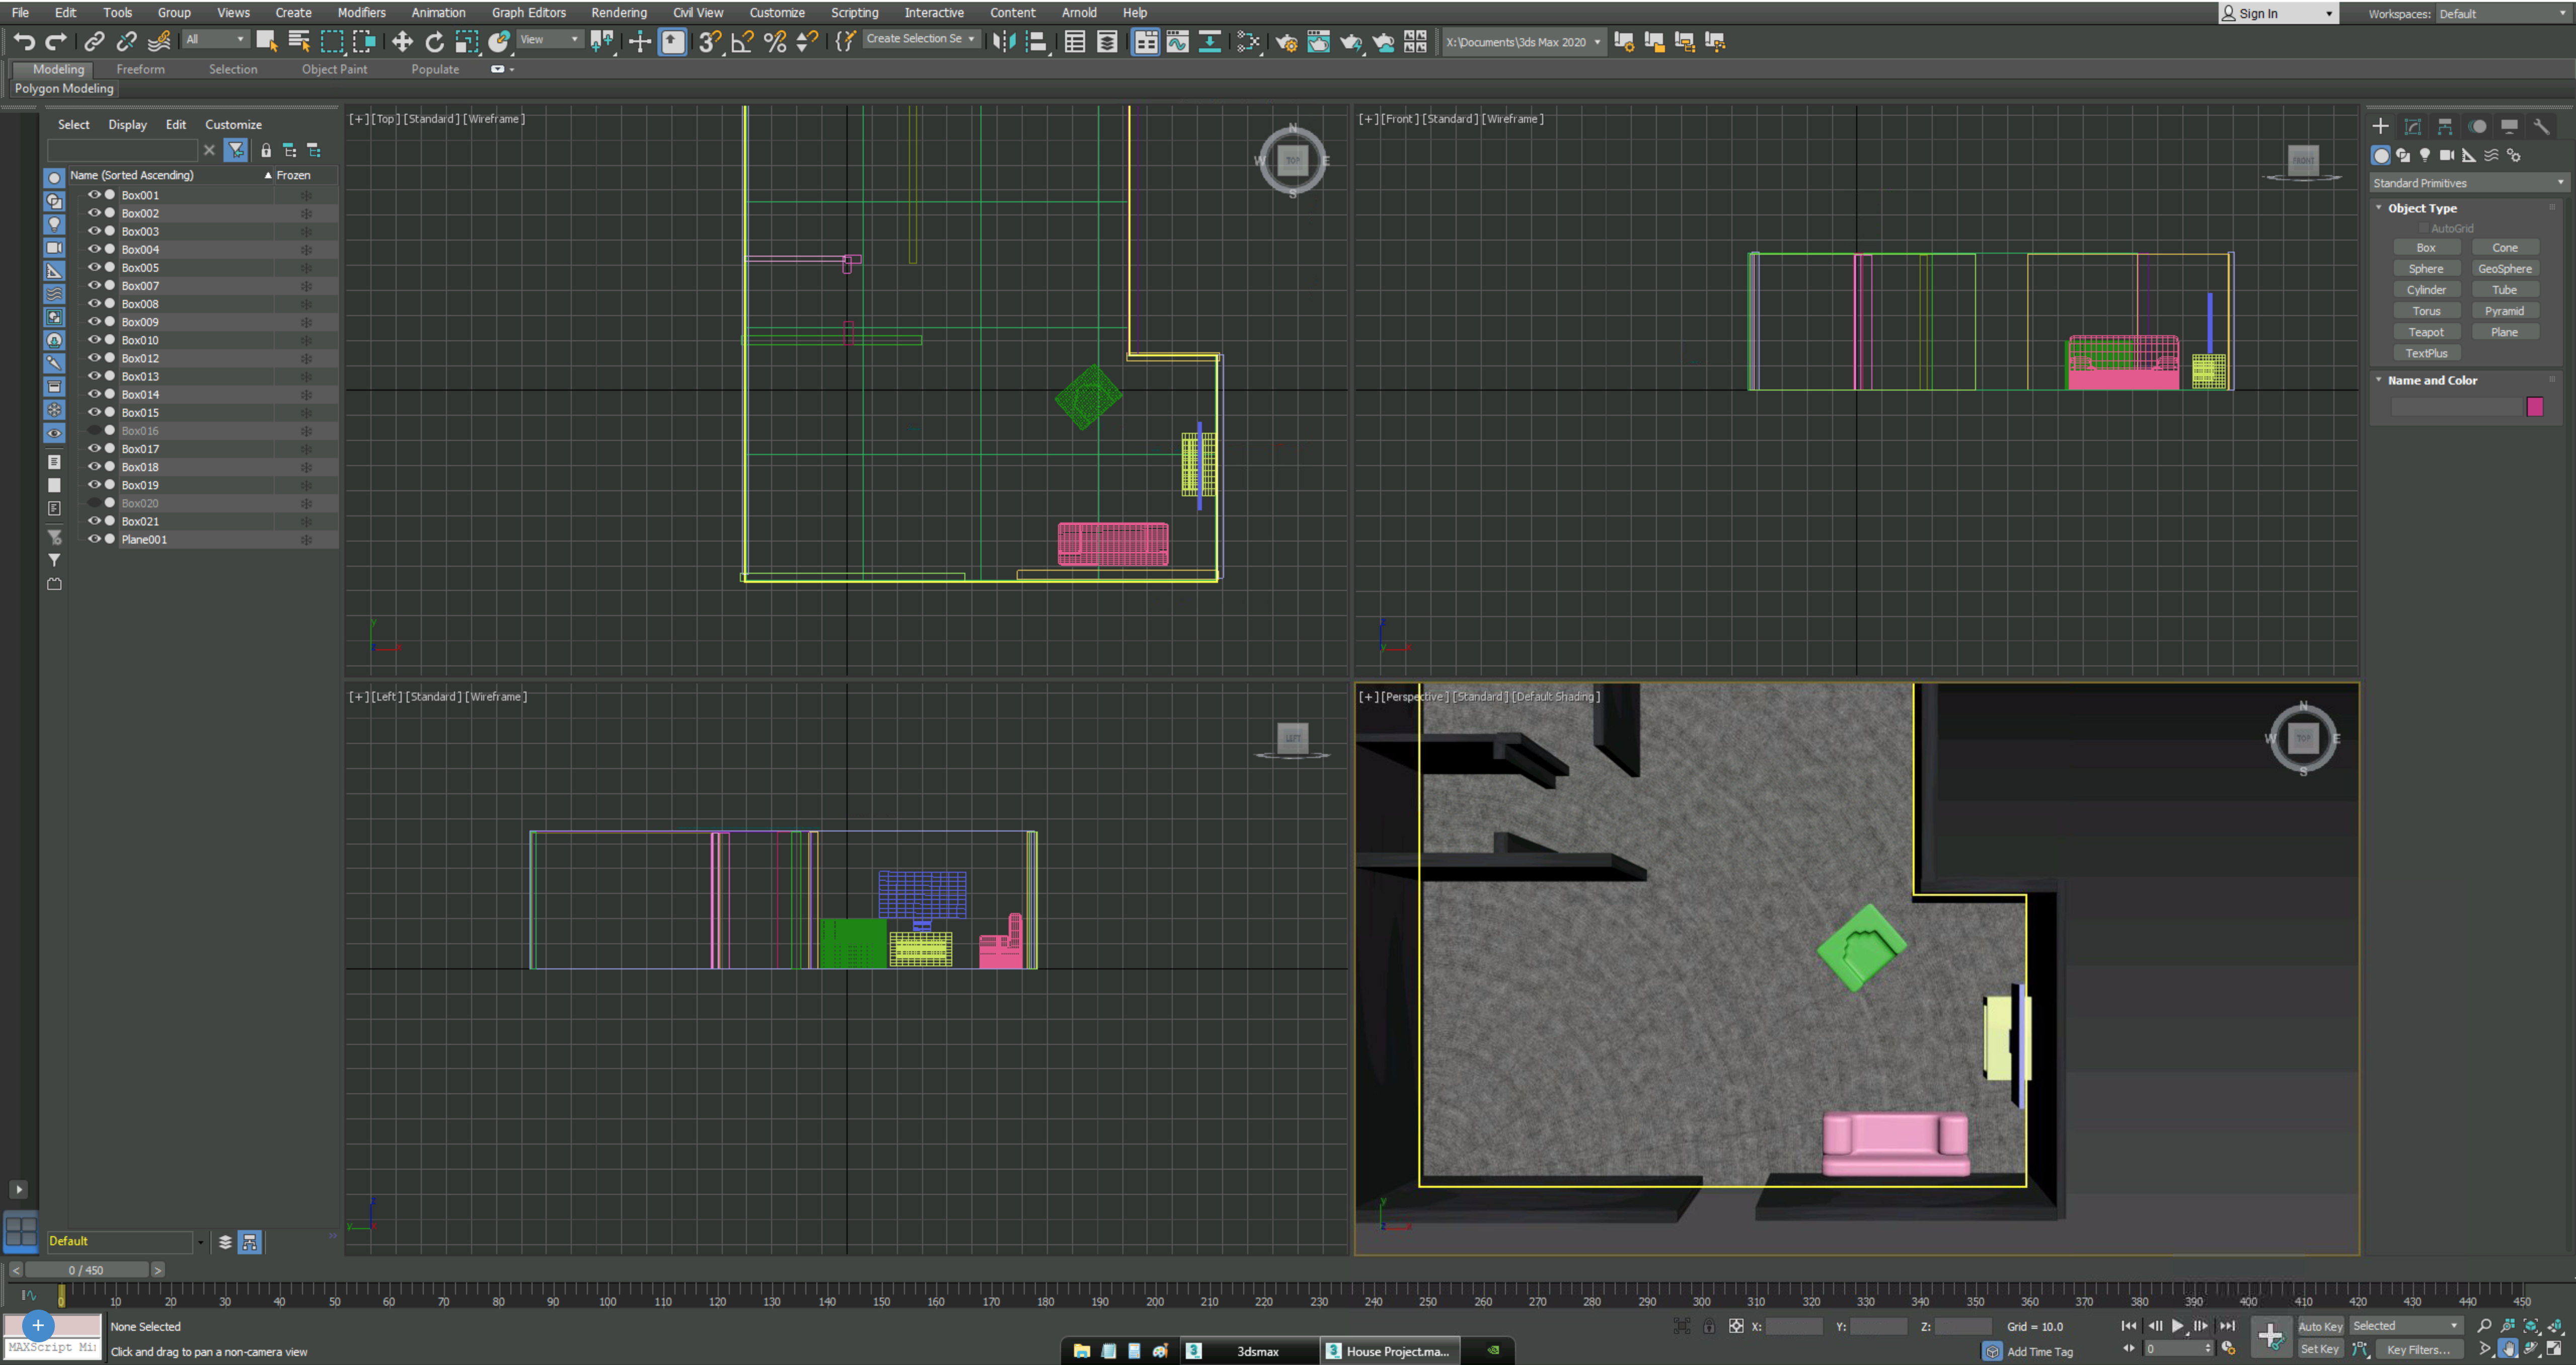
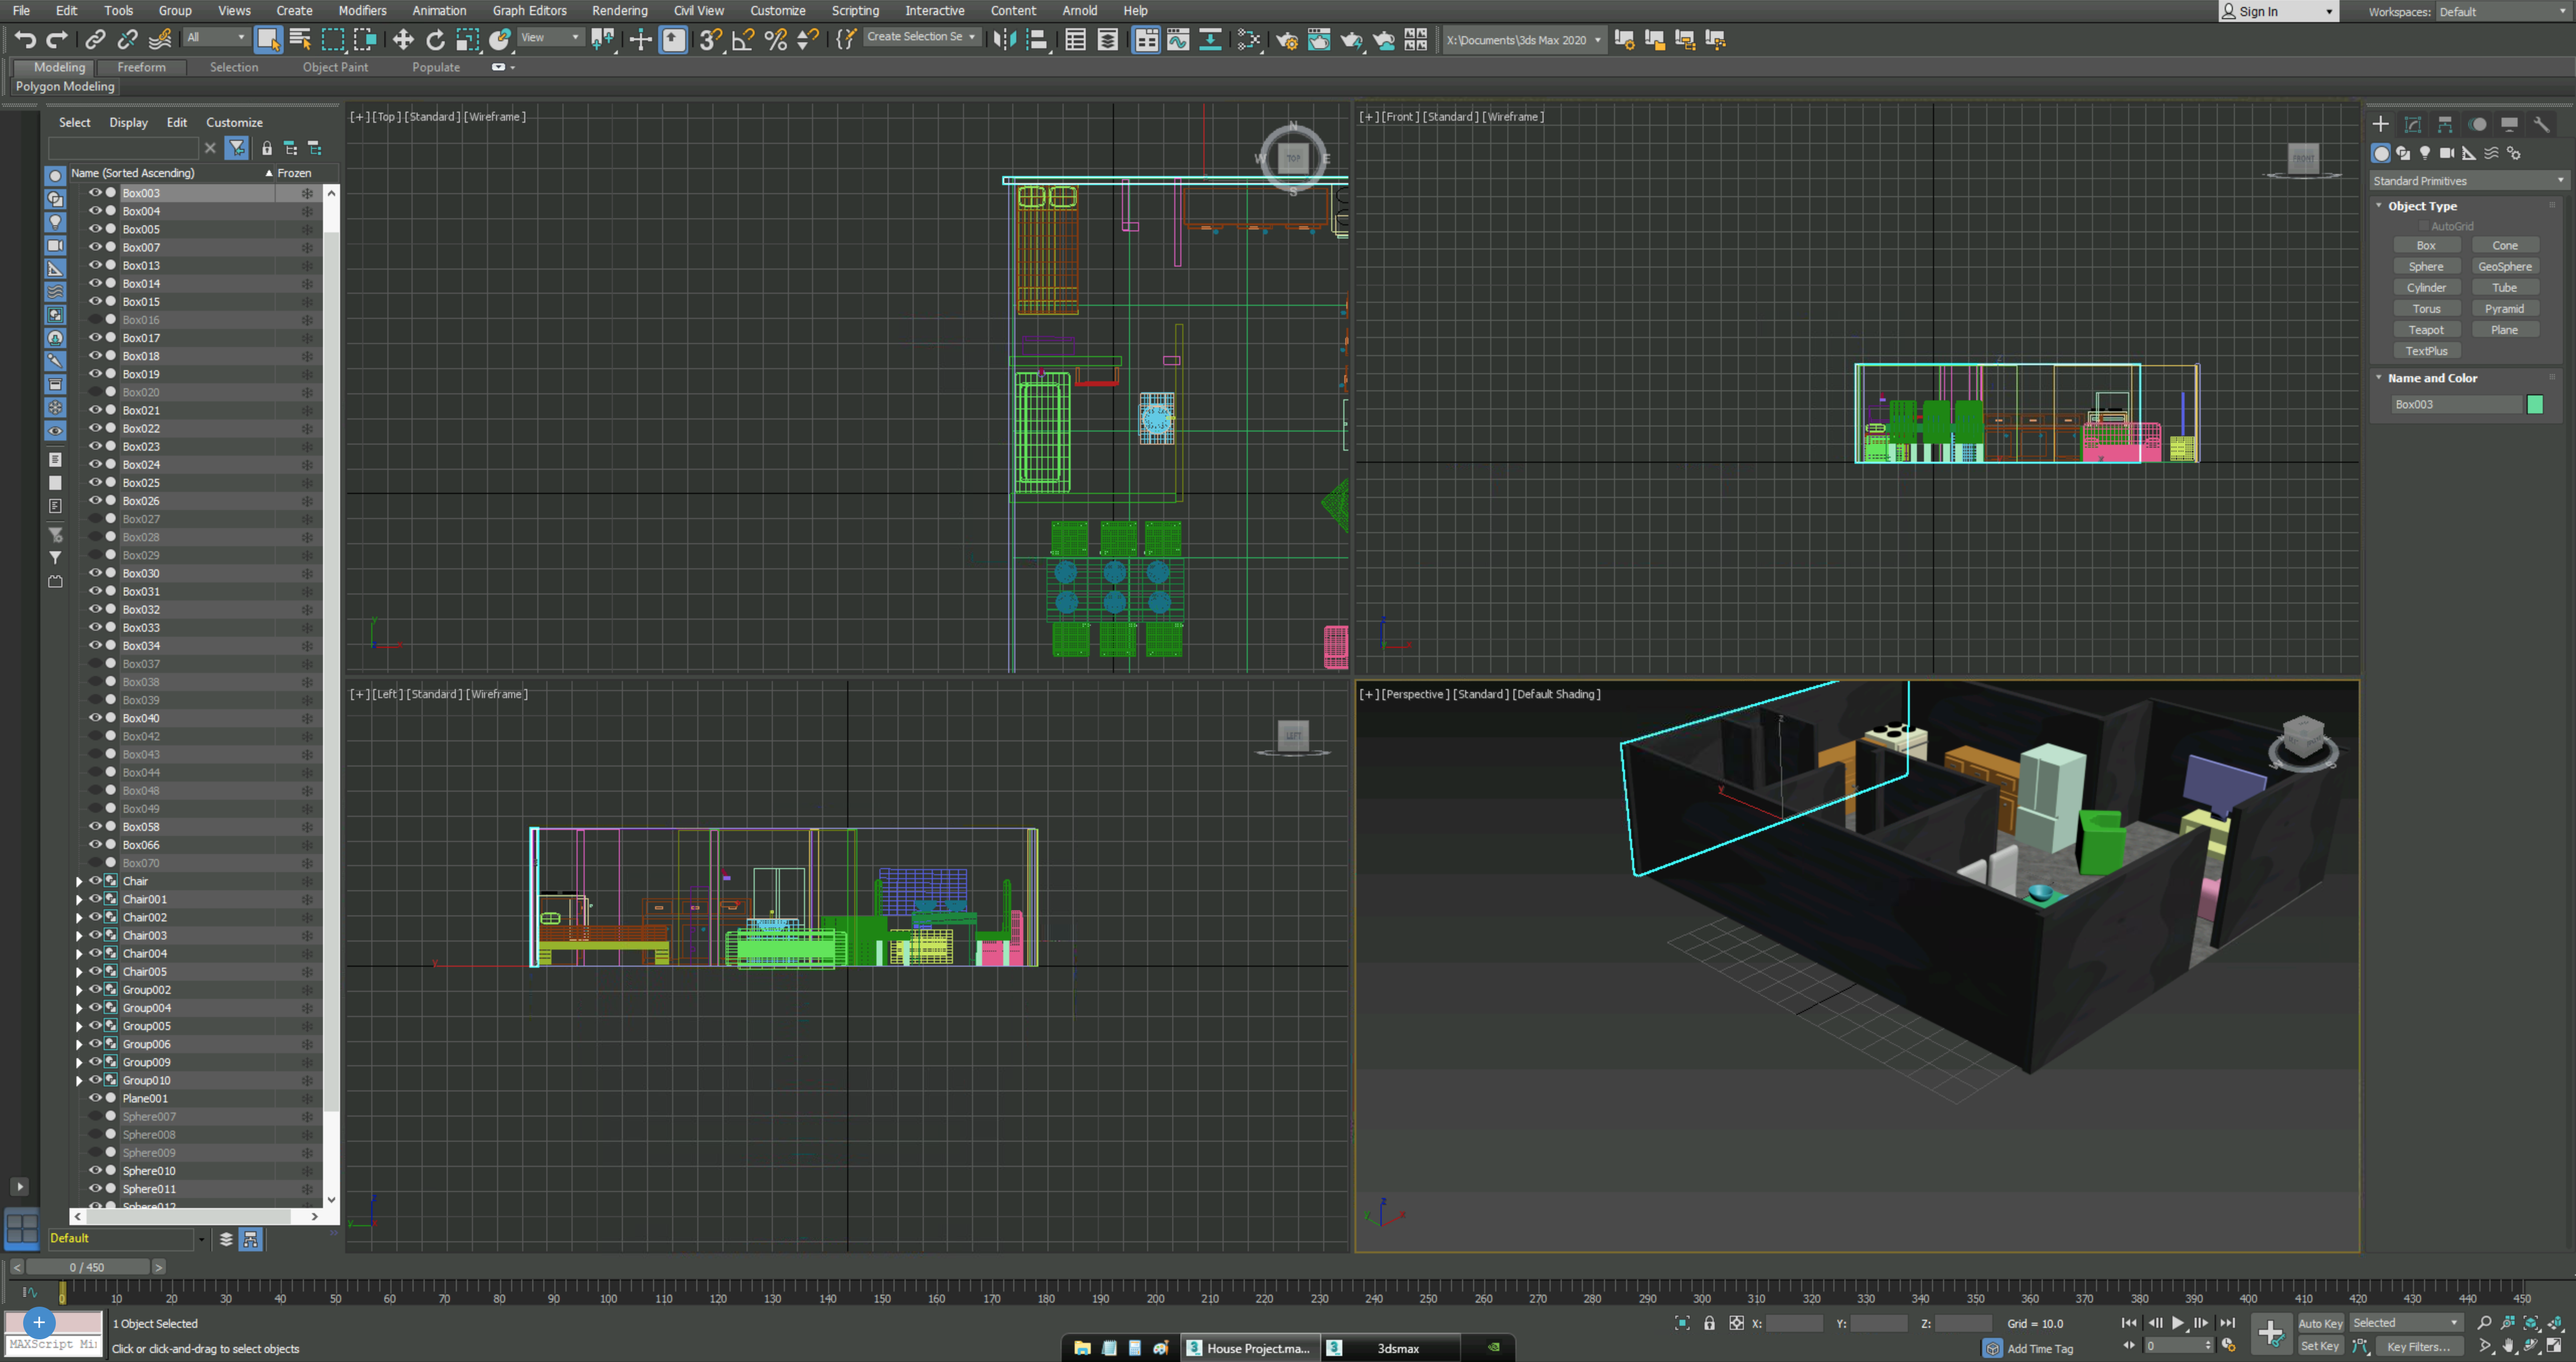
This step is super simple, however it takes a chunk of time. All you need to do is take the furniture/objects you created and move them into their rooms. You can do this by using the select and move tool. The long part is actually creating every little detail in the house to get that professional final look, but its worth it!
Adding Materials and Colors to Your Design
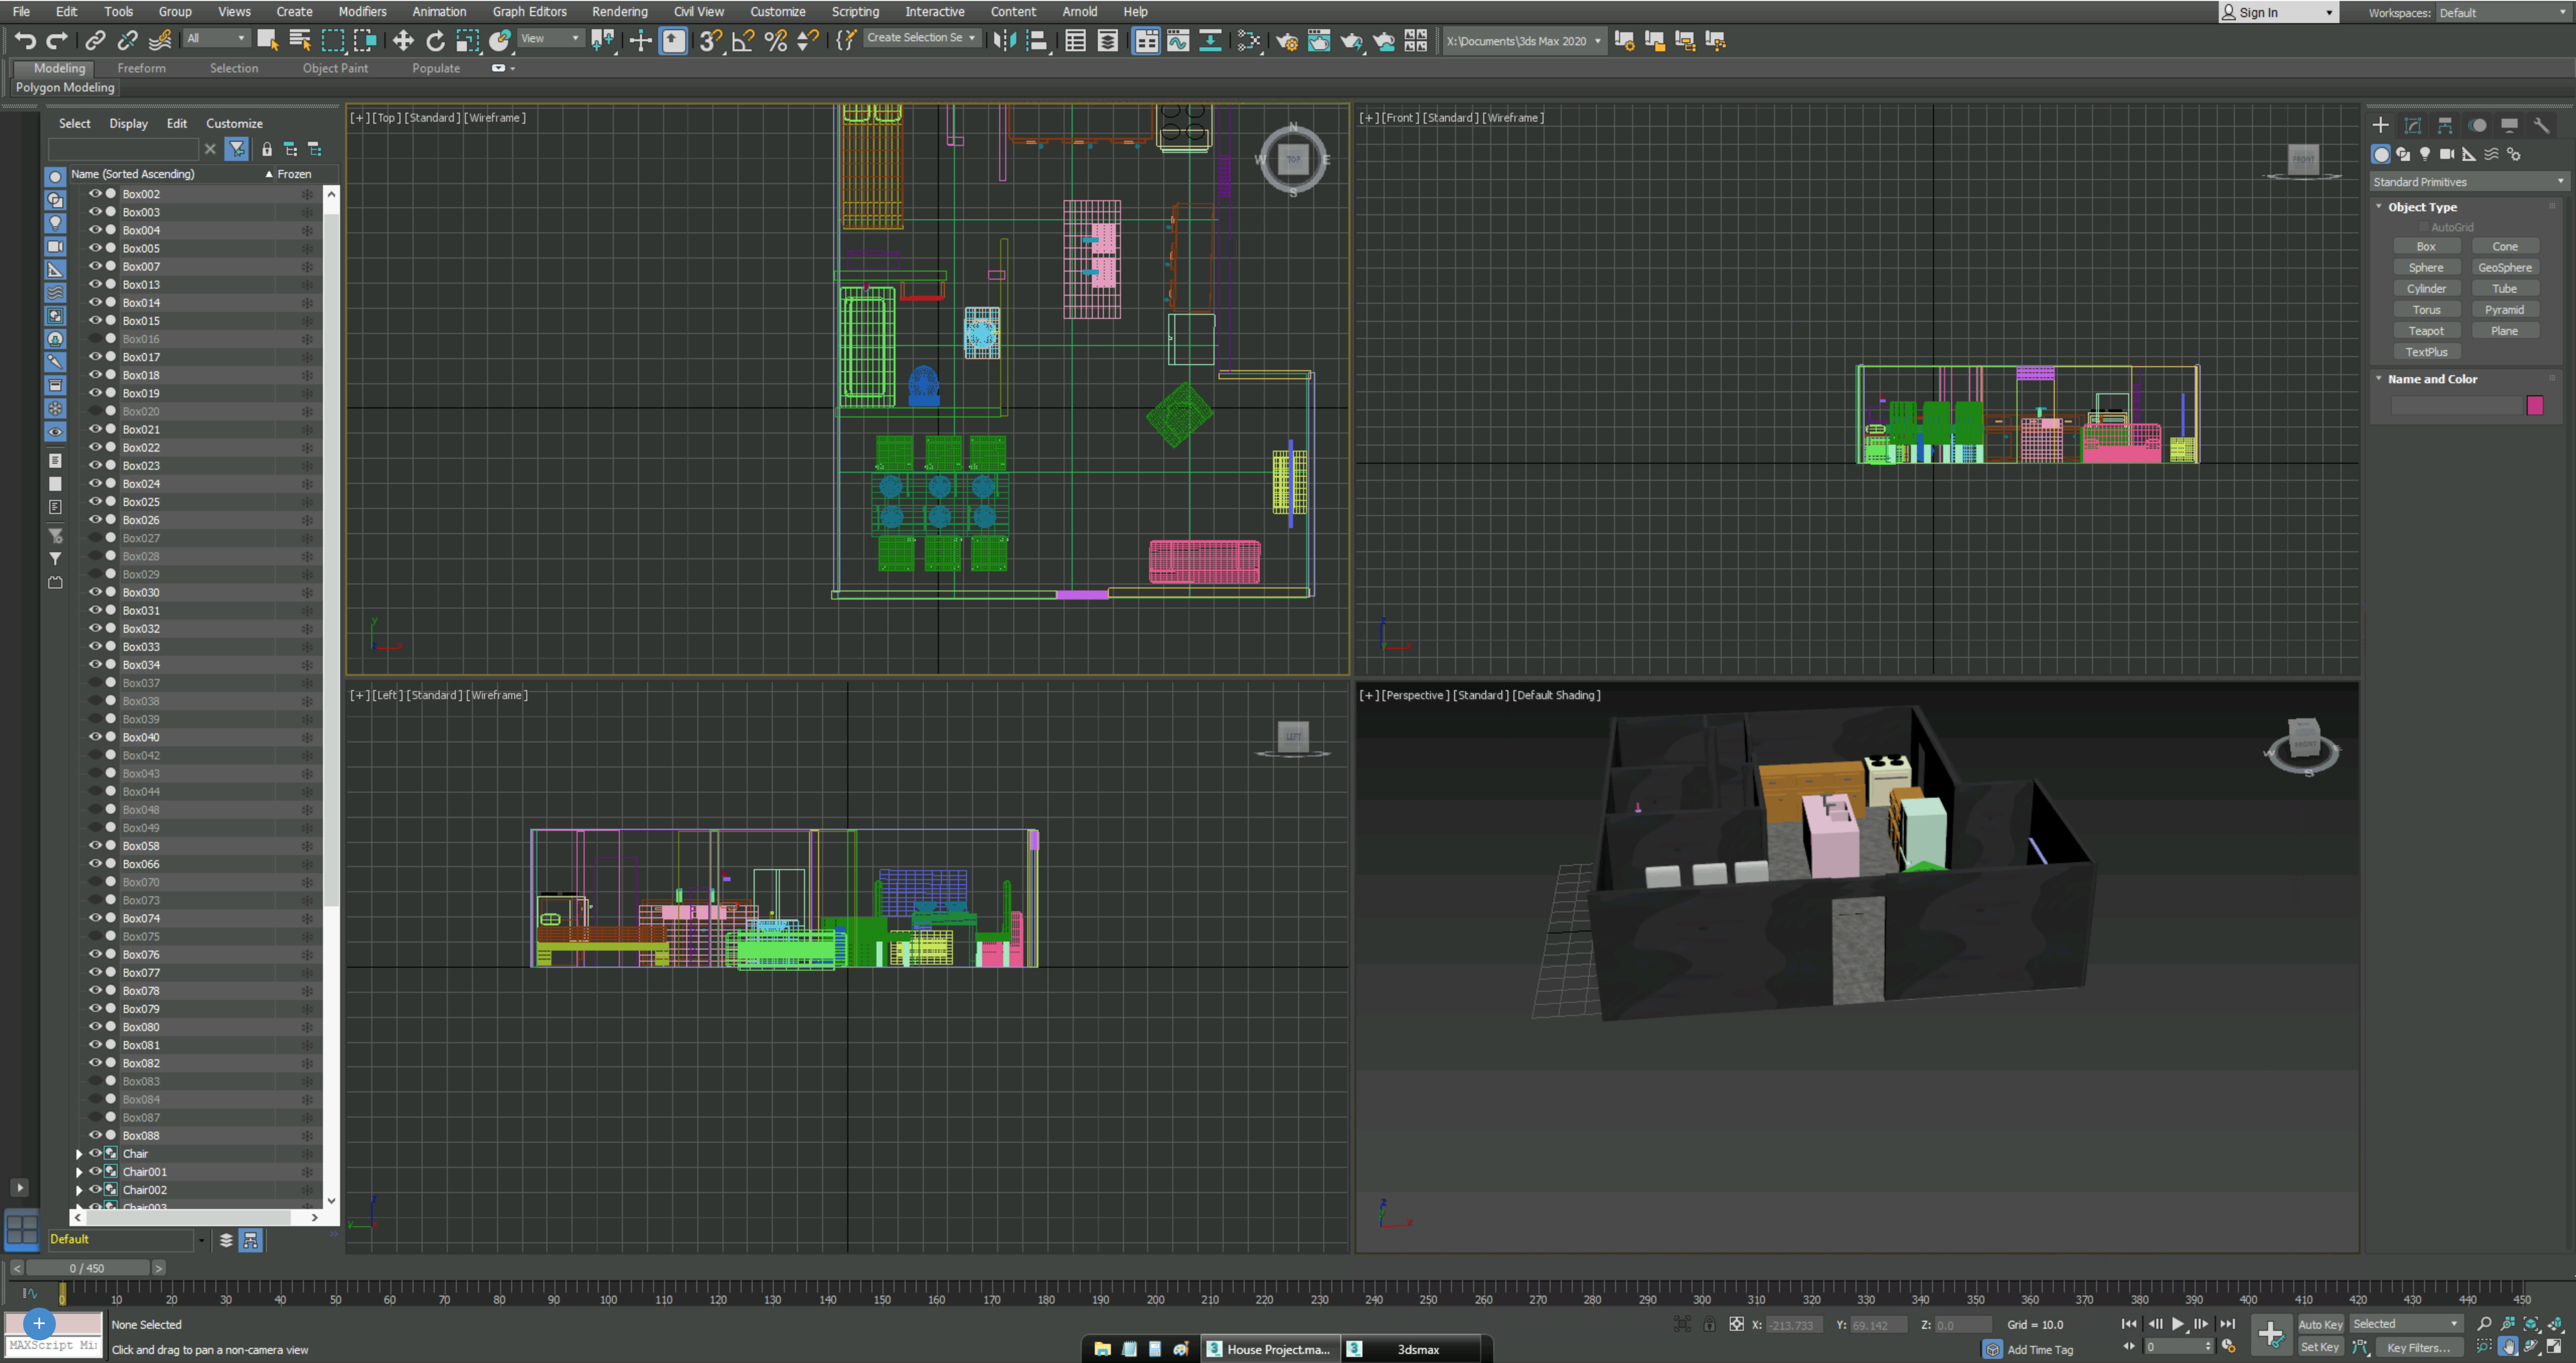
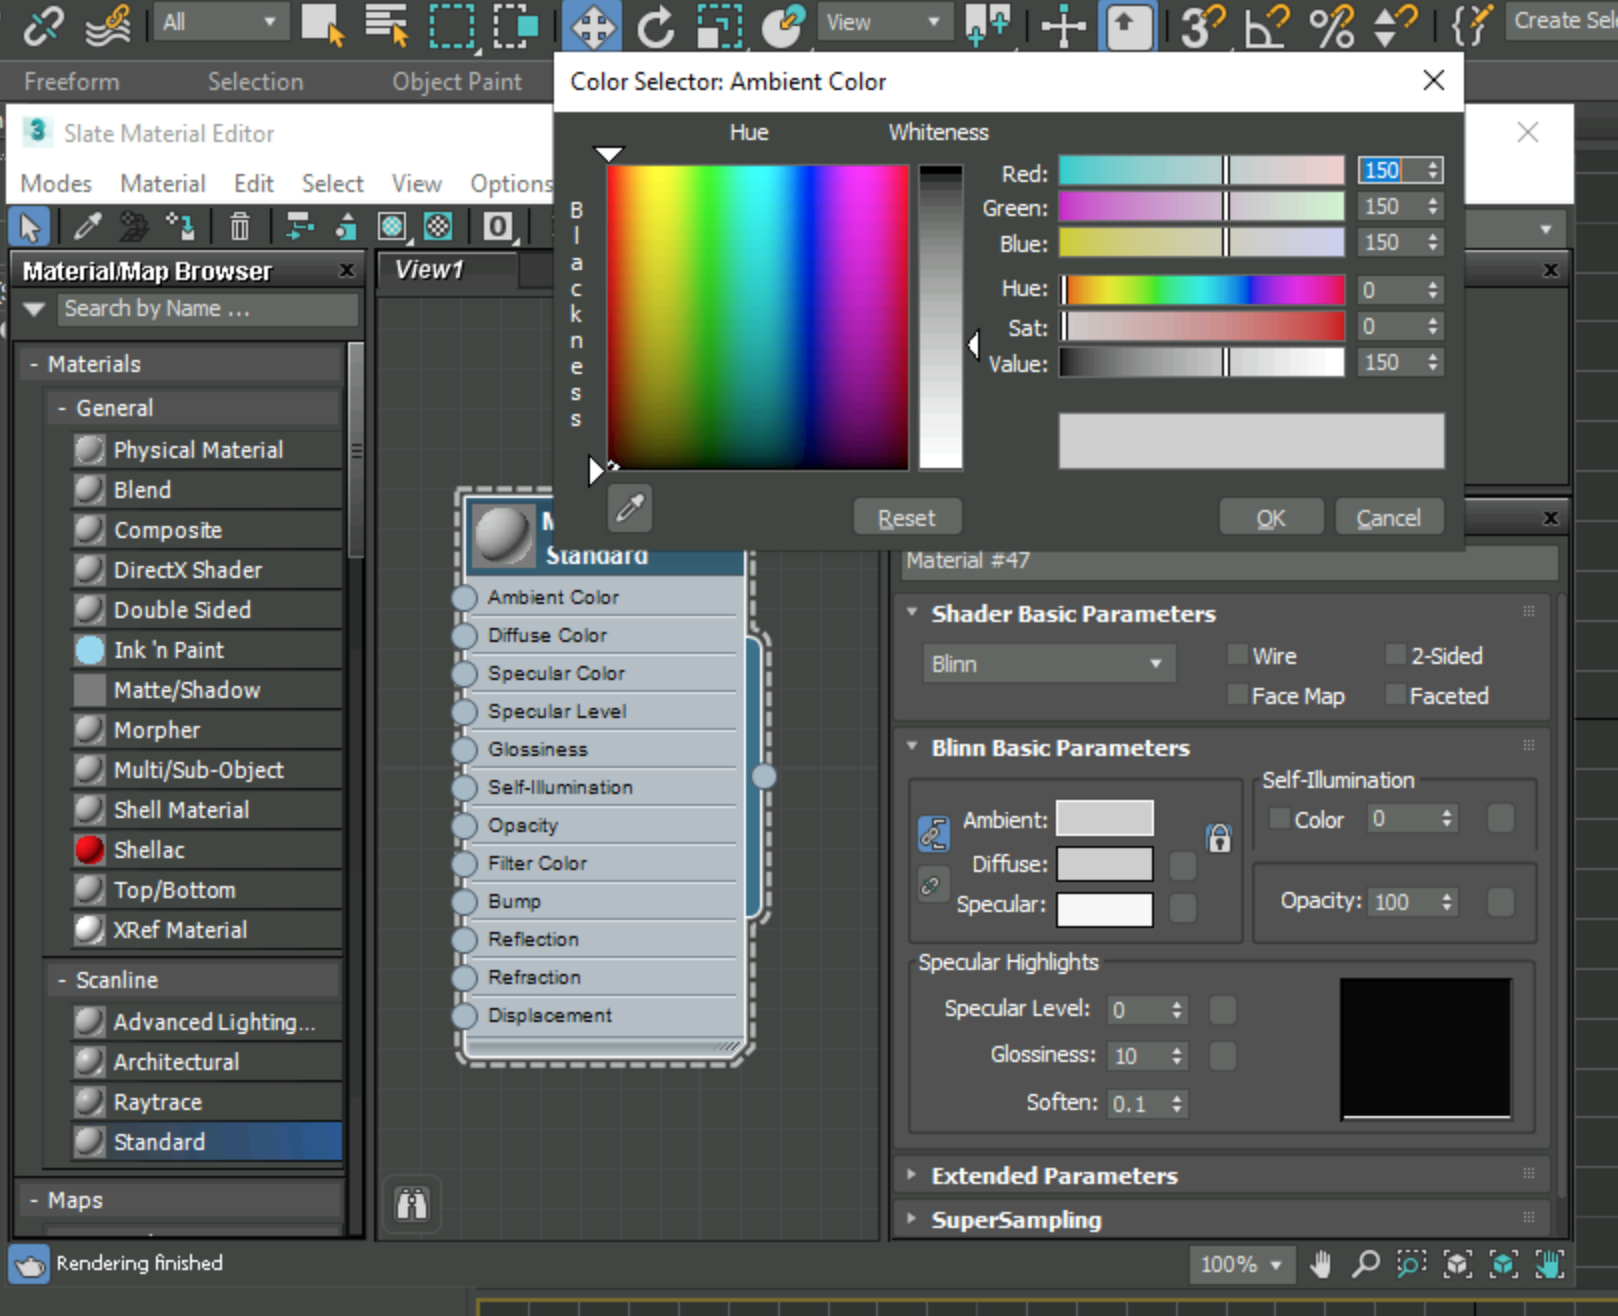
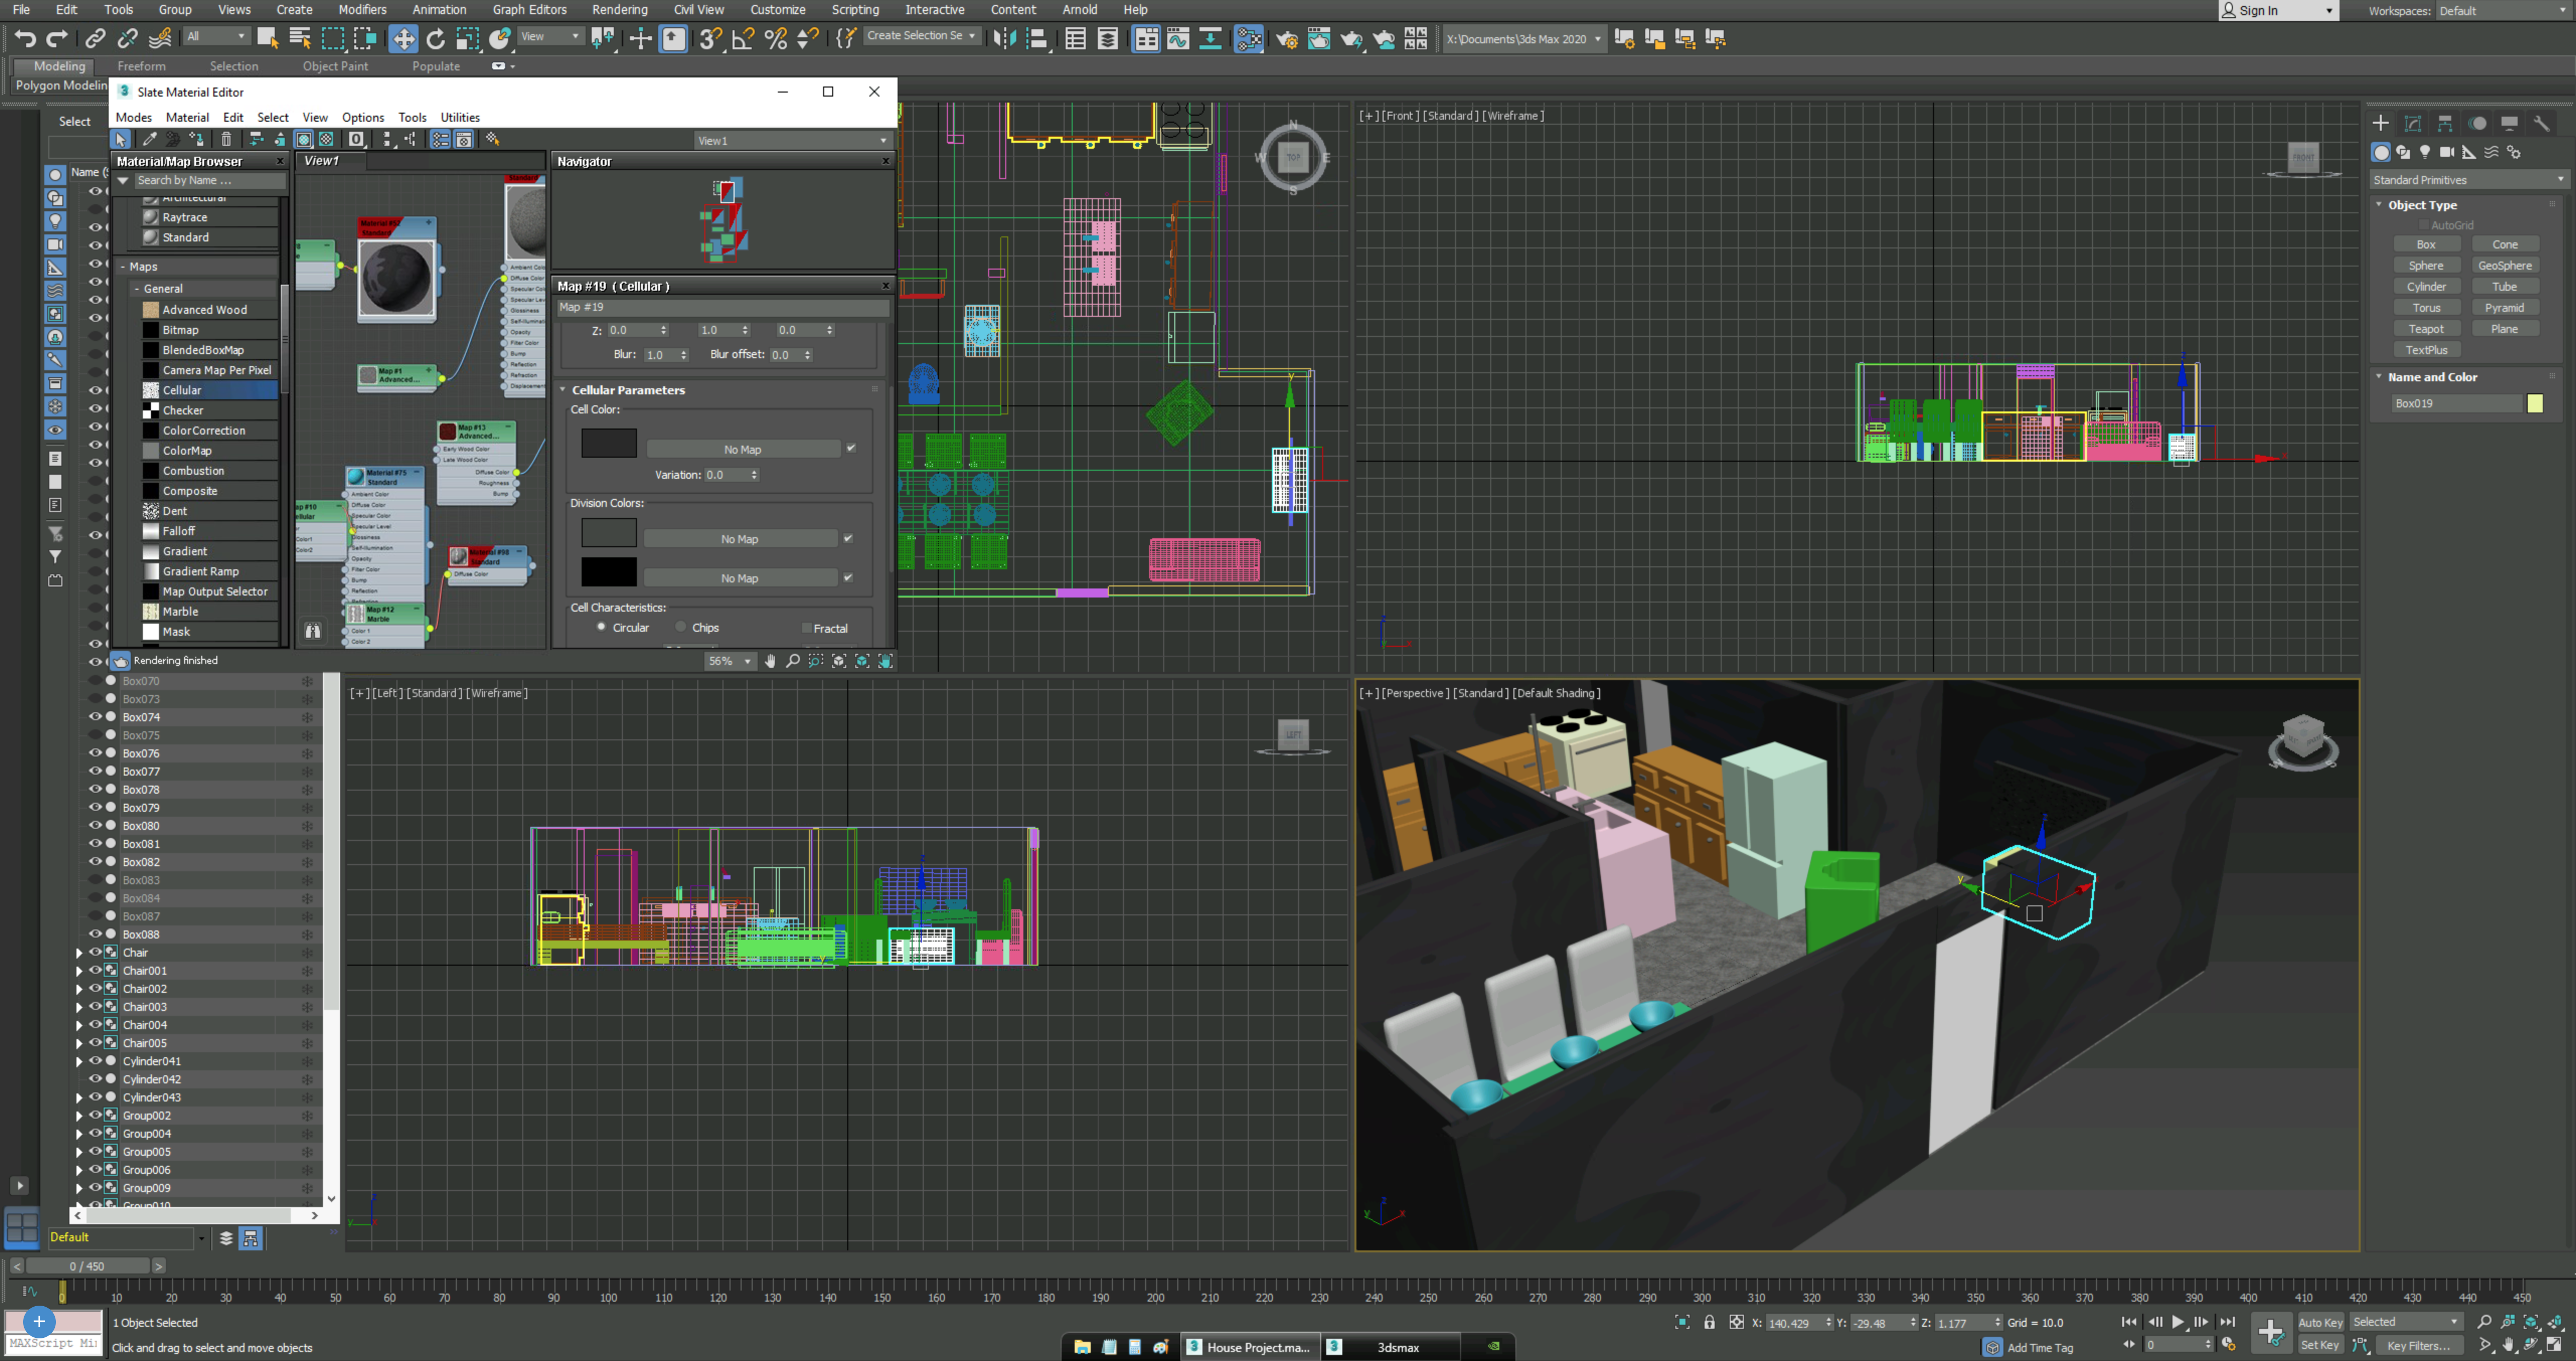
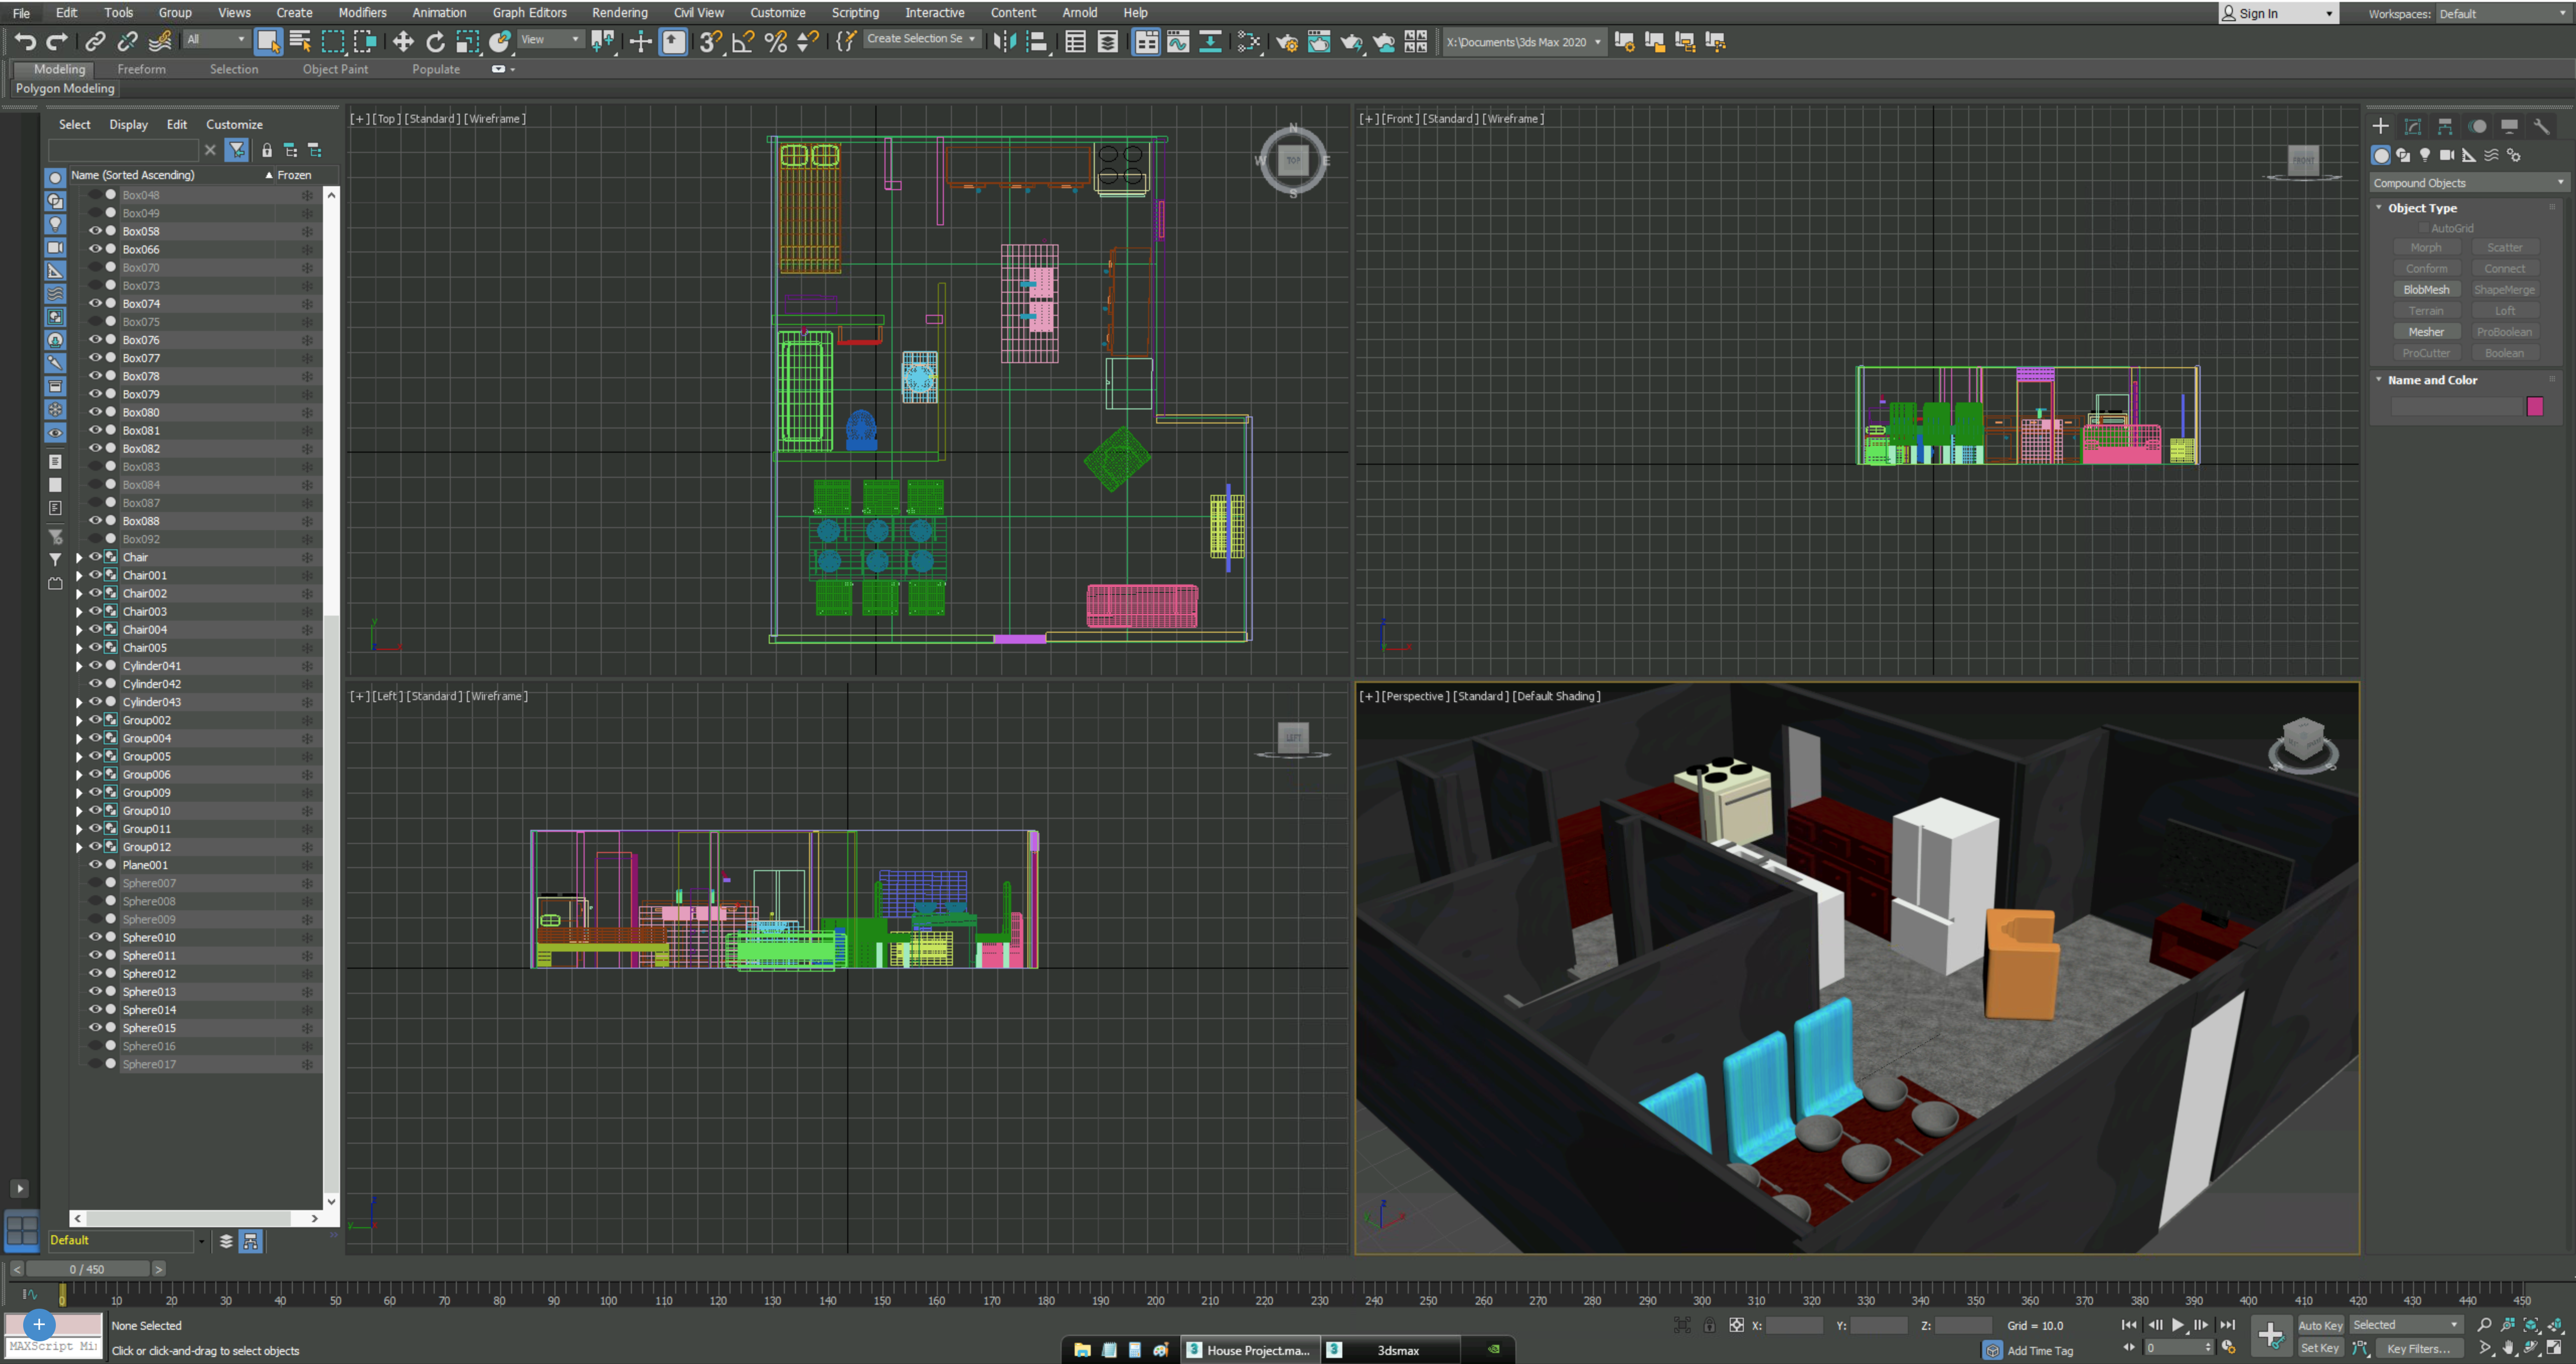
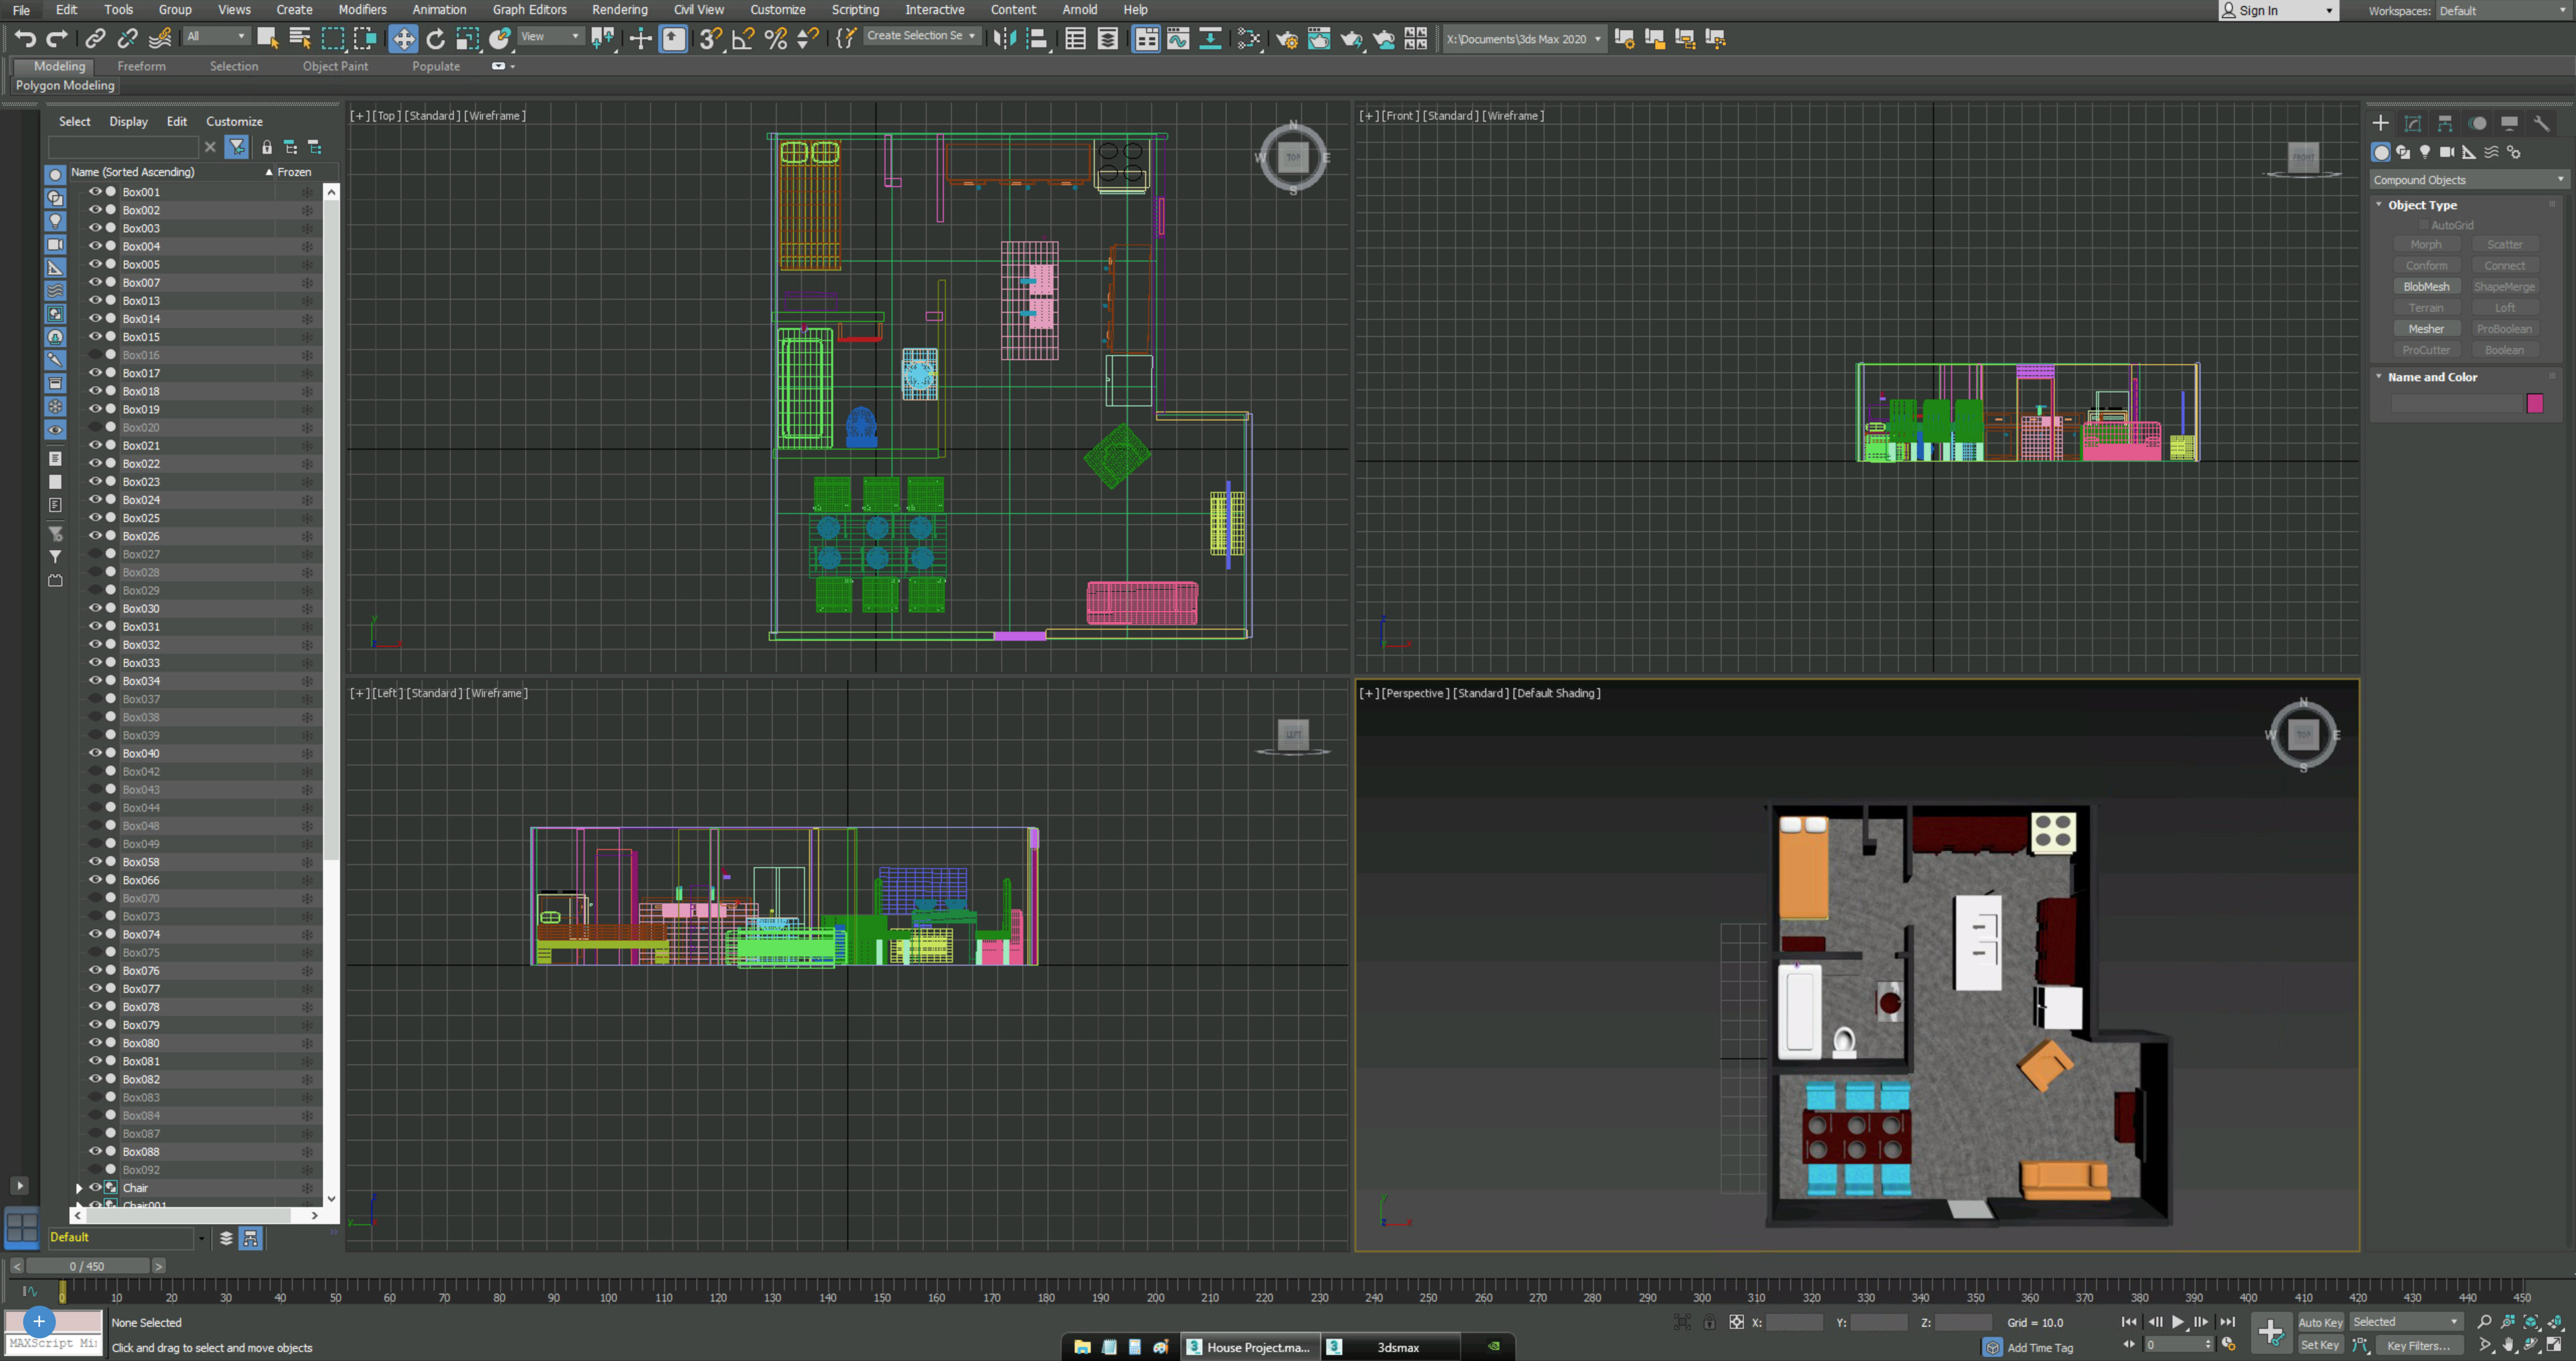
Congrats! You made it past the boring part. Now, the next step is to get that mismatched and weird looking furniture looking sleek. As seen in the example all of our objects are random colors, and we wanna fix that. How can we do that you ask? Simple, just press "M" on your keyboard and you should enter the materials menu. From here you want to look for the bar on the left that says "standerd". Once found, double click it and it will pop up on your screen. Again, double click the top of the box where it says standard, and from there you can change the color. To make an object the color you choose, select the object then in the material menu click "Assign Material to Selection". To put on a certain texture and material, find the texture you want and double click it. Sticking out of the box on the right hand side you should see a circle. Click and drag the line to the standerd circle that says "Diffuse Color". To Assign this material to your shape, press "Assign Material to Selection" then press "Show shaded material in viewport". Do this with all your desired objects and you should see a beutiful change somewhat like the example.
Lighting and Camera
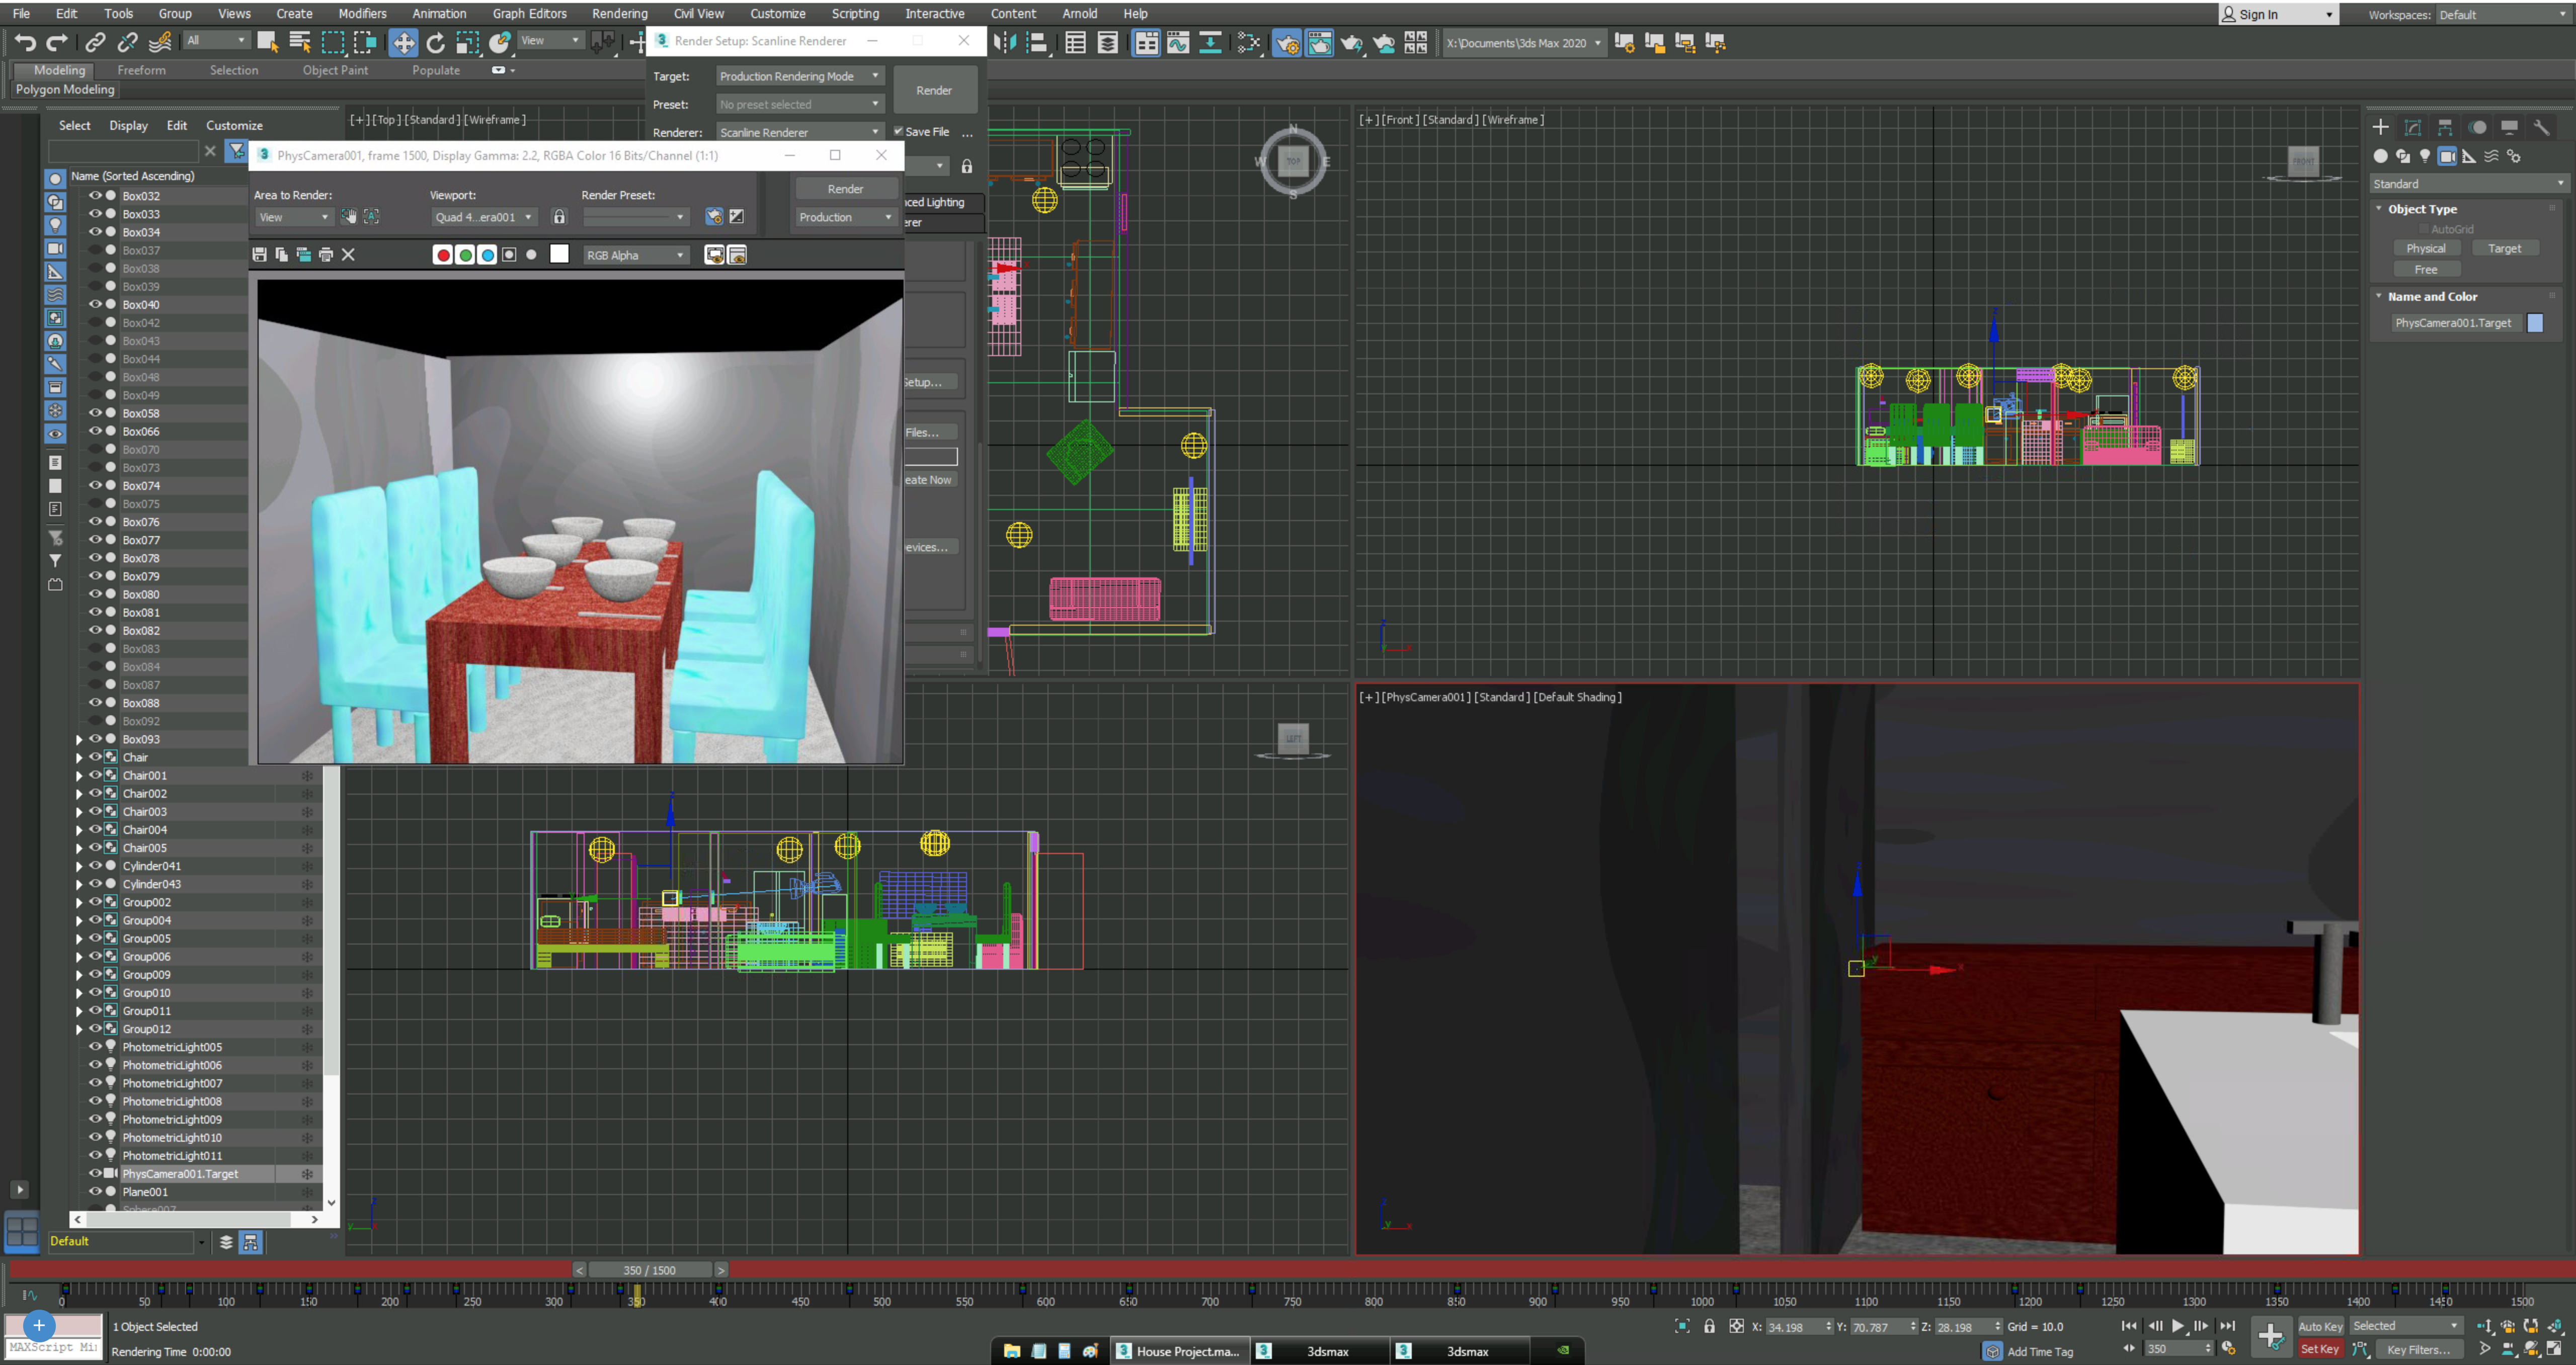
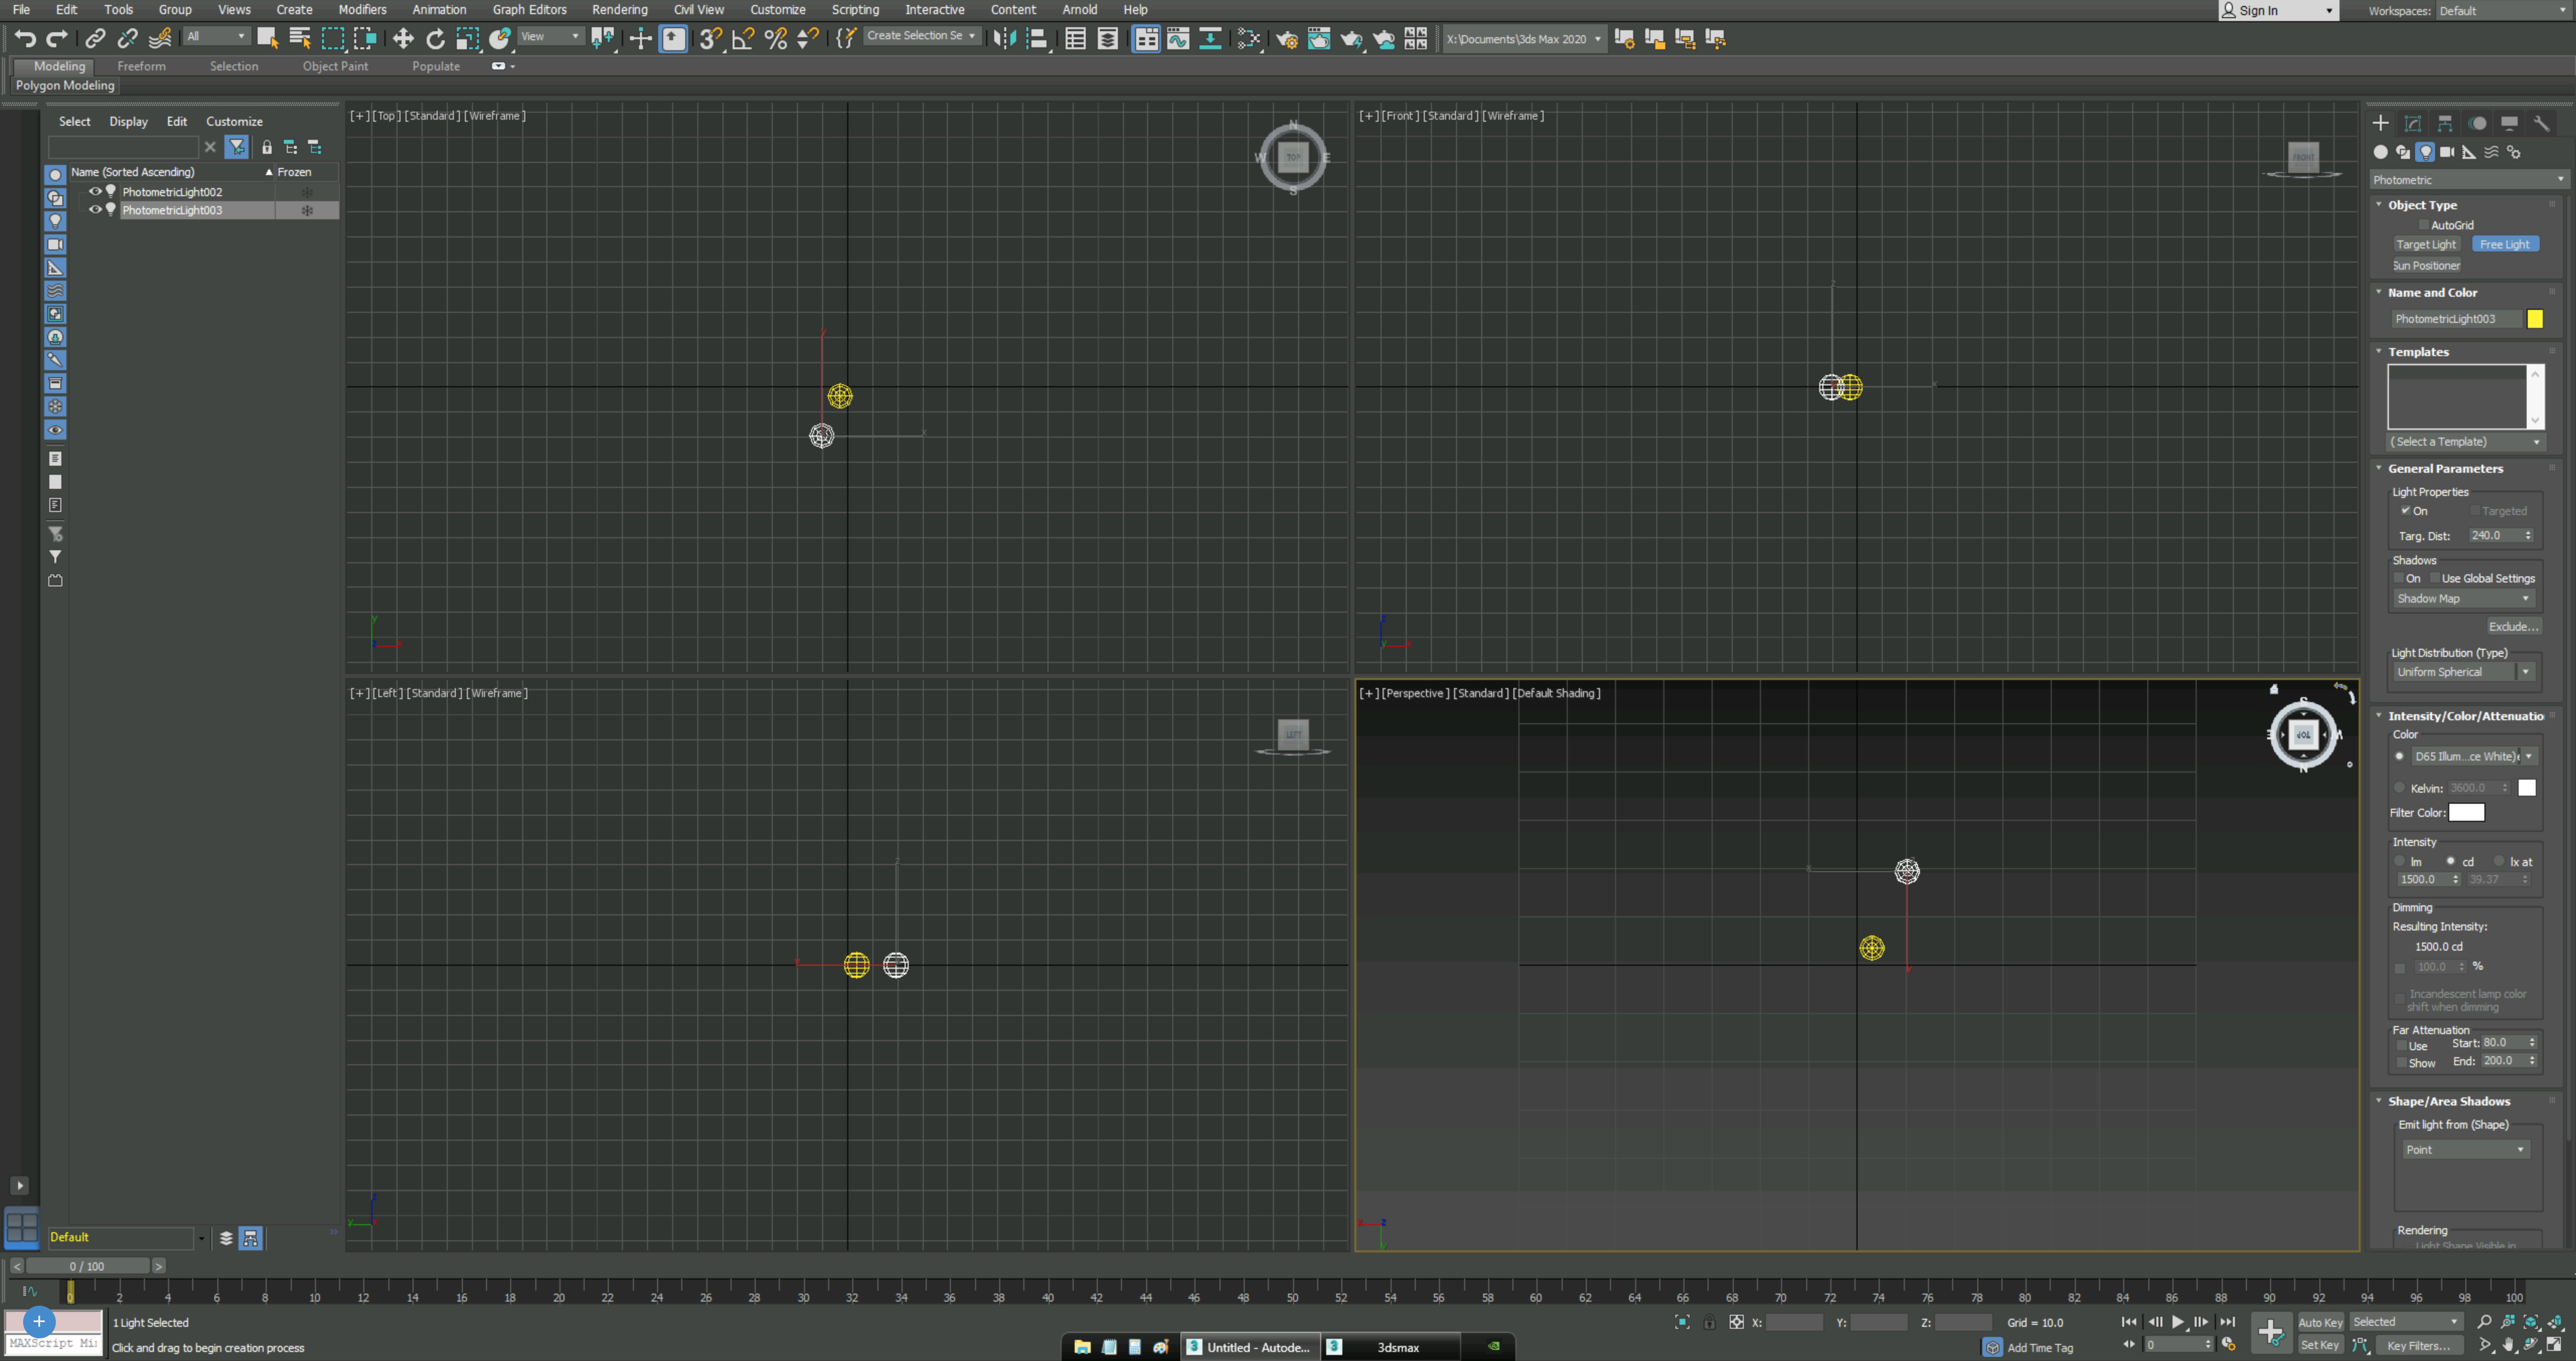
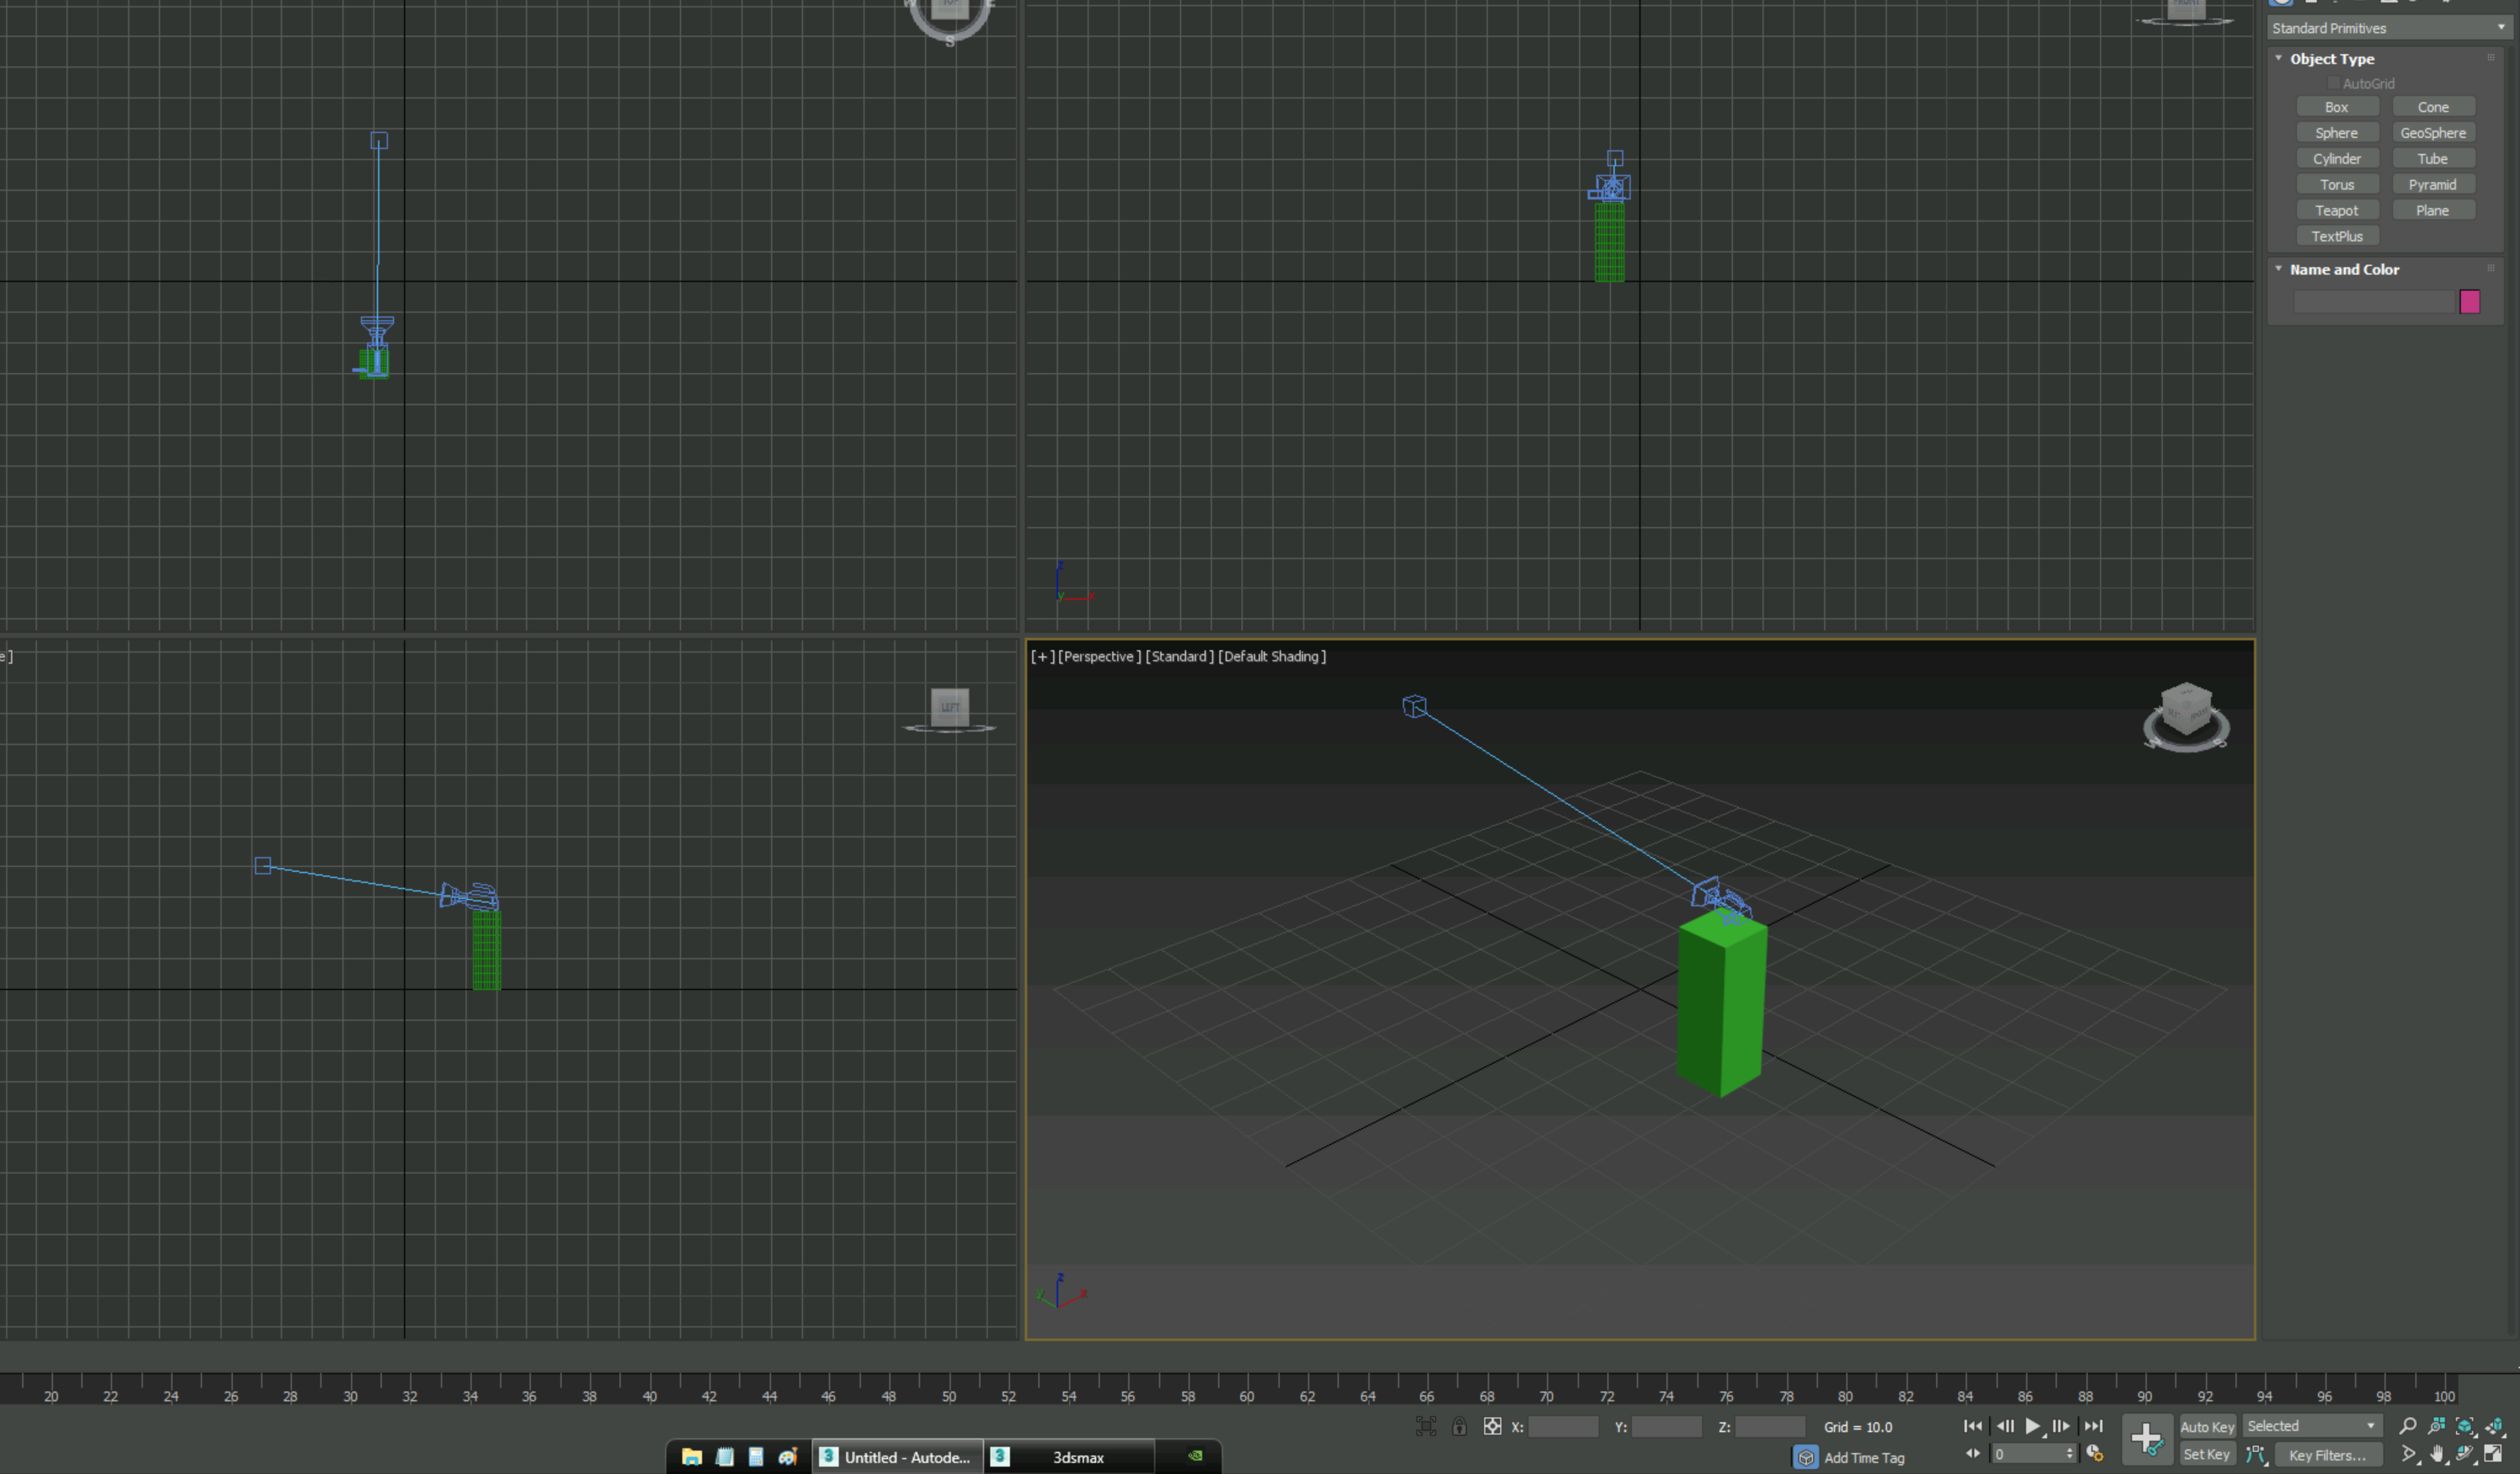
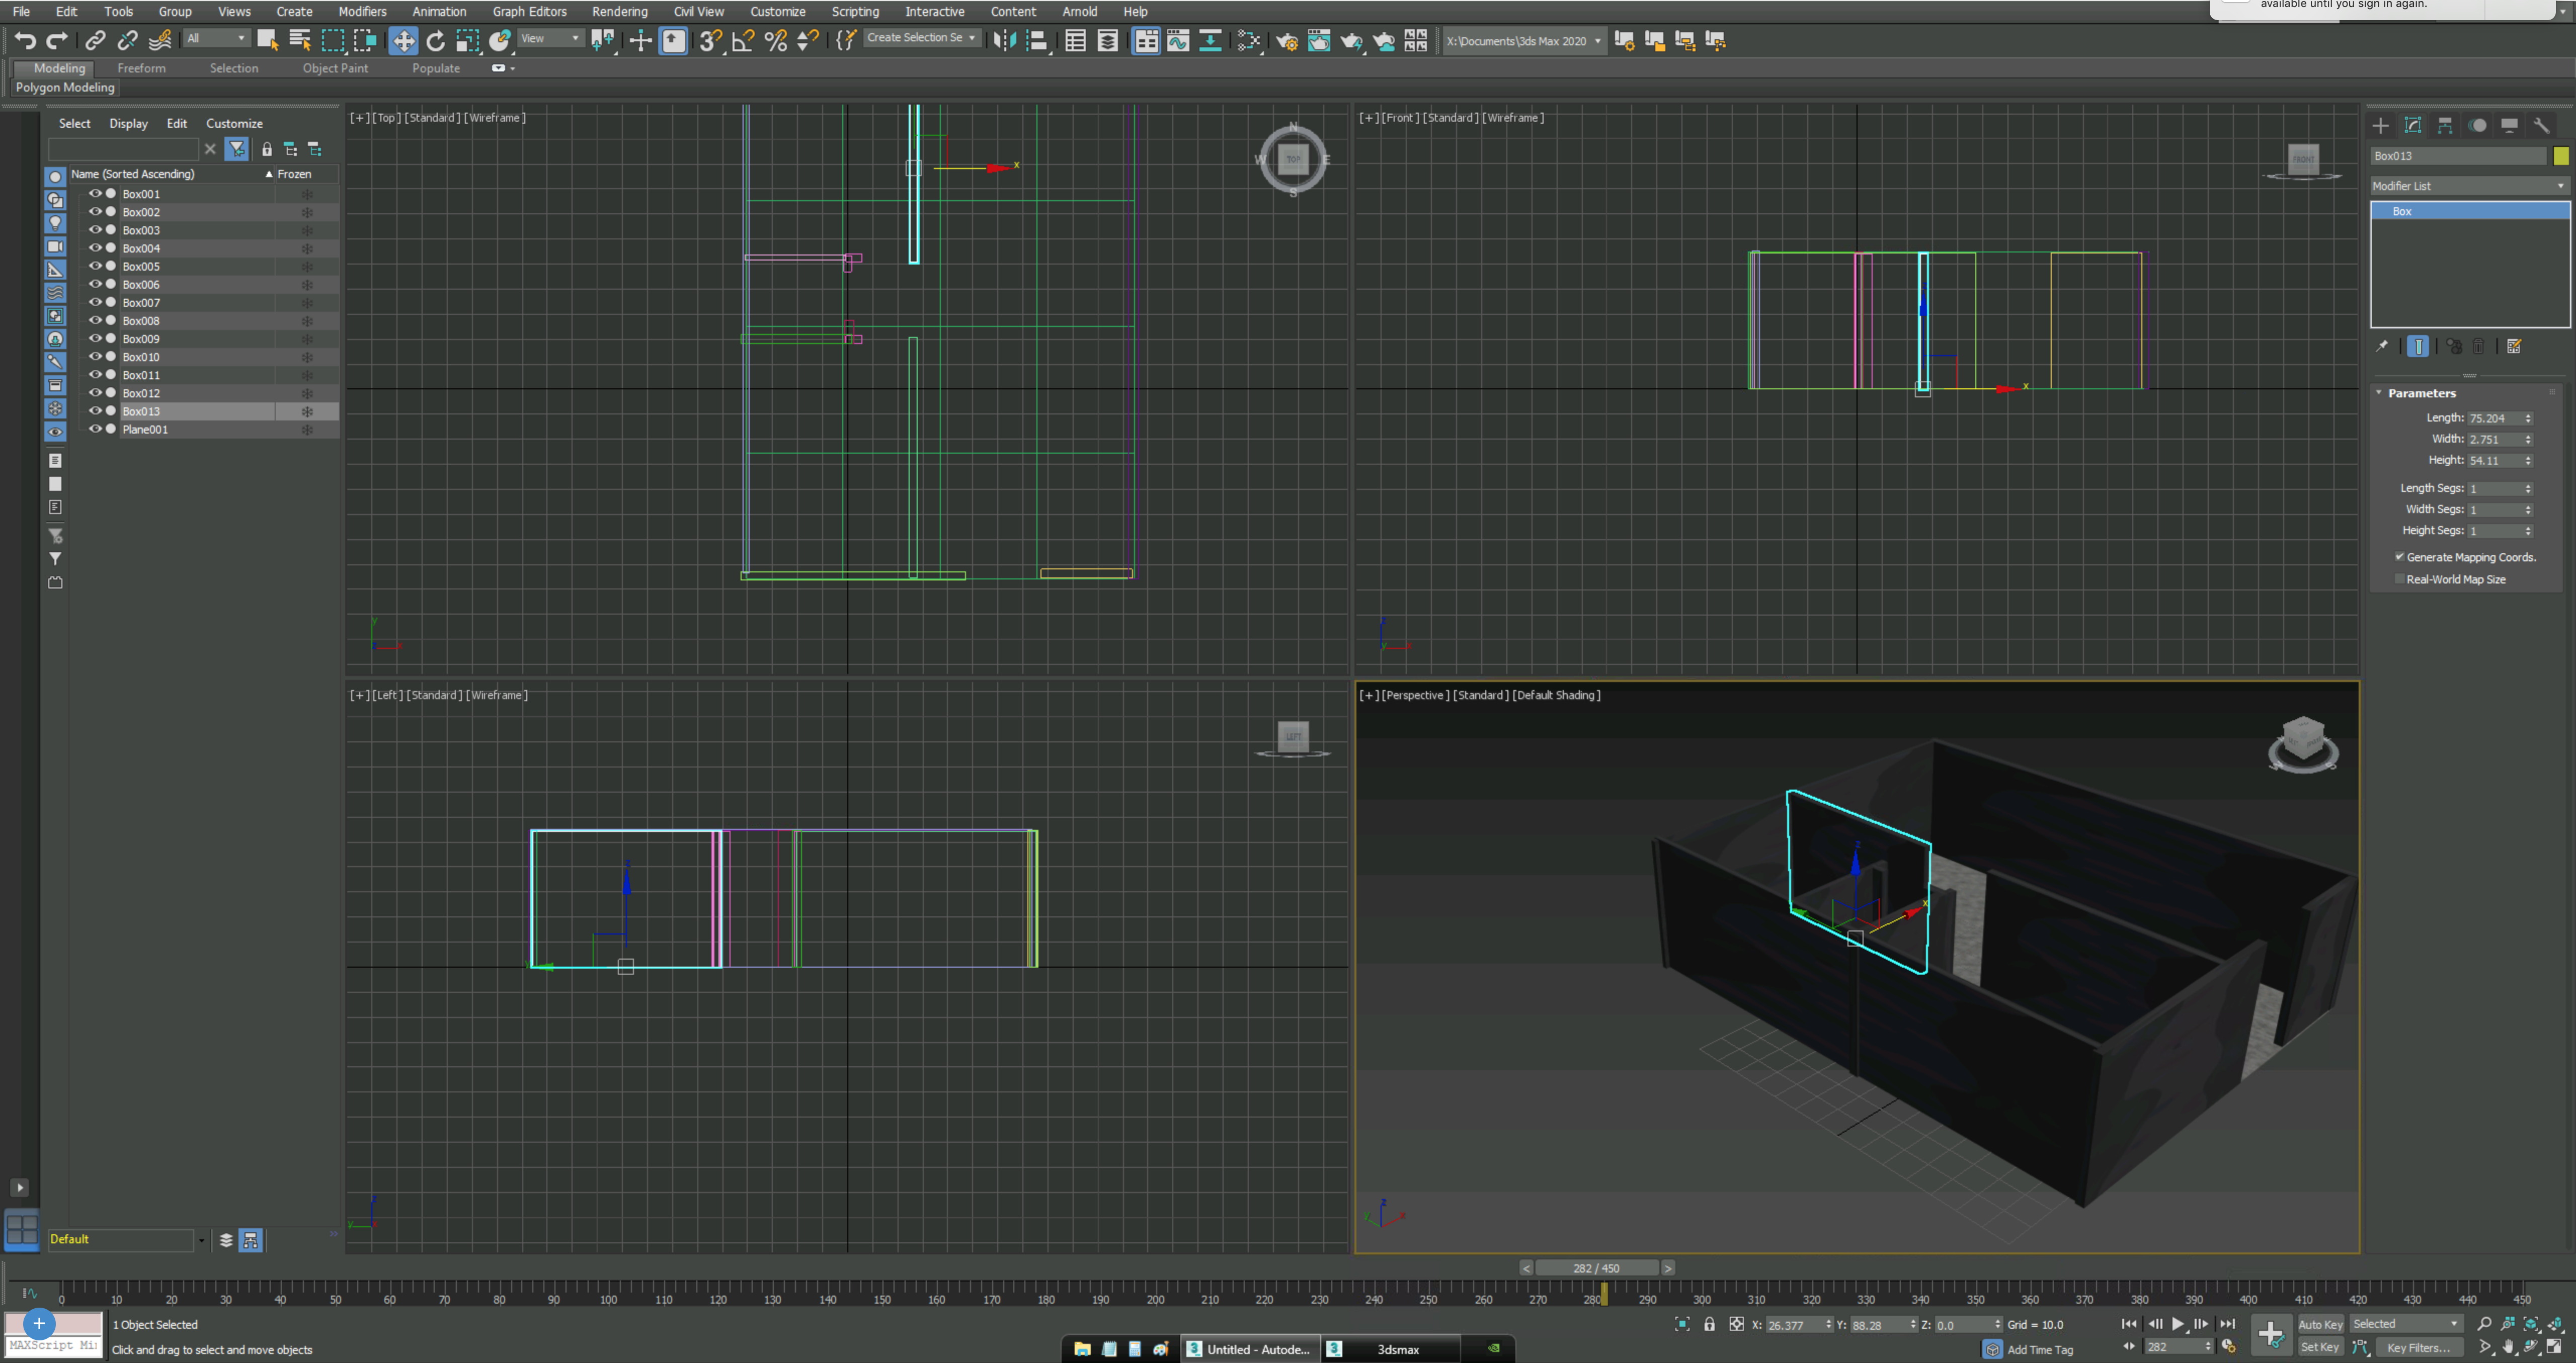
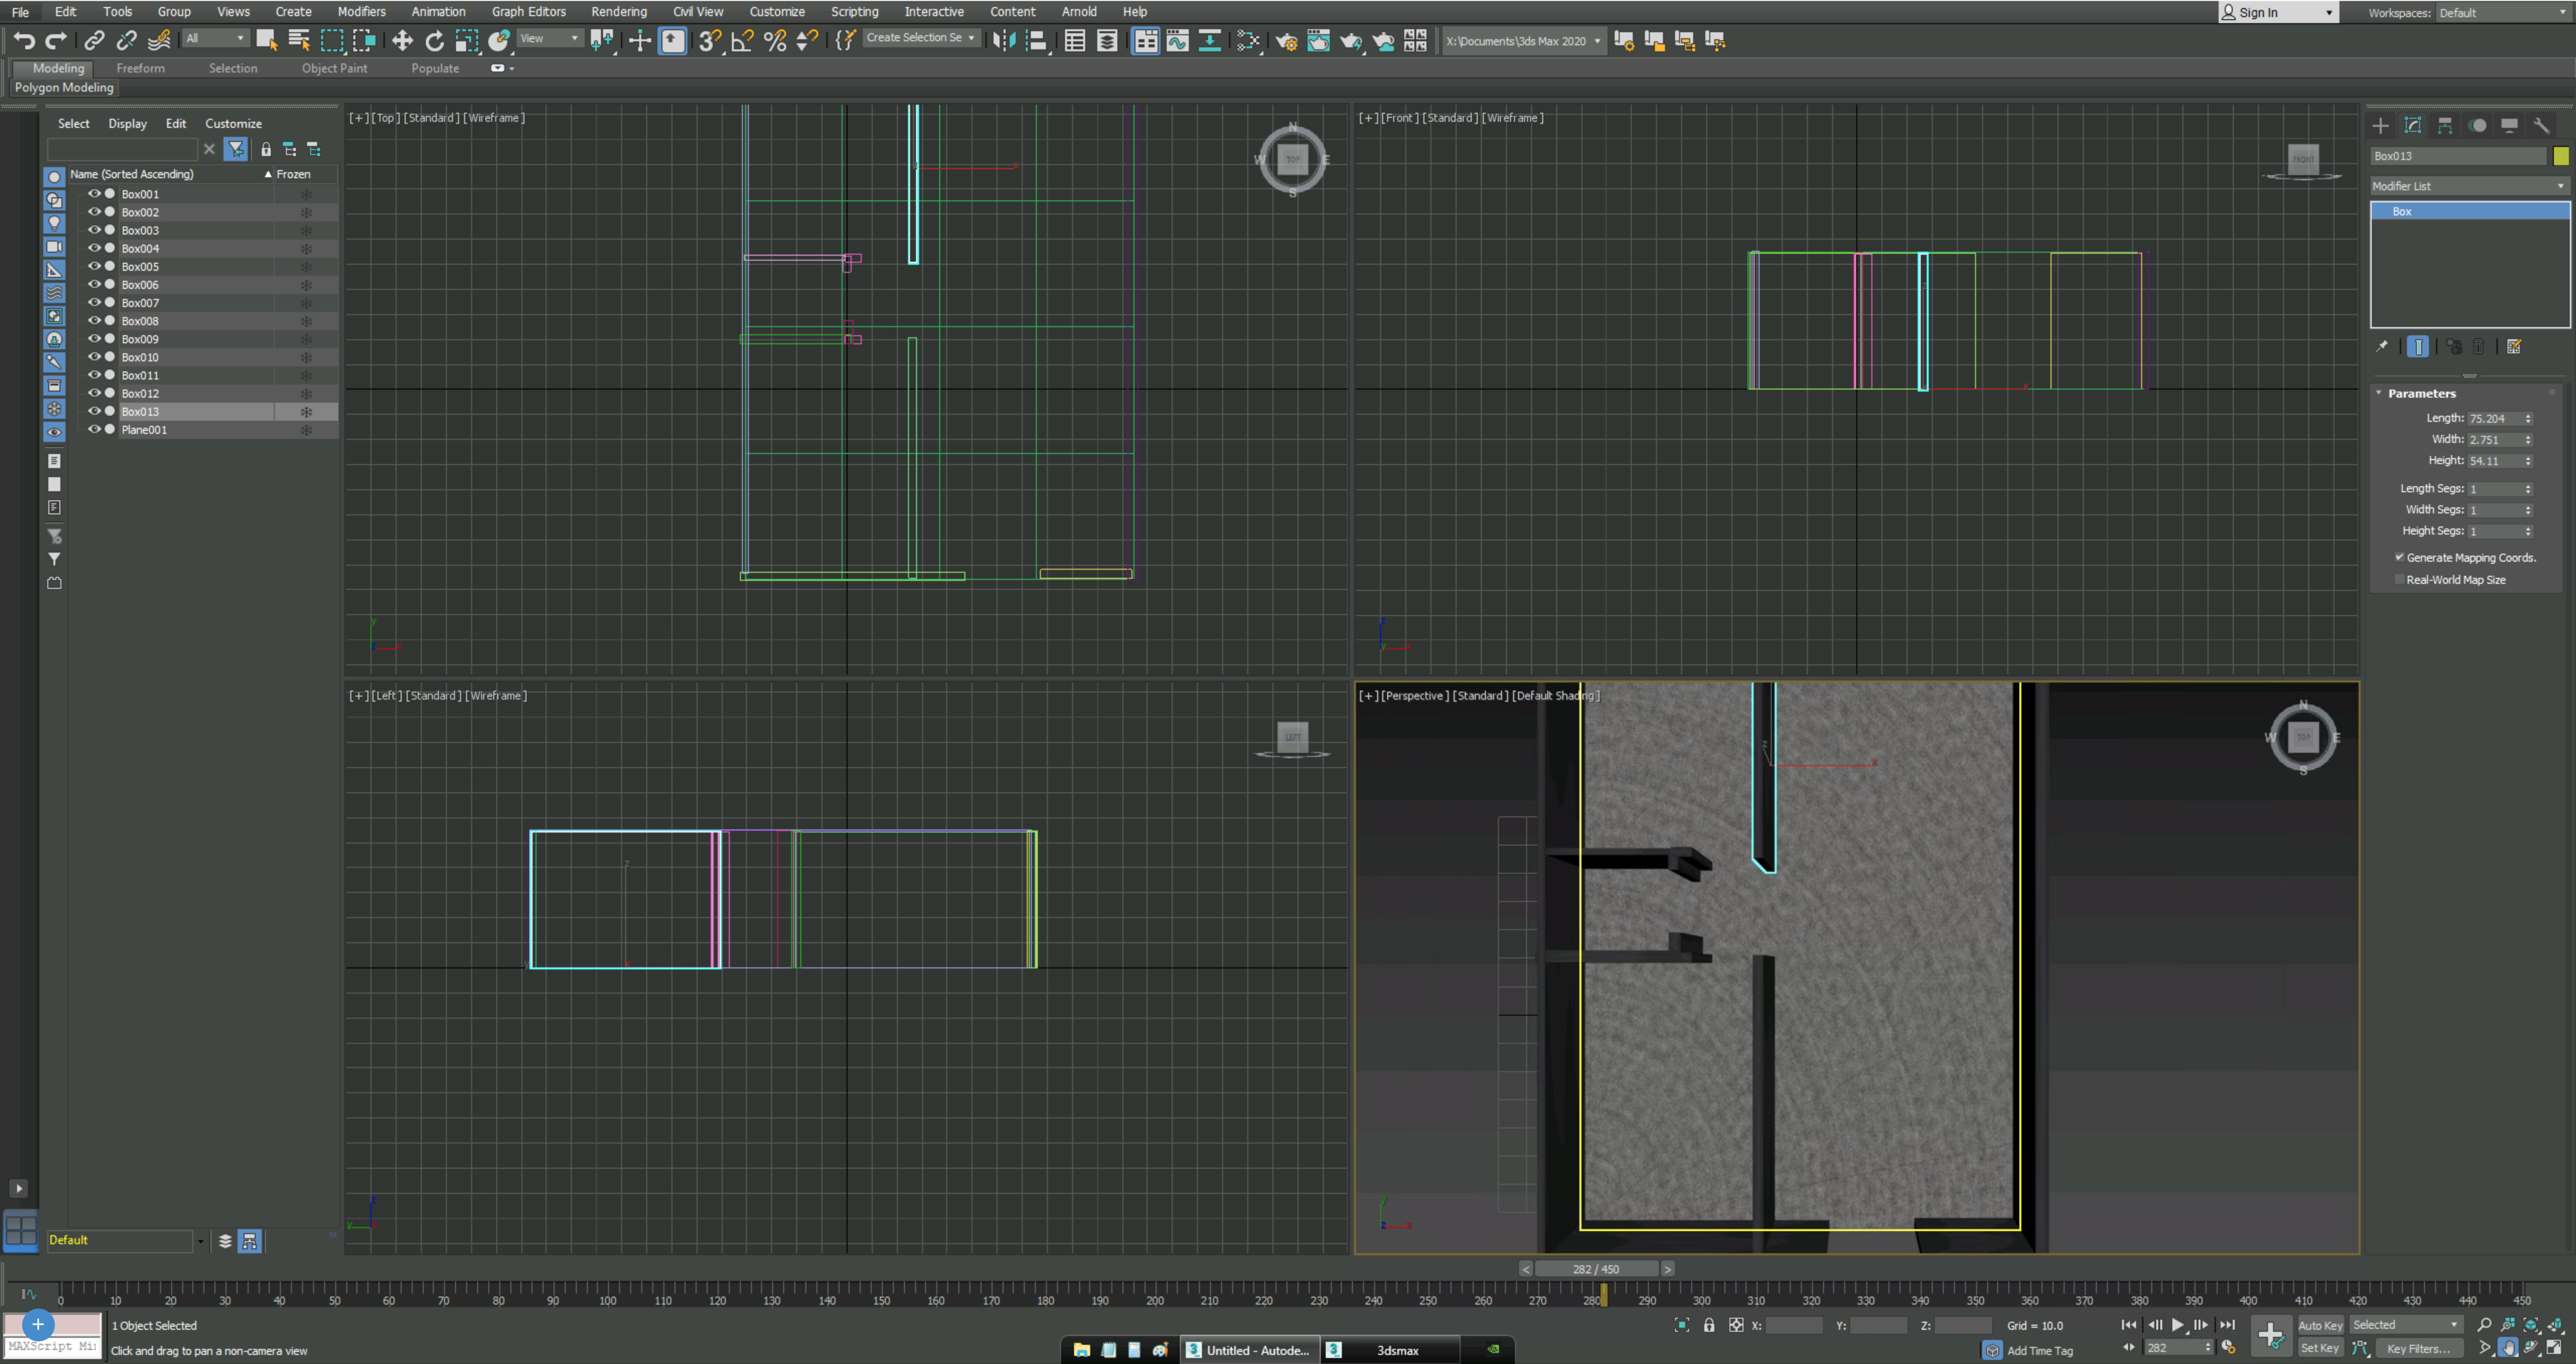
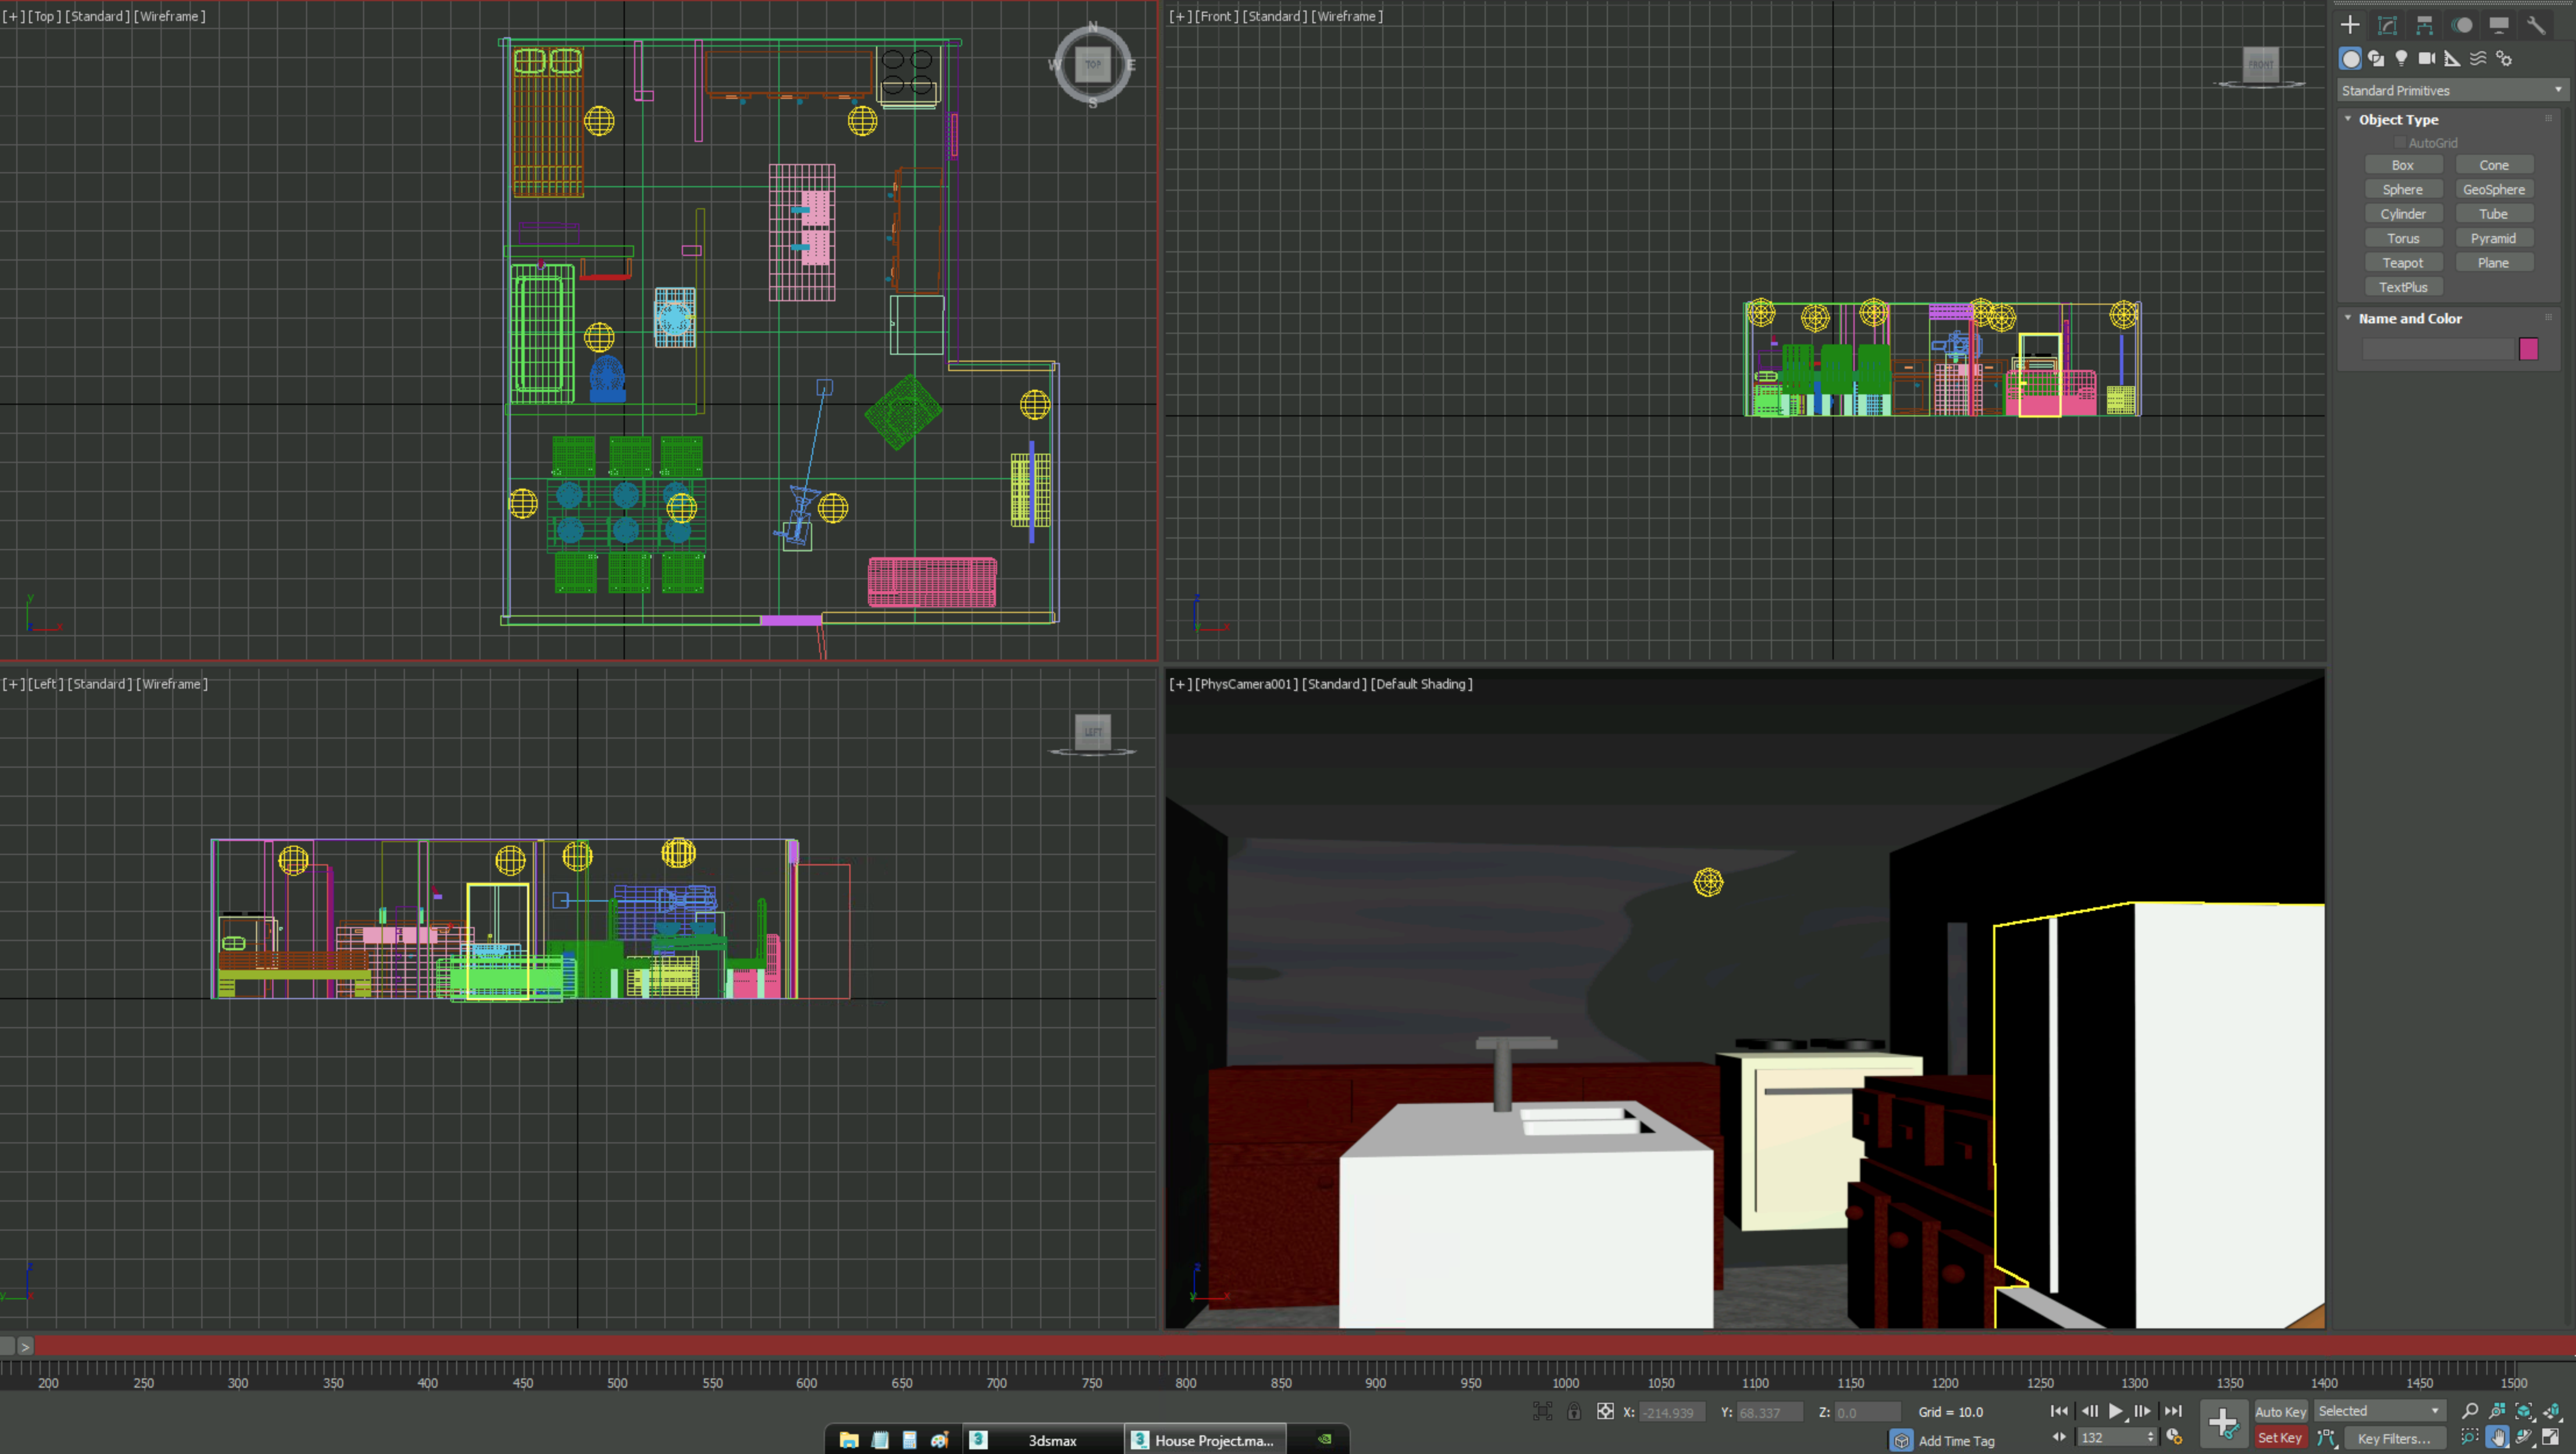
You're almost done!!! All that left is to complete the animation then render your project out. To begin the animation you want to first start by lighting up your house. This may not seem important but trust me, it is very needed. To do this click on your create tab then click on the light icon. Select "Free Light", Then equallly distrubute the light across your house. You can adjust the intesity of the light by using the options on the right hand side of your screen. After you add your light, you are going to want to create box and camera for the walkthrough. To do this just create a normal box, then click on the camera icon in the create tab and select "physical". Then put your camera on your box as shown in the example picture. For the next step, link your camera to your box by clicking the link tool in the top left corner. Doing this allows you to move the box, which now moves the camera too.
Animating Camera Walkthrough
To begin this step you are going to want to place your box and camera at your front door. Before you start your animation, make sure you have around 1500 to 1800 frames. You can adjust your frame count by clicking the "Time configuration" button. To start your animation, click set key, then set your key at zero frames without moving anything. Then, move your slider apporximately 30-60 frames, and after that move your box and camera through the front door. Slowly make your way throught the house by adjusting the frame slider as well as the camera angle. Make sure to maintain a consistent speed for a cleaner result. Once you go all the way throught the house you can exit throught the back door.
Rendering Out Animation
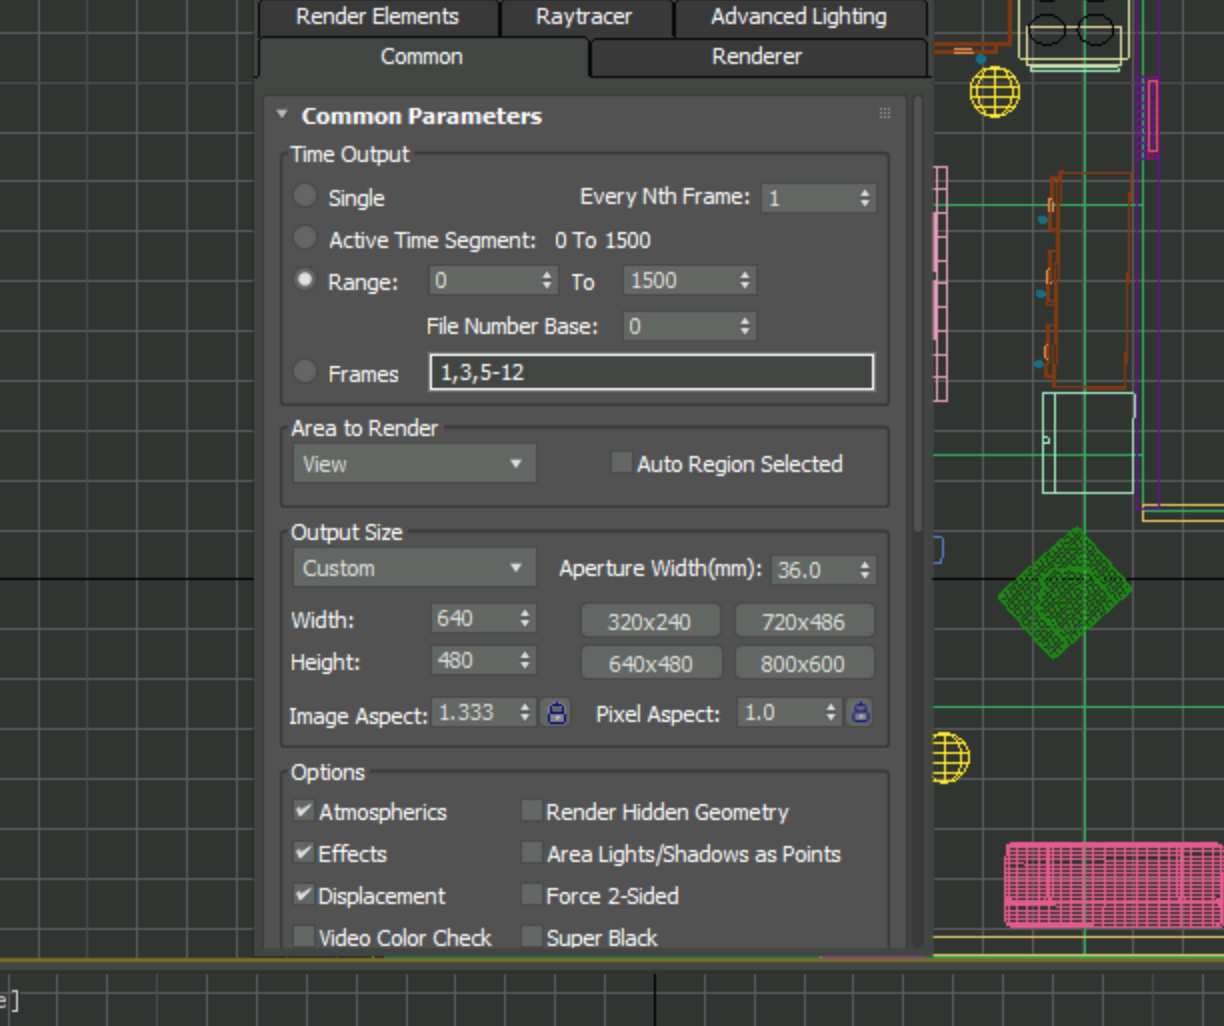
Congratulations! You finished! Now all thats left is to render out your animation. Most desktop computers can accomplish this by pressing F10, however if that doesn't work for you try pressing the "render setup" button. Then, select your frame range, pick which perspective you want(for this project use the camera), and choose your file type. Nice Job! You just completed the Animated House Tutorial!