Hot Wheels With ROCKET ENGINES!
by hunter602 in Workshop > Science
13698 Views, 6 Favorites, 0 Comments
Hot Wheels With ROCKET ENGINES!

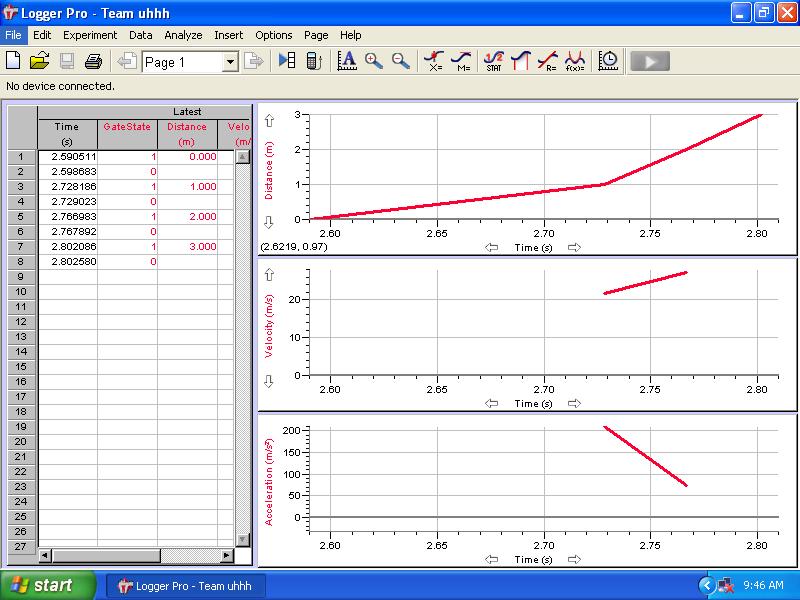
The purpose of this lab was to see how fast in MPH a hot wheels car could travel if we added a rocket engine on to it. We went through many obstacles throughout the lab such as the photogates not picking up the data or the car simply falling apart before all the data could be collected. Warning: doing this lab might be dangerous and must watch out for any flying rocket engines that fly off sometimes.
Materials That You Will Need

- 2x4 board, 6 meters long (smooth on top)
- electrical tape
- rocket engine (A, B, or C, doesnt matter)
- Car battery and ignitor wire to set off your rocket engine
- 5 Photo gates with vernier program (computer needed)
- 5 Stands(one to hold each photogate) and to adjust their height
- Metal L bracets( 2, one for each side)
- some nails and a drill
- Wire
- empty pen shell, cut into a smaller size than your hot wheel
- hot glue
- plastic zip ties
Creating the Car

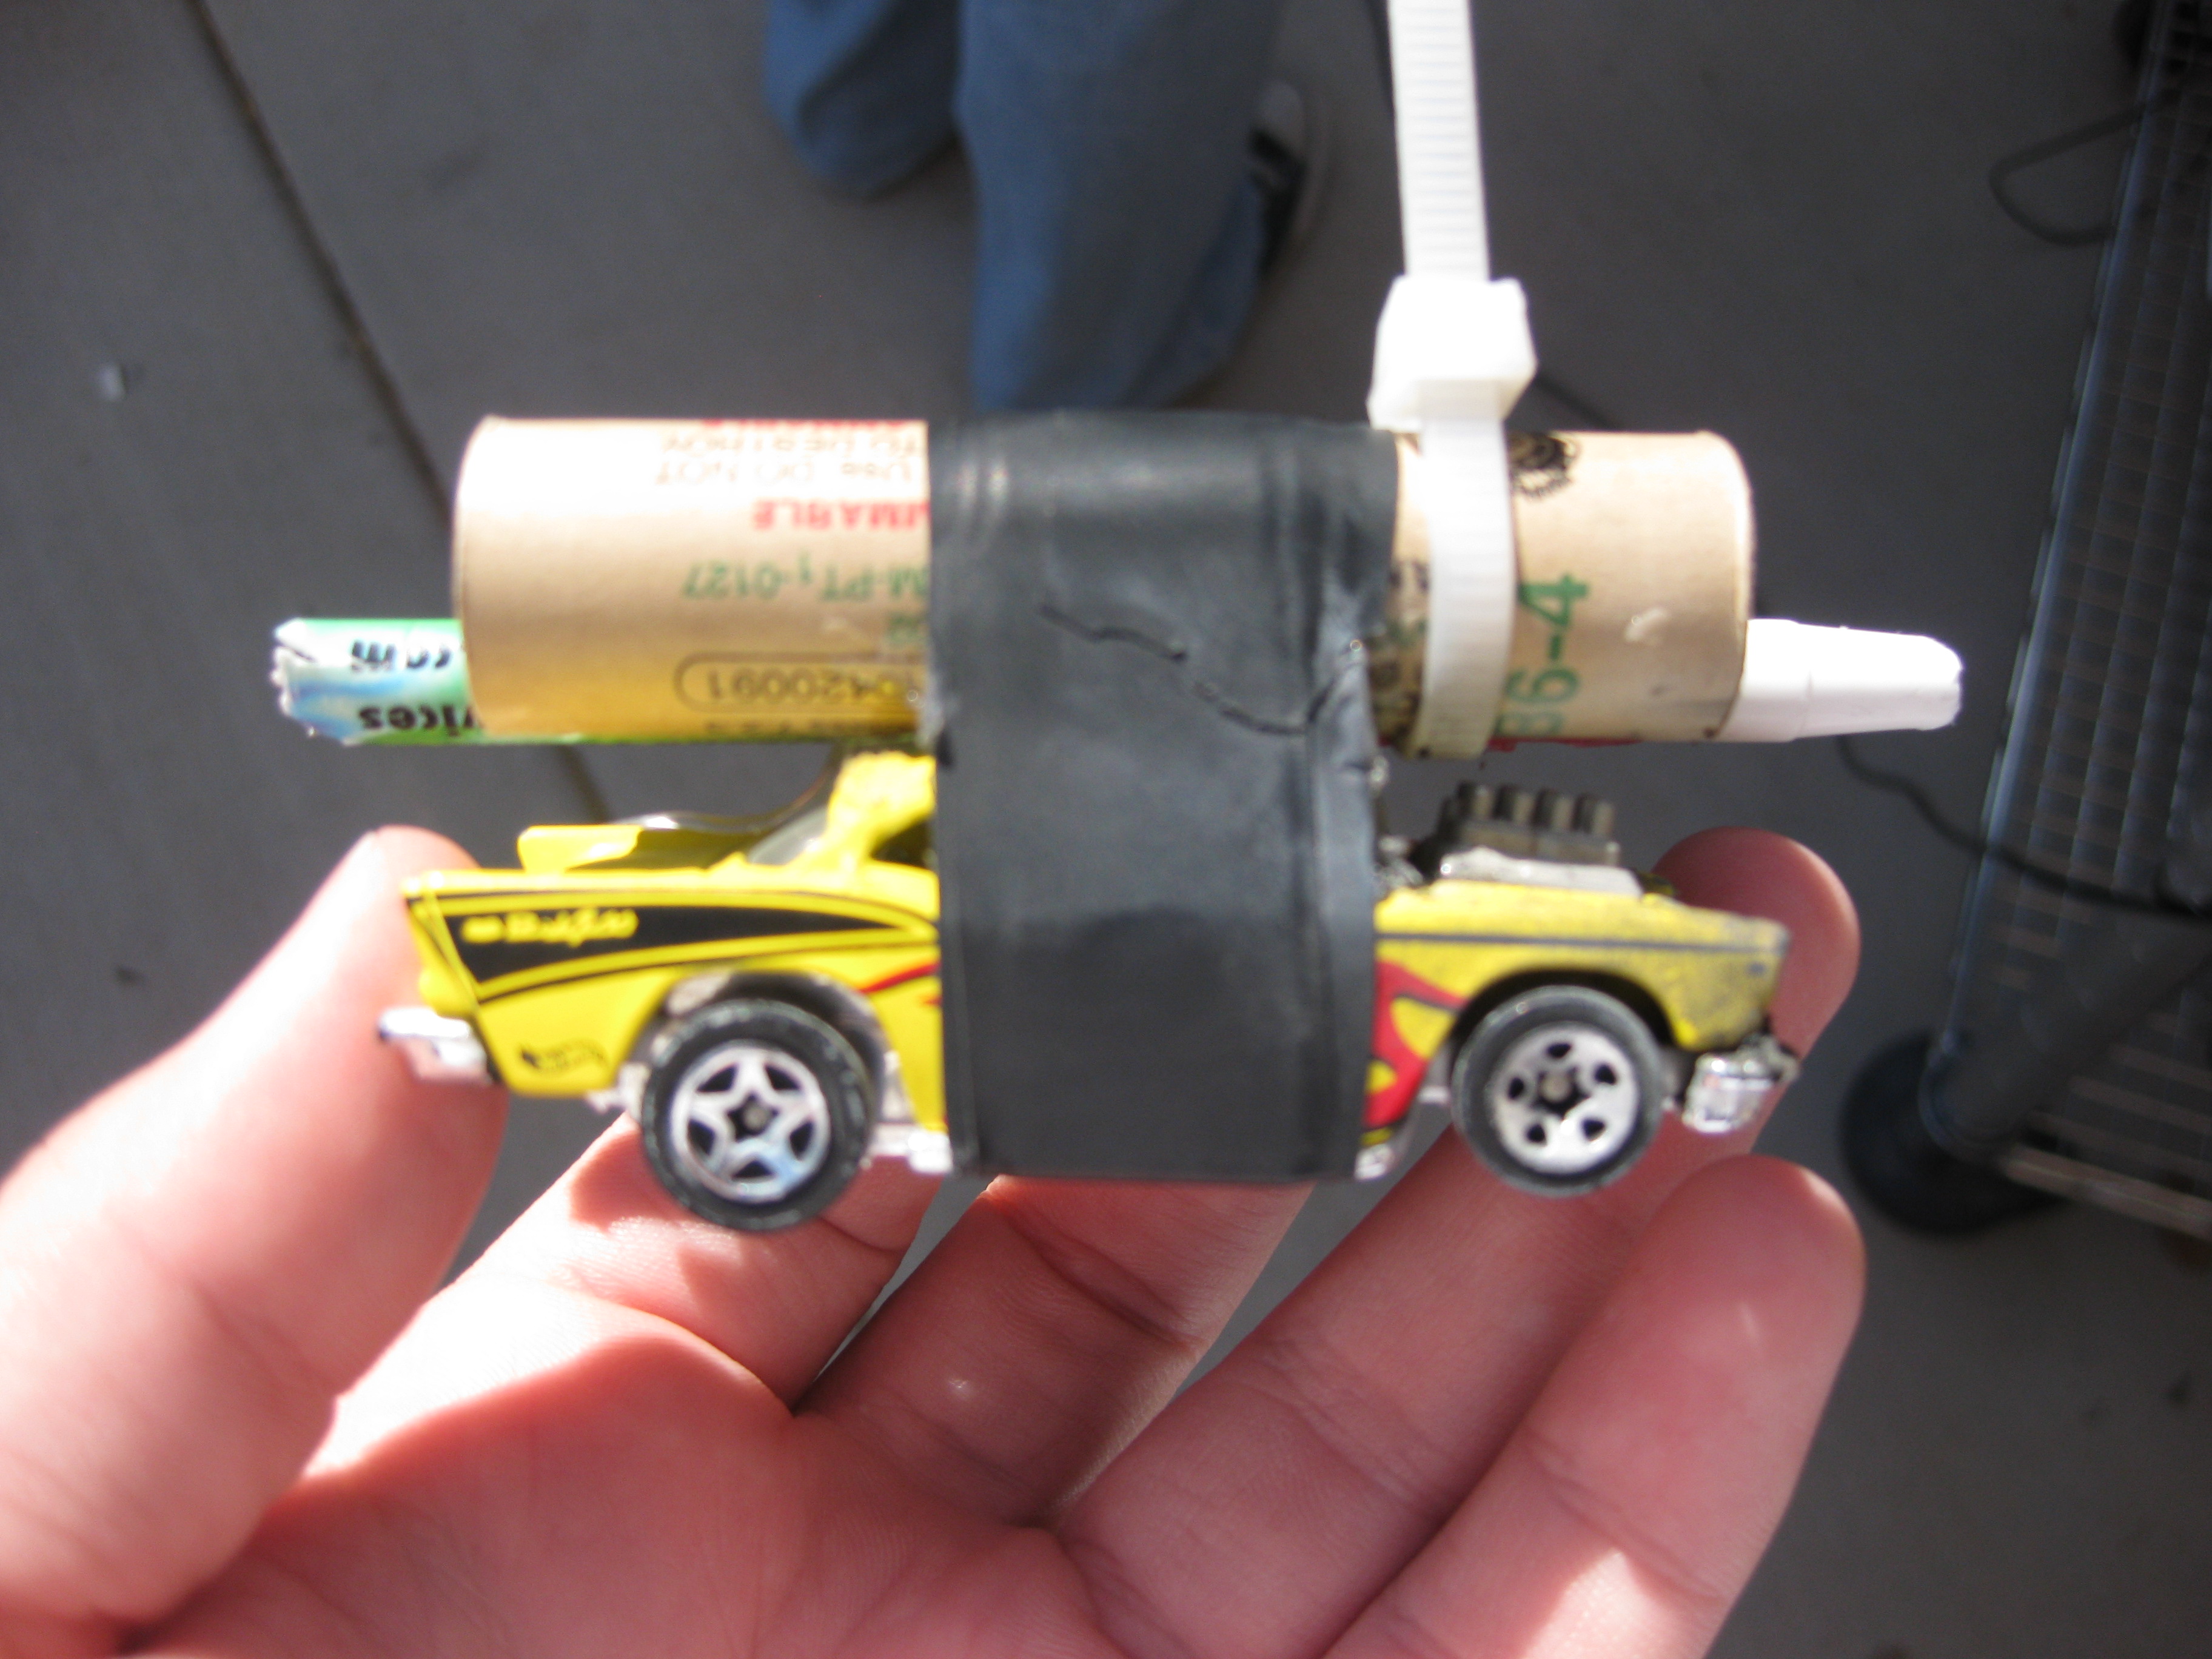
Get one of those hot wheels or matchbox cars, make sure that it runs smoothly. Get some electric tape, super glue or hot glue, empty pen shell, and a rocket engine (the ones used for model rockets. A, B, or C motor it doesn't matter). Now on your hot wheel you are going to want to attach the rocket engine to the top, make sure it is not angled, once you have super glued it and given it time to dry you should then glue the empty shell to the left or right side of the rocket engine and wait for it to dry. Afterwards when everything is glued on you will want to get the electrical tape and wrap it around your car and its acceccories. Make sure you tape the rocket engine and car very tightly together along with the pencap and making sure the tape isn't blocking the path of the wheels. Once that is done you can now take a zip tie and tie it around anywhere on the car so long as it can still run smoothly and that the extra tip of it is sticking upwards so that the photogates can pick it up when it passes by.
Setting Up the 2x4
.JPG)
.JPG)
Now for setting up the track, you will want one of those 2x4 wood boards but make sure the distance is measured up to 6 meters, so that you can set up 5 photogates every meter and have the last meter for it to hit the L bracet and run out of smoke. You will want to have the L bracets nailed in at each side very tightly for they are going to stop the car's inertia once it hits. This will cause its acceleration to go negative and cause a sudden stop right after it has reached its top speed. Becareful though because sometimes the force of the car may come in so strong that in can bend the L bracet and fly off. After the bracets have been set up on each side and nailed in very tightly you wil want to get the wire and wrap from one L bracet and extending it to the other one wrapping it very tightly. This will create a friction for the car making sure that it goes along the path of the track.
Setting Up the Photogates
.JPG)

How to Run the Experiment

Collecting Data
