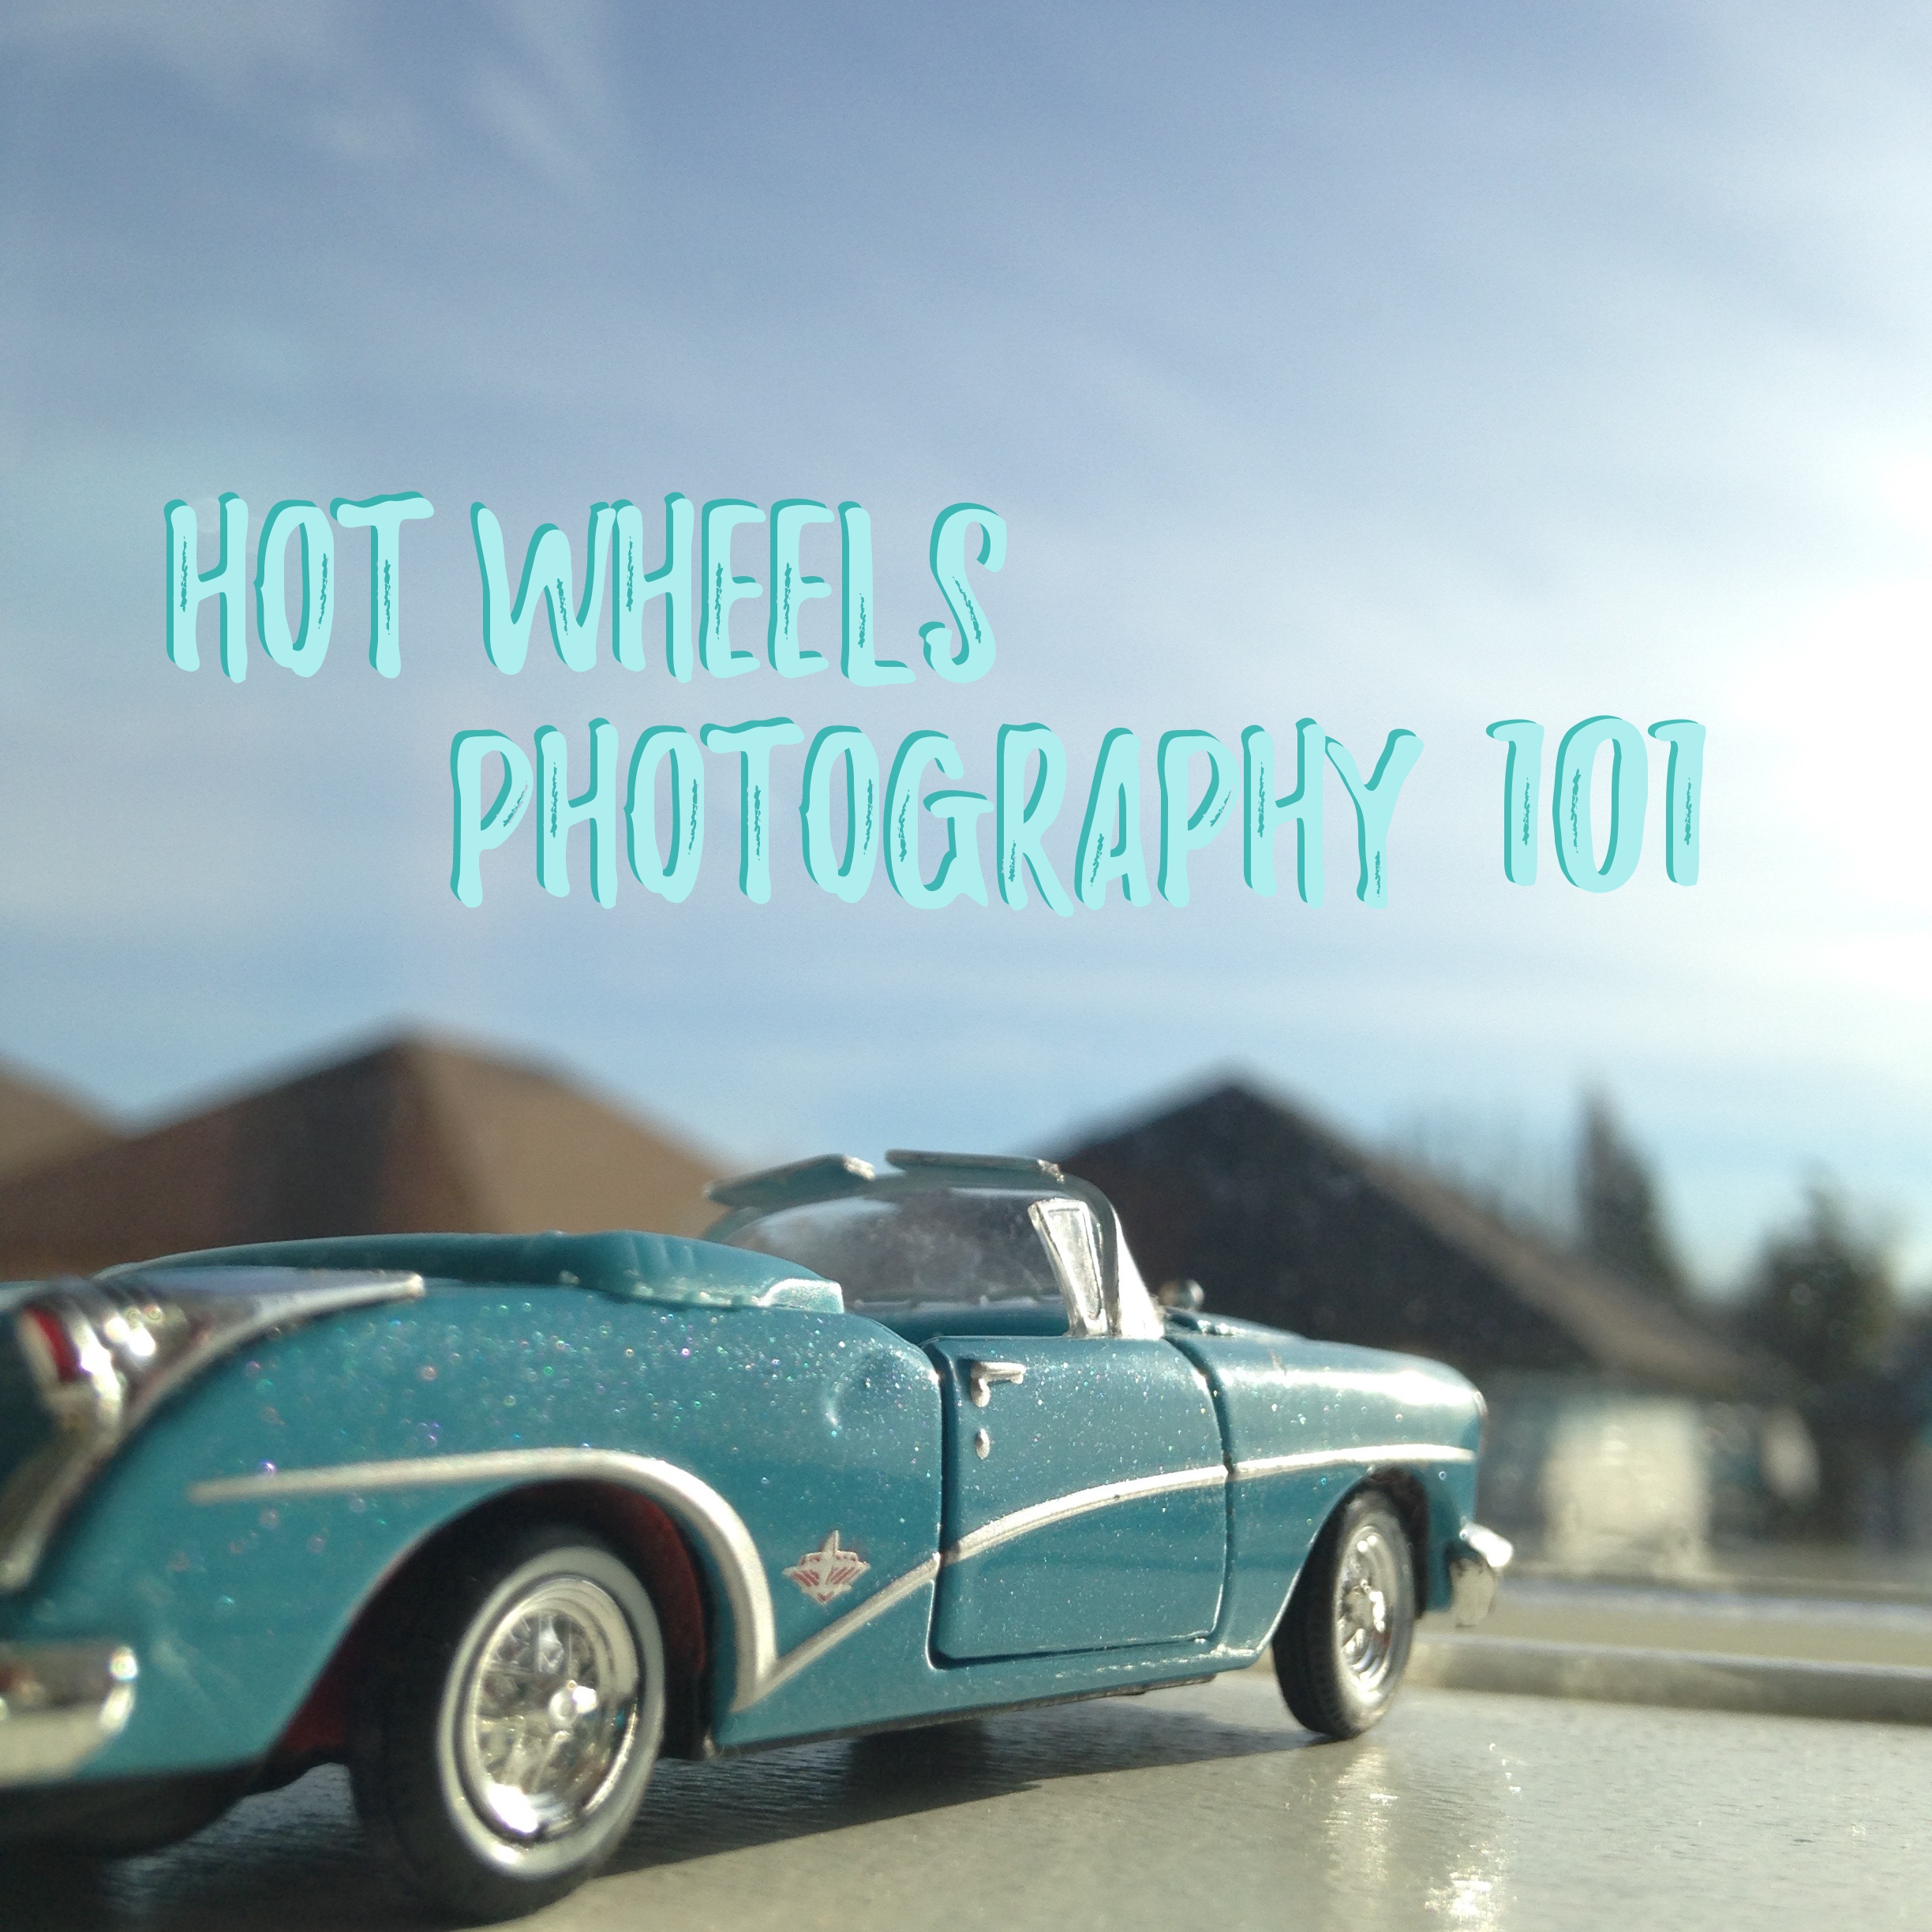
Hot Wheels Photography 101
by mrwonton in Design > Photography
24949 Views, 108 Favorites, 0 Comments
Hot Wheels Photography 101
.JPG)
I have always wondered: ''Why is it so hard to merge two totally different subjects into one?'' It is like trying to merge lava and water. It is frustrating. BUT.... with the one and only ''Hot wheels photography 101'', the impossible just became a reality. (The first caveman said that when fire was invented)
You are about to witness the first, tips and tricks of hot wheels photography 101.
Get your toy cars and camera ready for action!
What Is Needed?
I'm not a photo guru, Lets face it: CAMERAS ARE EXPENSIVE. I sadly don't have access to an amazing:
''Canon EOS Rebel T7i DSLR'' (that last part is a camera.... not an ancient dialect.)
Photos taken with:
-Iphone 5c
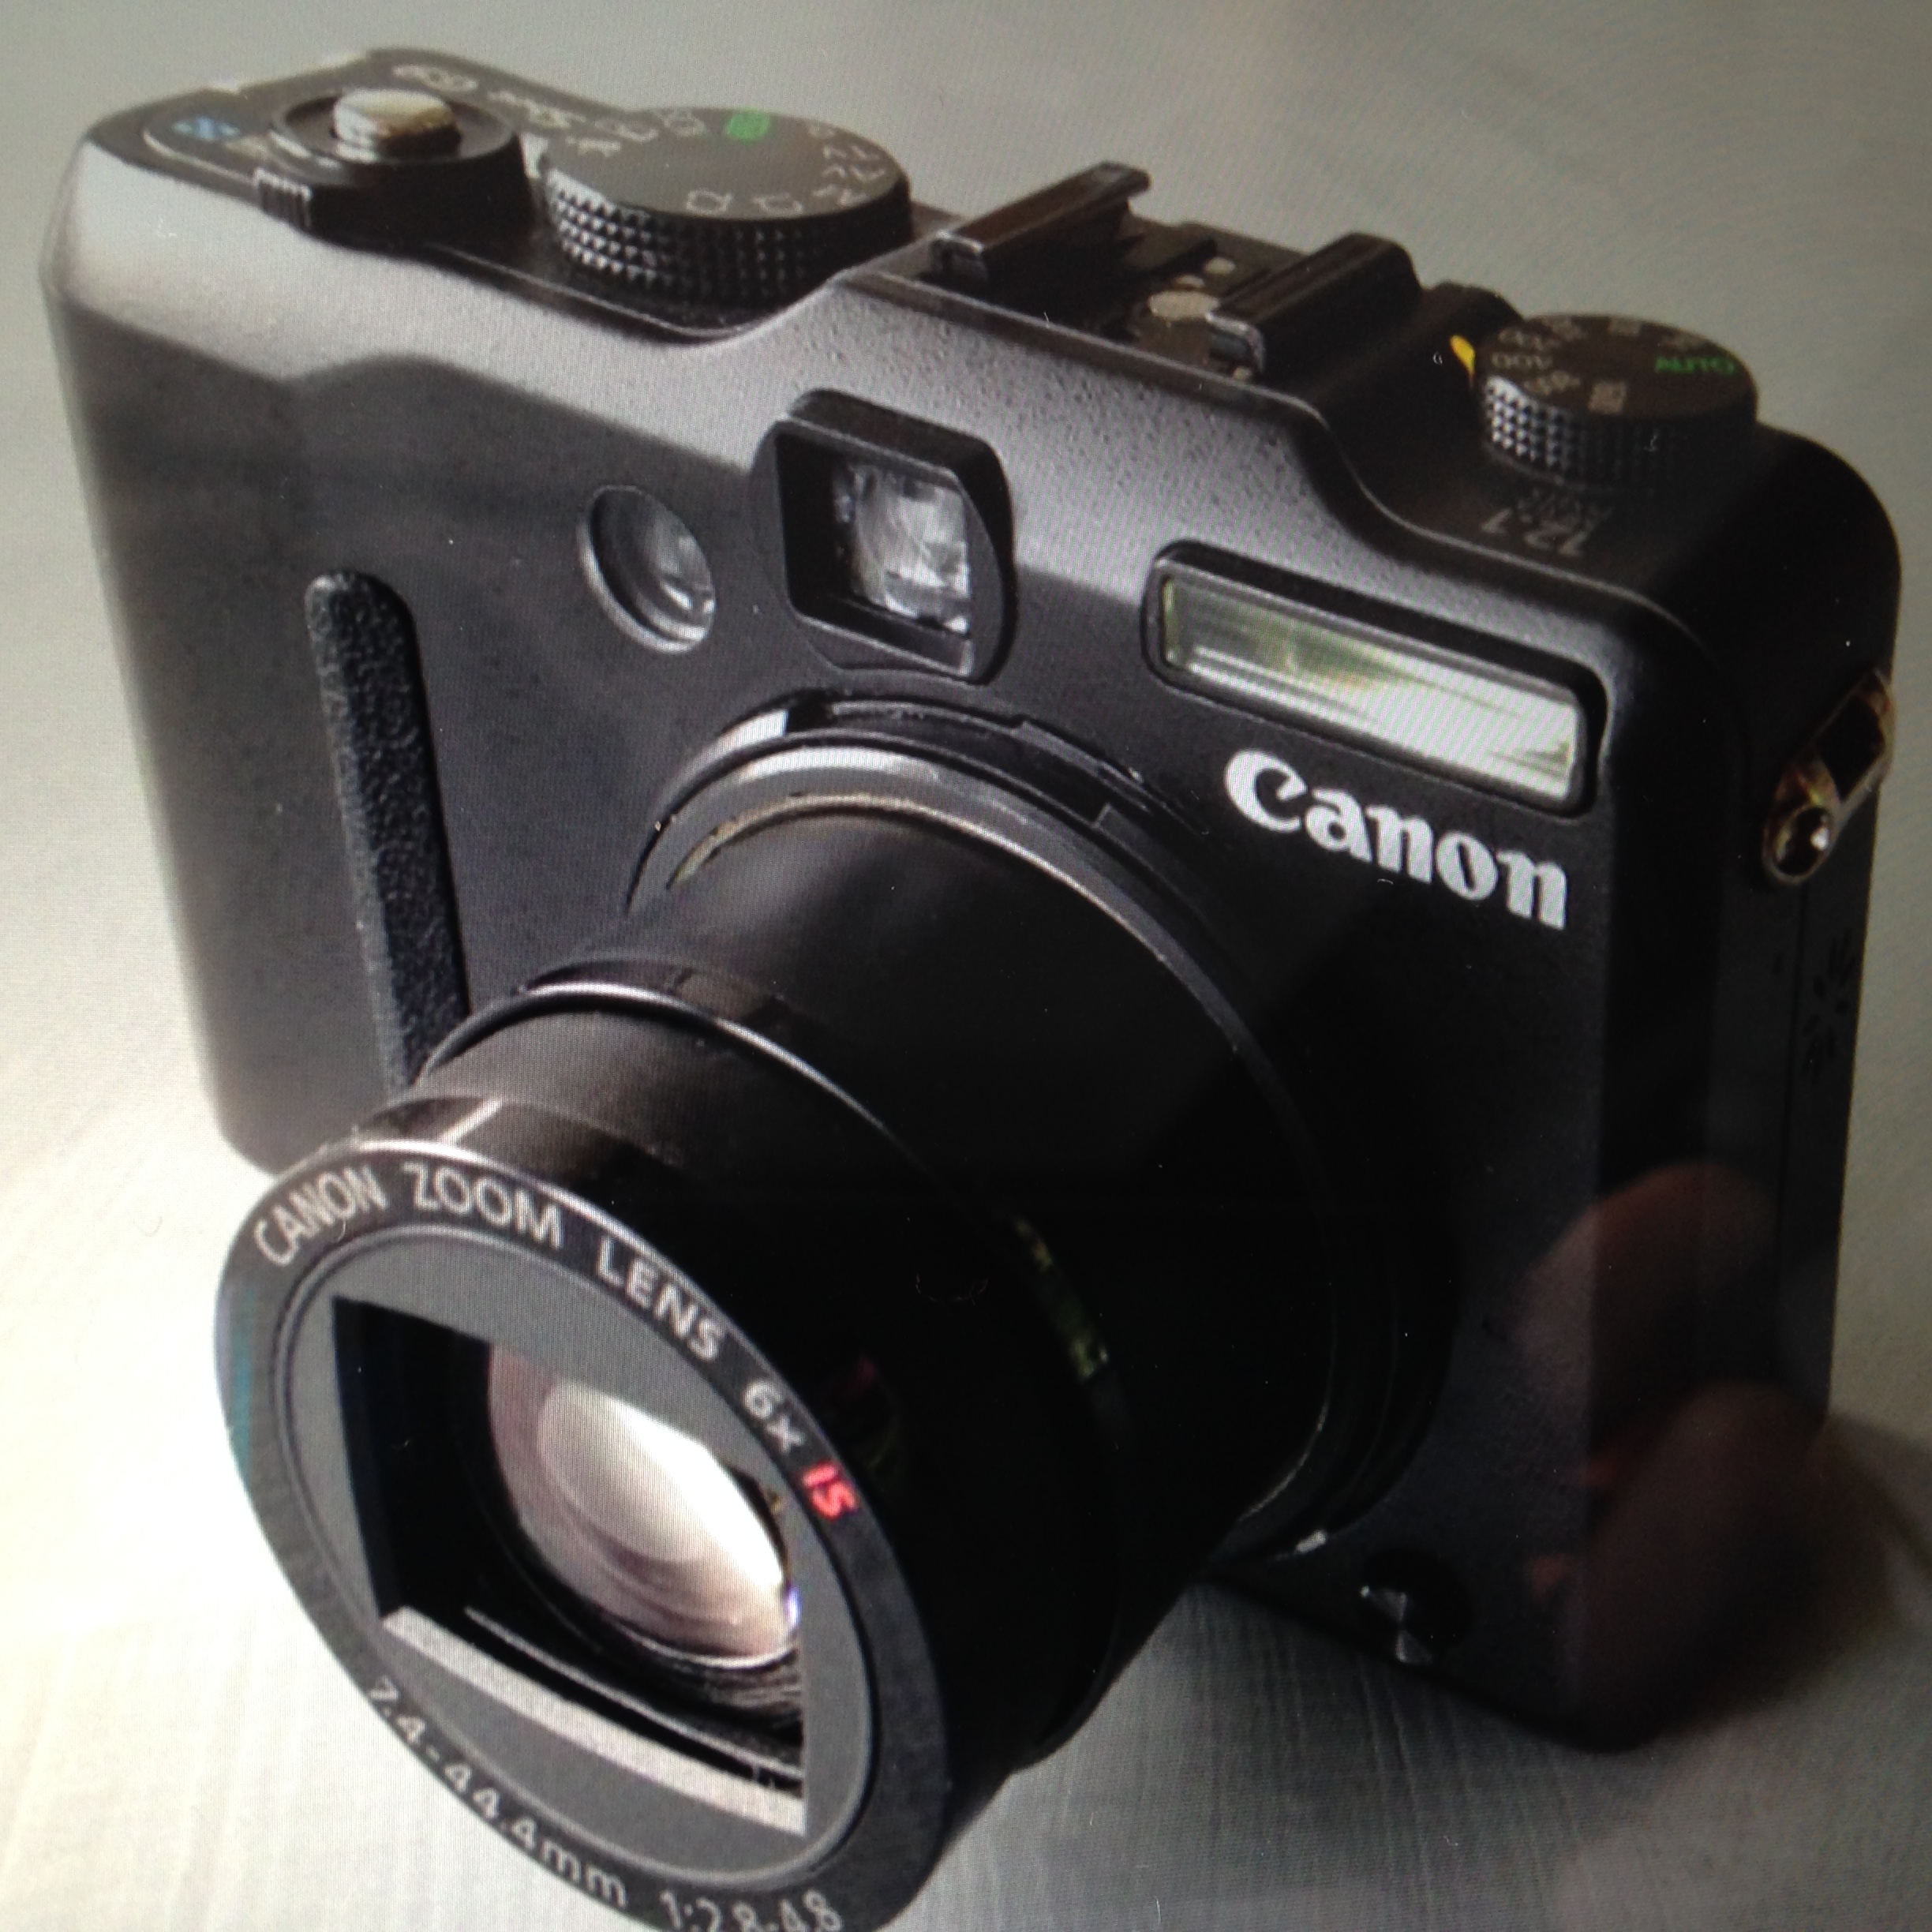
-Canon G9 camera
Extras and subjects:
-Toy cars
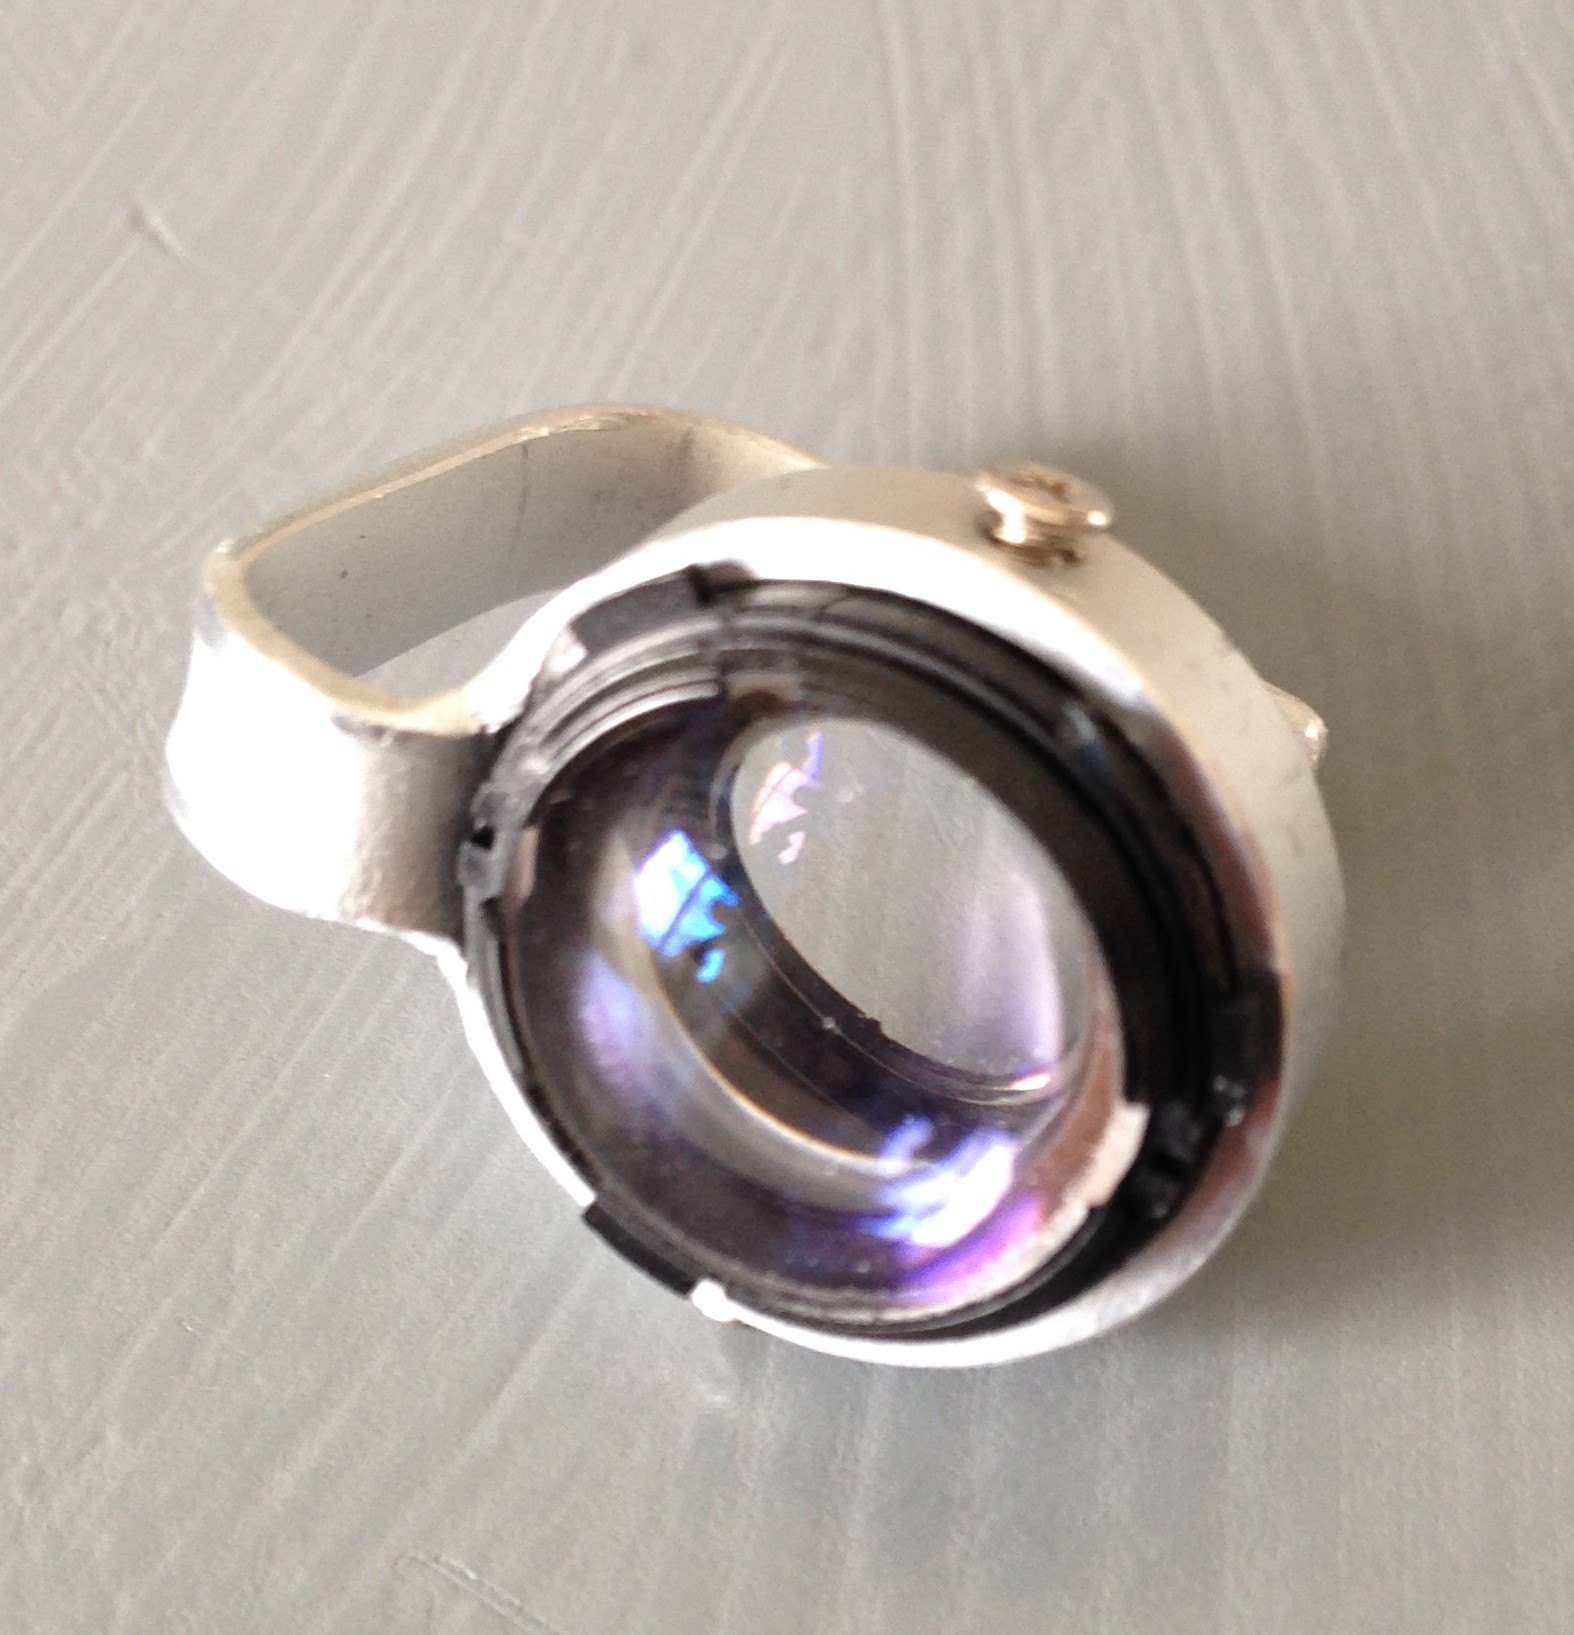
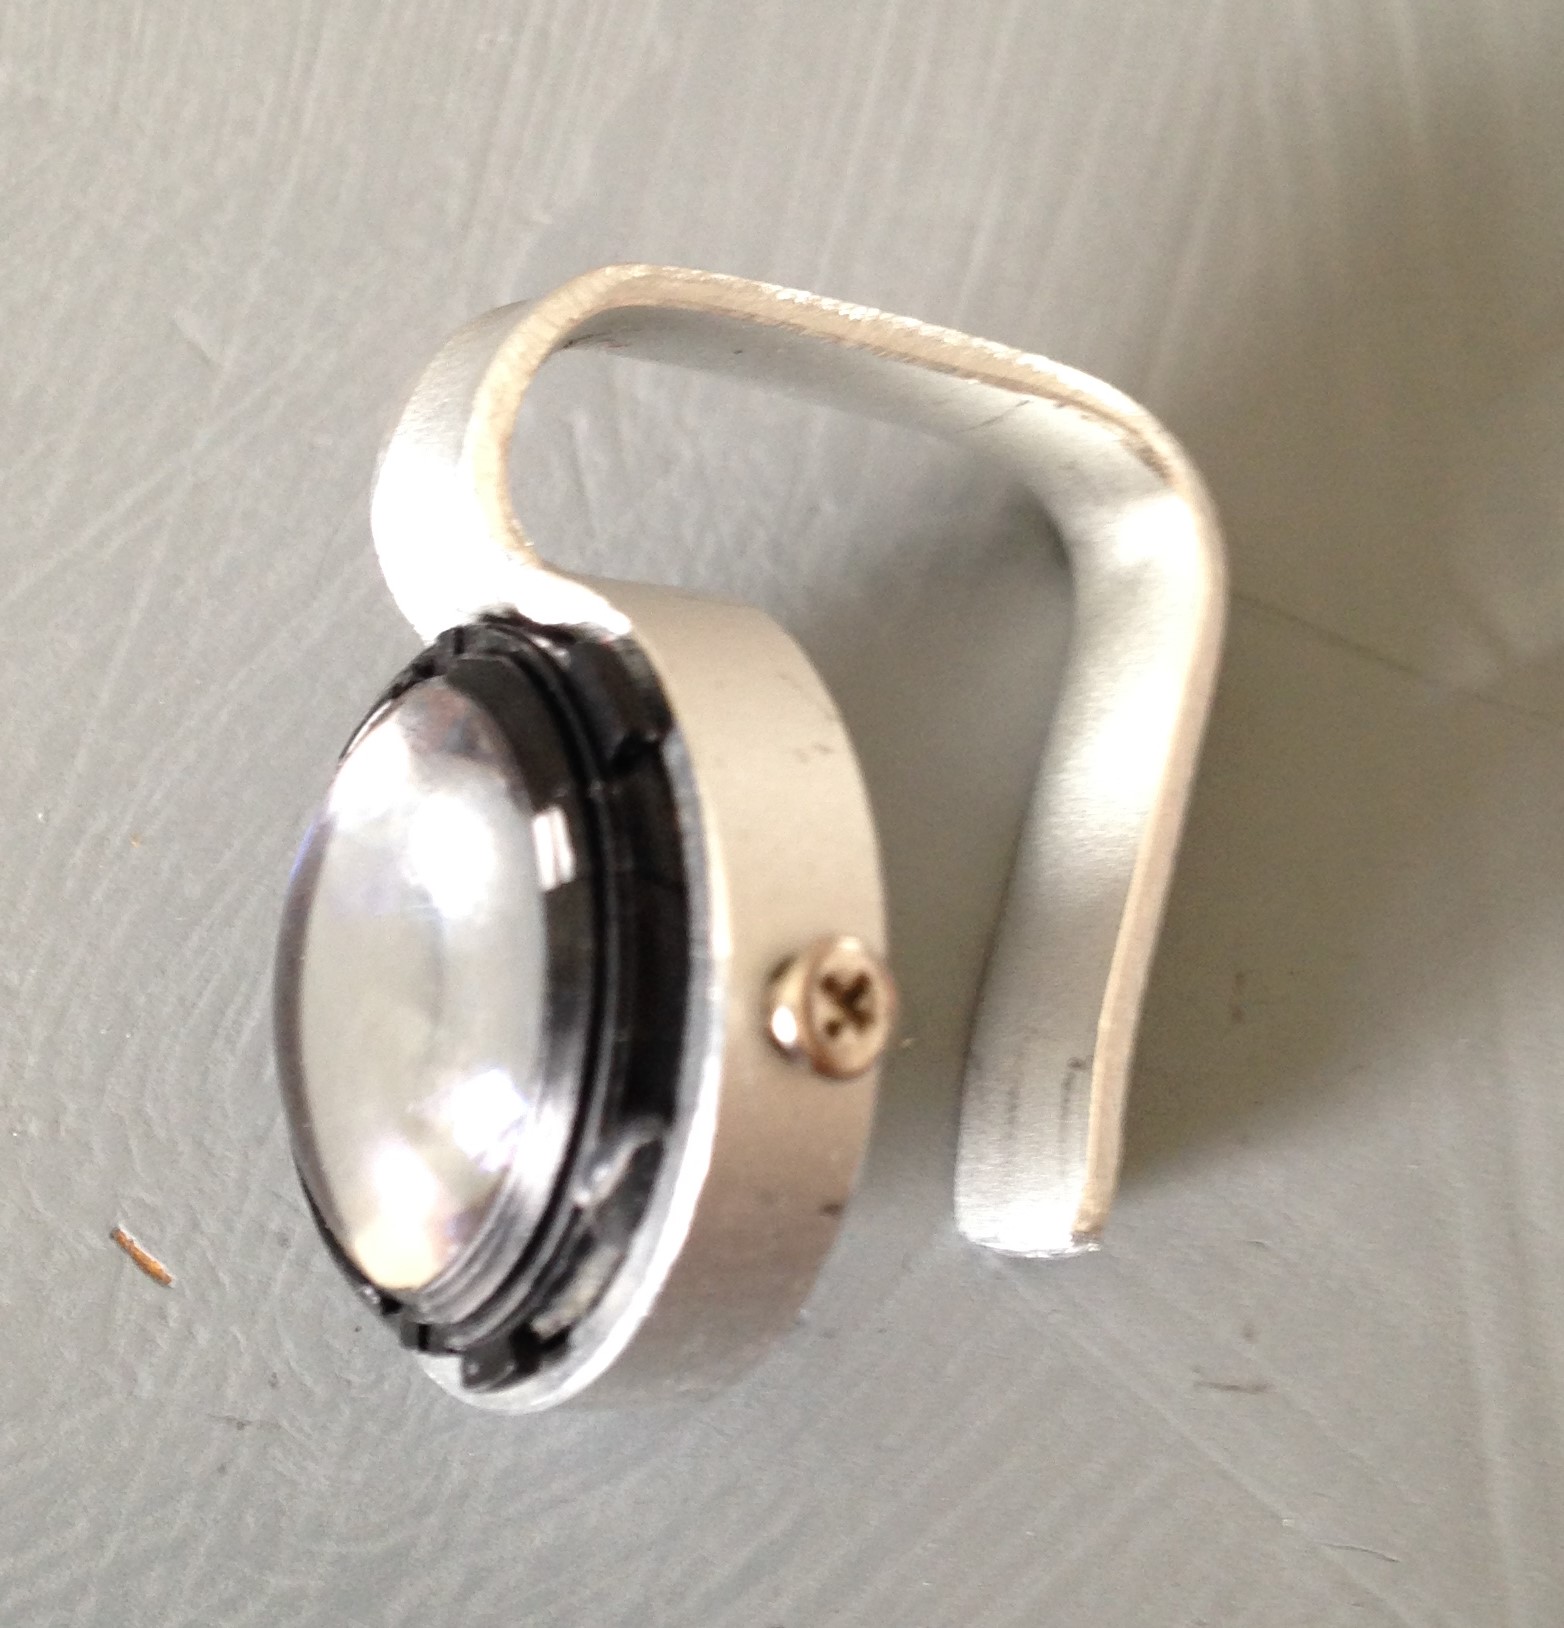
-Homemade macro lens
Photo editing software:
-Adobe lightroom for Iphone
The Basics of Iphone
Most of these photos are taken by Iphone. (This is a touchy subject: ''SAMSUNG! Iphone!'')
HOW?
-Point at subject.
-Focus.
-Press the shutter.
-Done.
Toy Car Basics
Not all, toy cars are made equally. I find that the limited edition hot wheels cars work best (the cars in the photos are the hot wheels track or race day.)
Some cars are made with headlights. (I'll get to that later.)
Some toy cars are made with rubber wheels.
Some toy cars are made with roll cages!
If the car has more detail, the final product will be a better photo.
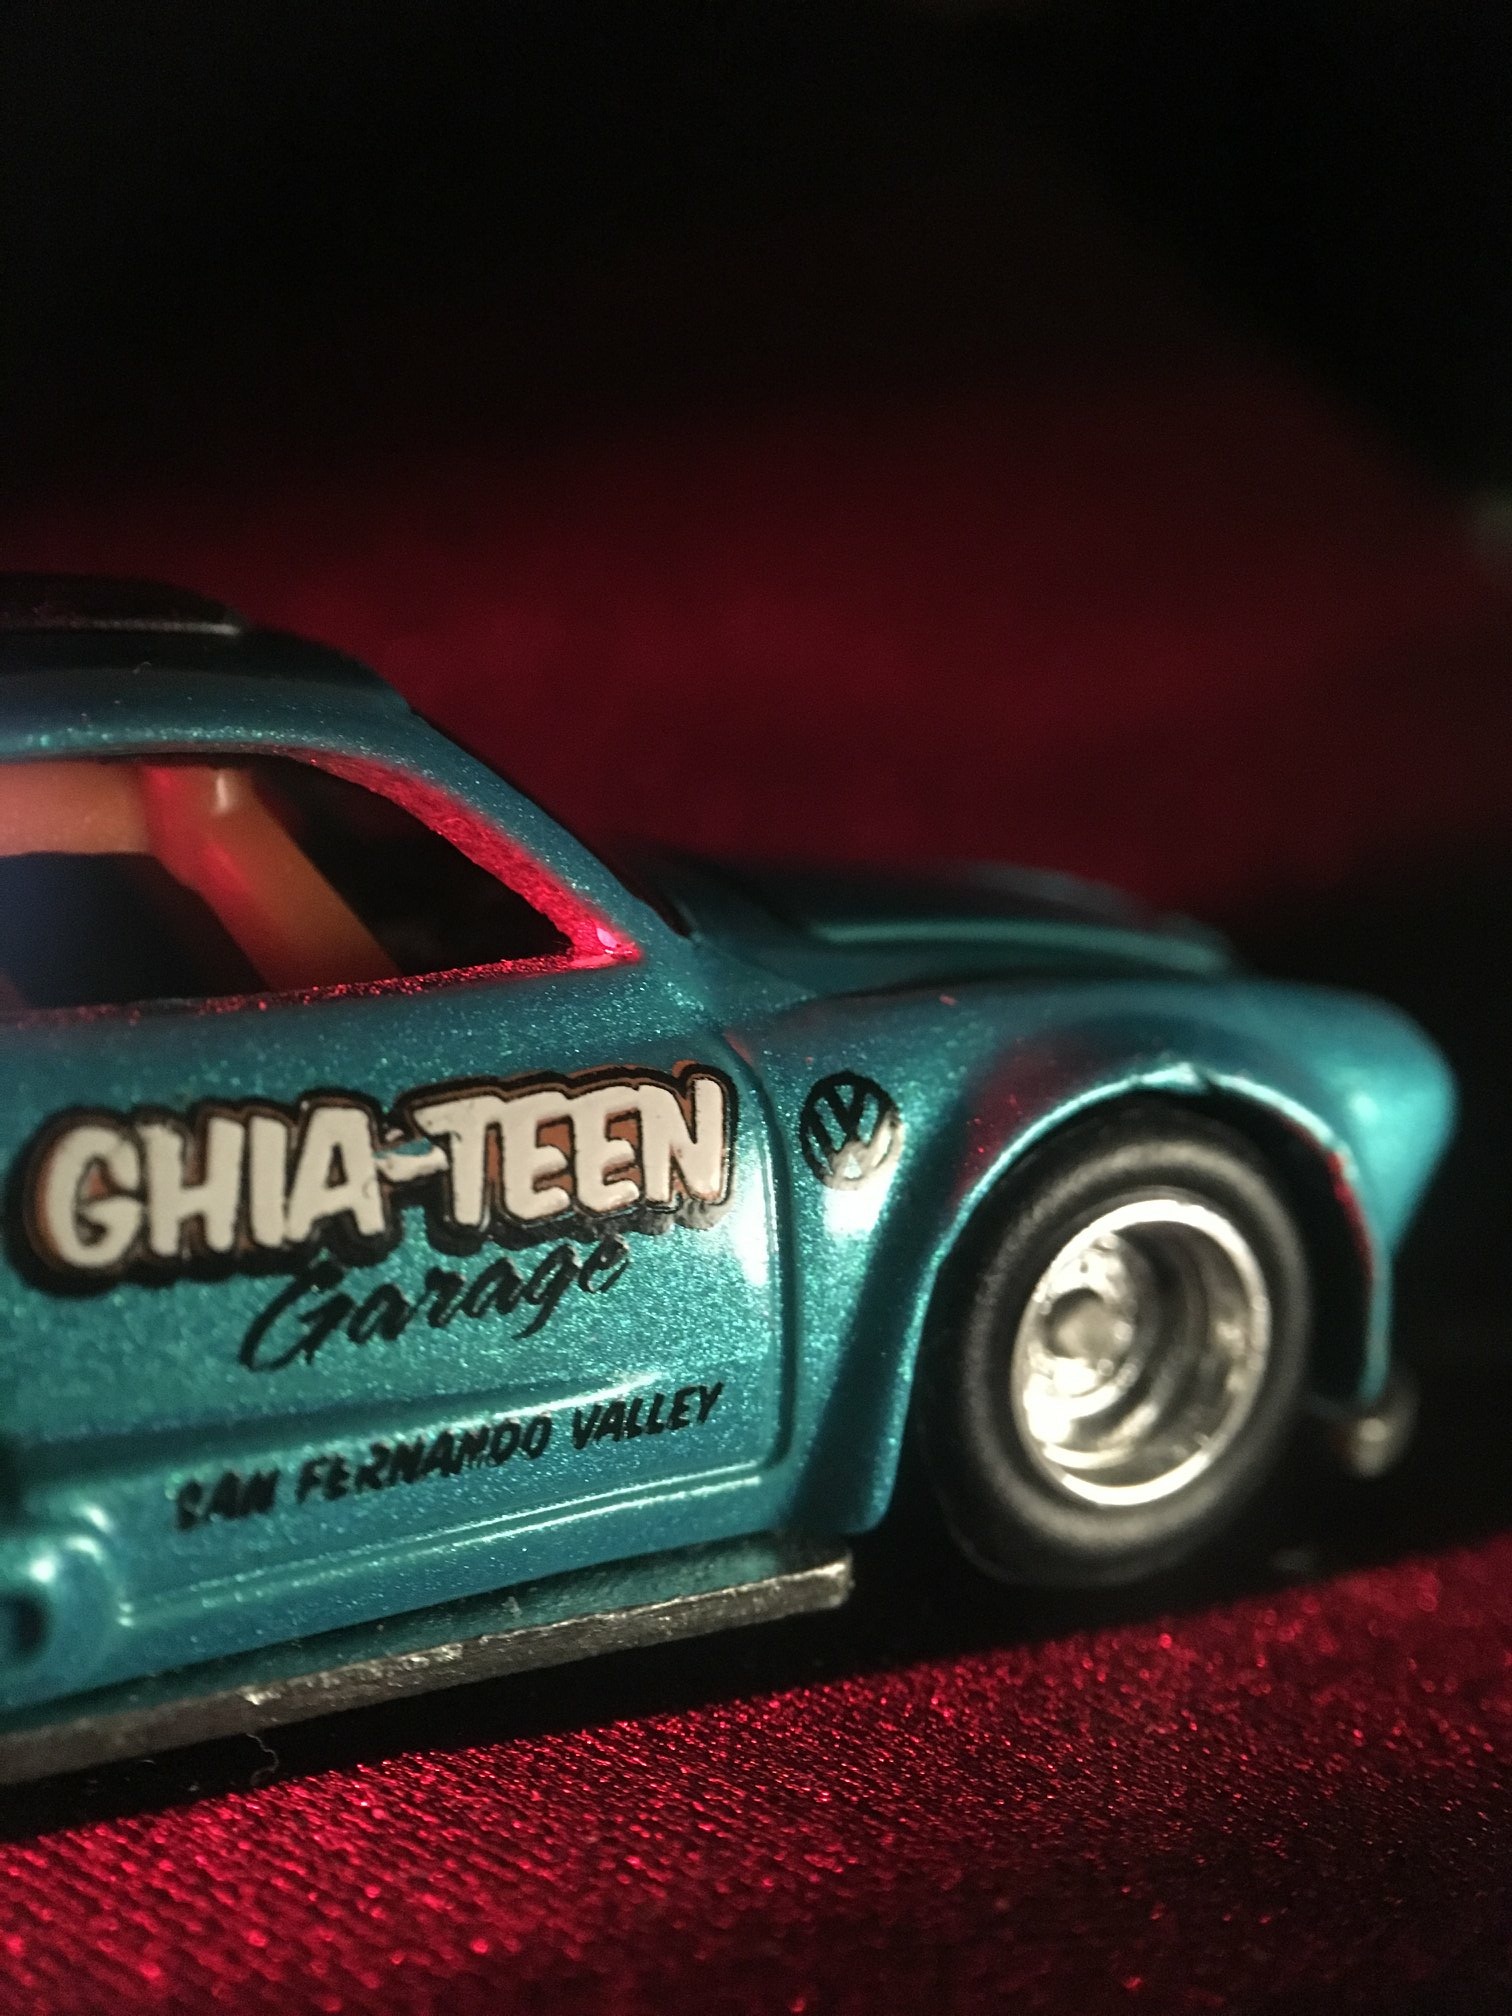
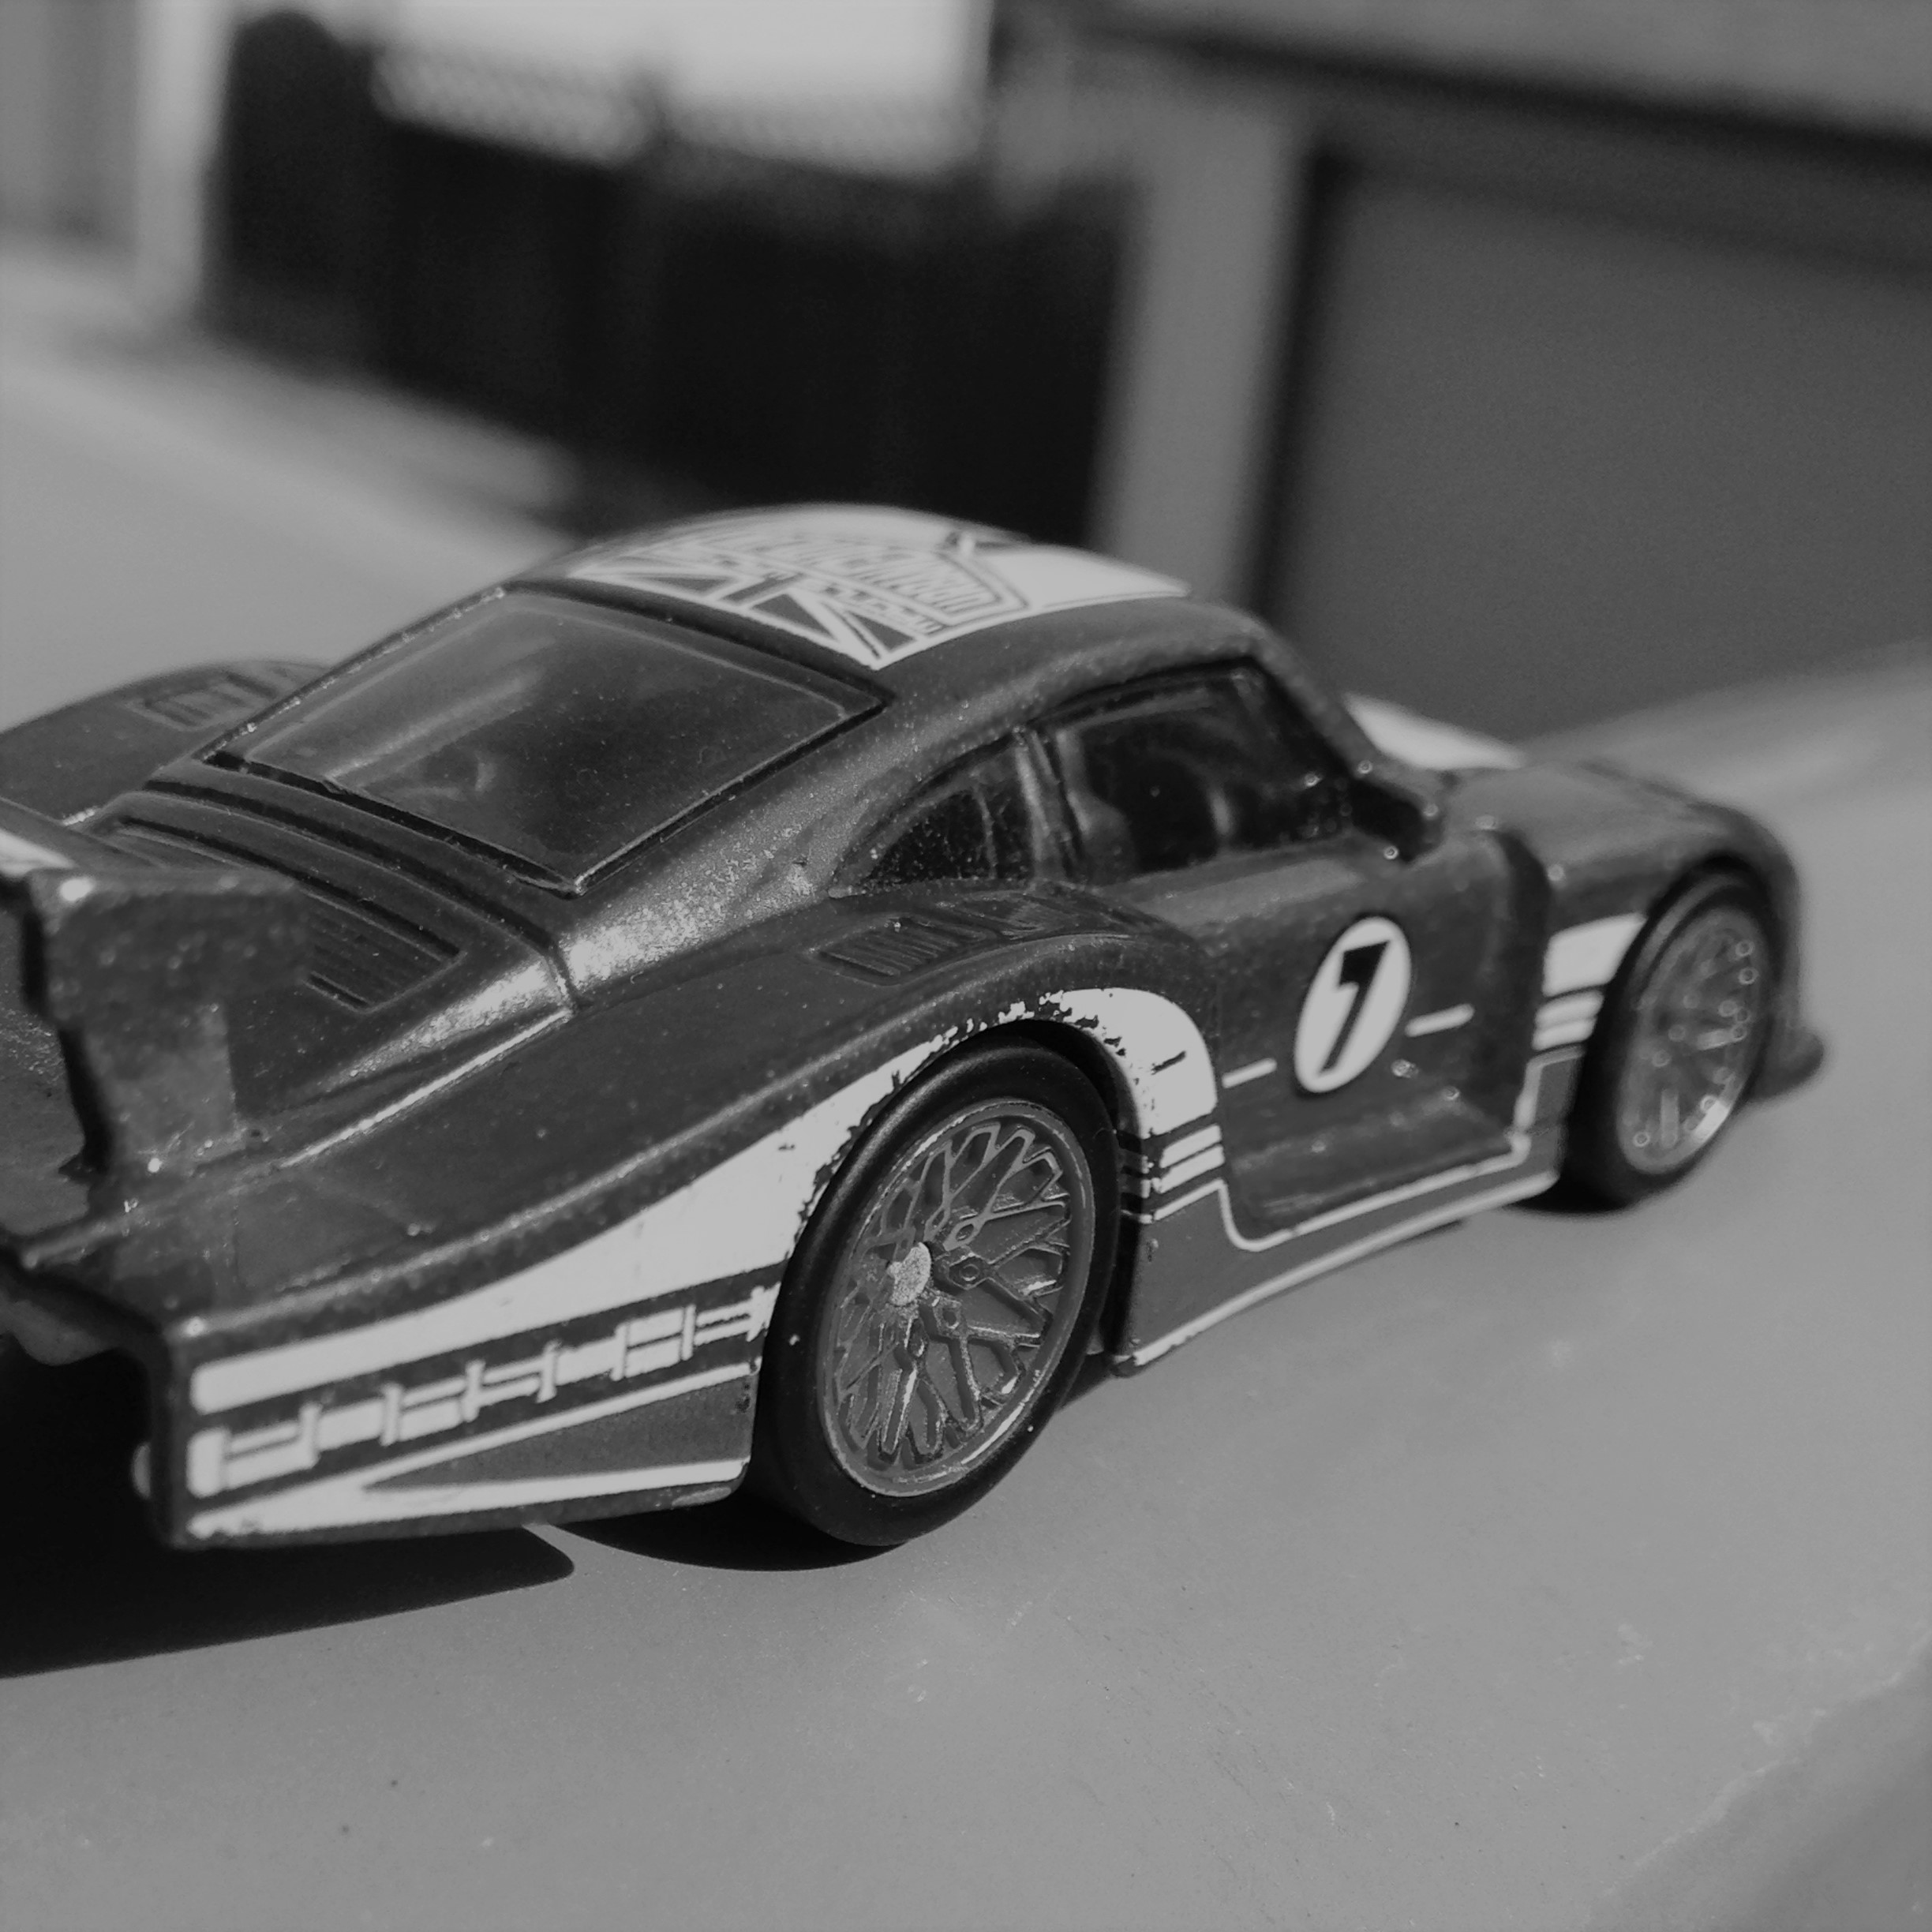
Lighting (Artificial)
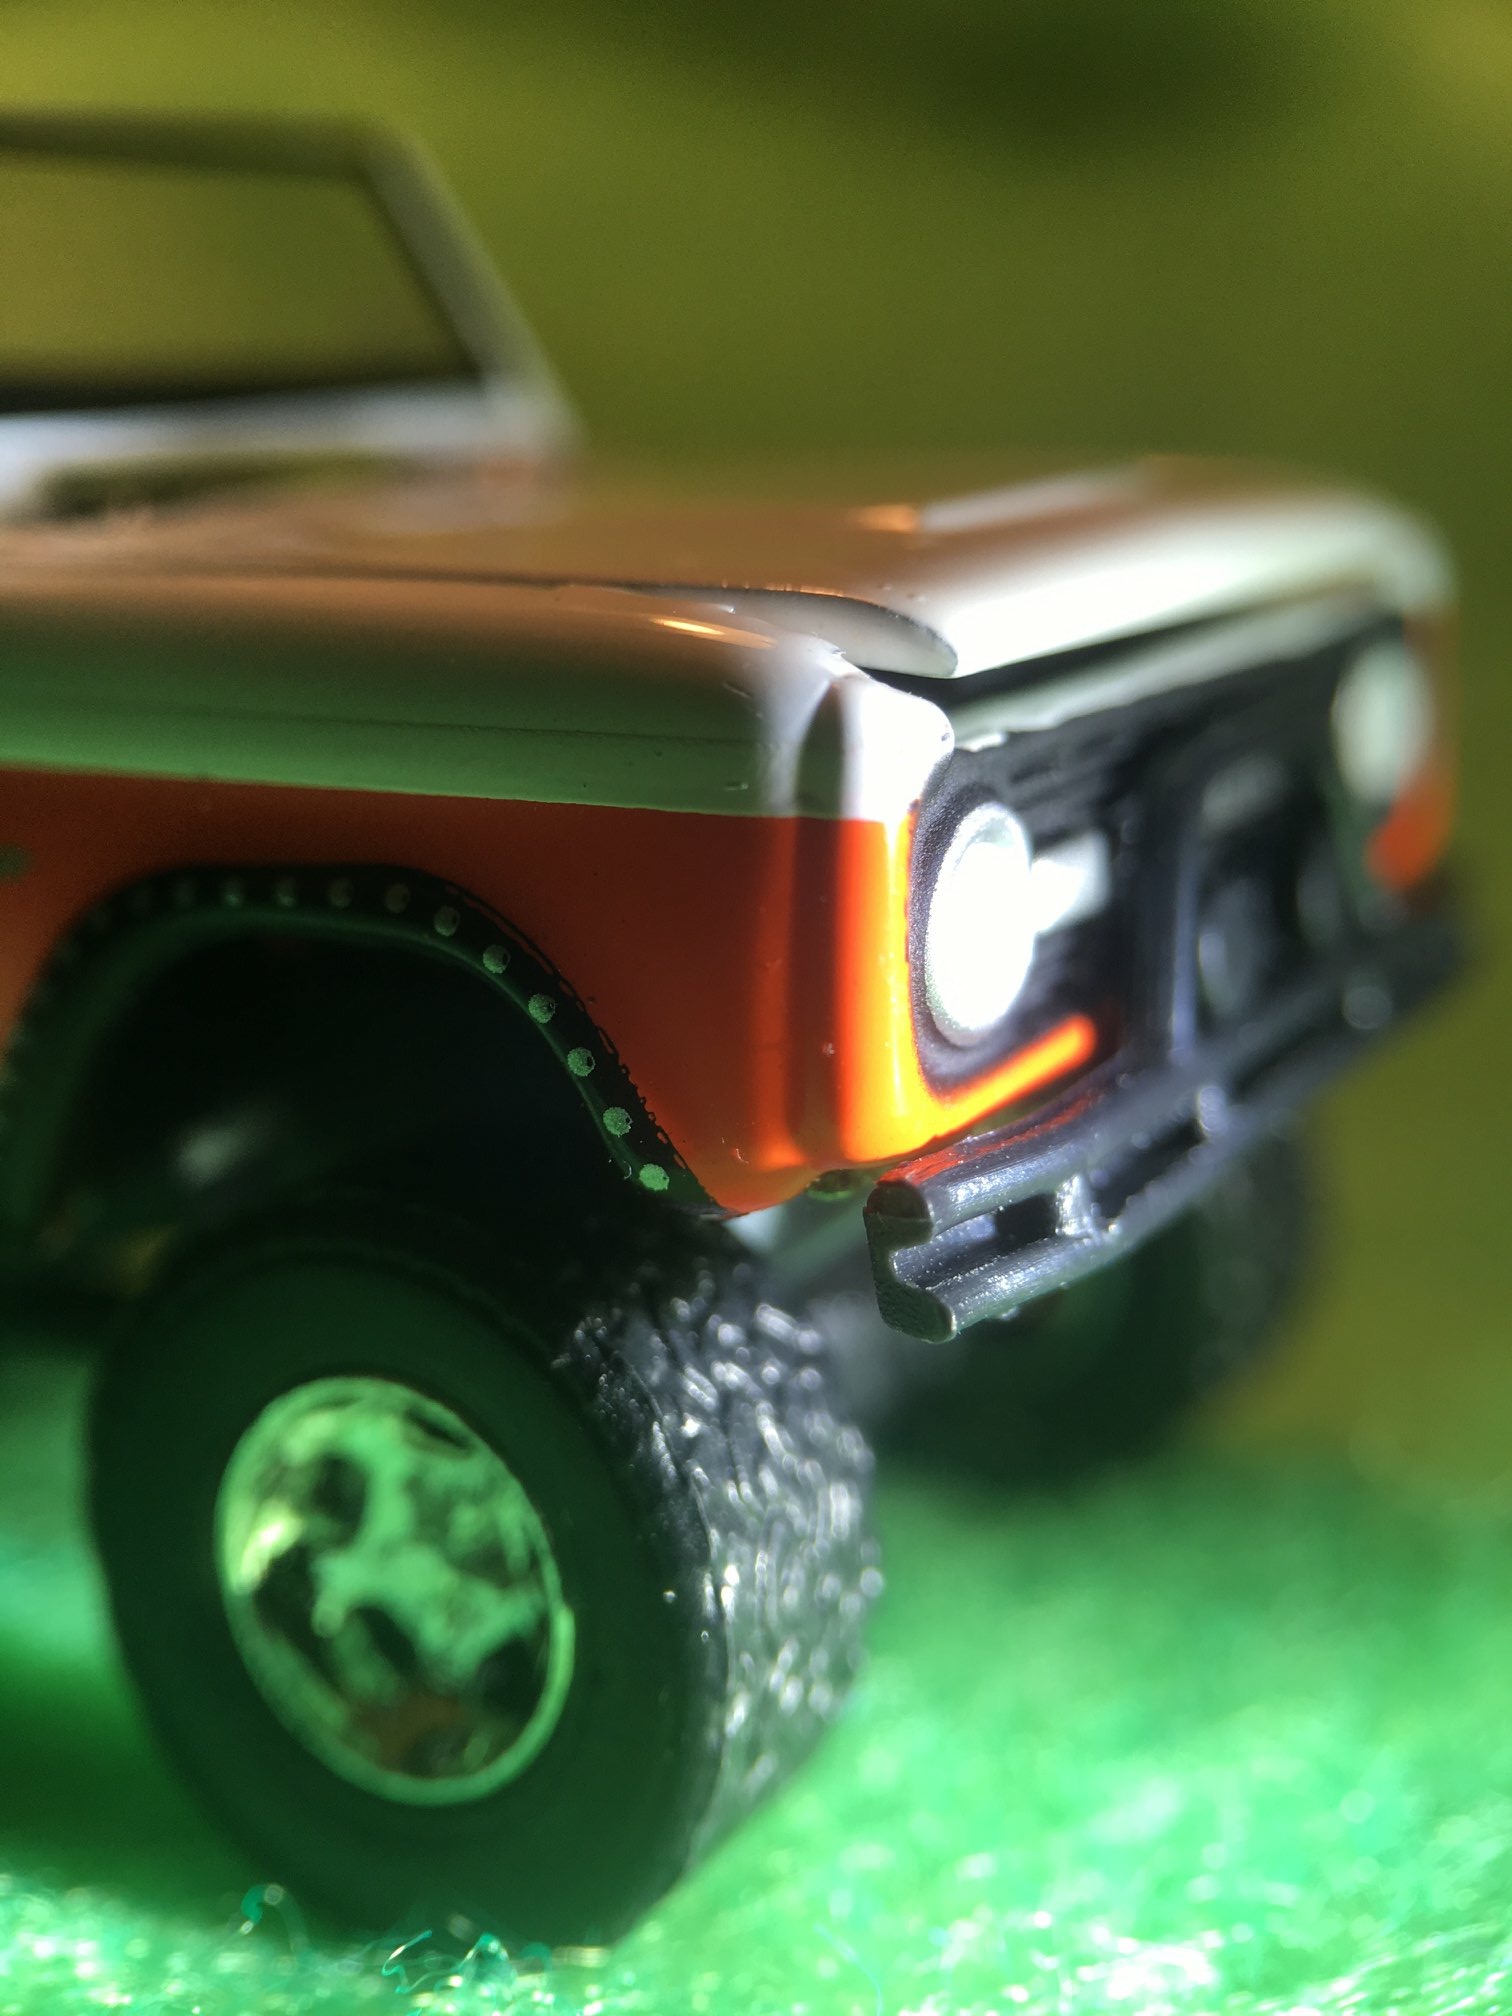
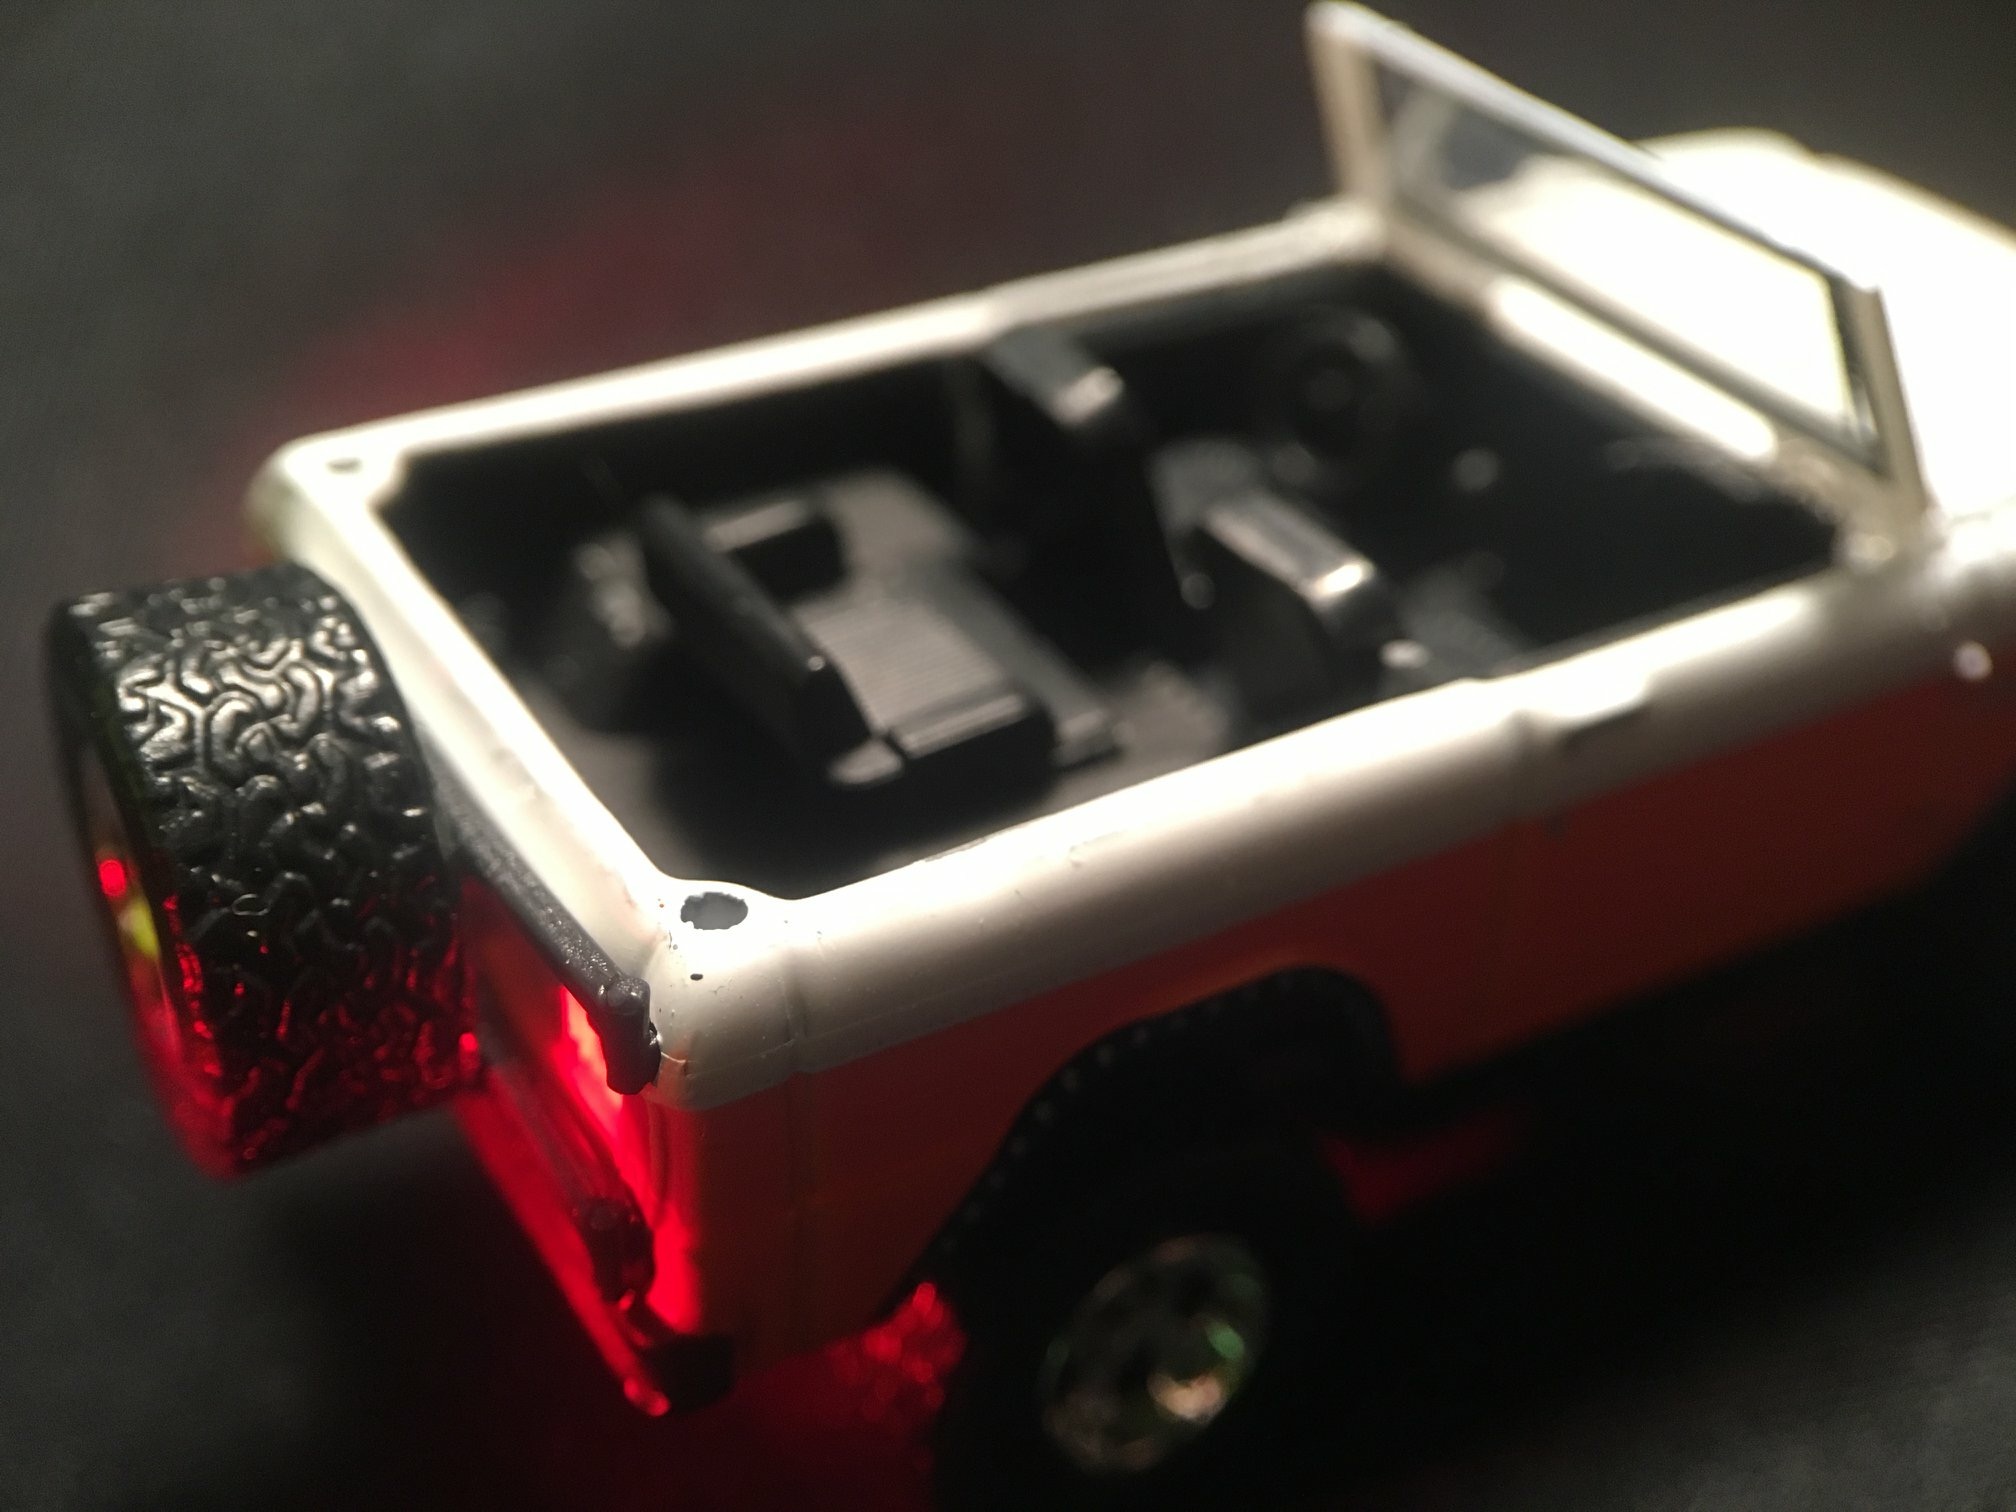

These photos were taken with the ''Canon G9 camera''
Lighting can add drama and depth to your subject. With Hot wheels, some of them are more detailed and have head and taillights. These reflect and give realism to your subject.
Artificial ''hard light''
-The light reflects from the headlights to give the illusion of working lights.
-If the subject is not put in the right place, it will be fuzzy and over exposed.
-Using a better camera than an iphone is an asset because it will capture more detail and will have less bright spots.
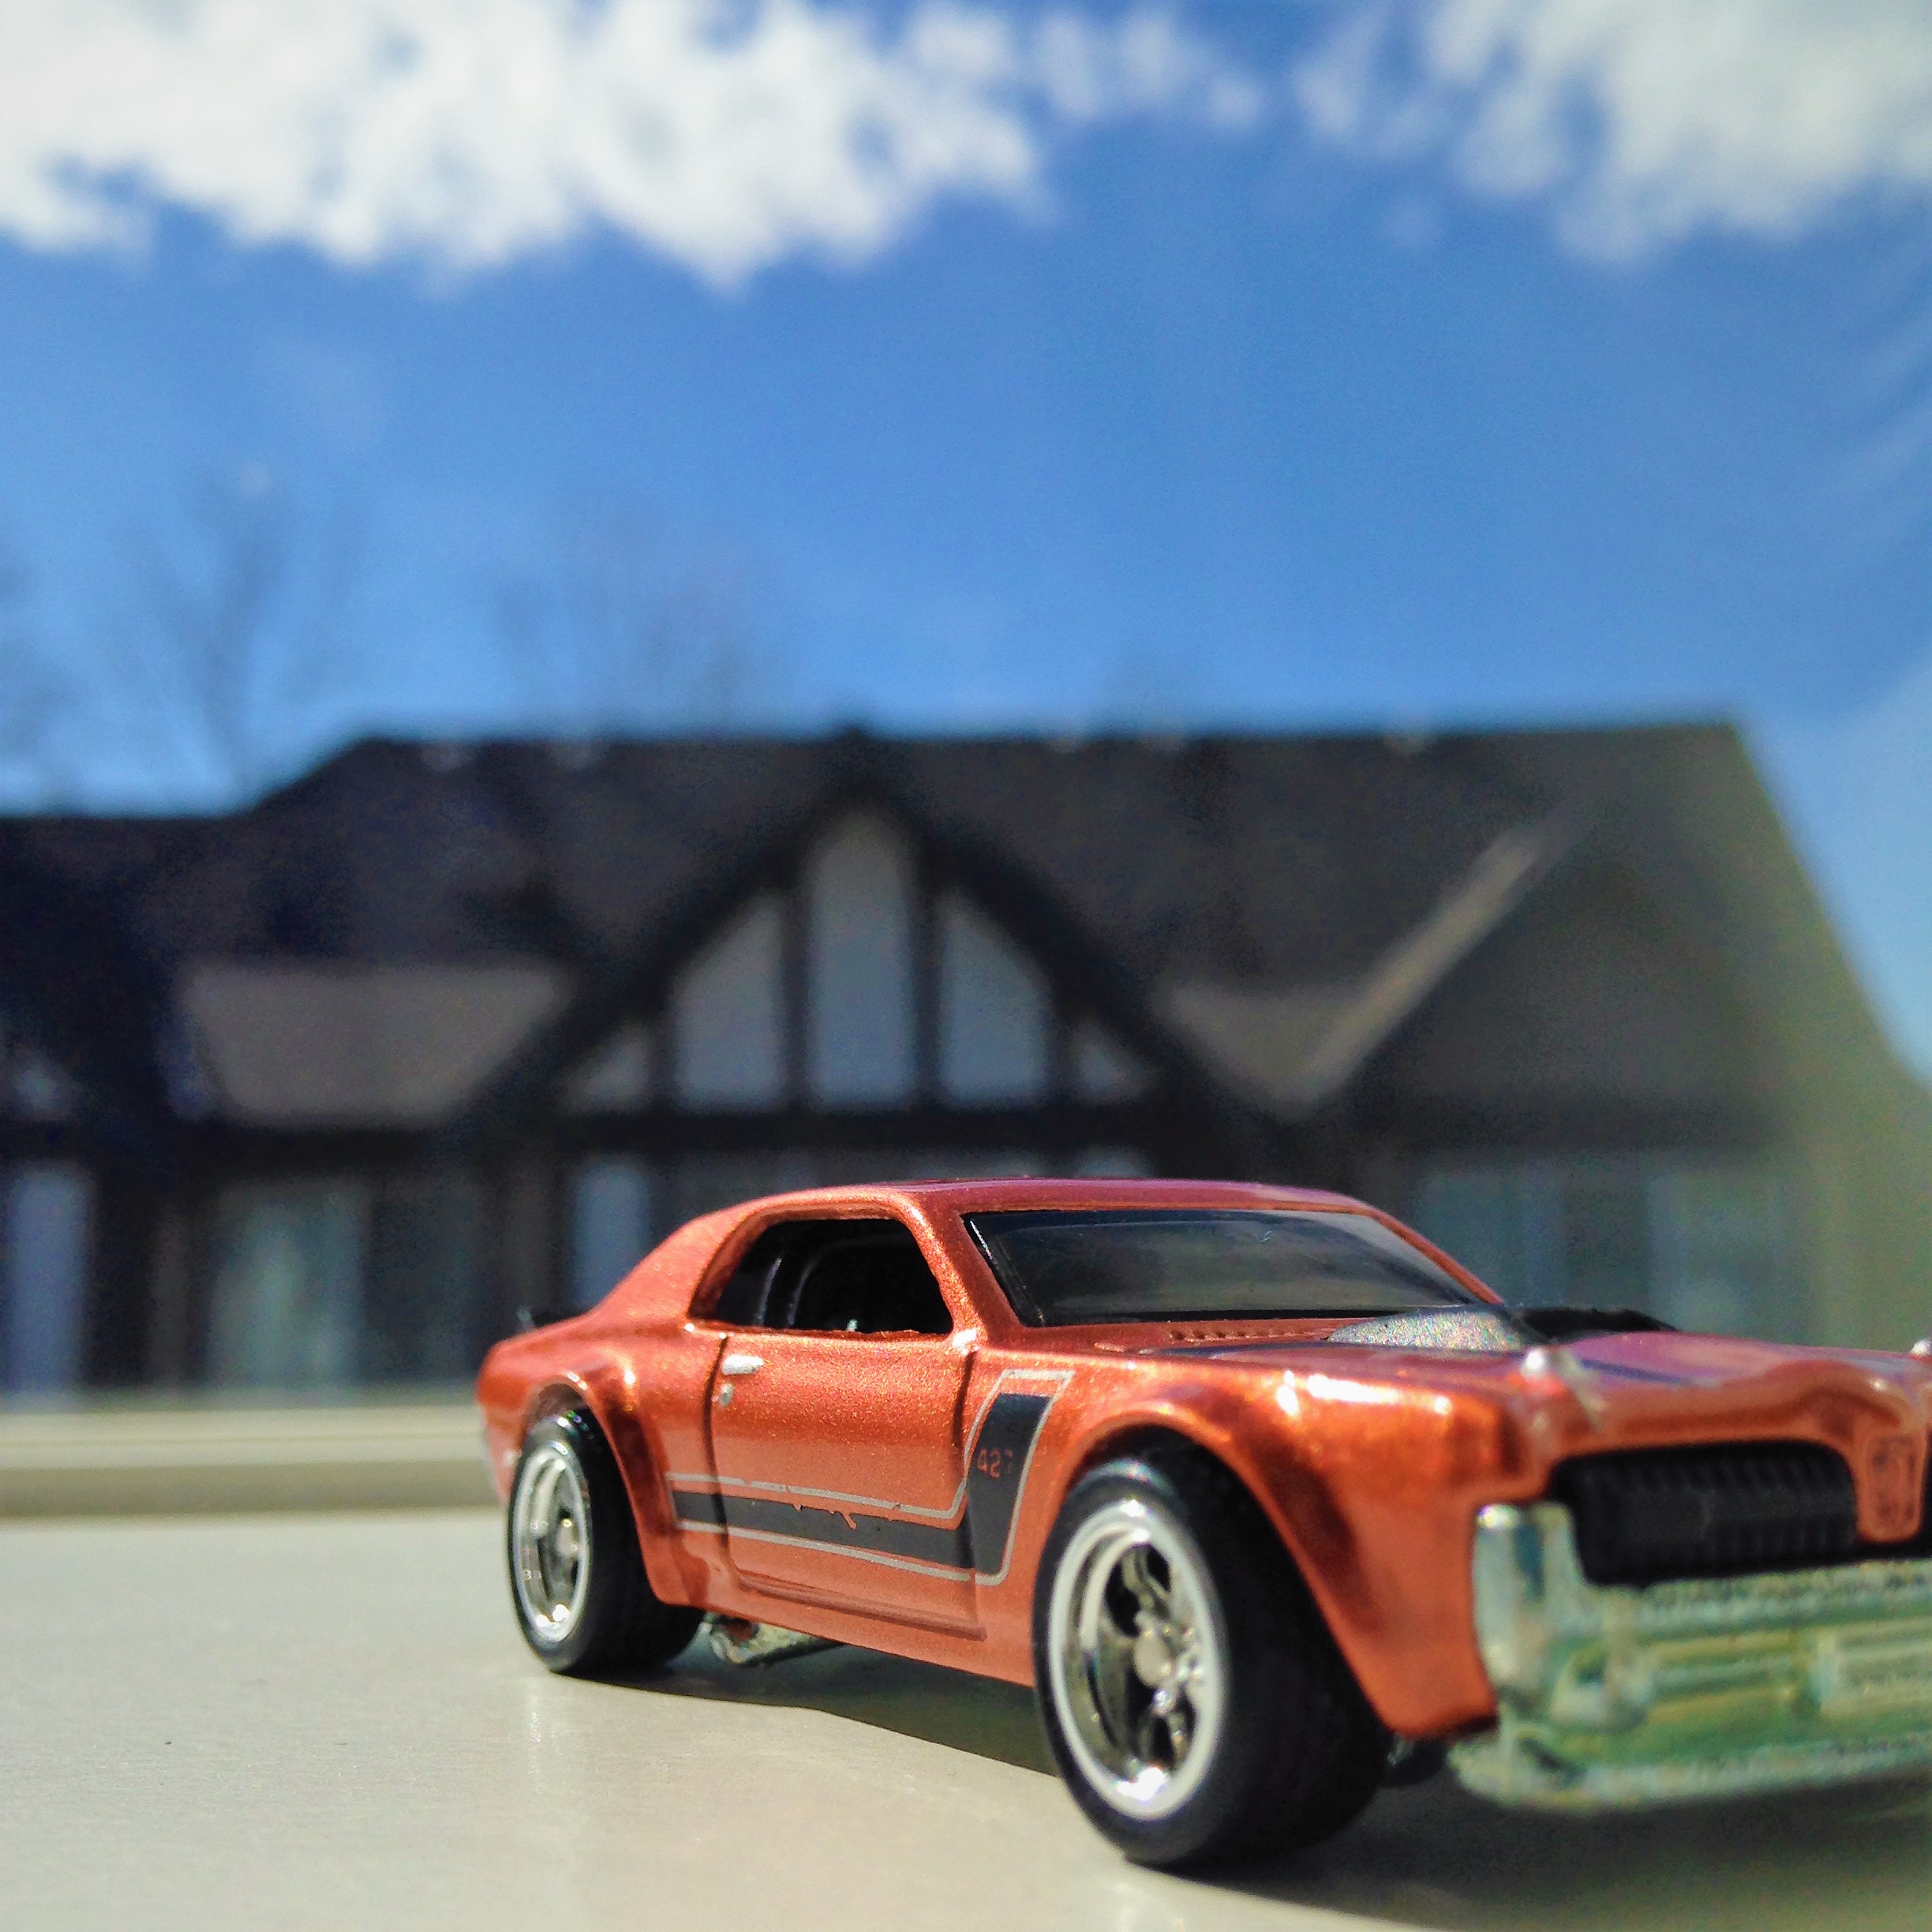
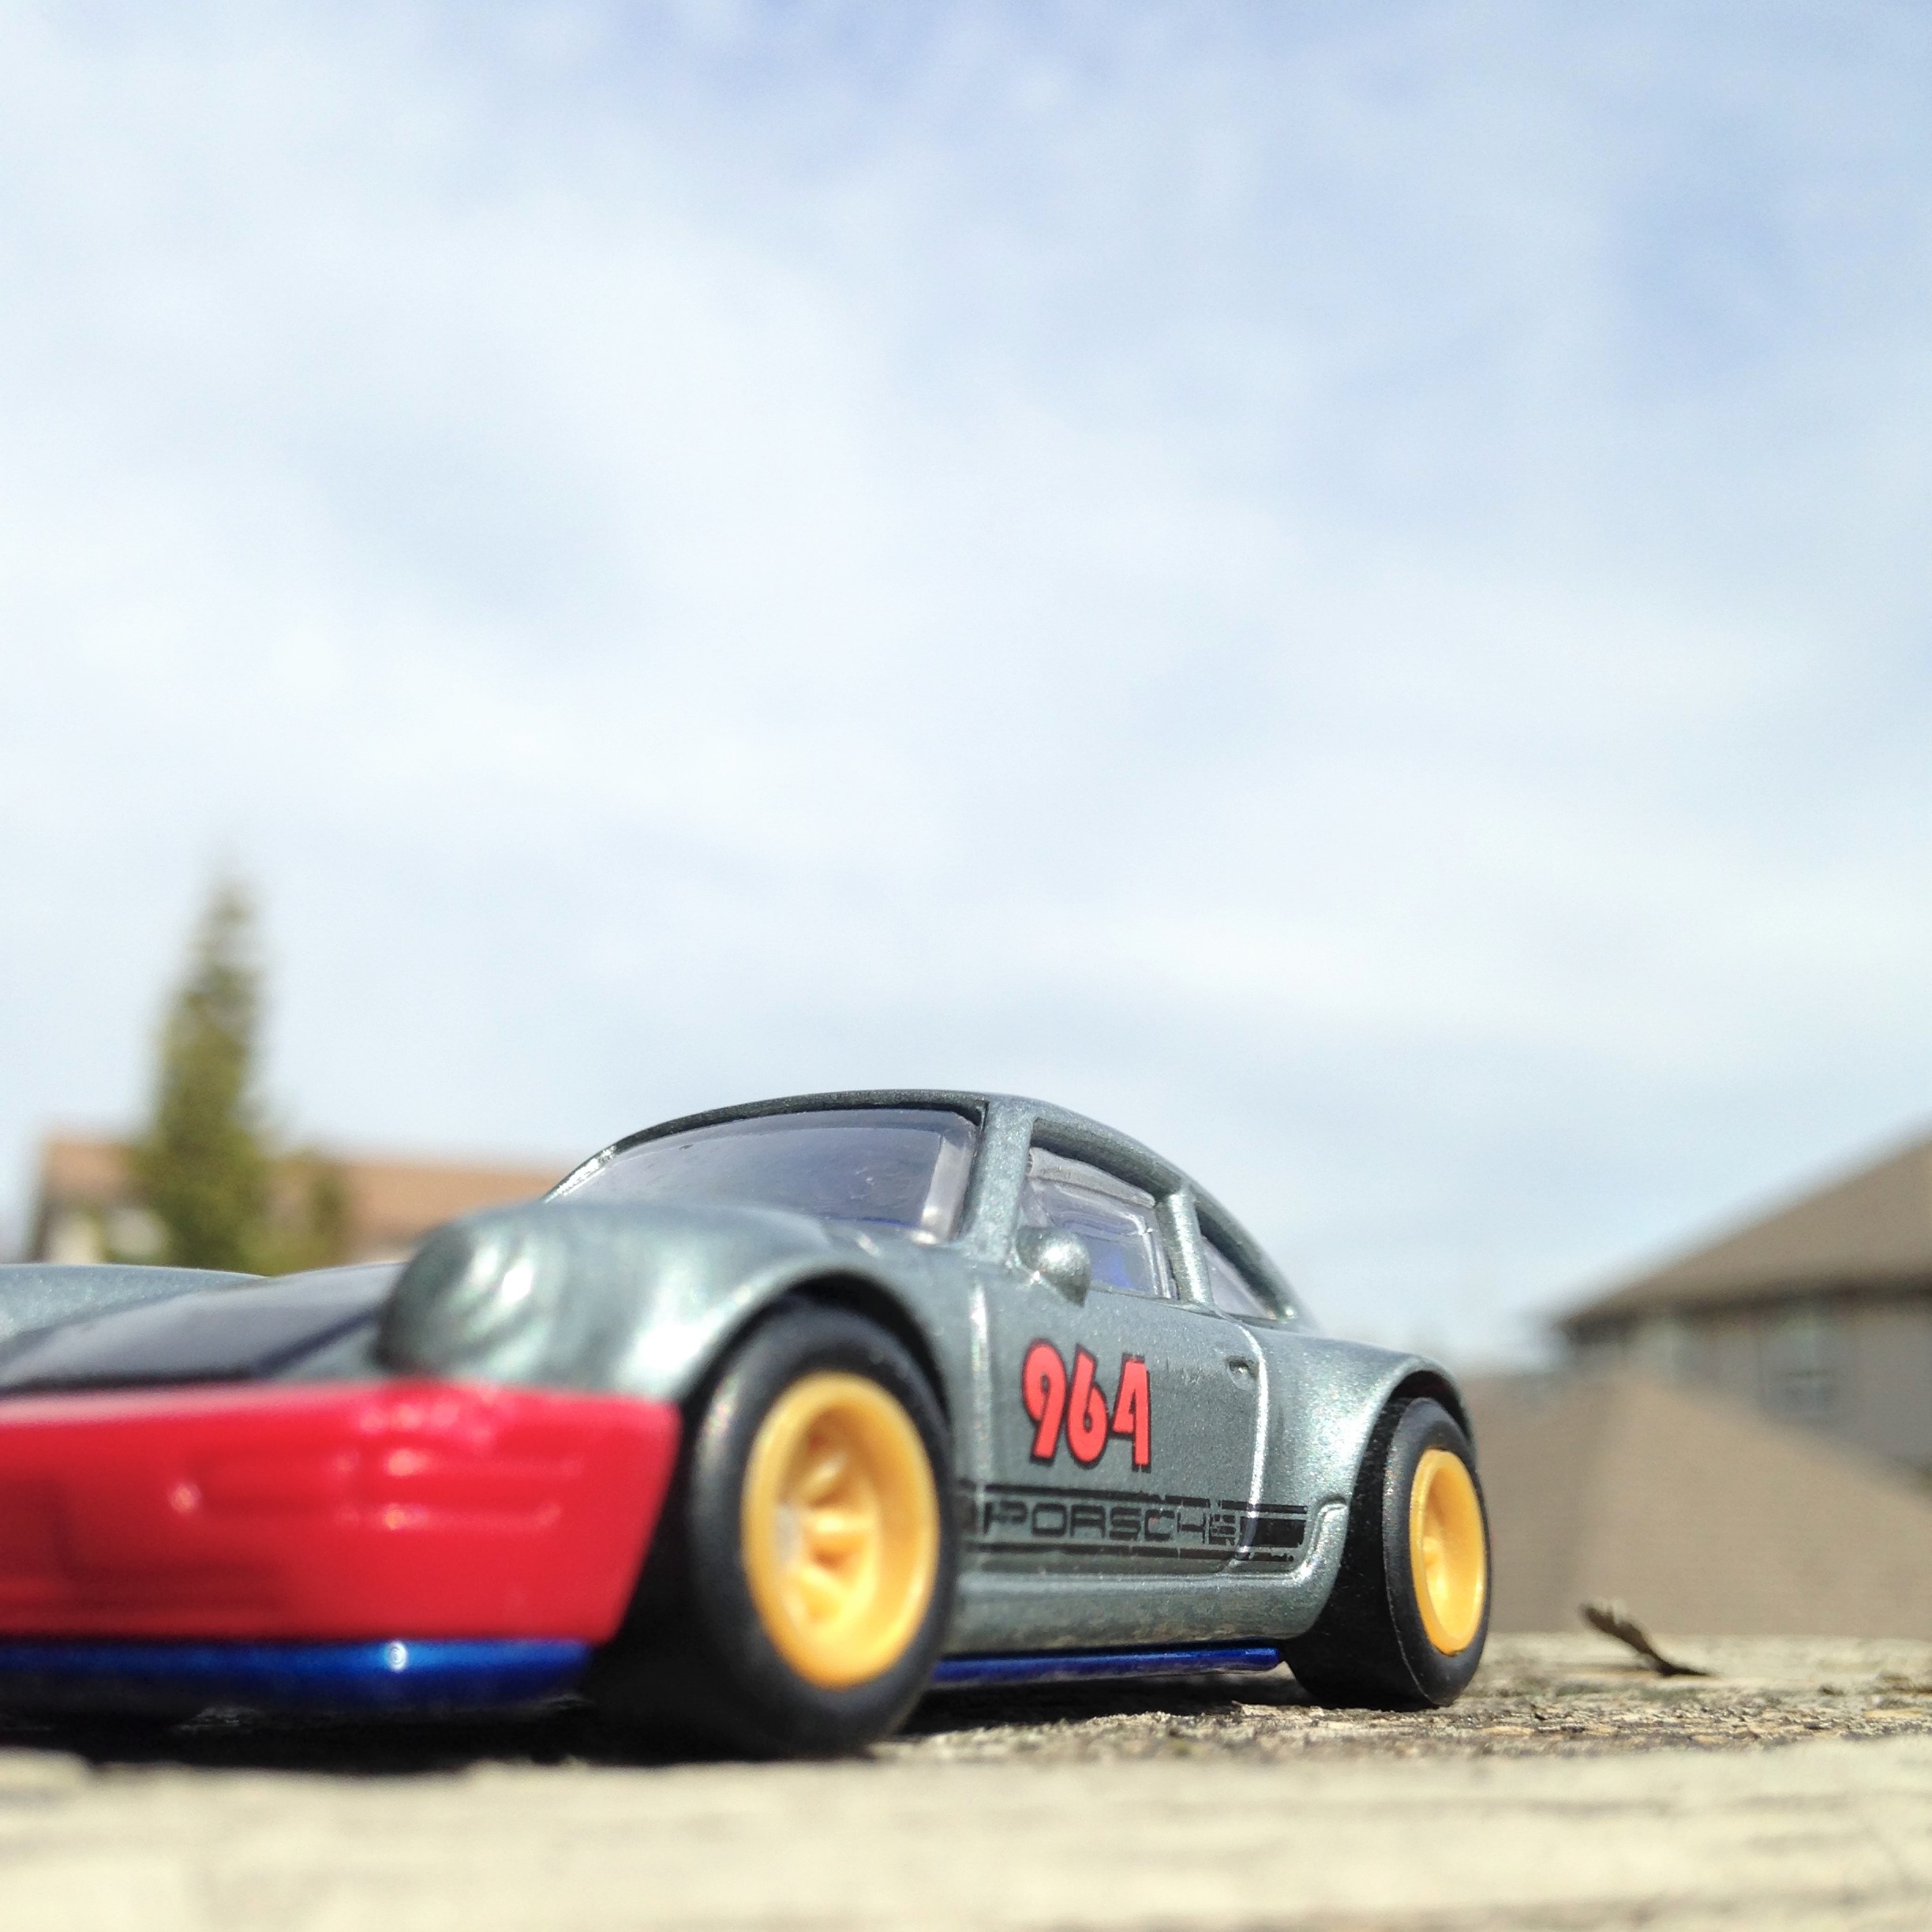
Lighting (natural)
.JPG)

These photos were taken with an Iphone camera
Natural light will cause your colours to POP and your audience will have their eyes POP! (In a good way...) It brings out the dazzle in the paint and the brilliance in the gloss coat. Thus darker or lighter of the weather means a different amount of drama to the work.
Natural light
-Take care in the amount of glare that the sun gives off on your cars coat of paint.
-When using filters on your image, remember that sometimes natural looking photos is the main focus. If you have a horrible, over edited shot of the car, it will look like the photo is fake.
Here Comes the Sun!
When taking photos of cars in the sun, make sure to take into account that shadows play a big part in the overall image quality. If the photo is taken with the sun to the backside of the car, a shadow will appear. Sure, this gives realism but you don't get the brilliance or shine of the sun TOWARDS the subject.
Steps to take-
-Take photos of the car with light source facing towards it.
-Use the brilliance and sparkle of the cars paint to enhance your shot.
-Focus on your subject for a clear shot.
Filters

Sometimes, filters will play into your car and the final shot....
The car and the filter-
-Old car = Old looking filter.
-New car = Neon, bright filter.
-Monotone plays real well into making you look into the details, not always the colour of the car.
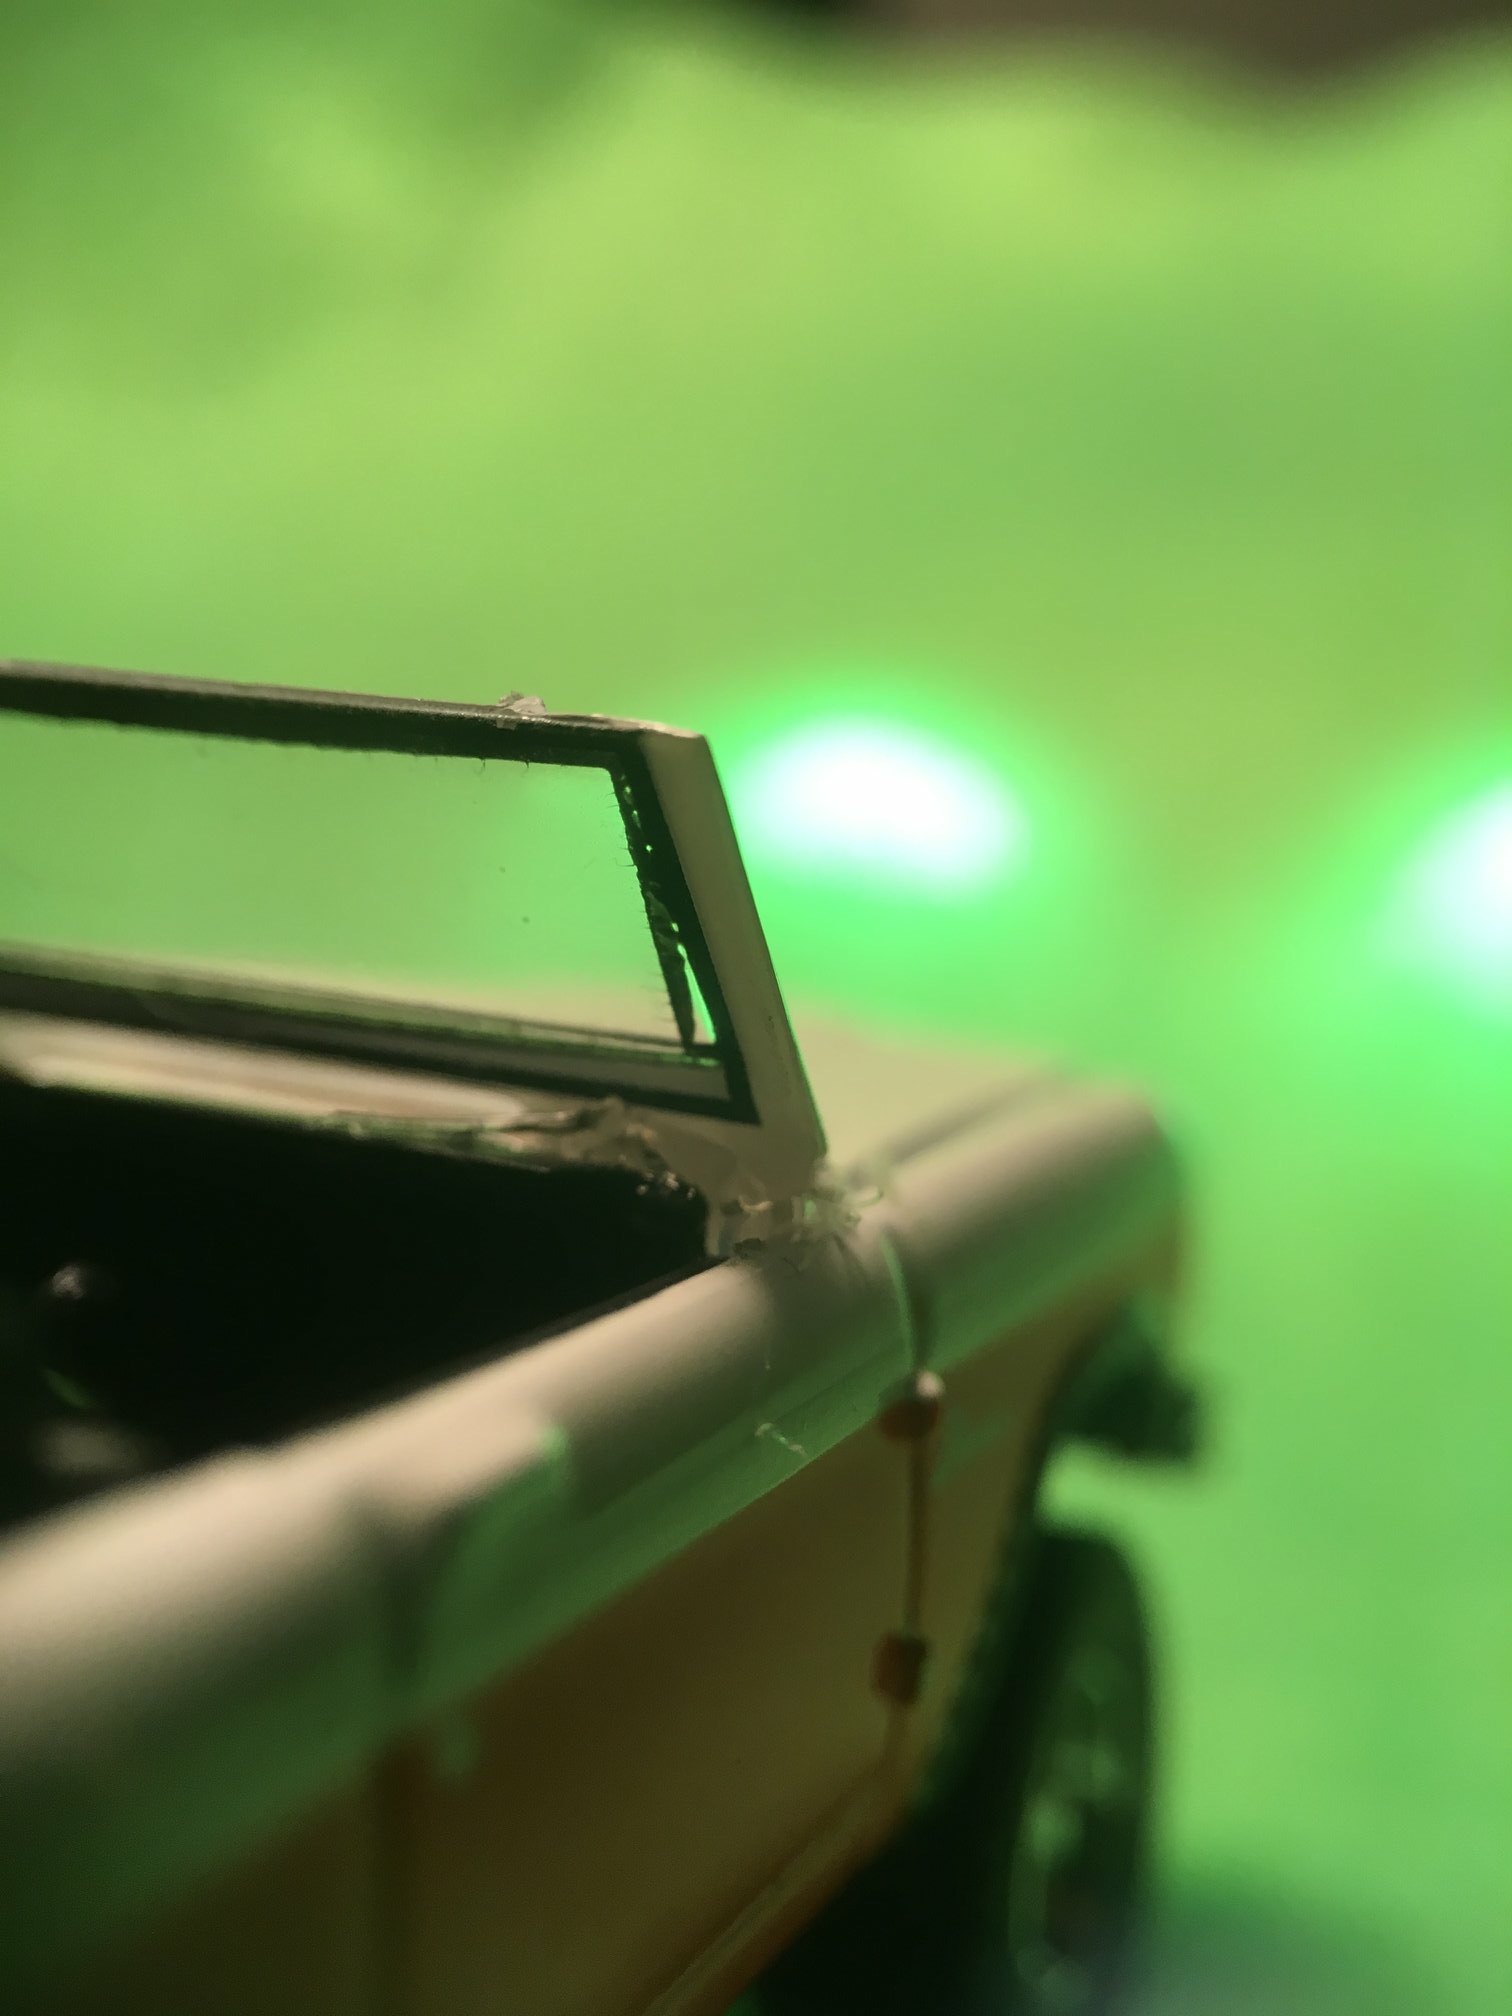
Vignette Amount...

Vignette is touchy, too much, and it looks like you are looking through a huge tube of darkness. Too little, and it looks like nothing has even happened.
To get it right:
-Use the right light source - If you have crazy bright light, it looks like the light of heaven.
-Find the right amount.... The Goldilocks amount: ''just right''
-Try to get the whole subject in the shot. If the car is cut off at halfway, chances are that it will be cut off even more than what it already was.
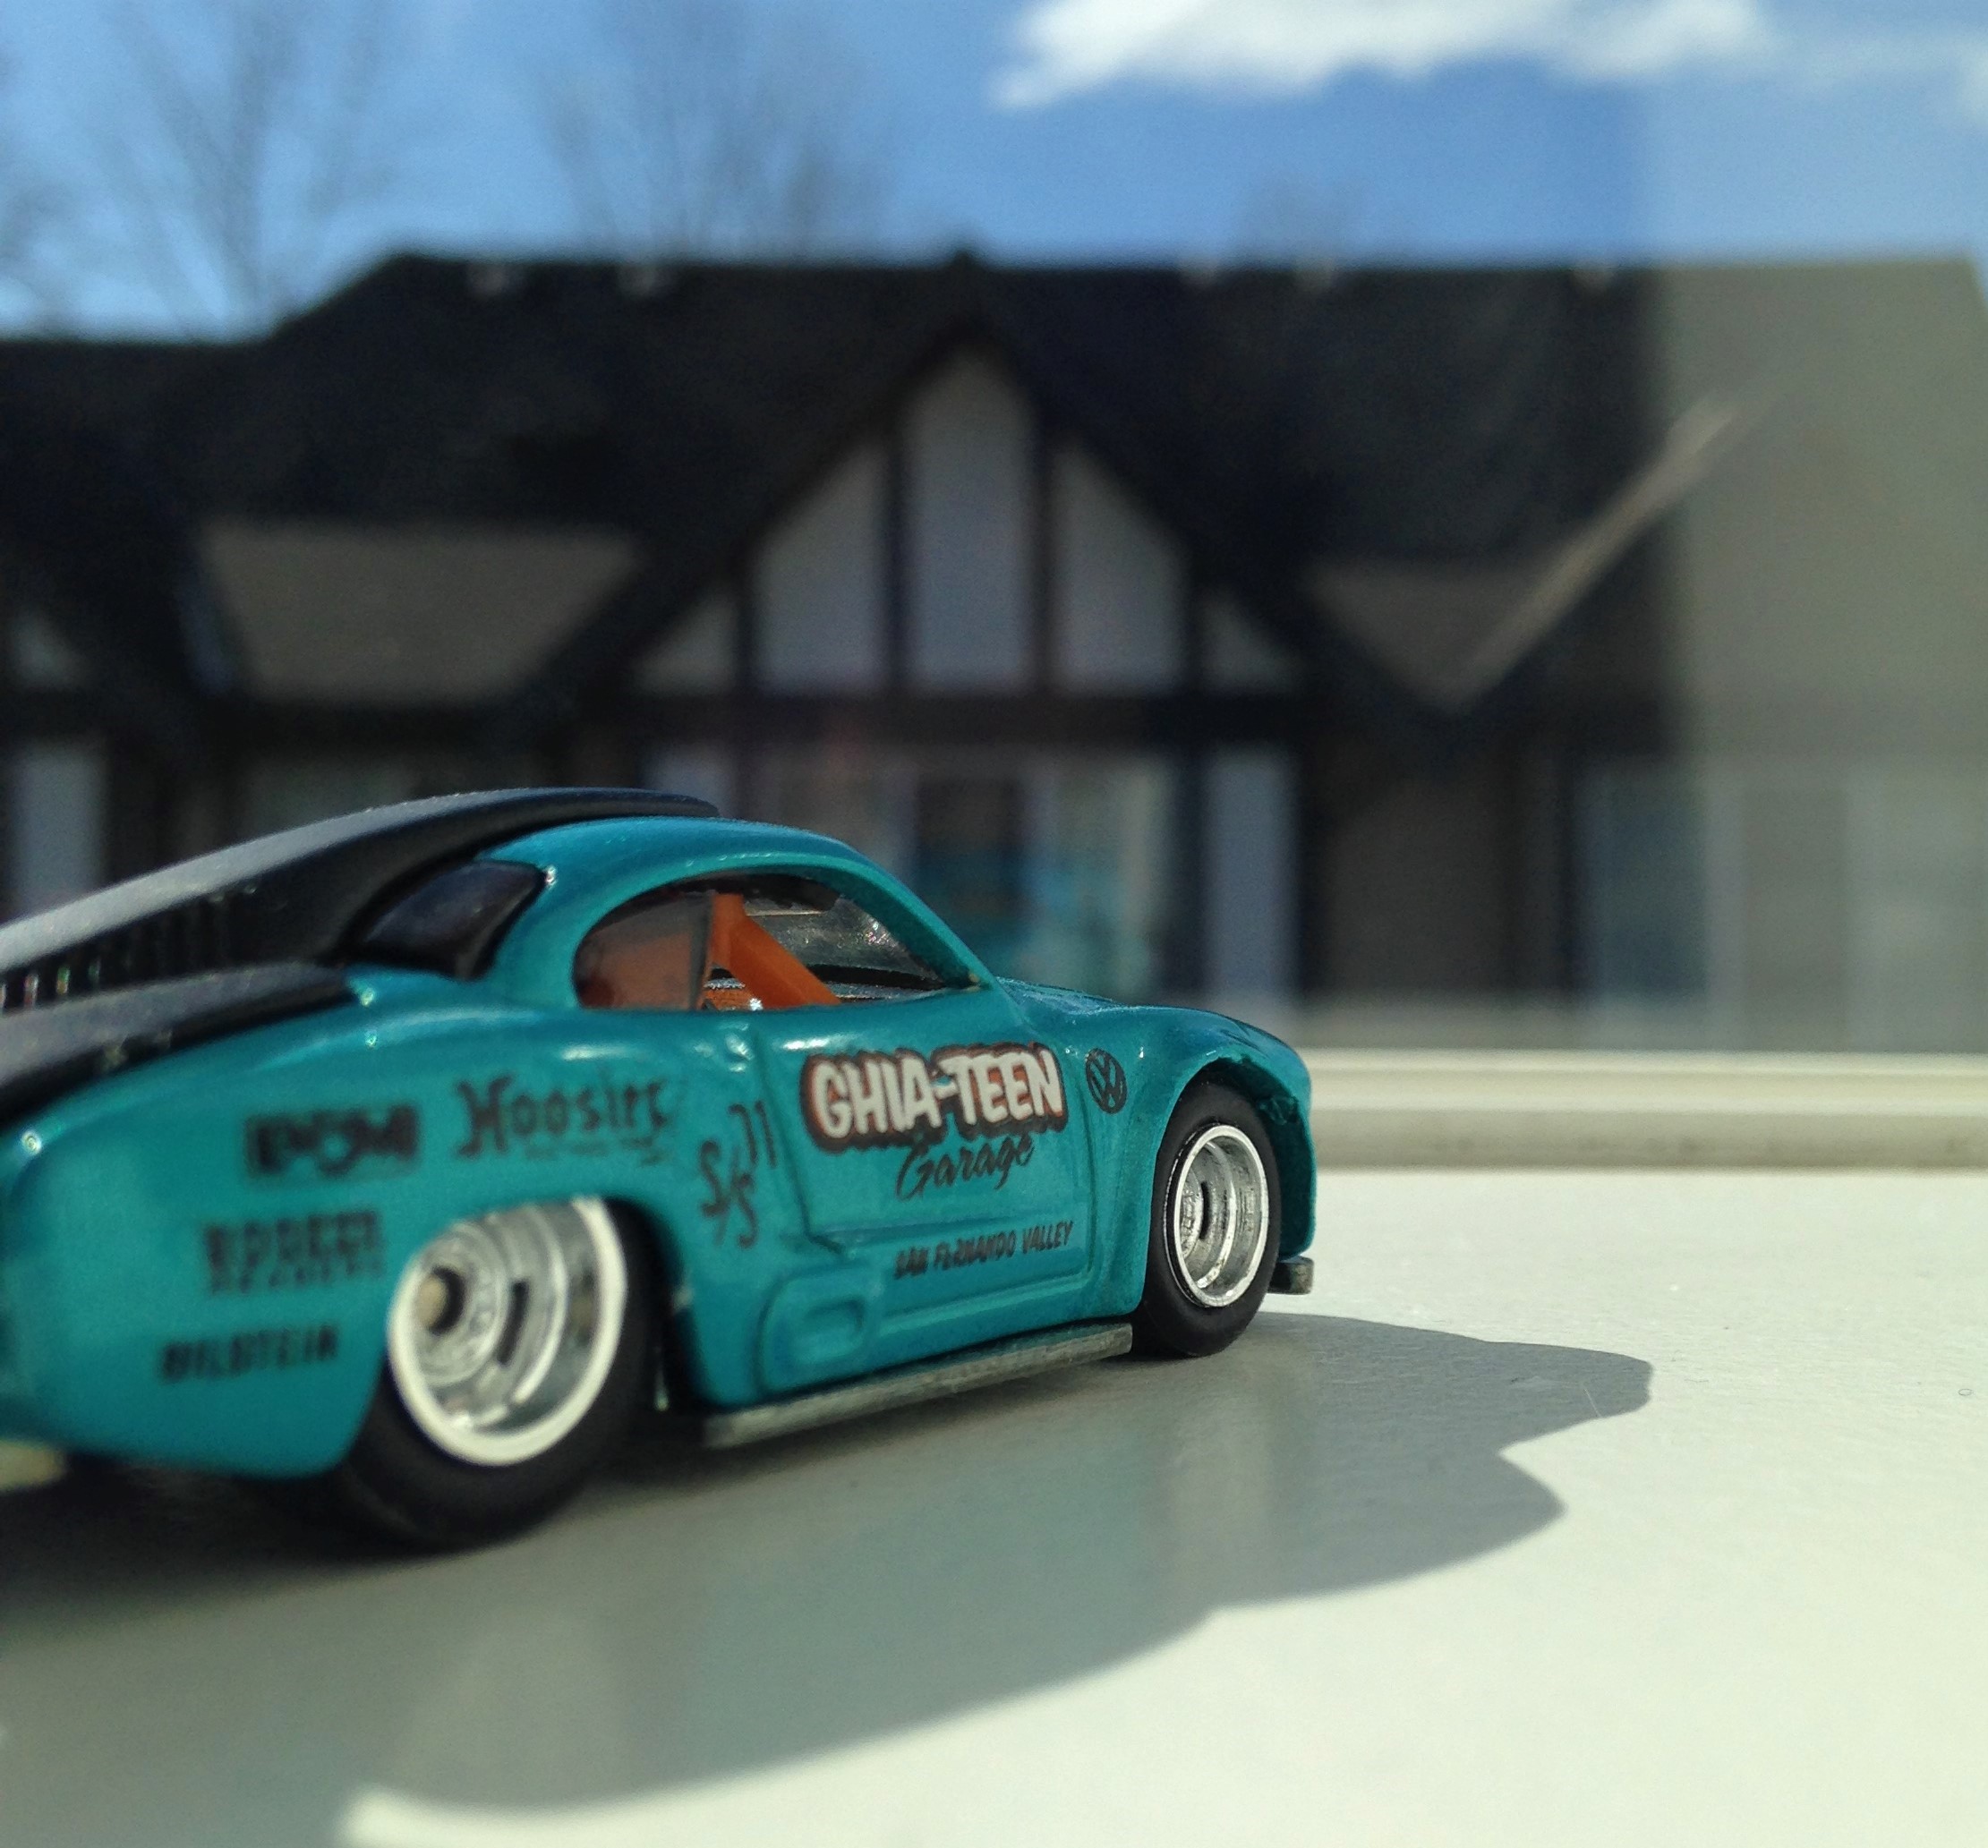
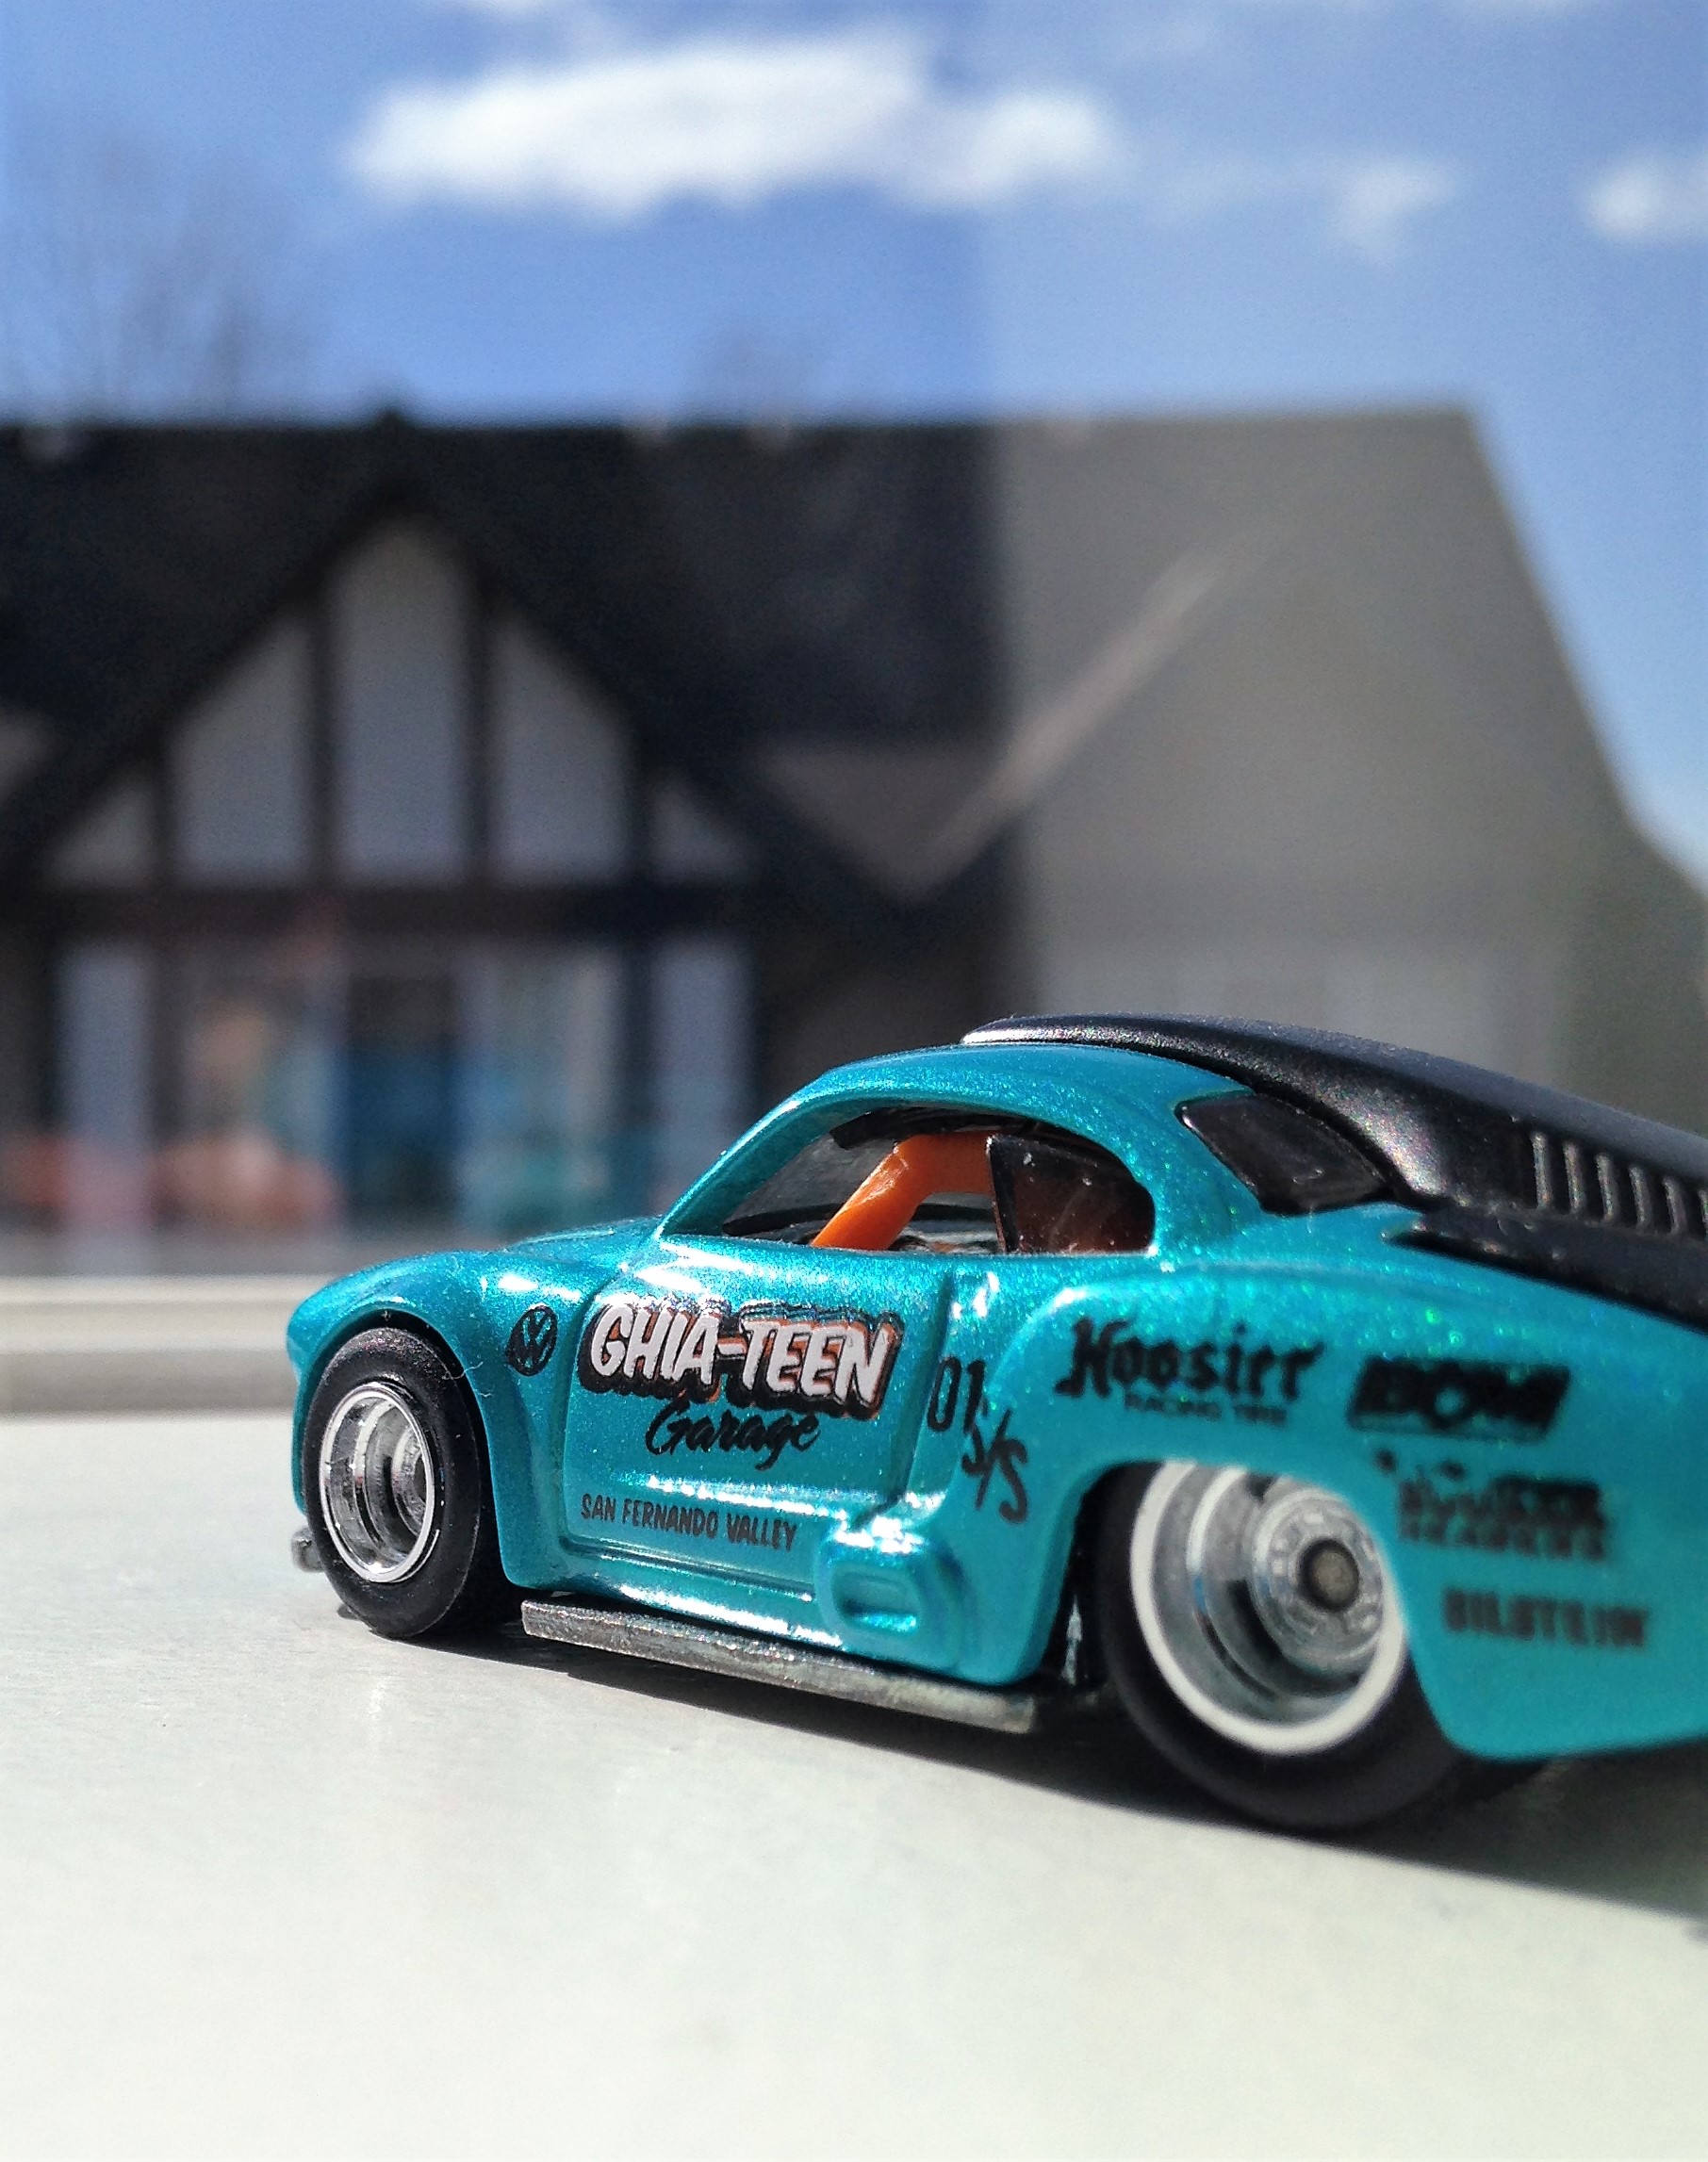
Angles

I like angles. Don't we all? If you can get it just right it will elongate or show off a part of the car. To do this there are Two options:
Take the shot with your camera angled-
1) Angle your camera however you want.
2) Take your shot.
Or...
Edit the angle of your shot-
1) Take your photo.
2) Upload your chosen photo to your preferred photo editing software.
3) Edit away!
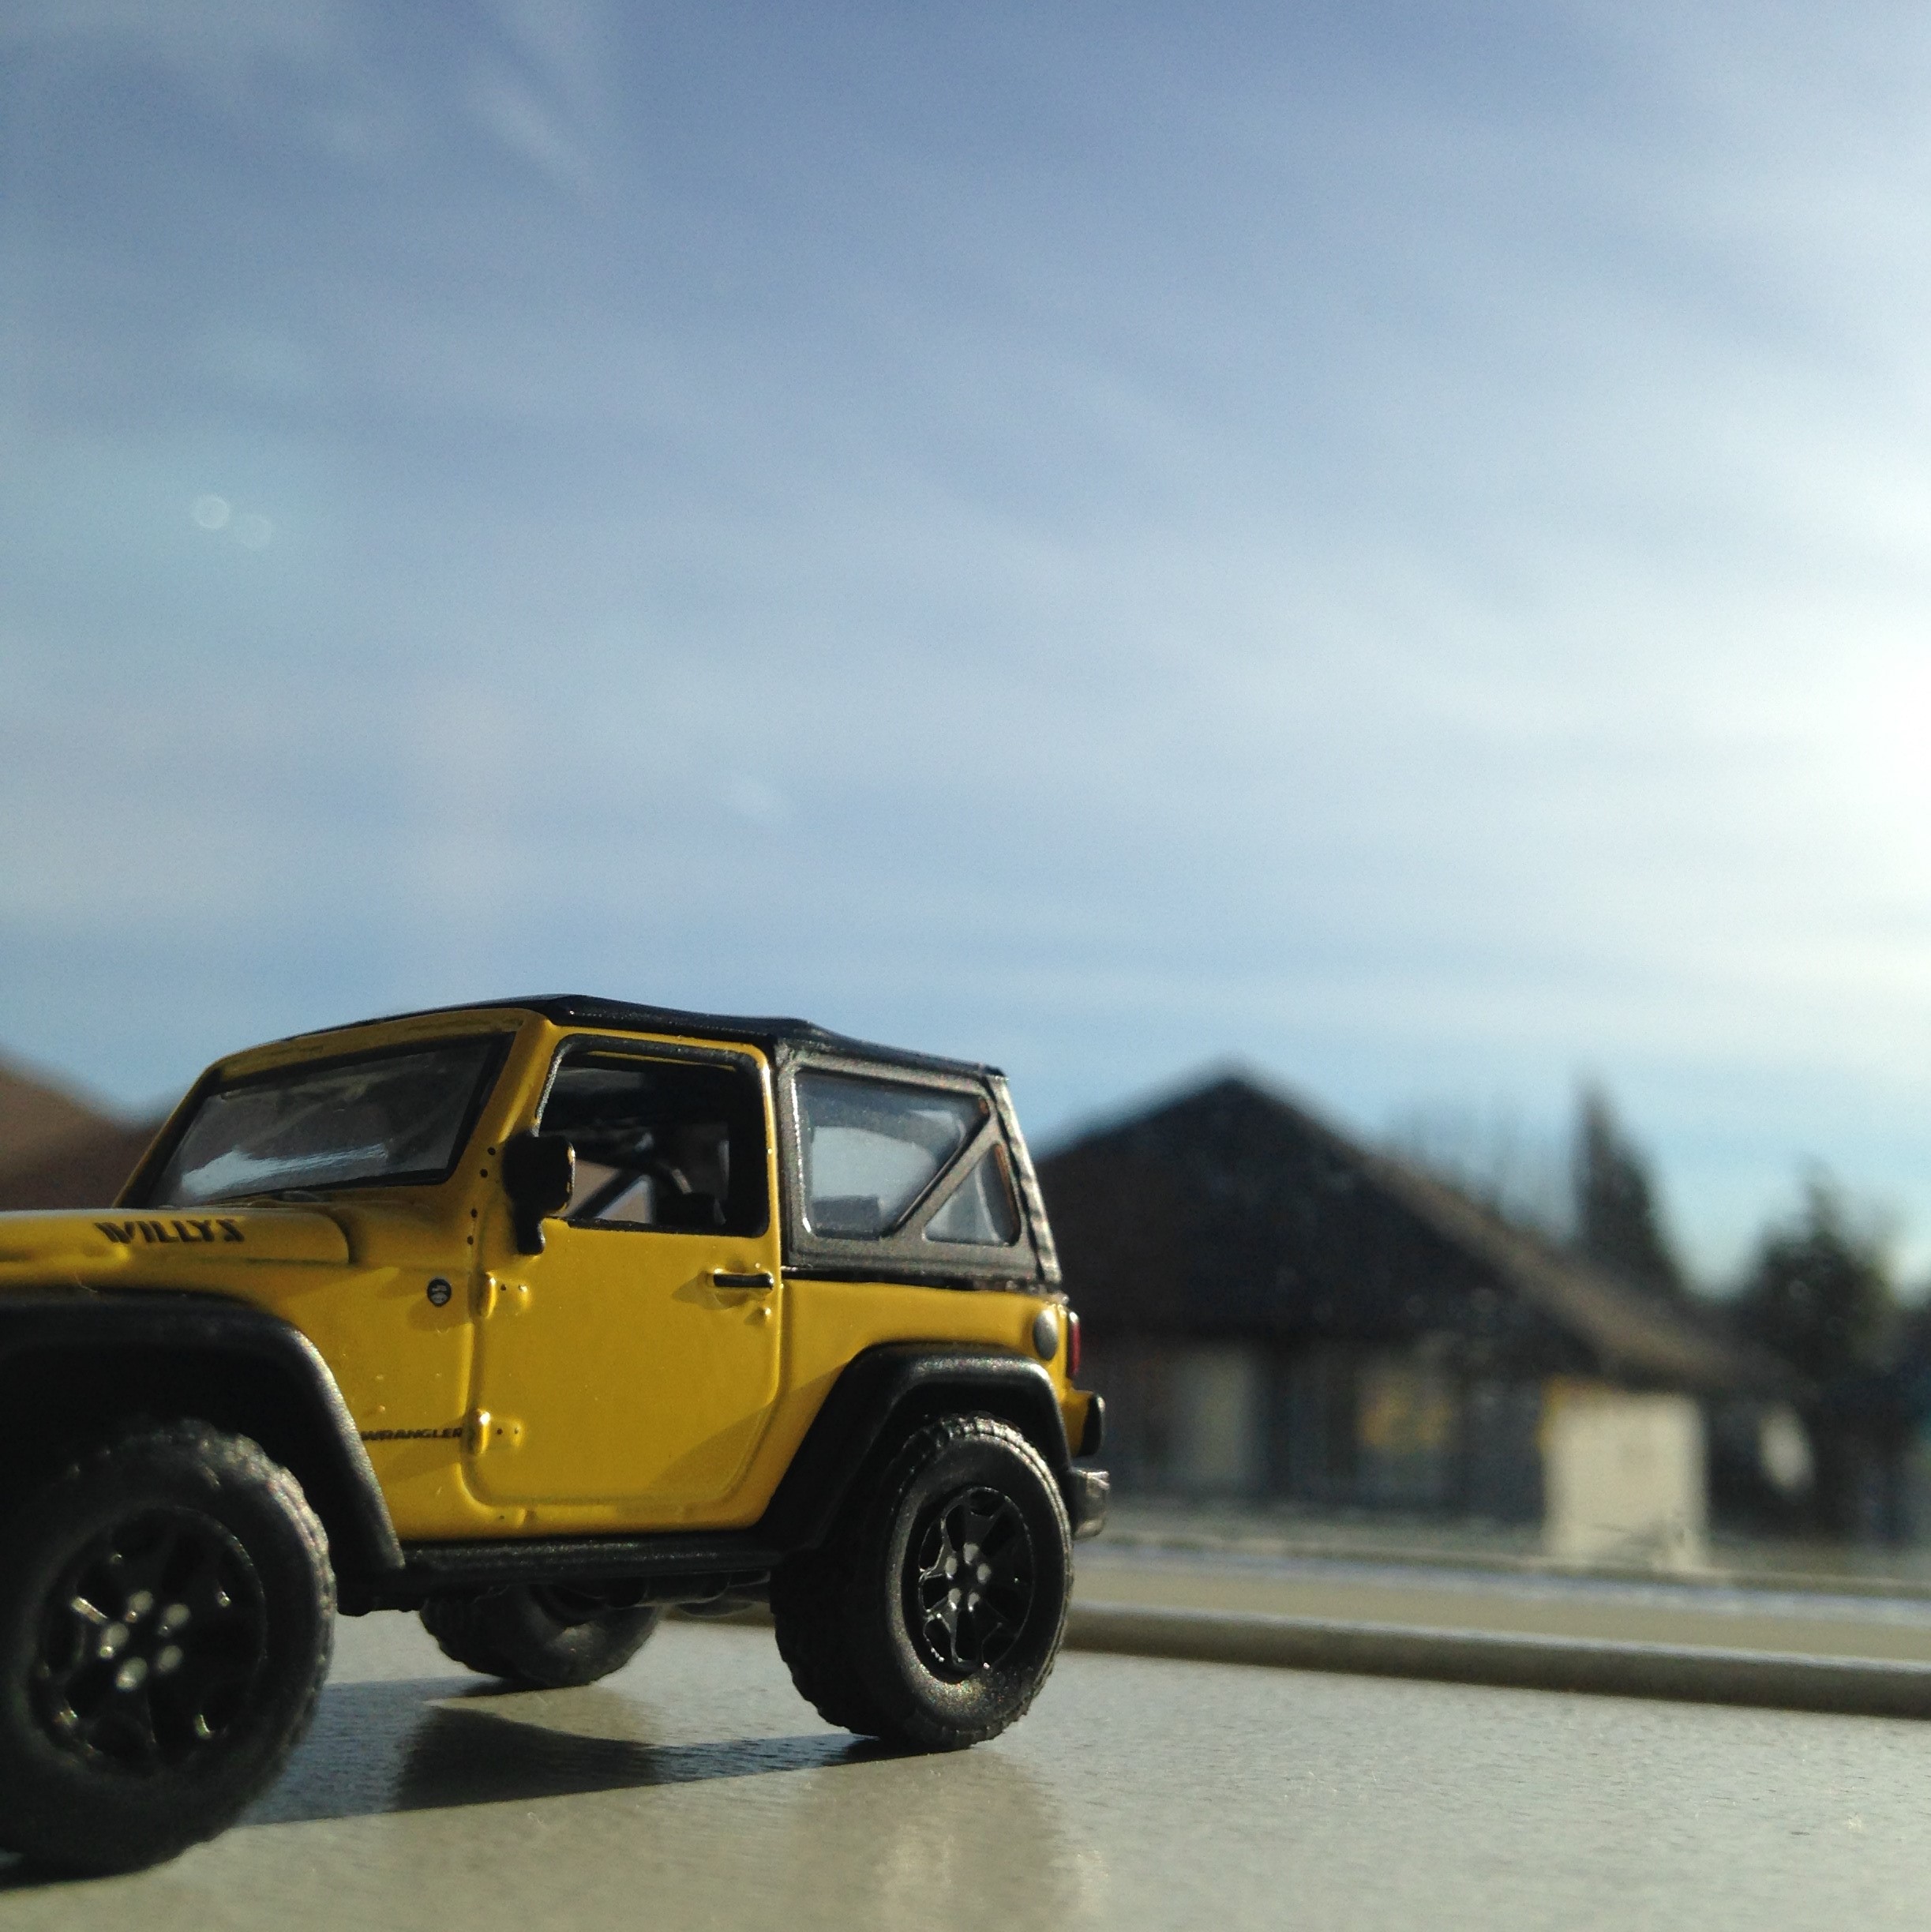
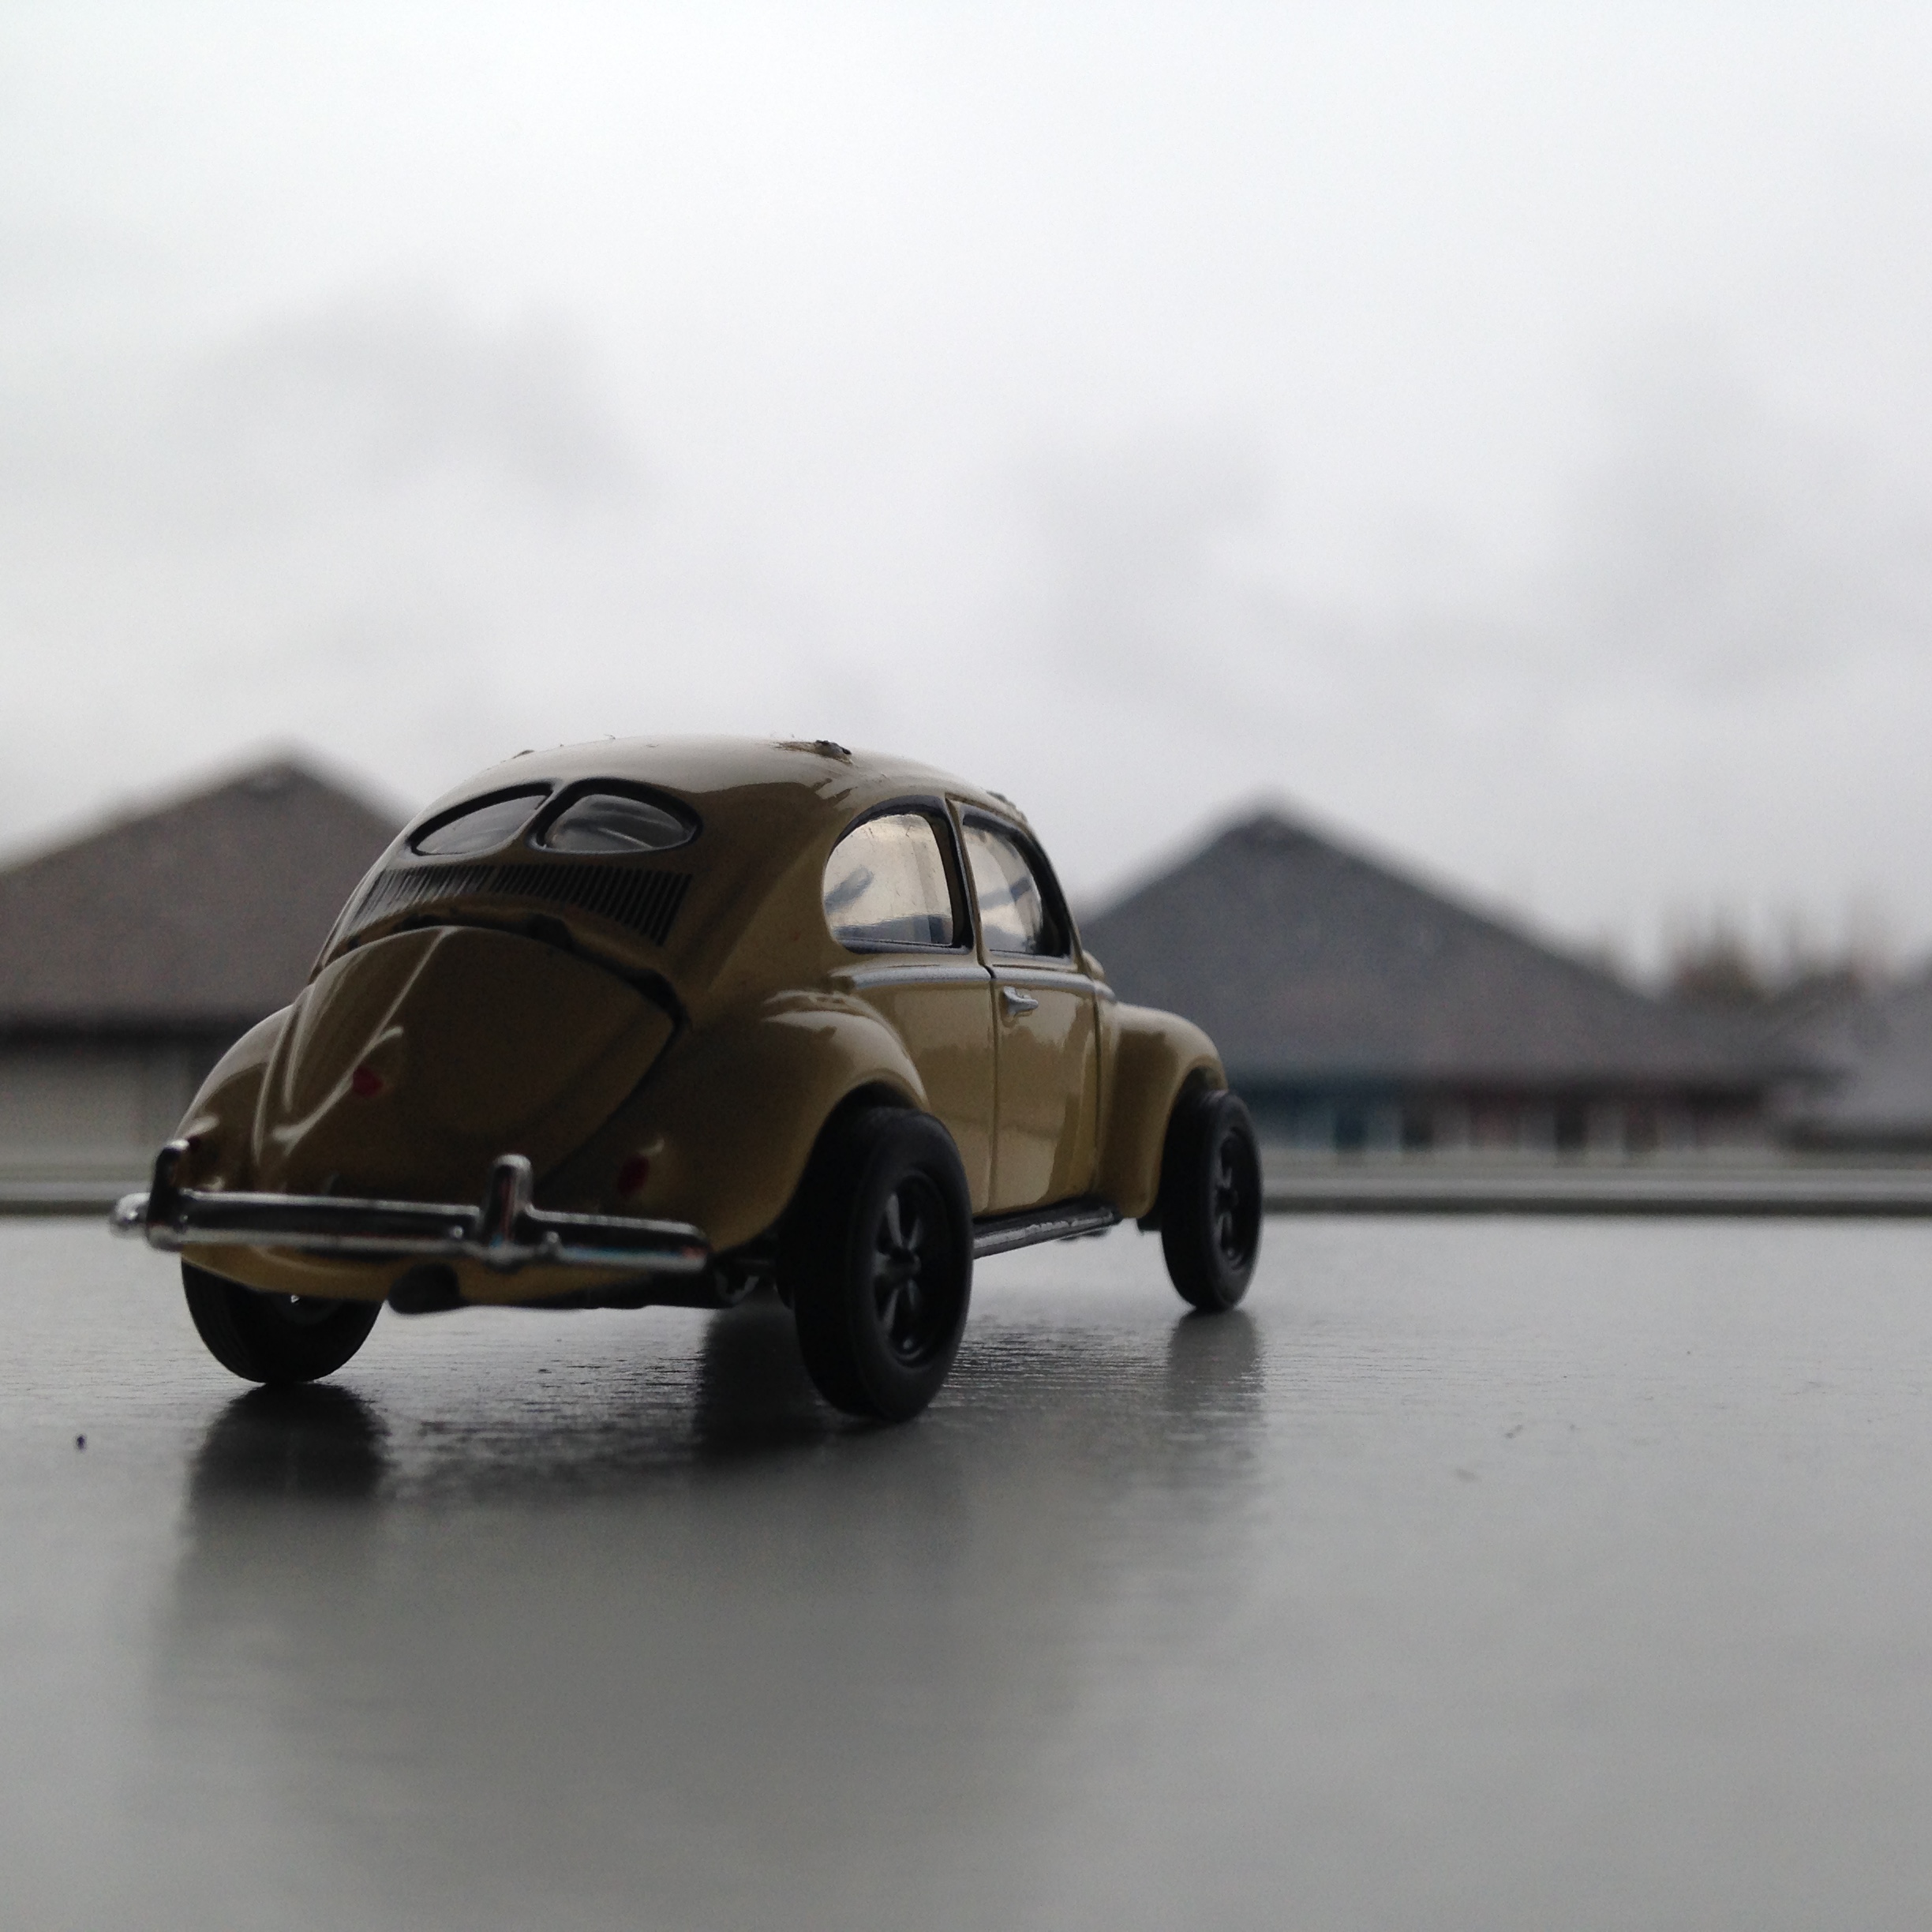
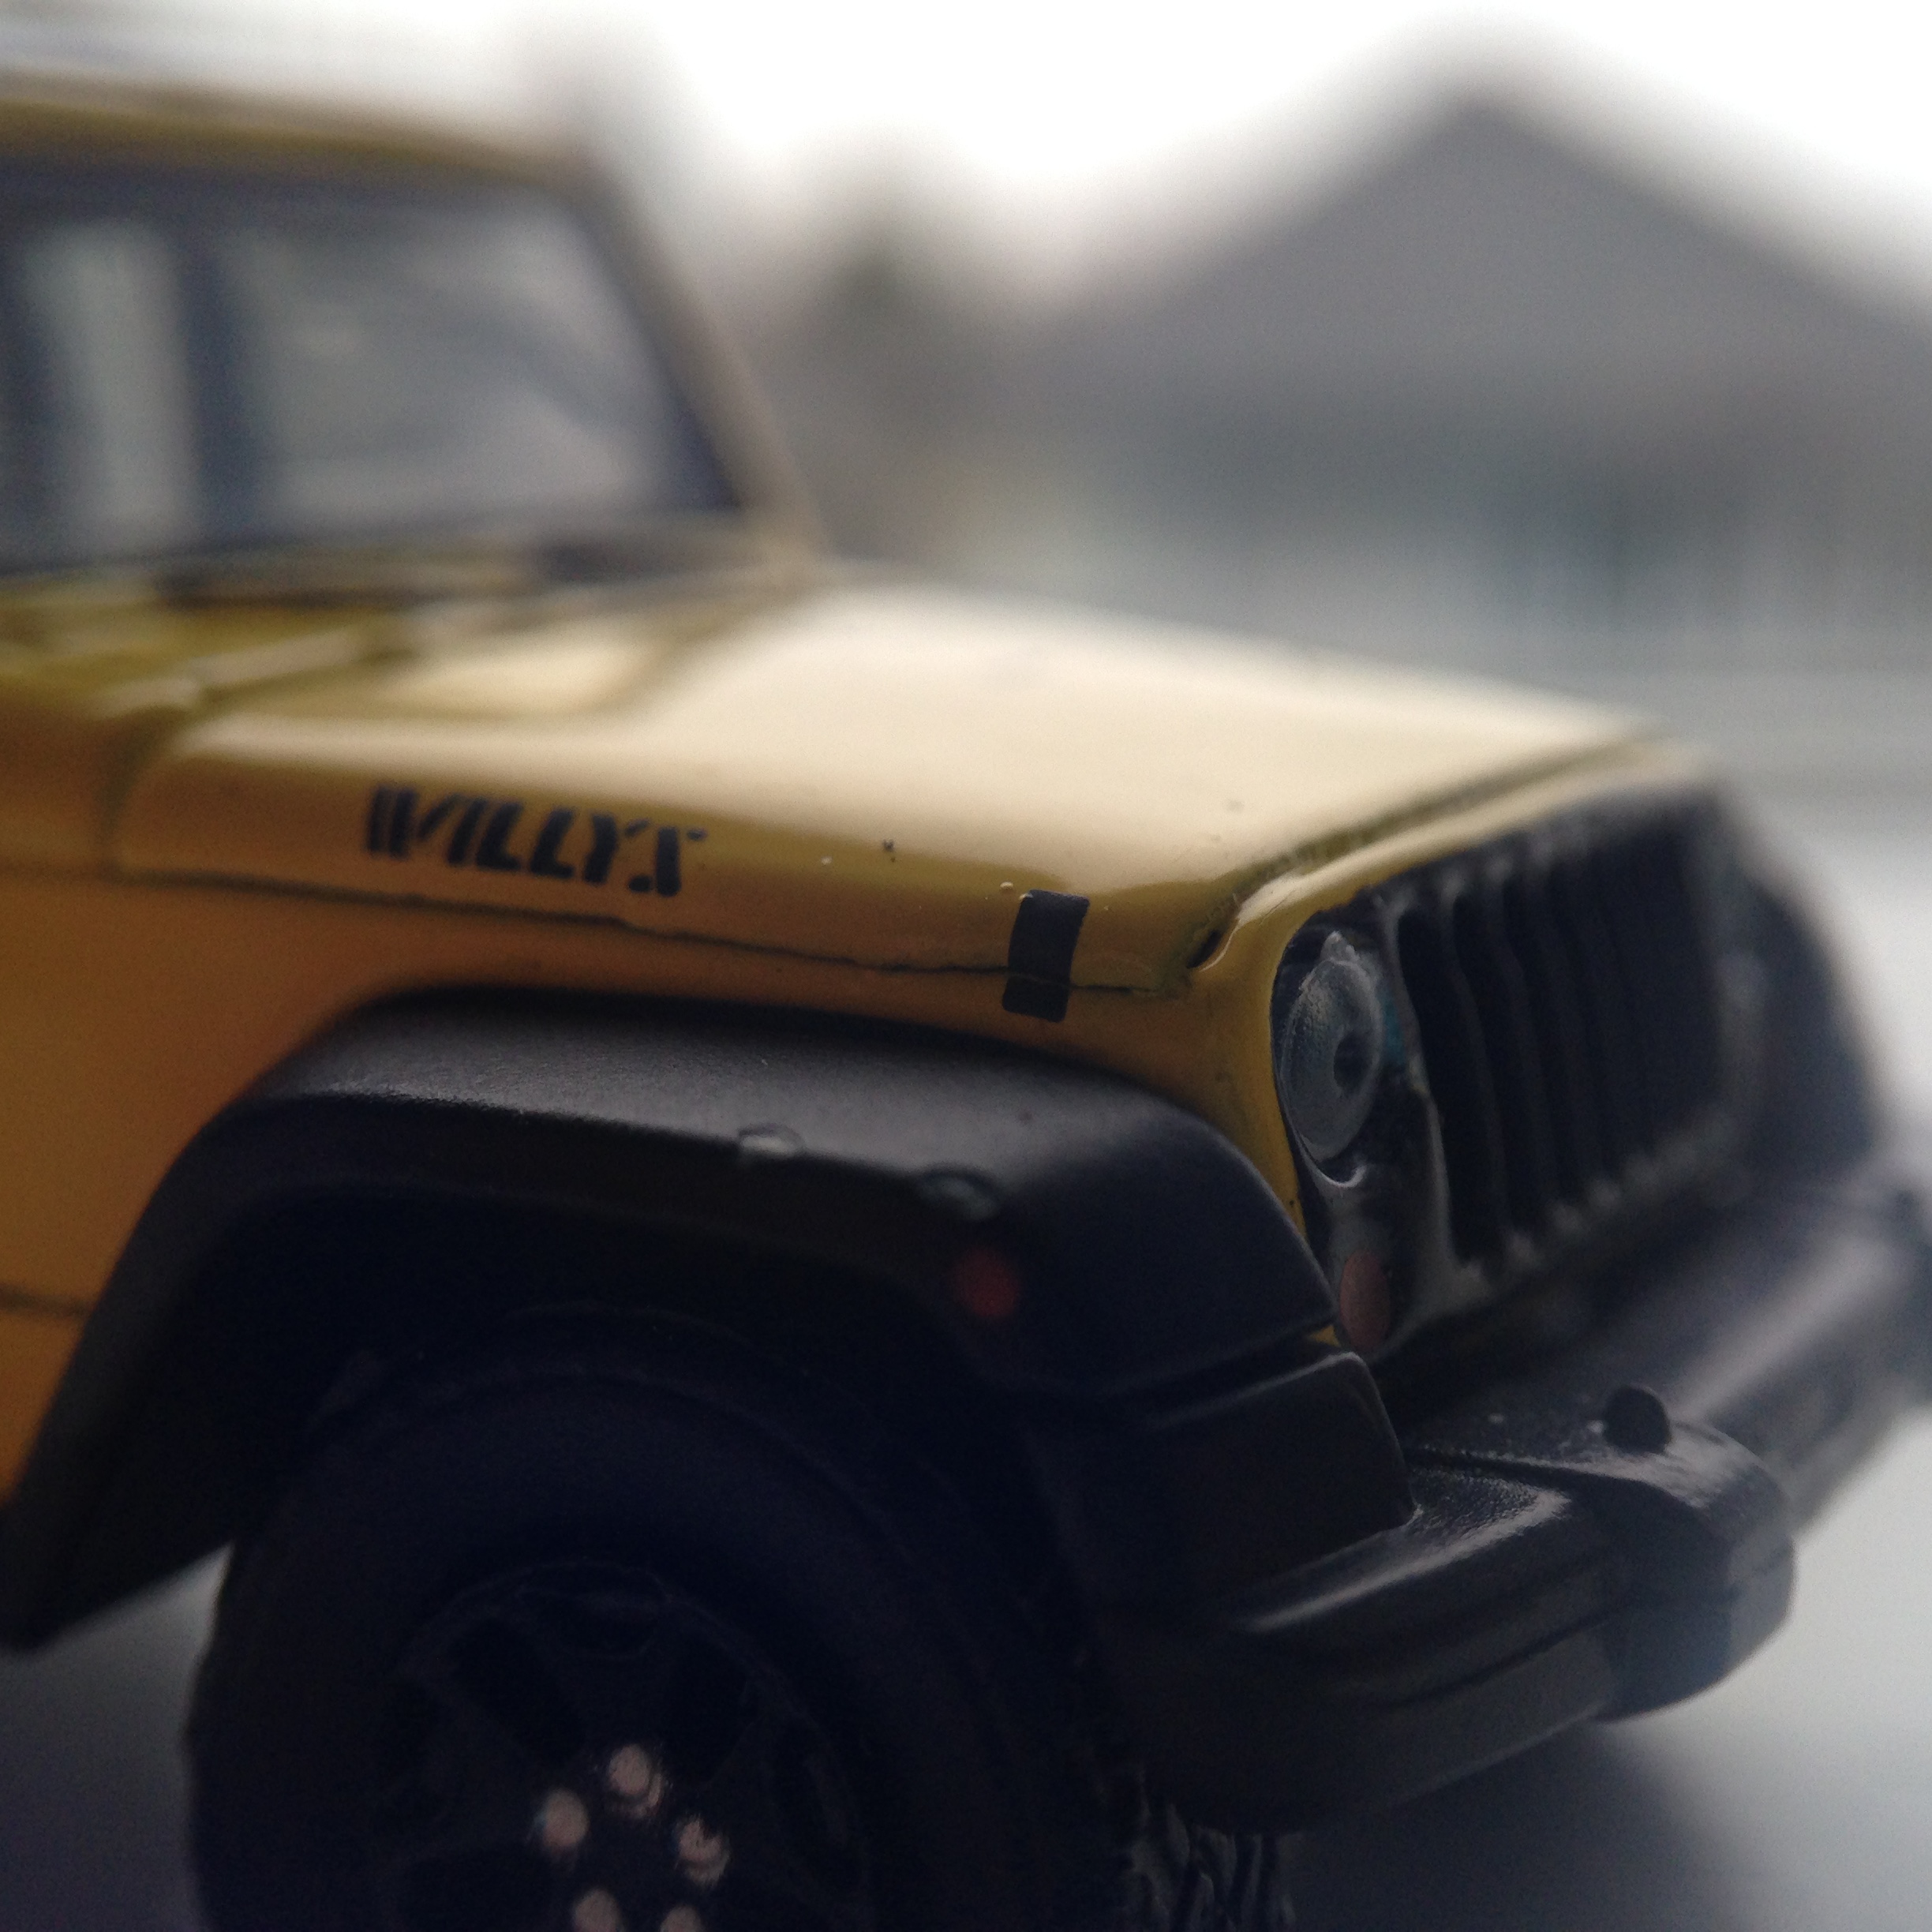
Location, Location, Location
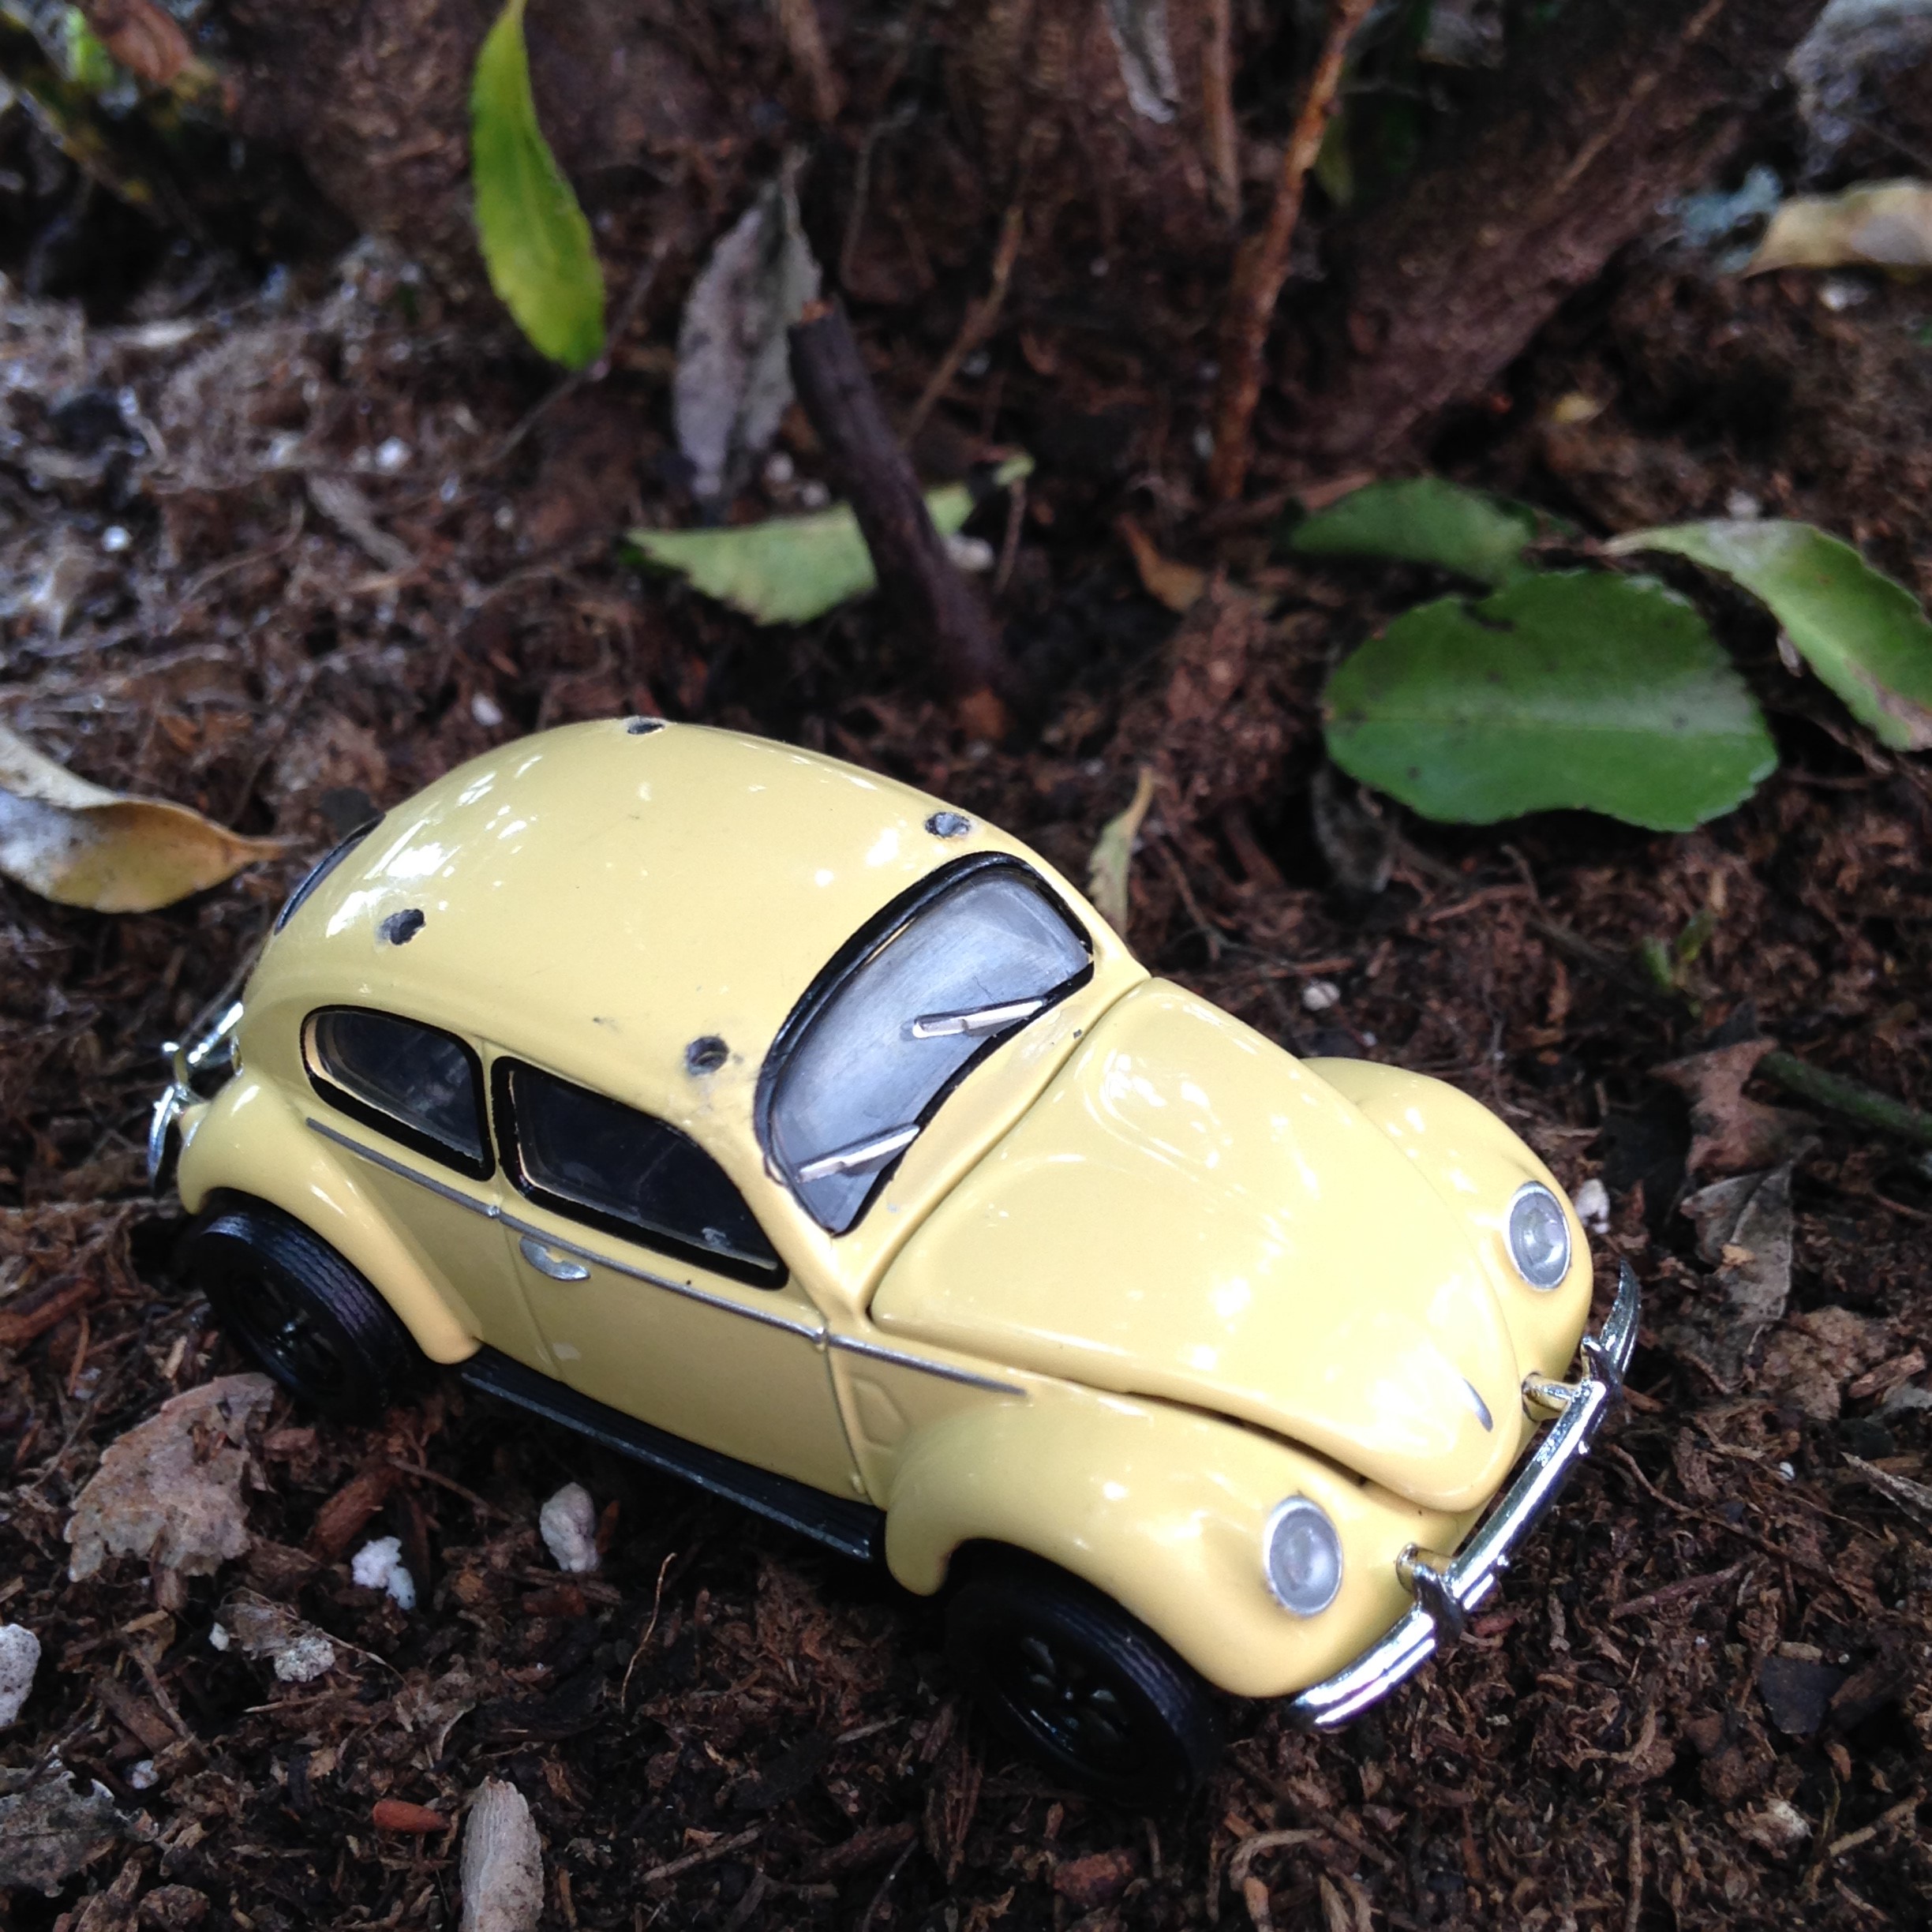
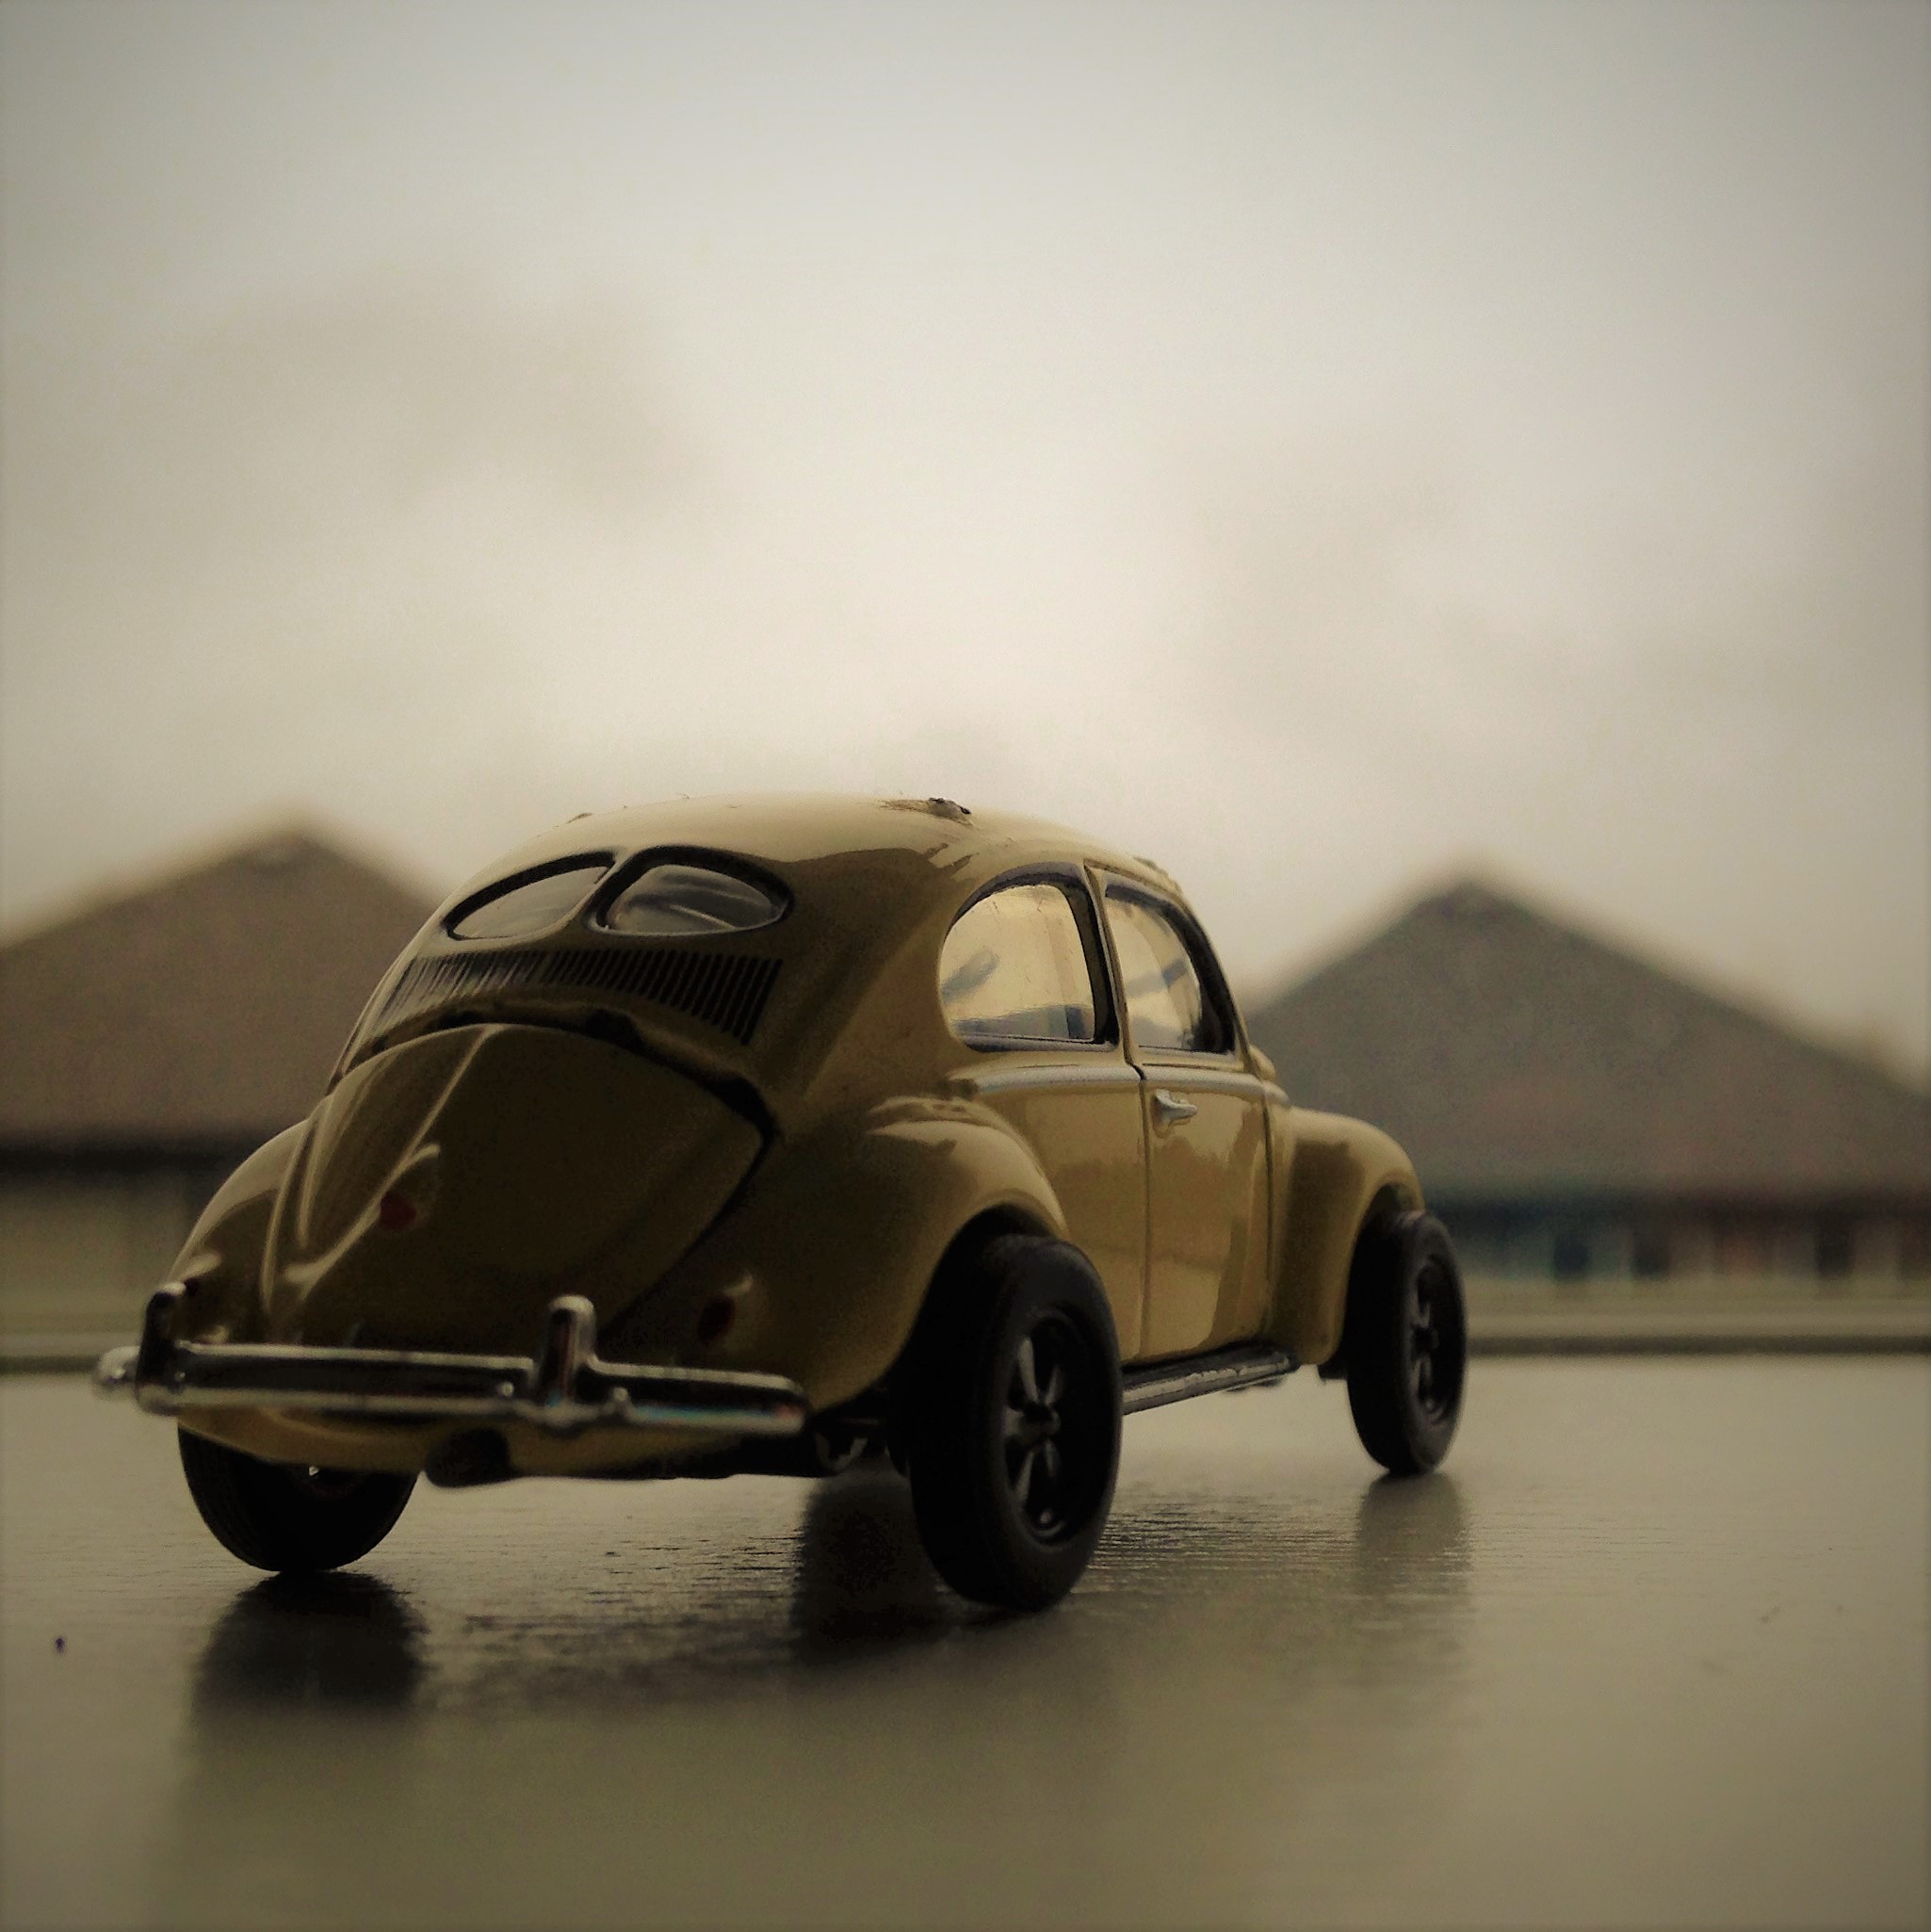
Here in the first photo, an innocent VW bug roams the muddy, dirty woods. See, it doesn't fit the location at all. It looks like a dirty oversized egg.....
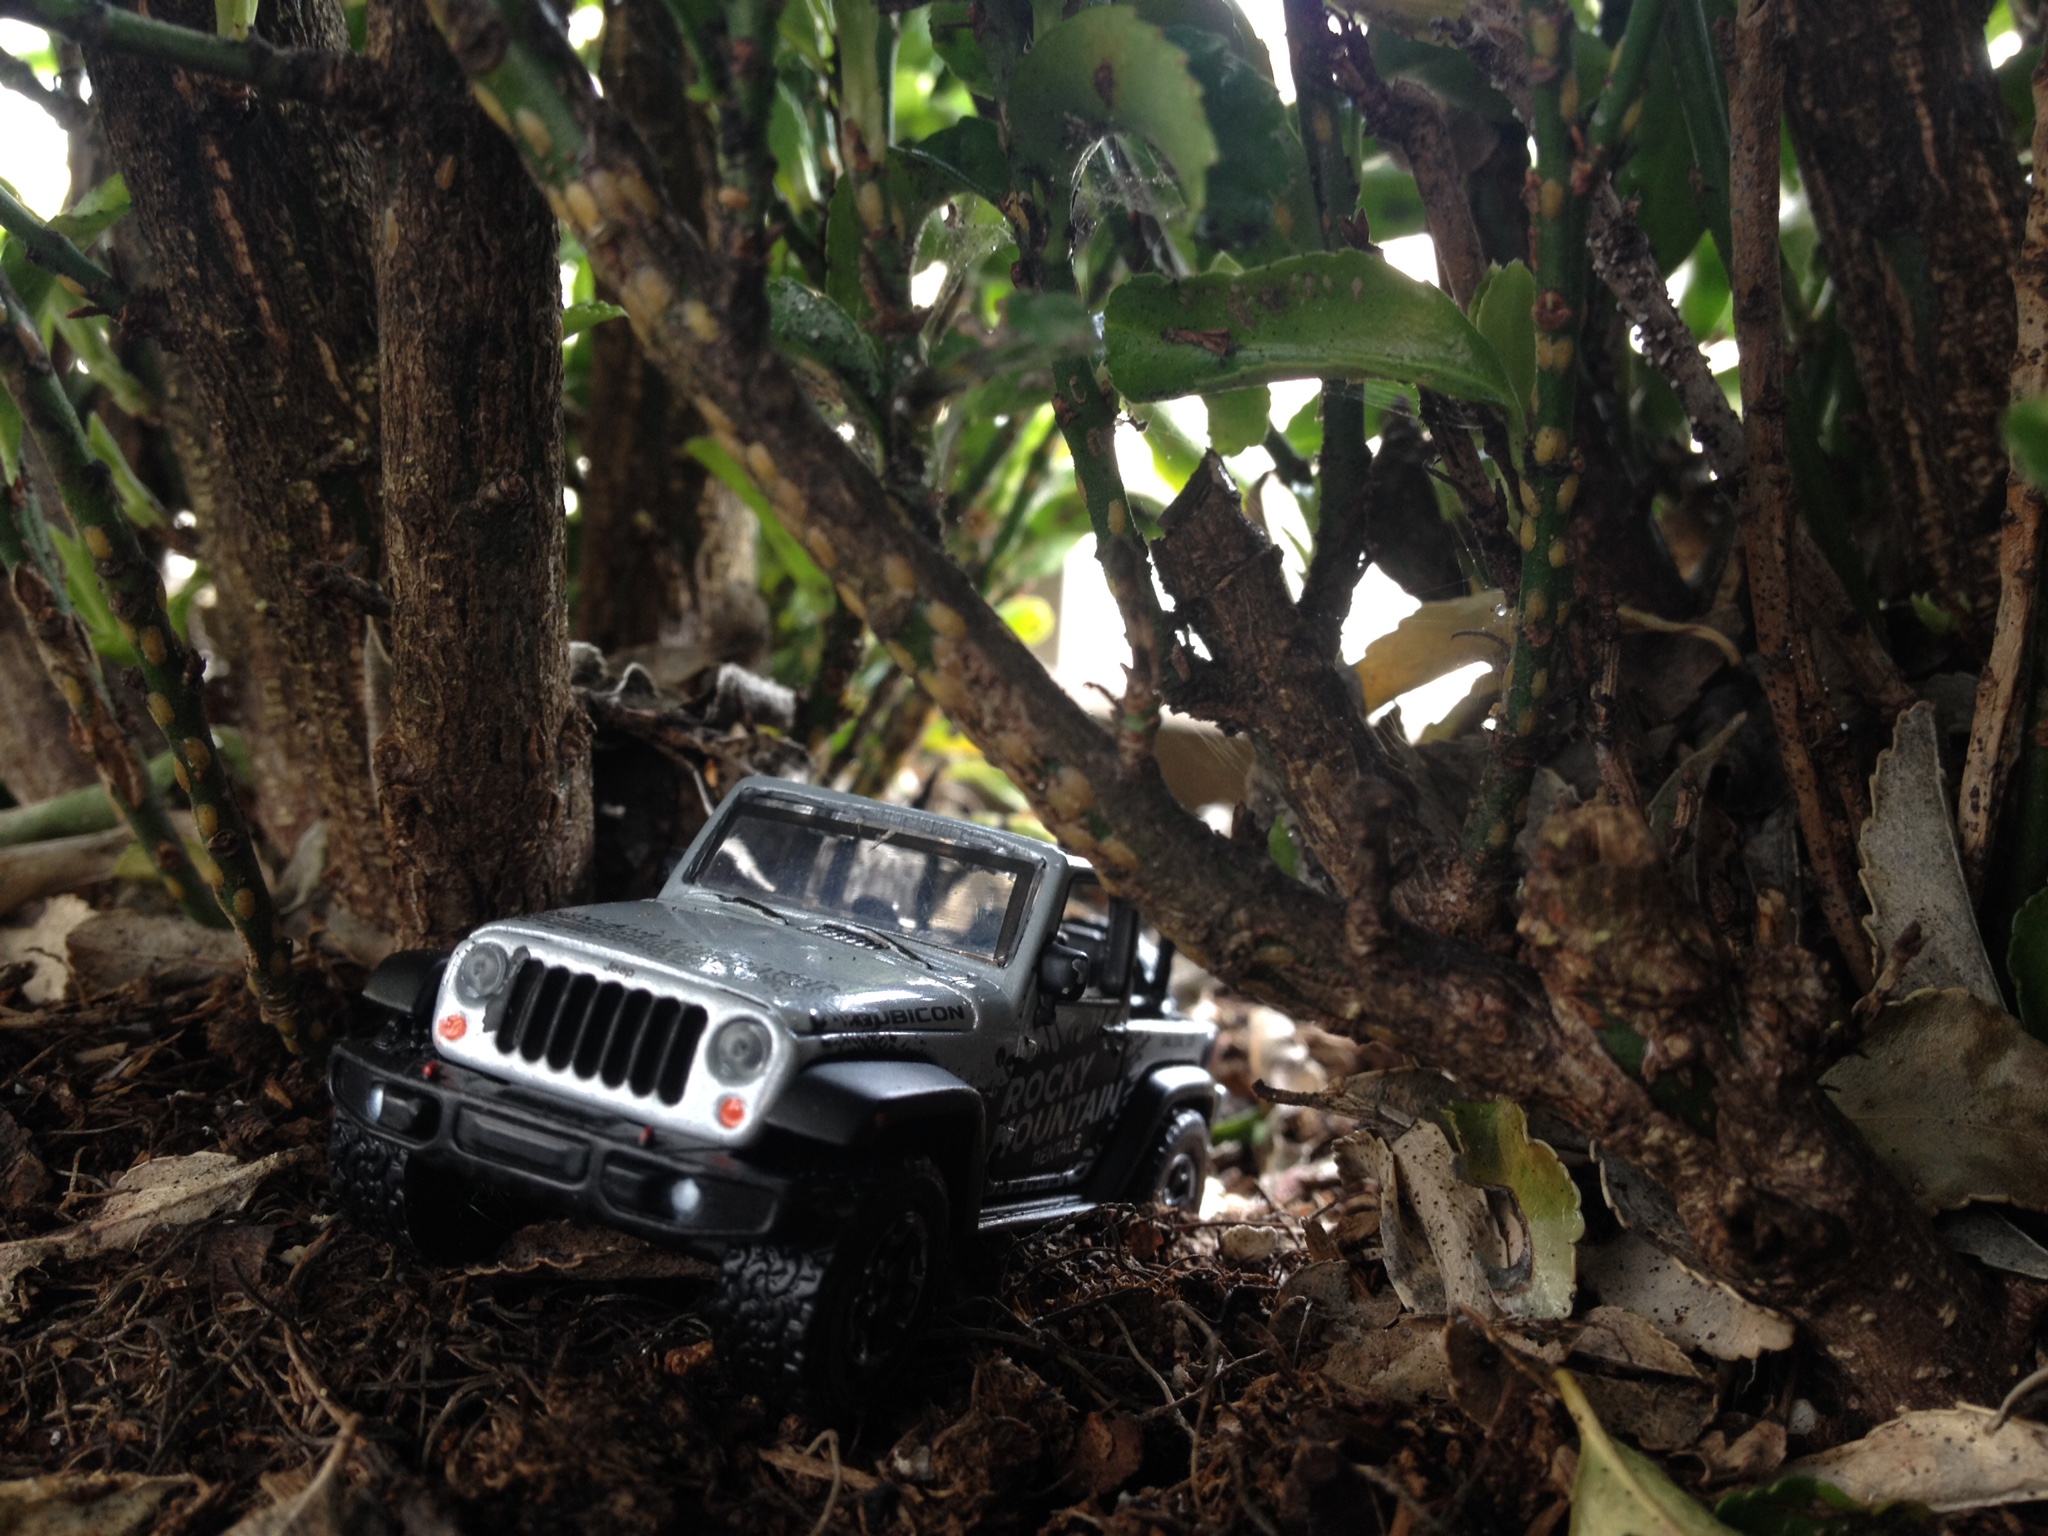
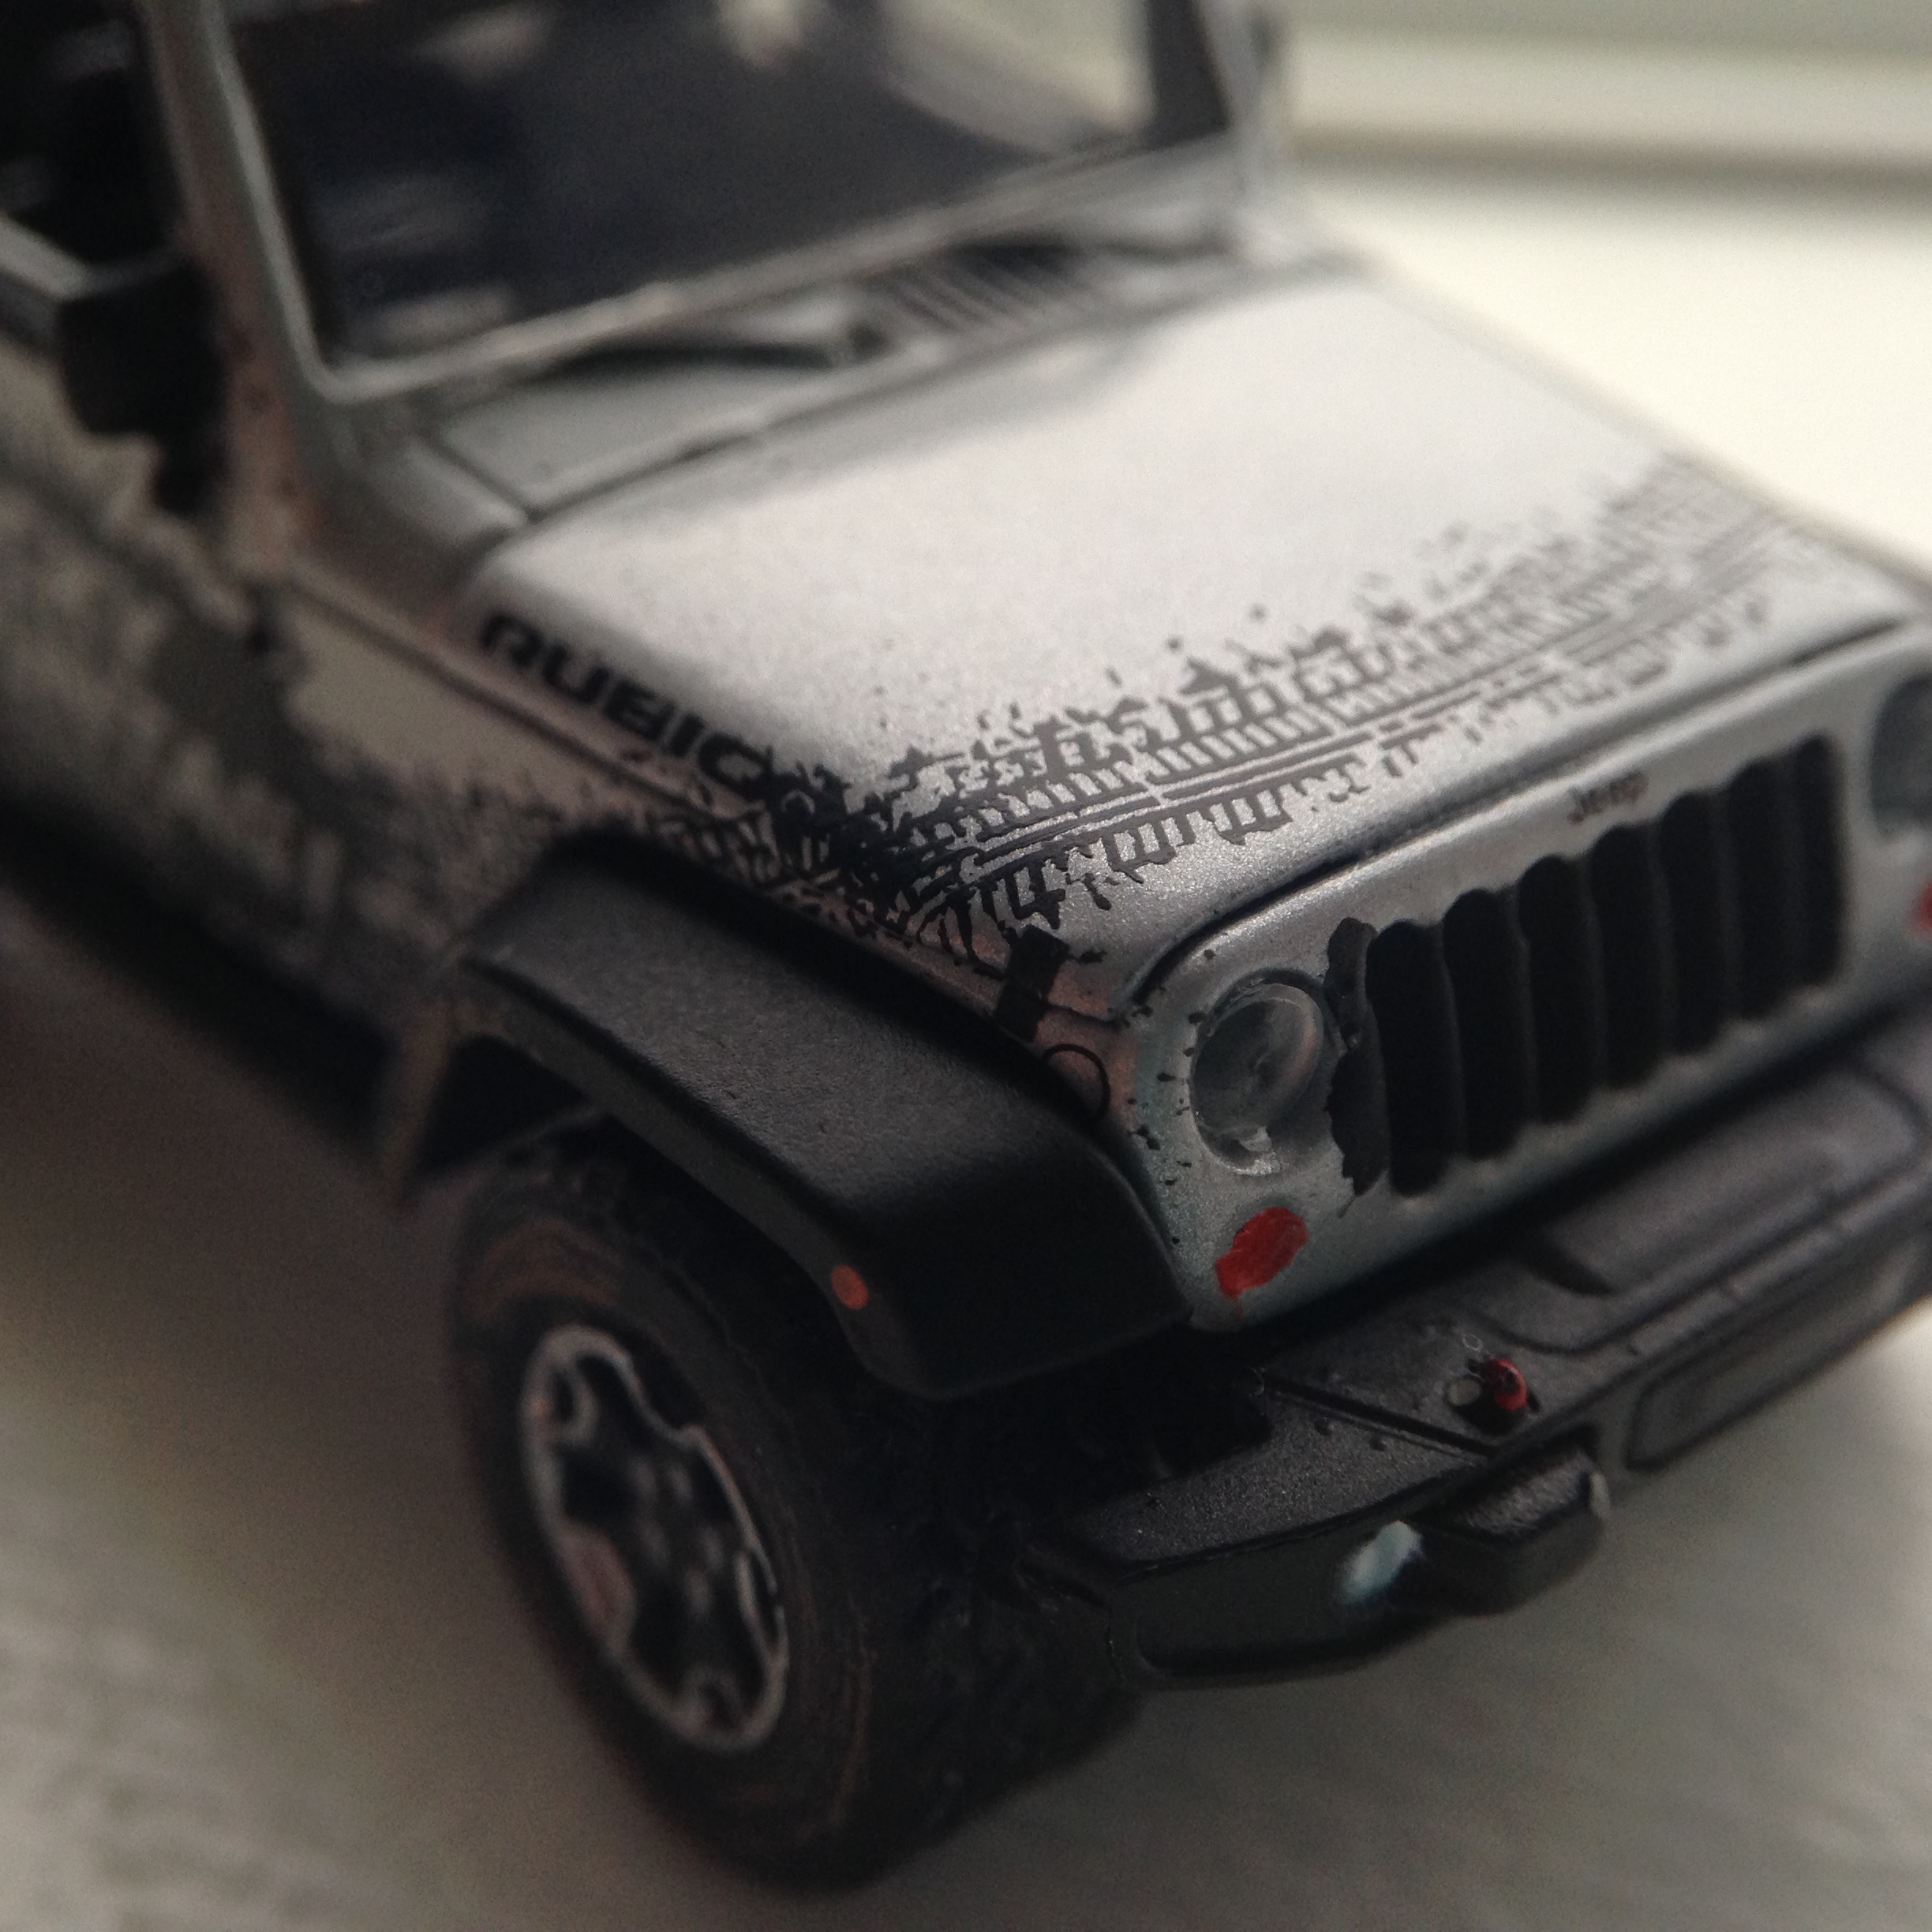
In the next photo, a Jeep now roams the muddy, dirty woods. Now that seems more like it. Rugged Jeep, muddy woods. A match made in heaven.
Cropping an Image
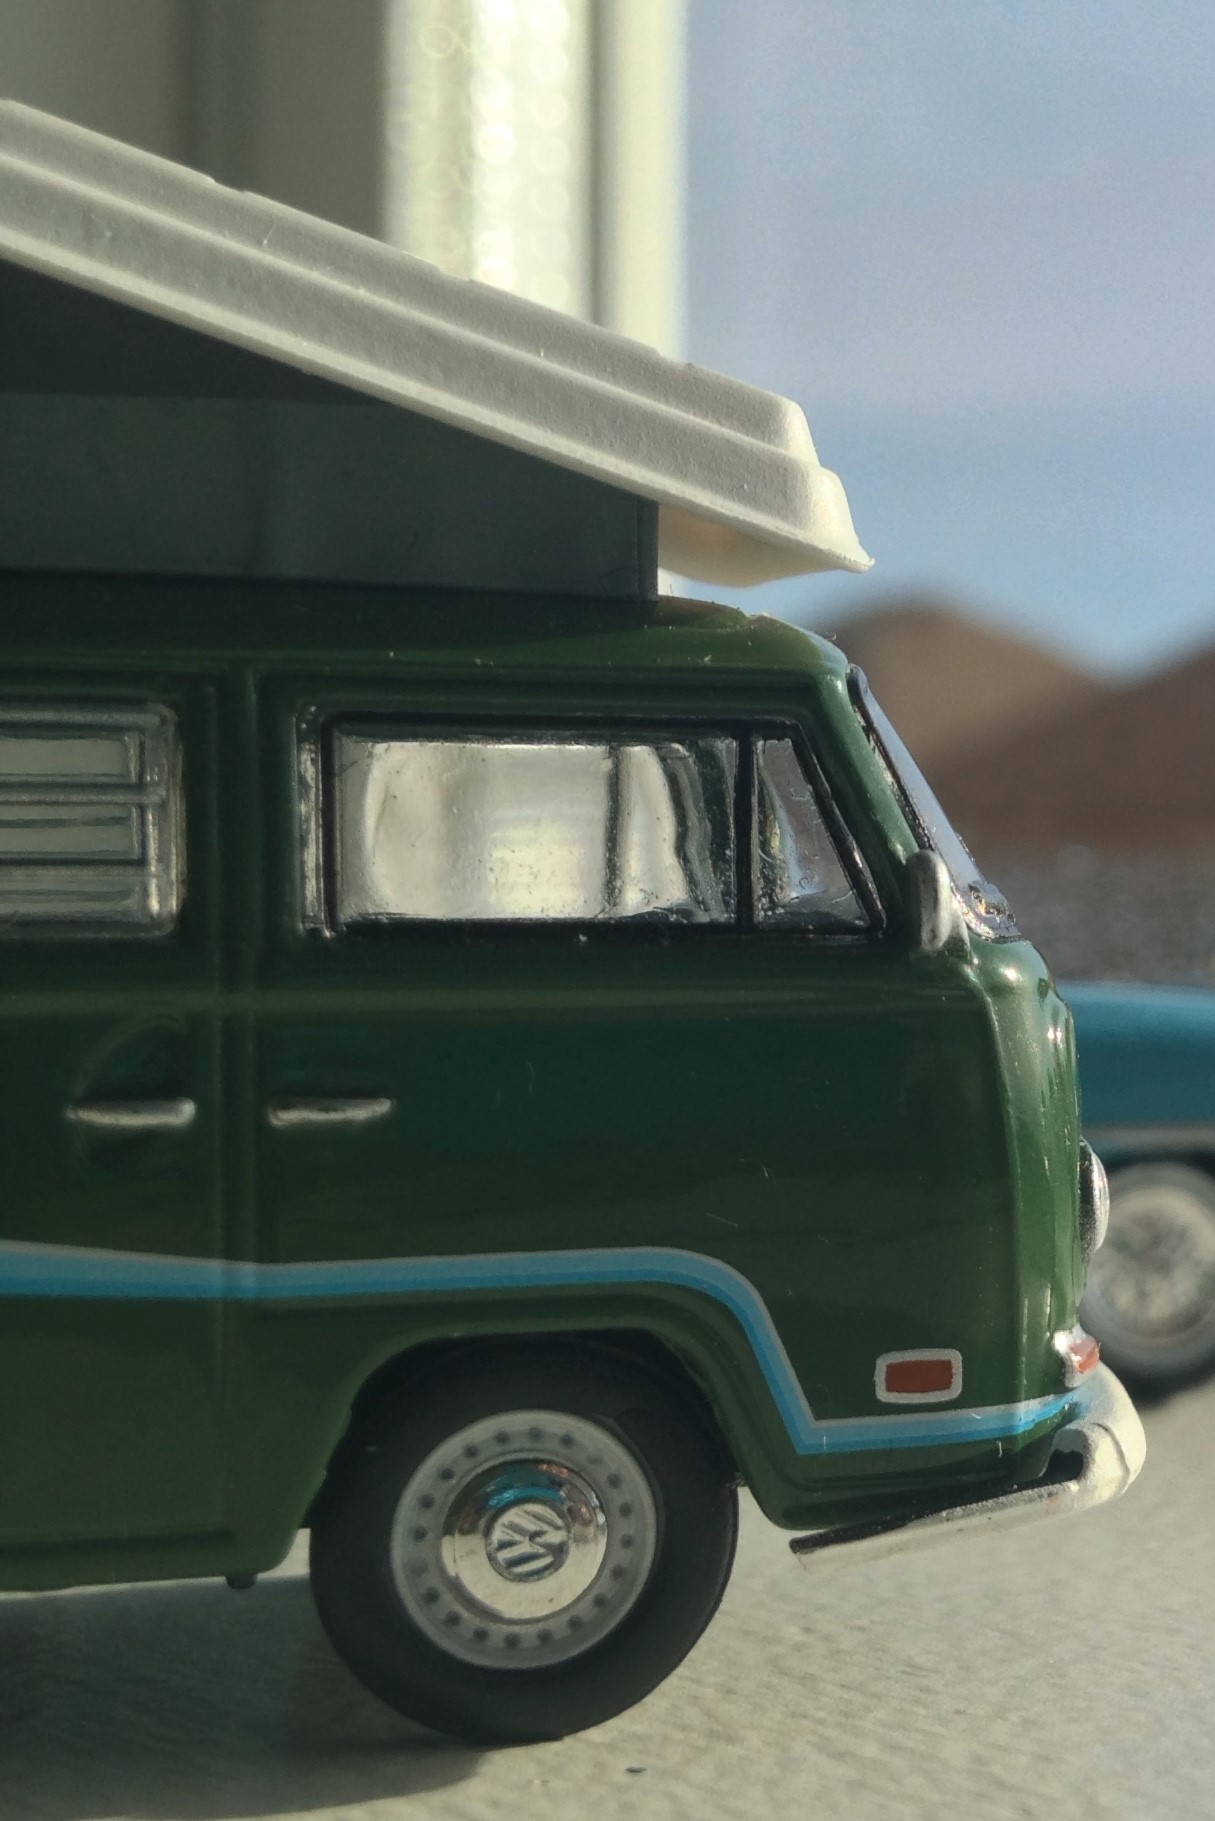
Cropping an image of your car lets you fully grasp one detail of the car. If the image is muddled and full of confusing background things, just crop it to show one part of the car!
Background Props
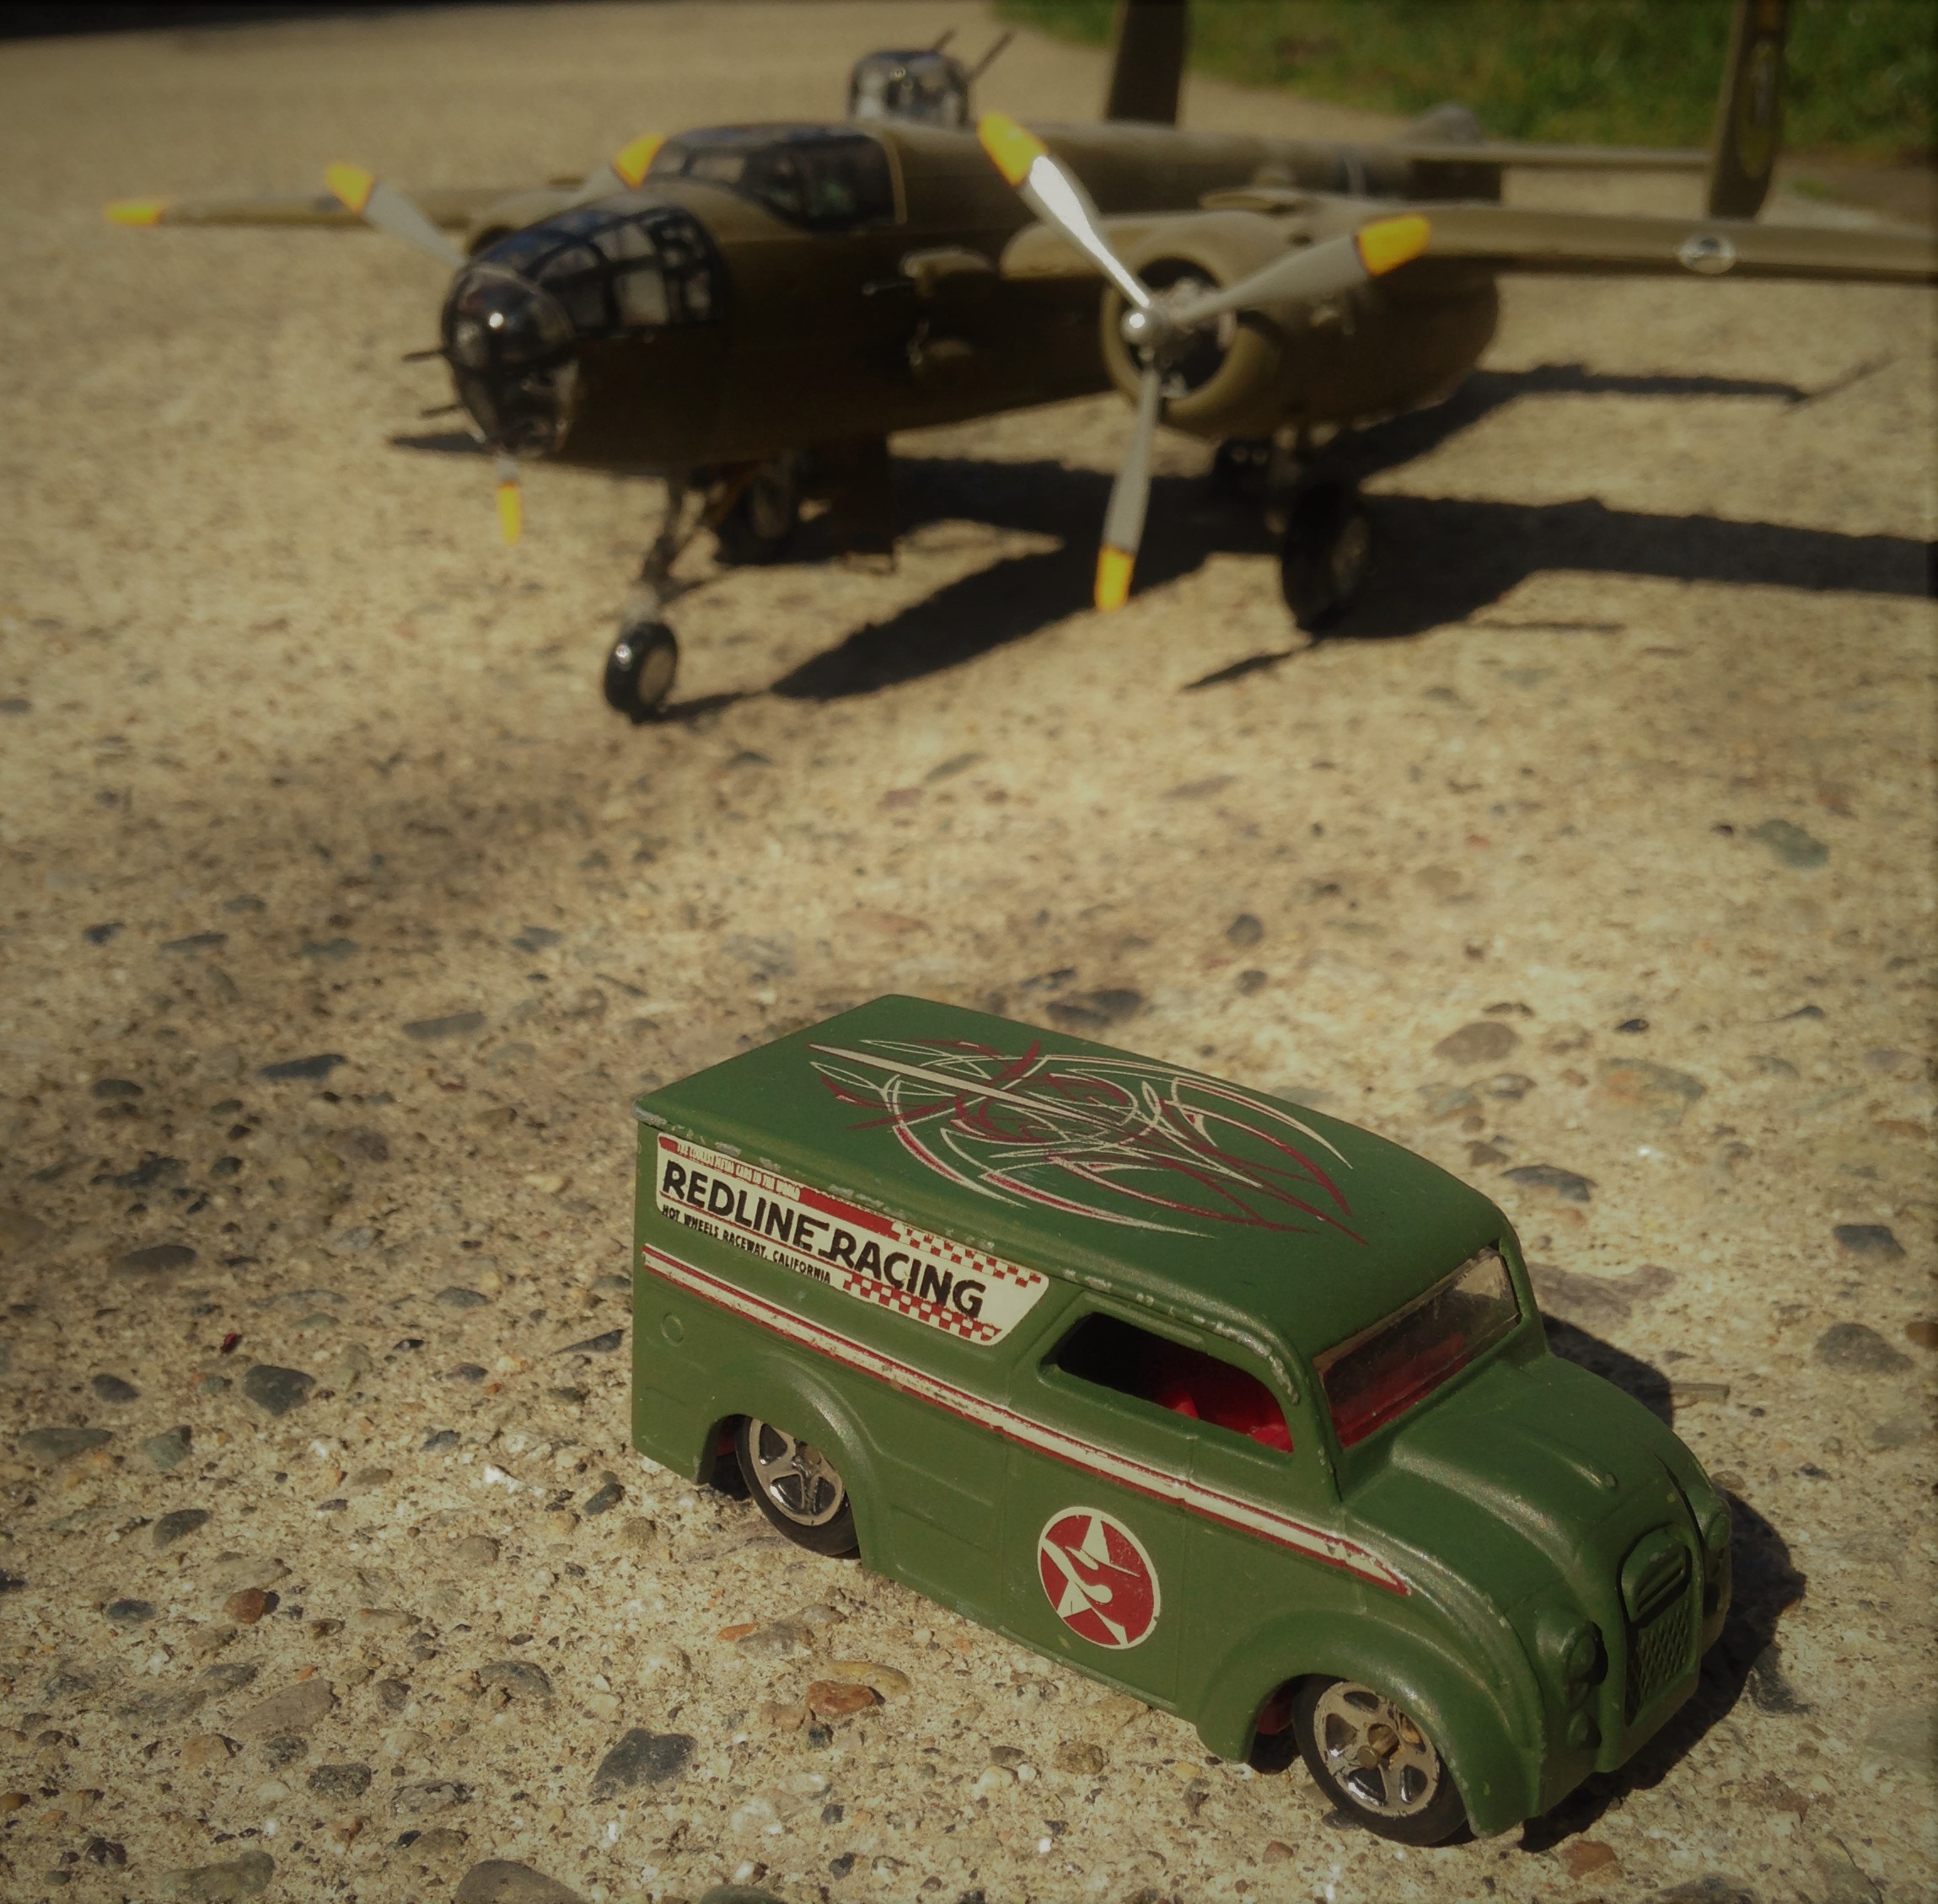
In the background, I have a model bomber plane. The car has attributes of an old WW2 delivery van.
Steps to getting the photo-
1) Get your two subjects. (A car and bomber in this case.)
2) Line them up for the shot.
3) Take the shot.
4) Upload to editing software.
5) Put filter and vignette on the image in preferred software.
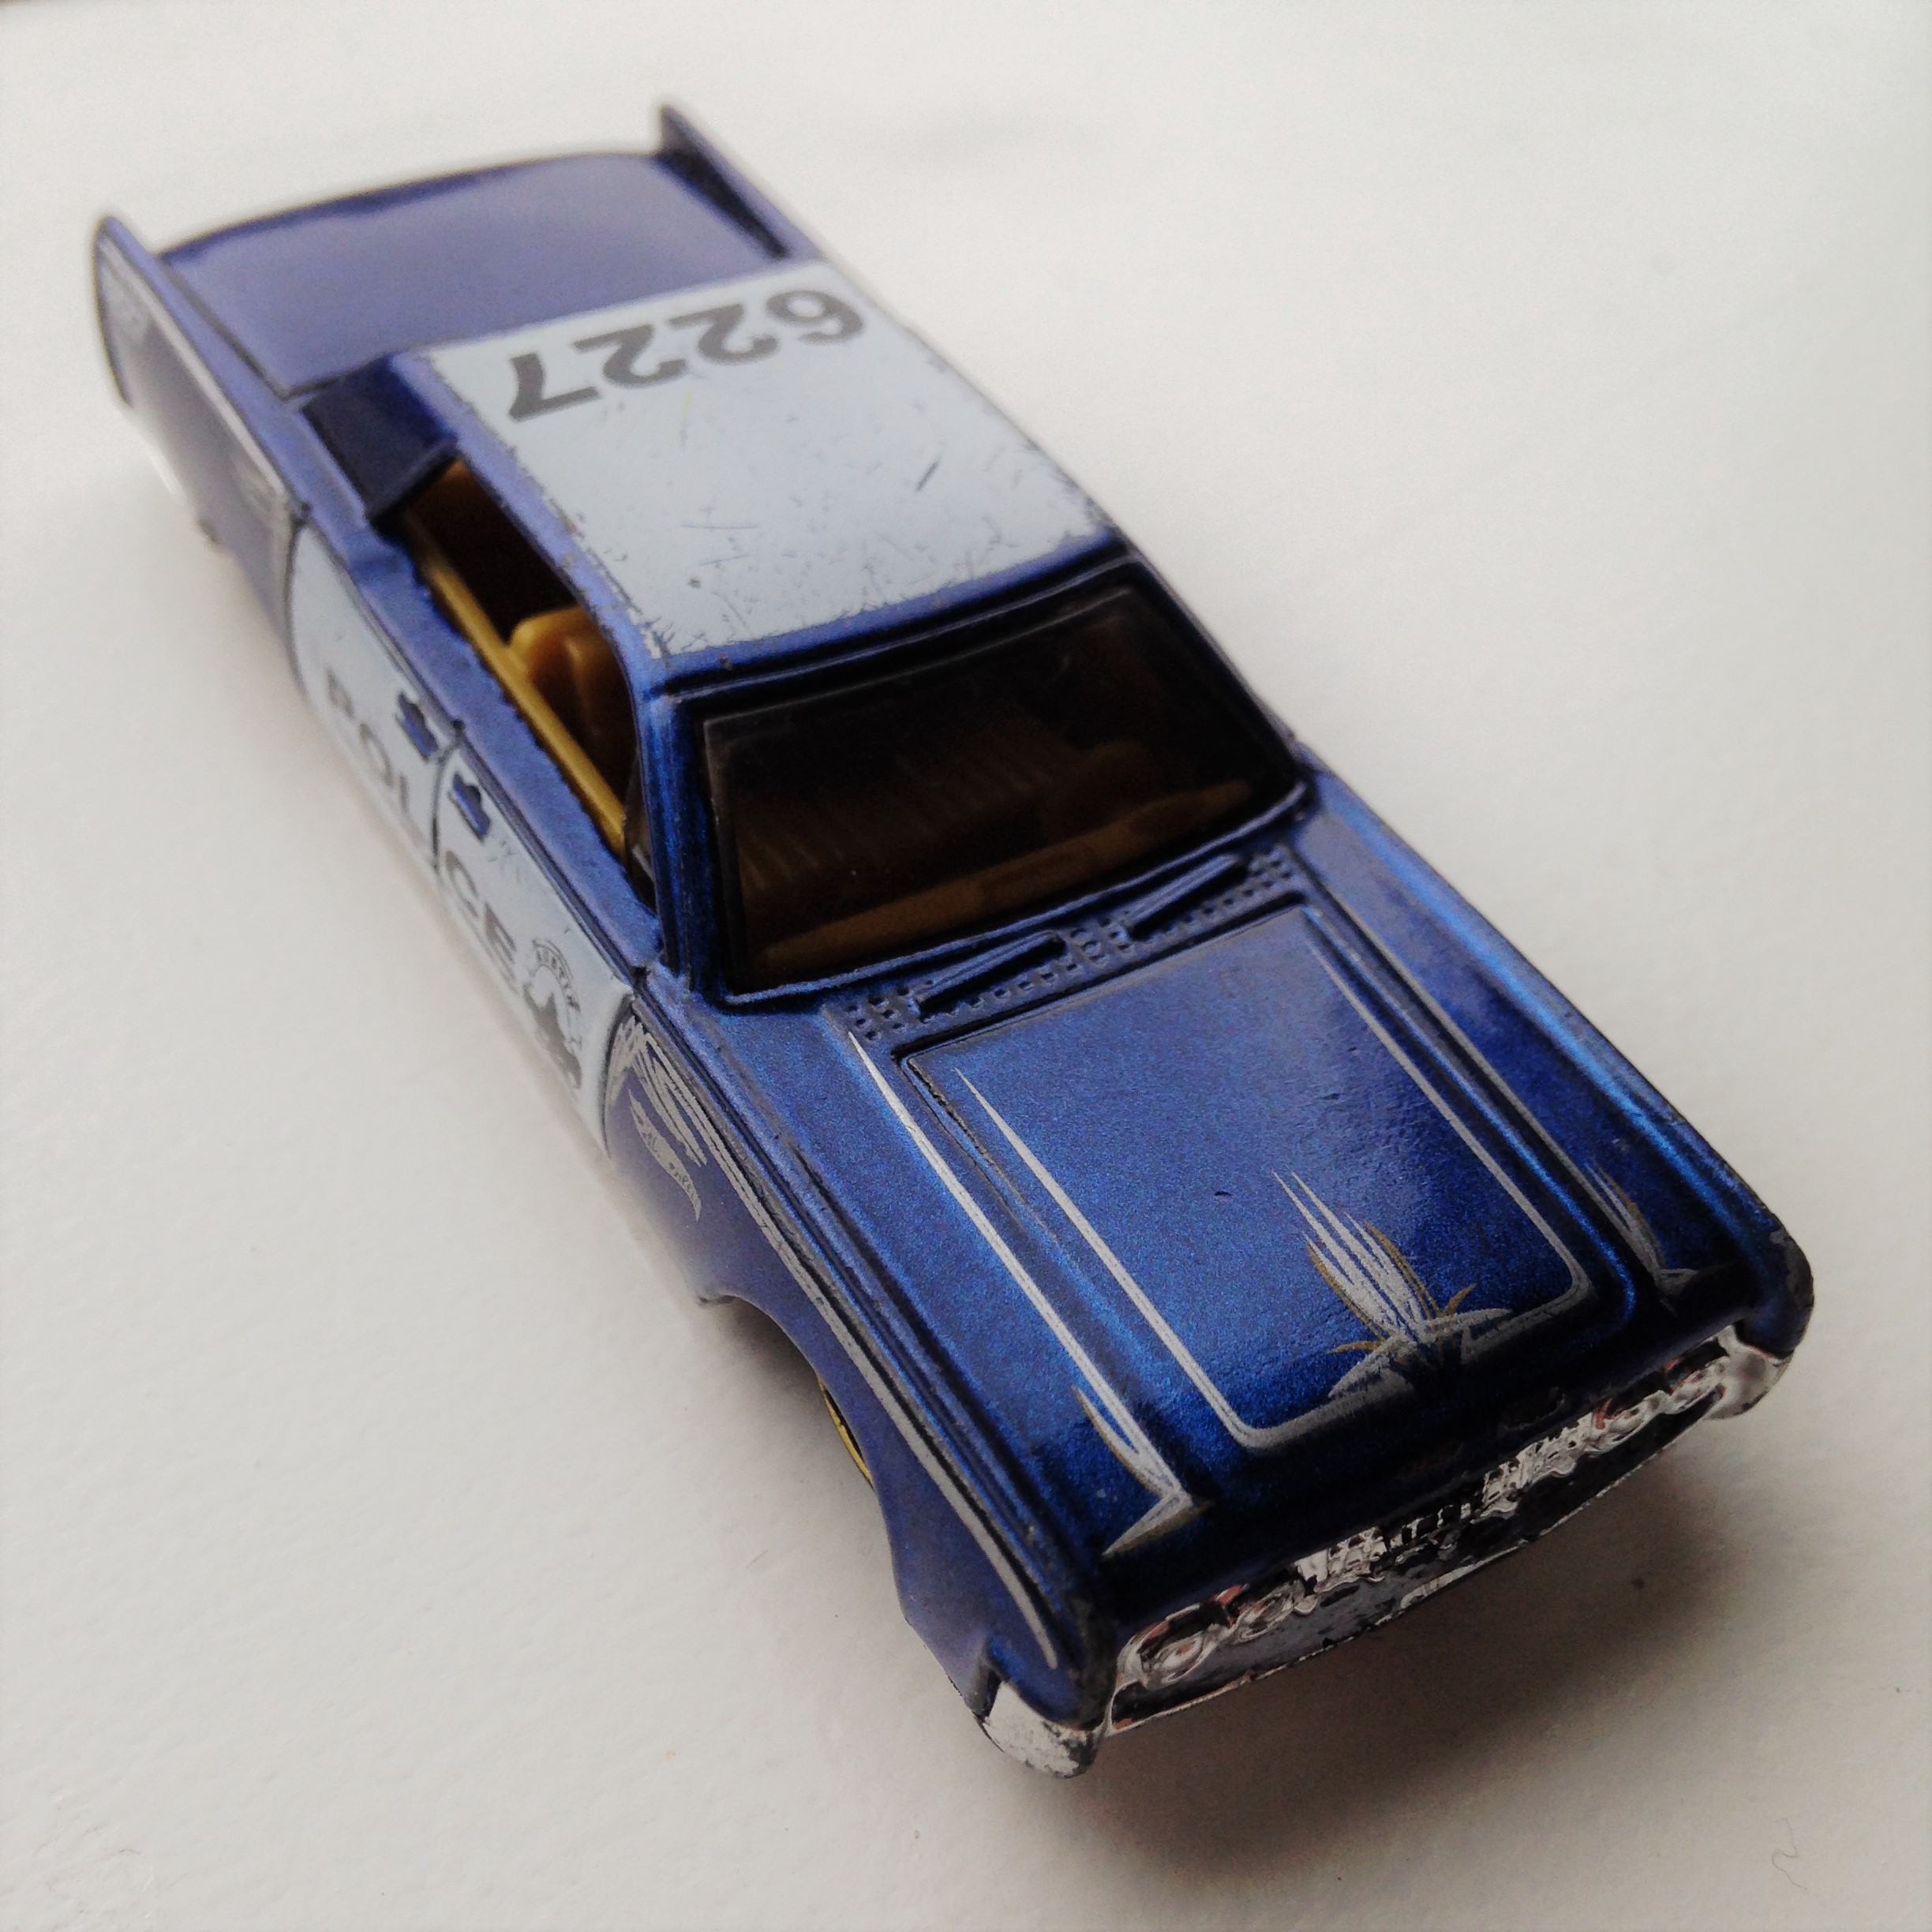
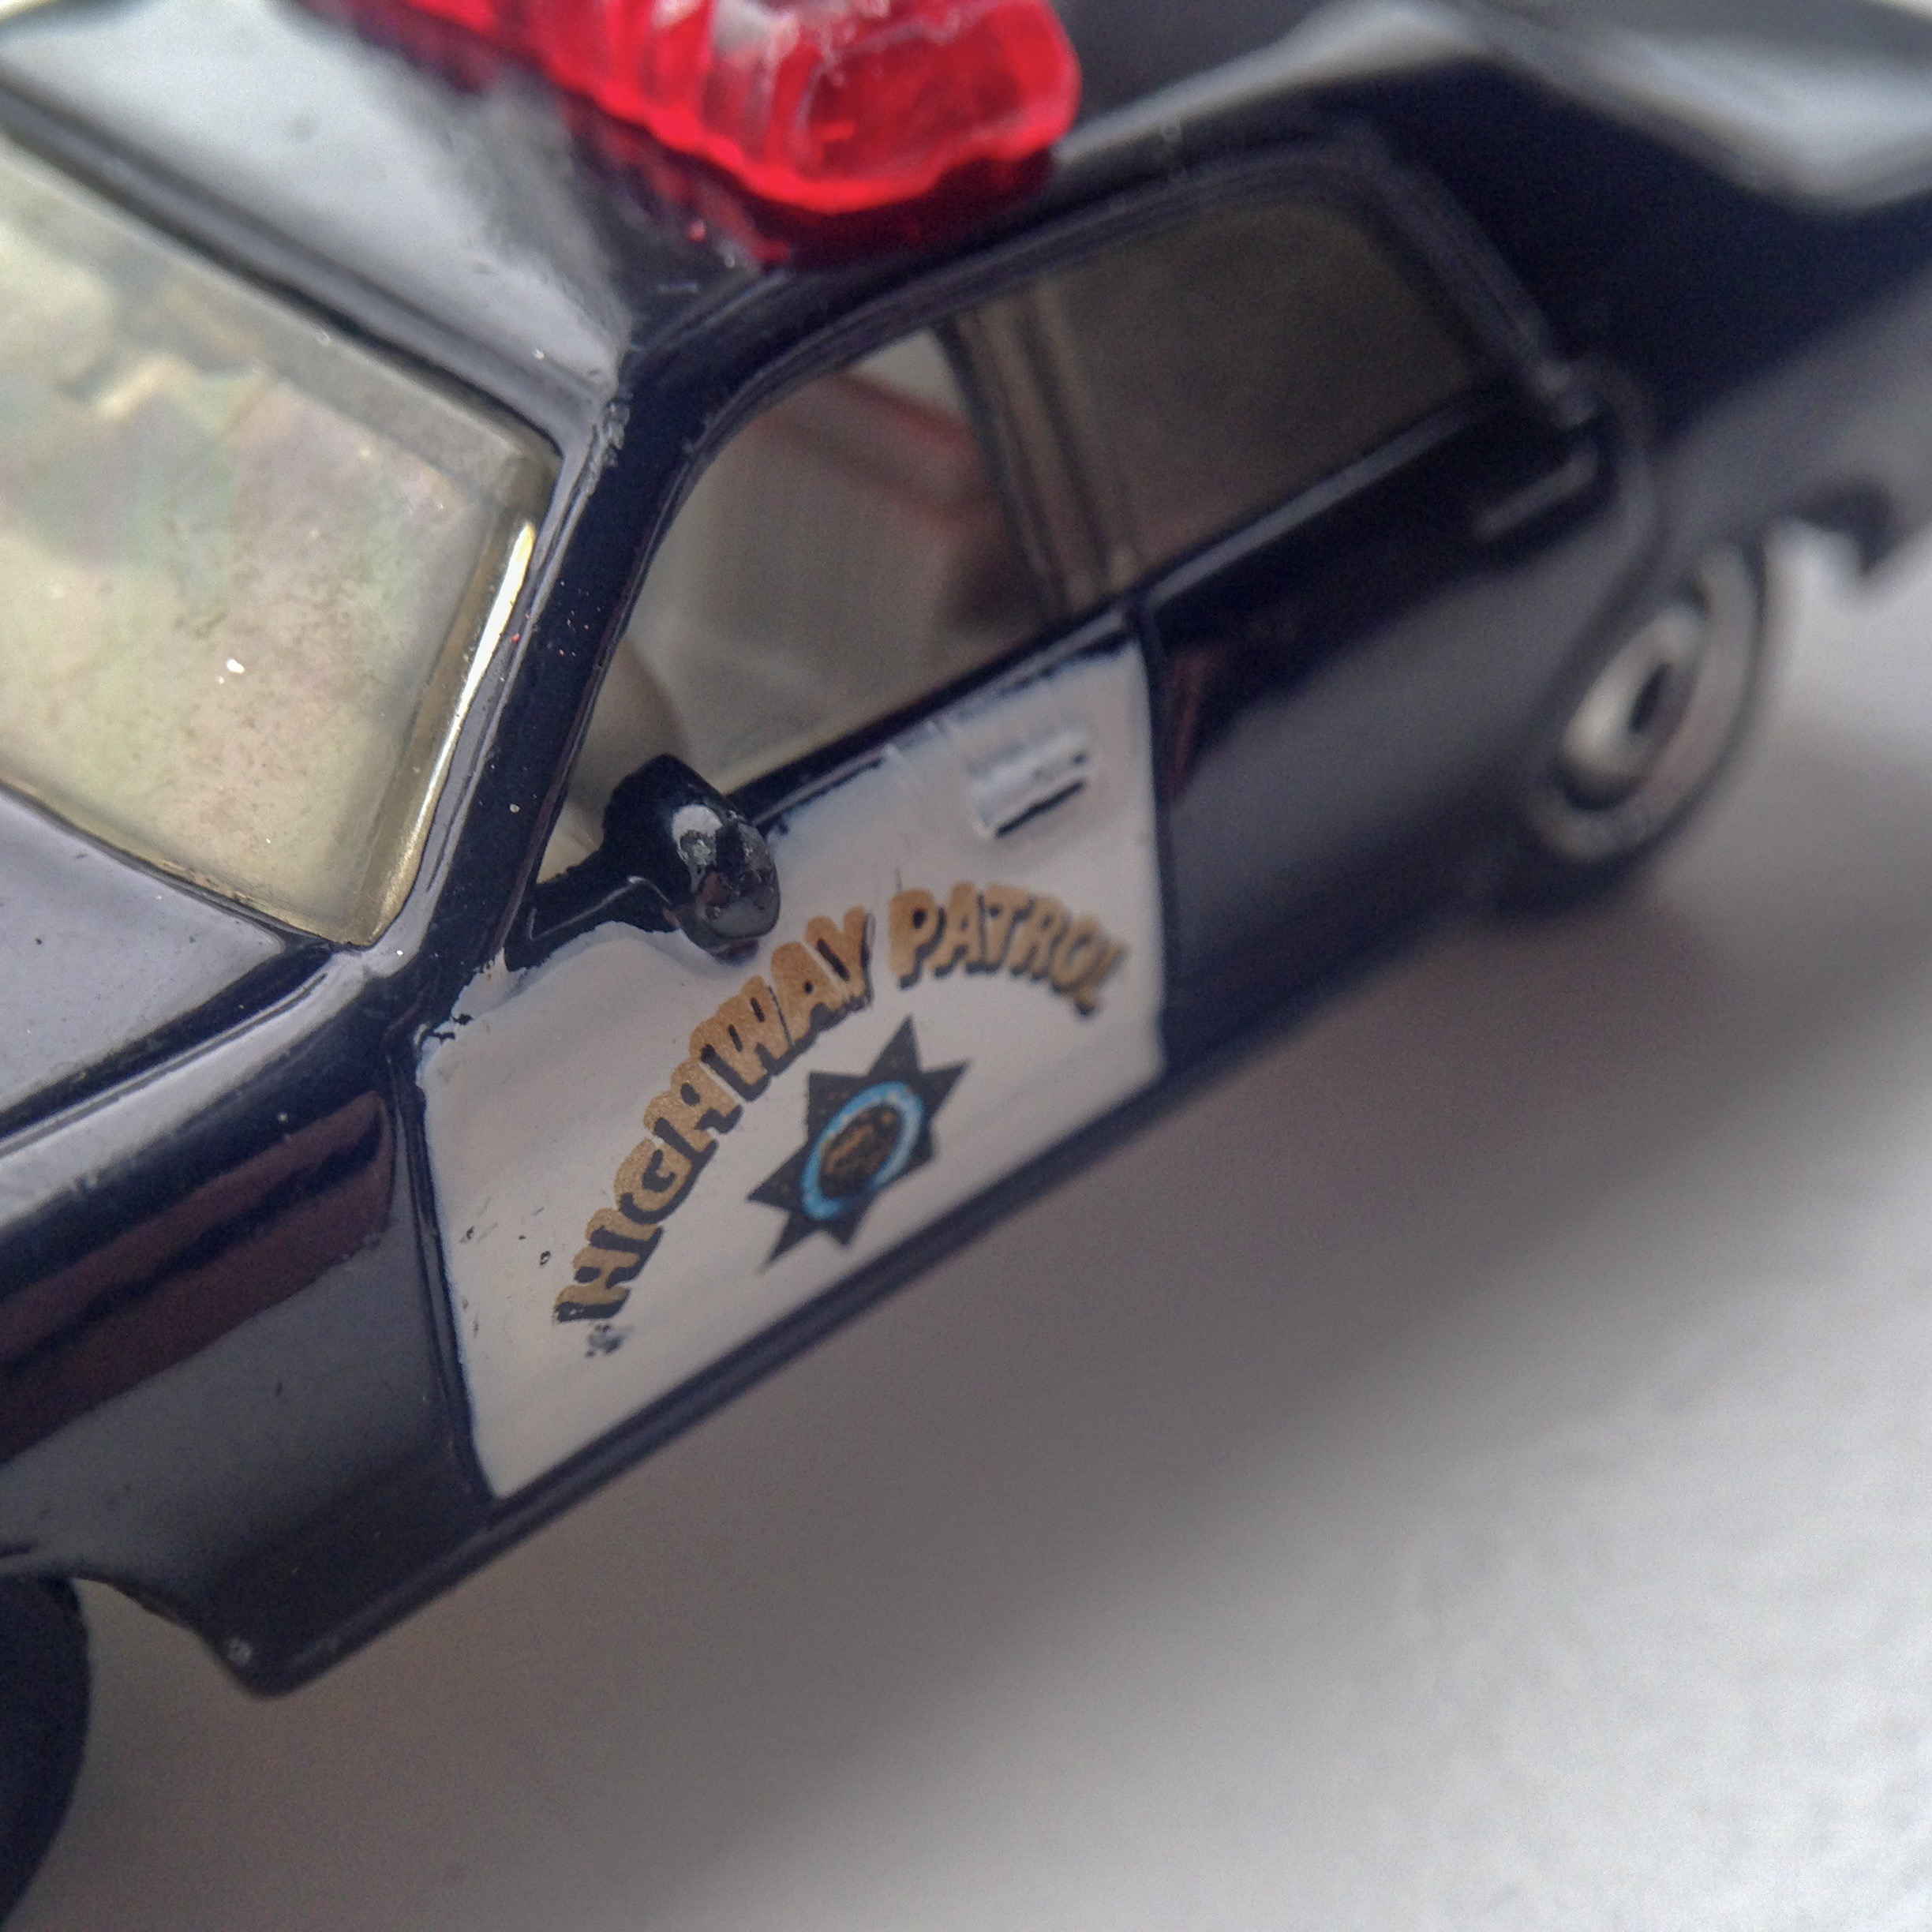
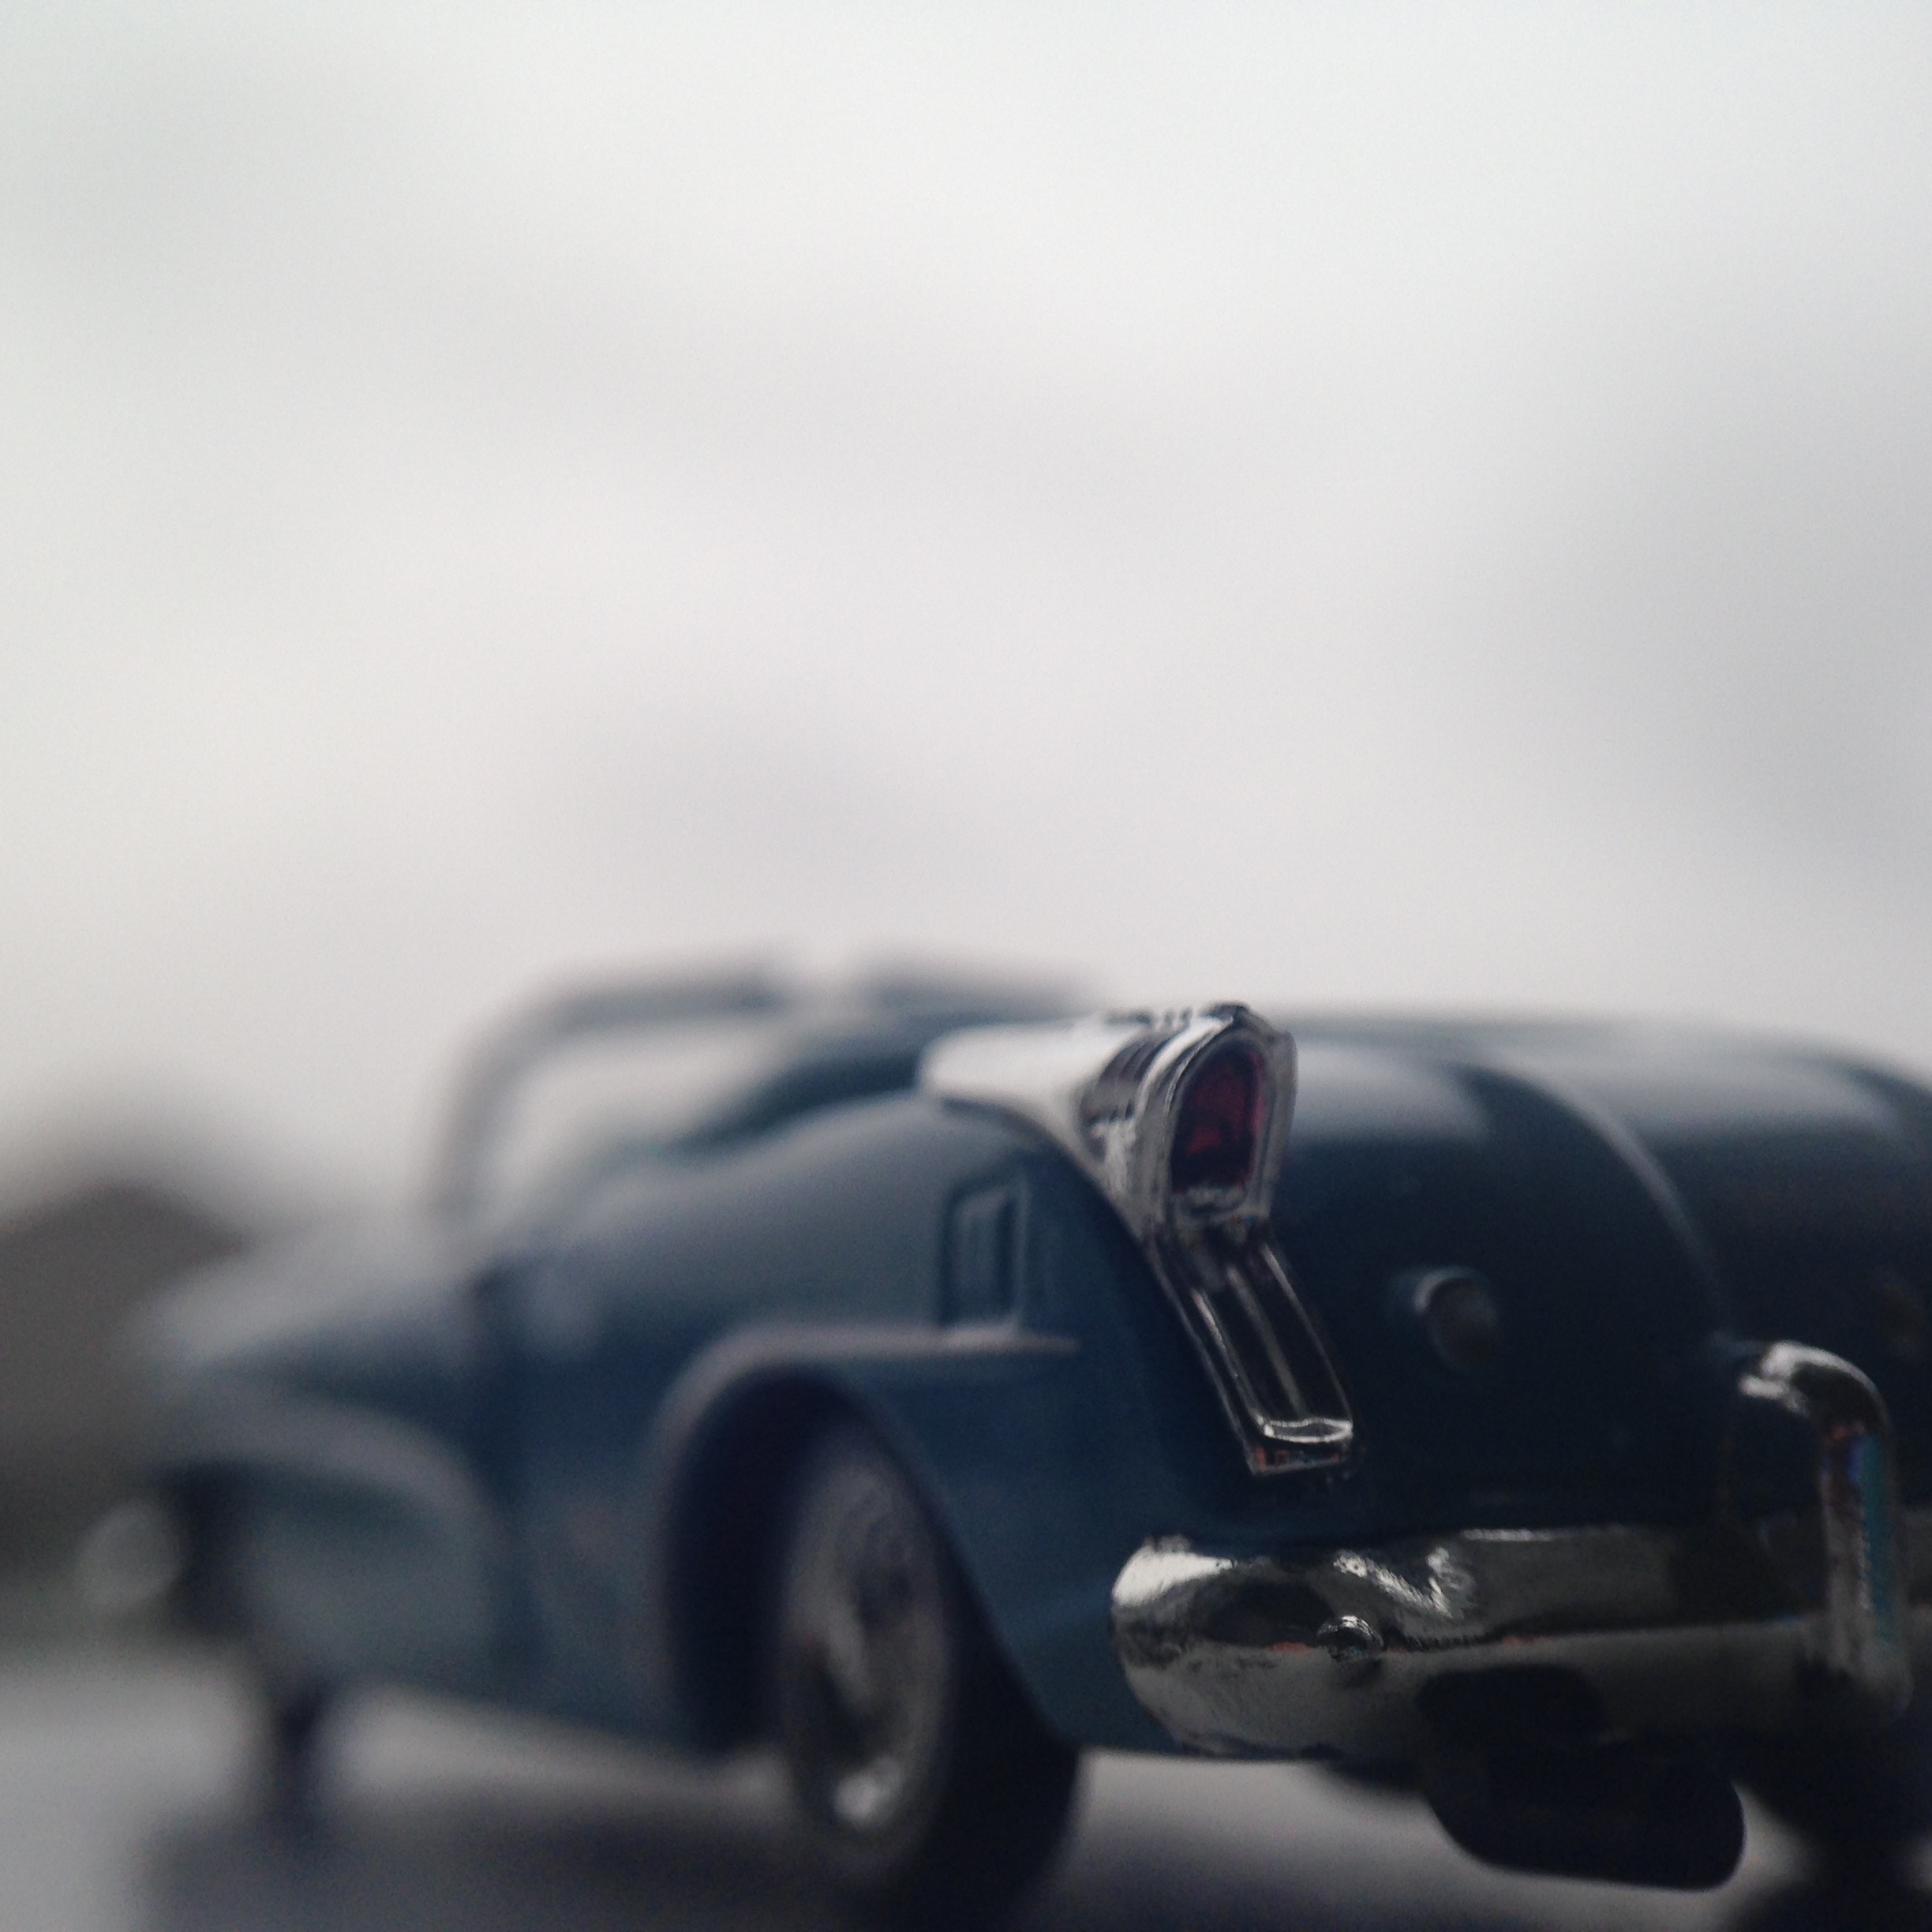
Focal Points

Focal points are hard. To really grasp what a focal point is, it is the point in which light meets. In your eye, your focal point is on your retina. (Unless you are near or far sighted.) Focal points are important if you want to have a sharp striking image that is full of depth, shadows and highlights.
In the images:
1) The focal point is the red taillight. Everything else is blurry in the shot.
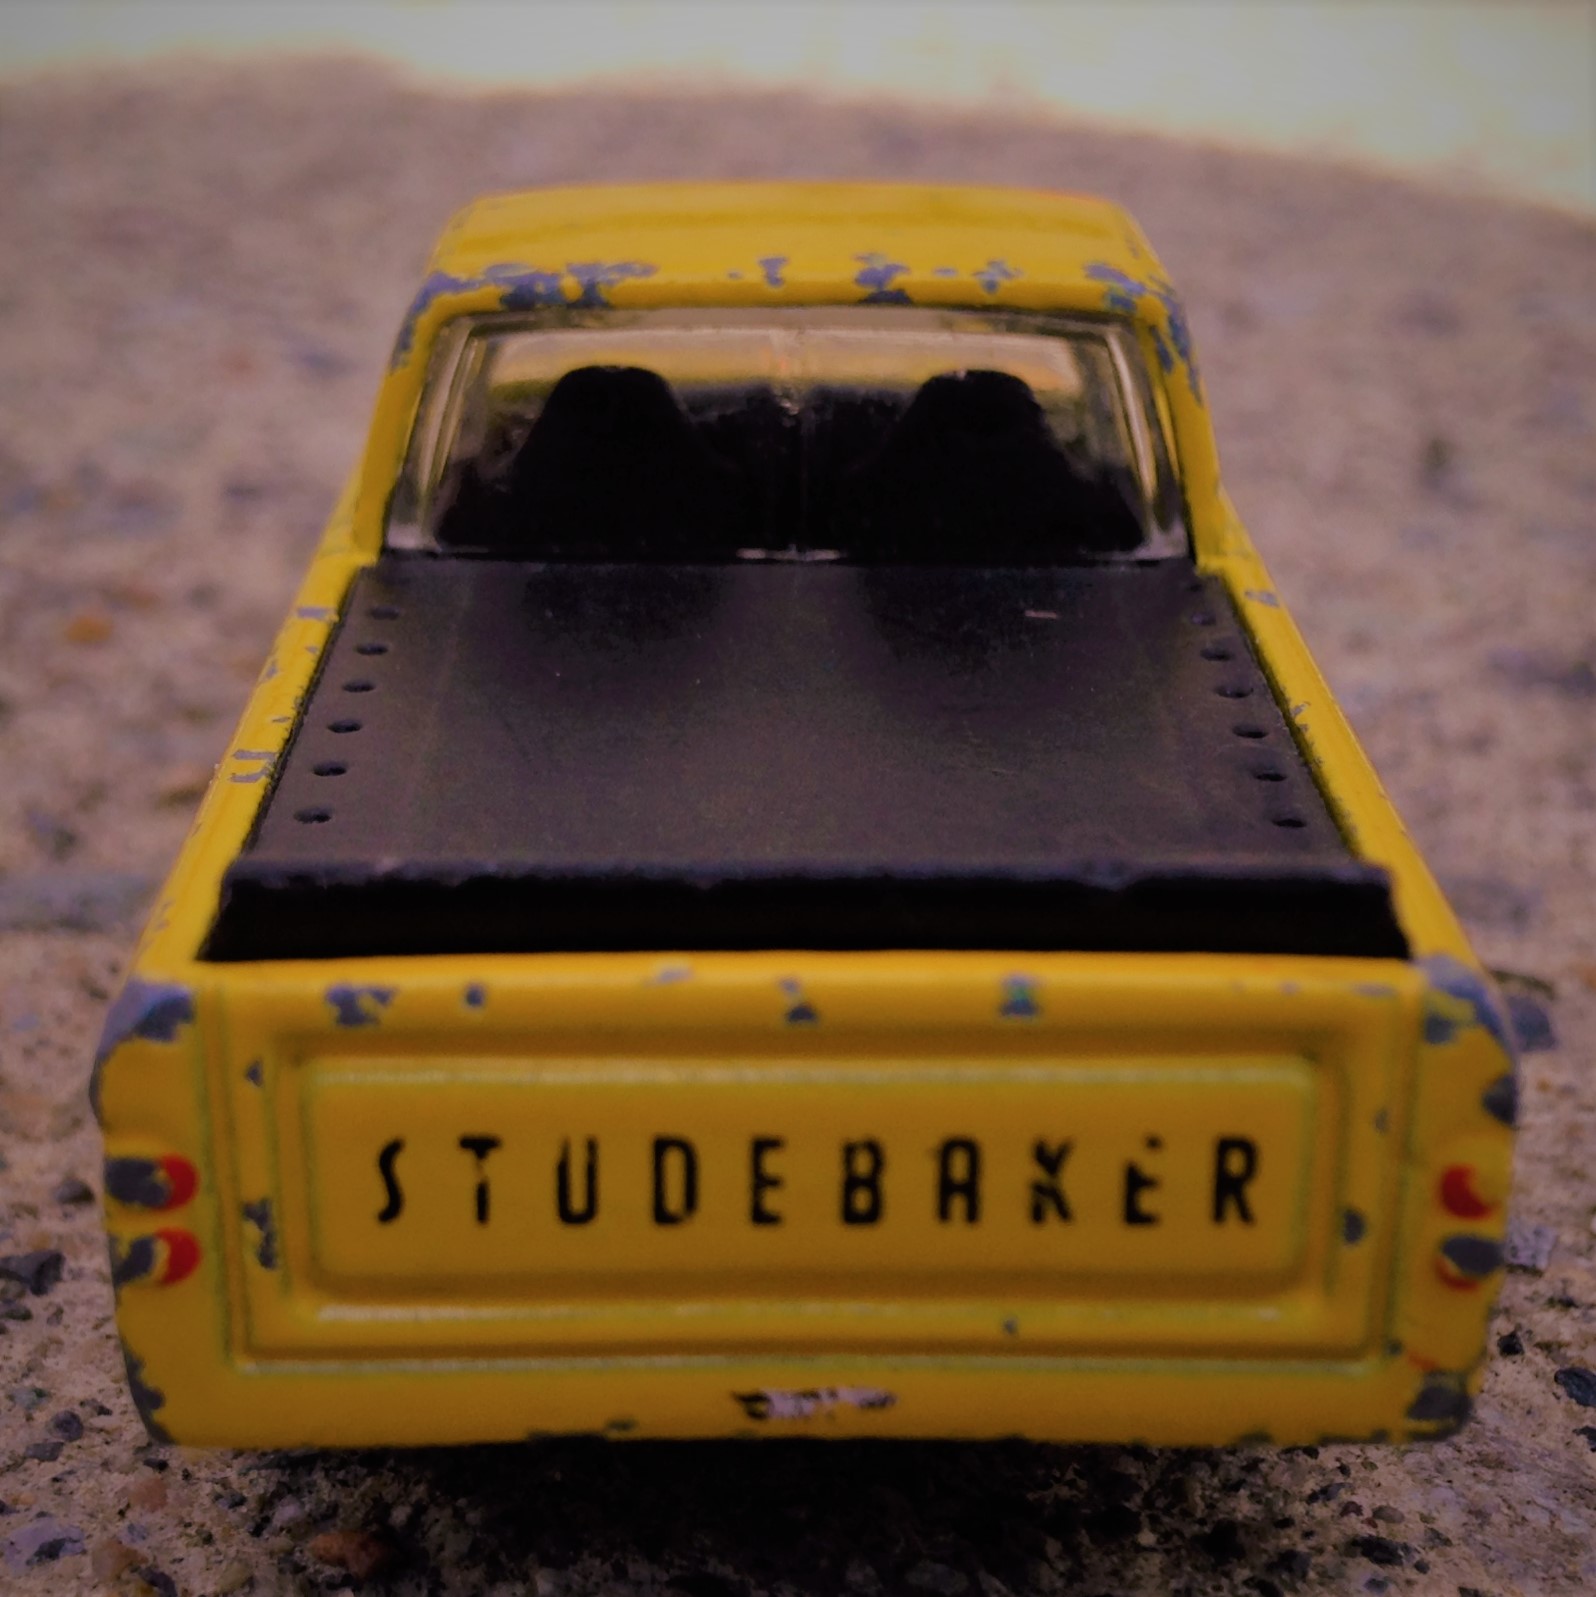
2) The focal point is the middle of the black cab cover on the Studebaker.
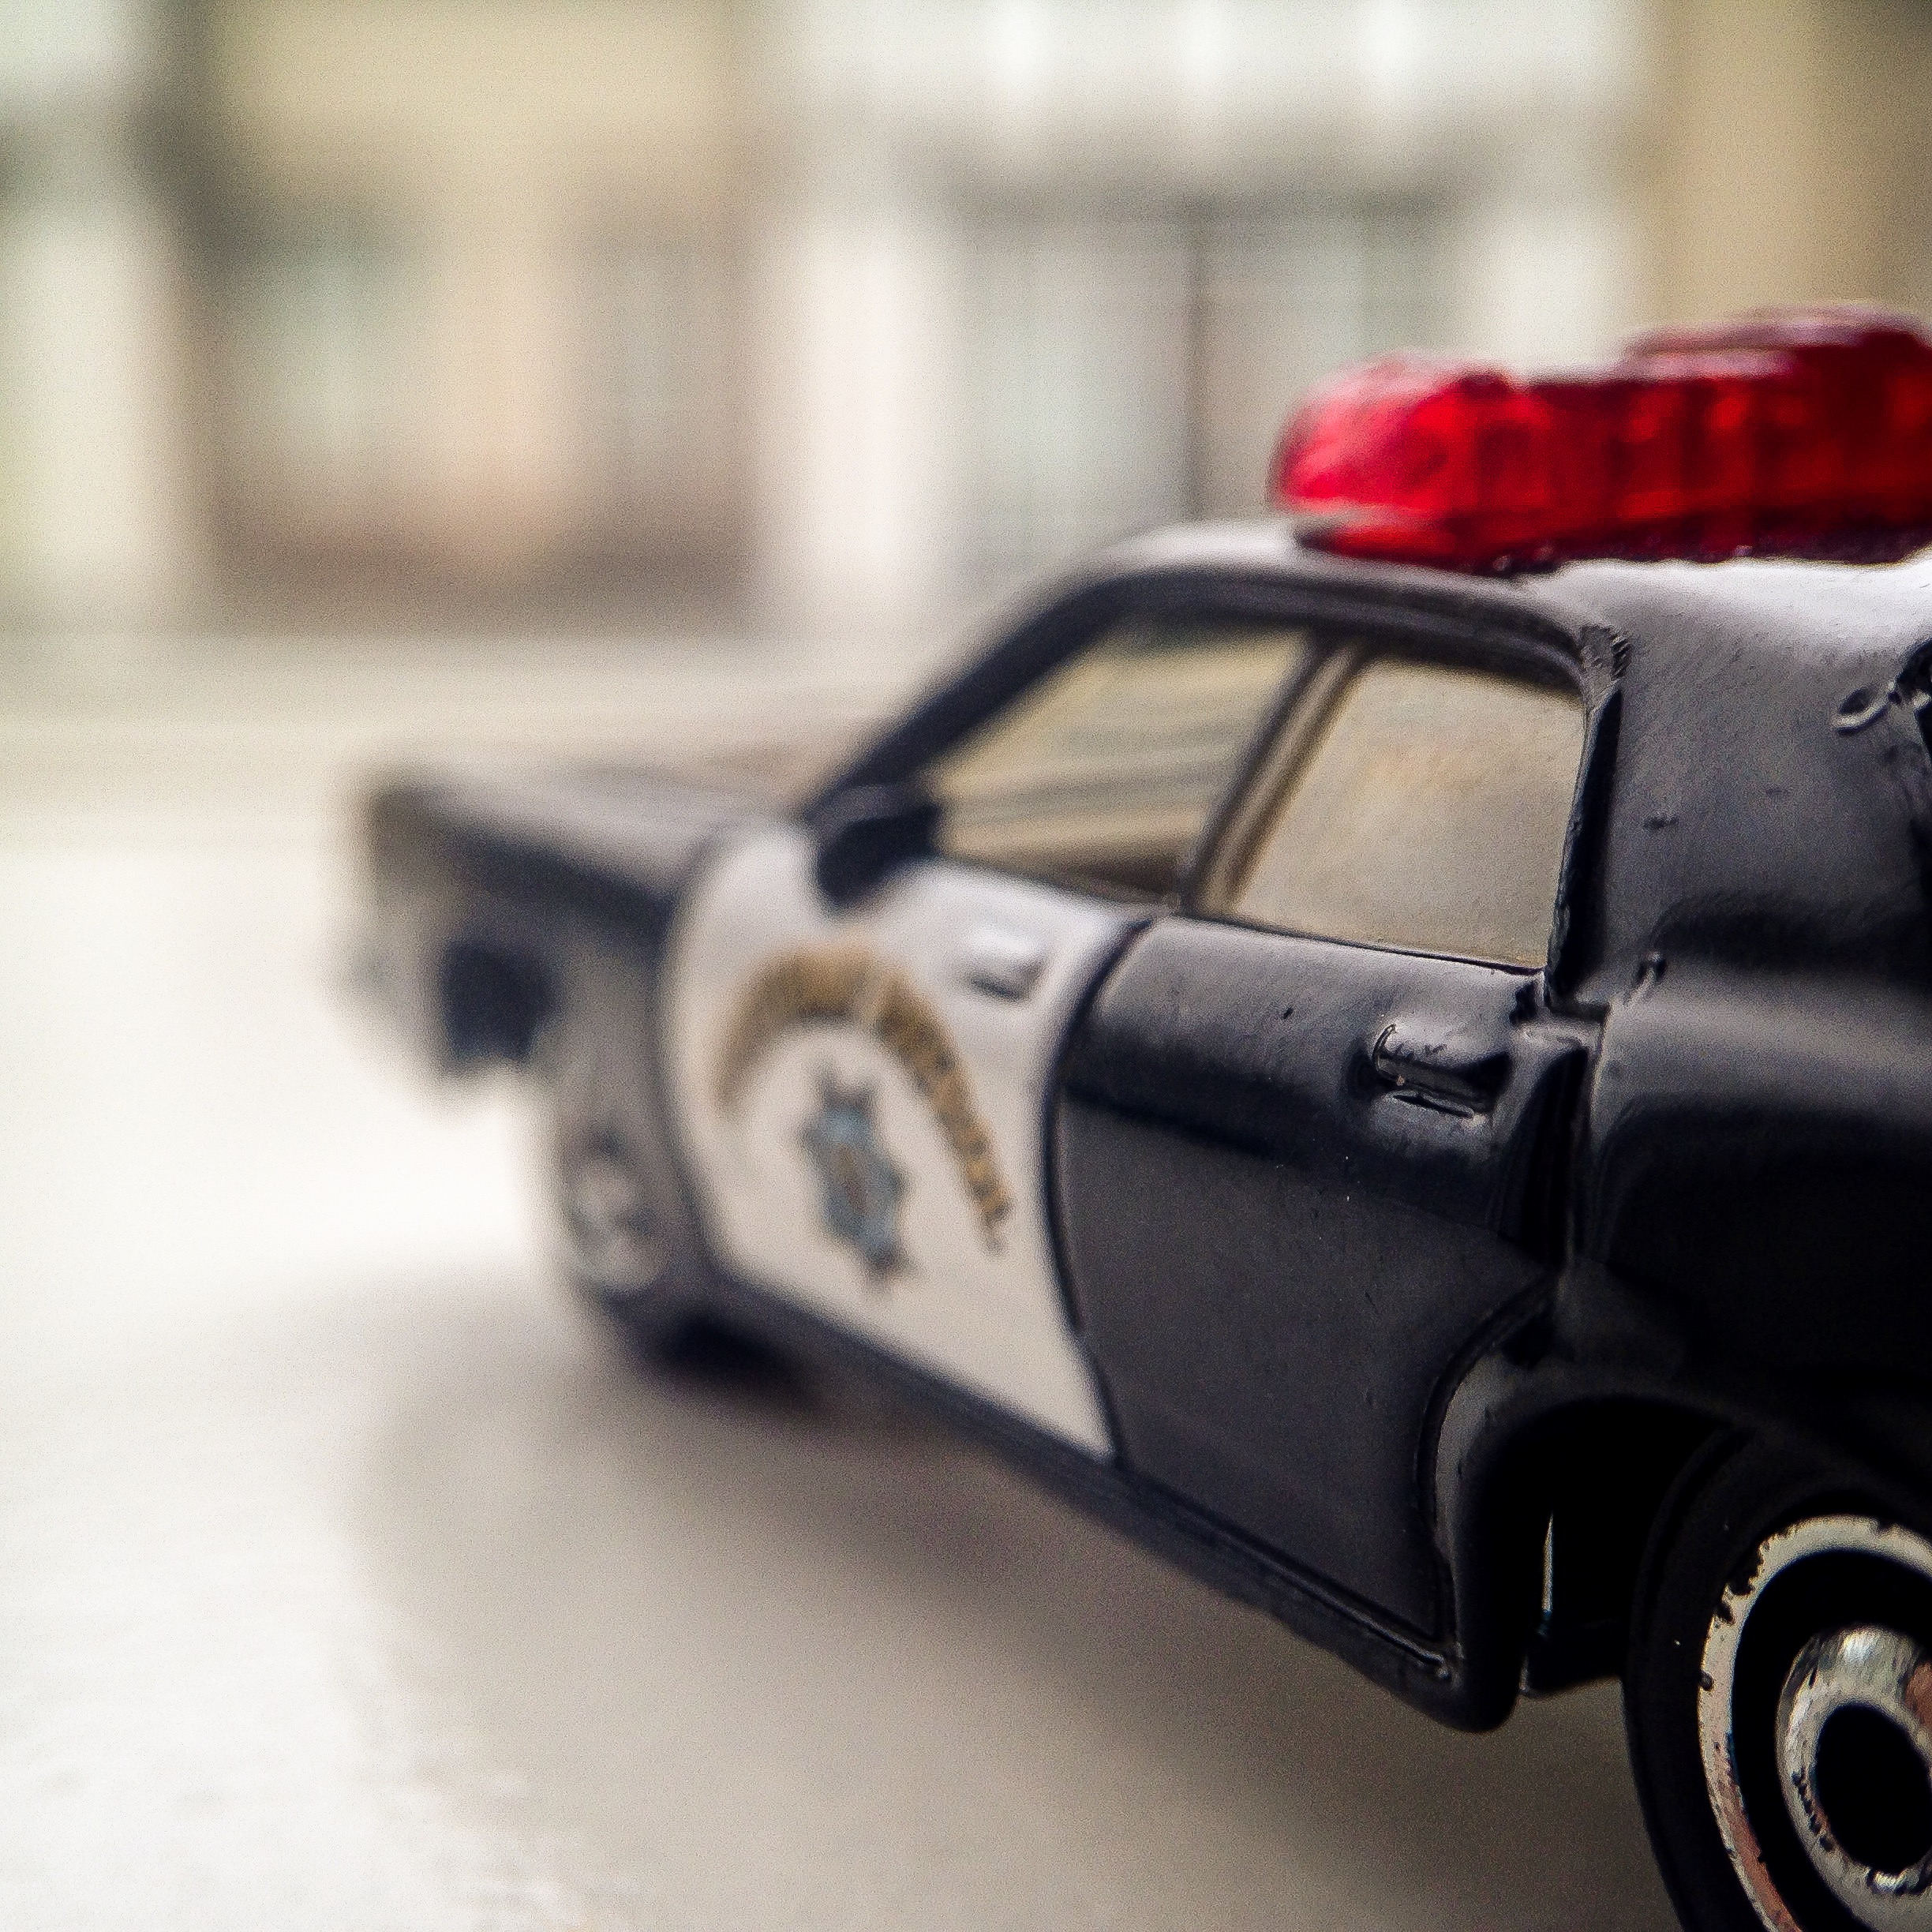
3) The focal point on the police car is the door under the red lights.
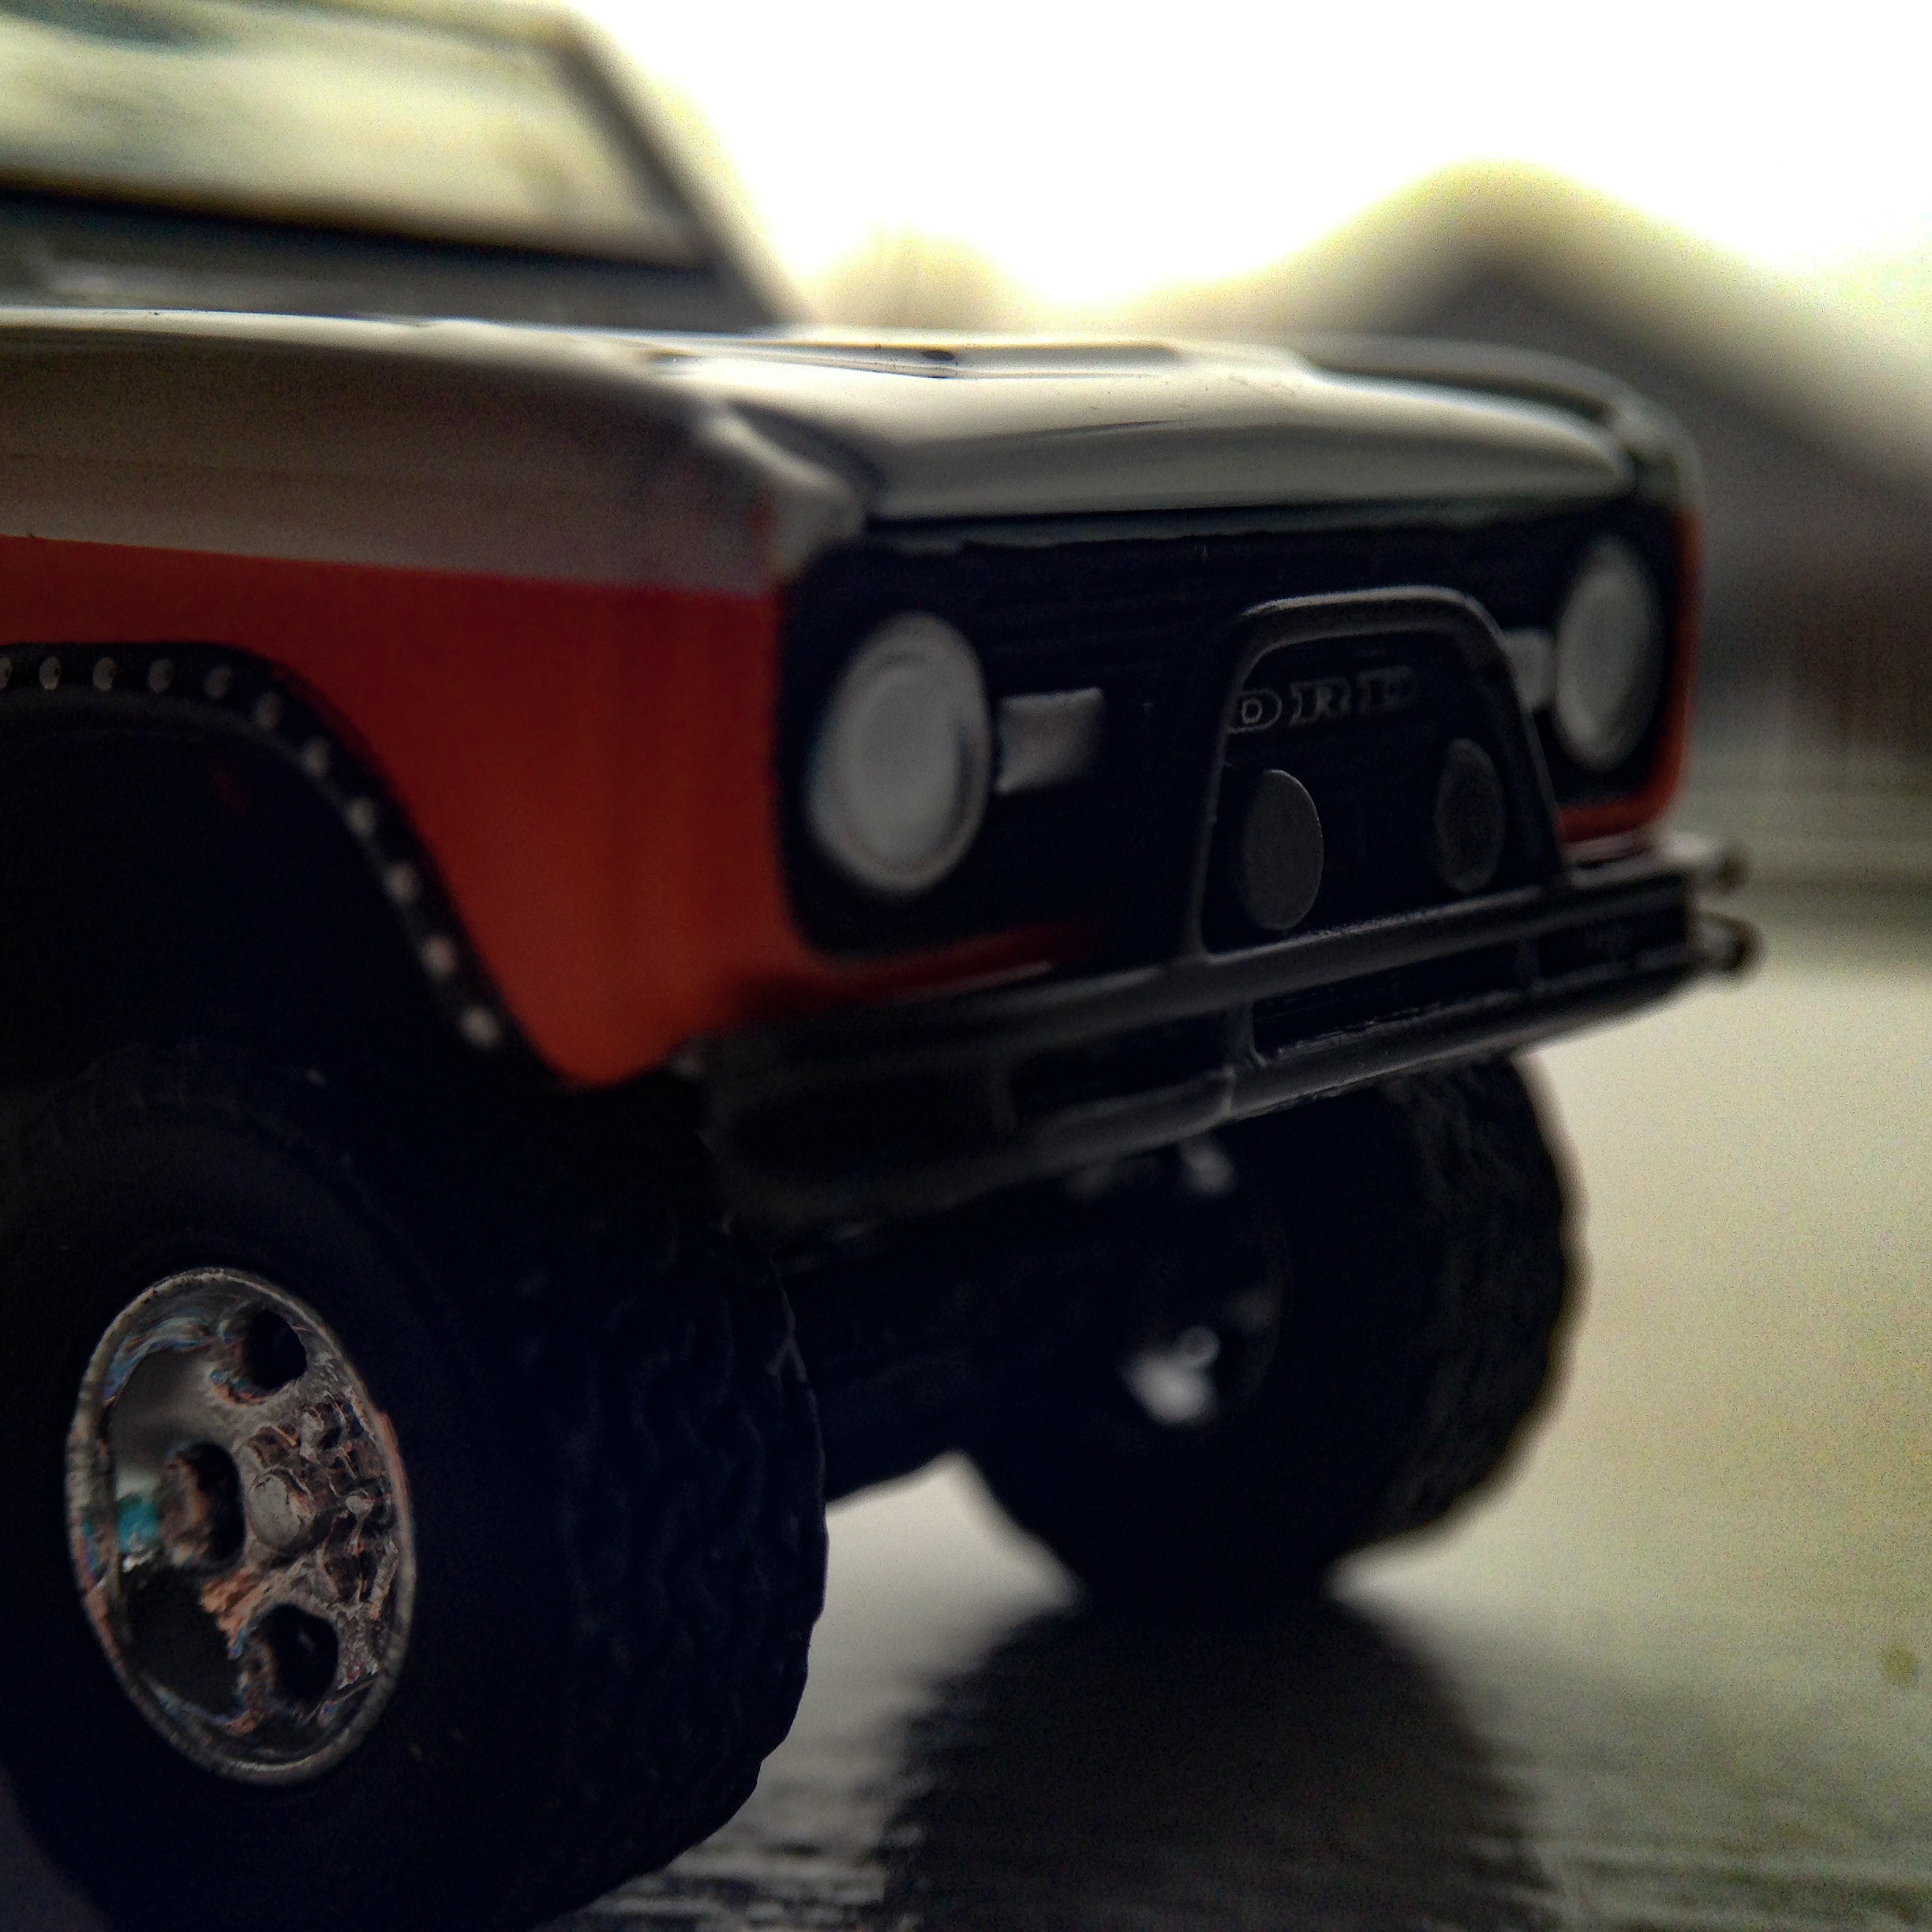
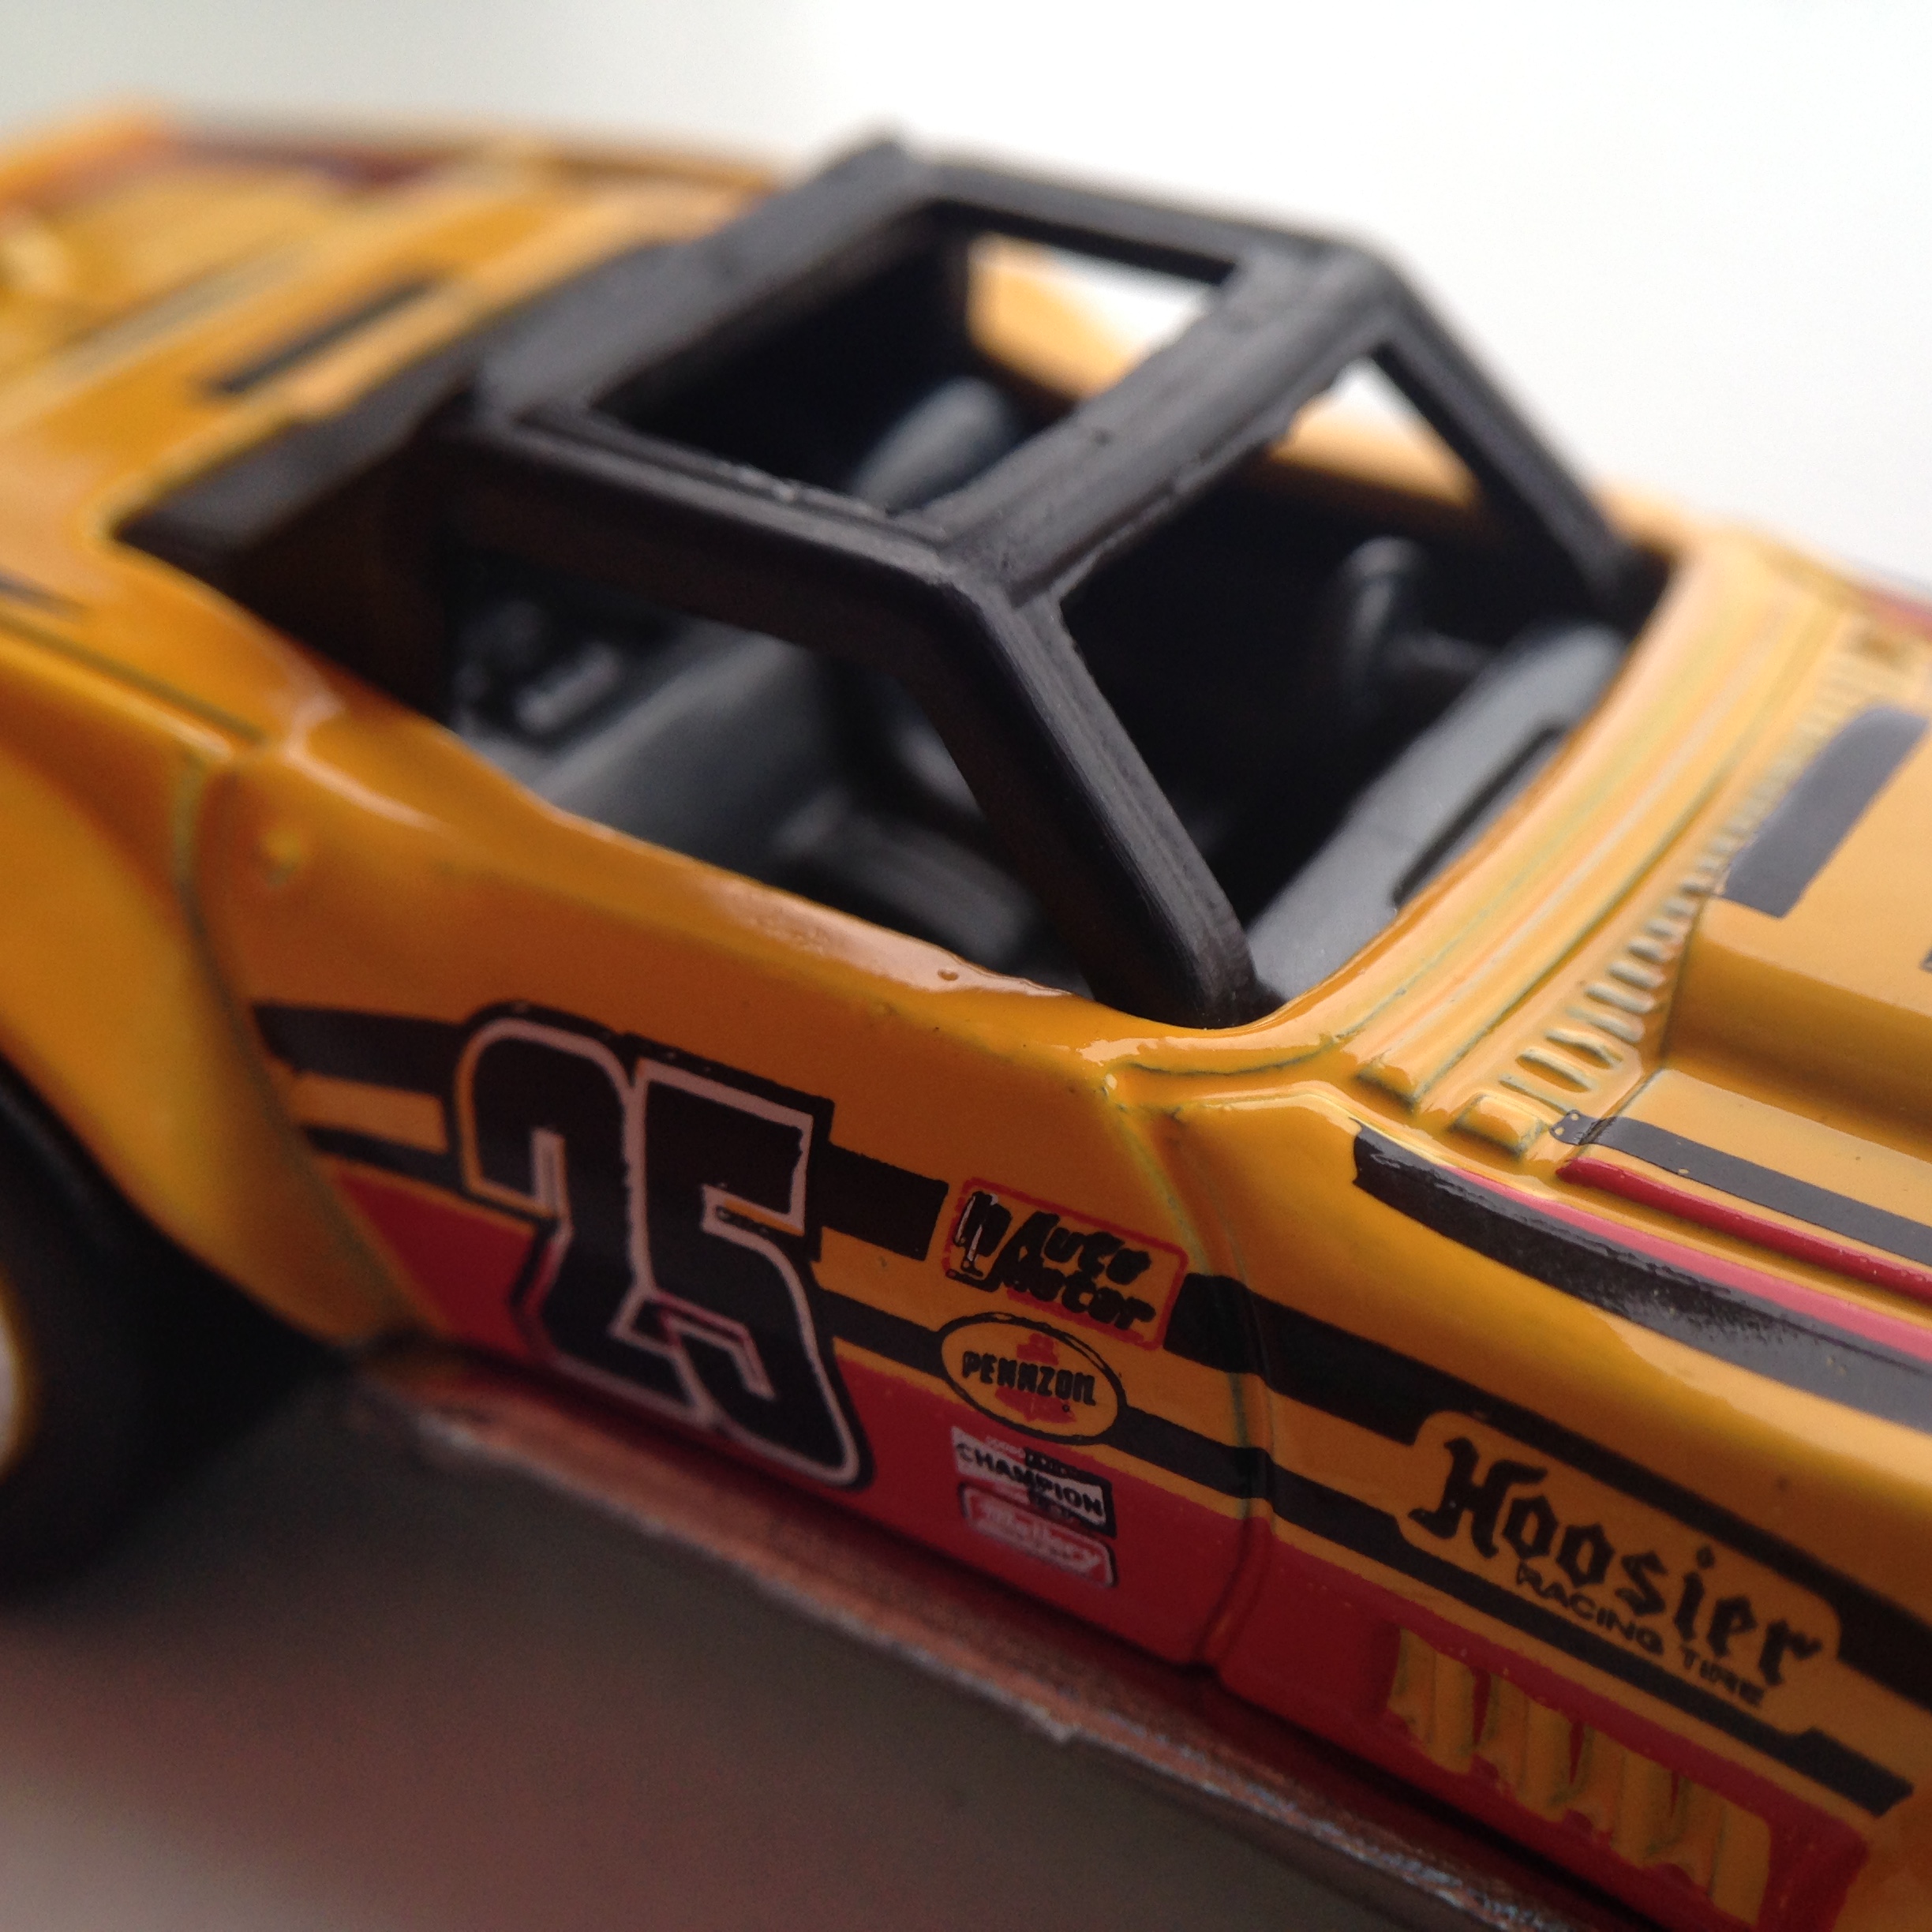
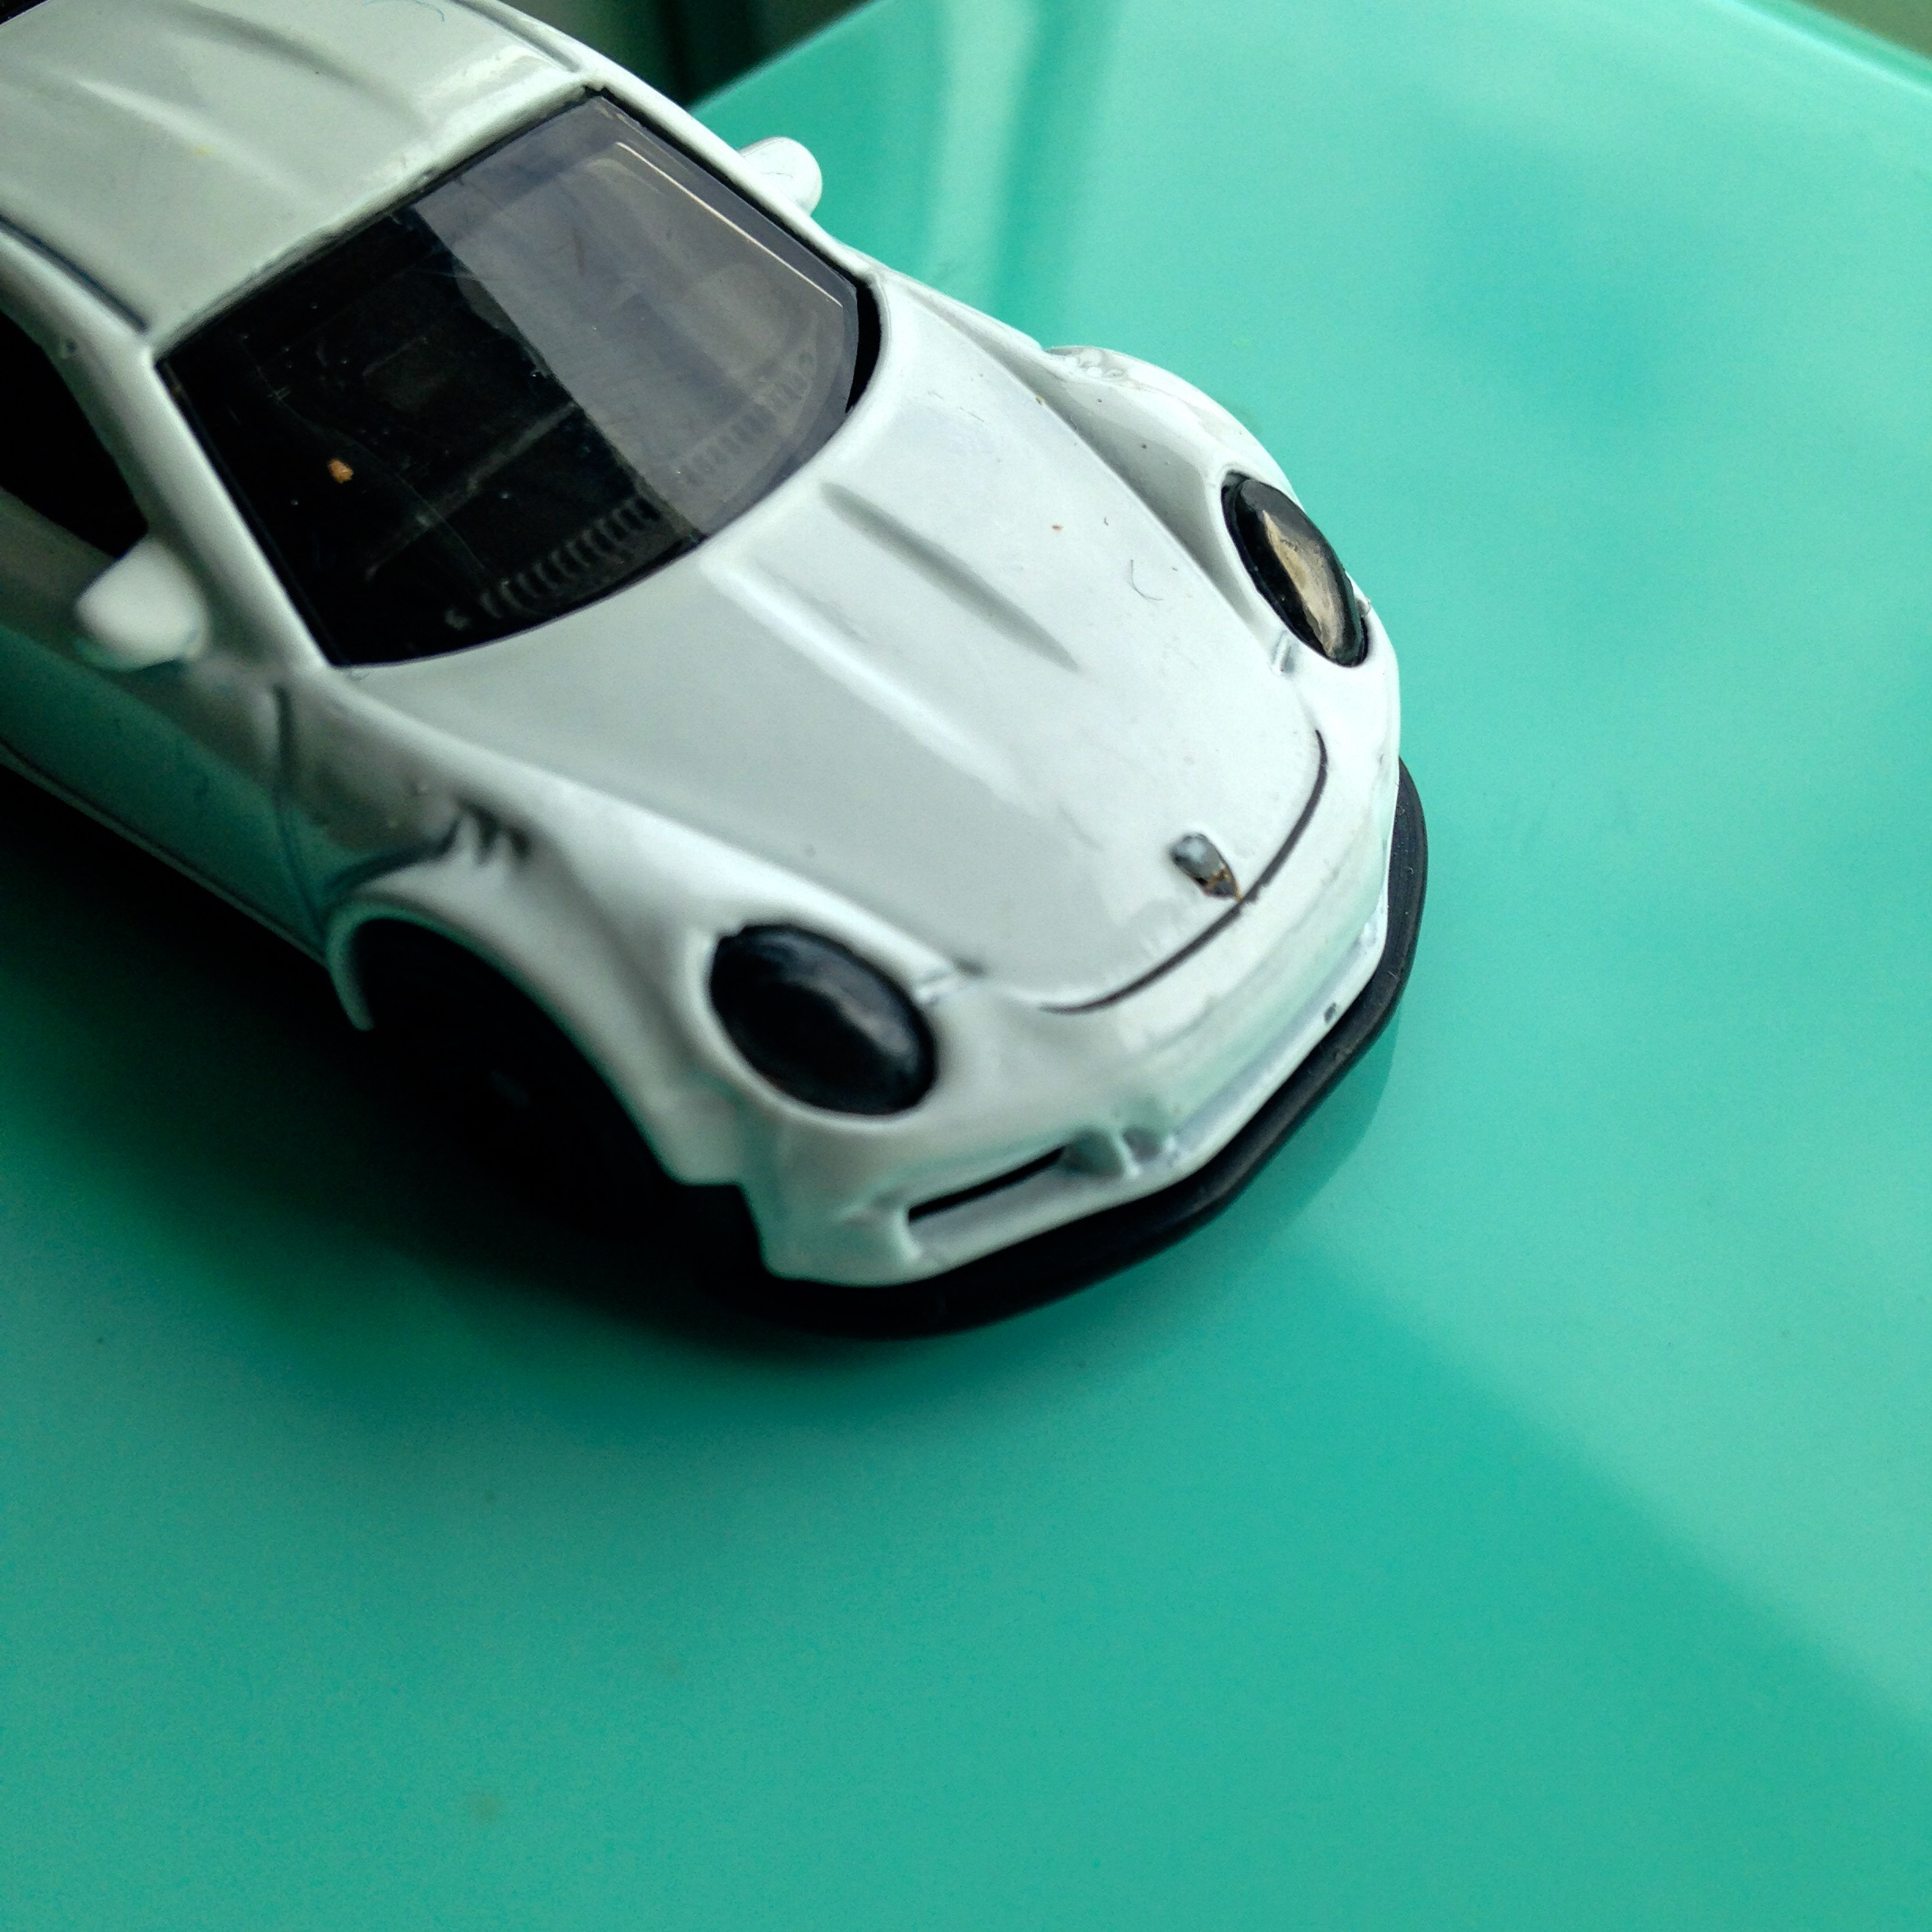
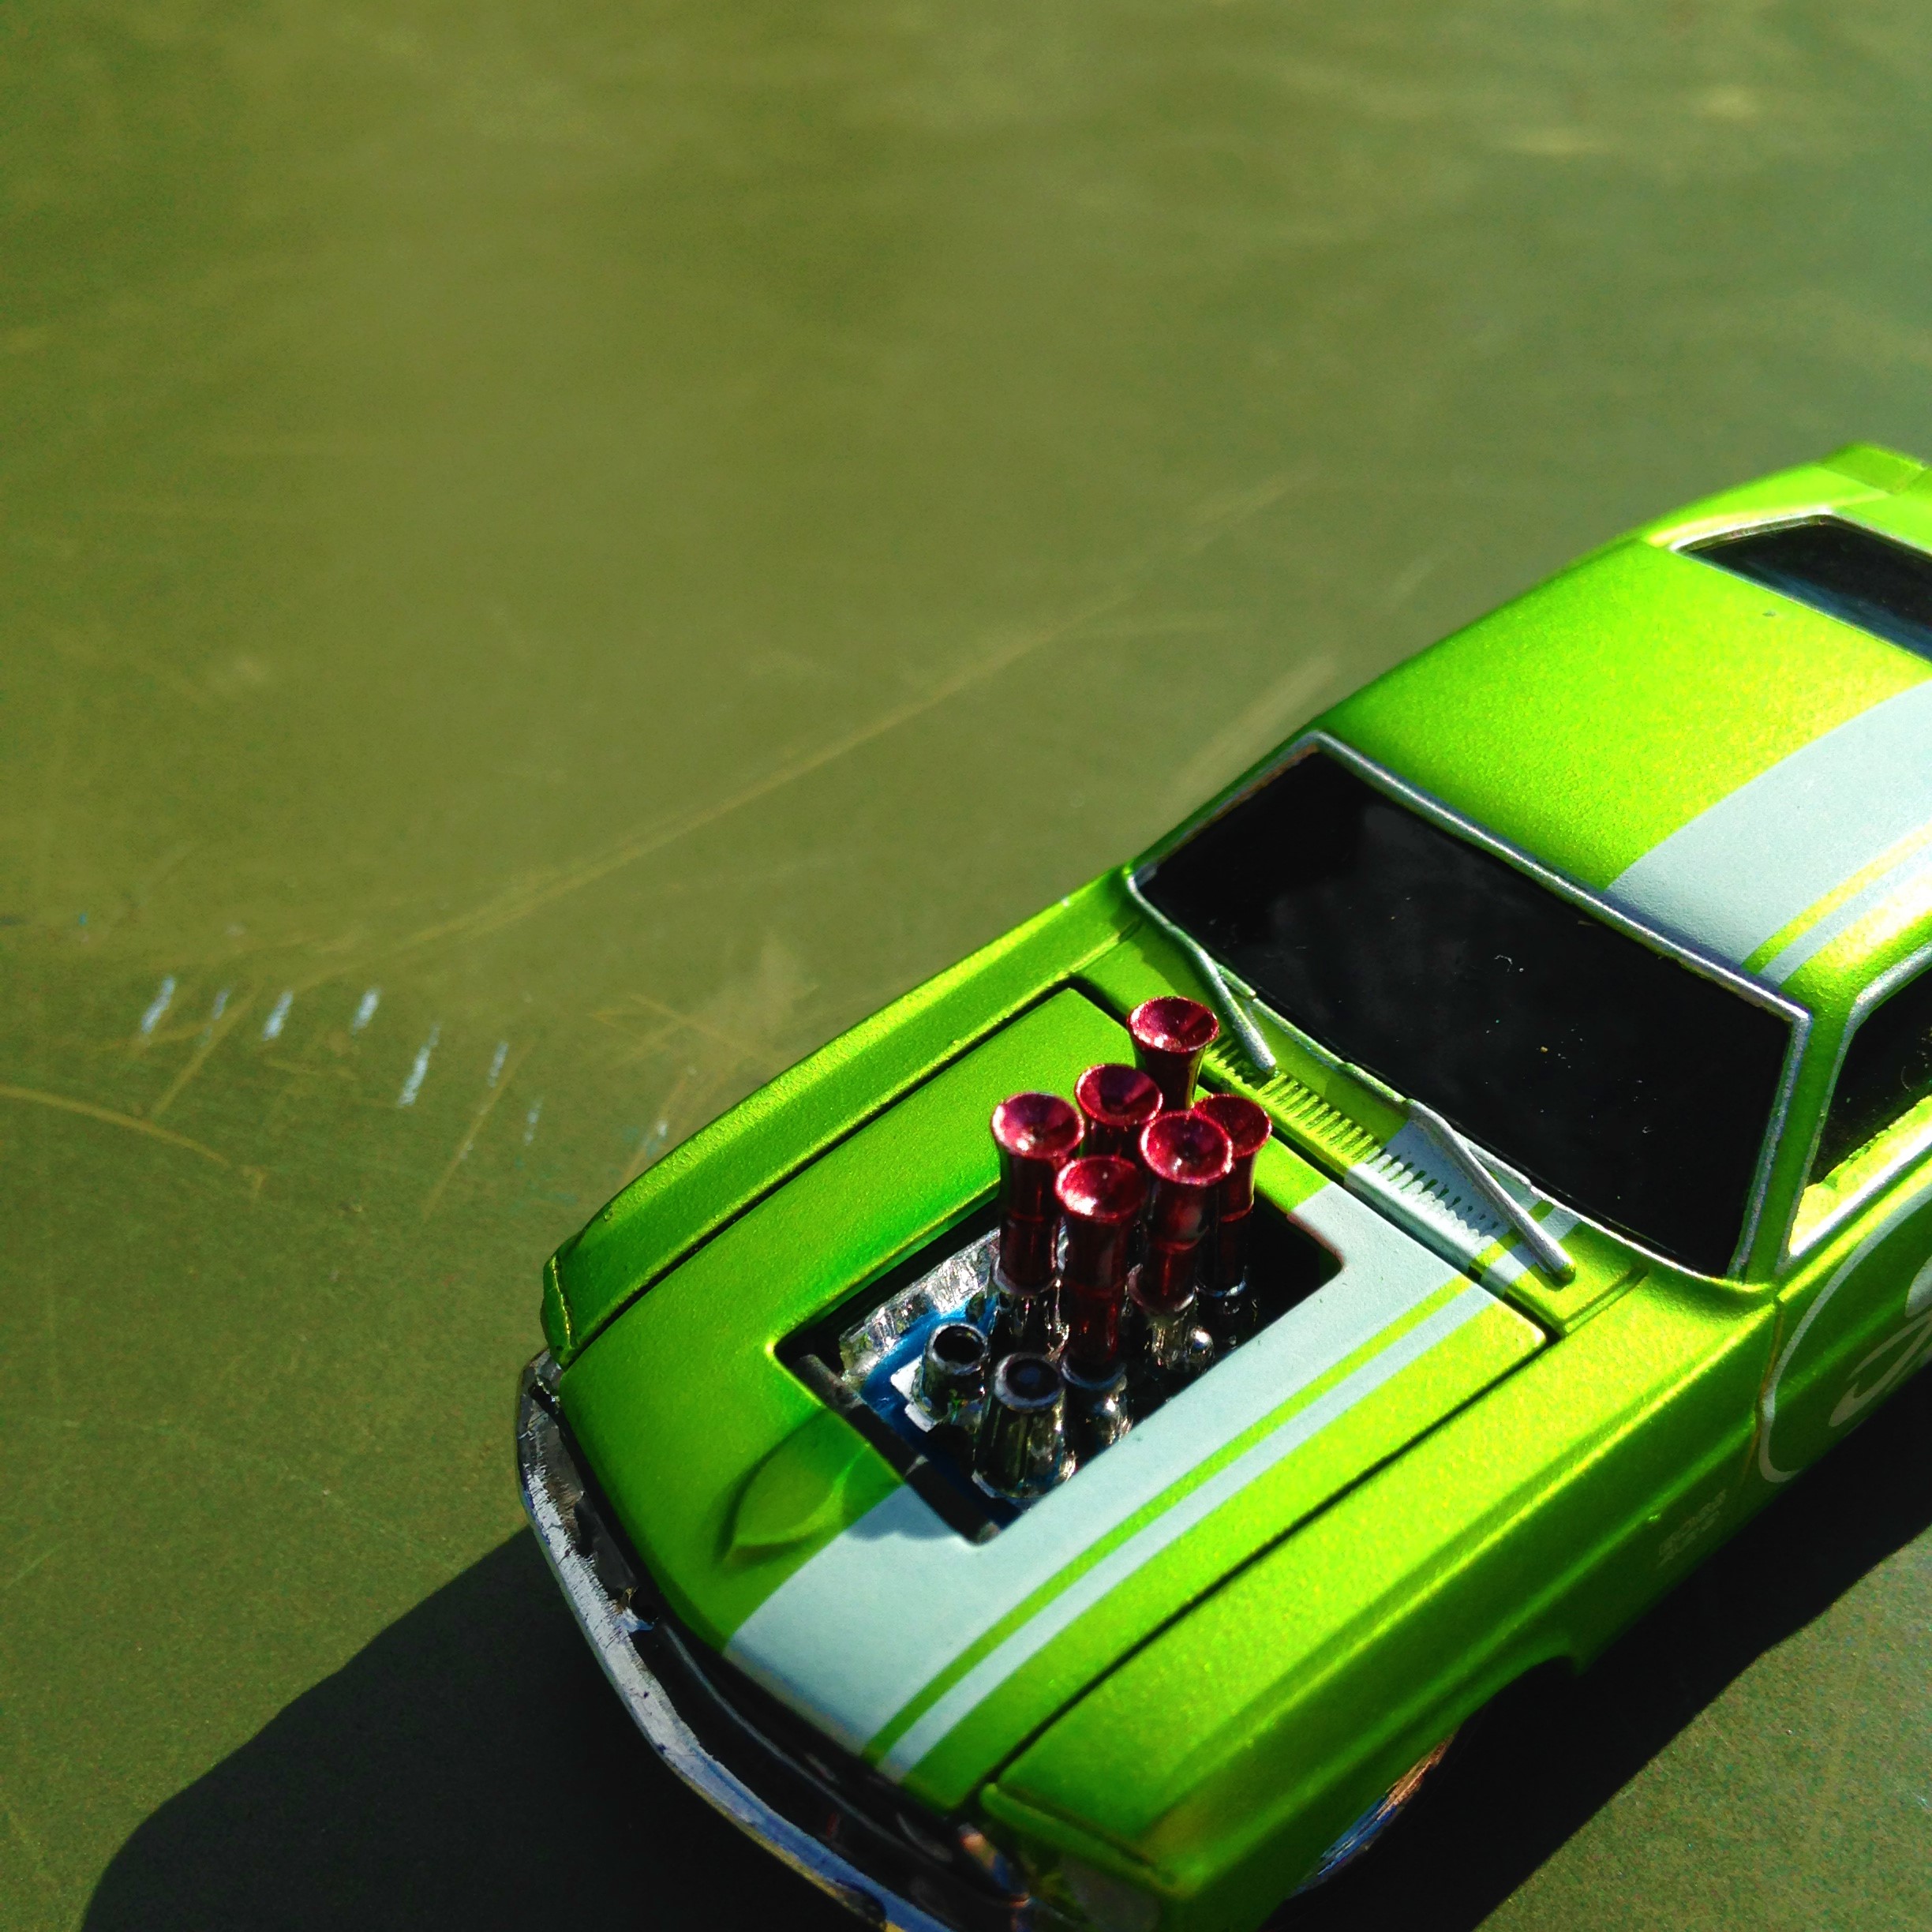
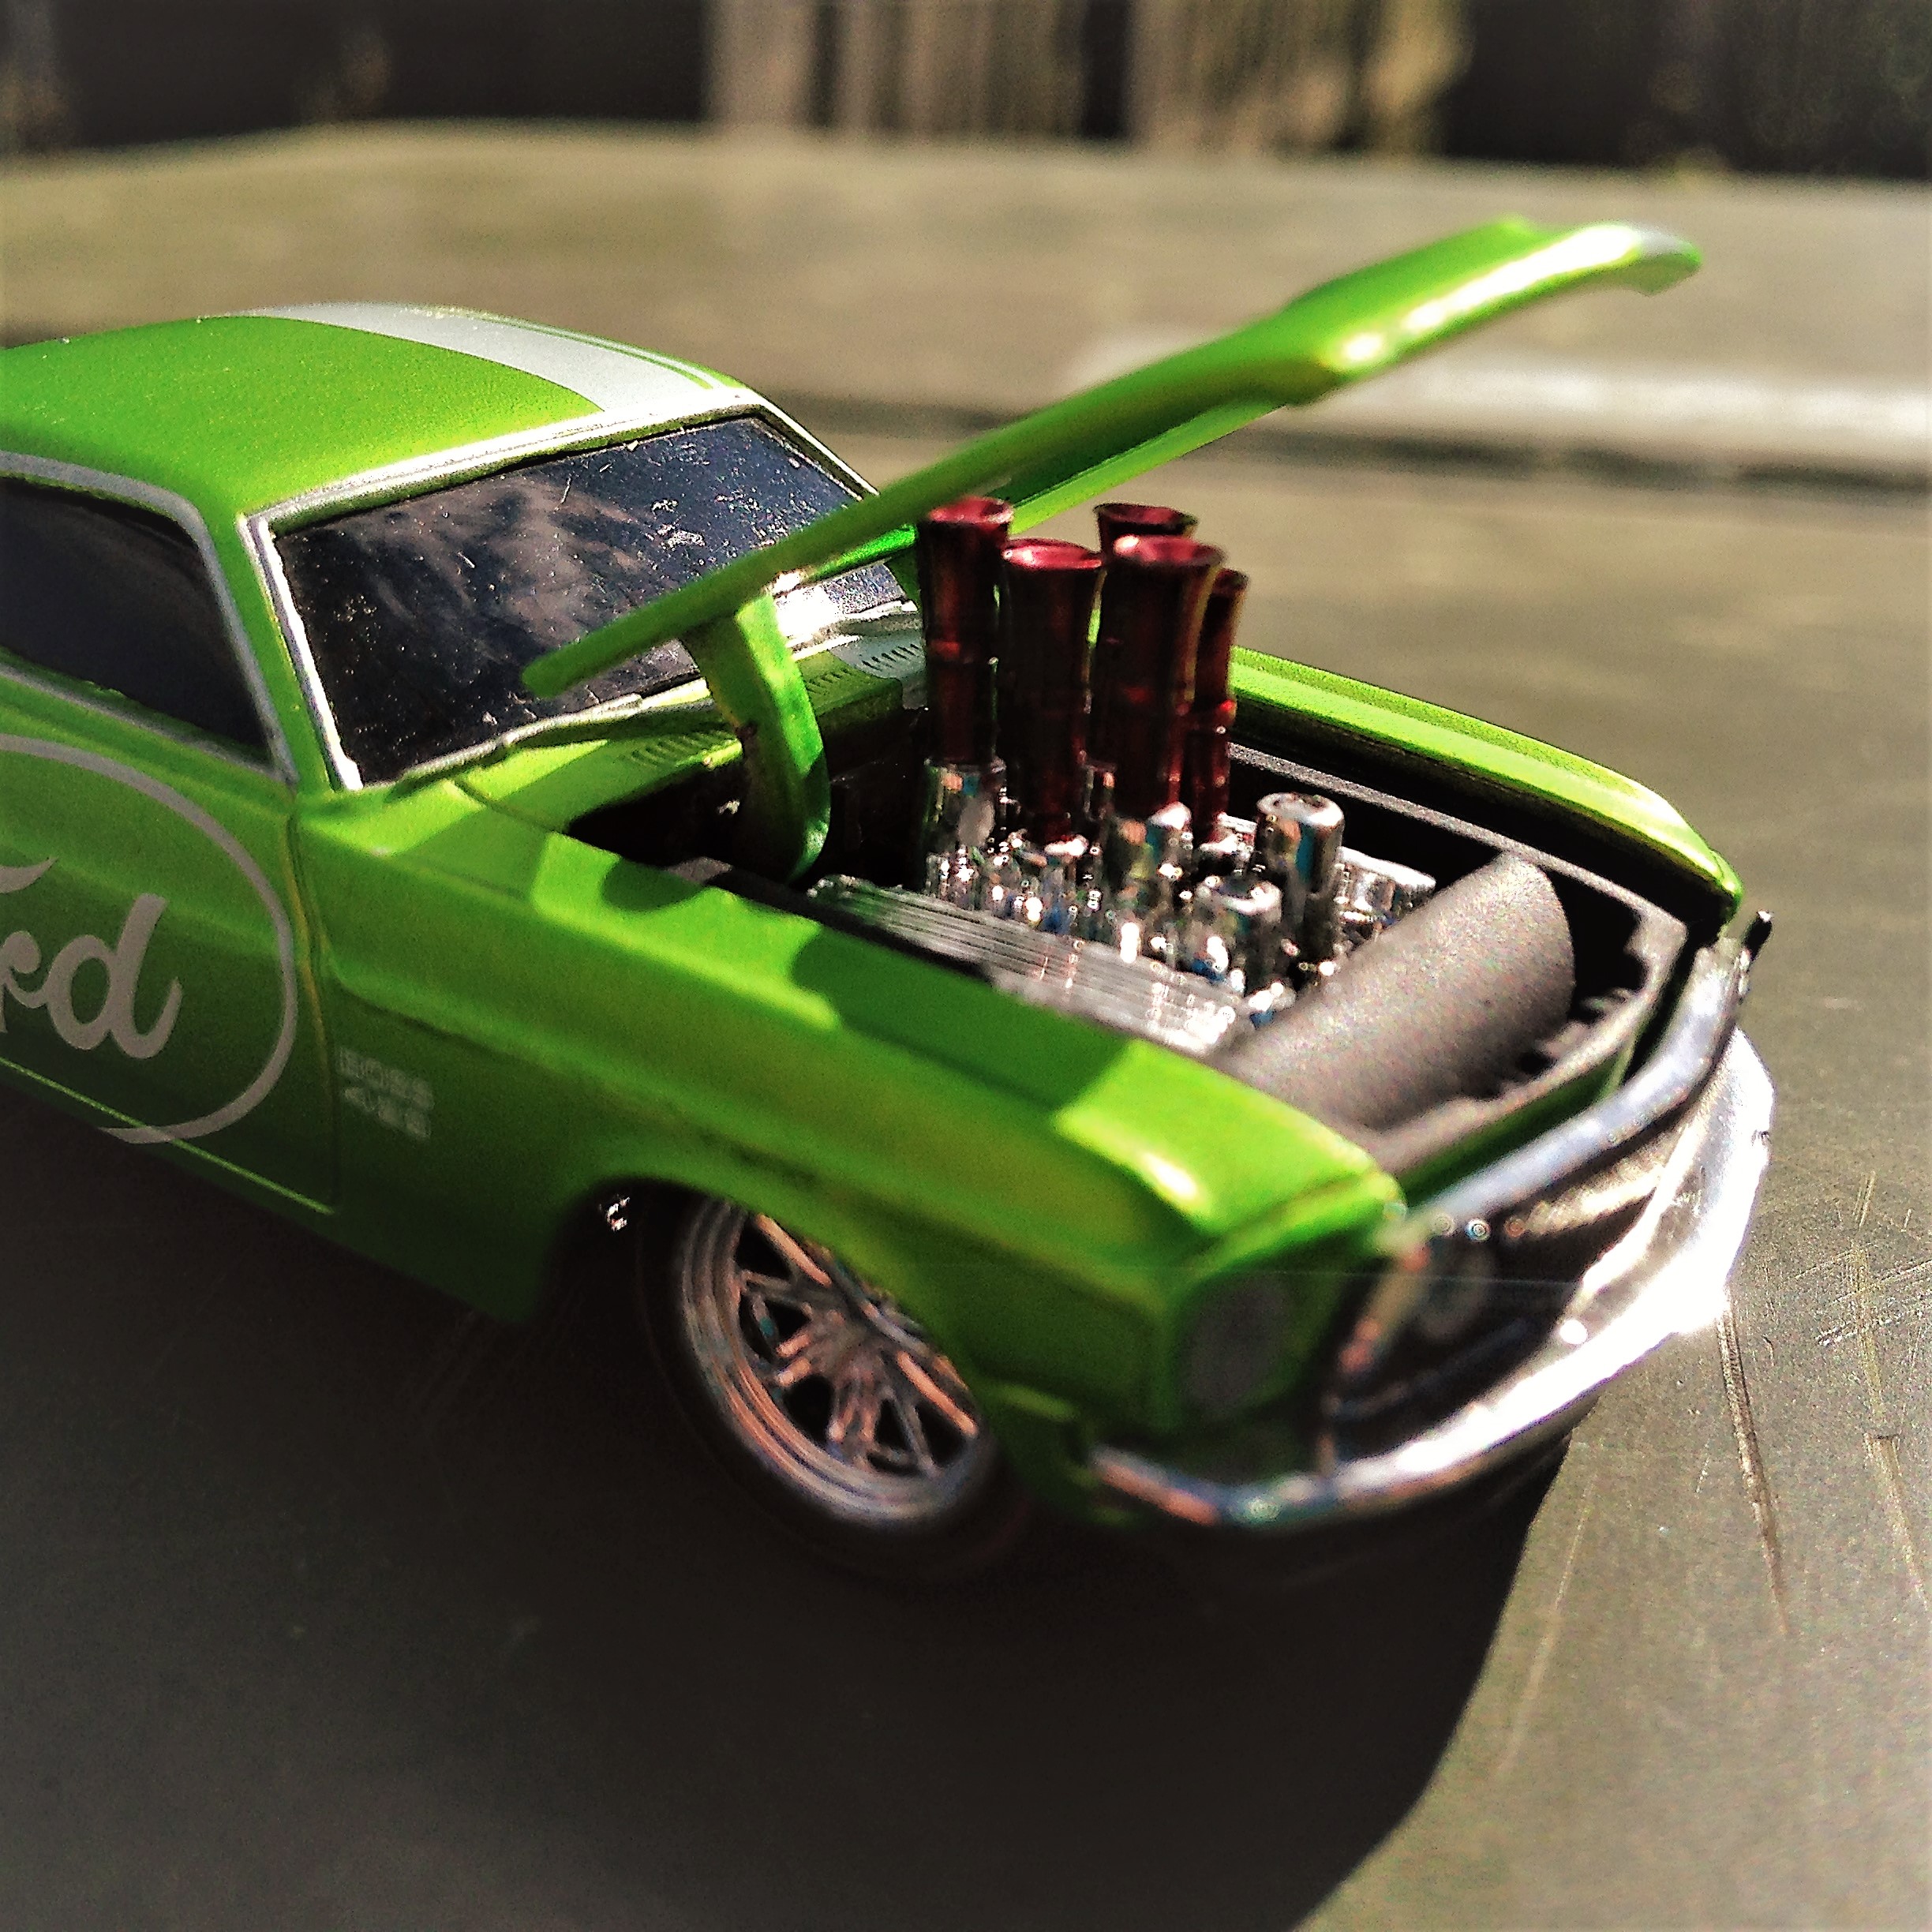
Macro
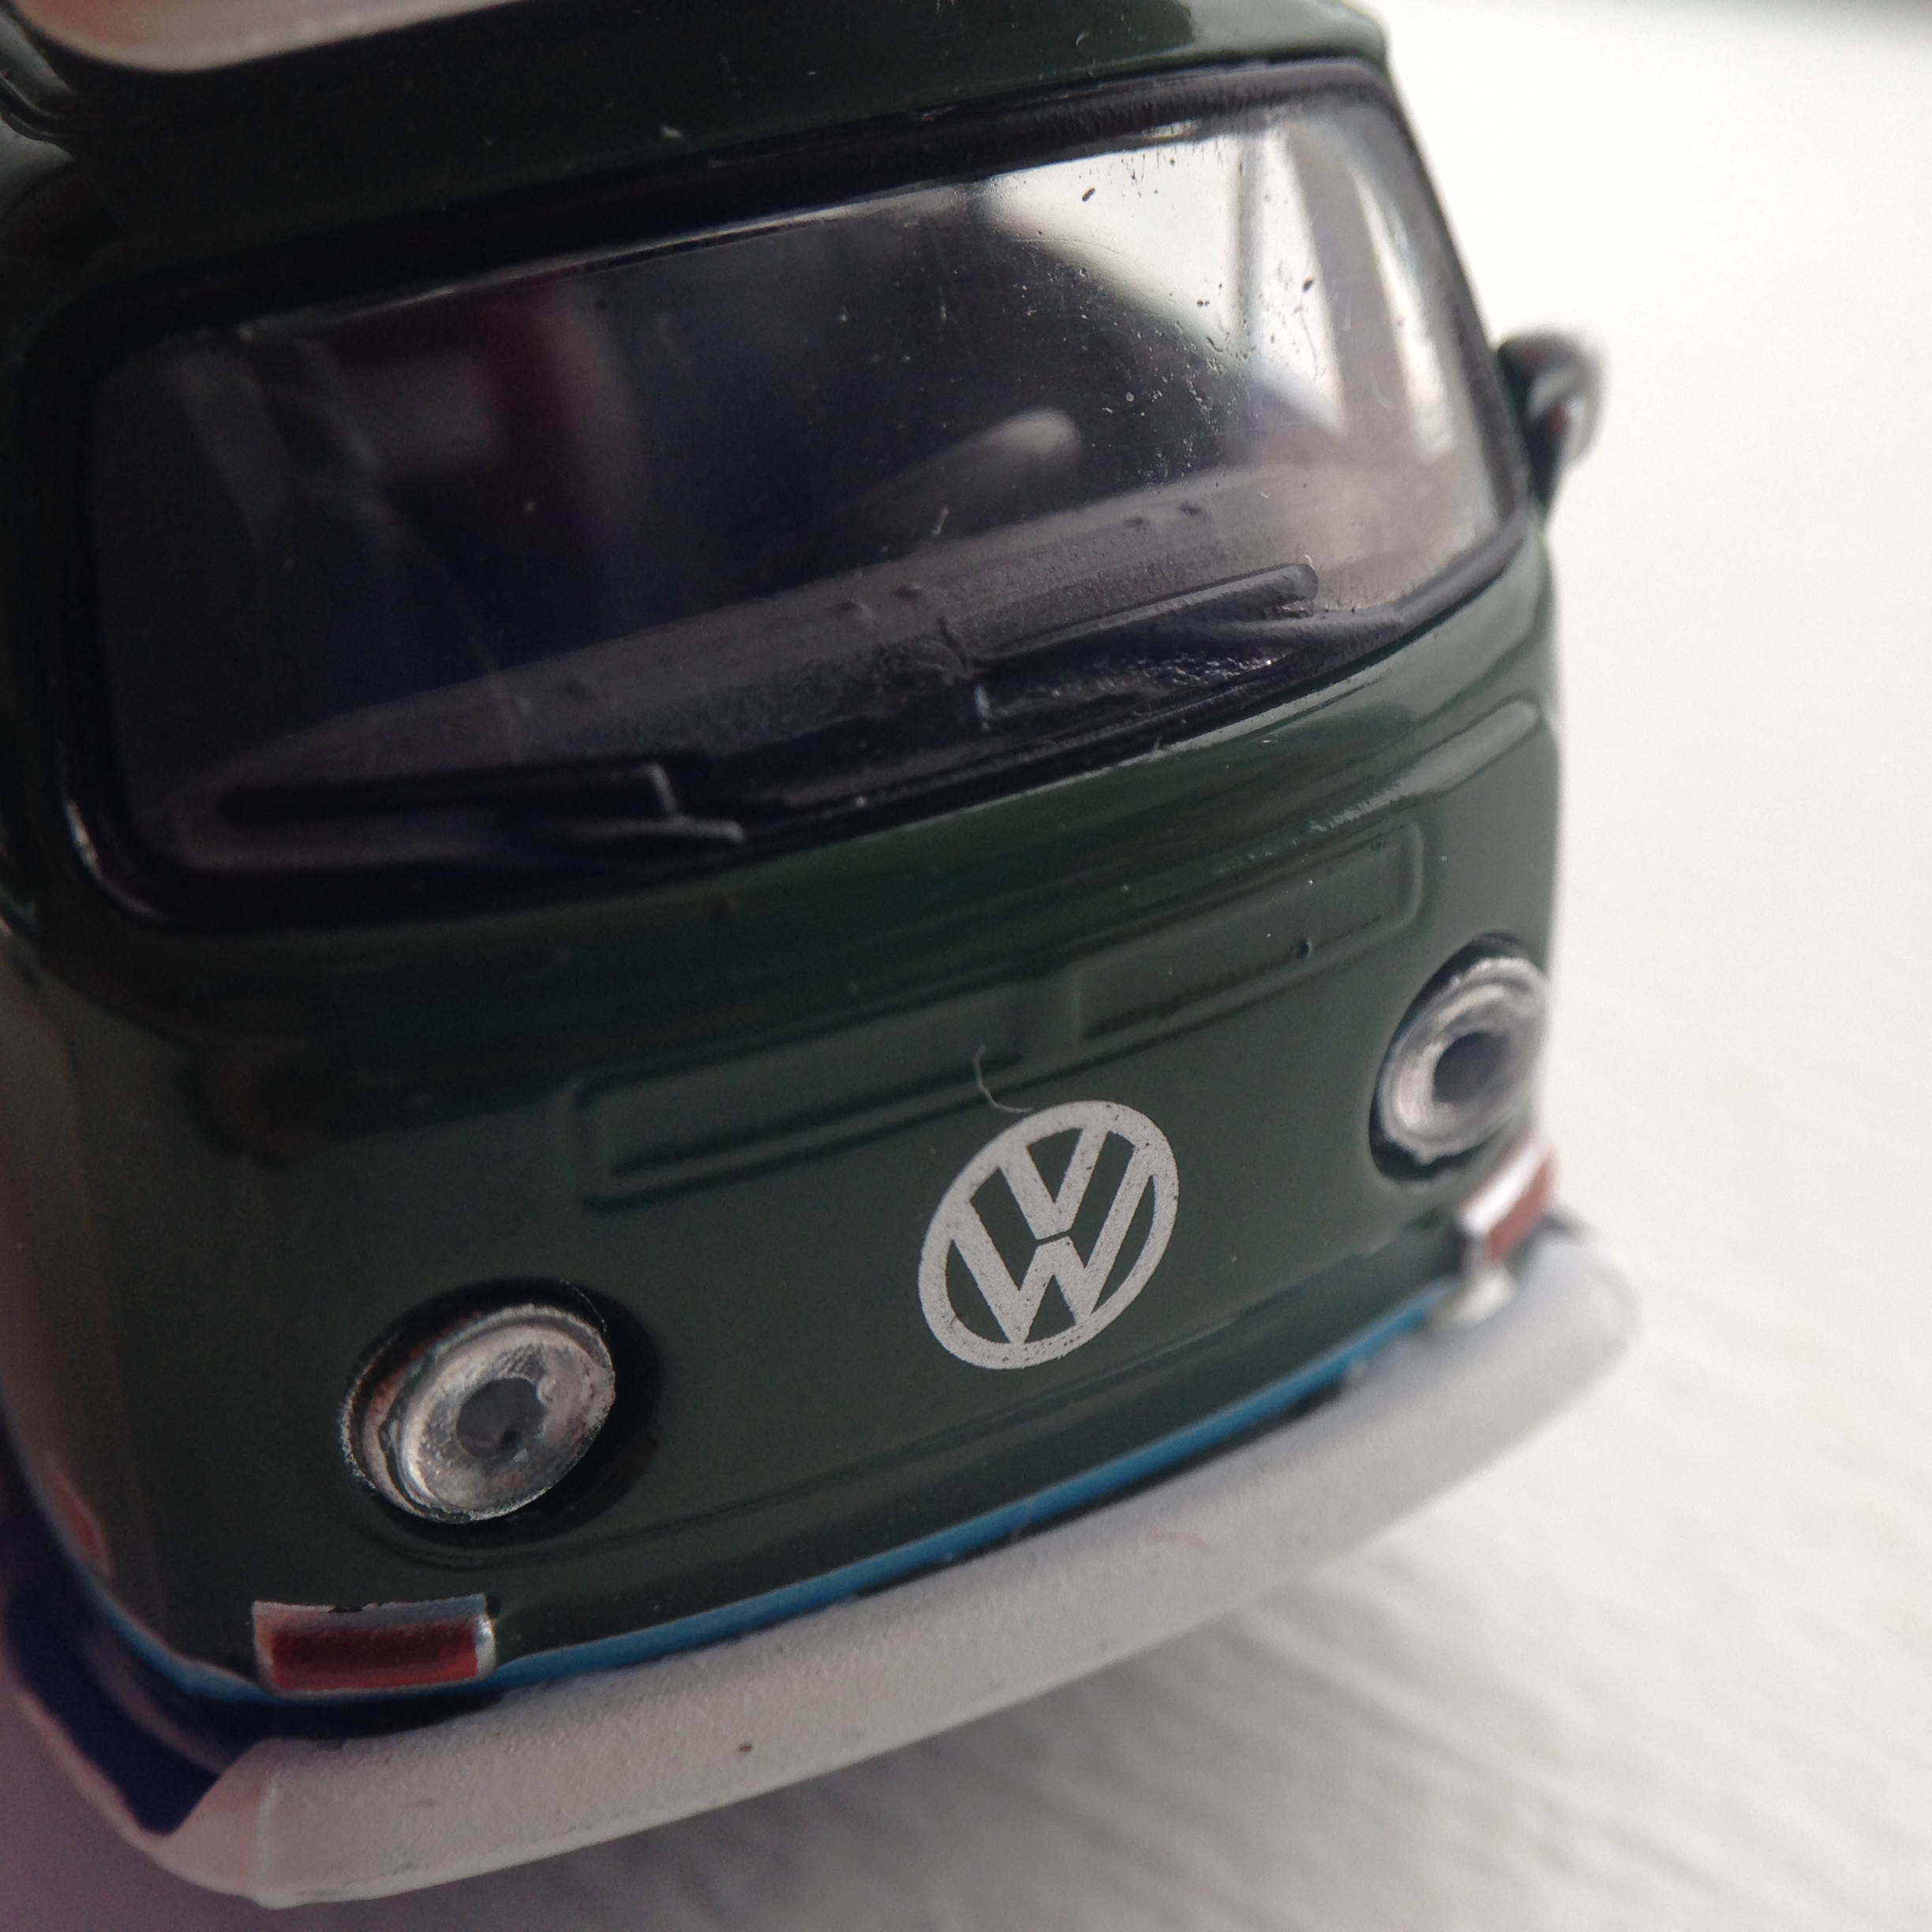
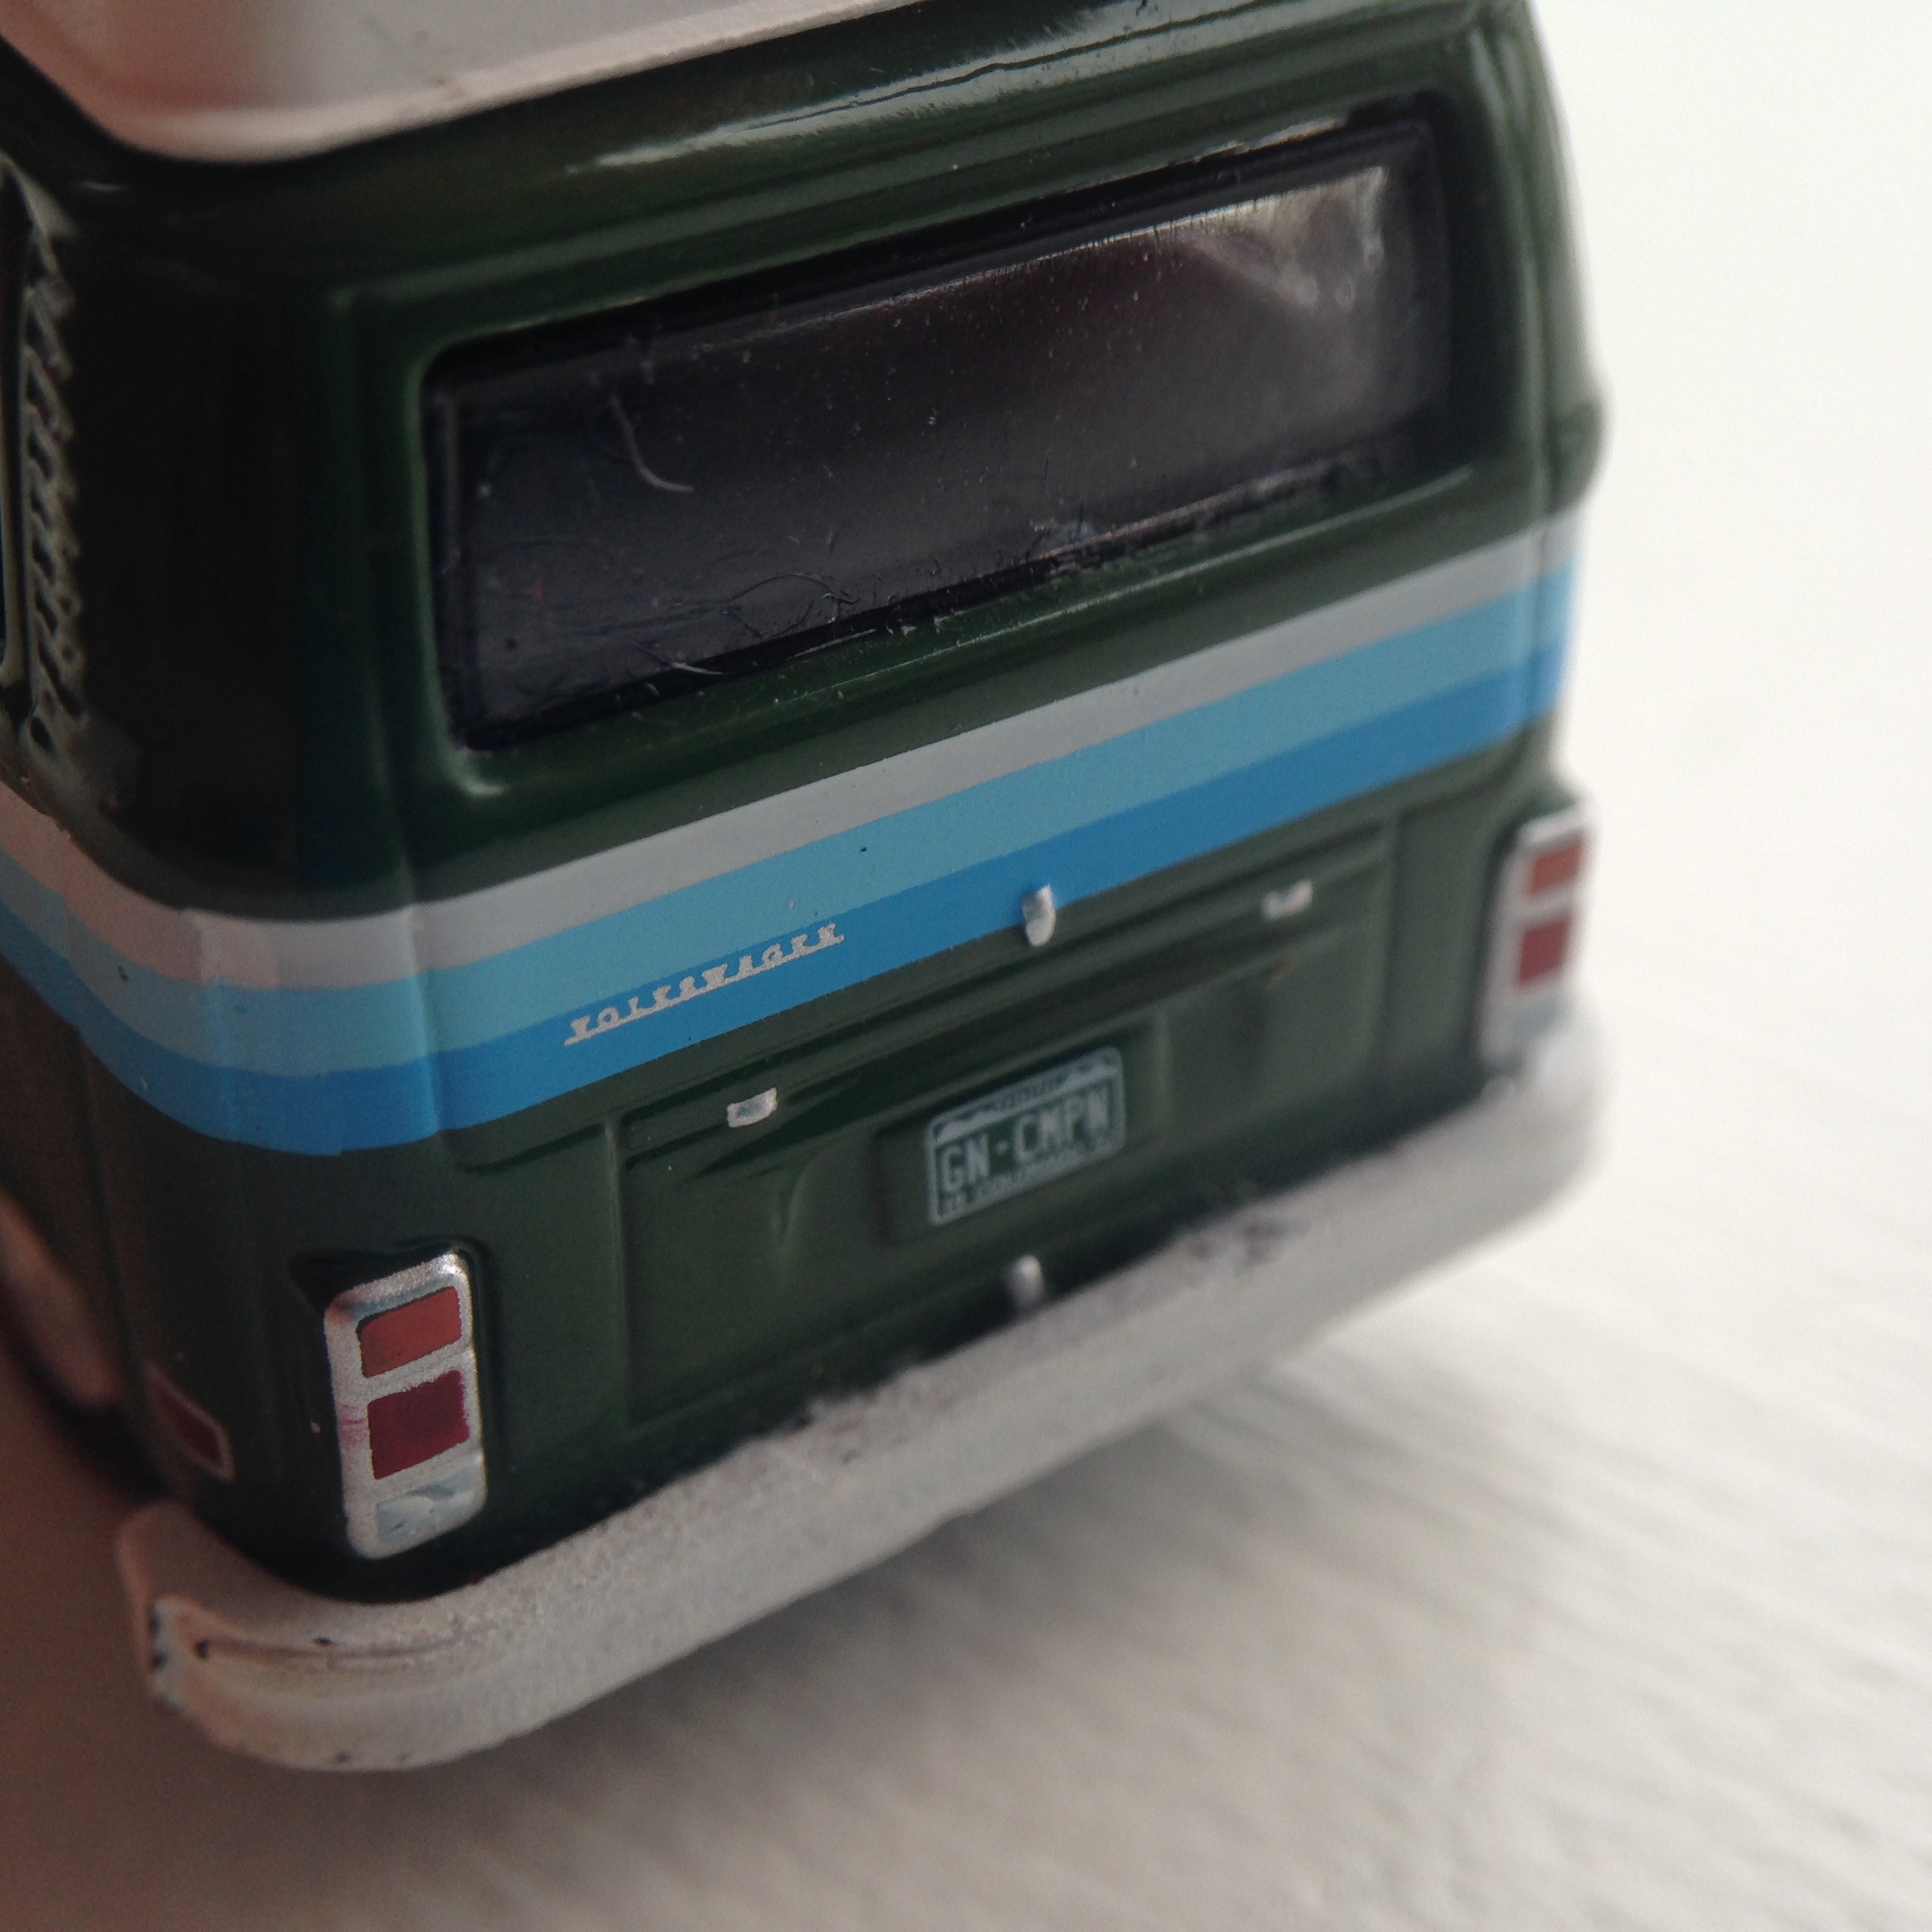
Macro means: Itty bitty teeny tiny. Macro photography is one of my favourite because it lets you take in so much detail of an otherwise unseen object.
To get great shots-
-Focus, focus, focus. Get a very clear shot and don't under or overexpose your shot.
-Angles are your friend. Different angles result in a different shot
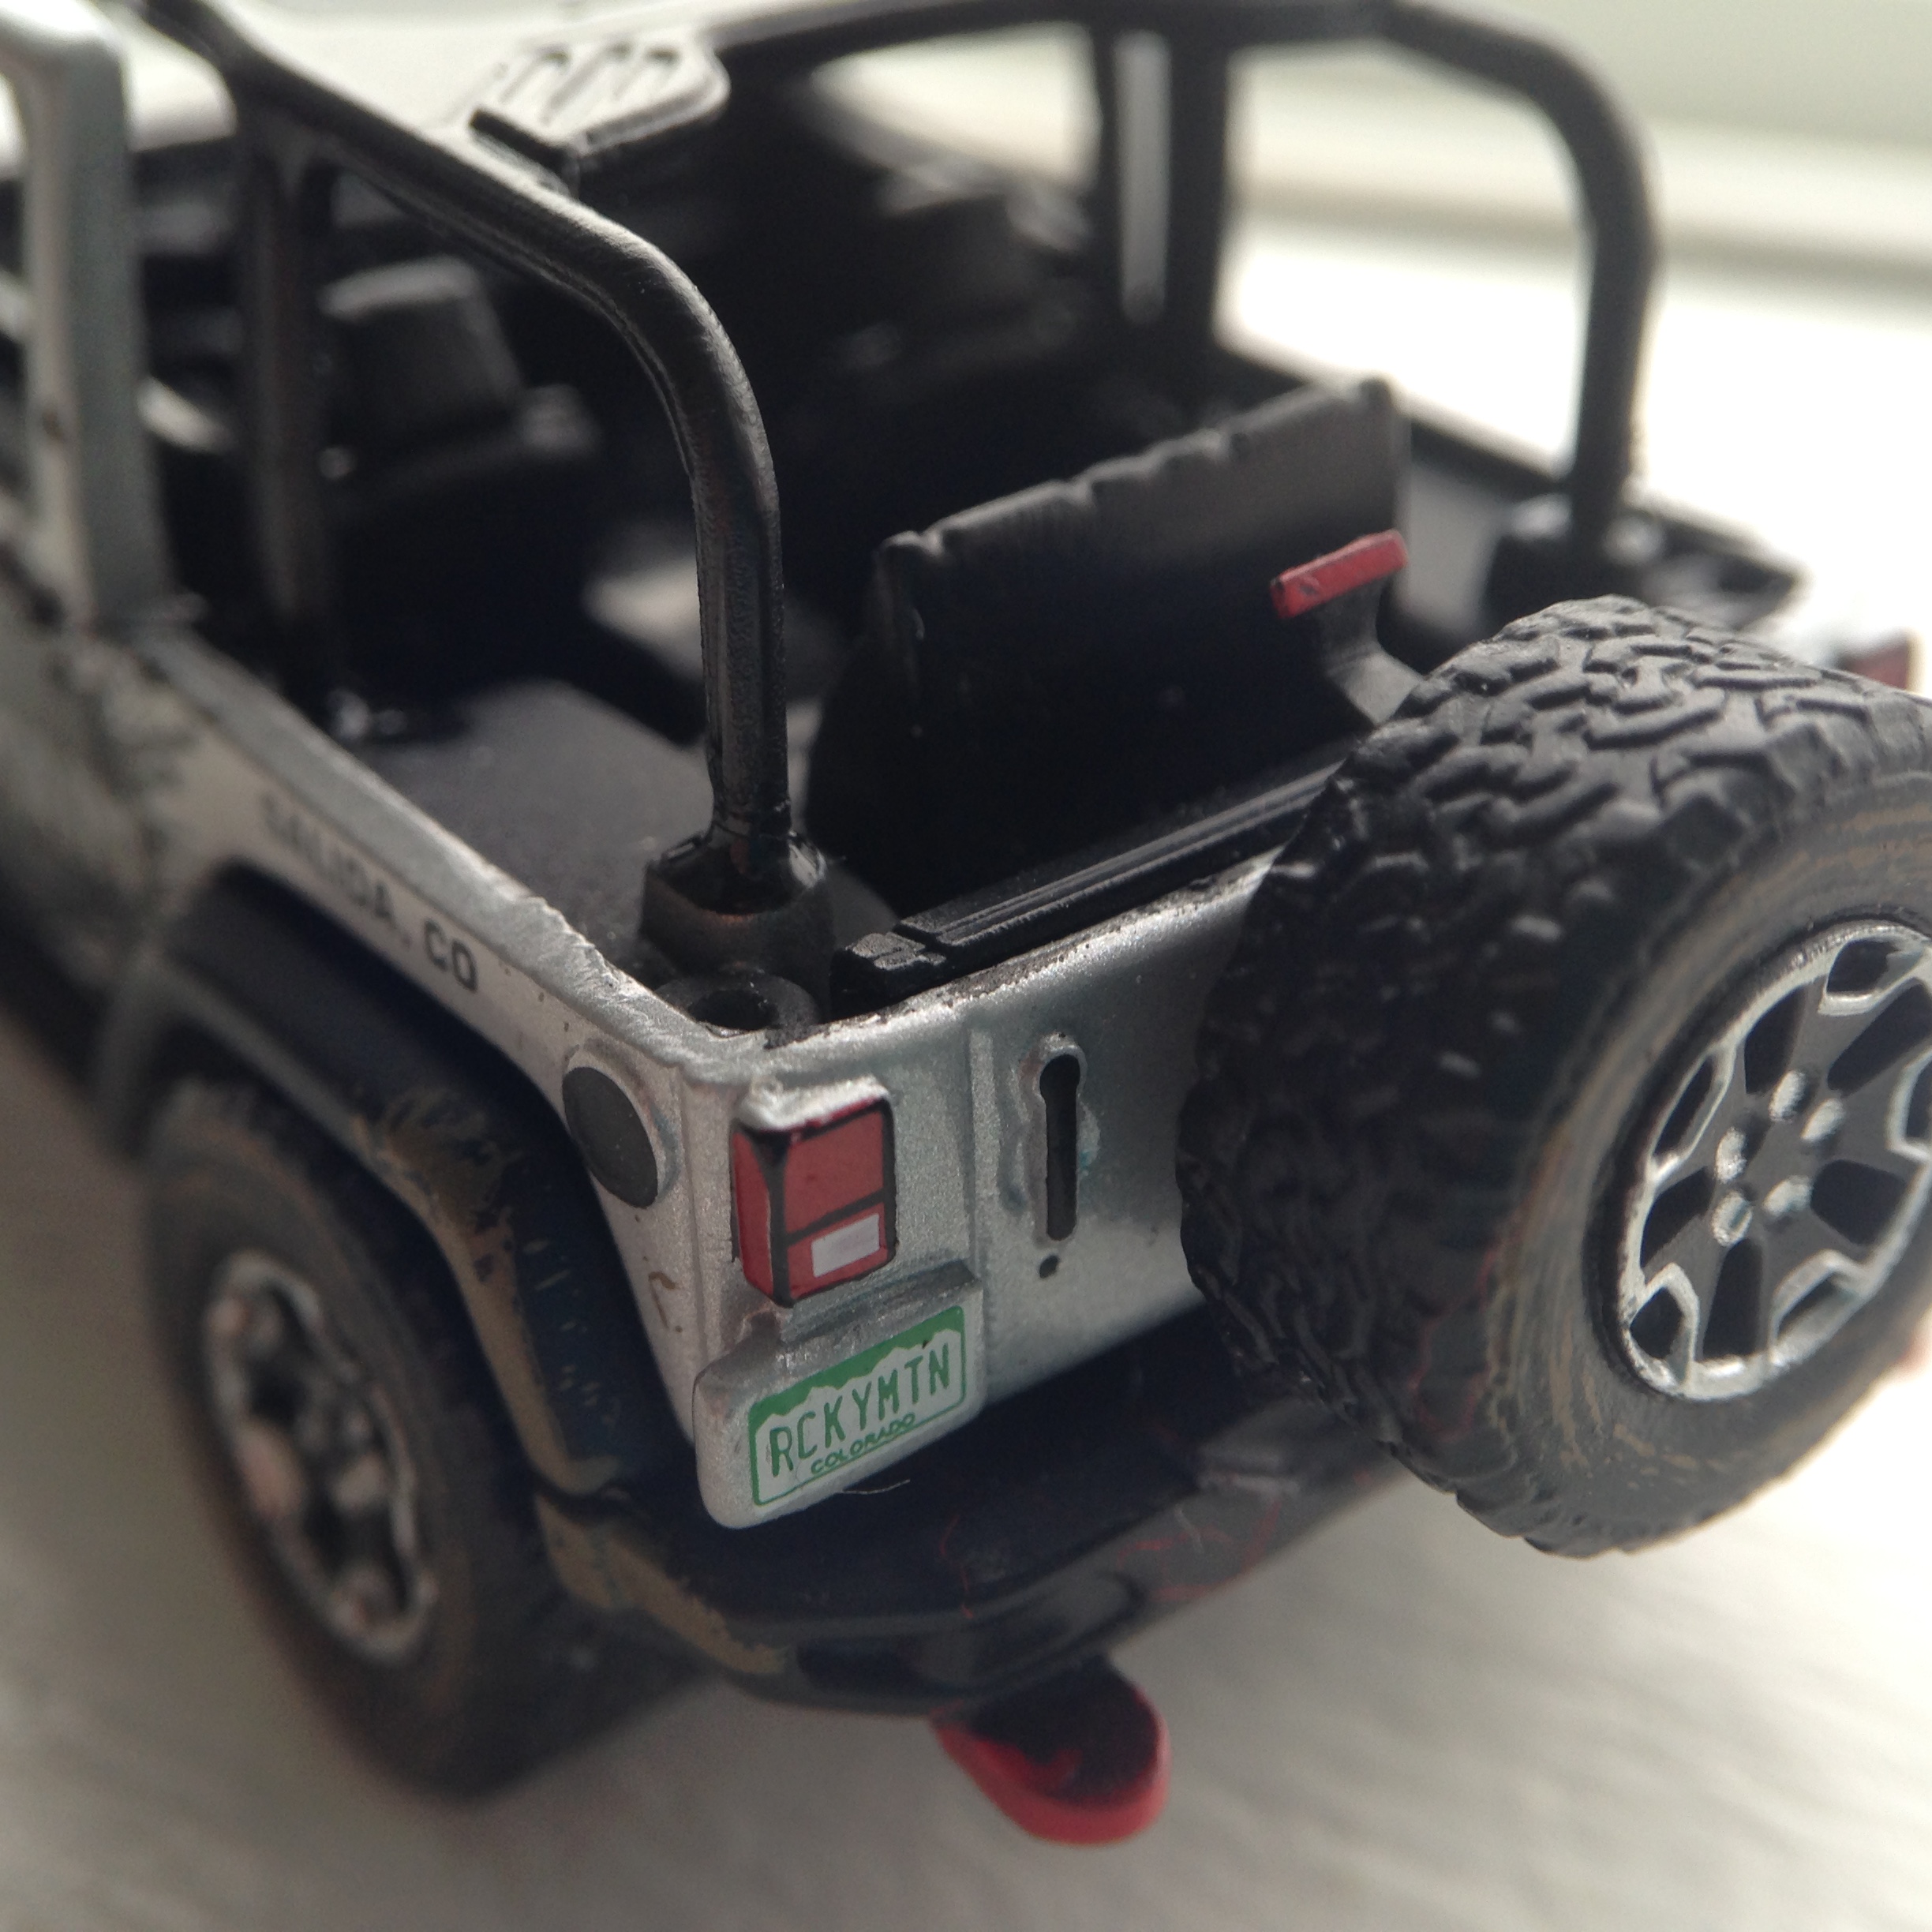
-If your car has details, your shot will be great! Rivets, wipers, lights and decals are all wanted for a final product.
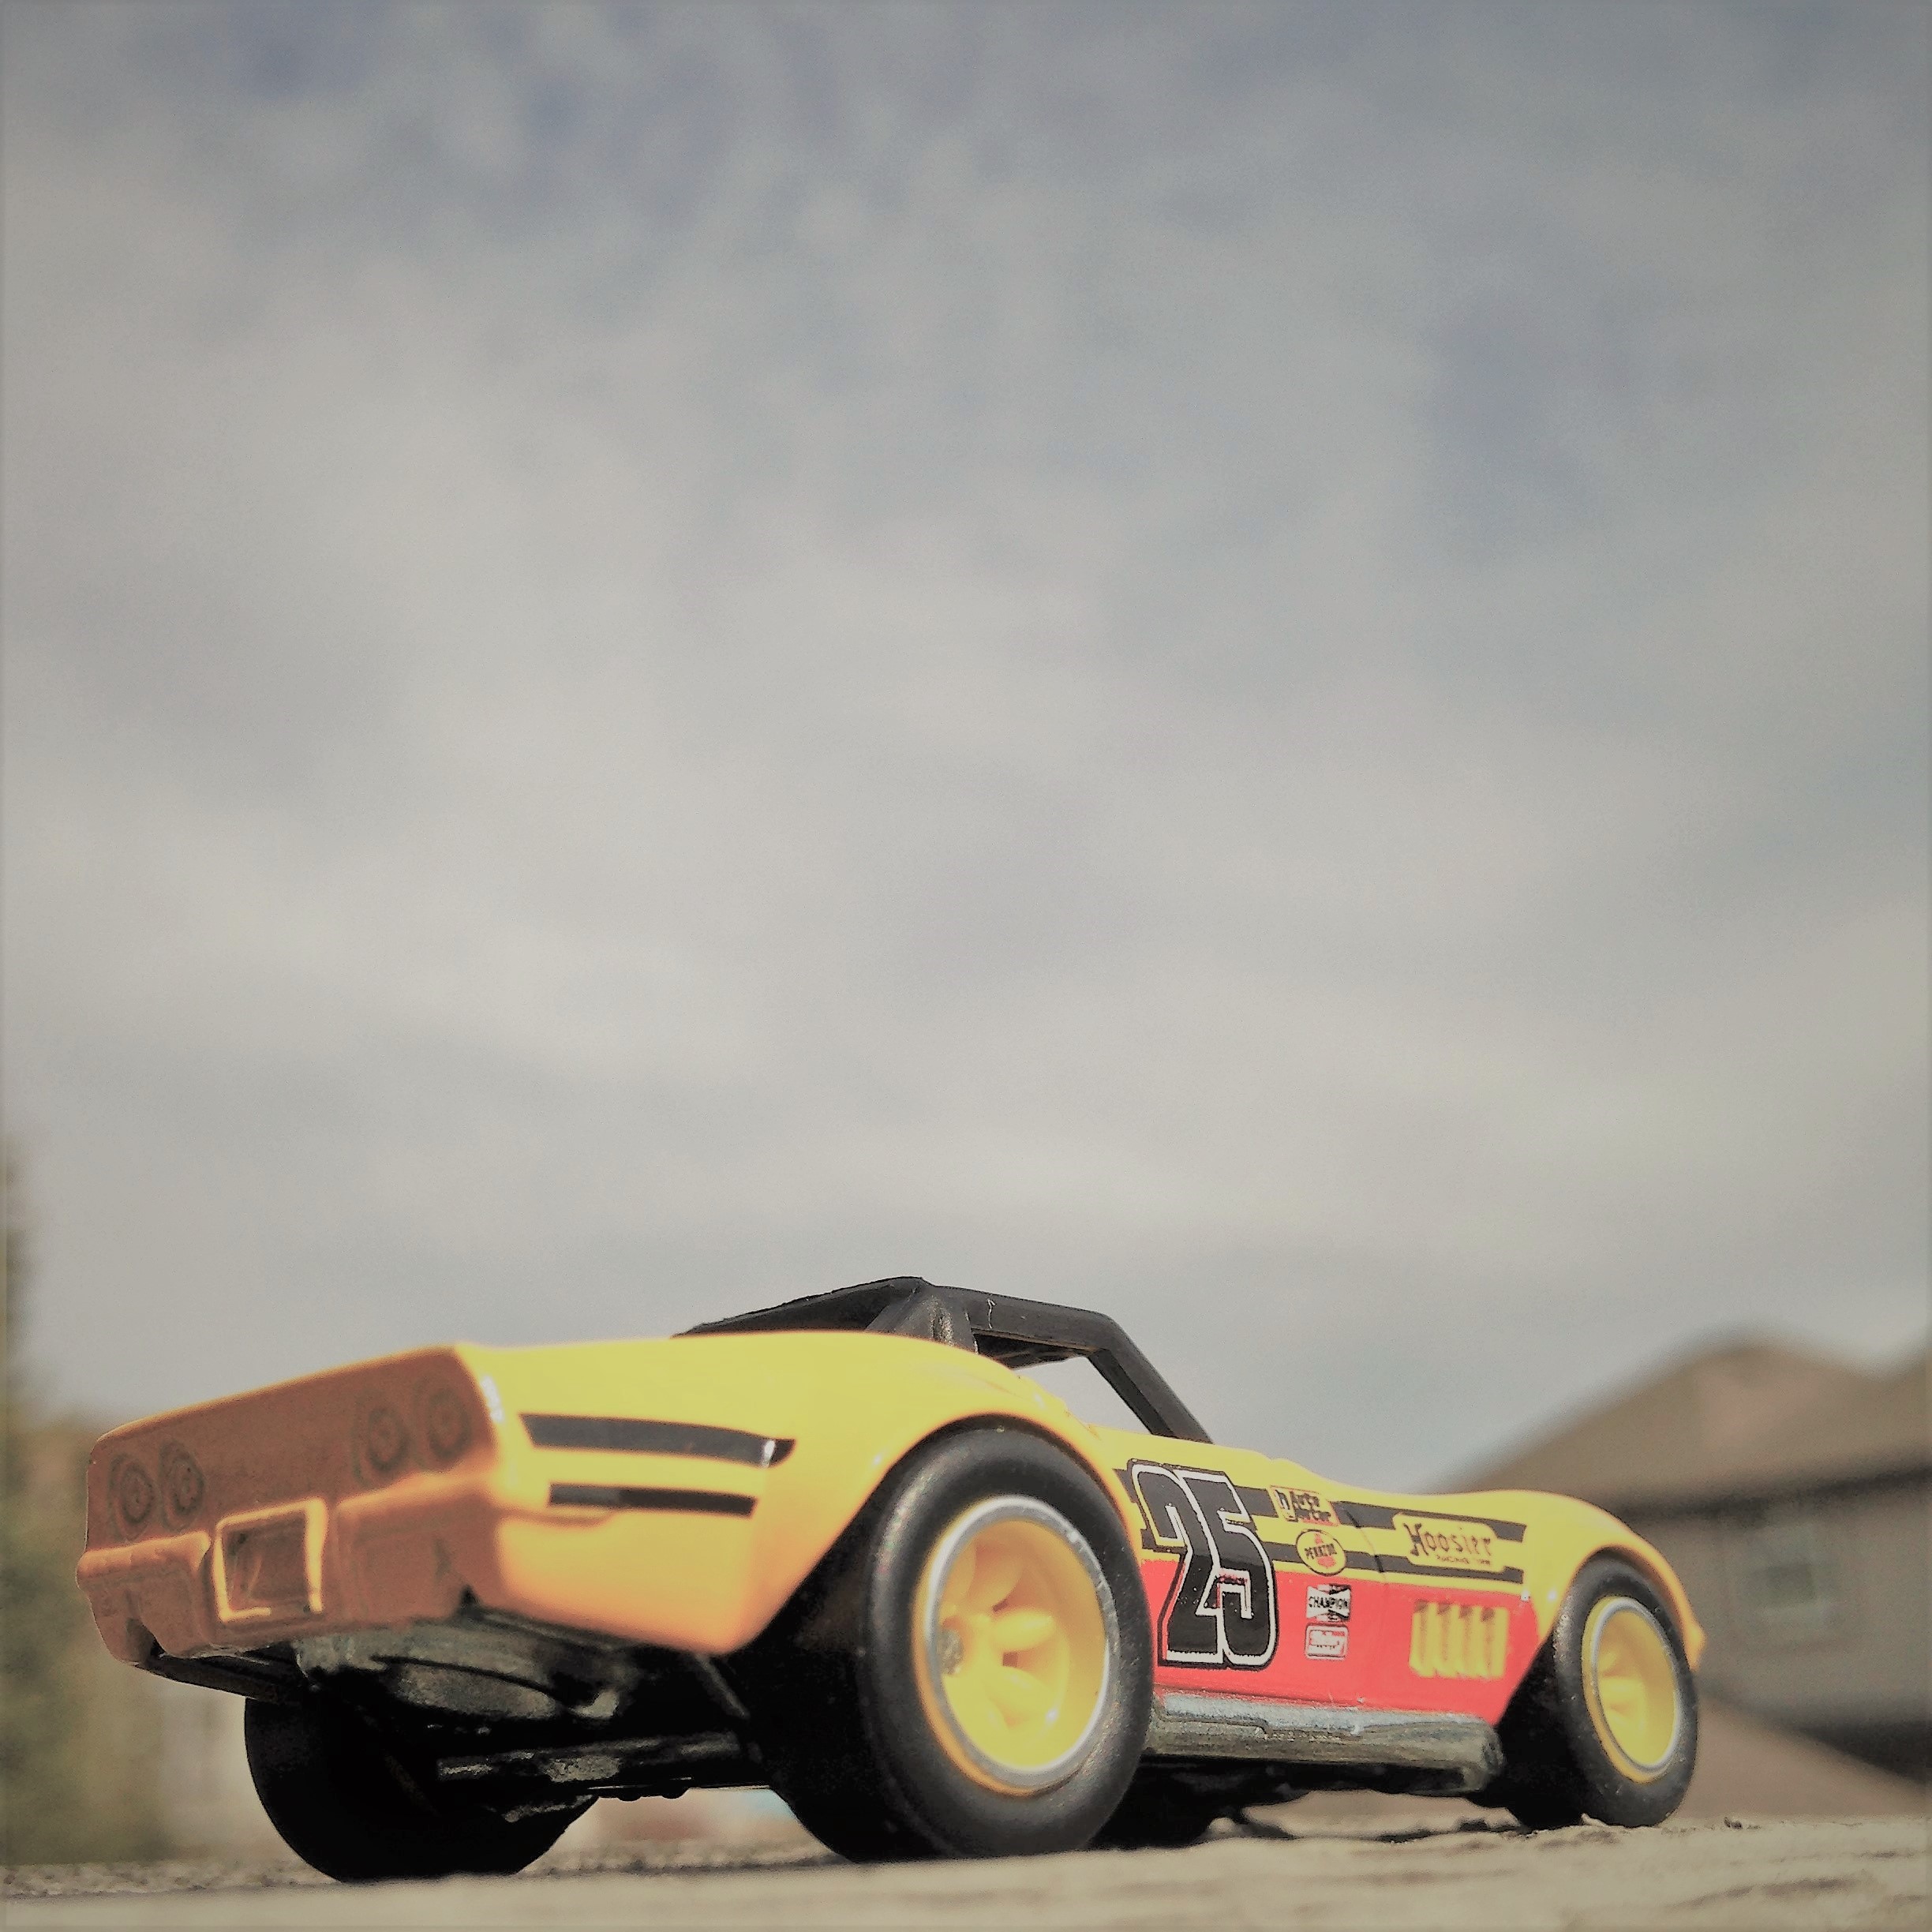
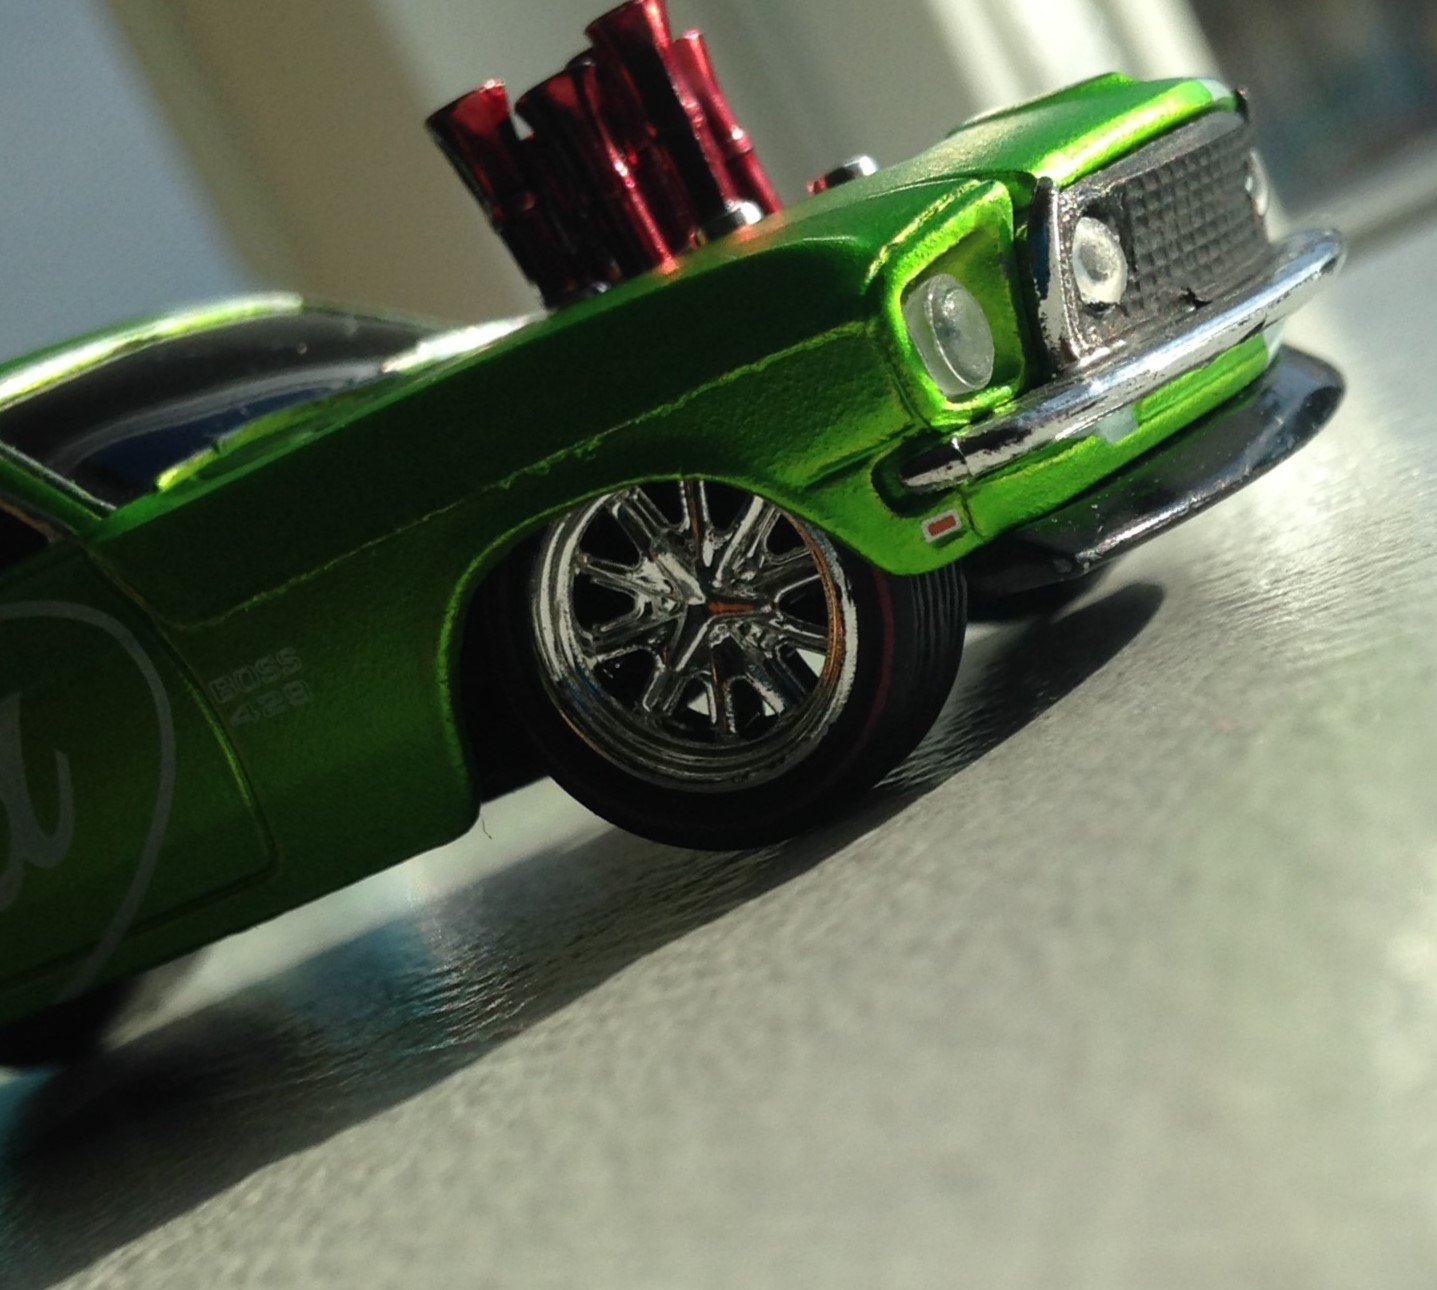
Lowdown
Taking your photos low, and close to the ground will make your shot look real and give the illusion of having a real car in your midst. It prides the wheels and bumpers as detail and really sells the whole wrap.
Hightop

Taking your photos from a higher place will give a feeling of high proportions. Bigger everything.
Final Photos


As the great Albert Einstein once said: "creativity is contagious, pass it on."
I think if everyone that saw and read this instructable, took a photo of their favourite toy car, instructables would become a tighter knit community. Pass it on.
If you think that this instructable is worth a favourite or a vote please do!
Cheers,
mrwonton