Honeyduke's Chocolate Frog Cards
by Wizardry Workshop in Craft > Parties & Weddings
143861 Views, 143 Favorites, 0 Comments
Honeyduke's Chocolate Frog Cards
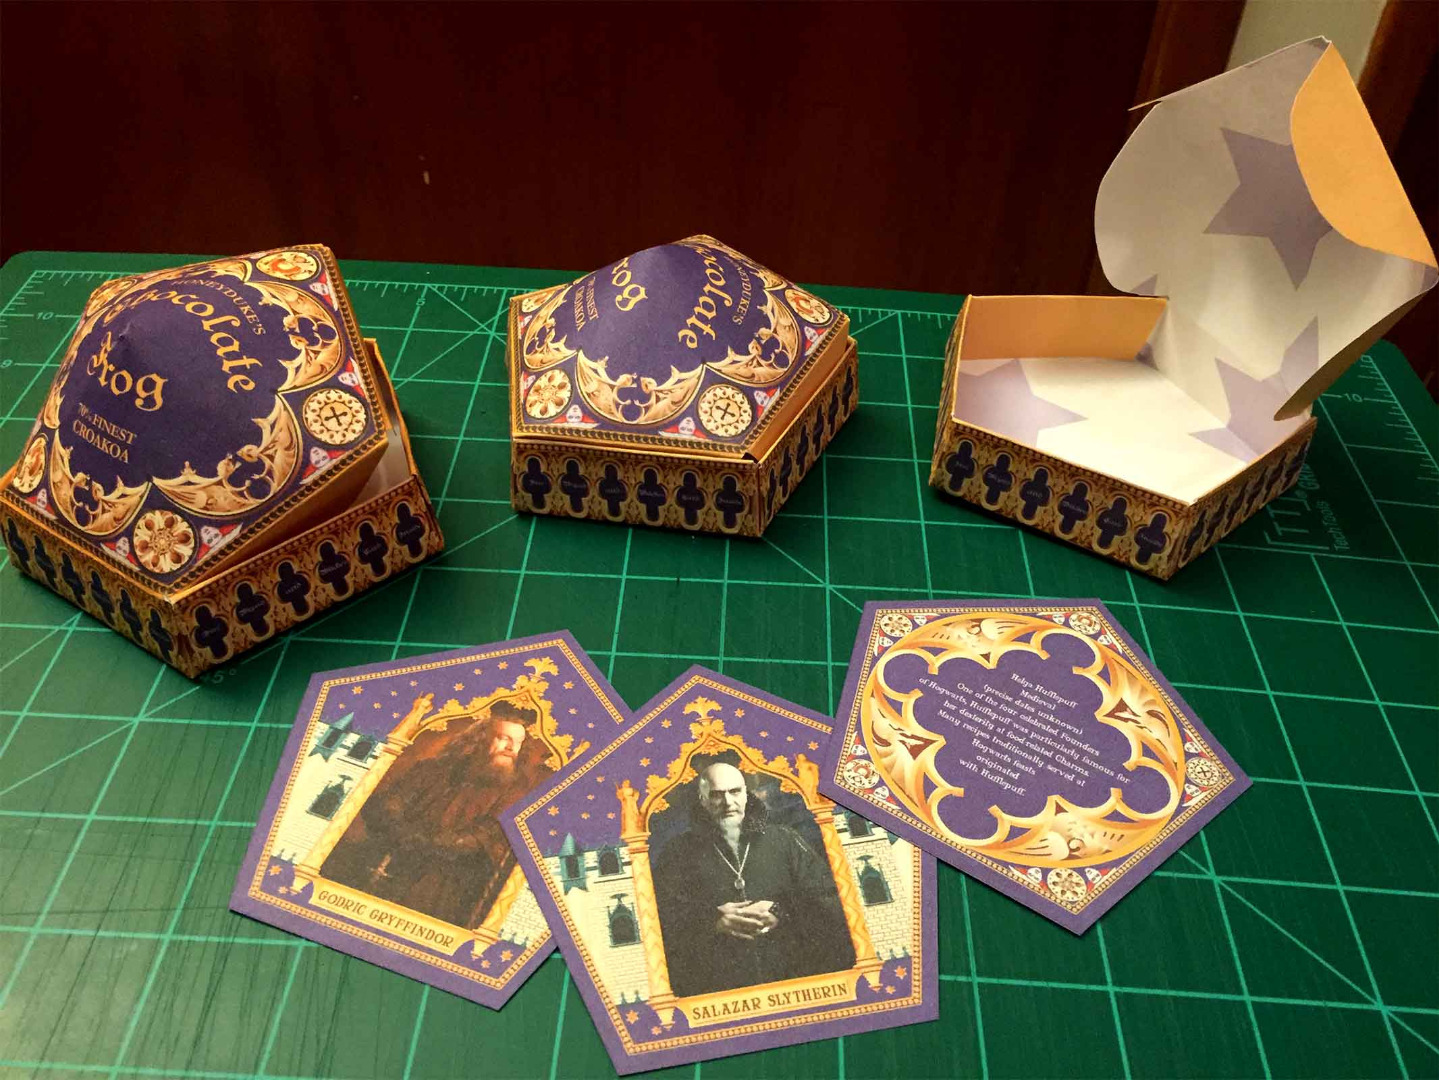
On my quest to make awesome Honeyduke's Chocolate Frog boxes, I ended up having to Photoshop my own template for printing. Once I did this, I obviously needed Chocolate Frog cards to match.
Also, make sure you have the following:
- A cutting pad
- An x-acto knife
- A ruler
- Heavy card stock paper
- A printer
Print the Cards
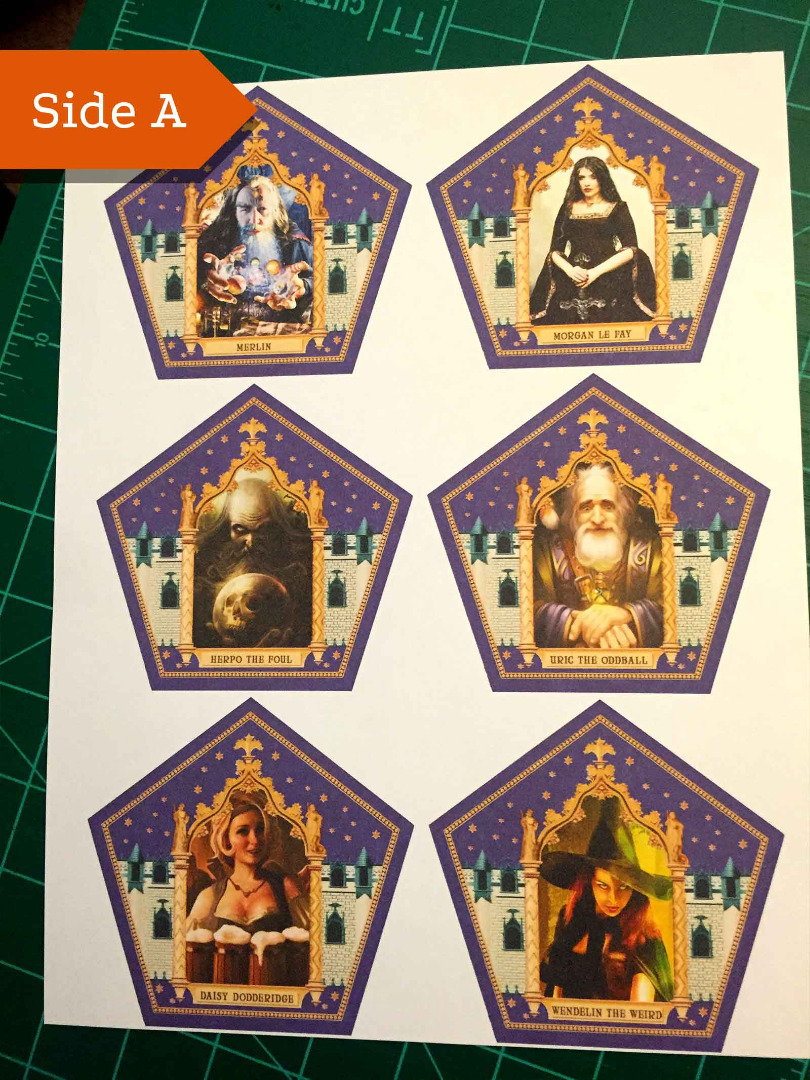
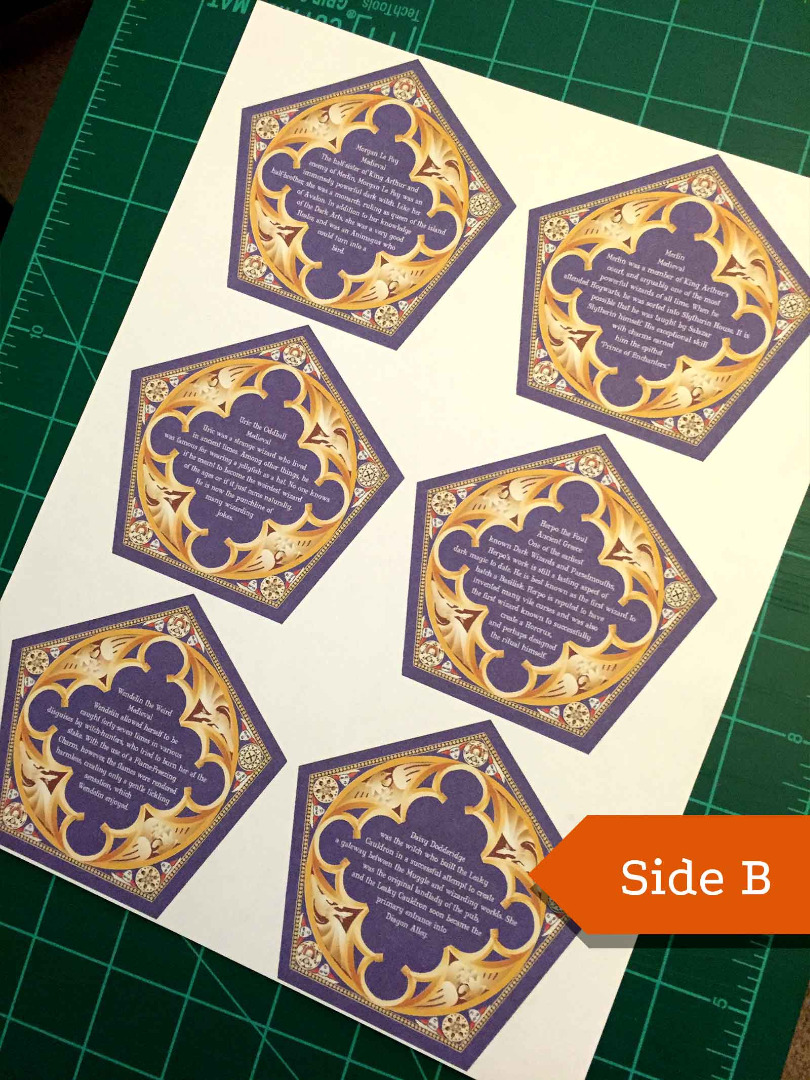
First, you'll need to print the cards. I suggest printing to regular paper first with your printer's lowest quality settings. After you print the fronts of the cards, flip the page over, feed it back into the printer and print the backs on the other side. If they don't line up properly, you will want to open either the back or front files in any image editor and move them slightly to the right or left, then print again (this is why you need to print on low quality first).
Once they are lined up properly, you can safely print them on card stock and your printer's highest settings.
Cut Out the Cards
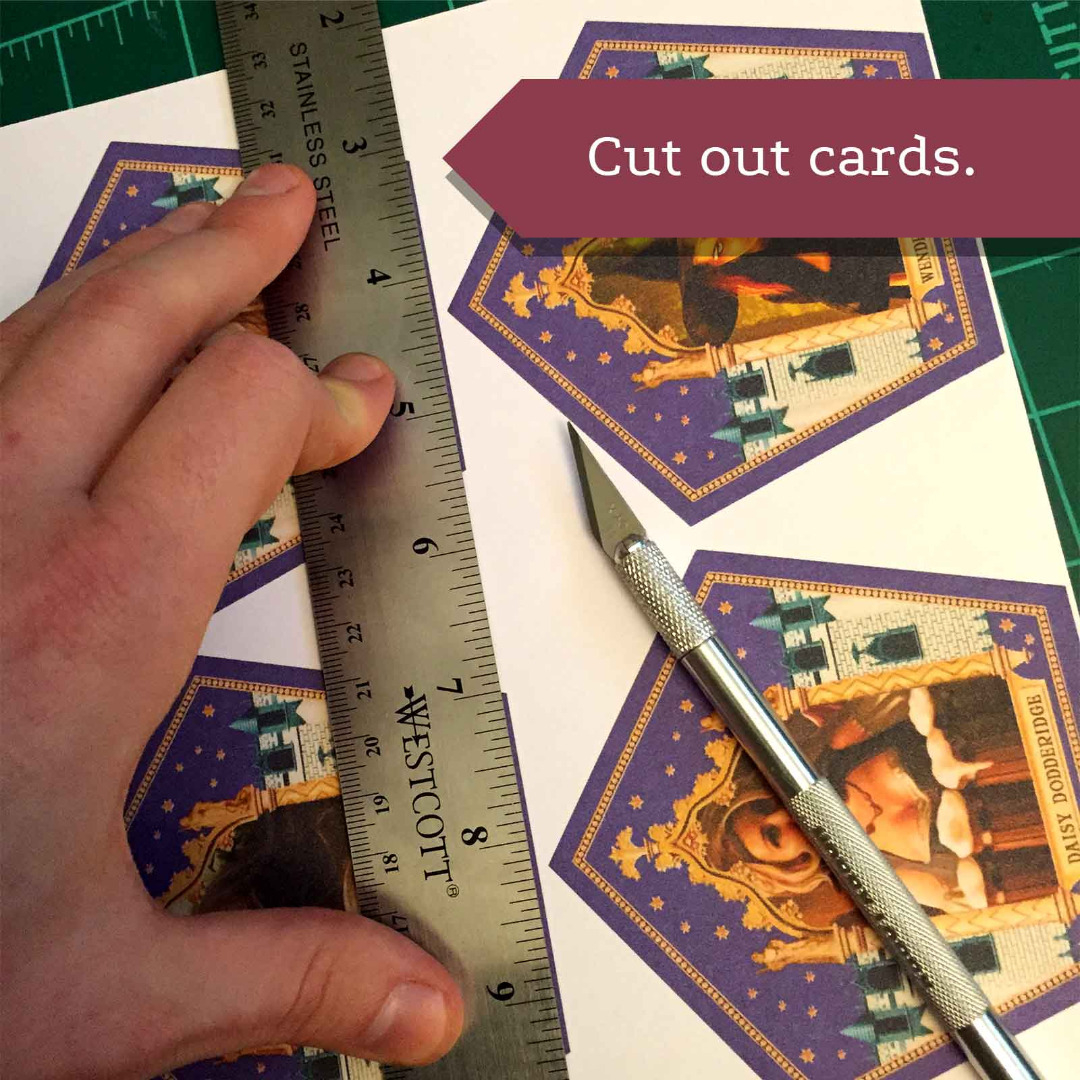
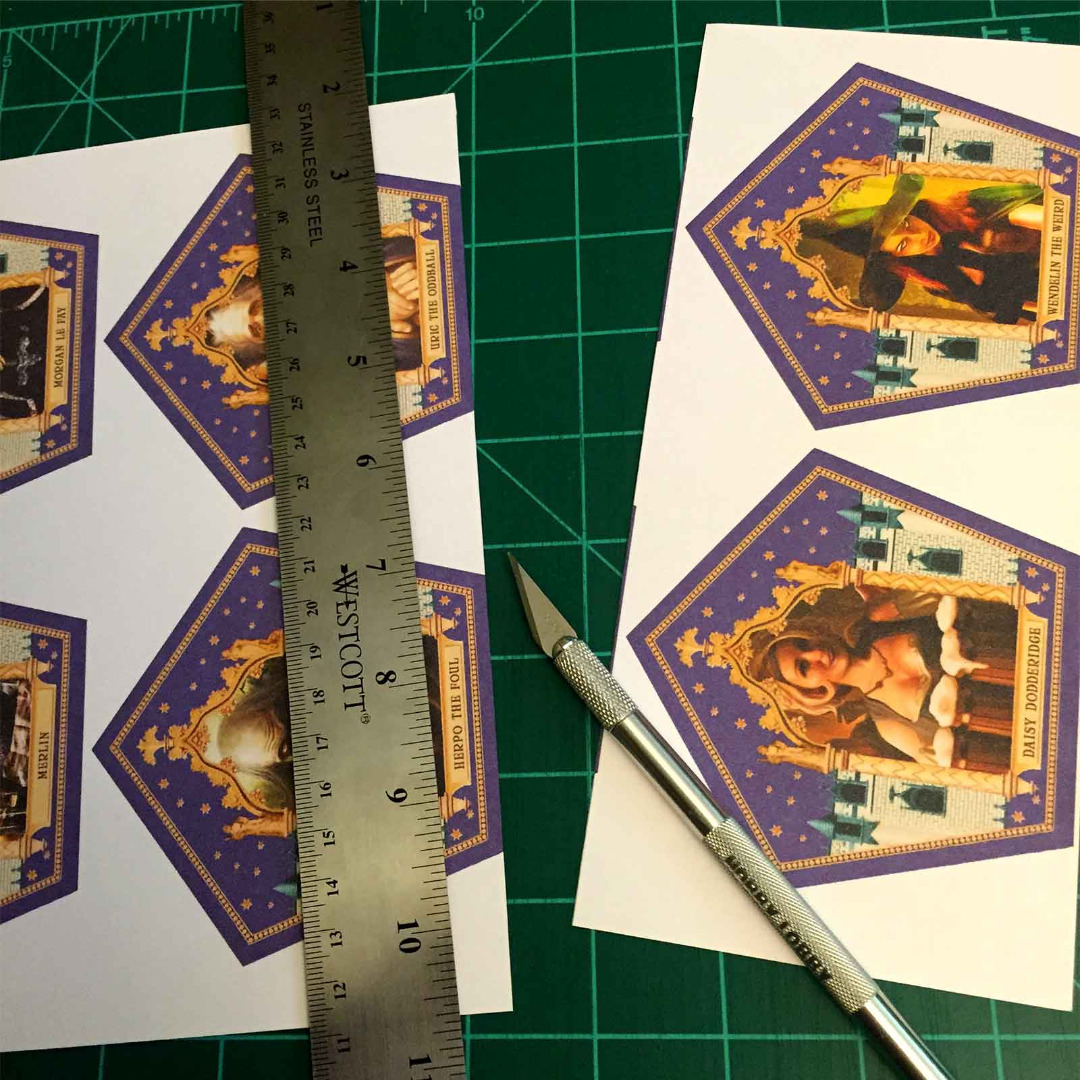
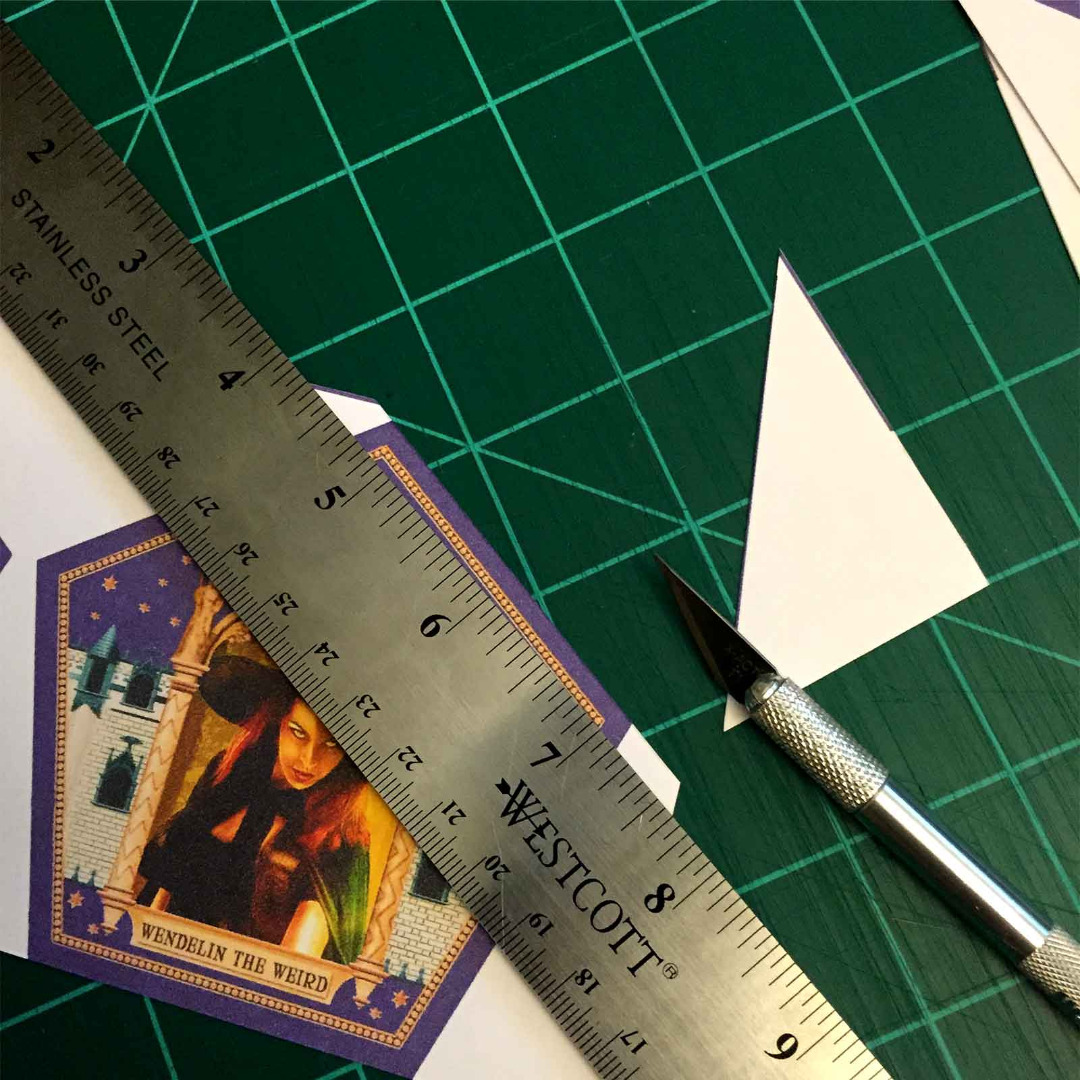
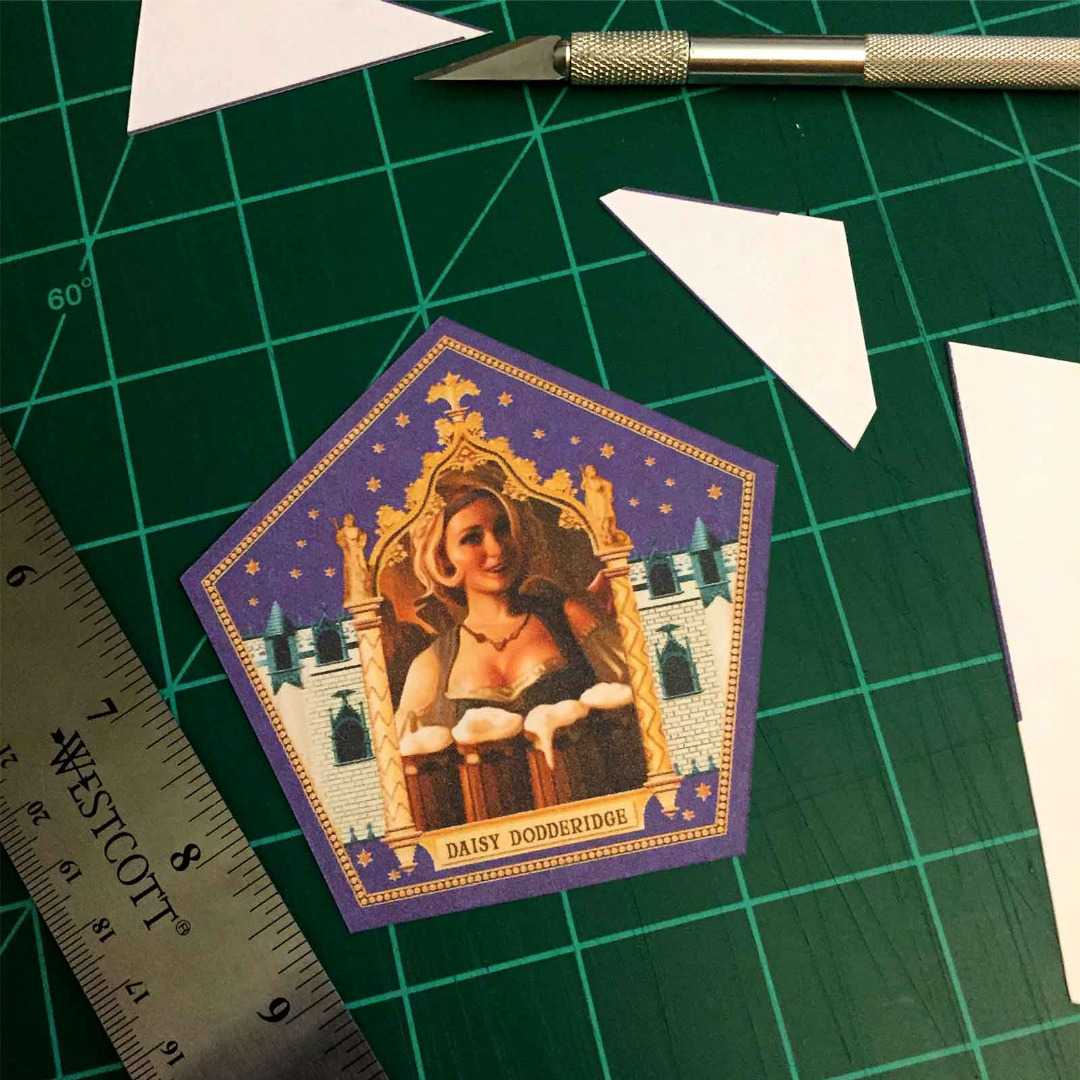
Next you'll want to cut out the cards. I suggest using an x-acto knife, cutting pad, and ruler. You can accomplish this with scissors as well, but it won't look as nice.
To do this with an x-acto knife: place the printed cards on the cutting pad. Then line the ruler up with where you want to cut. Press down on the ruler hard so as to keep it, and the printed cards underneath, still. With your other hand use the x-acto knife to cut along the edge of the ruler. If you do it right, you will get a perfectly straight line.
I'm going to assume that you need no instructions on how to use scissors, if you choose that route.
Once you are finished, inspect all of the cards to make sure none of them have any white around the edges.
You're Finished!
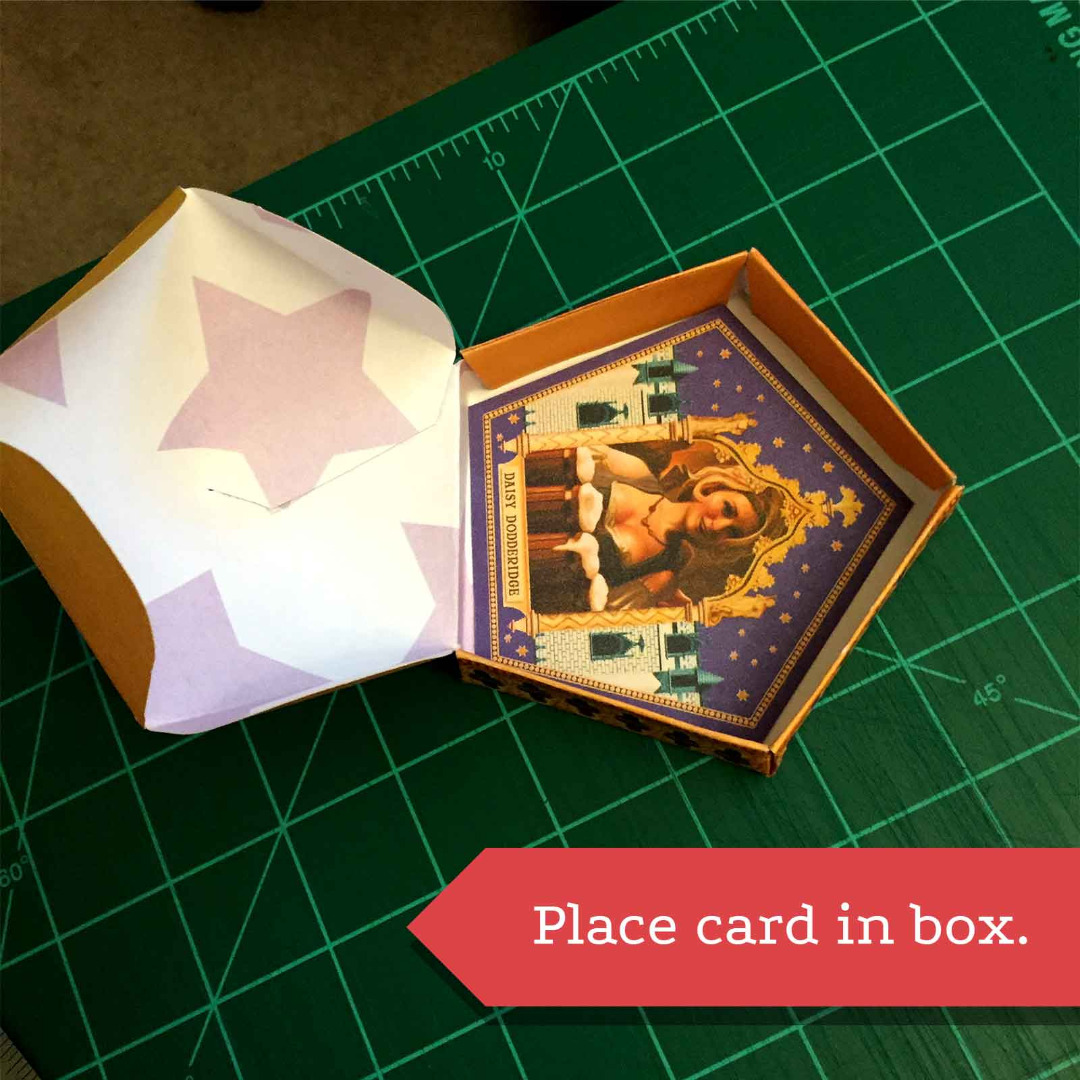

That's it! You're done.
They will fit perfectly in my Chocolate Frog boxes.
Let me know what you think and post pictures of yours in the comments.
Enjoy!