Homemade Decals
I enjoy restoring old tools for myself and my friends. One thing I've found that really makes a massive difference is new decals after you have finished painting them. The problem is trying to find new decals for old items is hard to impossible.
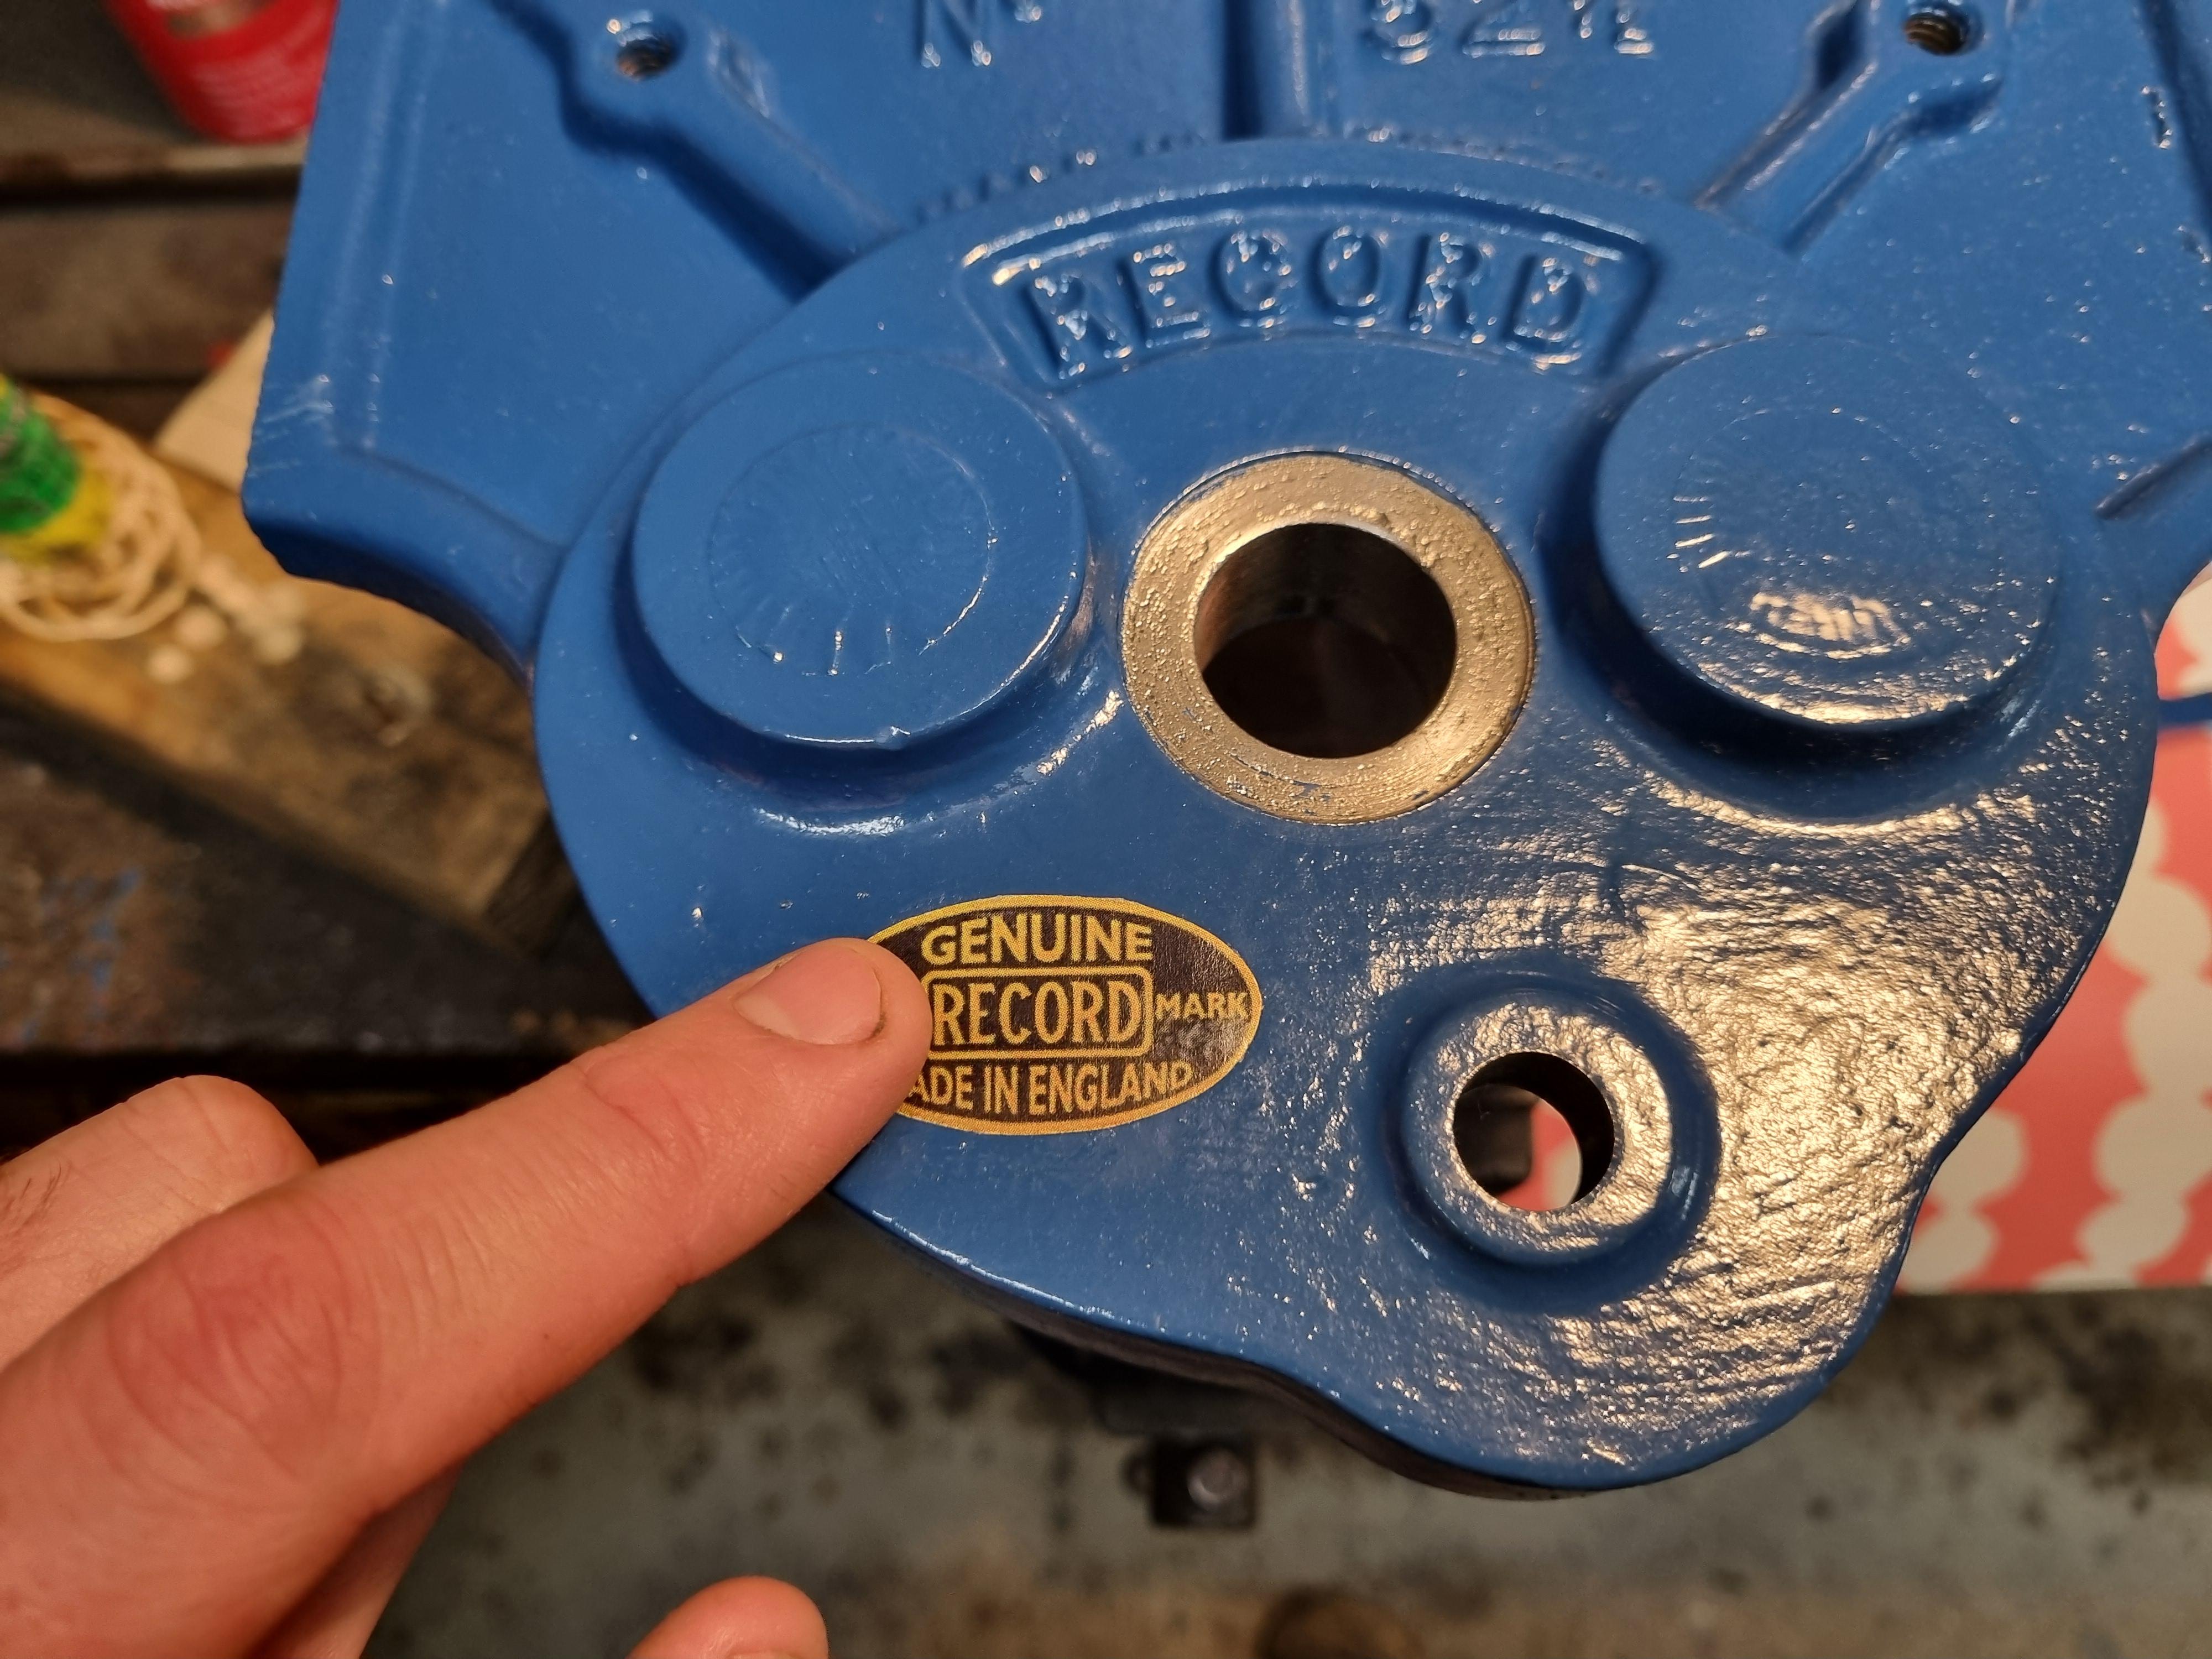
I've been making my own decals for a while now and they look great and really finish the project off.
The final product is attached below so you can just skip ahead and print these out yourself.
Downloads
Supplies
- Paper
- Varnish
- Colour Printer
- Computer
Locate an Image
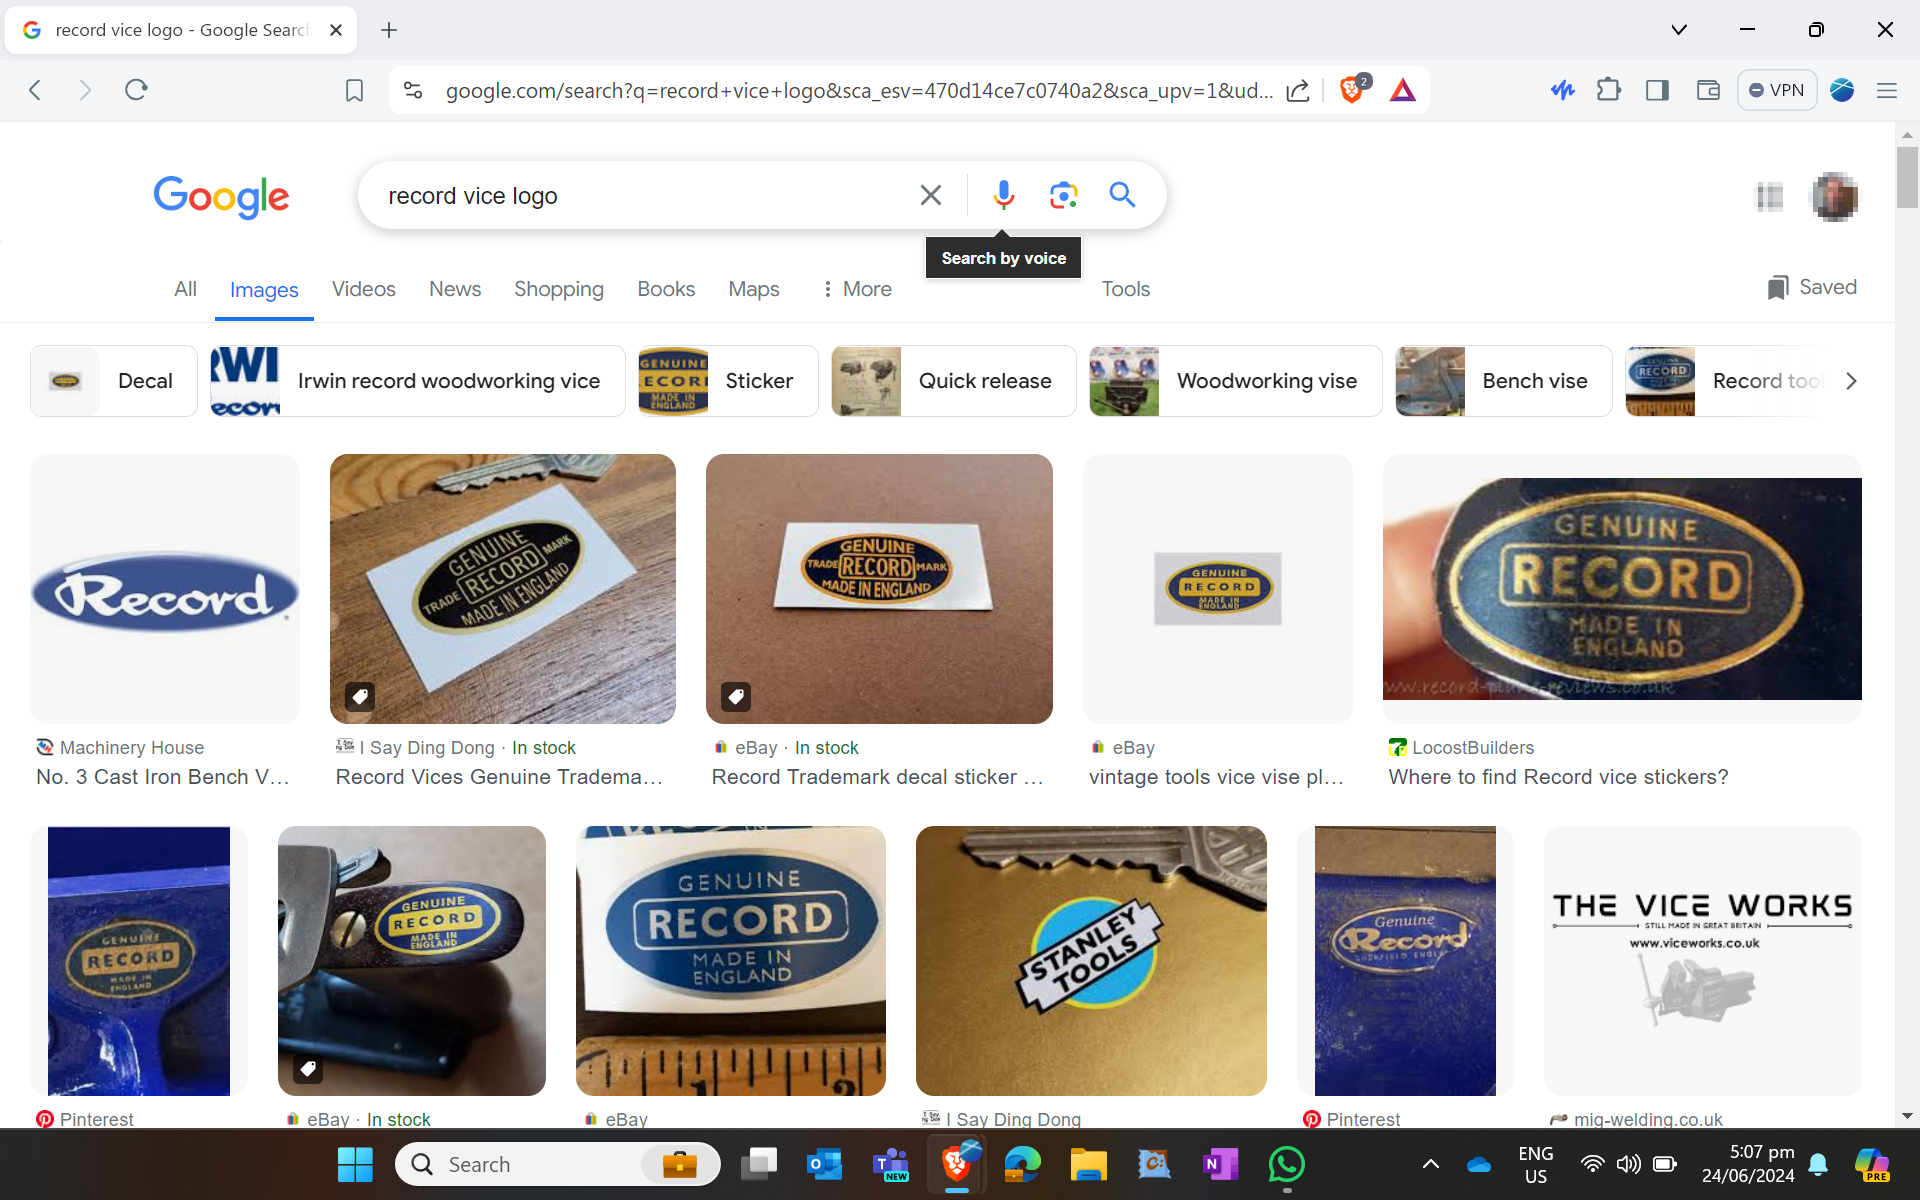
The first step is to find a decent image of the decal you want. A google image search is a good place to start for finding the decal, if you are lucky enough to have access to someone else with the decal on their items you can take a photo of your own.
Try to find an image or photo that is straight on rather than on an angle. If you can't find a perfect image you may be able to combine a couple of incomplete ones.
Using the advanced features on the google image search can really hone in on decent image.
Clean Up the Image
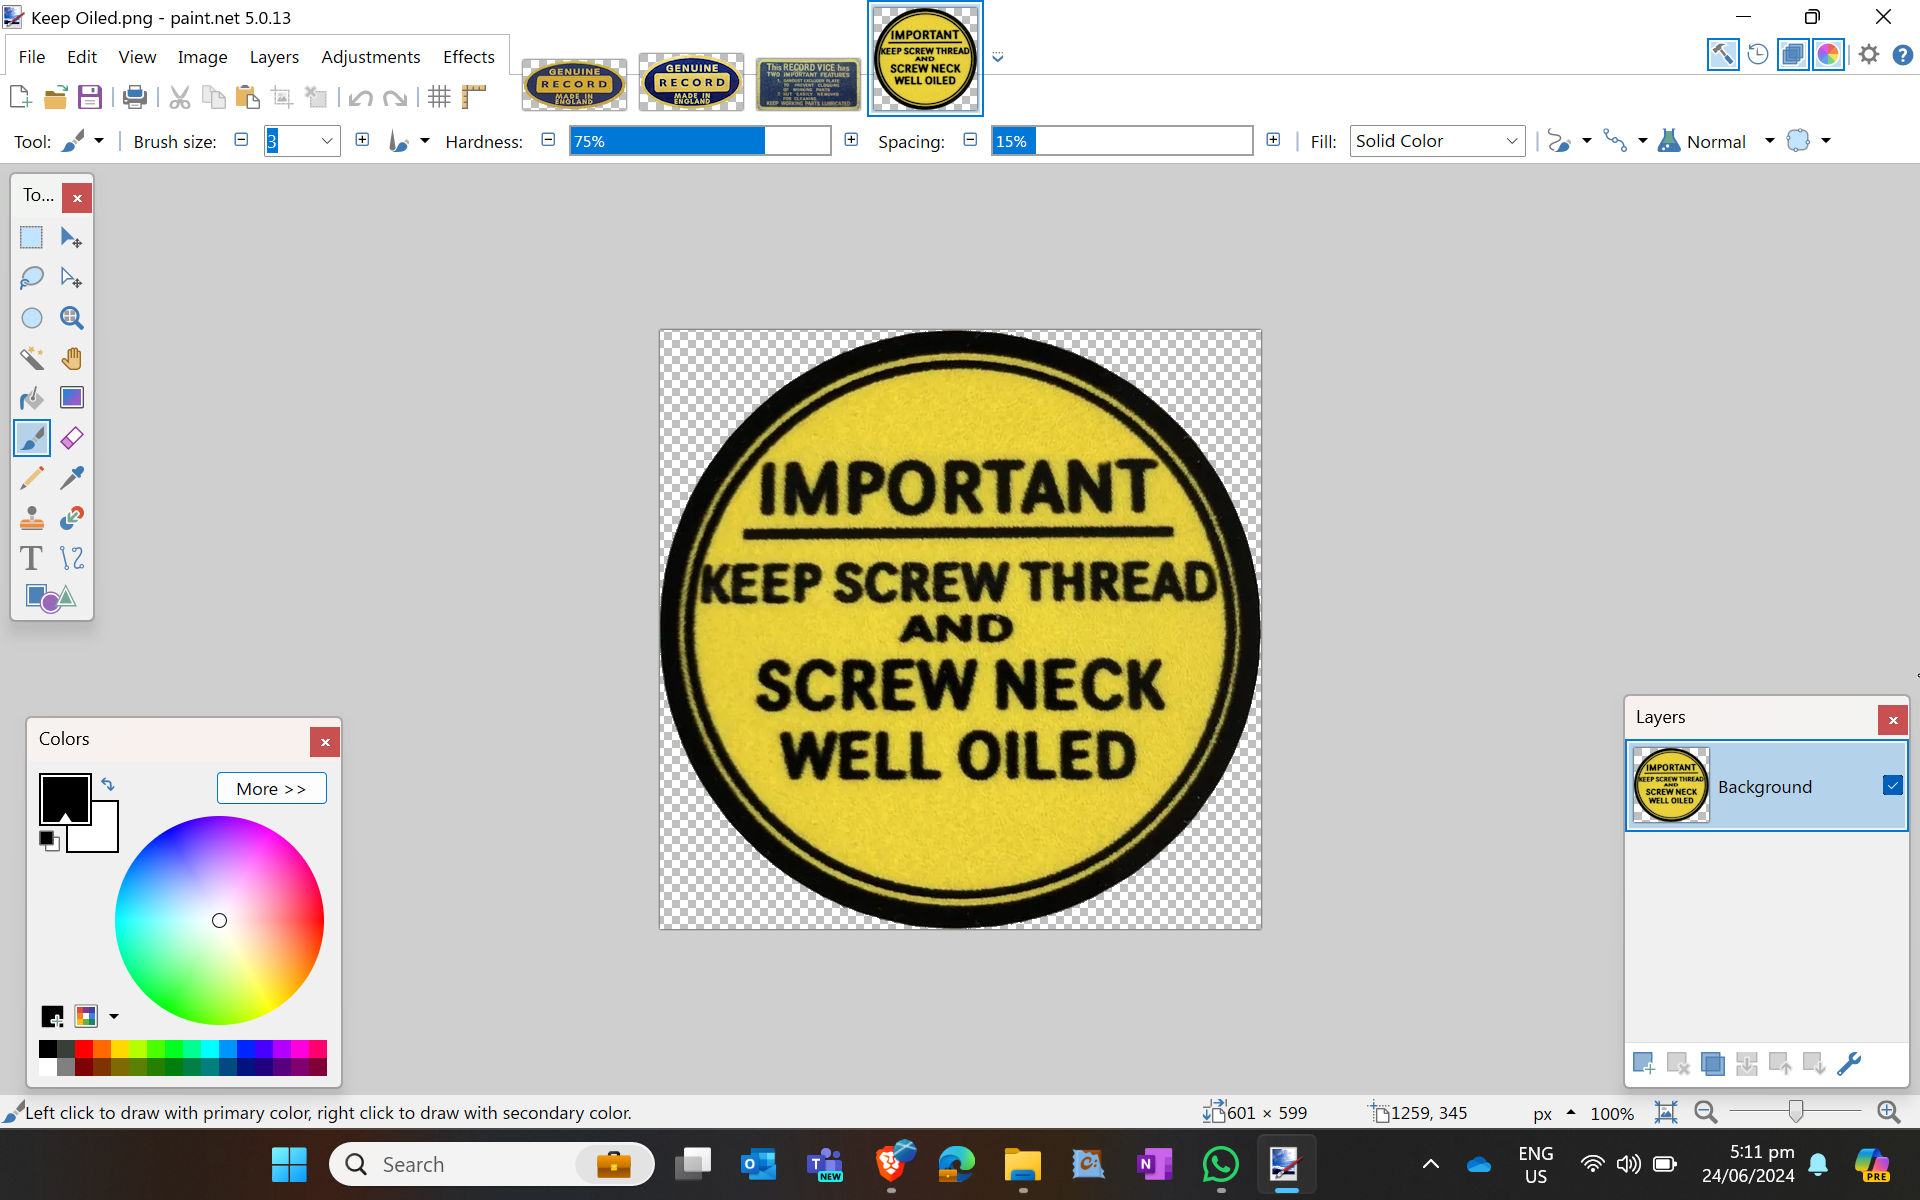
Use your favourite image editor for this step, I use Paint.Net. Once you open the file start by trimming and removing the background. You should also resize the image canvas until the edges of the image are right on the edge of the canvas, this will make printing to the final size much easier.
Depending on the quality of the original photo you may need to carry need to do some of the following:
Rotate
Sometimes you will need to rotate the image so it's level, it's a simple thing but makes working on the decal much easier.
Transparent Background
It's a really good idea to make the background transparent and save the final image as a PNG format. This will preserve the transparency and is also a lossless file compression. Try using this free background-removing AI, it works pretty well: https://www.photoroom.com/tools/background-remover
Adjust any skew
This one is a little more tricky, but a small amount of skew can be edited out. You want the image to be parallel rather than a distorted shape.
Touch-ups
If it's a harder to find decal you may have to use a less than ideal quality image. You may need to zoom in and clean up a few pixels. Just take your time, you should be able to get an acceptable image.
Size the Image for Printing
Windows image printing generally doesnt print images at the correct size and will just try to fill the page. You can use IrfanView for exact printing of the image size (based on DPI).
I like to use this method to print my decals at the exact size I need.
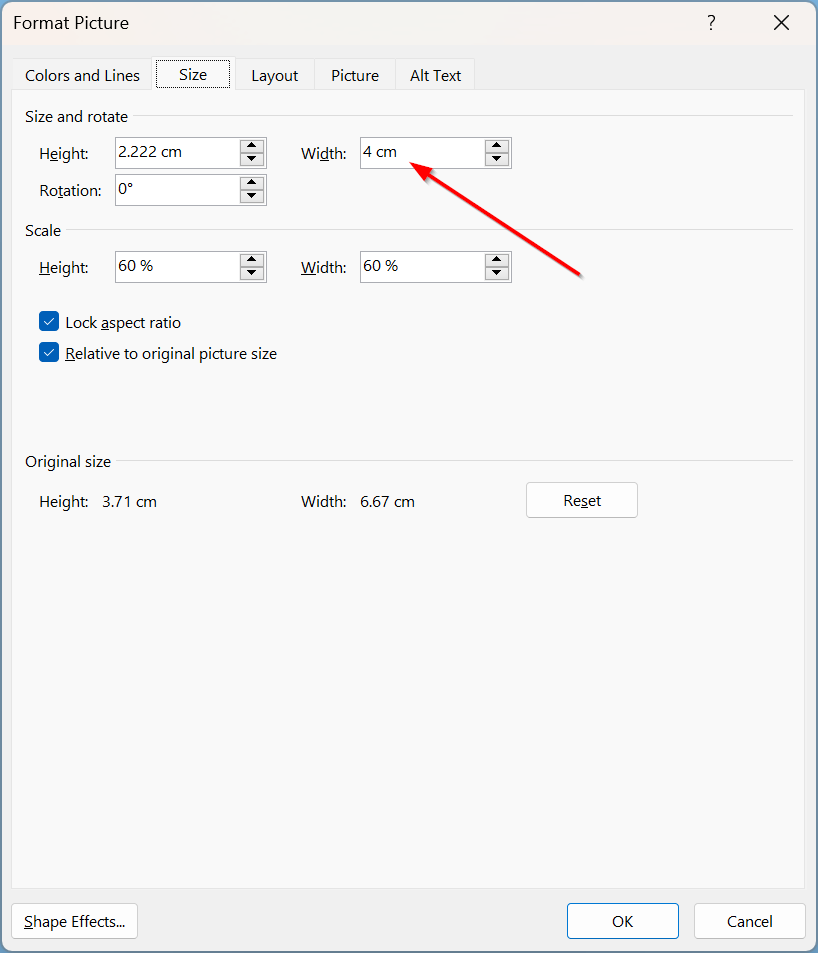
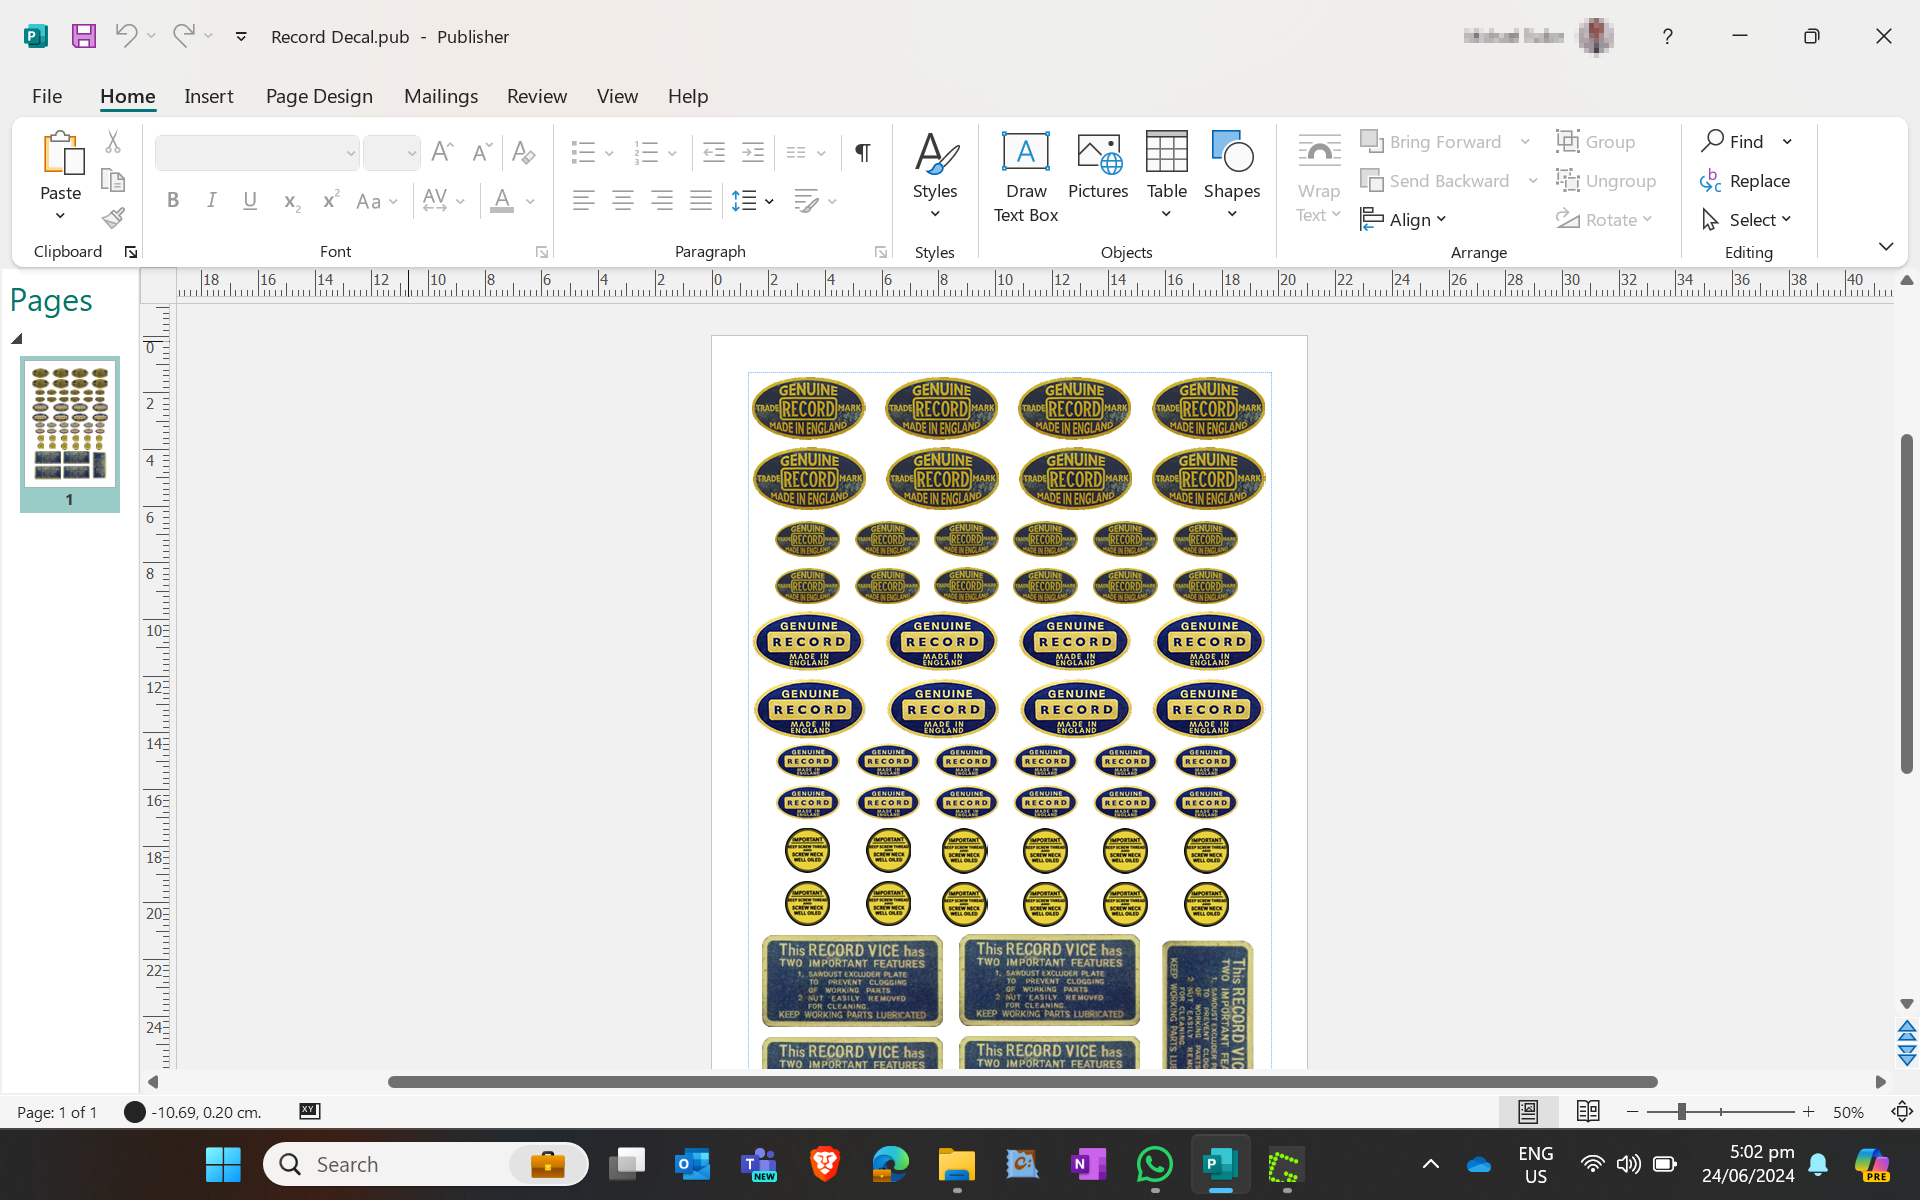
I use Microsoft Publisher, but you can use MS Word or most other word-processing applications. Open up Publisher and insert the image into the document, then right-click on the image and adjust it's size to the exact measurements you need. Now you can copy and paste the image a few more times so you get a page full of decals you can use.
After this I like to save the document as a PDF so I can easily share the decals in common format.
Print and Cut
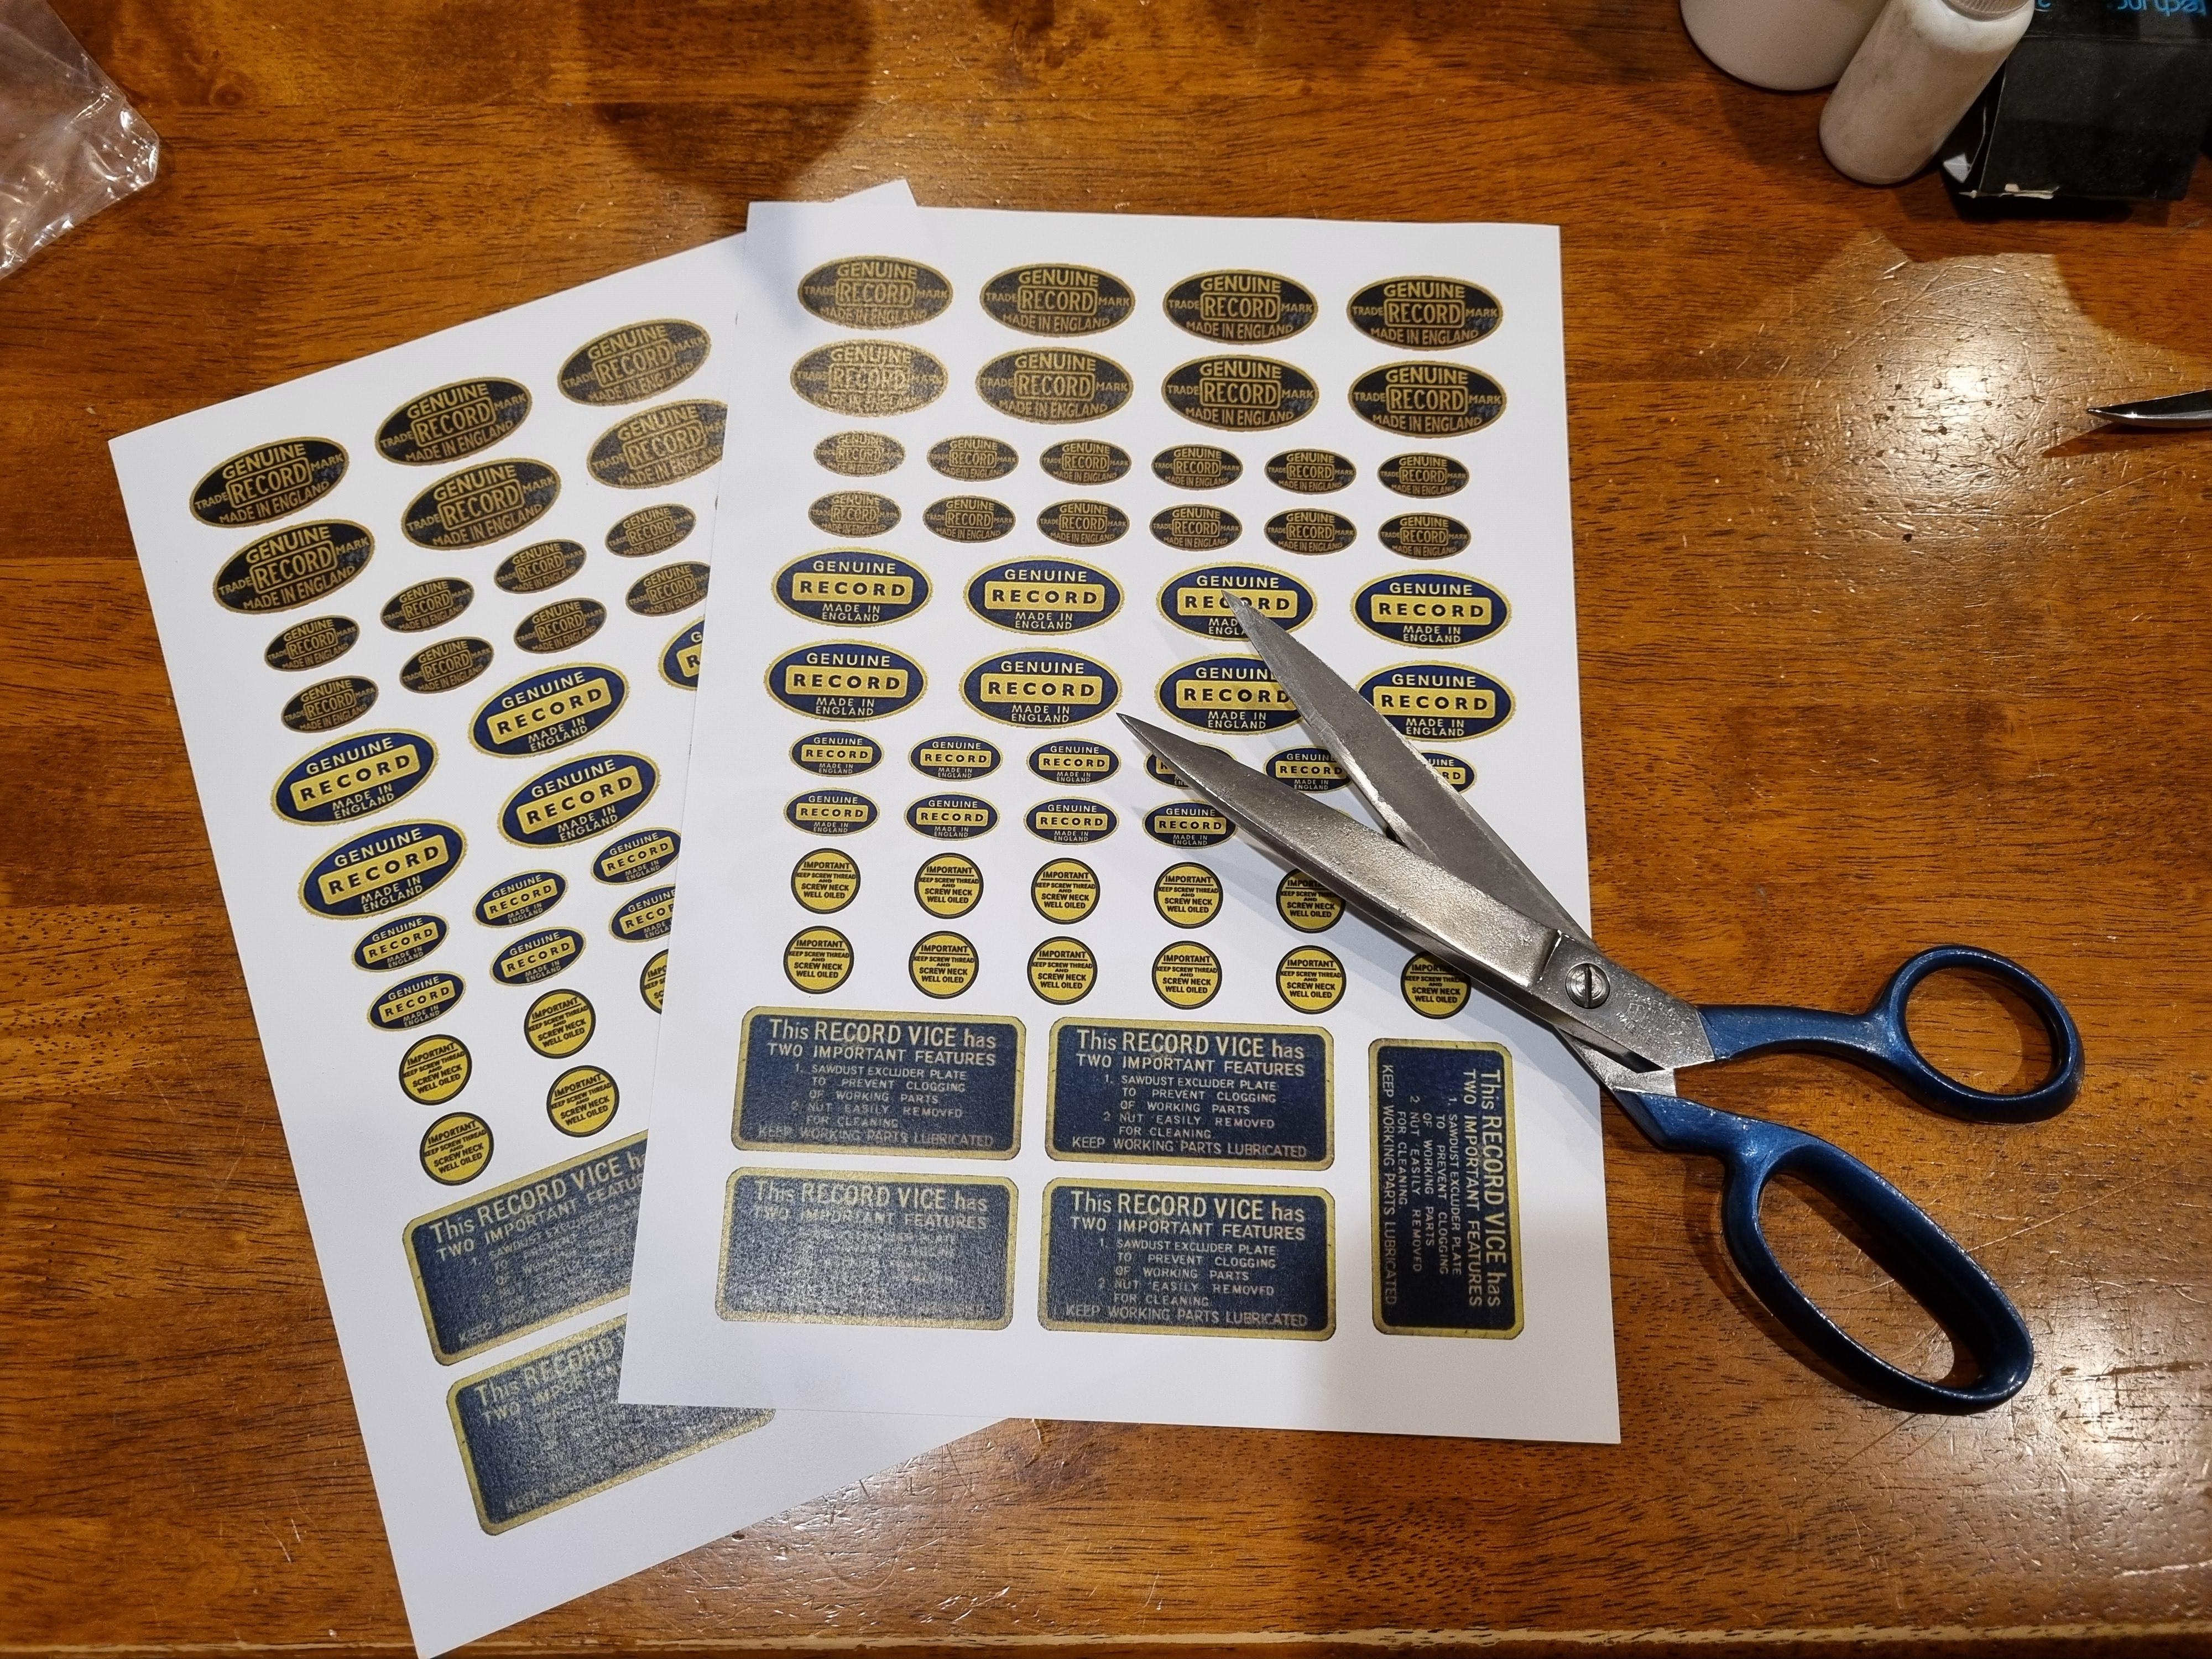
I use a colour laser printer for my decals, you could probably use an inkjet but you will need to be careful with the glue you use so the ink doesn't run. Anyway, just print out the decals onto standard paper, you don't need special paper.
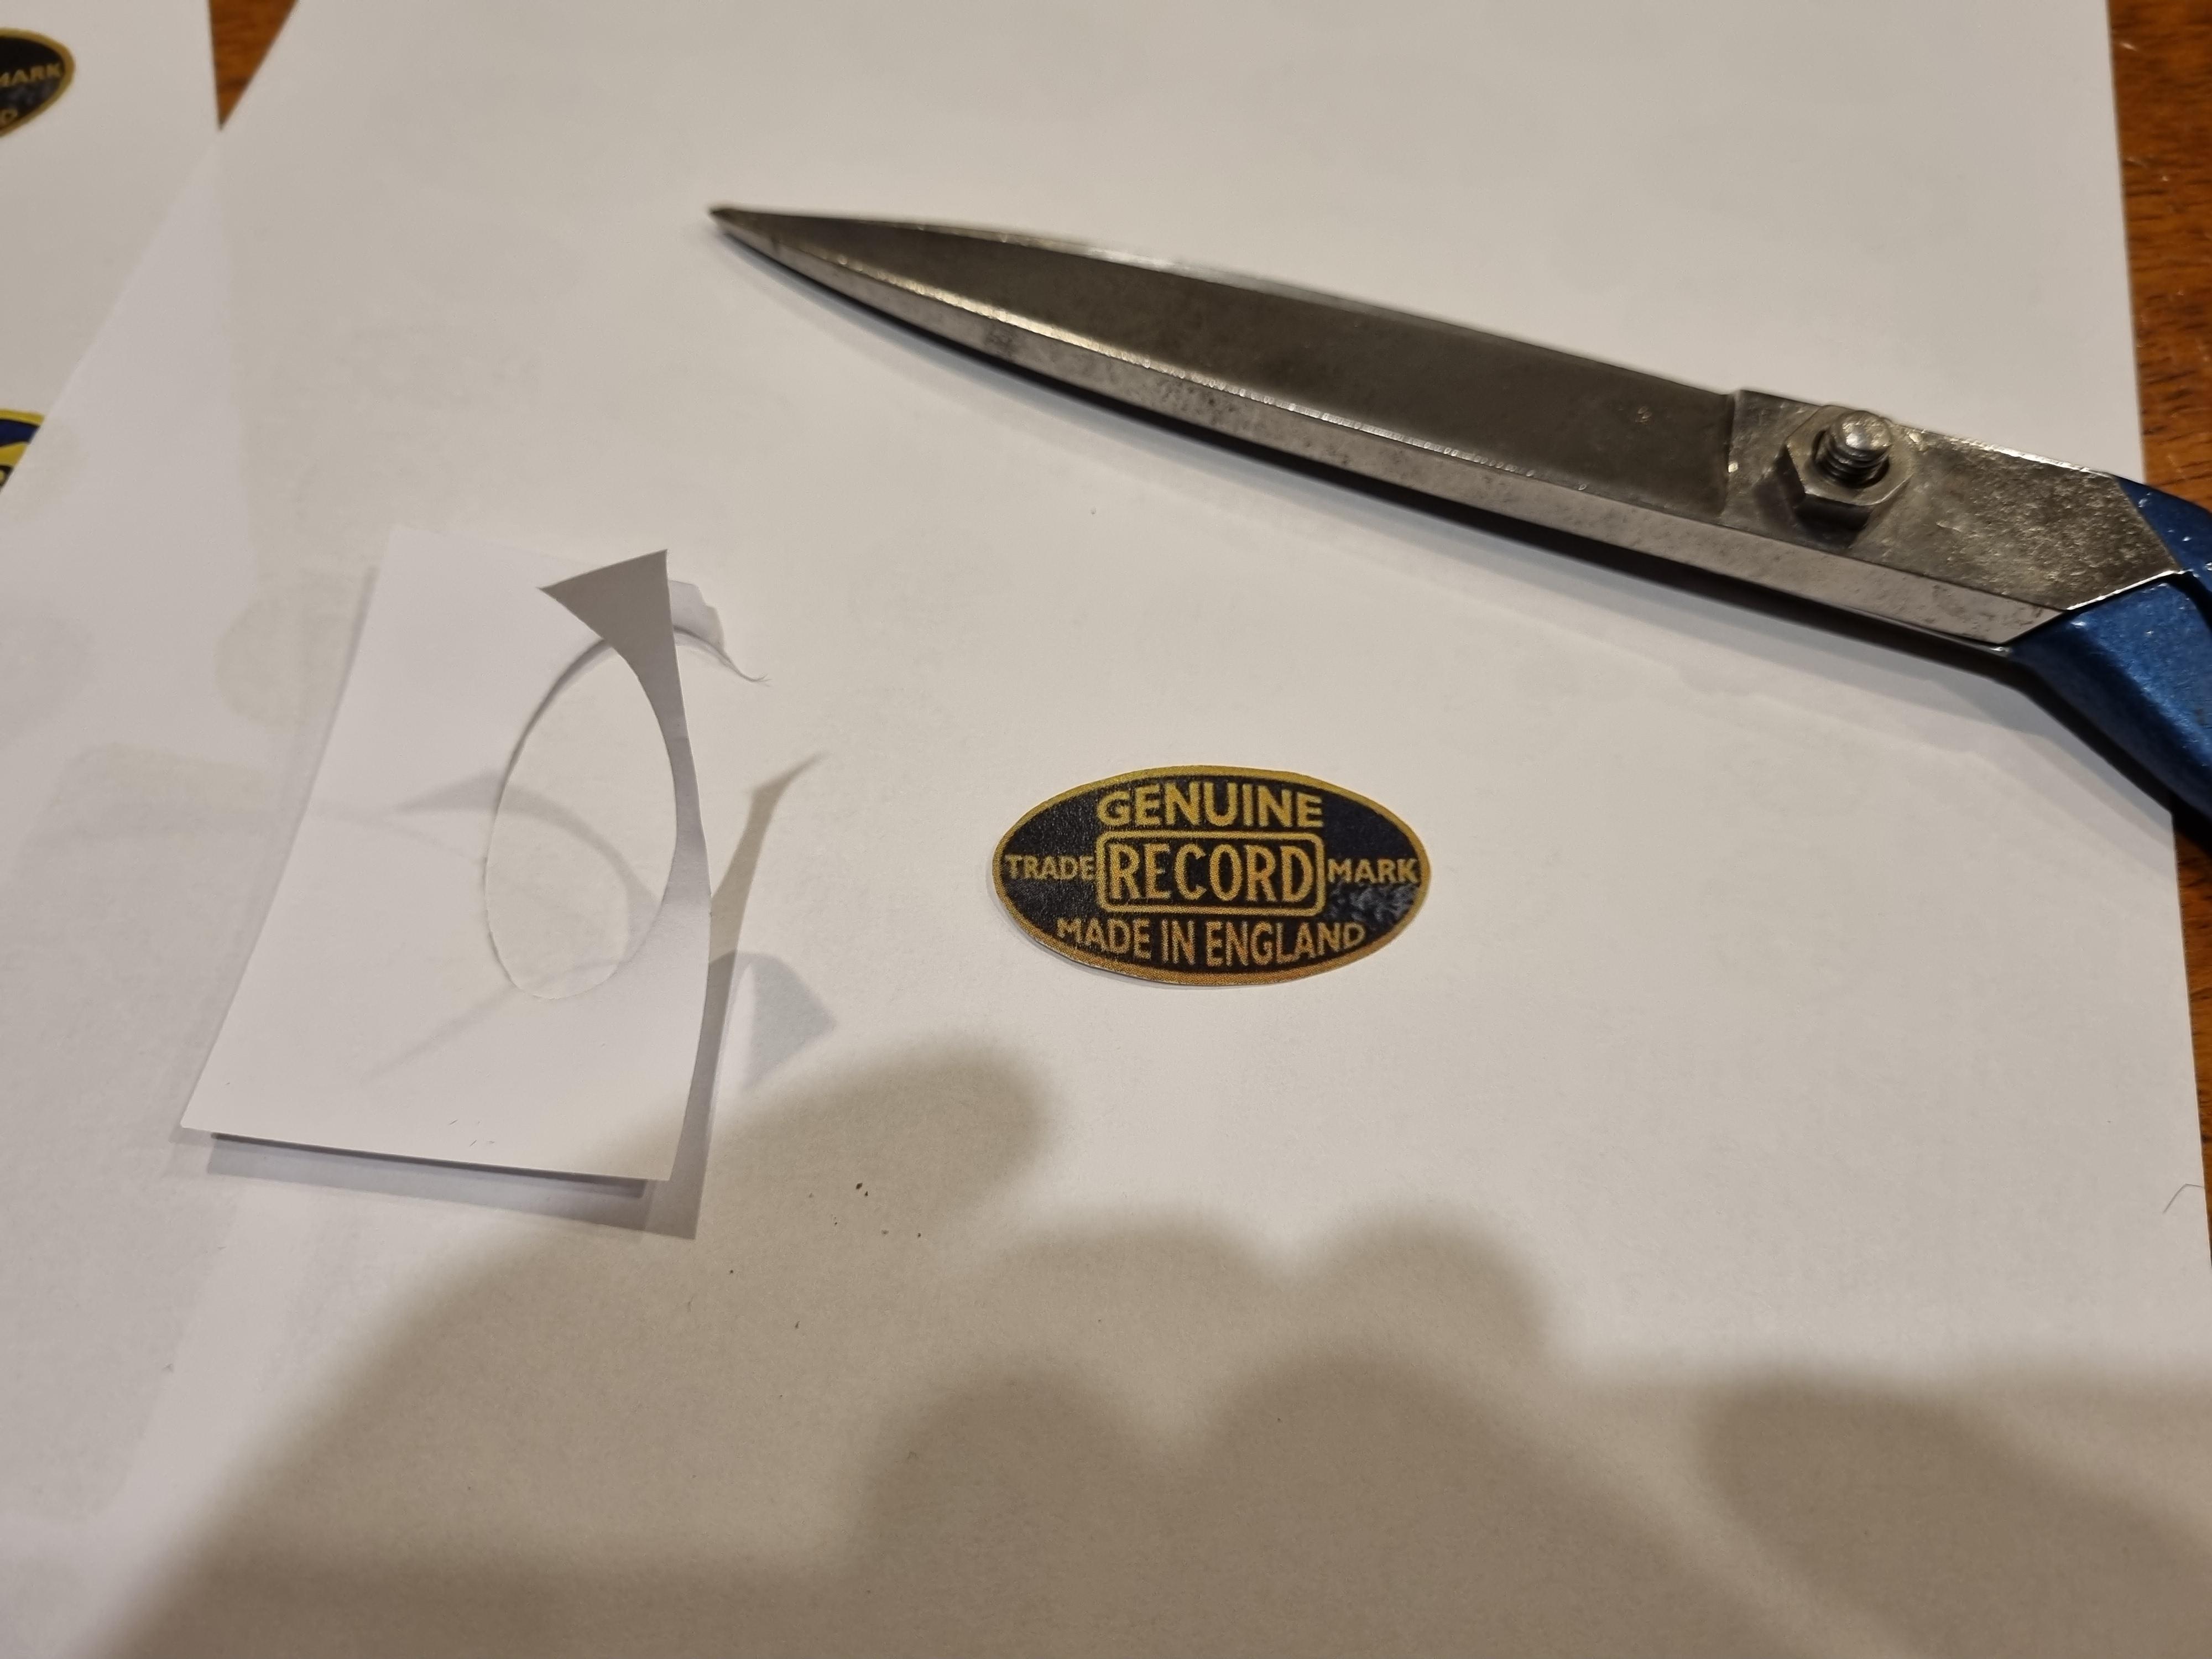
Now using a pair of scissors carefully cut out the decal you need. At this stage, I like to use a permanent marker of a similar colour to go over the edge of the paper to hide the 'white' edge of the paper.
Apply the Decal
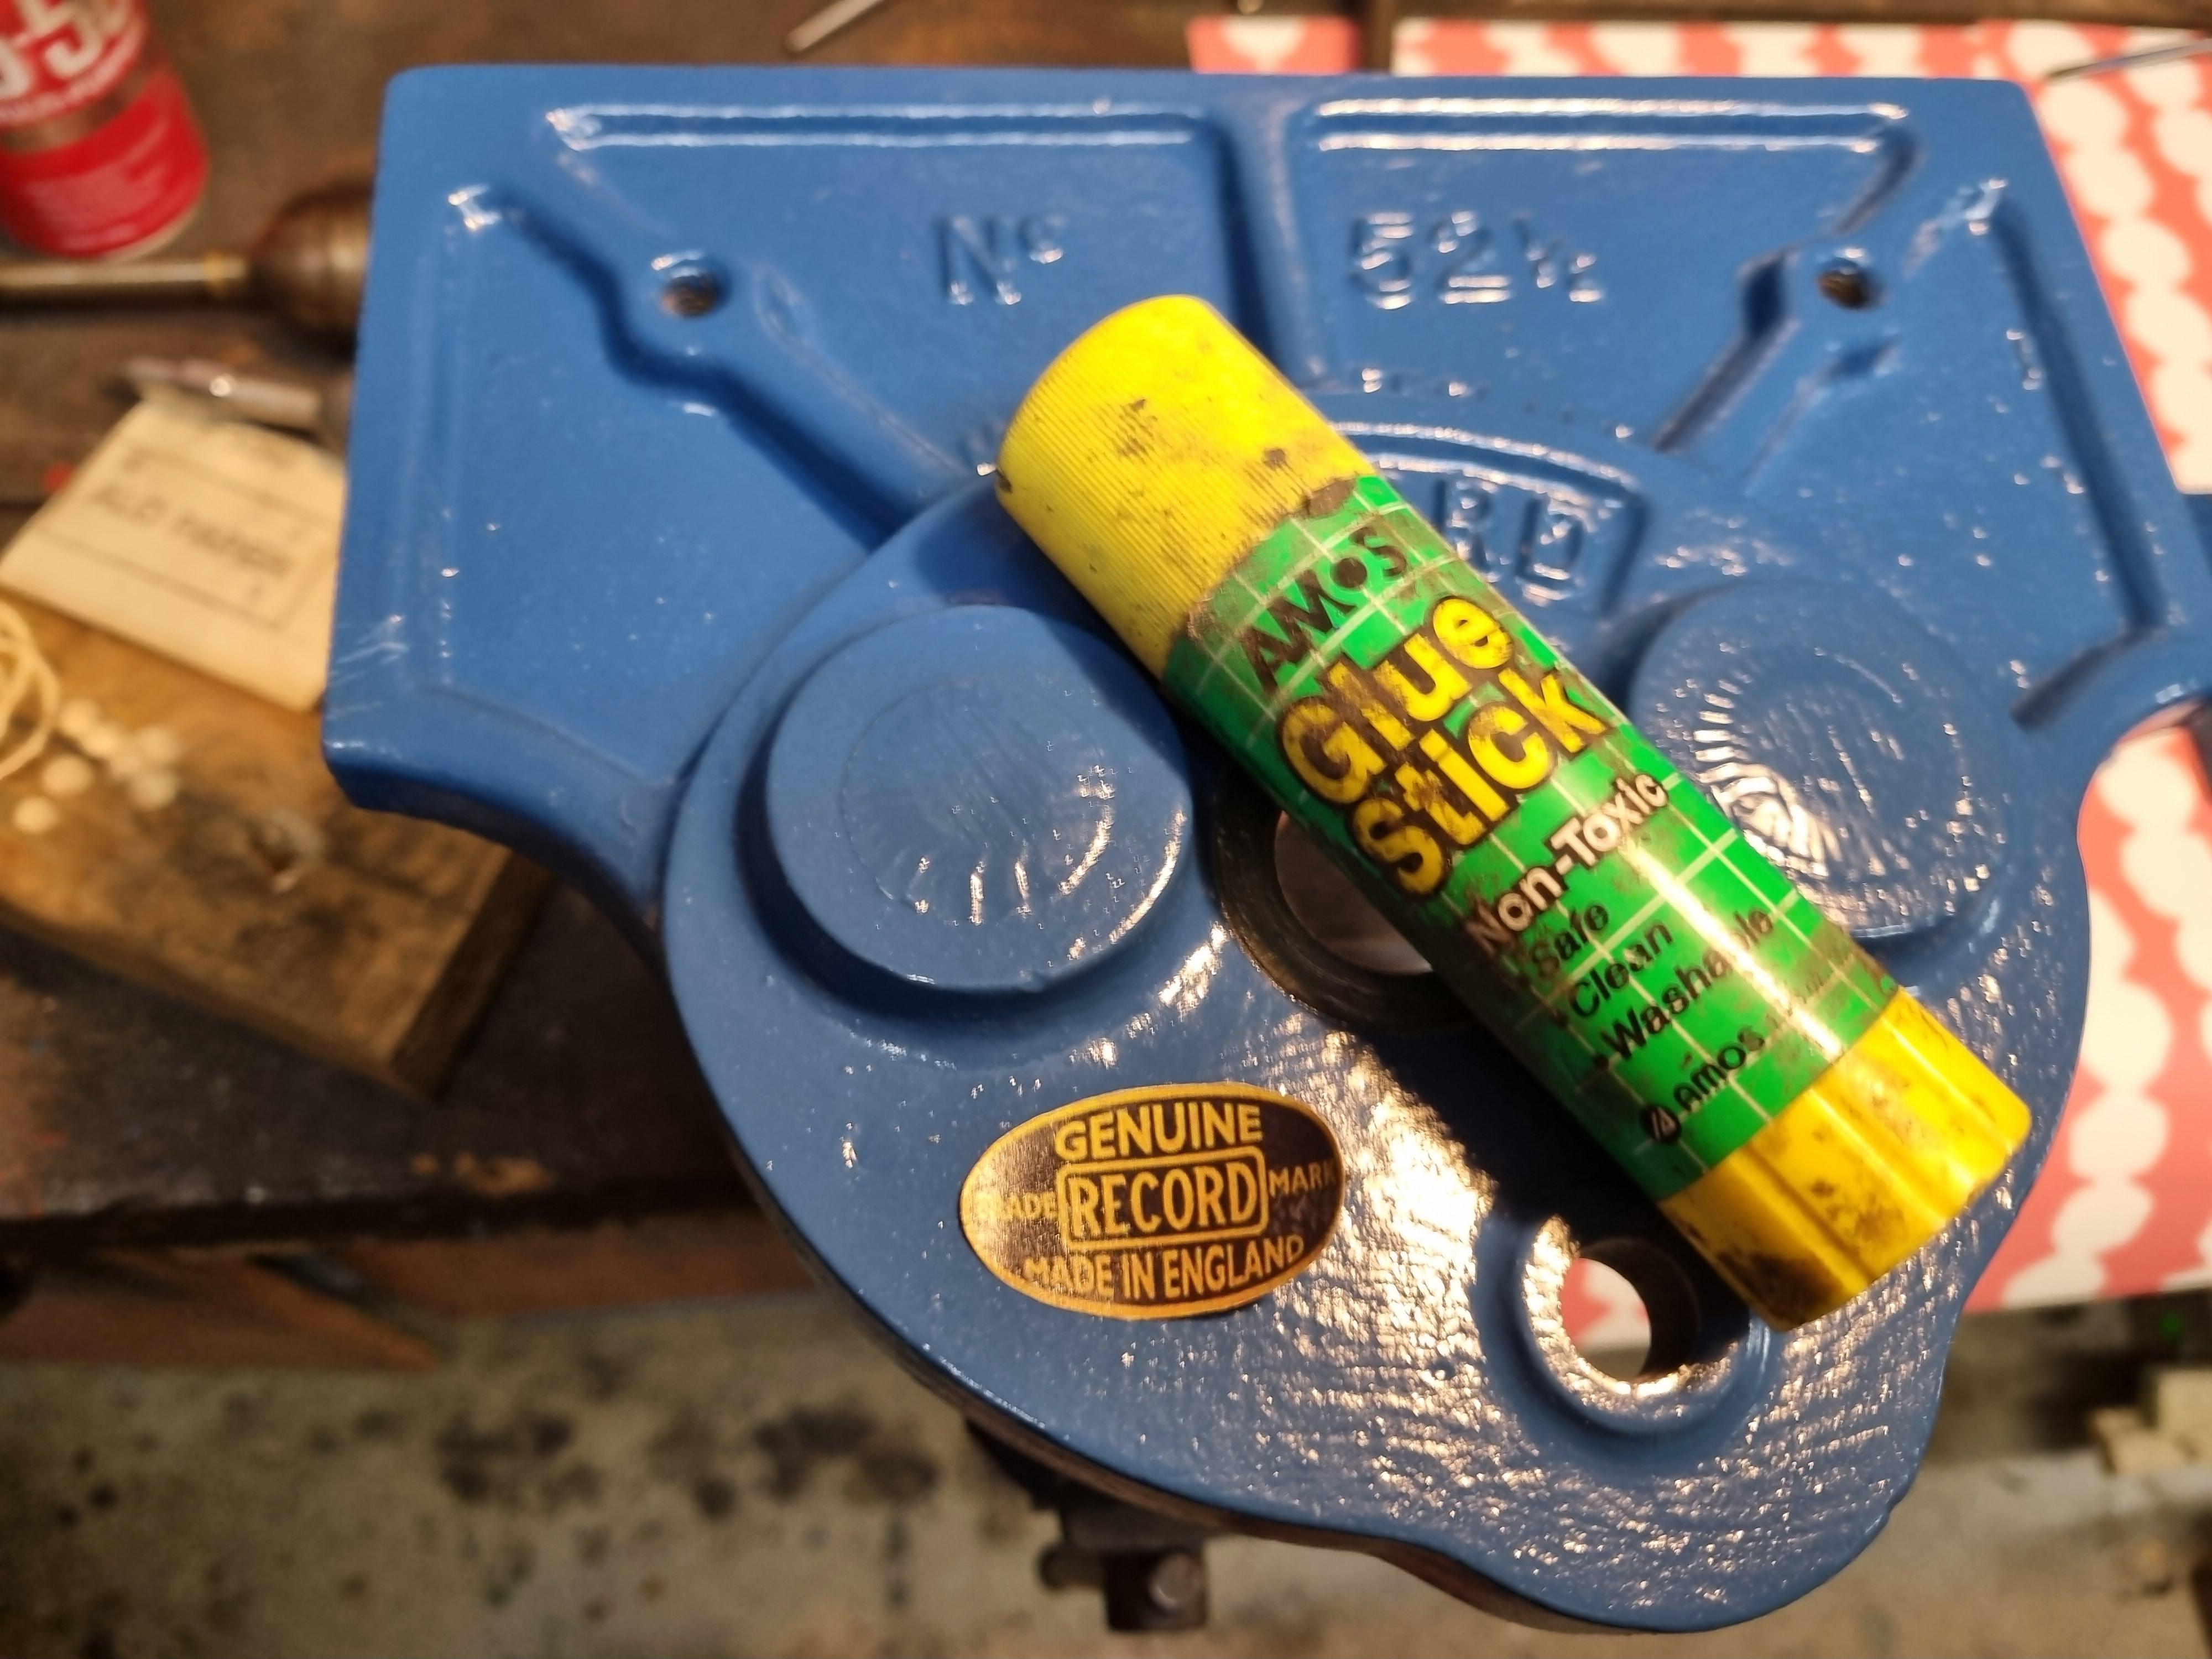
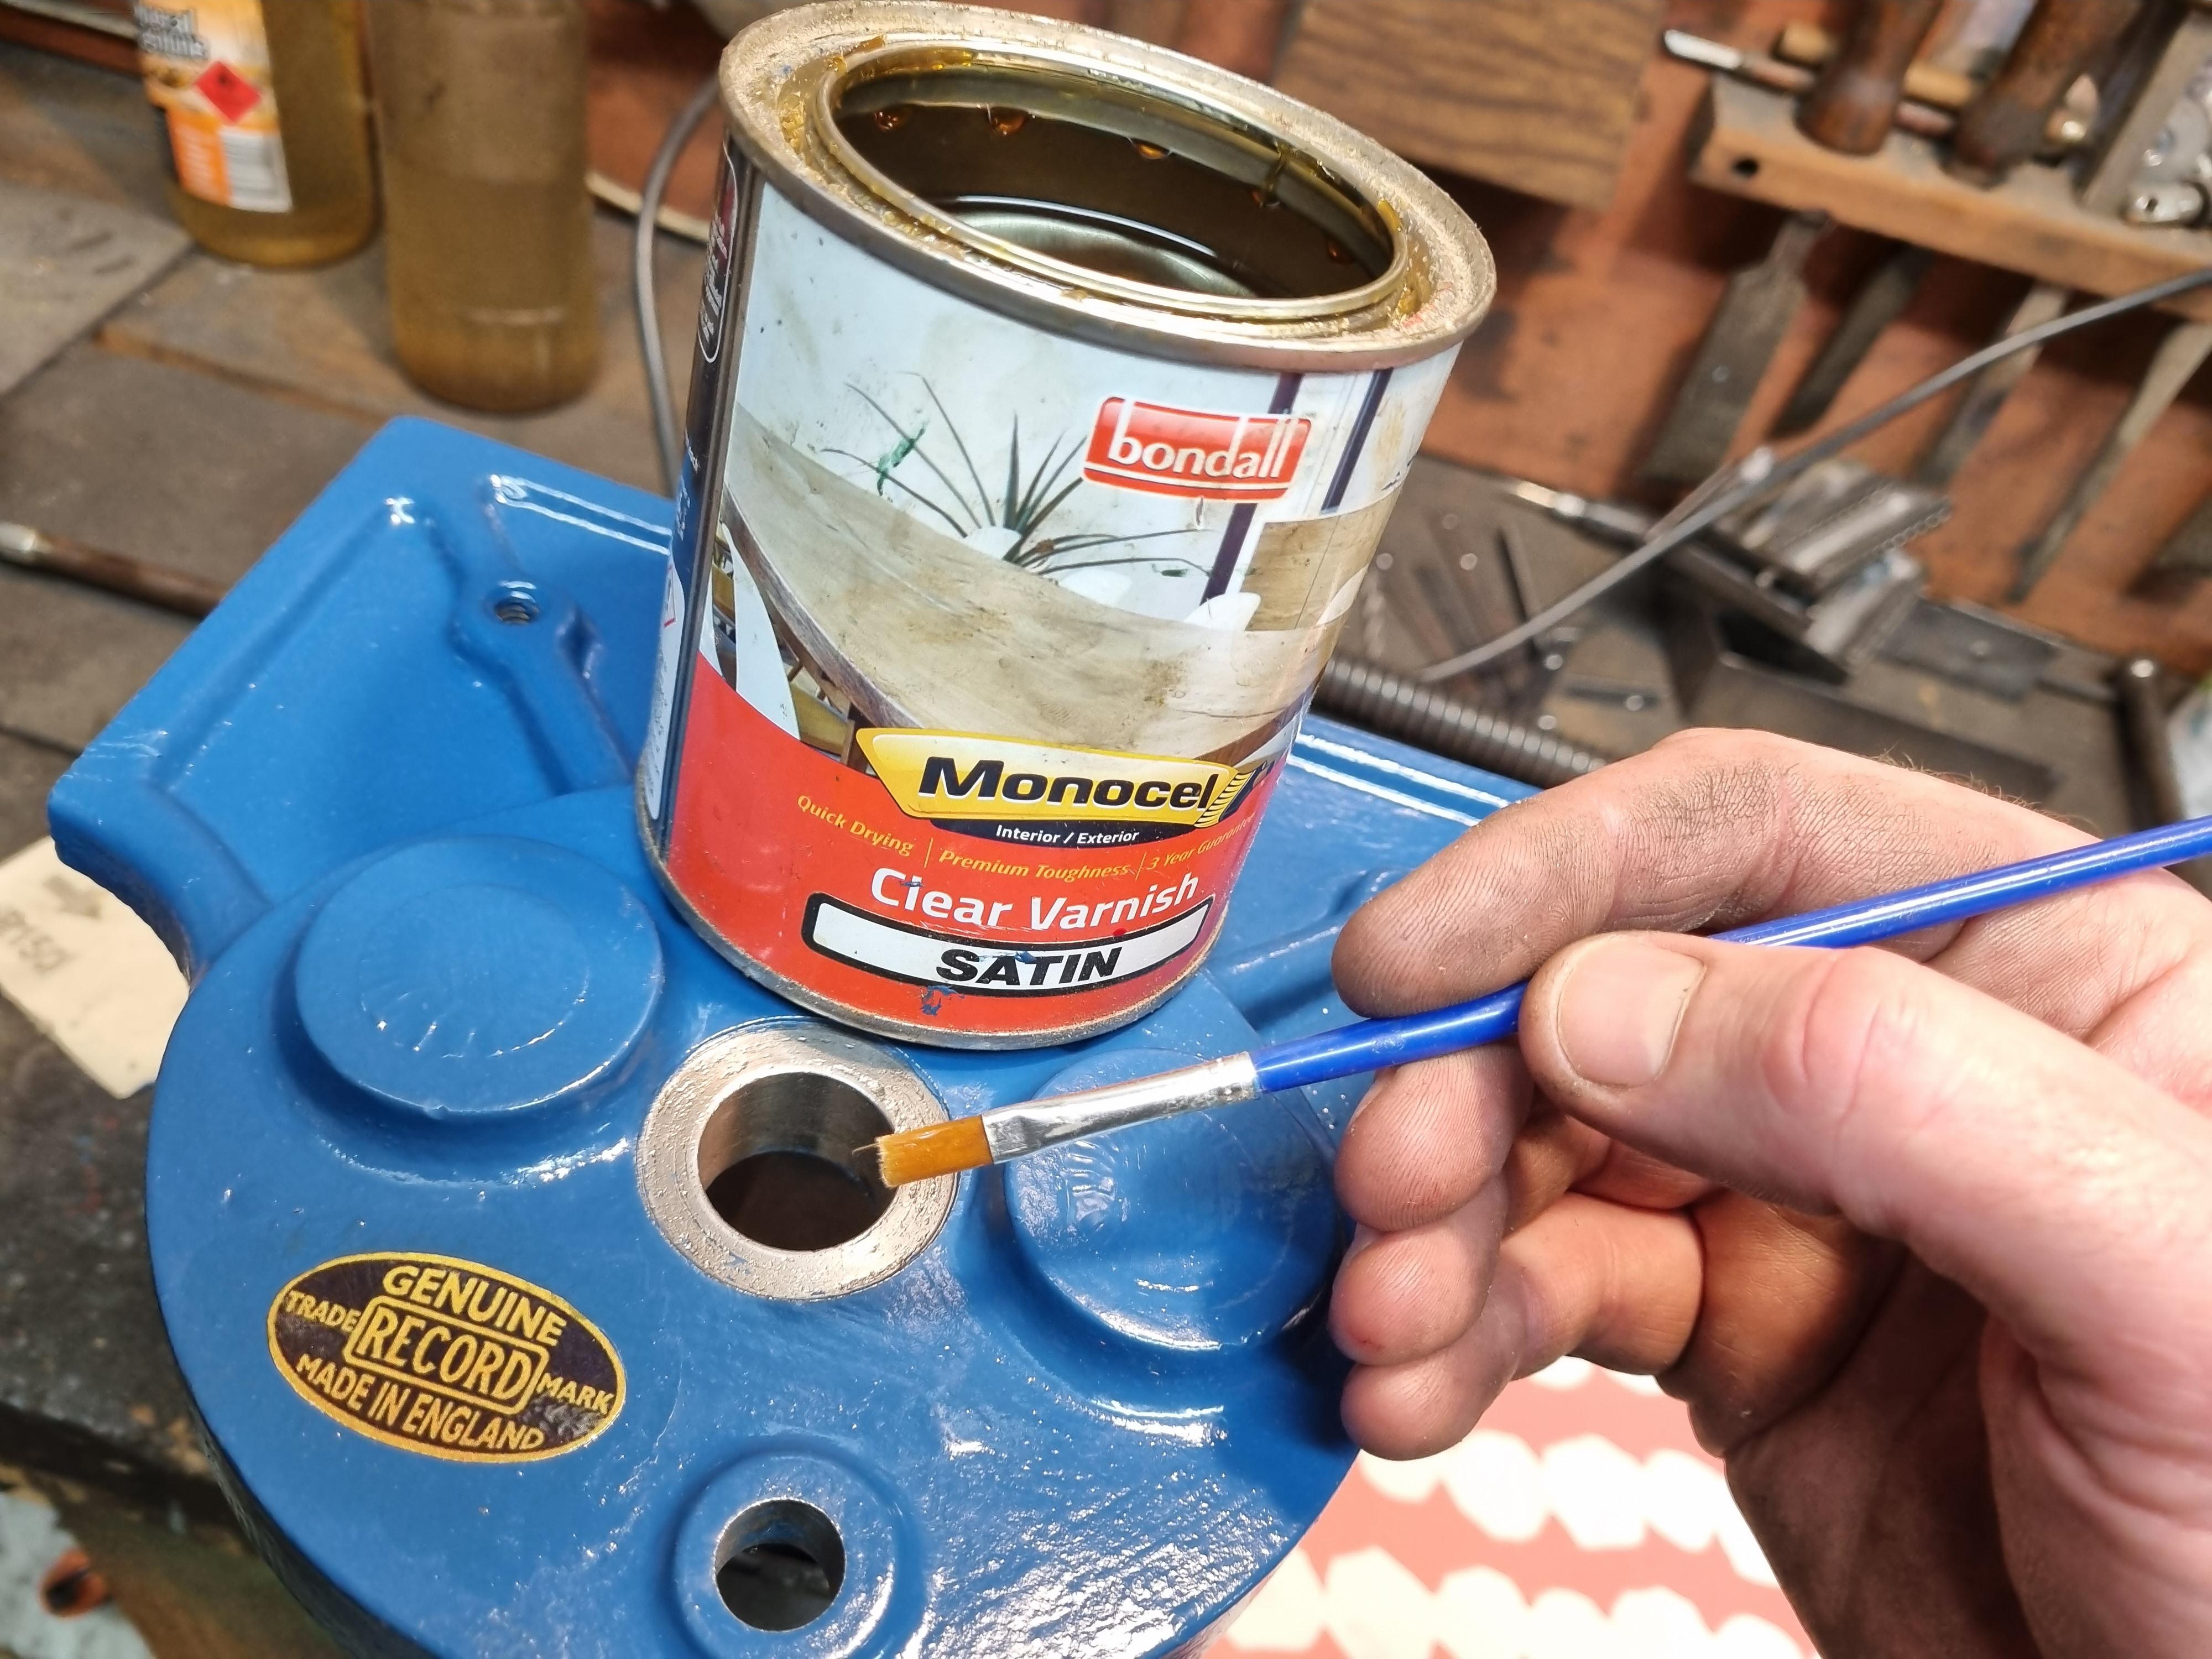
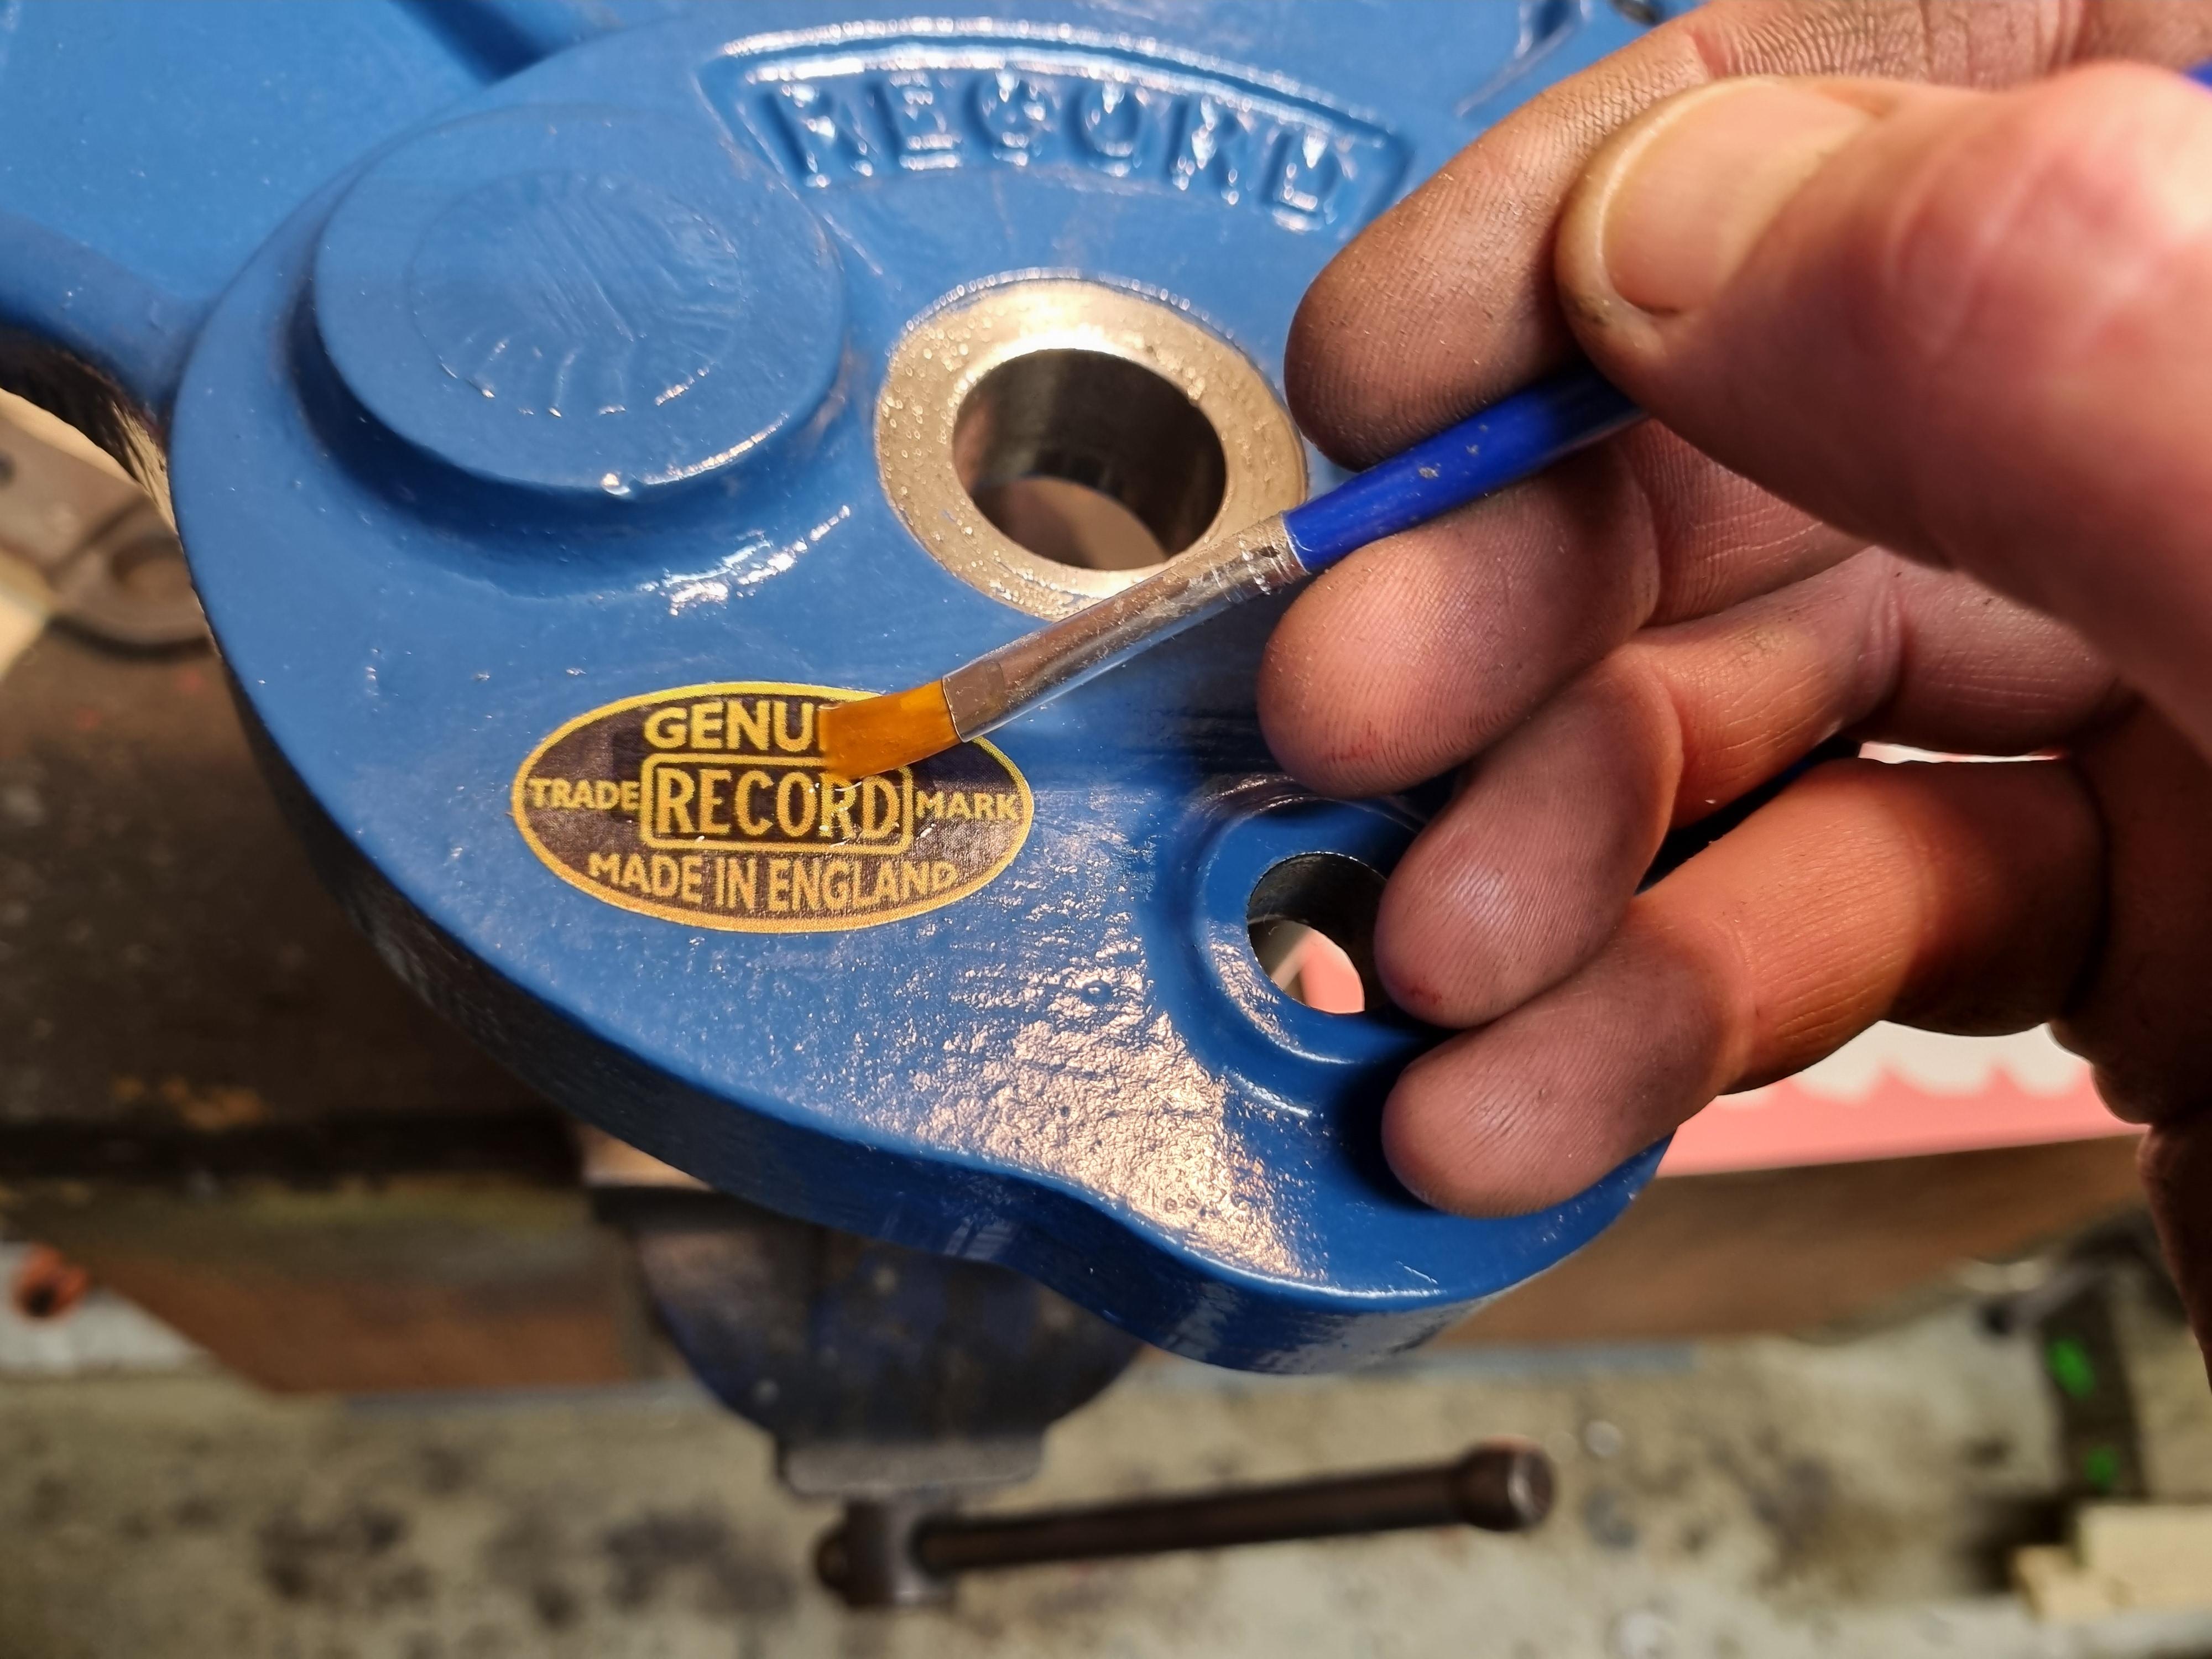
I just use an ordinary glue stick to fix the decal onto my tools and wait for it to dry. The last part is to apply a layer of varnish or clearcoat to seal the decal.