Homemade Bedroom Lamp
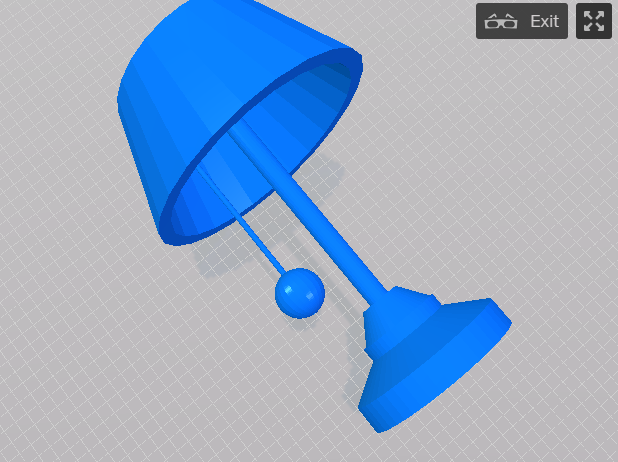
You will agree with me that there are a lot of design trends that are really beautiful going on in our homes, especially in the bedroom area, but not everyone has the required budget to give their bedrooms a new makeover and, to be honest, no one likes being far behind all of the newly launched trends, but we have some good news for you; you can now create a Bedroom lamp, like the one shown above under 10 minutes in SelfCAD!. I hope you'll like it.
Let's get started.
Tools
- SelfCAD software - Go to www.selfcad.com and create a Free Trial Account (free for 30 days and $4.99 after the free trial expires). Then launch SelfCAD editor (the programs run in your browser, no installations required). But if you are a student or teacher contact them via info@selfcad.com to give you access to the free 2-year license.
- Find a 3D printer - If you do not own a printer, use one of many online 3D printing services and have the print sent to you choose a printing material - Learn all you need to know about 3D printing materials on SelfCAD Blog.
Creating the Base of the Model
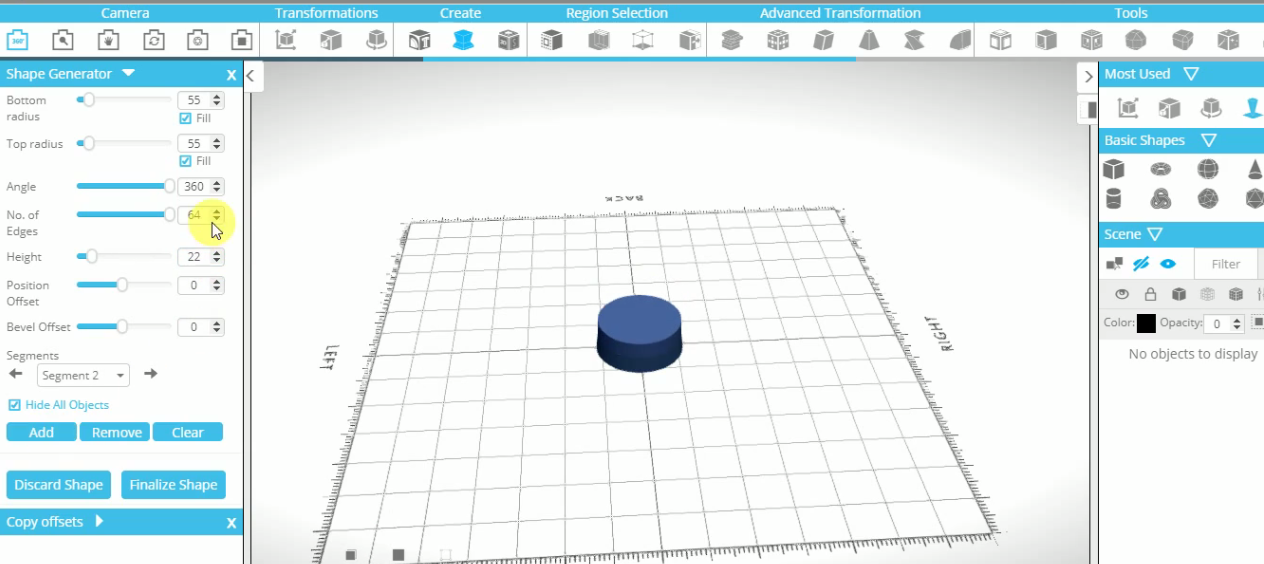
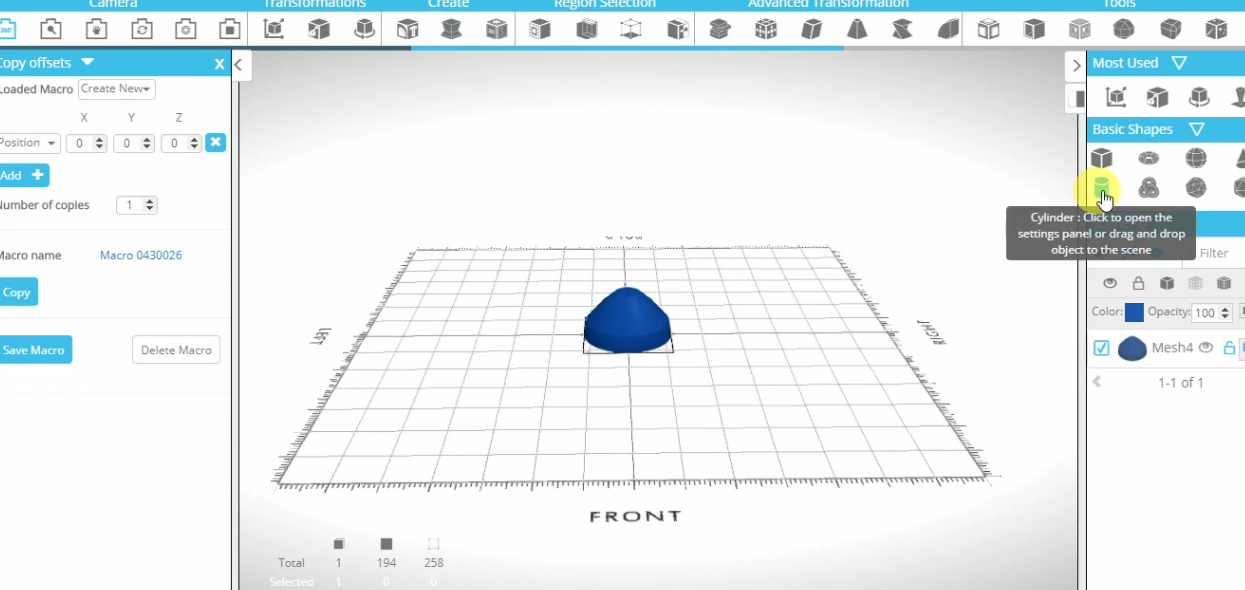
- Select the Shape Generator tool from the create section
- Set the bottom and top radius to 58 and 55 respectively.
- Set the number of edges to 64, height 22 and the angle 360 degrees.
- Click "Add" option to add another segment. Reduce the top radius to 34 and increase the height to 24.
- Add another segment and set the bottom and top radius to 34 and 17 respectively then finalize the shape.
- To create a hole in the bottom section, create a copy of the shape, reduce it's size and using the Boolean tool then Difference, remove the smaller one and you will be all set. (To learn how to do this check how to create the top section)
Creating the Middle Section
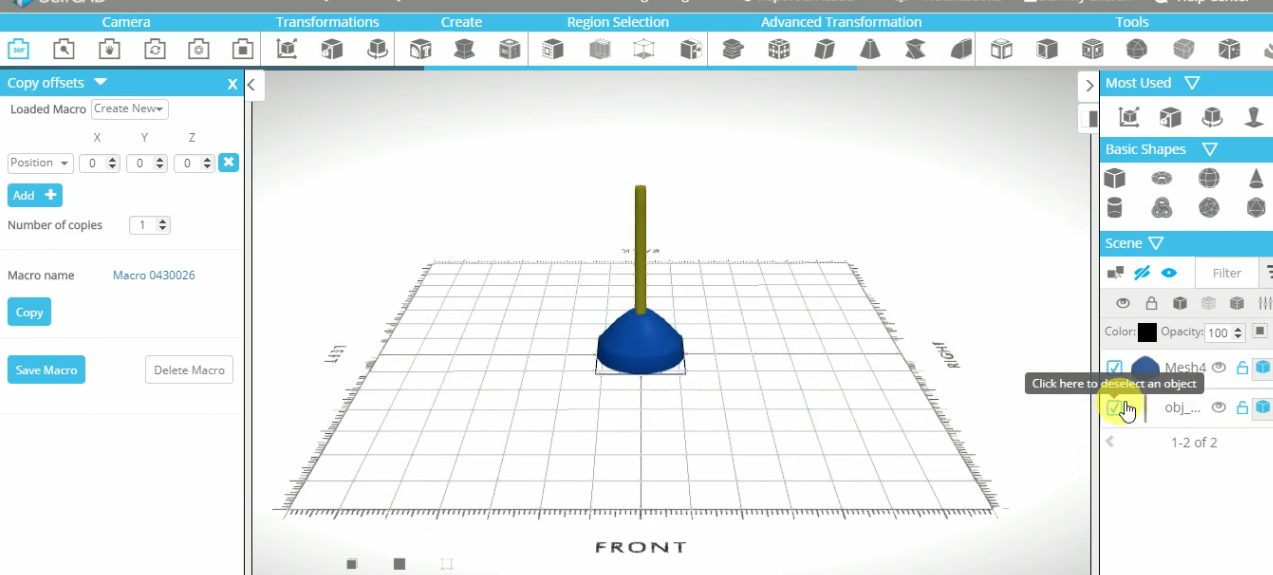
- After creating the base of the bedroom lamp, it's the time now to create the middle section.
- To do this, select the cylinder from the basic shapes and set the height to the maximum, that is, 200.
- Set the Vertical segment to 45 and bottom and top radius to 7 then finalize the shape.
- Select the scale tool from the Transformations section and scale it up to be as shown in the first image above. To create a hole in the middle section, create a copy of the shape, reduce it's size and using the Boolean tool then Difference, remove the smaller one and you will be all set. (To learn how to do this check how to create the top section).
- Select the middle and bottom sections and group them together by selecting Group from the edit section.
- Hide the grouped model so that we can be able to work on the other parts of the model easily.
Creating the Top Section
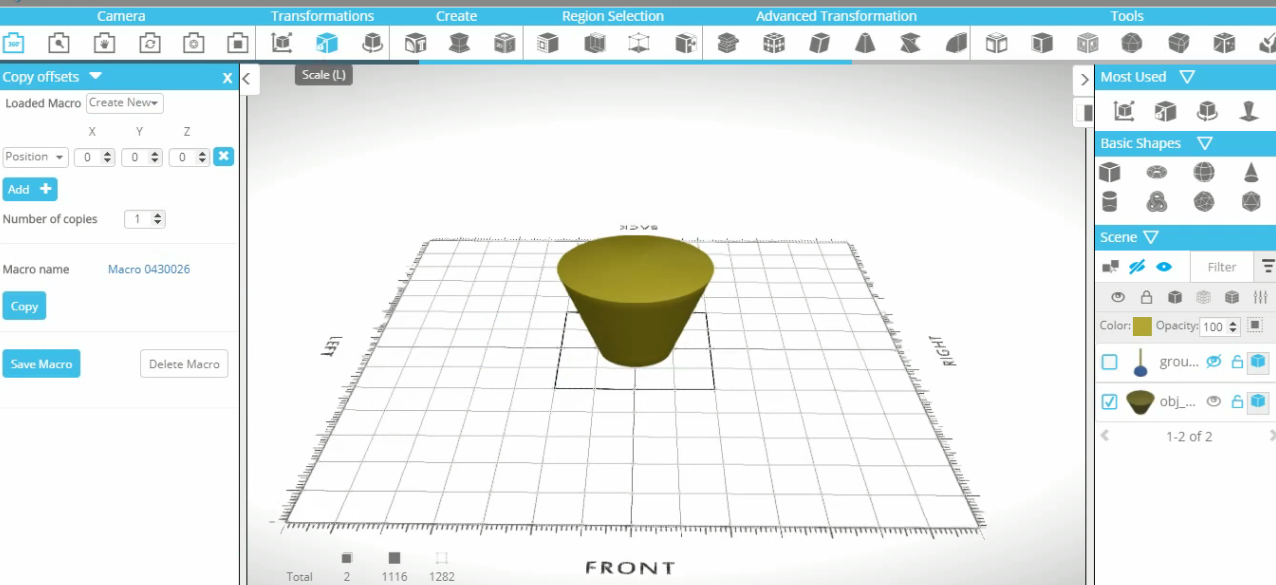
- Select the Cylinder from the basic shape section.
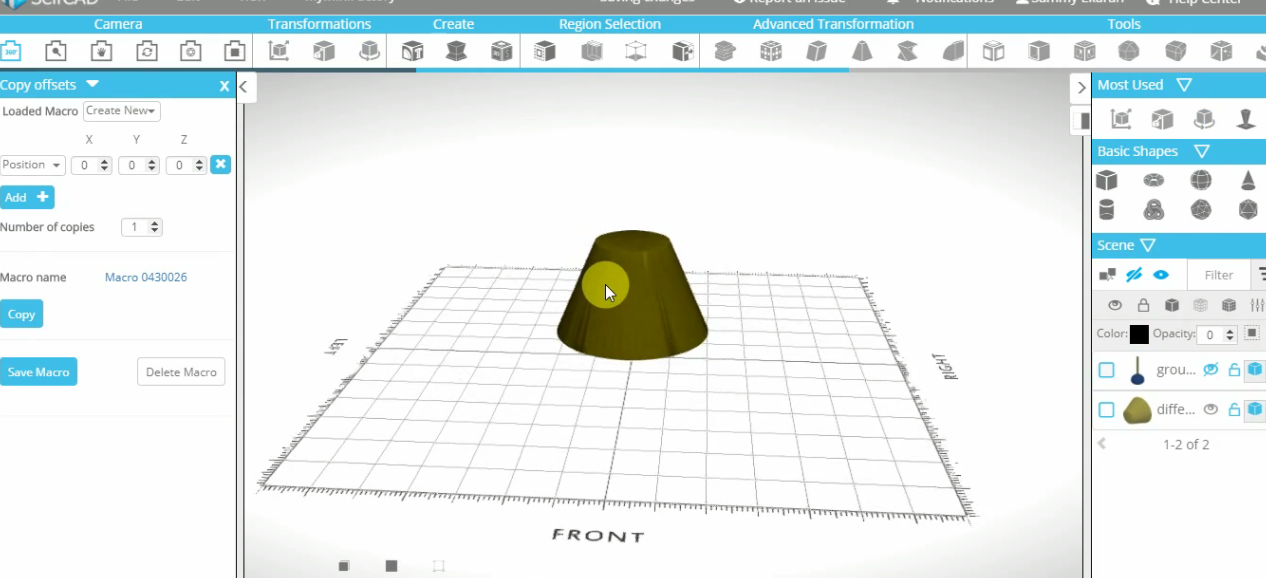
- Set the bottom and top radius to 48 and 100 respectively.
- Set the Vertical segment and height to 57 and 121 respectively then finalize the shape.
- After doing this, we need now to make the top section to be hollow and we shall do this easily using SelfCAD's boolean tool.
- To begin, select Copy offsets from the edit section and select only one copy.
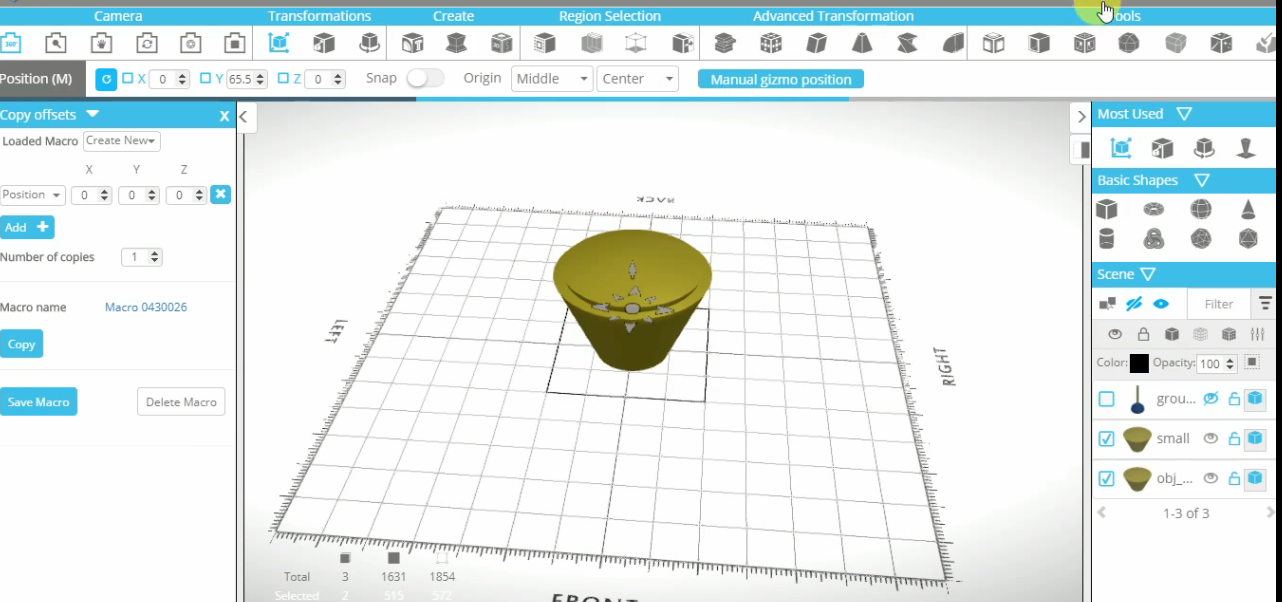
- Rename the copy to Small so that you can be able to distinguish it from the other copy and ensure it's positioned in the center of the workspace (By ensuring x, y and z positions are all zero).
- Reduce the X, Y and Z Size of the small model to 179, 144 and 179.
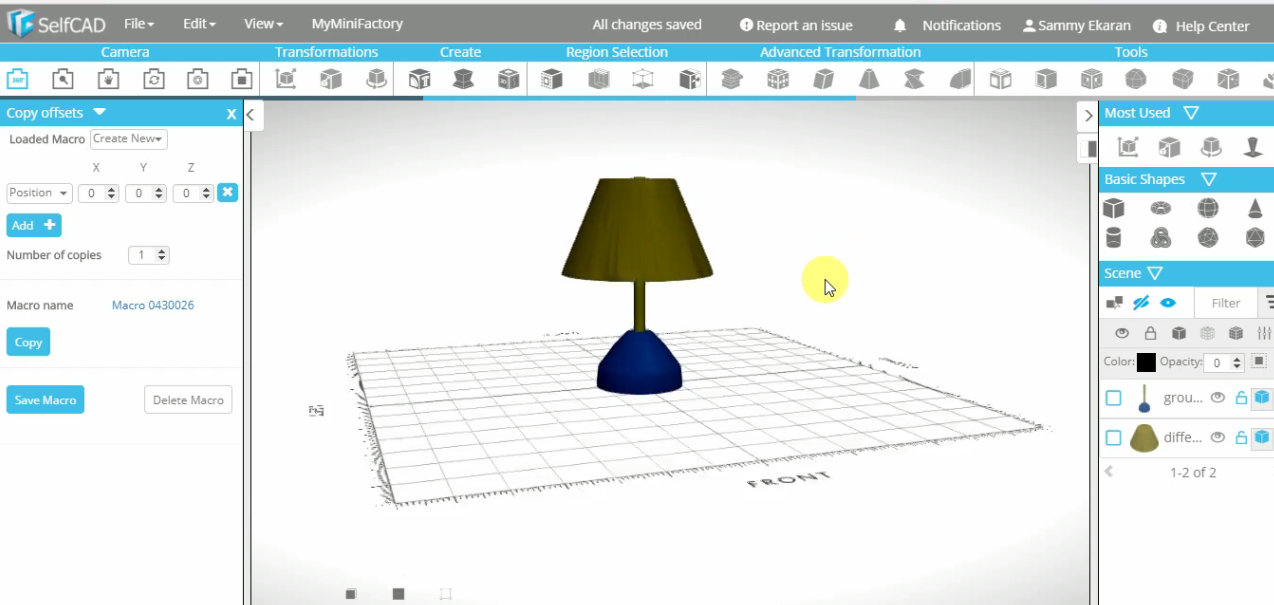
- Select the Move tool, found in the Transformations section and move it a little bit up so that it may resemble the one shown in the second image above.
- From the Tools section, select the Boolean Tool.
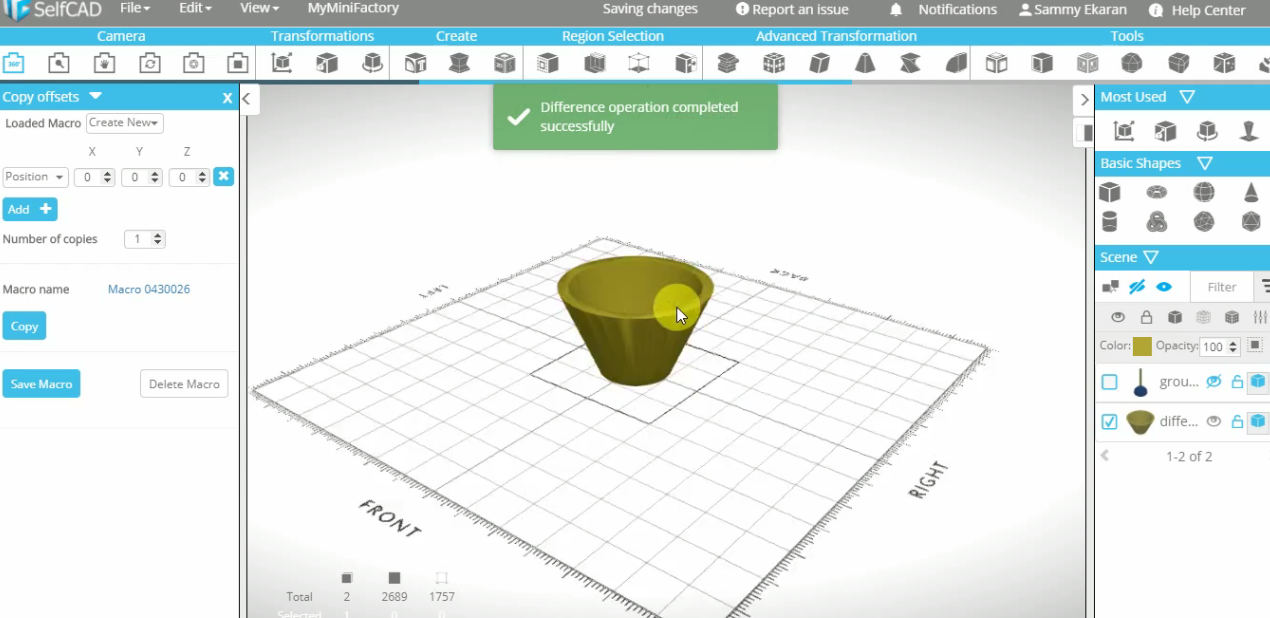
- Select Difference and in the "Select the objects to subtract option", select Small object then Apply.
- Select the Rotate tool and set the angle of rotation to 180 degrees about X axis so that it can be upside down.
- Unhide the other models, select the move tool and move the top section so that it can be in its right place, as shown in the last image above.
Creating the String for Turning the Lamp ON and OFF
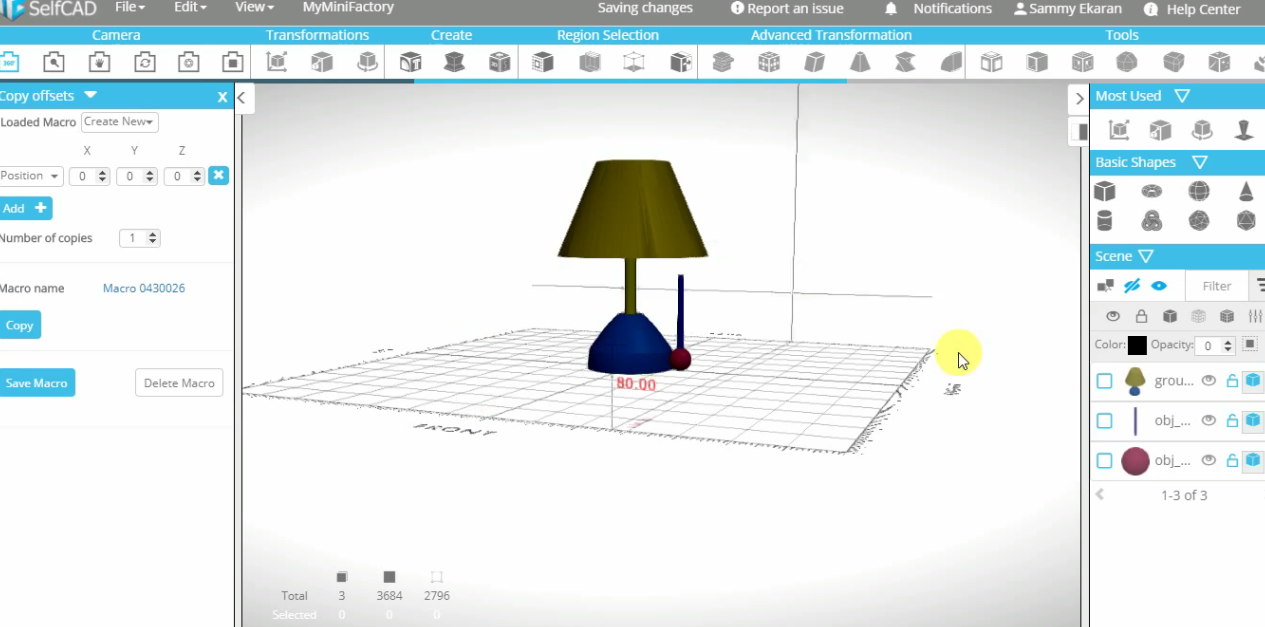
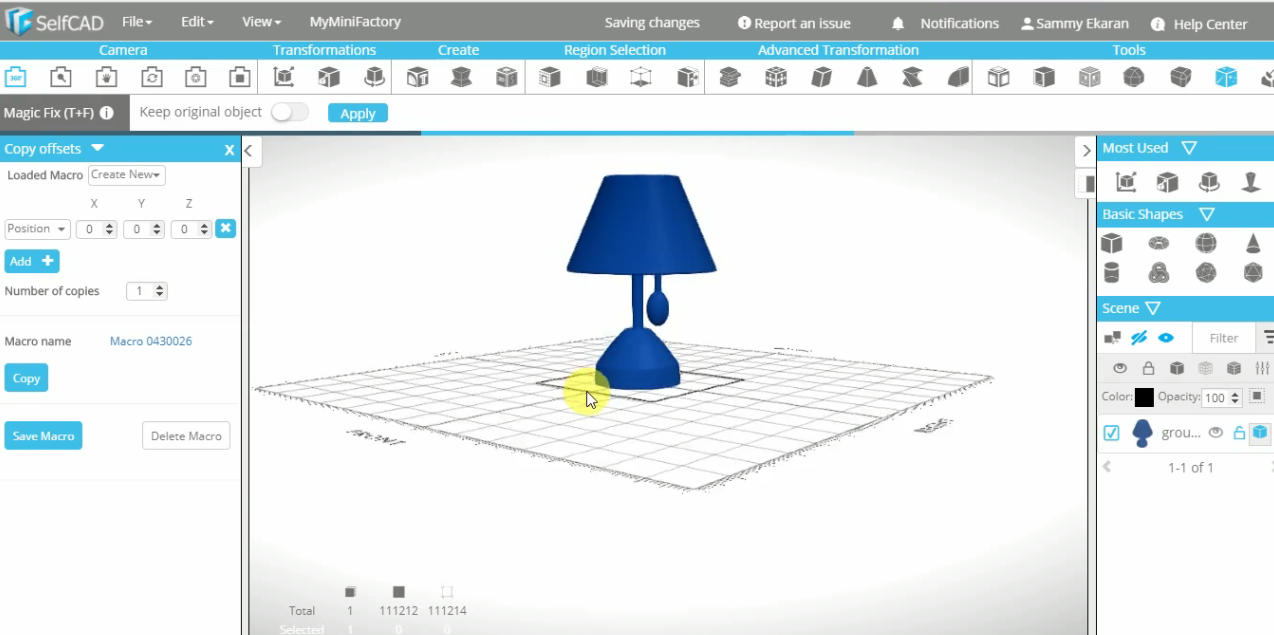
- Select the Cylinder and set the top and bottom radius to 4 and set the height to 125 and then finalize the shape.
- Select the Sphere from the basic shapes and set the horizontal segment and radius to 15 then finalize the shape and combine with the string.using the group tool.
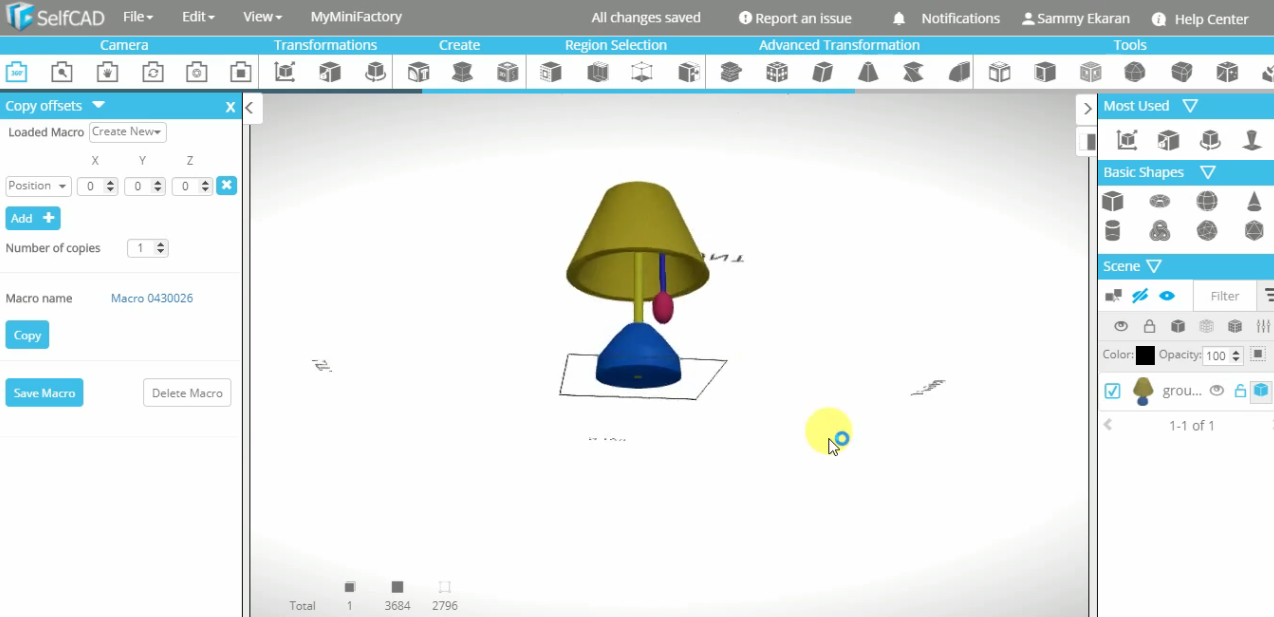
- Select the Move tool and use it to position the model in the top section (as shown in the second image above).
- Prepare the model for printing by selecting the Magic Fix tool found in the Tools section and click apply. (This ensures that the model is printable)
- We have now created our Bedroom Lamp successfully. To print it, go to file then print and generate the G-Code that you will send to the printer.