Homemade 60$ Interactive Board
by ElmarsM in Circuits > Assistive Tech
3153 Views, 79 Favorites, 0 Comments
Homemade 60$ Interactive Board
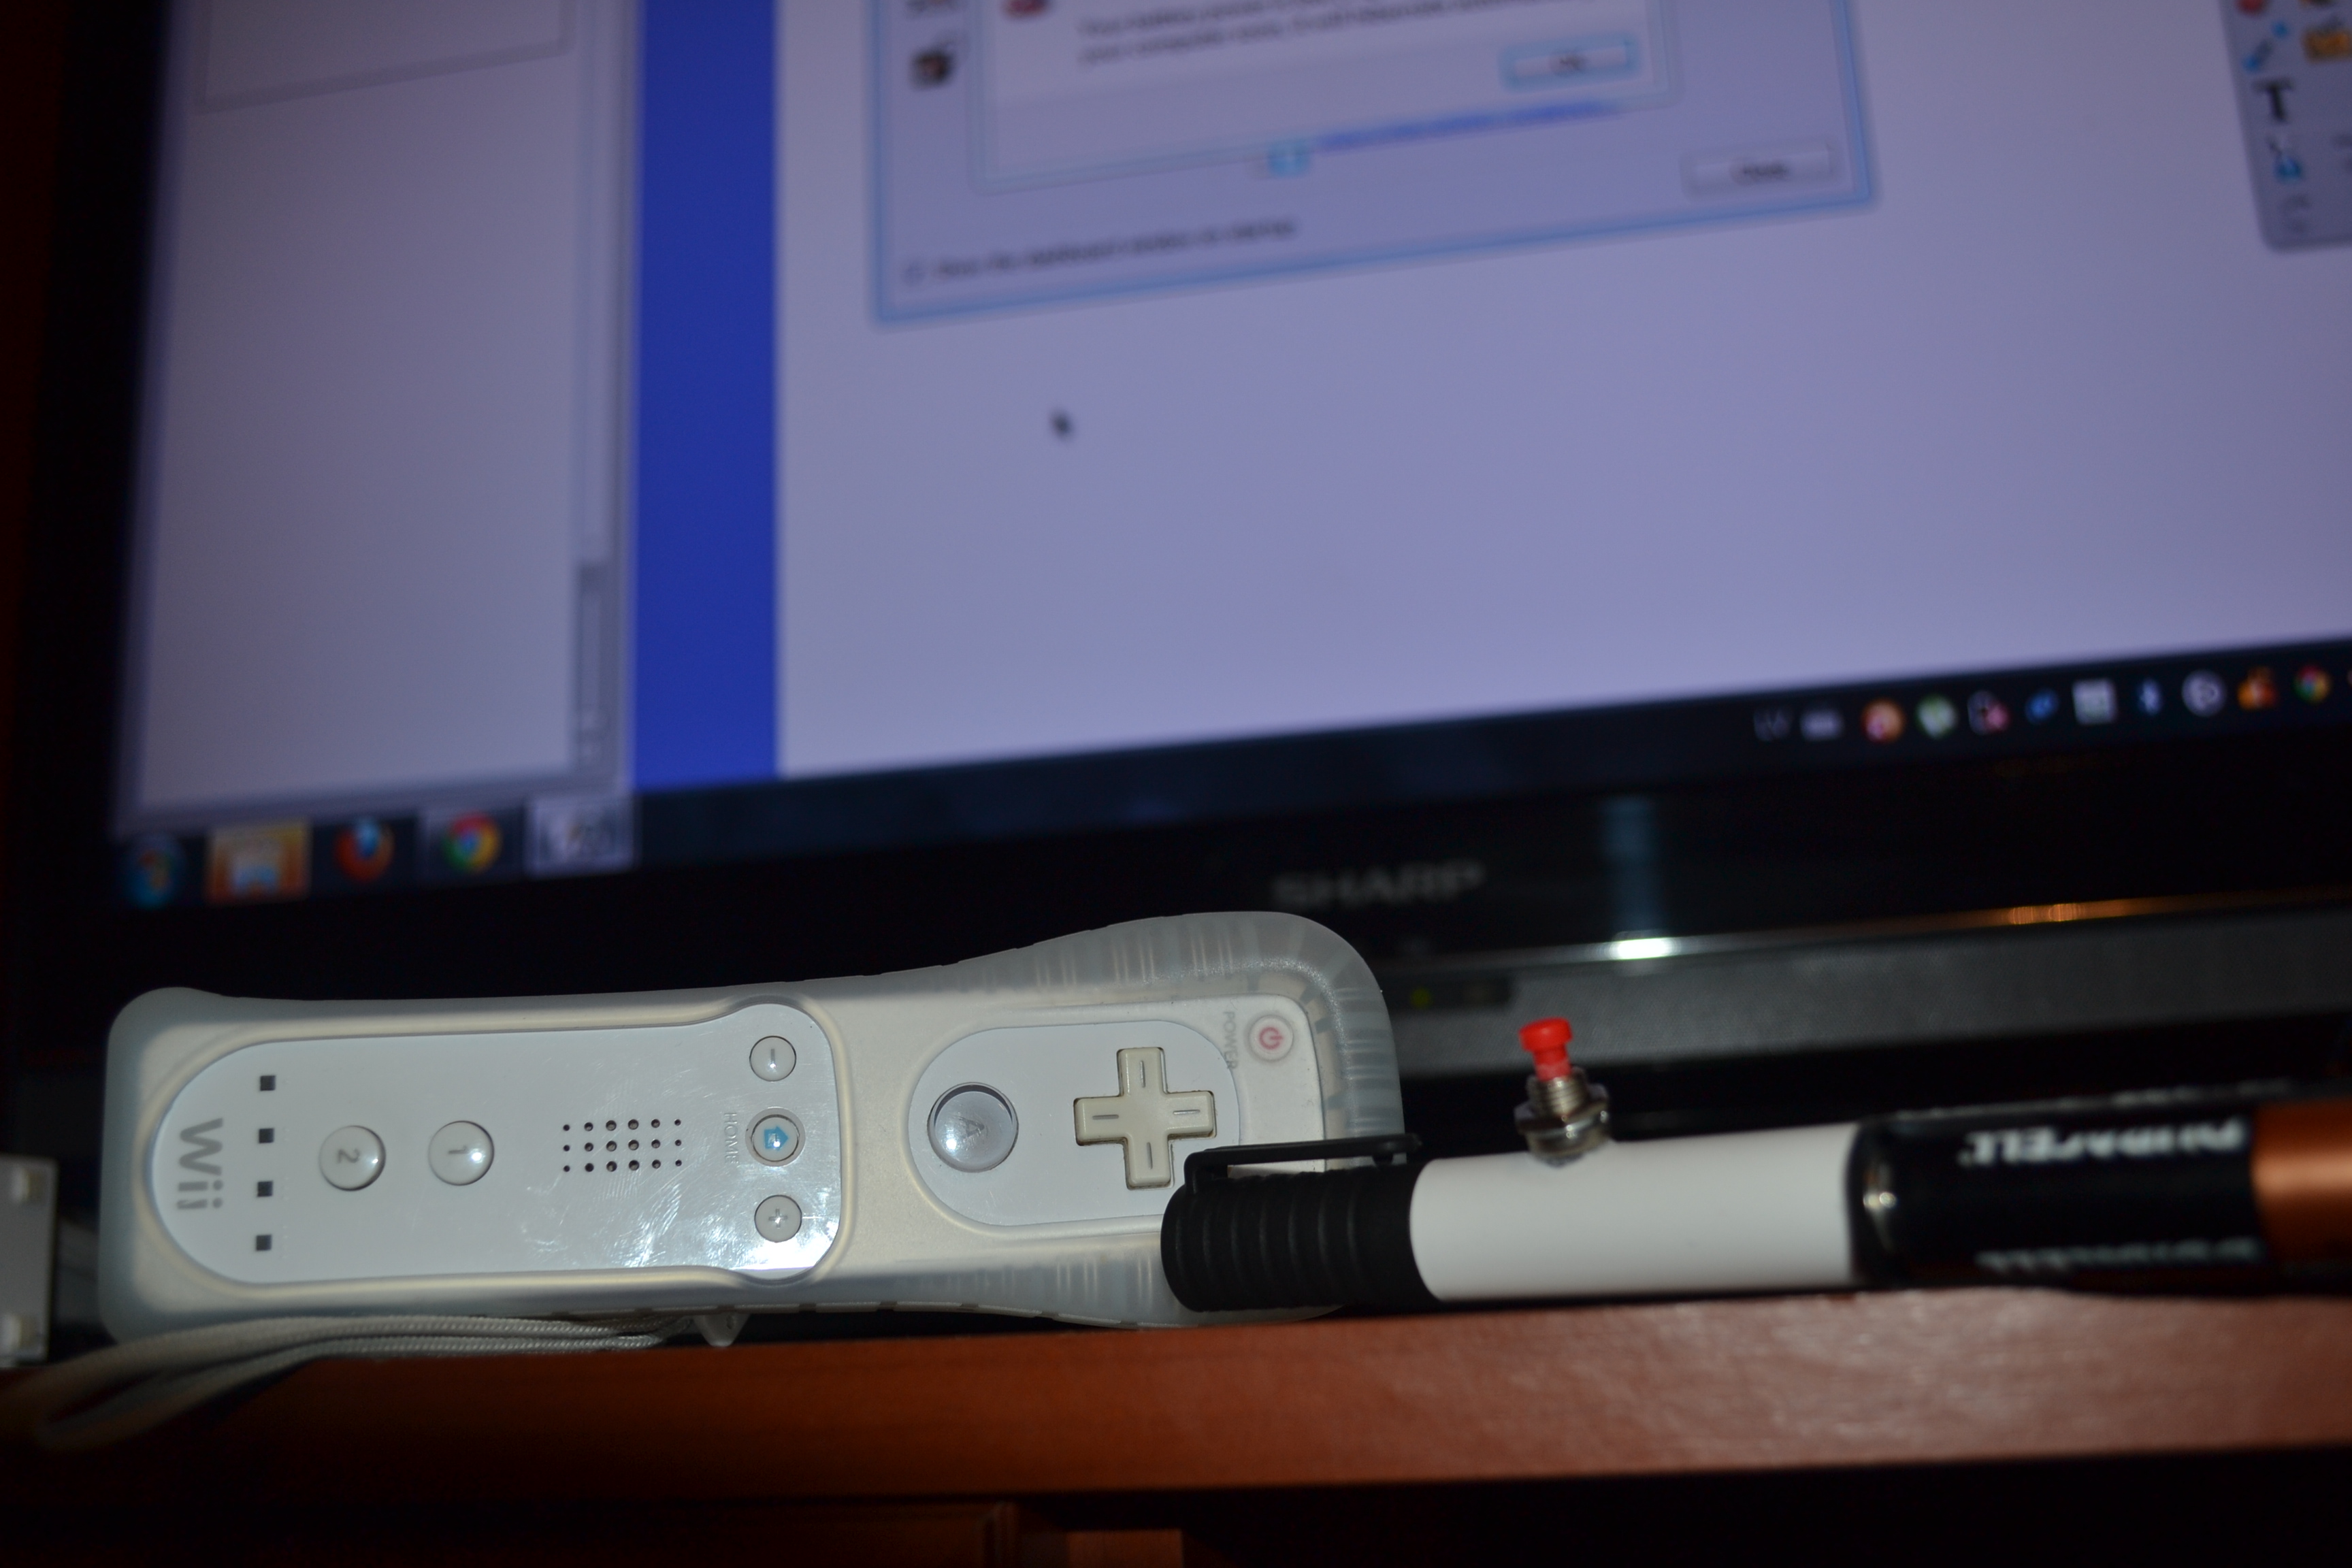
Hey!!
In Latvia to finish highschool everyone has to make a Scientific research work, so I choose to make one at physics.
I had many different plans, but this one seemed like the best of many.
I gathered all the necessary parts and made it in less than 4 hours!!!
PS.
I am not a professional, so if there are any mistakes in the process of making, please, tell me how to do it right!!
This is not my invention, I just made it!!
And I'm sorry if there are any text mistakes, because english is not my native language!!
Tools and Parts
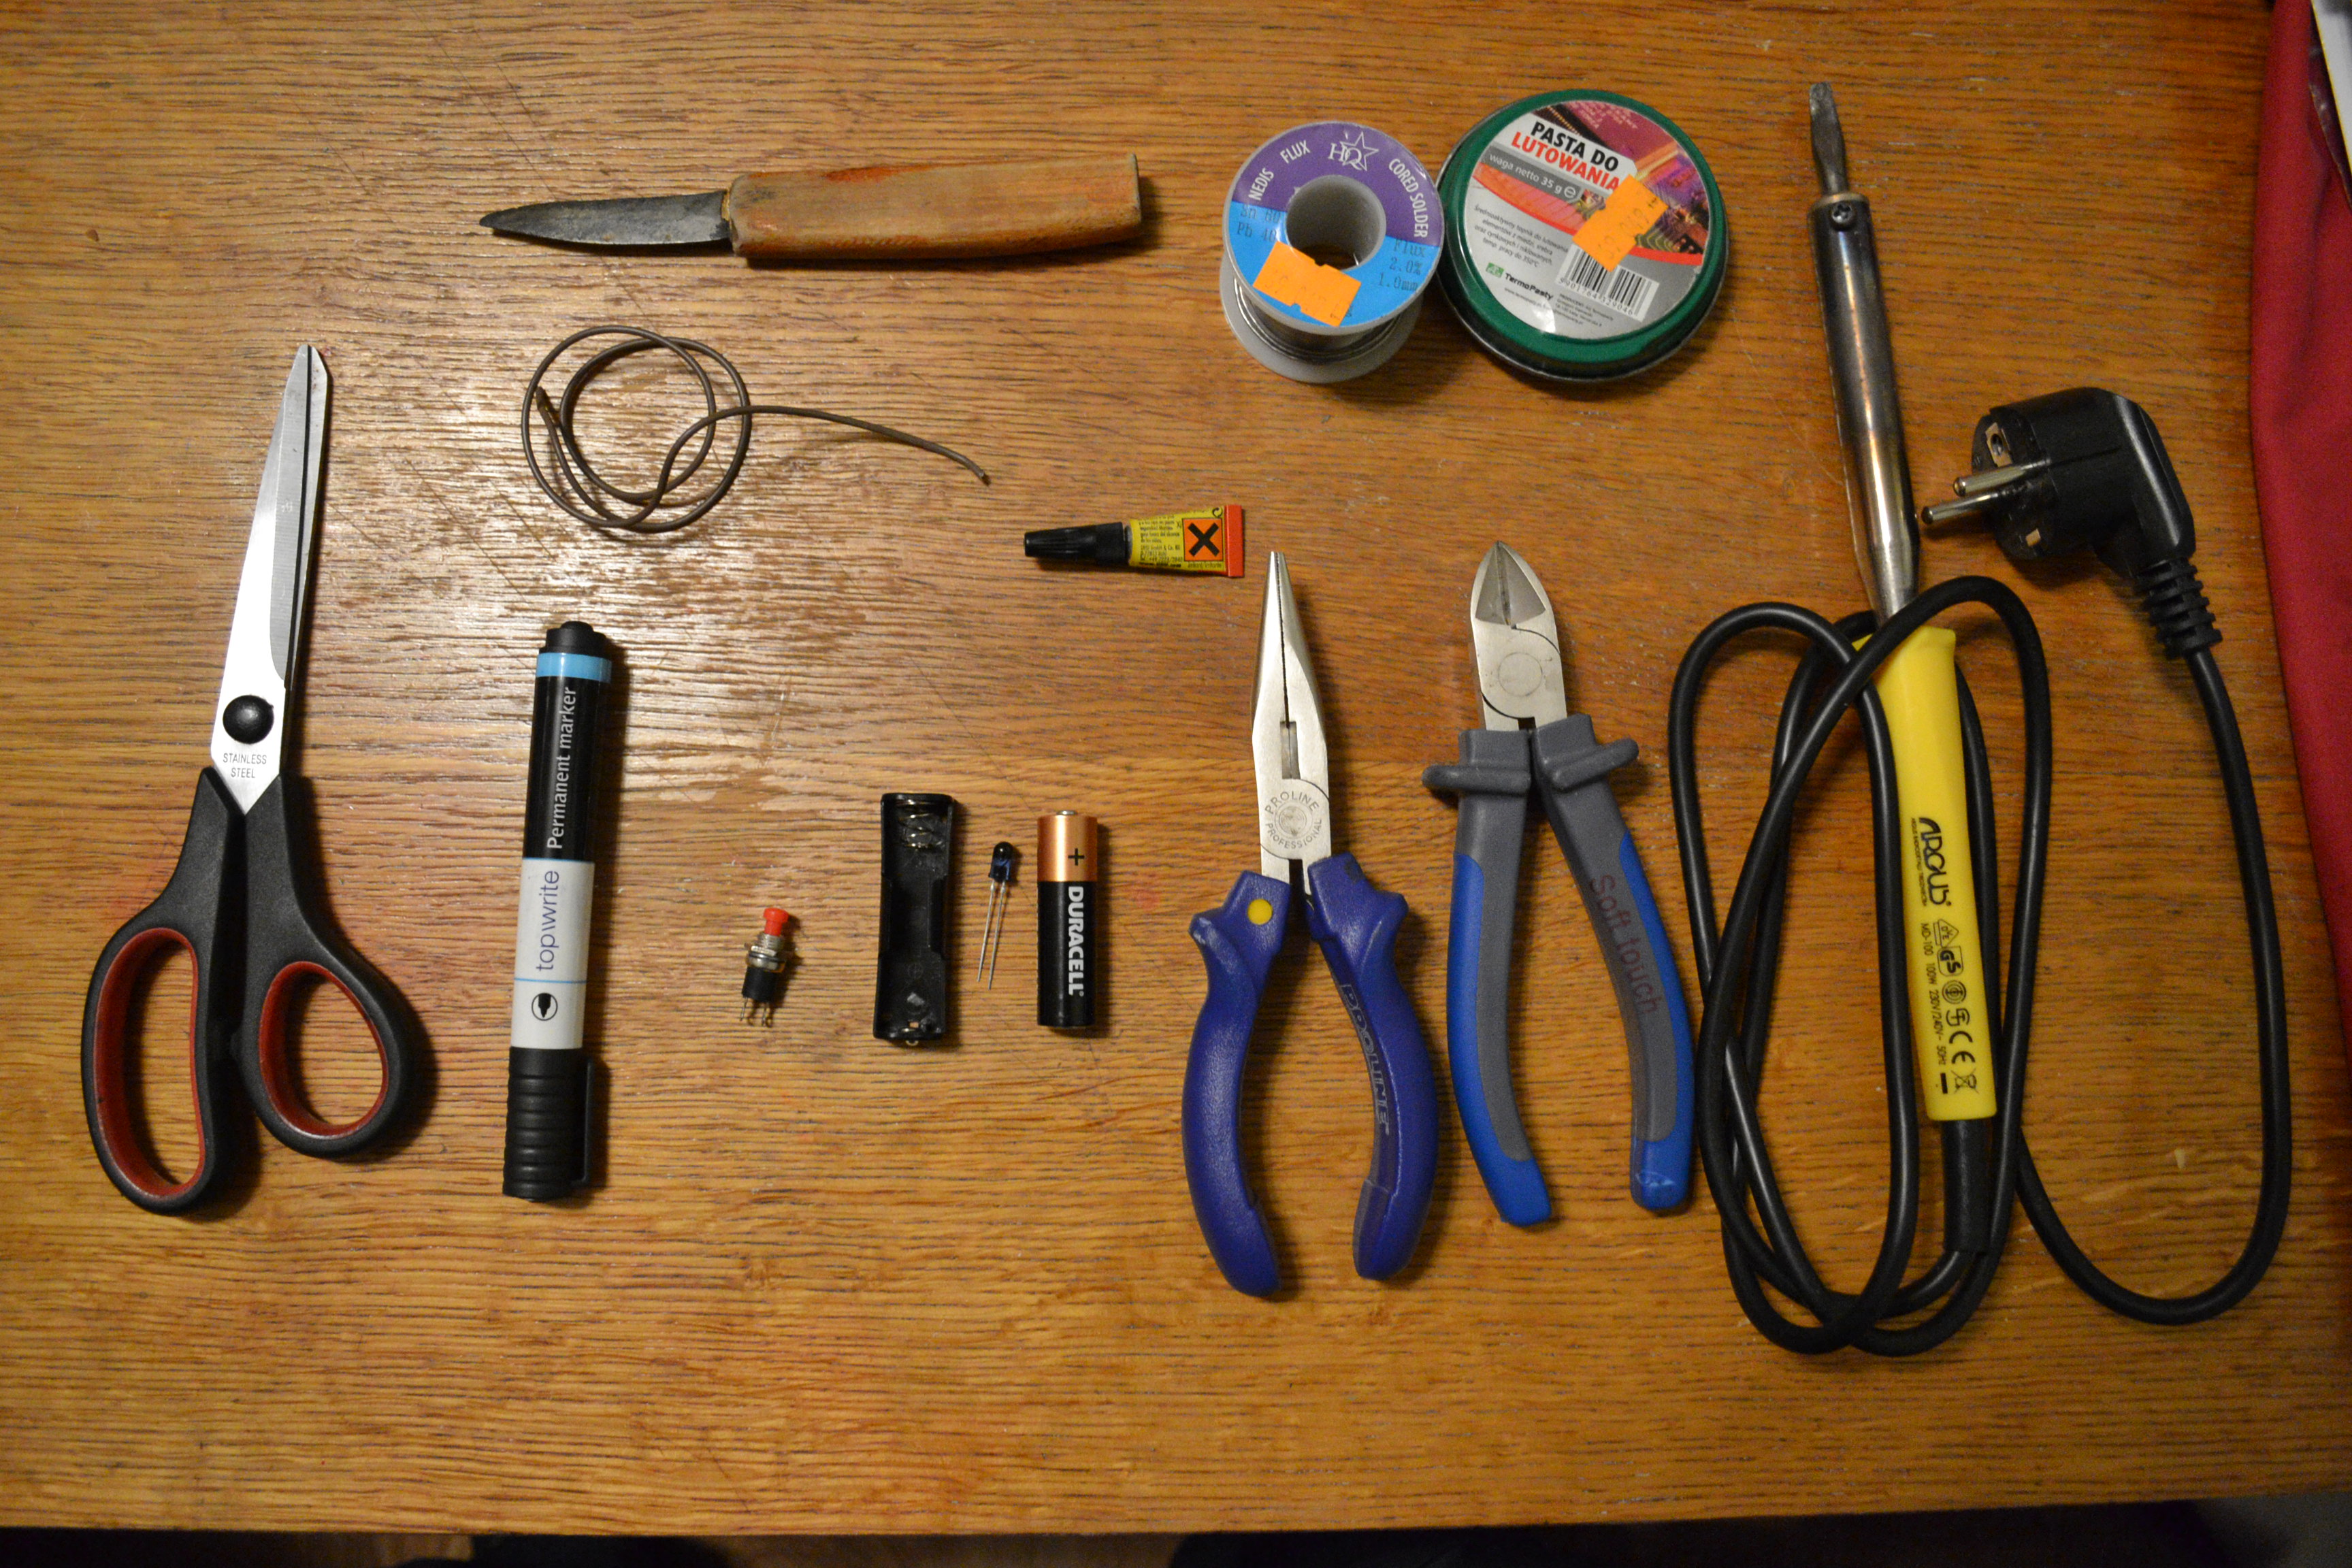
Tools you'll need:
- Knife
- Scissors
- Soldering Iron
- Pliers
- Nintendo Wii remote (you can get one used for 20$)
!!!ONLY ORIGINAL NINTENDO WII REMOTES ARE SUITABLE!!!
Parts:
- Marker
- Wire
- Battery
- Infrared LED
- Superglue
- Momentary pushbutton switch
- Battery holder
- Solder
Costs are very small compared to those interactive boards that are used at schools!
Together it shouldn't be more than 50Eur or 60$
Modifying Marker
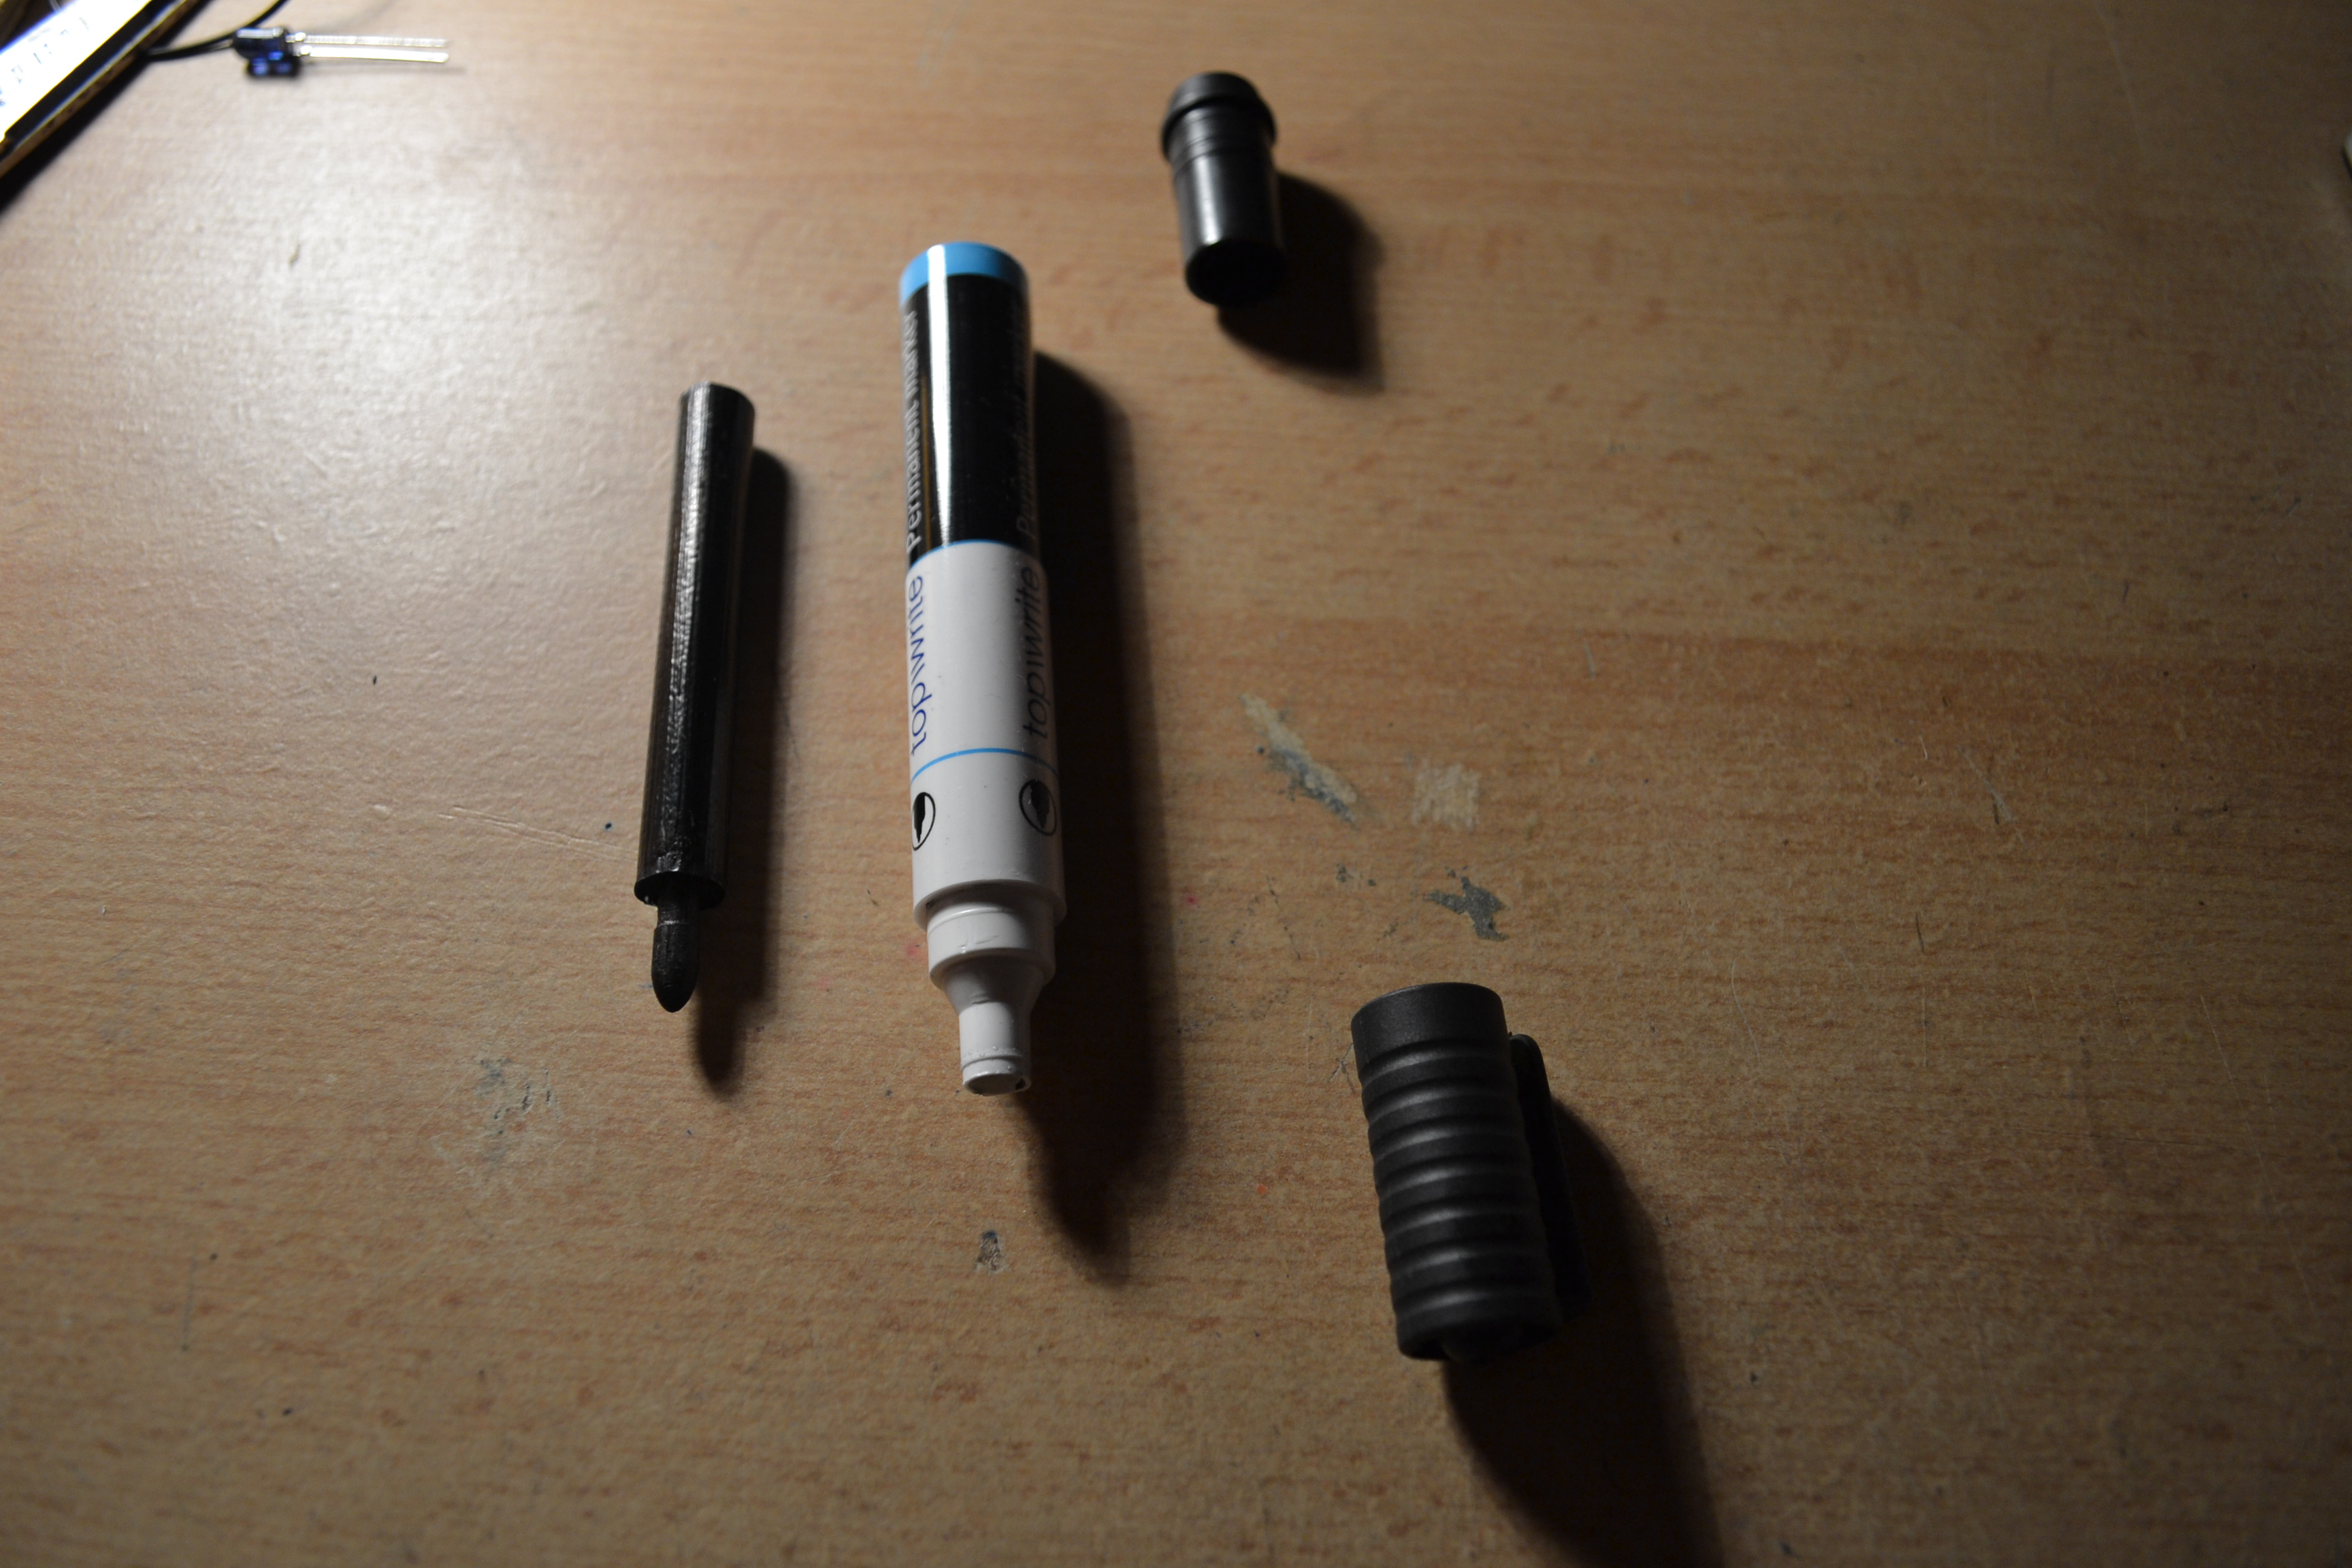
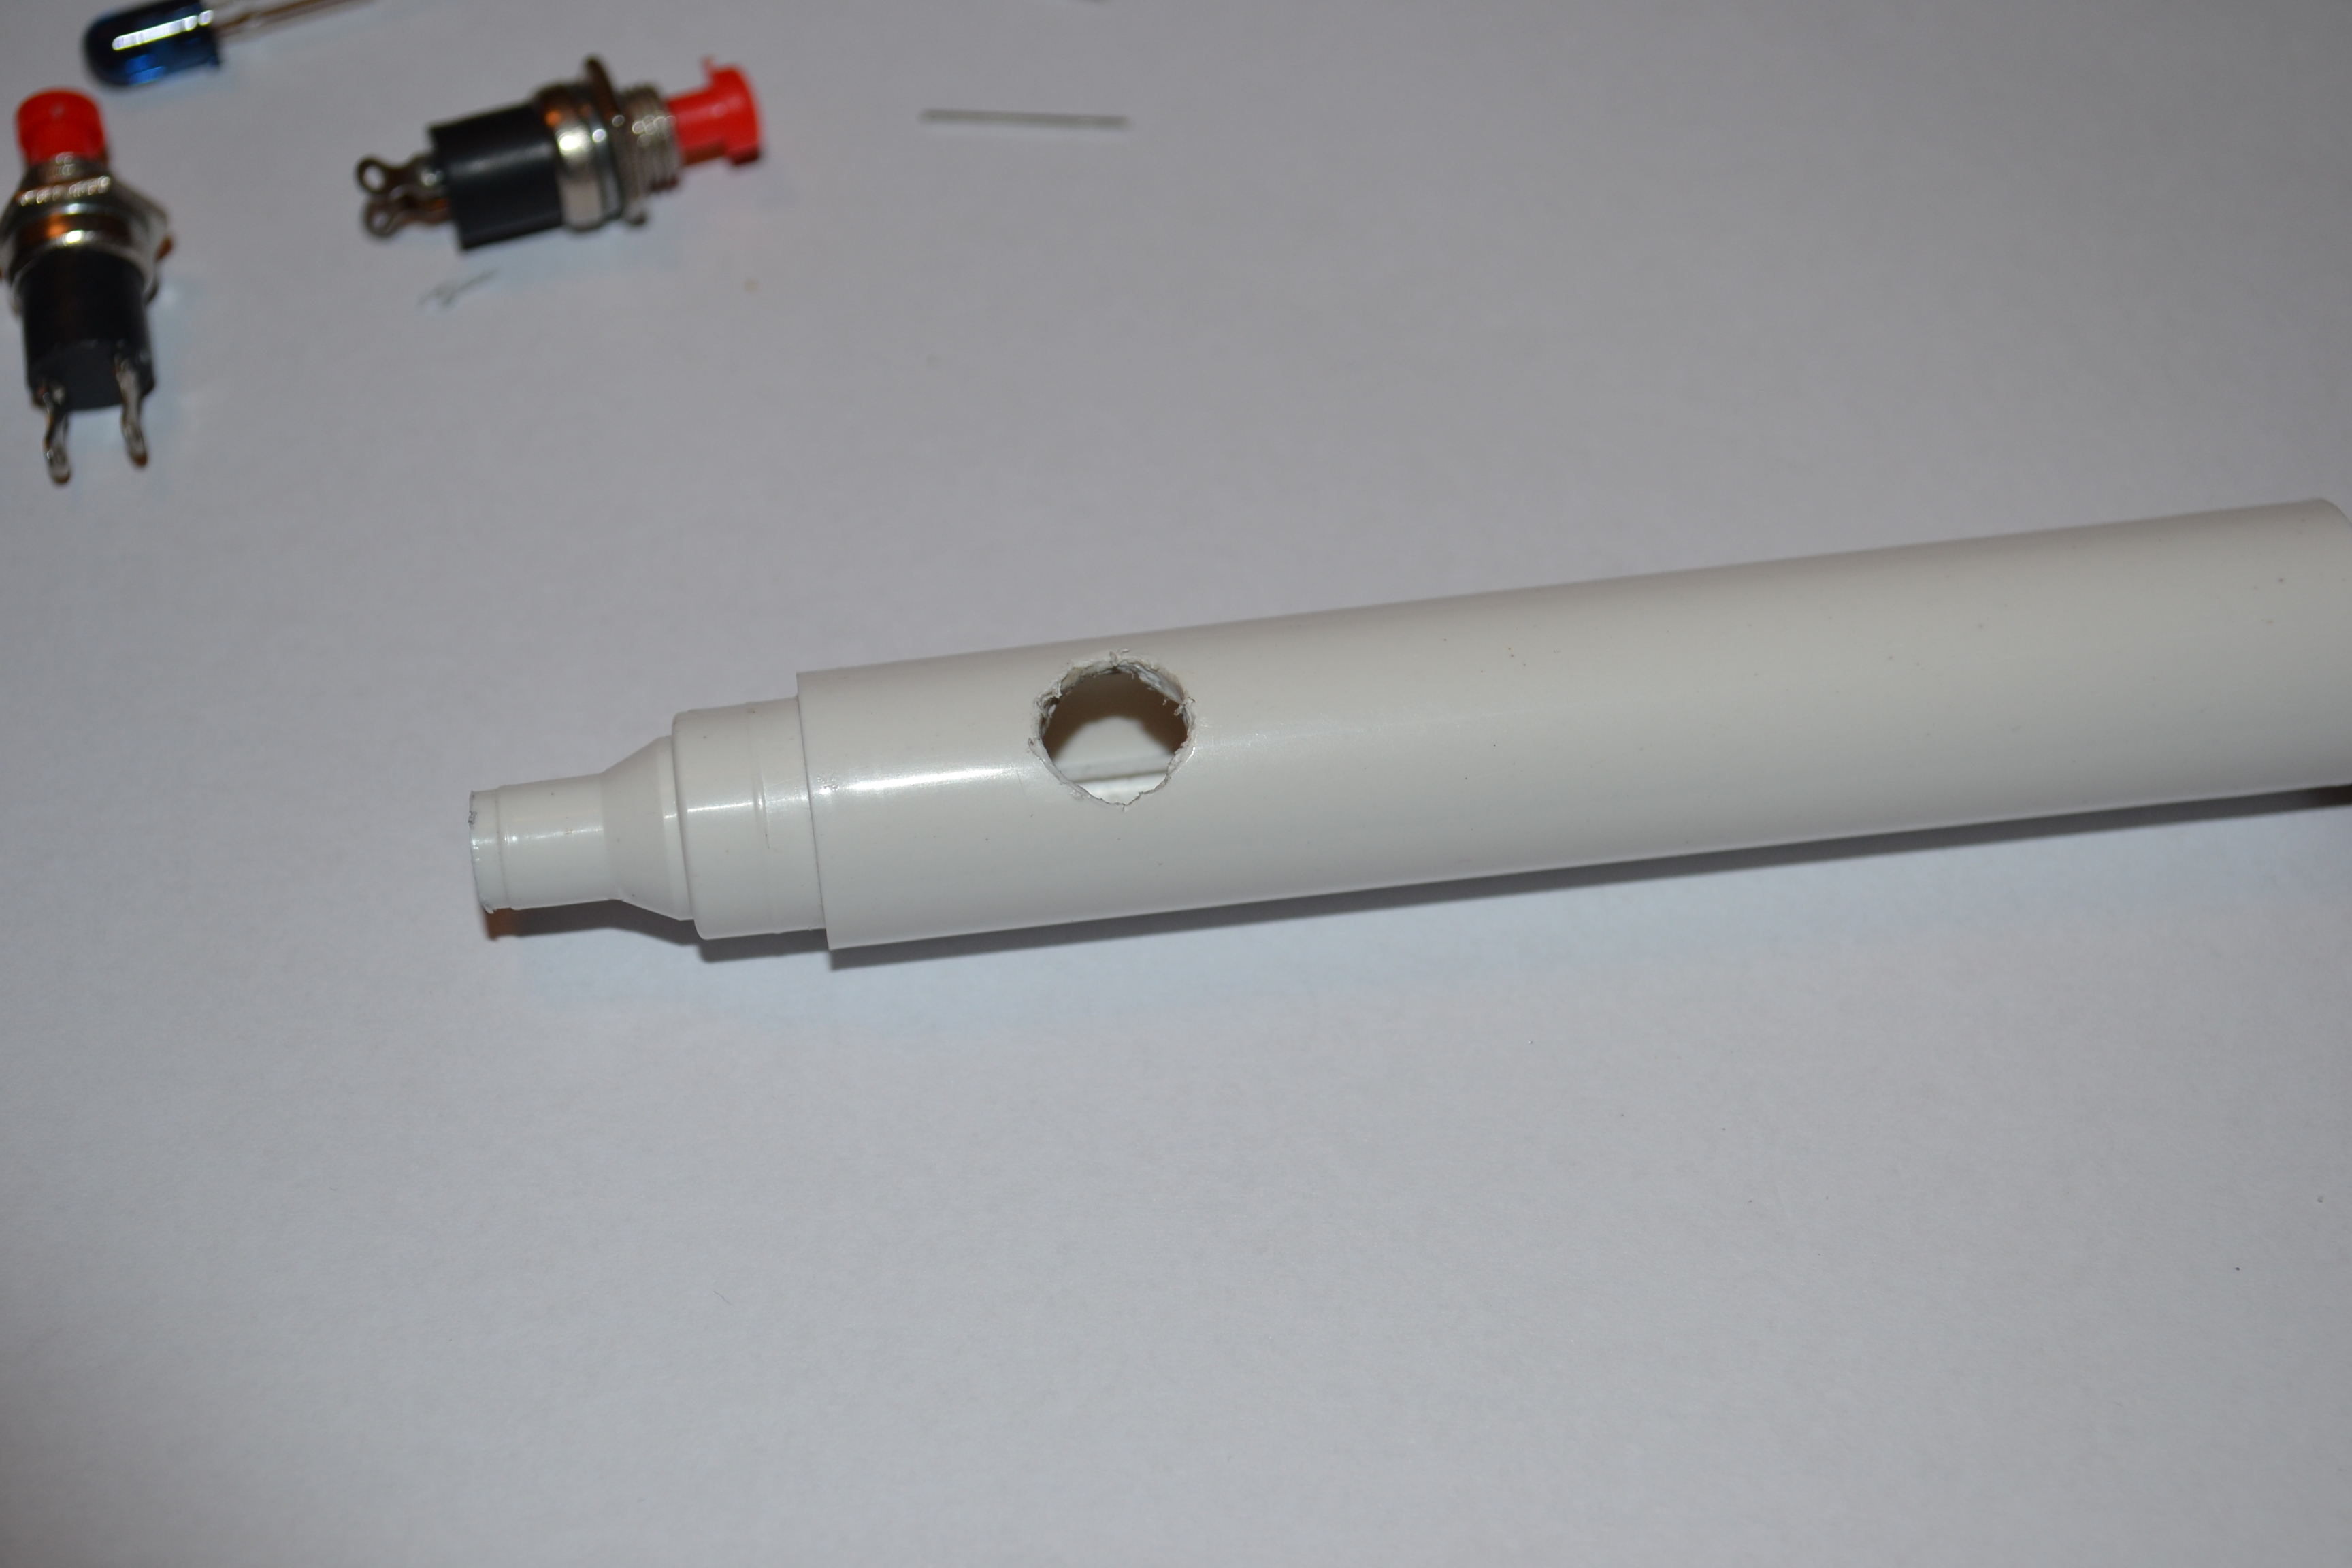
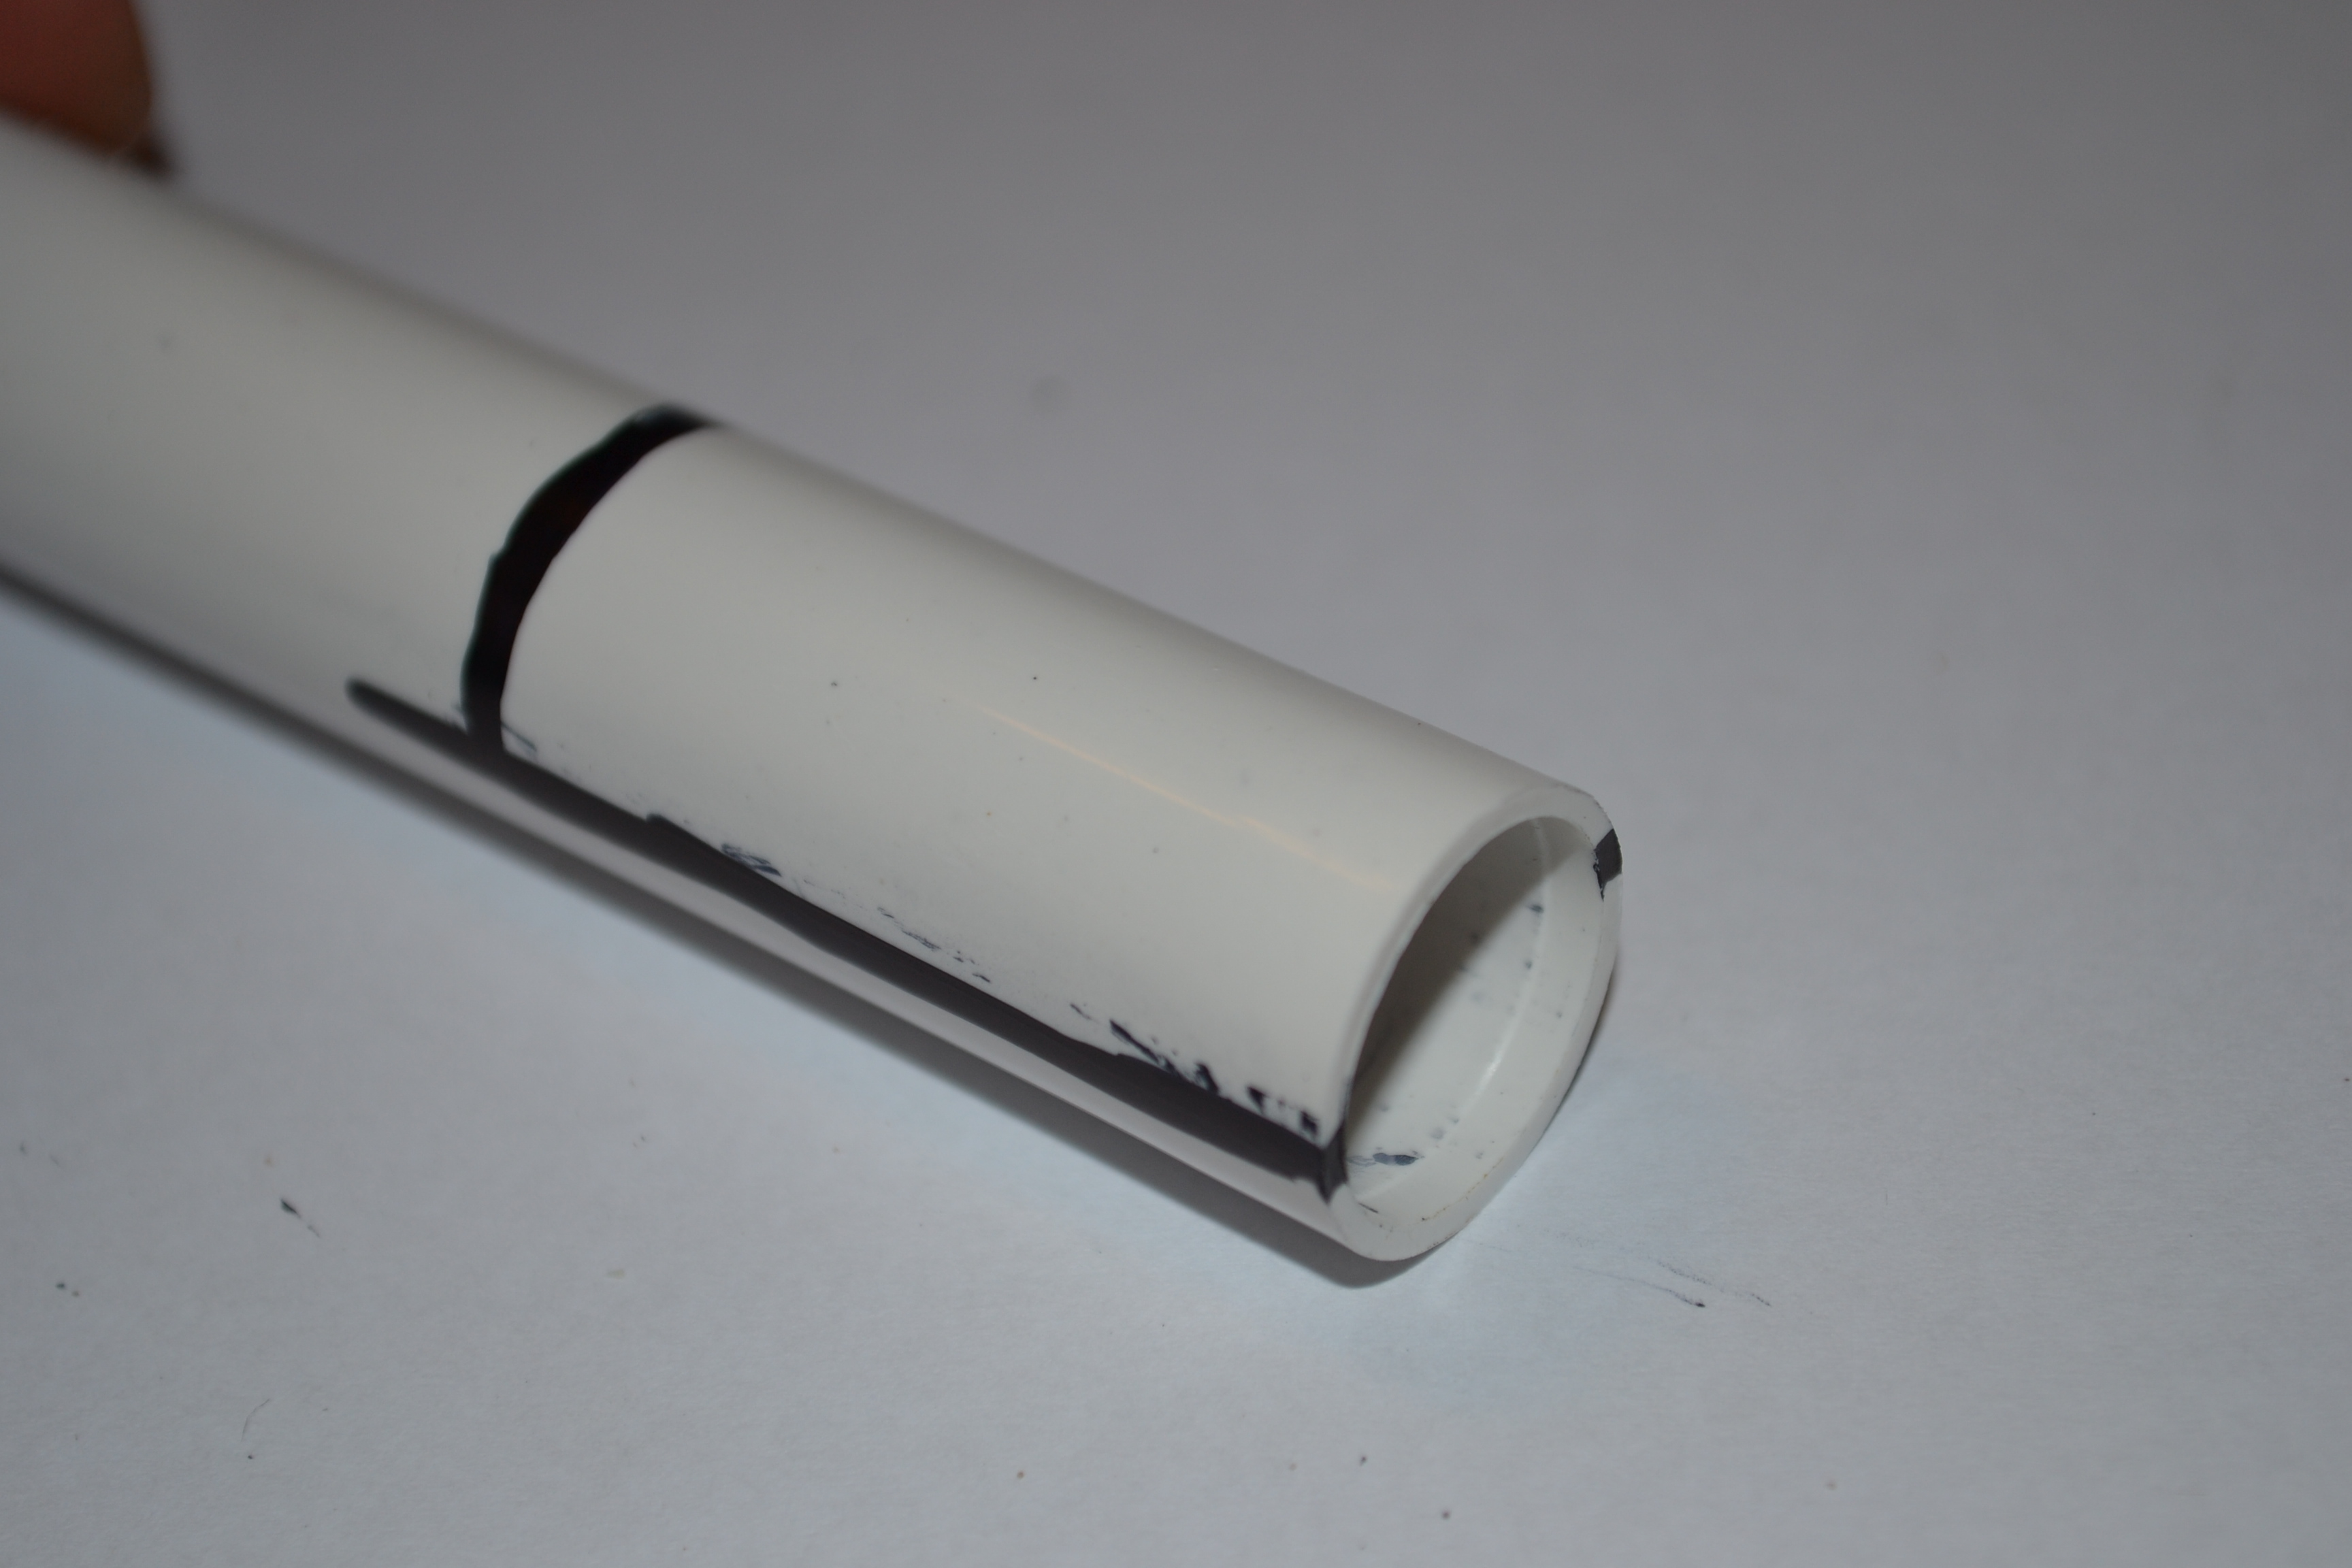
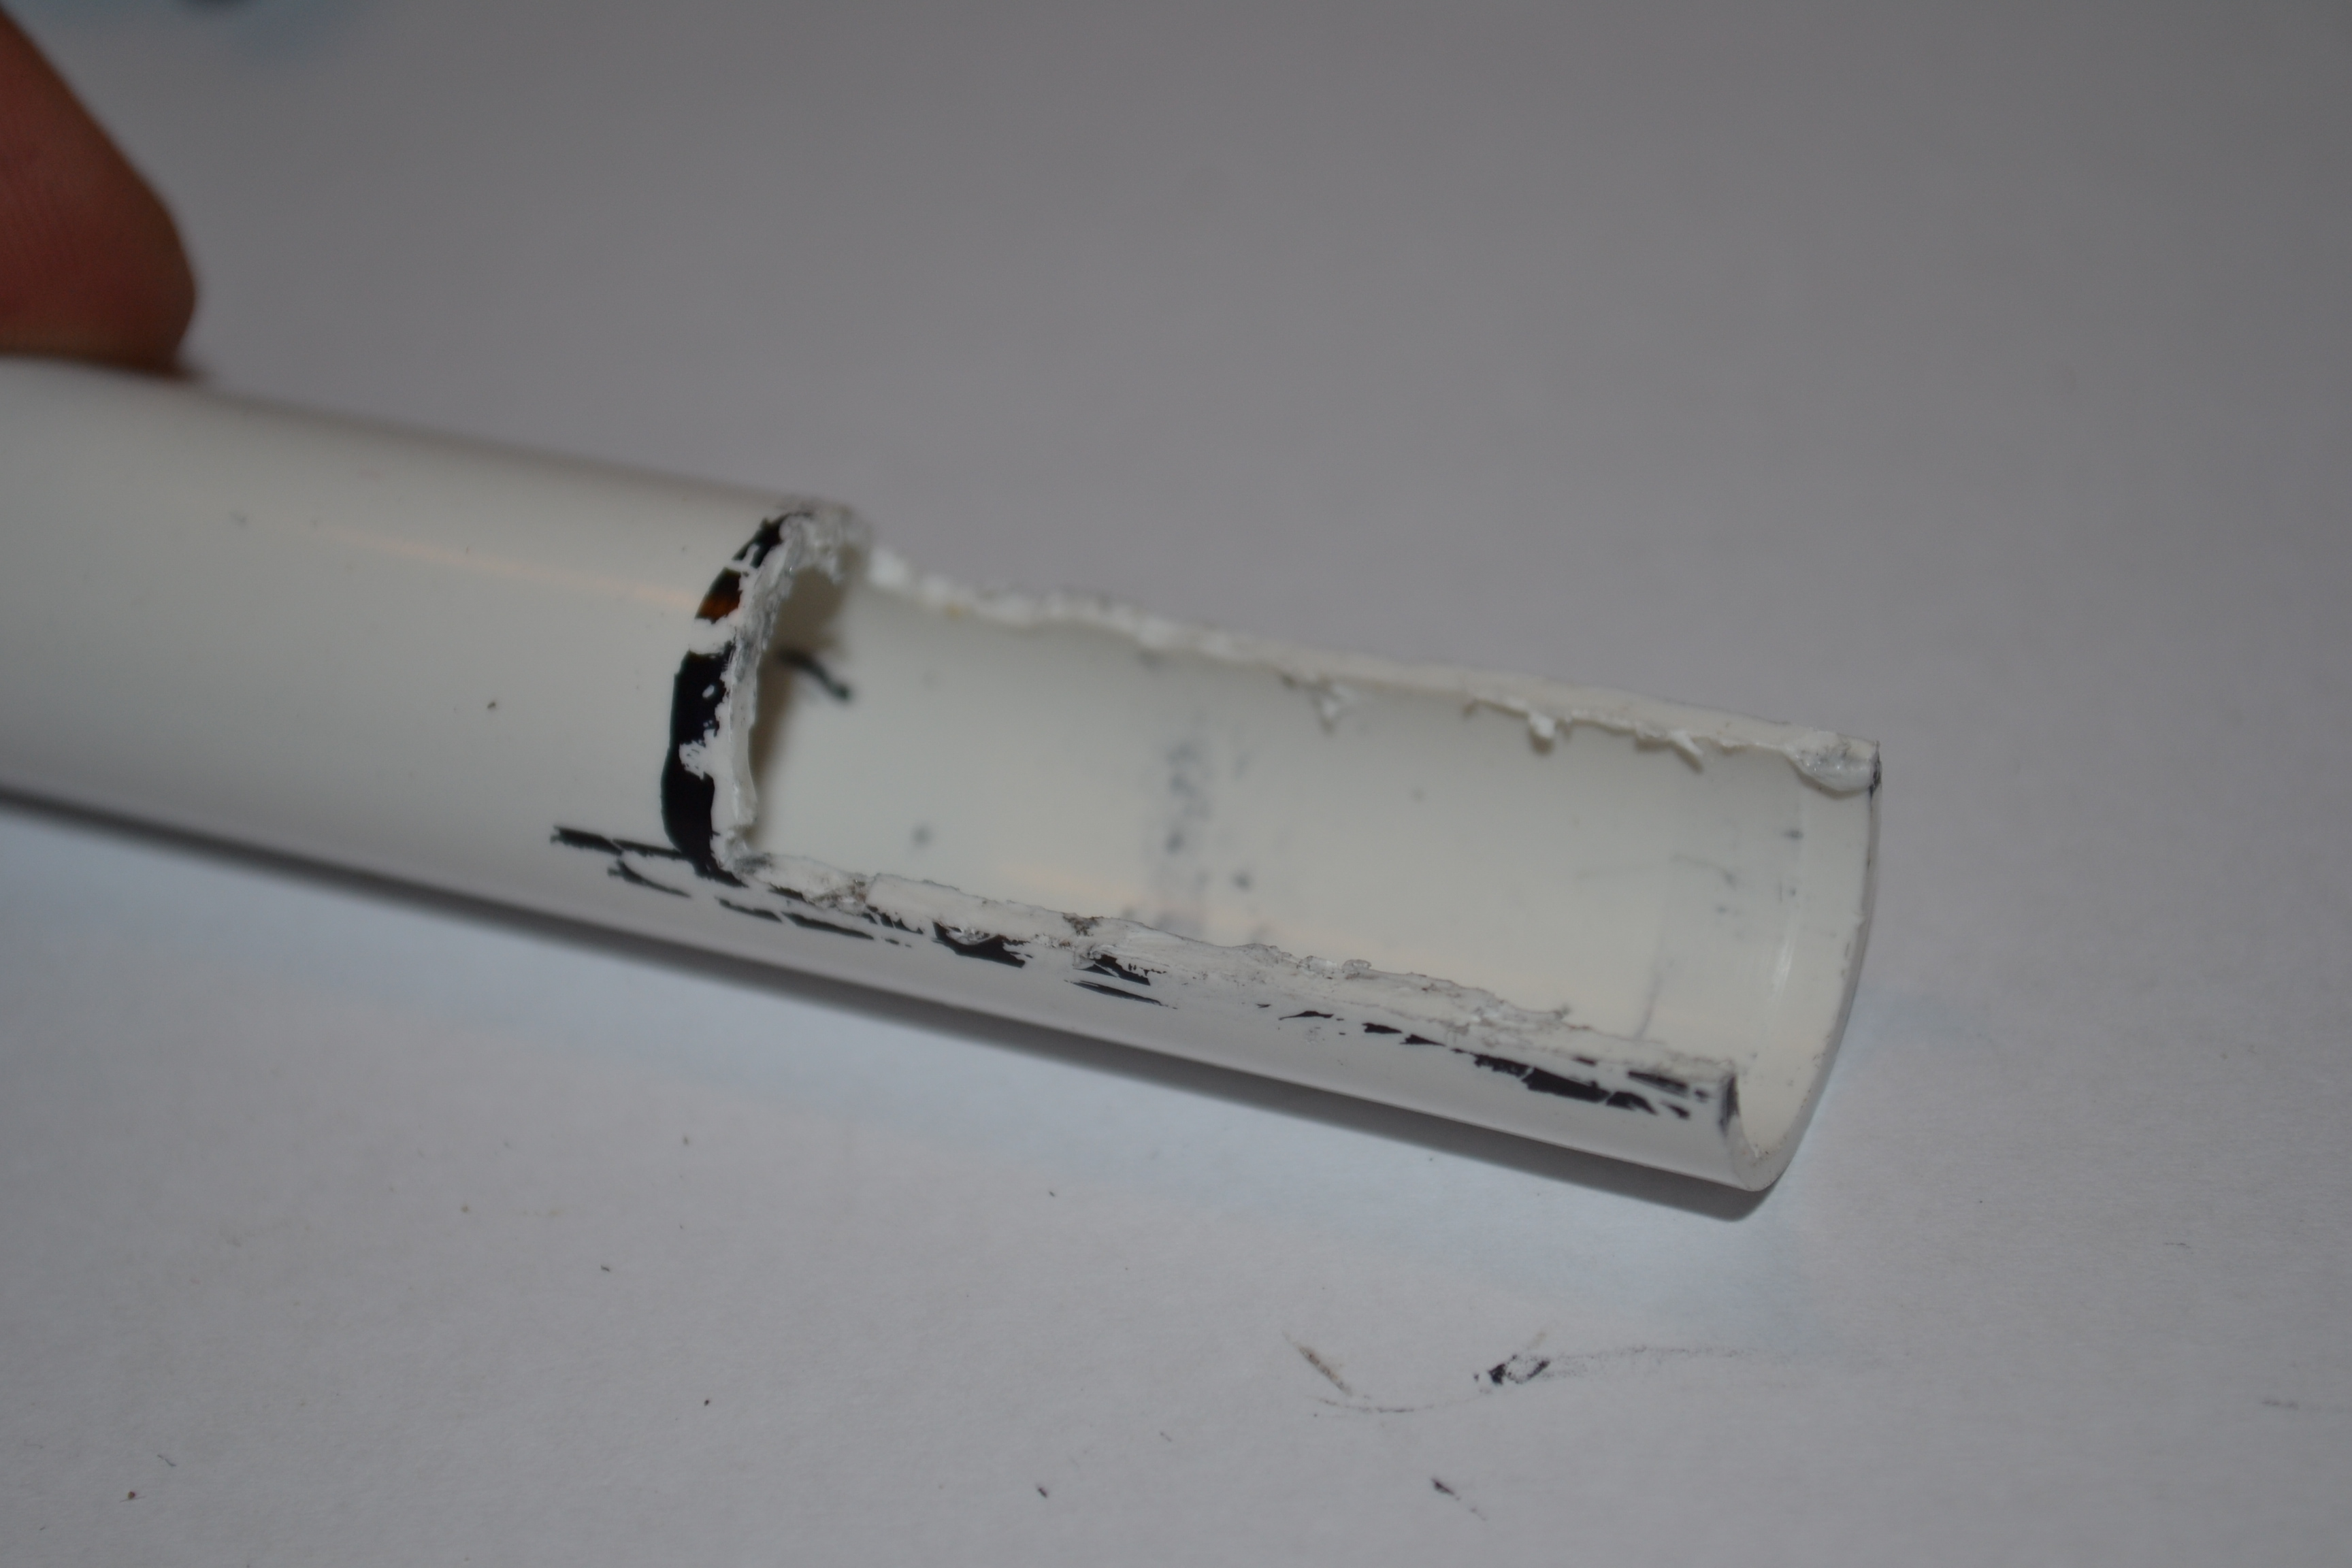
- First thing to do is to disassemble the marker
- Then, you have to make a hole for the switch (I used soldering iron)
- And the last, cut off half of the end of the marker as shown in the pictures
Soldering and Assembling
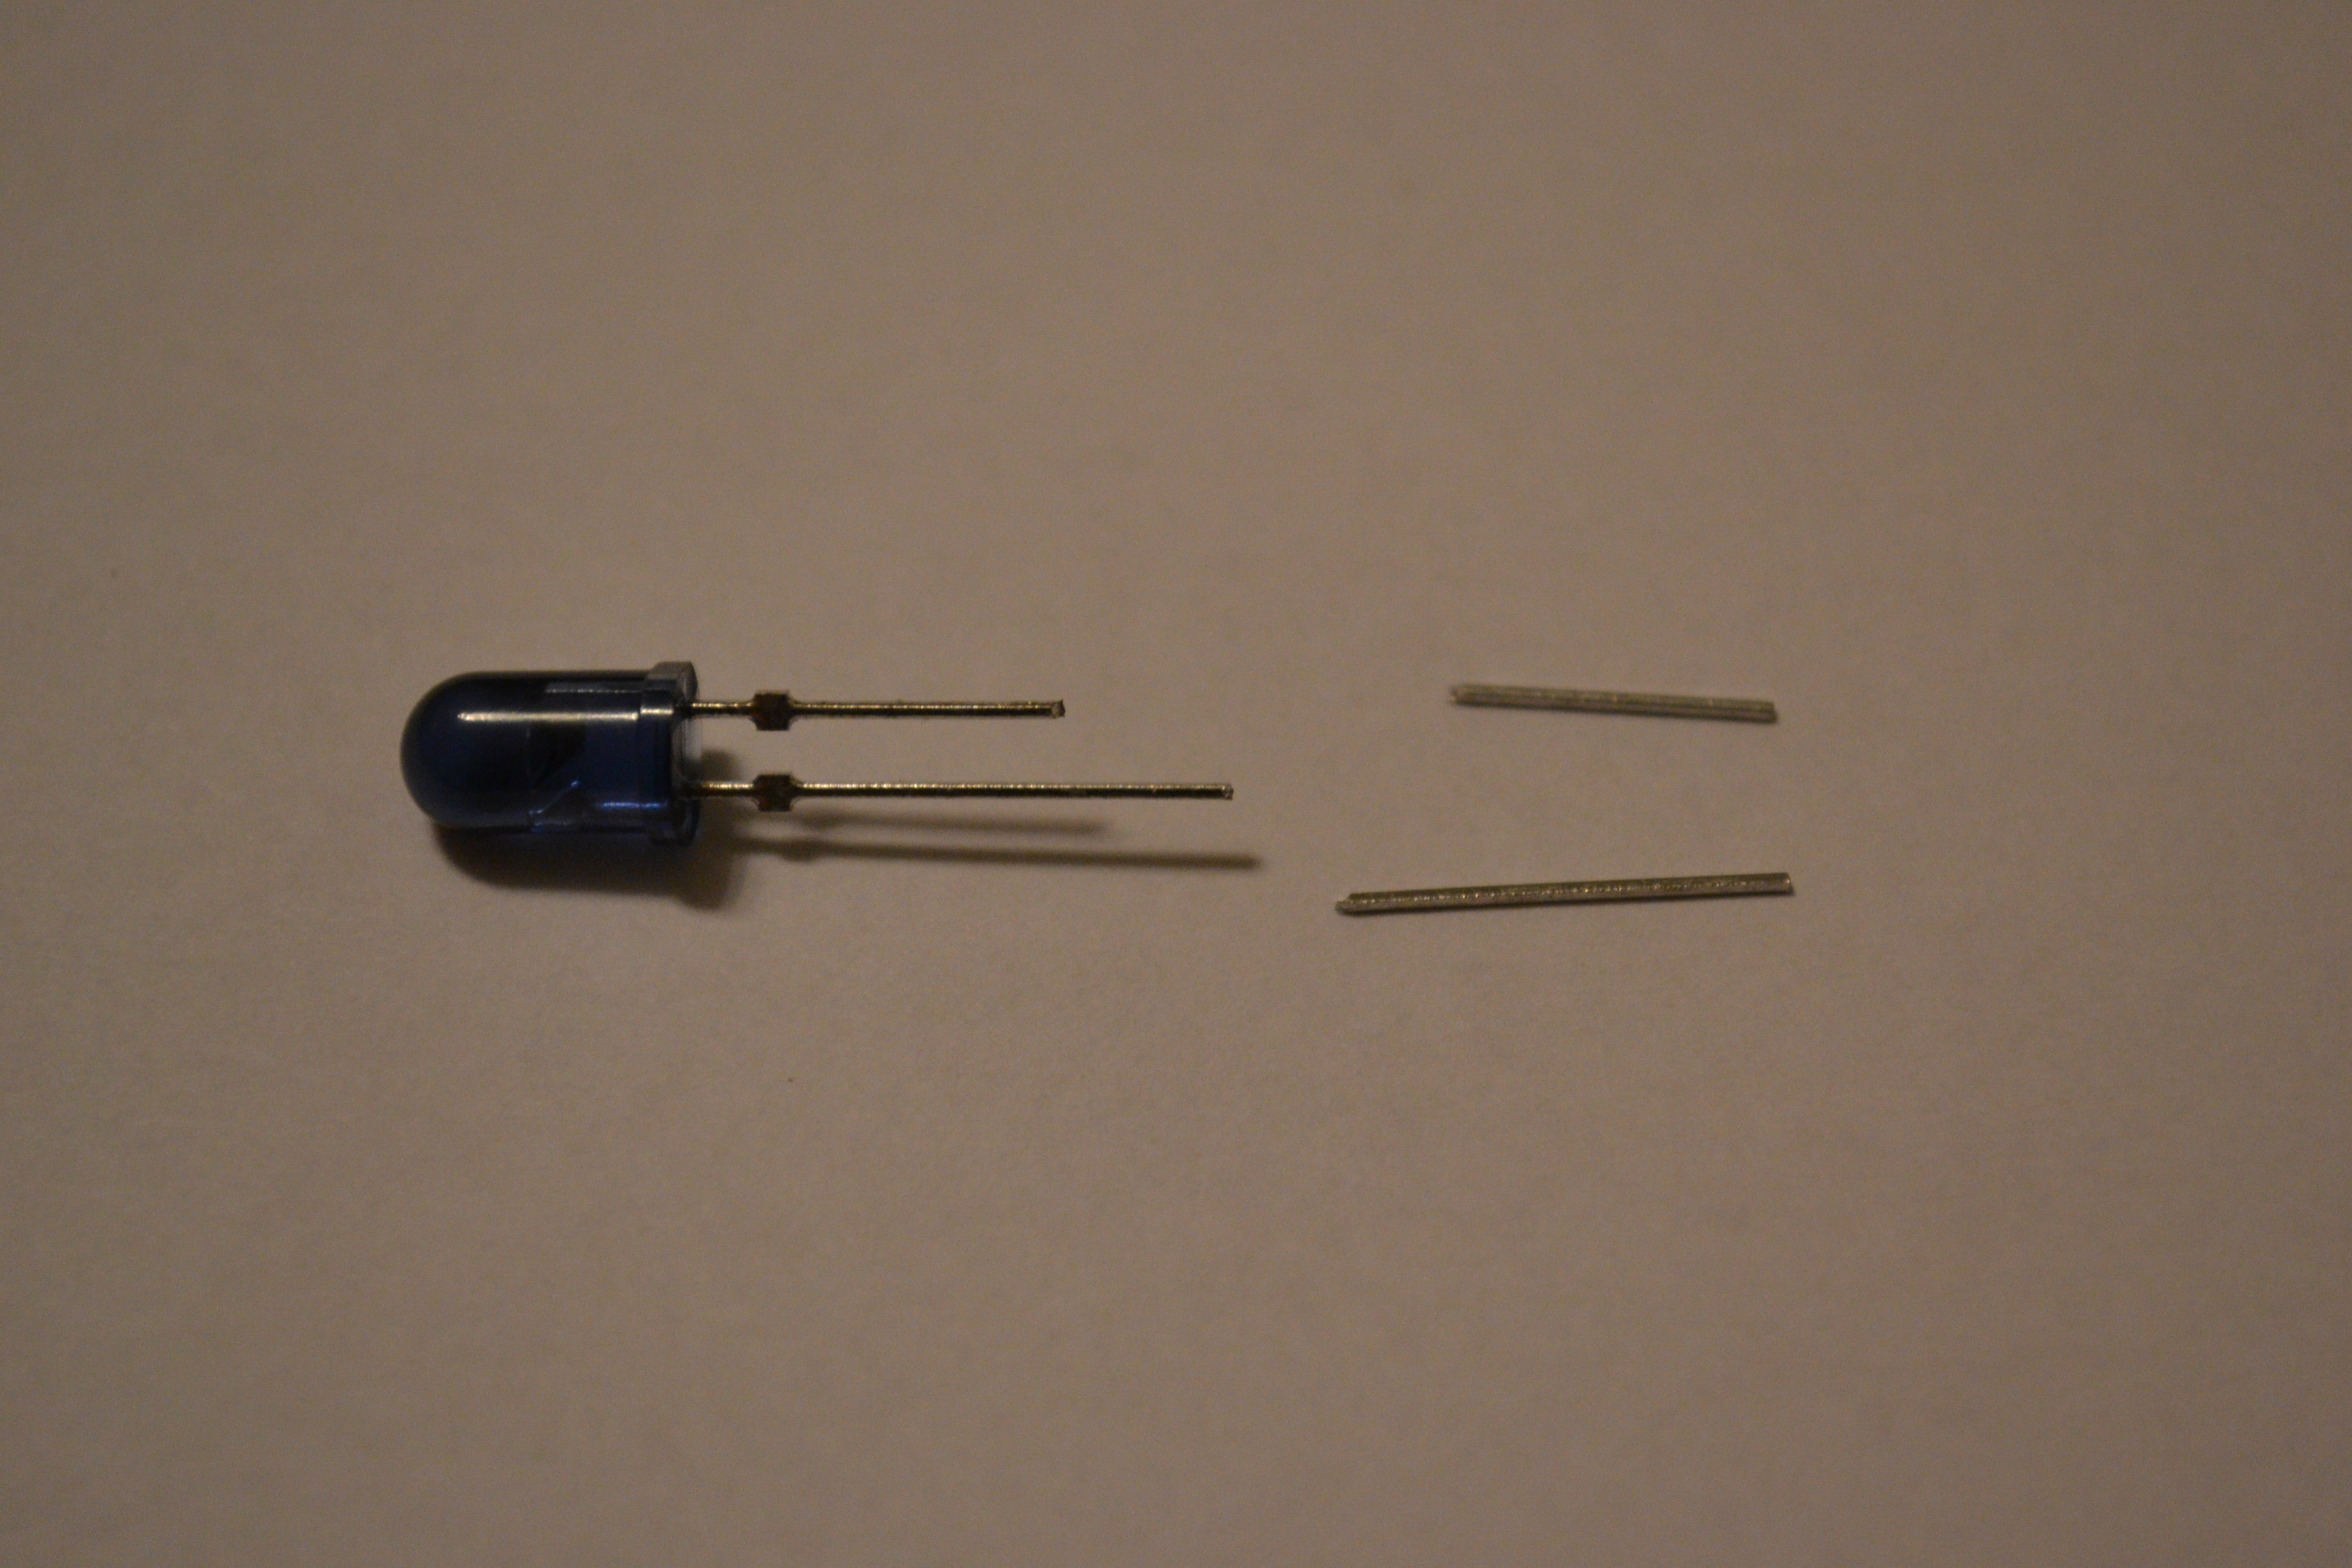
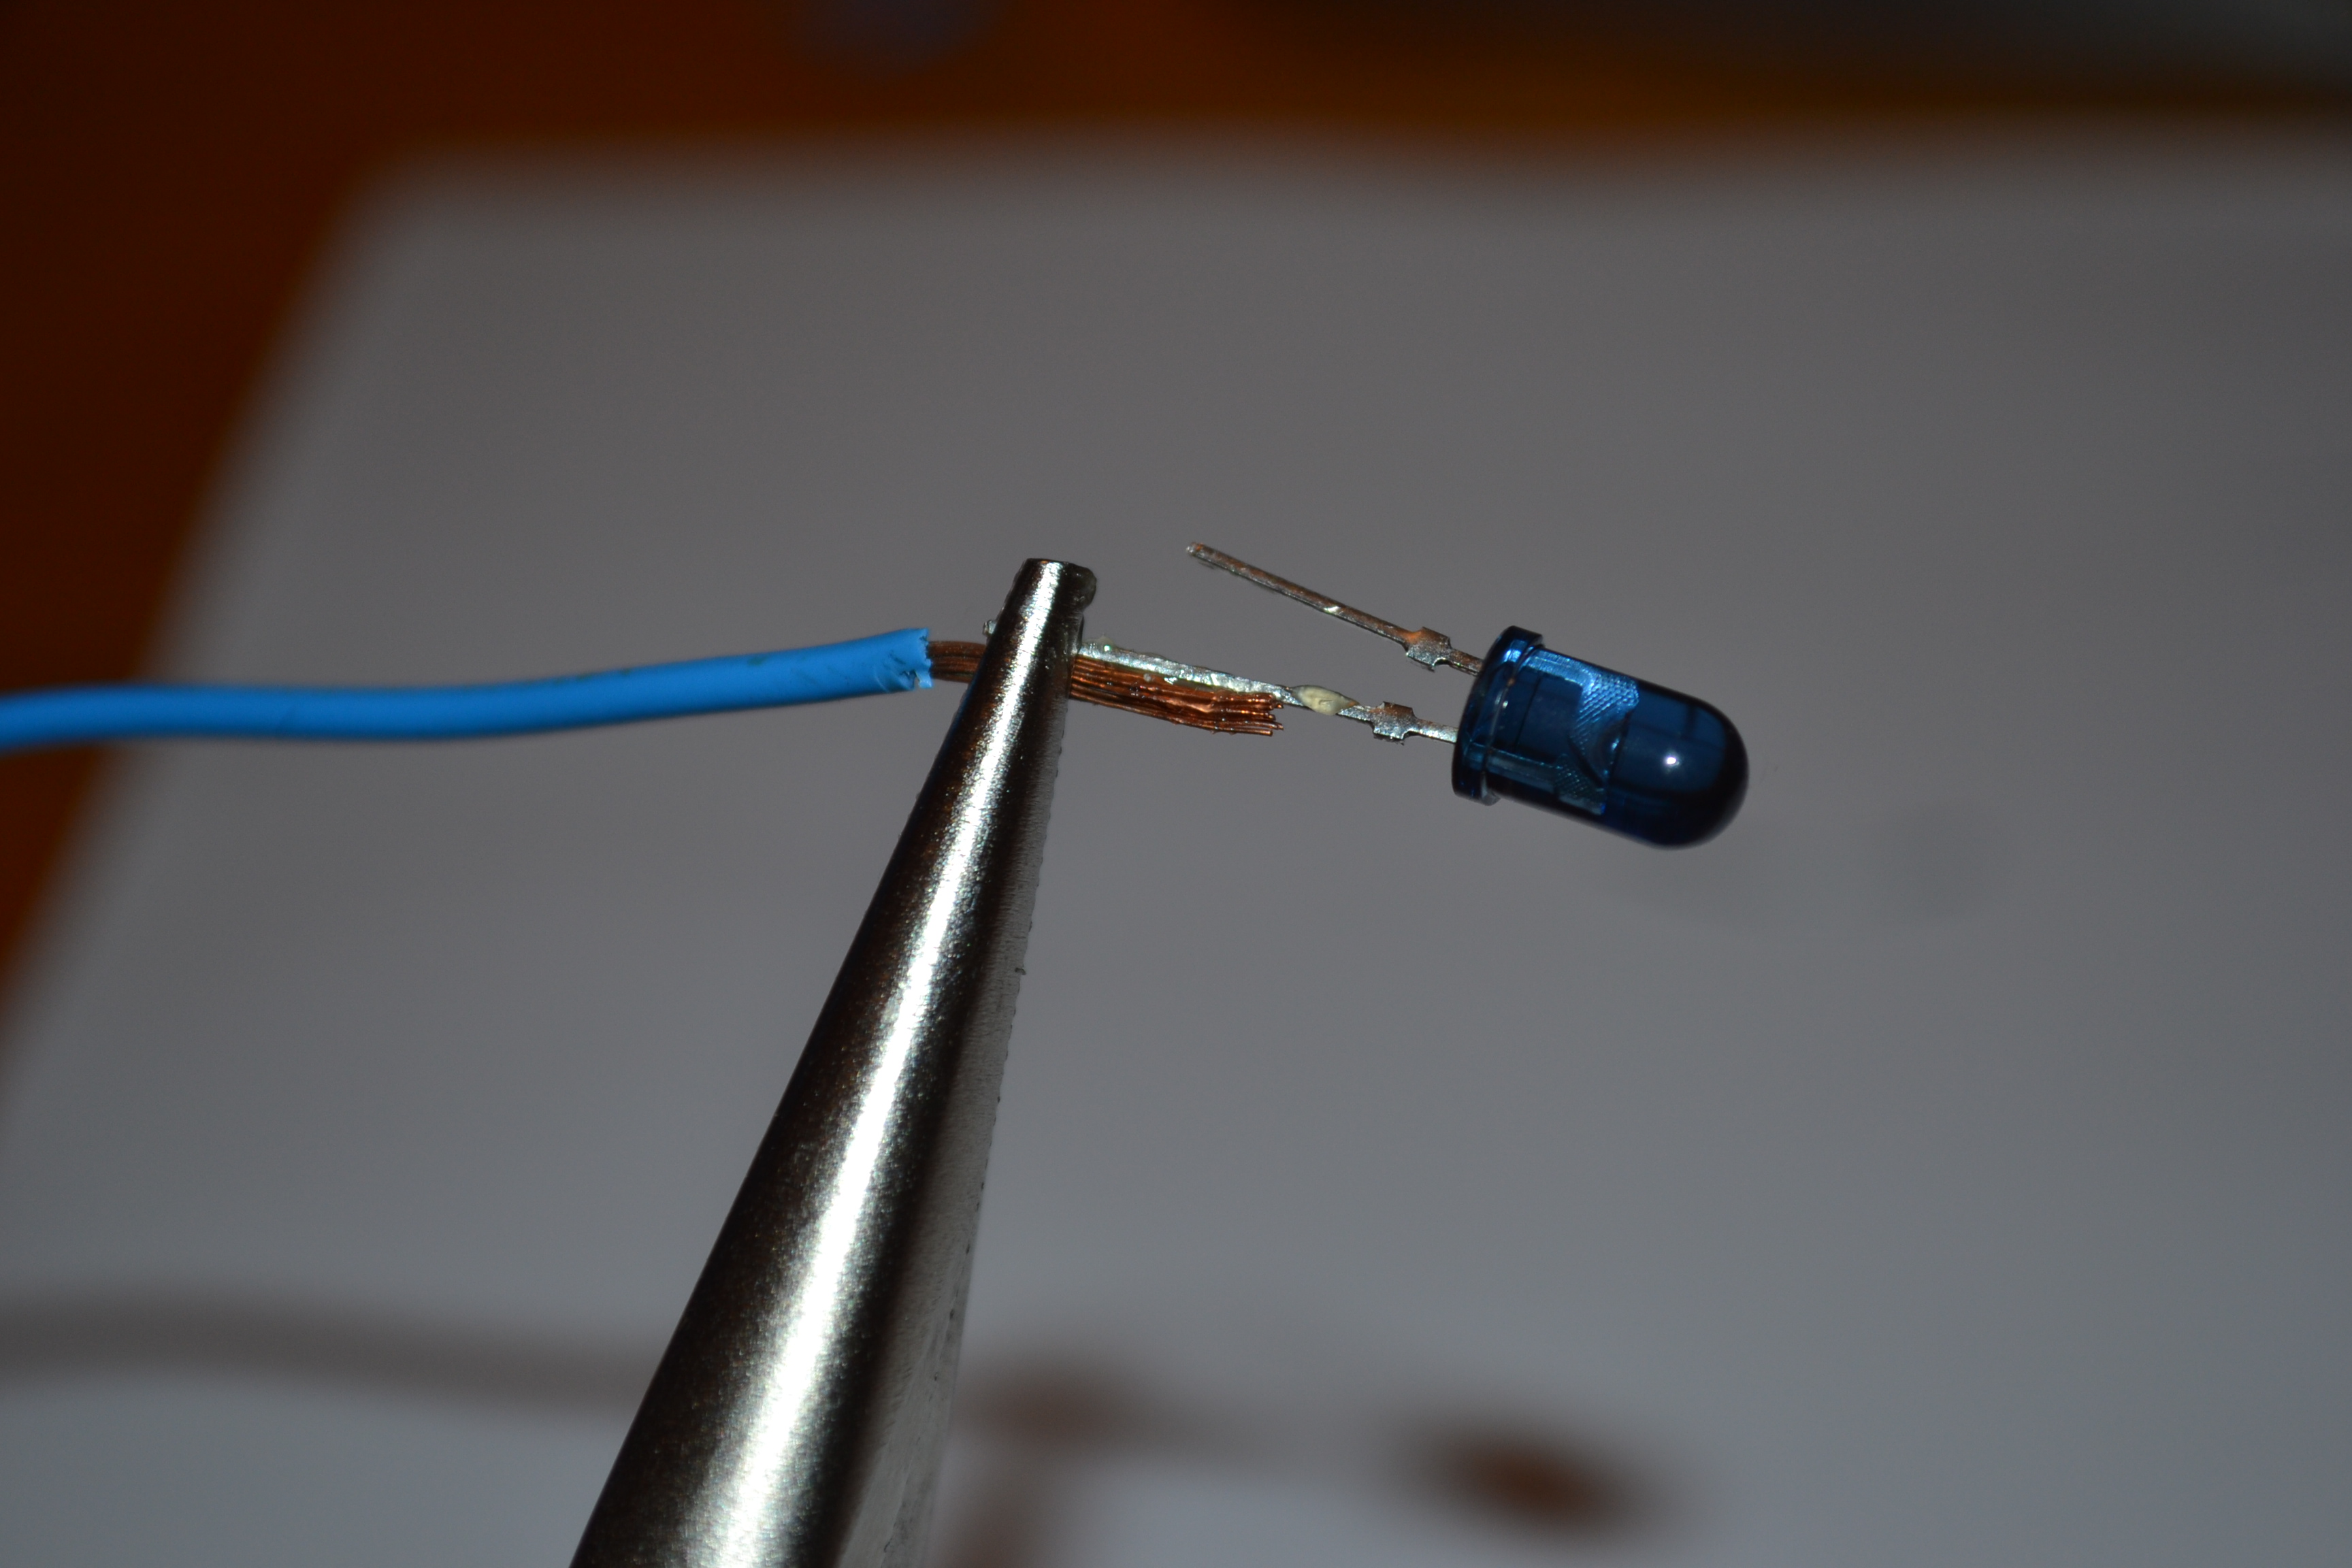
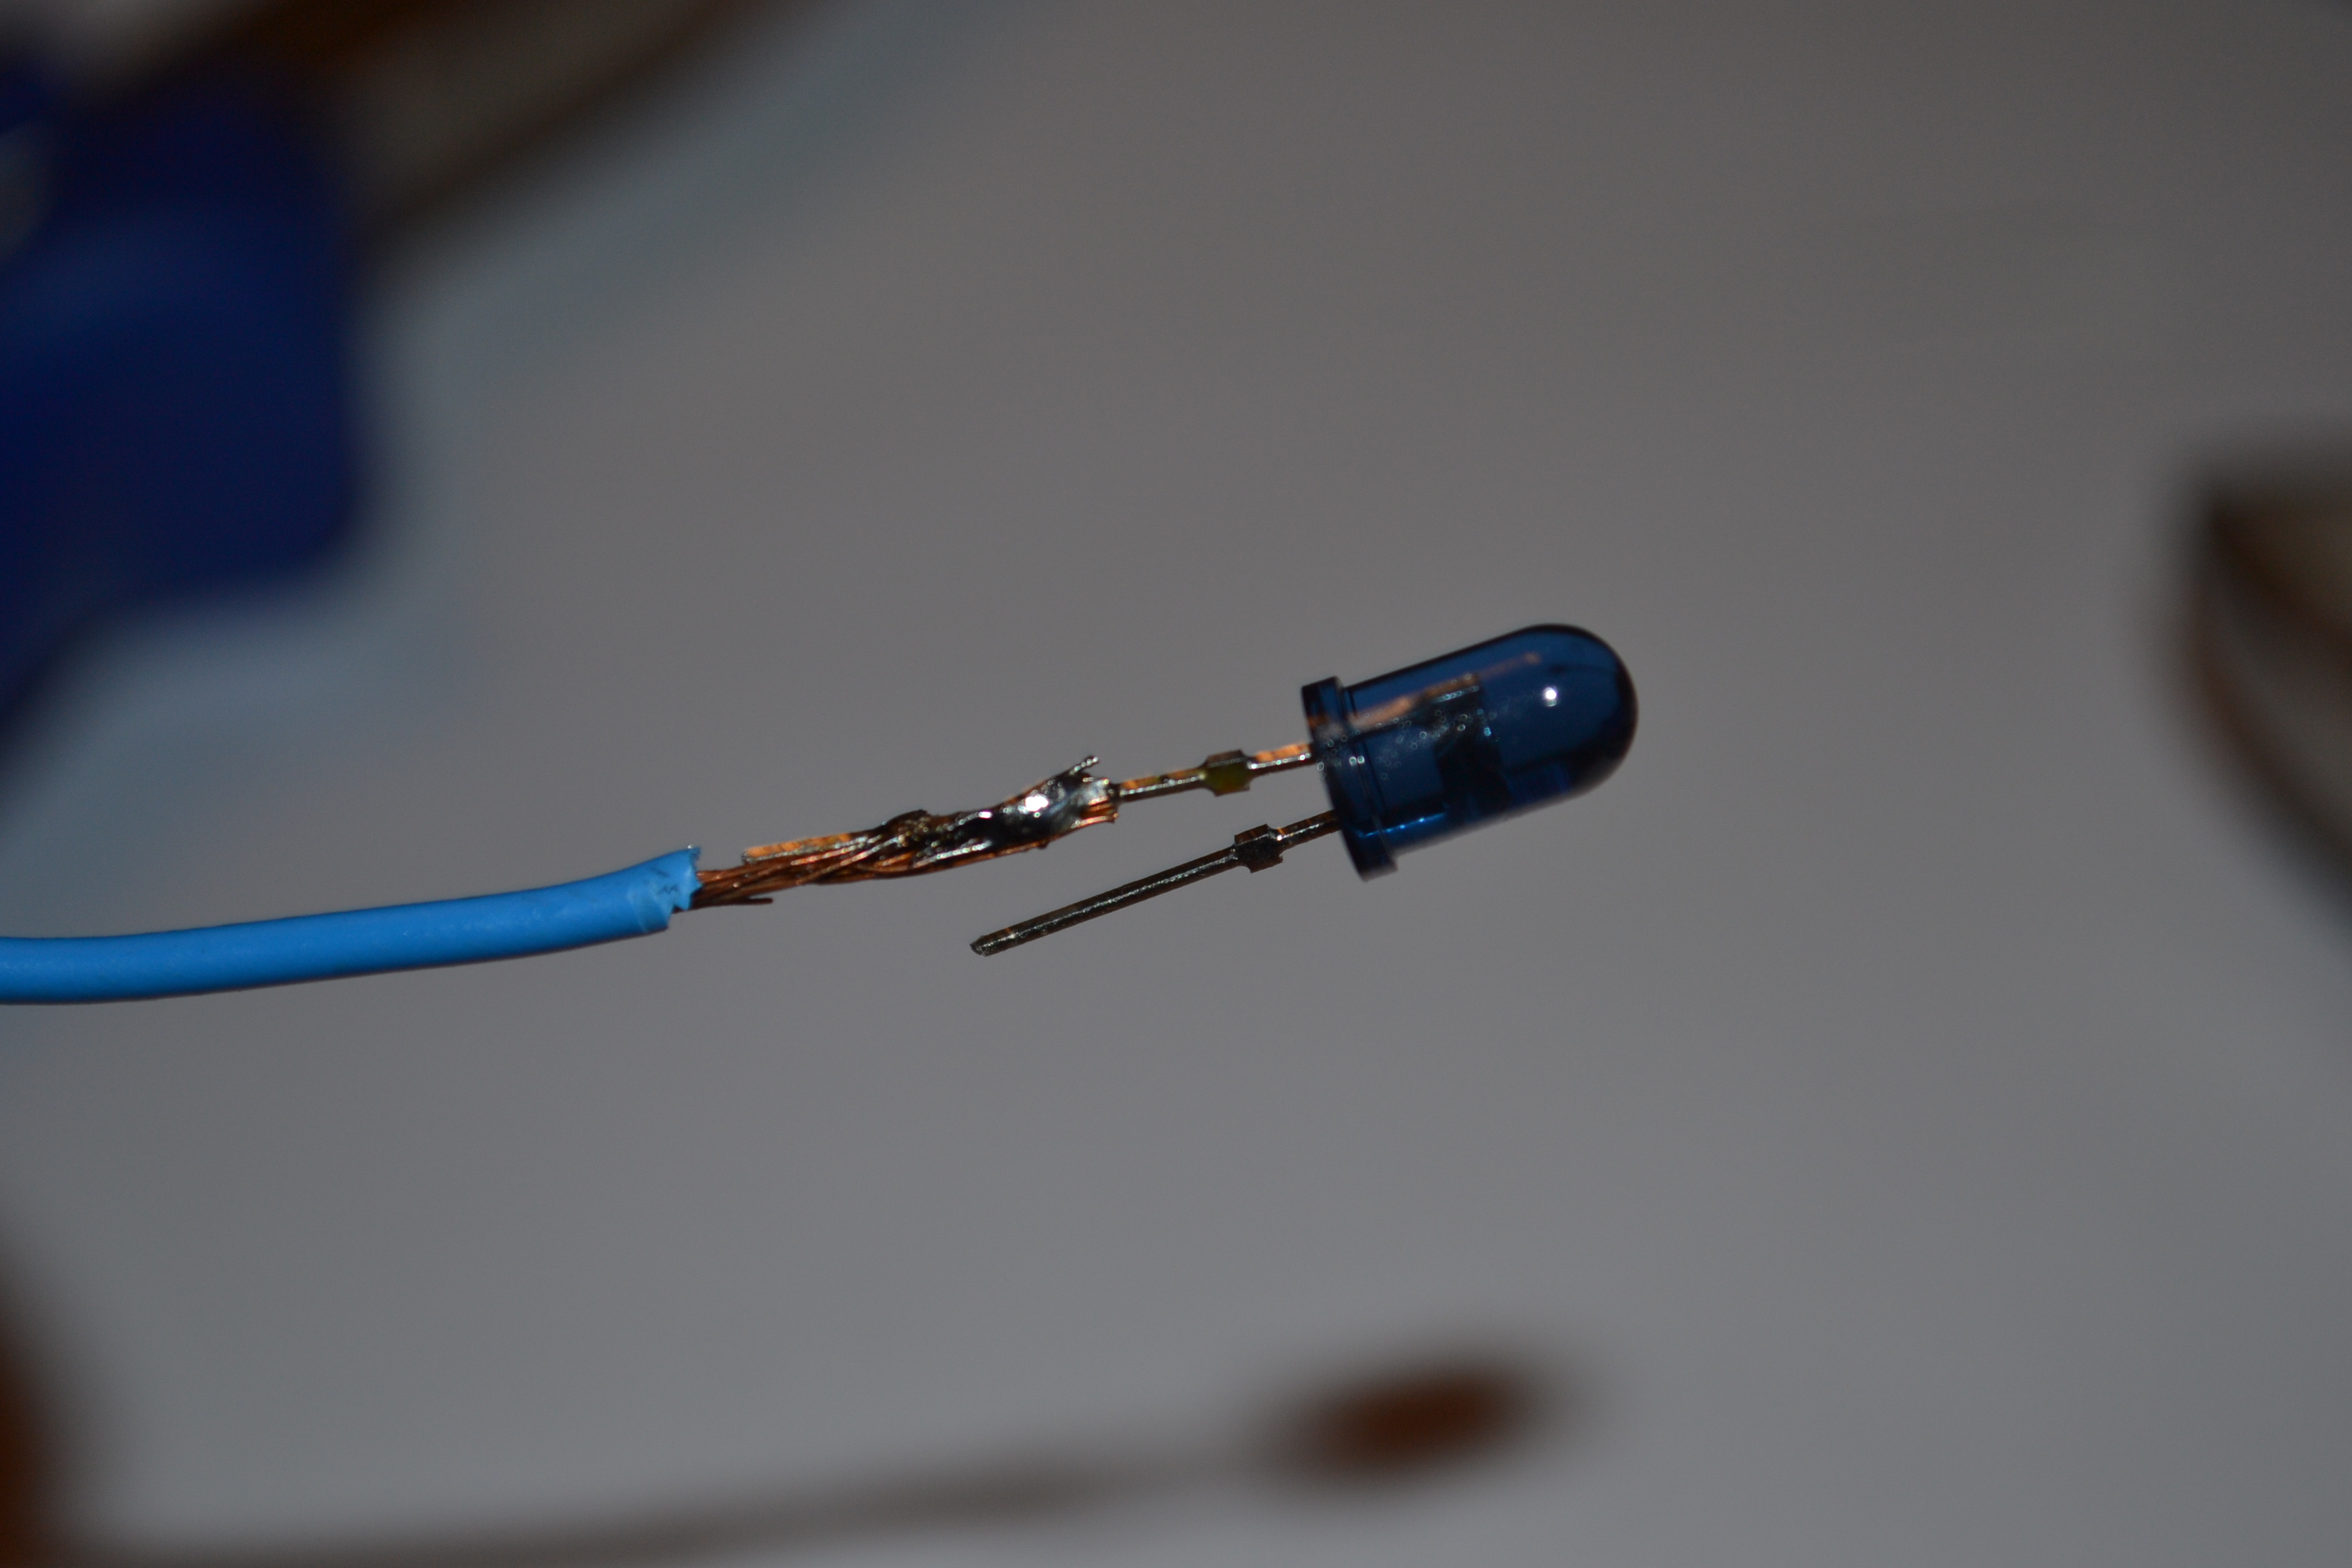
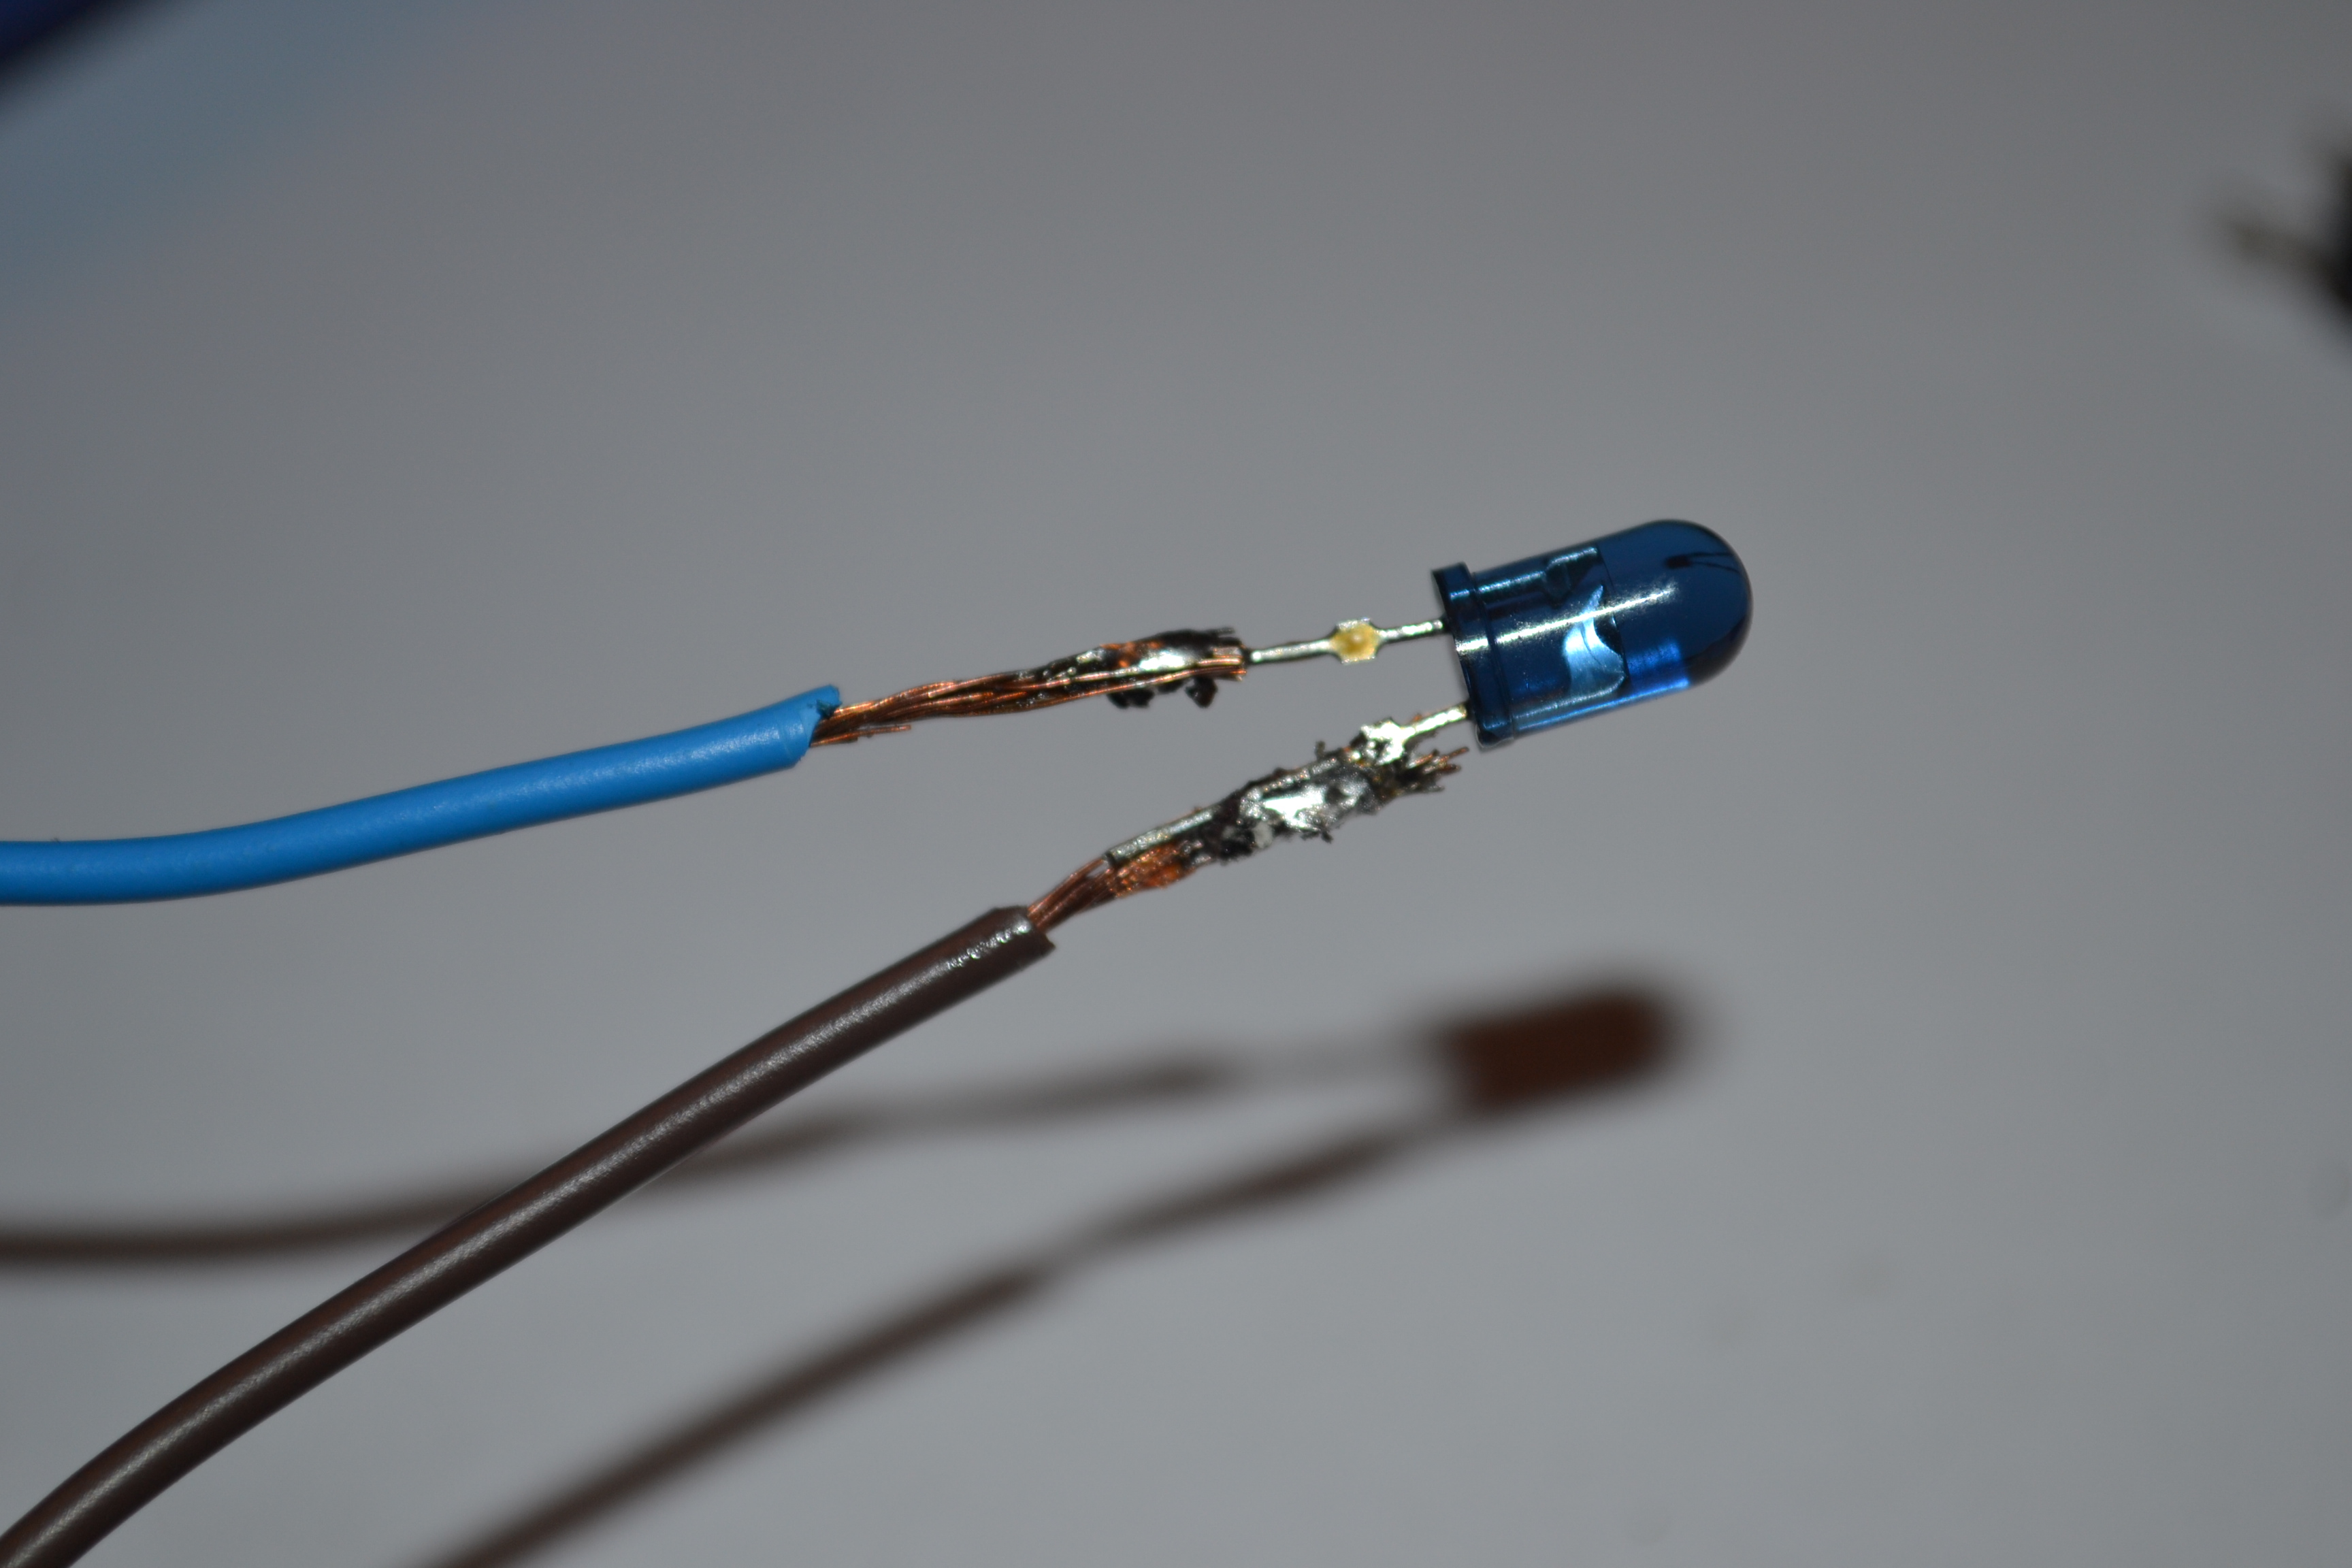
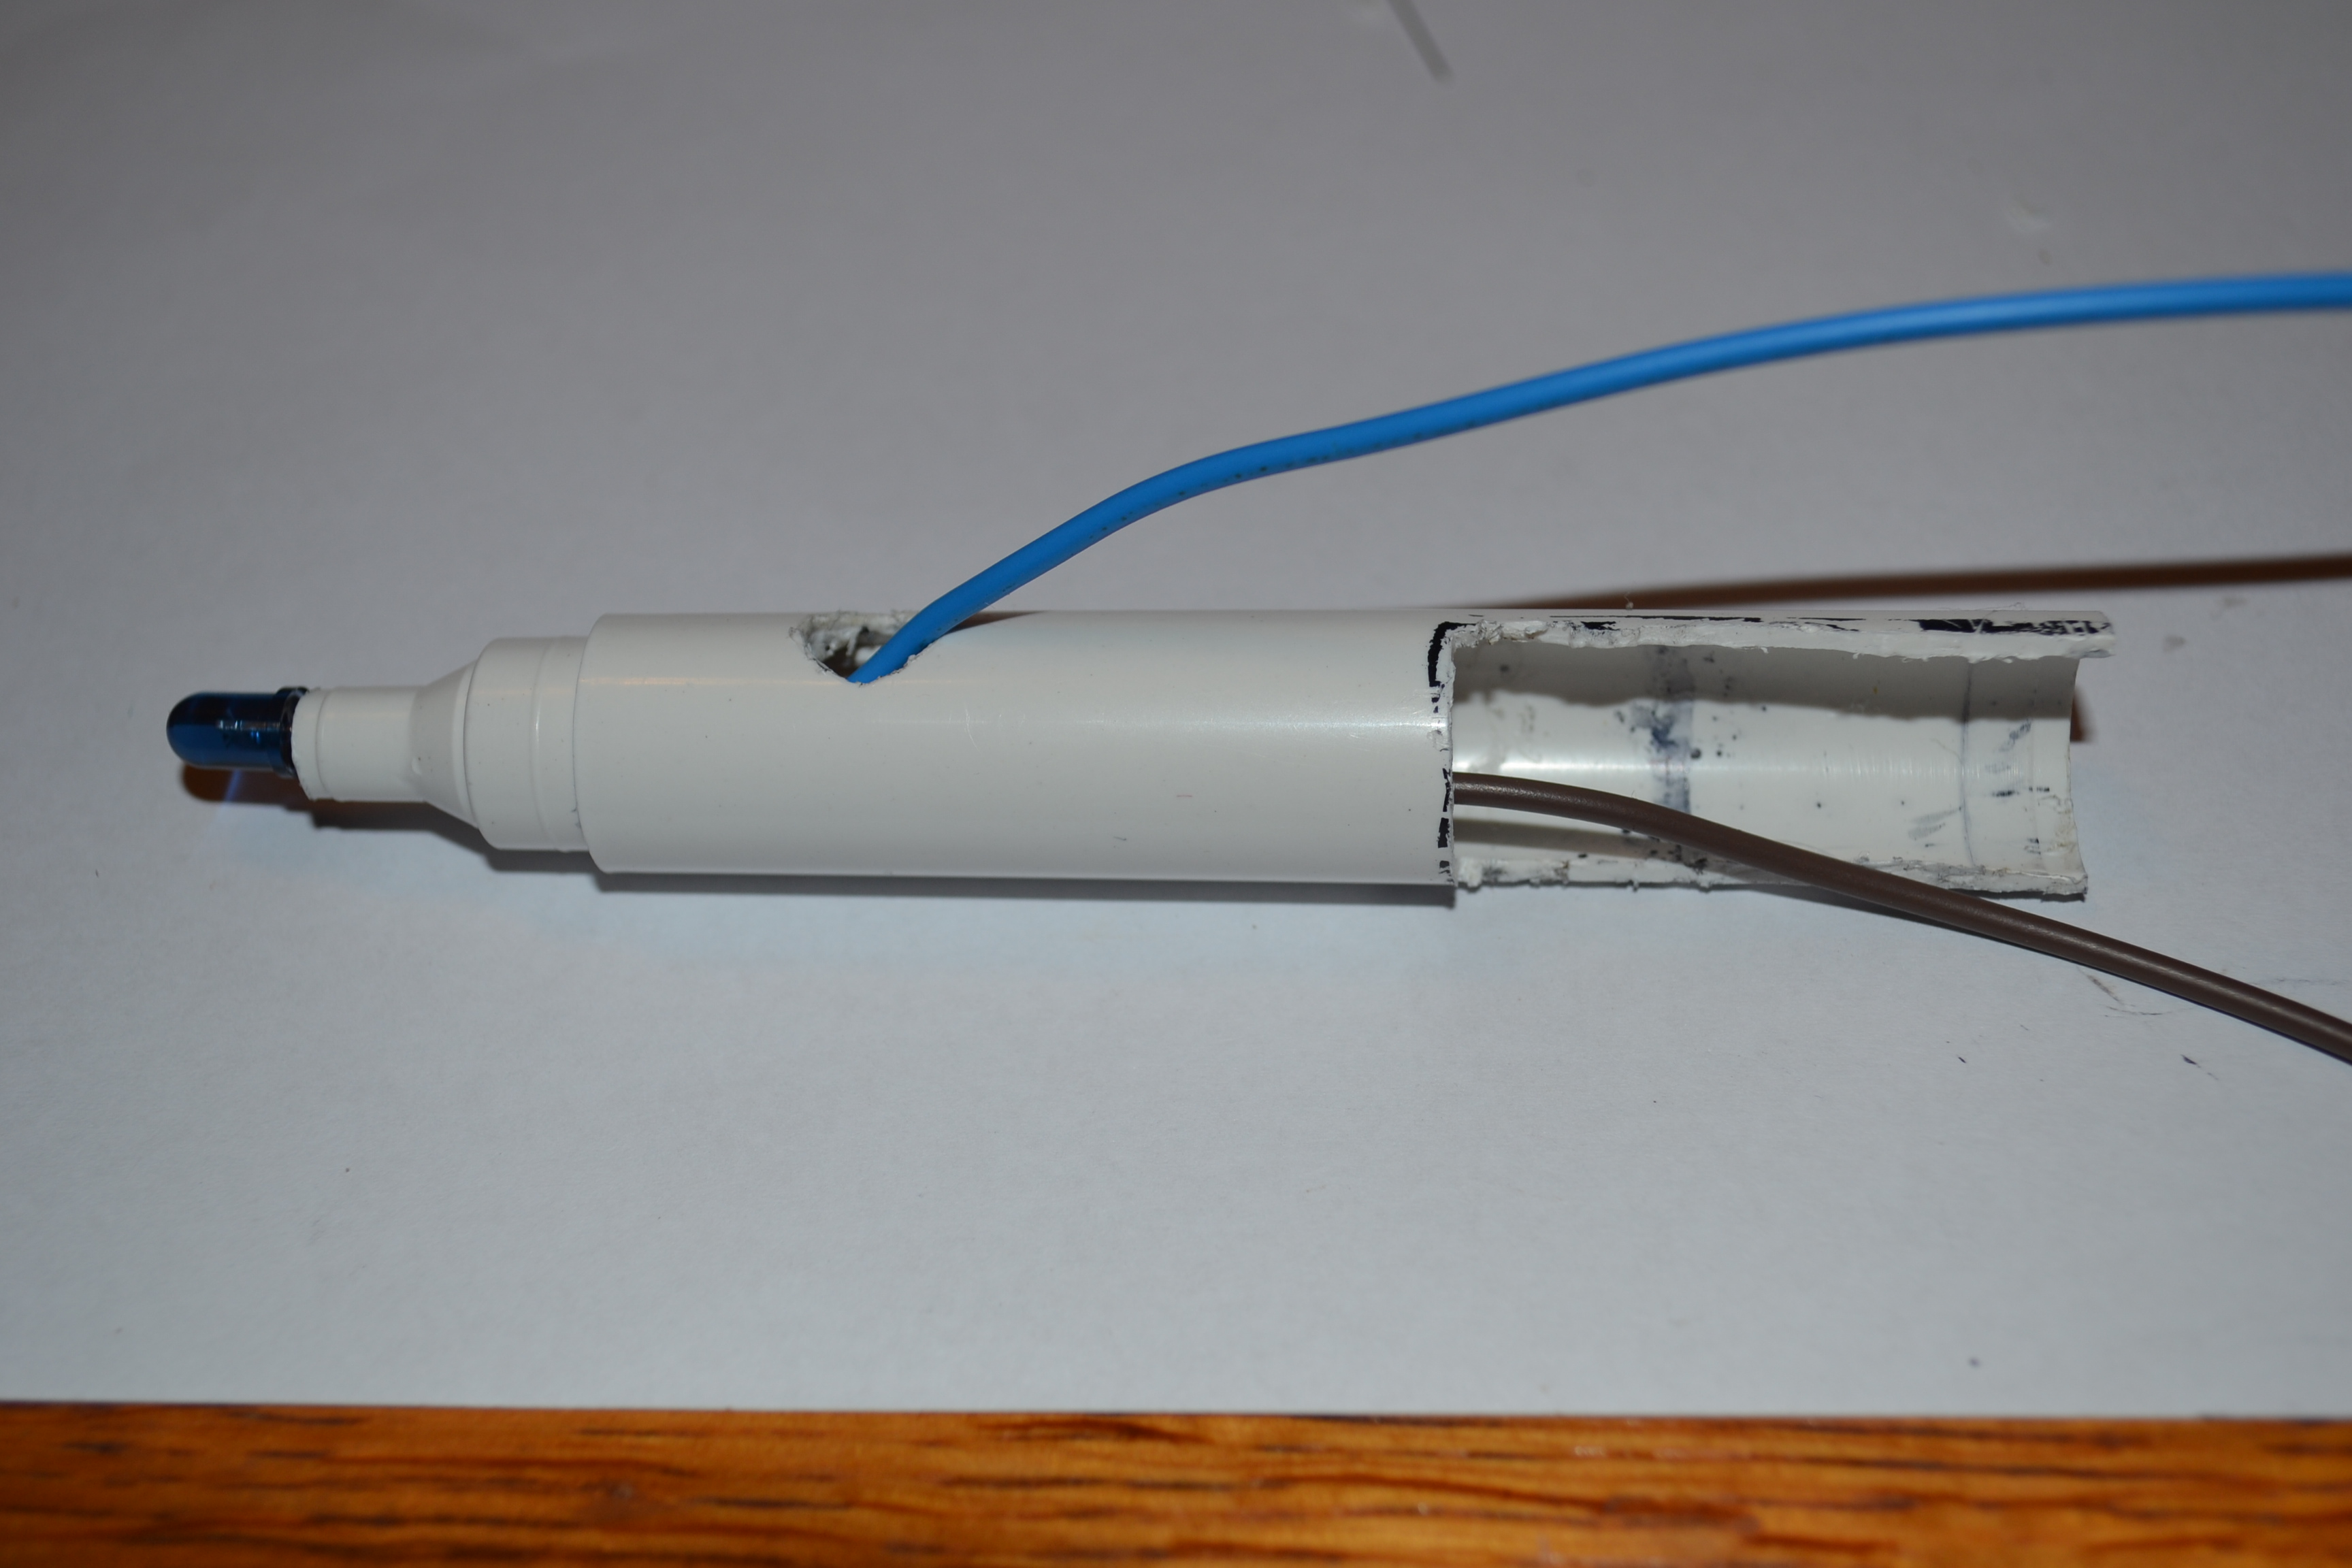
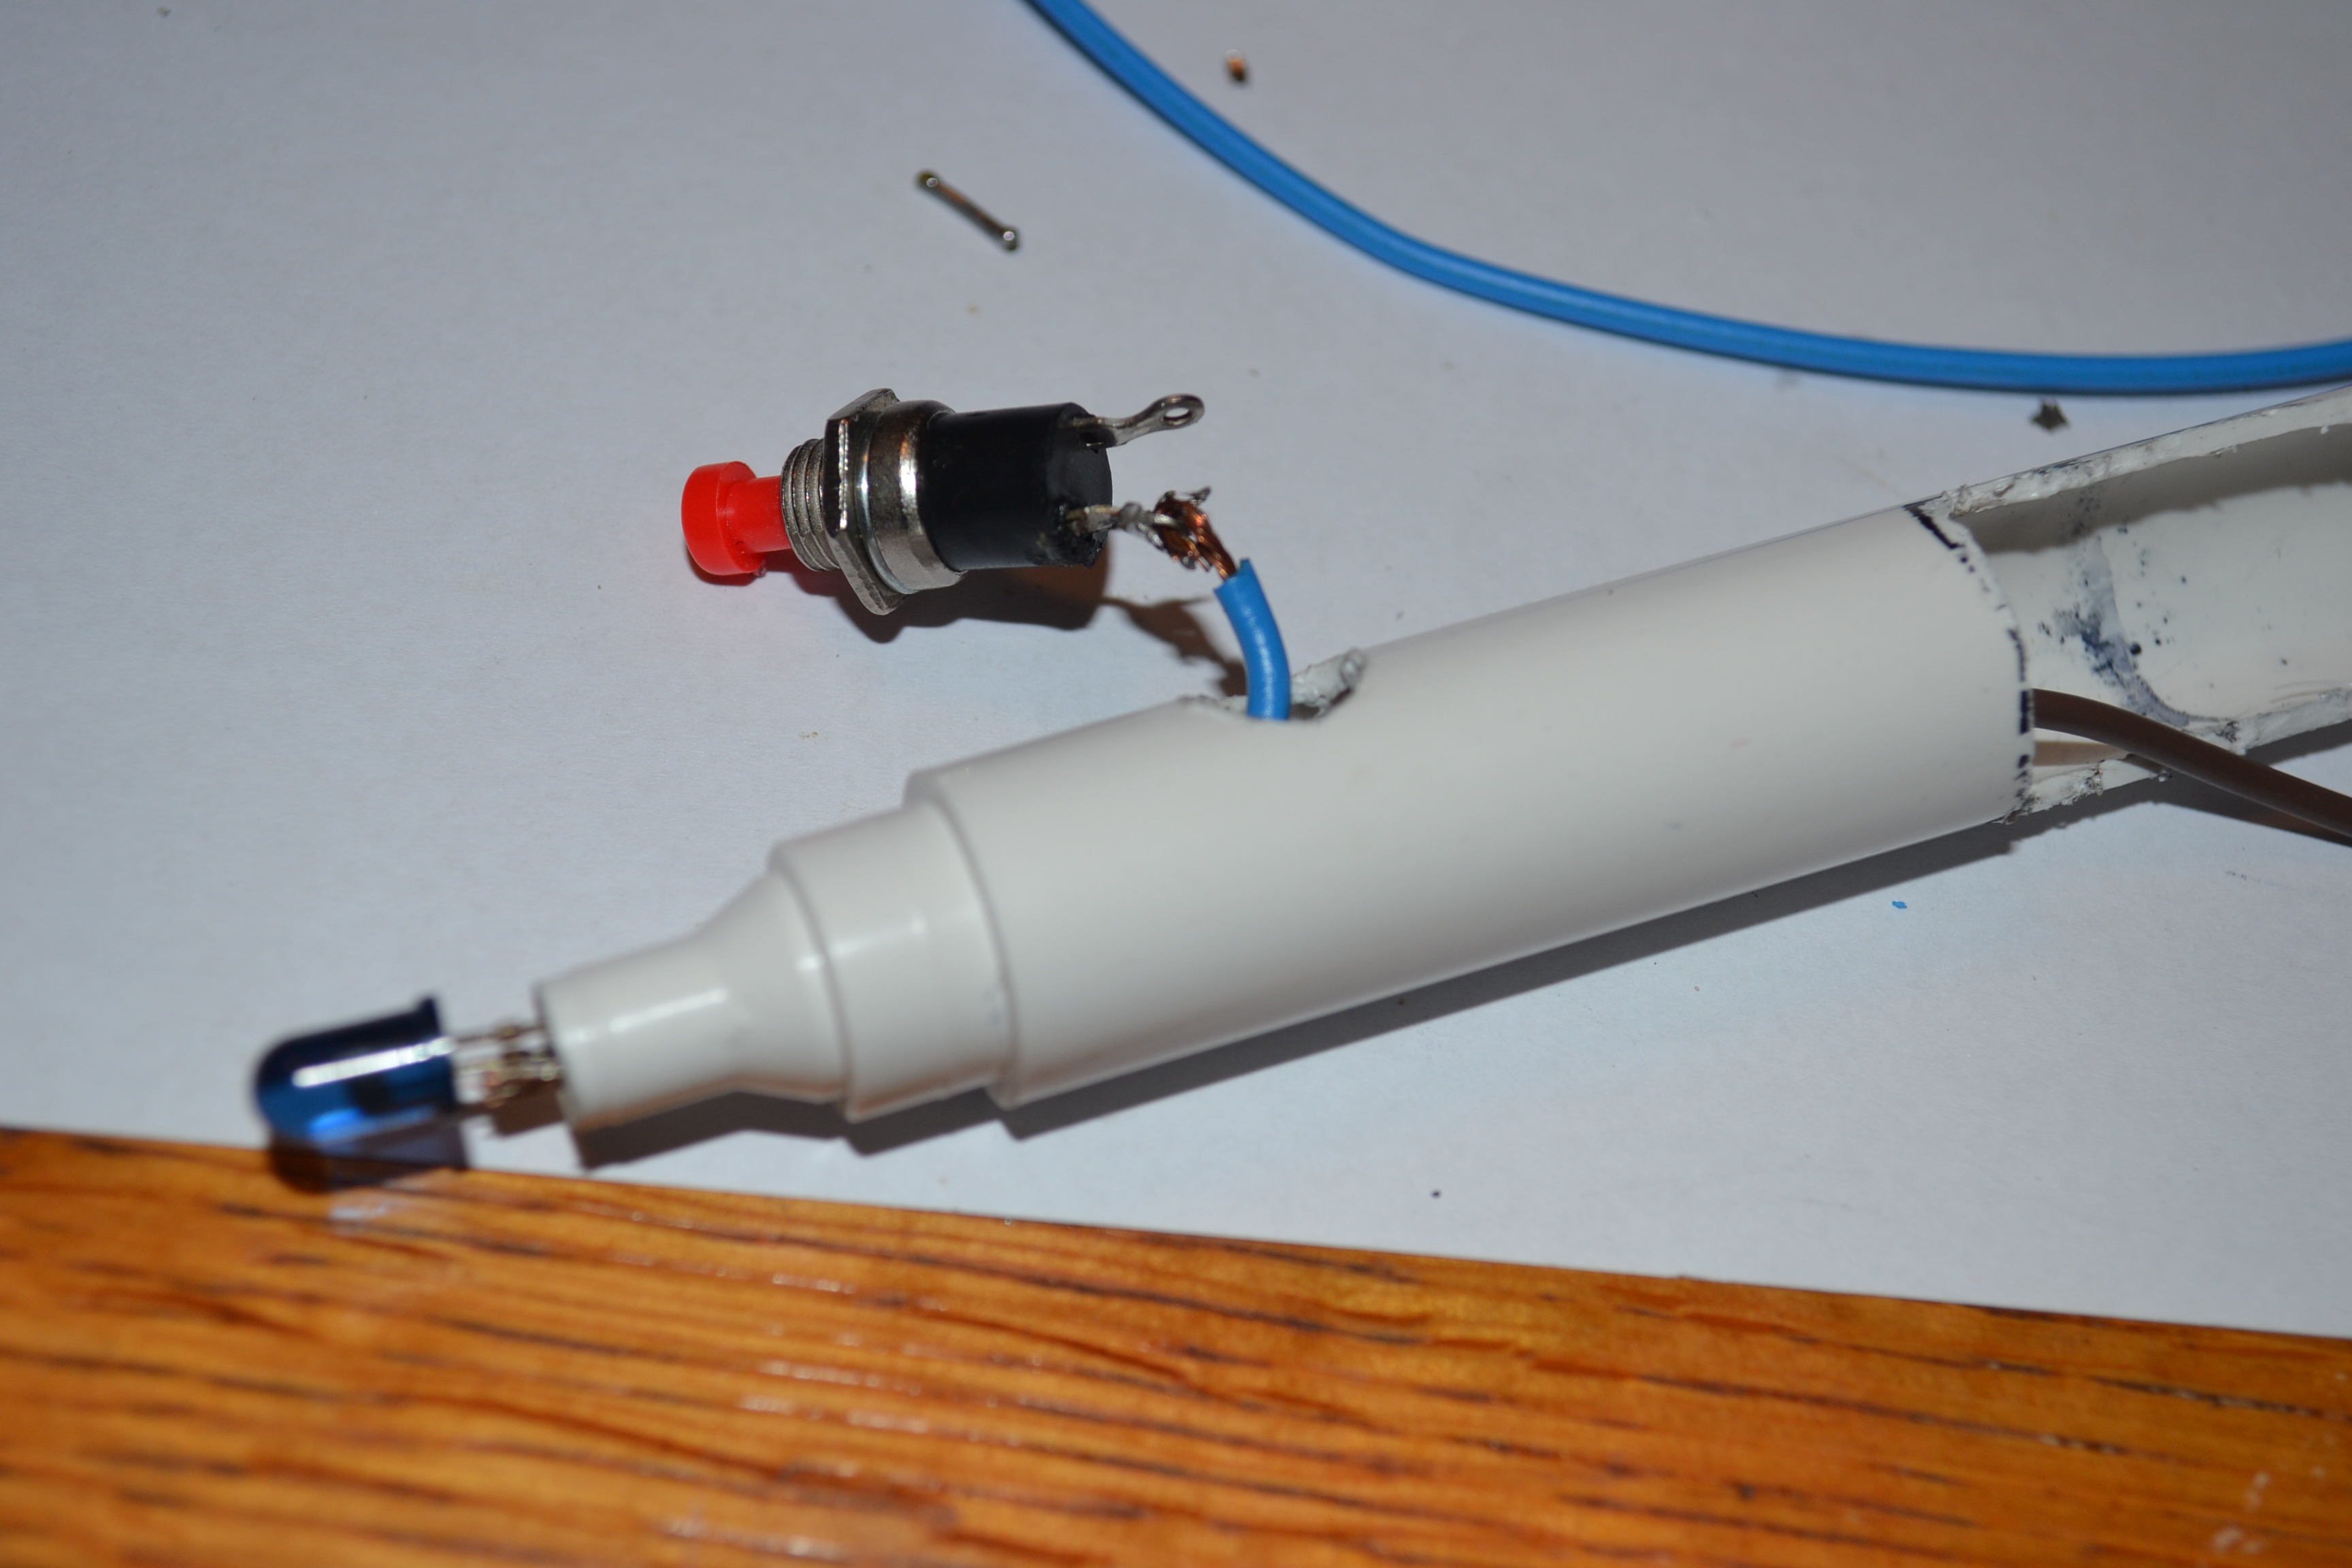
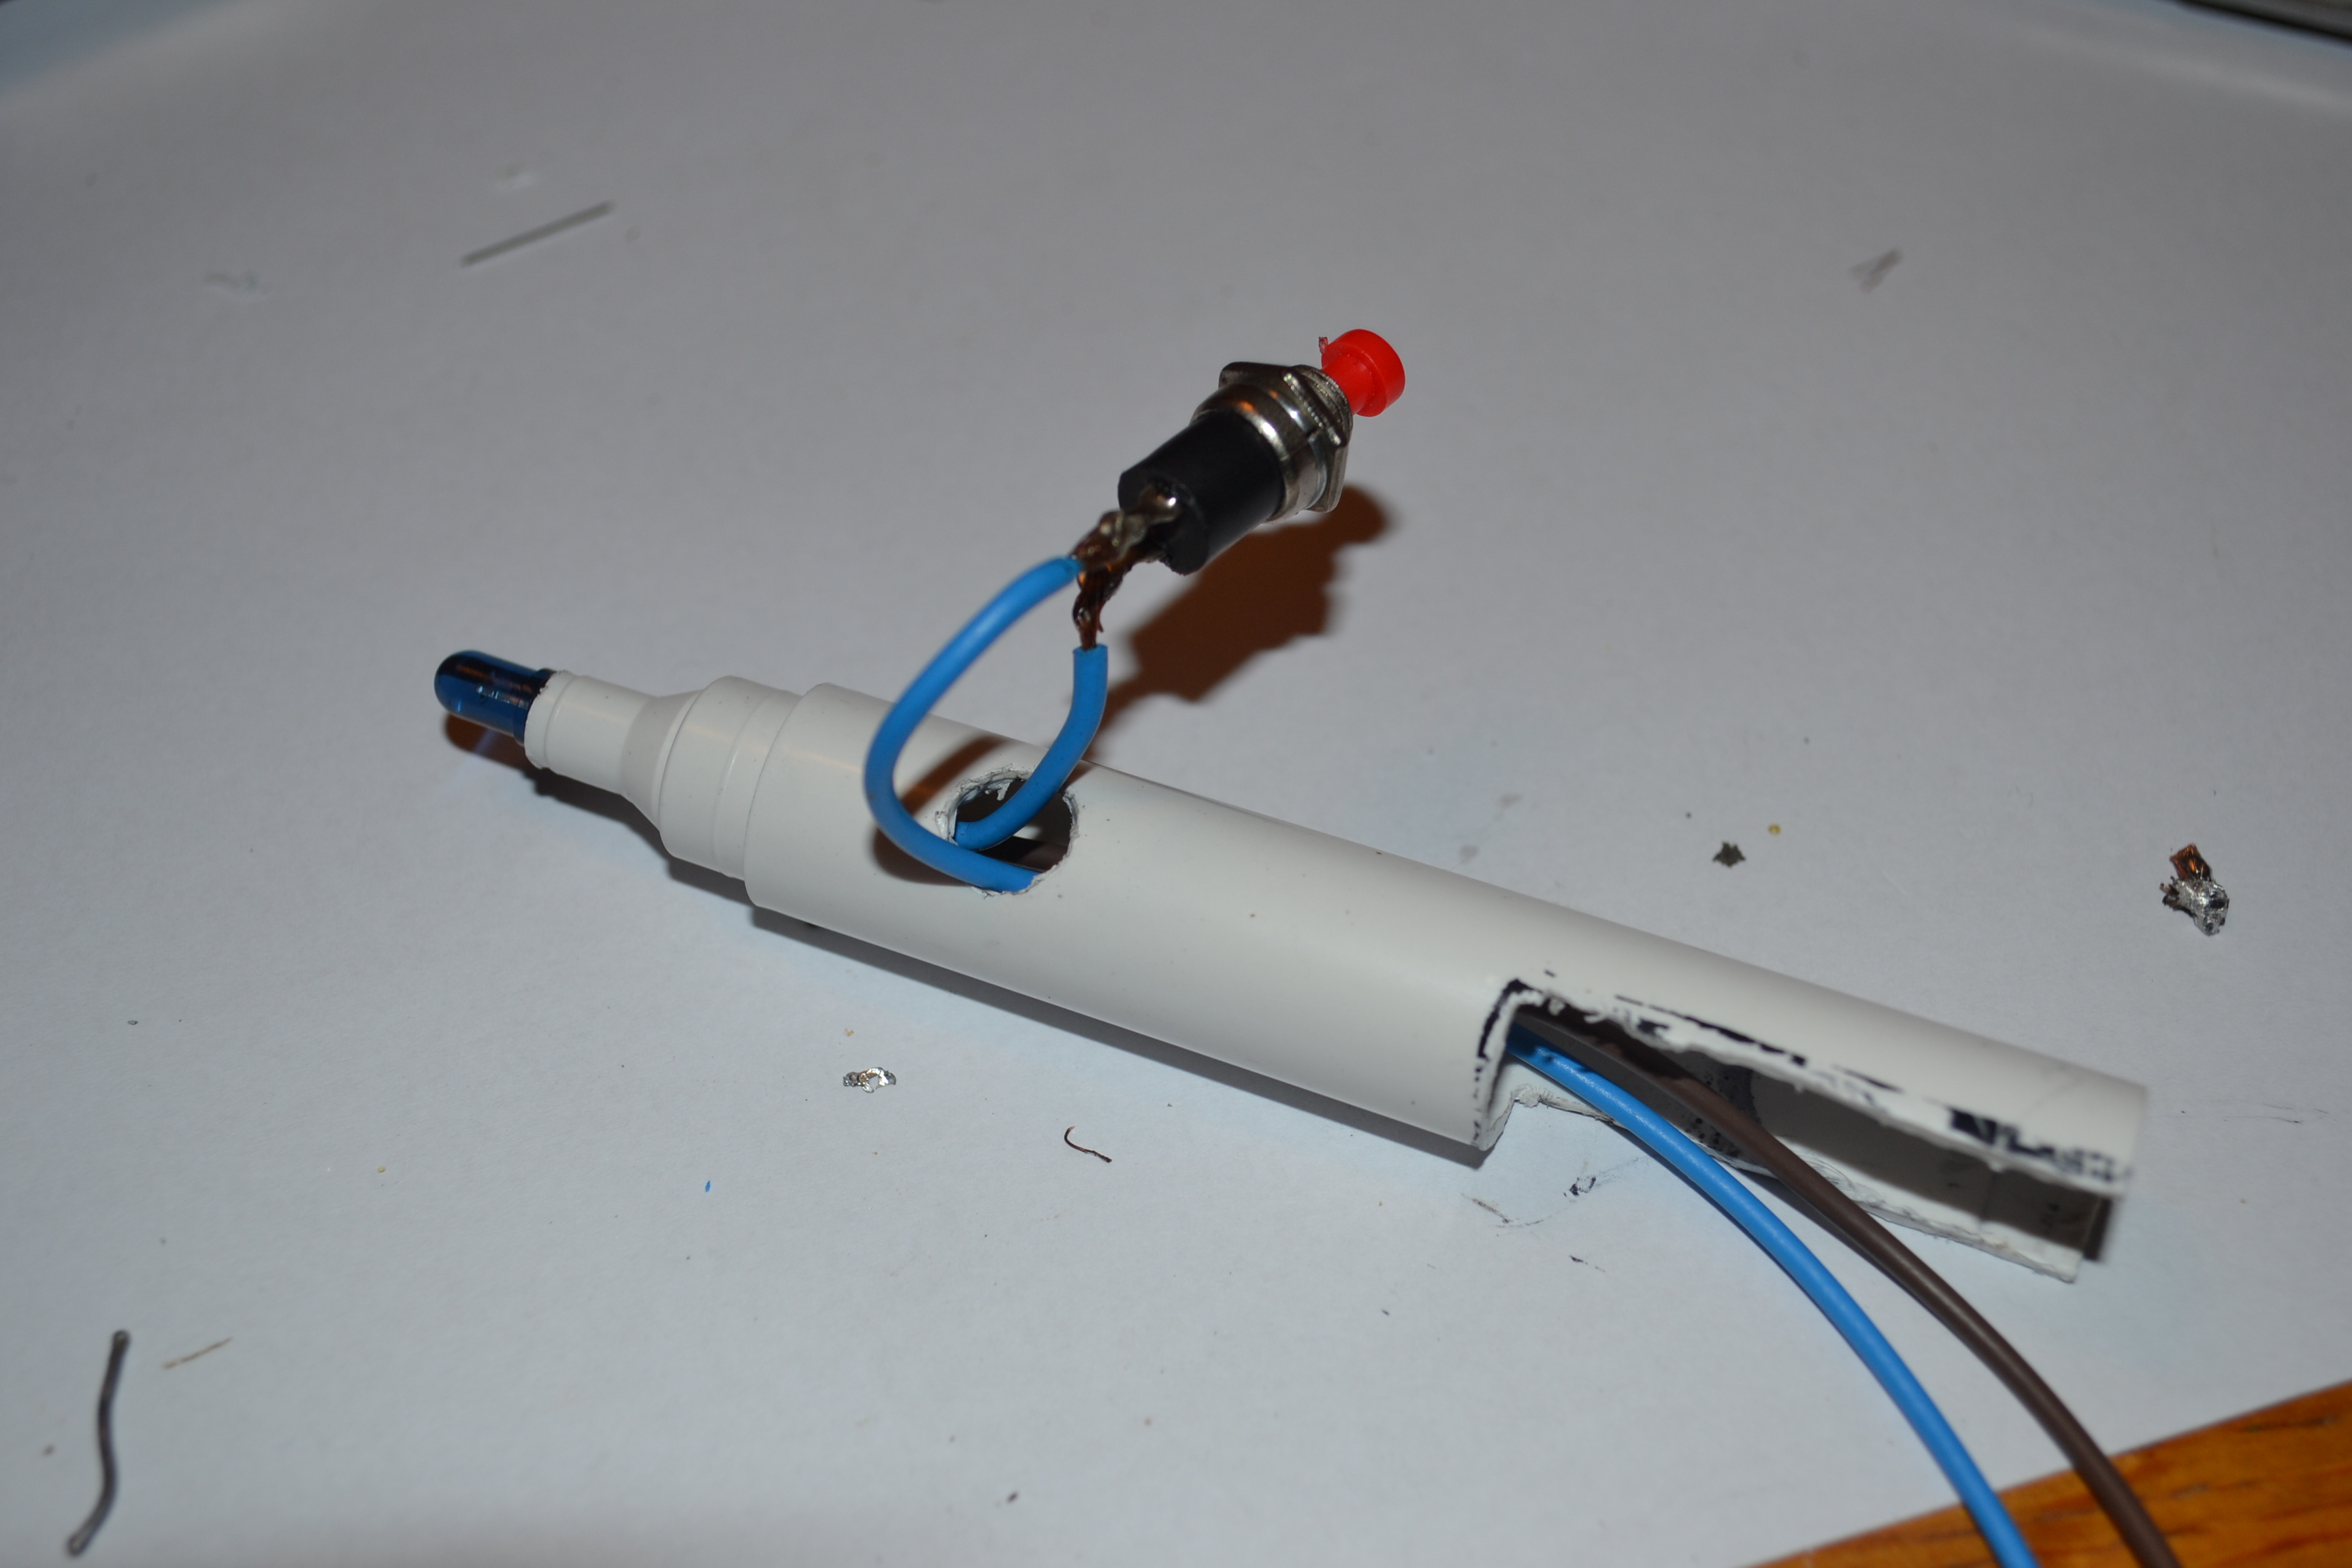
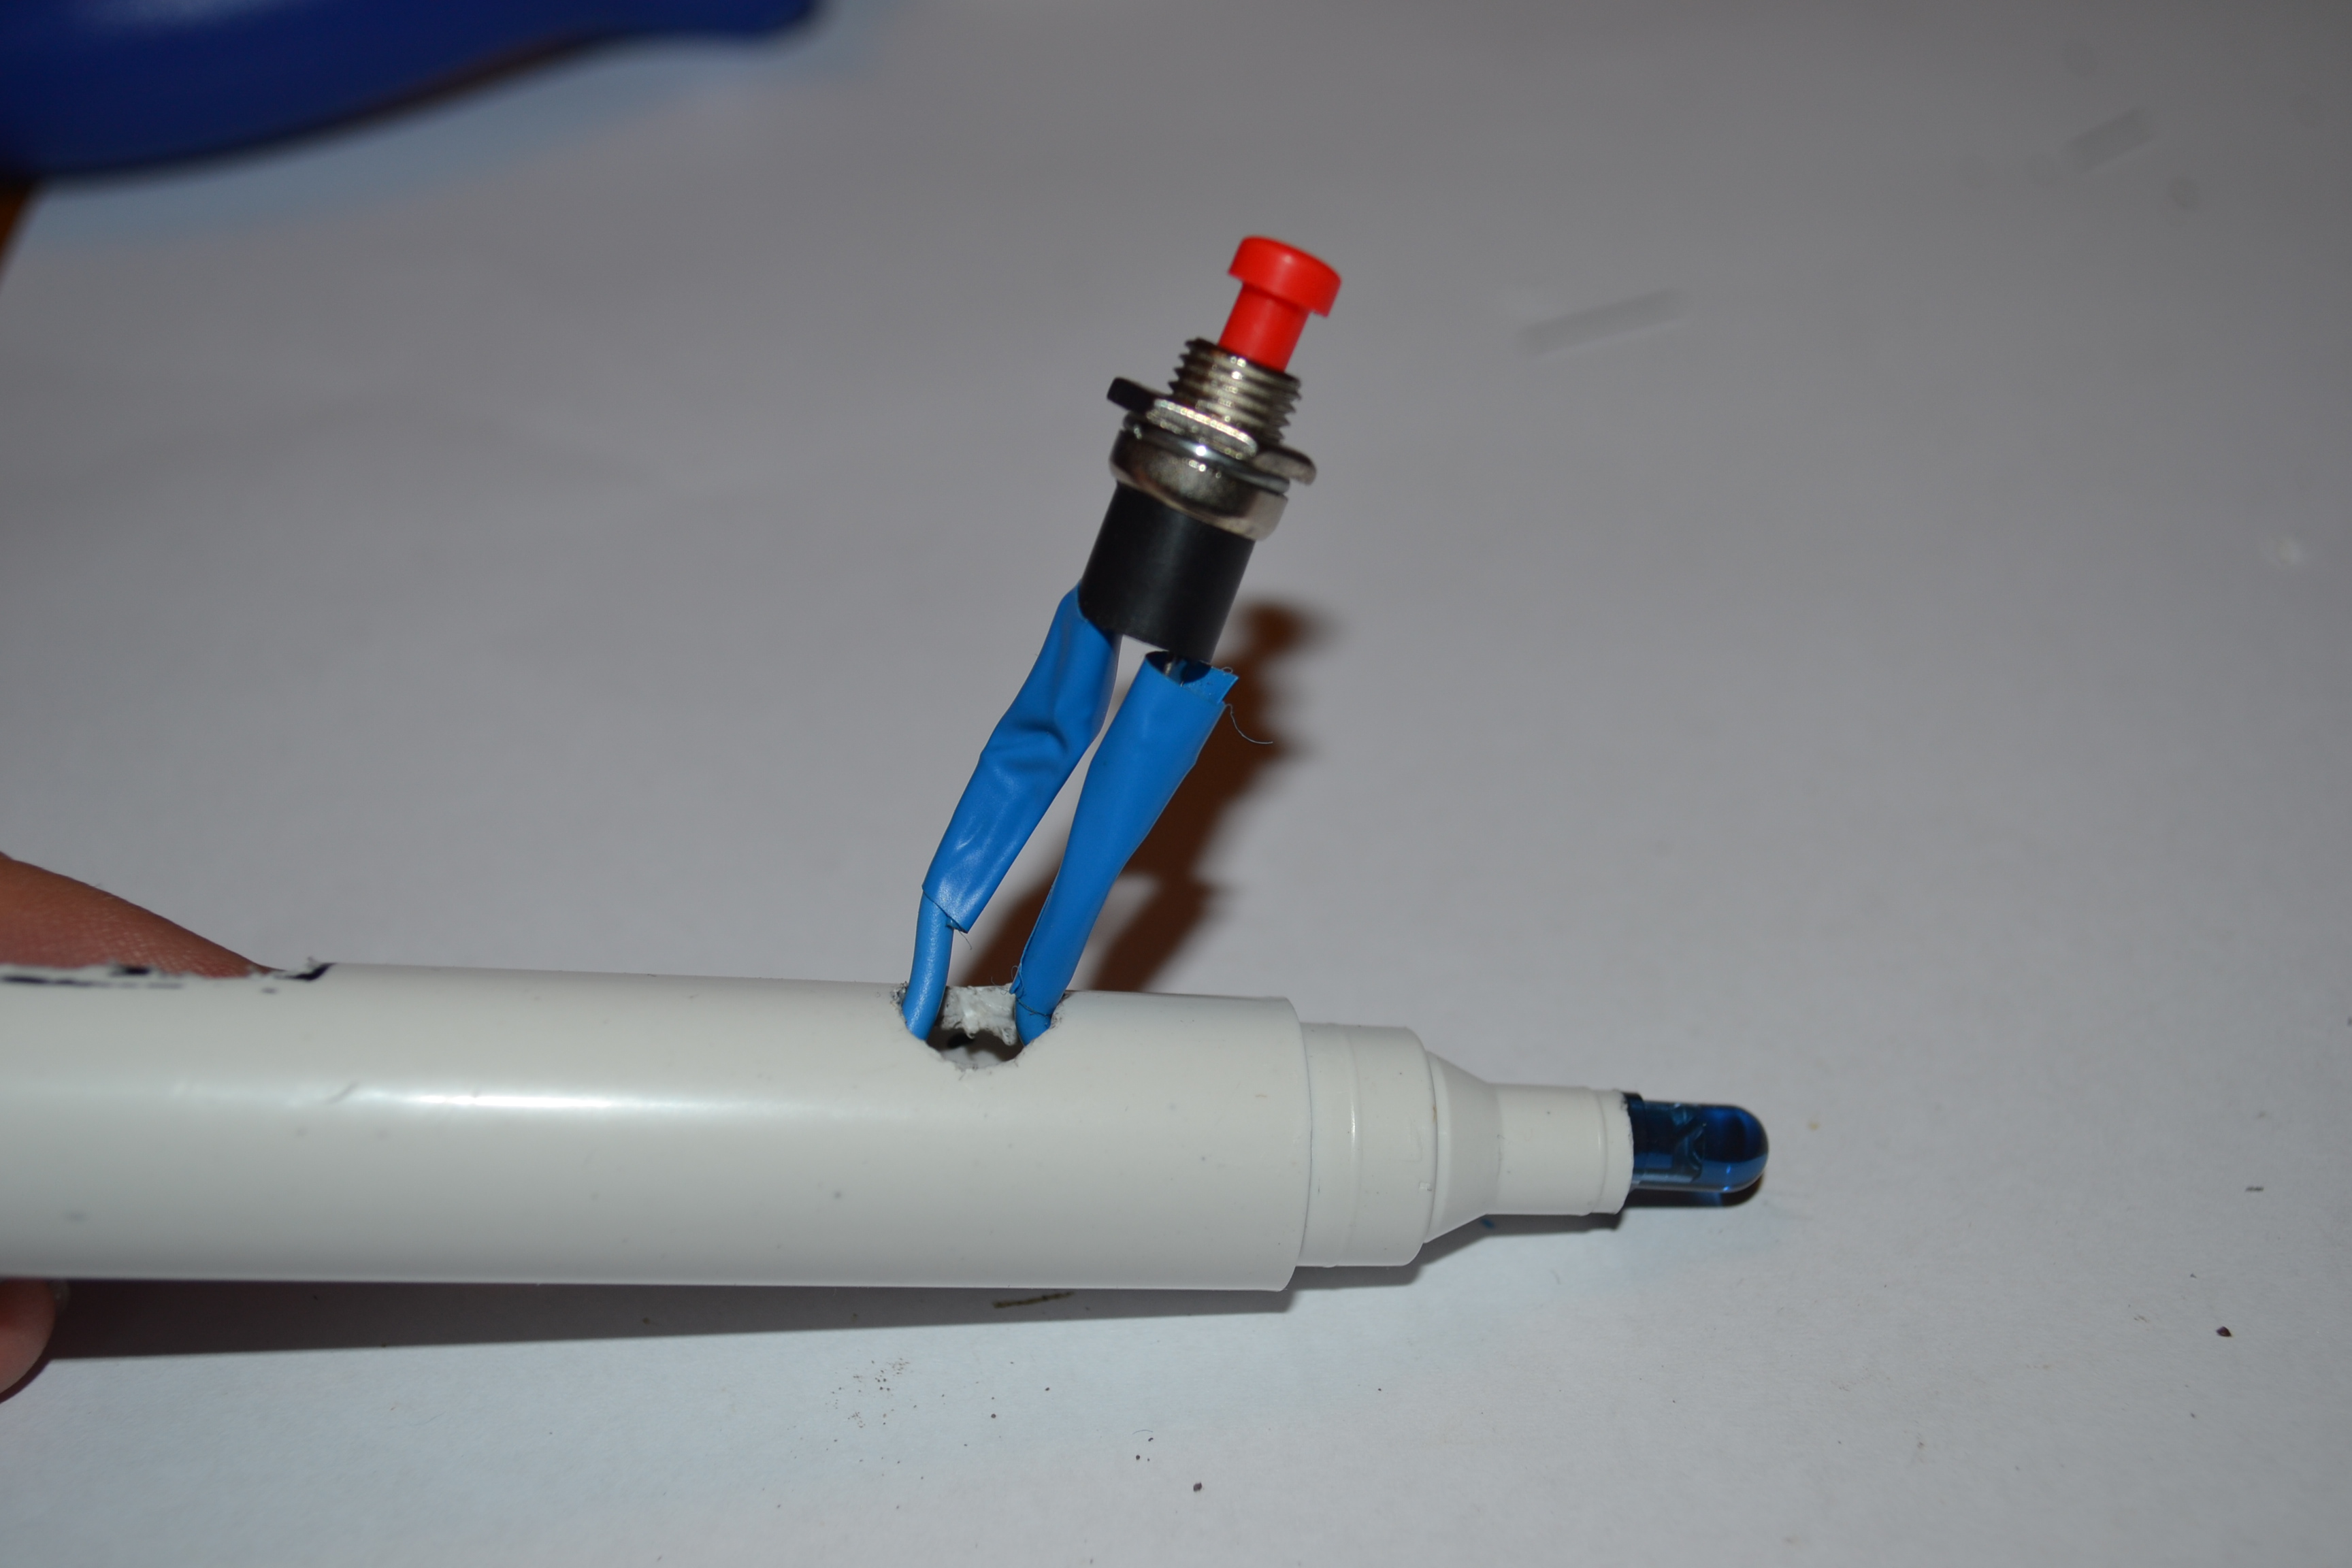
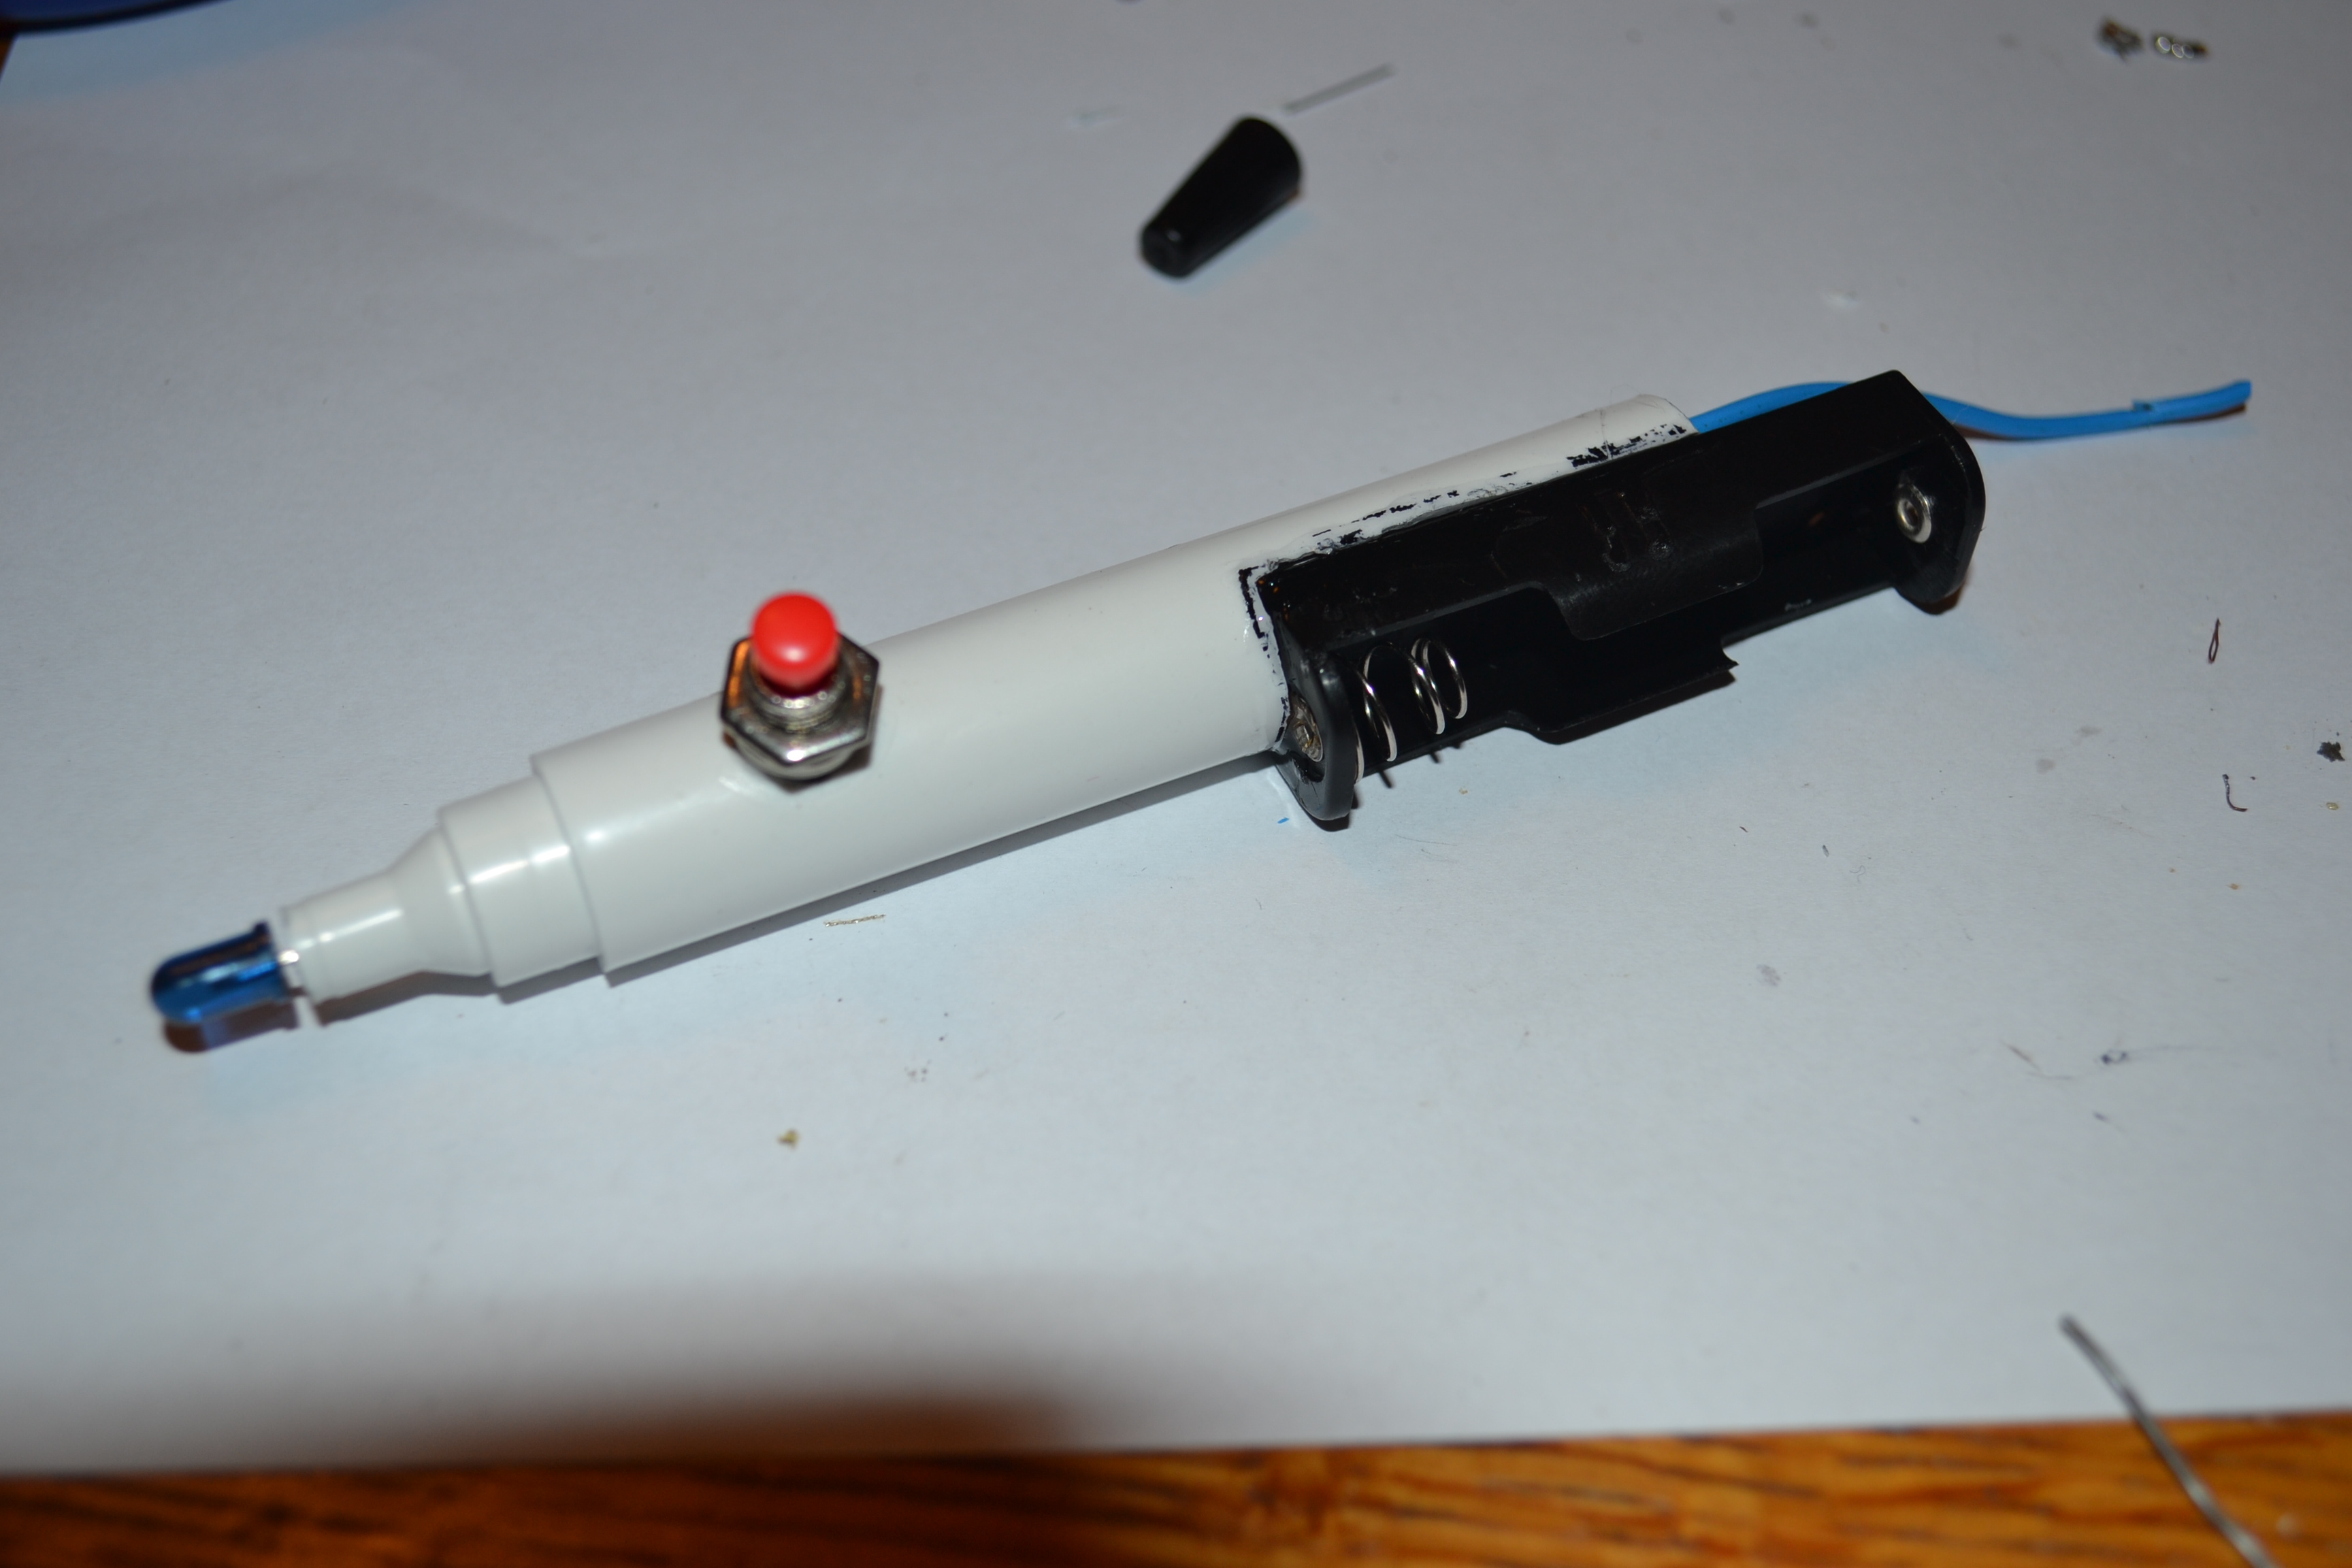
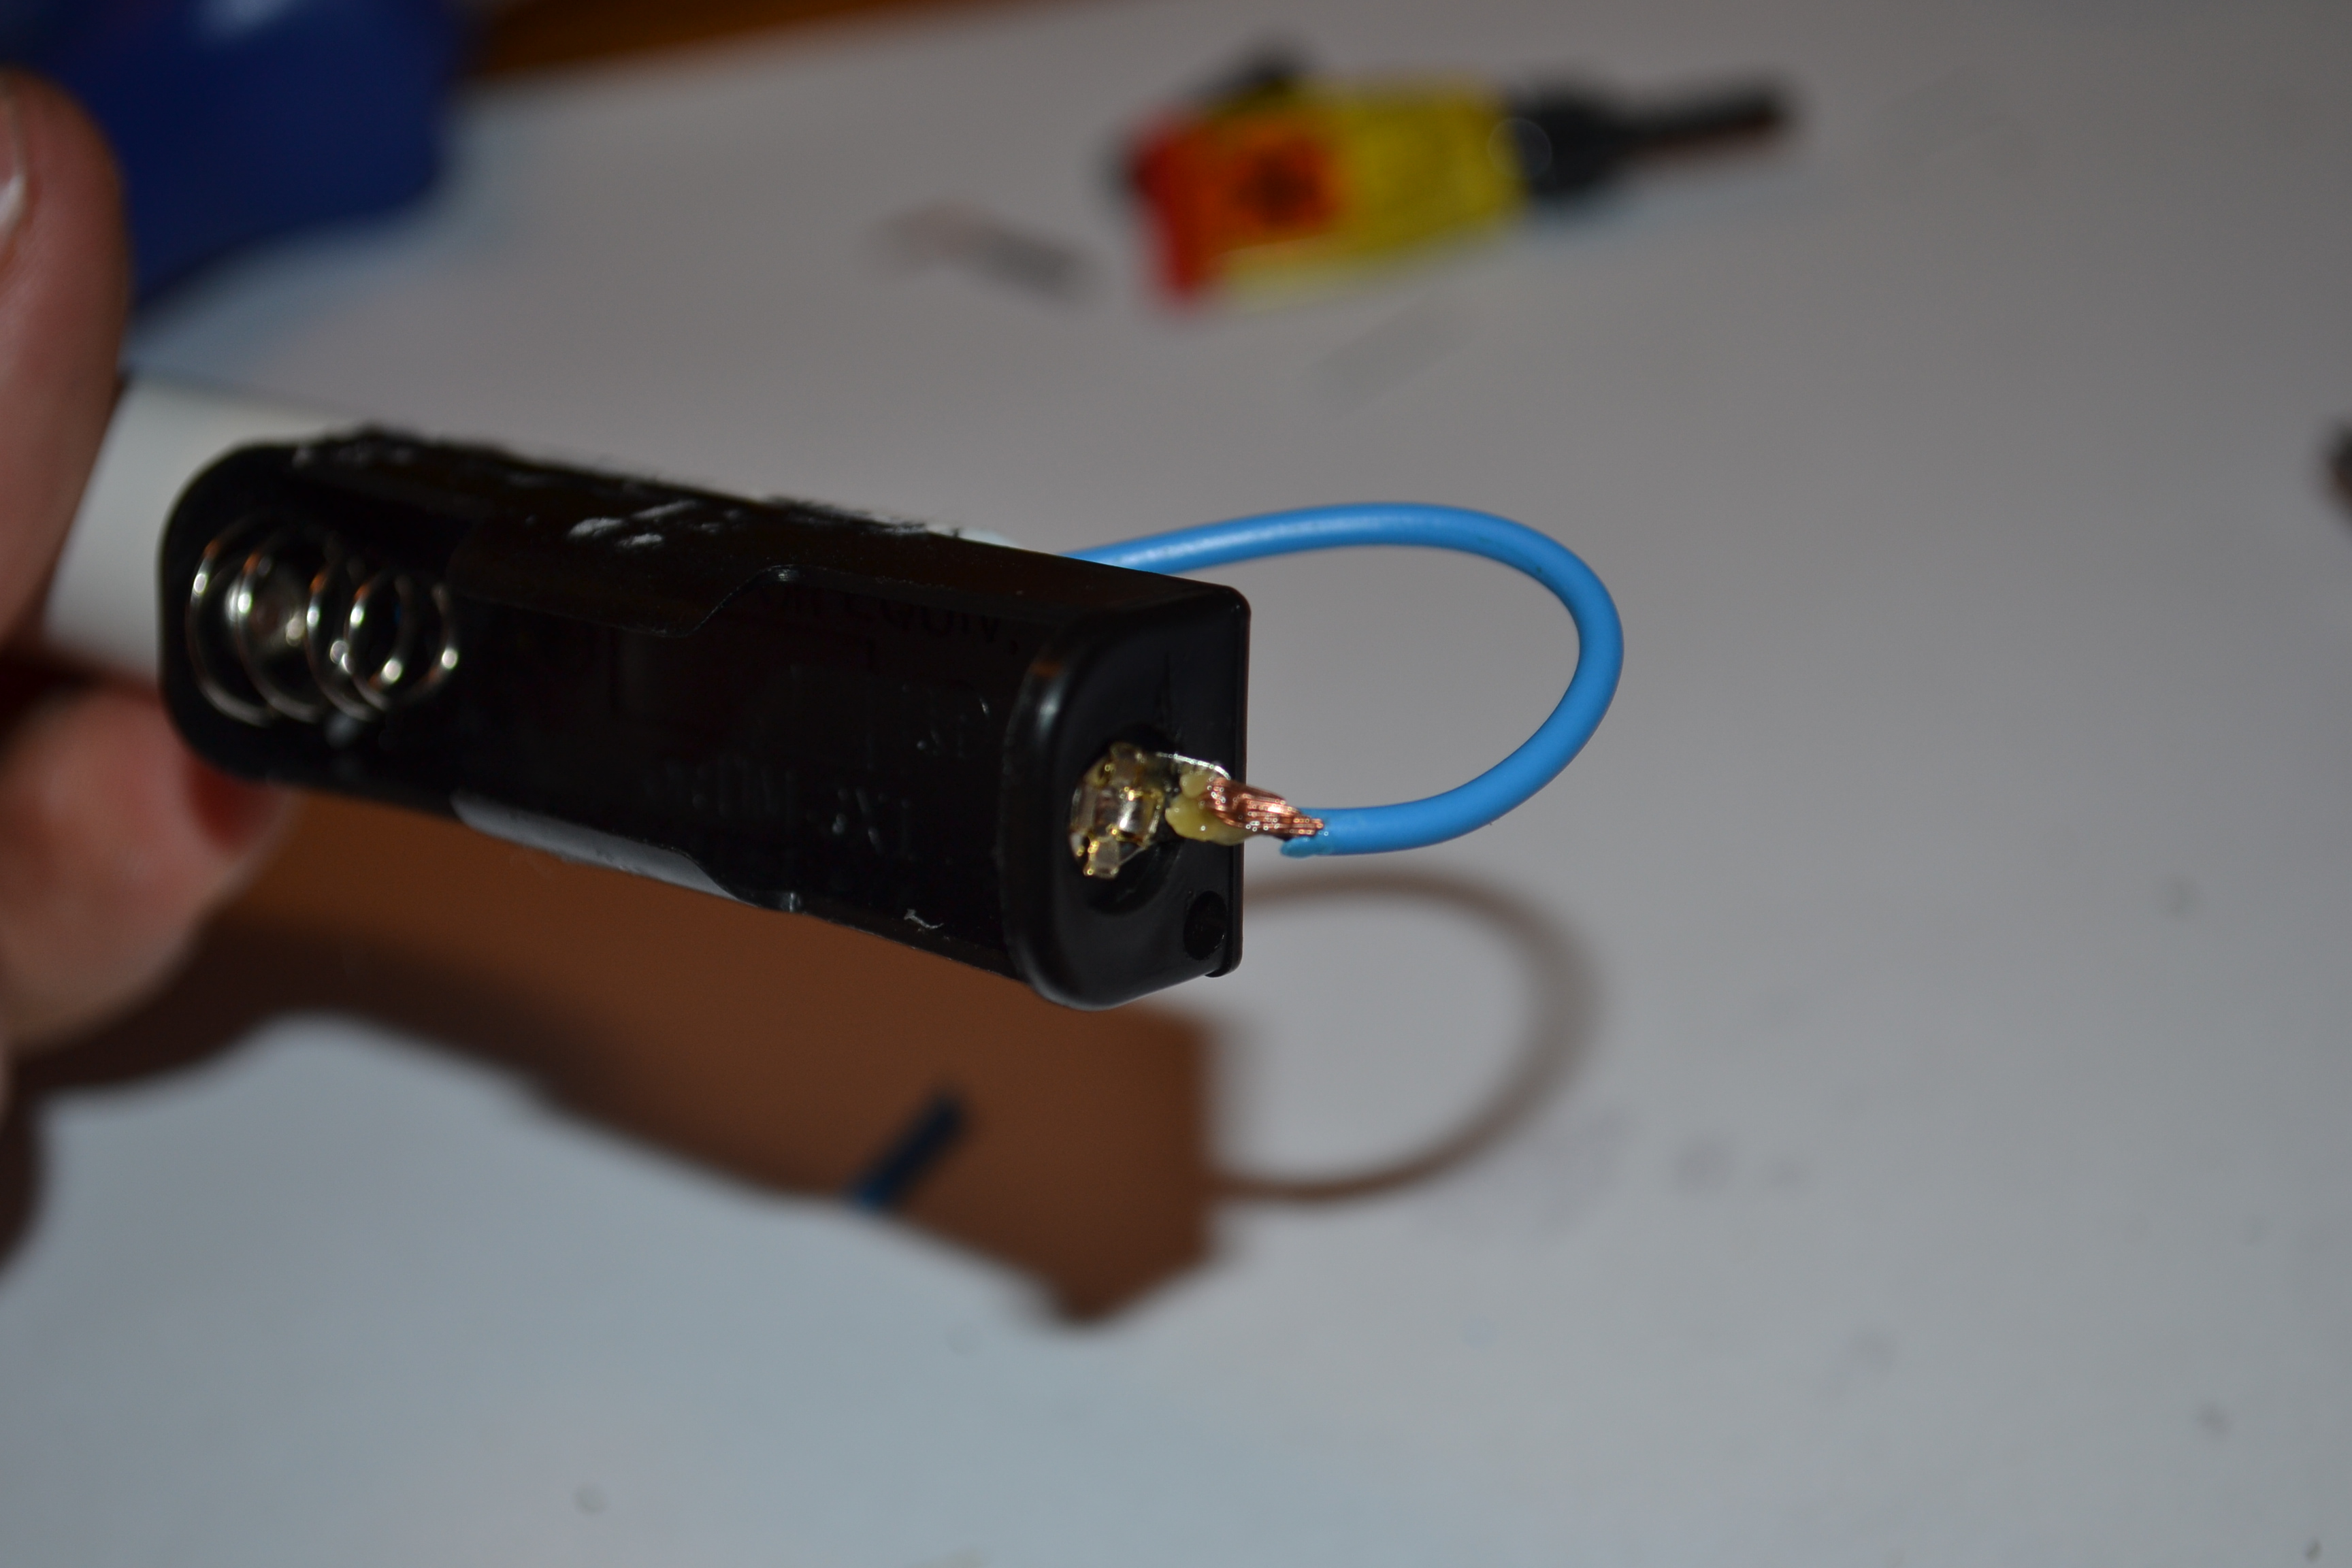
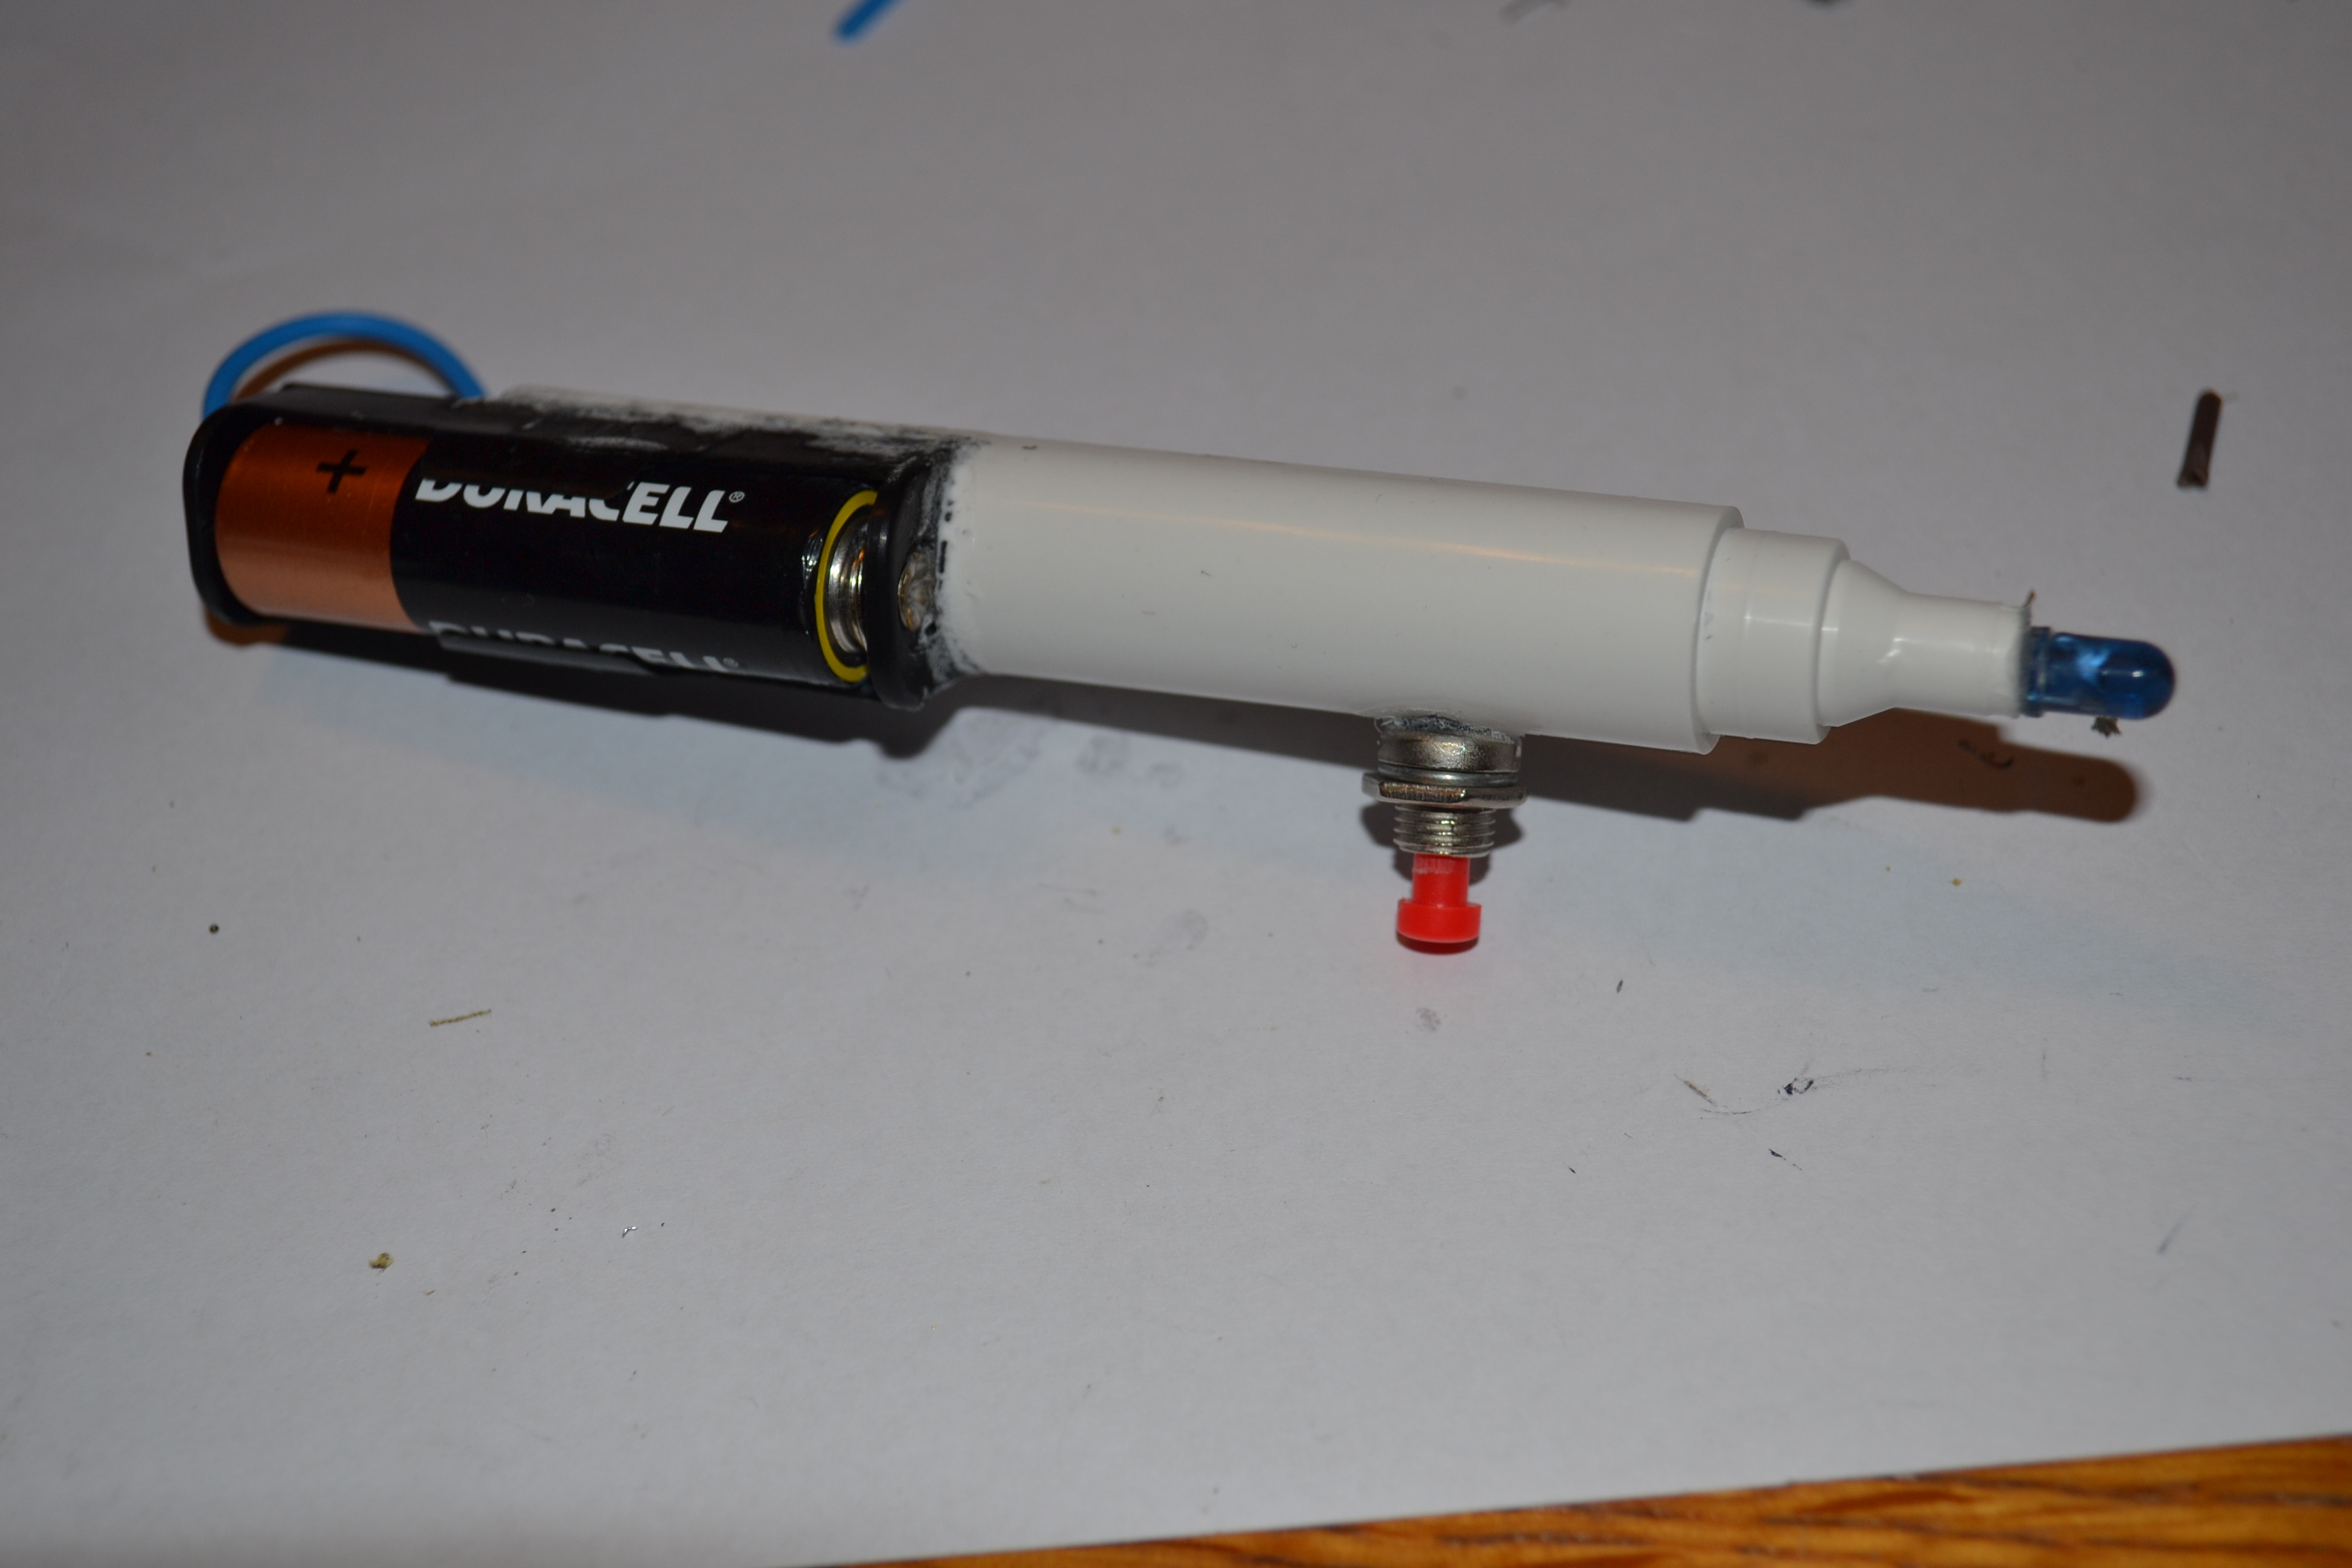
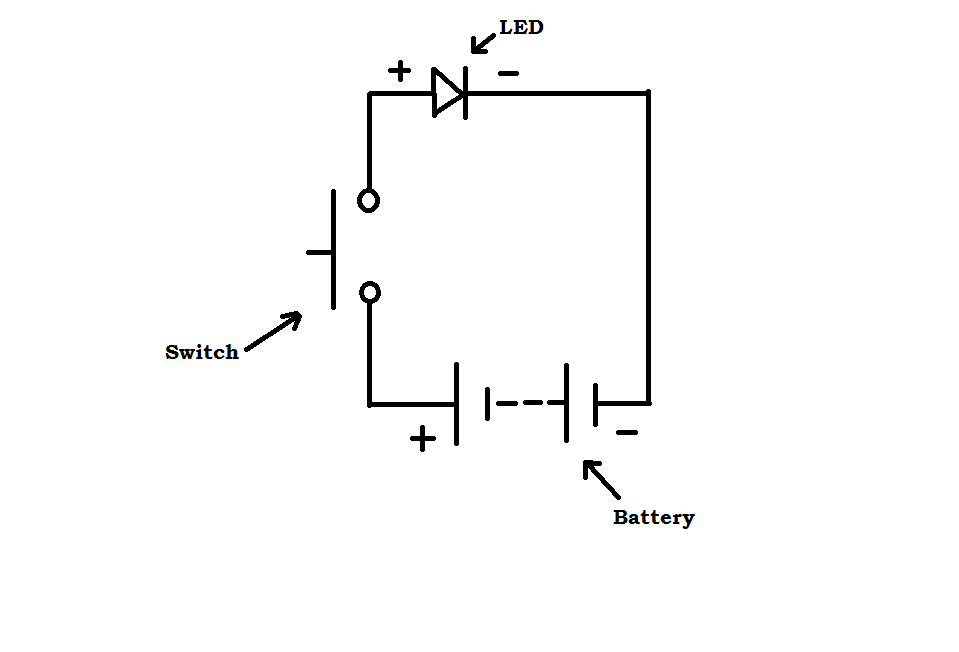
- LED has two wires, the longest one is positive, the shortest - negative
- First, cut off small parts of the LED wire, then solder them with wires (I used the blue wire for positive and brown for negative)
- Then I put the LED in the marker and pulled out the blue wire from the hole and the brown wire from the end of the marker.
- Then solder the blue wire to the both sides of the switch, and after that, pull the blue wire (one that's going away from switch) out of the end of marker
- Solder the blue wire(positive) to the positive side of the battery holder and the brown wire(negative) to the negative side.
- Last thing, glue the led, switch and battery holder onto the marker
Connecting Wiimote to Computer
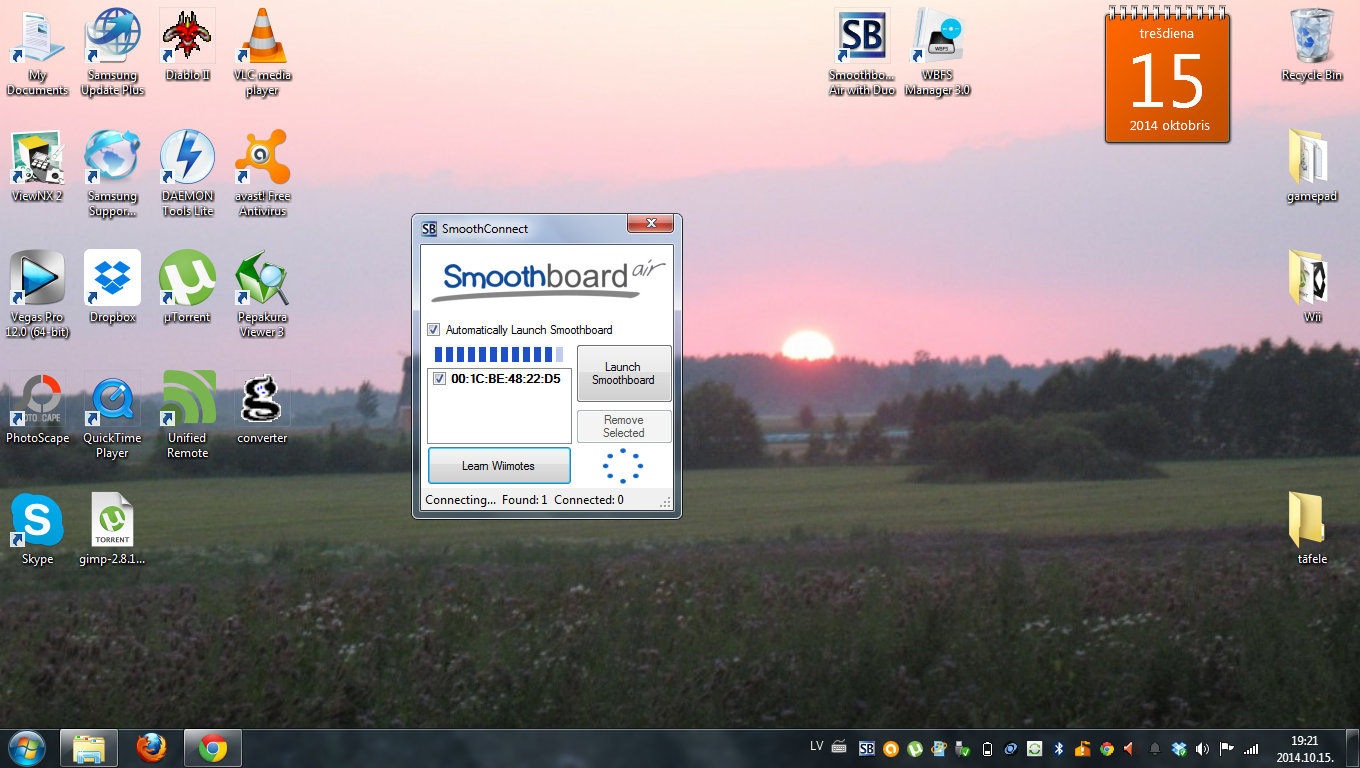
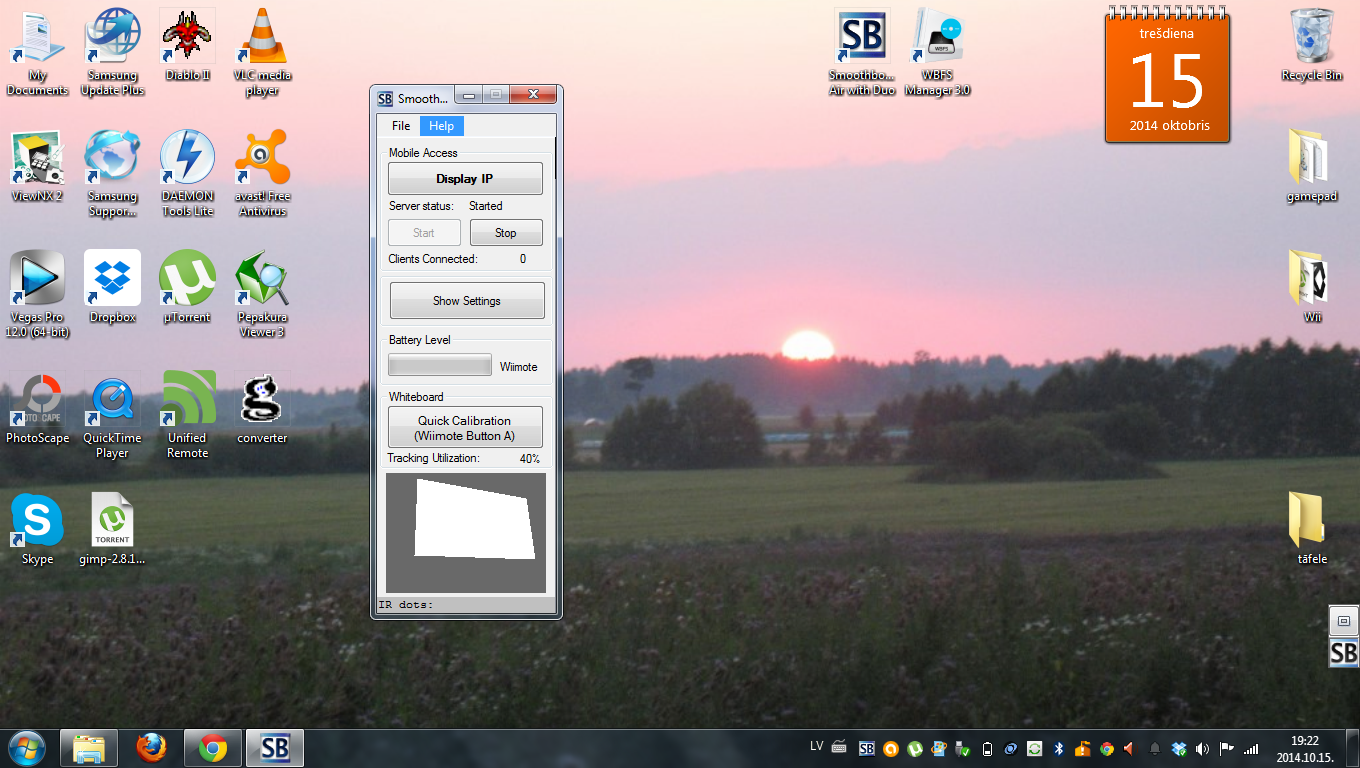
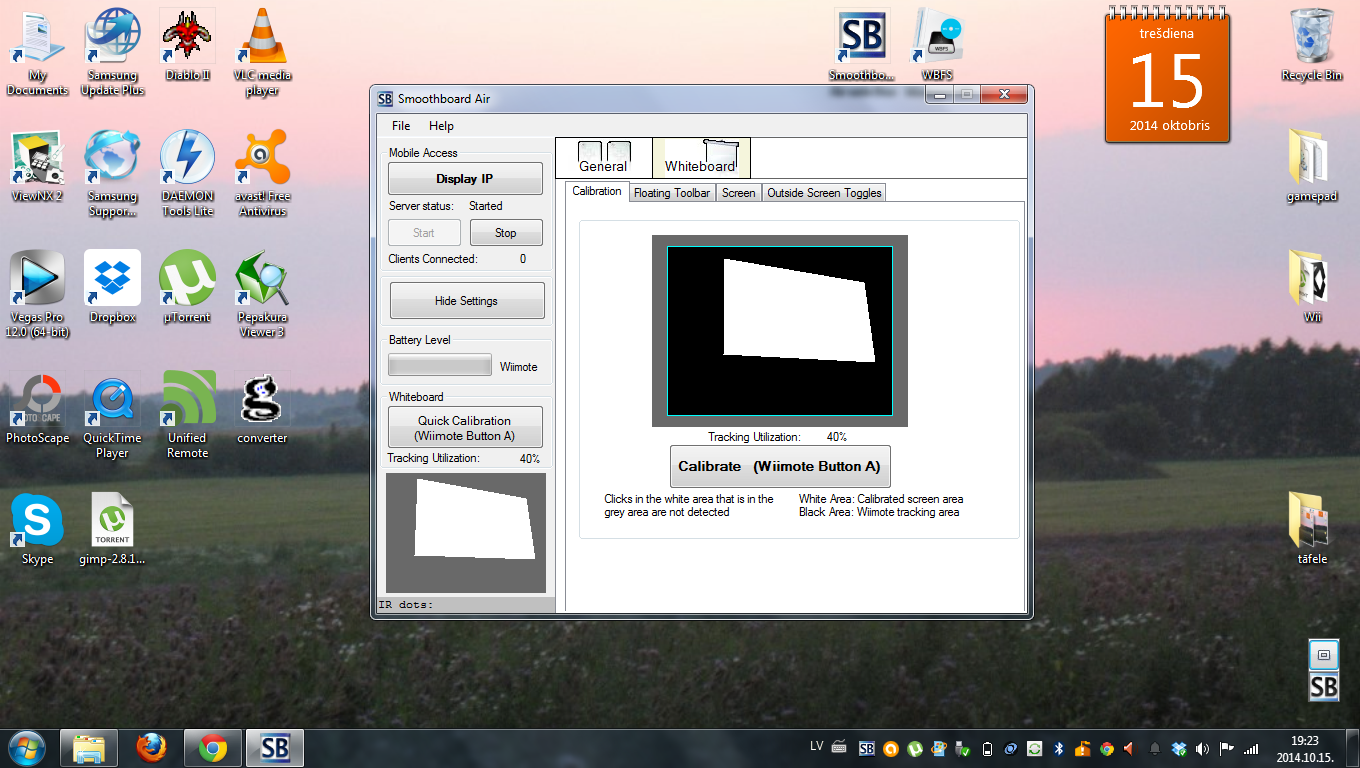

There are many programms that can be used, I choose SmoothBoard (http://www.smoothboard.net/download/)
- First connect your Wiimote to your computer using bluetooth (click on bluetooth icon on the toolbar and select "Add a device", then press and hold button 1 and 2 simultaneously on your wiimote)
- Then open Smoothboard and wait until Wiimote connects, then press "Launch smoothboard"
- After that, you can either press "Quick calibration" or press "Show settings" and "Calibrate"
- To calibrate the device, press on the four circles in the corners of the screen using your infrared pen
That's it, now you can use your homemade Interactive Board!!!
Preview
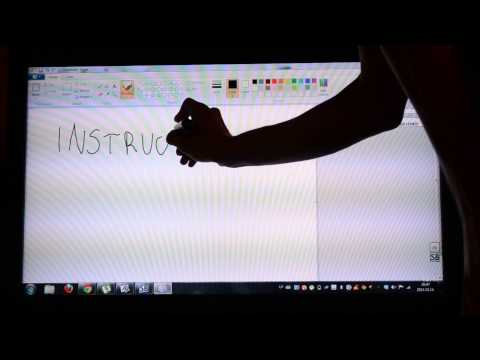
Here's a small preview of how it works.
It's a multi-touch device(up to four touches), can be easly used on any surface!
If you need any help or you don't understand something, you can easly private mail me any time, I'll try to answer as fast as I can!!
Have Fun!!!!