Homebrew PCB Shaker for Etching Using an Old DVD Rom!
by earldanielph in Circuits > Tools
8468 Views, 93 Favorites, 0 Comments
Homebrew PCB Shaker for Etching Using an Old DVD Rom!
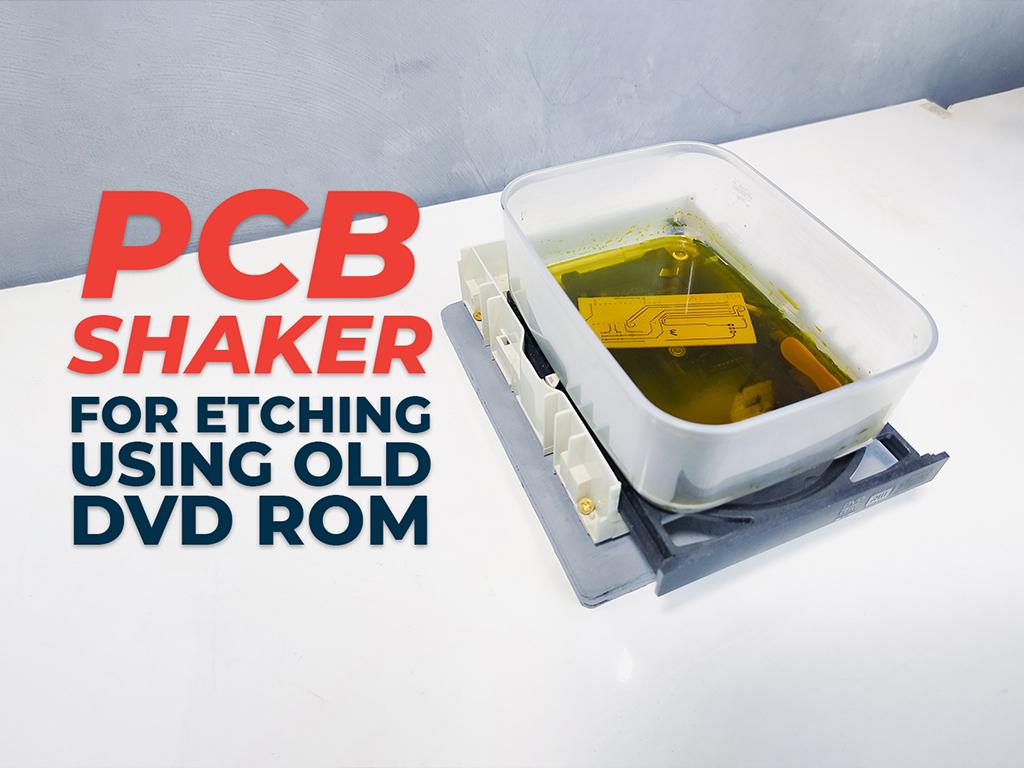
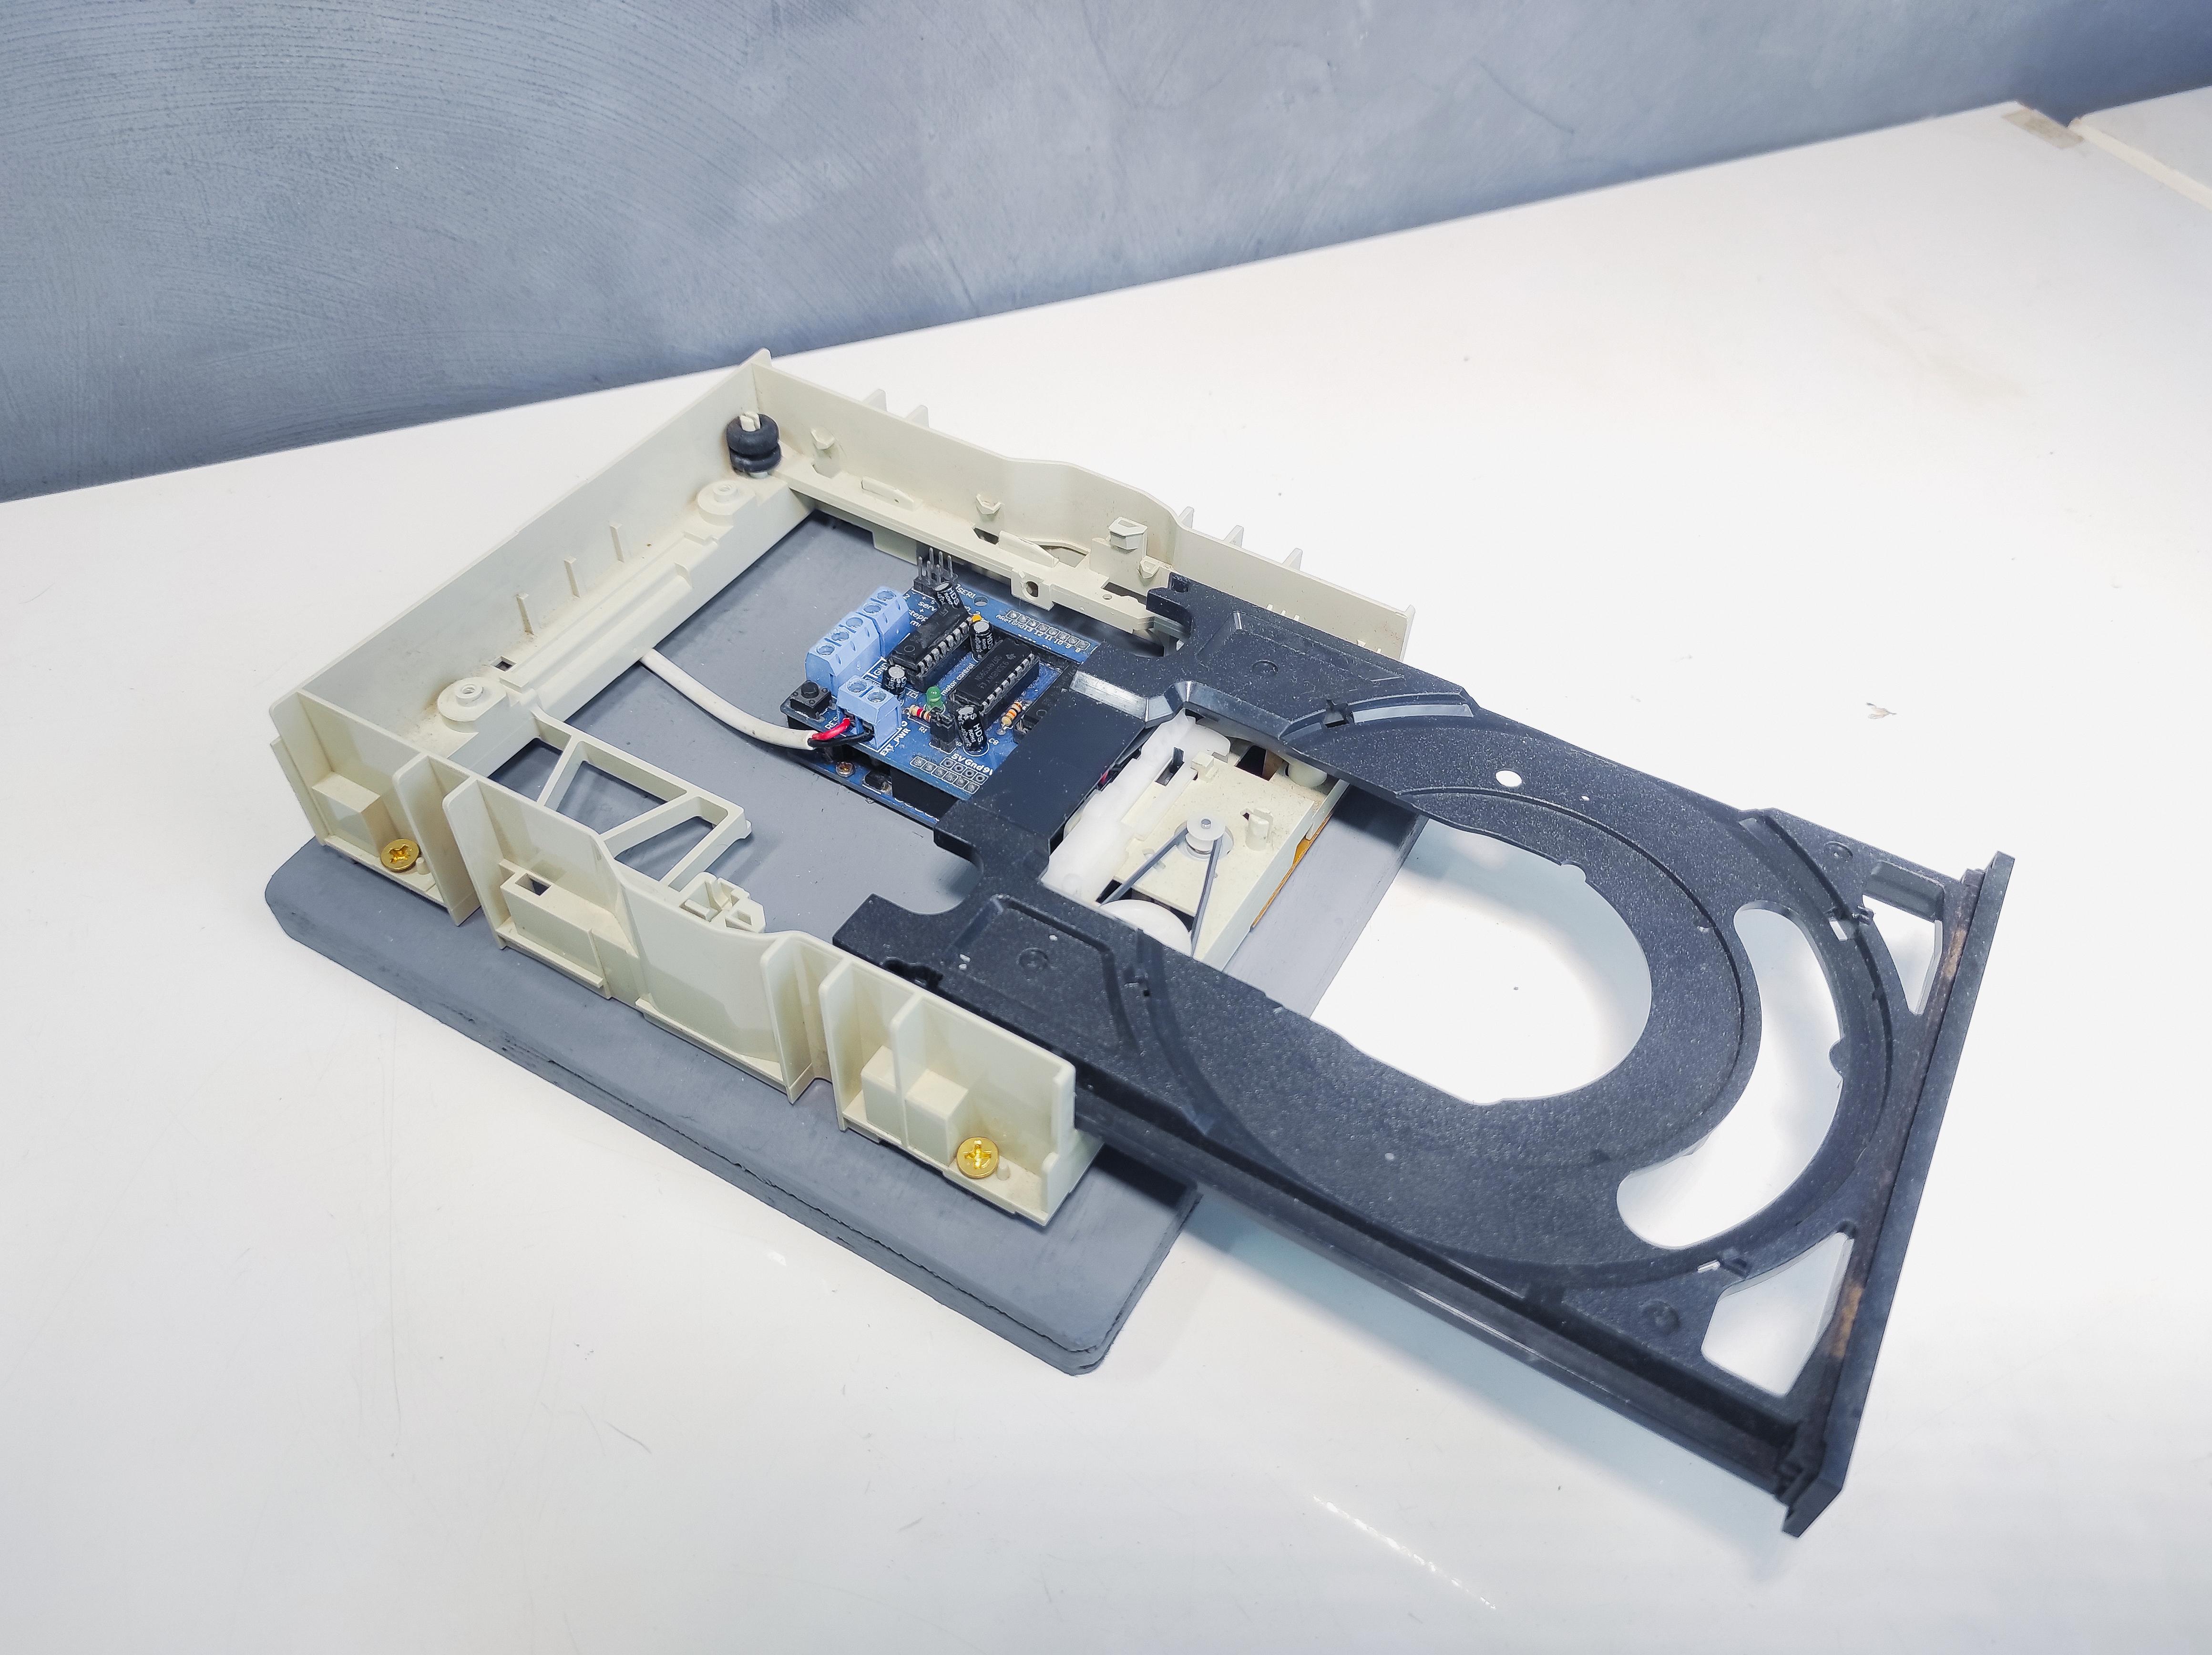
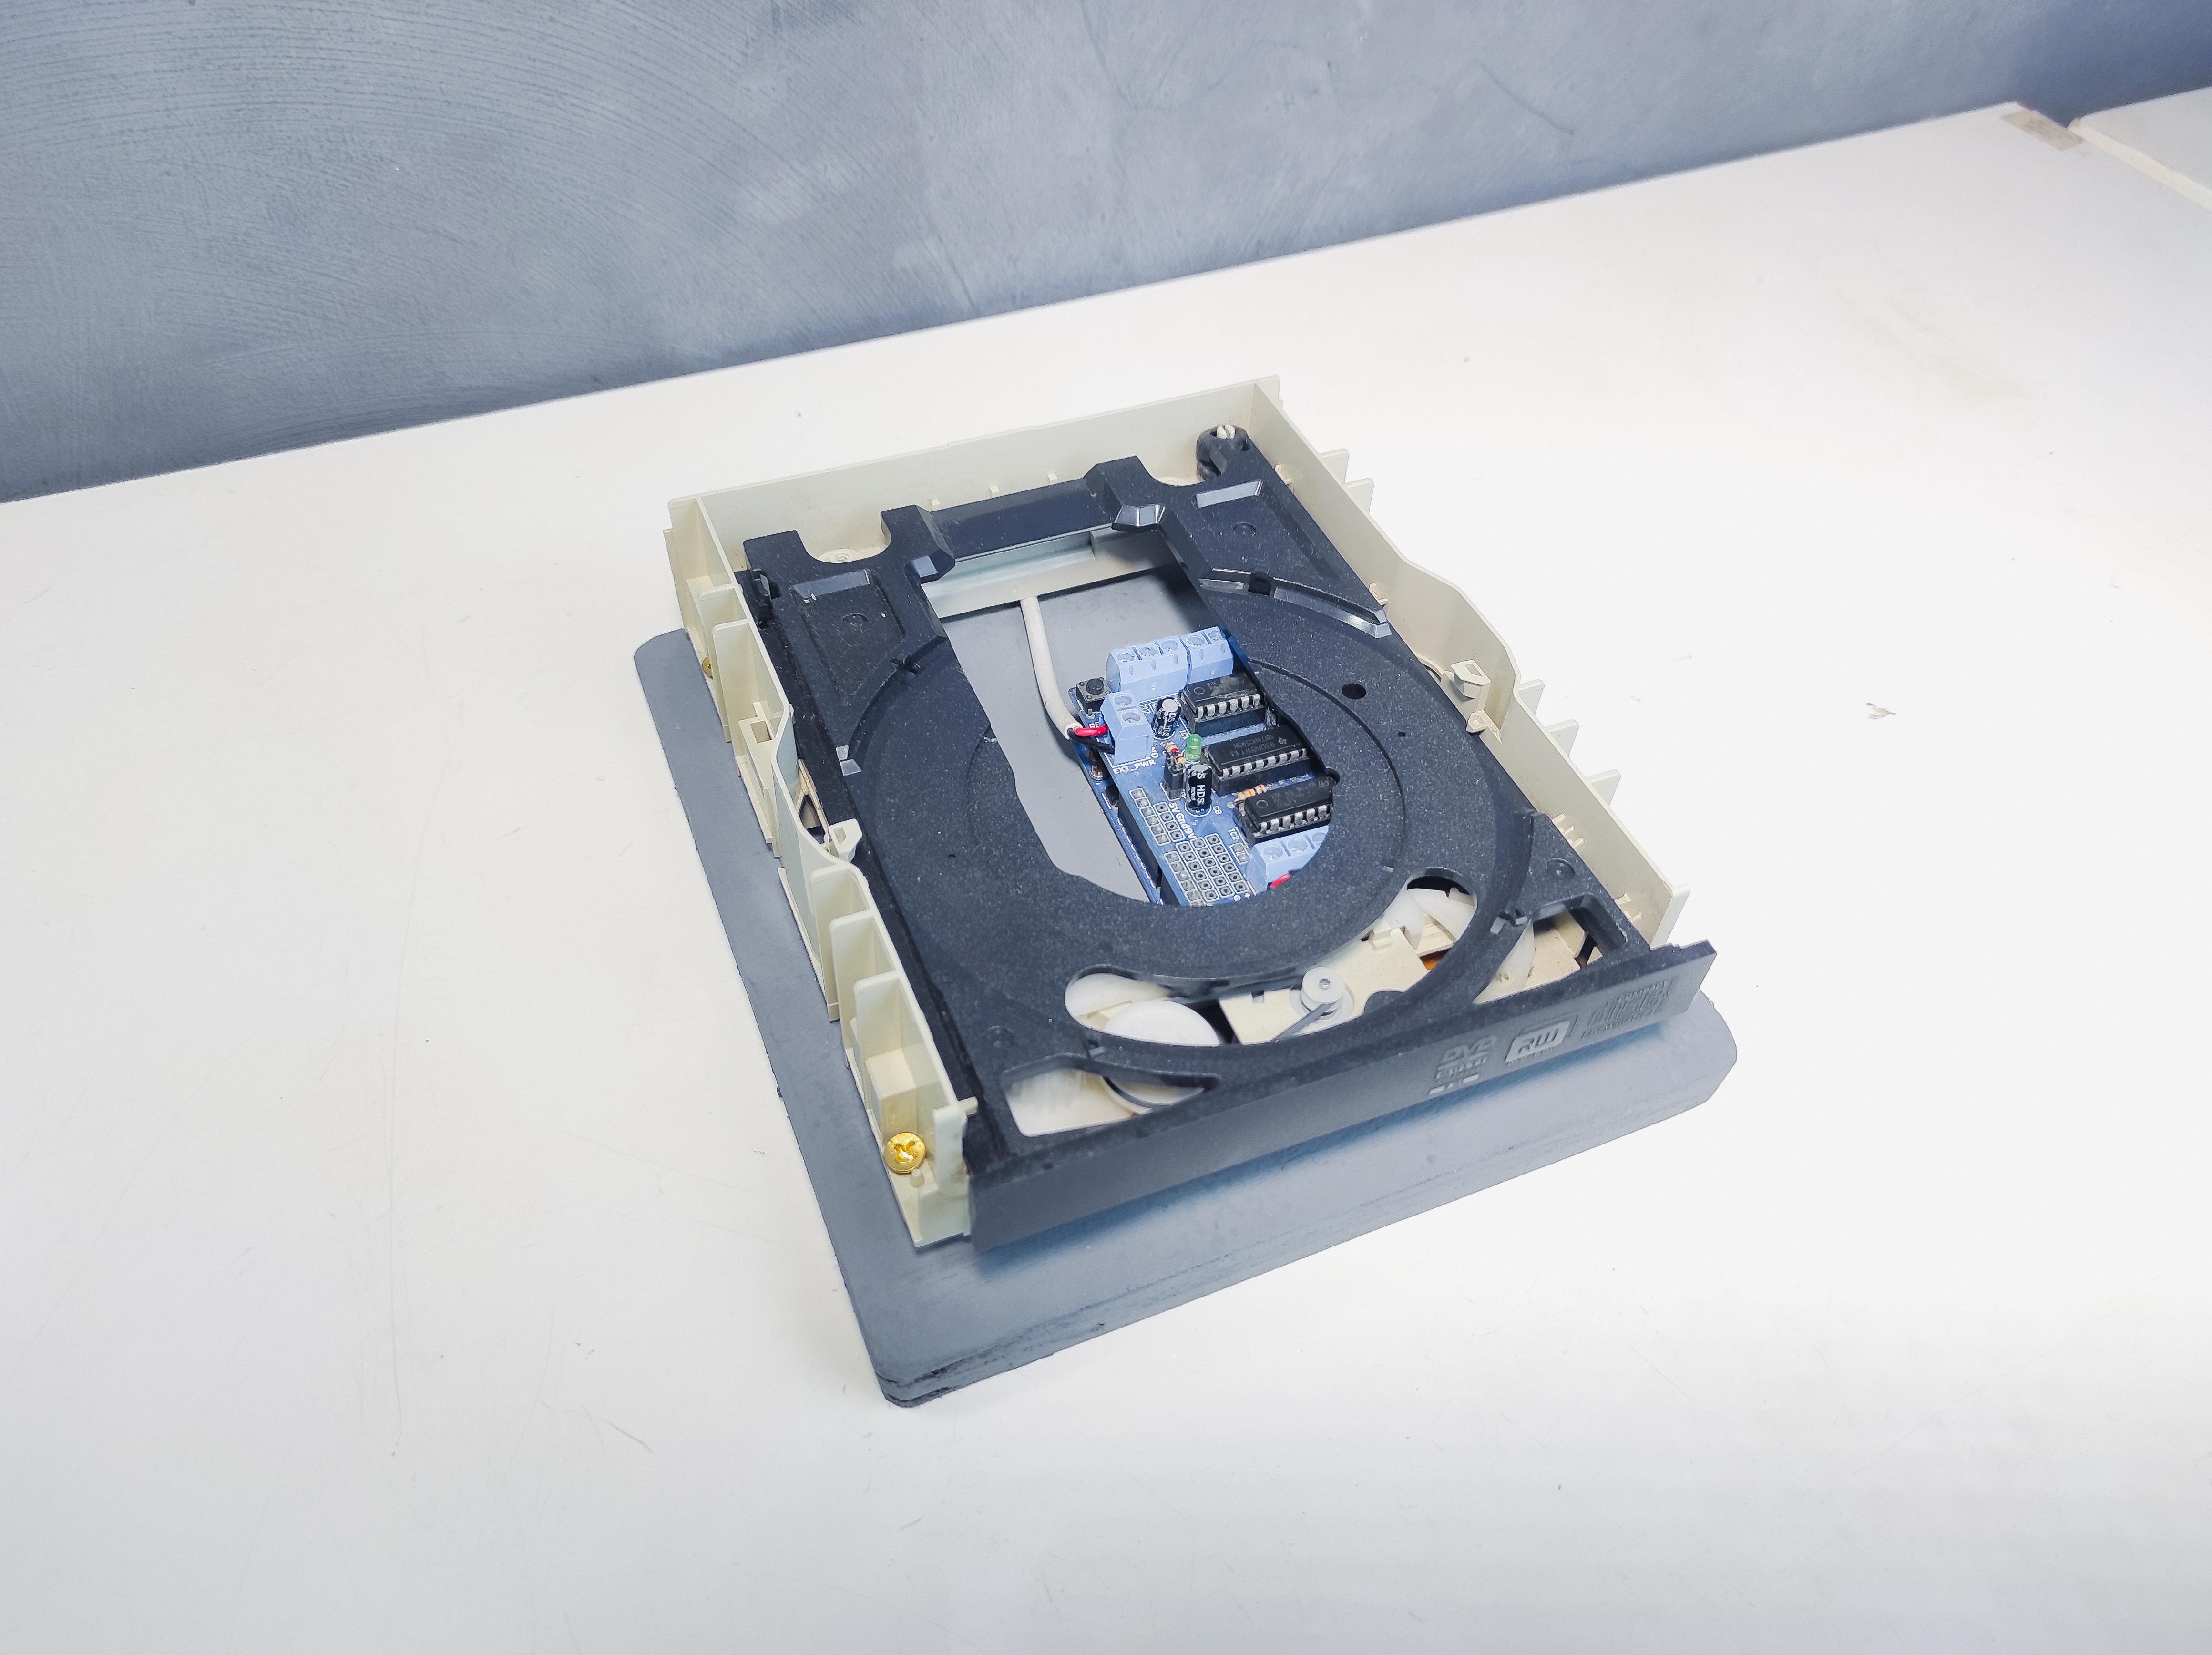
Did you know that you can create a PCB shaker for etching using your old DVD Rom? Yes you read it right!
The Problem:
We all know the pain when it comes to the etching process. It sometimes takes us half an hour to do the shaking process. Say no more to those dull and boring moments because we are going to make a homebrew PCB shaker, a low-cost solution that you can make yourself using readily available materials!
VIDEO TUTORIAL:
Materials
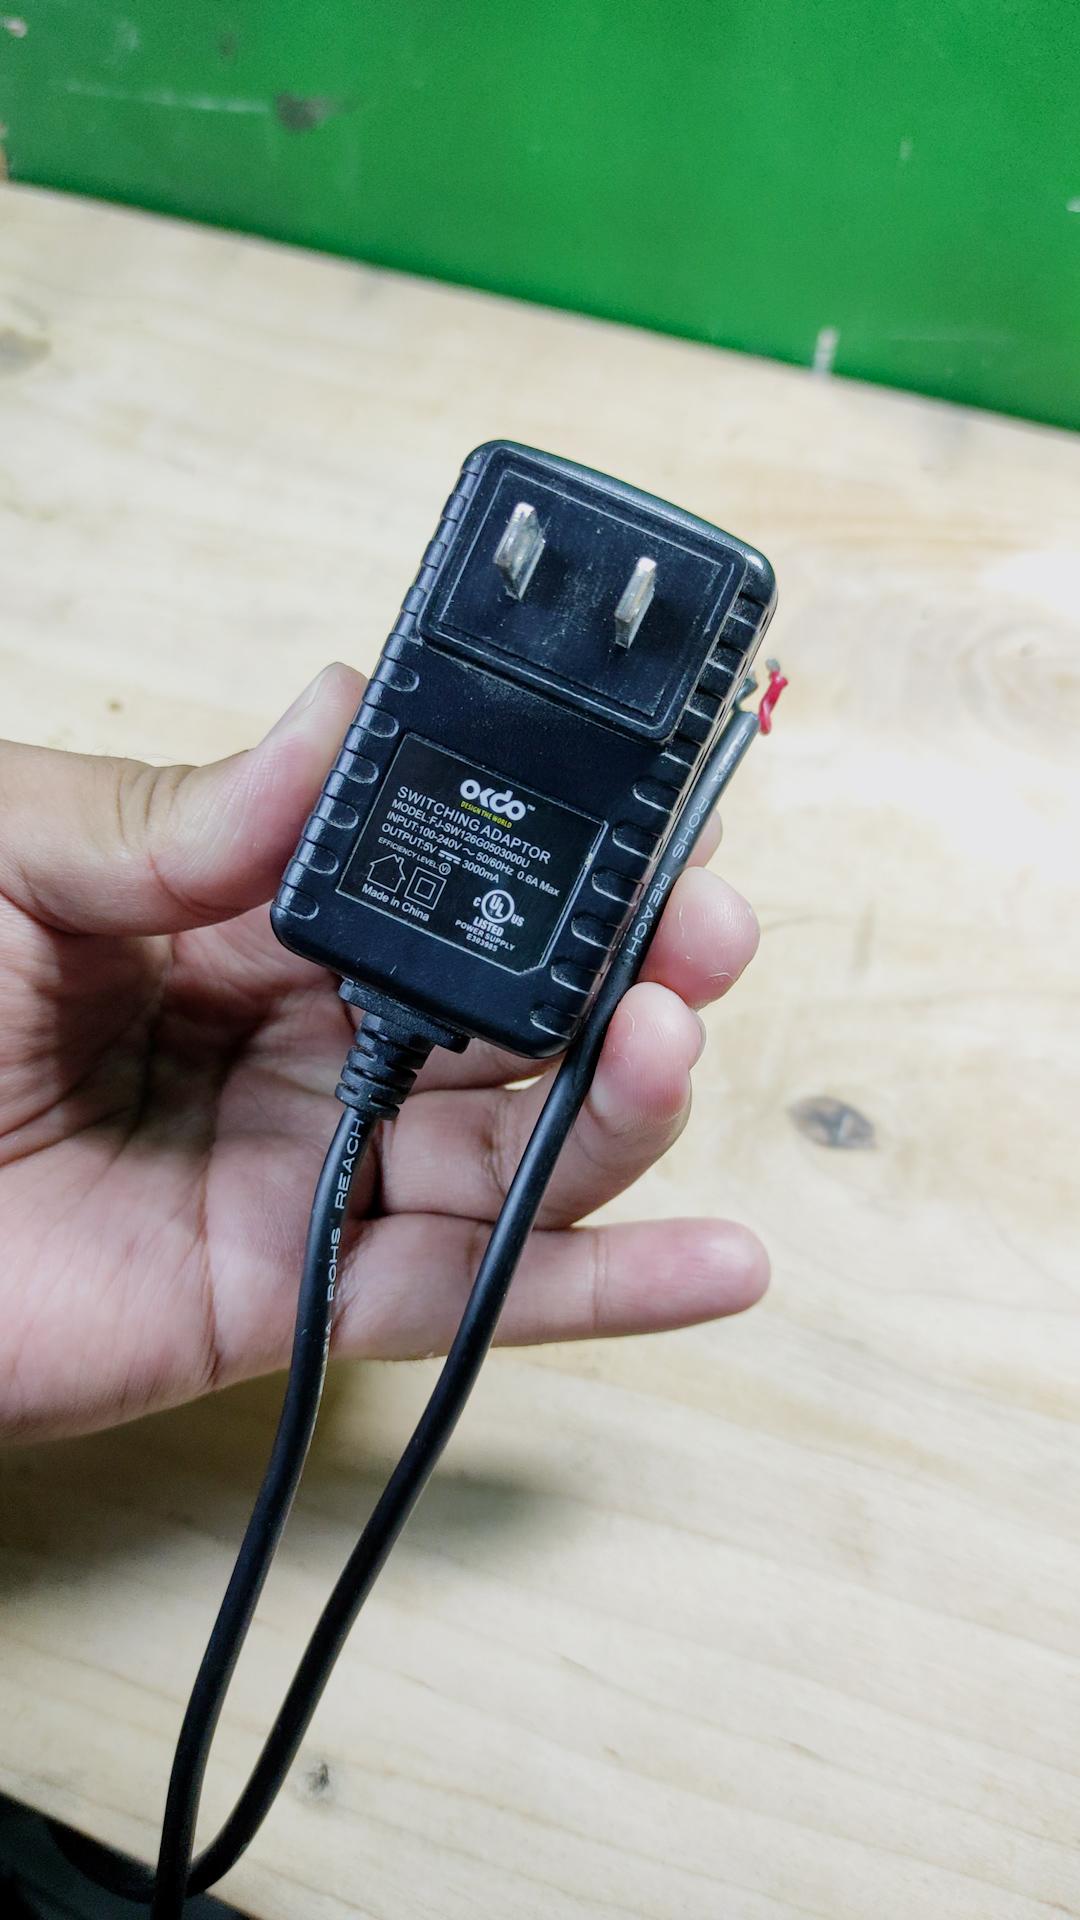
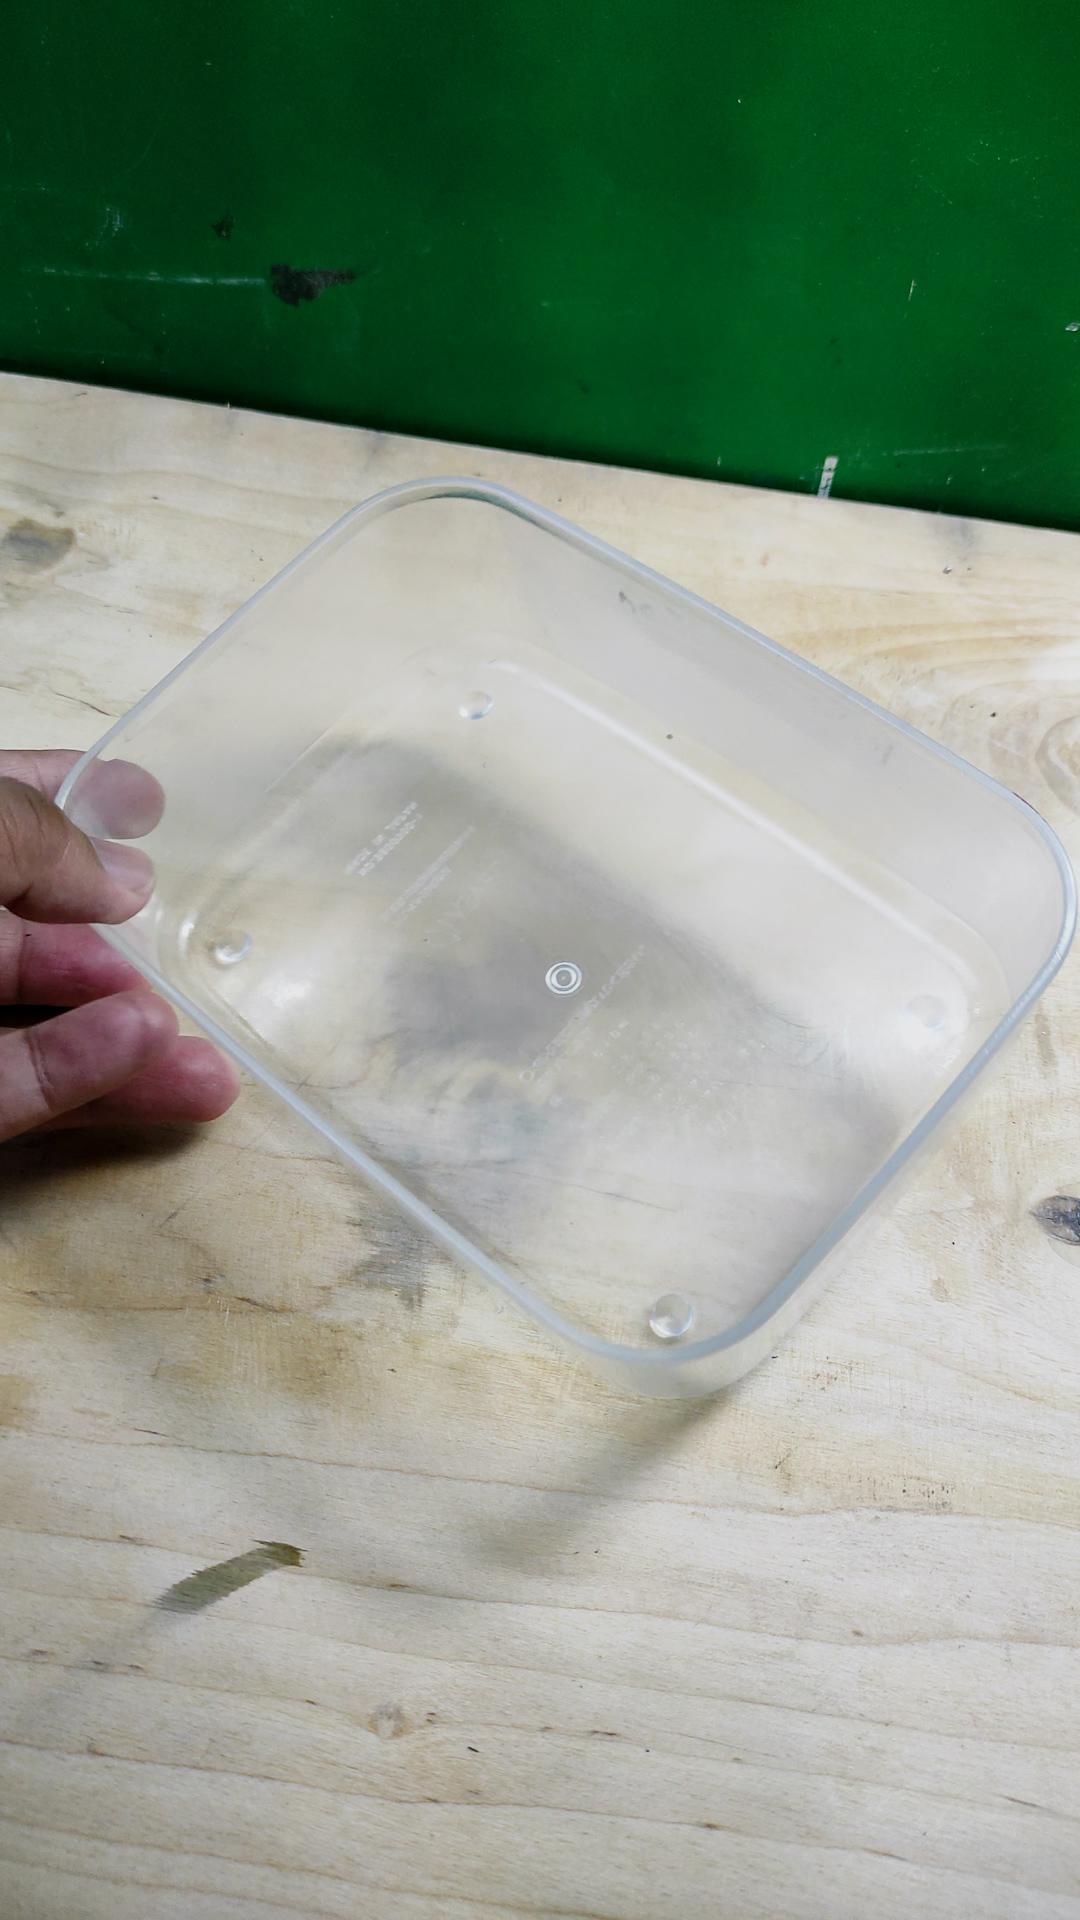
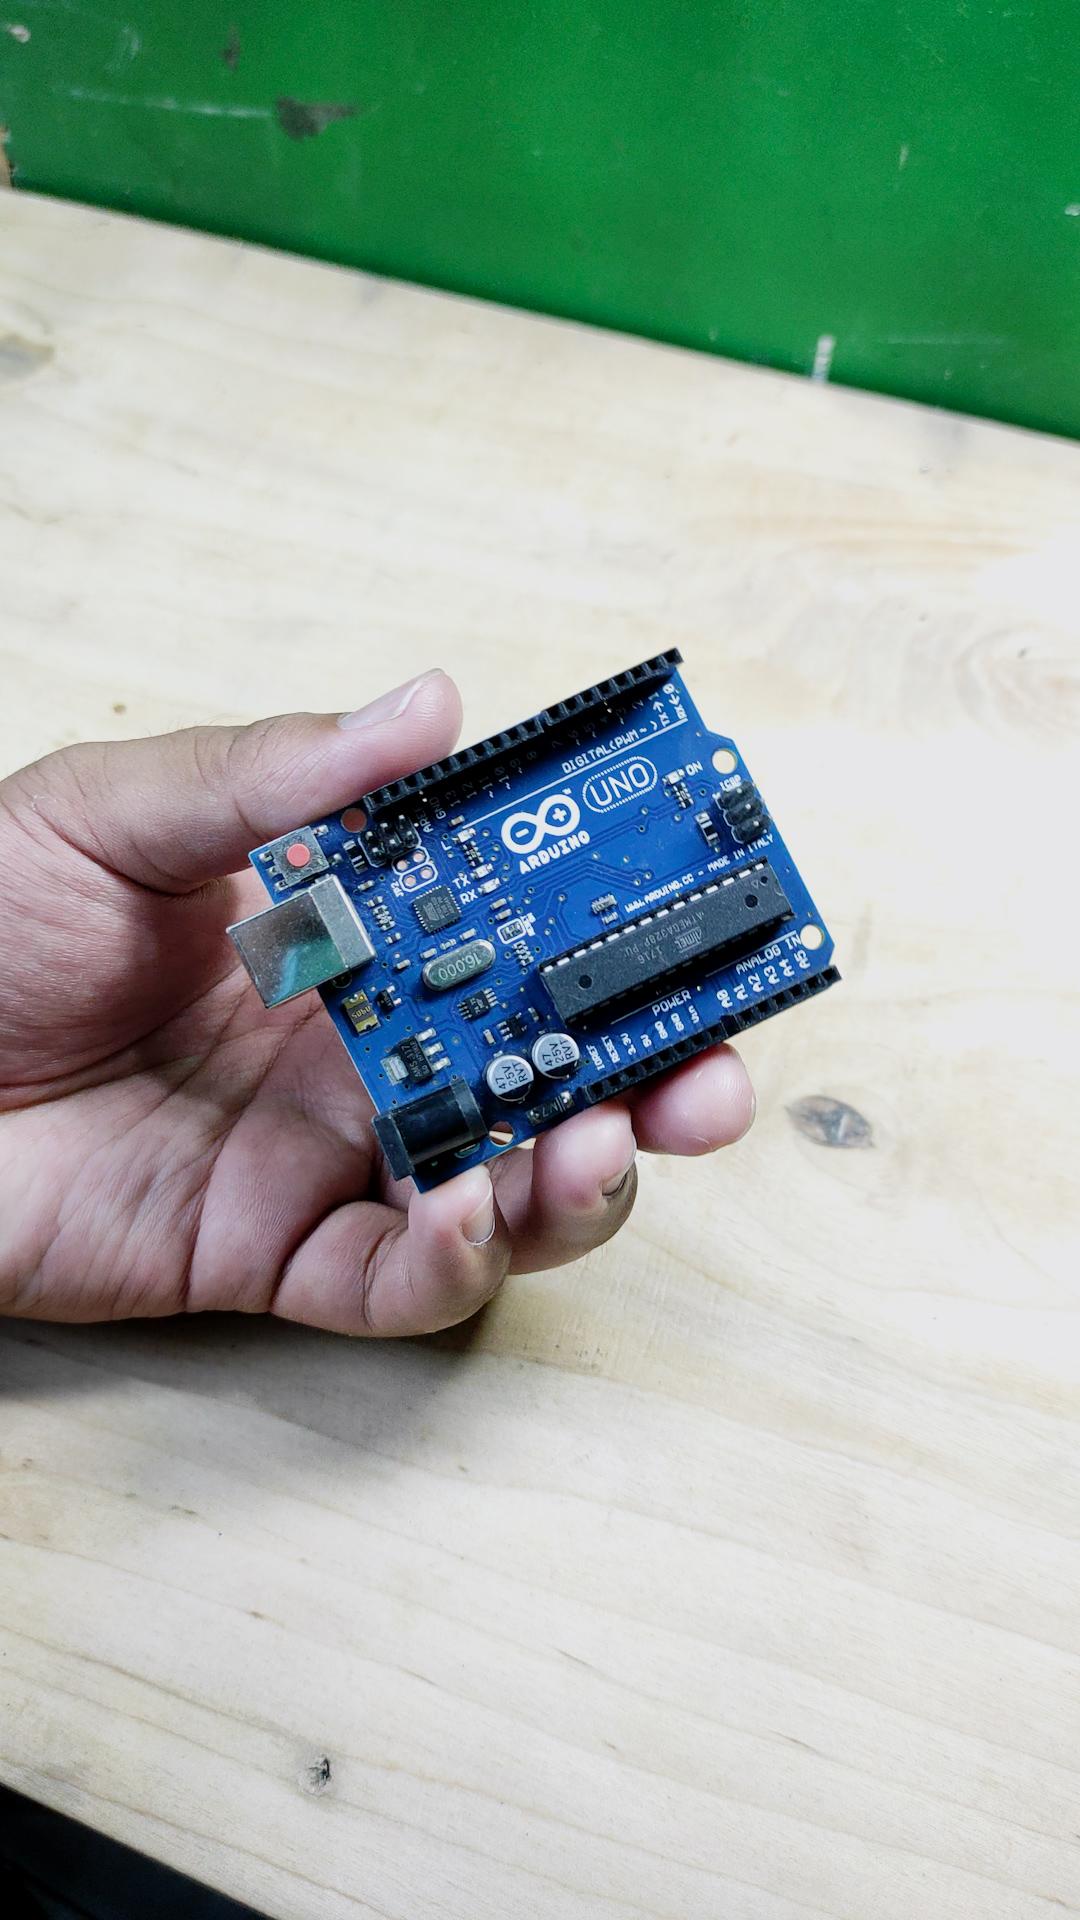
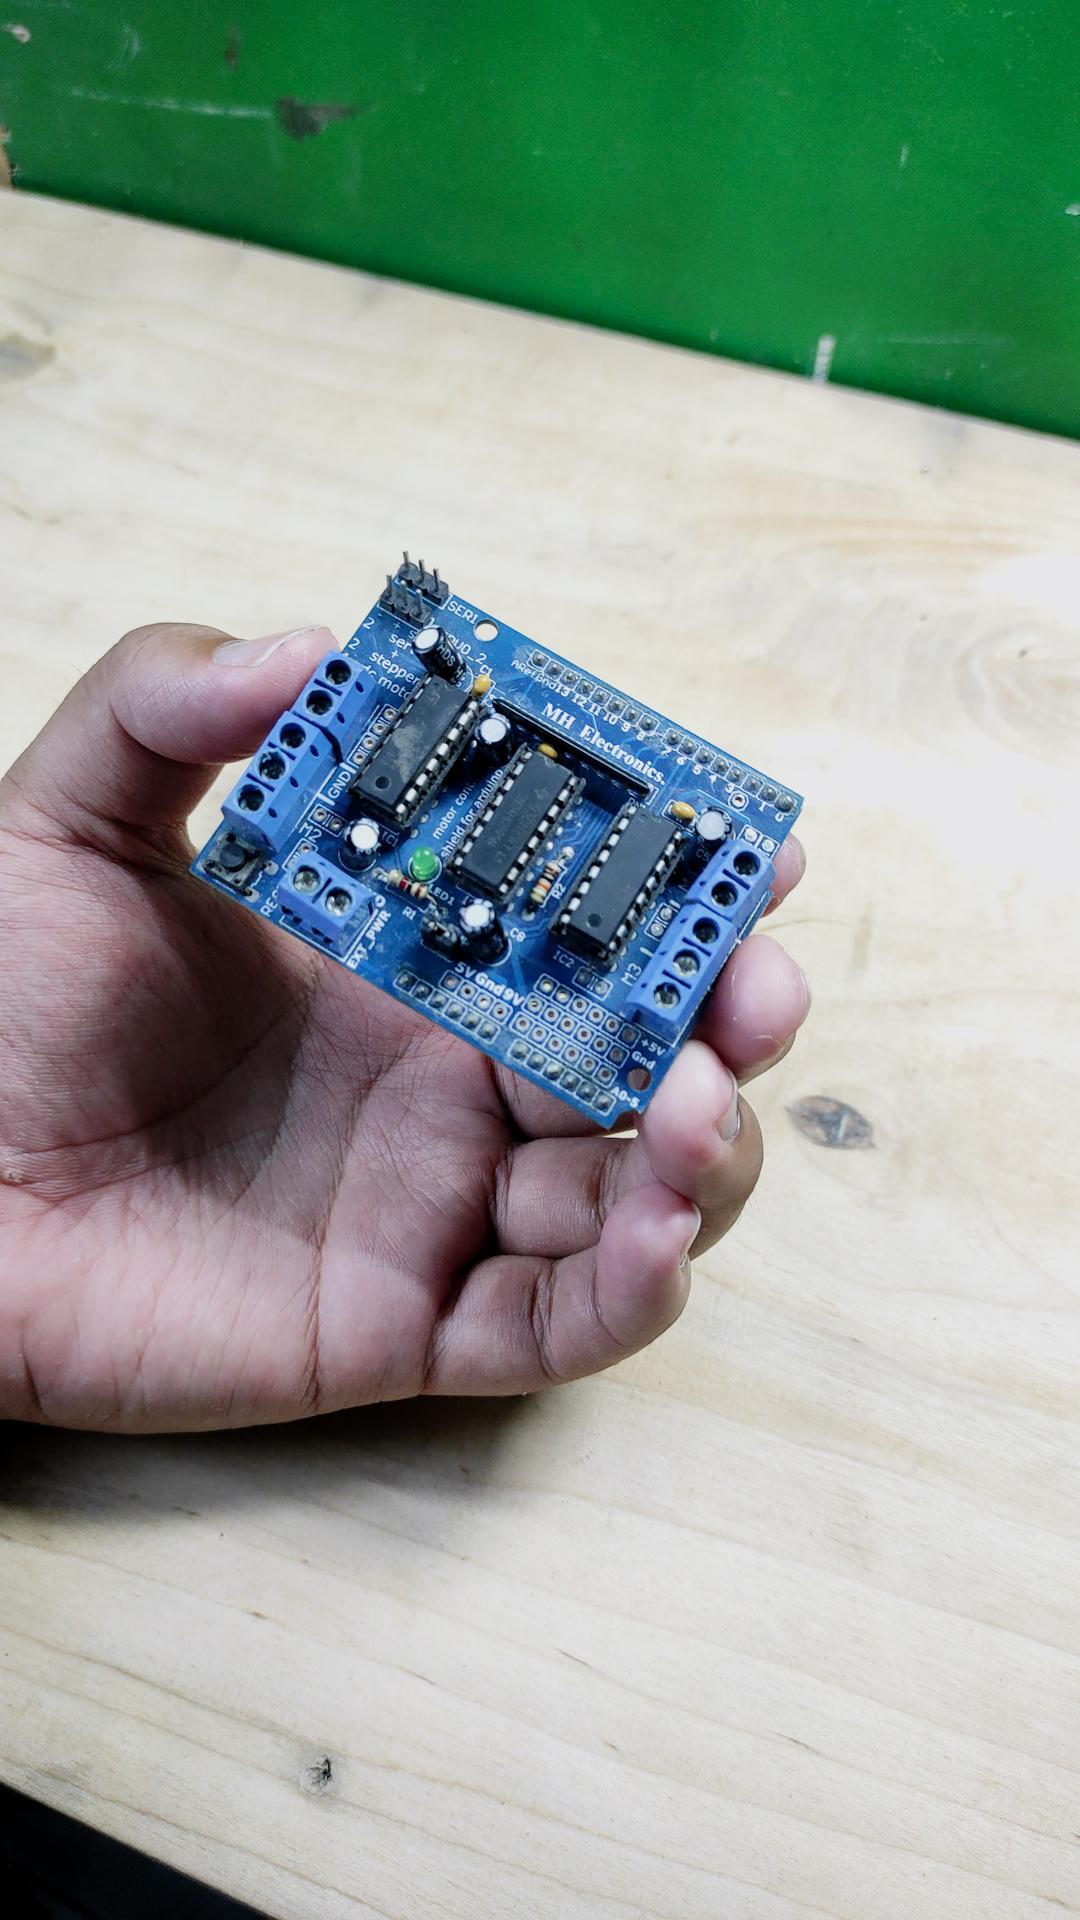
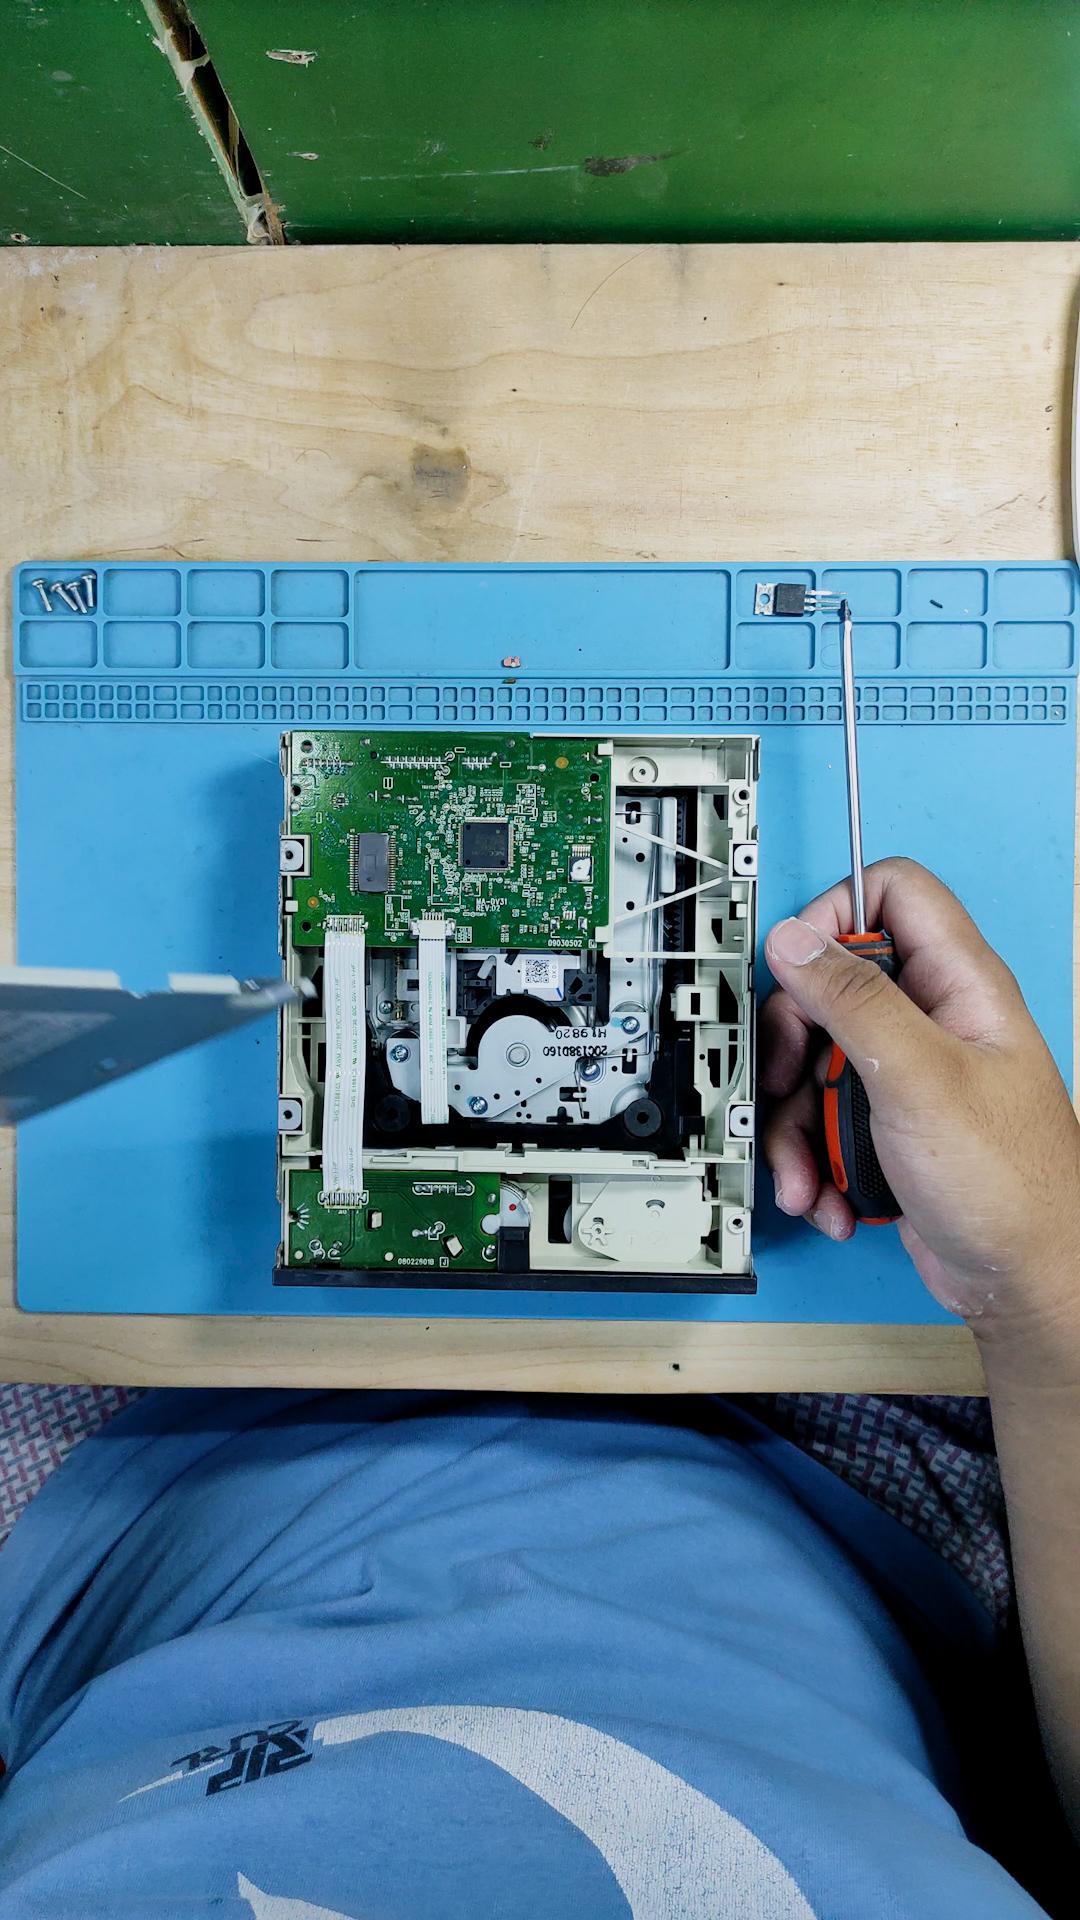
Let's start with the things that you will need, you'll need a 5V power supply, a Tupperware, an Arduino Uno board, an Adafruit Motor Shield to drive the motor in the DVD rom because you cannot drive a motor directly to the Arduino pins because motors generally take a high current, and Arduino pins cannot handle it, that's why we need a motor driver, and in this case we are going to use an Adafruit Motor Shield, and lastly the star of the show, which is the old DVD ROM.
- 5V power supply
- Tupperware
- Arduino Uno
- Adafruit Motor Shield
- DVD Rom
Removing All the Unnecessary Components
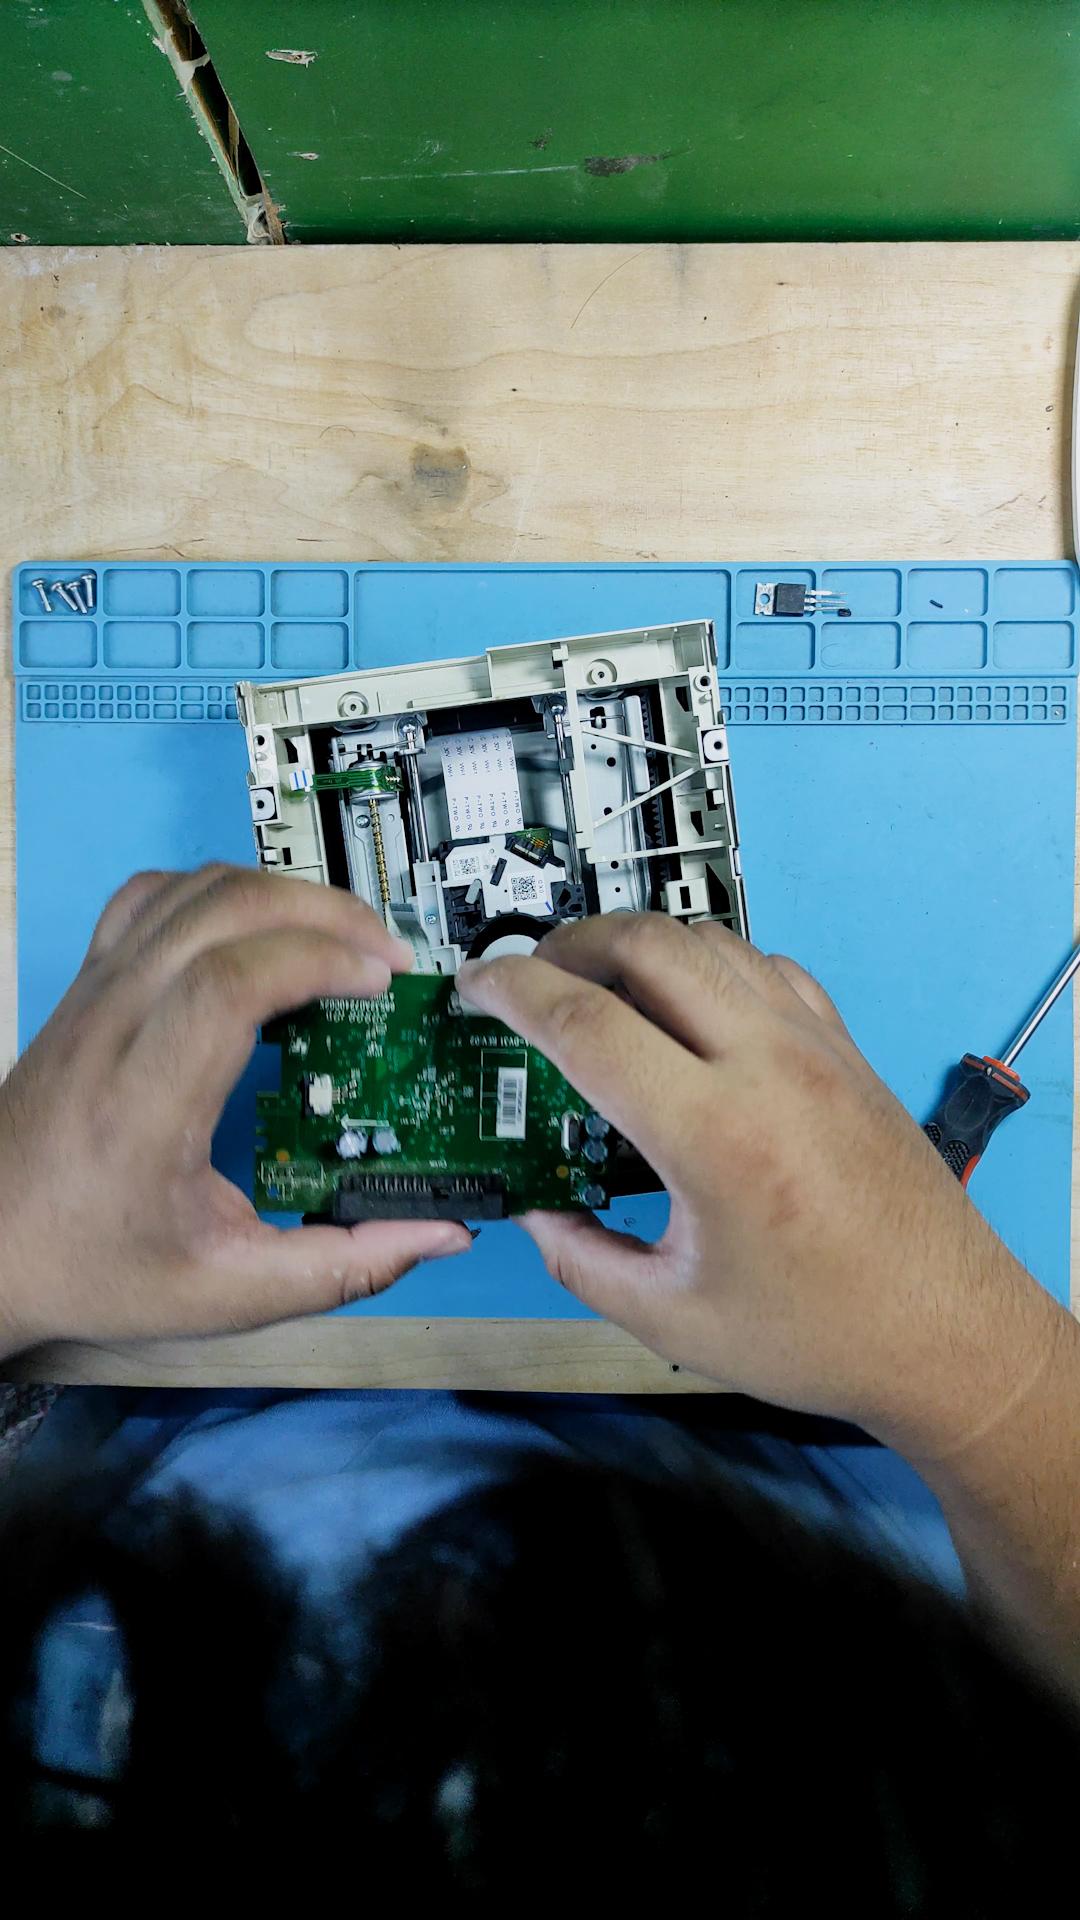
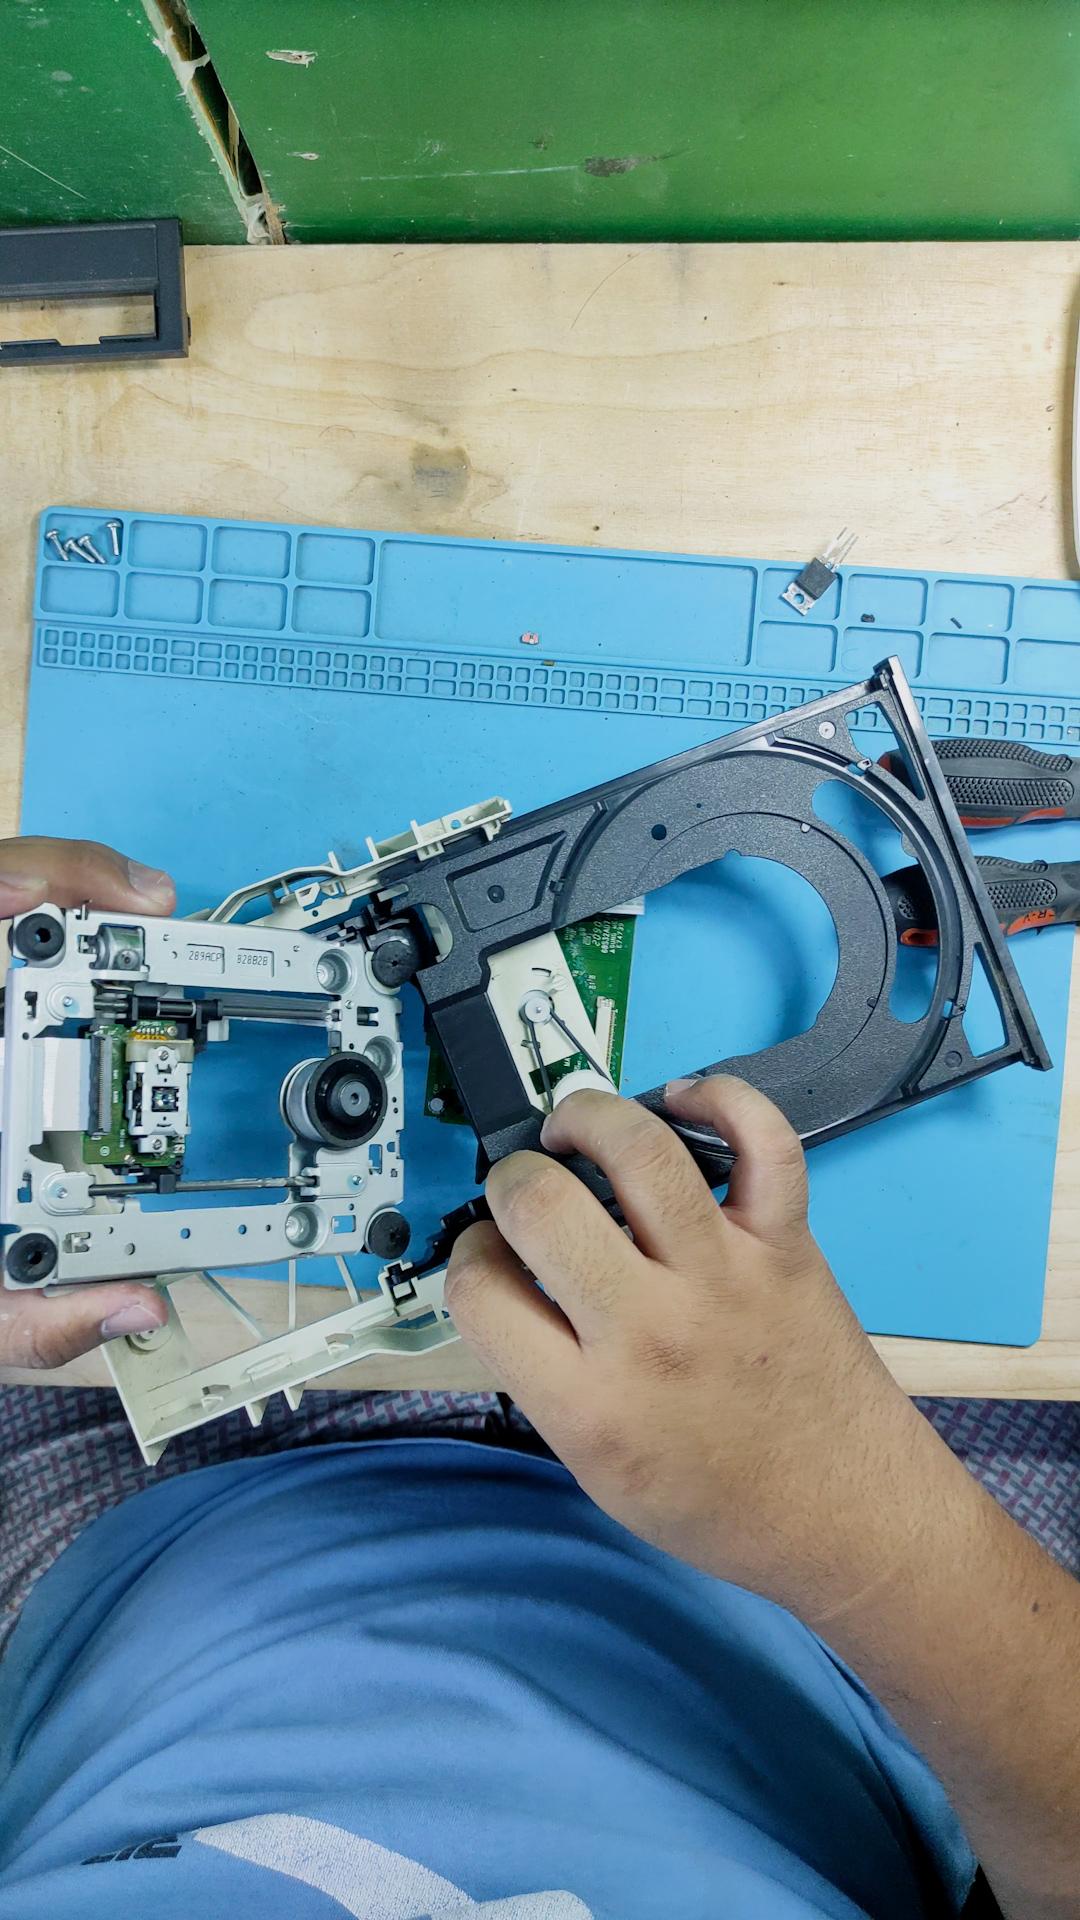
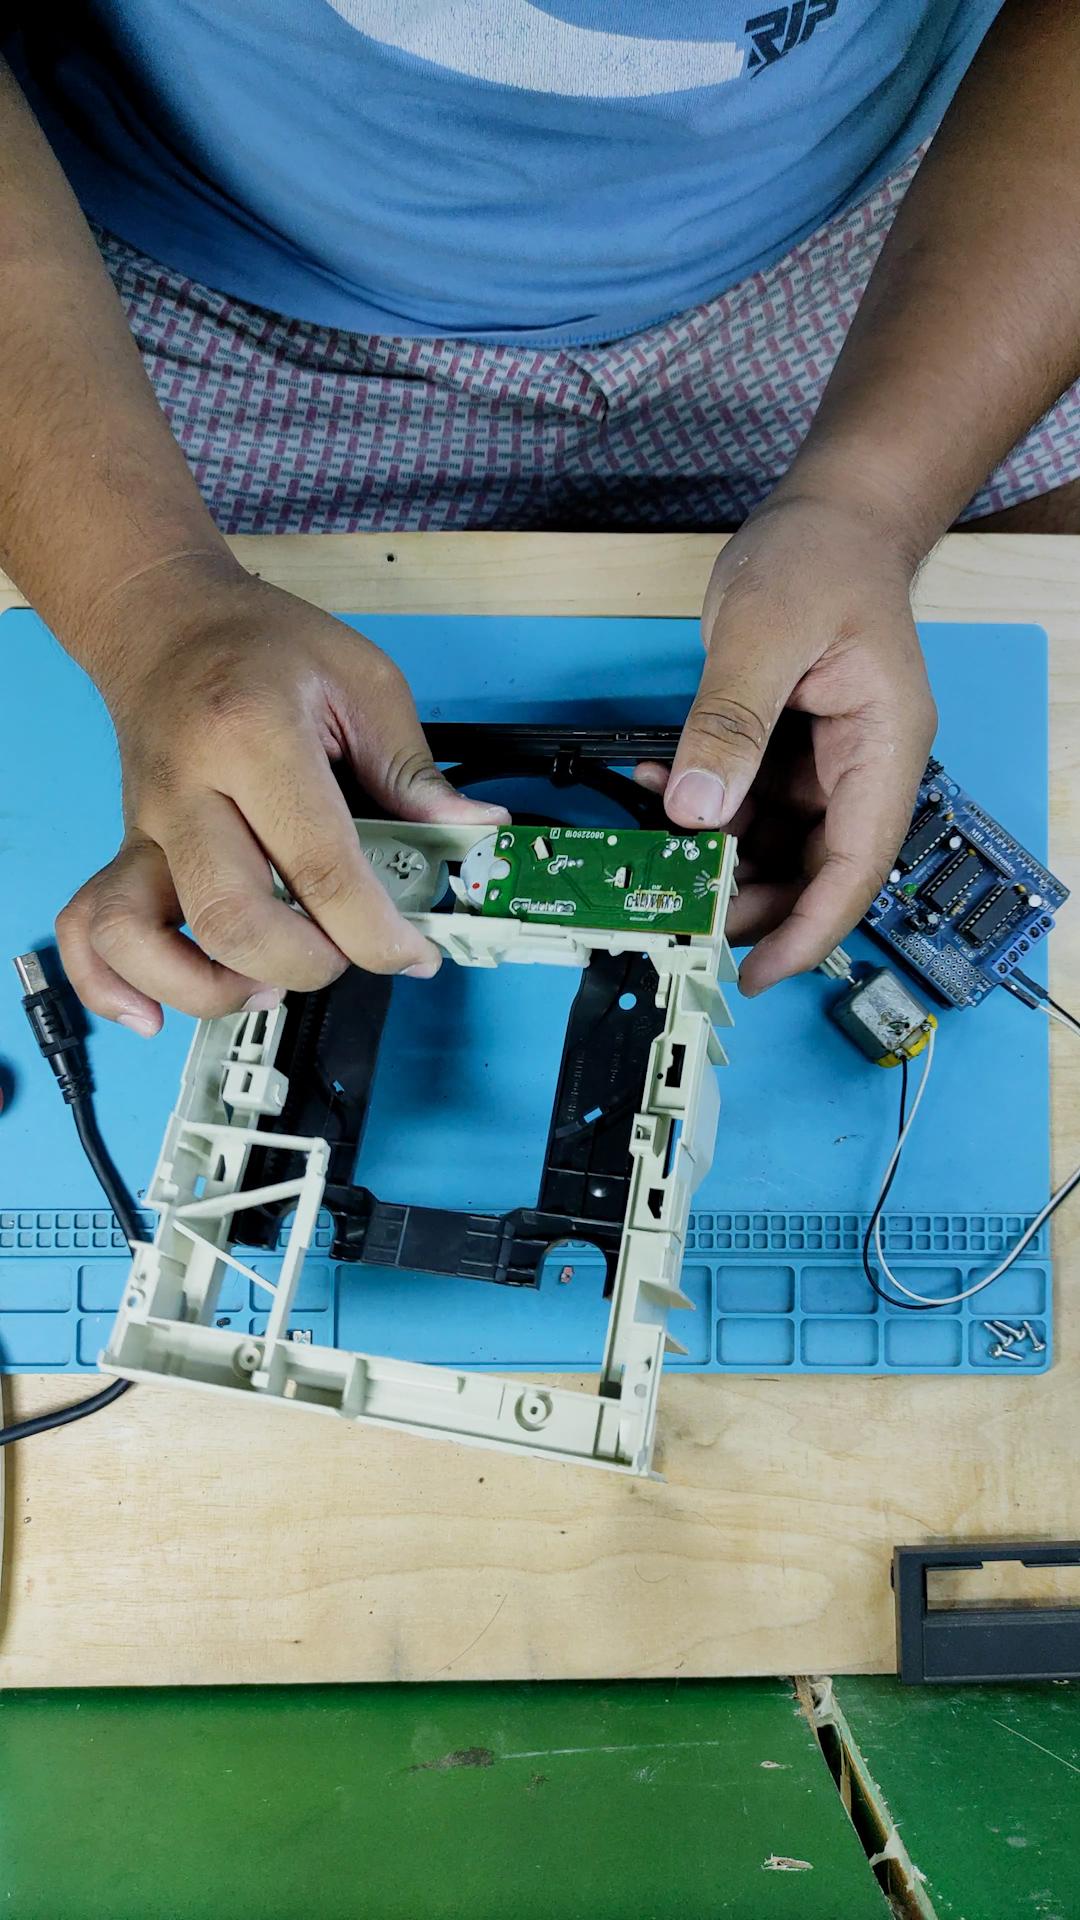
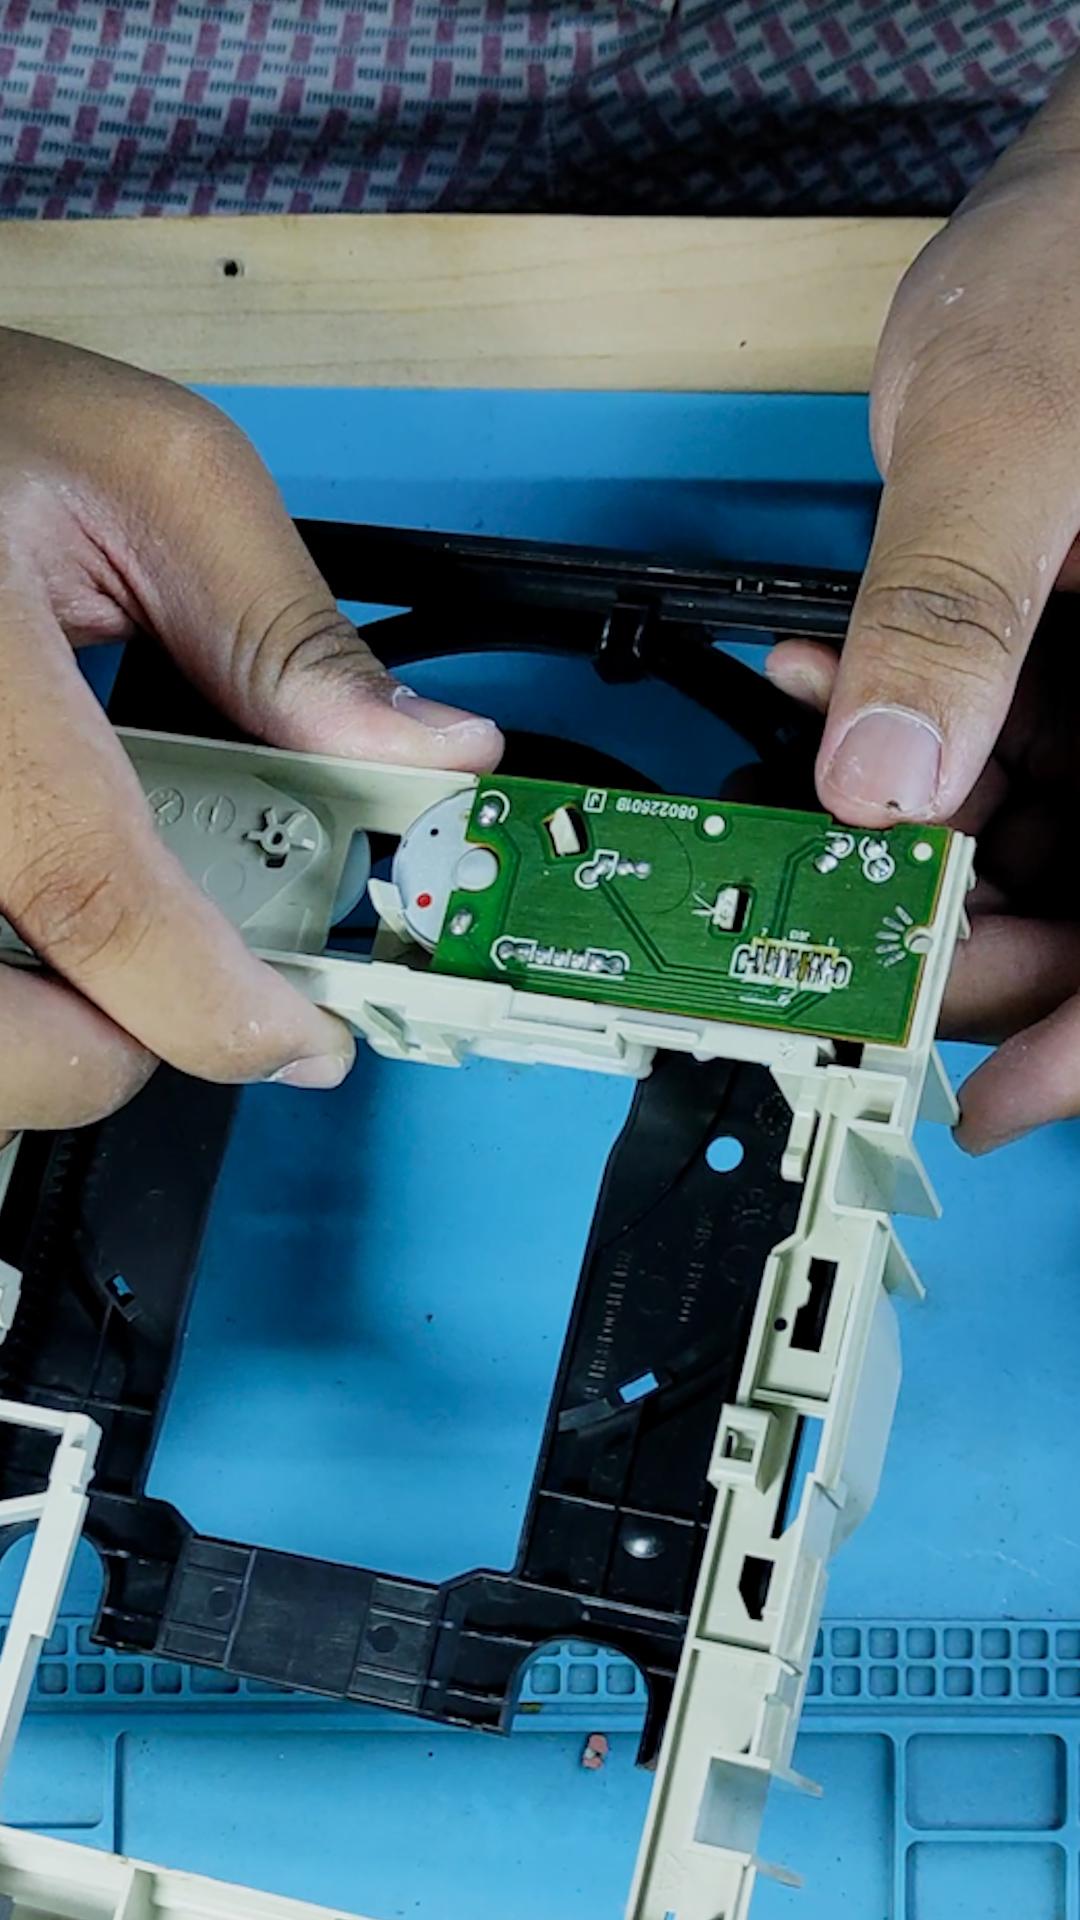
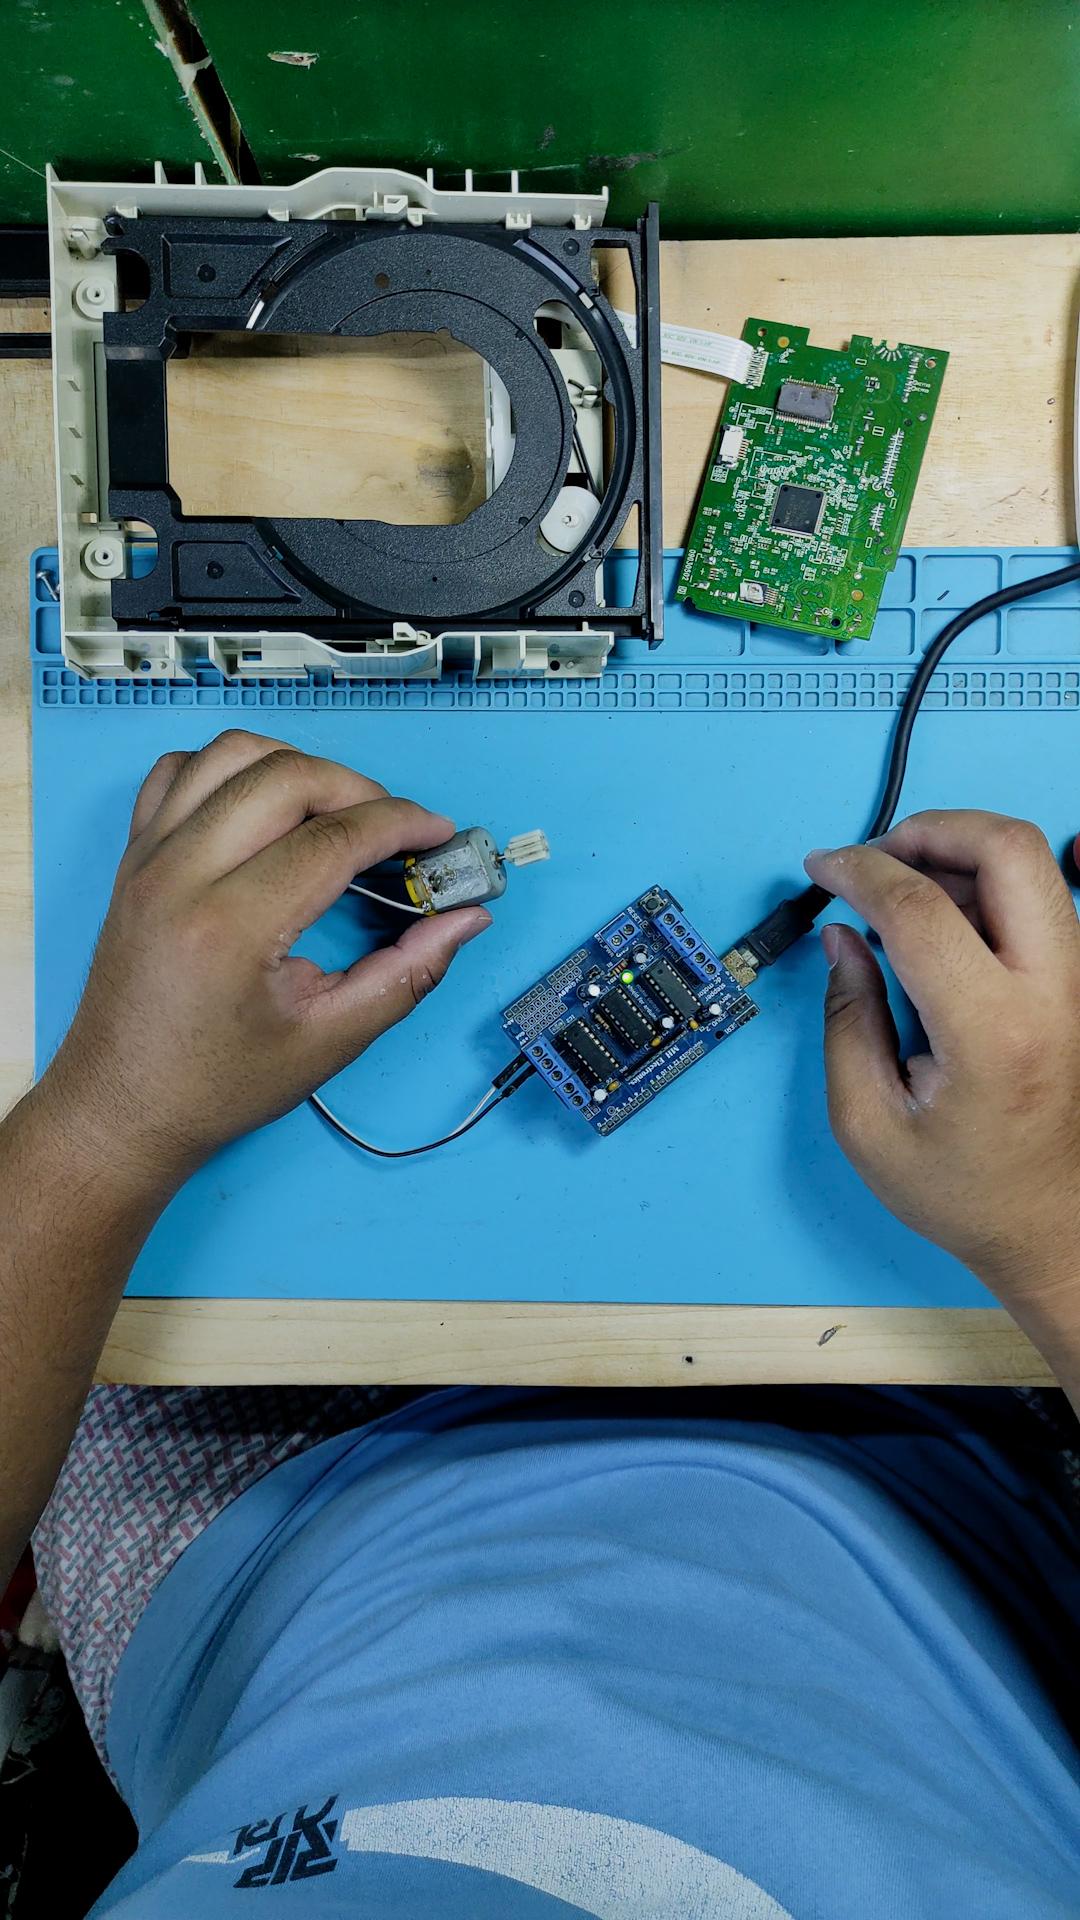
Next to that is by opening the DVD rom and removing all the unnecessary components inside; the only components that should be left are the front motor and its PCB.
Join Both Arduino Uno and Adafruit Motor Shield
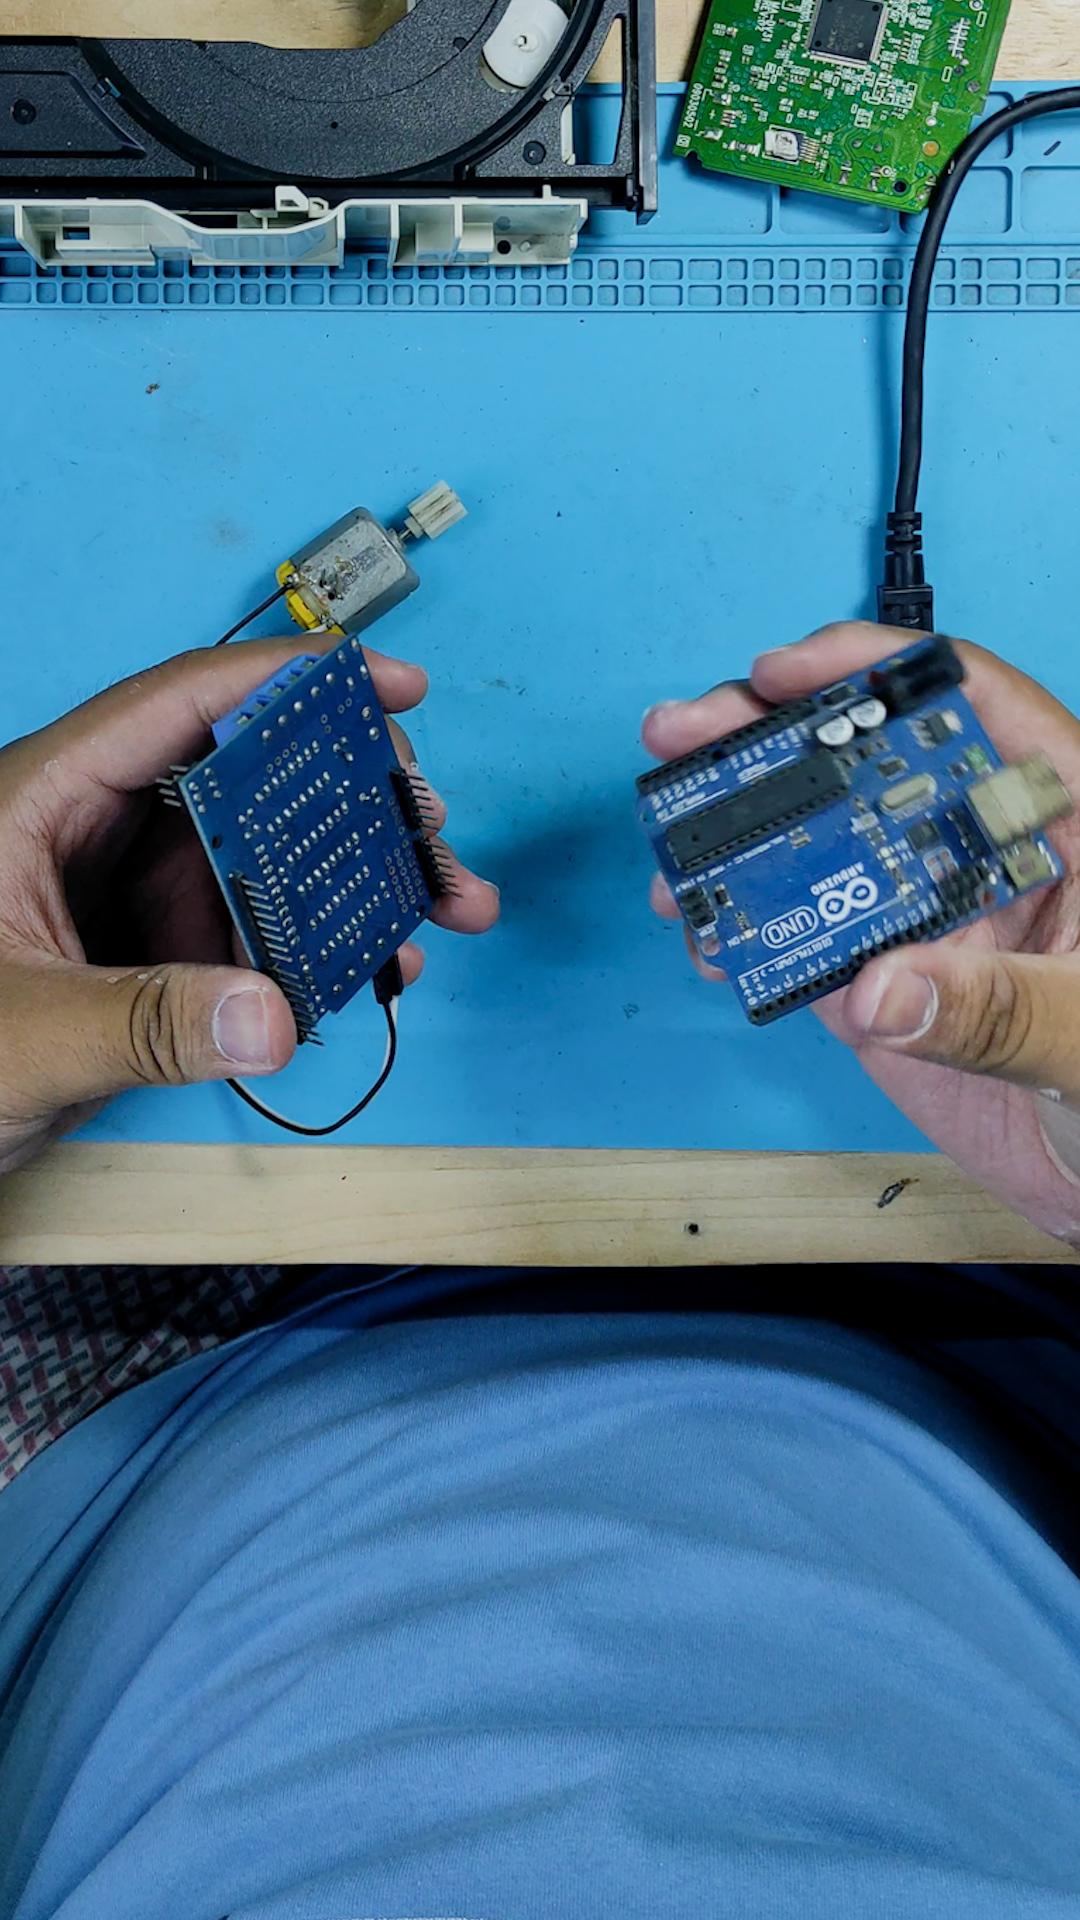
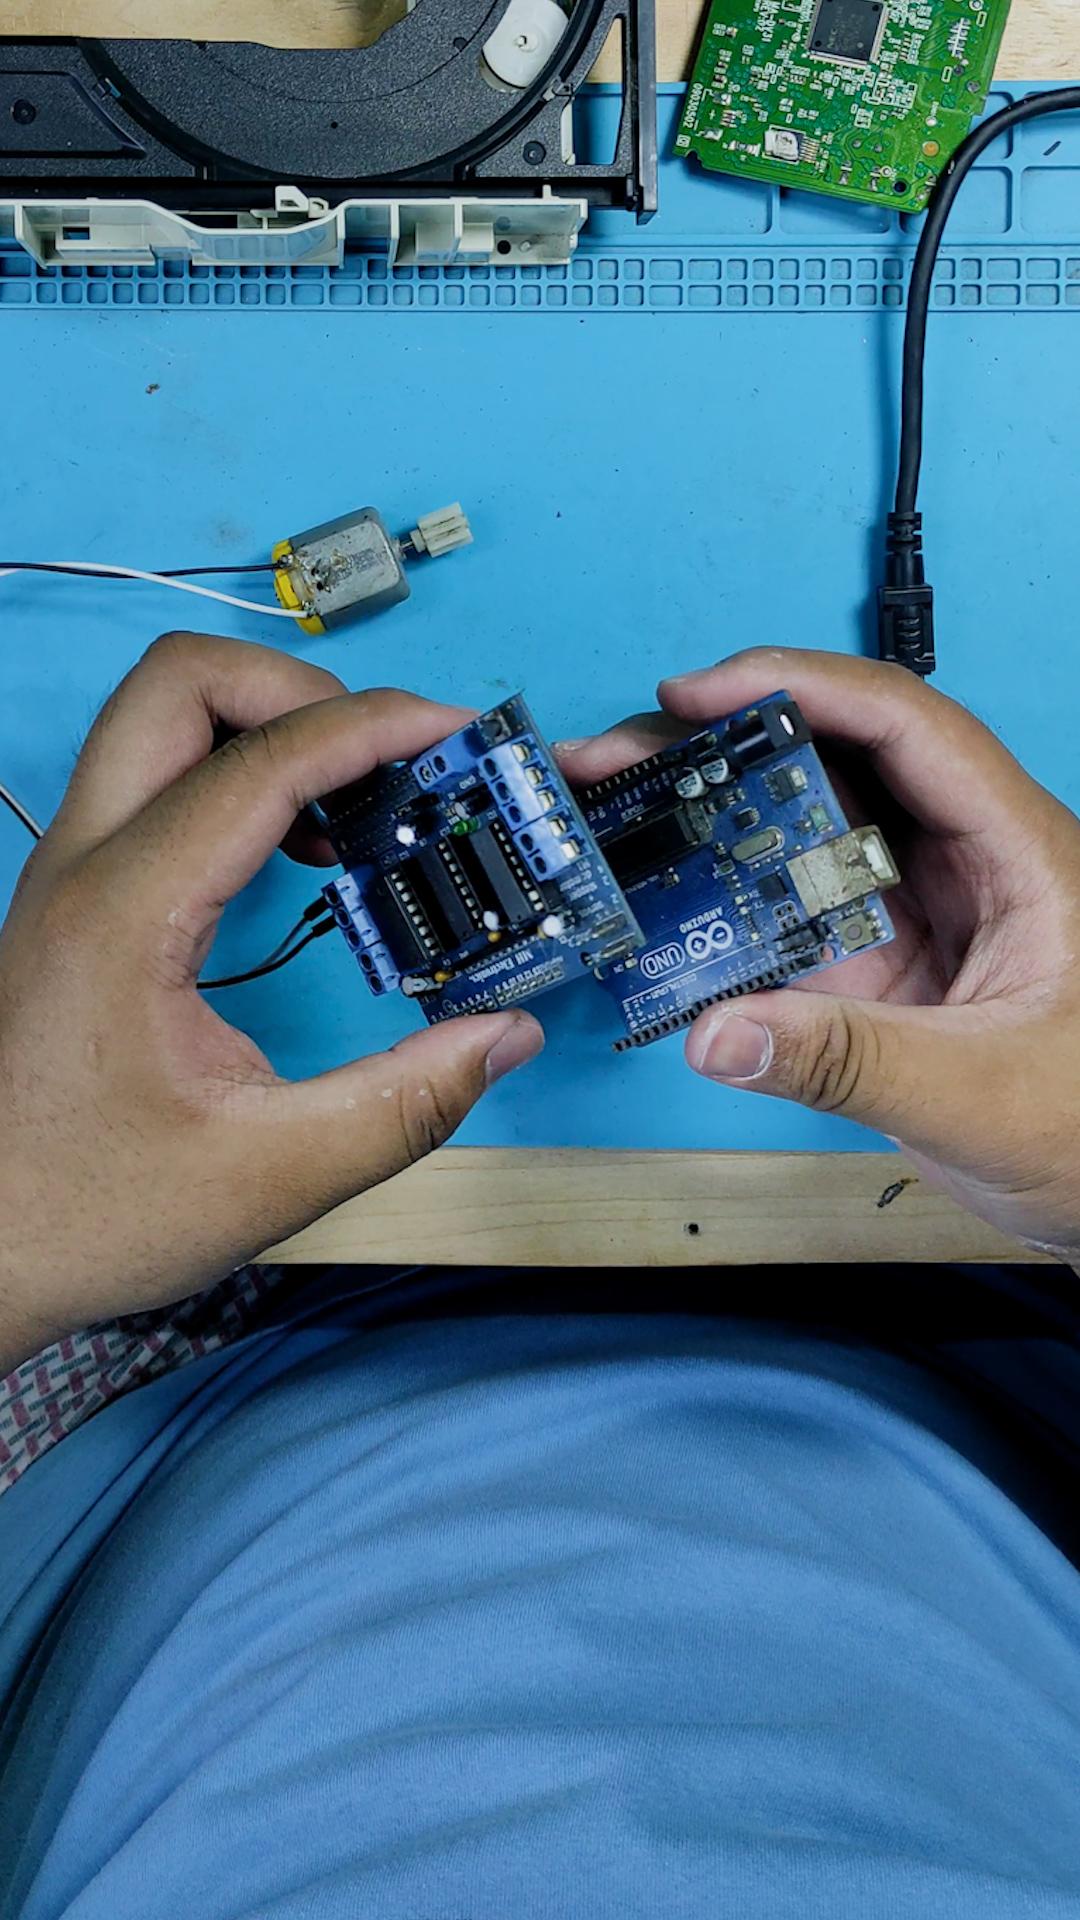
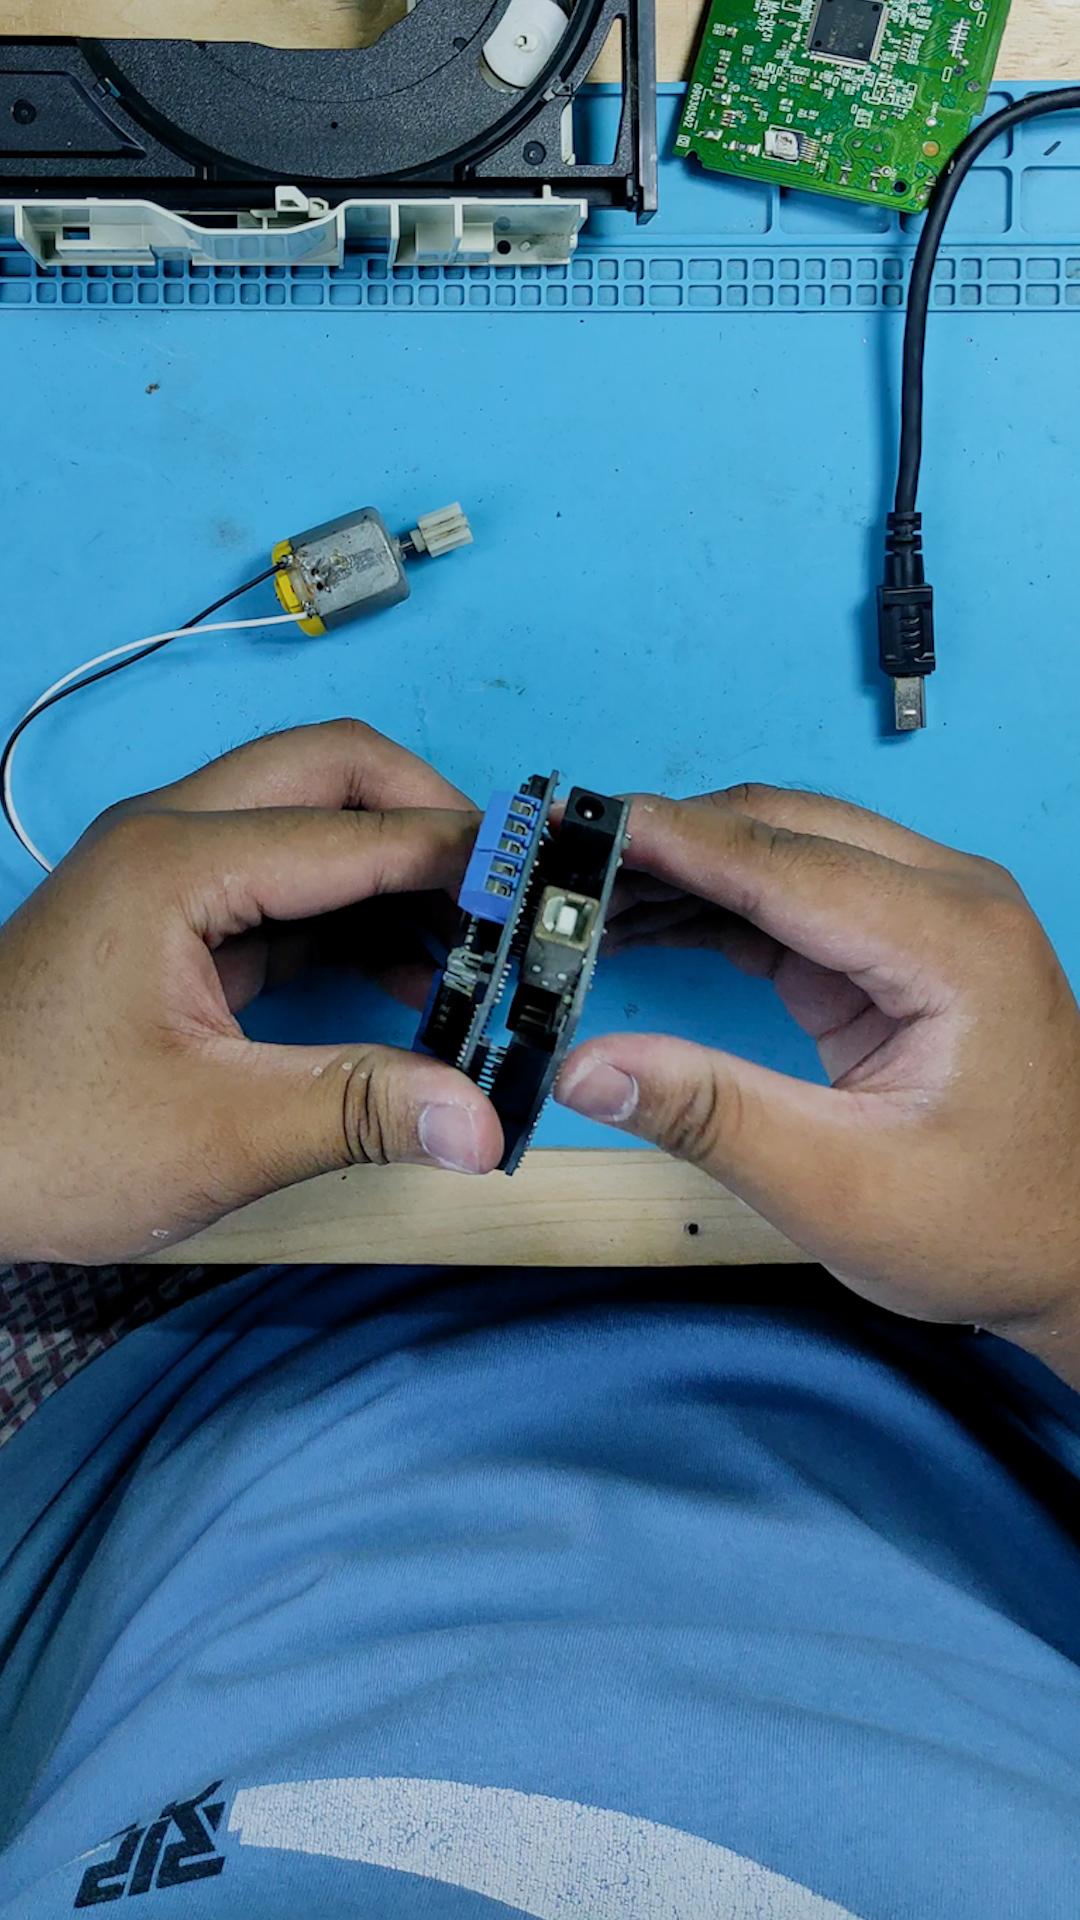
Put the Arduino Uno and Adafruit motor shield together like a sandwich.
Arduino Code
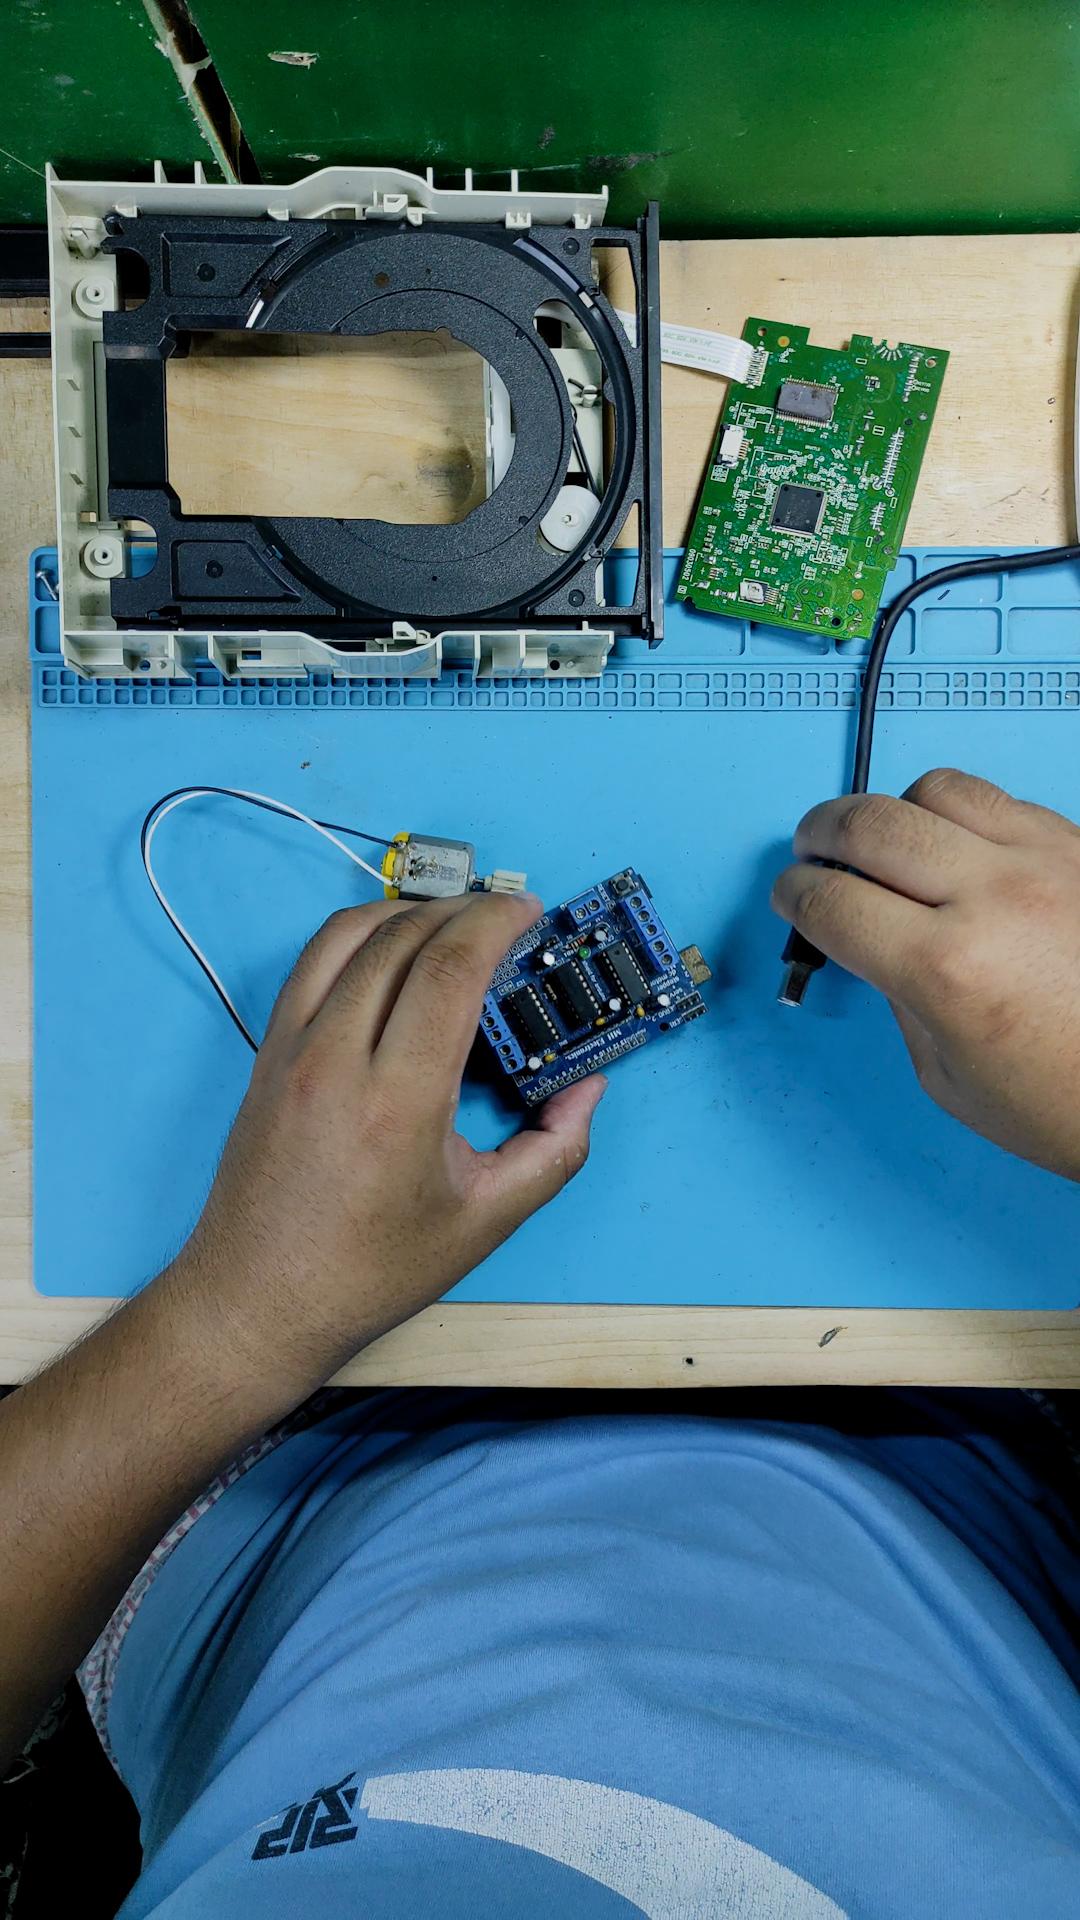
STEPS:
- Connect the USB cable from your computer to the Arduino uno
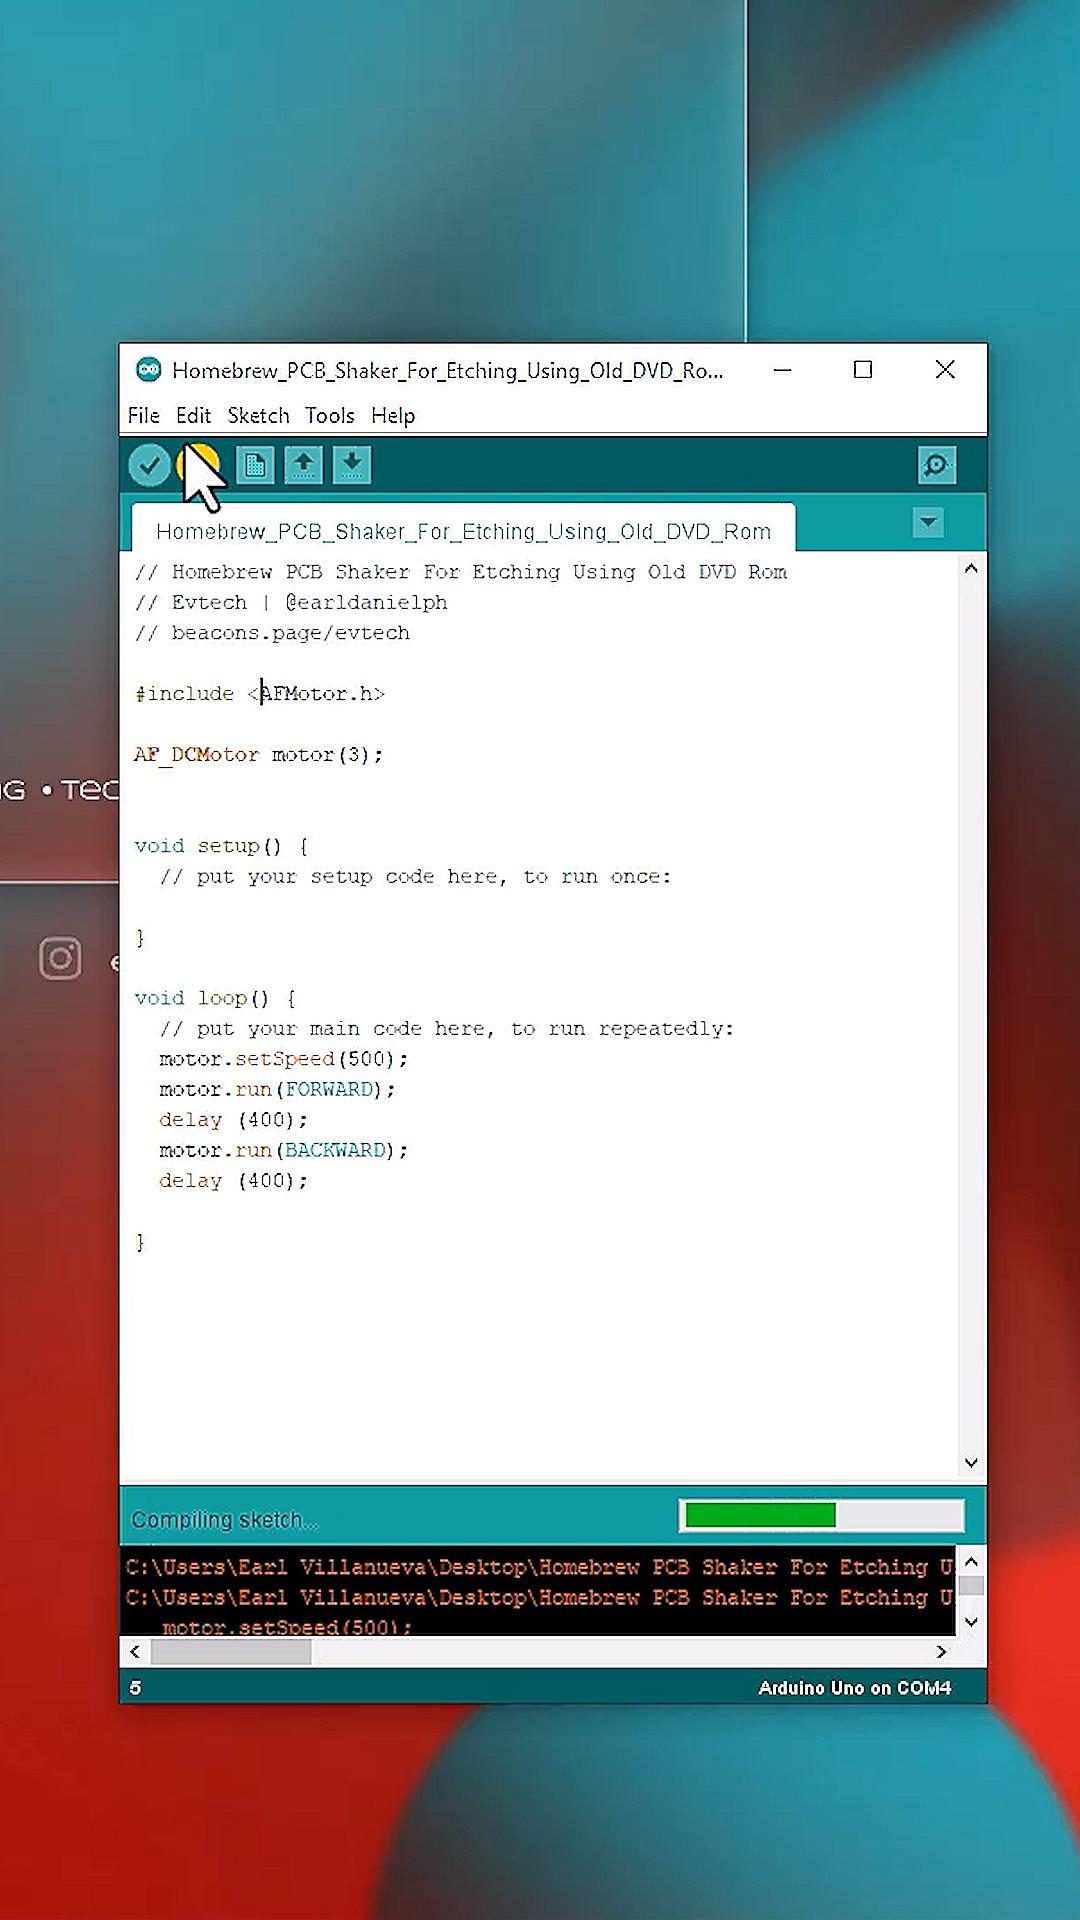
- Download my program sketch
- Tweak it if you want to change the speed of the motor.
Arduino Code:
https://github.com/earldanielph/Homebrew-PCB-Shaker-For-Etching-Using-Old-DVD-Rom
Wire Them Up!
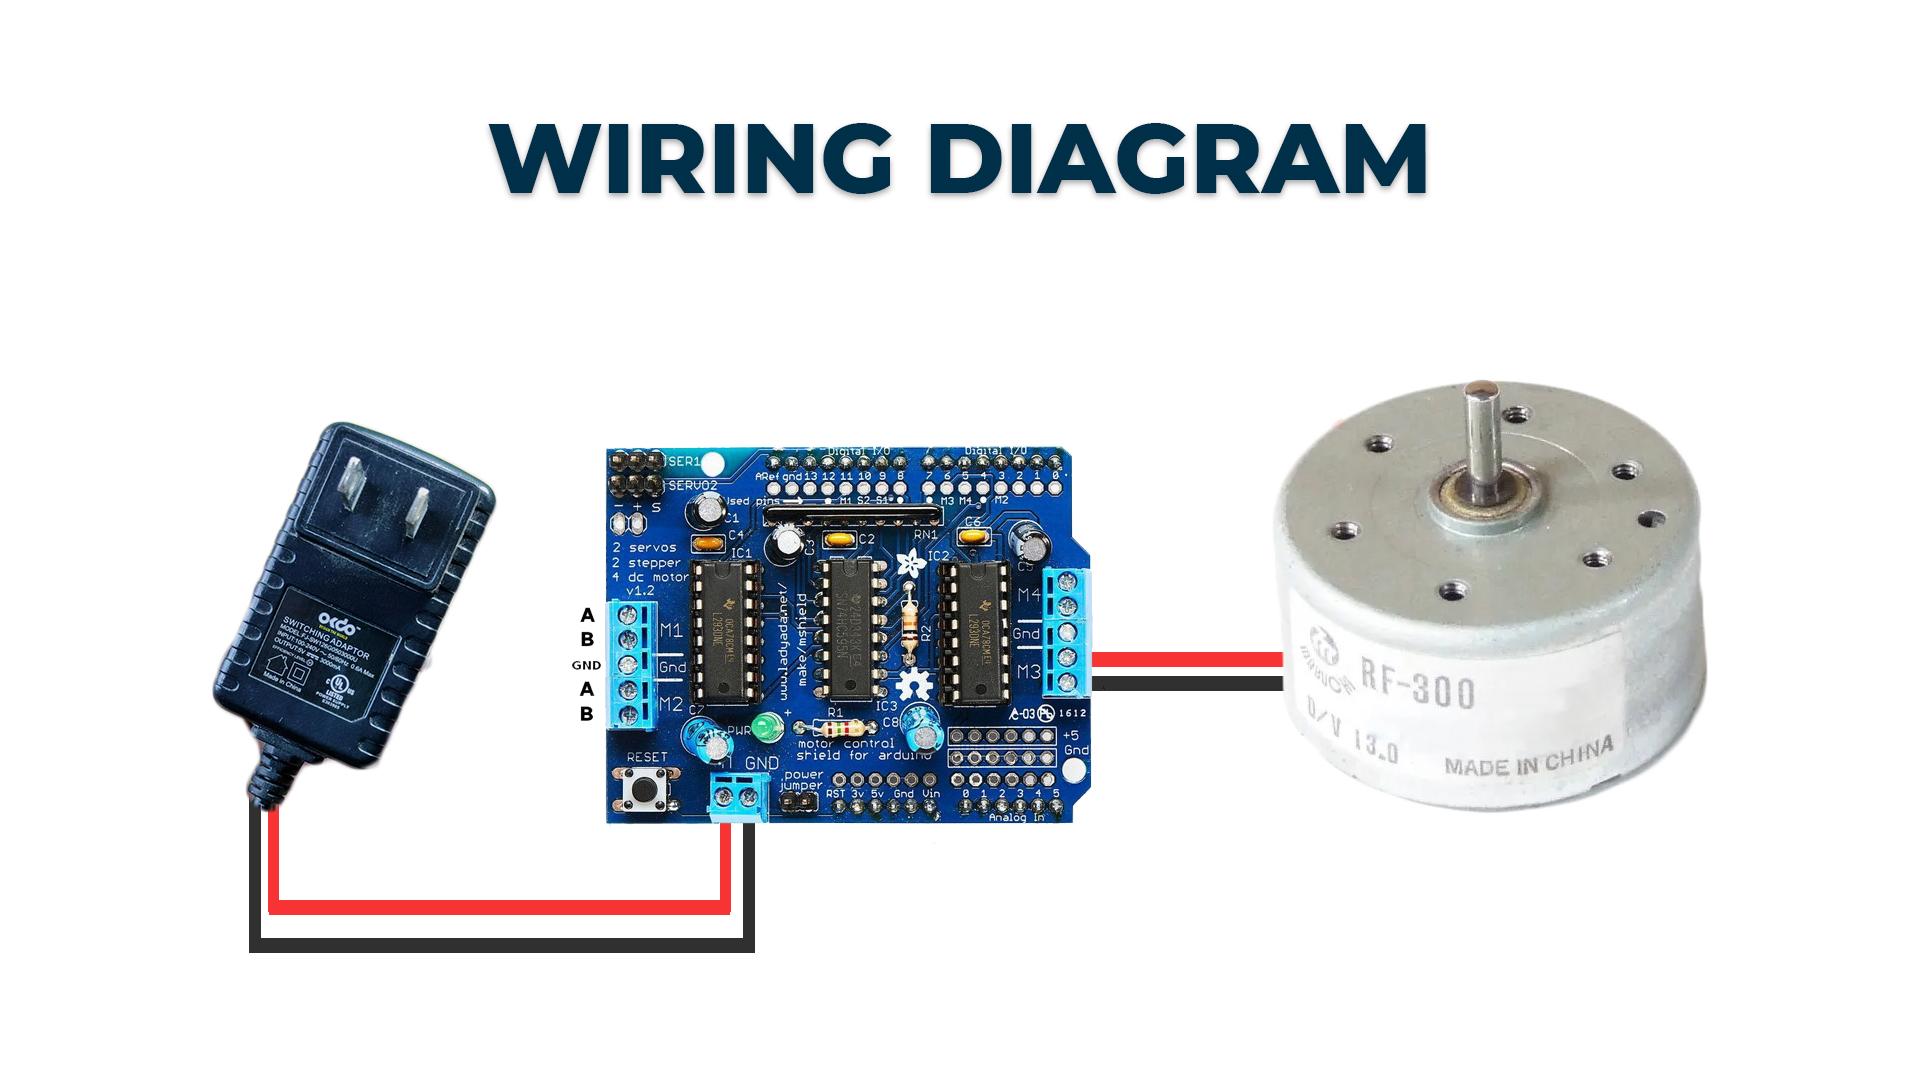
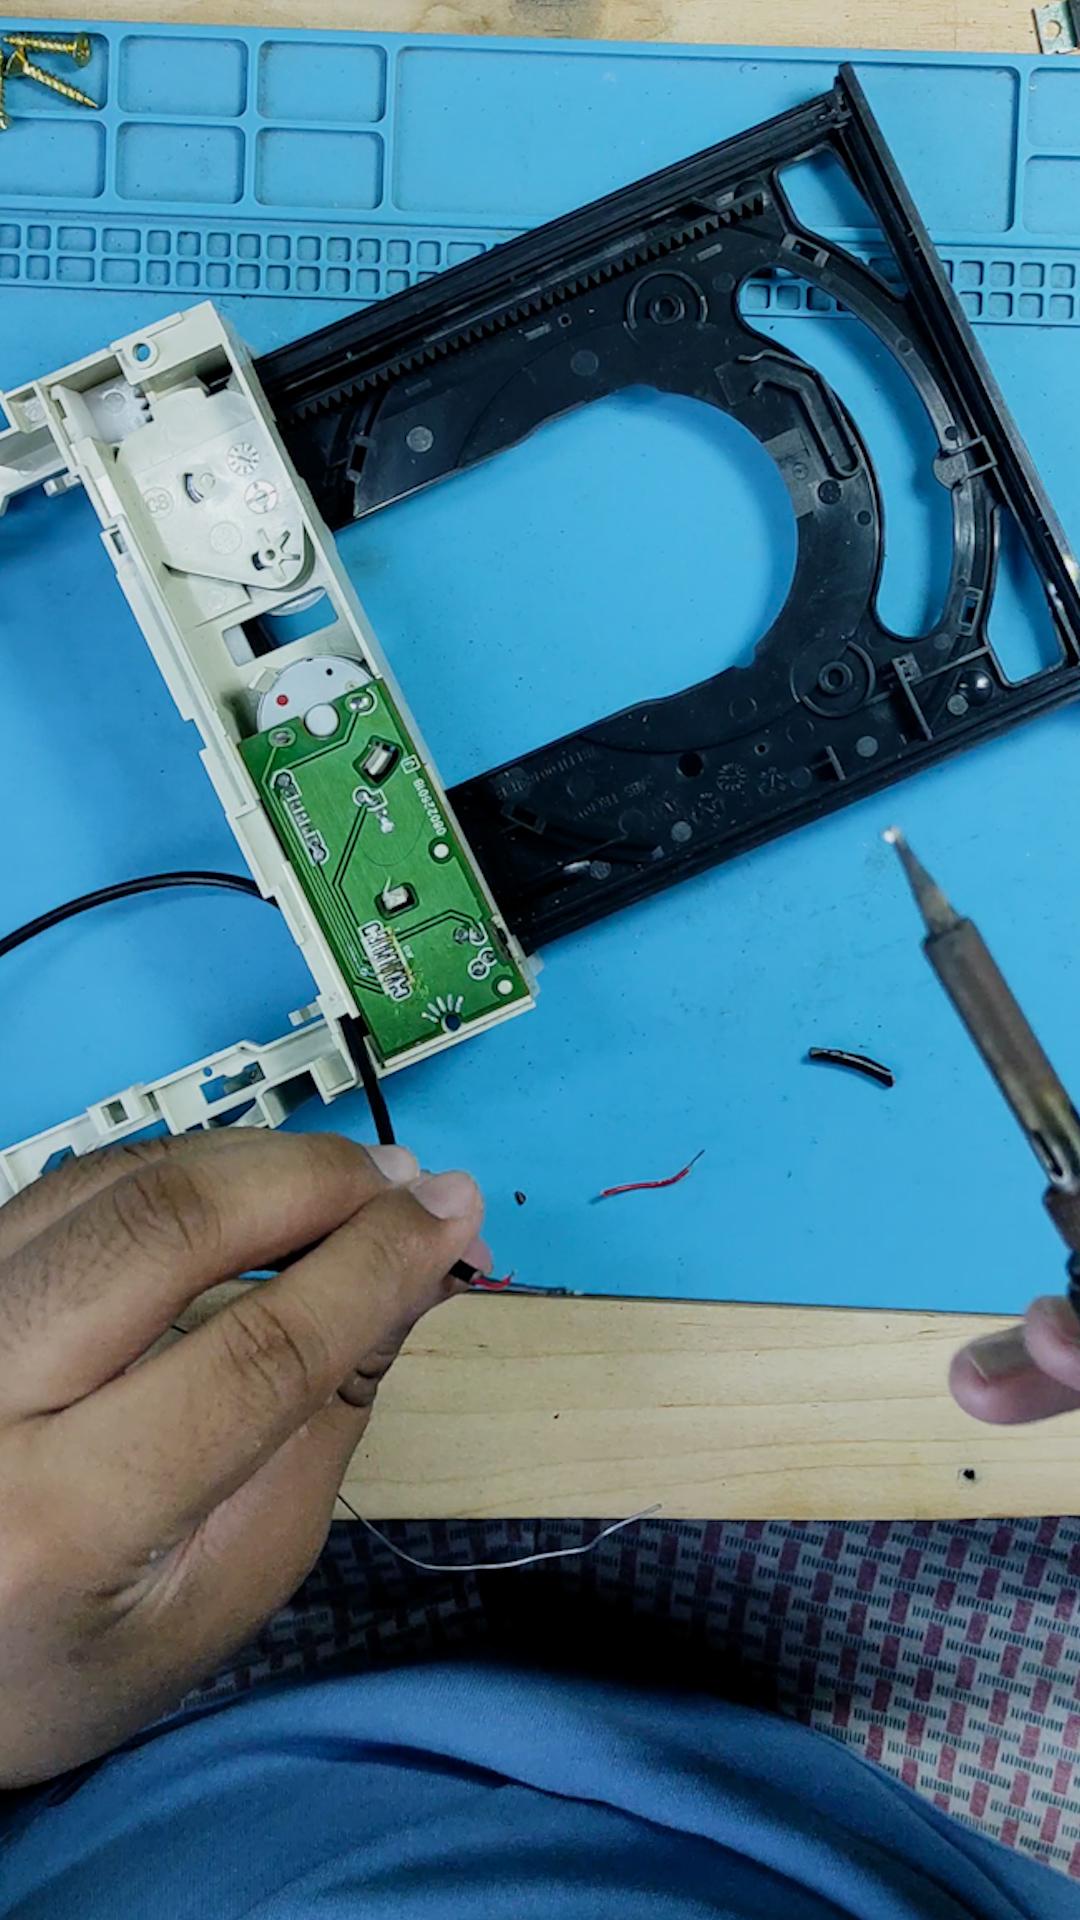
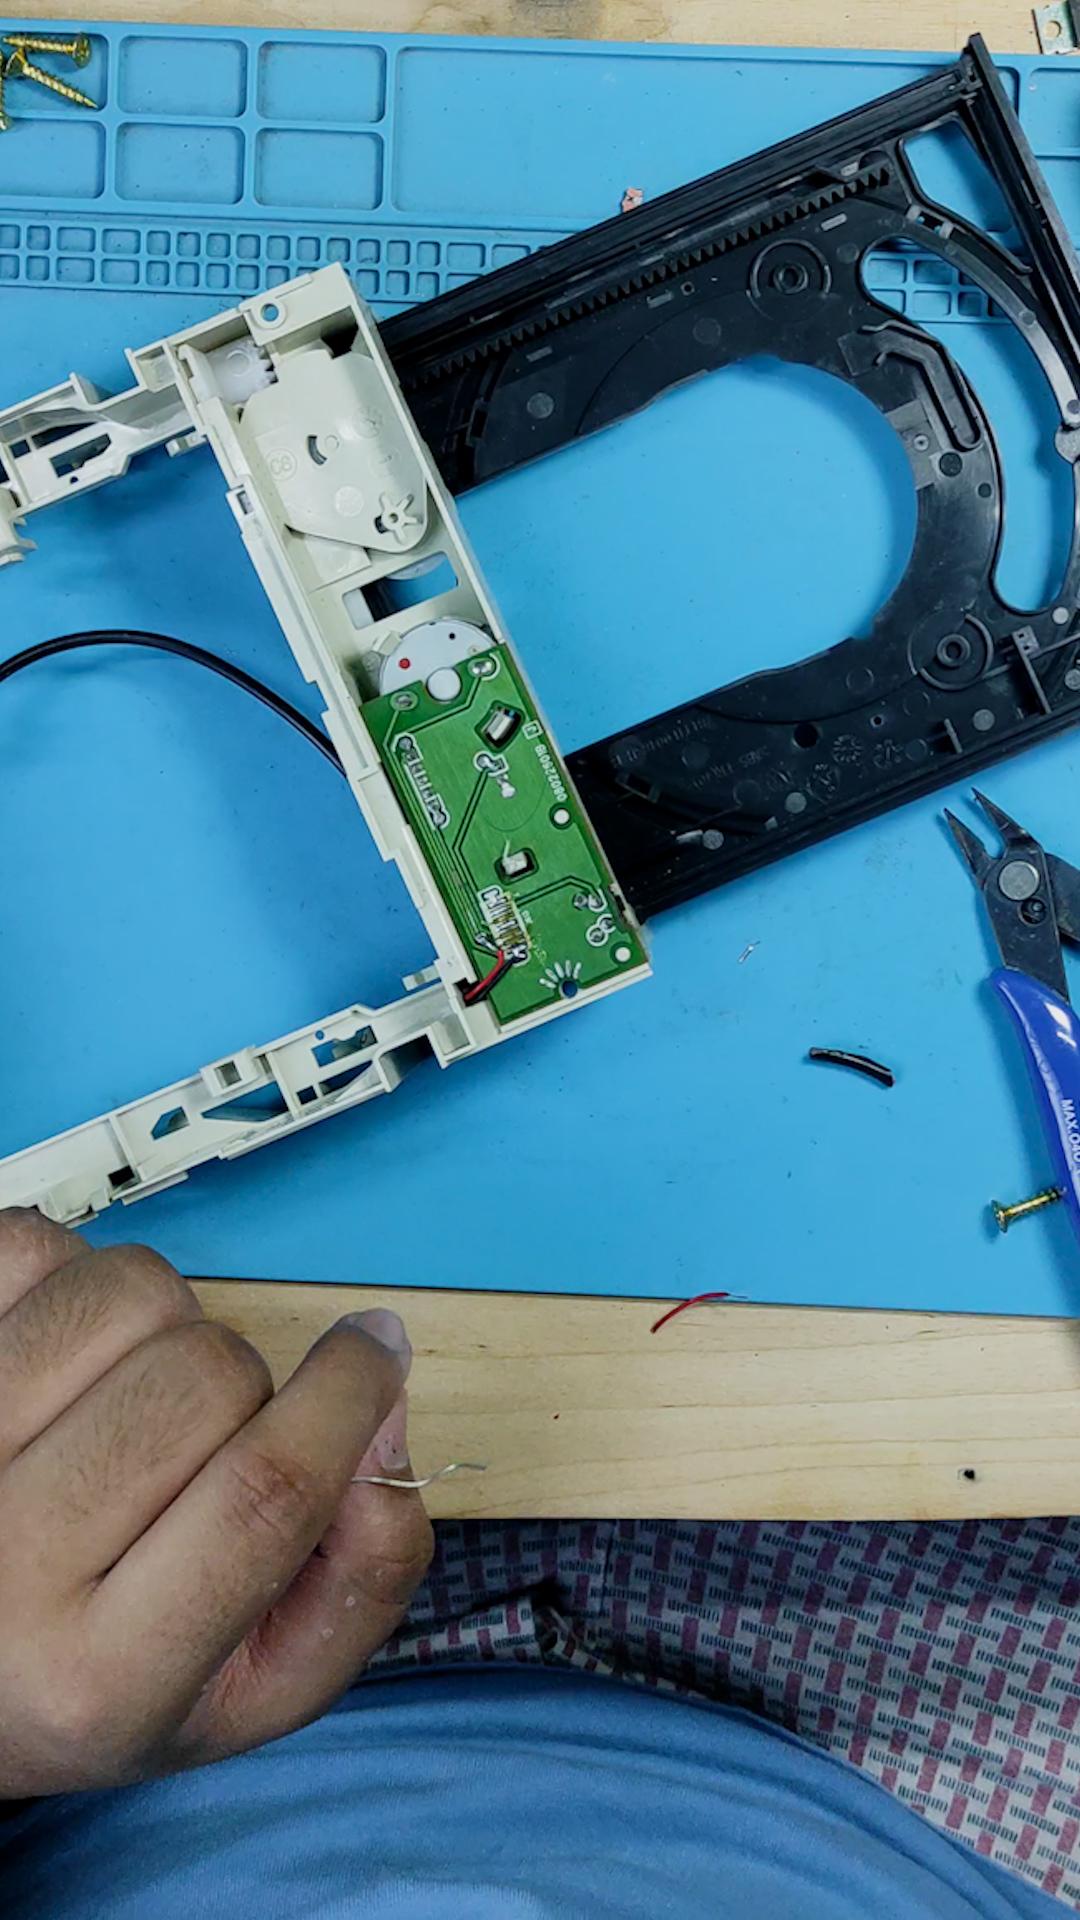
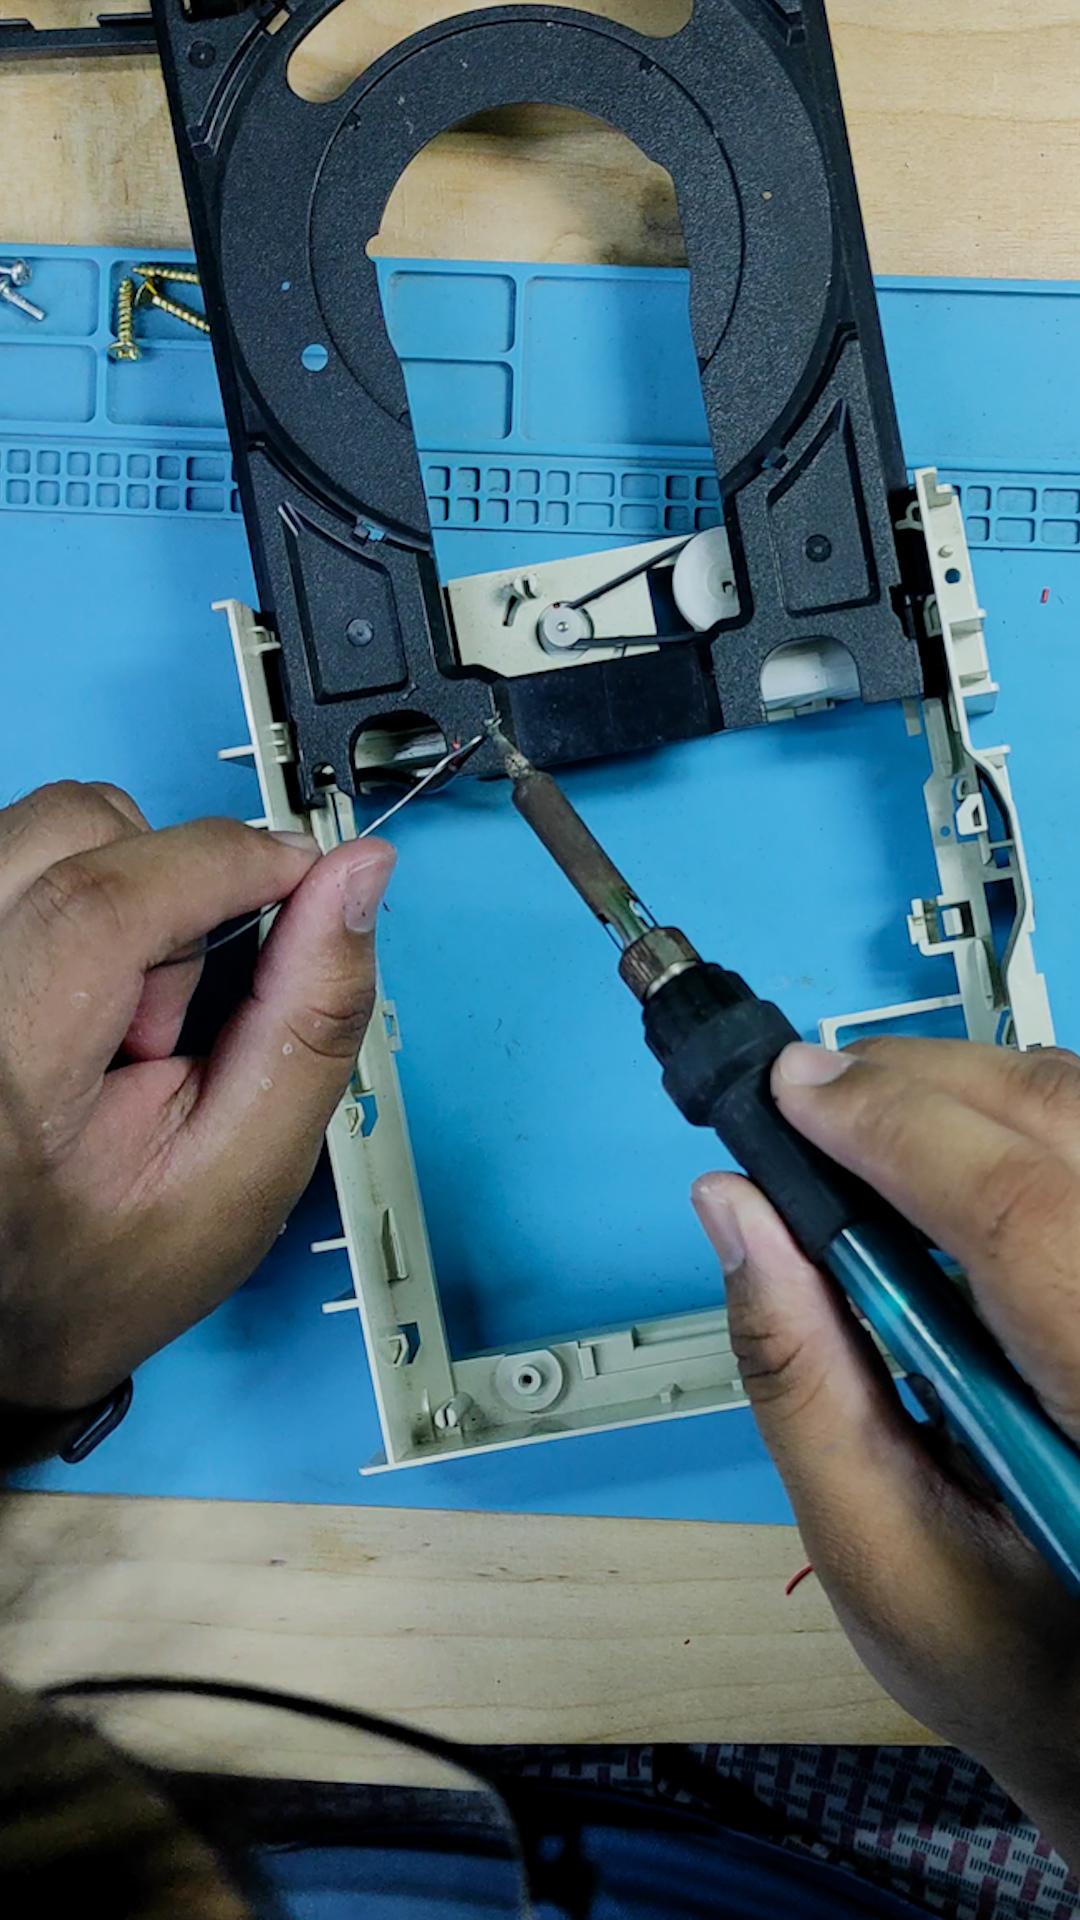
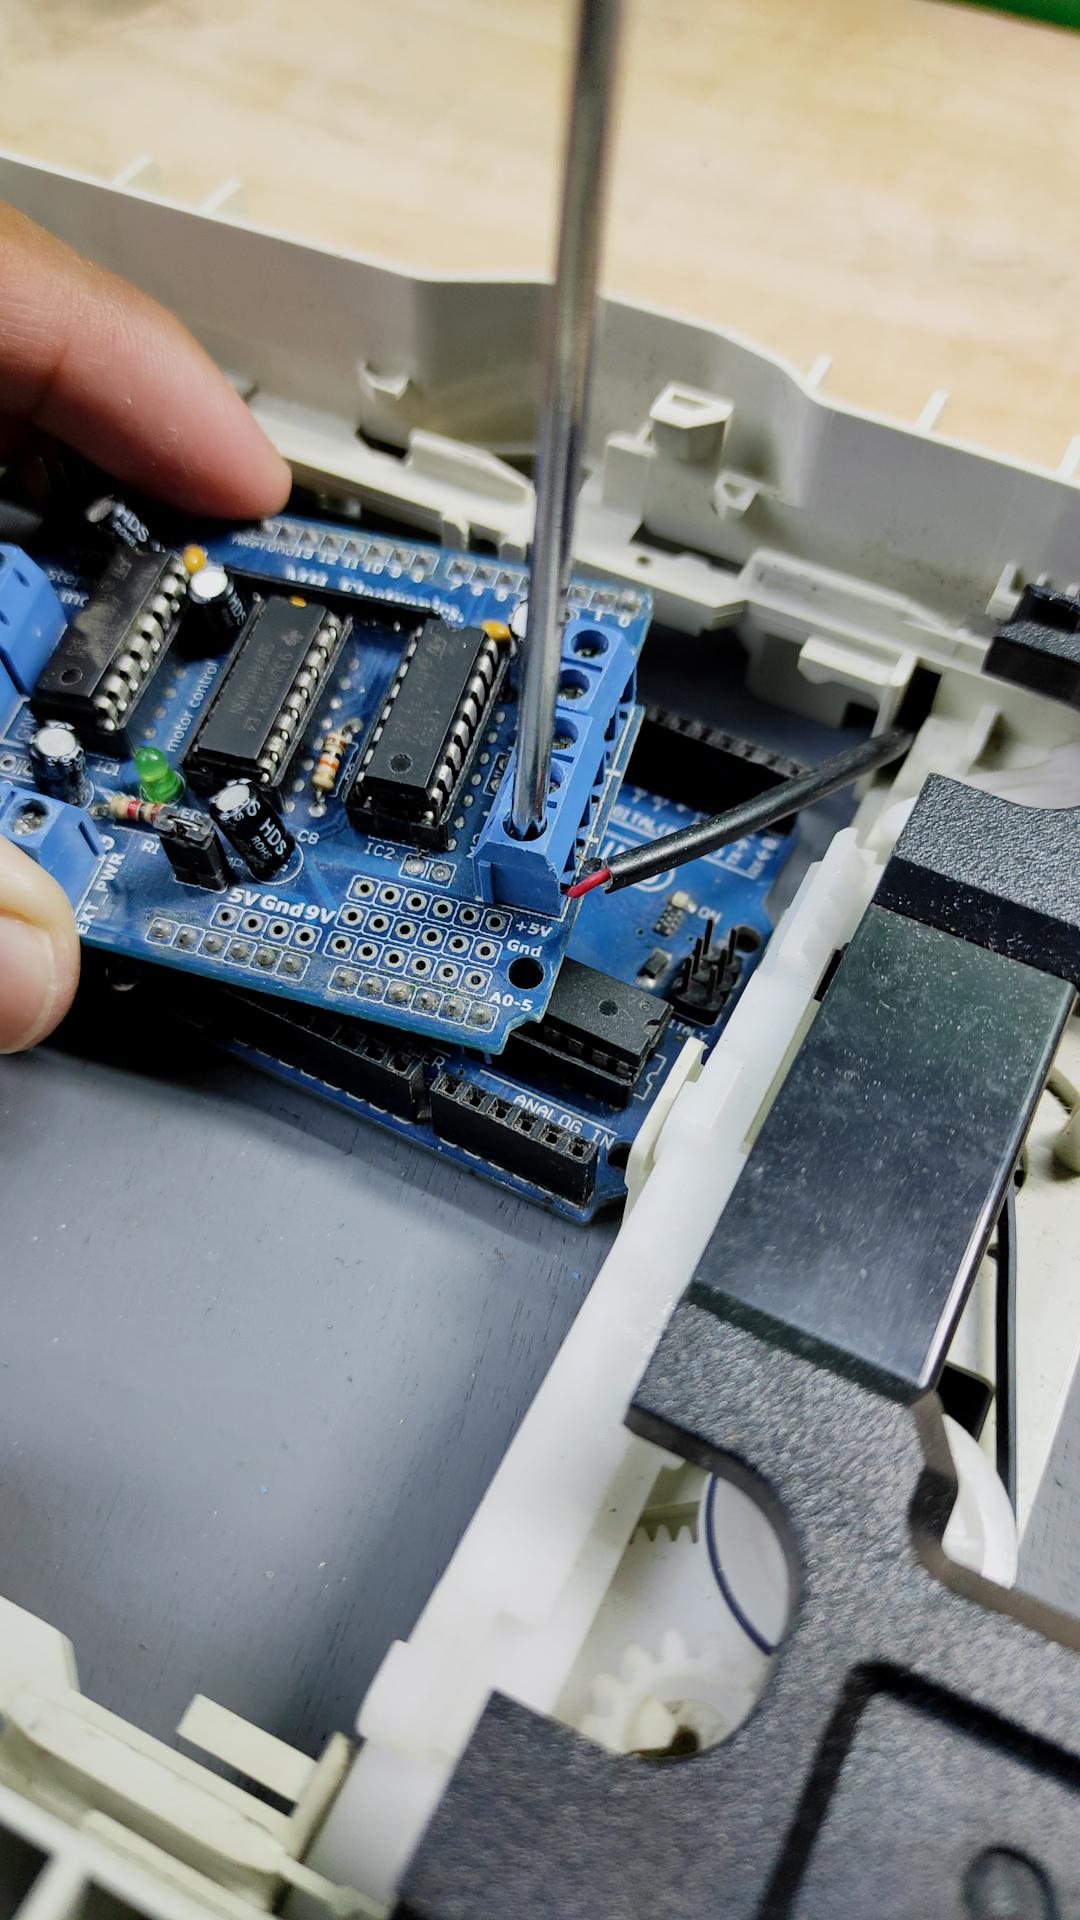
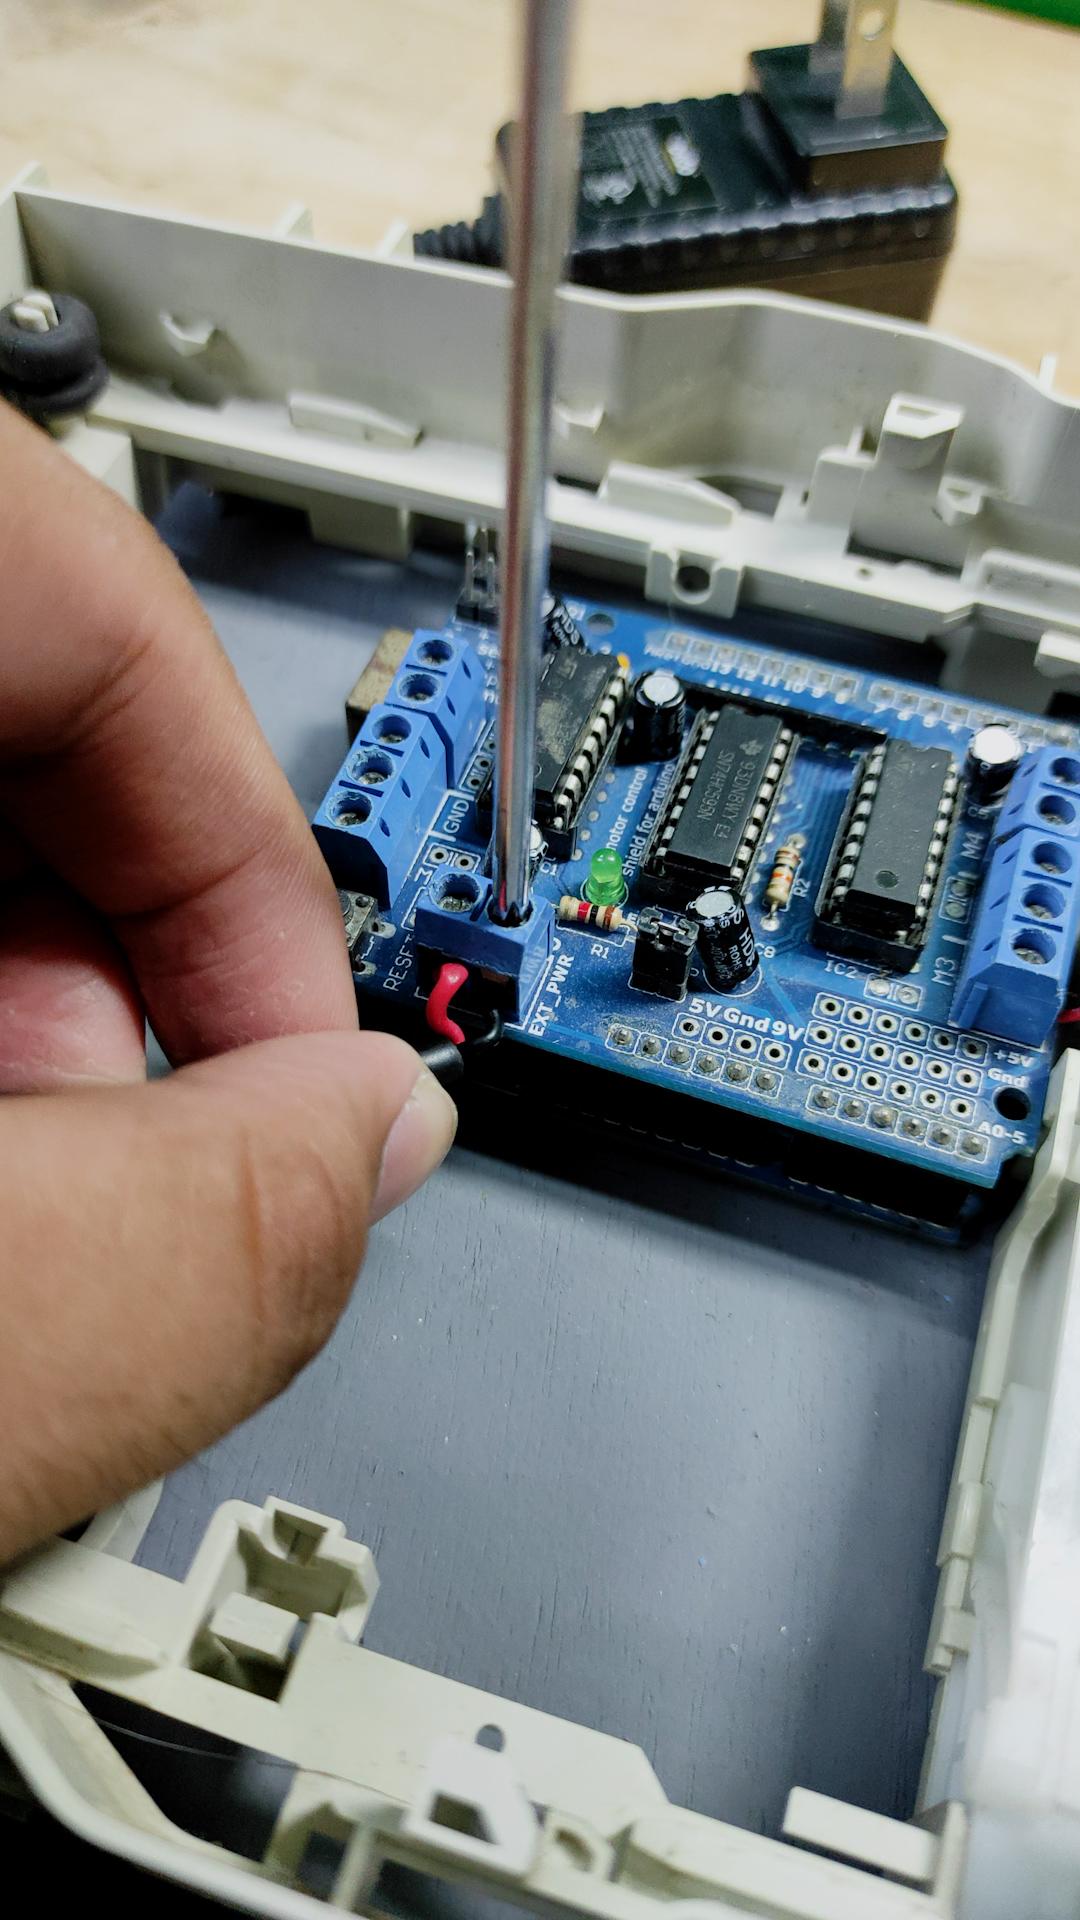
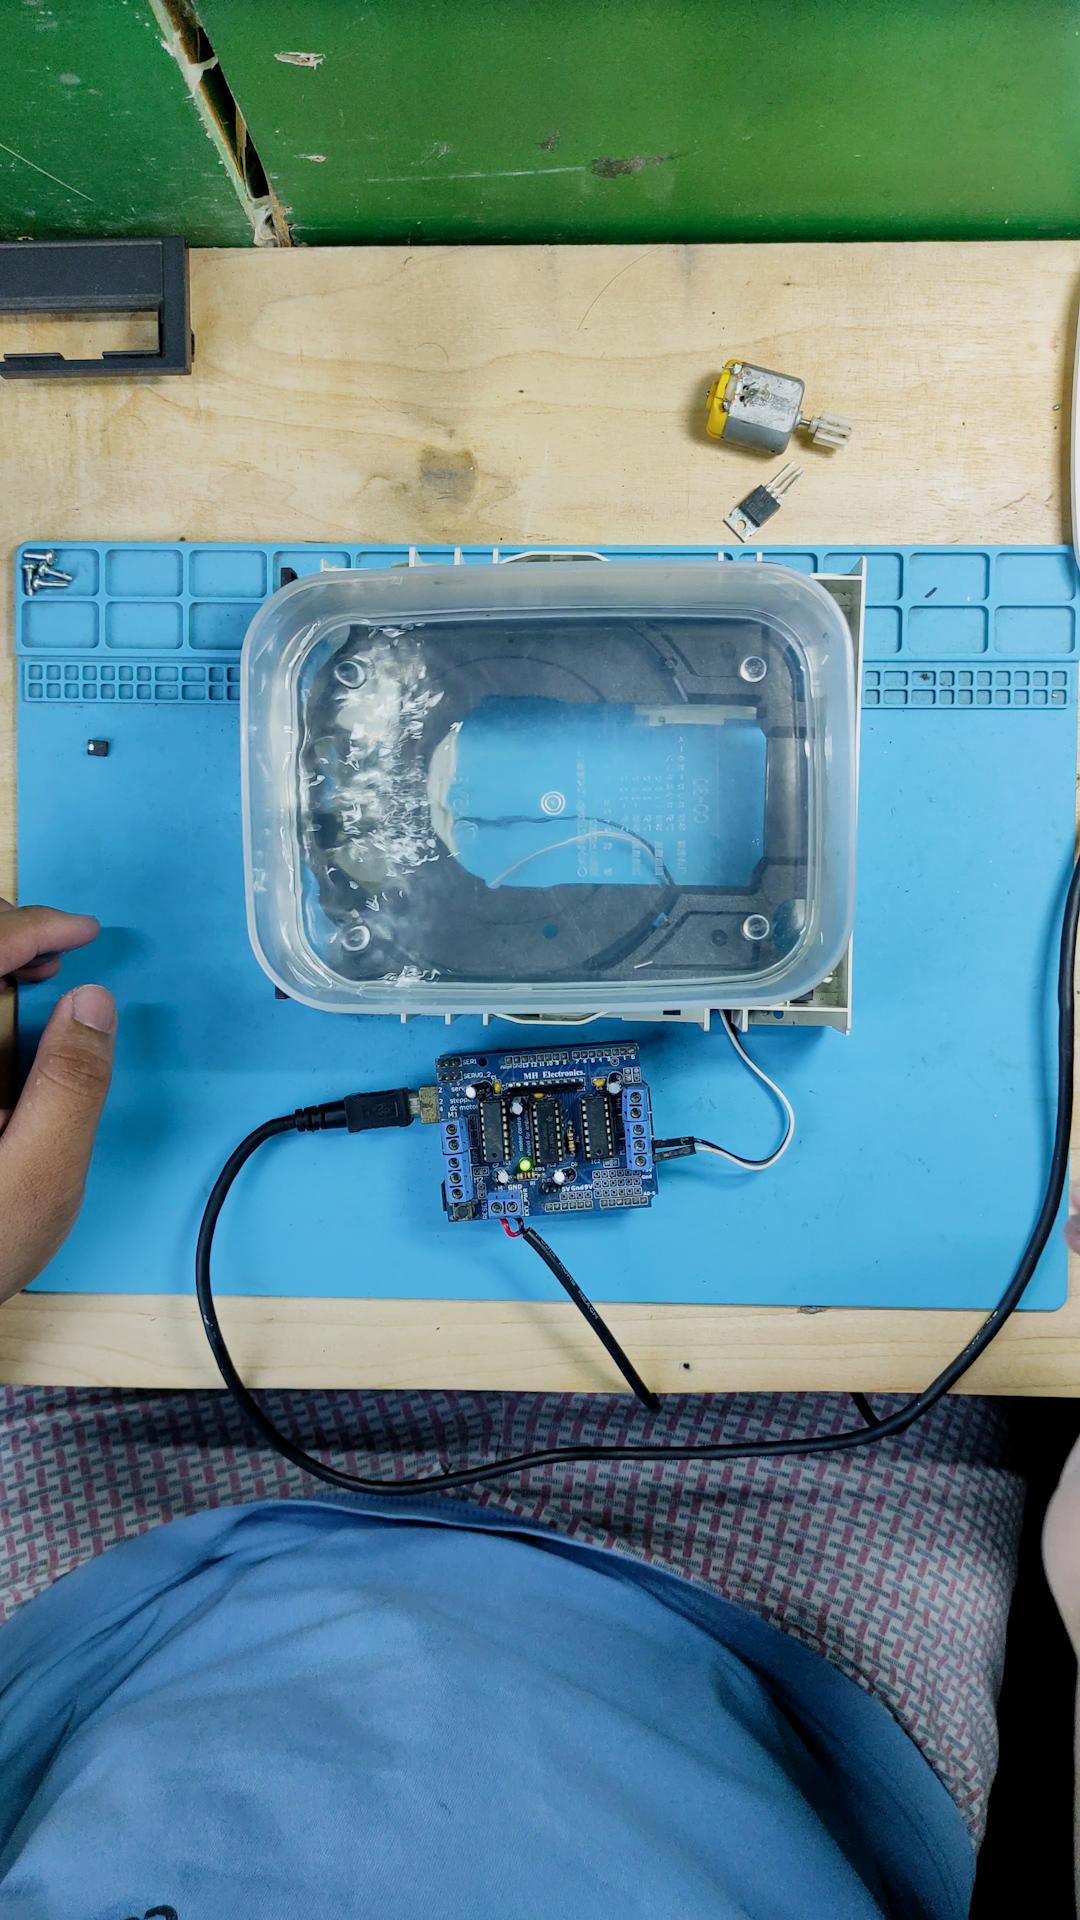
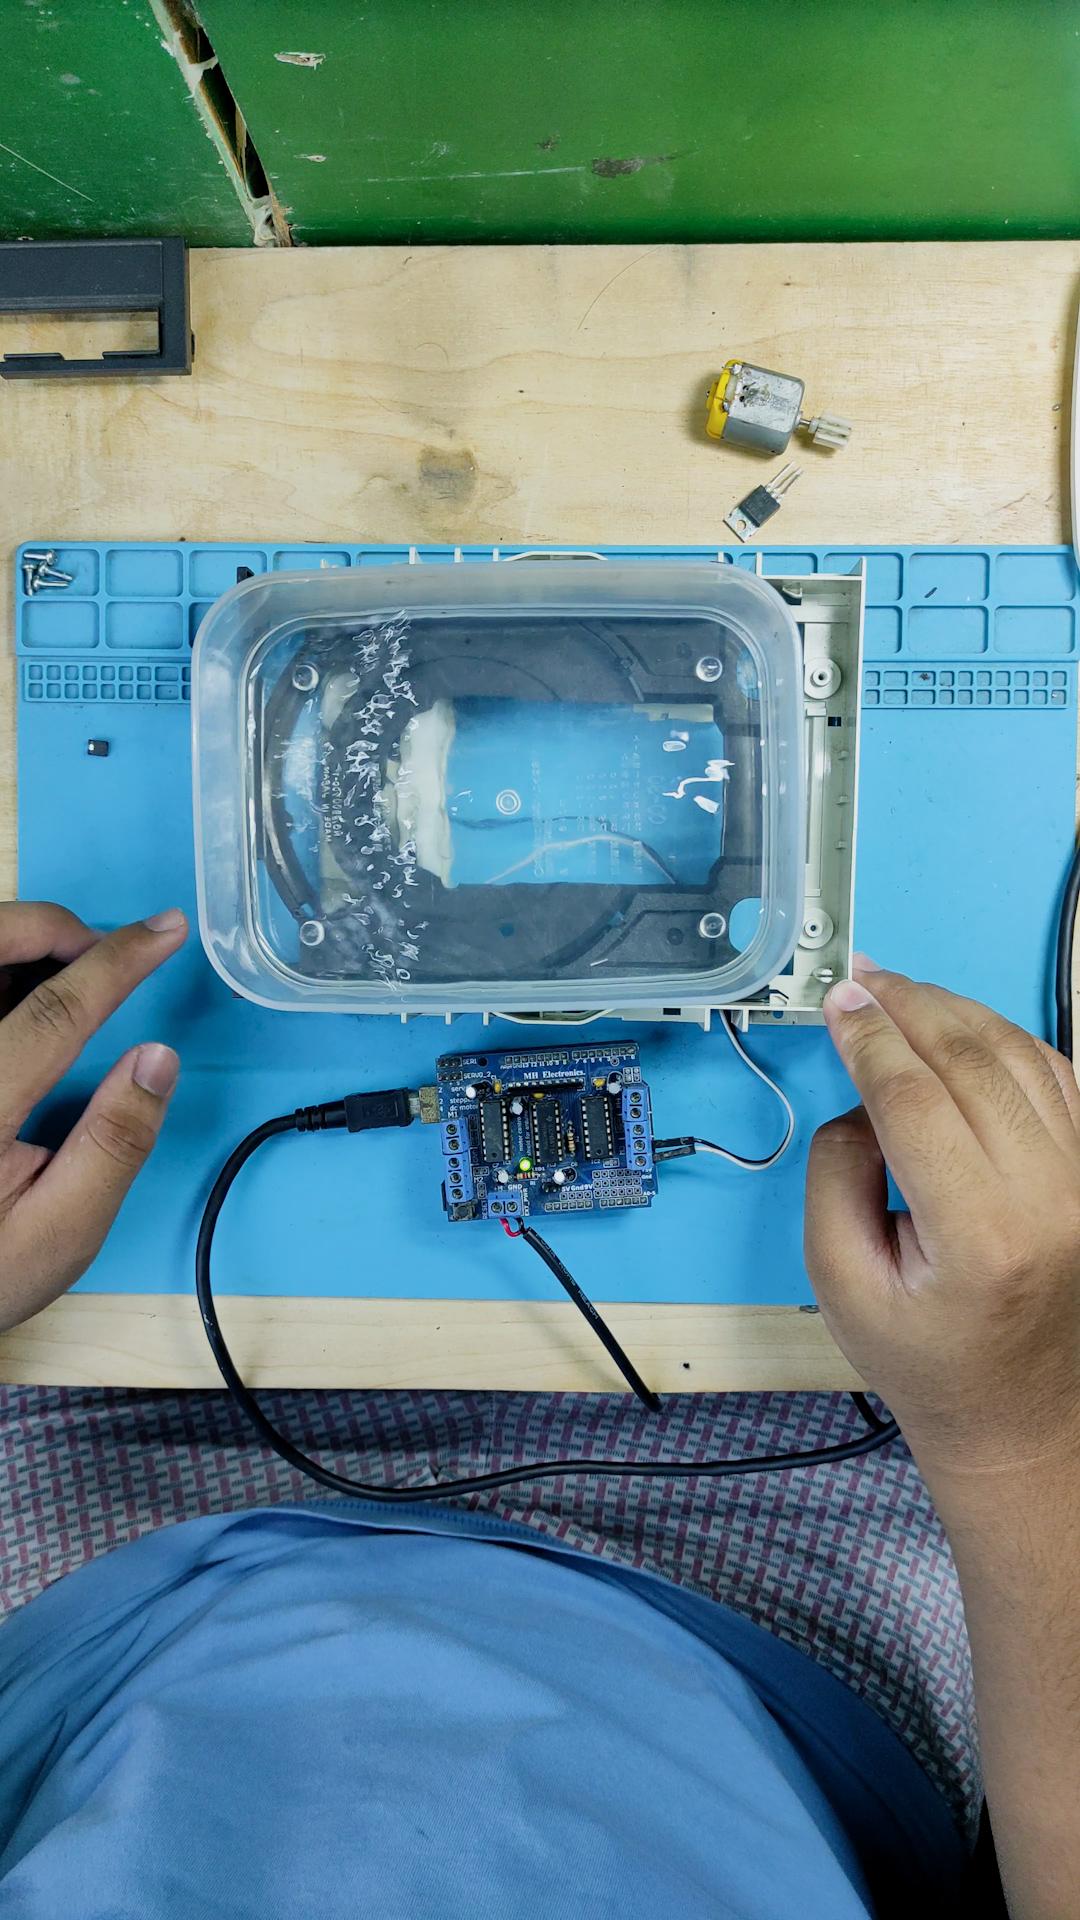
Next to that is putting a wire from the DVD Rom motor going to the Adafruit motor shield. After that, connect the 5 volt power supply to the motor shield, and now put the Tupperware on top of the DVD Rom and see if it is working.
Creating the Base Plate
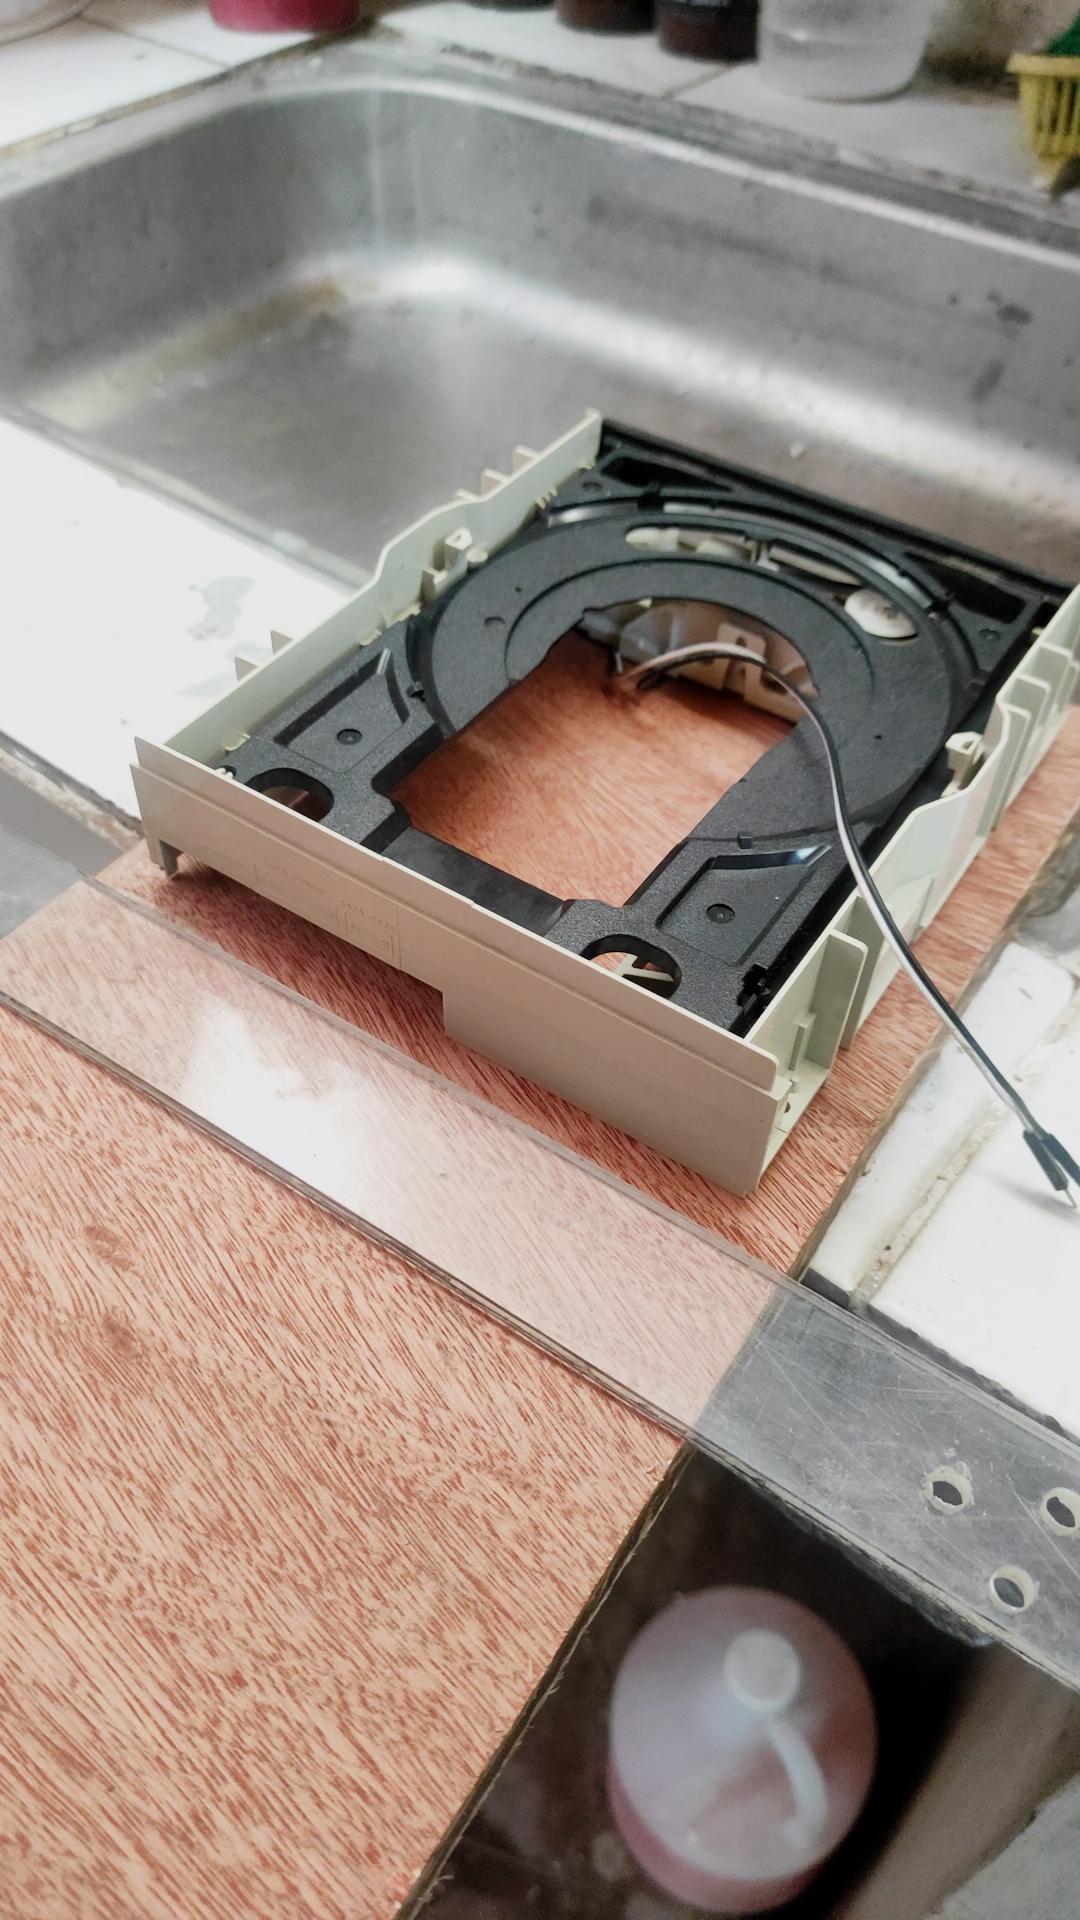
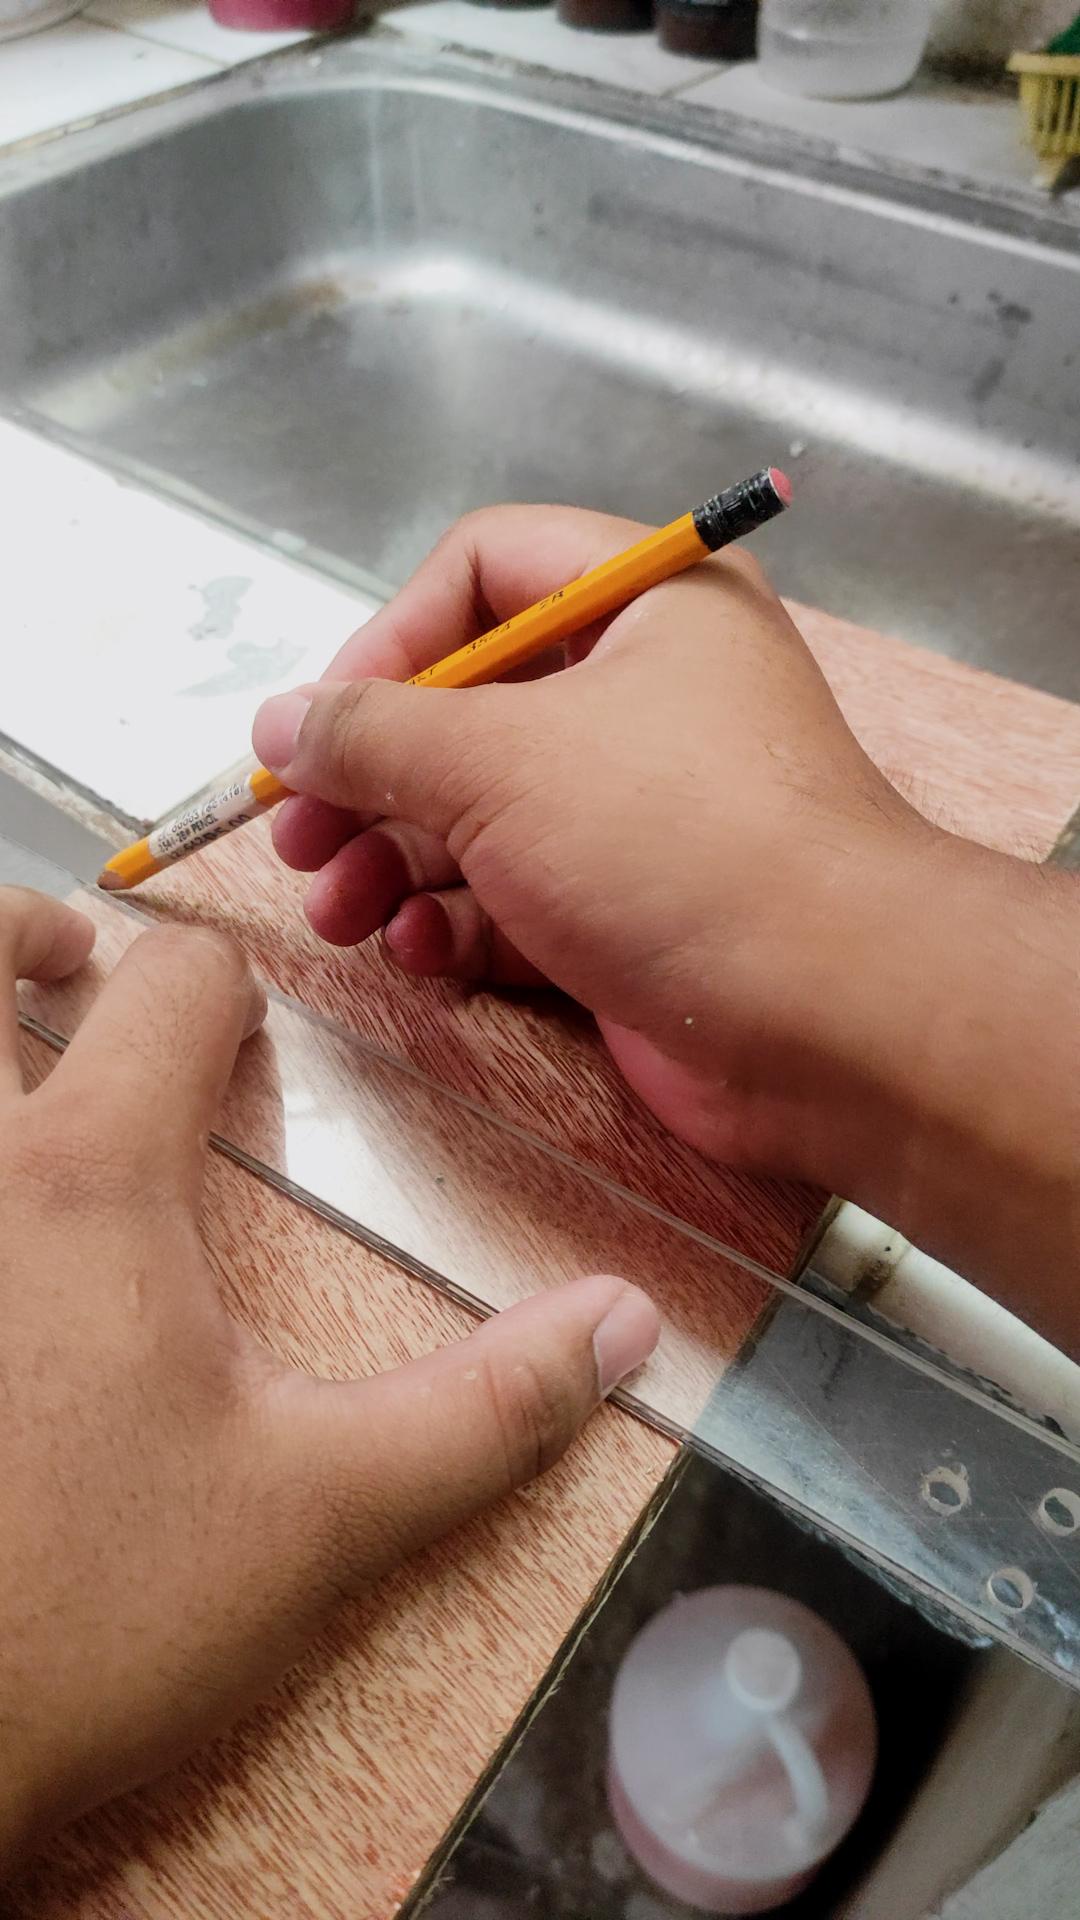
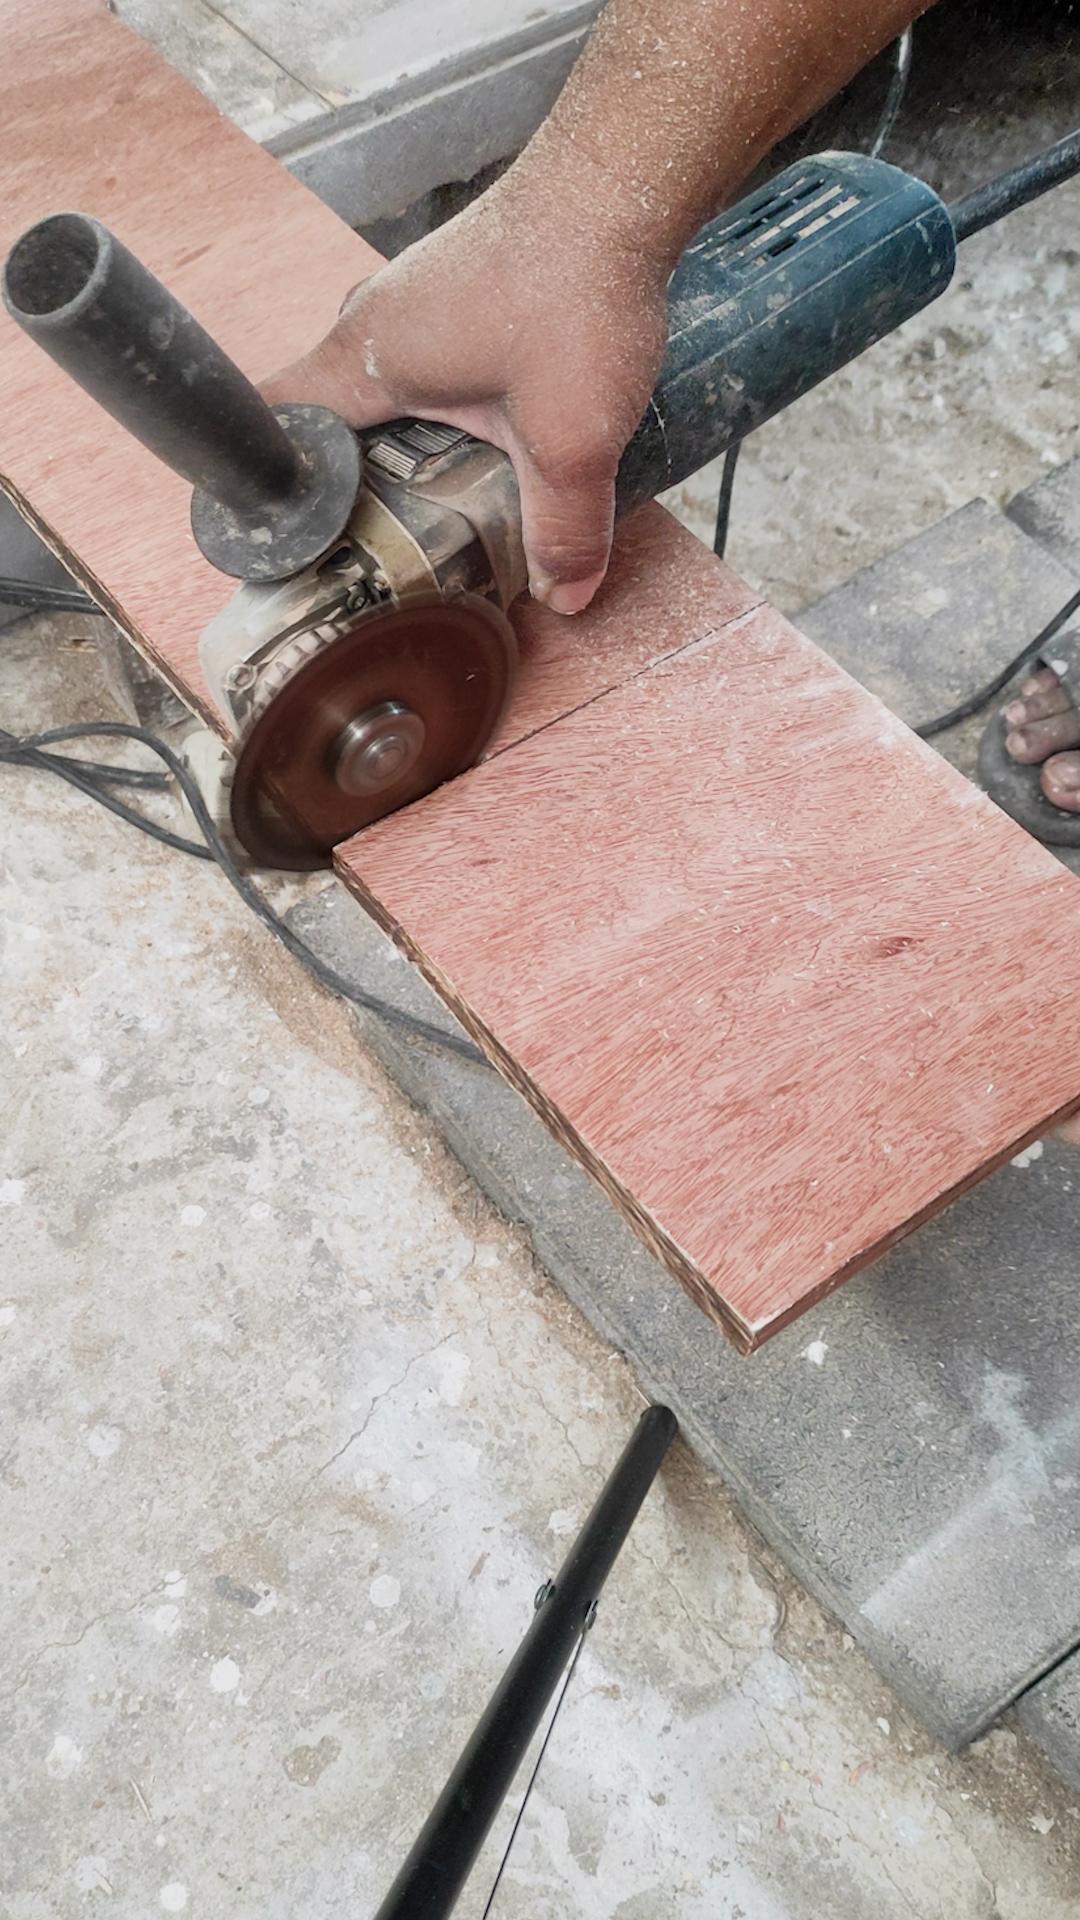
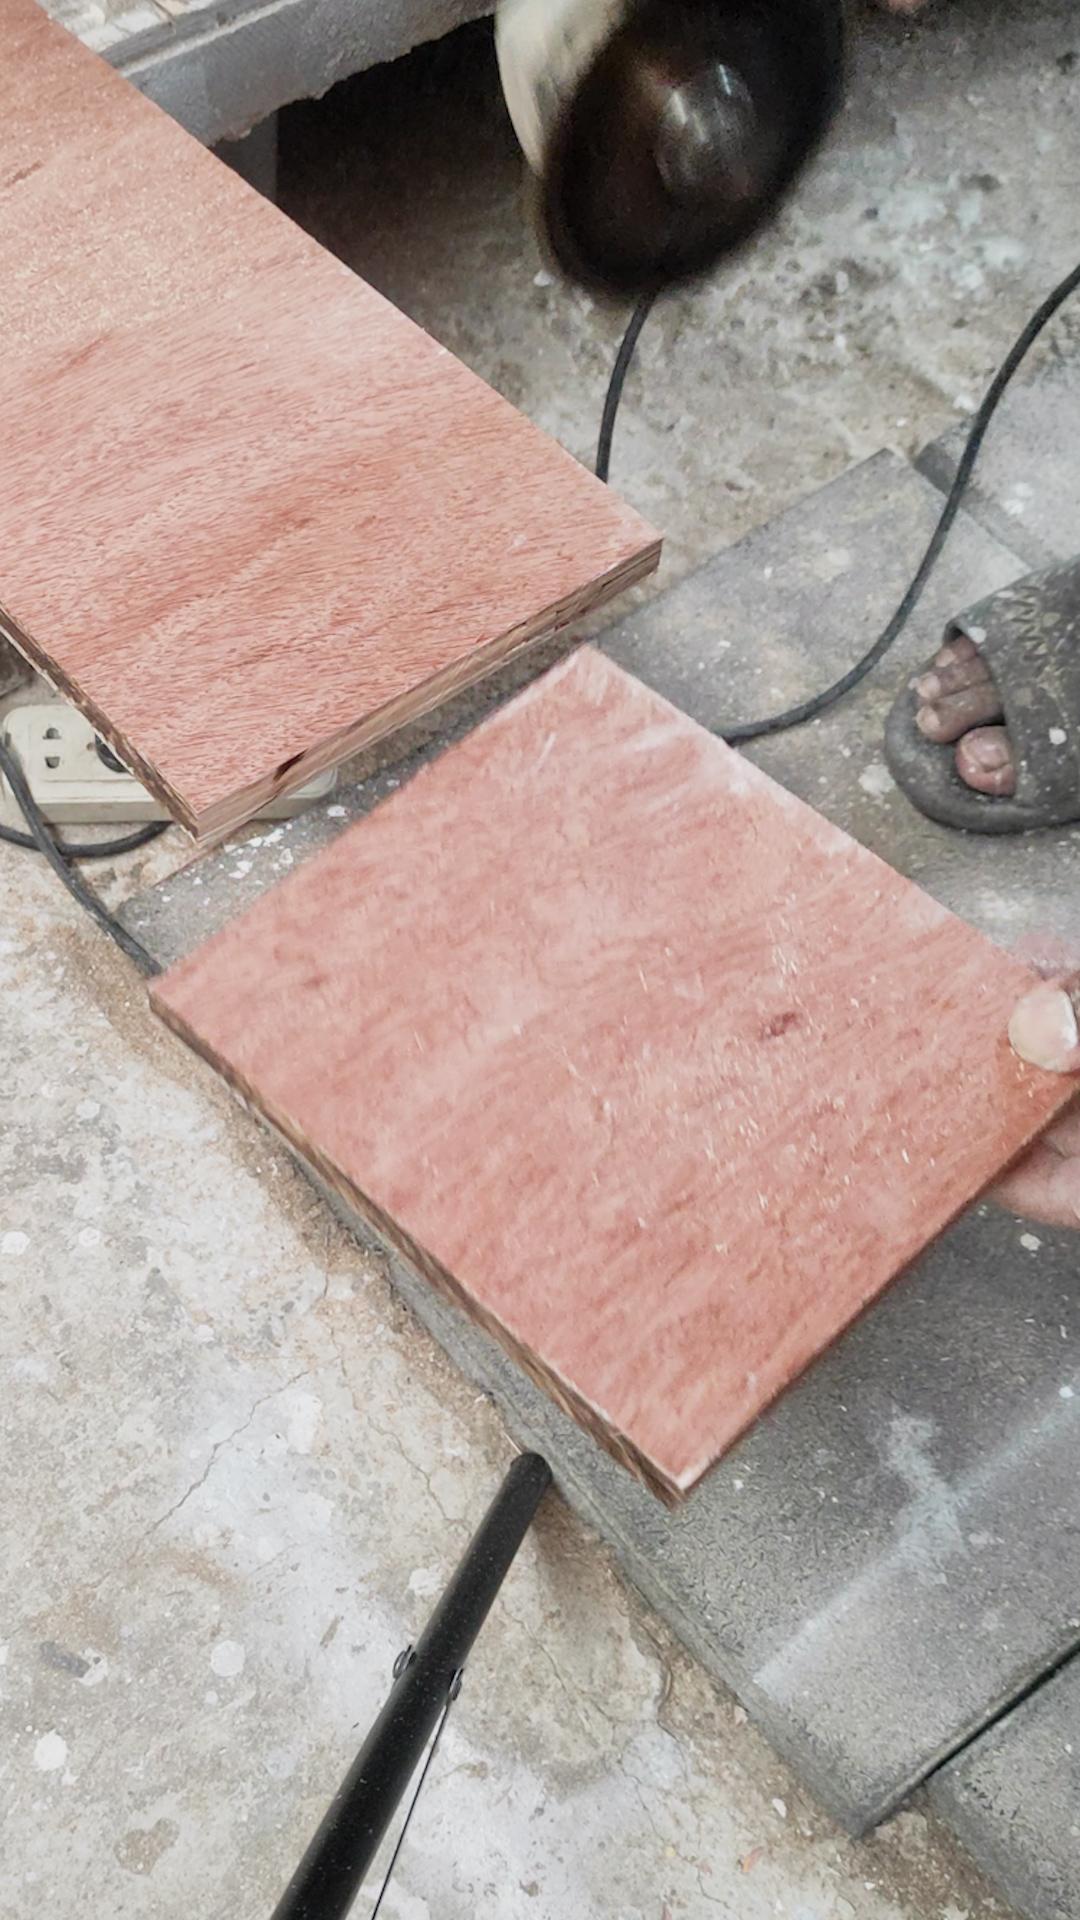
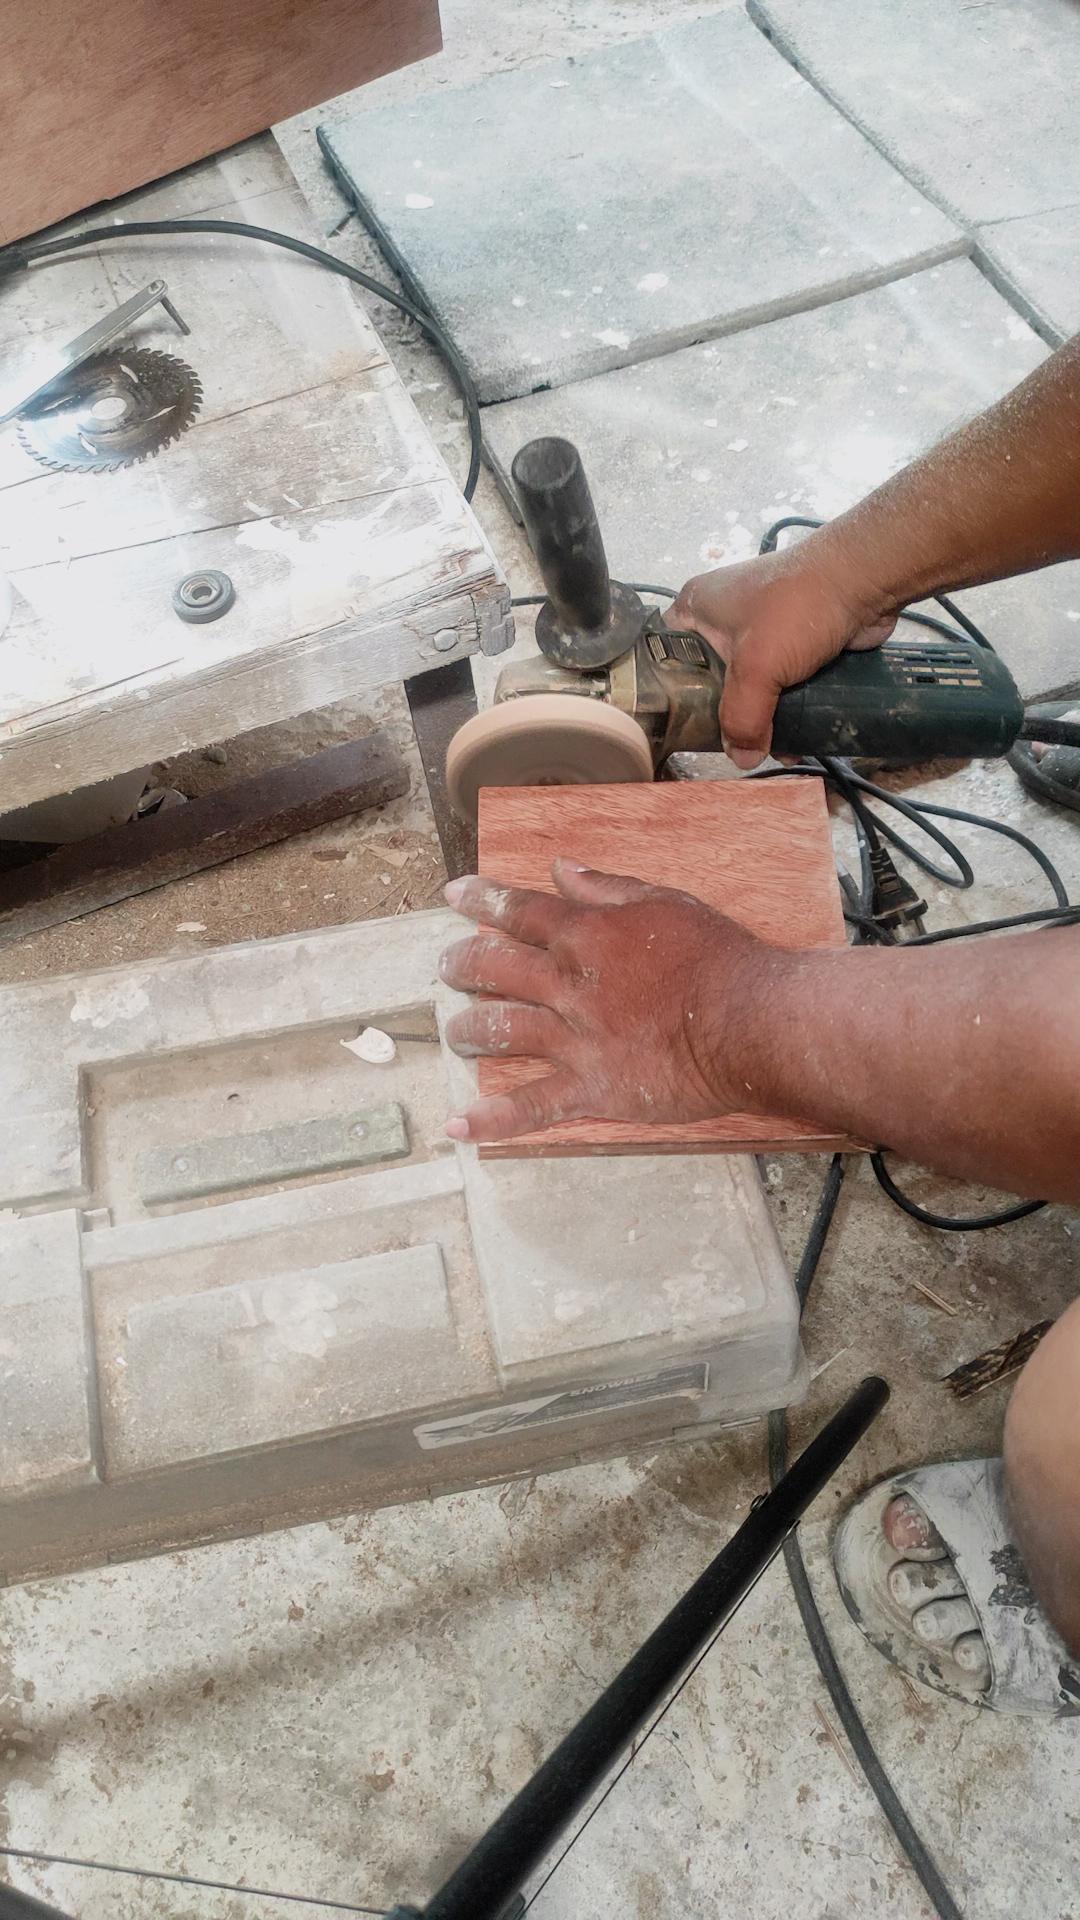
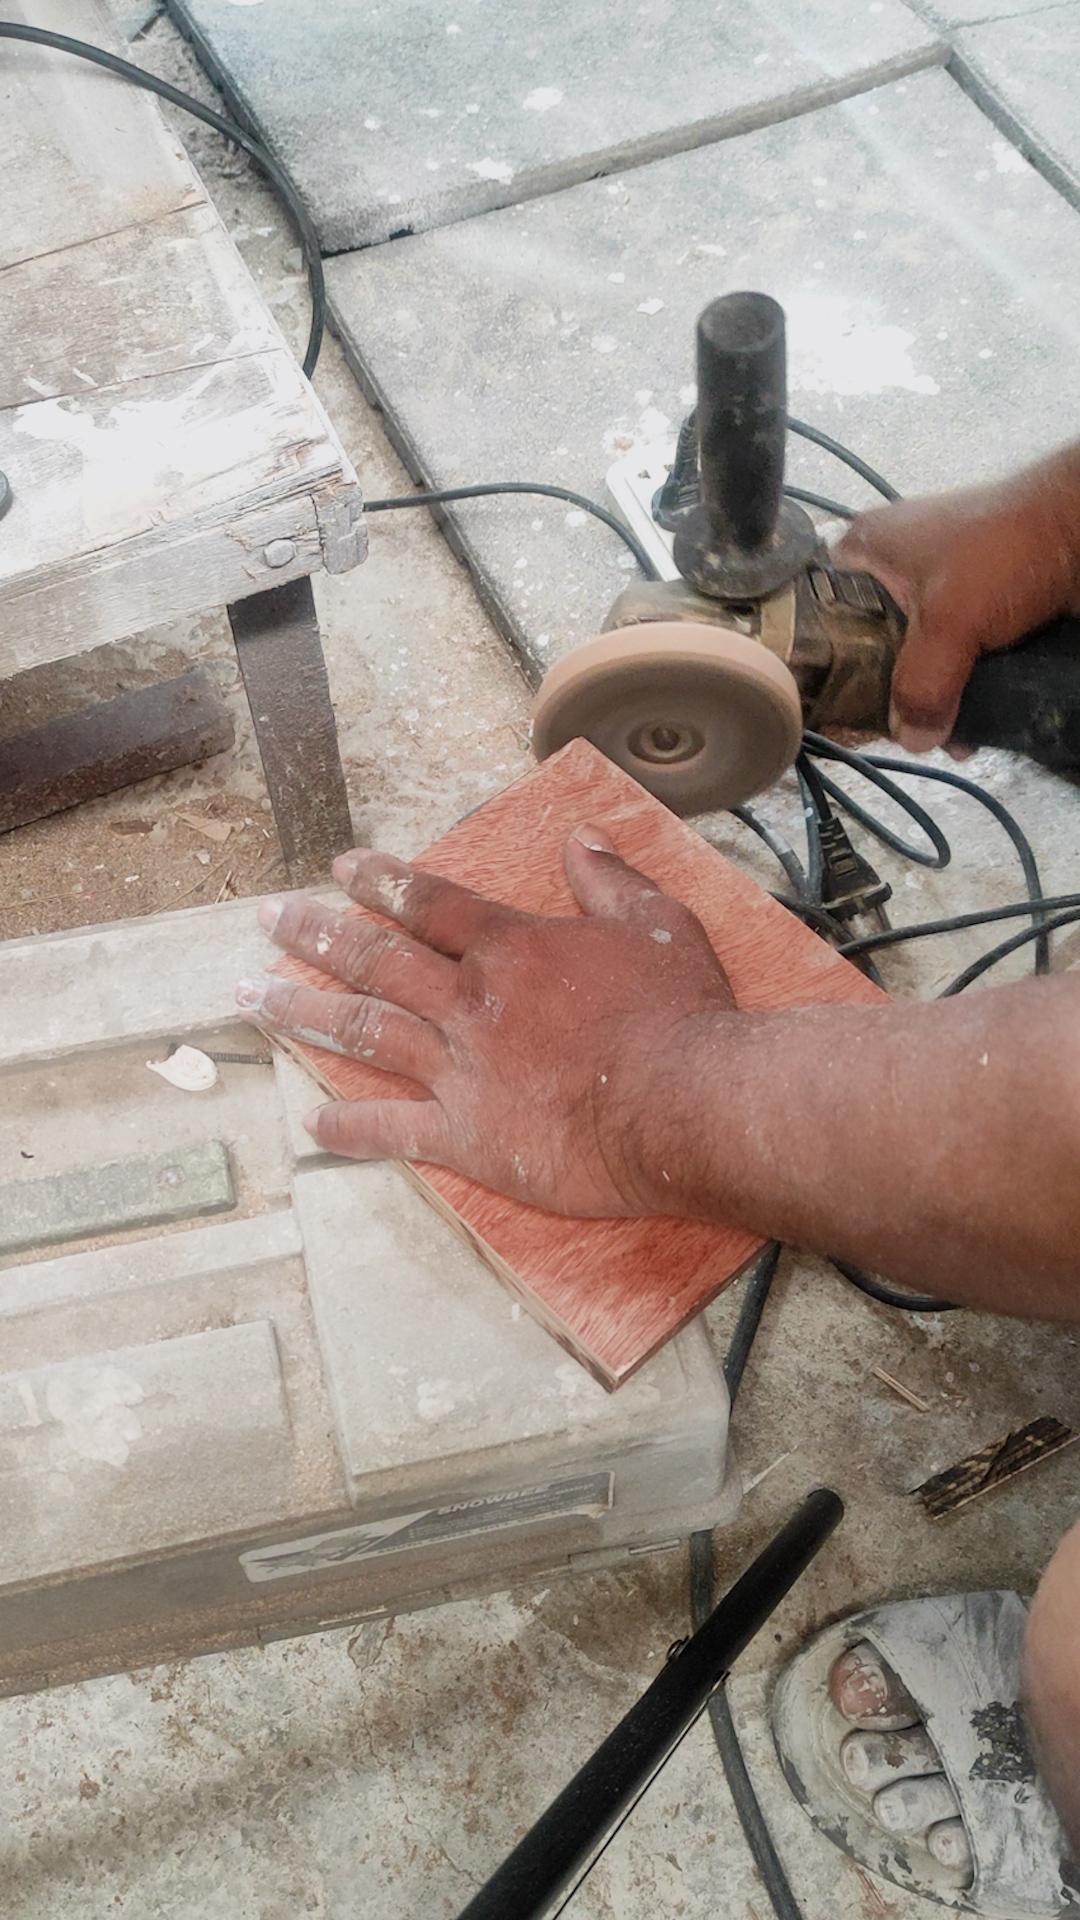
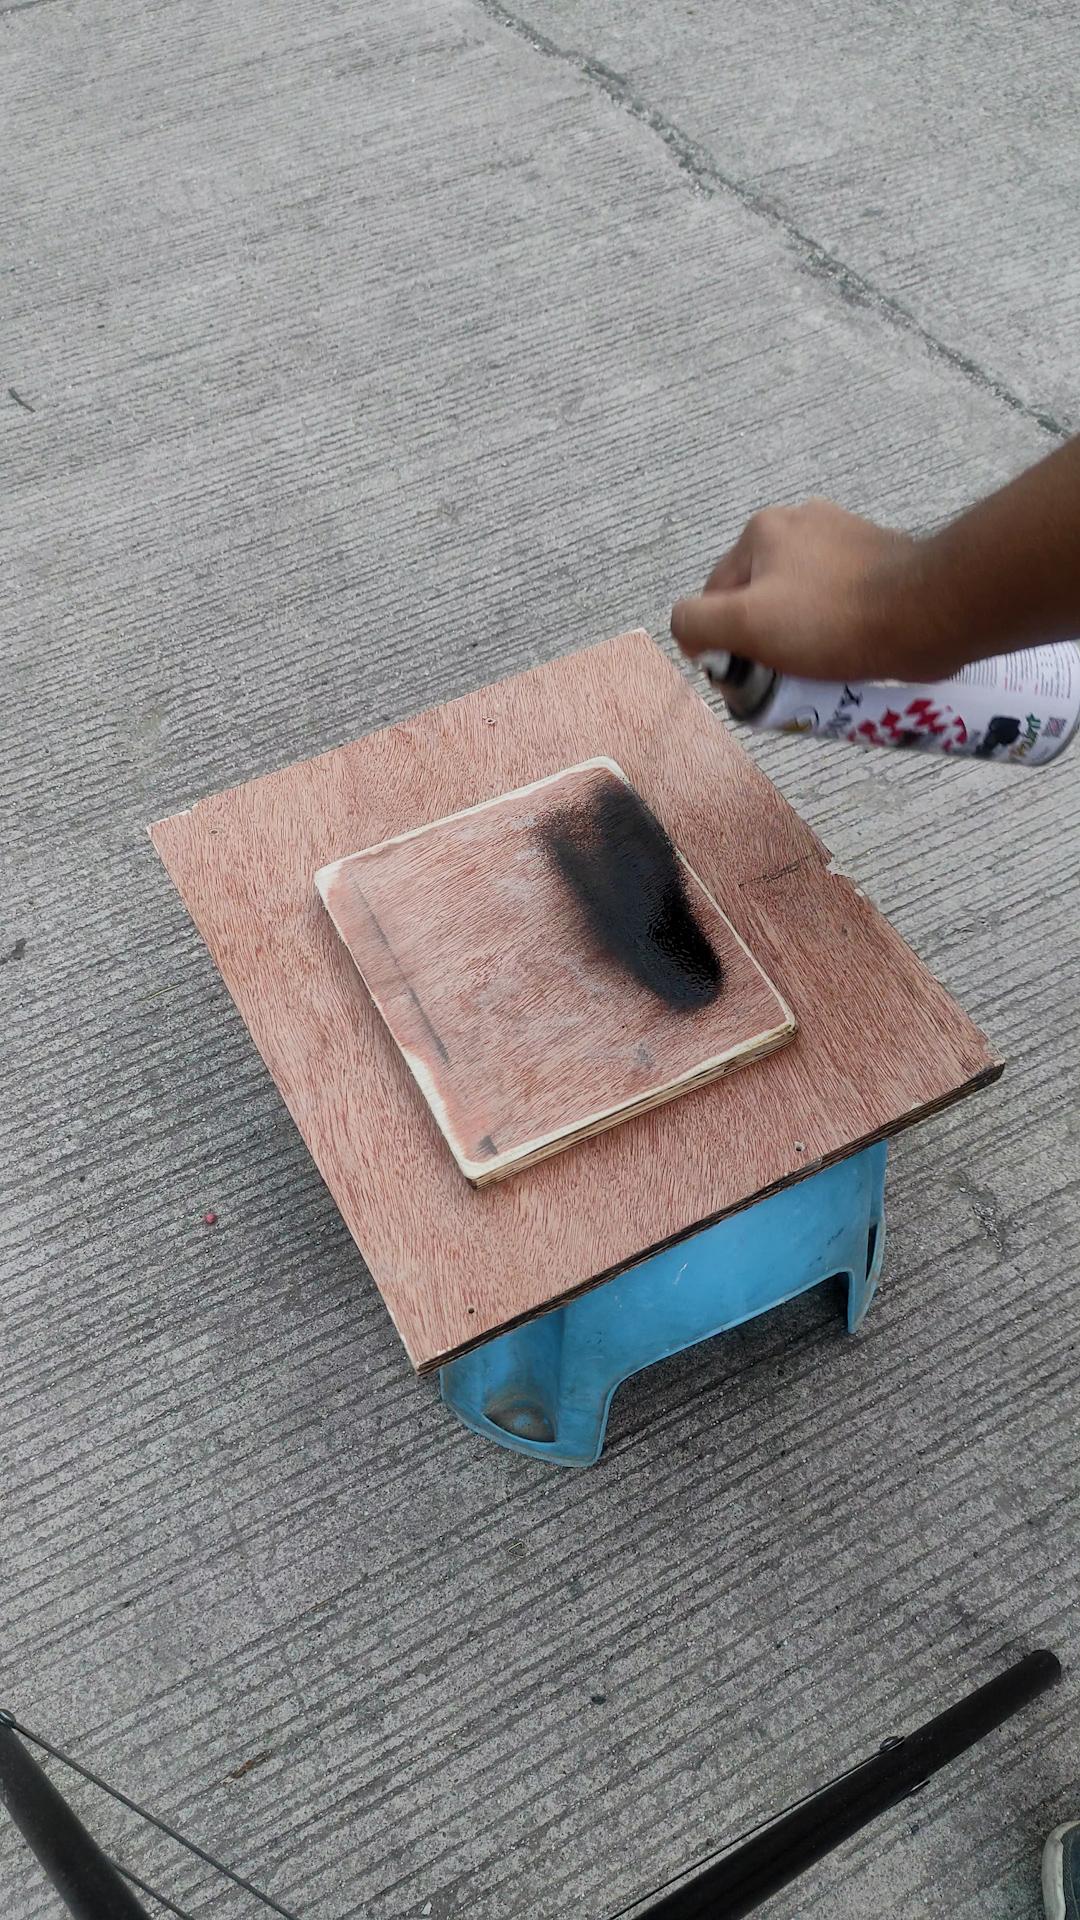
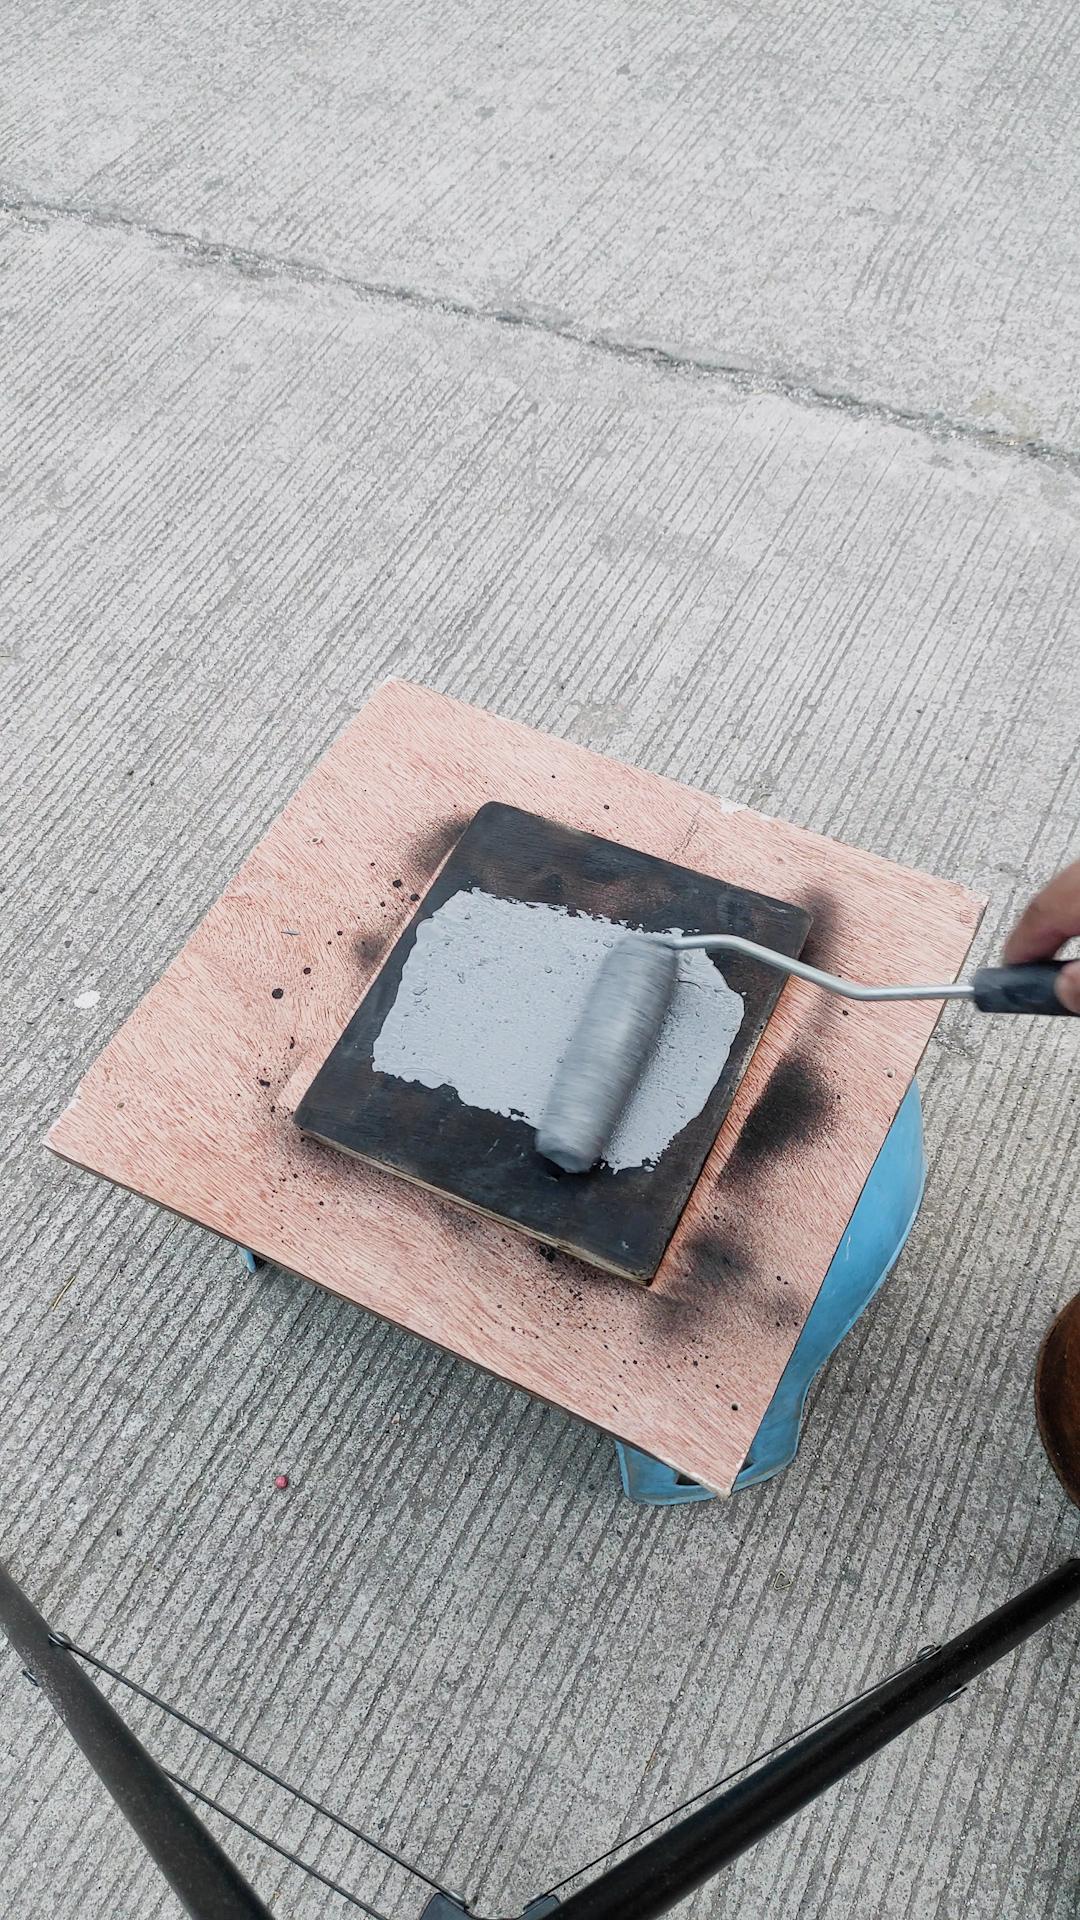
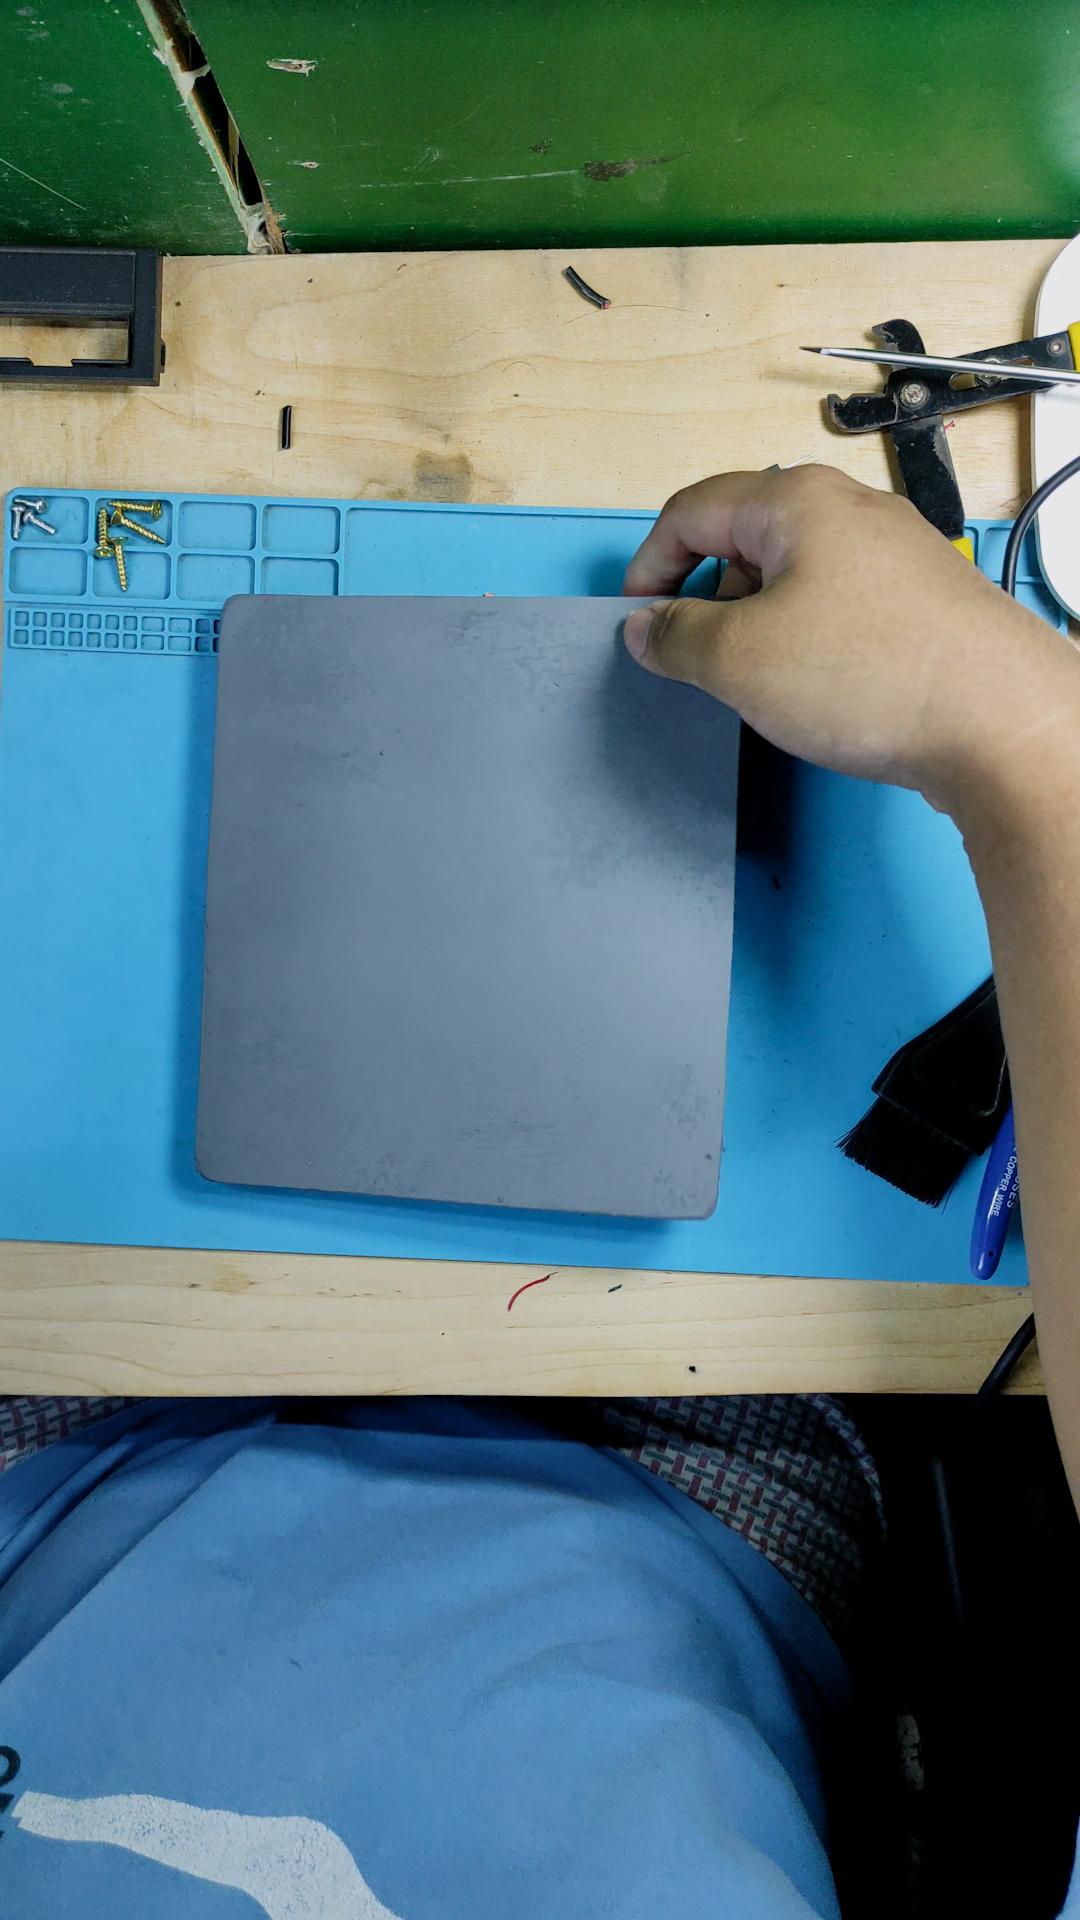
Now that it is working, we are going to create the base plate of the project using some wood that is lying around in my workspace. I first get the required dimensions and mark them with a pencil, and I ask for help from my dad to cut the wood using a grinder. I also use sandpaper to achieve a nice, smooth finish.
After that, I try to paint it with black spray paint, but it turns out that the spray paint has run out, so I grab other paint, which is a gray one, and I use a paint roller to paint it, and yeah! The base plate looked better in gray paint rather than black paint.
Putting Screws
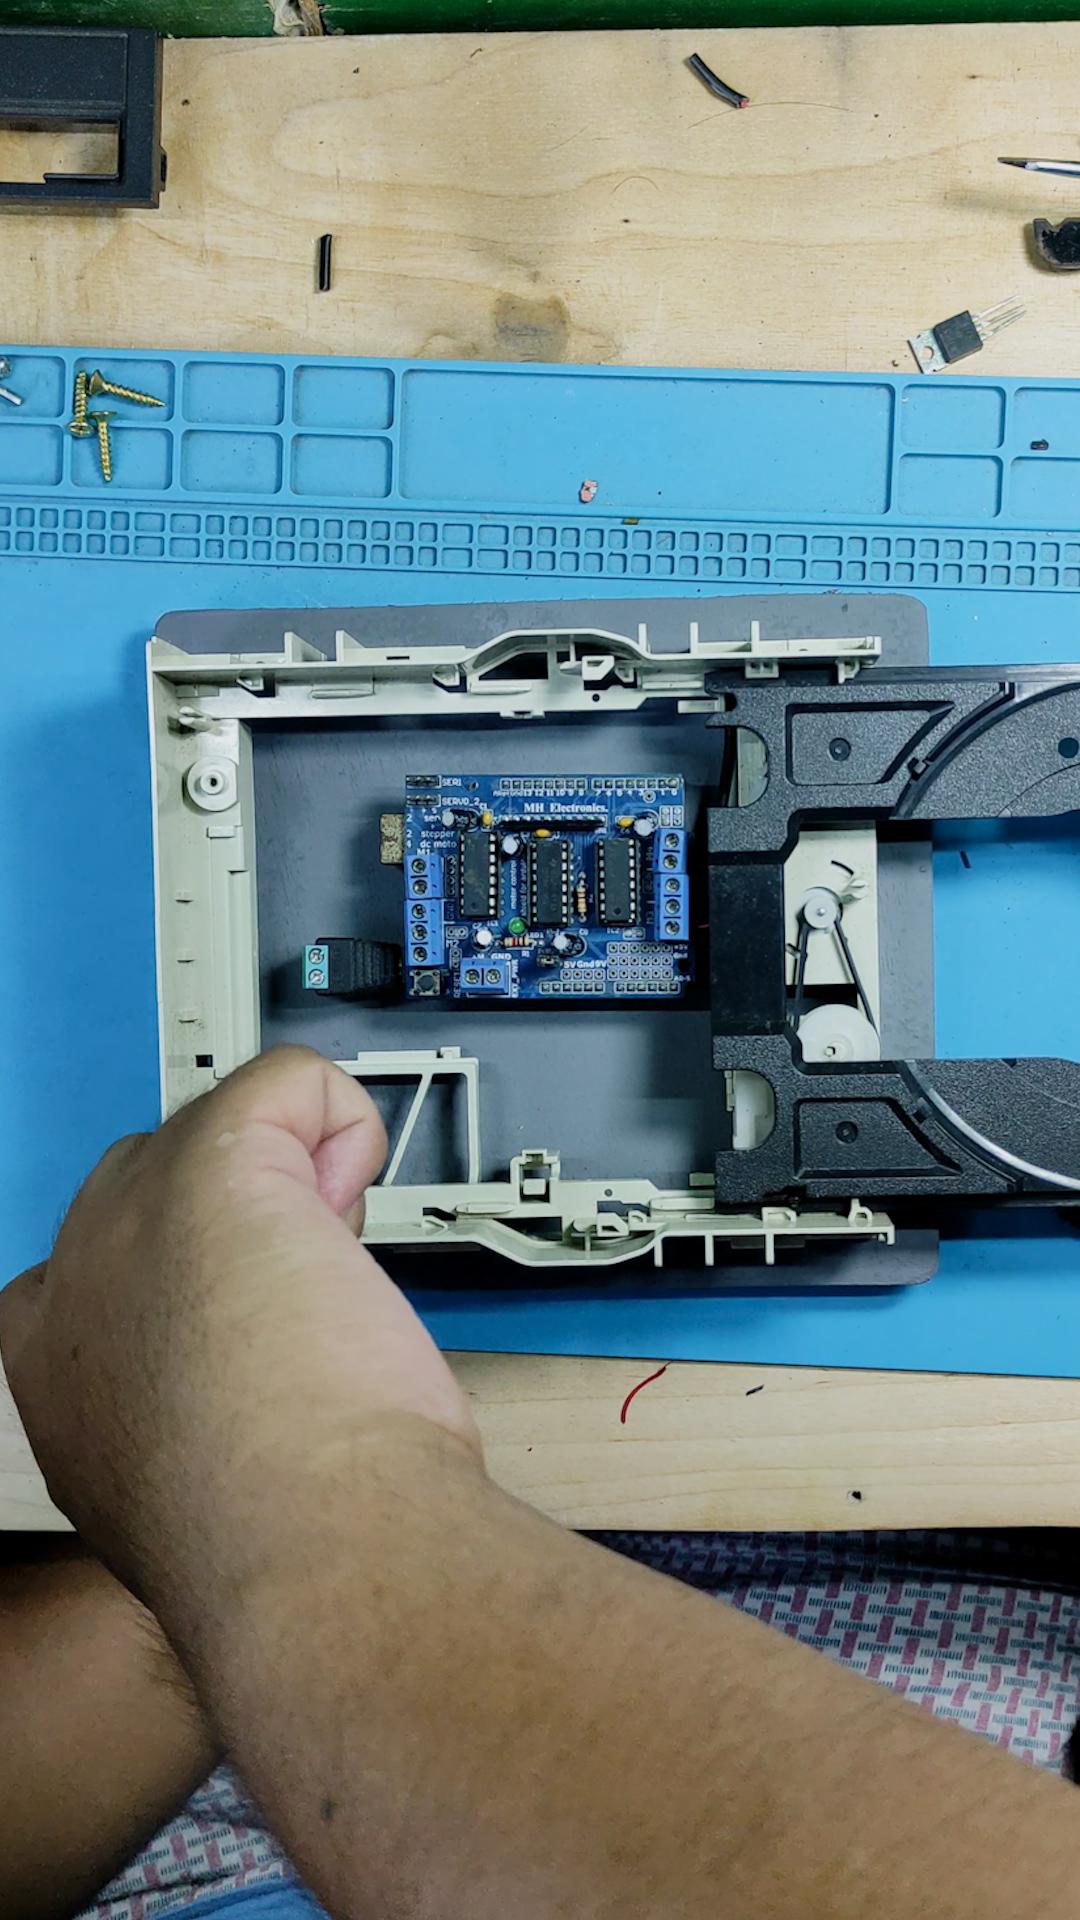
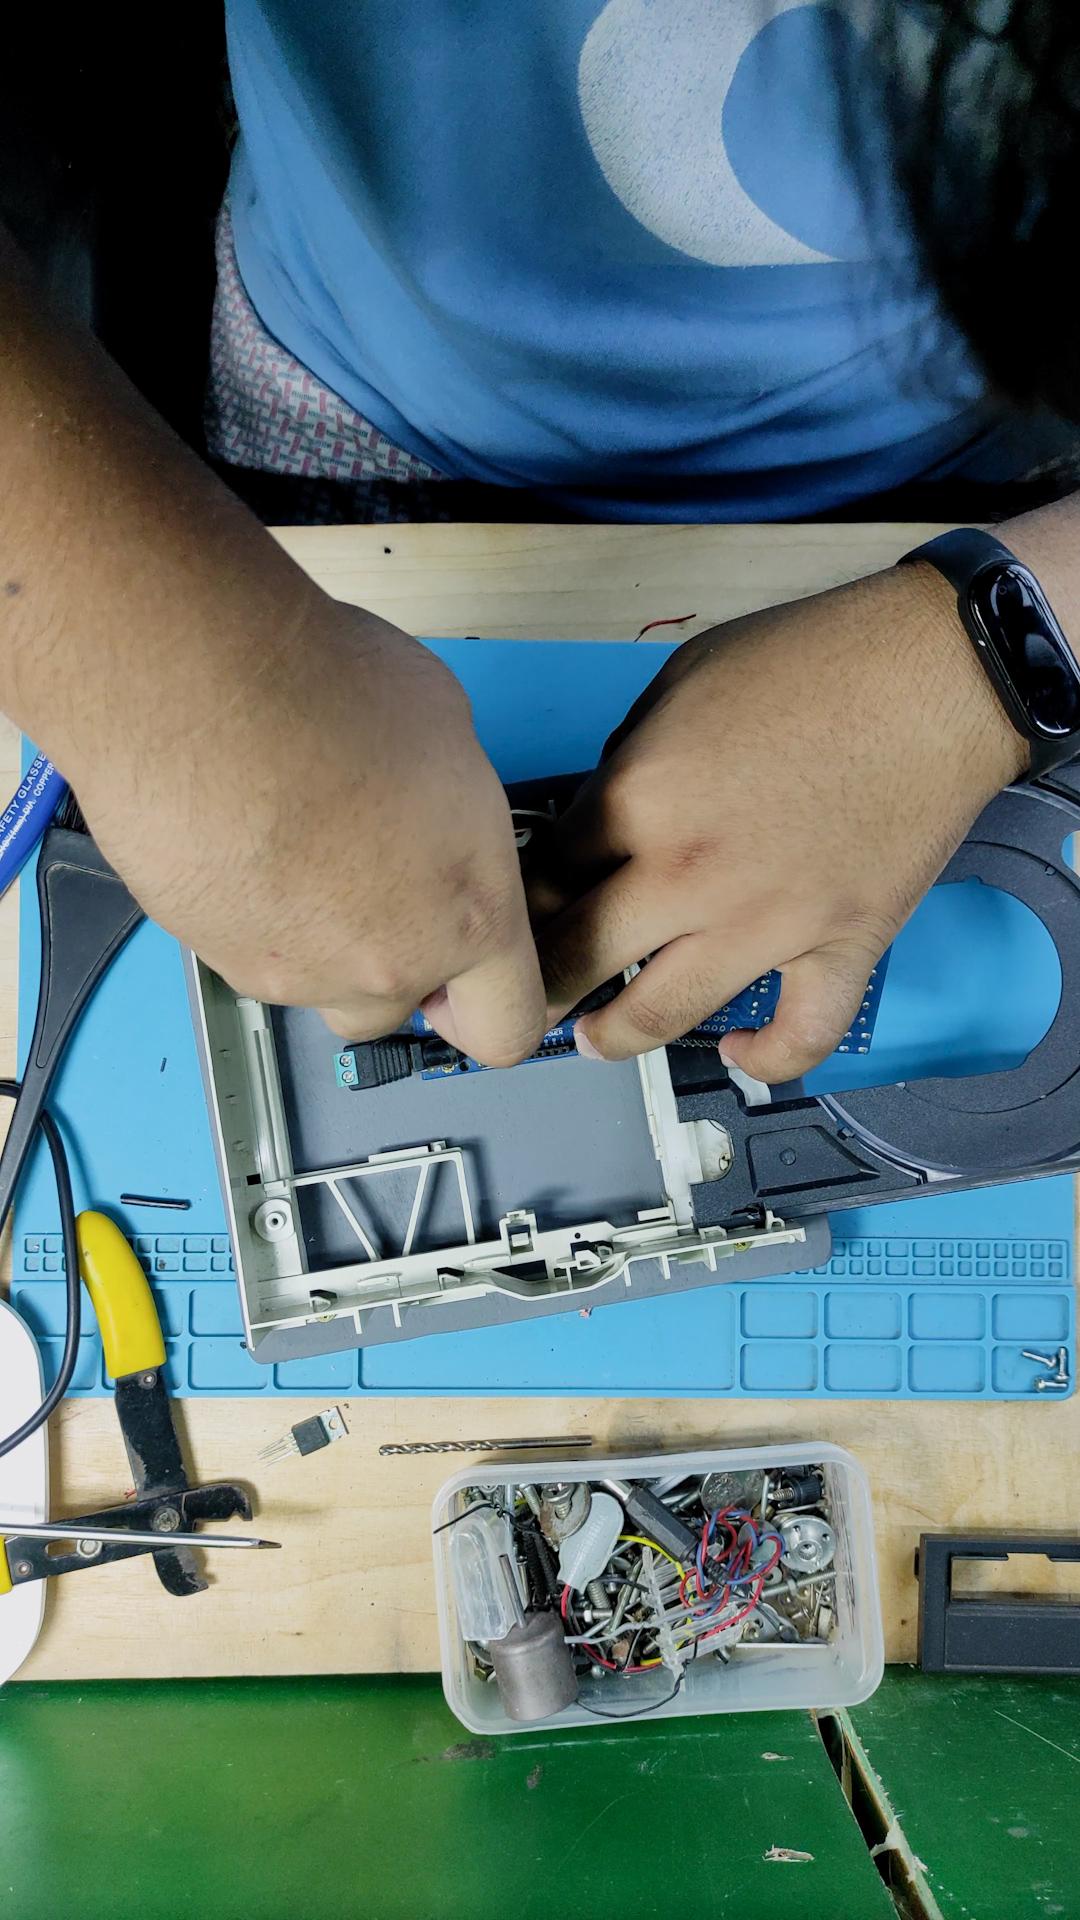
Put screws to secure the DVD rom and Arduino Uno in place.
Enjoy!
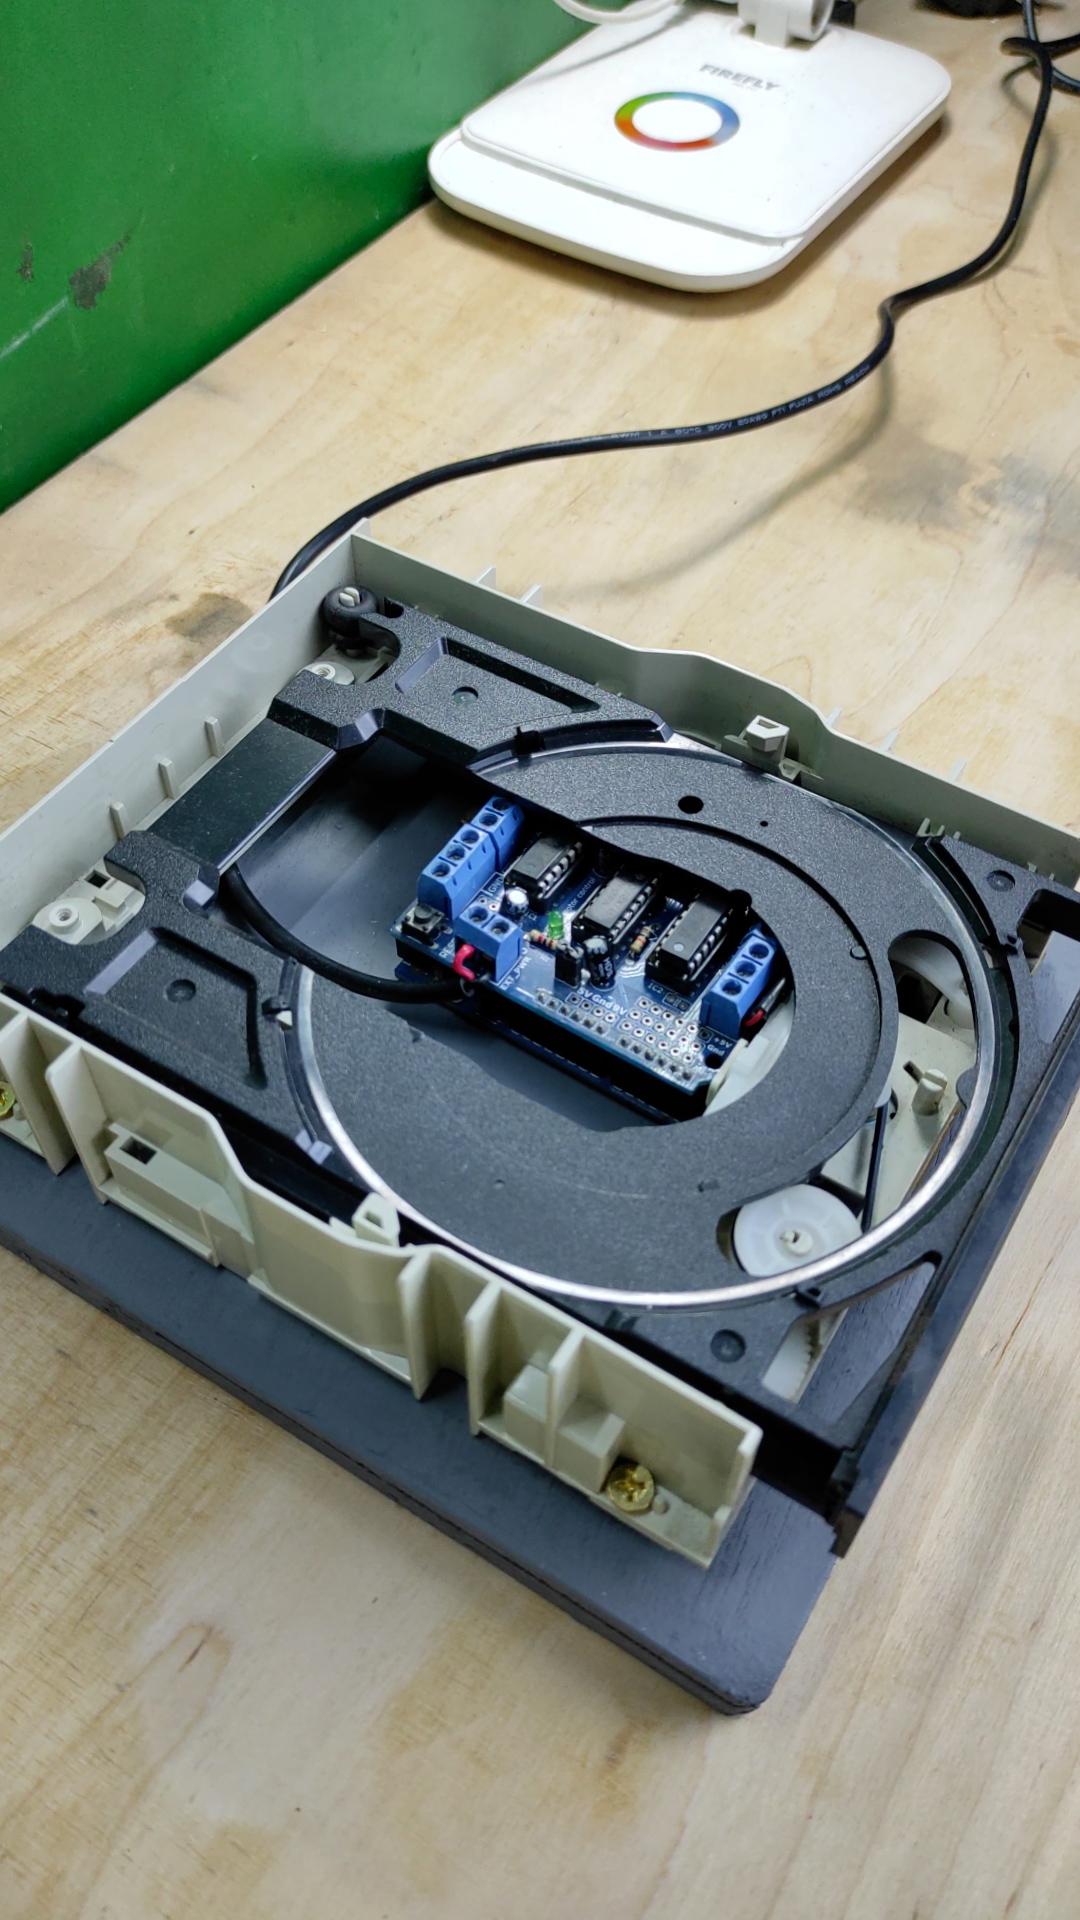
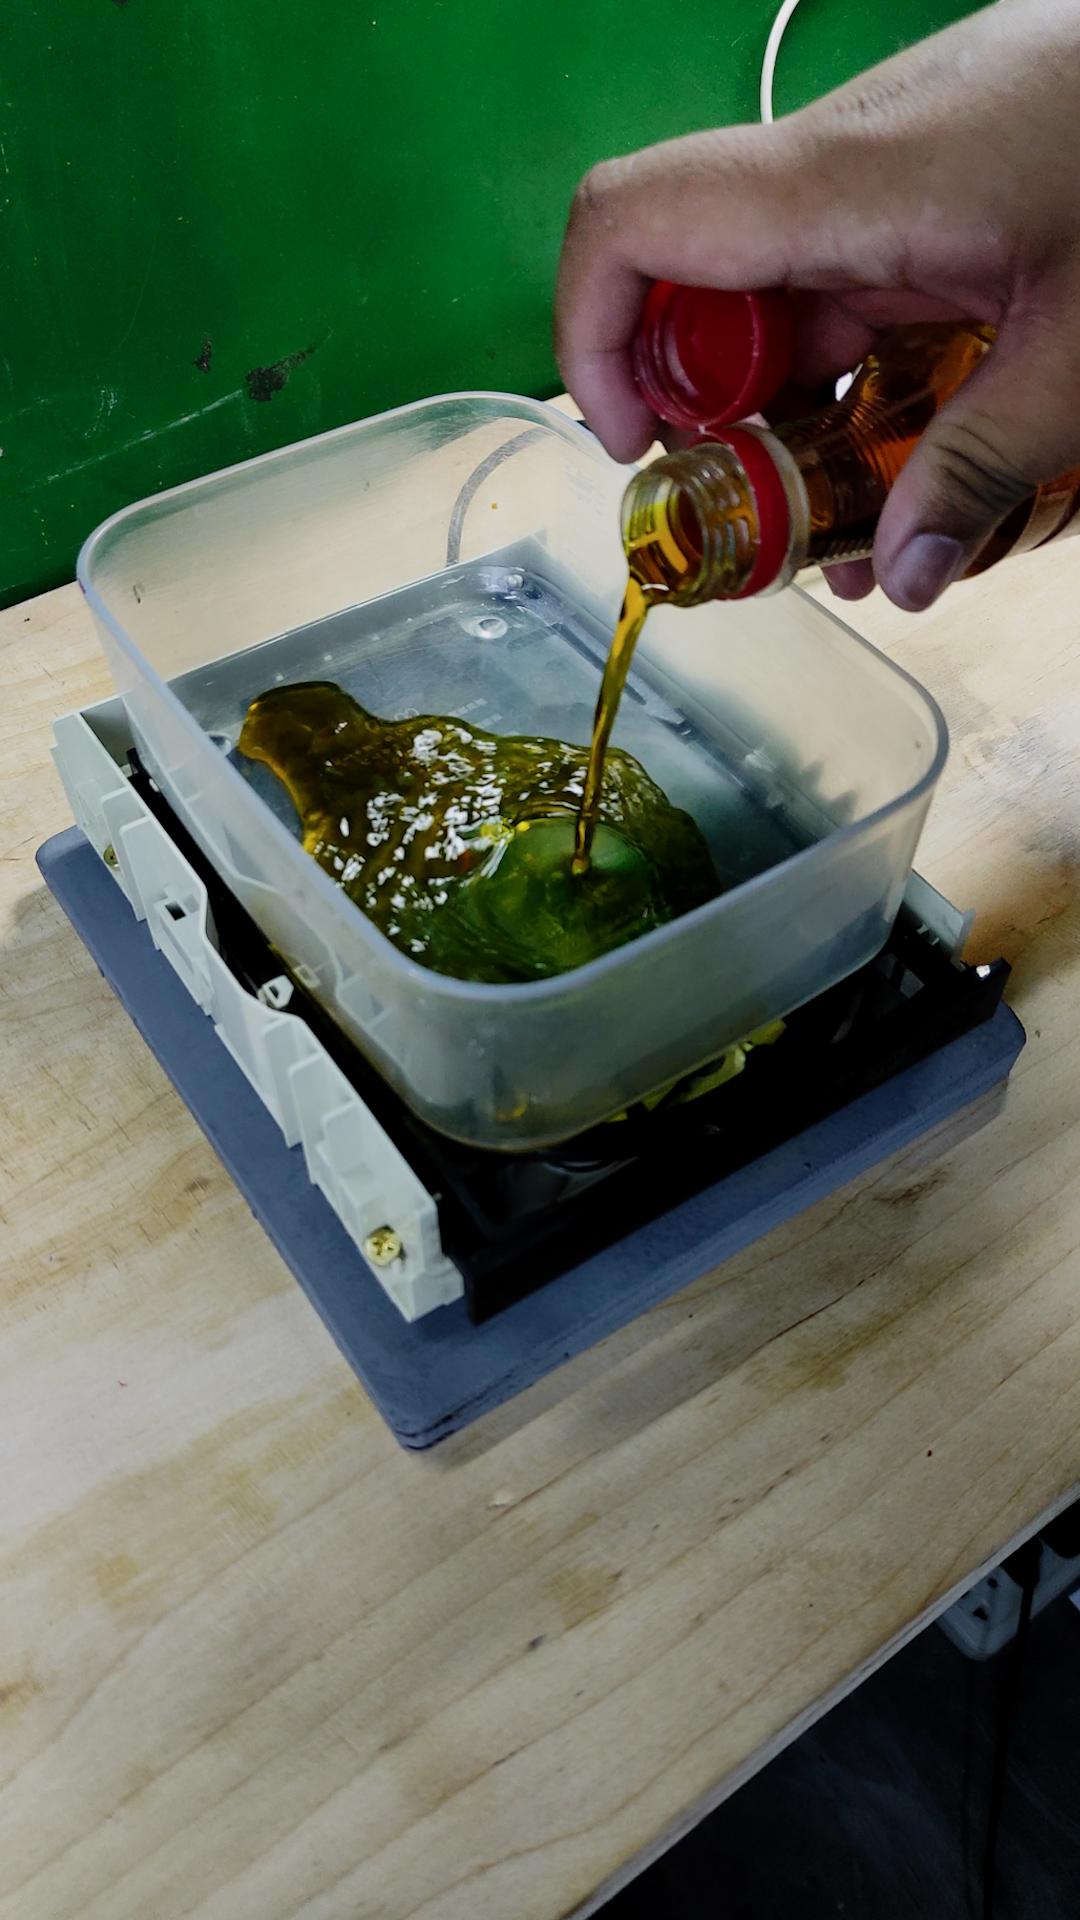
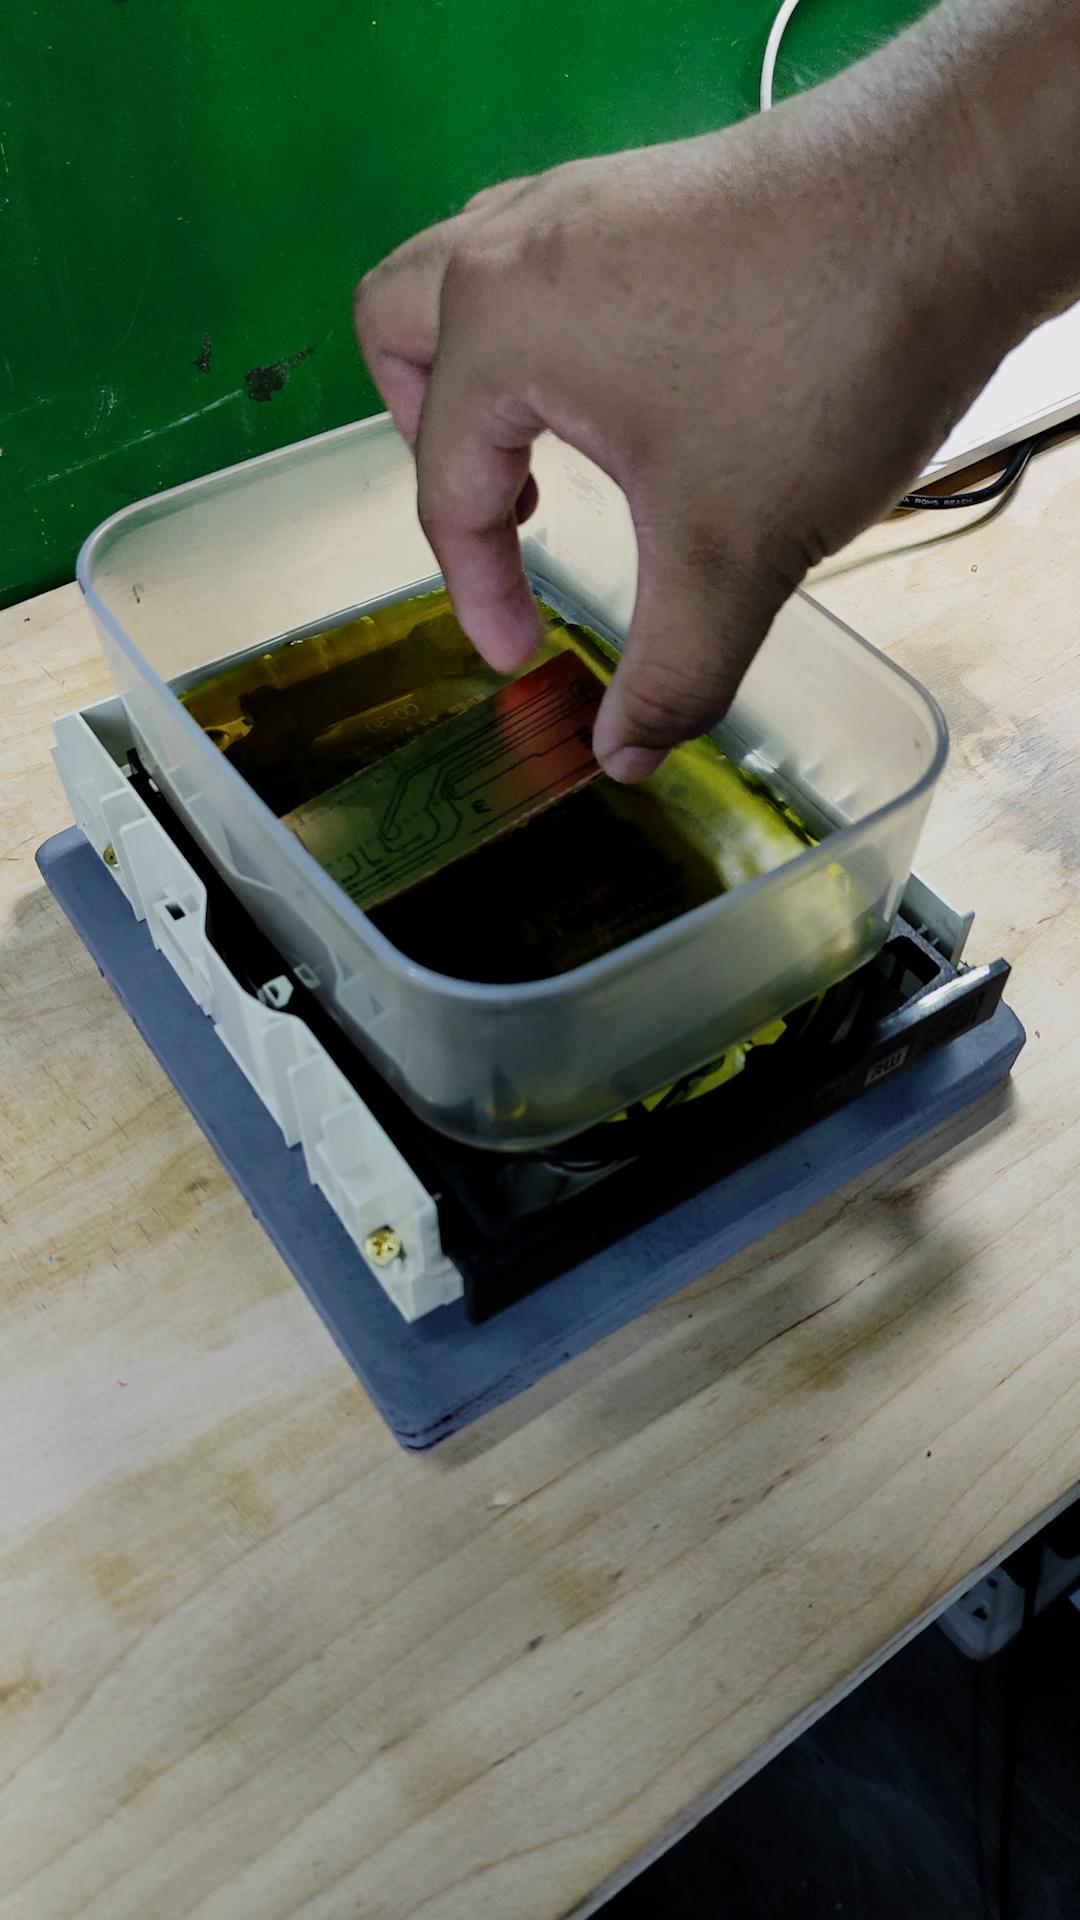
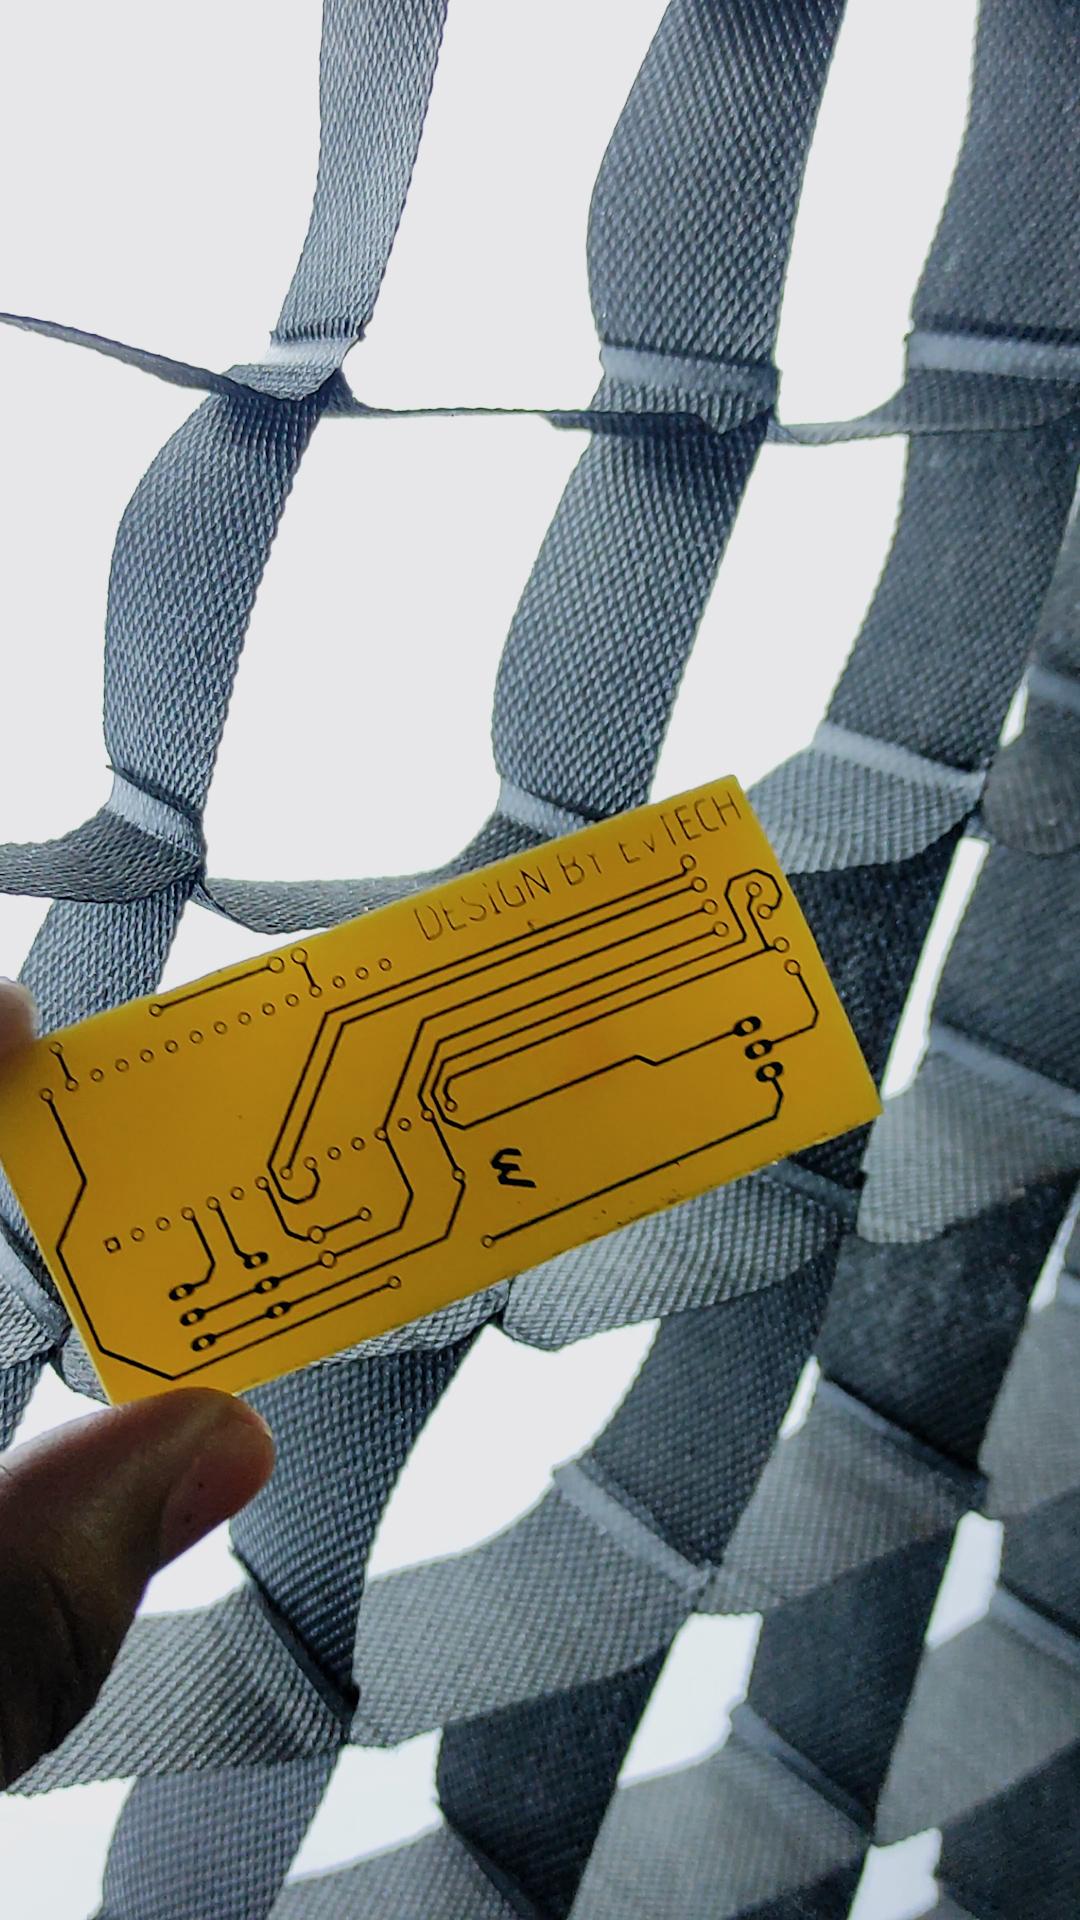
That's how you make a homebrew PCB shaker for etching using an old DVD rom. Grab your Tupperware and pour the ferric chloride on top of it; now it is ready to put your developed PCB in and wait for it to work its magic.
And as always, keep learning and have fun!