Home_X
.jpg)
I'm a student at Howest Kortrijk who studies New Media and Communication Technology (NMCT).
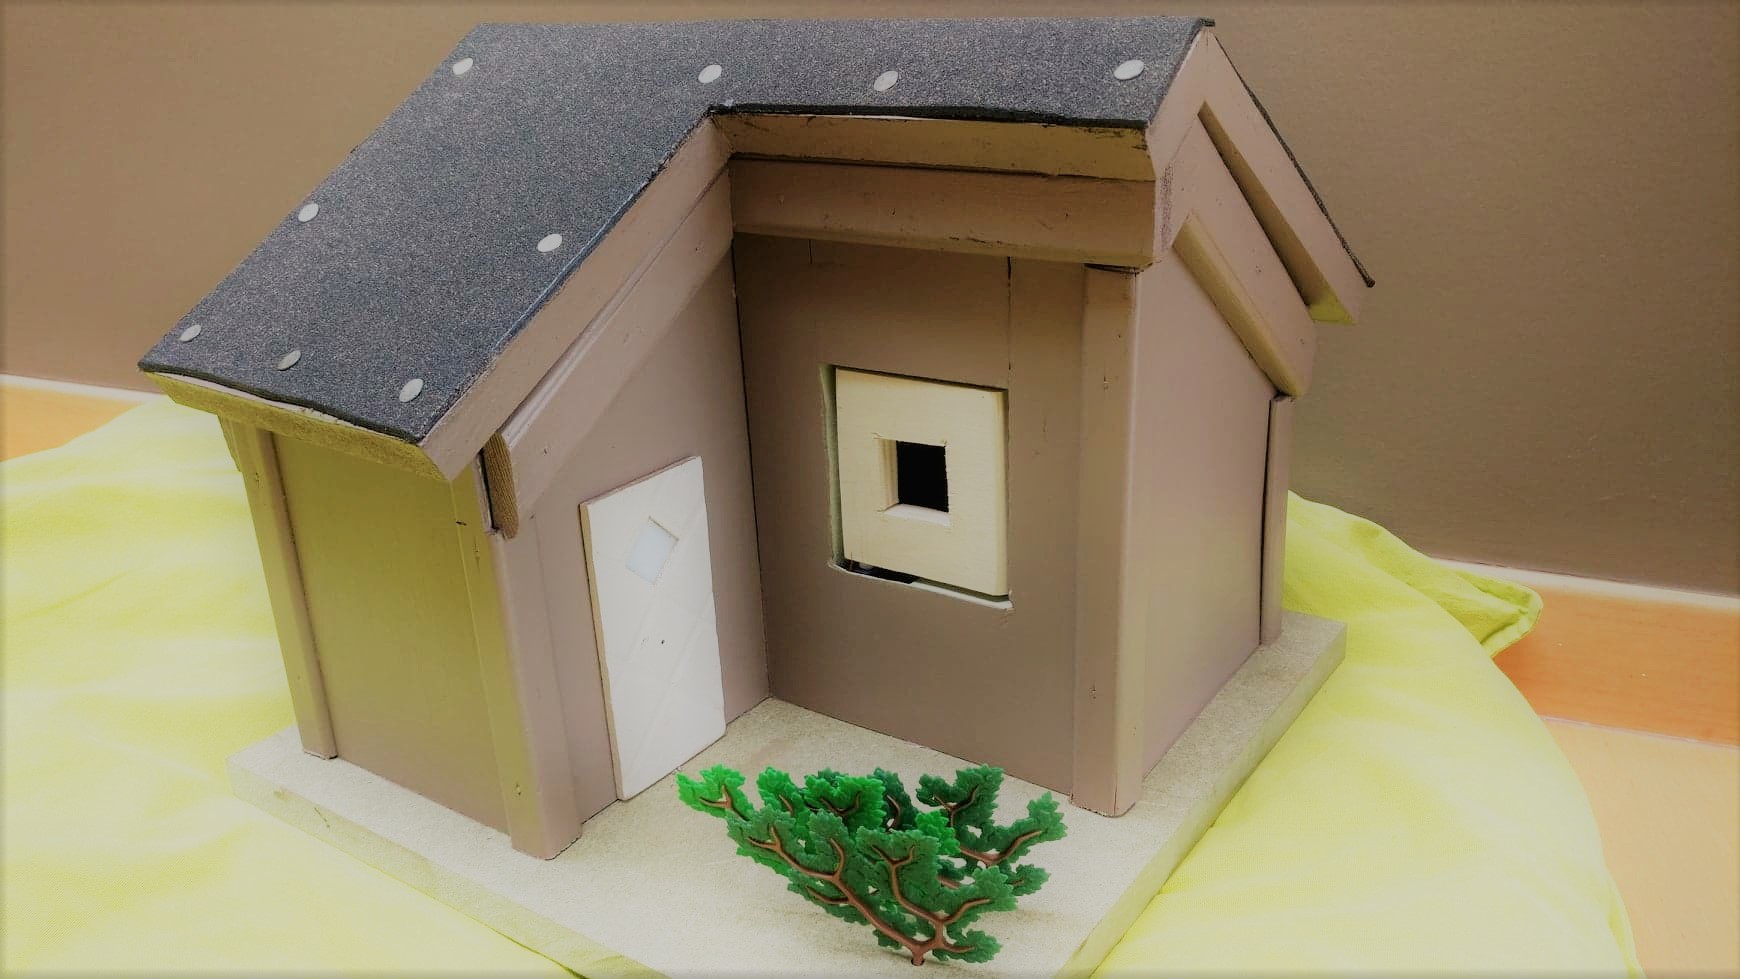
We all had to make a project that was based around raspberry and/or Arduino. We had to use sensors and databases to show the data in a website, and that's when I came up with the idea to create a mini smart house.
With the smart house, you will be able to see all the sensor readings on the website.
In this instructable I will guide you through each step so you can recreate this project for yourself.
Materials: What Do You Need
- Raspberry Pi
- DHT22
- Grove - Air quality sensor
- Grove - Gas Sensor(MQ2)
- Breadboard
- Raspberry Pi T Cobbler
- Male/Female Jumper Wires
- 5mm LEDs
- Resistors
- Wood and tools
- Servo Motor
- GrovePi+
You can buy these items online (Ali express, amazon, kiwi electronics...) or at your local shops.
A detailed list of parts with a link to the shops is given below in the BOM.
Downloads
Wiring
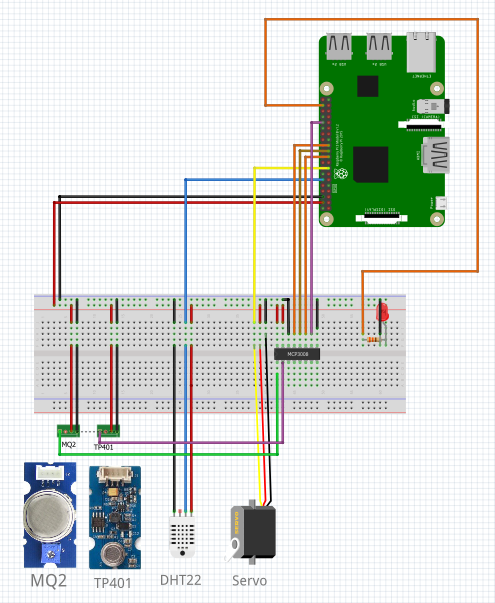
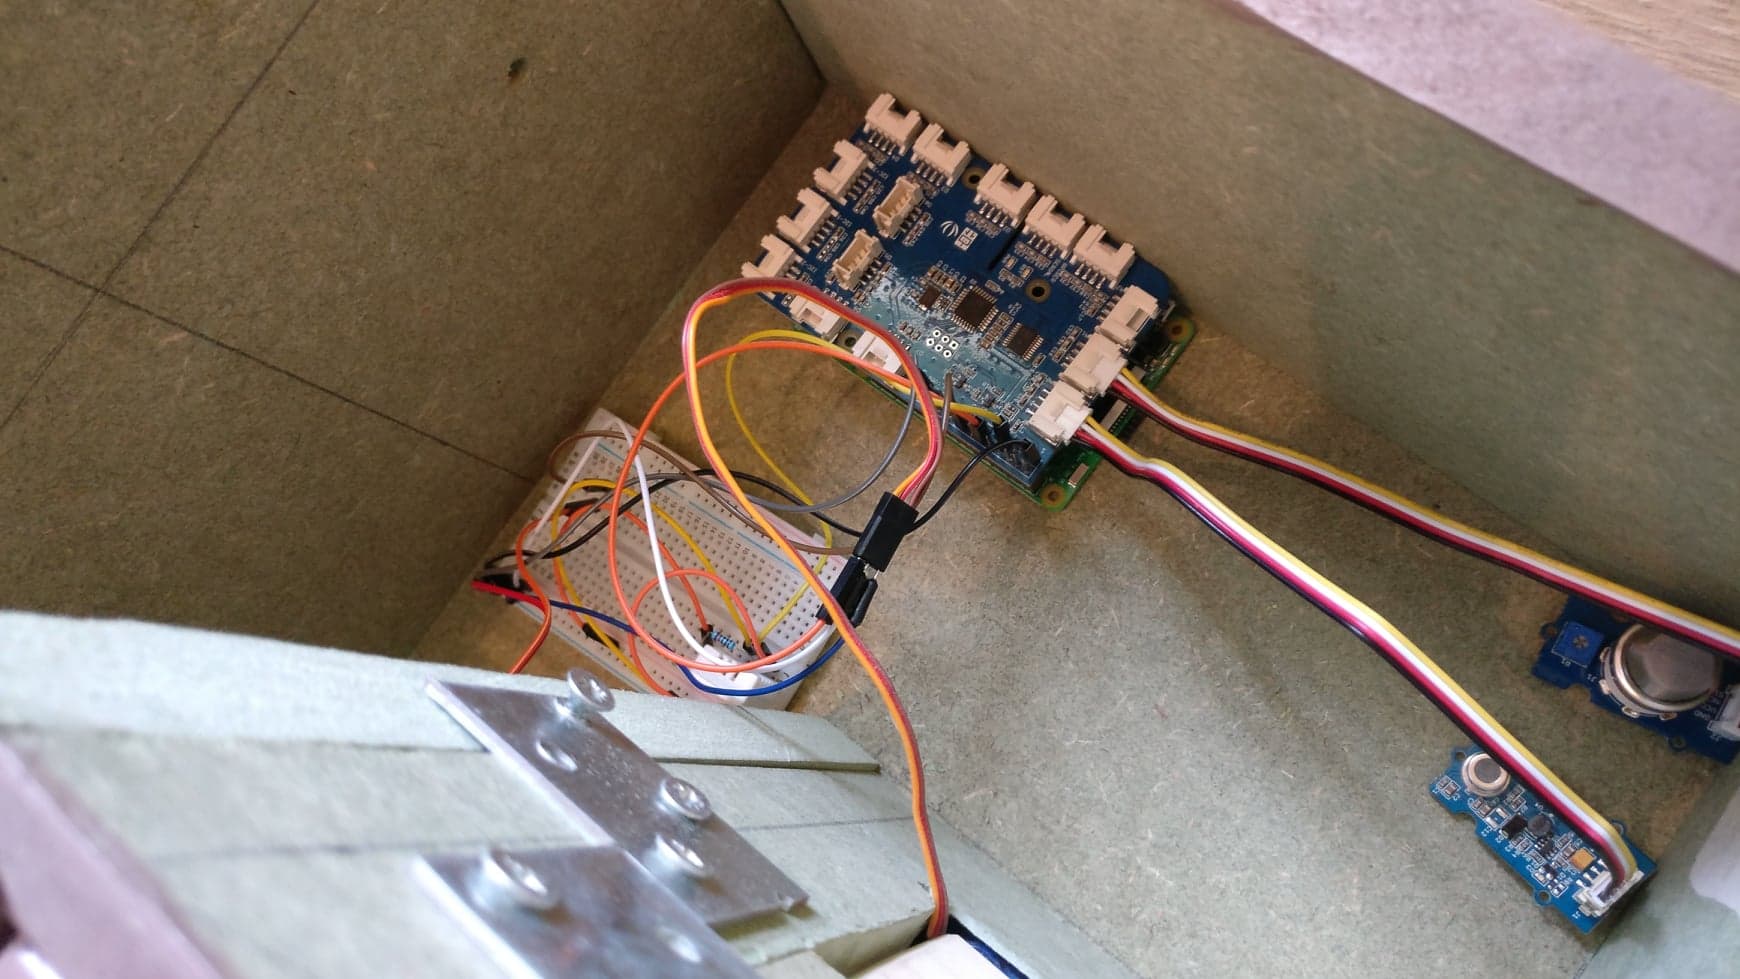
I used Fritzing for the wiring to have a nice overview of how my wiring should be done. I myself used a GrovePi+ for 2 of my sensors. If you plan on making this without a GrovePi+ follow the Fritzing scheme. I sensors don't work for you, try using different pins.
You can find the Fritzing file below.
Downloads
Database Using MySQL

One of the most essential tasks we had to implement was the connection with a MySQL database.
Every time a sensor gets readings or a light goes on, you'll see these changes in the database.
The database then sends this data to the website so the user can see them there as well.
Below you can find my .xml file where you have an overview of how the database works,
but first you have to install MySQL and flask on the Raspberry Pi.
The coding of the sensors happened through pycharm so make sure that is installed as well (on your computer).
First you need to check for updates and install packages, like this:
sudo apt-get update && sudo apt-get upgrade
sudo apt install -y python3-venv python3-pip python3-mysqldb mariadb-server uwsgi nginx uwsgi-plugin-python3
Now we are going to use a virtual environment:
<p>me@my-rpi:~ $ python3 -m pip install --upgrade pip setuptools wheel virtualenv<br>me@my-rpi:~ $ mkdir project1 && cd project1
me@my-rpi:~/project1 $ python3 -m venv --system-site-packages env
me@my-rpi:~/project1 $ source env/bin/activate
(env)me@my-rpi:~/project1 $ python -m pip install mysql-connector-python argon2-cffi Flask Flask-HTTPAuth Flask-MySQL mysql-connector-python passlib</p>
It should tell you that mariadb.service is active.
Now, in pycharm go to VCS > Import from Version Control > GitHub en clone https://github.com/NMCT-S2-Project-I/Project-I.git.
Then configure the deployment config for the directory that you just made, ex. /home/me/project1.
After this is done go to the interpreter settings and configure the virtual environment that you just made, ex. /home/me/project/env/bin/python. Path mapping needs to be filled in as well.
If you did all this the database should already be running.
sudo systemctl status mysql
Now we need to create users for our database, like so:
sudo mariadb CREATE USER 'project-admin'@'localhost' IDENTIFIED BY 'adminpassword'; CREATE USER 'project-web'@'localhost' IDENTIFIED BY 'webpassword'; CREATE USER 'project-sensor'@'localhost' IDENTIFIED BY 'sensorpassword'; CREATE DATABASE project;GRANT ALL PRIVILEGES ON project.* to 'project-admin'@'localhost' WITH GRANT OPTION;
GRANT SELECT, INSERT, UPDATE, DELETE ON project.* TO 'project-web'@'localhost'; GRANT SELECT, INSERT, UPDATE, DELETE ON project.* TO 'project-sensor'@'localhost'; FLUSH PRIVILEGES;
Now to see our database in pycharm we have to make a connection.
We can do this by going to going to View > Tool Windows > Database and clicking the green "plus" button.
Data Source > MySQL and click (if present) on the Download driver button that pops up.
Then go to SSH/SSL and check SSH. Fill in host/user/password for the pi and use port 22 if not yet filled in.
If you want pycharm to remember your password check the checkbox "Remember password".
In the tab "General", fill in localhost in host, project in Database and use project-admin with the password to be able to test the connection.
To now make the database useable you need to run the .sql that I place bellow. Try using the import option, if you can't import a dumpfile, you have to add the tables in manually.
After this is done you need to find the conf directory with the two .service files. In there change every seb you find with the name of the user you use on your pi. Also, the group needs to be www-data.
The next step is to start these services on your pi, like so:
sudo cp conf/project-*.service /etc/systemd/system/
sudo systemctl daemon-reload
sudo systemctl start project-*
sudo systemctl status project-*
You should see two active services when everything goes according to plan.
The last step is to enable nginx.
First check for apache2 on your pi, if you have this installed, delete it or disable it.
In the file nginx you first have to change uwsgi_pass, then run these commands.
sudo cp conf/nginx /etc/nginx/sites-available/project
sudo rm /etc/nginx/sites-enabled/default
sudo ln -s /etc/nginx/sites-available/project1/etc/nginx/sites-enabled/project
sudo systemctl restart nginx.service
sudo systemctl status nginx.service
Nginx should be active and running. If everything is correct, you can now surf to your pi. You will see "Hello world" at first but you still have to change the content of that file with my code below.
You can enable services so that they will run automatically when the pi starts.
When you did al this, make sure you put at least 1 house with address in the database. You can do this with a simple insert into.
Coding

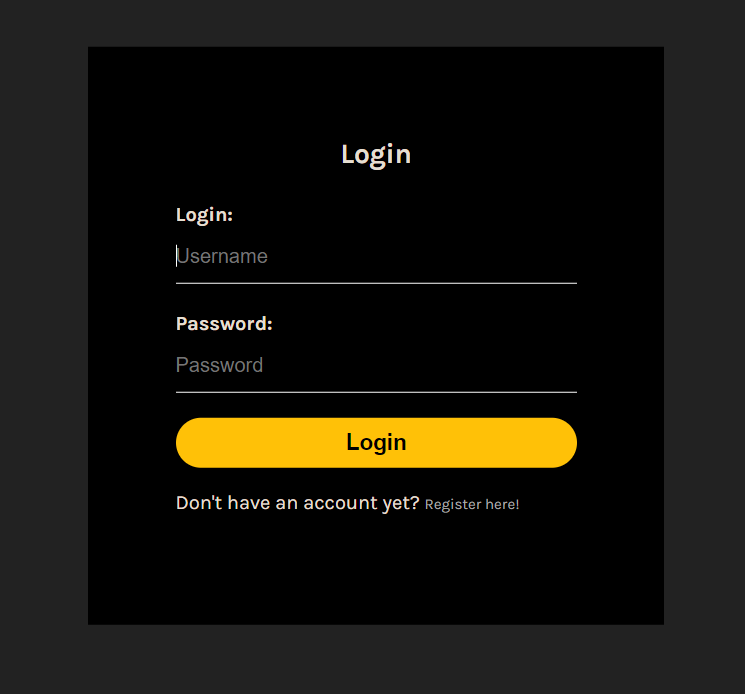
You can download the code via Github:
https://github.com/NMCT-S2-Project-I/project-i-Tib...
The code for the sensors is included in the sensor.py file.
Don't forget to change my name into yours (or the user than you use on your pi) in the service files so that they can run properly and place my code in the already existing files in your Pycharm.
Downloads
Housing
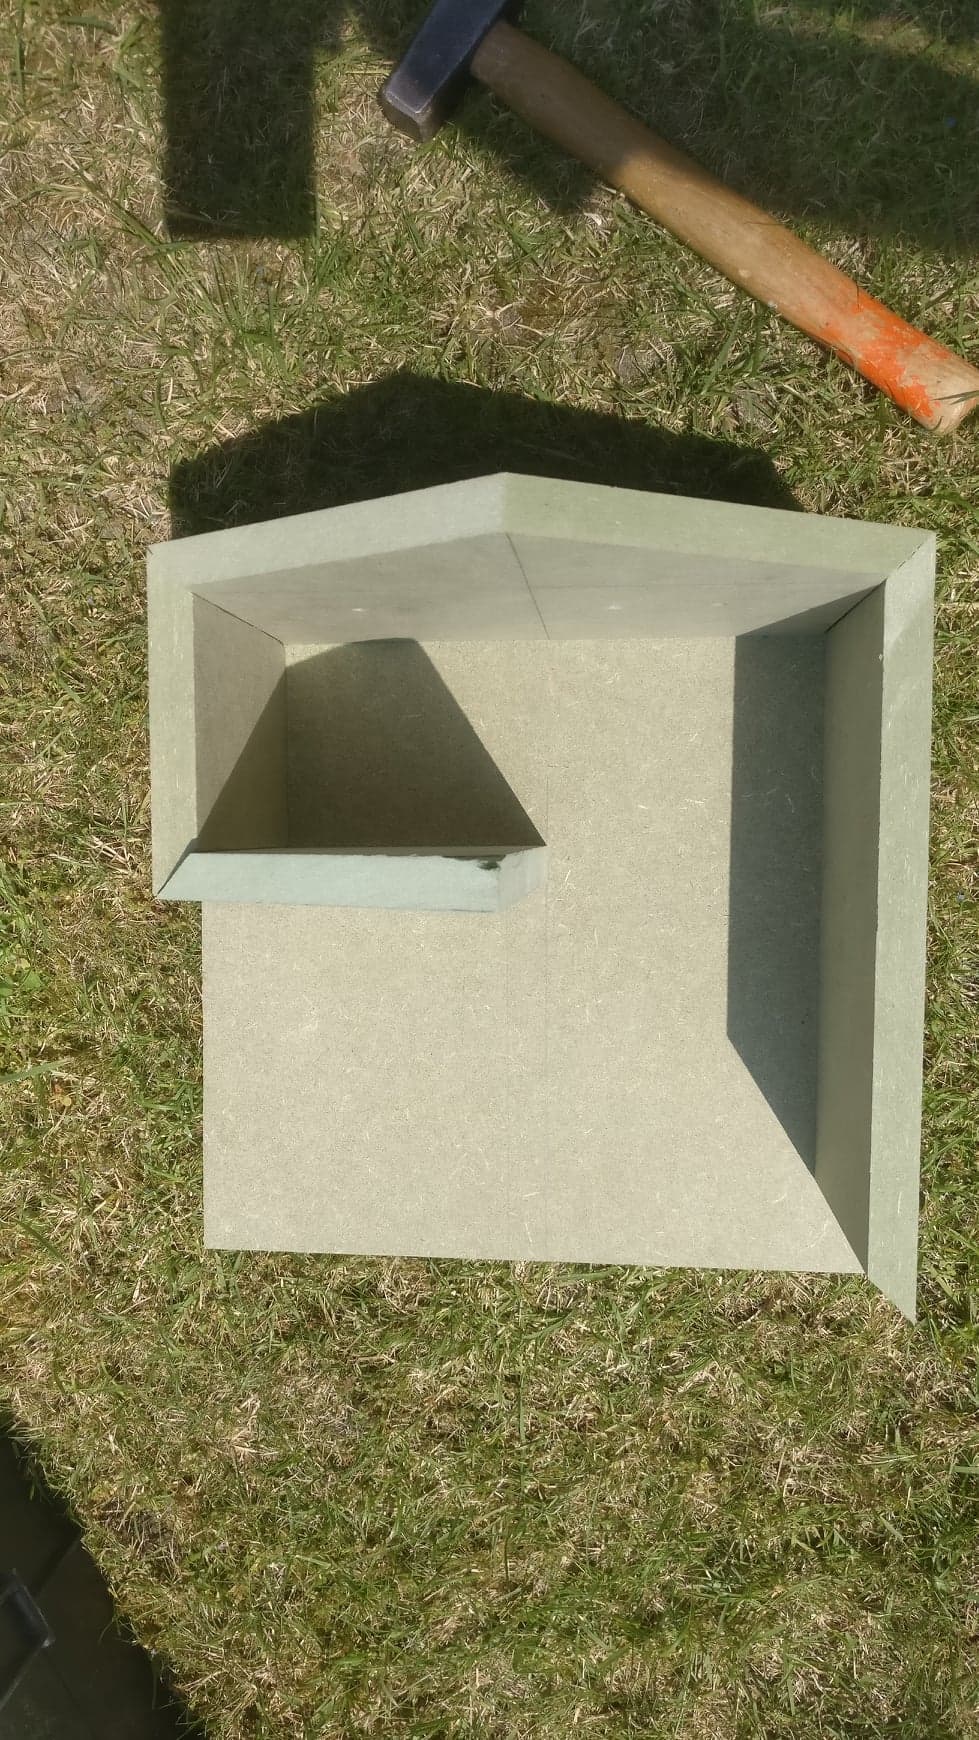
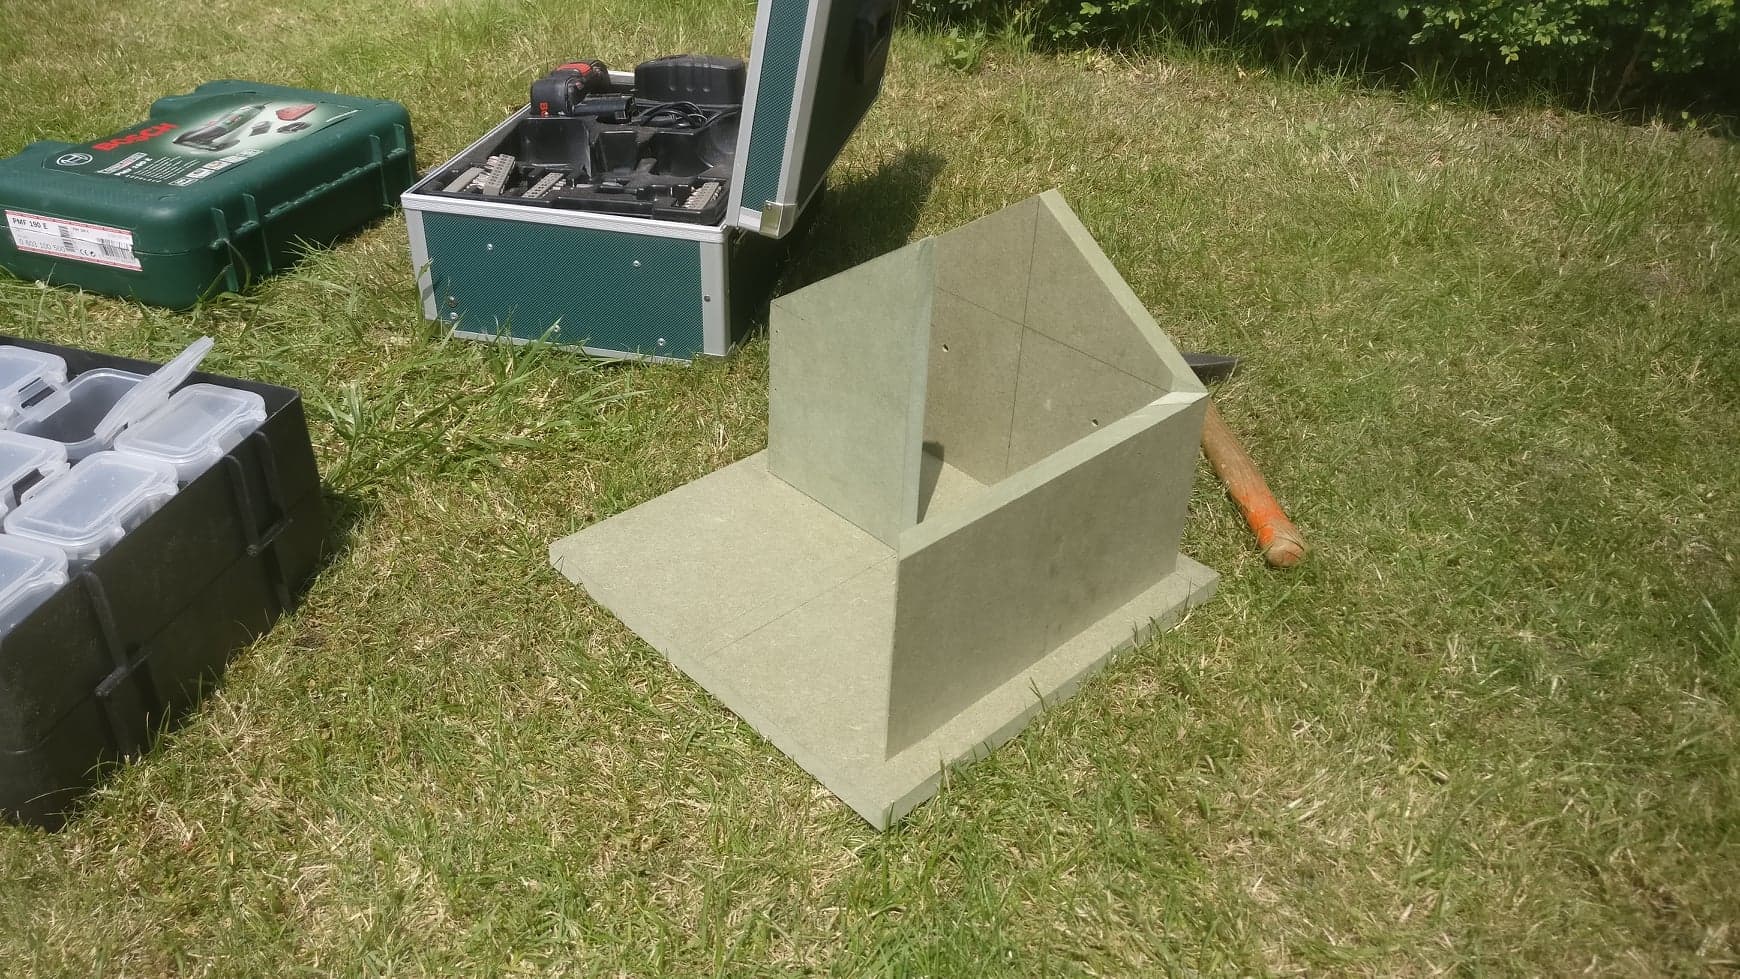
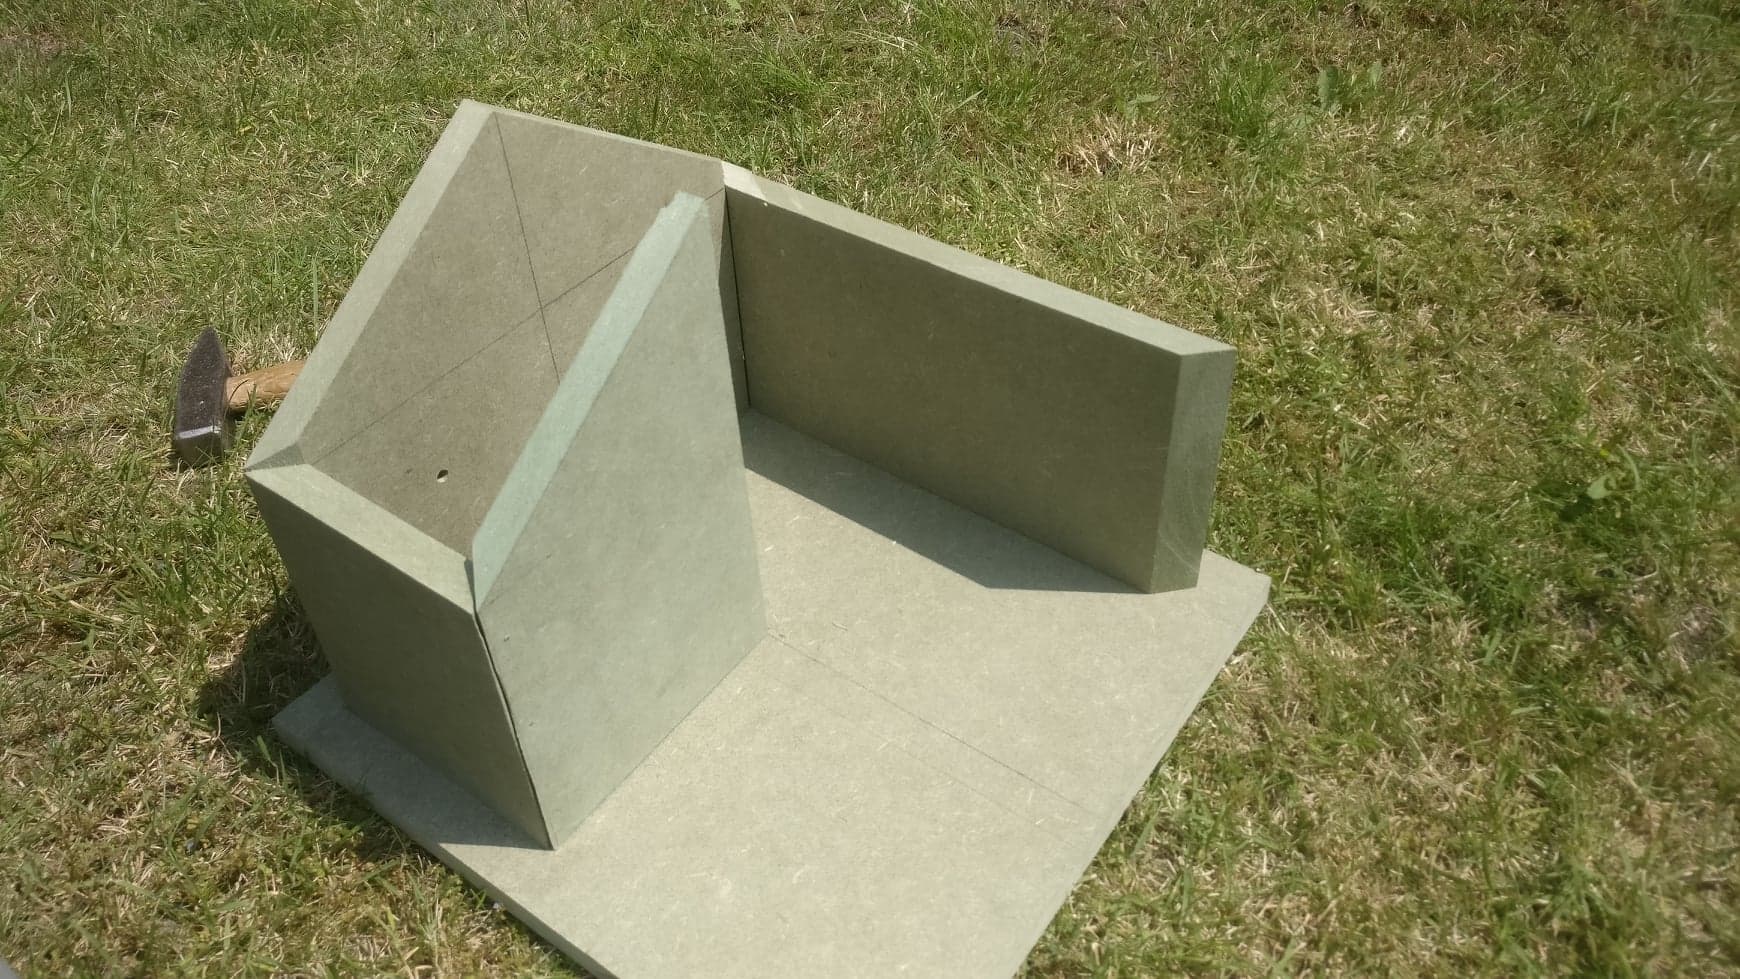
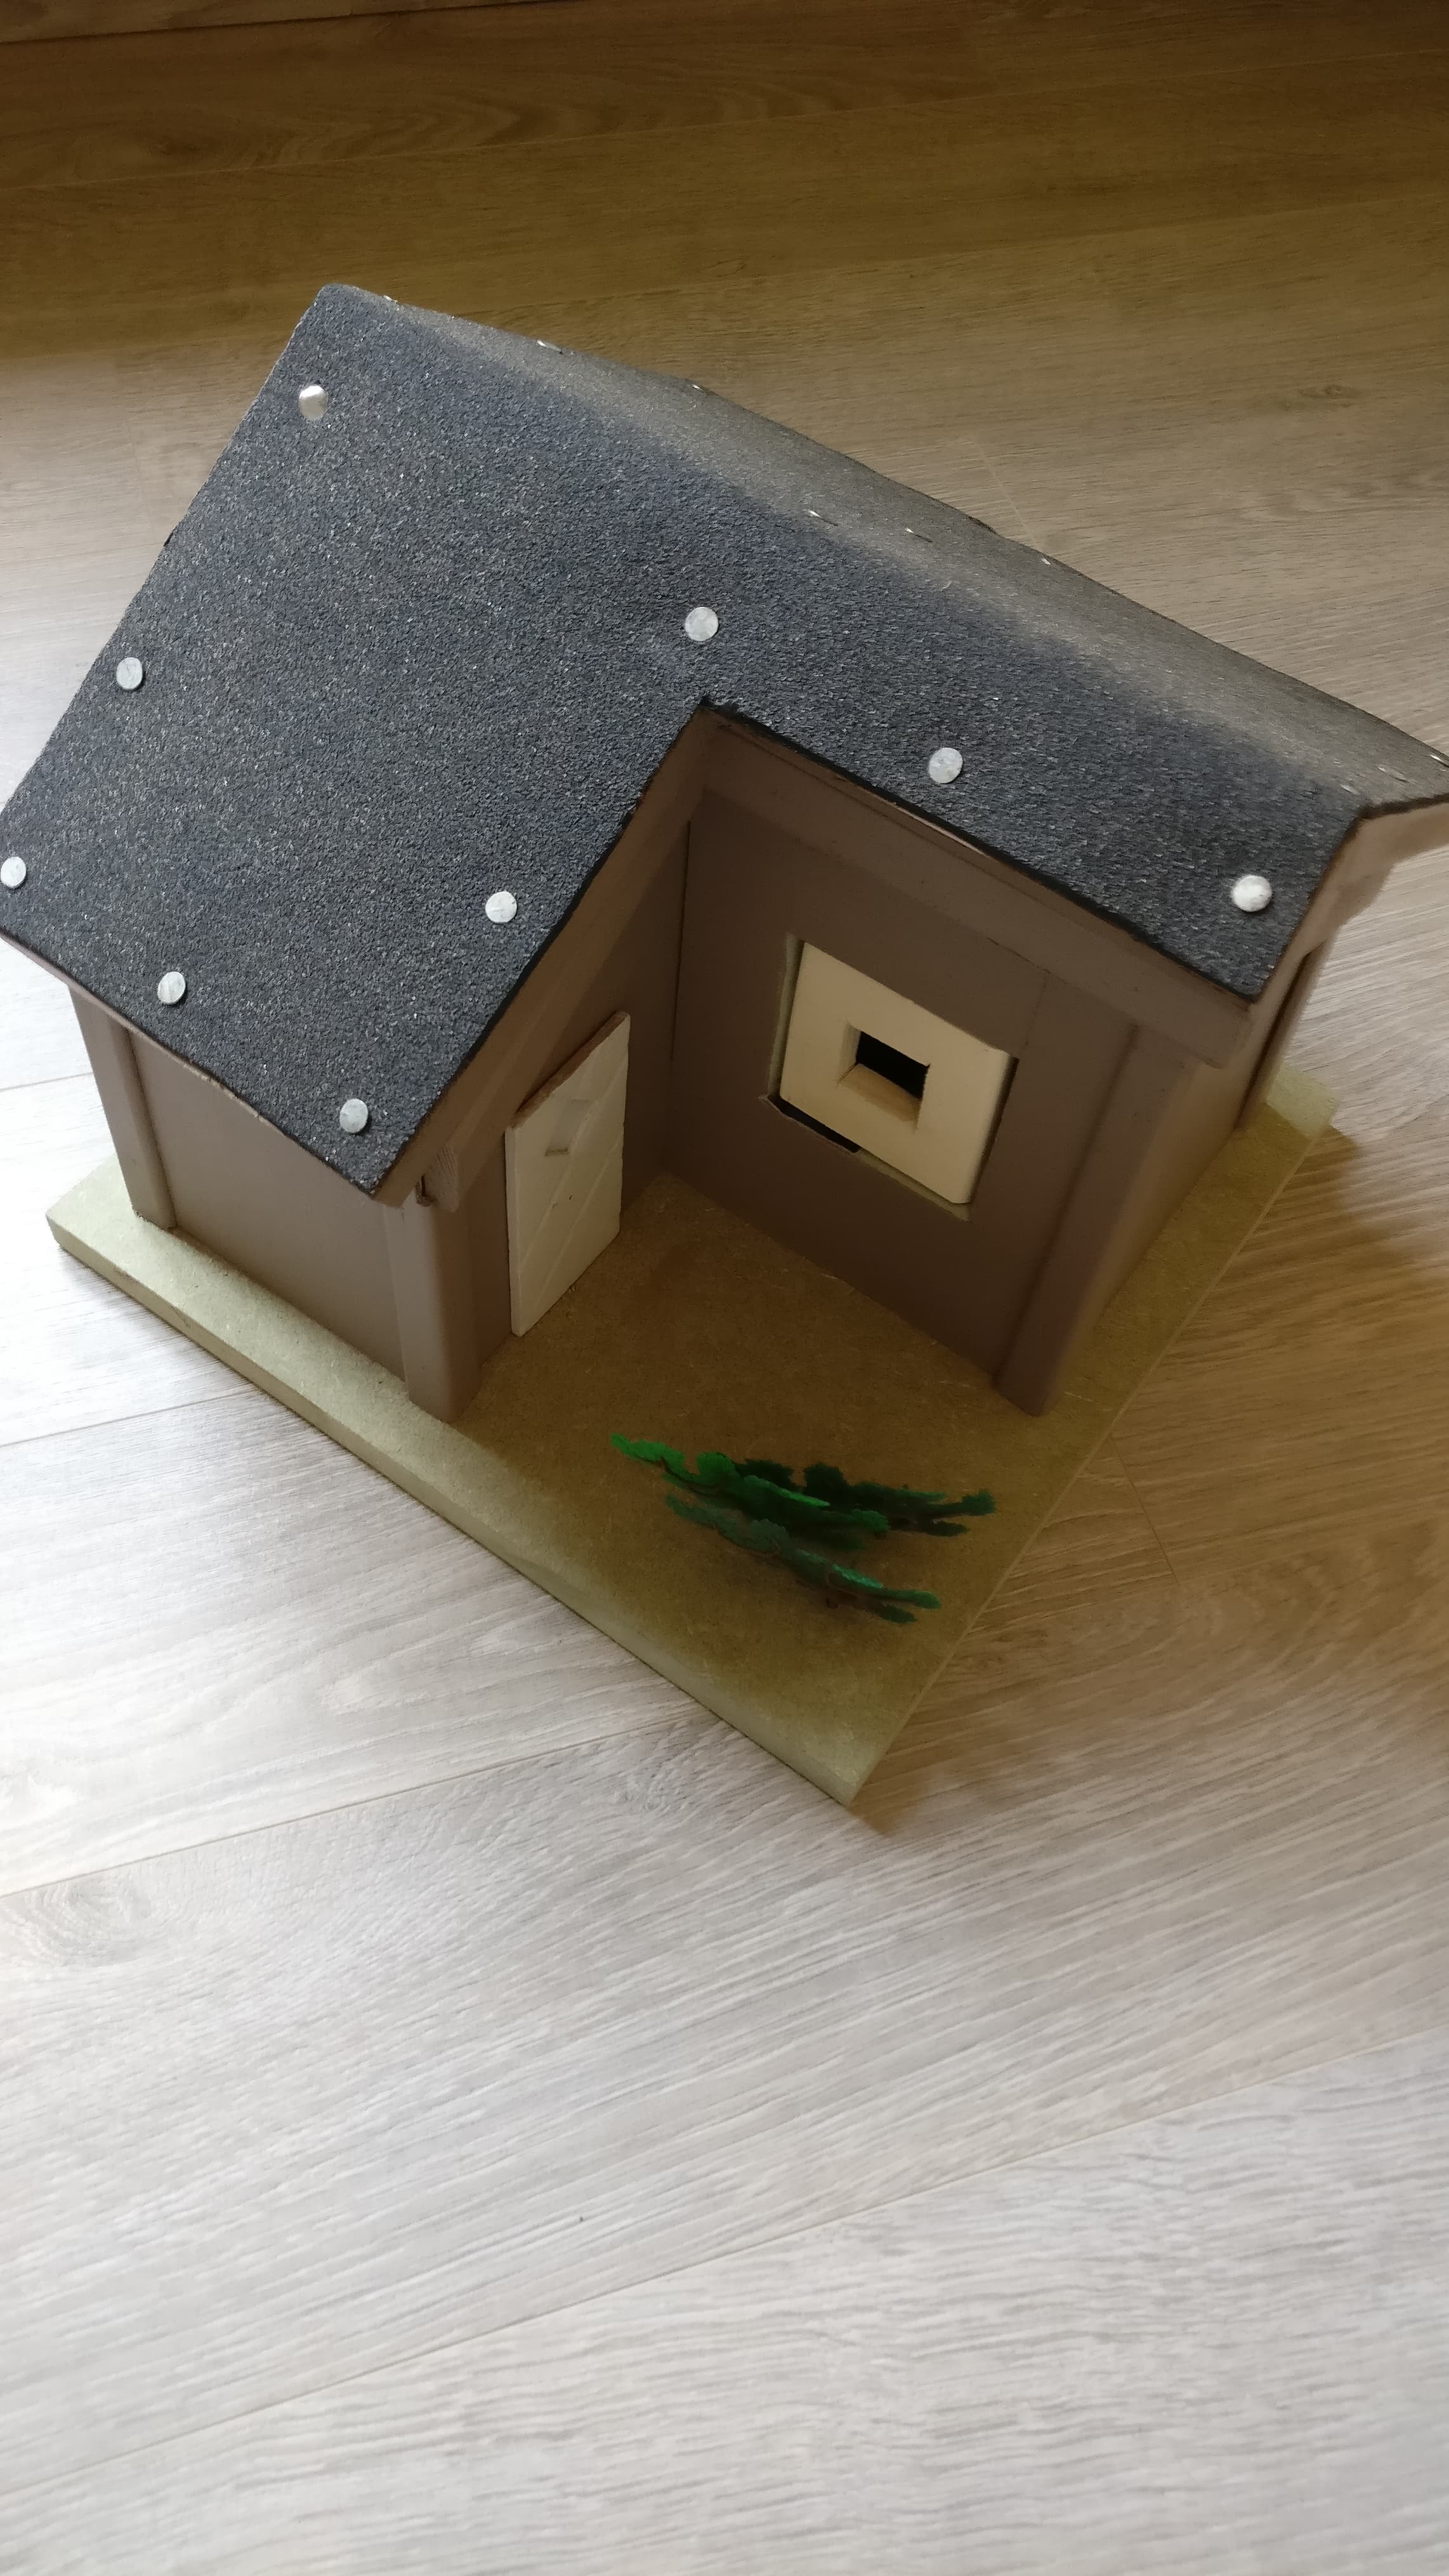
I made a quick drawing of how I wanted my house, but yours can look entirely different. You just have to make sure you have a whole so that the servo can open and close a window.
I mainly used a small drill and a saw to cut the wood. I also made sure that the walls were thick enough so that I could place my servo inside of the them.
When you are finished with your design and the servo is in place, you only need to connect the sensors and place the pi inside of the house and you are set to go.
As I mentioned before your house can look exactly the same as mine, you only need to make room for the servo and the window.
Finally you are done with the project. I hope this guide is clear enough so that you too can make an awesome smarthouse like I did.
Best of luck.