Home Text Planters


Bring a touch of greenery and creativity into your space with these unique text planters! They're perfect for small plants and succulents and serve as functional and stylish decor.
In this project, you'll learn how to design and 3D print planters shaped like words, allowing you to make a bold statement in any room!
Supplies
There are only a few things you will require for this project.
You will need a:
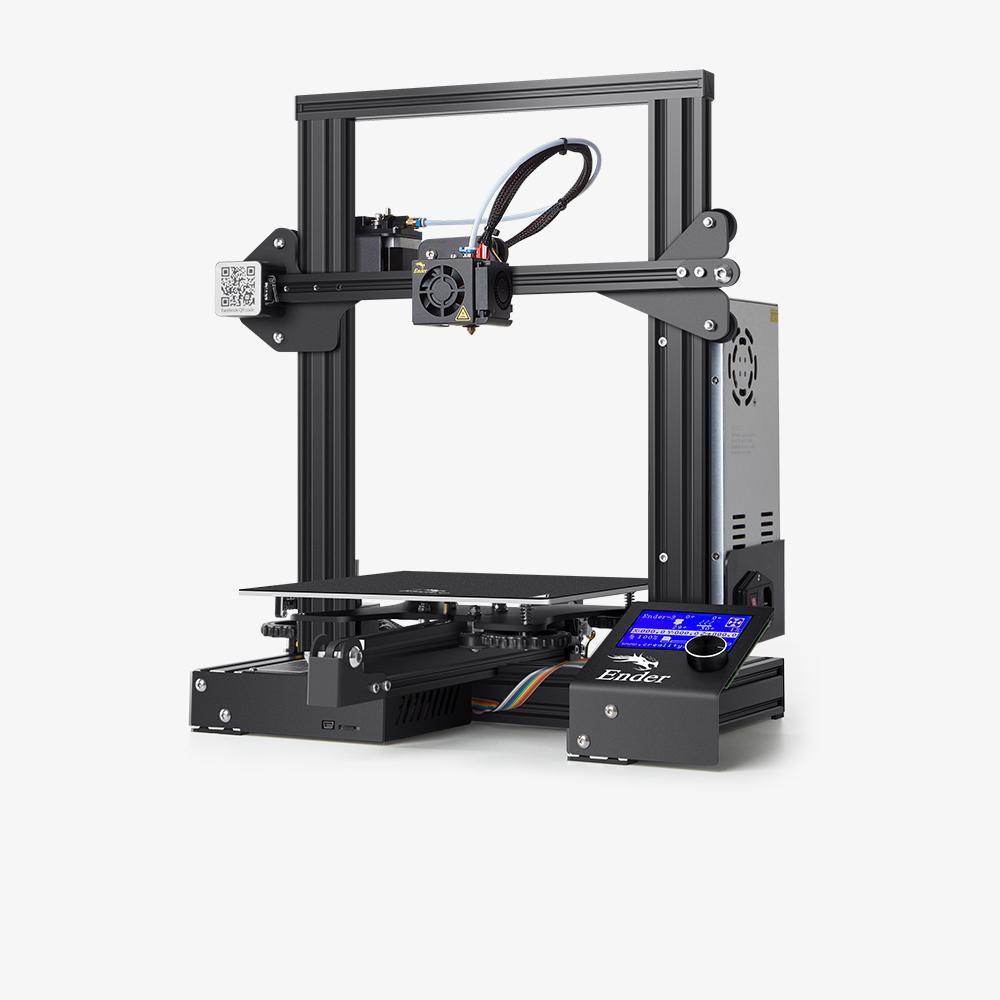
- 3D printer
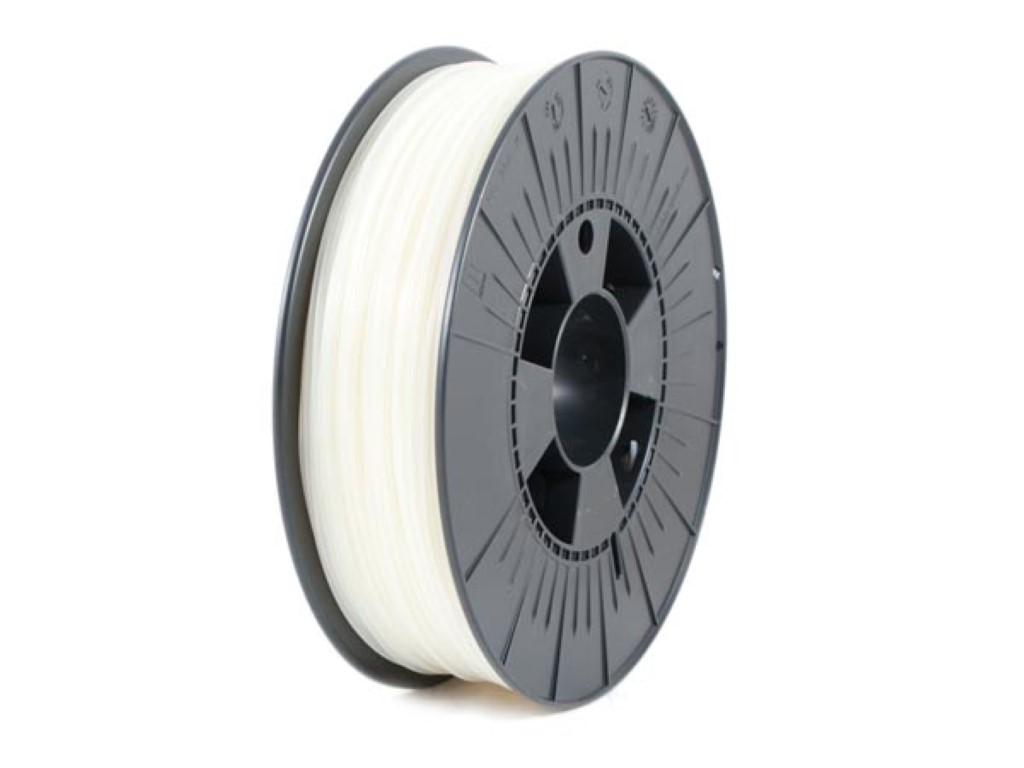
- PLA filament (or your preferred filament)
- 3D modelling software (Fusion 360)
- Small Plant or succulent
- Potting soil
Designing the Planter

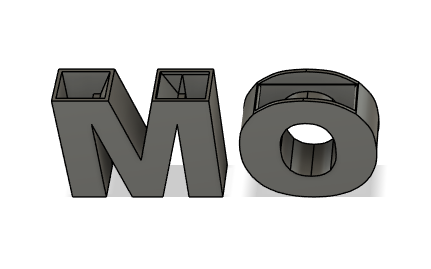
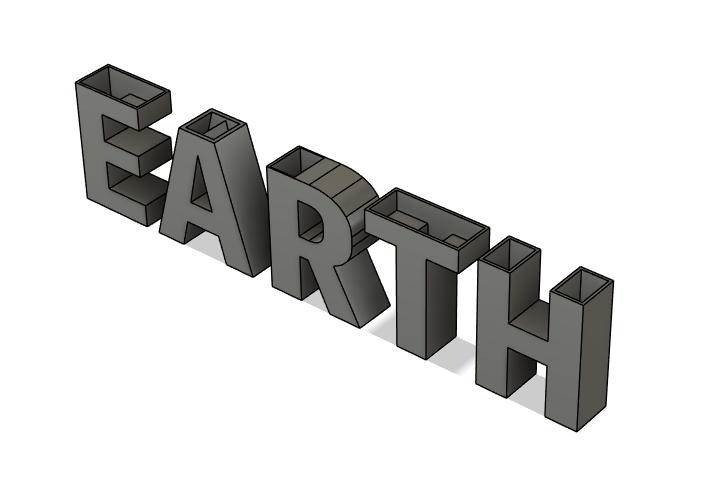
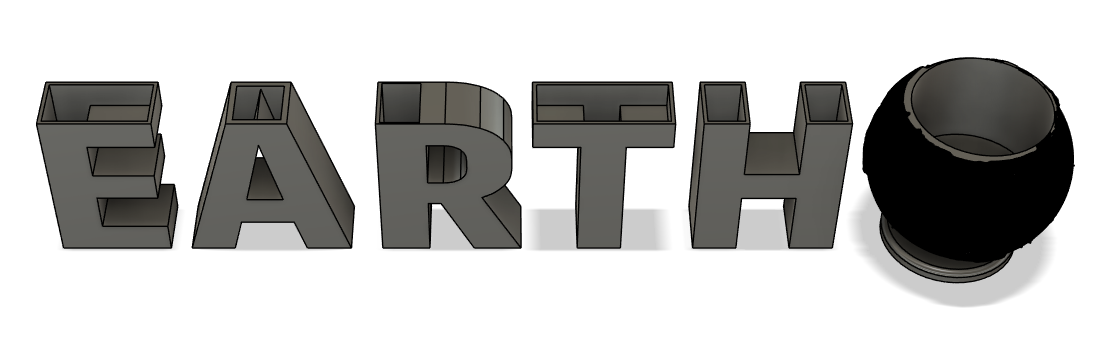


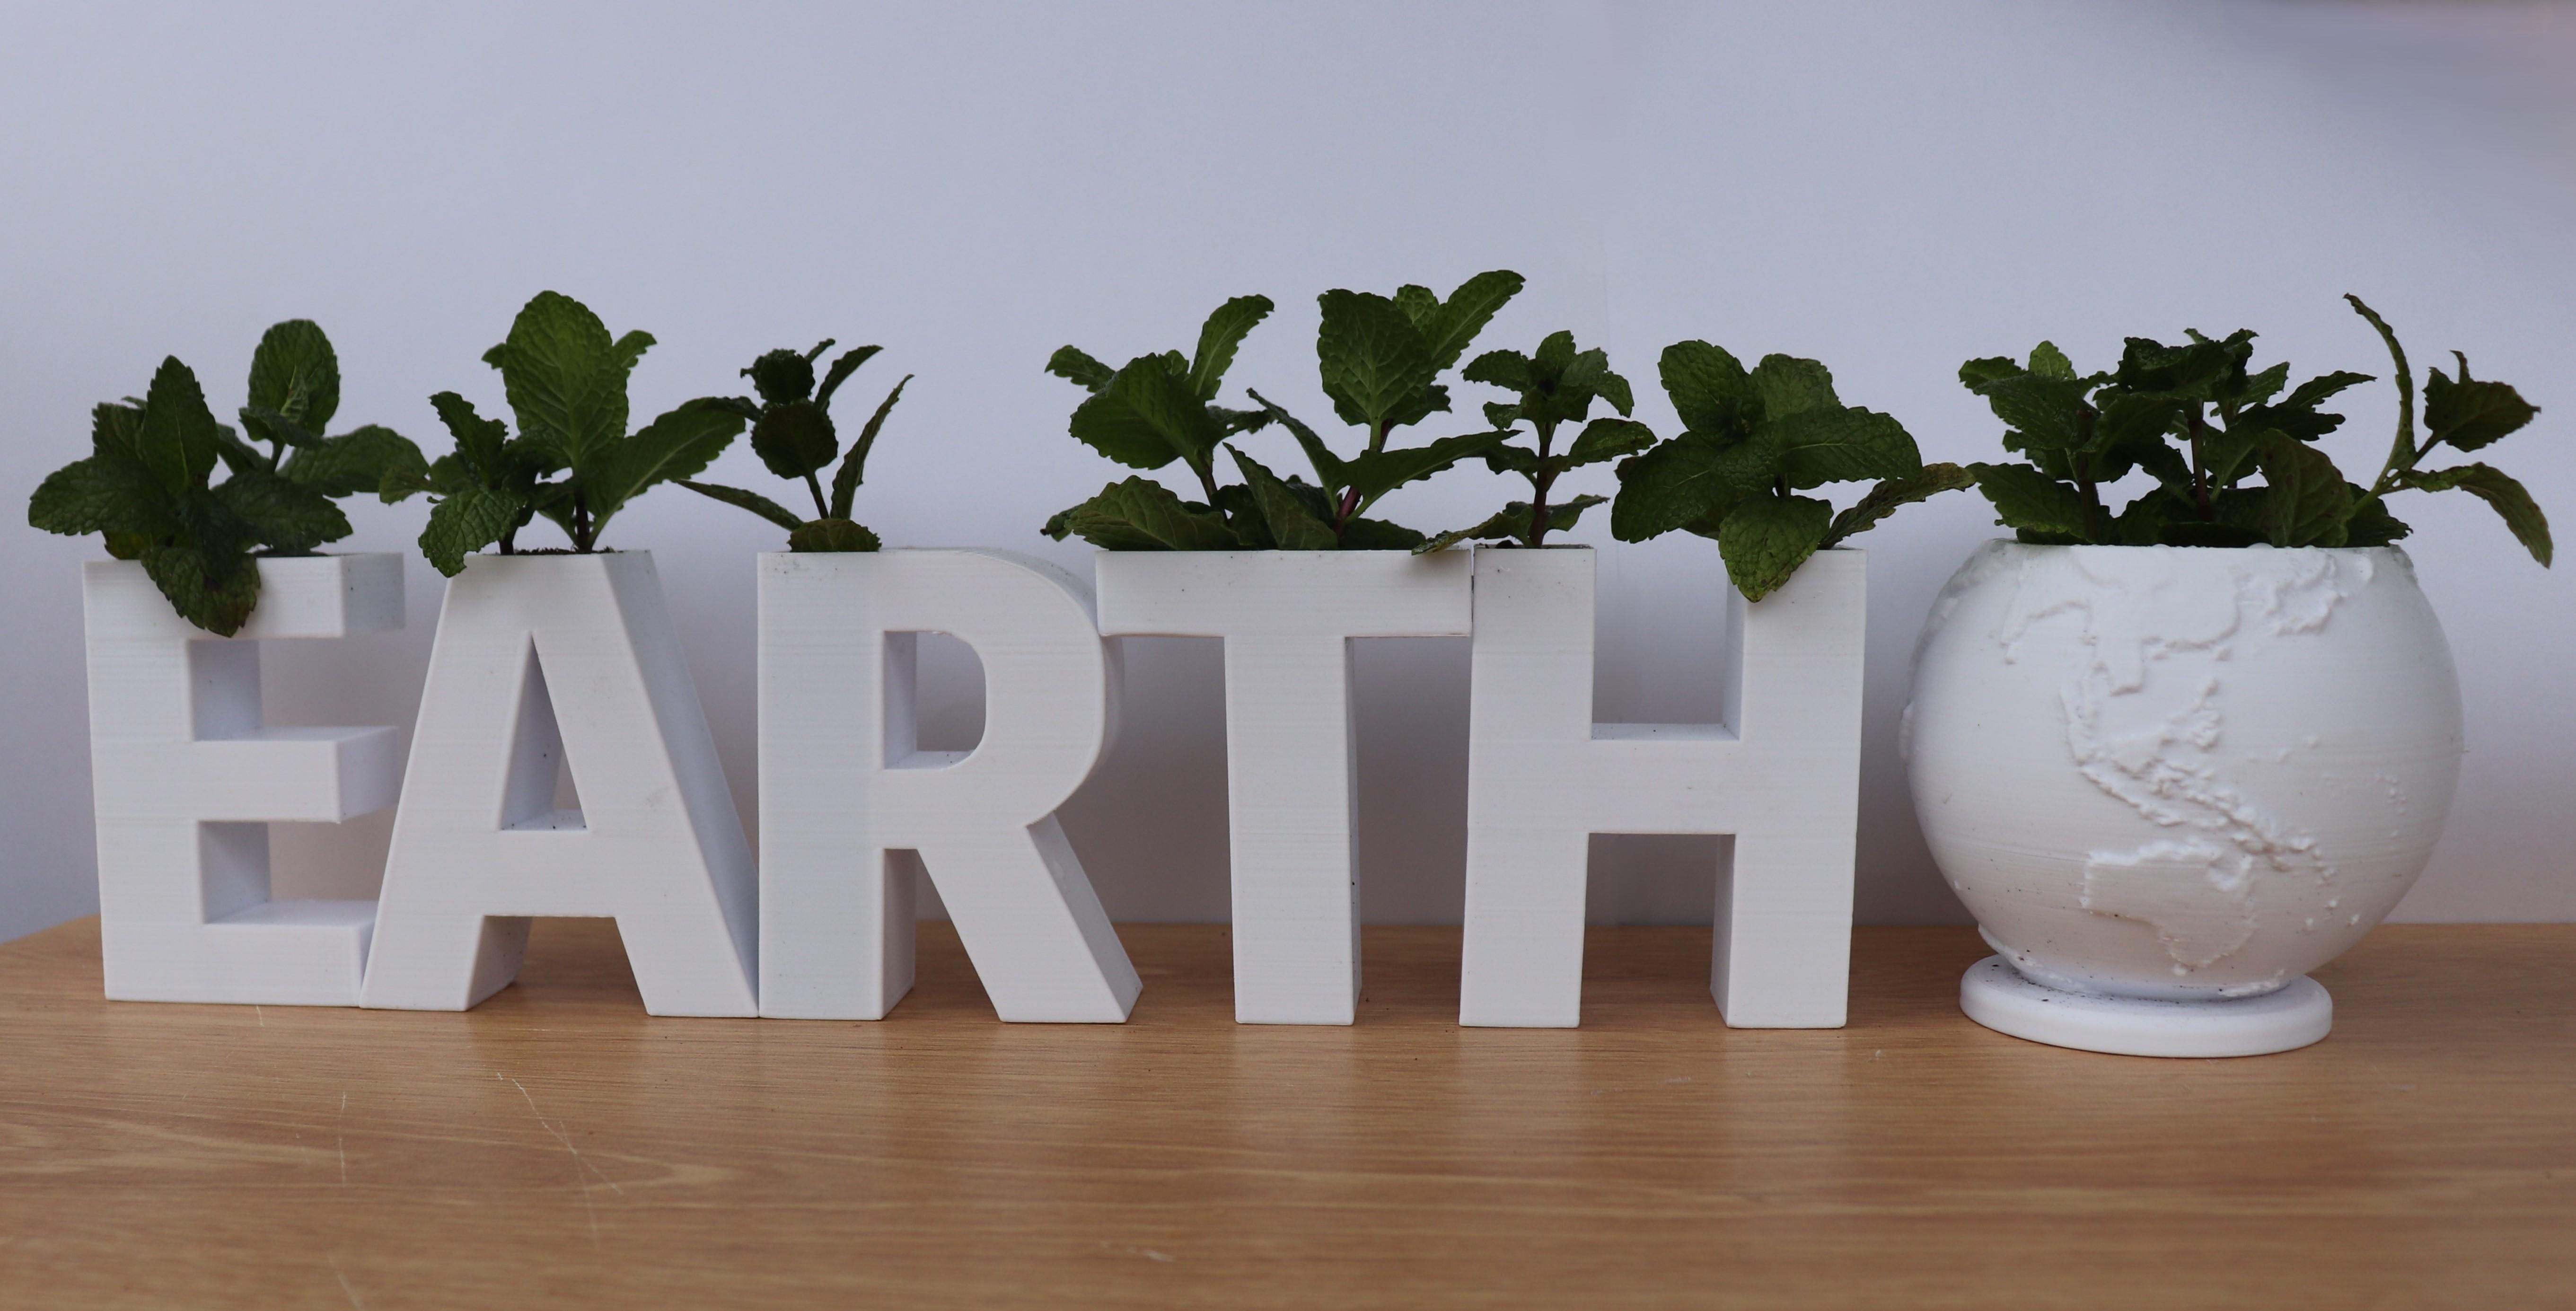
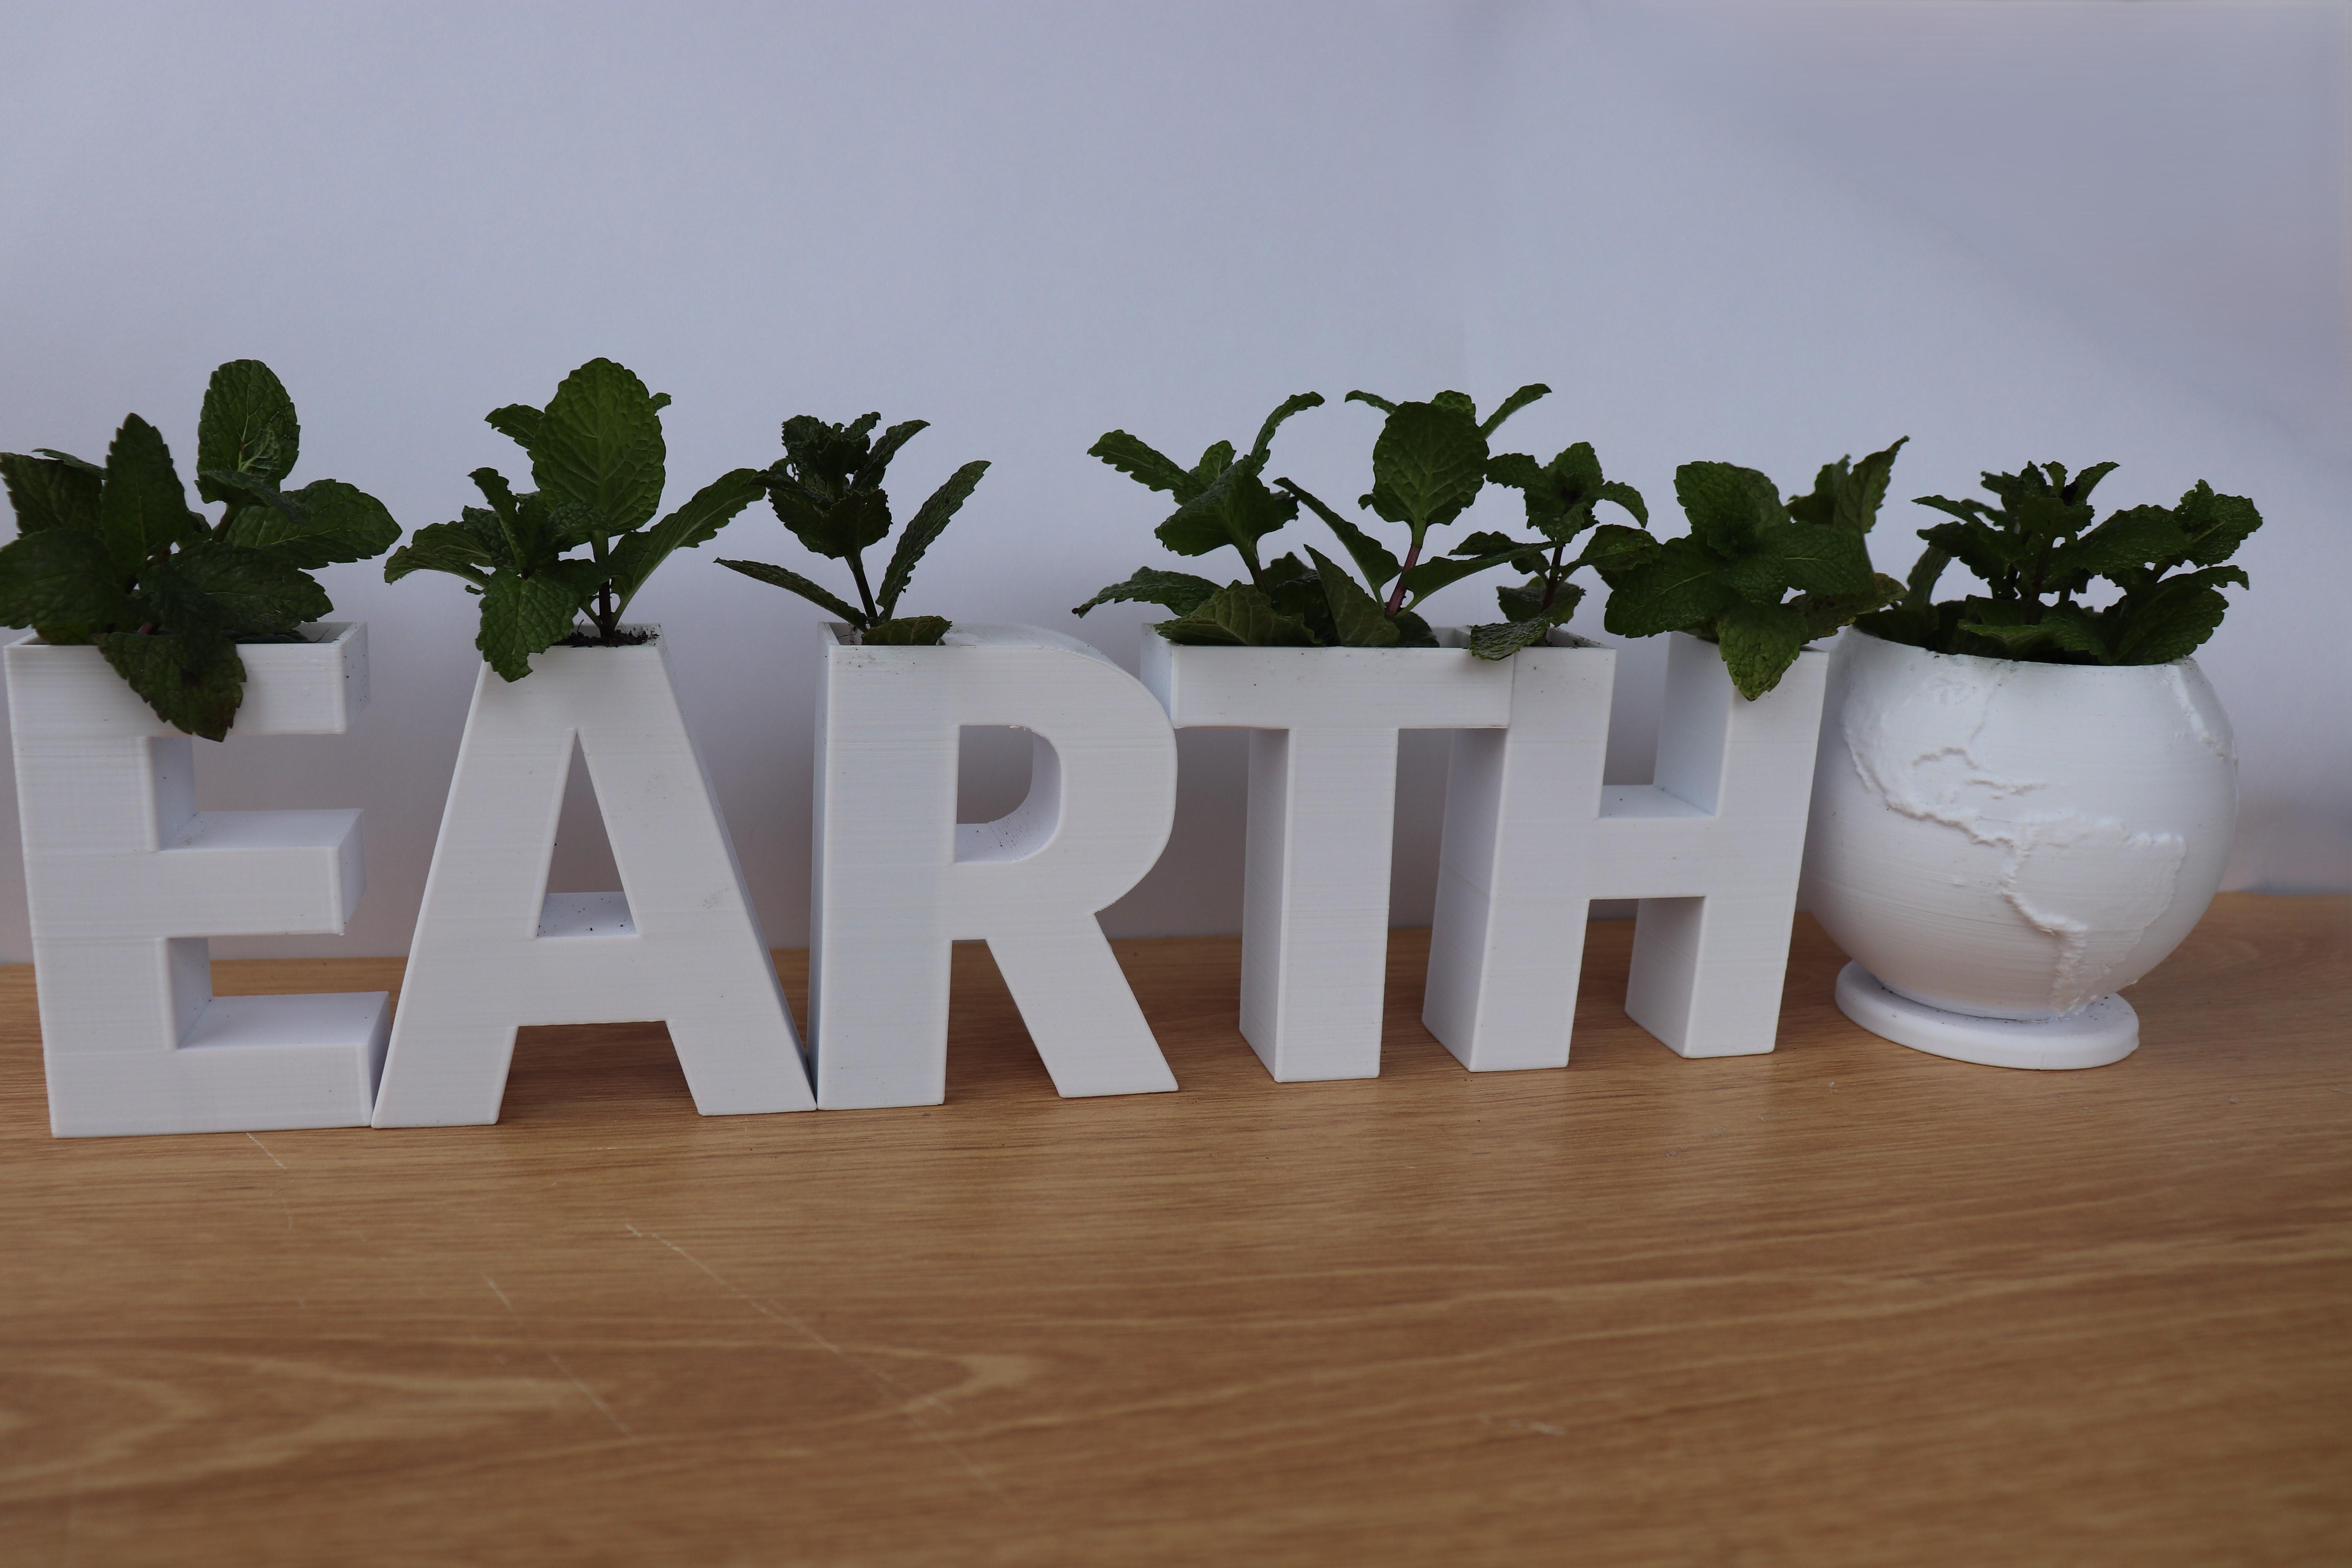
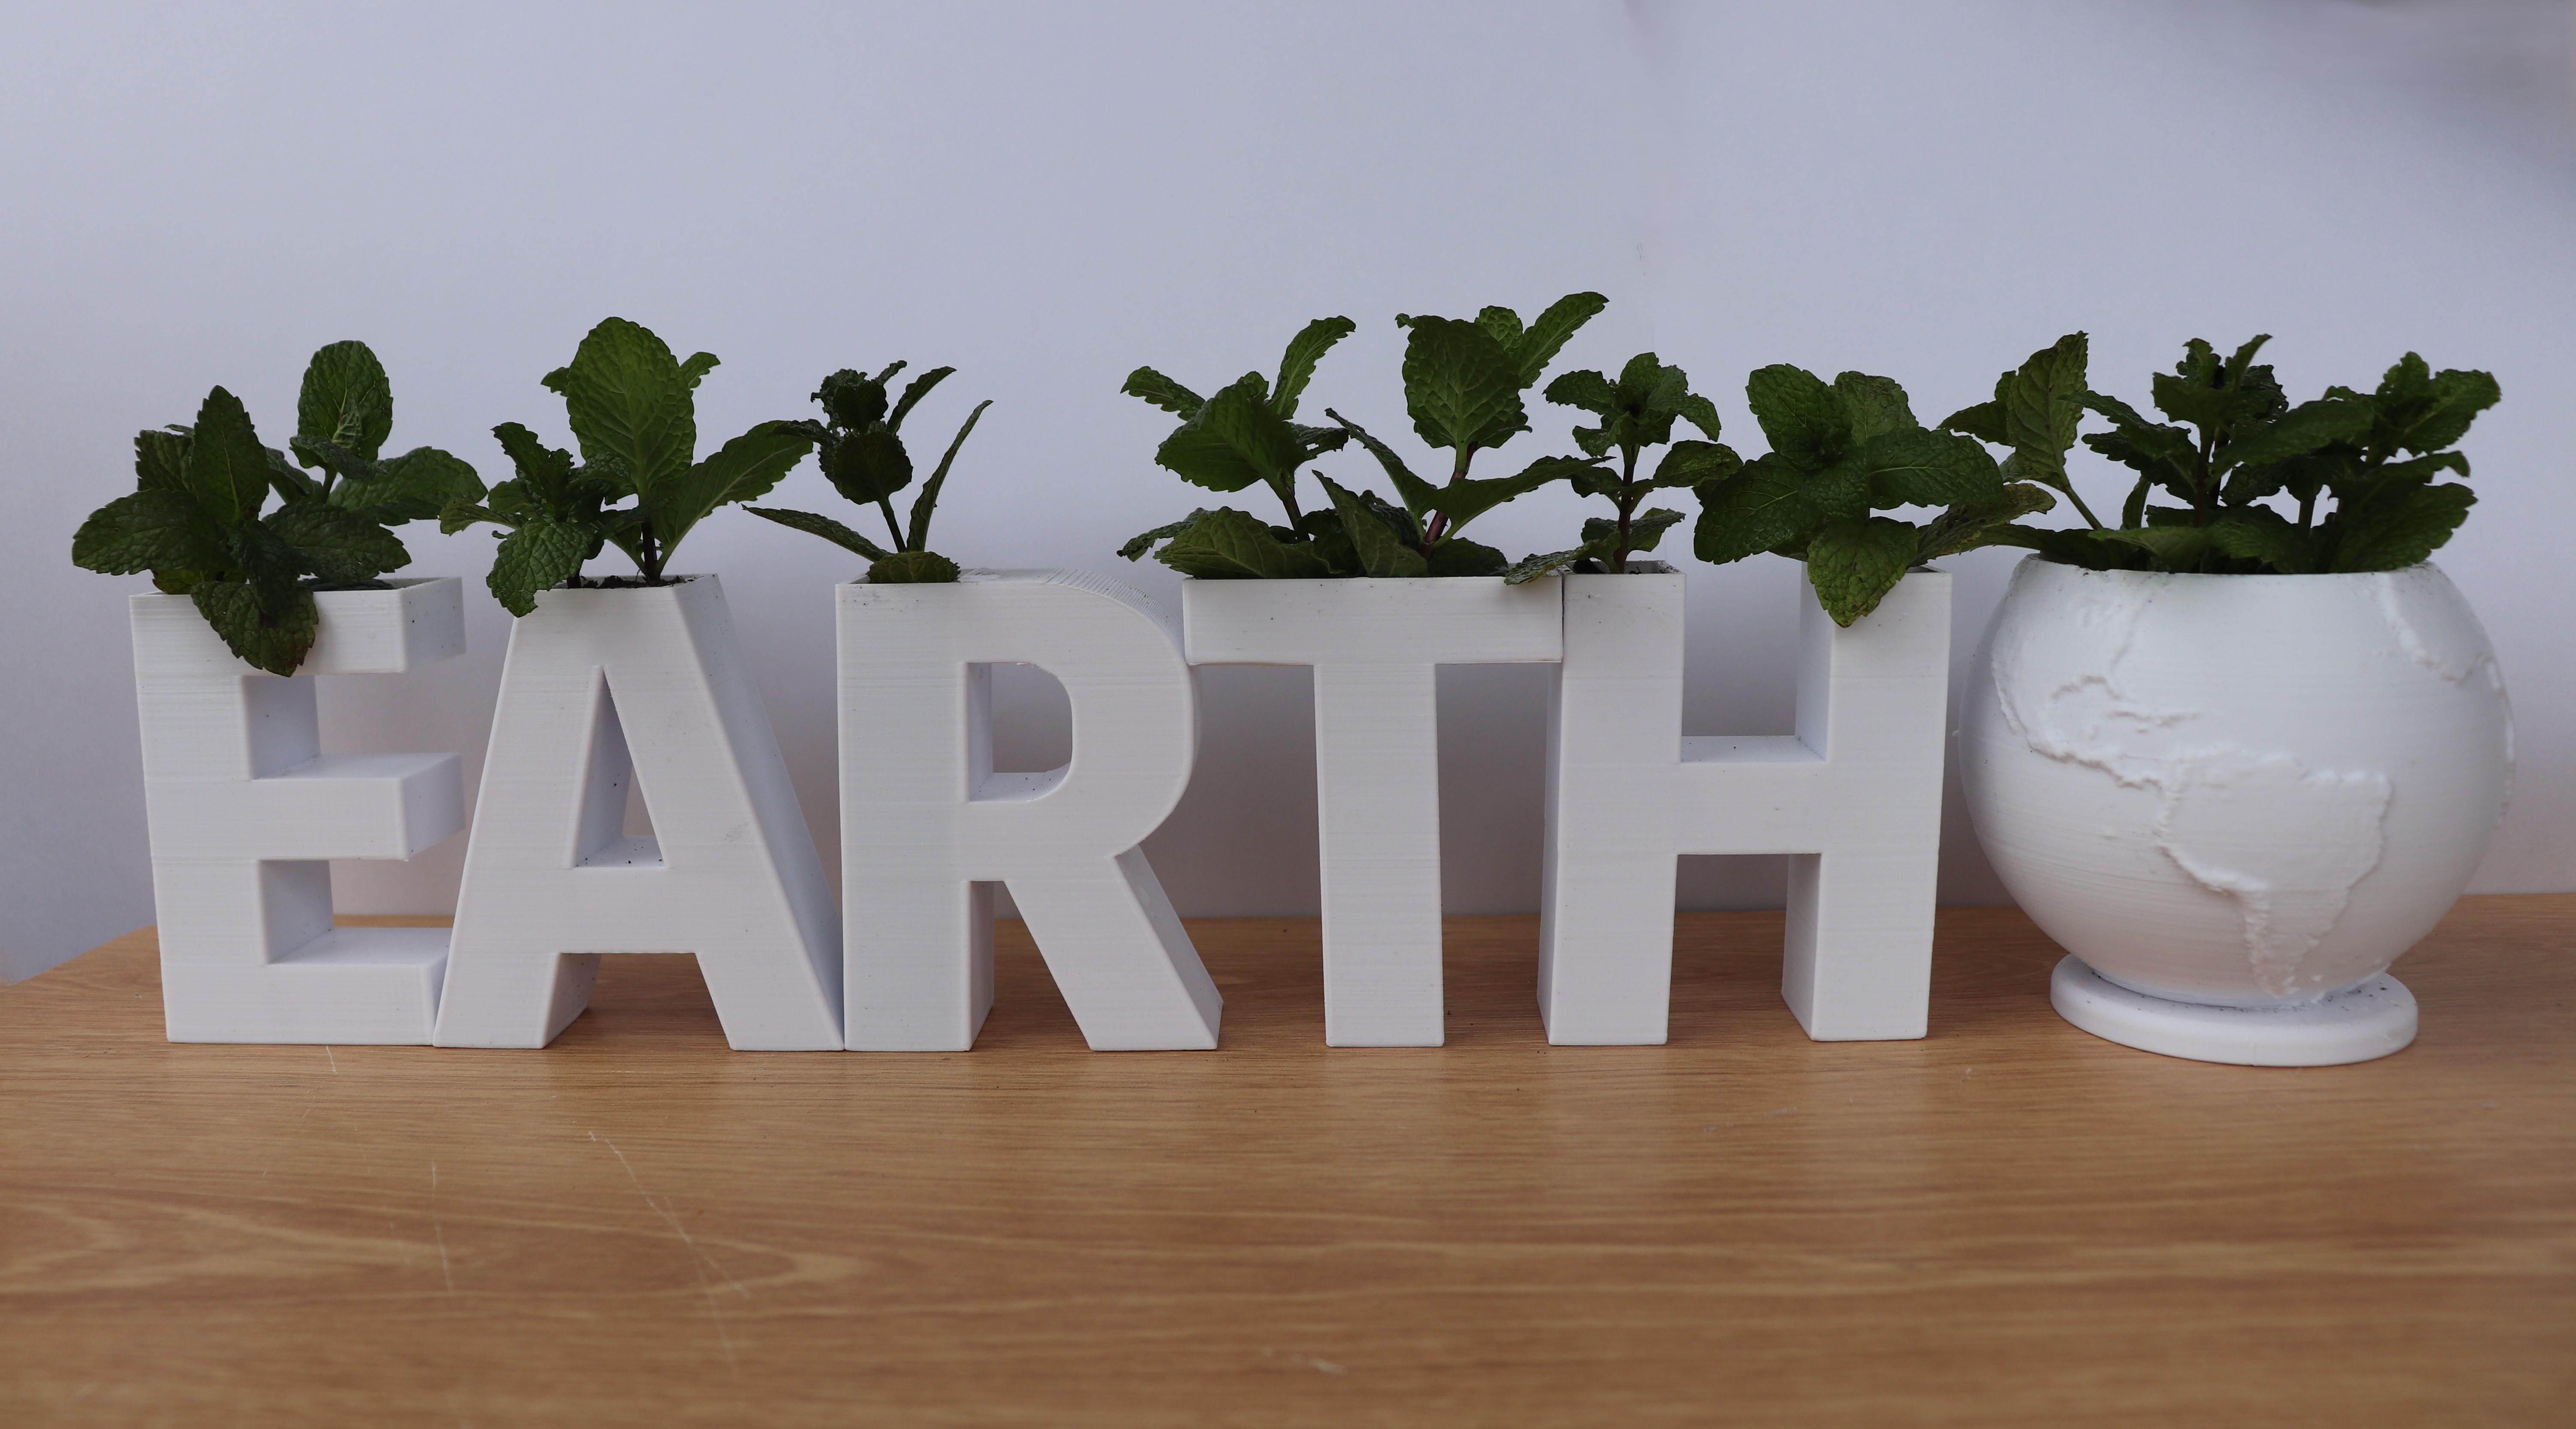
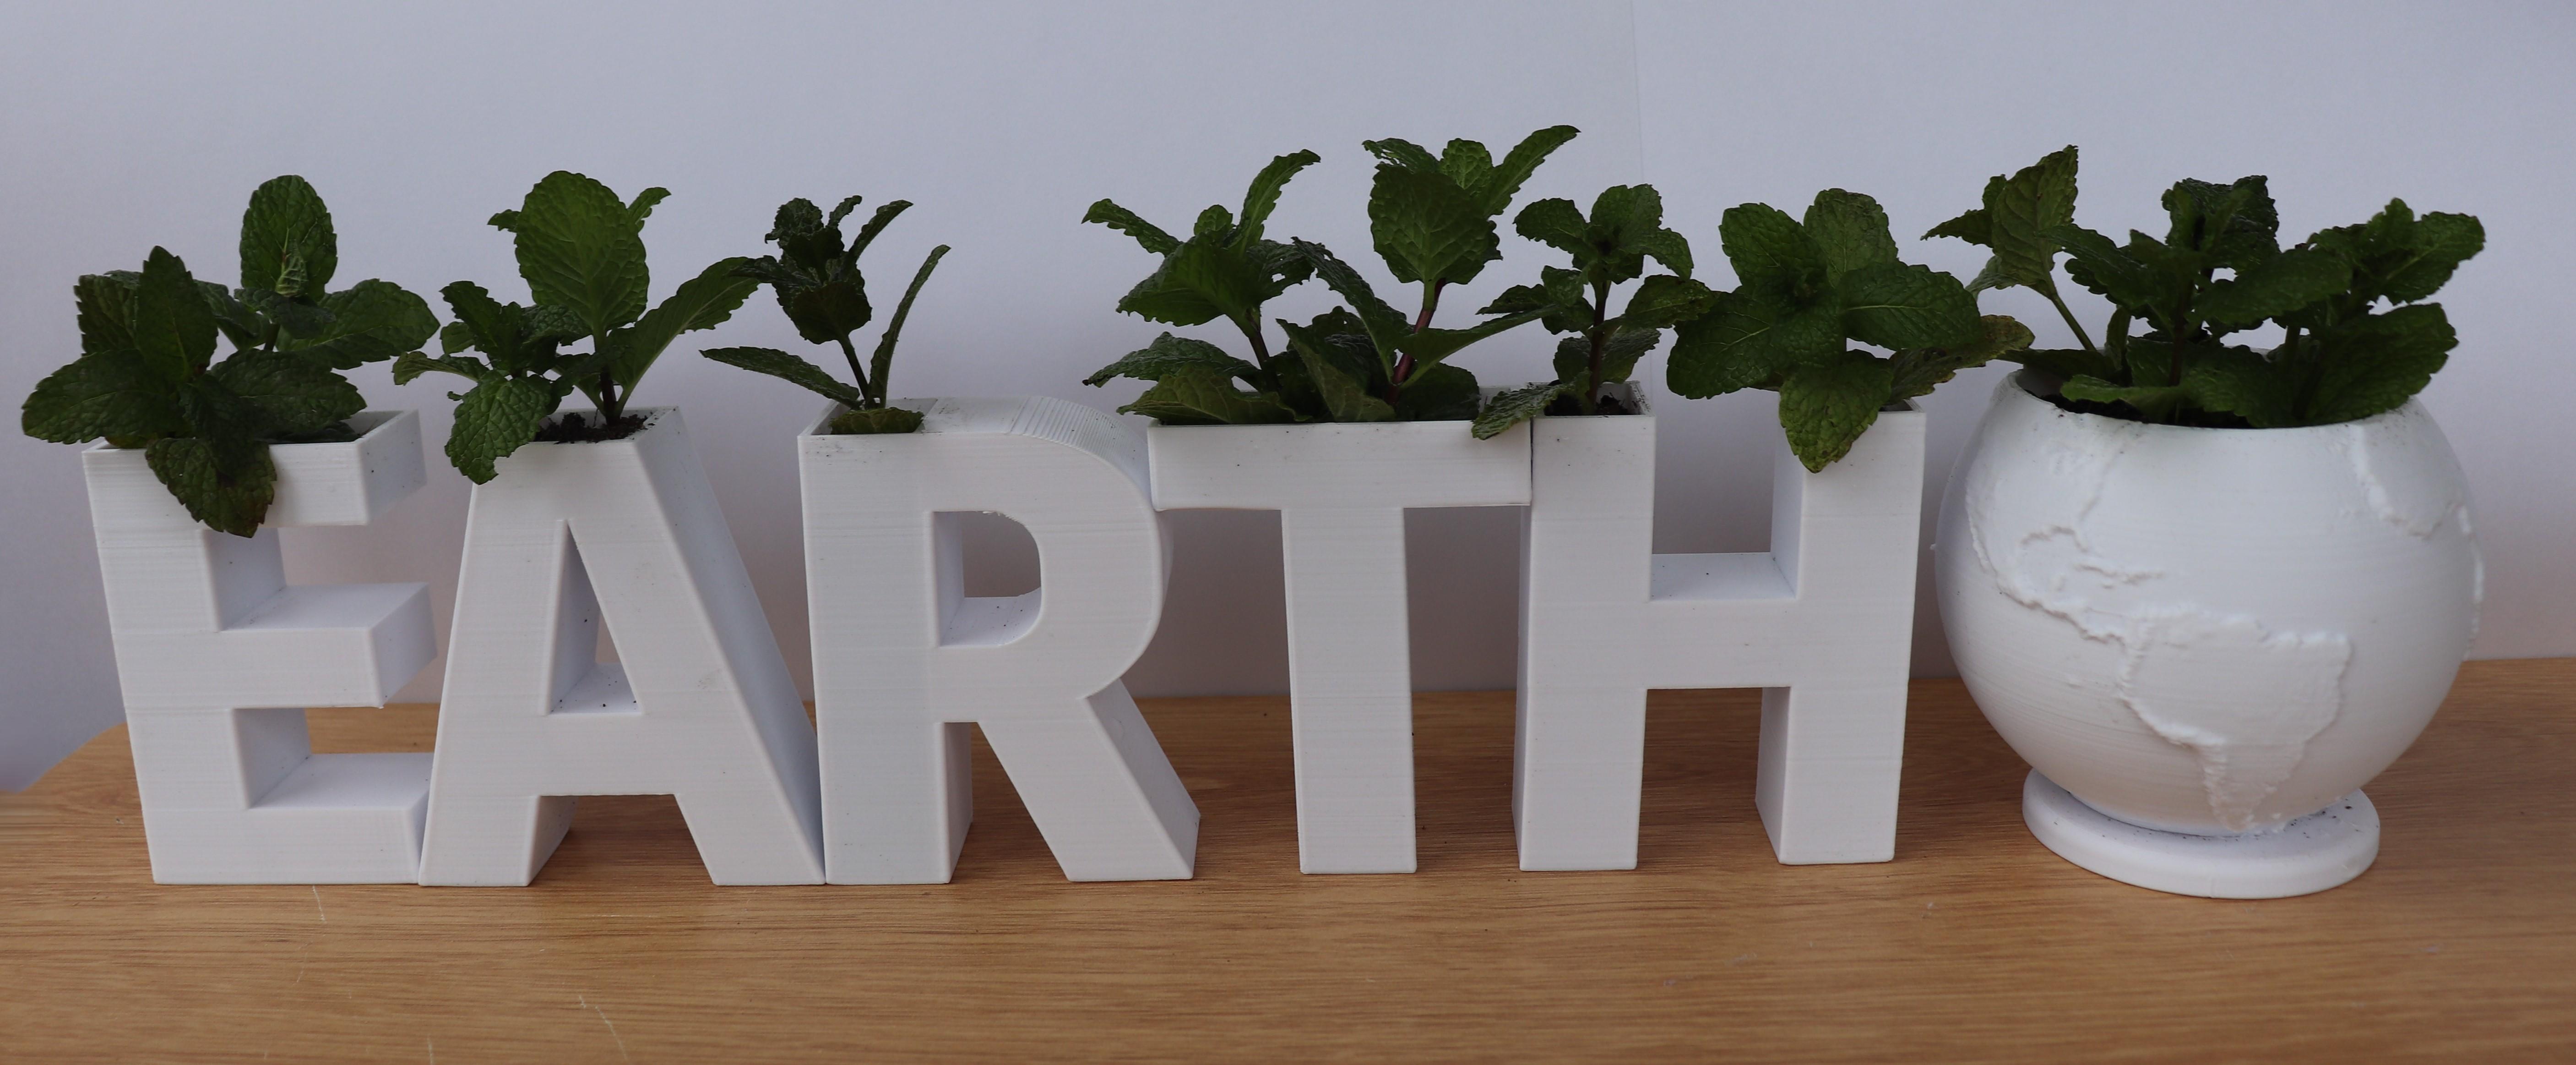
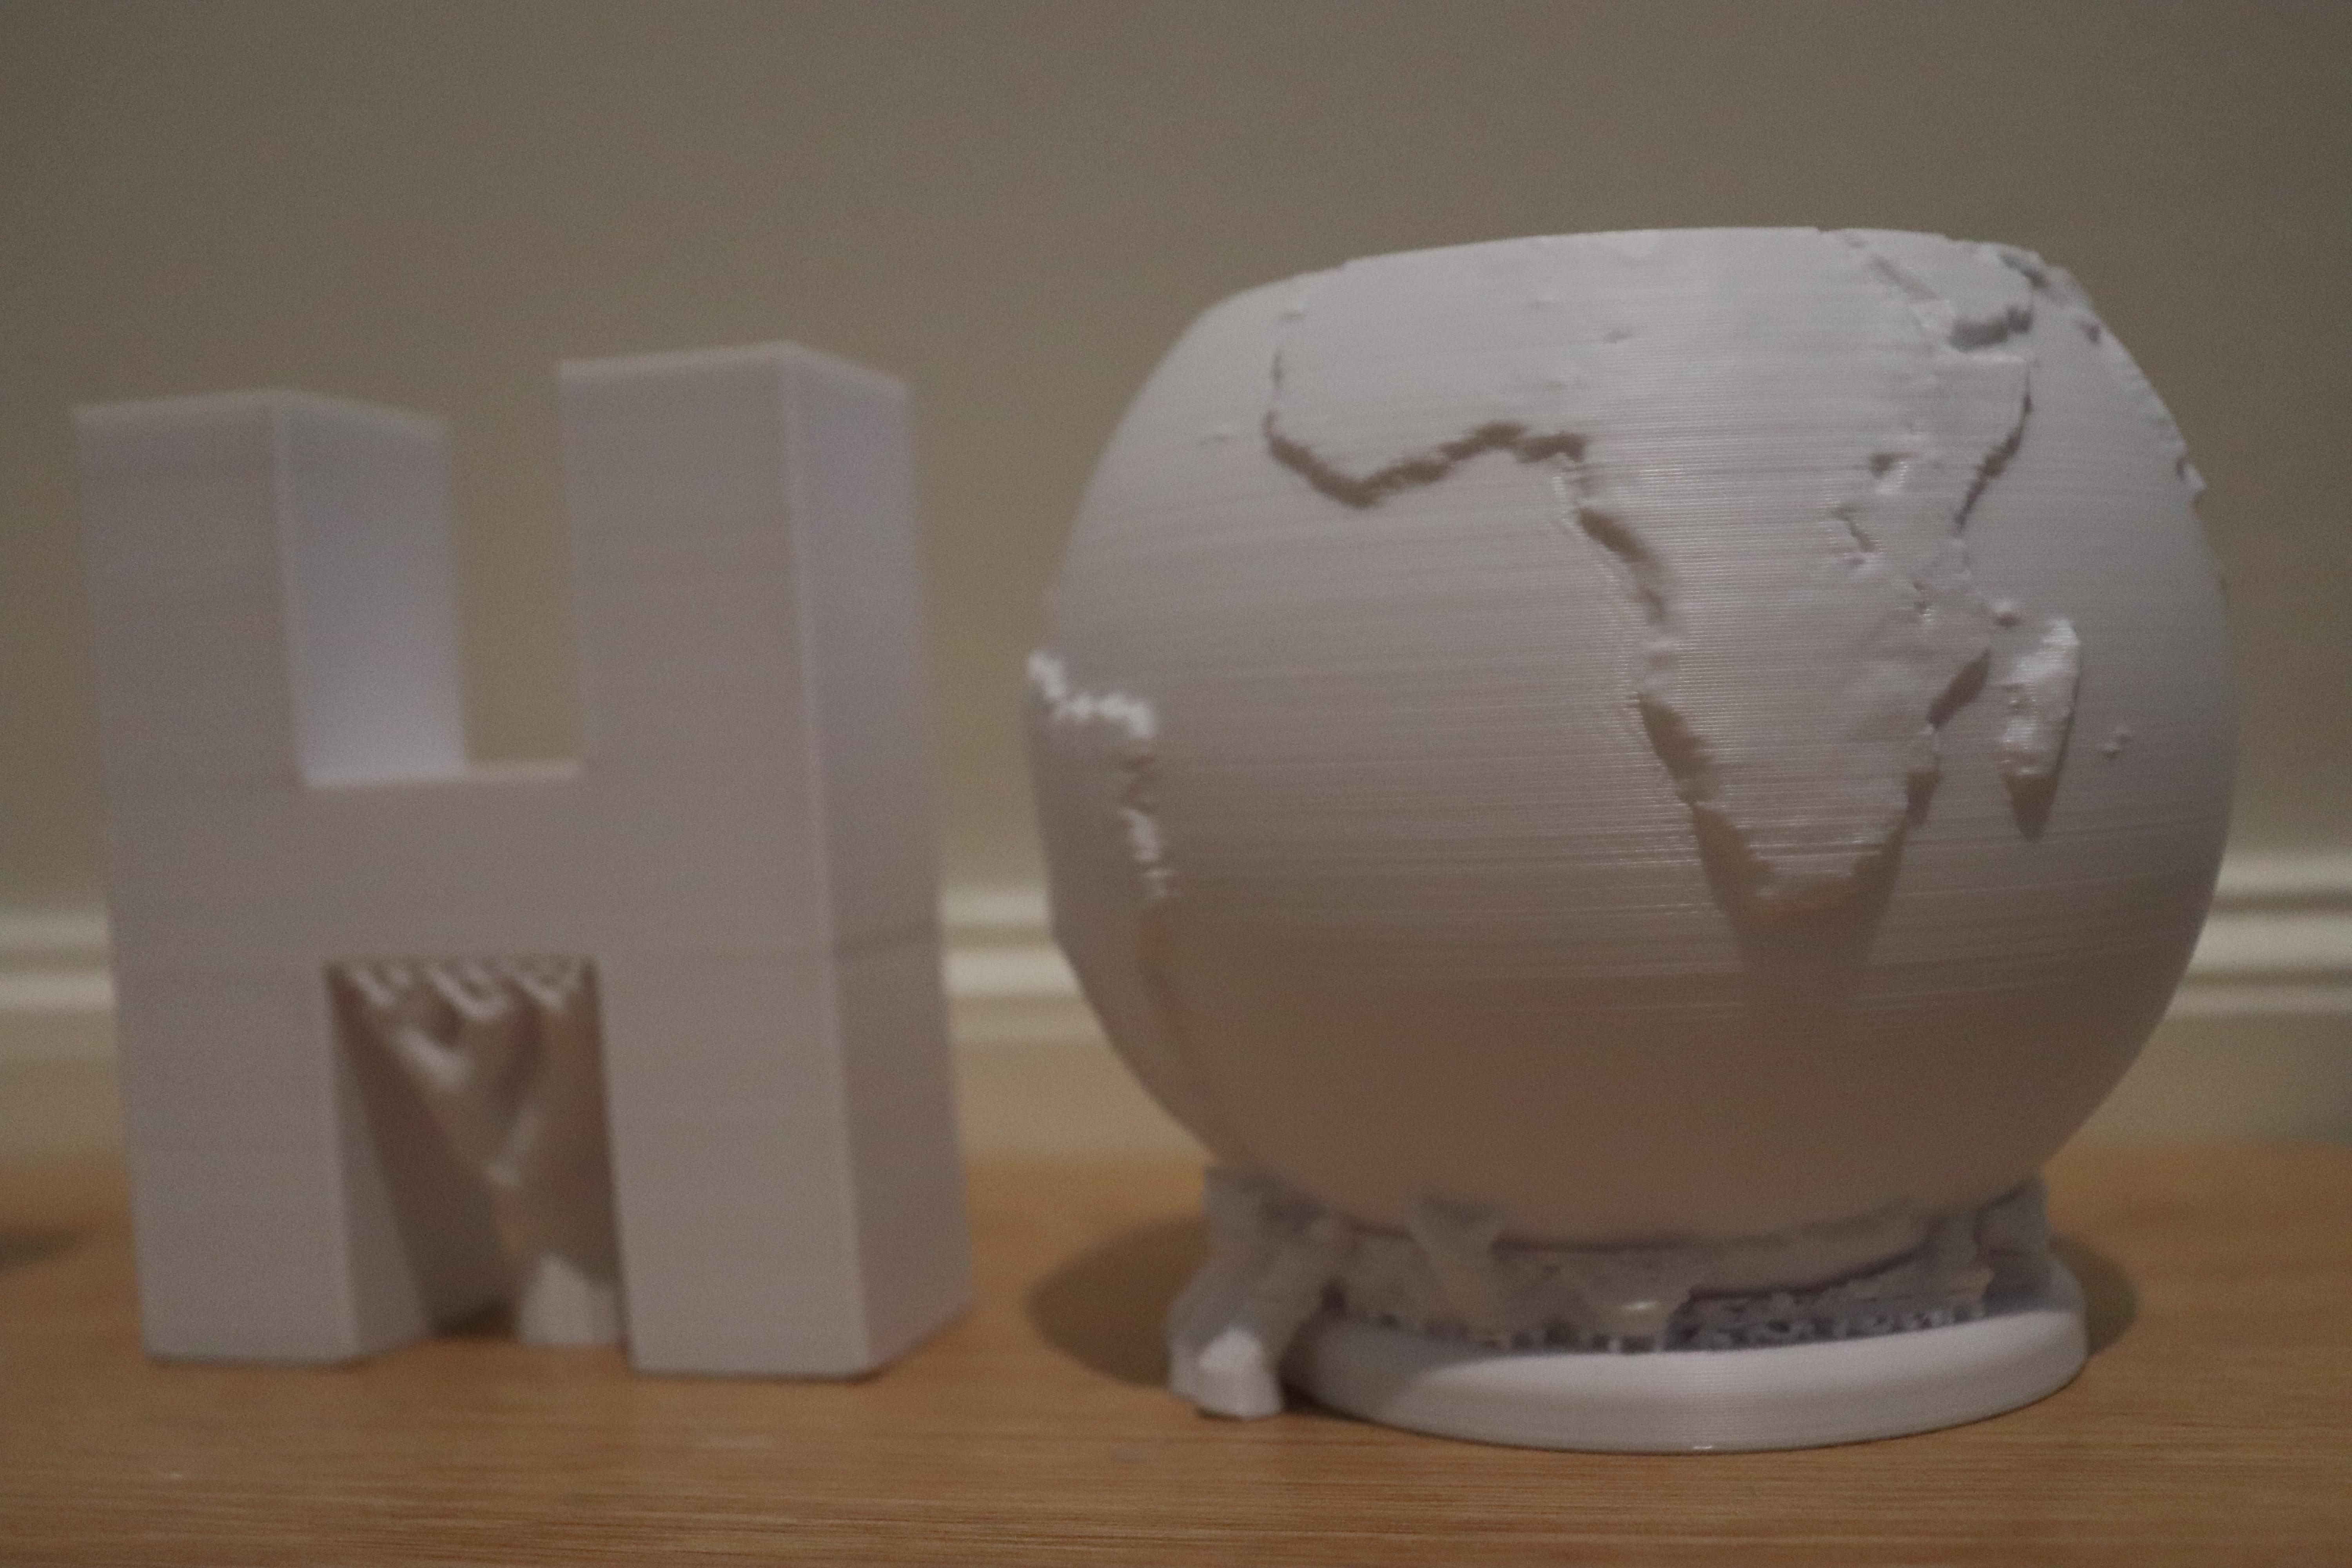
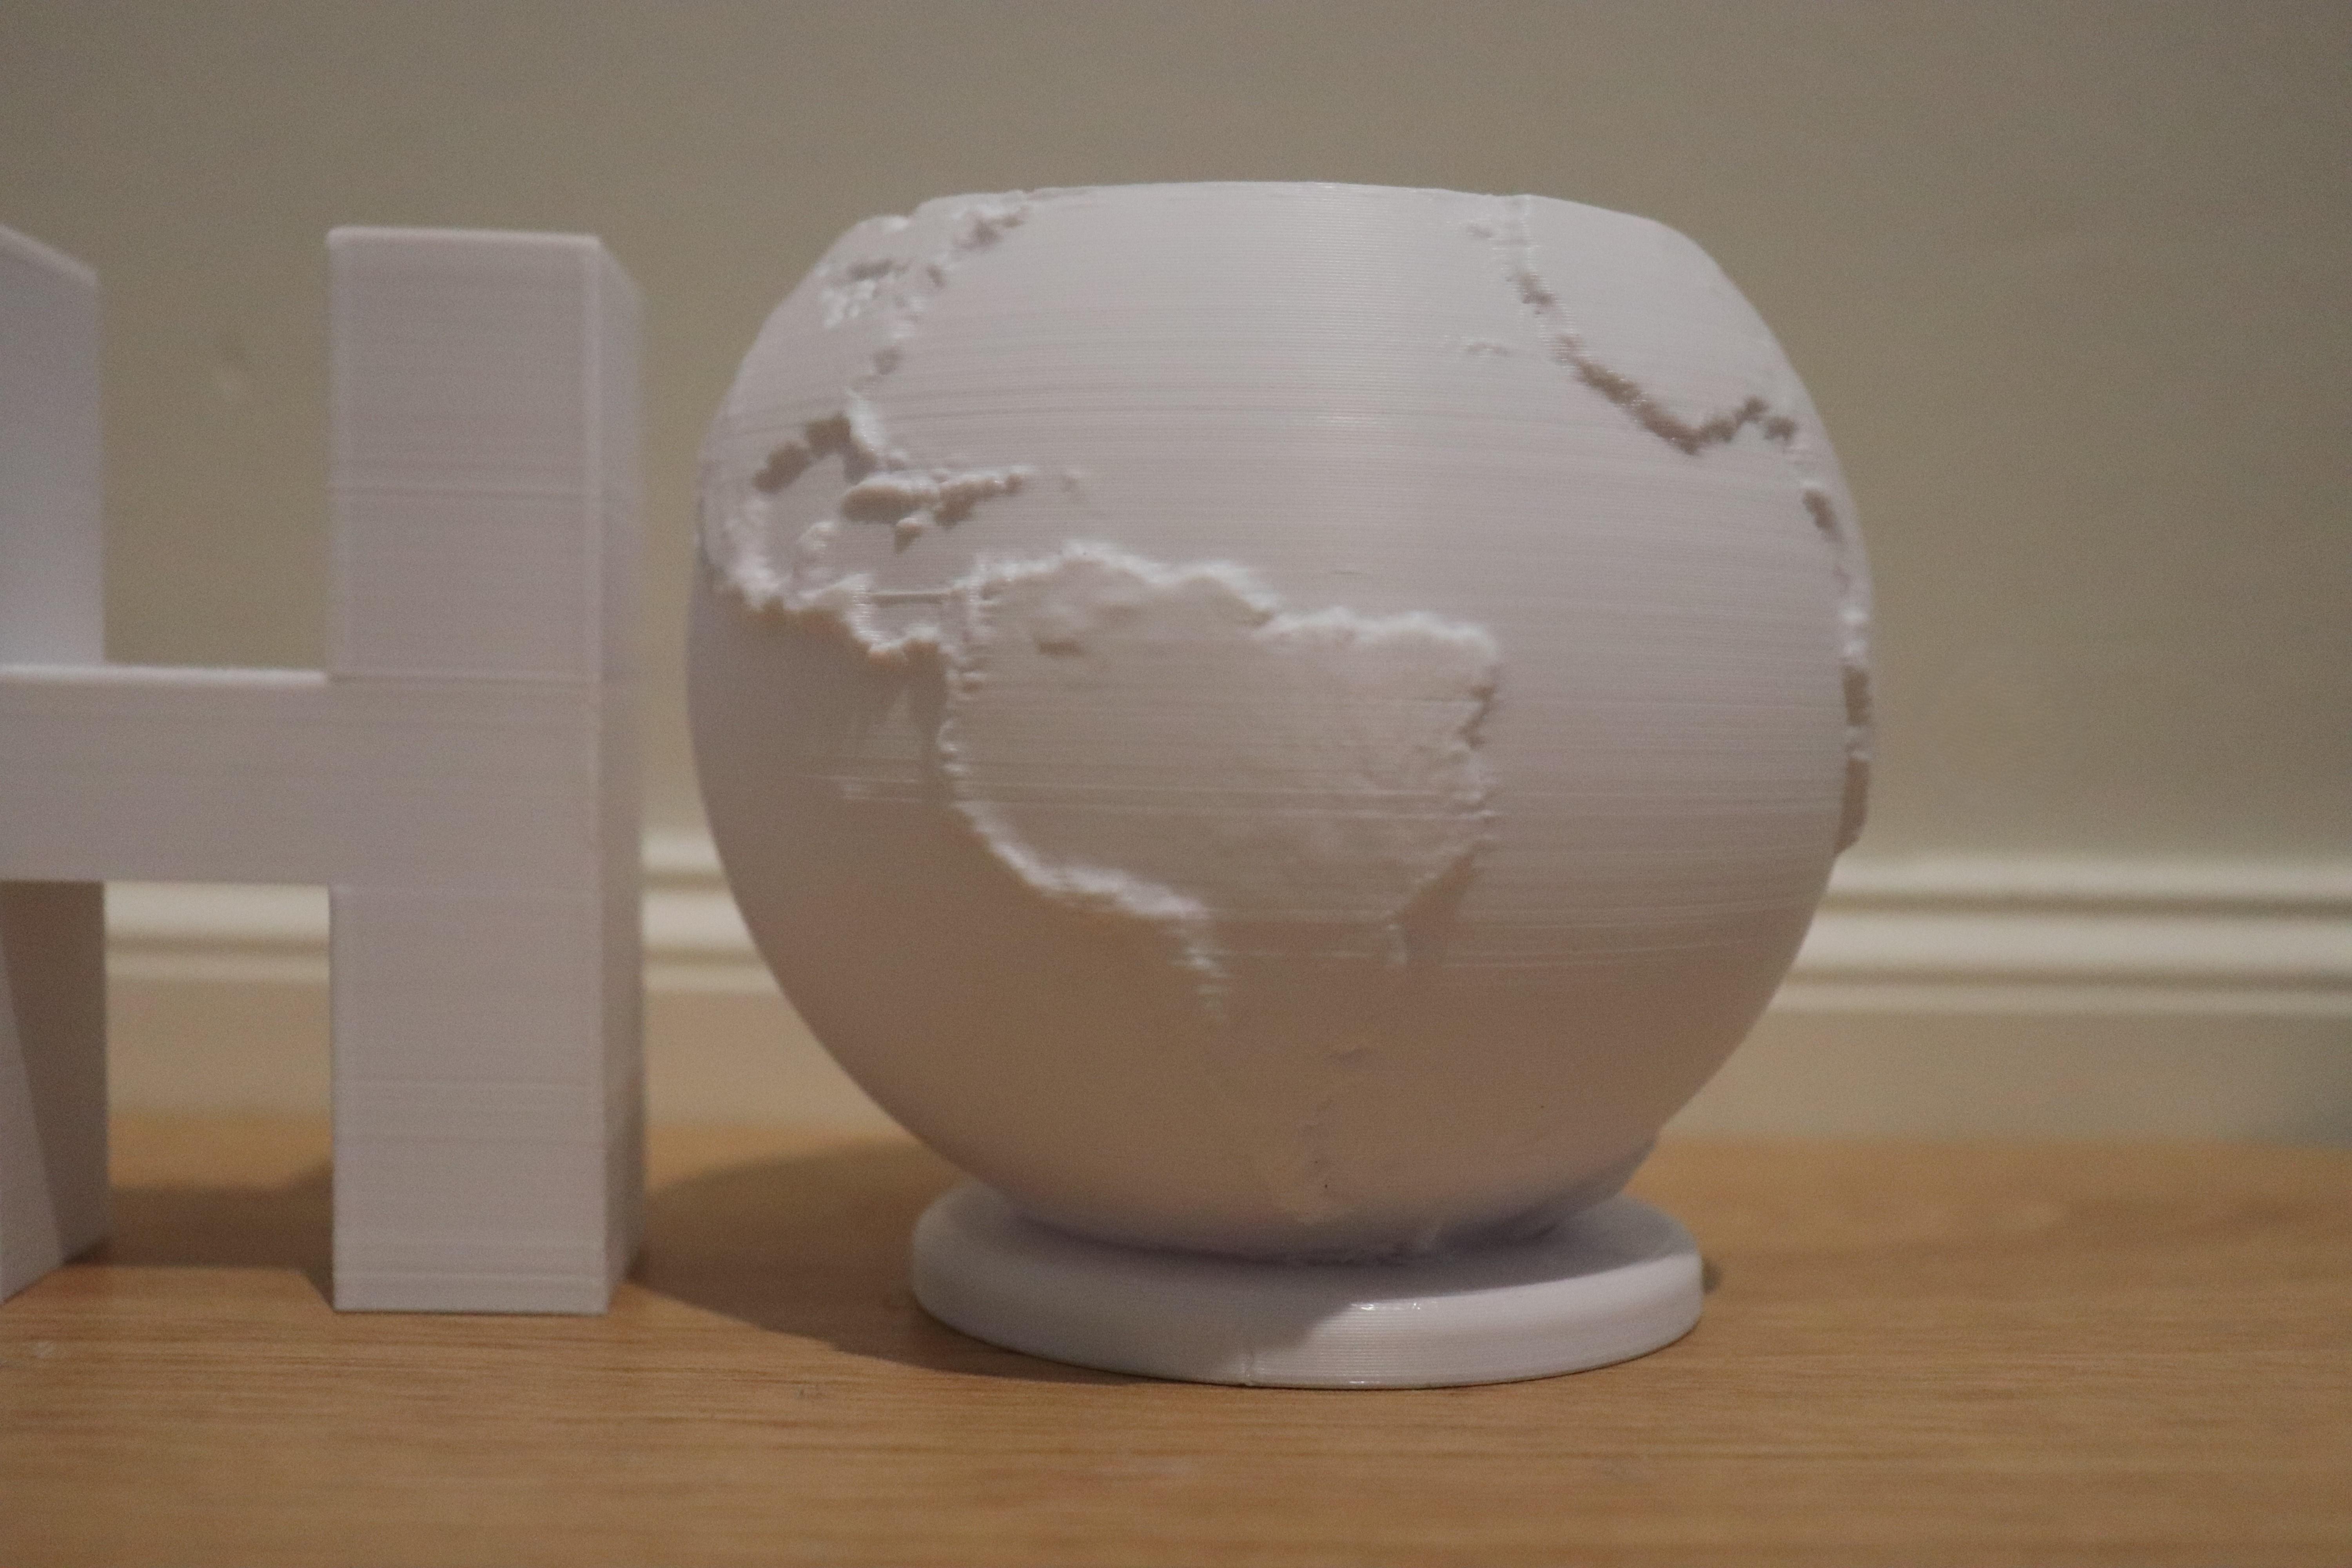
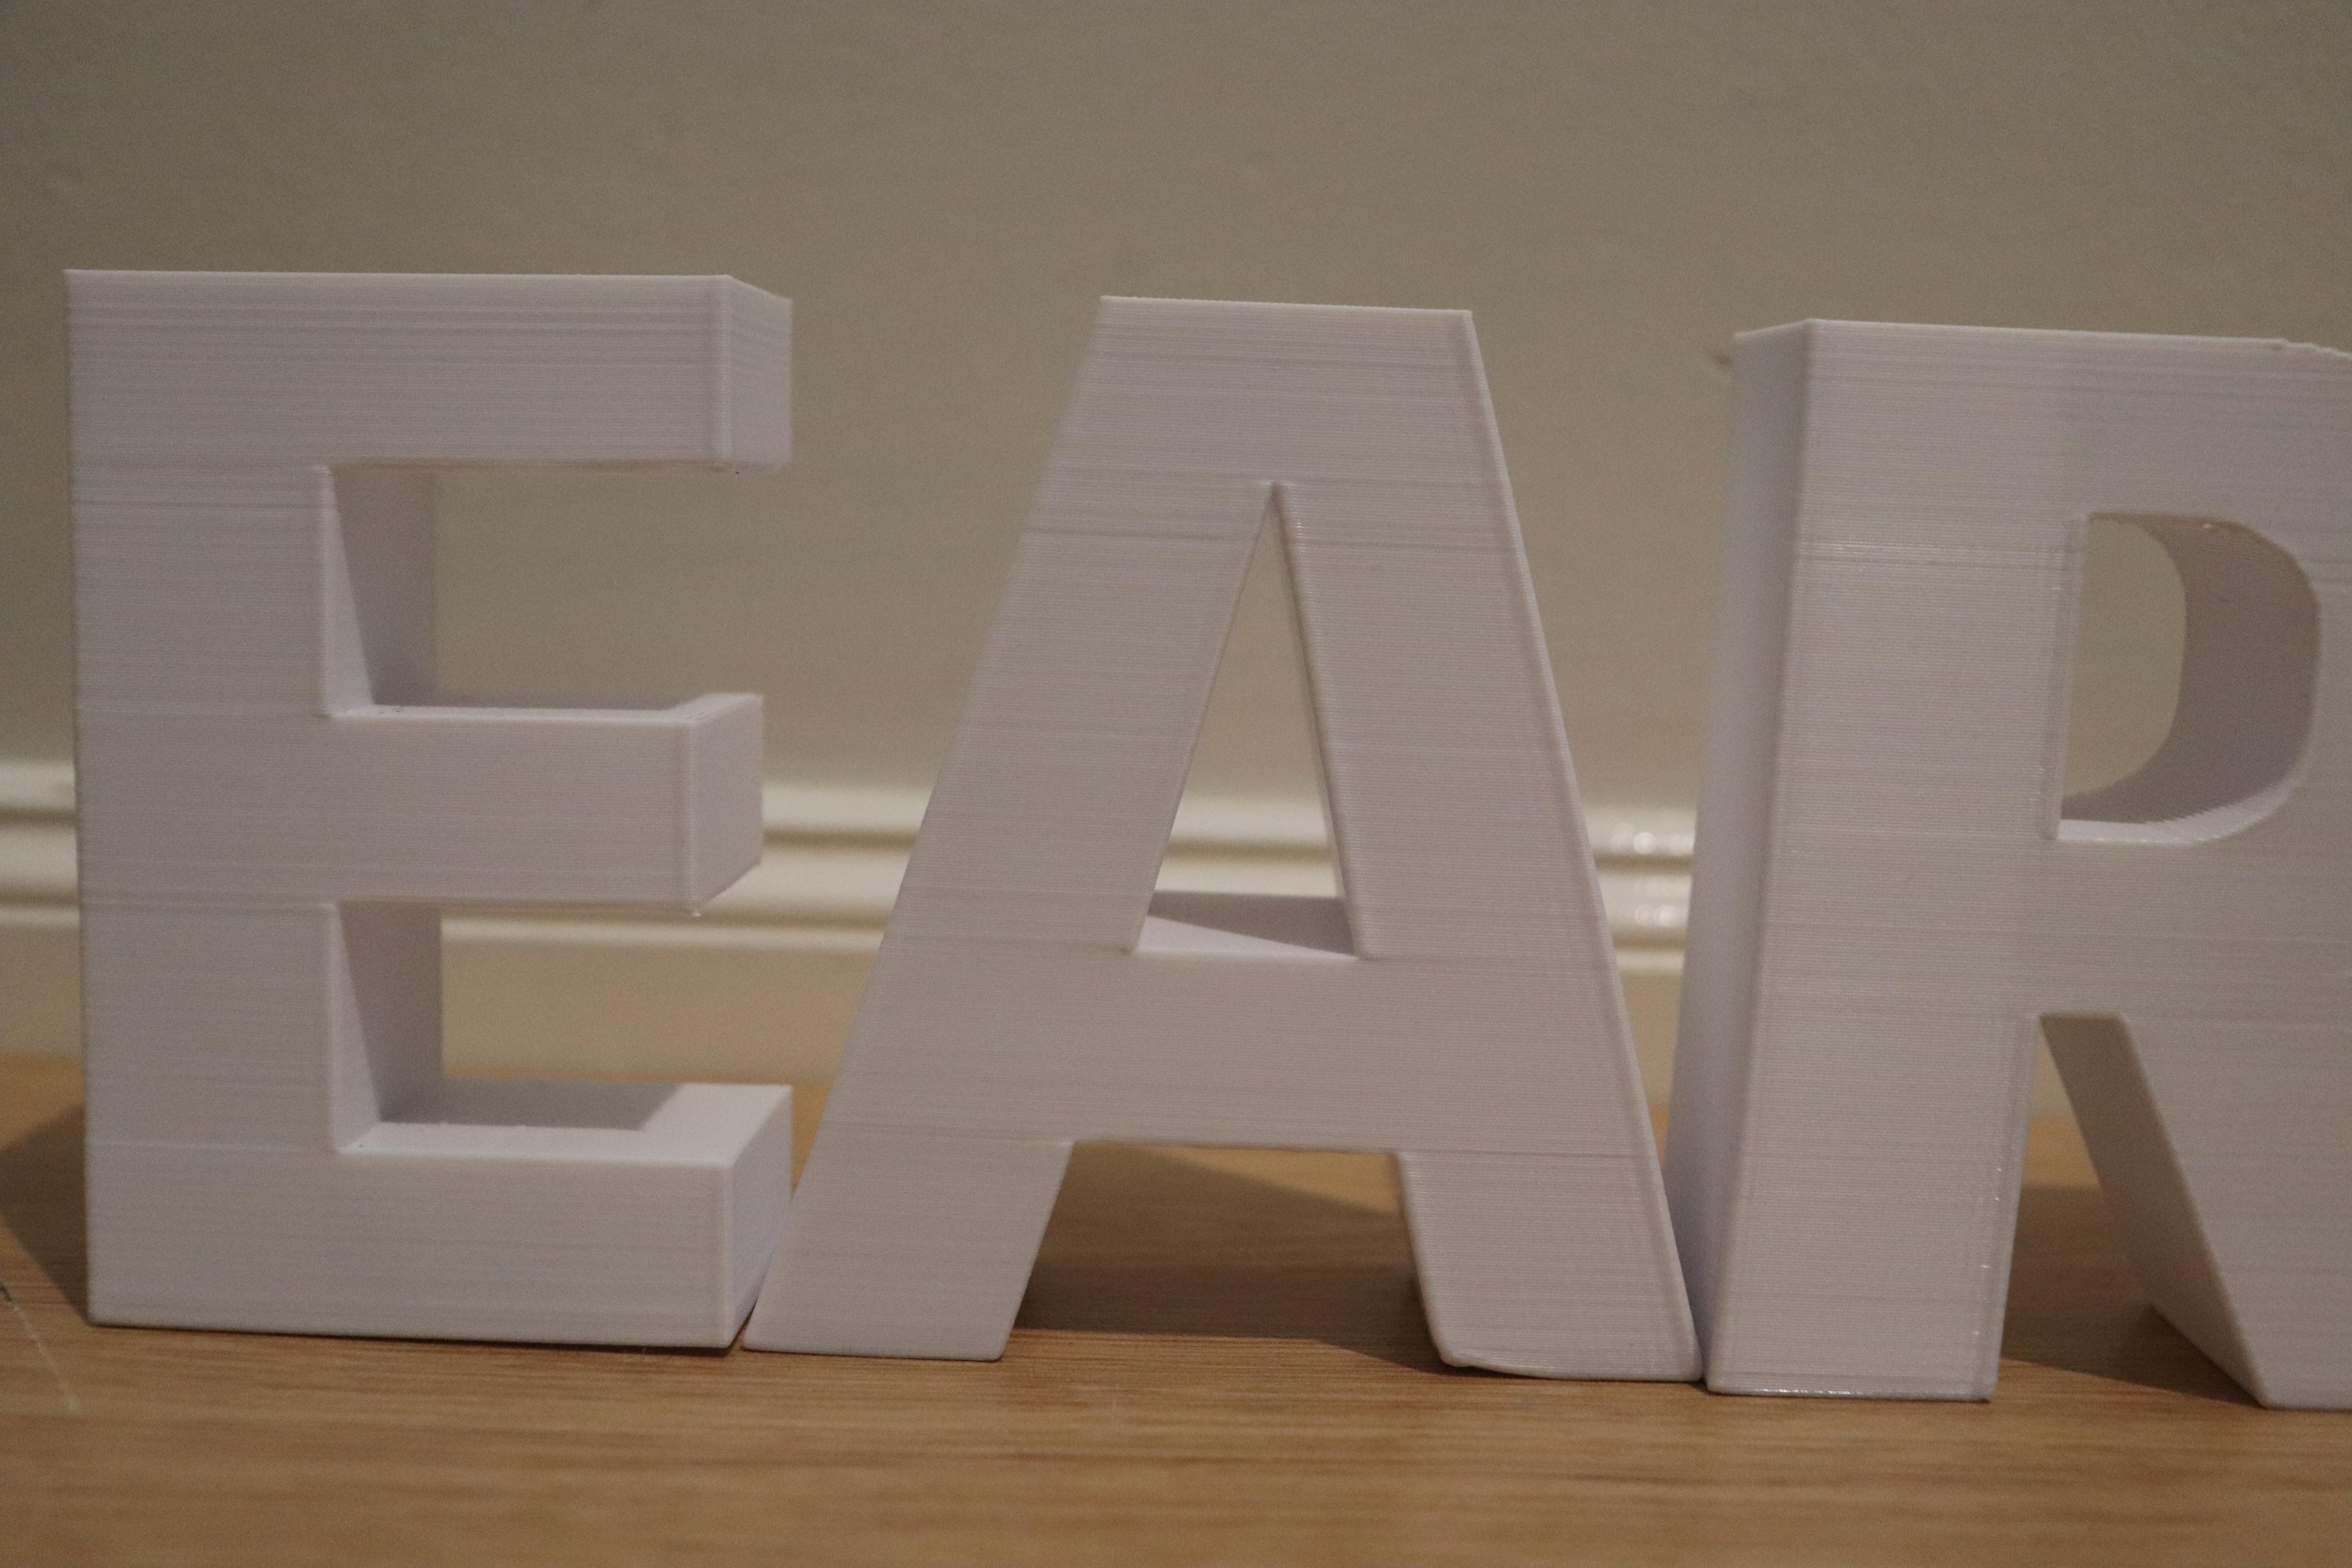
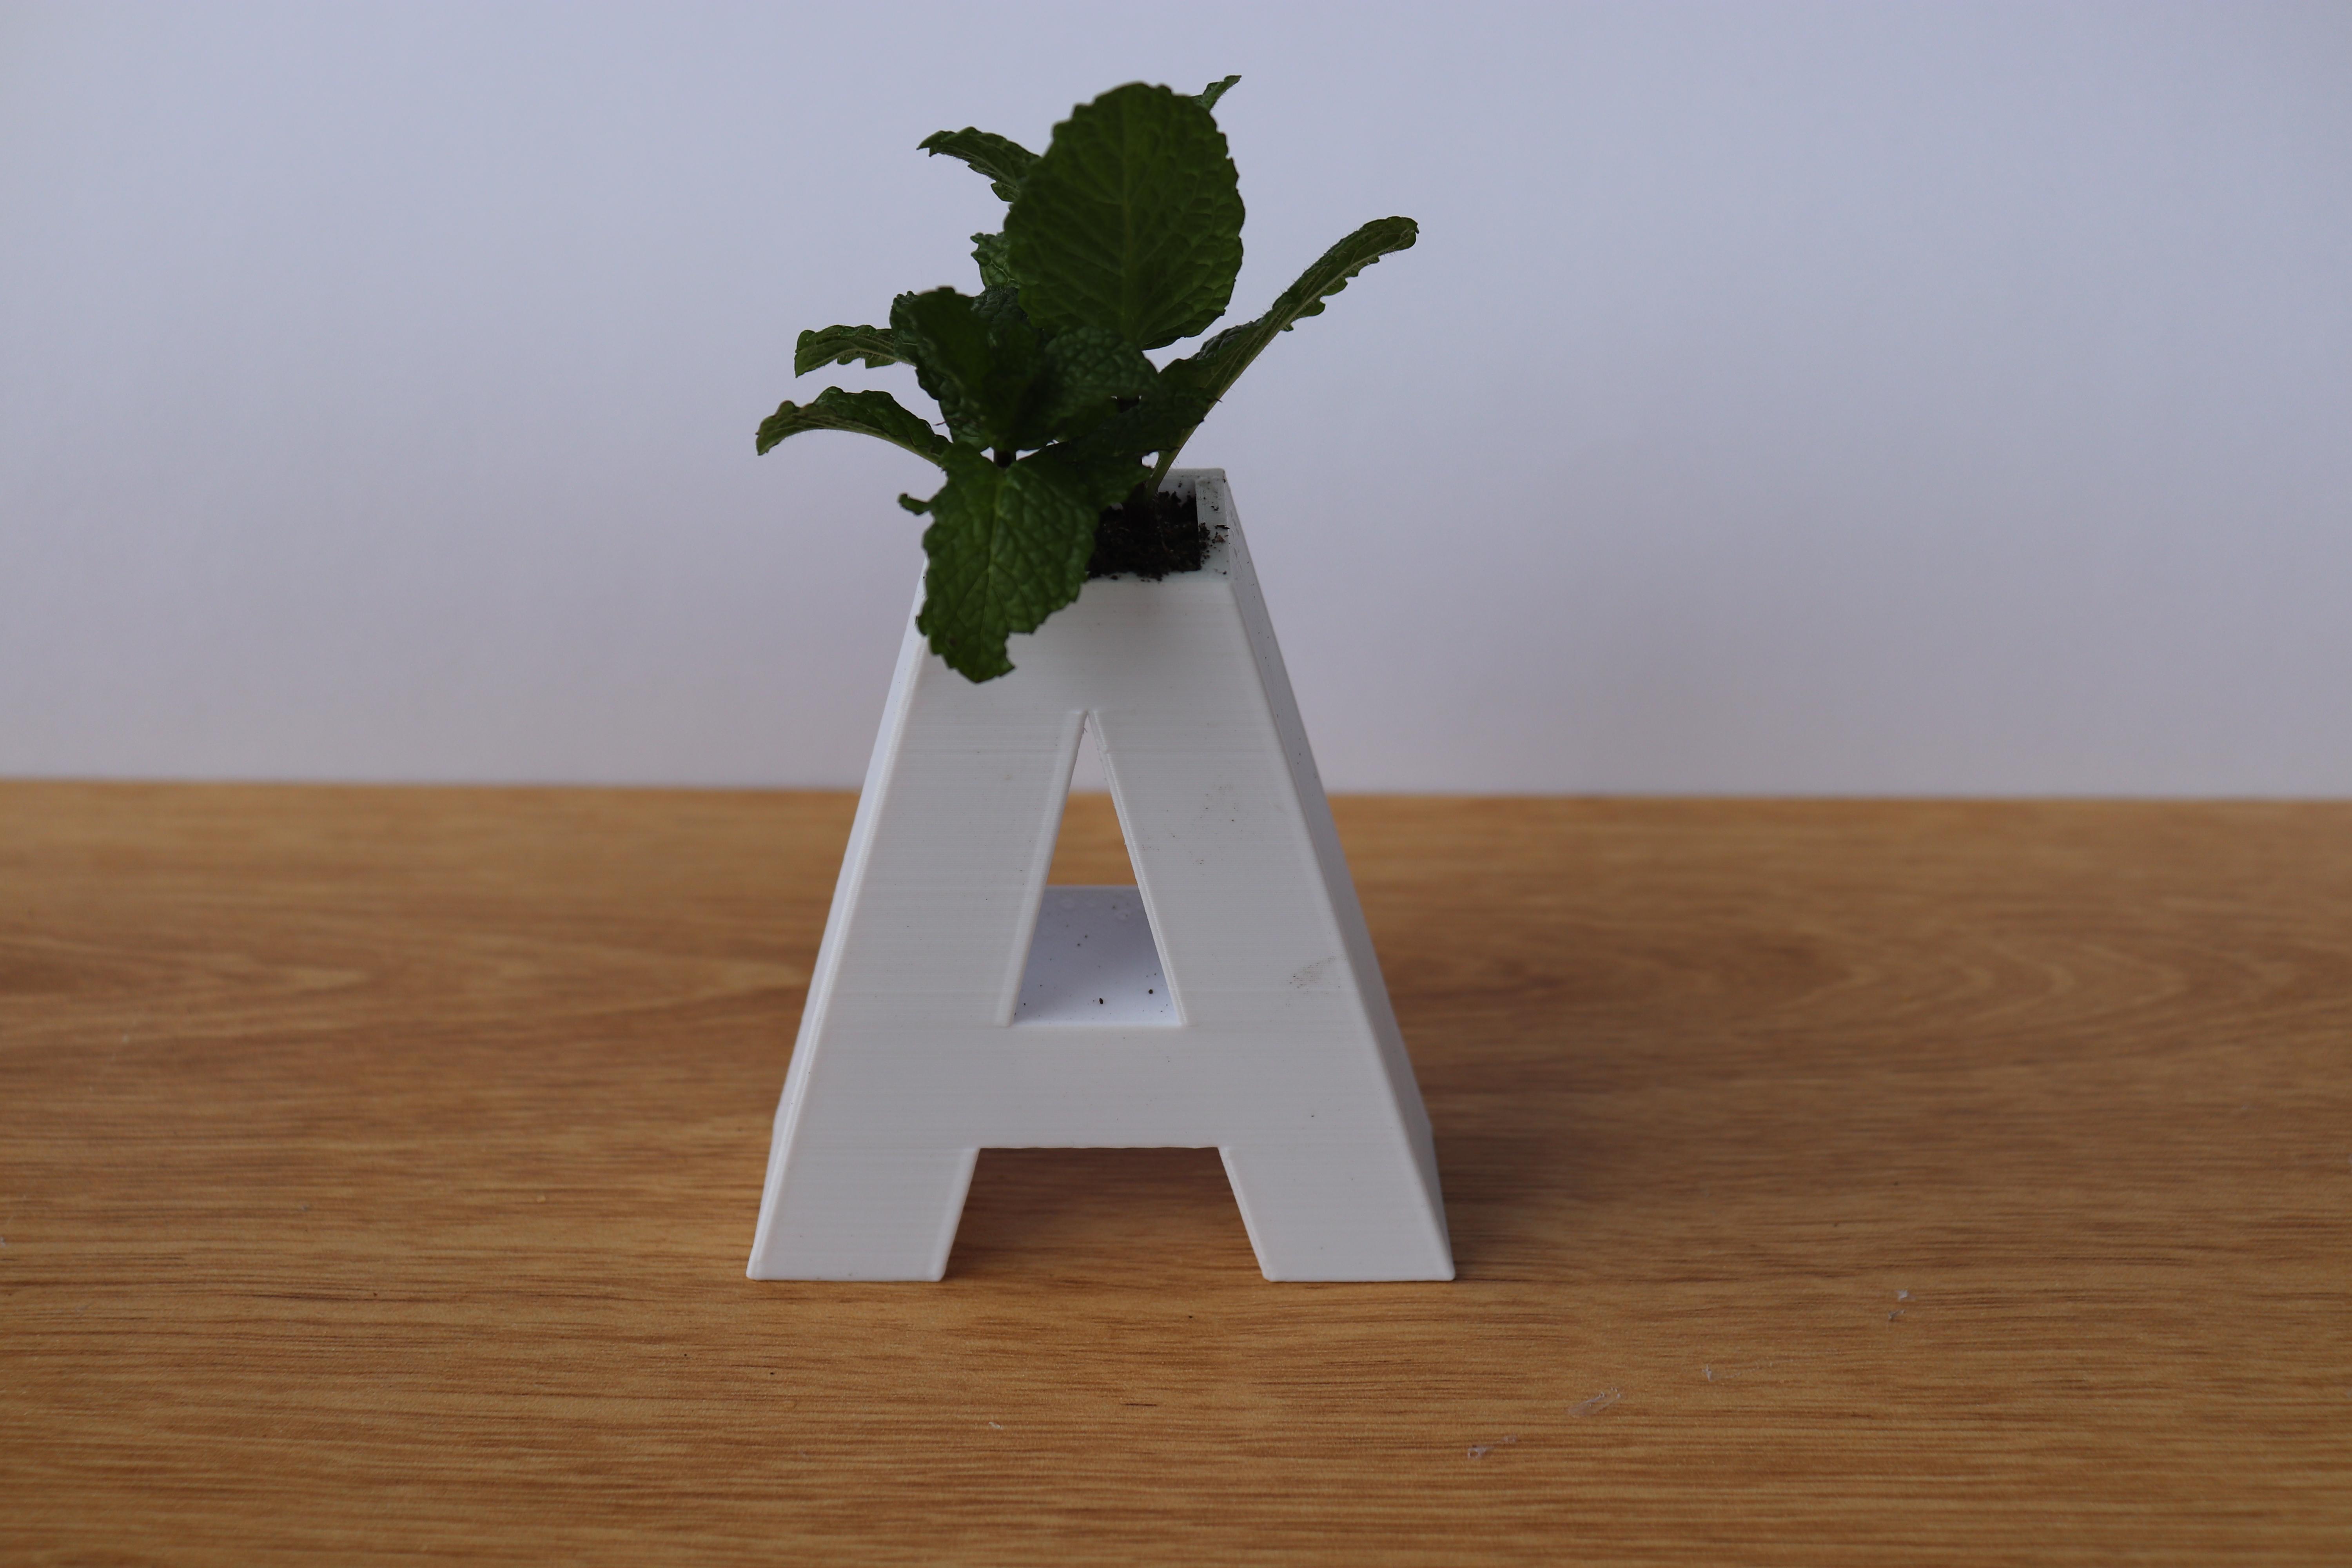
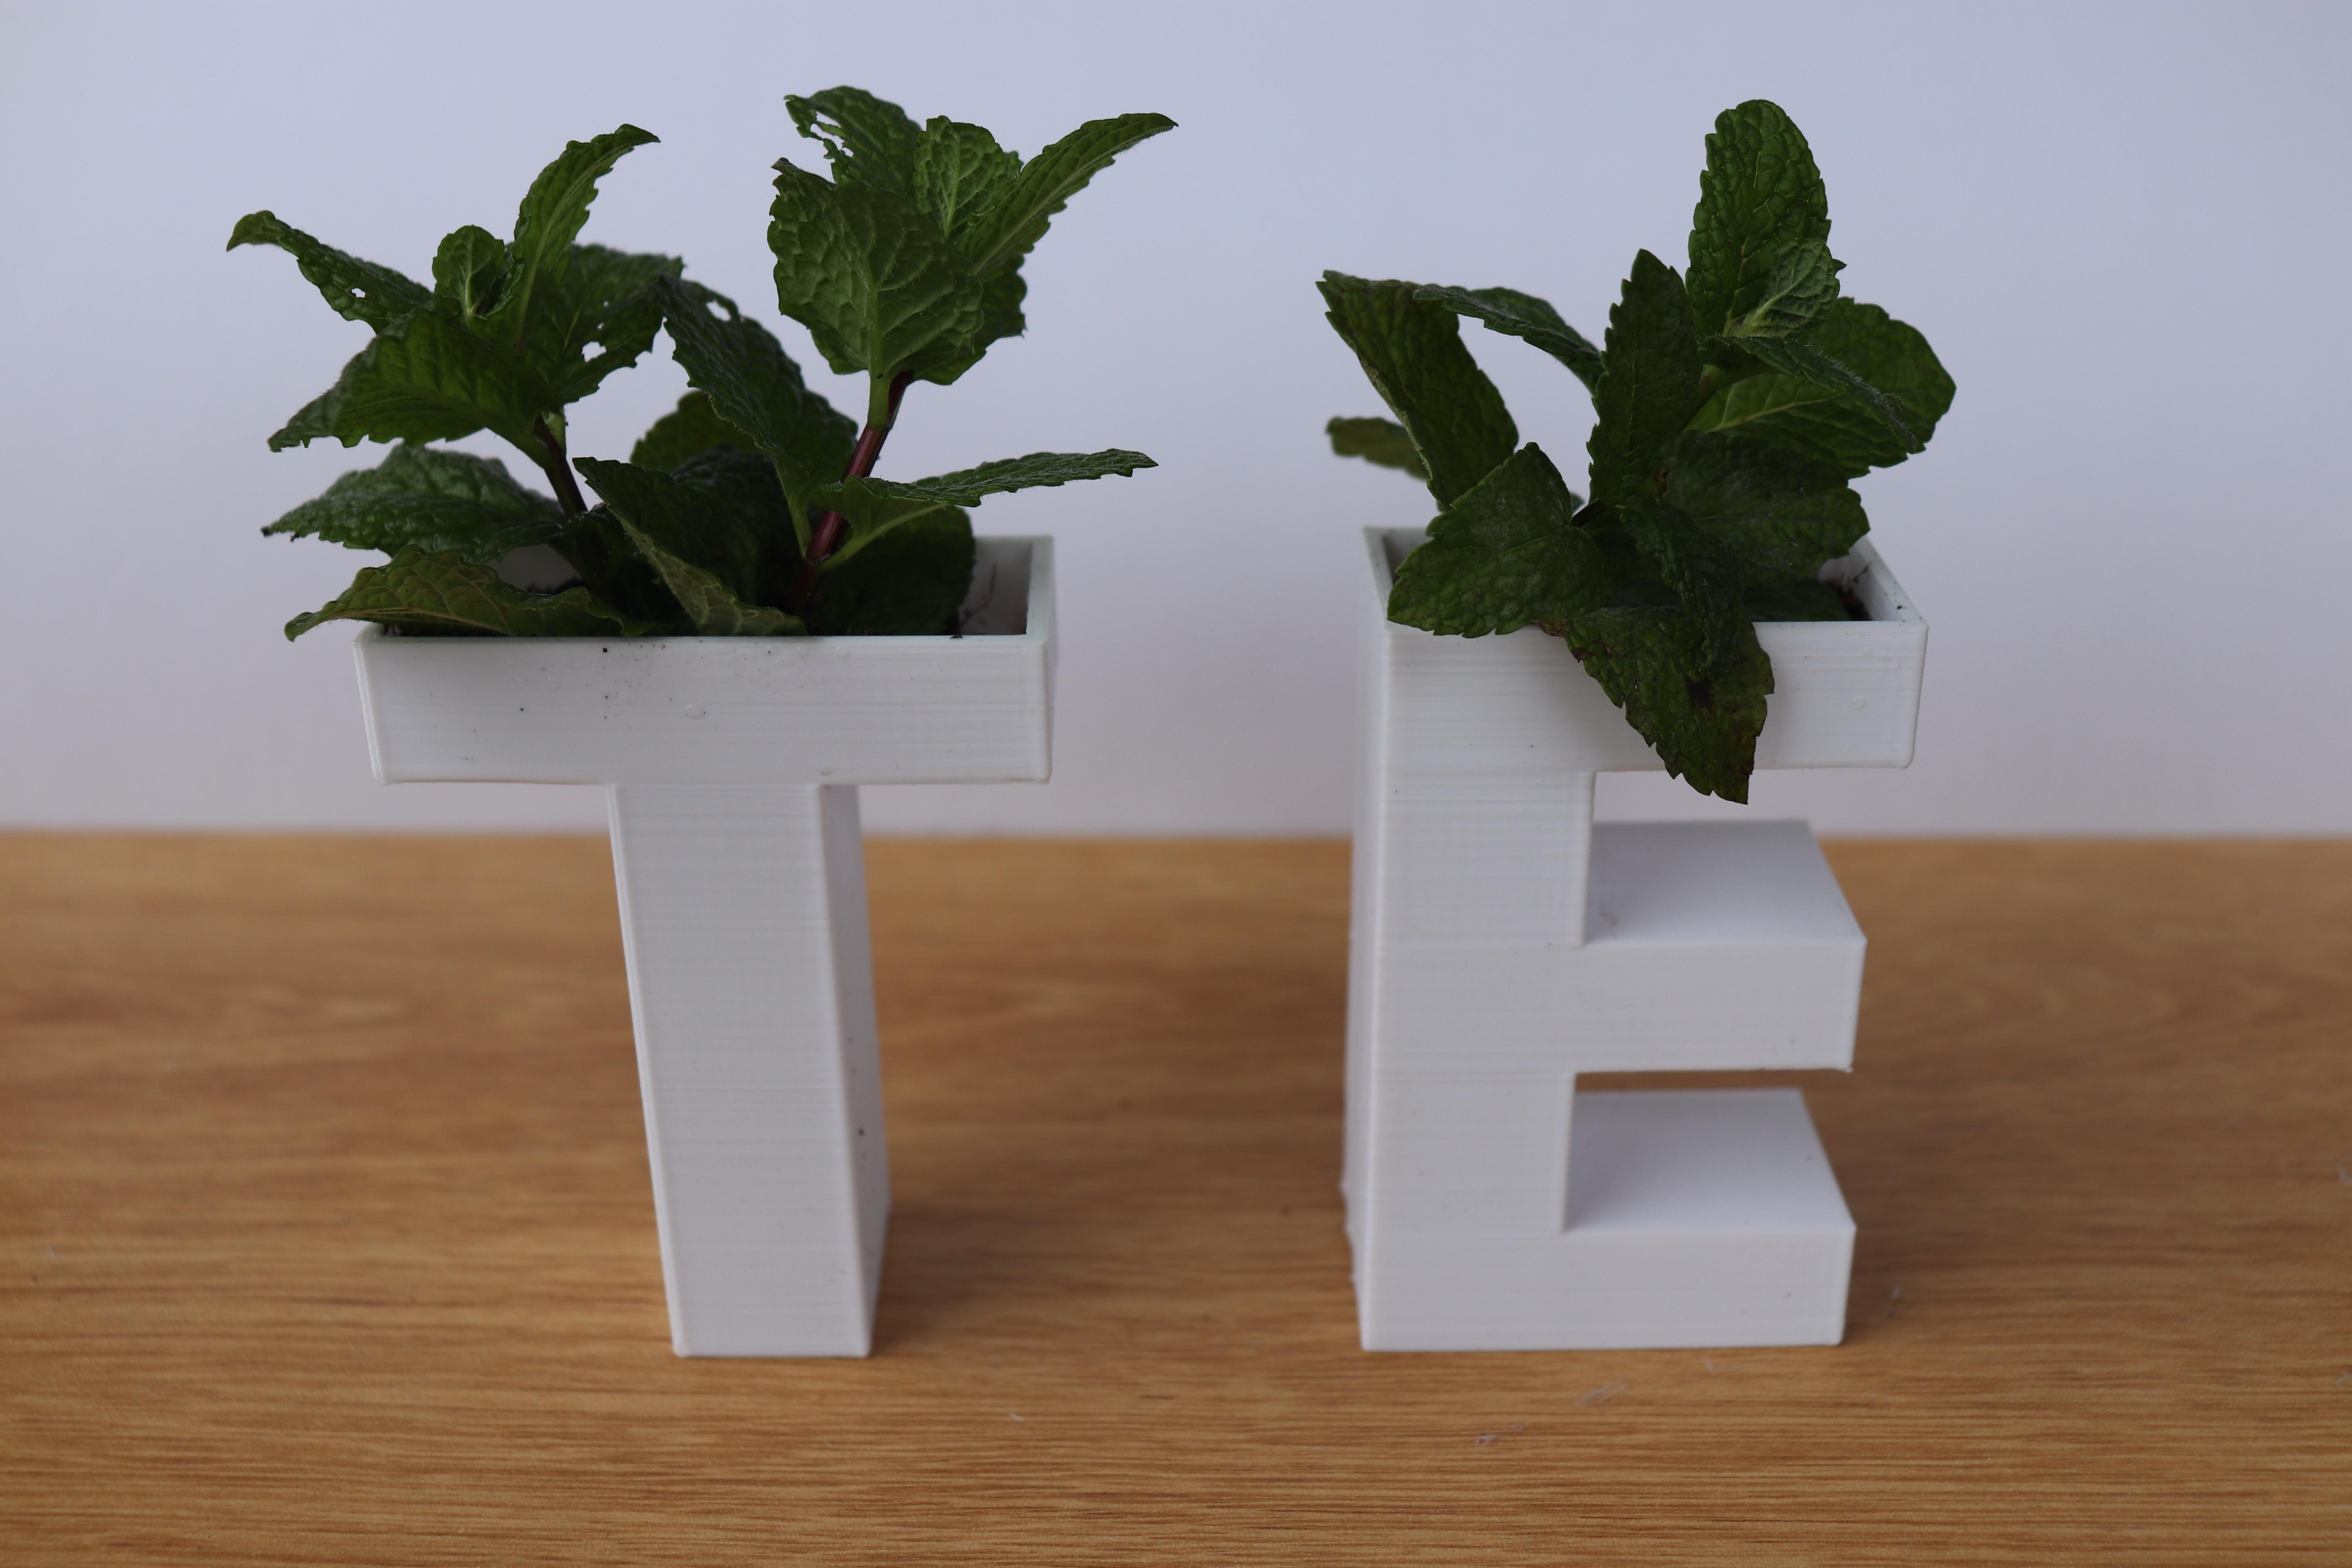
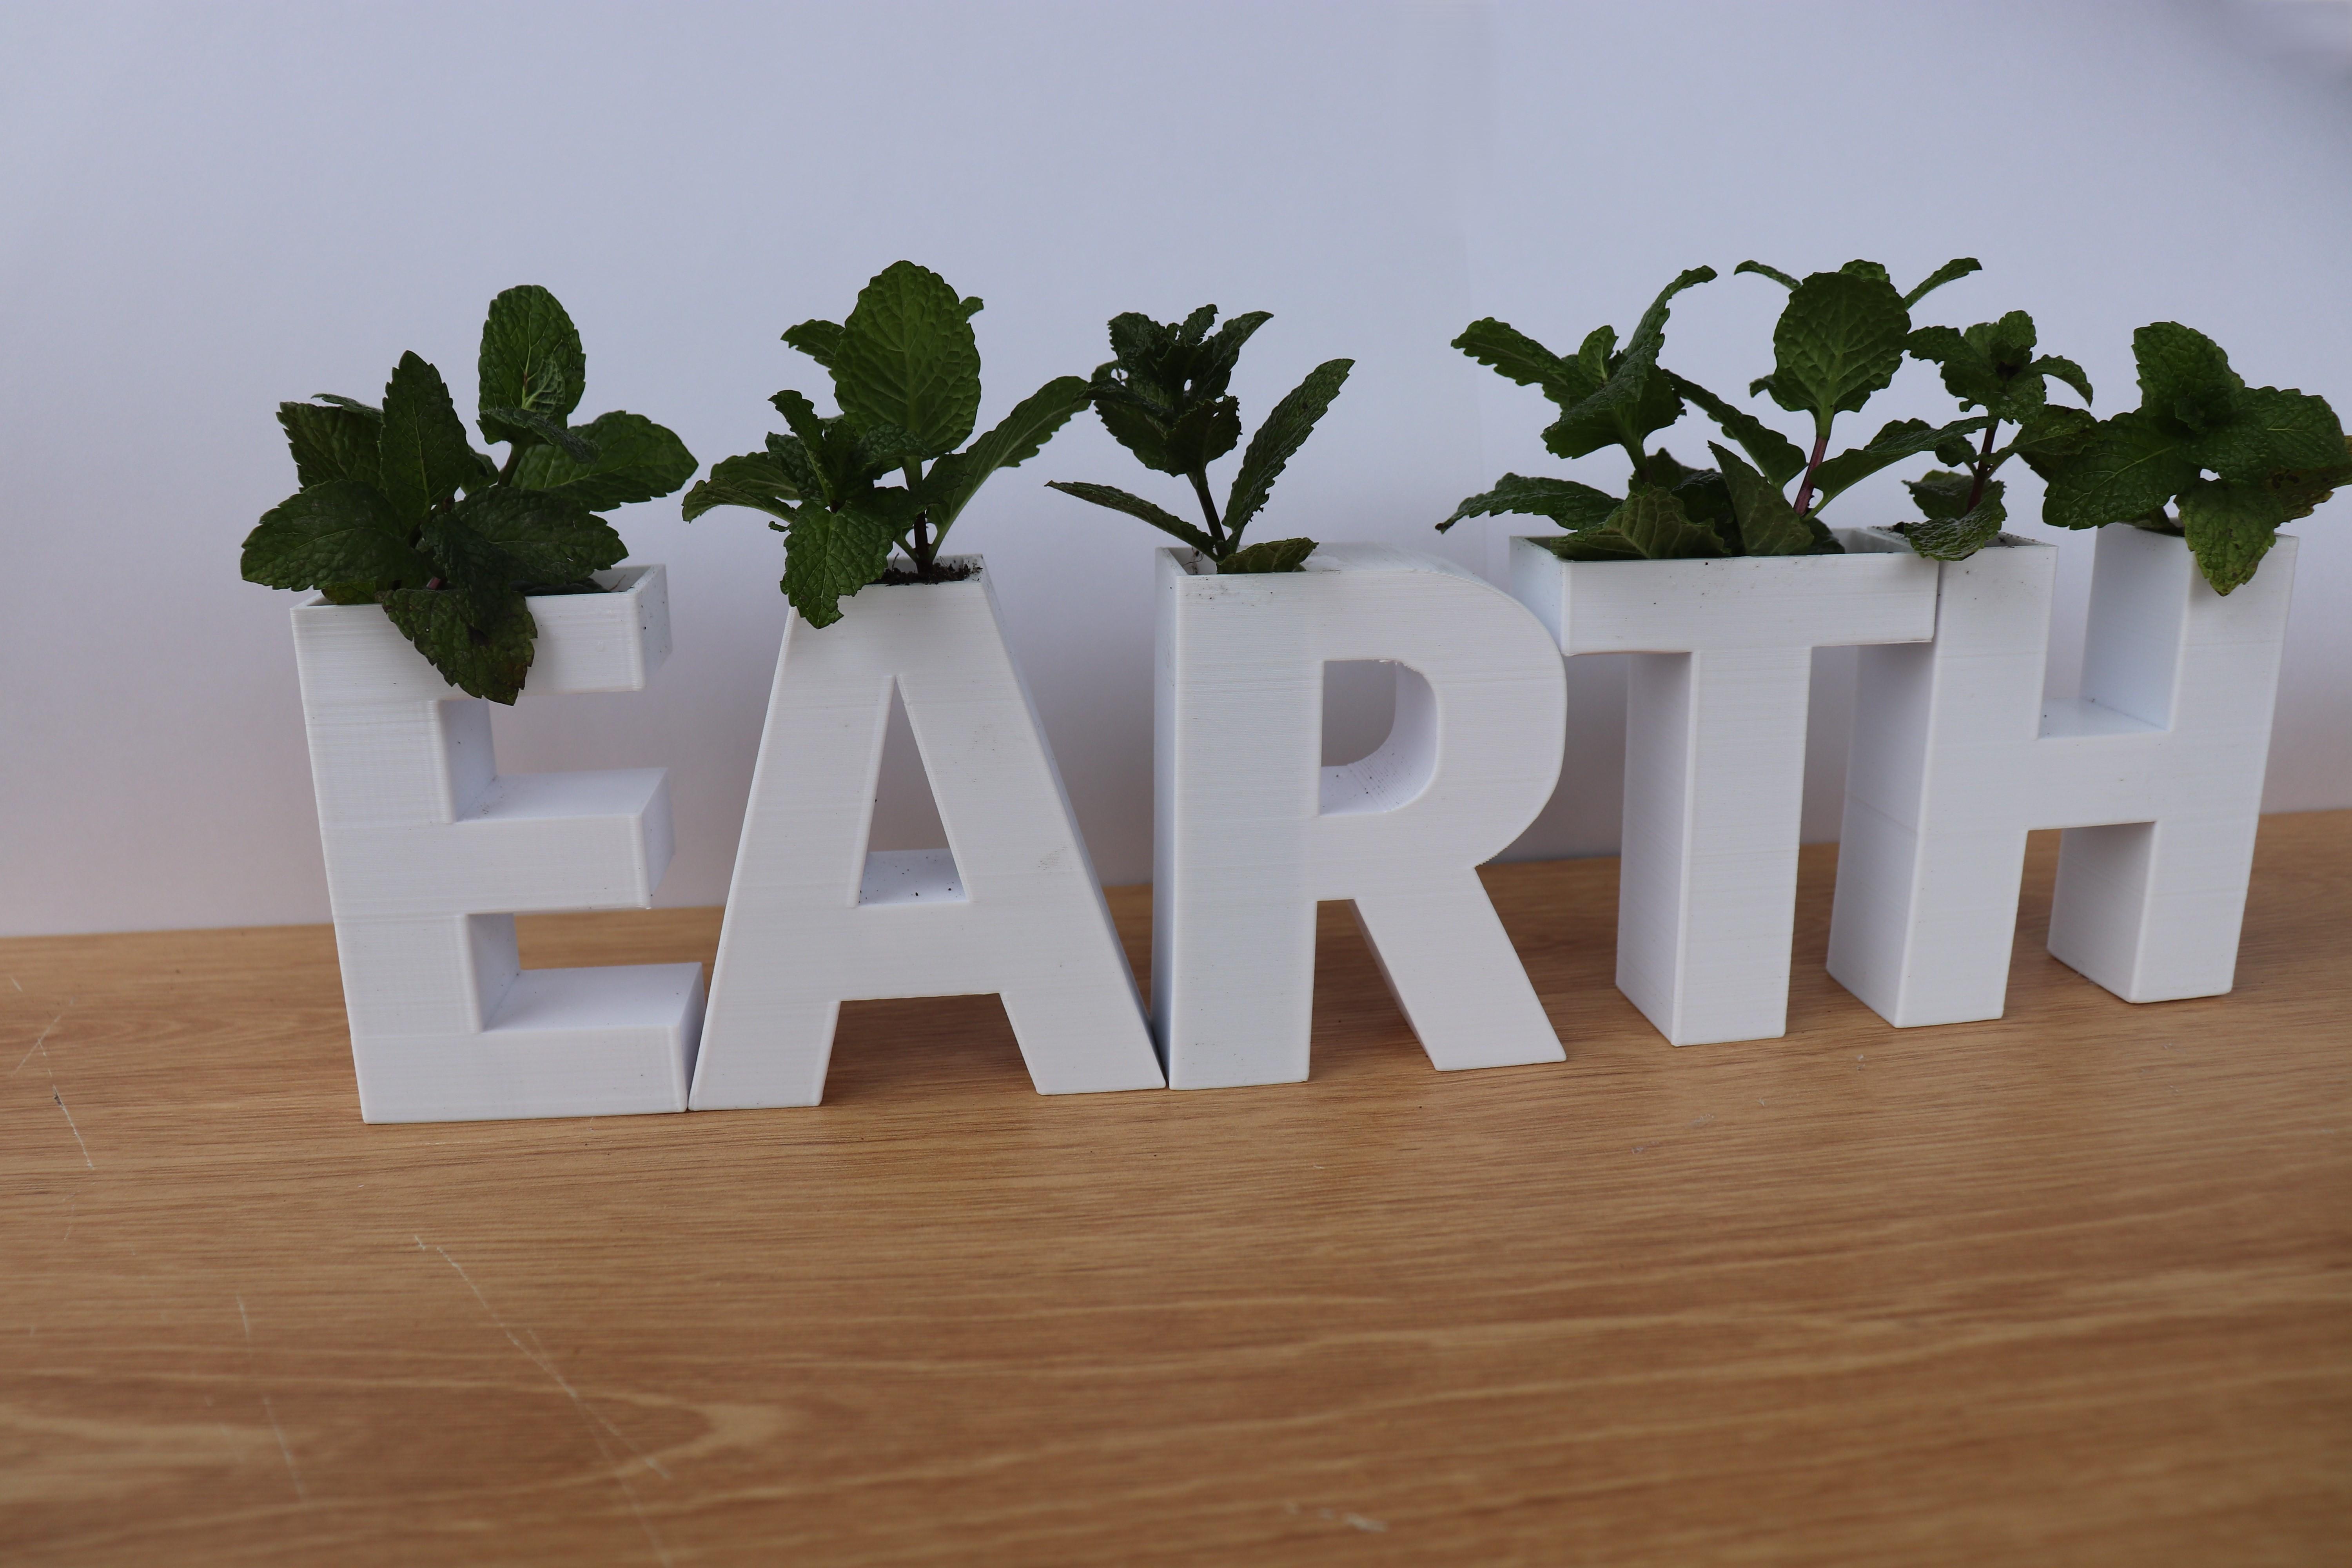
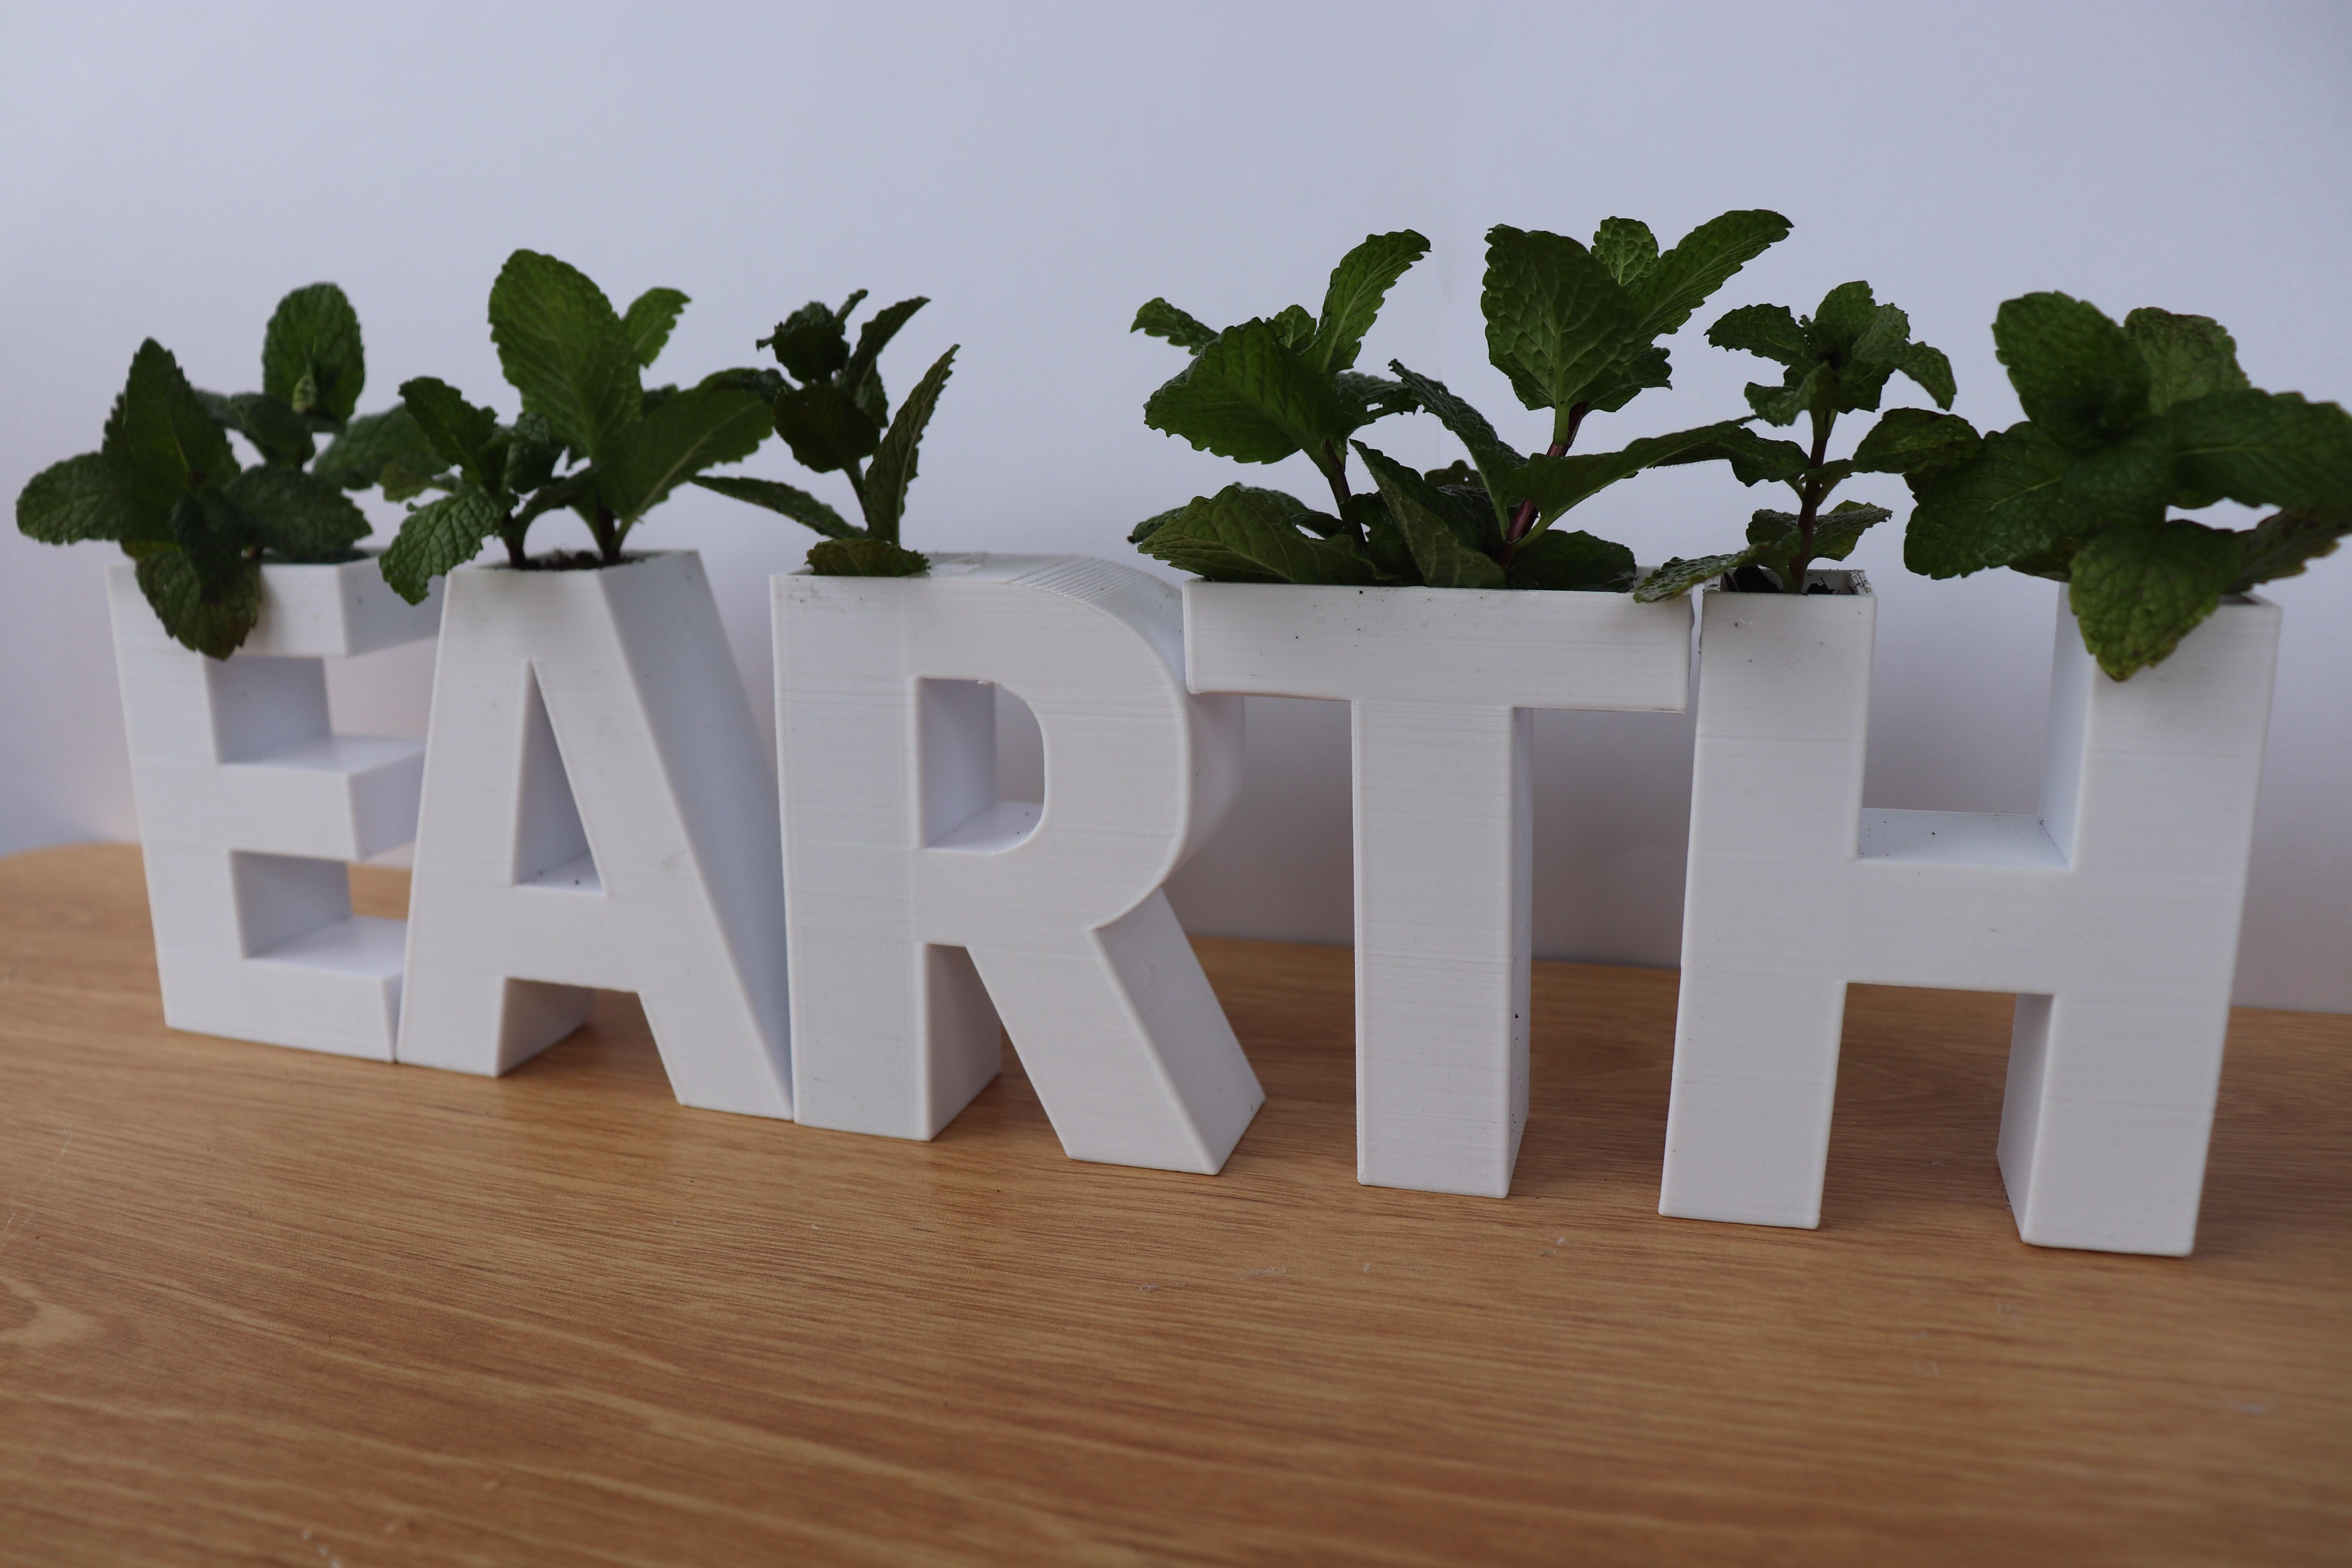
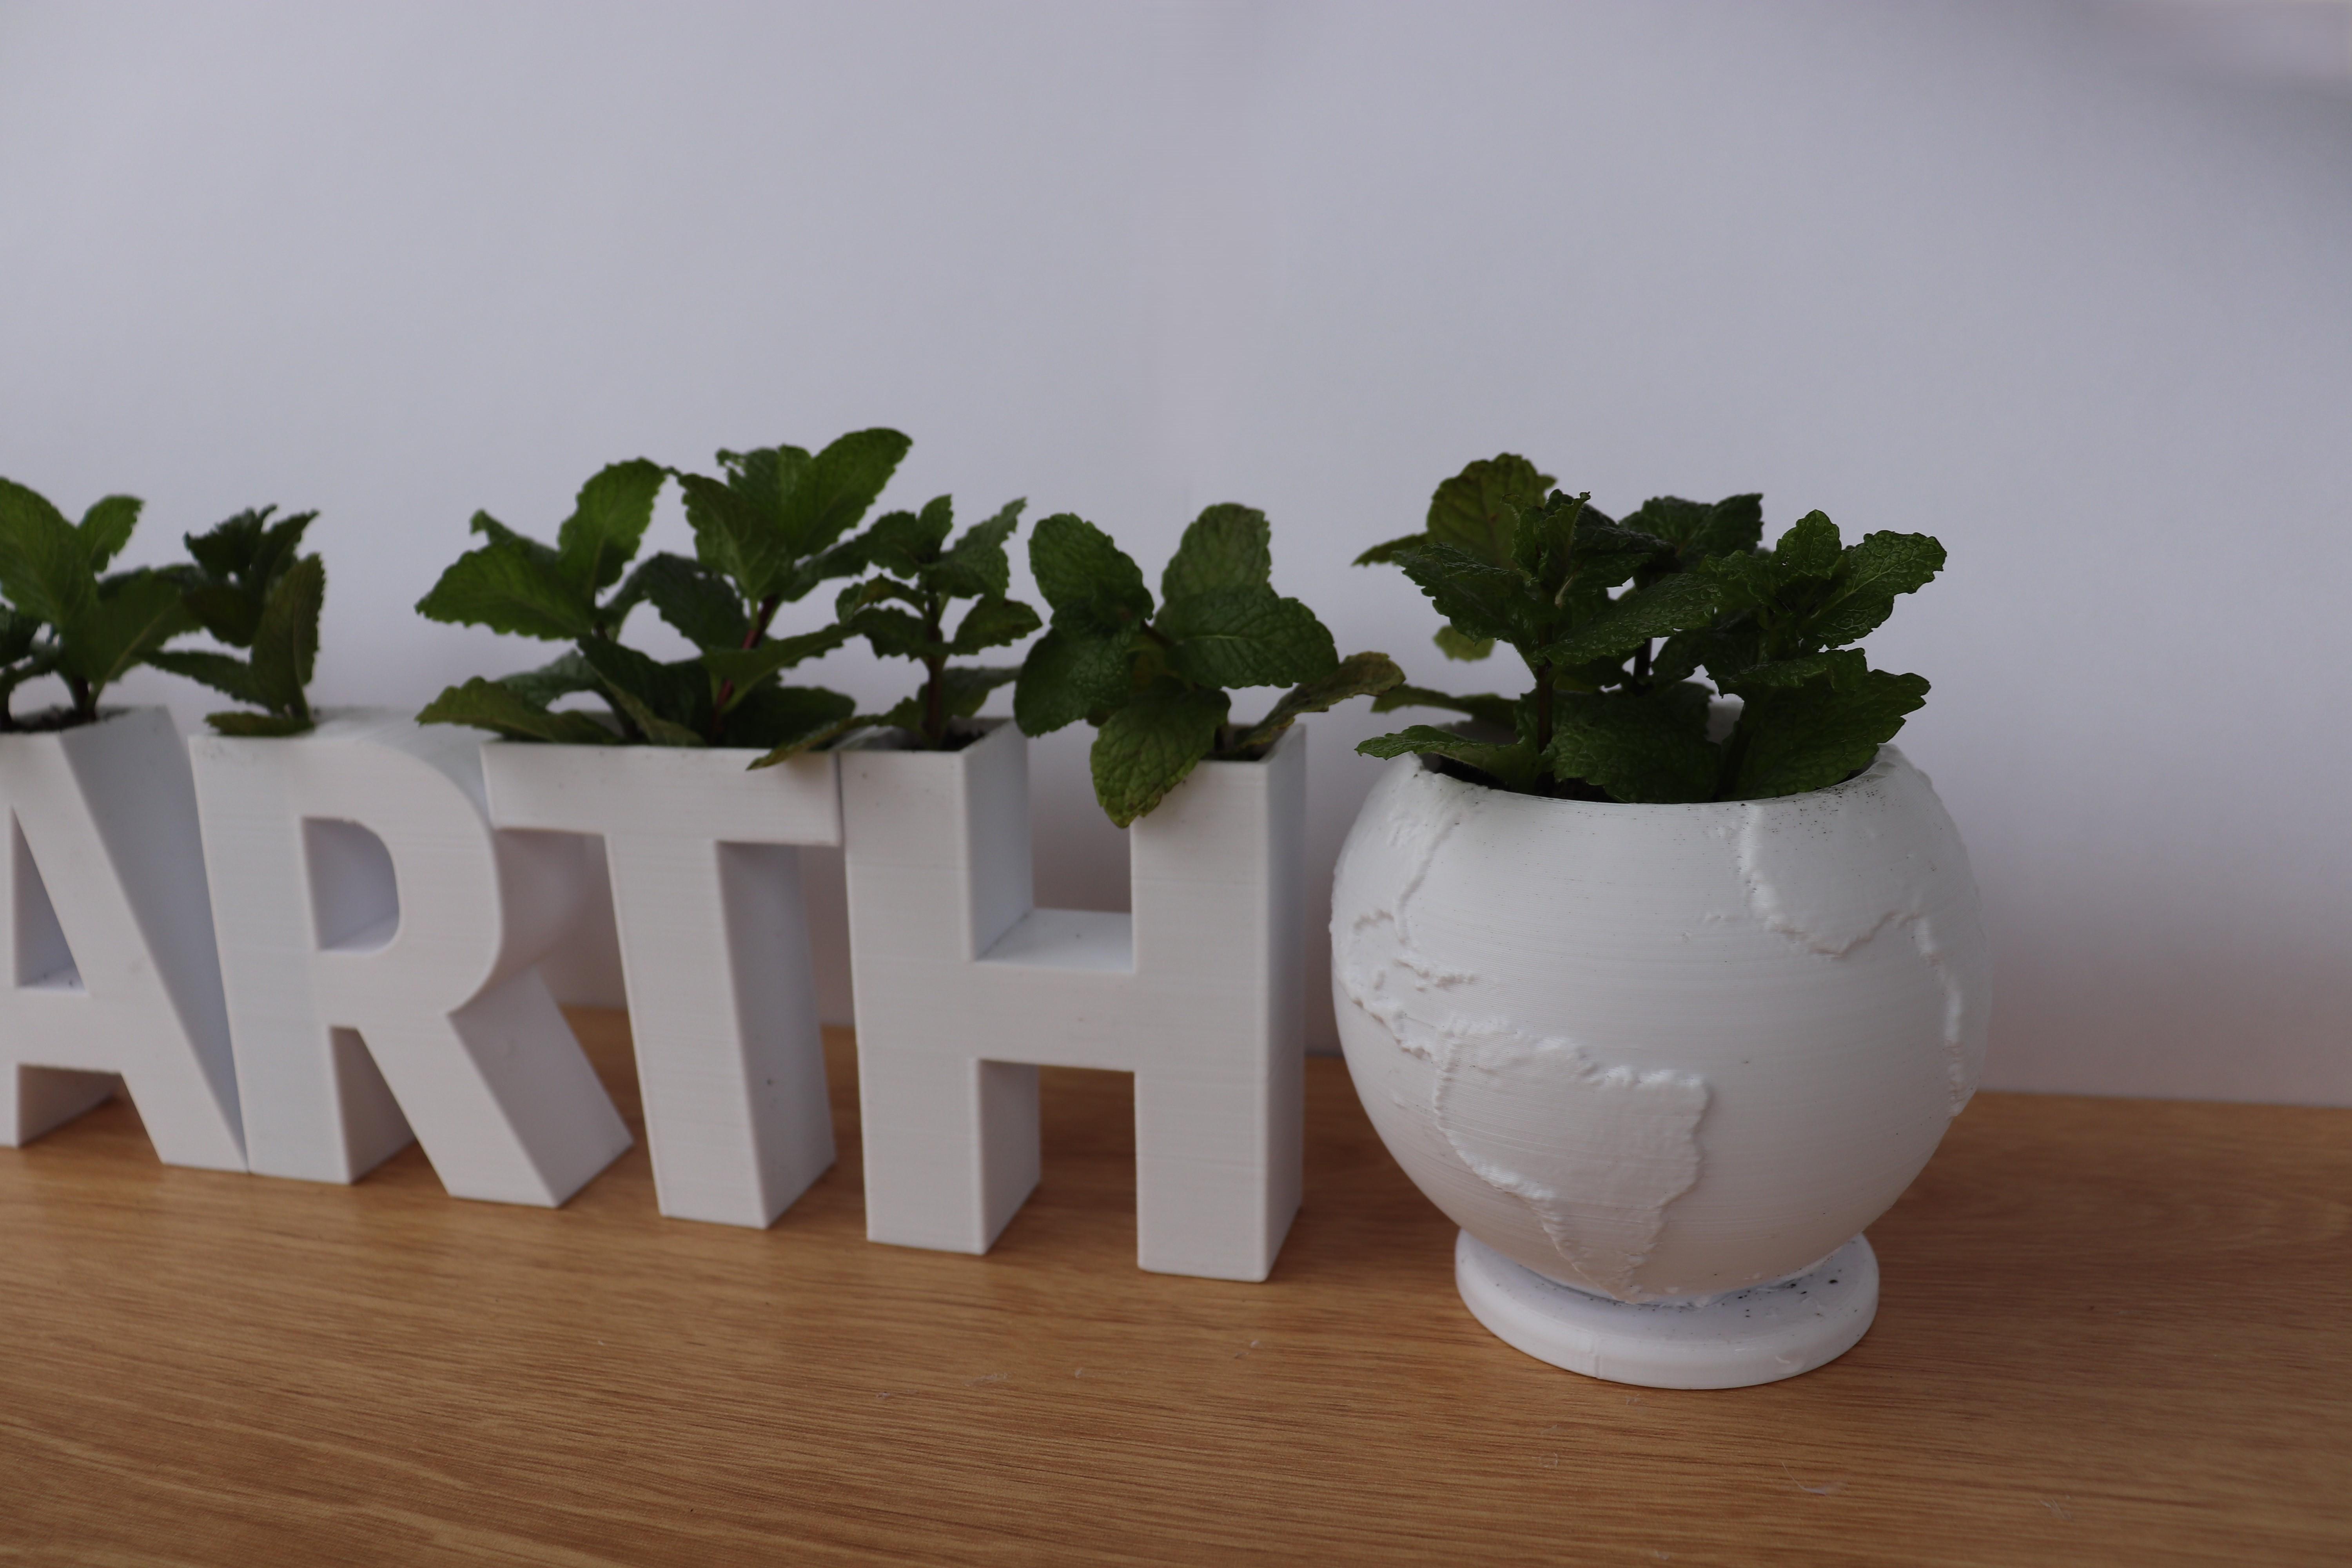
First, select a single word that resonates with you and fits your space. I chose the word "Earth" but you could do something like "Home", "Nature", etc.
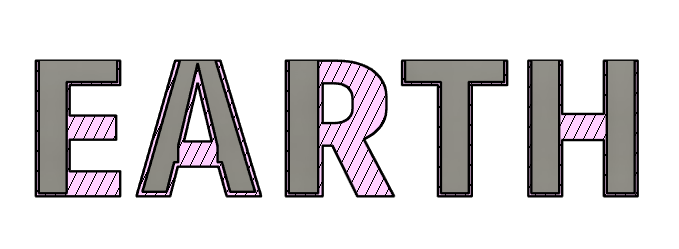
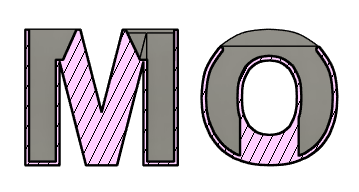
Afterwards, type your chosen word in a bold, font in Fusion 360. Bold fonts work best as they provide enough volume for the planter.
Then, convert your 2D text into a 3D model by extruding it to the desired height (e.g., 60mm). Ensure that the letters are thick enough to hold soil and a plant!
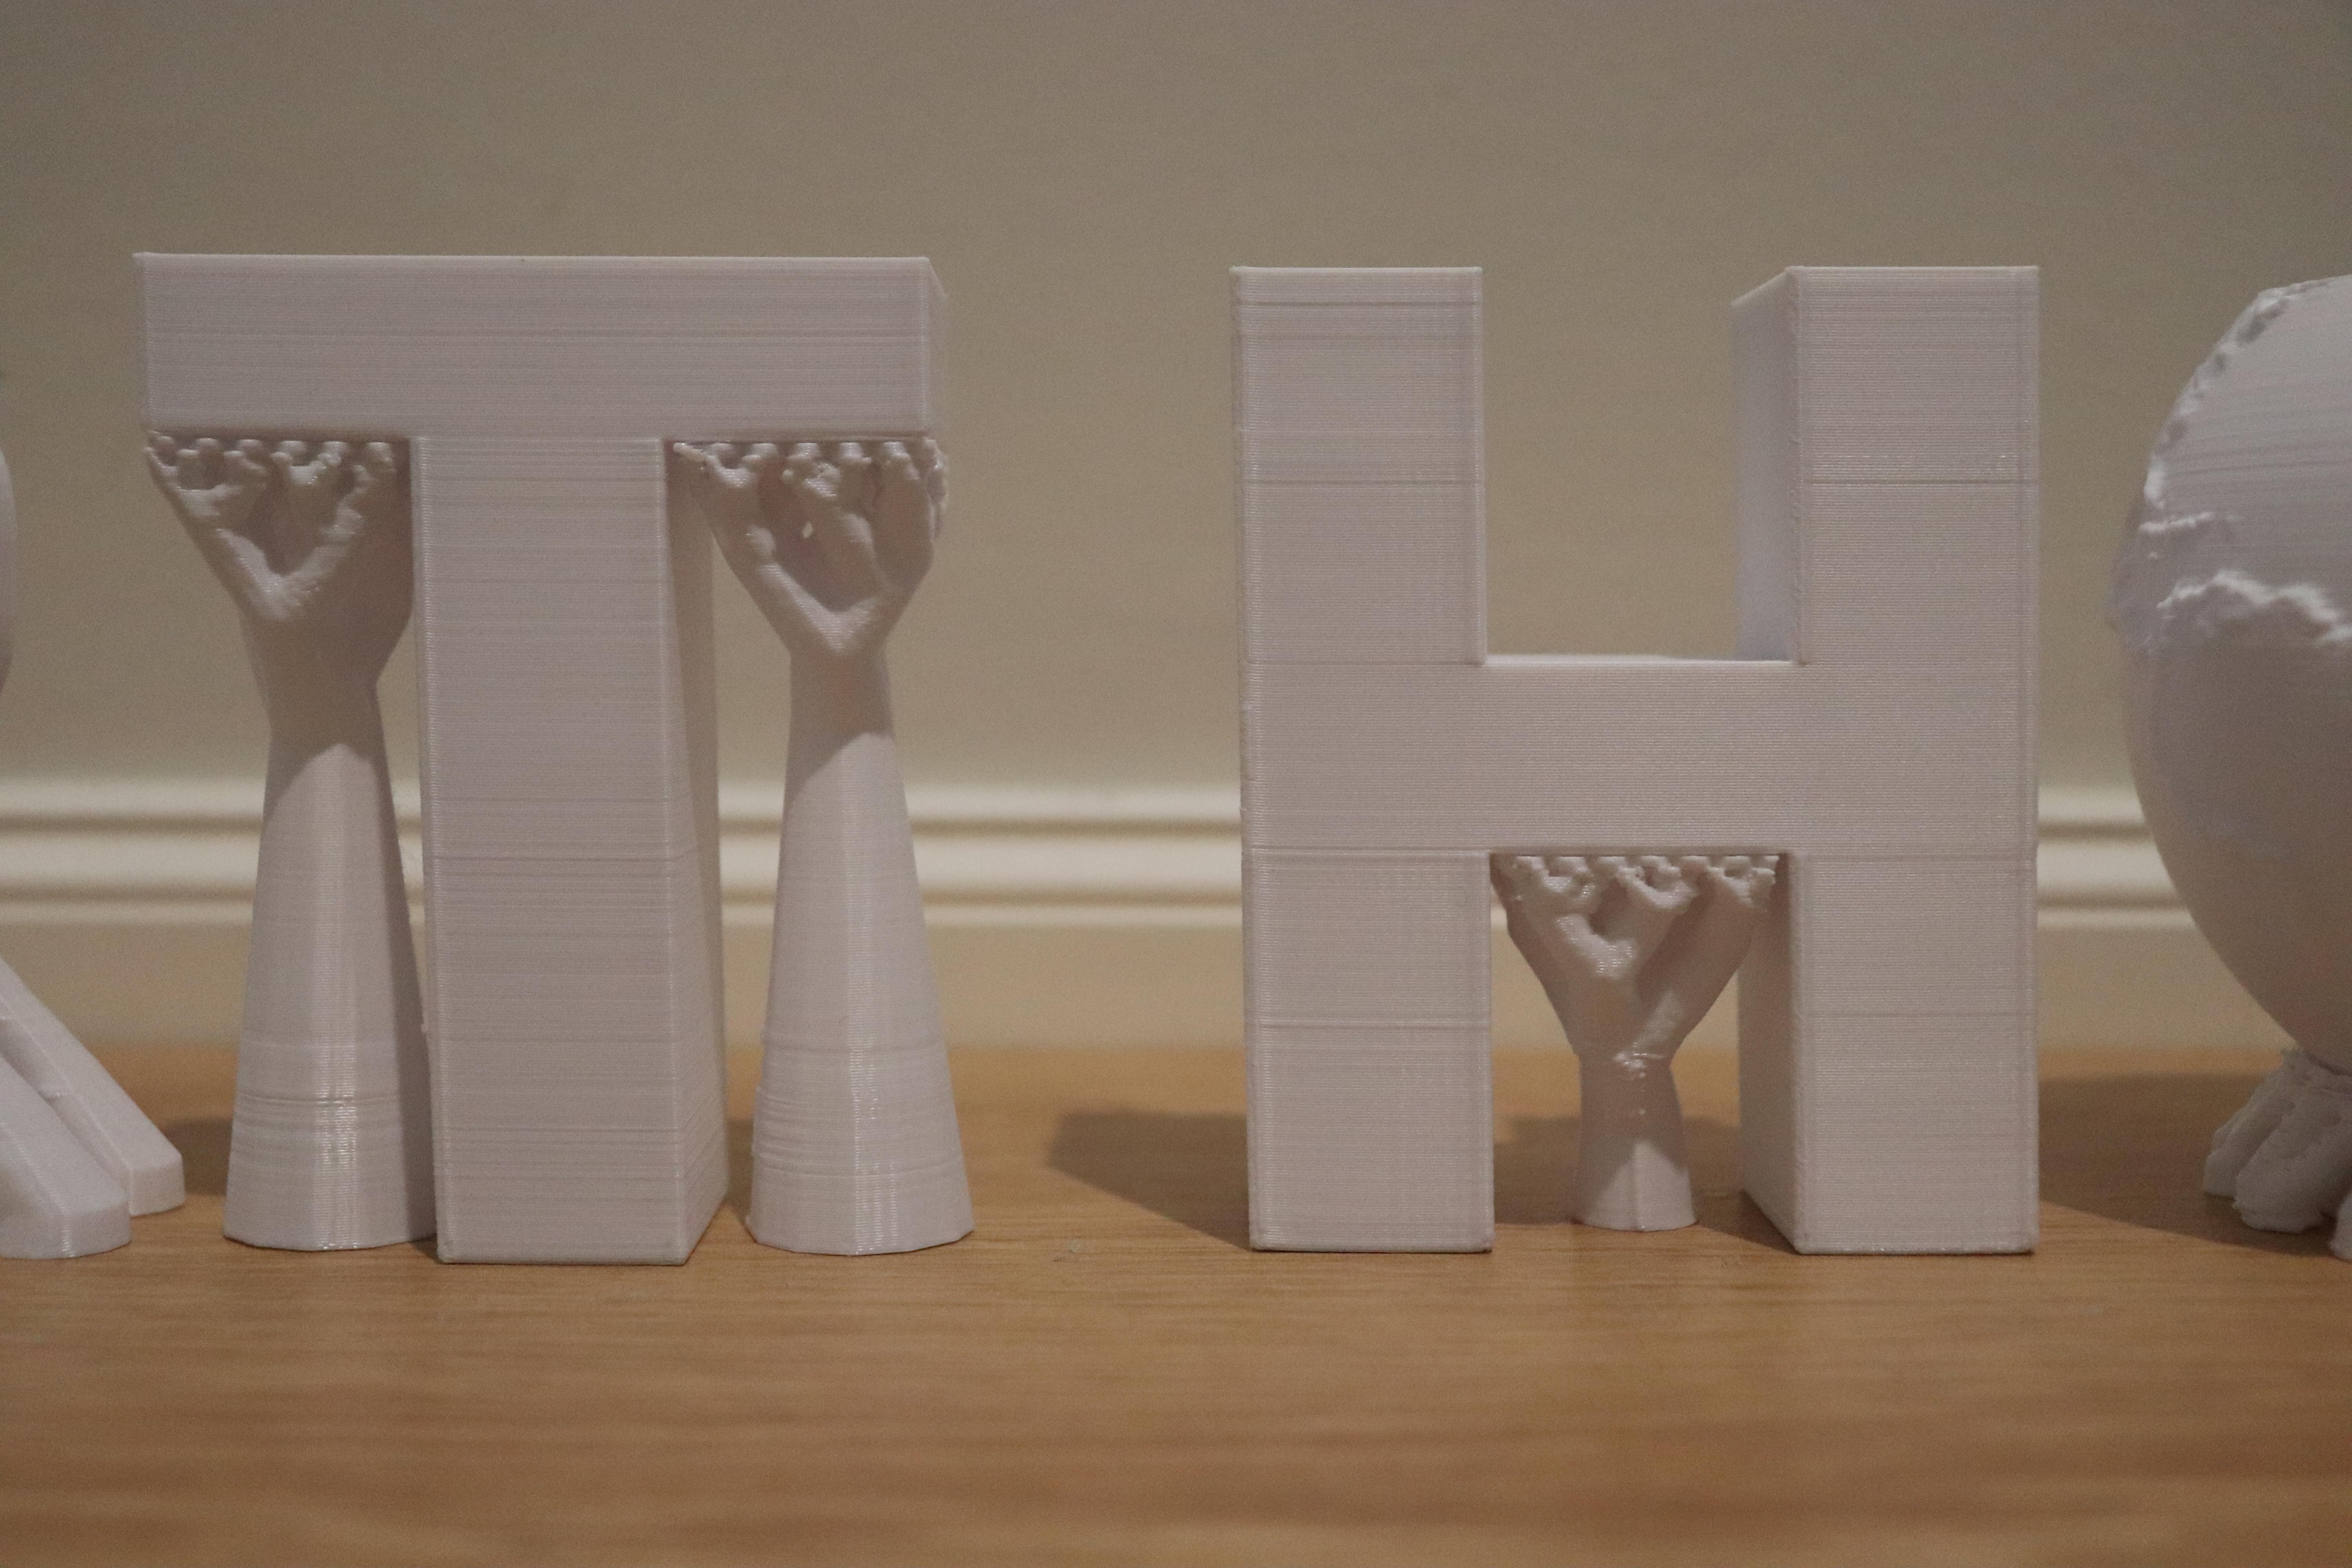
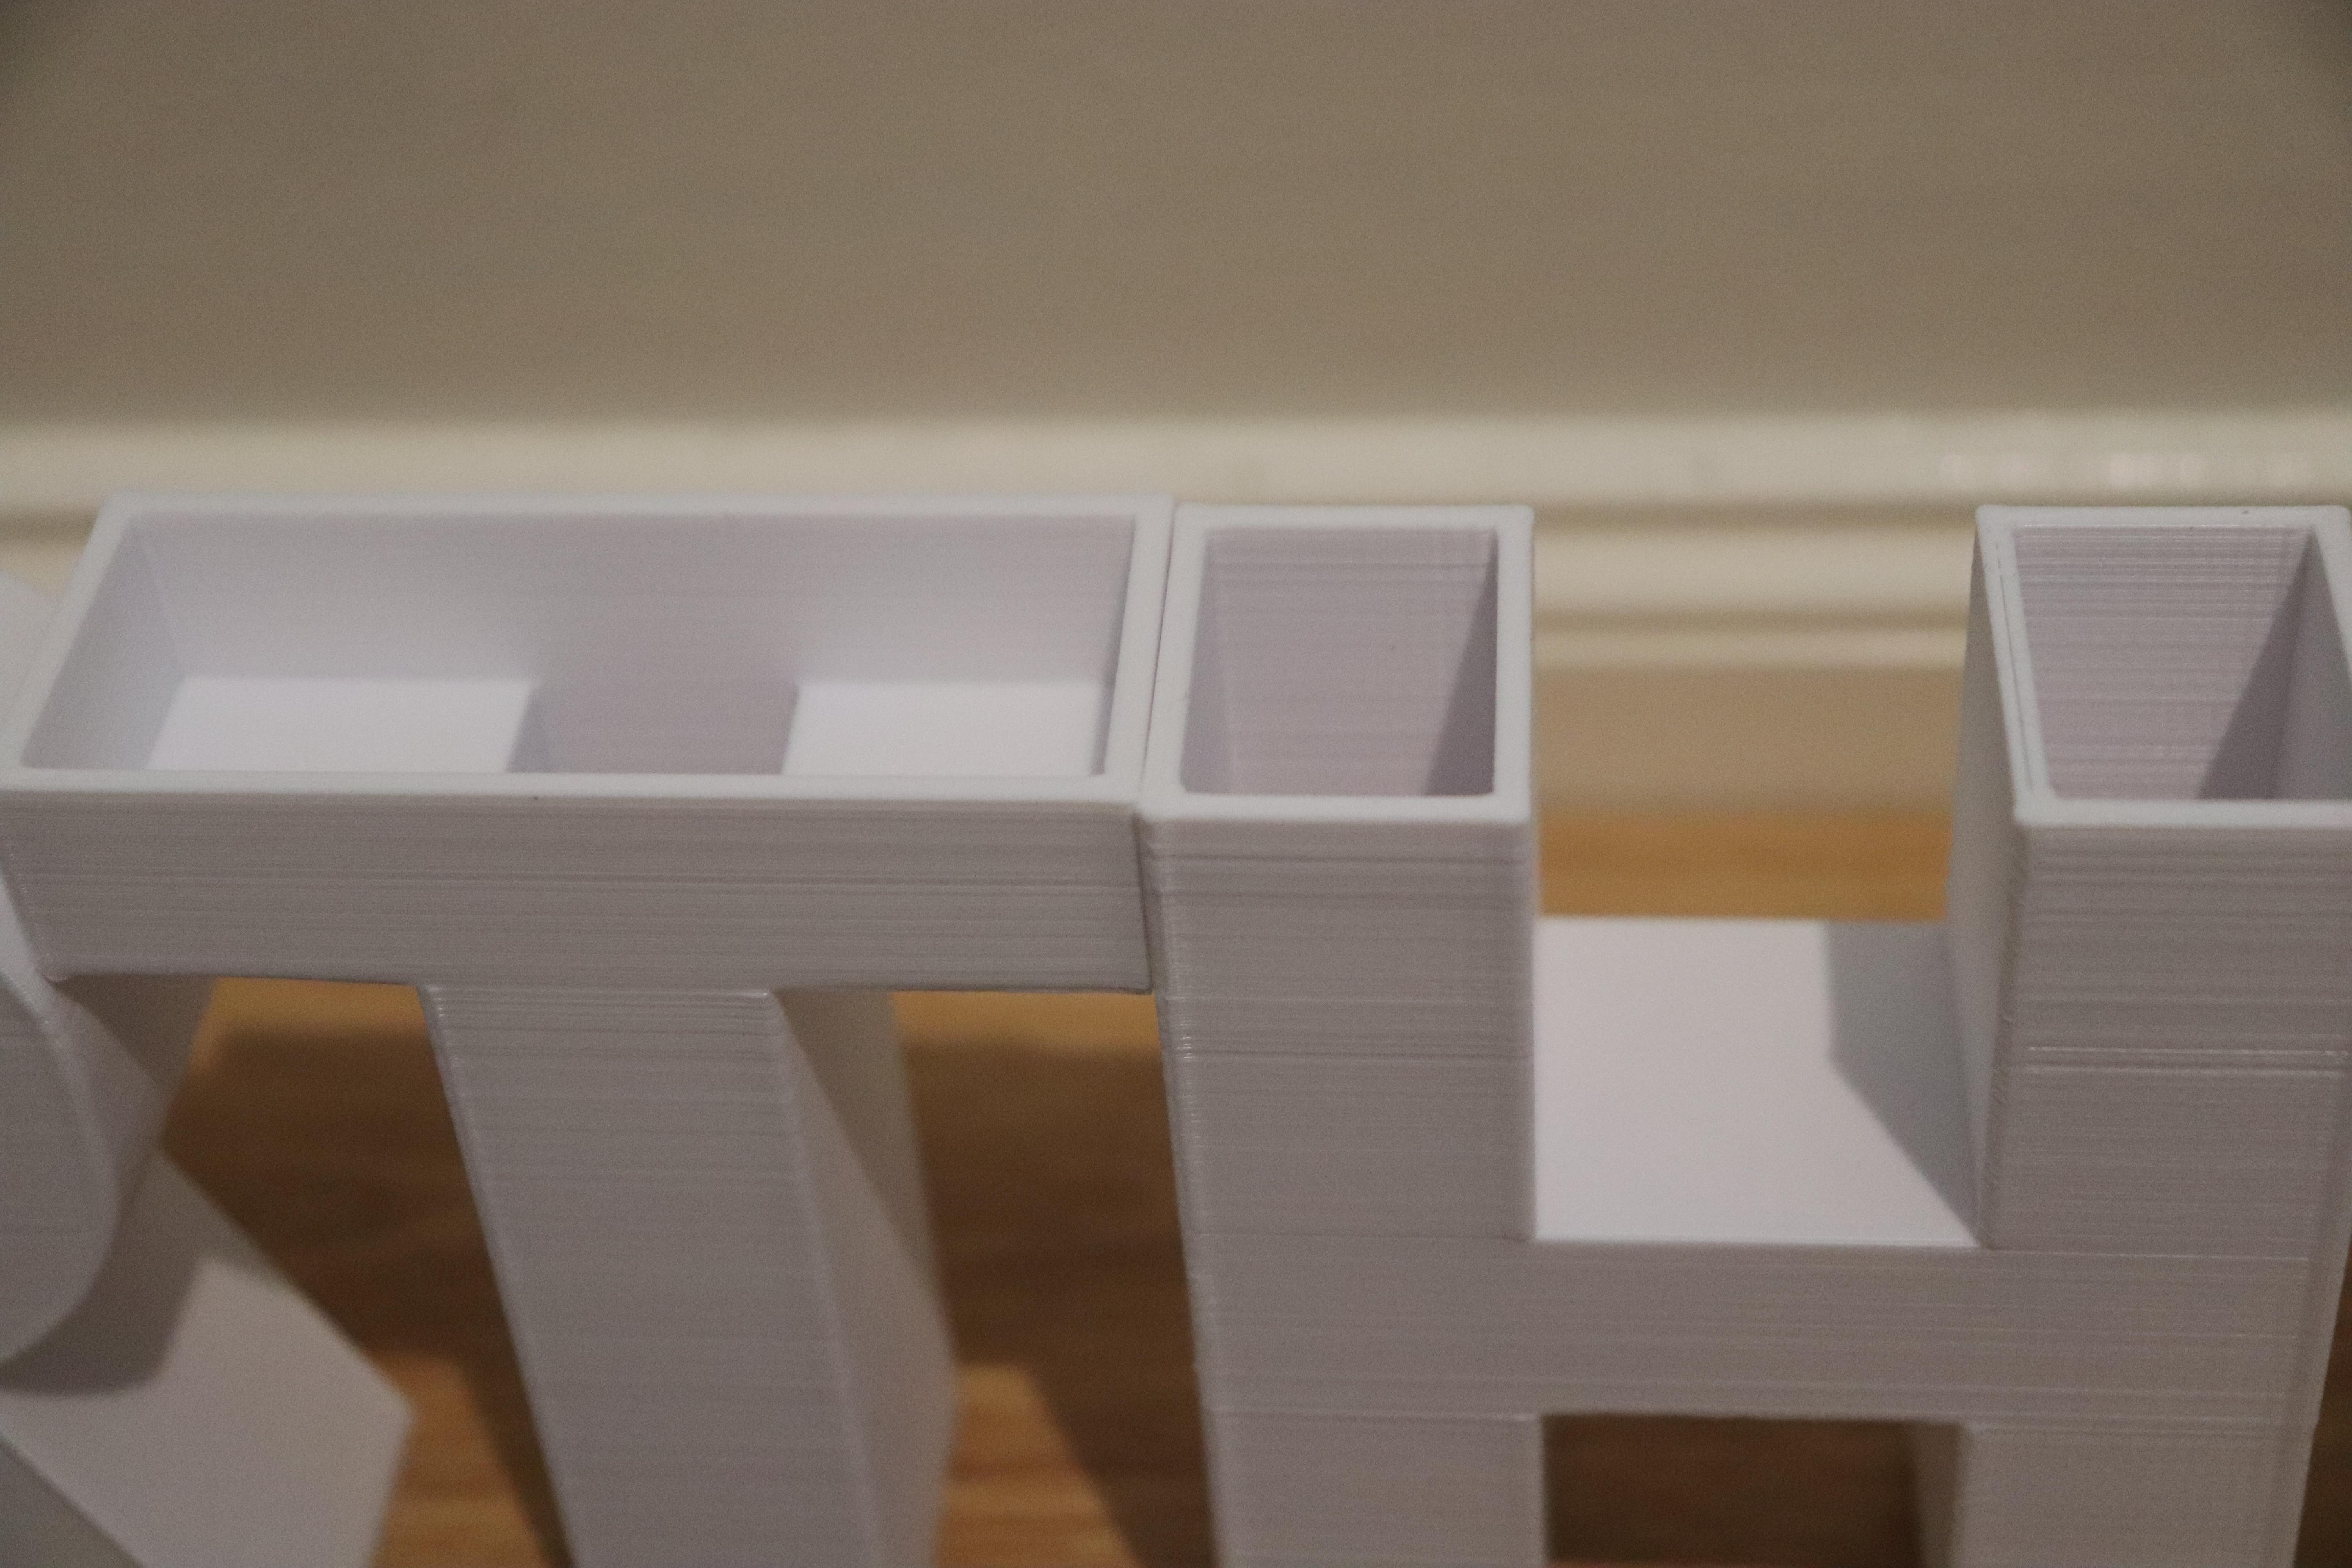
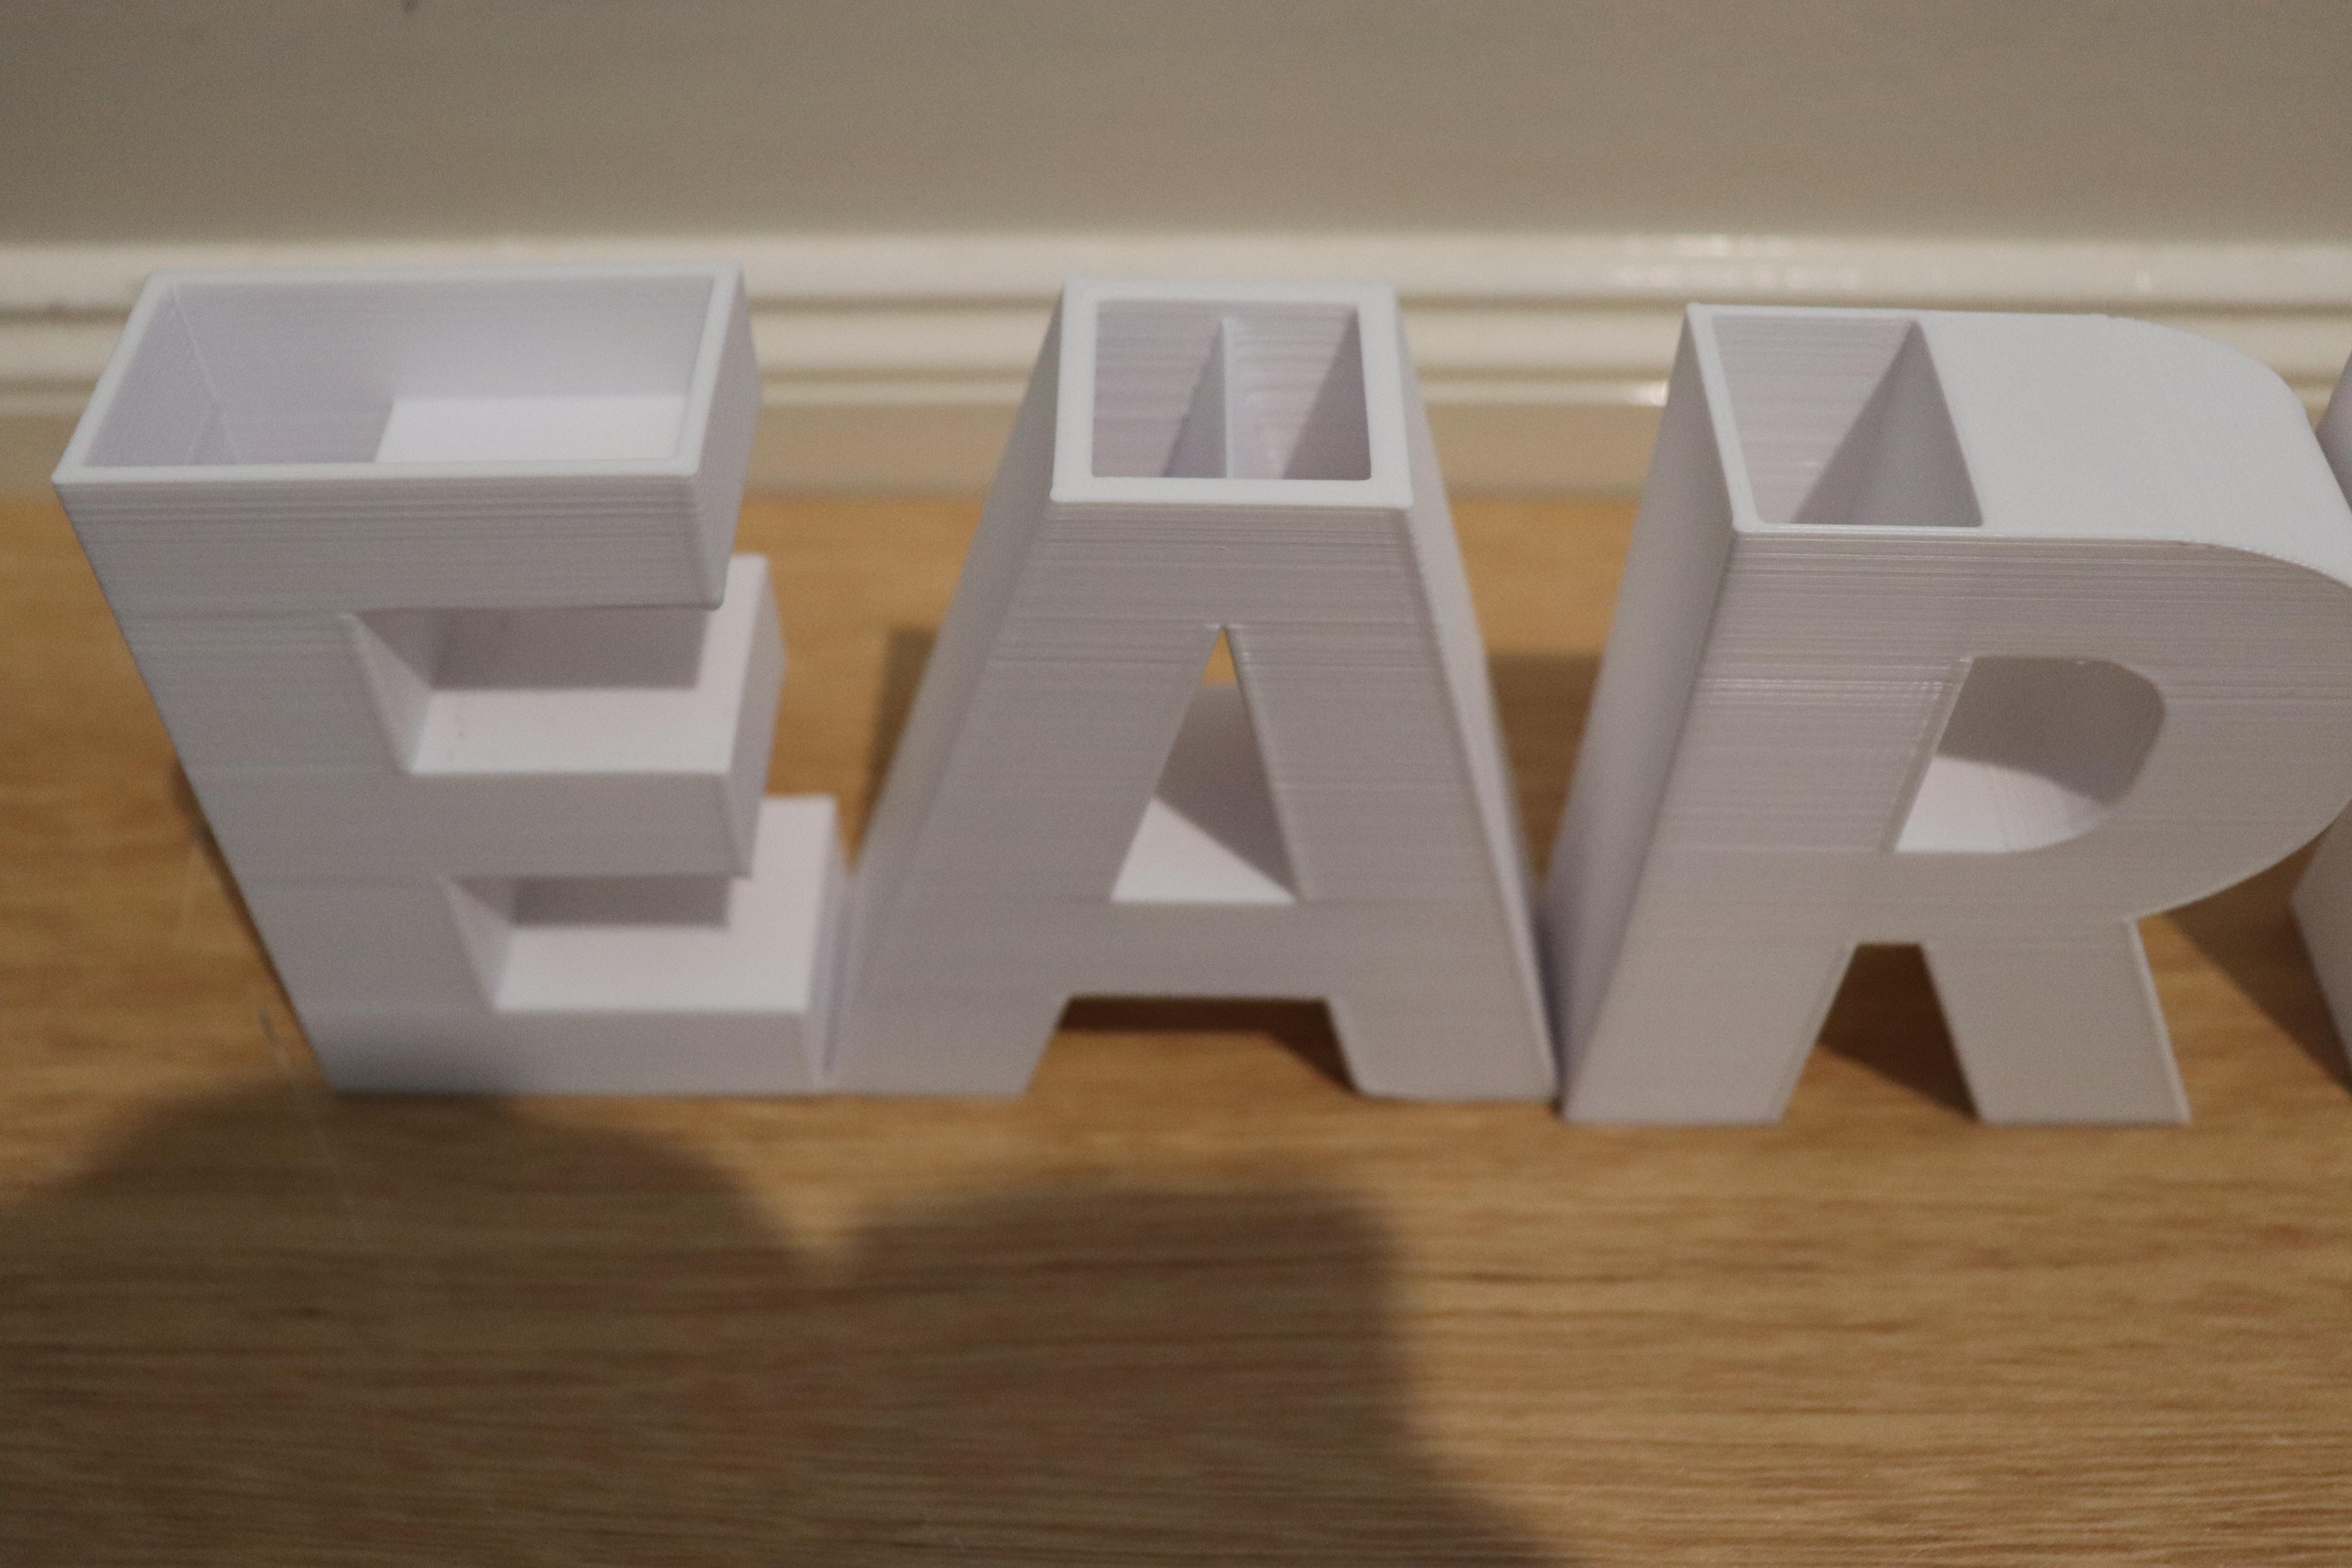
After that, hollow out the top of the letters to create space for soil and roots. The depth will depend on the plants you intend to use.
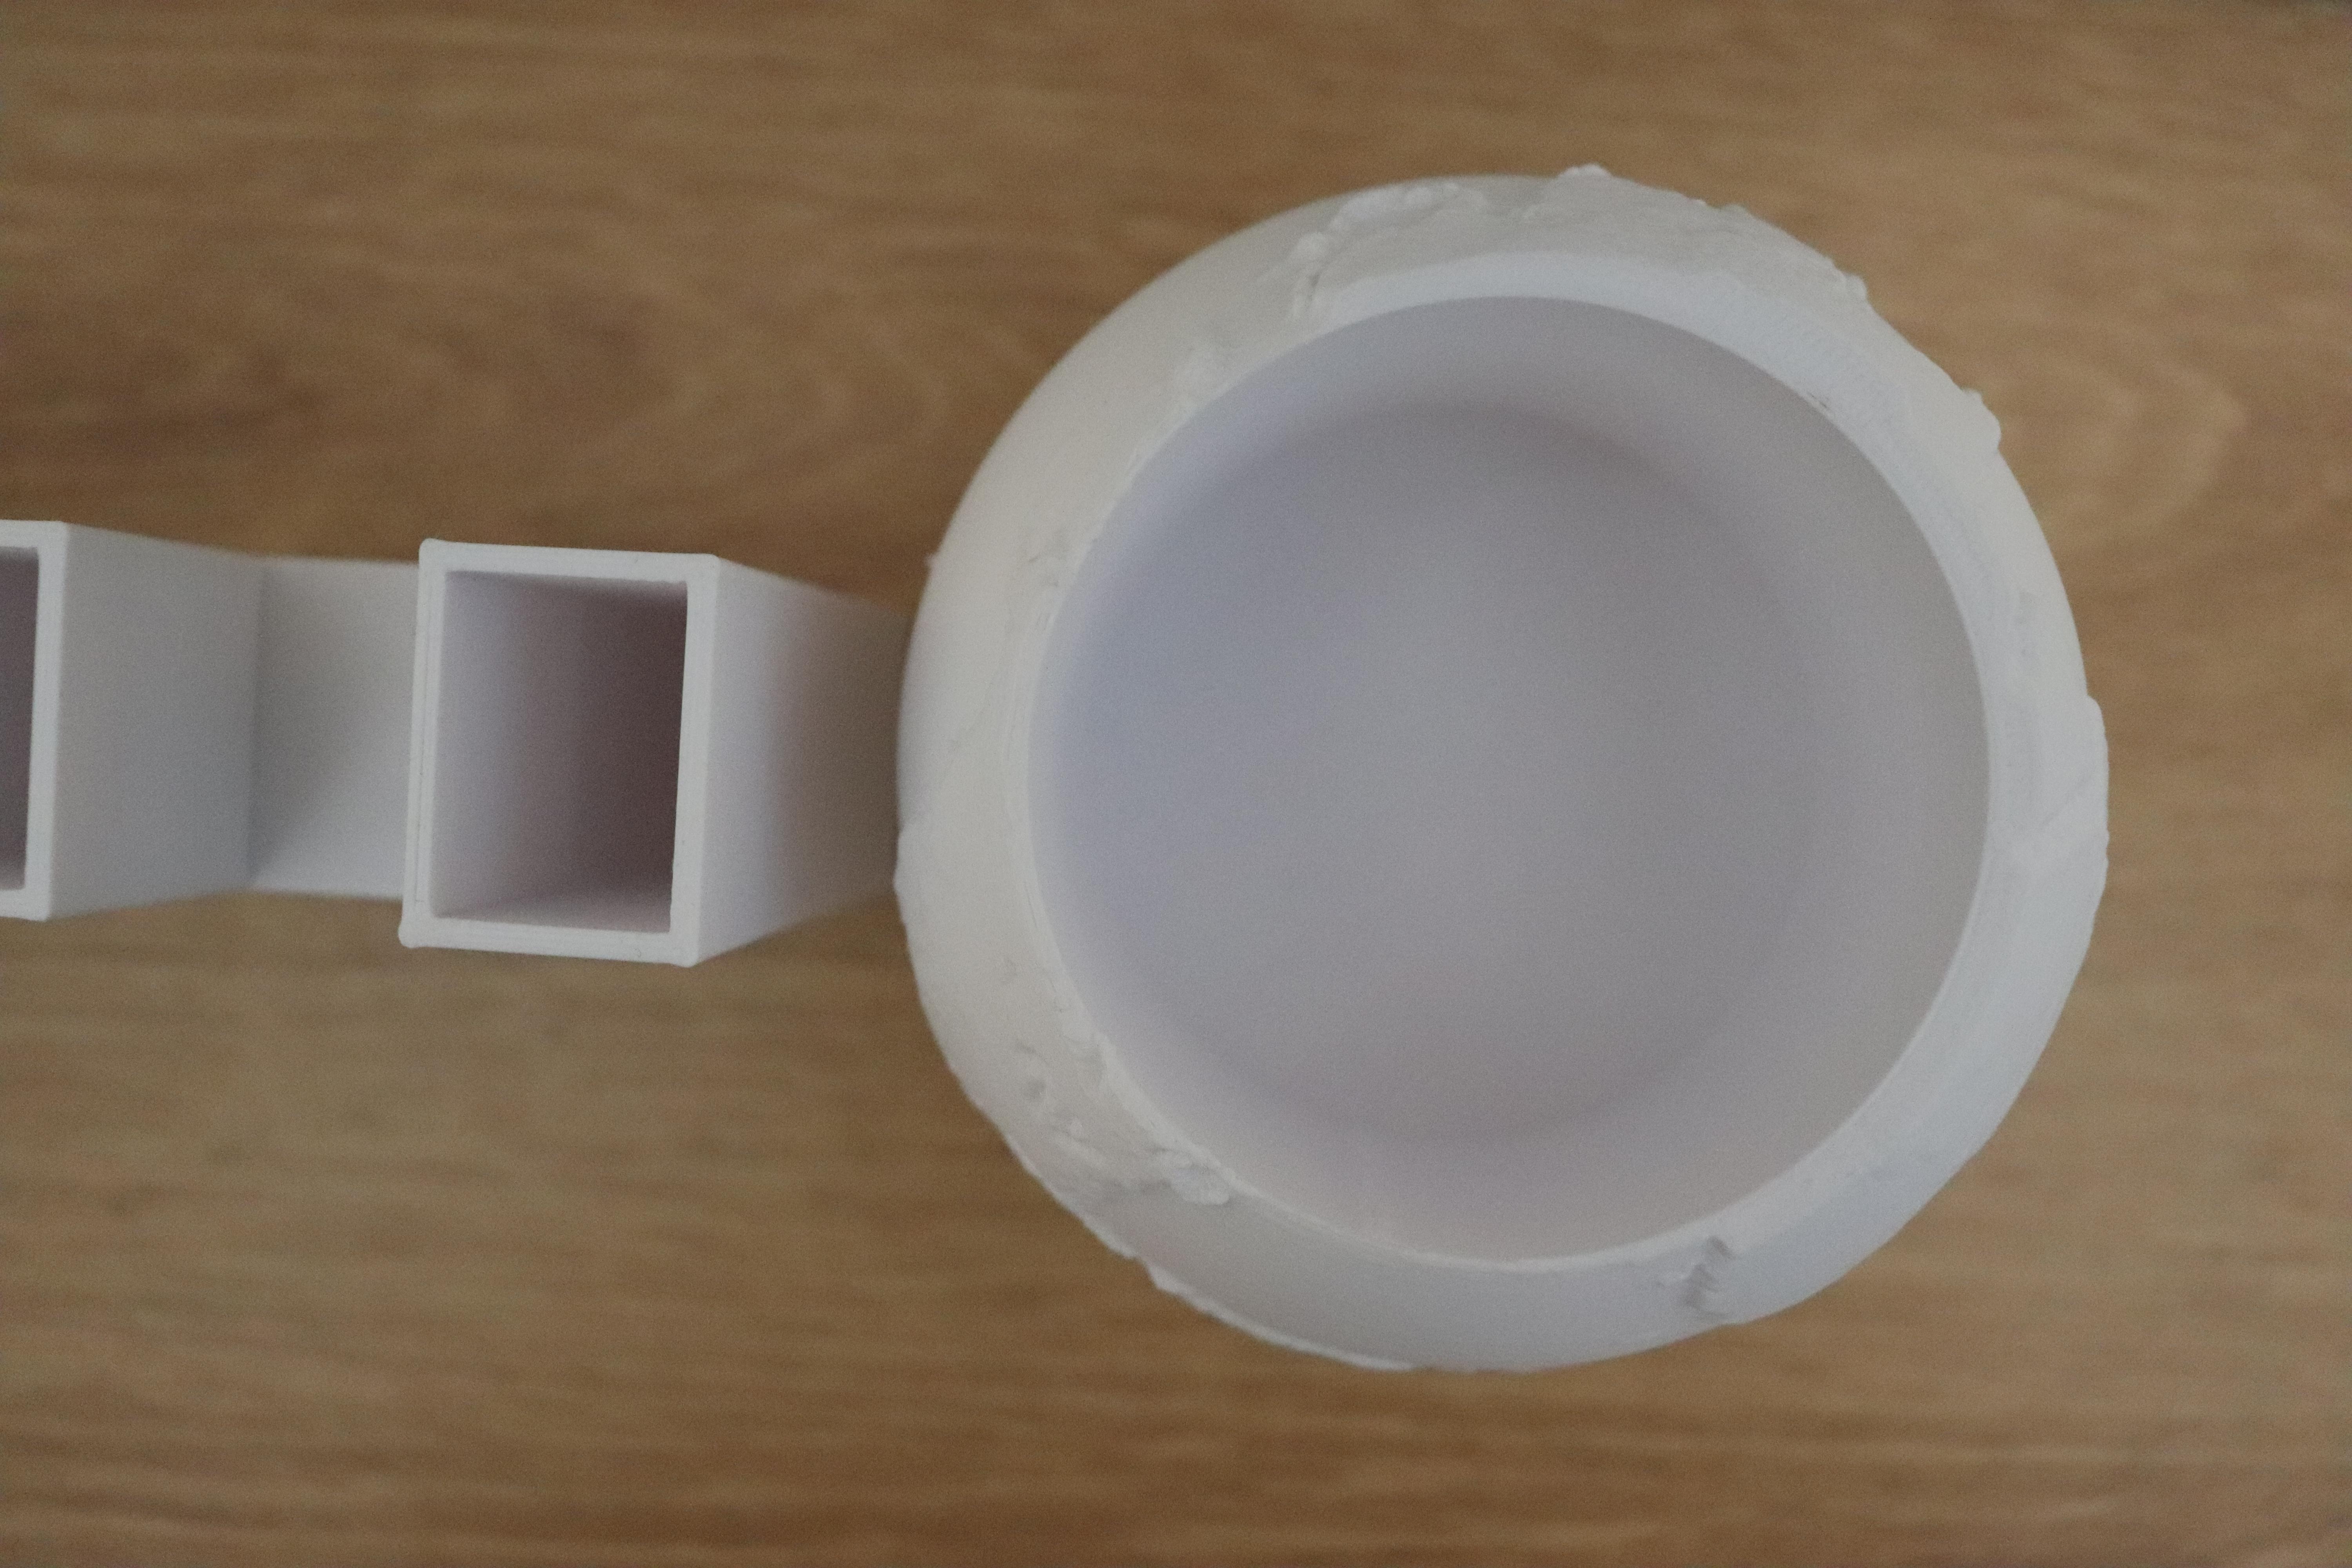
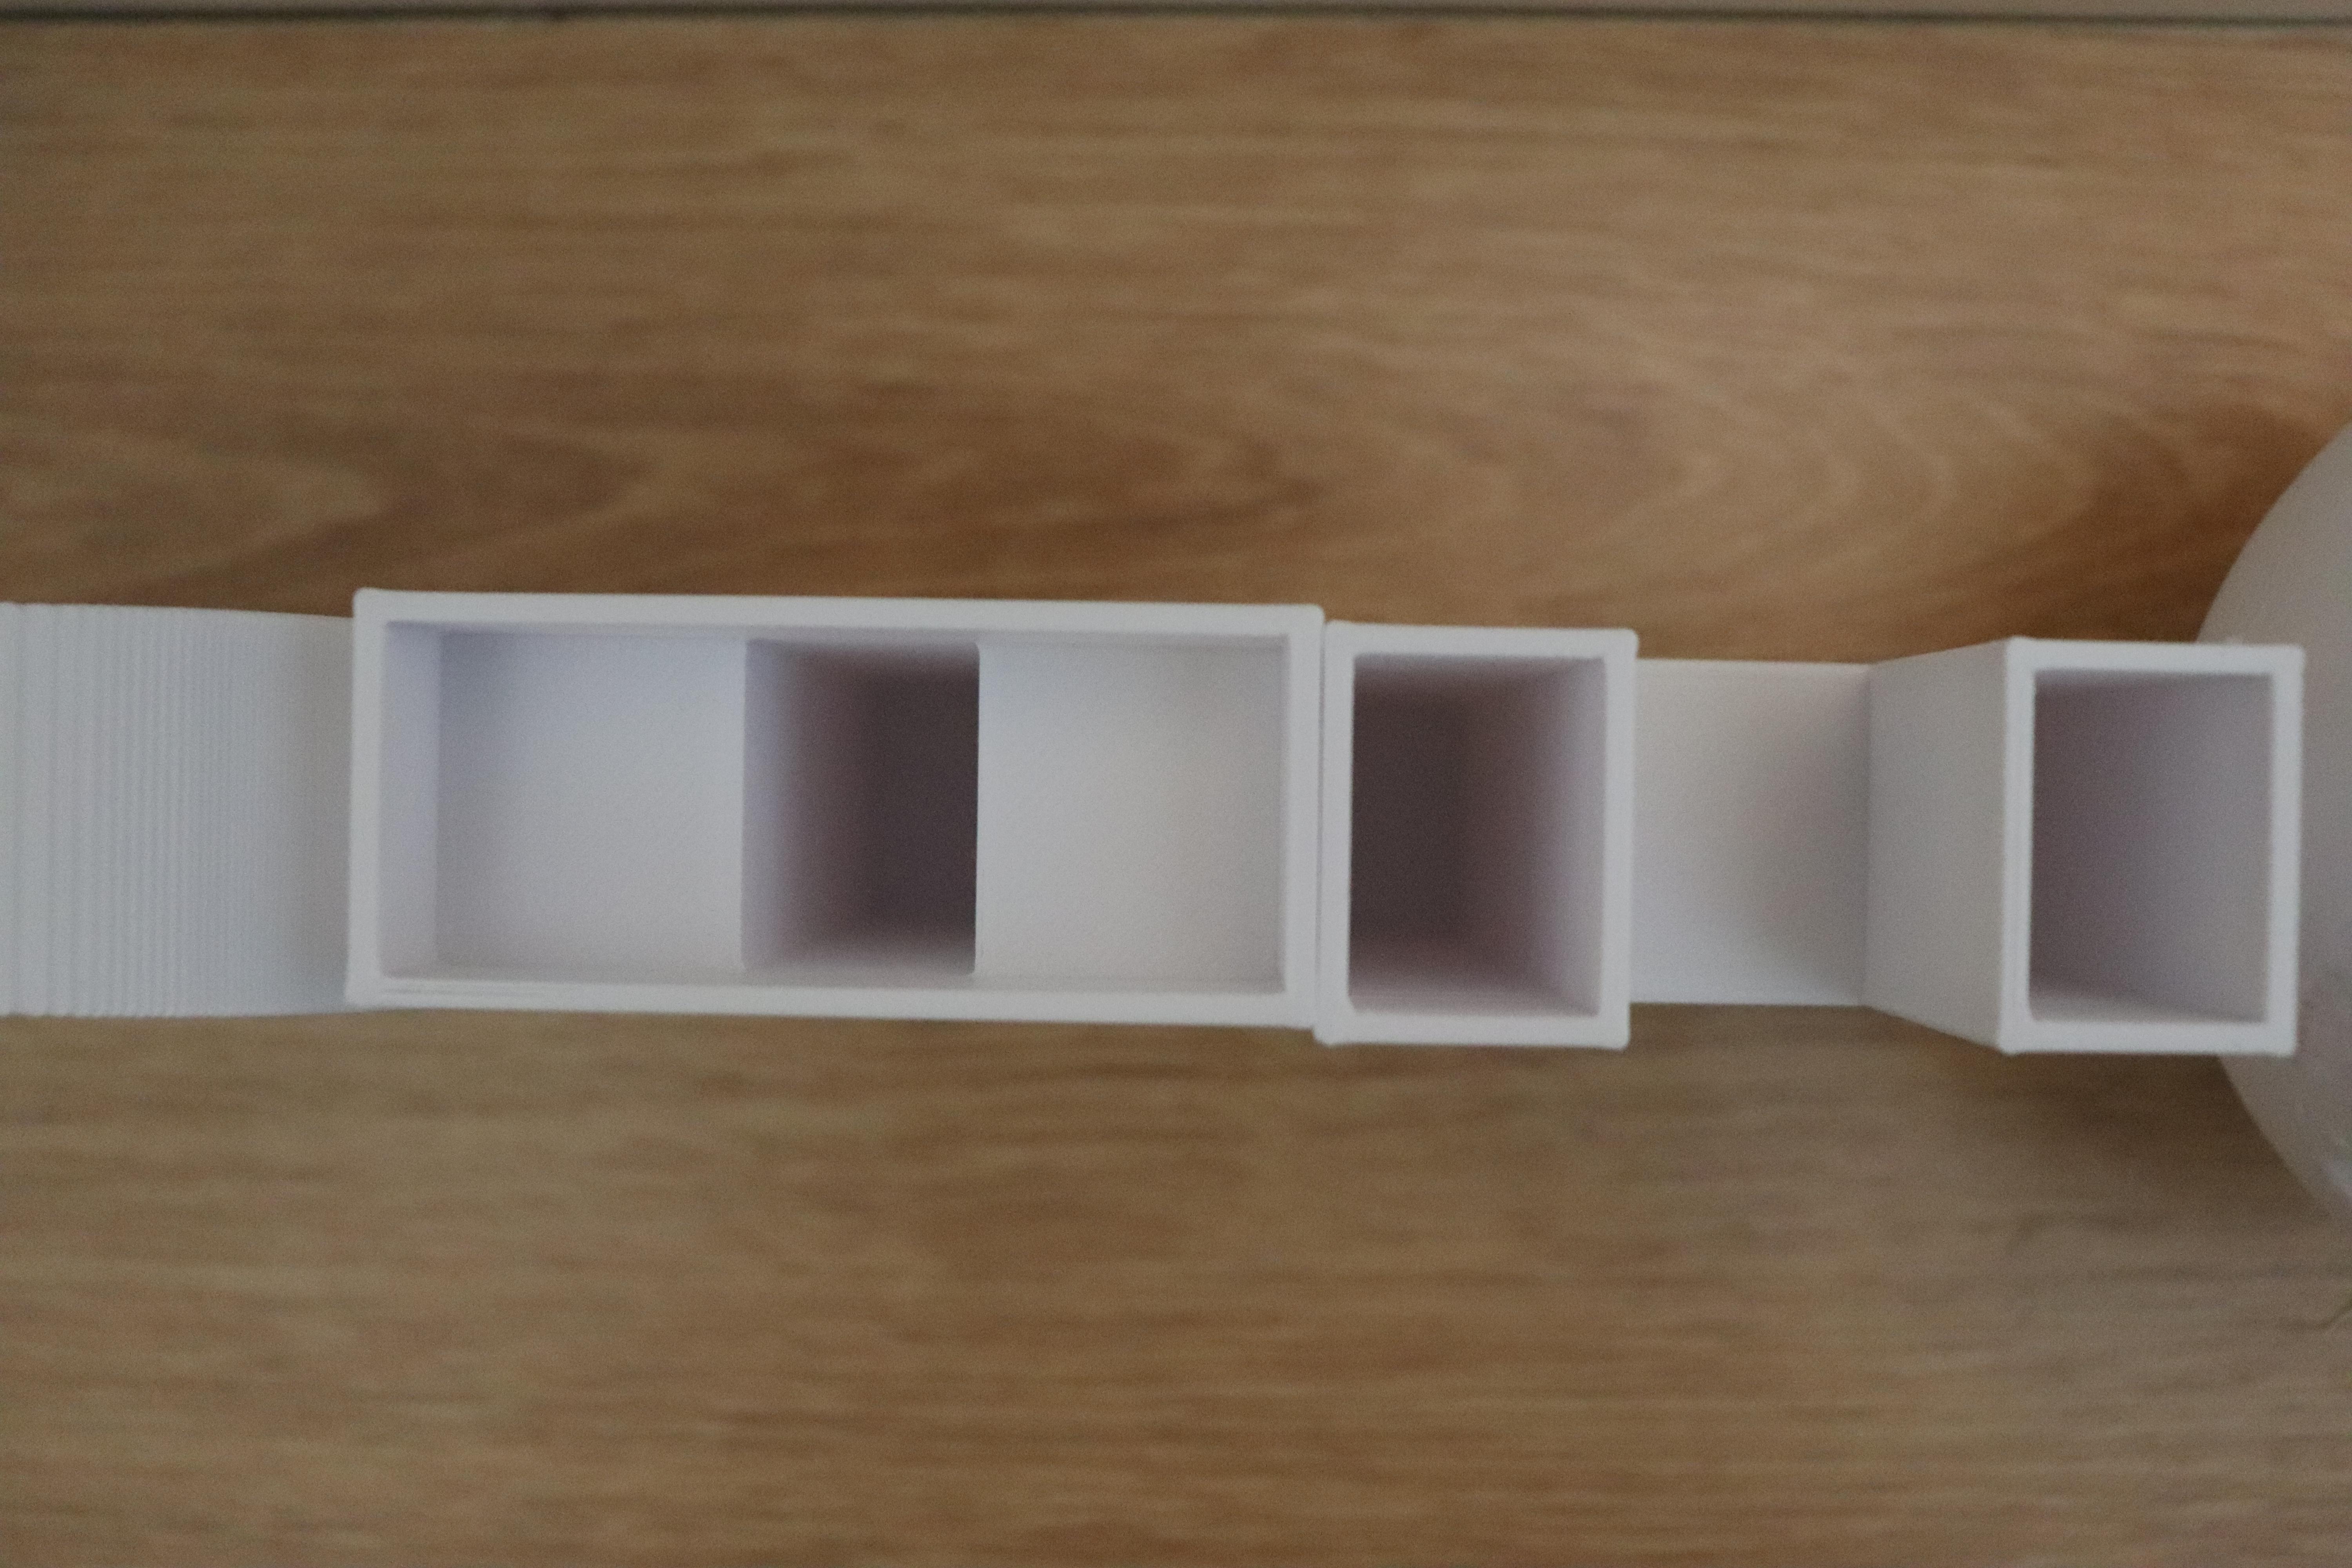
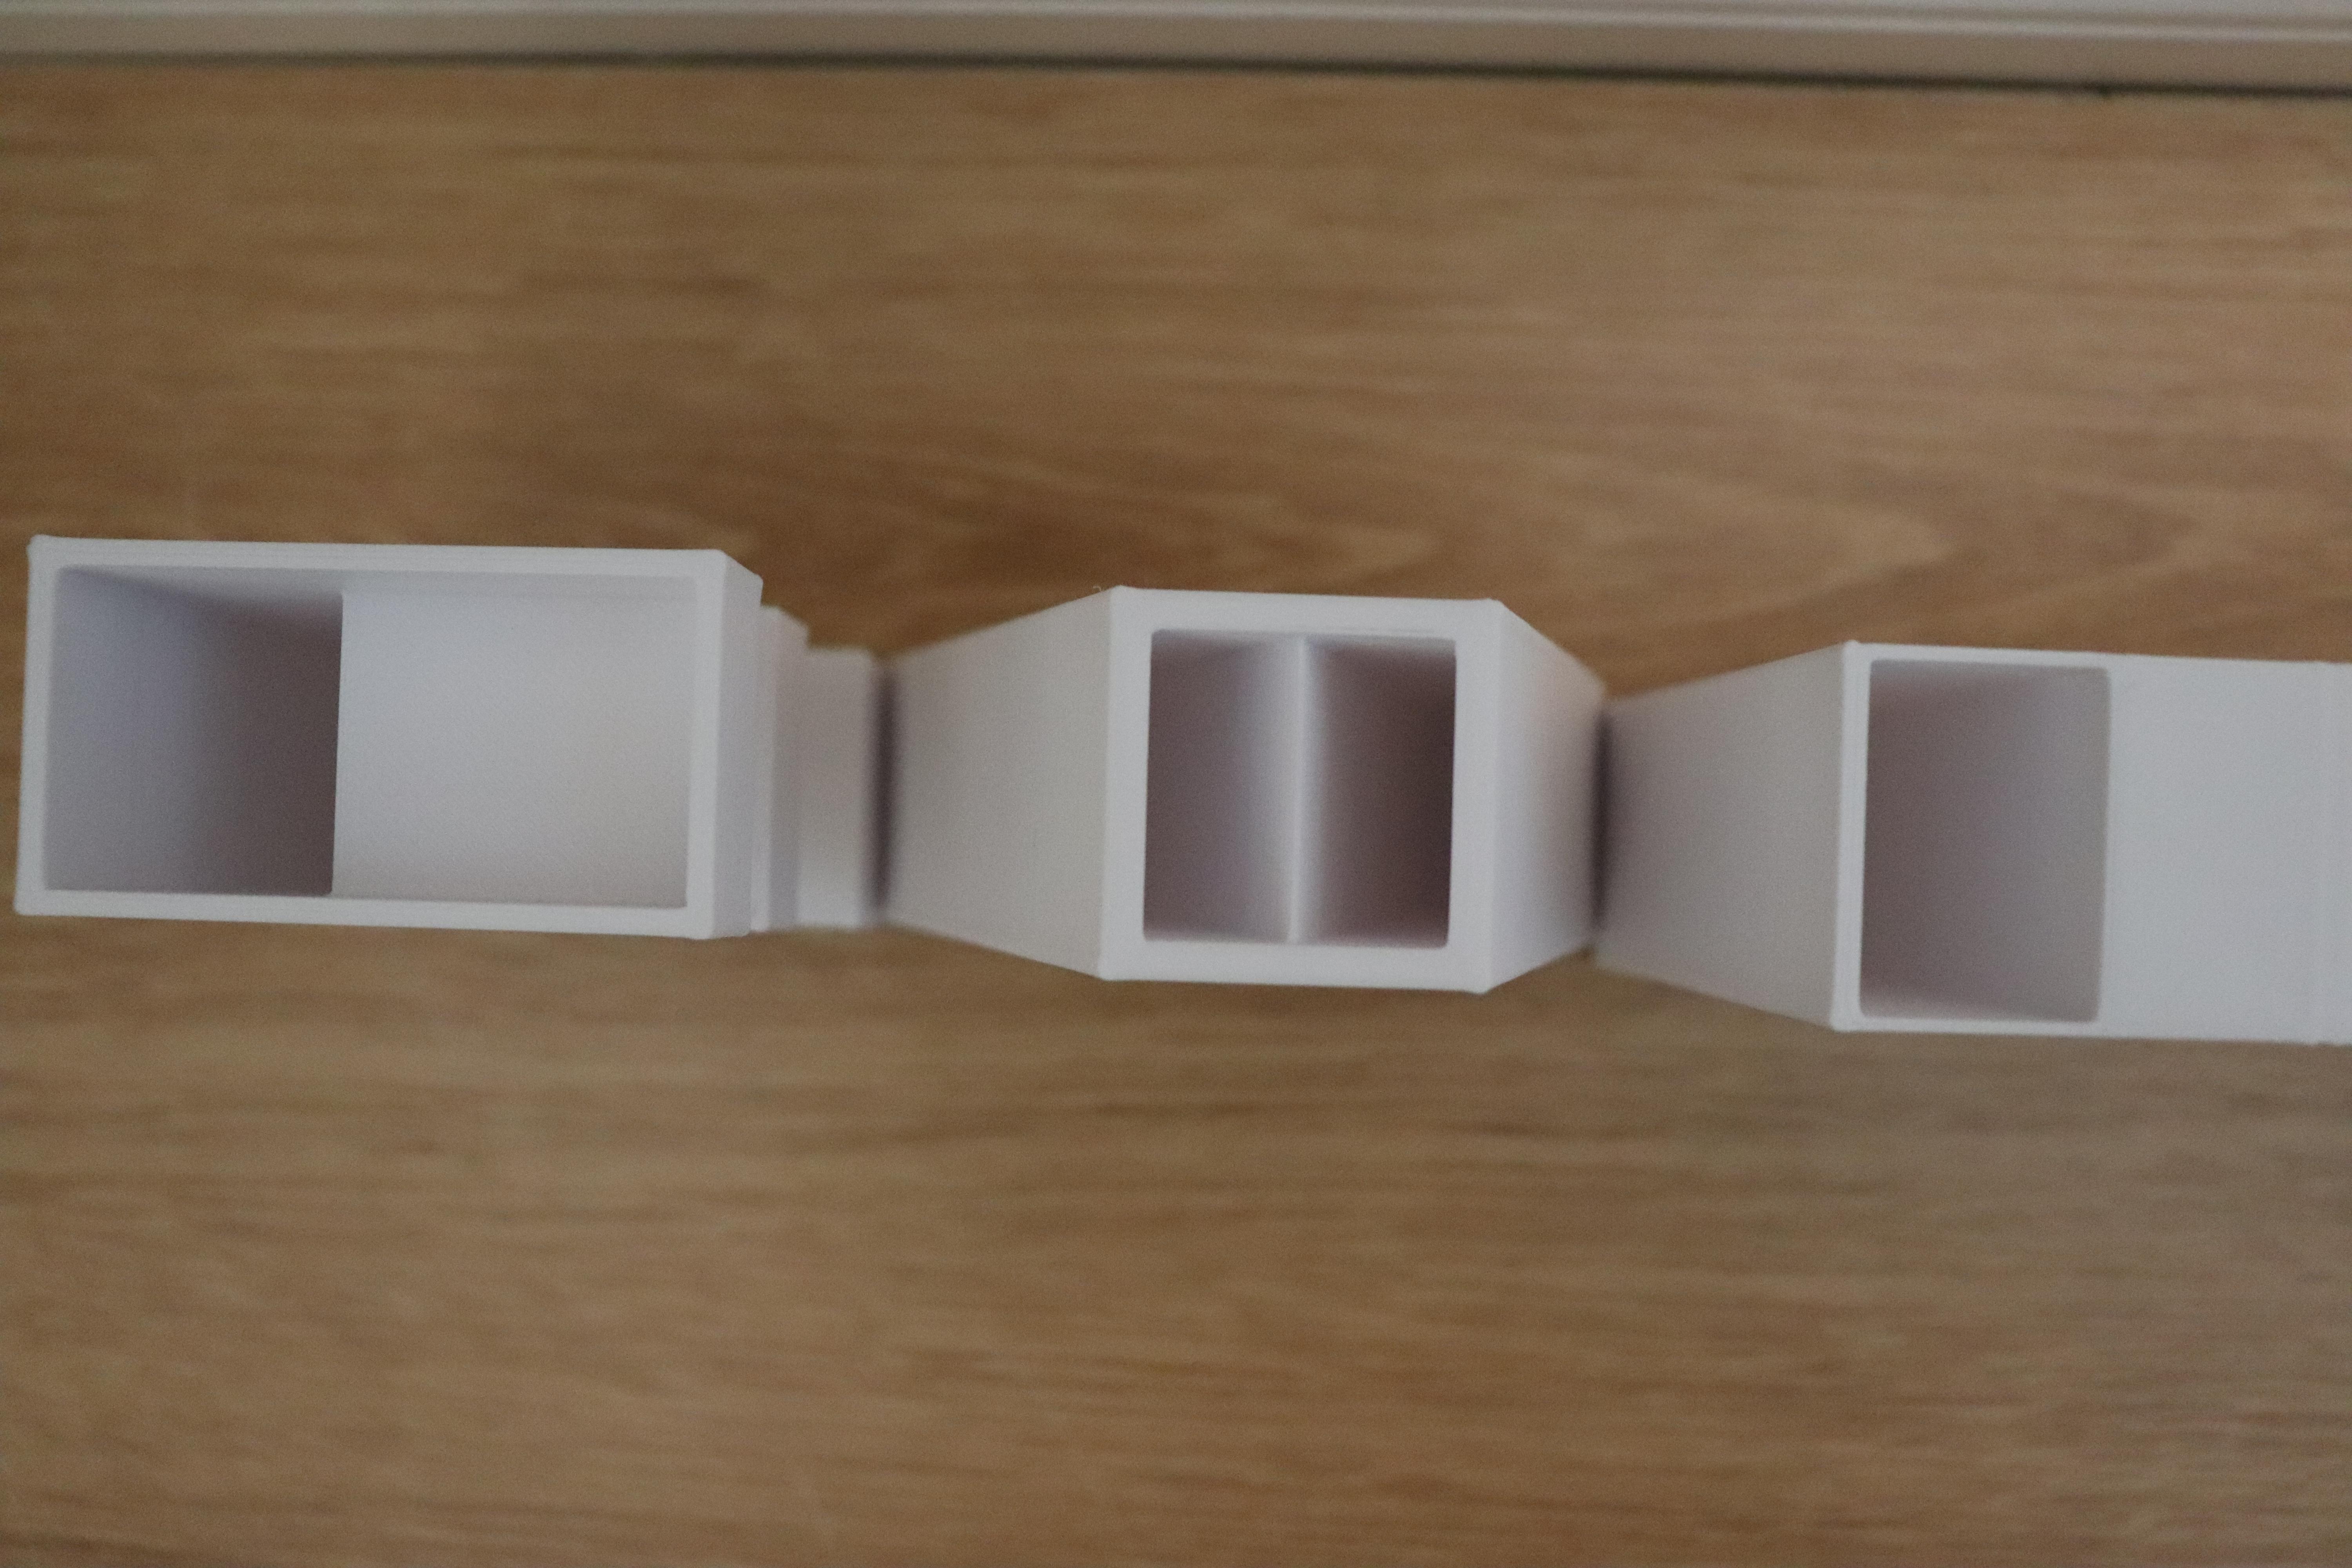
- Note: Avoid creating overhangs (Look at the attached pictures for how I designed the letters) as they will require supports (which will be almost impossible to remove) when printing!
Afterwards, add a small hole at the bottom of each letter for drainage in order to prevent overwatering.
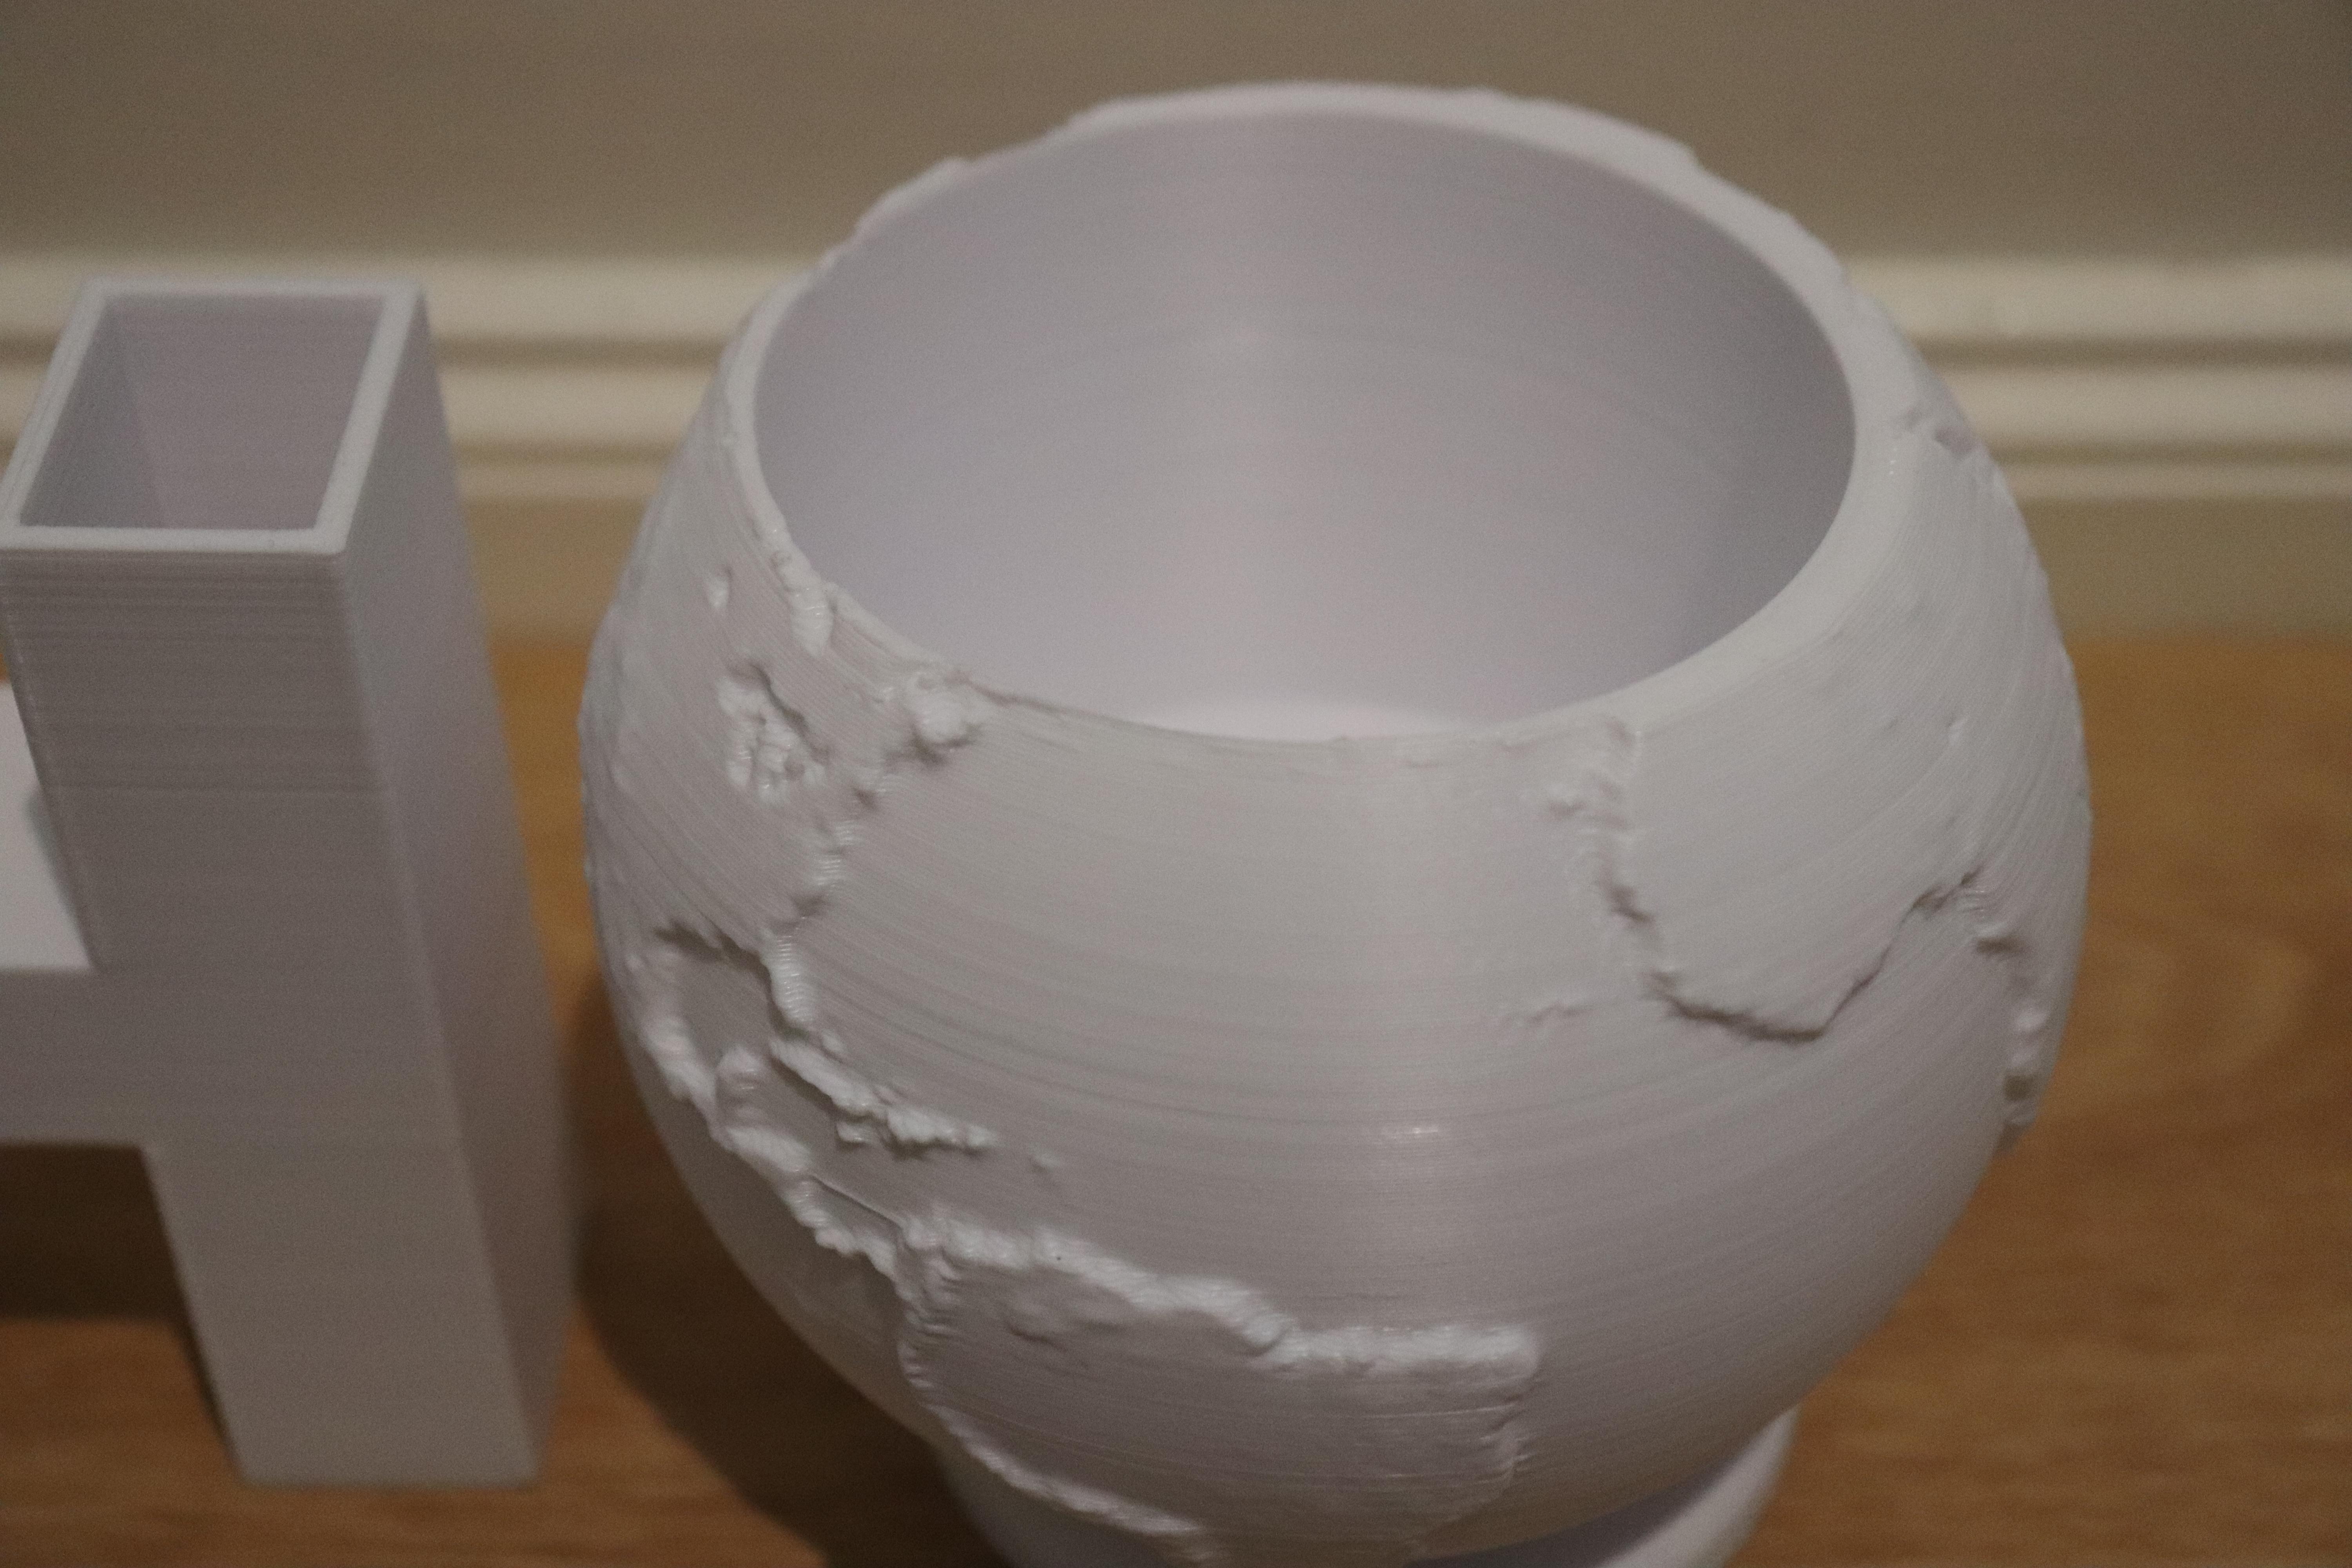
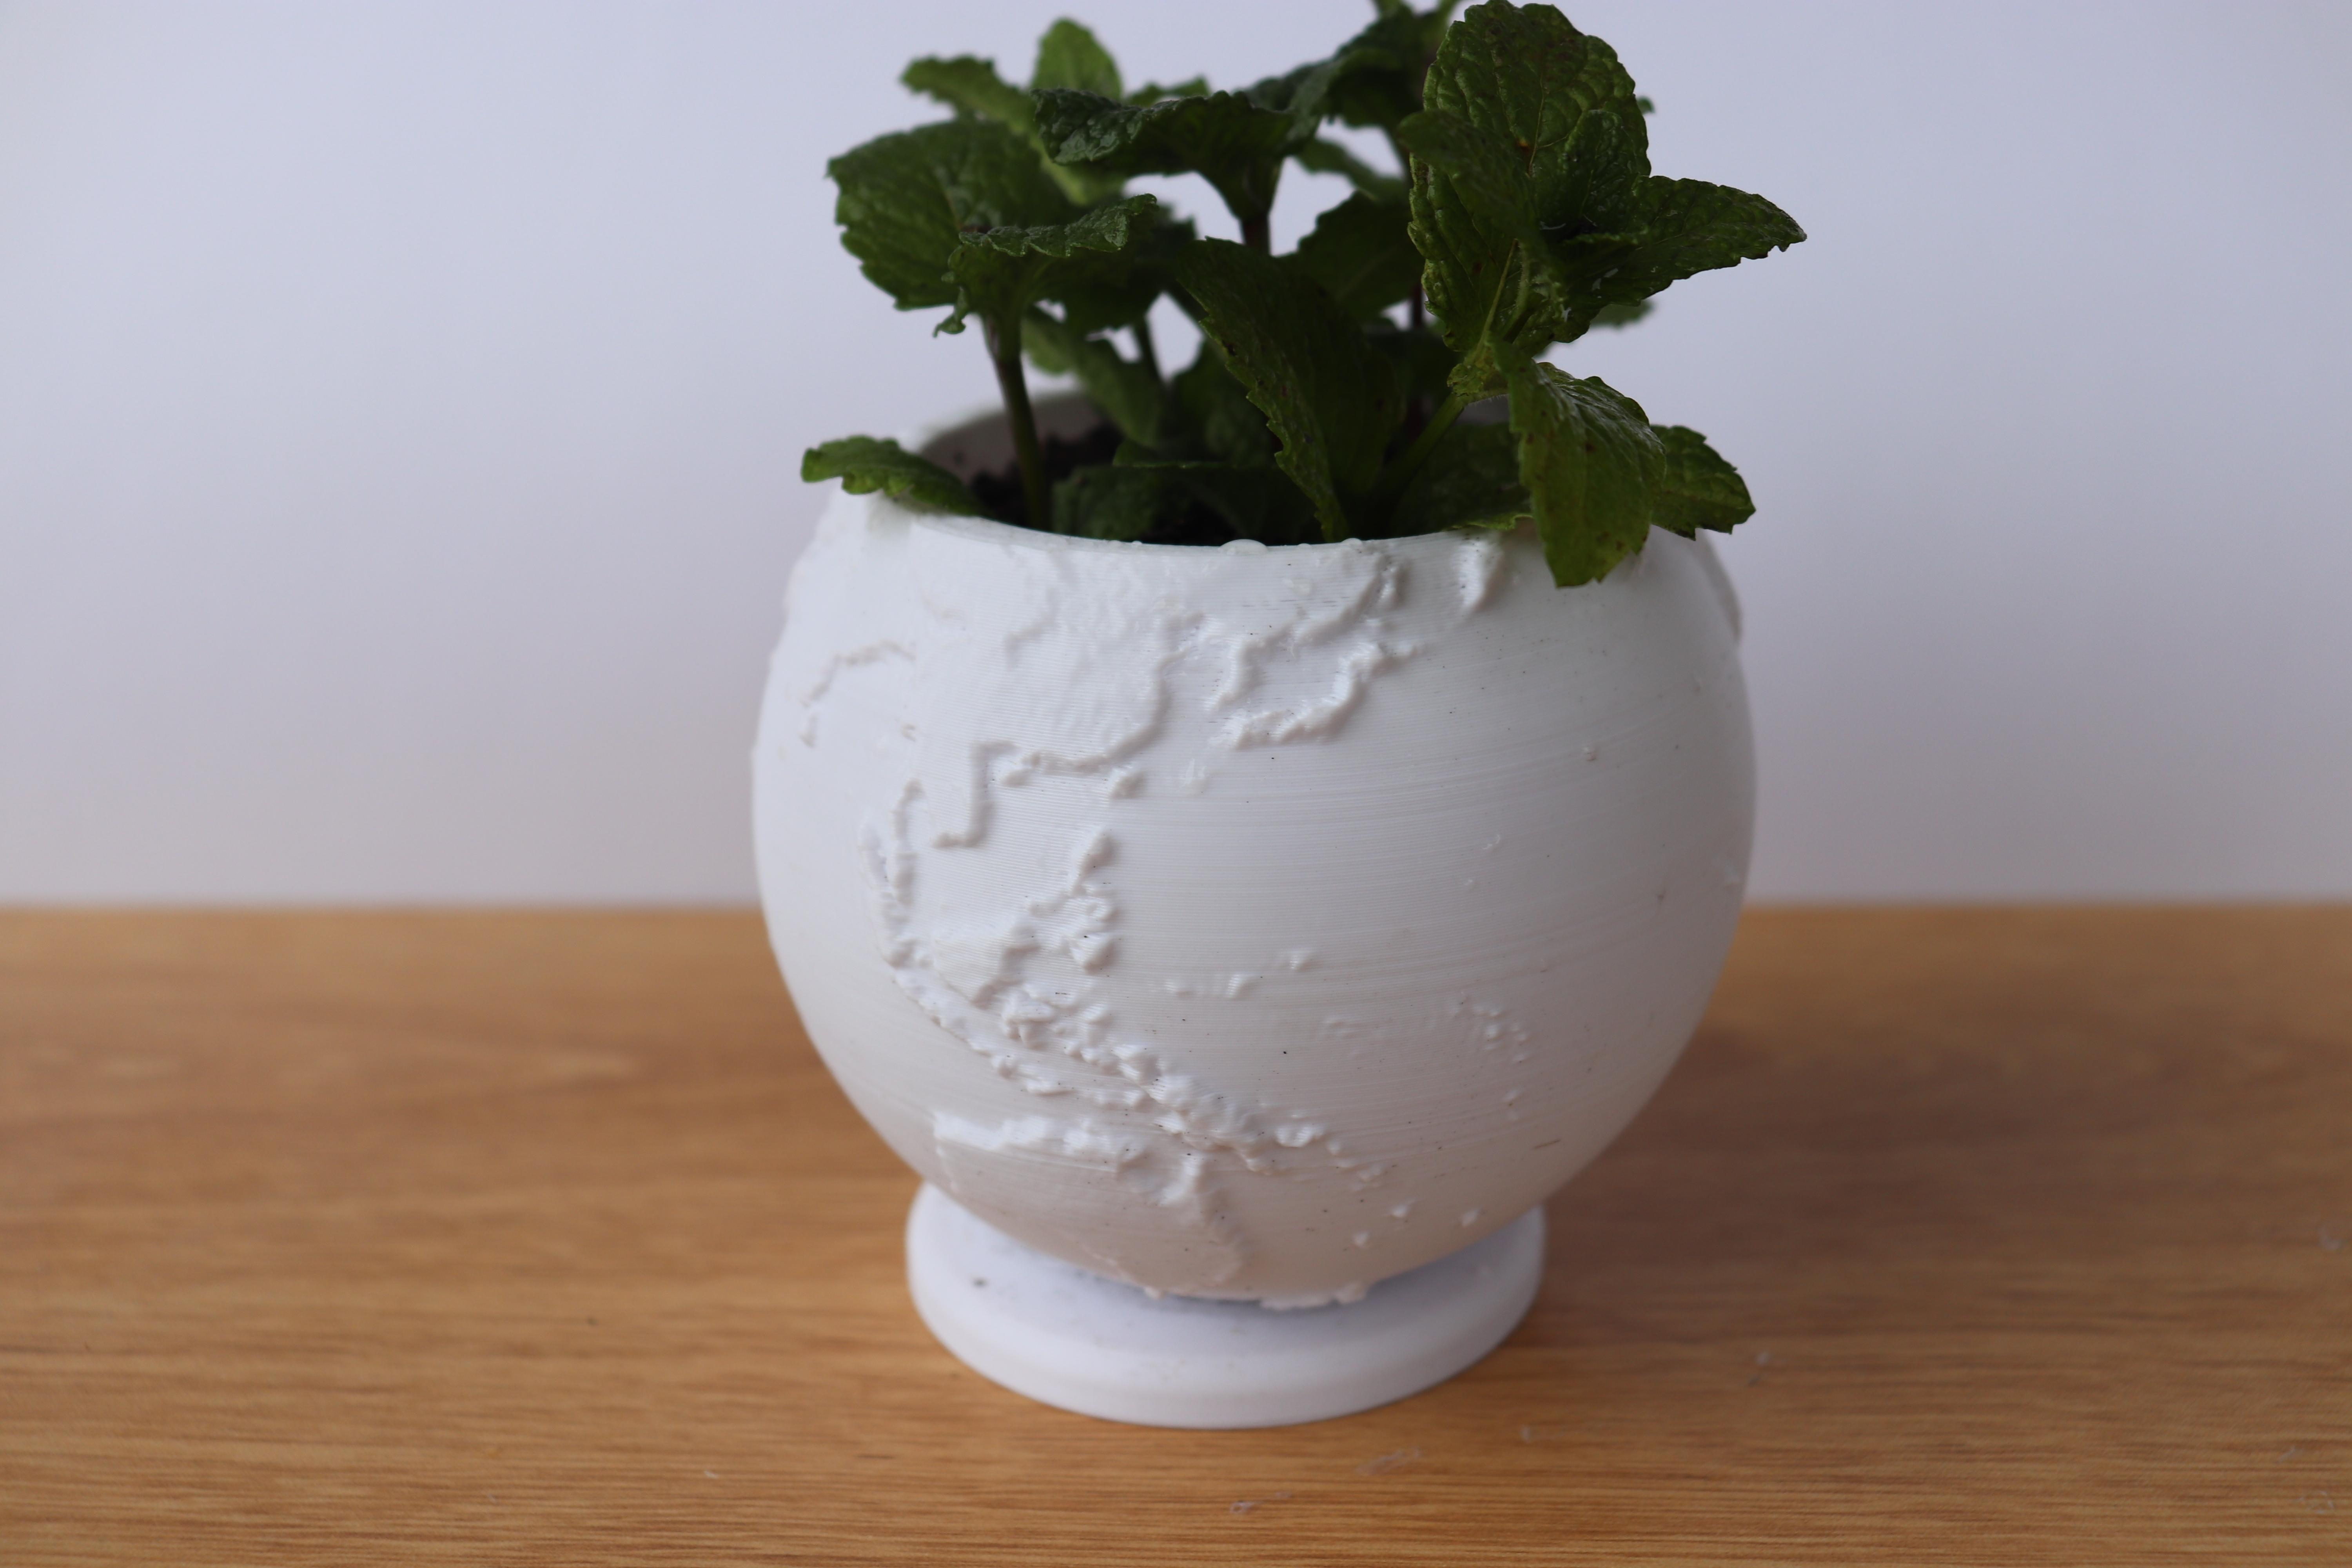
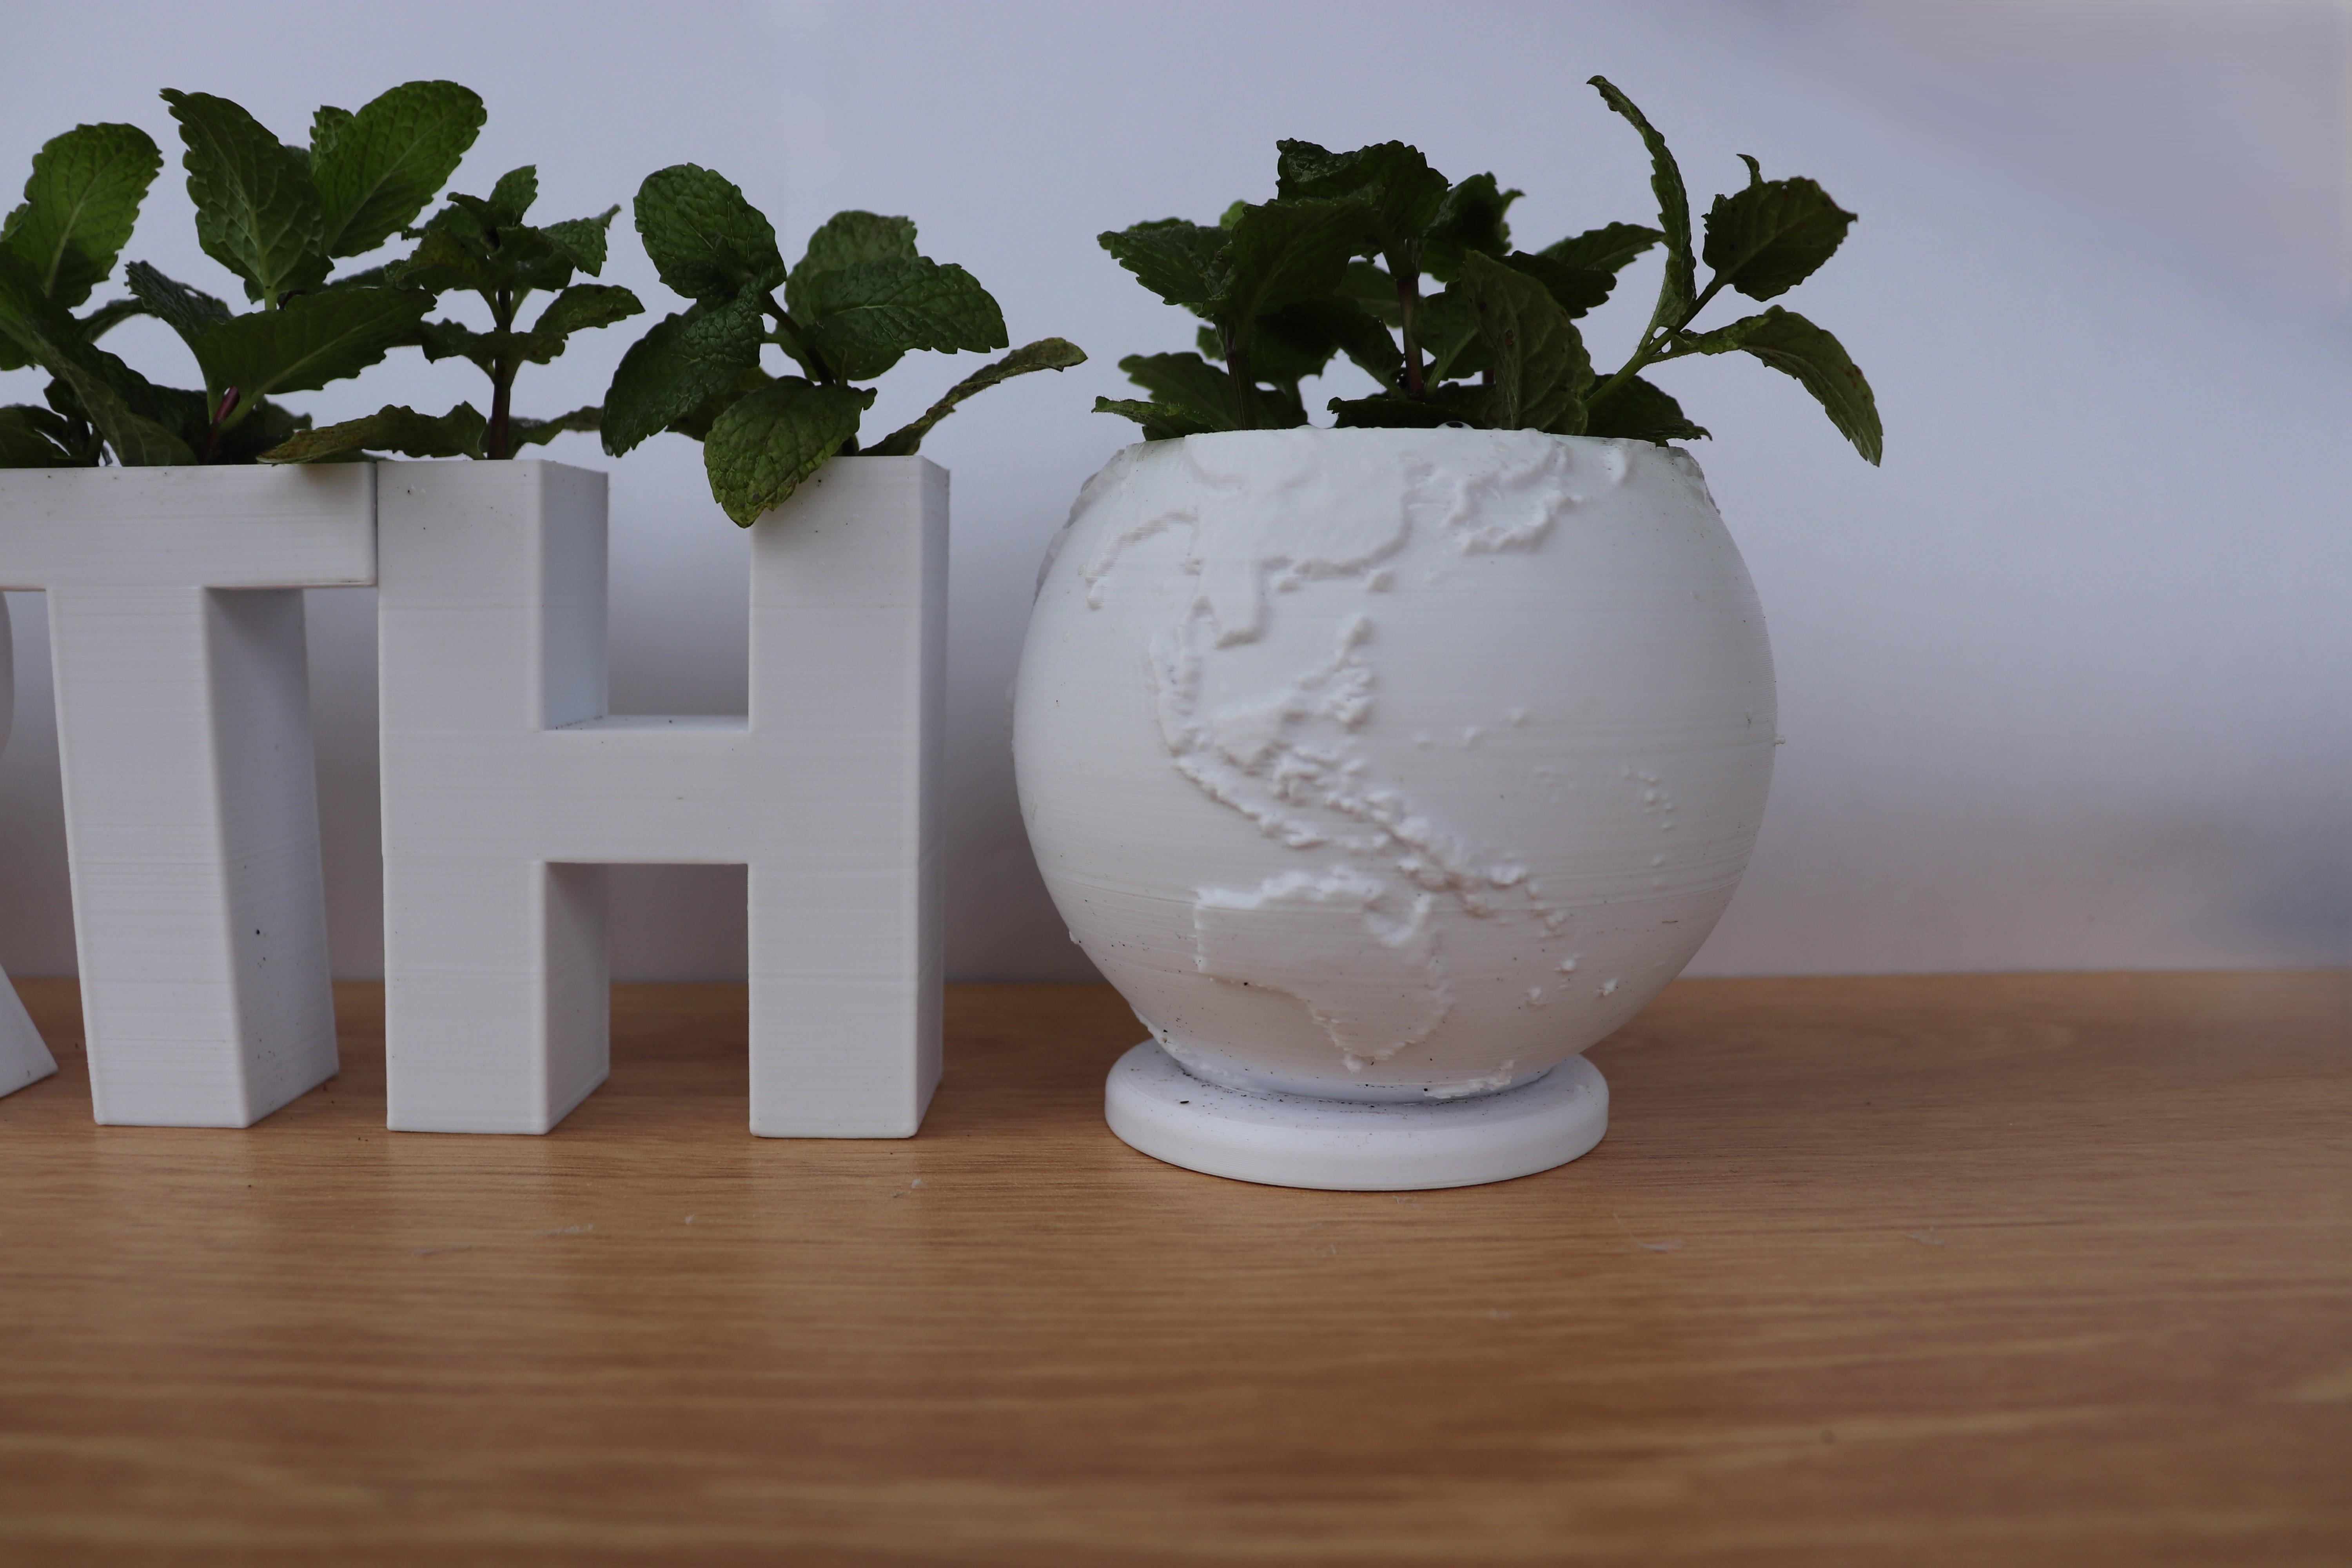
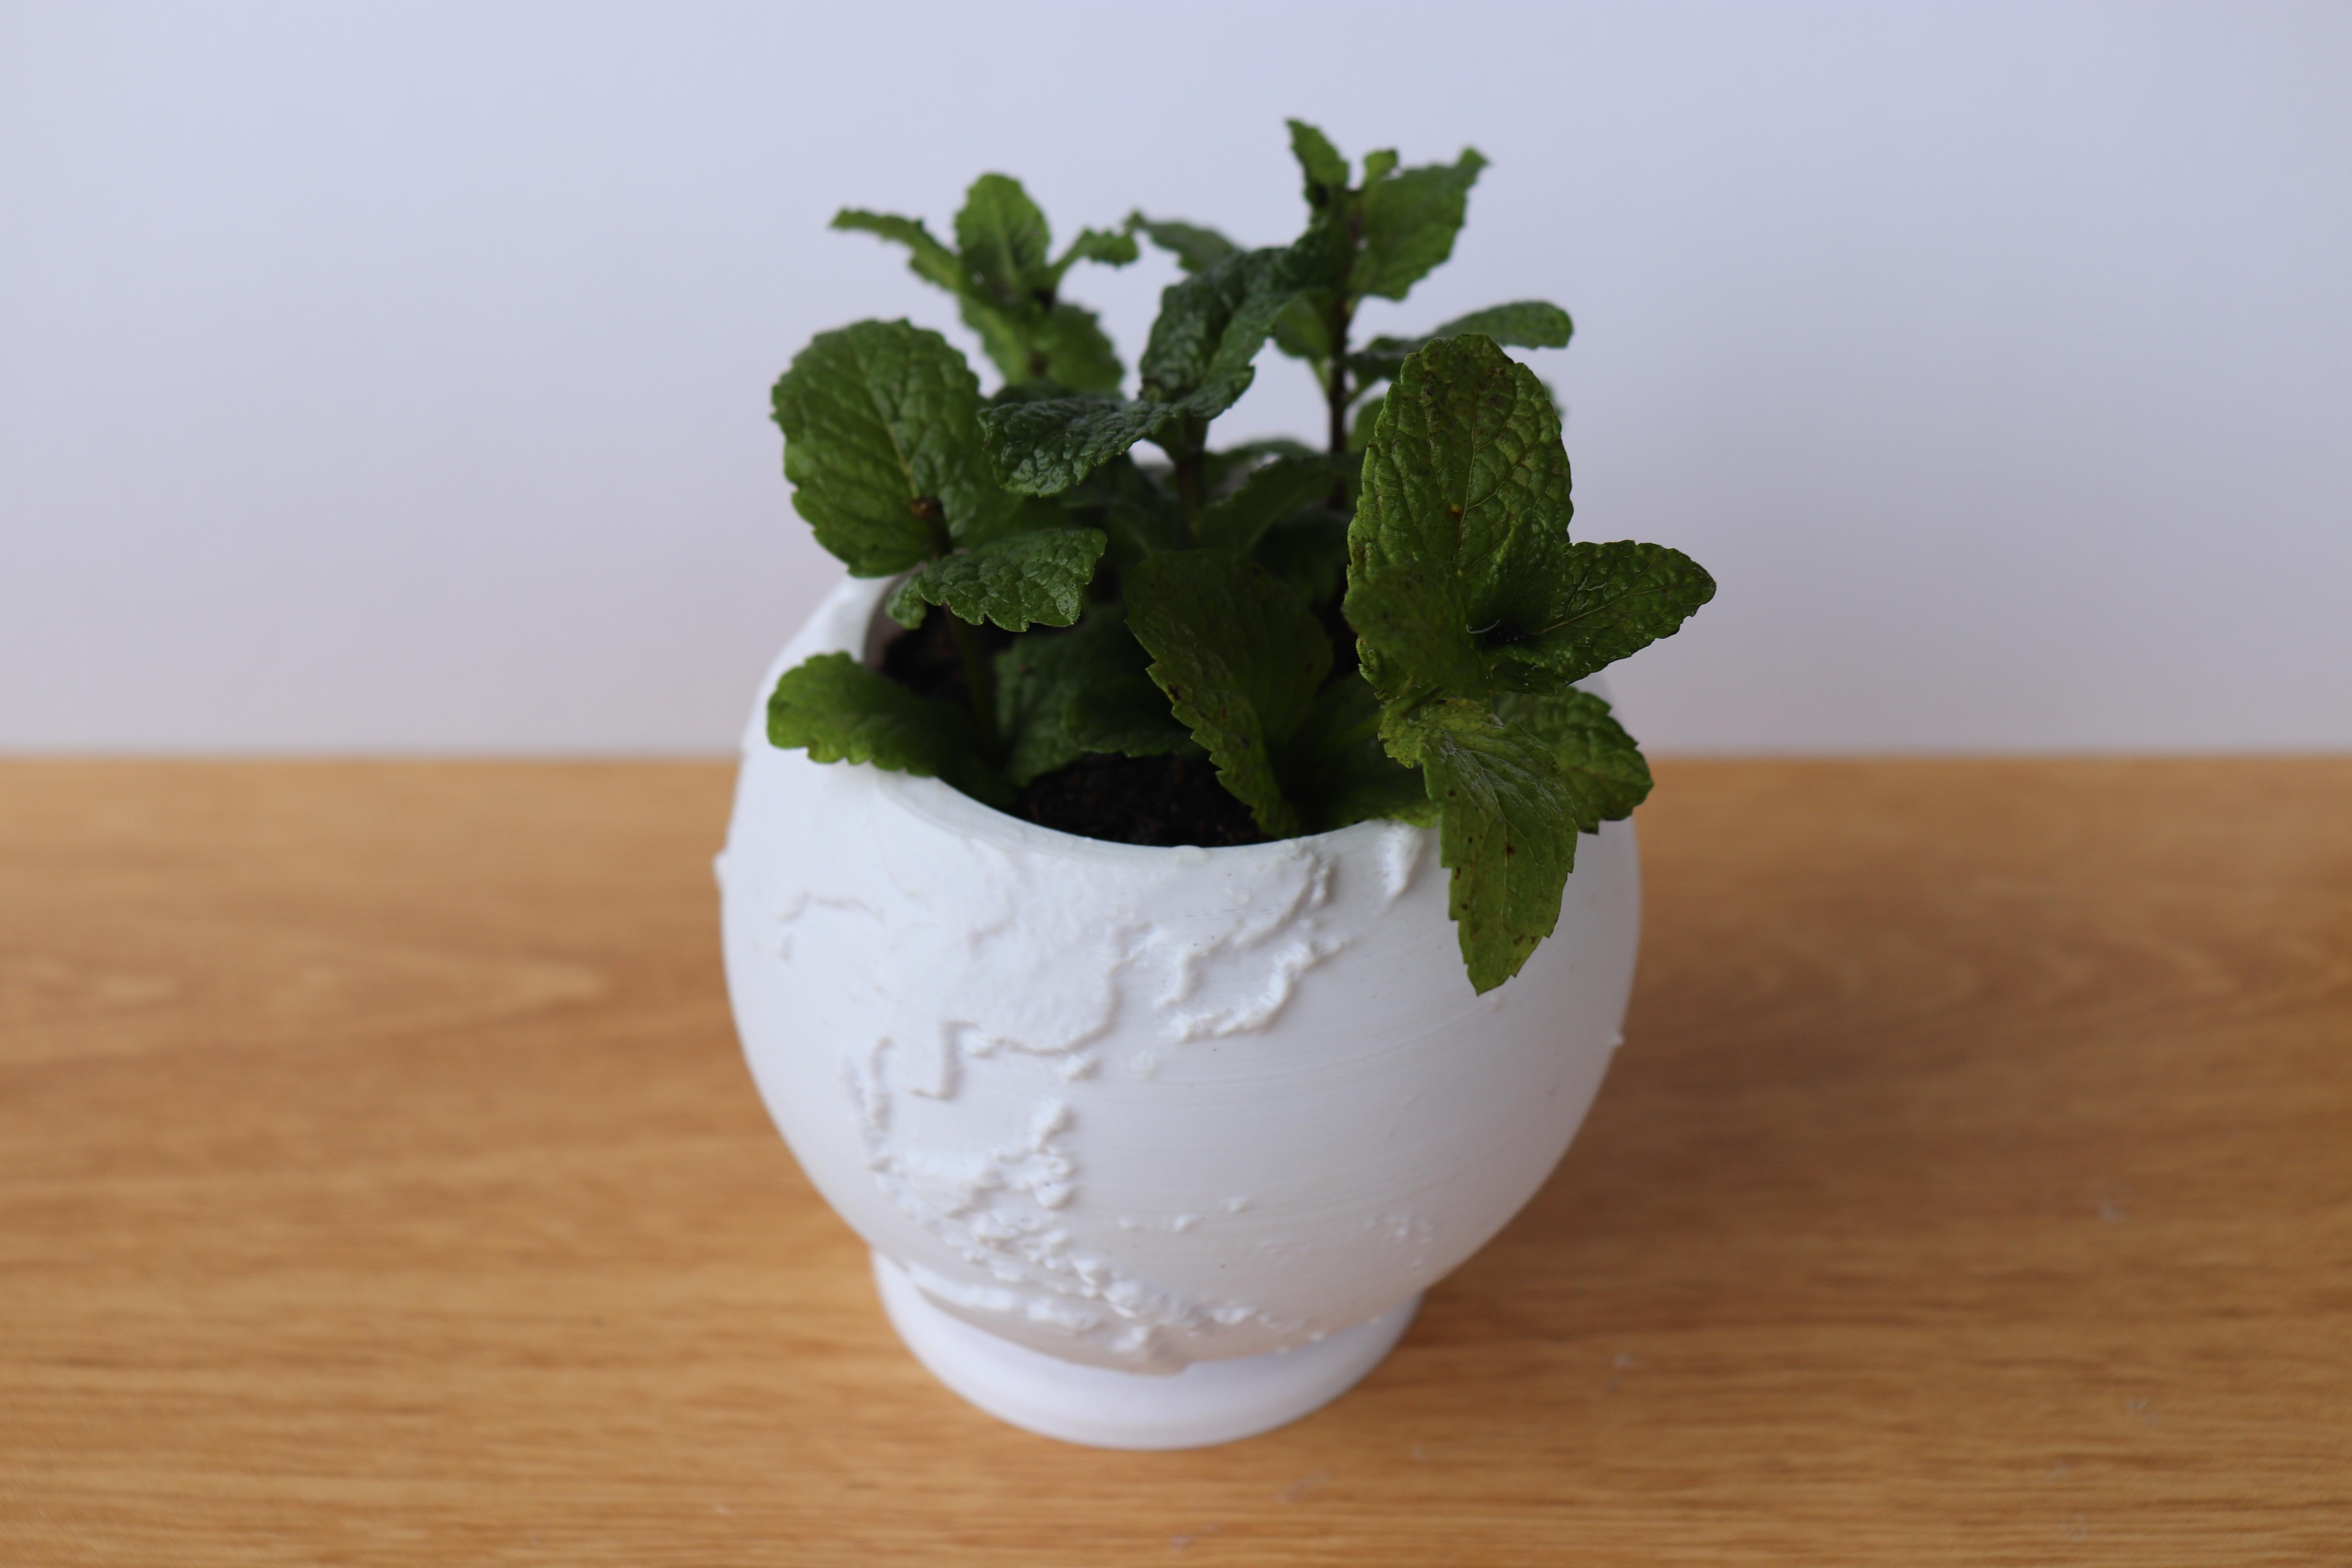
I then went a step further and got a model of Earth and hollowed it out in order to place a small plant inside!
3D Printing
Now, Save your 3D model as an STL file and slice it using a slicing software.
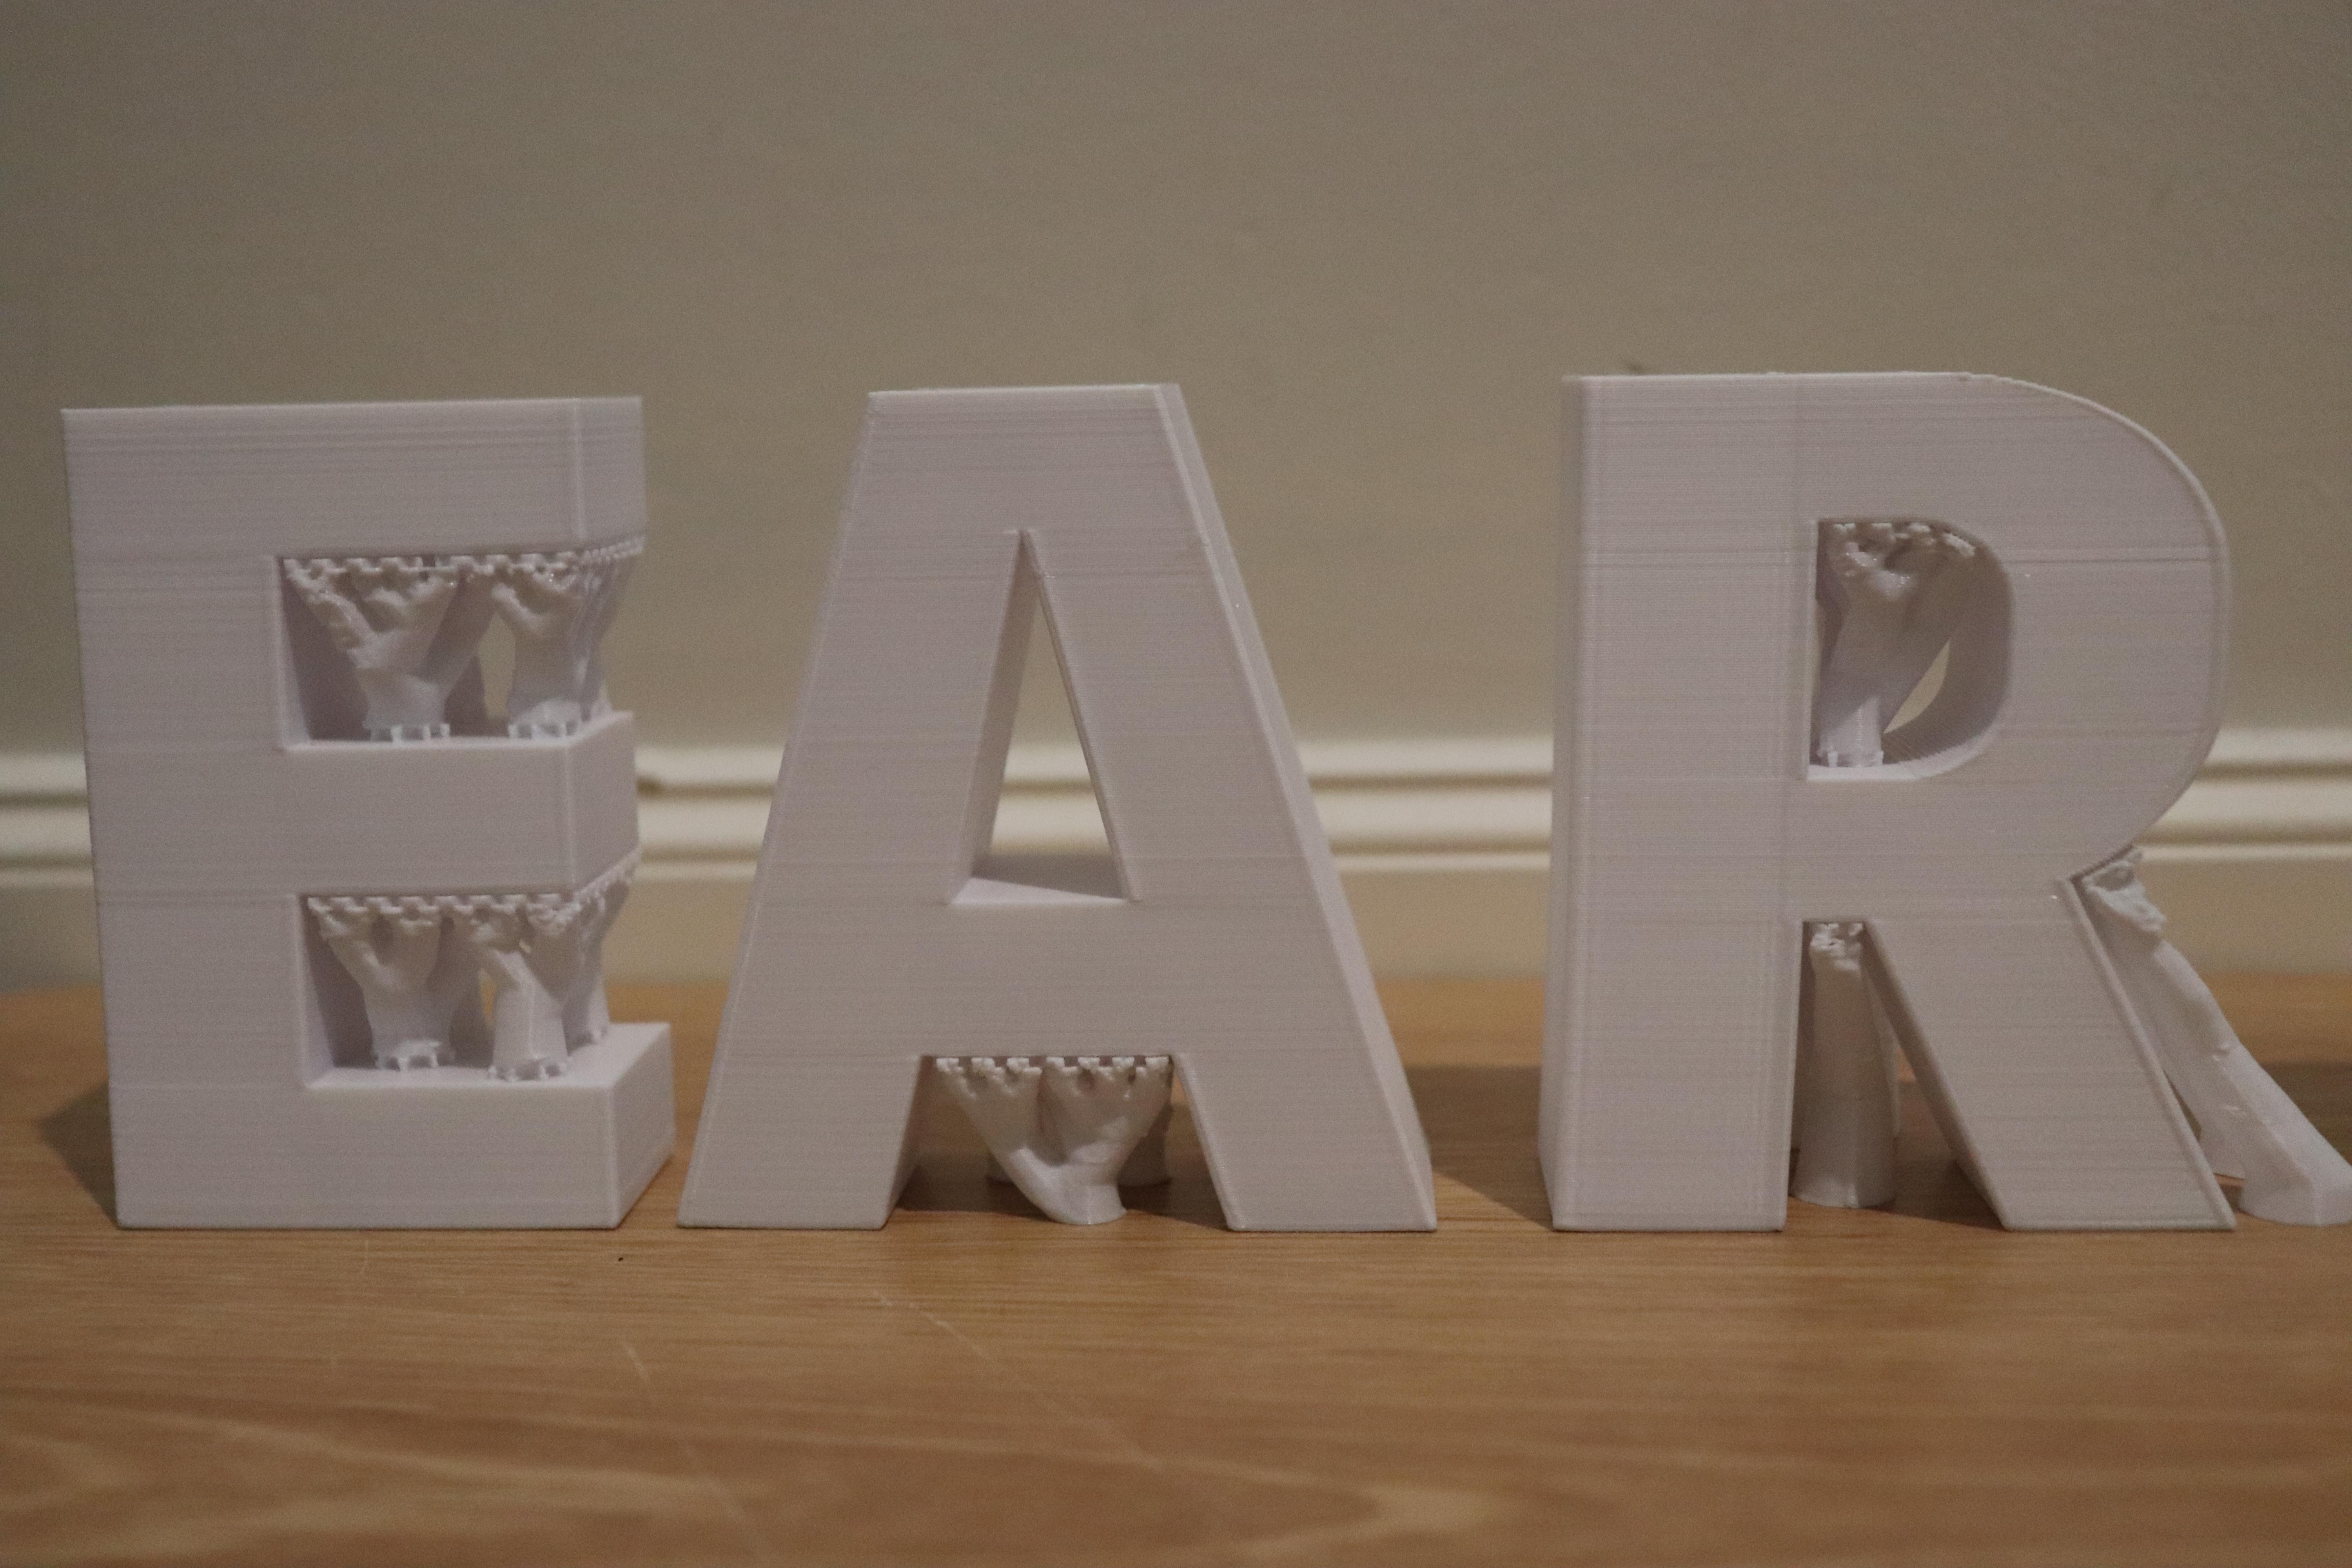
For most letters, you will require some form of support. However, I found that Tree Supports were the easiest to remove and left little to no mess!
Once you have printed your letters, do some post-processing by removing any supports and (optionally) using some sandpaper to smooth out your 3D Print!
PS: I have attached my 3D Models here in case you want to use them!
Planting


Finally, add some potting soil to each letter, filling them up to about 1 inch below the top.
Then, gently place your plants or succulents into the soil and then add more soil around the roots as needed.
Now, give your newly potted plants a good watering, allowing excess water to drain out of the holes!
Display and Enjoy!


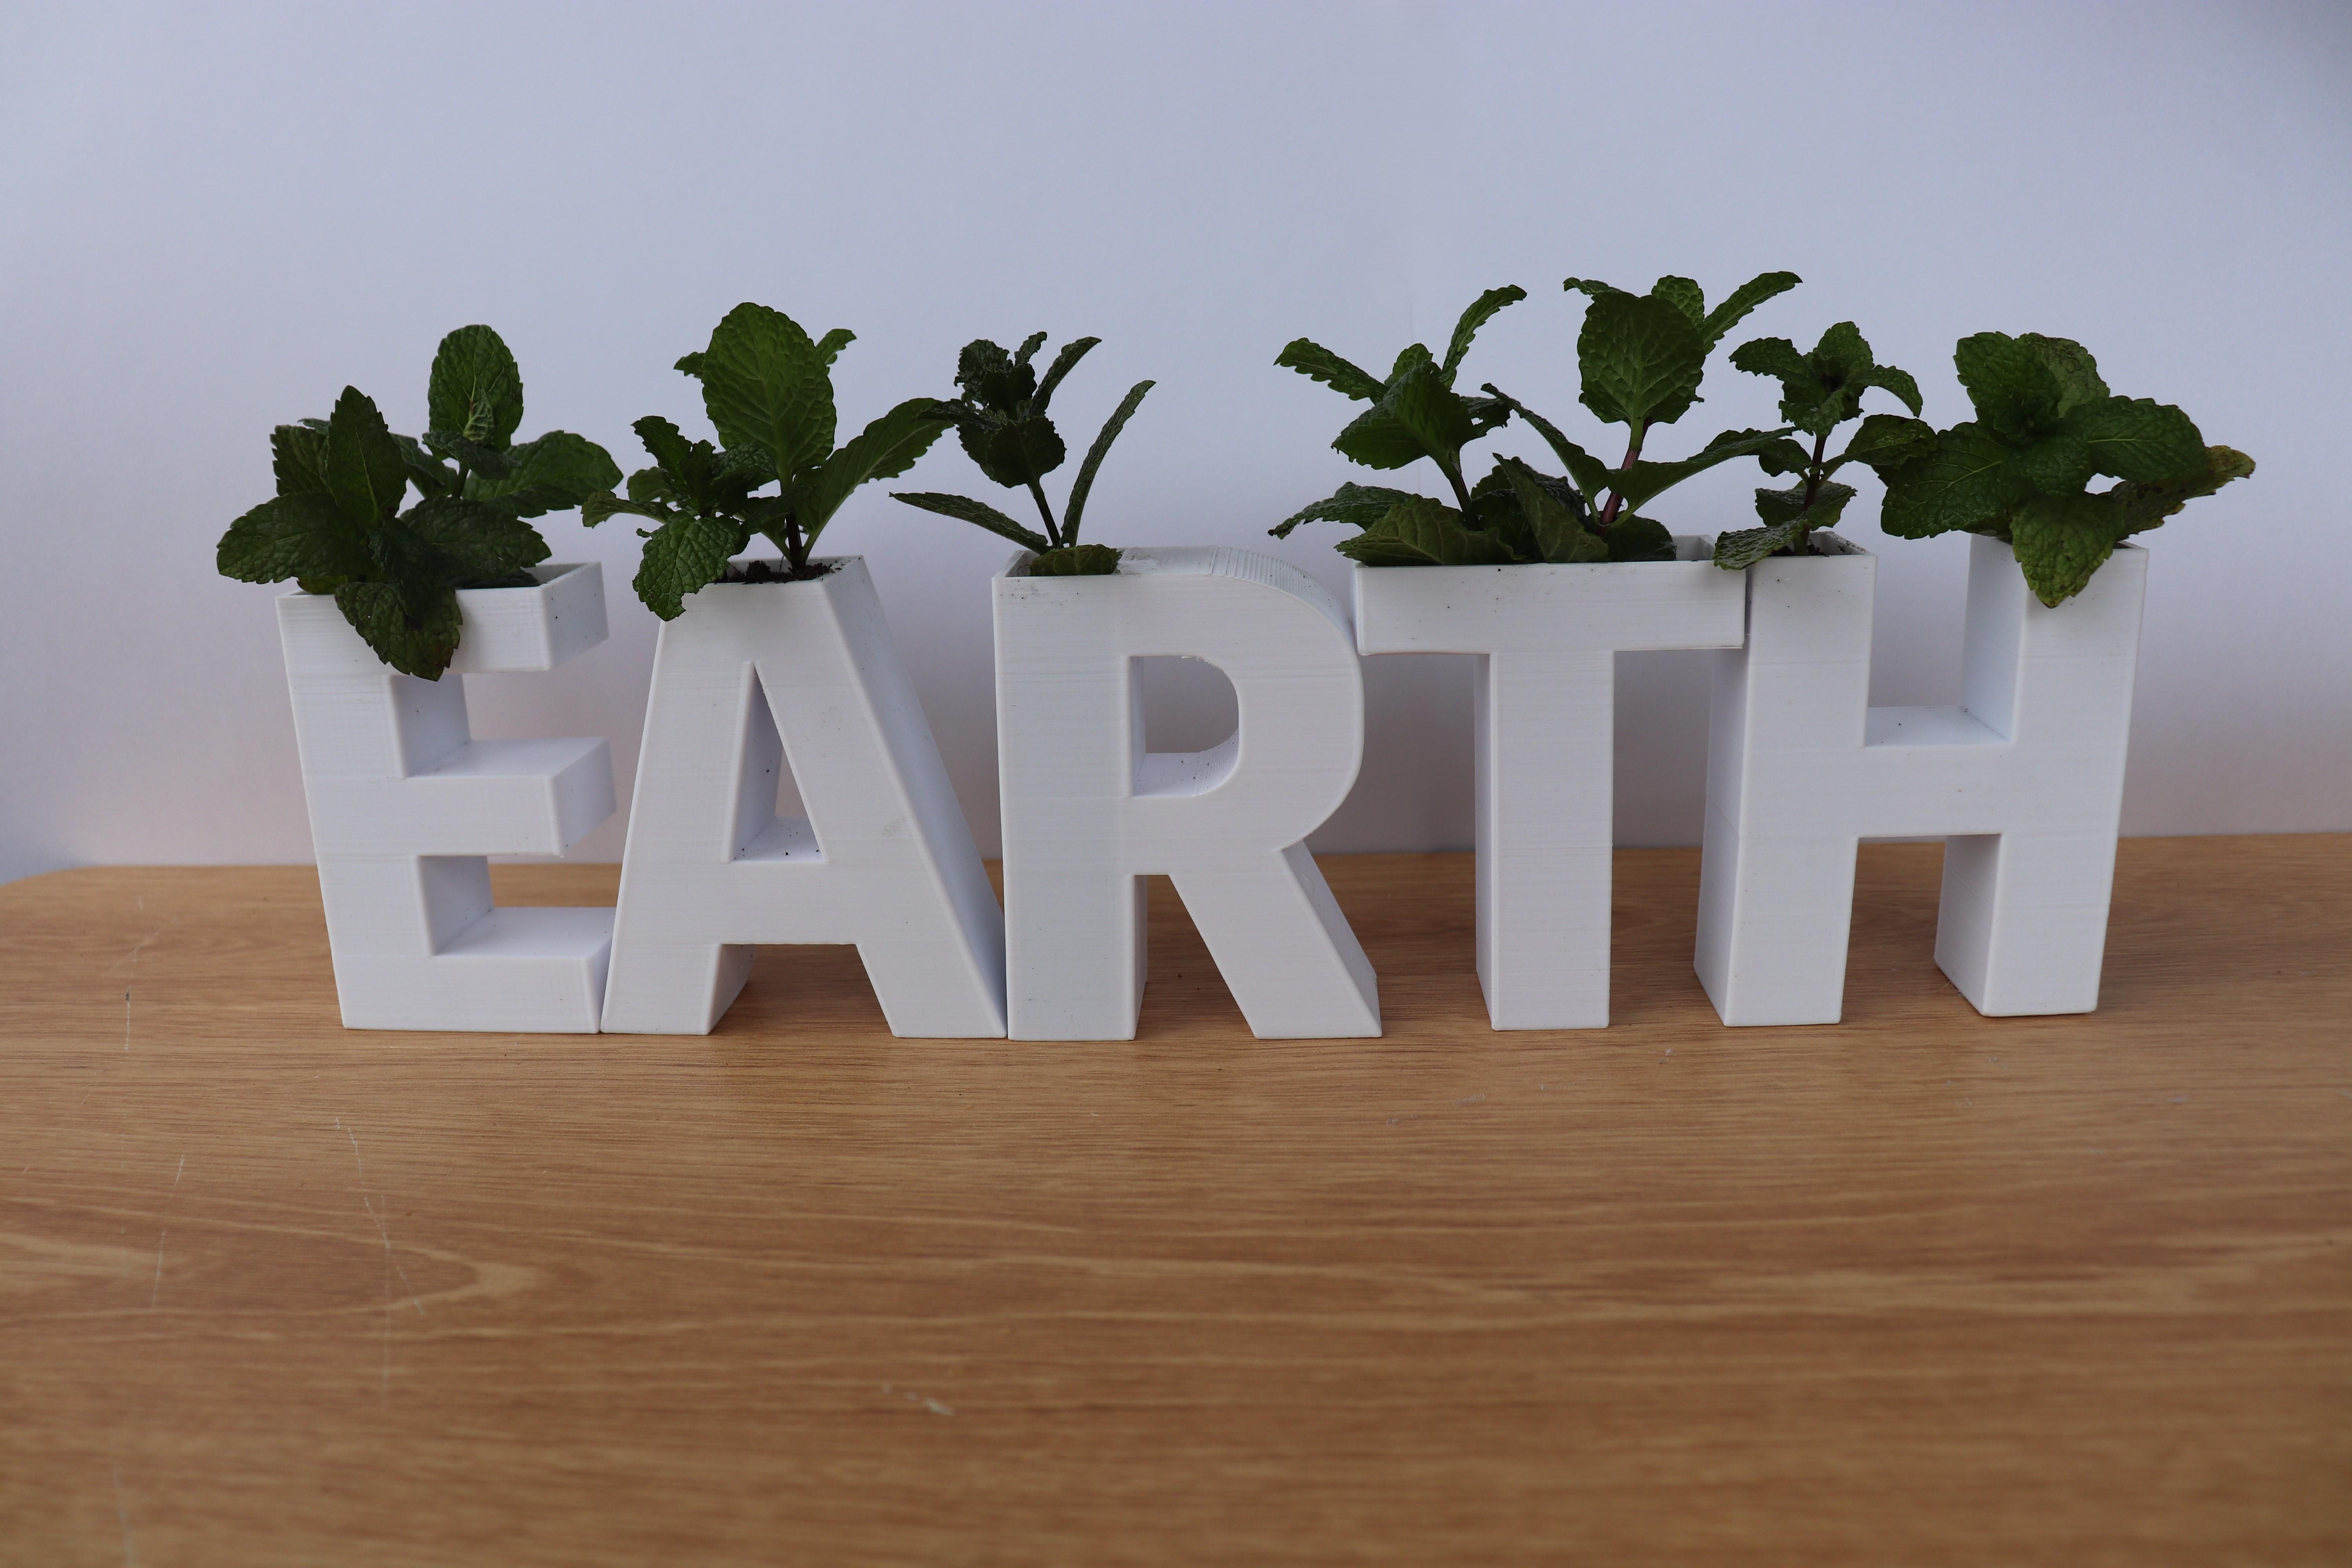


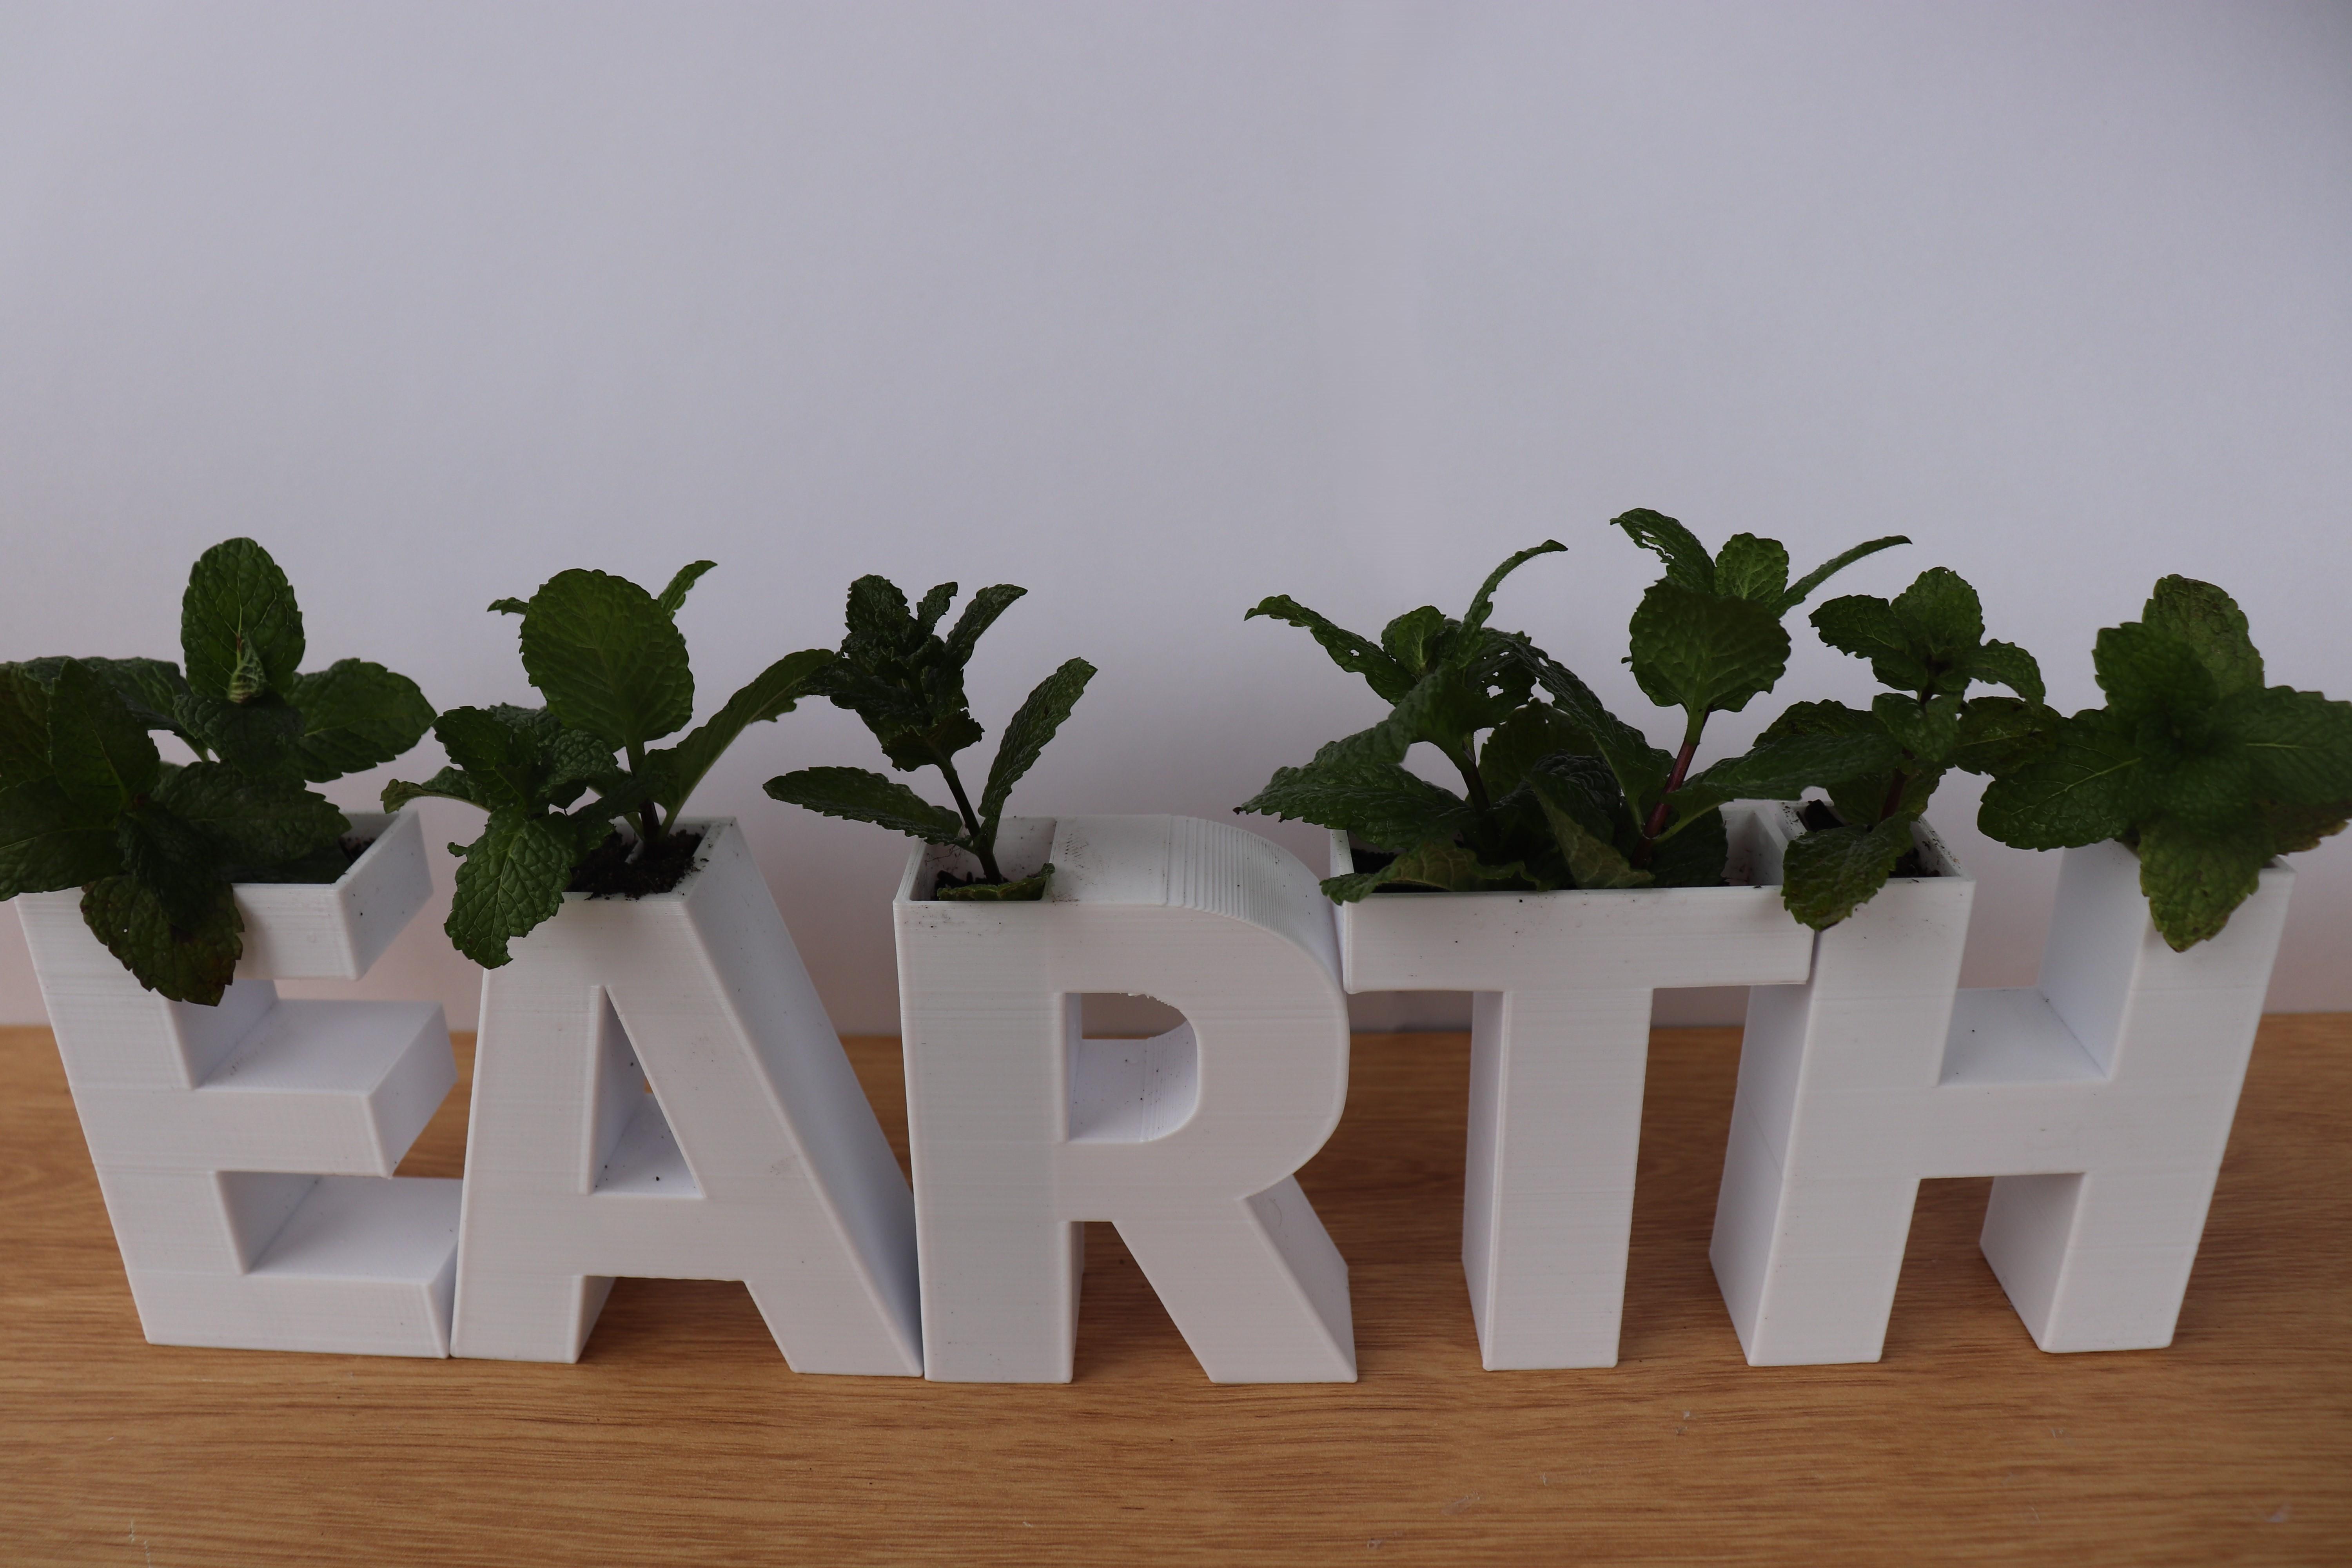
Place your typographic planters in a bright spot where they can get the light they need. Enjoy the fresh greenery and the stylish addition to your decor!
These text planters are a wonderful way to personalise your own space!
I hope you enjoyed this Instructables!