Home Security With Orange Pi
by BoguszJ1 in Circuits > Raspberry Pi
12254 Views, 57 Favorites, 0 Comments
Home Security With Orange Pi

Essentially it is about the same idea like in my previous instructable:
https://www.instructables.com/id/Home-Security-With...
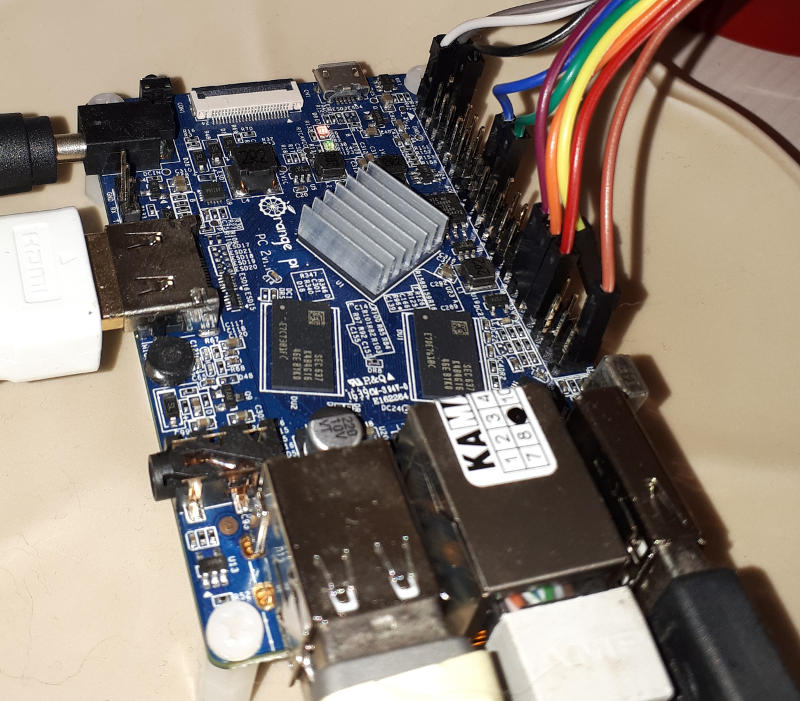
The only change is use of Orange Pi board (my choice was PC2) and one 4050 level shifter to protect boards IOs.
To sum up - a cheap home security system that sends you emails with pictures of your possessions when someone visits your appartment unexpectedly. A system which is easily armed and disarmed the more conservative way than you could expect - a switch and a RFID tag. Sorry, I like it a lot ;-)
You can get an Orange Pi for 10$ , a USB camera maybe 2$ (actually I use two clumsy junk ones!), the rest maybe 30$ all together.
To be more specific about what you need - an OPi board, its power supply, 74HC4050 level shifter, one or more PIR motion sensor, a RFID reader, a momentary switch, two LEDs, 2x 220Ohm + 1x 10kOhm resistors, a breadboard and cables for connecting all together, and USB cameras of course.
Wiring

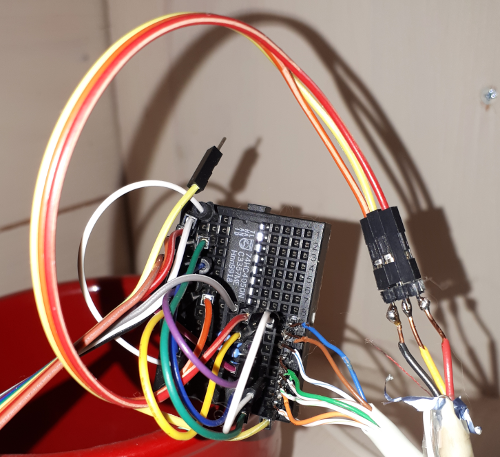
My configuration and source code use 2 cameras with 2 PIR sensors. This pullup resistor for the switch is used because ... I didn't have time to look through pyA20 library docs, after a few days I accedentally found the right call (see README.txt in the directory which you are going to get with the GIT - see next step), so you may change the code and get rid of it. I use PC2 board but other Orange Pi boards have similar IOs. The 4050 level shifter is used bacause sensors and the RFID reader use 5V but the OPi board accepts 3V (or 3.3V if you like). Important - wire all "ground" signs to one of the boards GND! Do not forget to plugin your USB cameras ! :)
Software

The sequence below will assume that you install Raspbian_desktop_lxde_For_PC2_H5_V0_1.img on your SD card. You may be advised to use Armbian instead but I have not tested it.
1) passwd - change the password of orangepi user, which is orangepi initially.
2) This Raspbian comes with chinese local, so put this to /etc/default/locale and reboot:
LC_ALL="en_US.UTF-8"
LANG="en_US"
LANGUAGE="en_US:en"
3) I extended the initial partition with fdisk /dev/mmcblk0 , reboot and resize2fs /dev/mmcblk0p2 . You will find some tutorials on that with Google.
4) sudo apt-get update
5) sudo apt-get install build-essential
6) sudo apt-get install python-setuptools
7) sudo apt-get install python-dev
8) sudo easy_install pip
9) sudo pip install pyserial
10) sudo pip install pyA20
11) sudo apt-get install git
12) git clone https://github.com/duxingkei33/orangepi_PC_gpio_p...
13) cd orangepi_PC_gpio_pyH3
14) sudo python setup.py install
15) get the code from (I will try to put it to the Github soon; I put it under GNU public, feel free to redistribute!):
https://github.com/boguszjelinski/rpi-alarm
I mean opi-alarm.py.
16) sudo python opi-alarm.py
Remember to change IO names if you use other board or wiring. If LEDs begin to blink, then maybe wiring and software is OK.
17) sudo apt-get install streamer
18) install postfix just as described here:
Final Considerations

Run 'sudo python opi-alarm.py'
You may also use
nohup sudo python opi-alarm.py &
and logout from the terminal.
If you run the program and there is no rfid.txt file in the local directory (why should there be one?) then your security system goes into learning mode - it waits for you to put your RFID badges to the reader. If it reads one then the green LED is on a bit longer. After you have shown all you badges to the reader - press the button! A 2 sec red light confirms completion of learning - rfid.txt gets generated, it should contain 10-character codes.
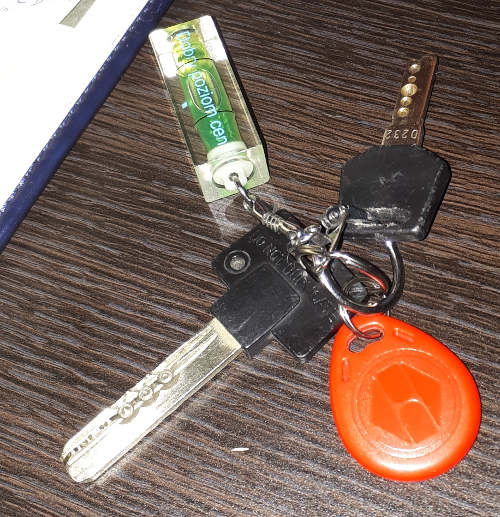
Attach now RFID tags to your keys. The system now waits to be activated (armed).
You can press the switch once again and go into the range of PIR sensor after 10 seconds. You should get a nice picture to you email box ;-)
See the initial Raspberry Pi tutorial for the different LED signals (needs to be updated, the learning mode is a new feature).
Next tutorial - using GSM module, maybe MMS instead of Postfix.
UPDATE 27.05.2018
Streamer sucks, it sometimes gets crazy, maybe only with my junk cameras. After a week with CV2 - it works like a charm. In order to use the code I have just submitted to GitHub:
apt-get install python-opencv
apt-get install imagemagick
Maybe one more thing - one of my cameras used to disapear as a device, so each time I will get images I run this first (reload of kernel module; maybe could be done simplier):
os.system ('modprobe -r vfe_v4l2 && sleep 1 && modprobe vfe_v4l2')