Home Lights

This project is for the Smart Cities Hackathon. The project objetive was to find a way to control the lights and develop a cheap and practical kits to get smart your house.
Configuration
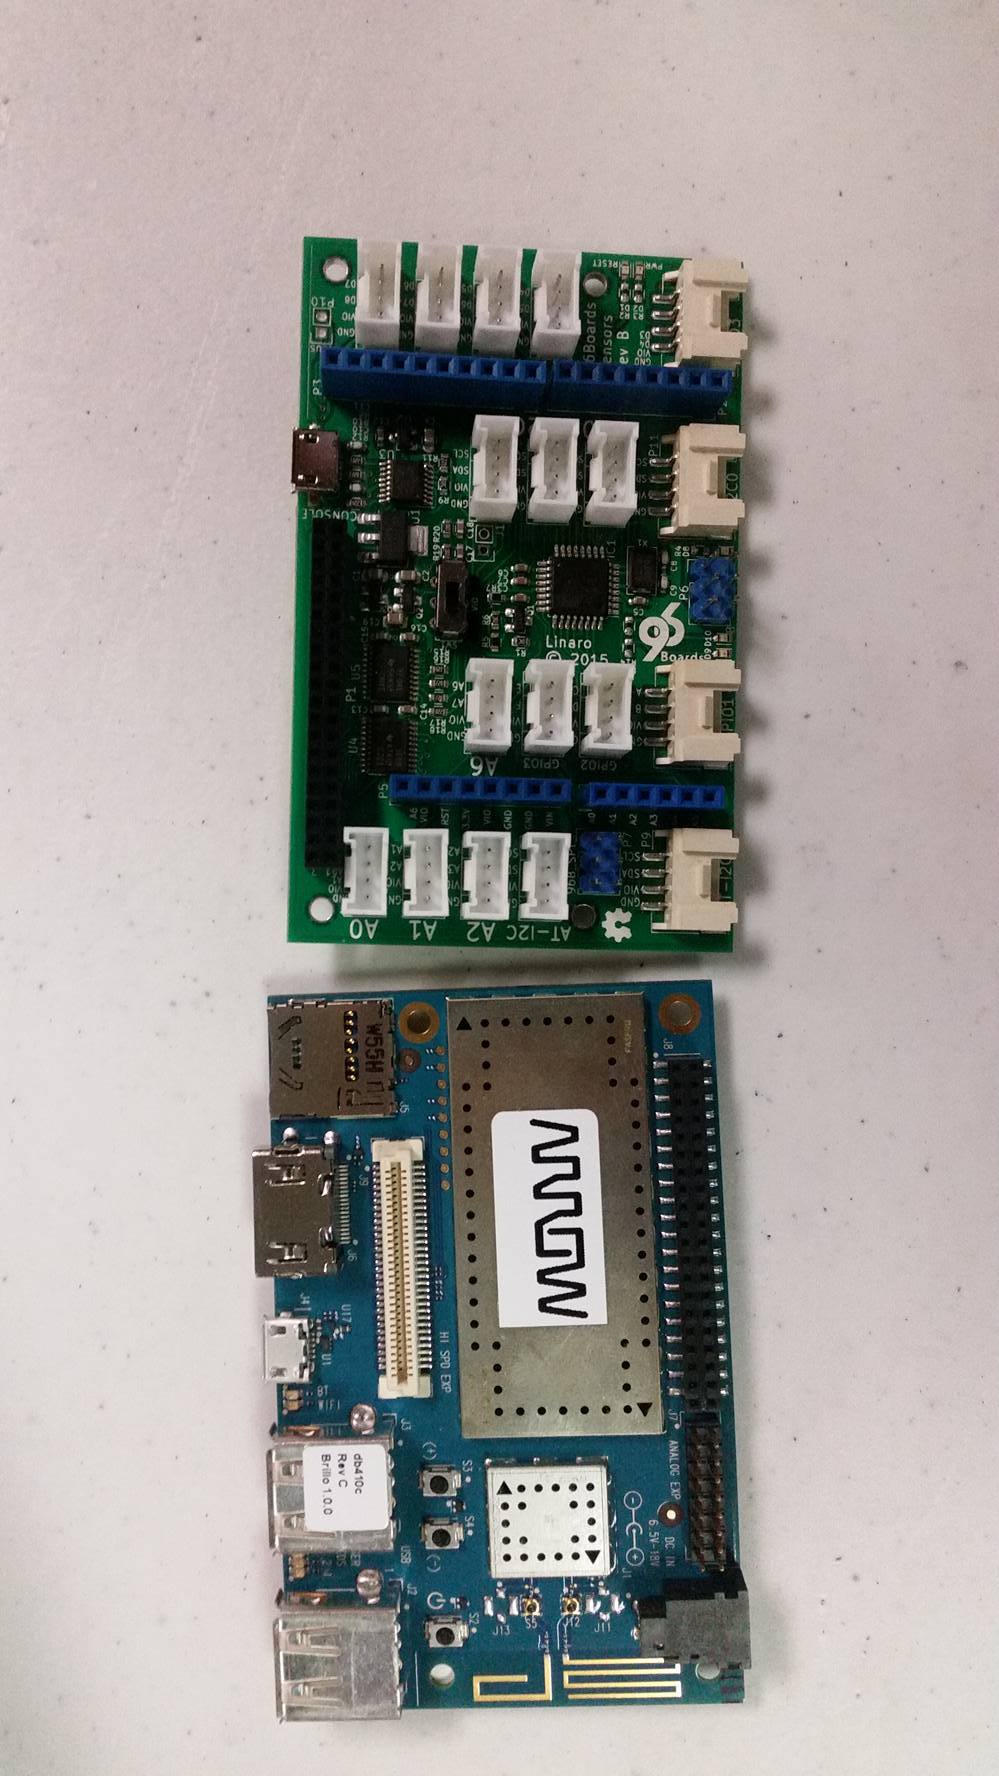
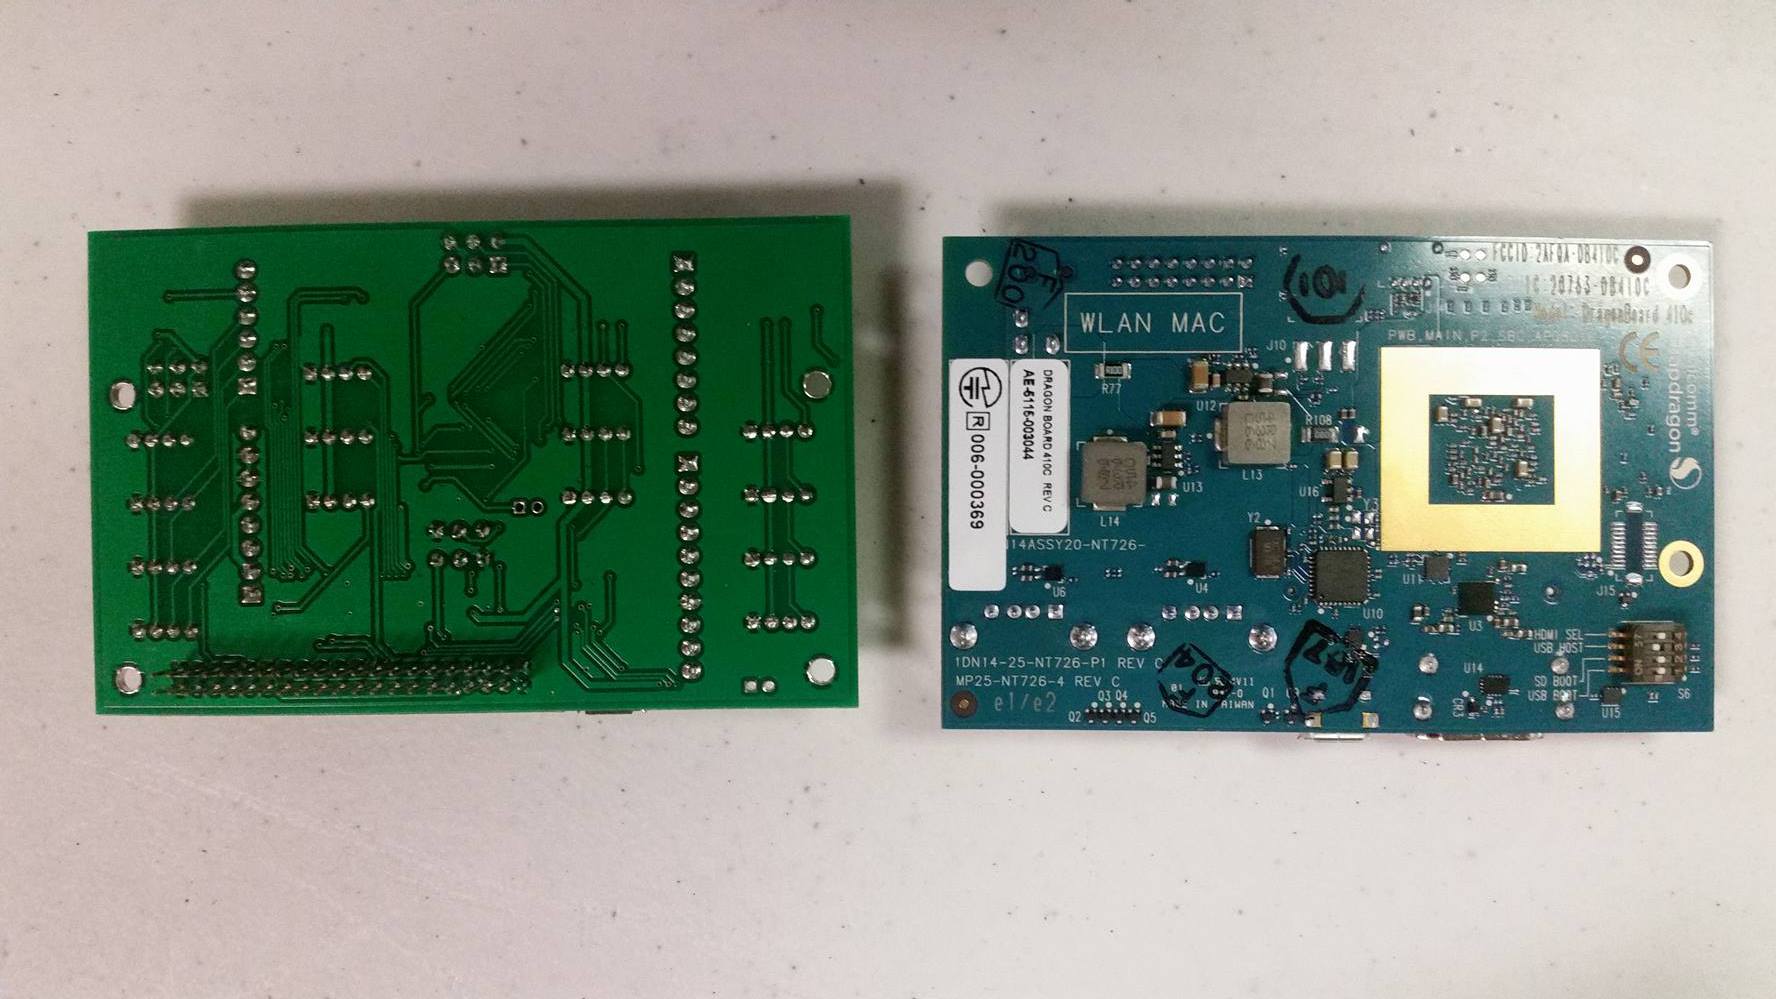
Hardware setup
In this phase, you will configure the DragonBoard 410c for the purposes of this workshop by setting up a wireless Internet connection and installing some software packages.
1. Connect the HDMI monitor, USB Keyboard and USB mouse. Do not power the DragonBoard 410c yet.
2. Turn on the monitor while the DragonBoard 410c is still unpowered.
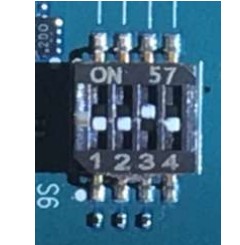
3. In the backside of the DragonBoard check that the switches are in the positions 0-0-1-0 as it seems in the picture below.
4. Only after all peripherals from step 1 are connected, plug in the provided power adapter.
5. Wait for the onboard LED lights to flash, and you should see the booting up on the monitor after a few seconds.
Getting Software Ready

Wireless Network Setup
Parts of this workshop will require access to the Internet, so now you will configure the wireless network connection.
Installing New Software
We’ll need to install a few software packages for this workshop. First, we will install gedit, a popular and easy-to-use Linux text editor. Open a terminal window by clicking the ‘Start’ button in the bottom-left corner, and select System Tools → UXTerm (or LXTerminal or XTerm).
When the terminal window comes up, type in the following commands in the exact order that follows:
Every one of the UNIX commands will take several minutes to complete. Wait for each command to complete before typing in the next command.
Install the Libraries


For the purpose of this workshop we will
need to install the libsoc library to use the GPIO pins of the DragonBoard 410c and to do this we will enter to the terminal and write the following commands:
This will install de libsoc library:
This will install the 96boards GPIO library:
This commands will install the MRAA library:
And finally, this command will install the Arduino:
To finish this process, you will need to reboot the system to save the changes:
Bluetooth Program
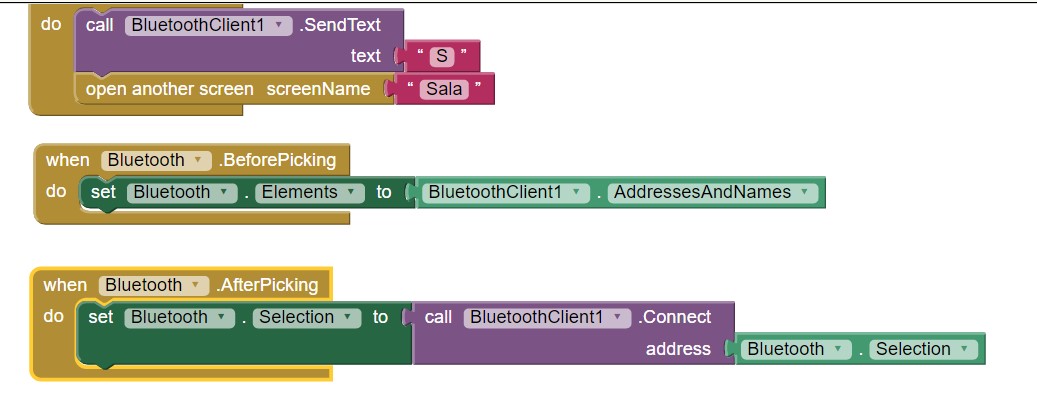
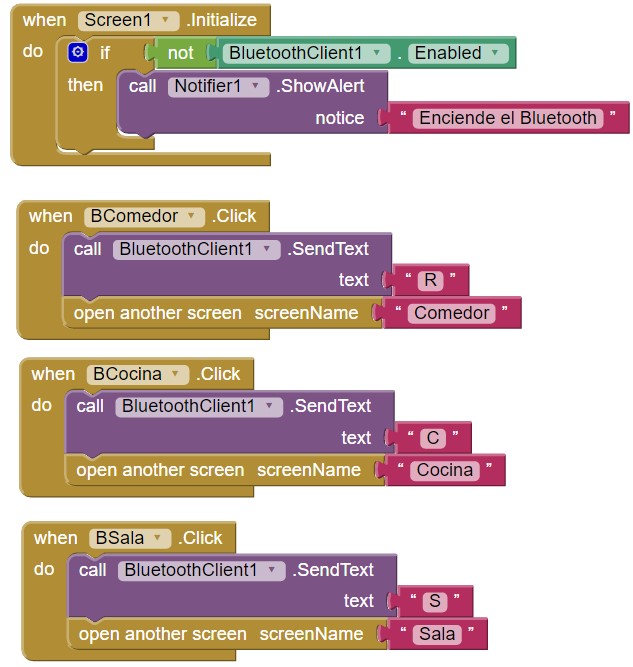
For the purpose of this project we develop an aplication for Android in the MIT App inventor. The code of the app is in the following picture.
The main screen also named screen 1 function is to
connect the cellphone with the dragon board, it also shows a notification to let know the user that Bluetooth is off.
Screen 1 also sends a character depending on which button is touched.
the Bluetooth Continuation
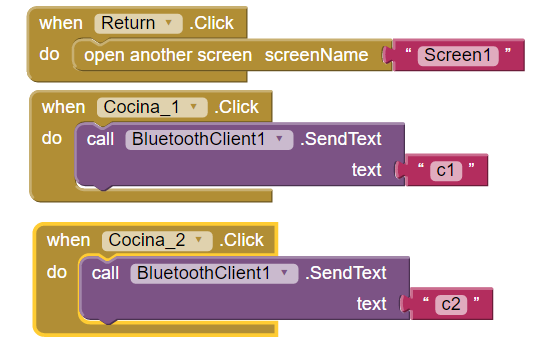
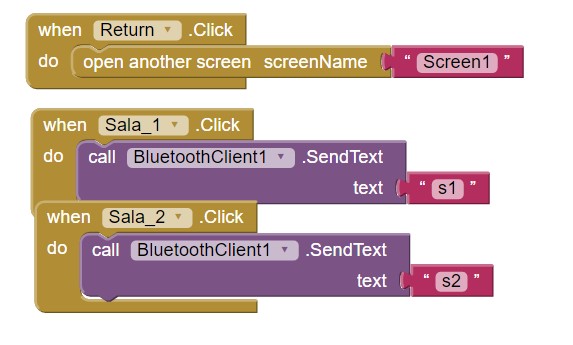
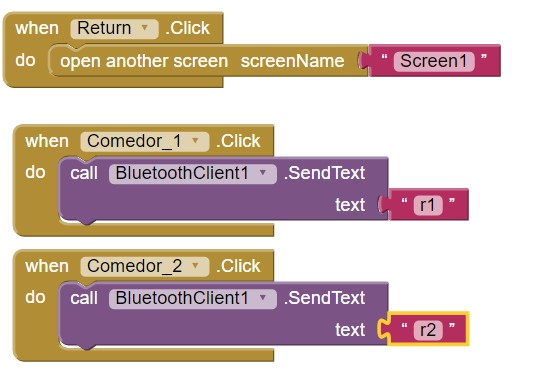
This display
is opened when the user selects “Cocina” on the screen 1.
This screen has 3 buttons, 2 for turning off/on lights and one for the return to screen 1.
The other two images do exactle the same for the other rooms “Sala and Comedor”
Make Your Own Lights
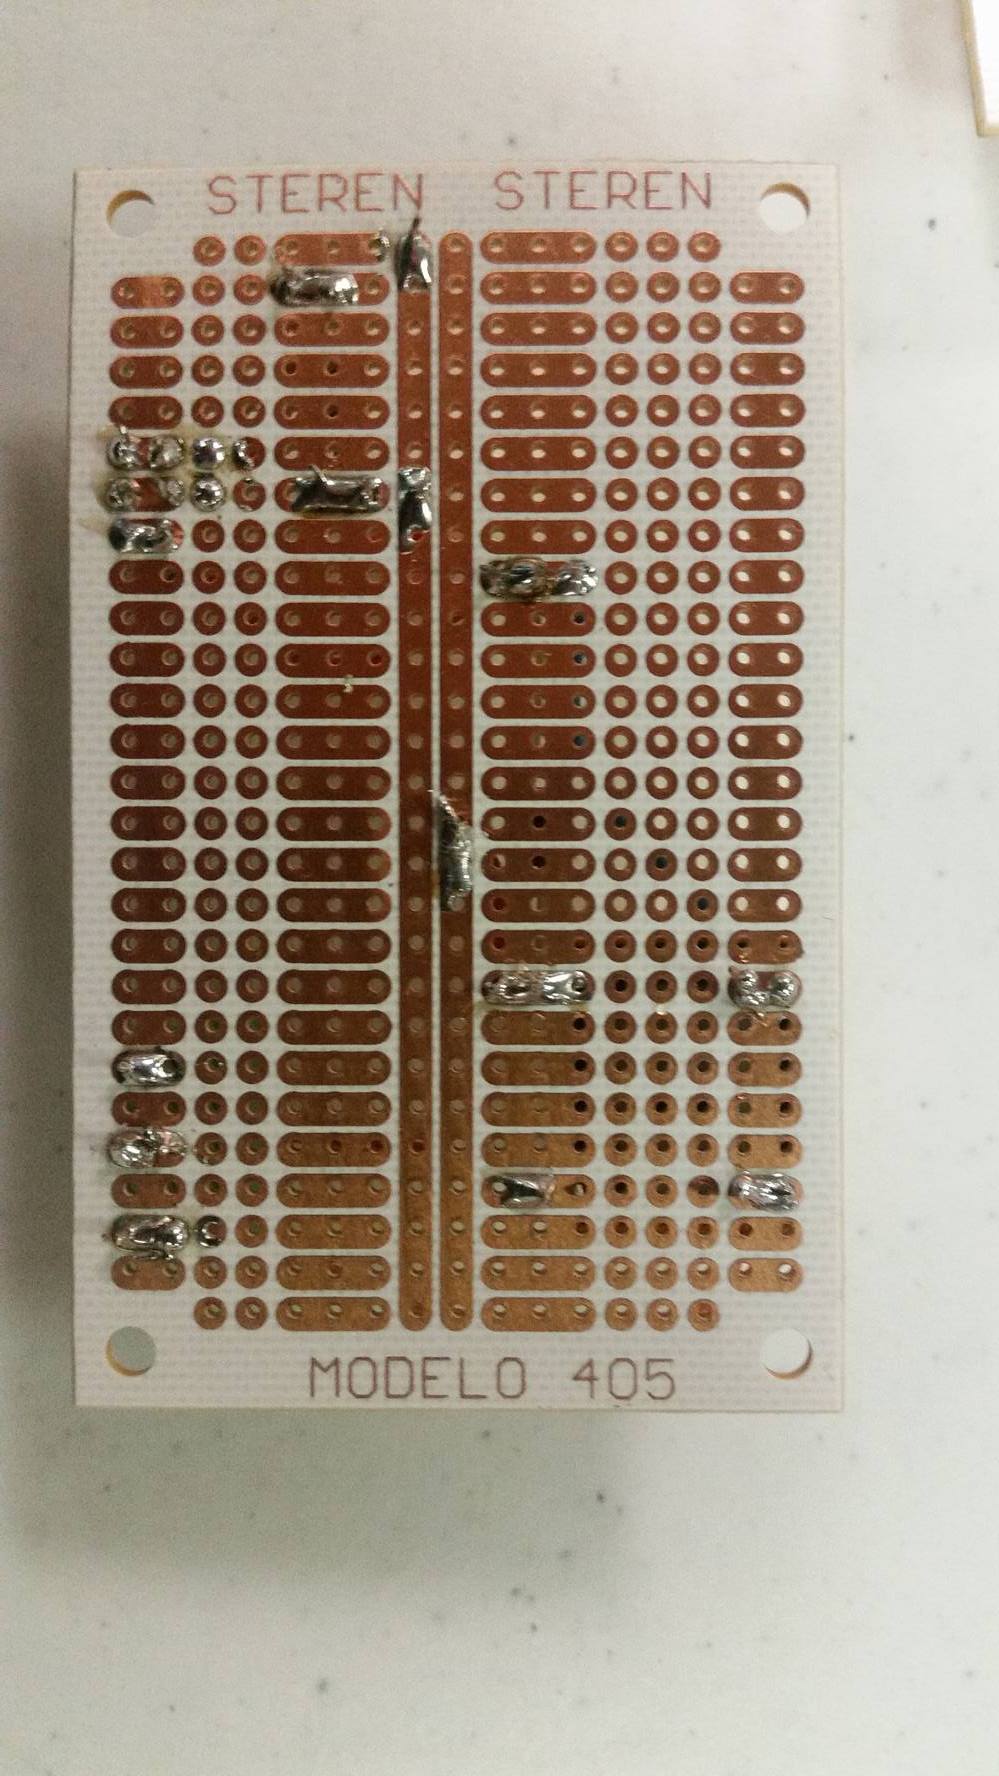
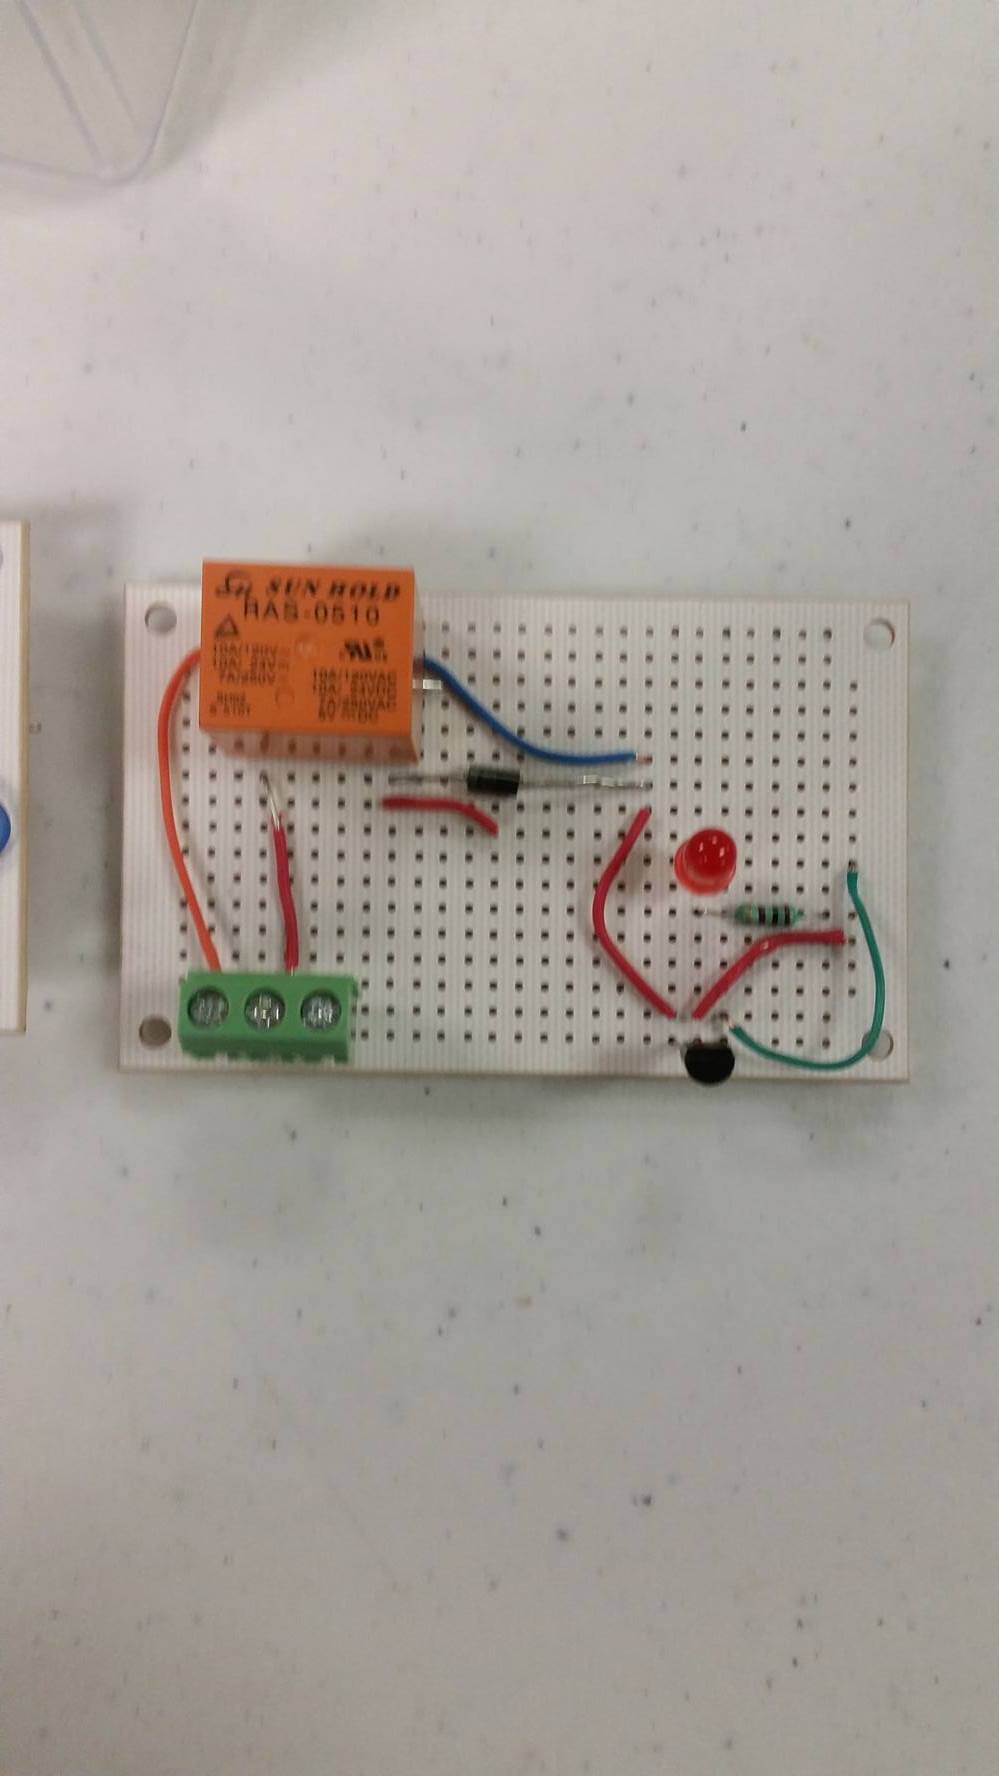
We made a prototype to prove the function of the lights with a relay. In the picture below we show the circuit alredy made.
Connect the GPIO to the Lights Circuits.
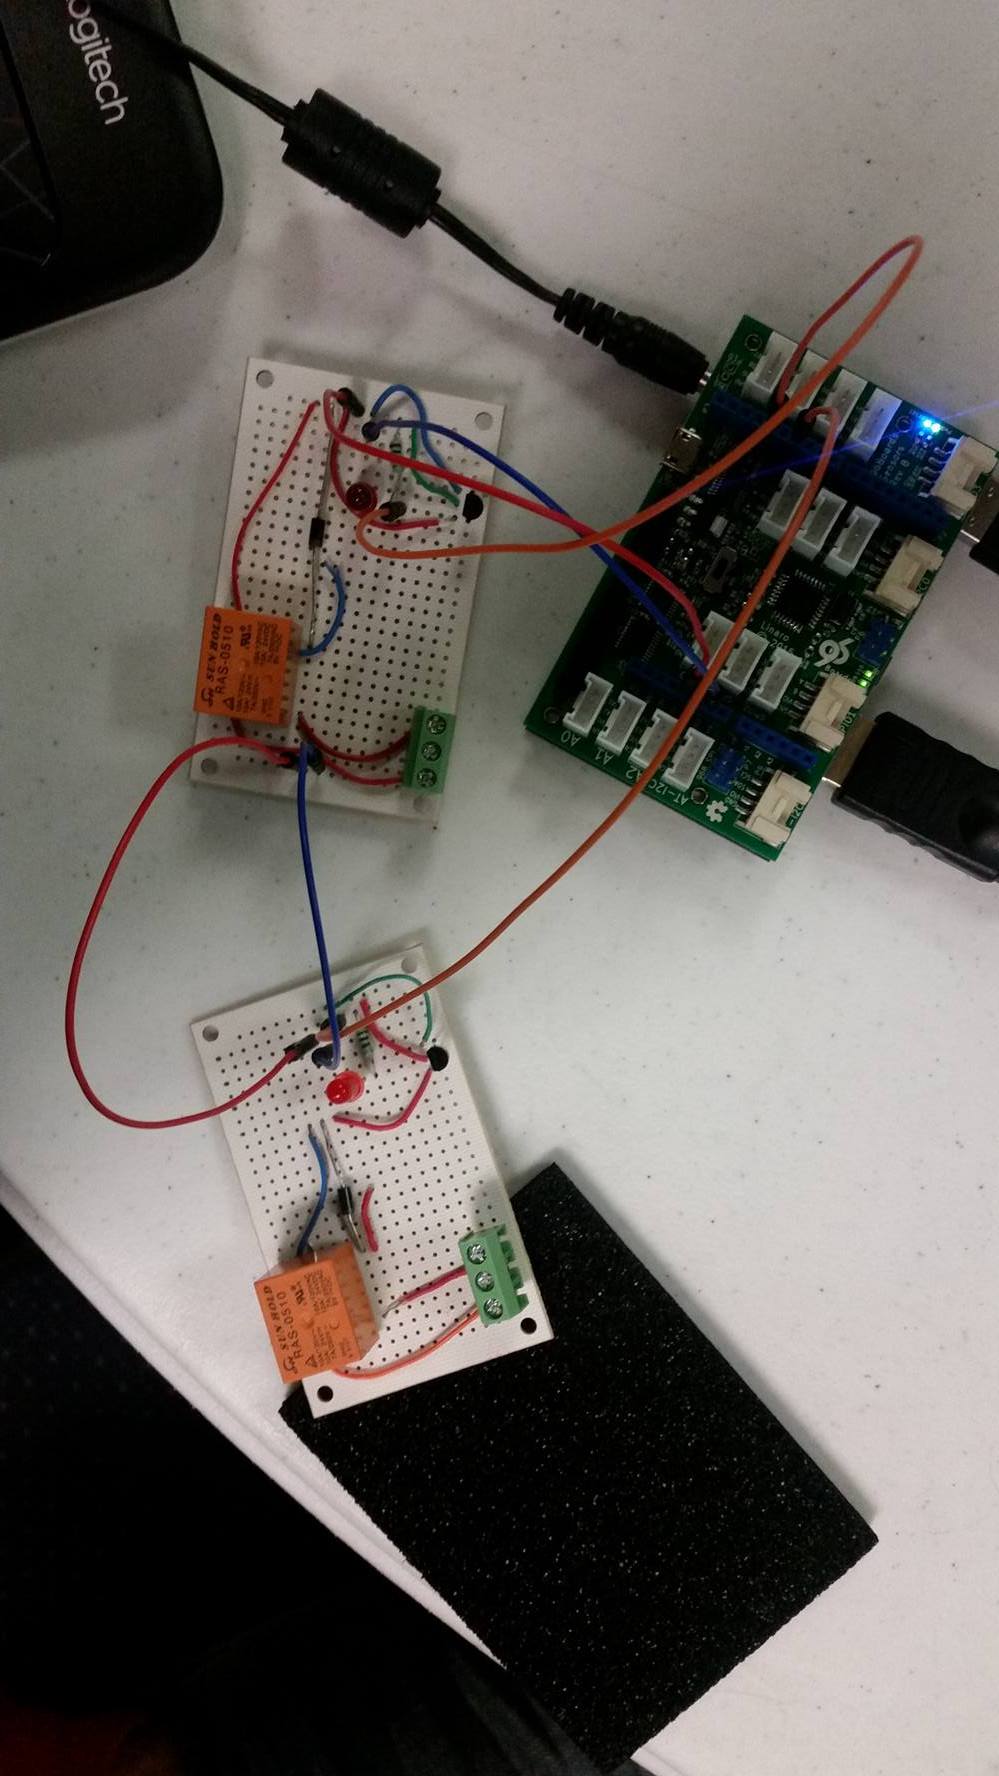
In this step we only need to conect the GND, the output of the DragonBoard and the current to the circuit.