Home Automation With Google Assistant, Node Mcu, Android App, Ir Remote, Control 8 Relay Switches
by amitsamanta in Circuits > Microcontrollers
3706 Views, 11 Favorites, 0 Comments
Home Automation With Google Assistant, Node Mcu, Android App, Ir Remote, Control 8 Relay Switches
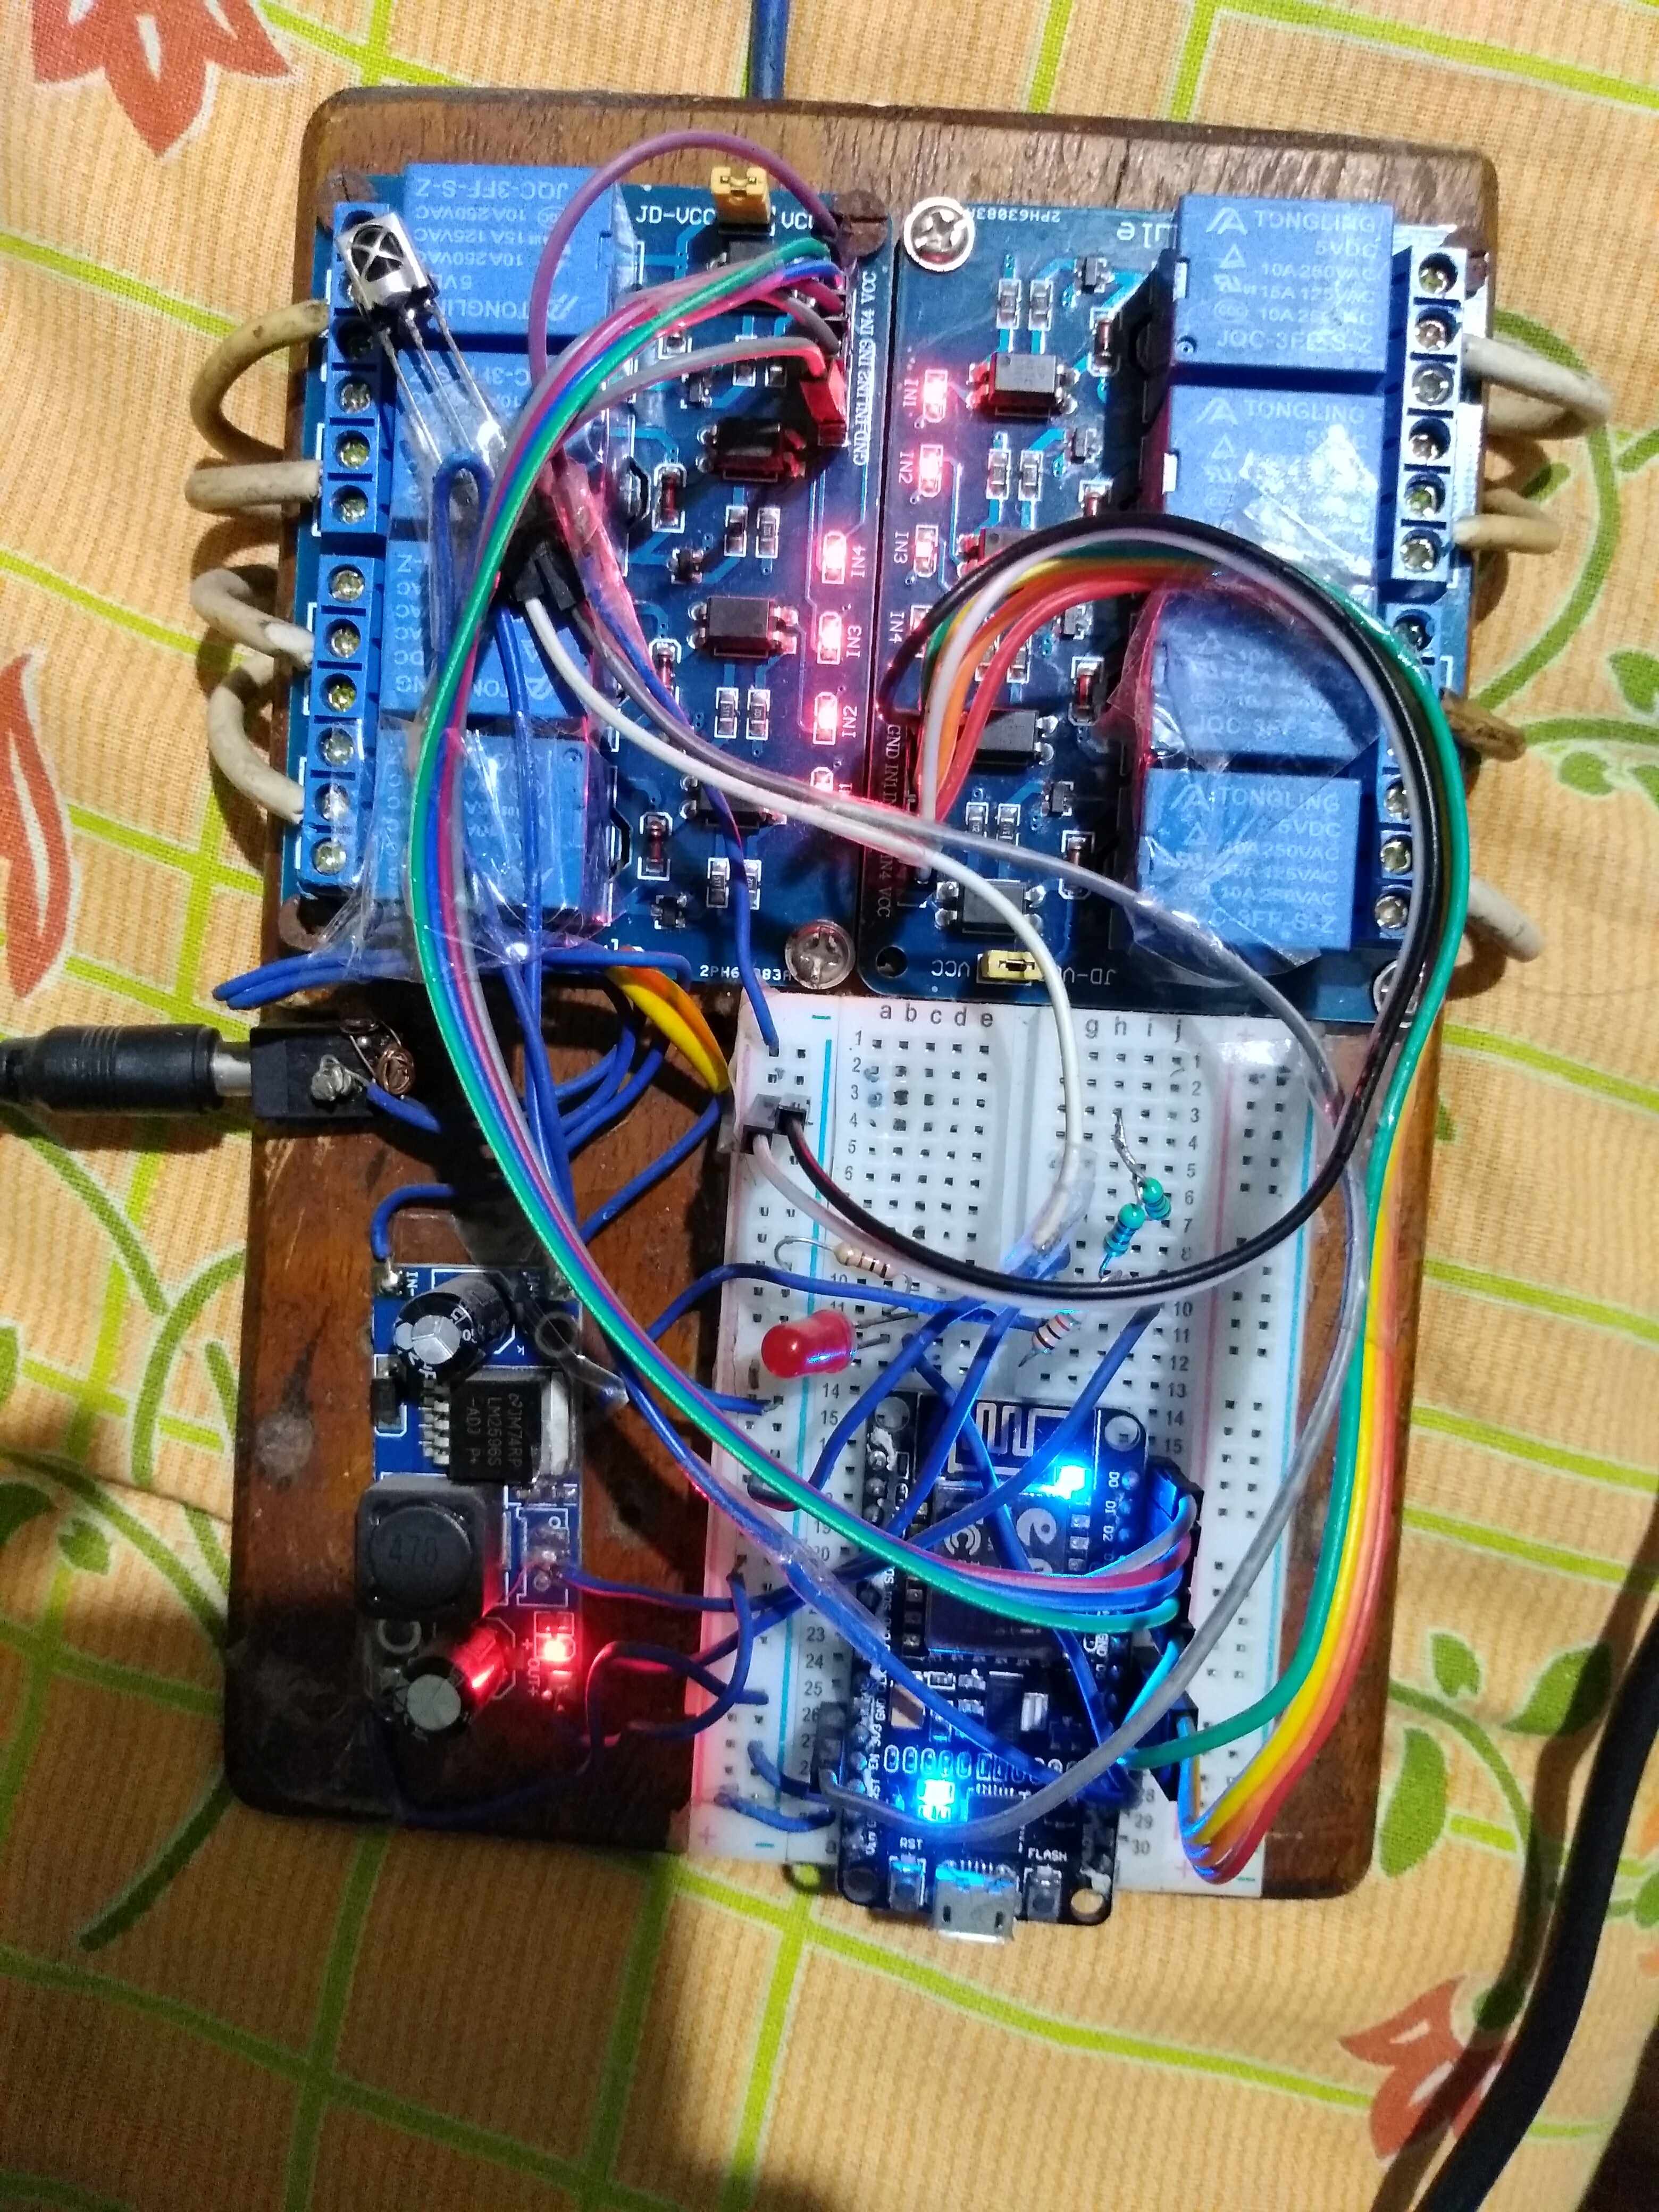
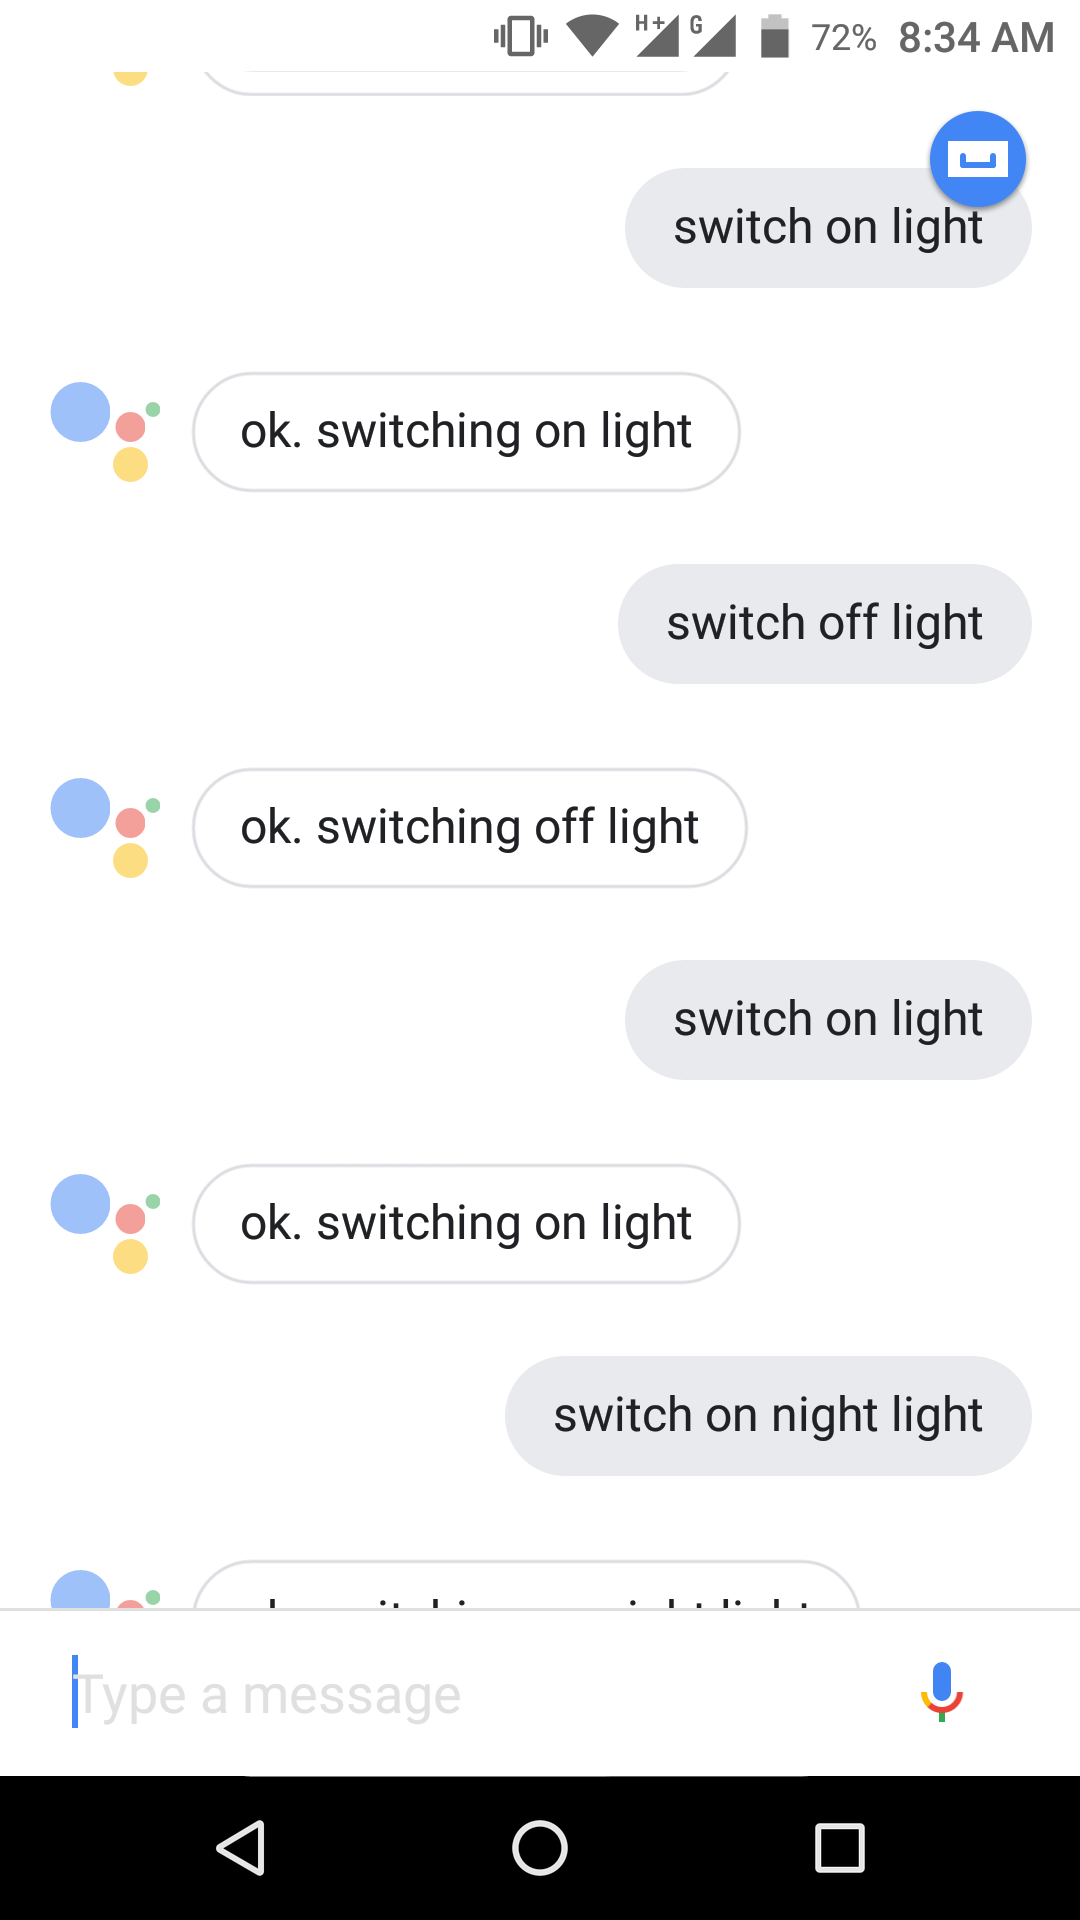
Features
- Control over Internet from anywhere in the world
- Voice Control using Google Assistant
- Control from Android App using WiFi
- Control from any IR remote
- Save the switch state even after micro controller restarts.
If you lose Internet
you won't be able to control over internet and from Google Assistant.
Android app and IR Remote will work.
If you lose WiFi
only IR Remote will work.
Internet and WiFi connection will be restored automatically if disconnected.
Things you need
- Internet Connection
- Android Mobile
- Arduino IDE on your computer
- NodeMCU
- Breadboard
- LED
- Buck Converter (or any other 5V voltage regulator)
- IR Receiver
- Relay Module (4ch relay module x 2 OR one 8ch relay module)
- Jumper Wires
- 1K Resistance
Get the Board Ready
THIS CODE IS FOR NODEMCU BOARD NOT ARDUINO
First download and install Arduino IDE from HERE
Then go to File -> Preferences, then on additional board manager urls, add this
http://arduino.esp8266.com/stable/package_esp8266com_index.json
Then go to Board manager and install esp8266 by ESP8266 Community.
go to library manager and install IRRemoteESP8266.
Then connect the IR receiver to nodemcu board, connect VCC, GND, OUT of IR Receiver to 3.3V, GND, D4 of NodeMCU respectively.
upload the sketch IRRemote Value given below, open serial monitor and press remote key to get the values of each key, write it down somewhere. Note at least 8 key values for 8 relays.
Downloads
Set Up Blynk
If you doesn't want to control over Internet, then go to next step.
Download Blynk from Google Play Store, and open the app and register on Blynk
Click on New Project, give a name and click on create
the new blynk auth token will be sent to your registered email id. Use that auth token in the code in next step.
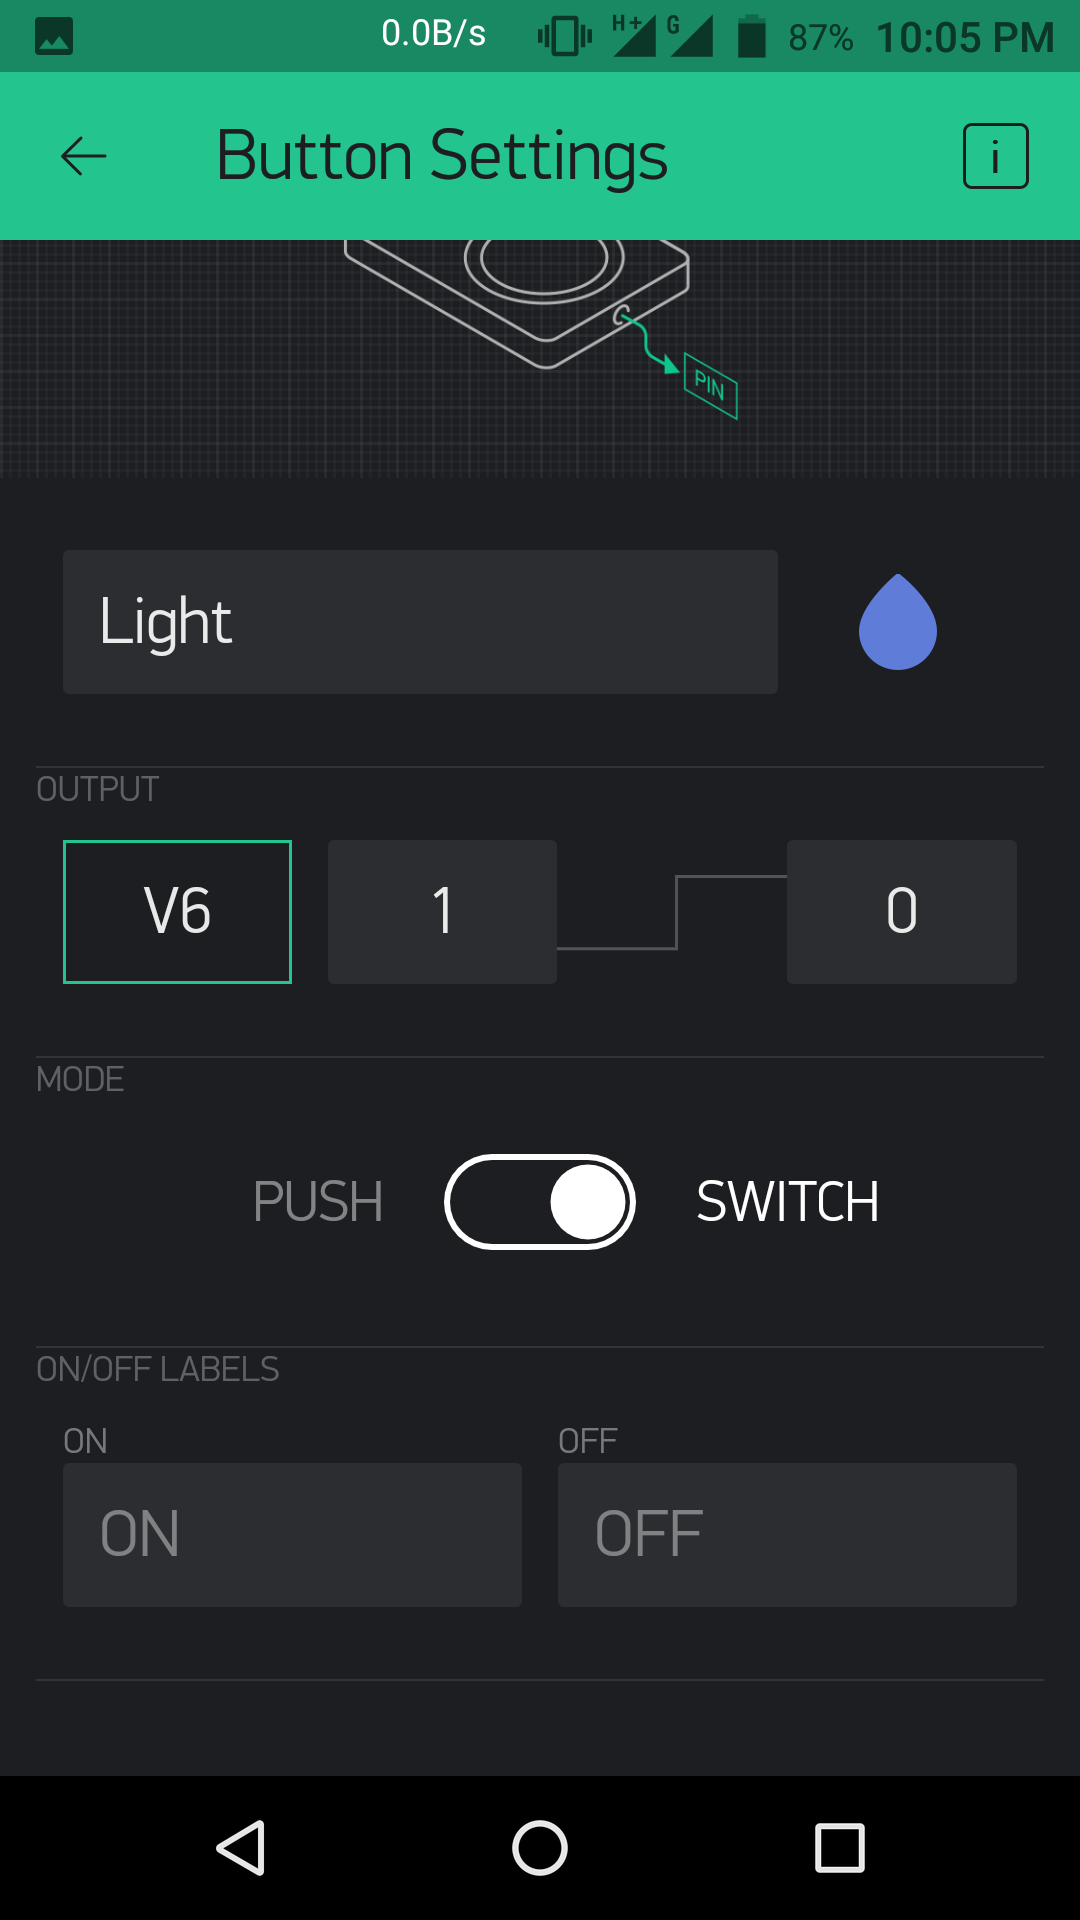
open the project and swipe from right to open widget box. Click on Button, it will place a button, now click on it, name the button as your wish, click on pin, select Virtual on left side and V1 on right side. Then the value beside pin will be 1 and then 0. check the attached image to understand. Then, change the mode to Switch.
Continue this process for 8 buttons, the only things you will change is the pin Virtual number which will be V1, V2. V3, V4, V5, V6, V7, V8.
Once completed, click on play button on top-right corner.
Now download the blynk library for arduino IDE from http://blynk.cc and load it manually.
Download the zip file and extract the content of library folder to the Arduino Installation Directory/library, extract the content of tools folder to the Arduino Installation Directory/tools.
Restart Arduino IDE
Schematics and Code
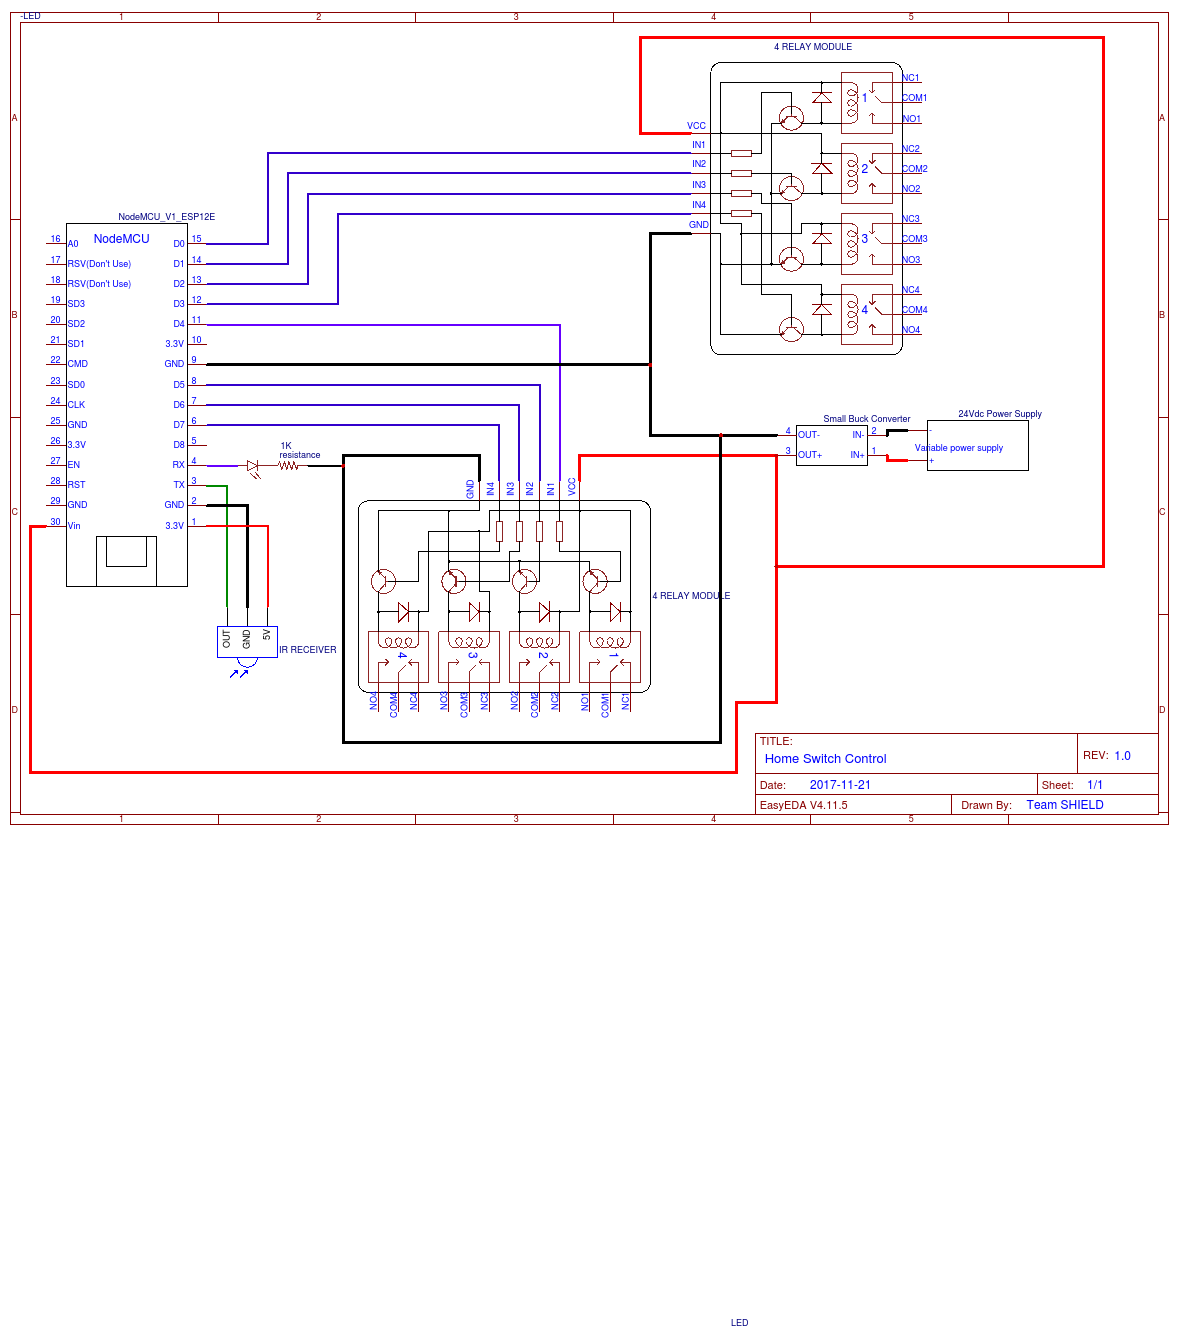
Download the attached image and make the circuit accordingly.
If your Relay is powered by 12v, then make the changes as required. Relay module mostly works on active low. If your relay works on active high, then the change the code as required.
Then upload the code or sketch.
Before uploading, change the IR values in the code, with the values you got on previous step.
If you just want to use it WITHOUT Internet and Google Assistant, then use the code my home.ino
If you want all features then use the code Home Control.ino
NOTE: WHILE UPLOADING THE SKETCH MAKE SURE NOT TO CONNECT ANYTHING TO THE PIN D0, D8, TX, RX. OR SIMPLY PULL OFF THE JUMPER WIRES FROM THOSE PINS.
Android App
After successful sketch upload, the nodemcu will run, then go to your router settings and assign a static local ip to your nodemcu, and write down the ip.
This android app will be used for controlling in local wifi network. (internet connectivity not necessary)
The Apk file is designed using MIT App Inventor, you can use the attached aia file to upload to MIT app inventor and make changes to the android app.
Test it out
After installing the app, set the IP Address you noted on the app and test it out.
Also test from the IR Remote and Blynk App.
you can also the open the IP Address in your web browser on any device connected to same wifi to control relays.
Google Assistant
Download the app IFTTT from play store or ios store.
open the app, register yourself, search for google assistant, go to service tab, click on google assistant and connect with google.
Search for webhooks, go to service tab, click on webhooks and register.
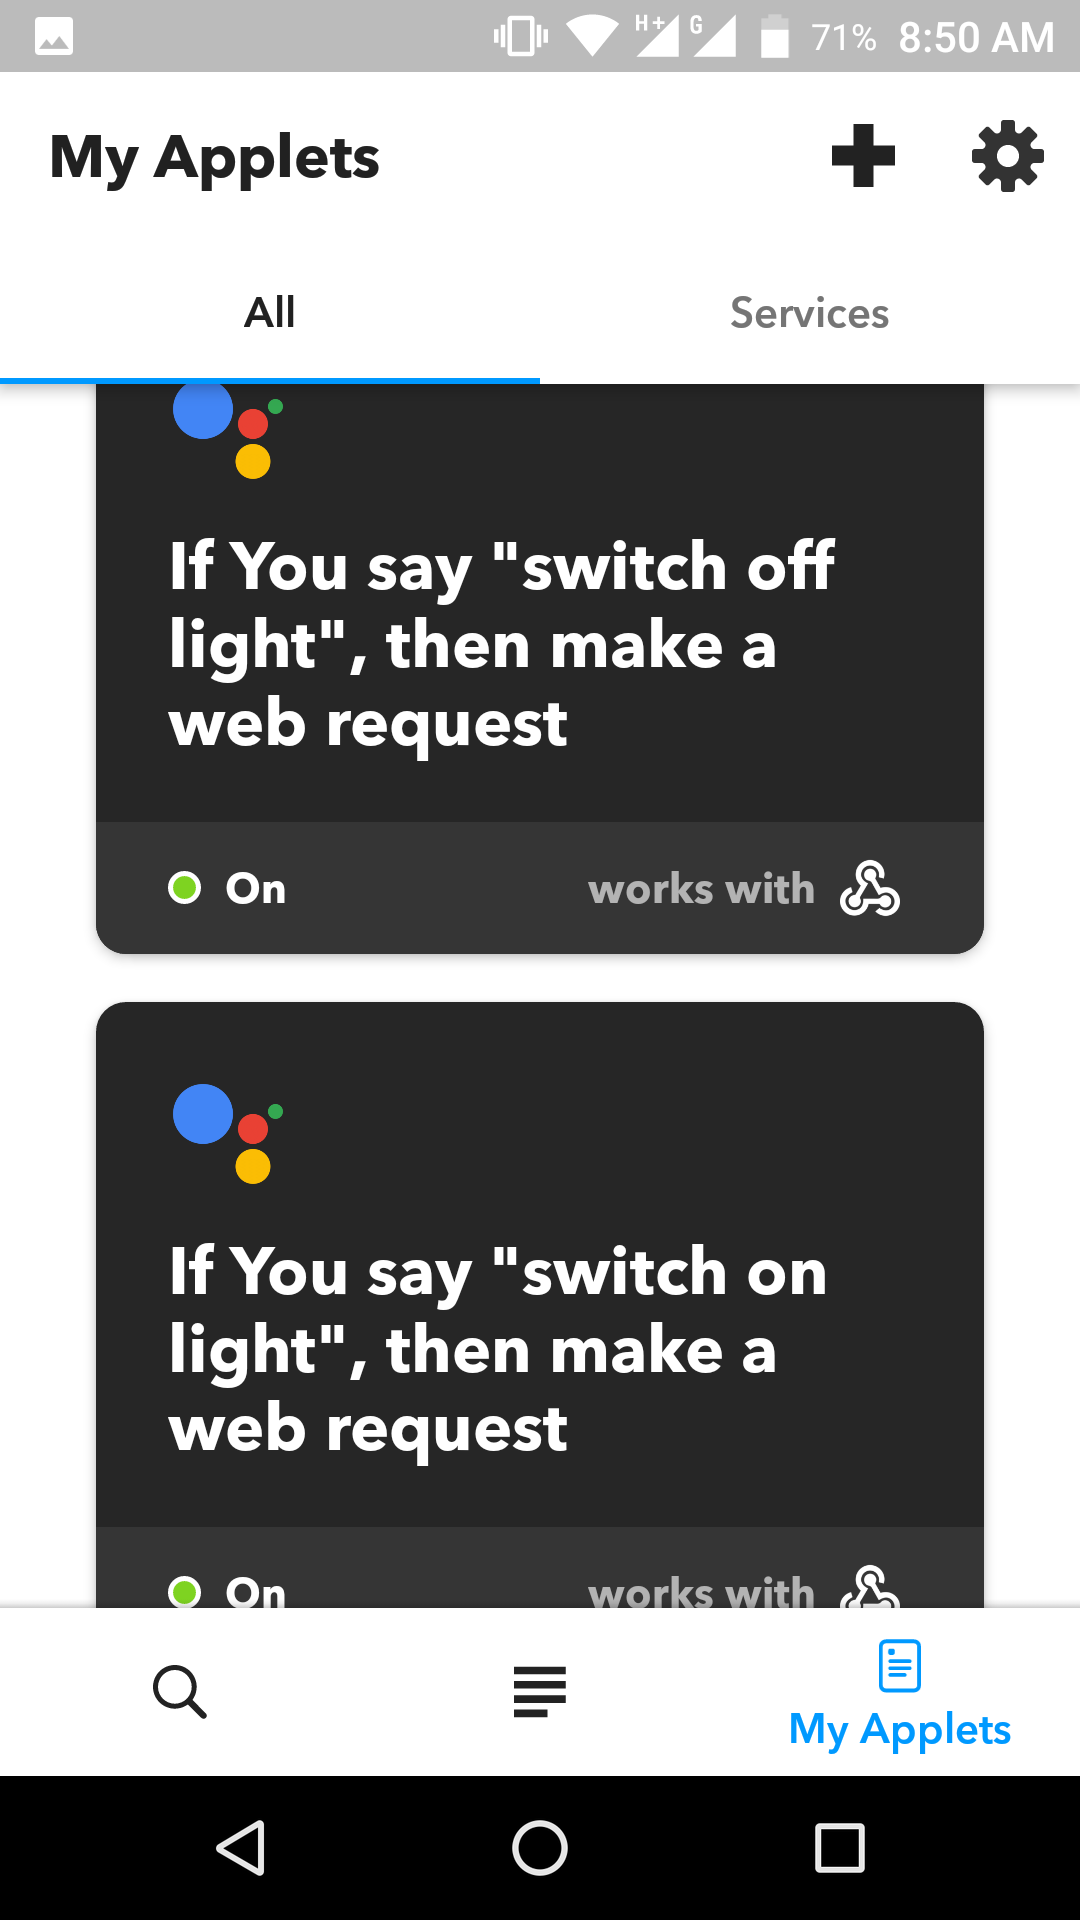
Now go to My Applet Tab (bottom-right corner)
click on +
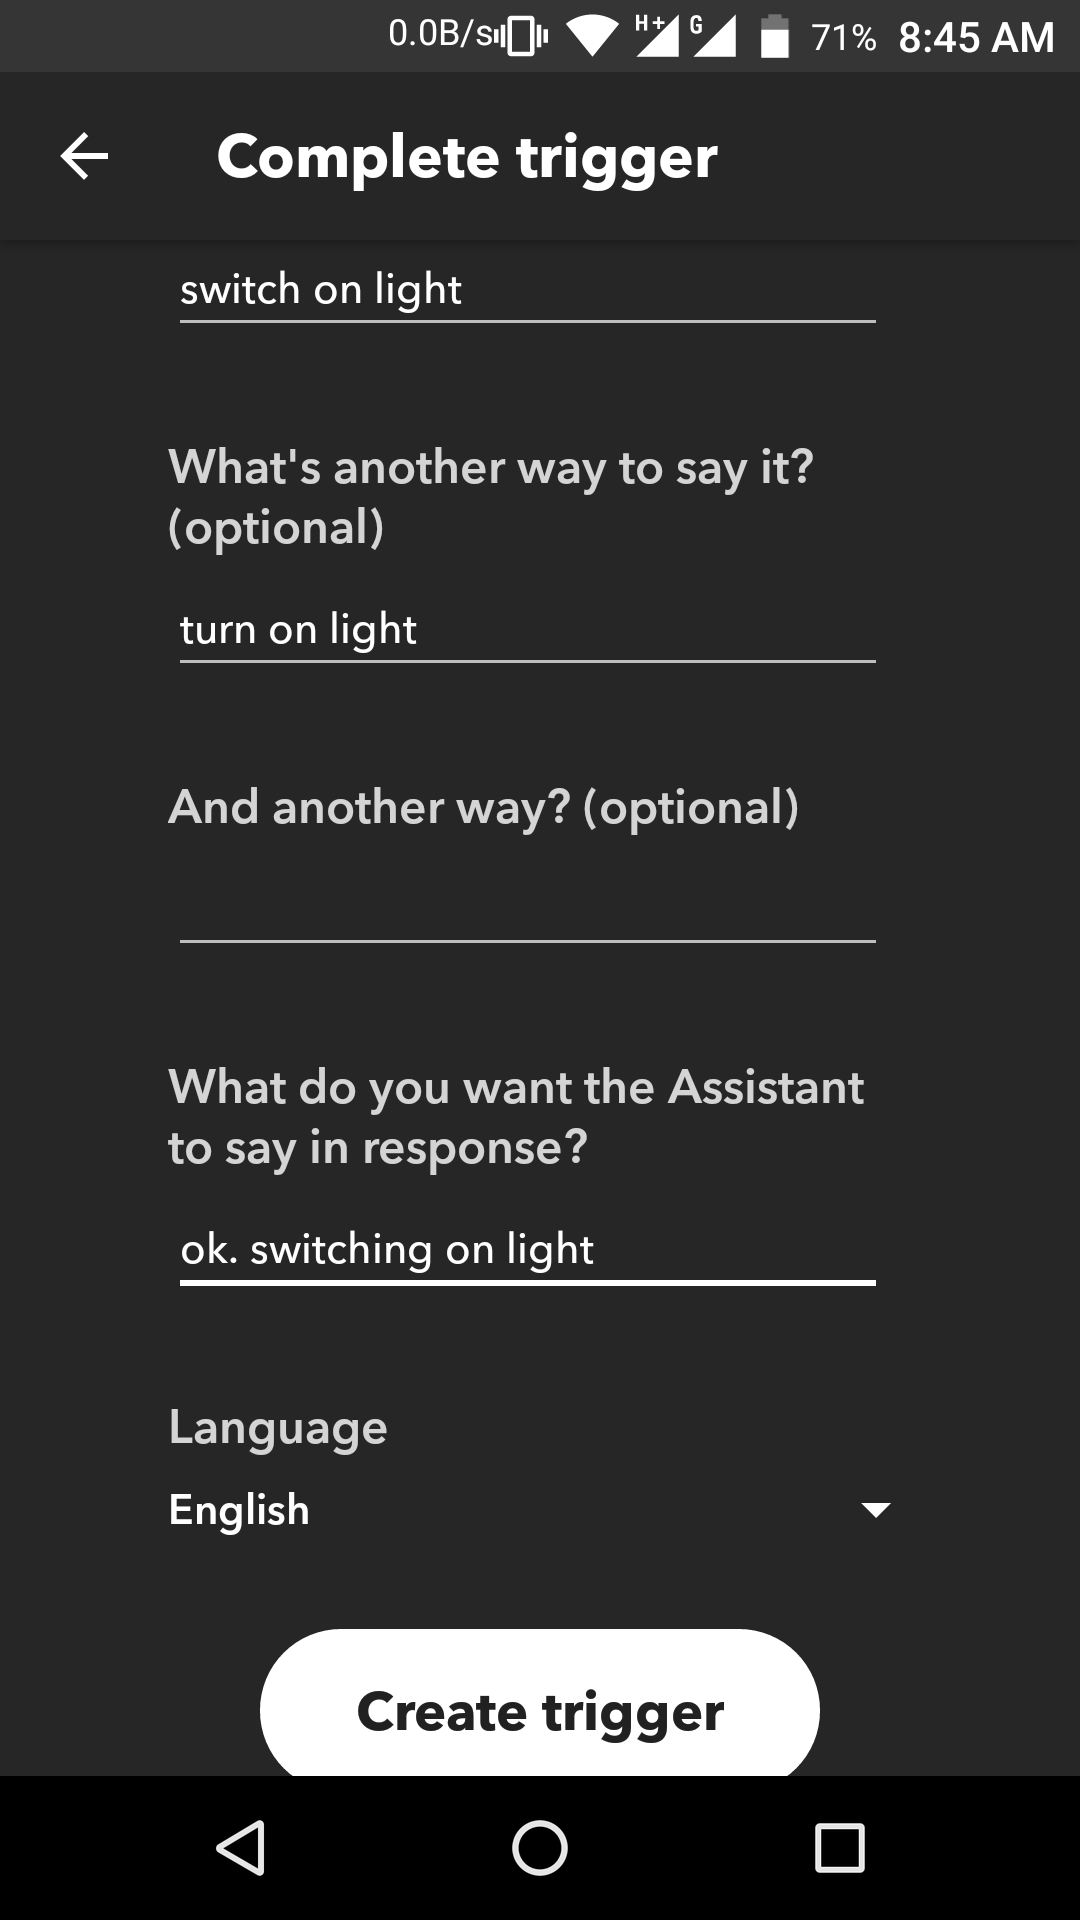
click on this, select google assistant -> say a simple phrase -> now type what you want to say to google like "switch on the light" and also write the response google will give, and then create trigger.
now click on that select webhooks -> make a web request on the URL field http://188.166.206.43/your_blynk_auth_token/update/V1
where V1 is the virtual pin number, change the pin number according to your need. Select method PUT, select content type "application/json", on the body field write ["0"] if you want relay to switch on or ["1"] if you want device to switch off. click on save -> click on finish.
Now open google assistant and check it and continue this process for all devices and for switch on and switch off.
In case of problem, contact me on Facebook, i will help as far as i can.