Home 10 Zone Monitor/alarm System Using SNMP Ethernet Hubs.
by sdurham in Circuits > Sensors
16328 Views, 31 Favorites, 0 Comments
Home 10 Zone Monitor/alarm System Using SNMP Ethernet Hubs.
This is my first instructable, so hope is of interest.
This 10 zone monitor or alam system, is done using a low cost IP snmp hub and Windows based PC running snmp software from commercial outlet but in freeware 10 node version. You can have as many zones as you have snmp ports, the restriction is the freeware version of "serversalive" product I have used. The instructions below are for 6 ports, just duplicate for more zones etc.
I devised this system to help ensure various doors, fridges etc in house where closed/ locked as my young childern kept leaving them open ?
This software can raise many alarms from windows popup and email to IQU among others. The software also has schedule software so you can have automatic polling of zones, and each zone can have different alerts. The alerts can be seen on pc or as web pages.
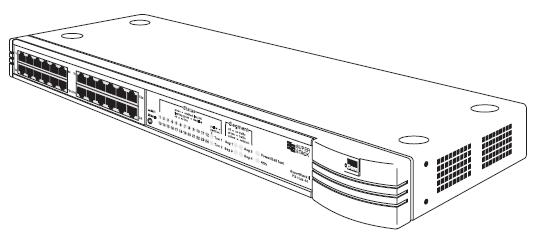
I have used a 3Com PS40 24 port ethernet hub which has SNMP built in, but have tried on various Cisco Nortel and others. The instructable will help you build the interface and guide you through getting the Windows PC (XP) talking to unit and which options to poll etc.
What You Will Need for This Home 10 Node Monitor System

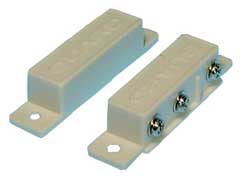
You will need below items
1 x 3com PS40 12 or 24 port hub, (3C16406) can get from ebay from £10
Windows XP internet PC
4 x 12 way electrical connector blocks
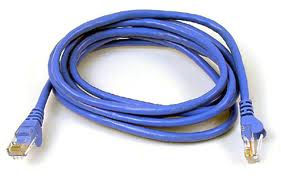
1 x 2m red cat5 utp cable
1x 1m blue cat5 utp cable
1x 1m grey cat5 utp cable
1x 1m yellow cat5 utp cable
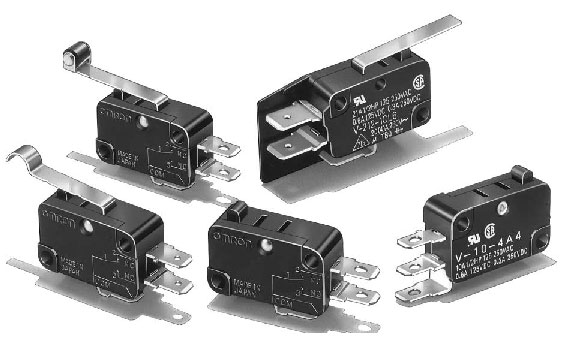
Door reed switches as used in alarm systems, or limit switches.
Servers alive software from download page
http://www.woodstone.nu/salive/download.asp
Building the Interface Connections
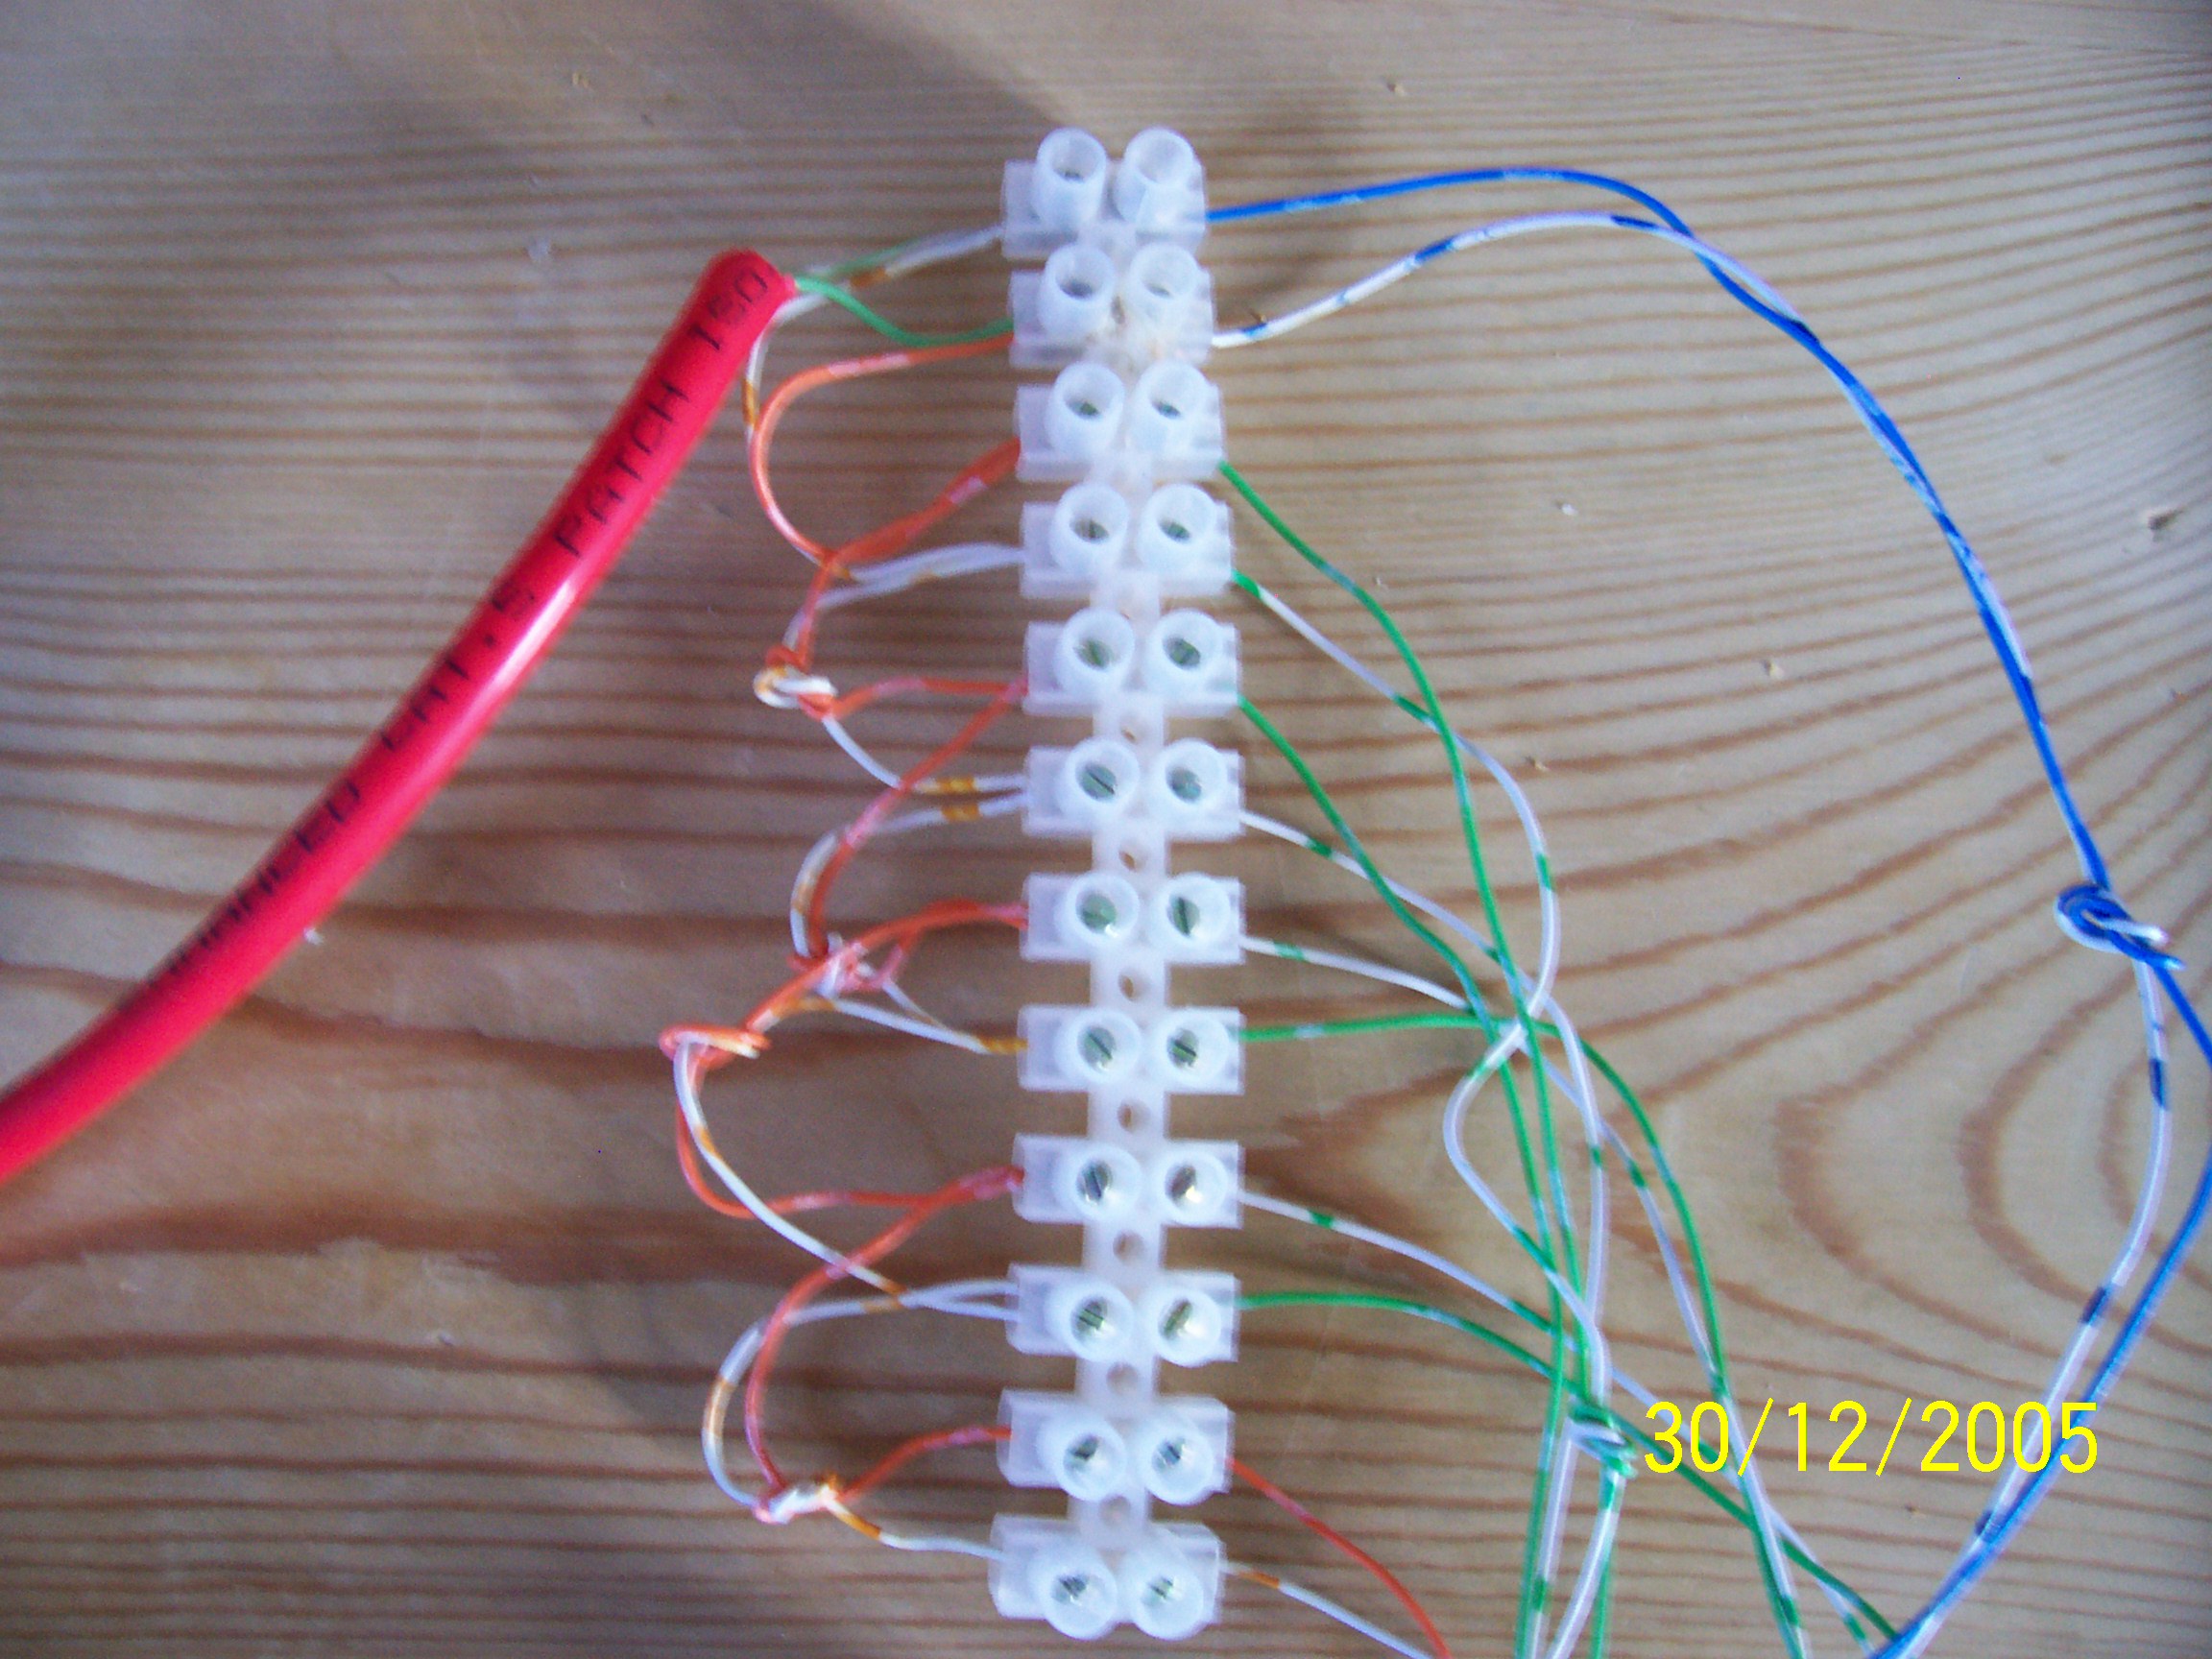
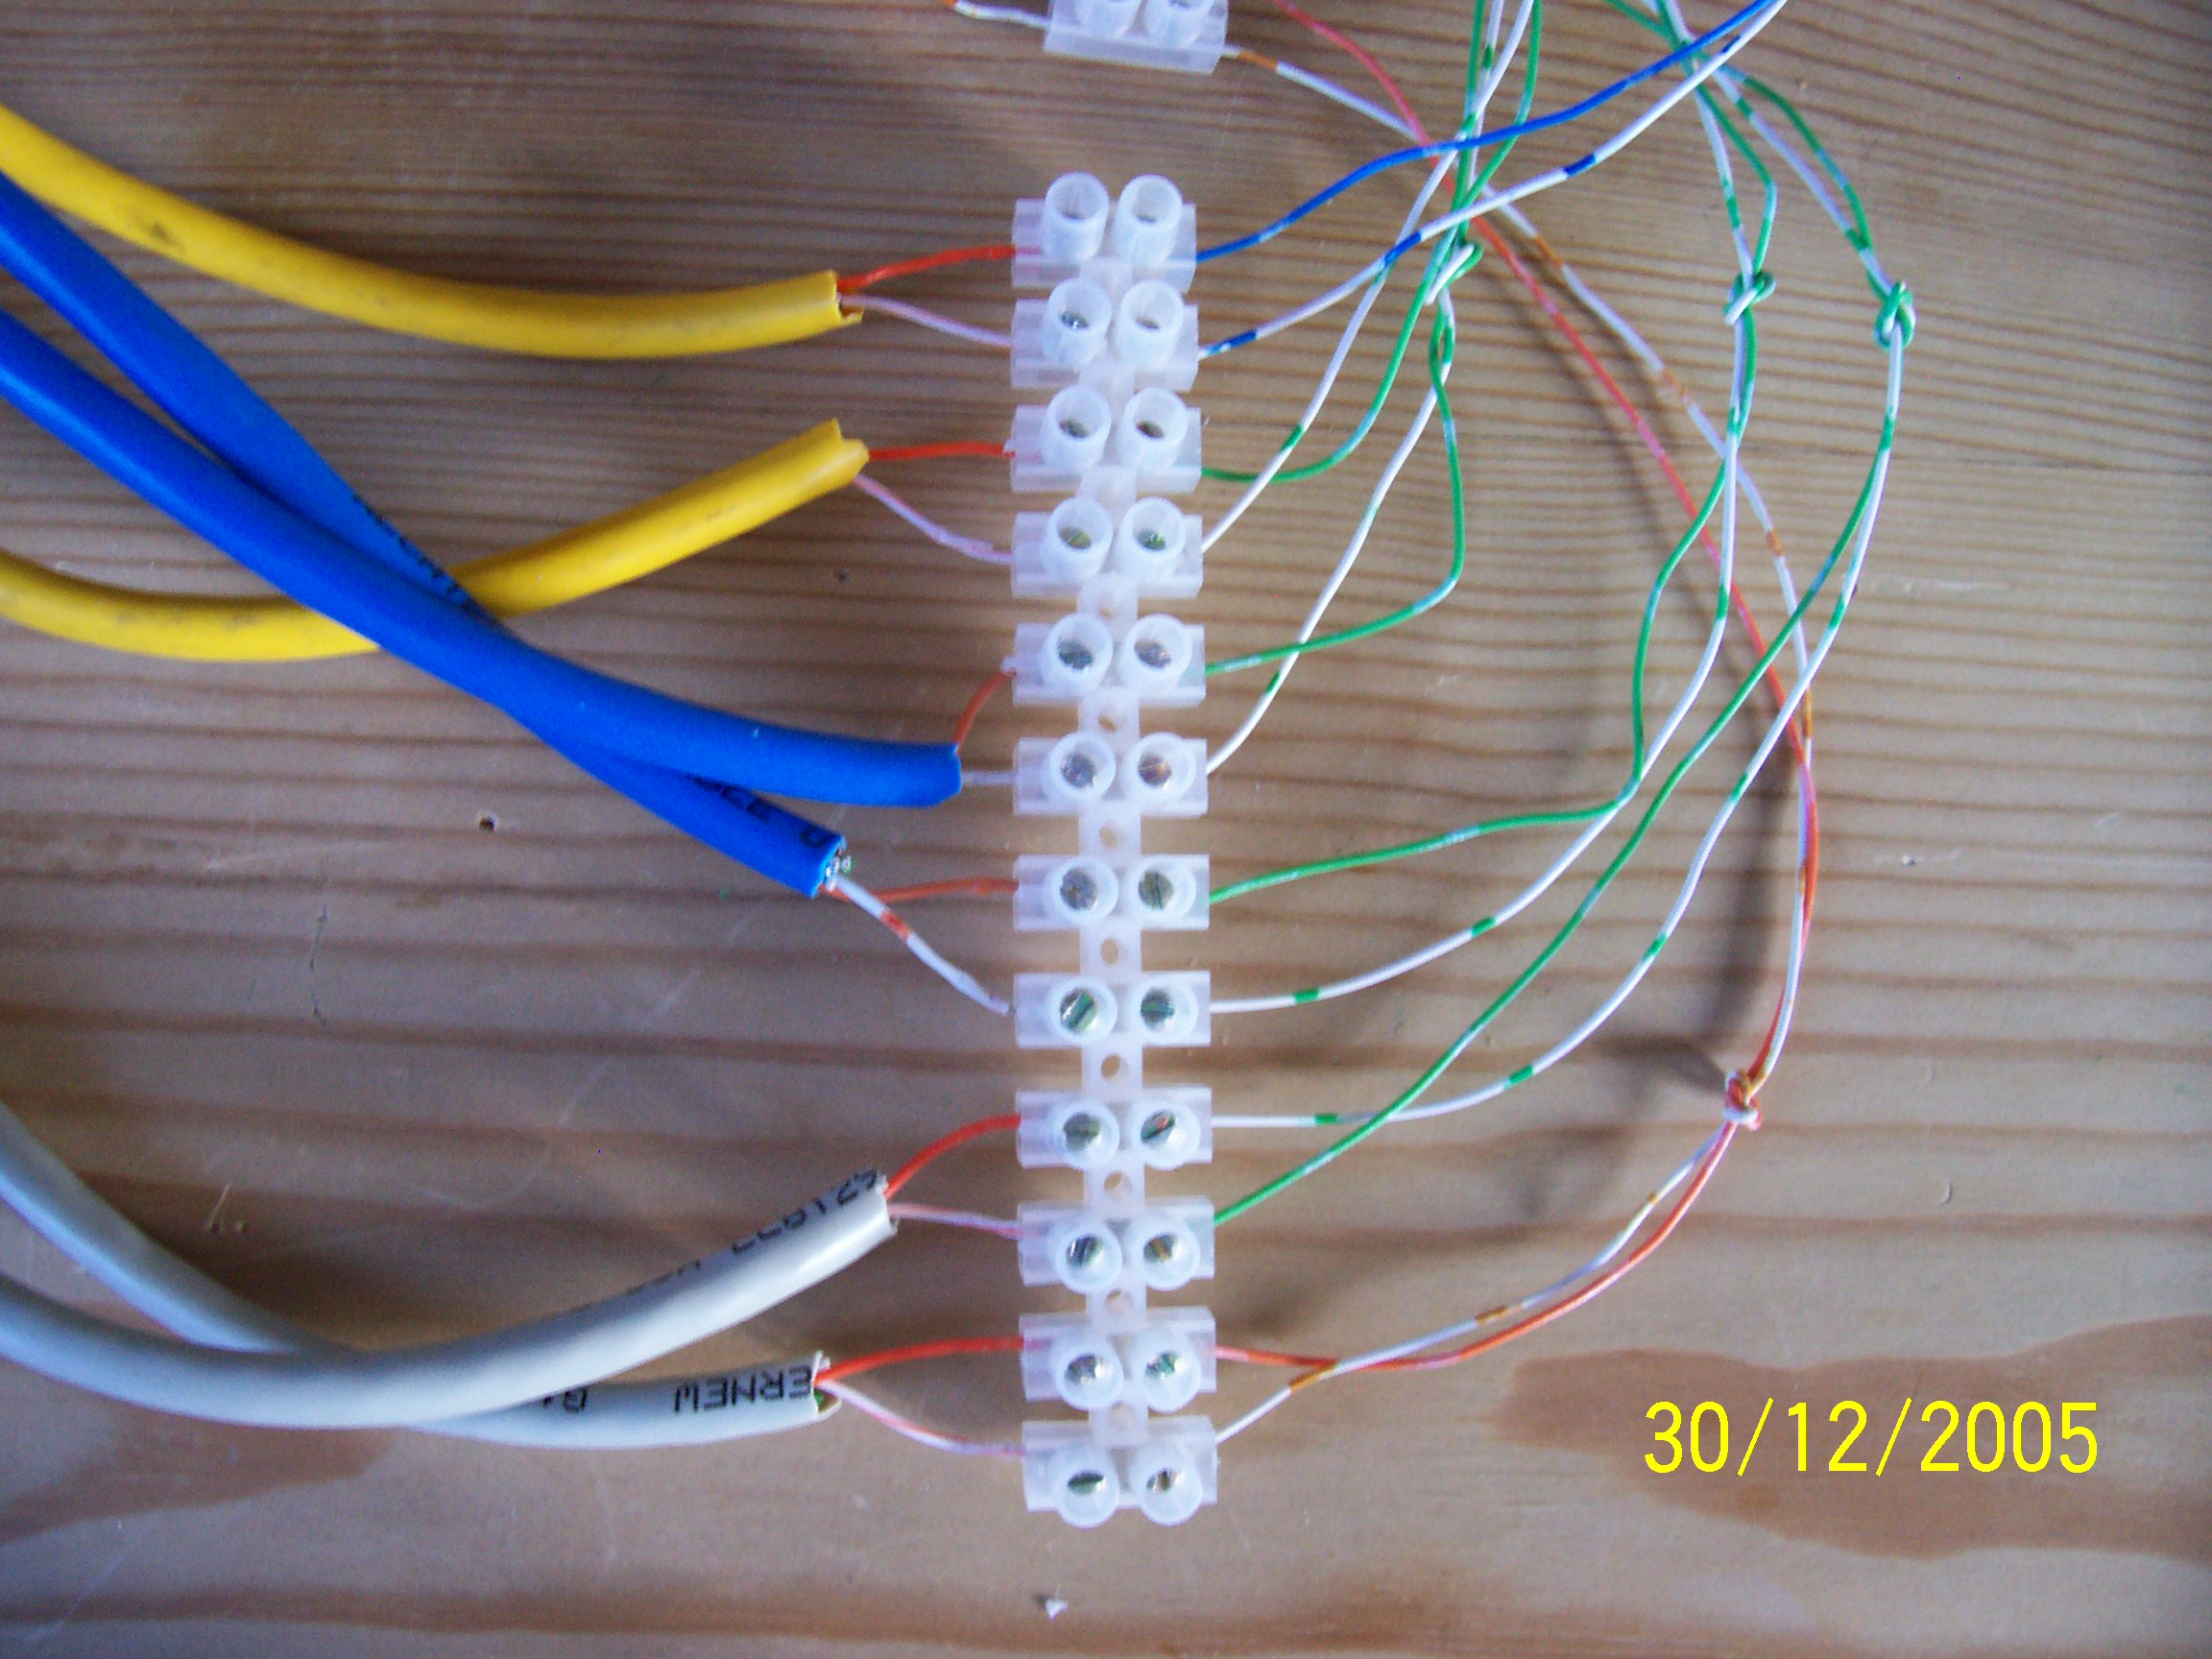
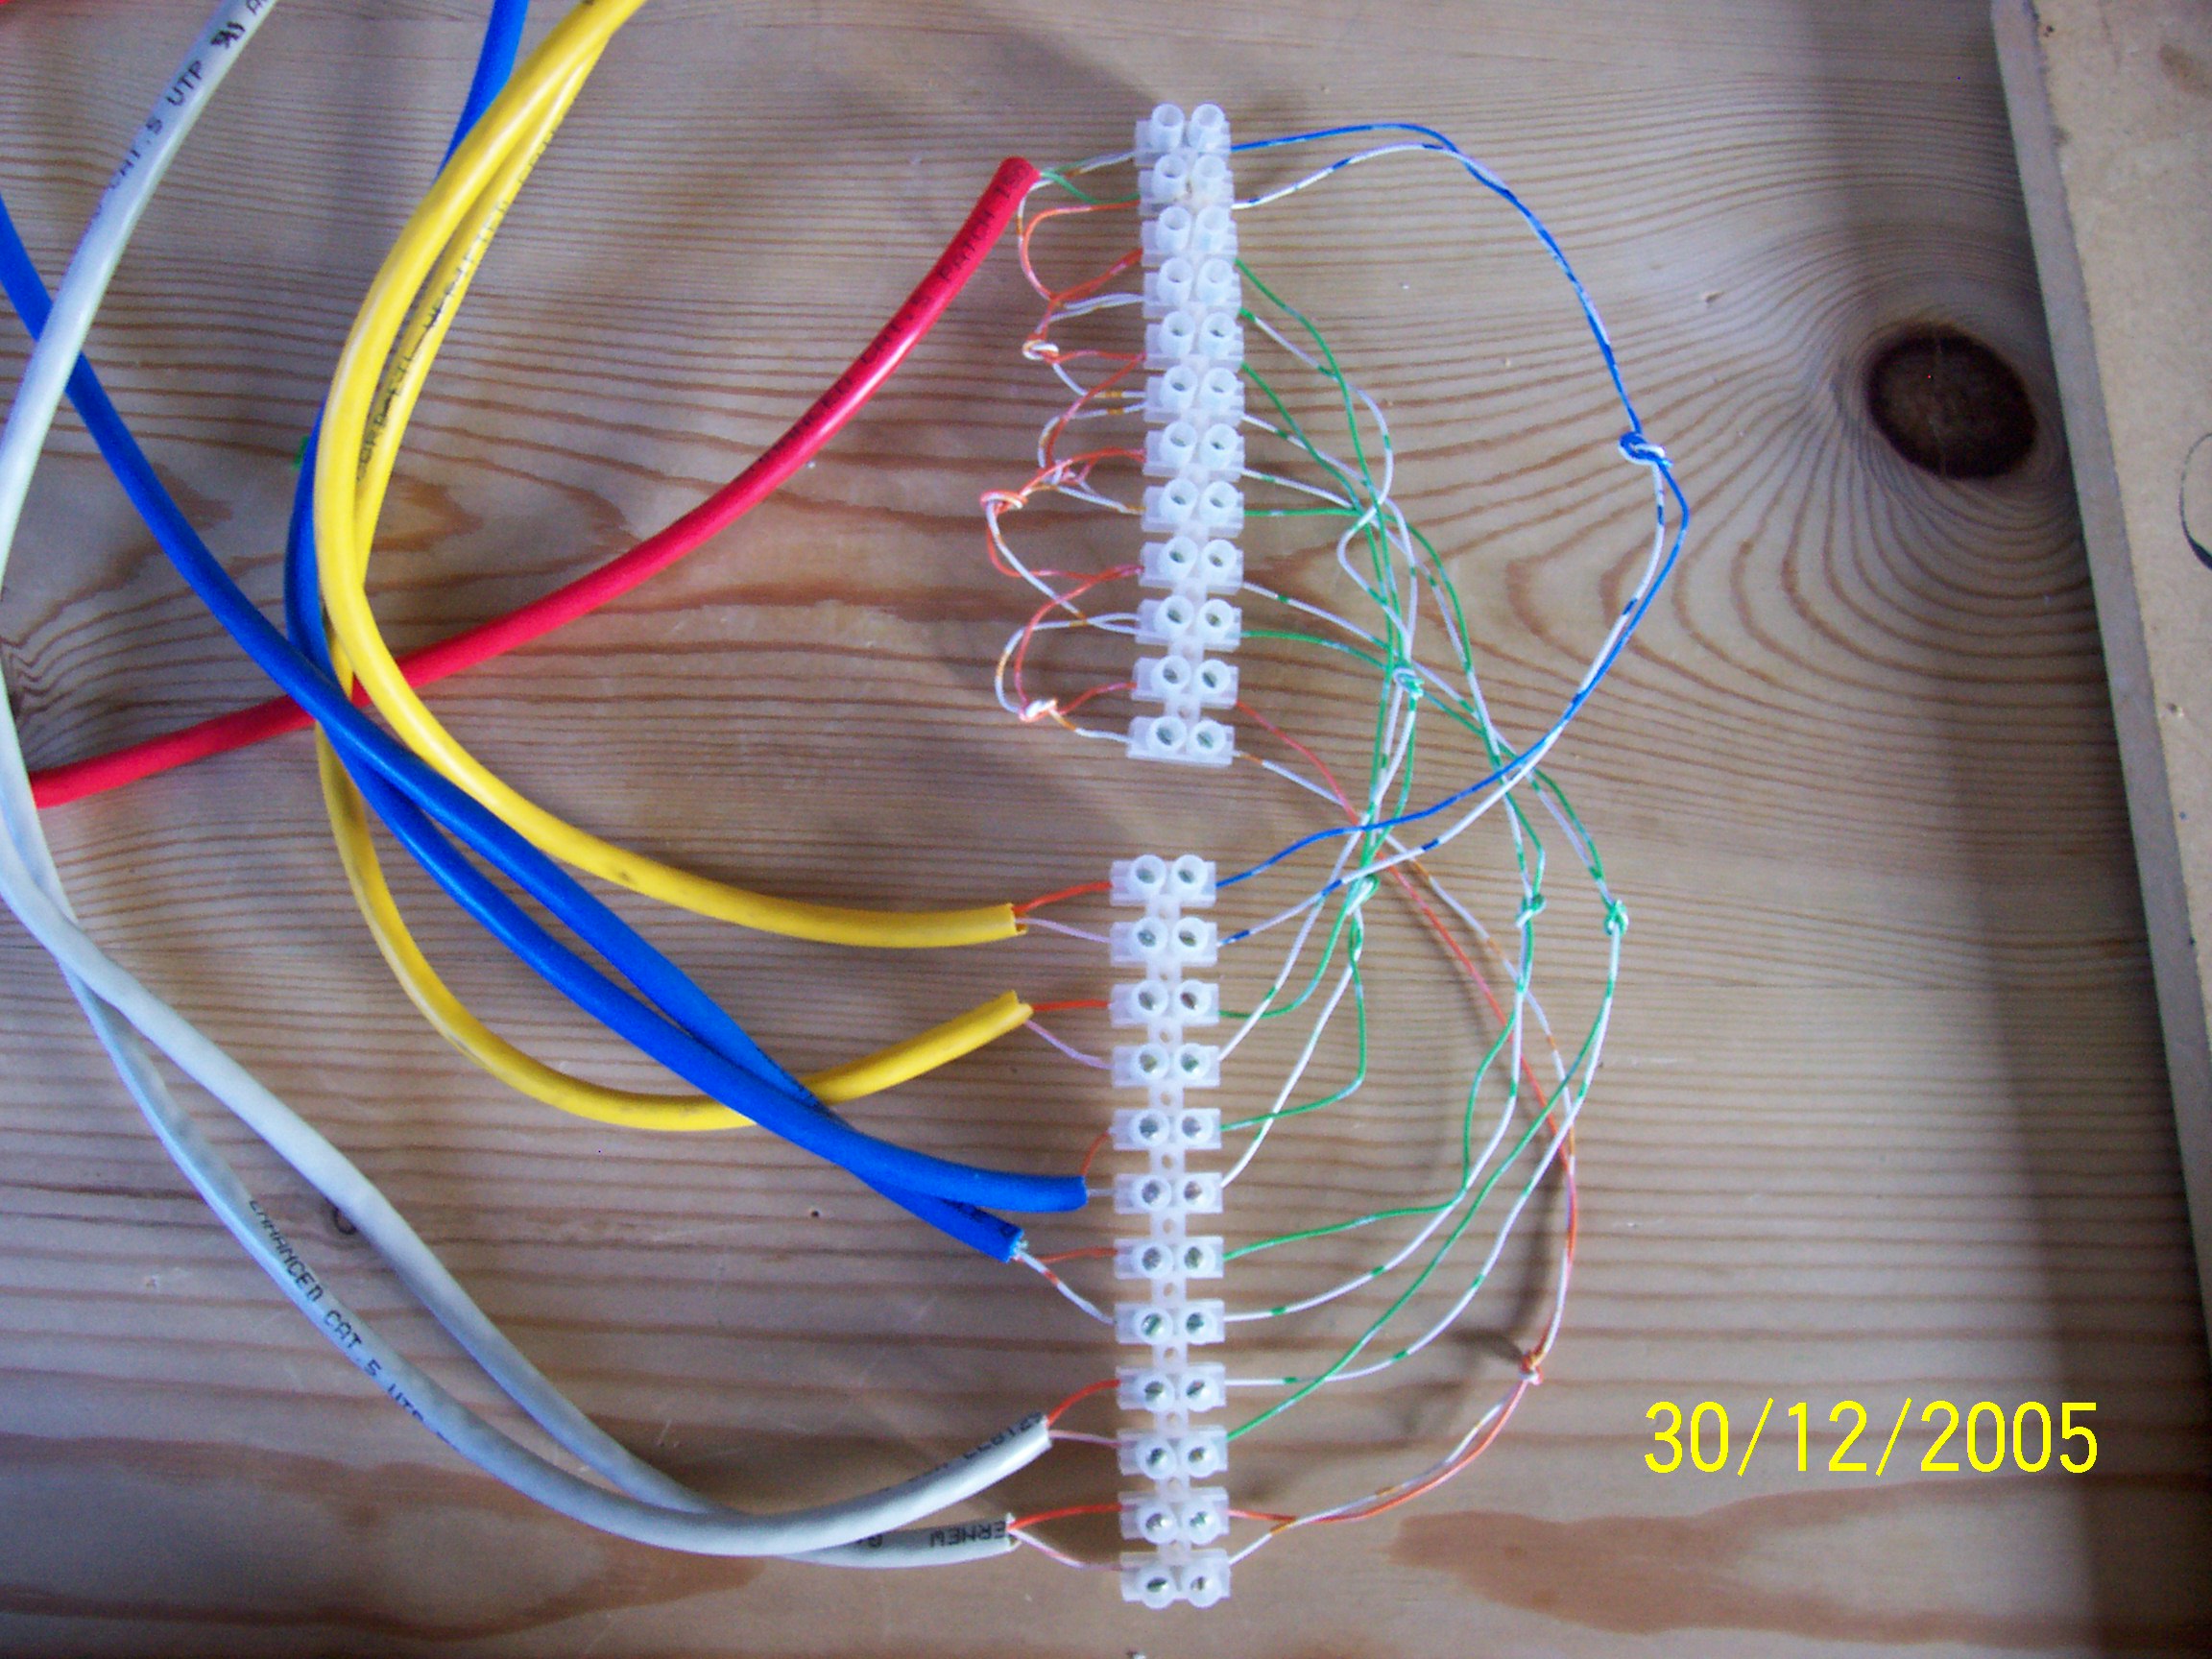
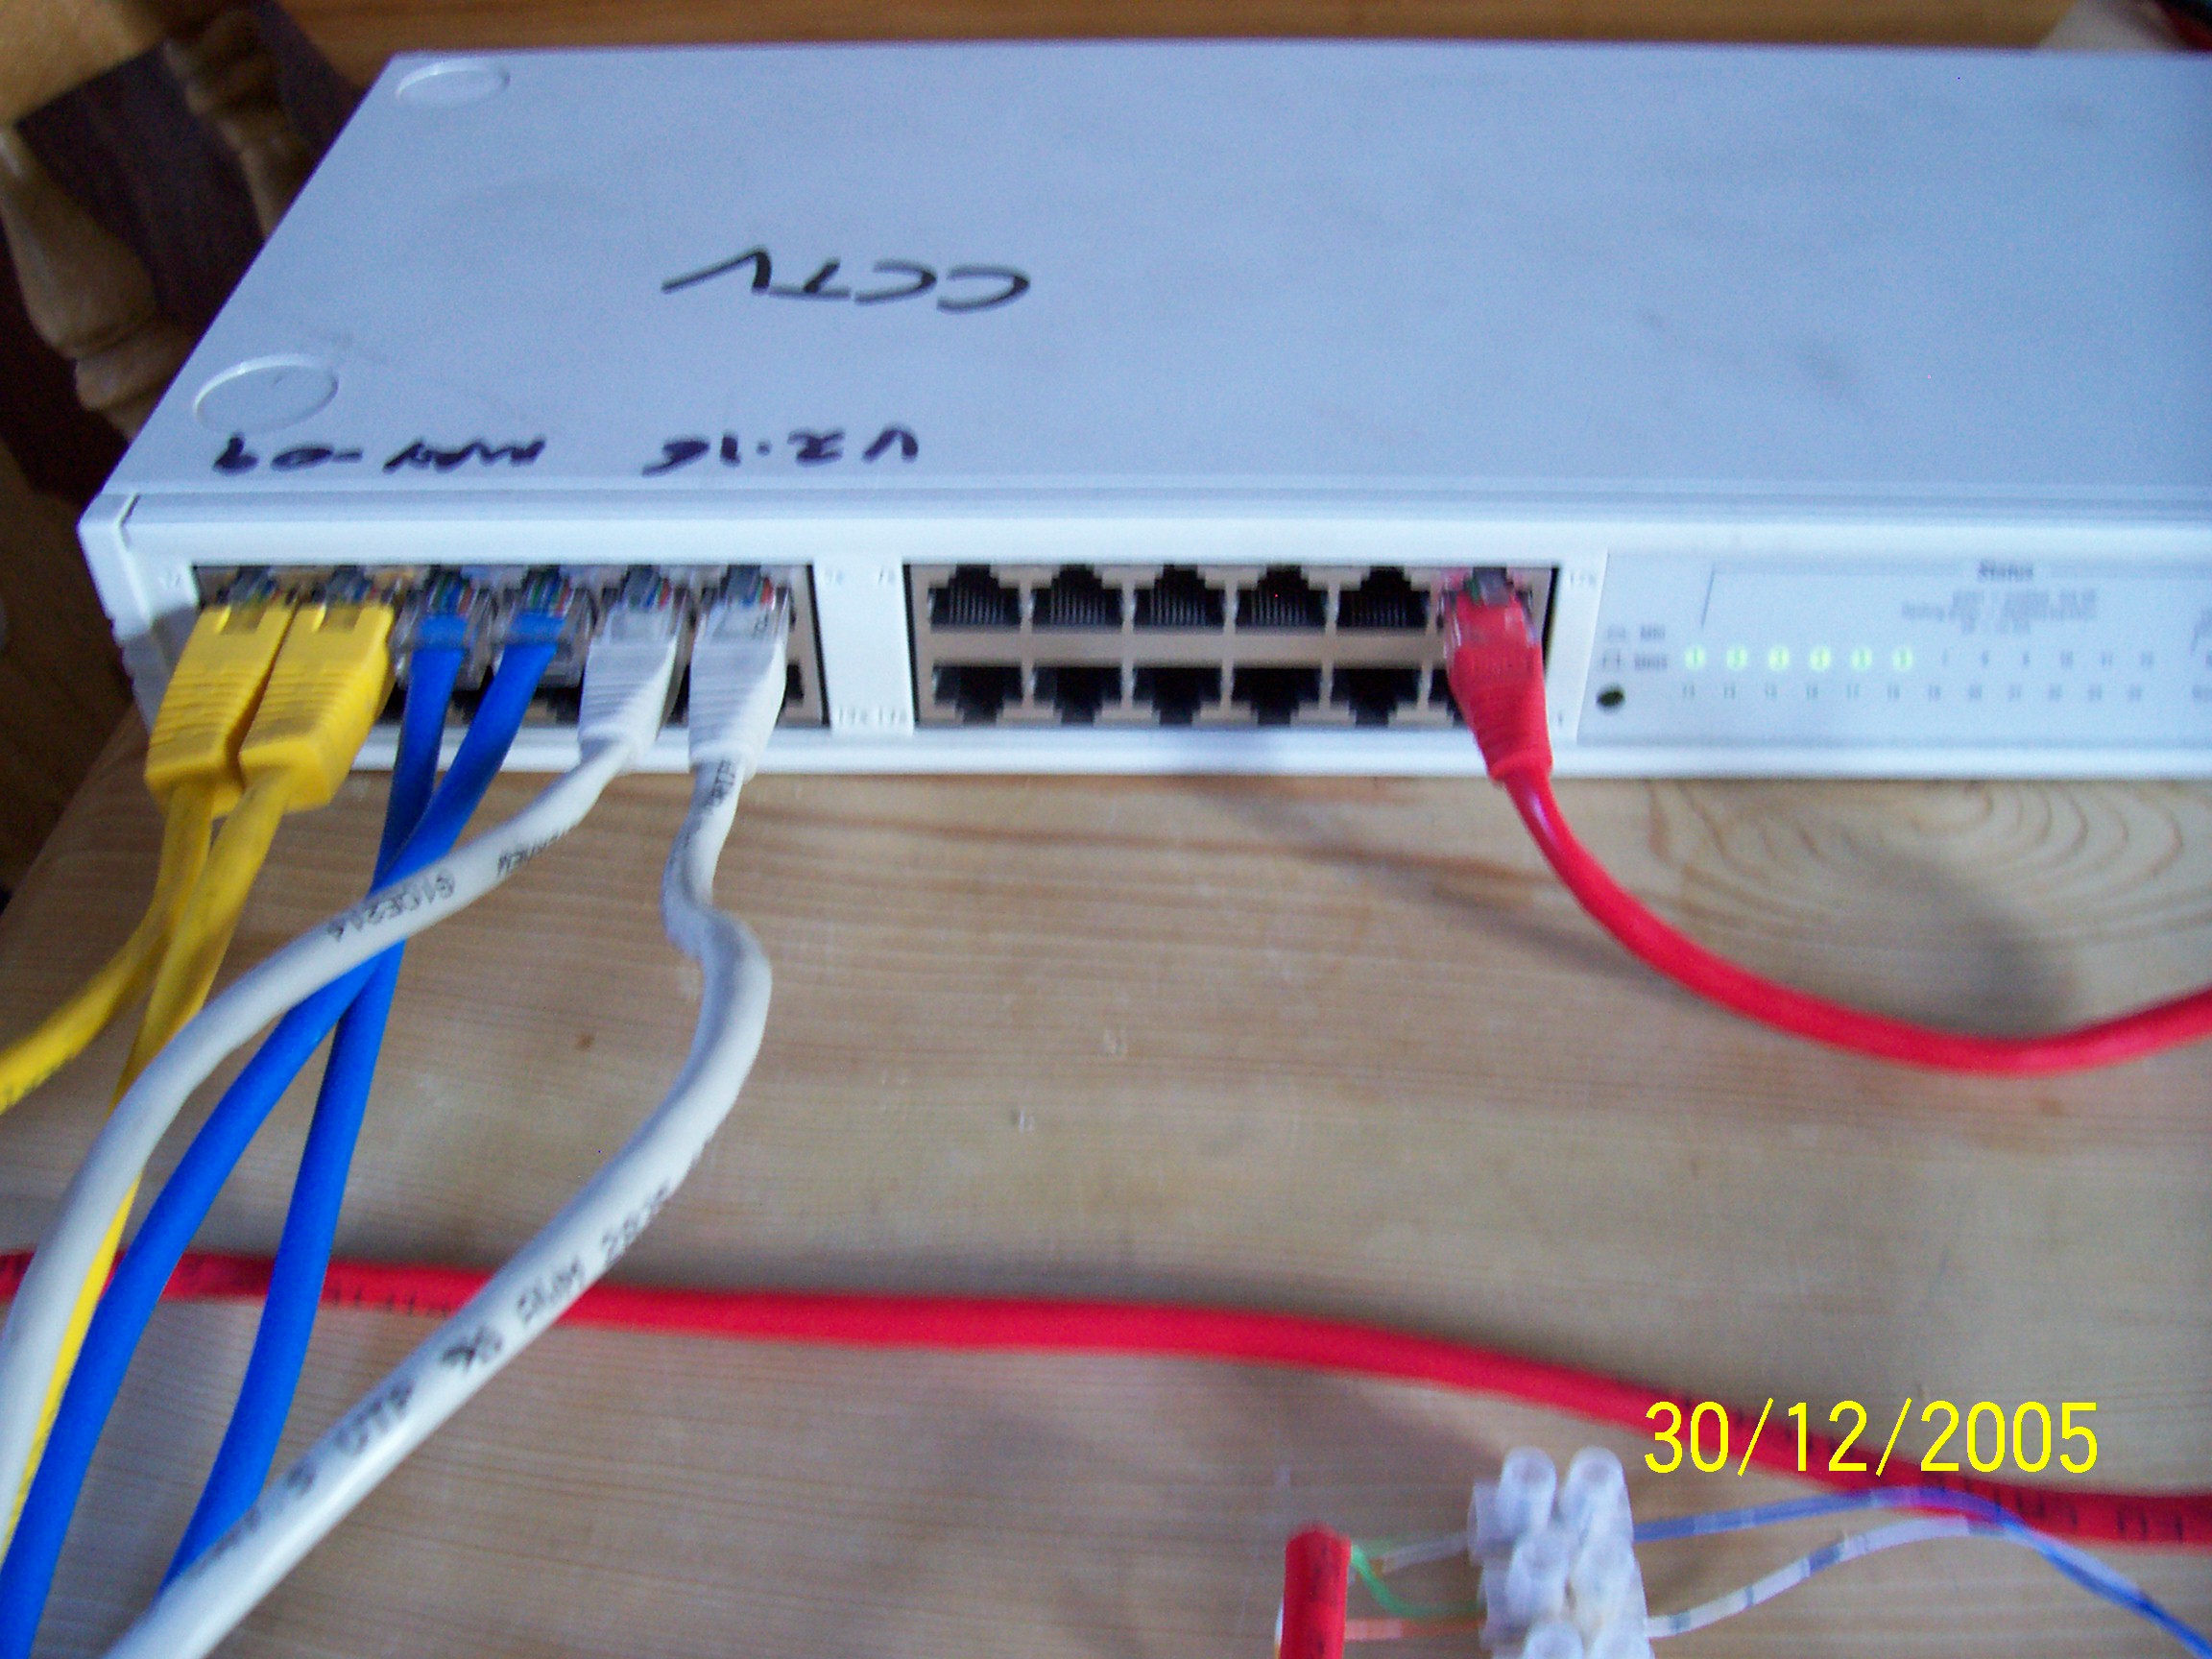
The system uses the "green" light on the SNMP hub as a good or OK "status", we need to build interface so we can control this signal using any low cost burglar alarm magnetic reed switches or limit switches, or any device which can have a normaly open/closed setup.
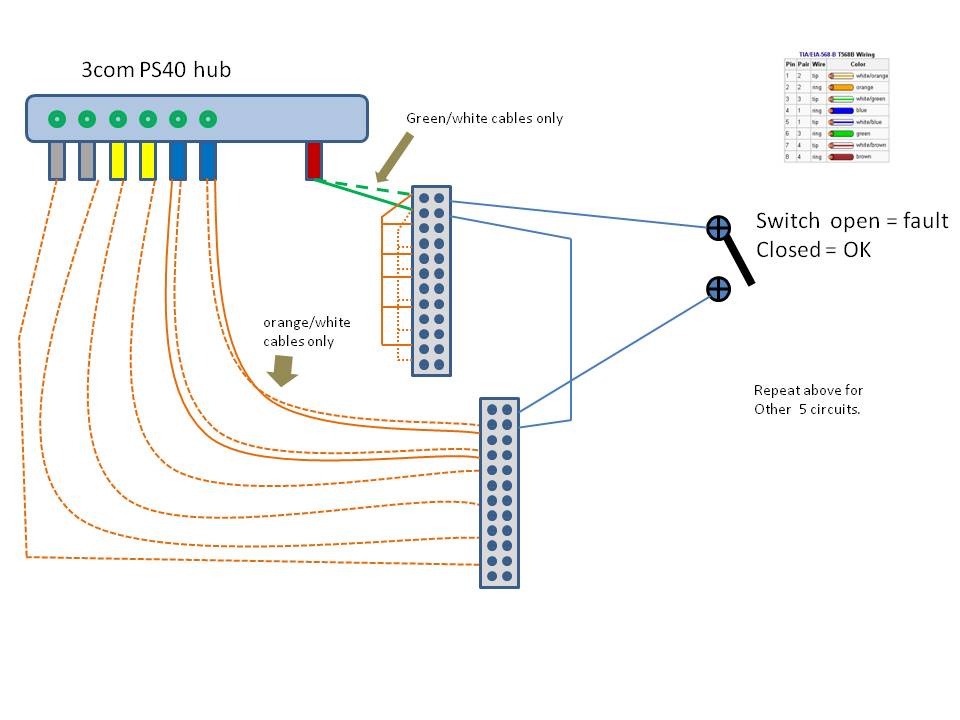
We will be using the red cat5 cable as input from 3Com hub but only using the green/white pair which is transmit when connected to a ethernet hub (hubs have reverse connections so can use straight cables) This then is linked to provide 6 outputs in pairs, in photo links are orange white, the RJ45 connector is connected to any port on 3com hub except ports 1-10, suggest 23.
The second connector has the 6 outputs or zones/nodes, you can cut each 1m cable down and use only the orange white pair, connect to electrical connector so as to reflect in input connector. photo shows 2 x blue, 2 x yellow, 2 x grey cables these connect to ports 1-6 on 3com hub.
See photo 3 with both input connector at top and output connector at bottom.
See photo 4 show the red cable in port 23 and 1-6 ports have green light or "up" - "OK"
See photo 5 for schematic of photos 1-4.
If you want to make ports 7-12 active then duplicate the above sequence with connectors etc.
Linking Zones to Limit Switch or Magnetic Door Switch
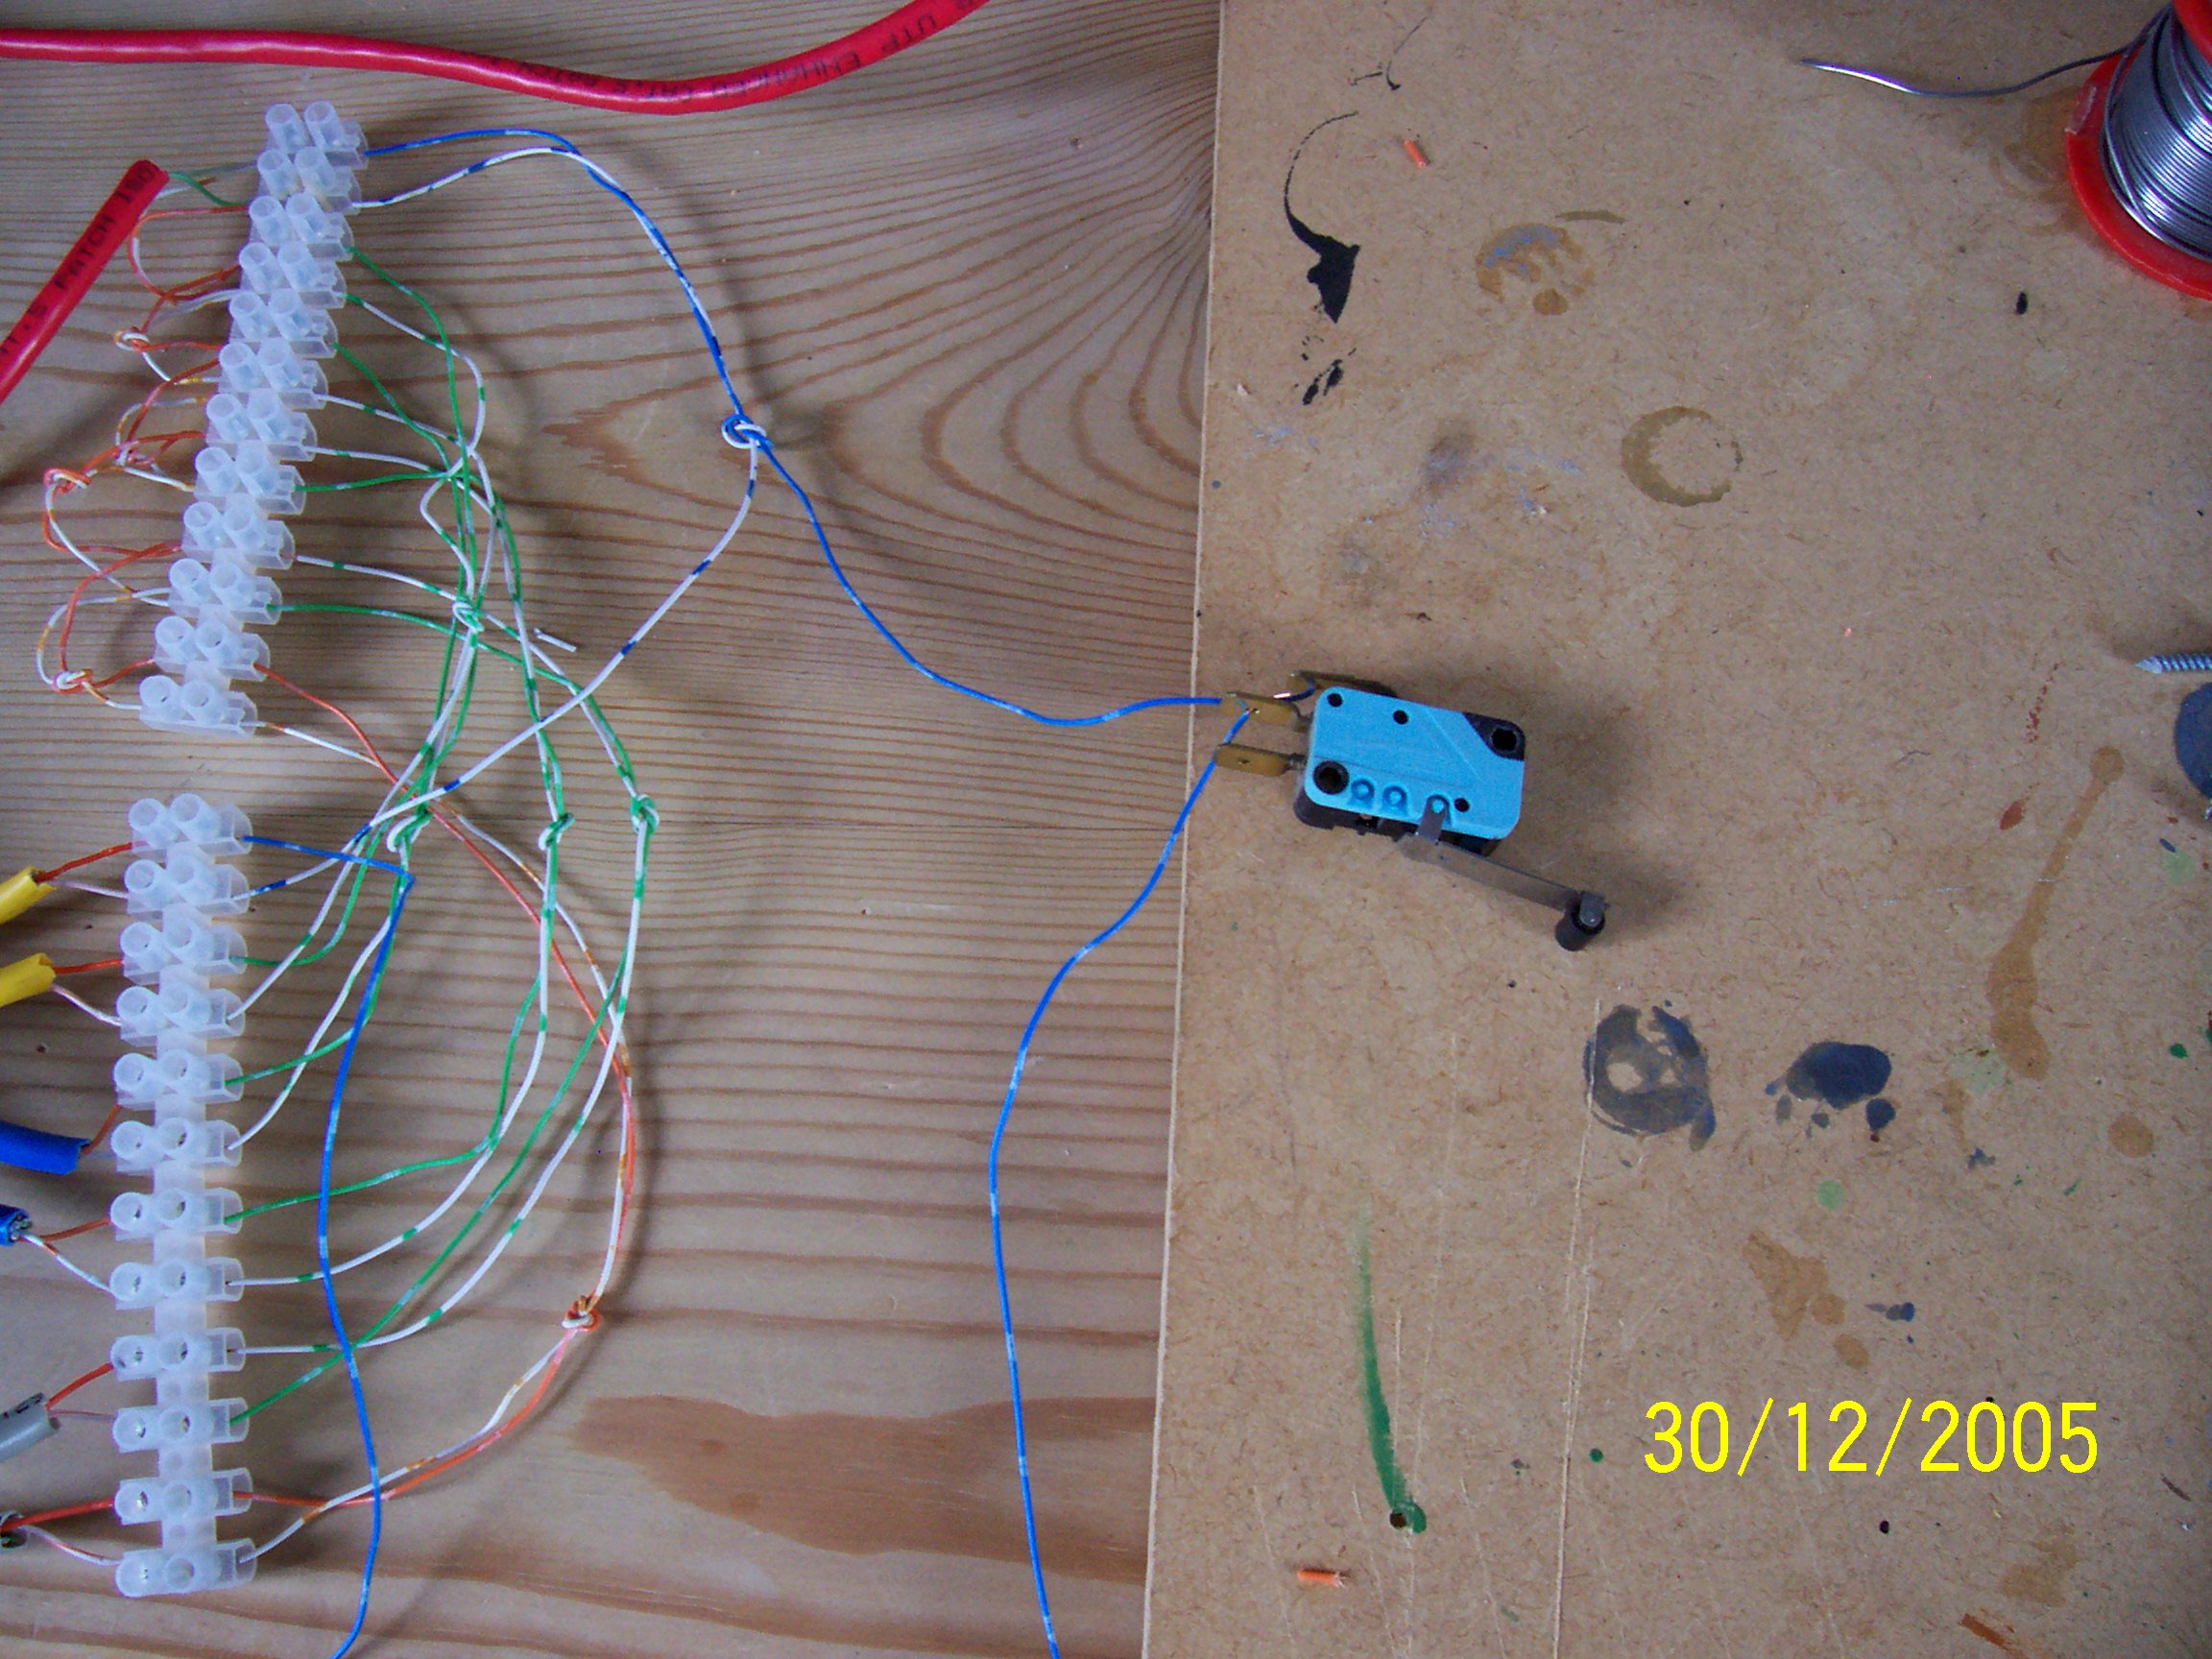

In order to make zone (port) good/bad we need to switch the transmit cables to the receive cables. We can do this by using low cost magnetic reed switches for doors or limit switches or any device with open/close control such as PIR.
We can normally just switch one core of the pair as the photo below shows using one limit switch. If you have problems with excess distance, try switching both cores in the pair by using second limit ot reed switch, in the core which is just looped (white/blue in photo)
We can normally just switch one core of the pair as the photo below shows using one limit switch. If you have problems with excess distance, try switching both cores in the pair by using second limit ot reed switch, in the core which is just looped (white/blue in photo)
Now we have created the hardware we can now setup the SNMP hub and software on PC.
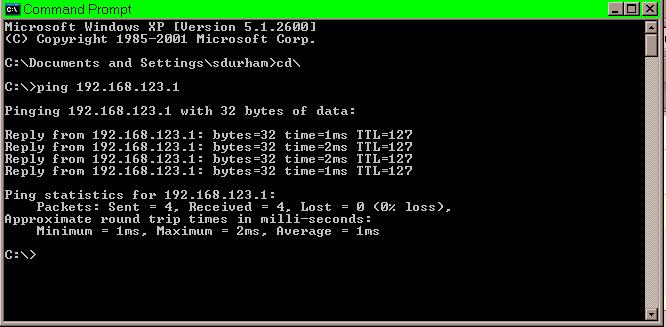
These instructions use a 3com snmp PS40 hub, so ensure you have access to the login of this unit, and 3com hub has a IP address you can ping from PC usinf a DOS session (see screen below)
To setup 3Com IP address follow instructions from "Manual" link below (need acrobat reader)
http://support.3com.com/infodeli/tools/hubs/suprstac/3c16405/manual.a02/16405ug2.pdf
The PC will be polling the 3com hub using snmp using the "public" community string, this is the normal default setting.
Now install the Woodstone "serversalive" product as link from what you need page.
http://www.woodstone.nu/salive/download.asp
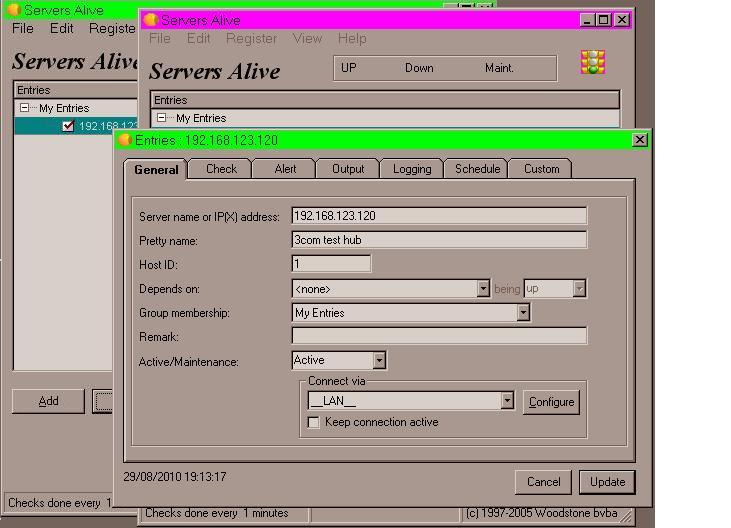
Once installed you should run it and start to add zones ? as below.
add a entry (max 10 for free version) each entry will have IP address of 3com hub, pretty name (Gargae door ZONE 1 ) for port 1.
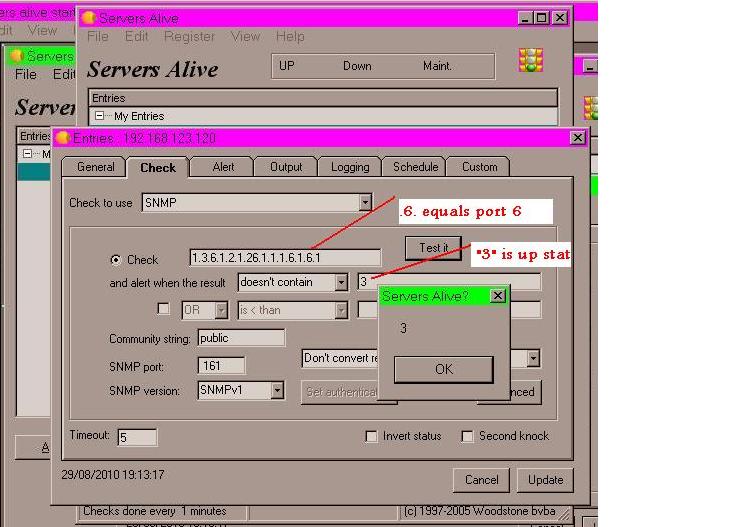
We then need to select the "check" tab and select what test to do, we want to select "SNMP" enter the SNMP info to poll (1.3.6.1.2.1.26.1.1.1.6.1.x.1 where x equals port number) see photos below.
Then need to change the "alert when result" is "doesn't contain" and variable is "3" which is UP. see photos below and text in red.
Use the "test" button to get result, should be "3" if led on hub is green or "4" if port is down, with no led lit.
We can now edit the "Alert" and "schedule" sections, these can be used for various alerts and when that zone should be active etc. refer to the Serversalive document for configurations of these sections.
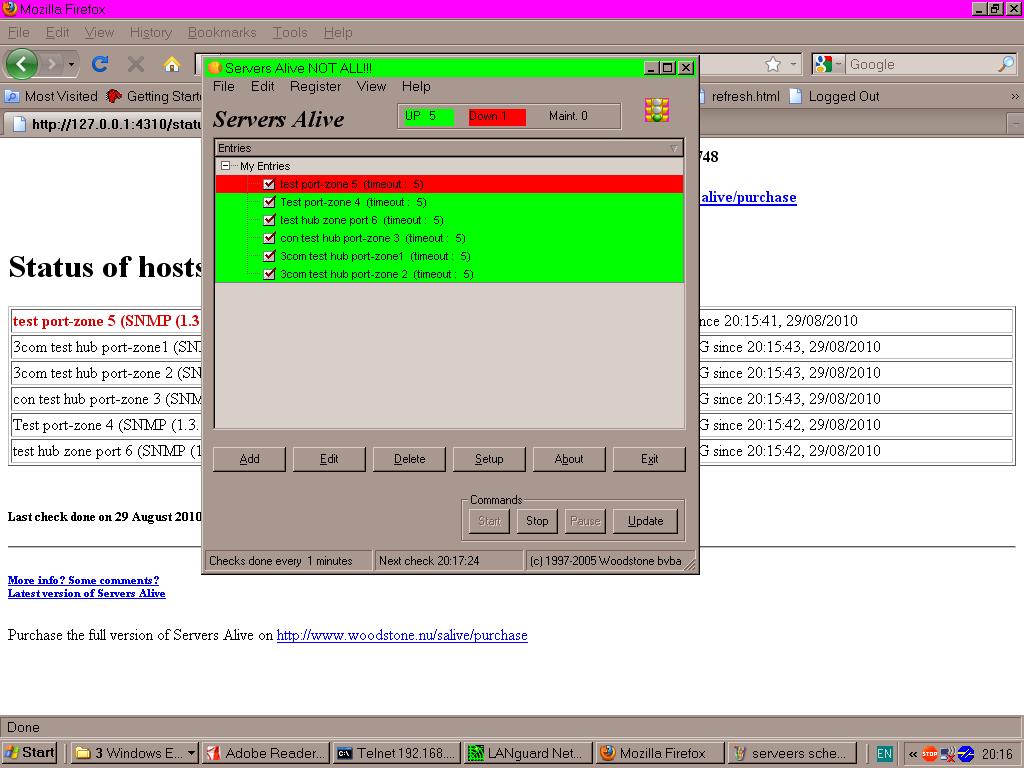
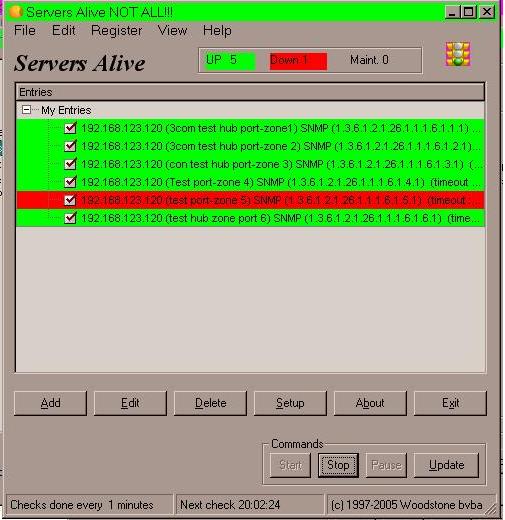
Once you have all zones added you should end up with main window similar to last photo.
Serversalive Few More Options
"Servers alive" is one of many SNMP products, I have chosen this for its free 10 node version and its good schedule and alerting options.
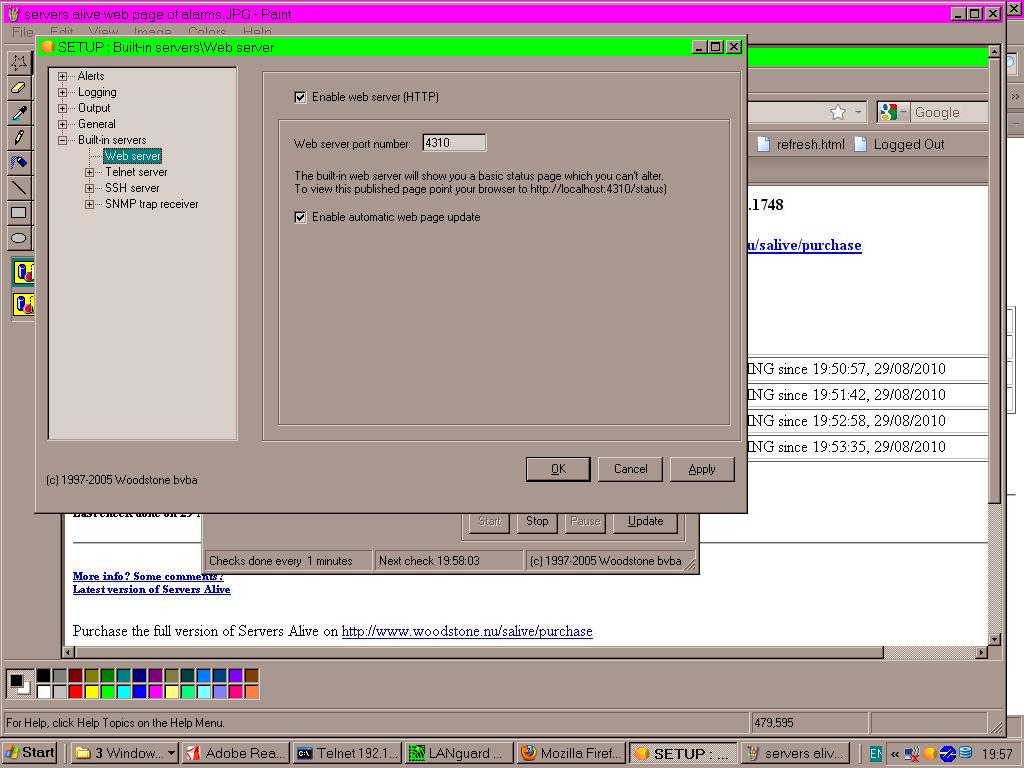
You need to enable it so you can view alarms via a web page, this makes the pc a Wb Server see photos below
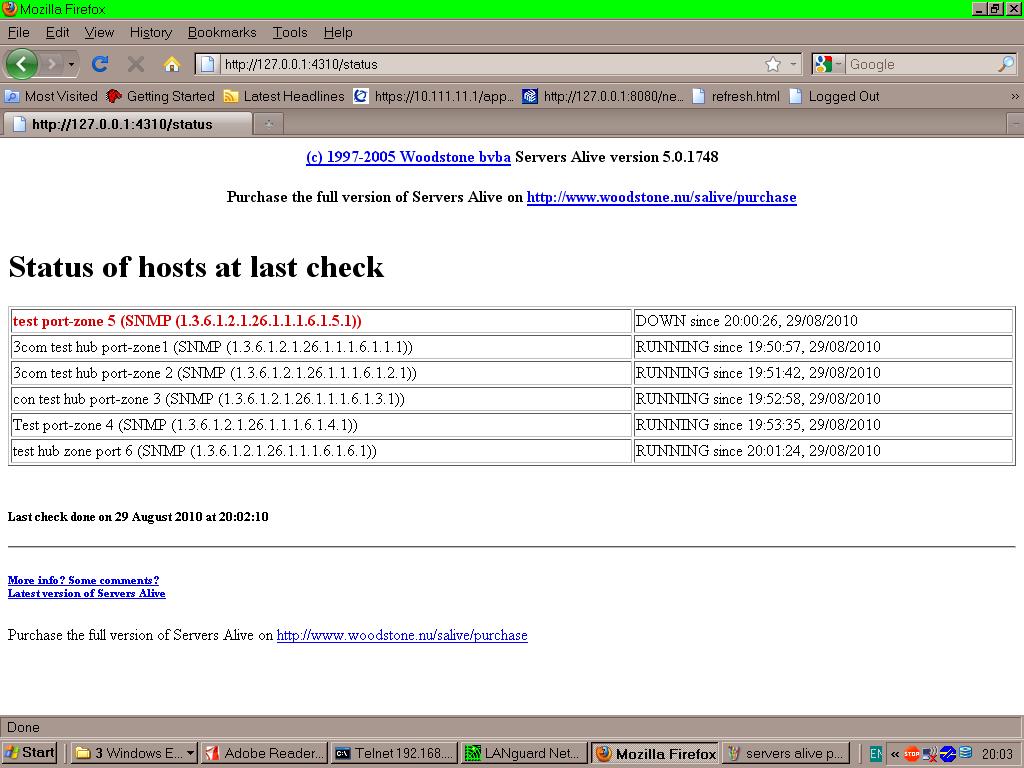
open browser on pc running serversalive to http://localhost:4310/status you should see web page similar to below.
You will now be able to see this web page from any pc on same network.
You need to enable it so you can view alarms via a web page, this makes the pc a Wb Server see photos below
open browser on pc running serversalive to http://localhost:4310/status you should see web page similar to below.
You will now be able to see this web page from any pc on same network.
Cheap Cover for Connectors and Contact Info
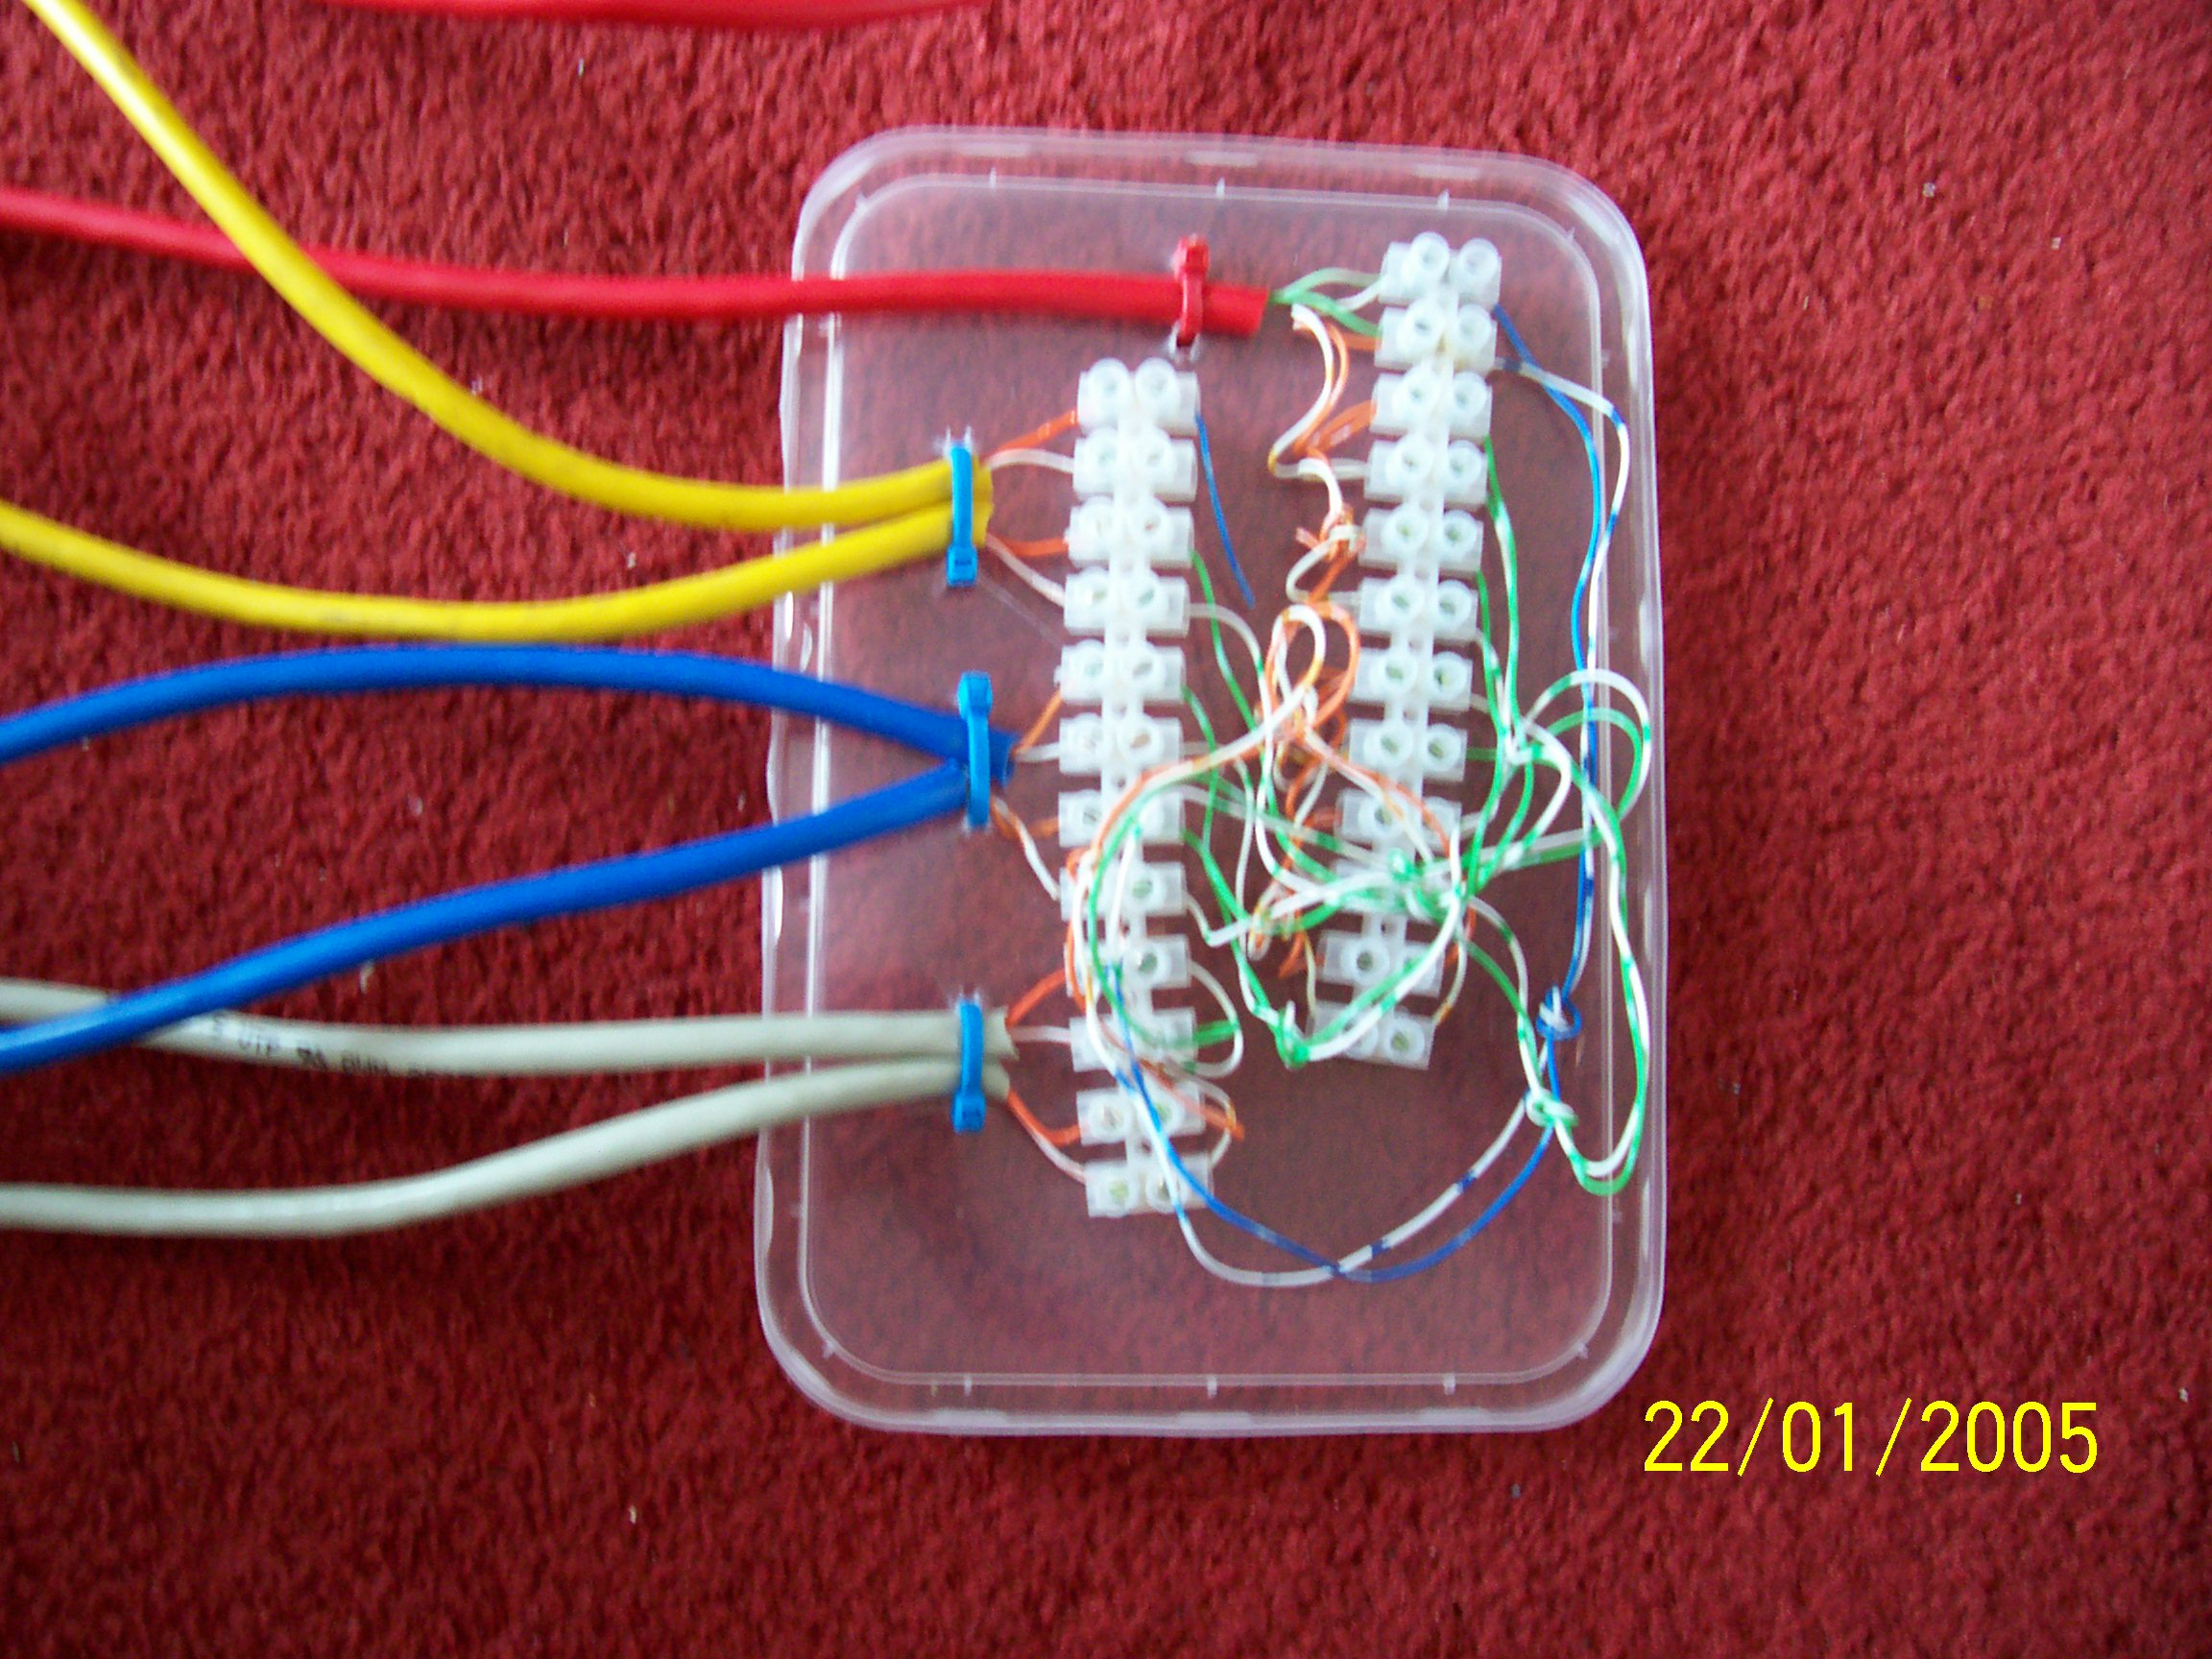
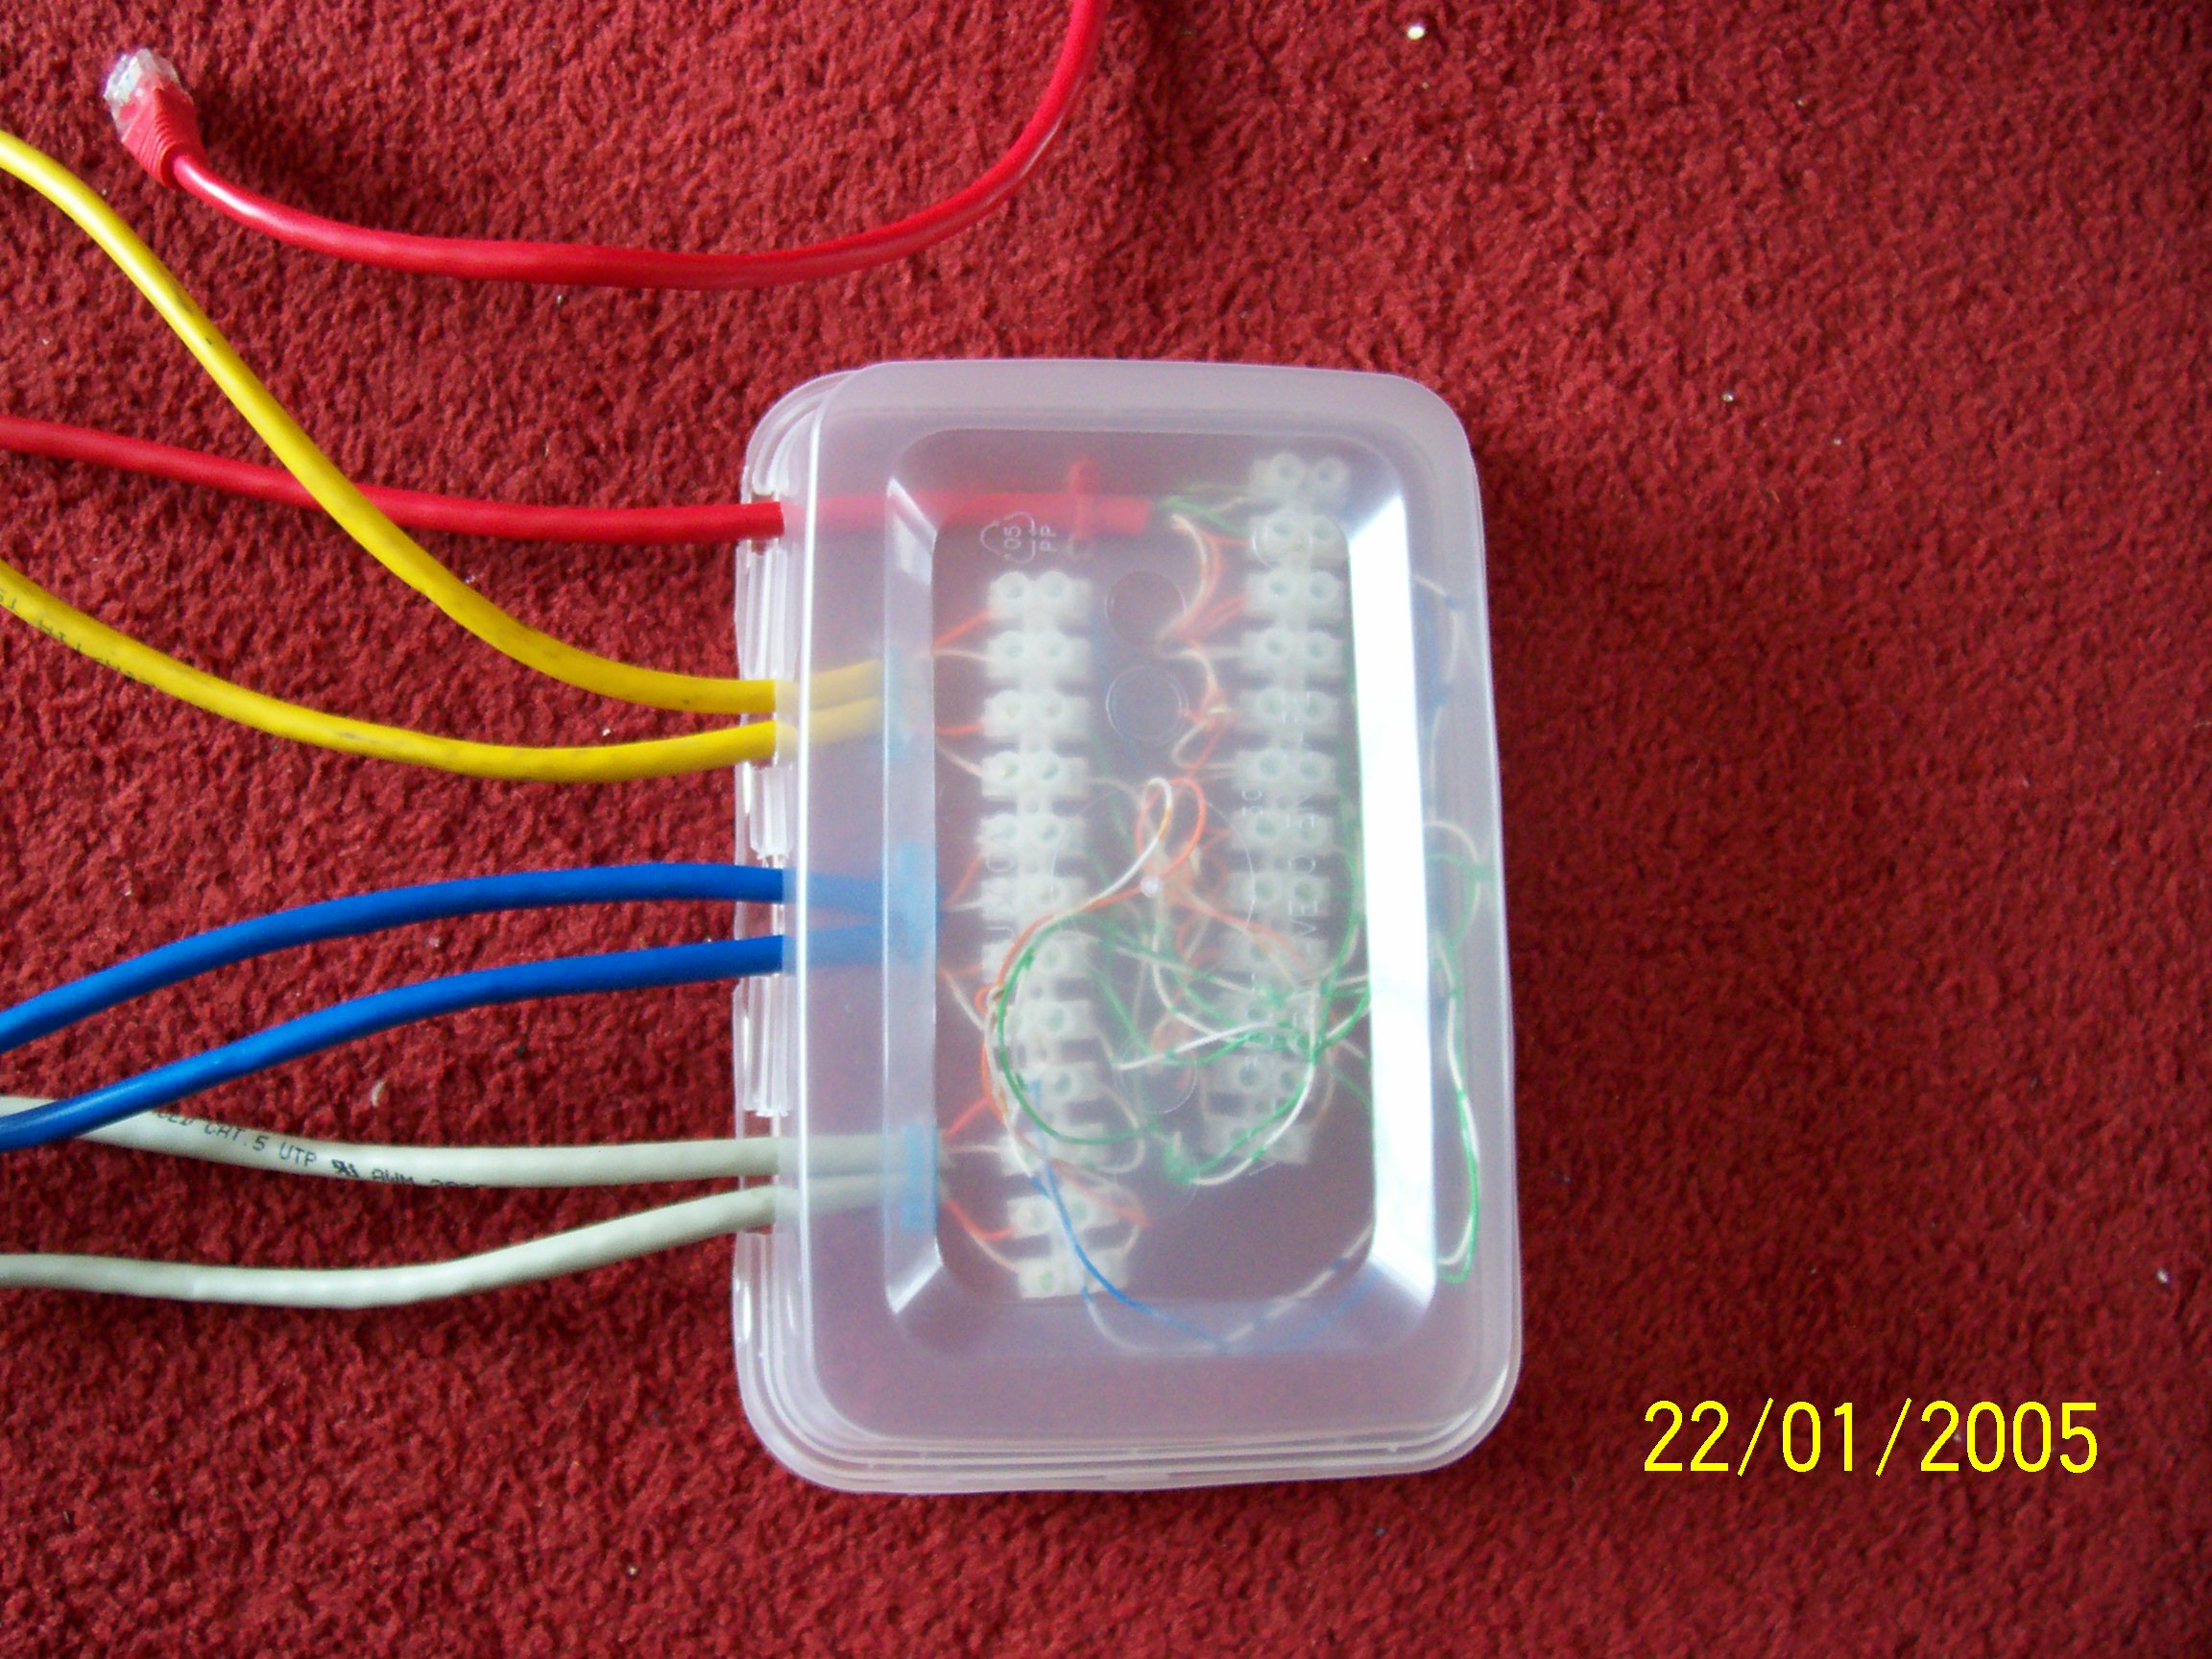
If you need to or want a cover for connectors, then use a old take away plastic dish, approx 6 inch by 4 inch by 2 inch. Using couple of cheap cable tie raps tie cables to the lid of unit offset so you can connect your external sensors.
Cut the main dish which acts as a lid with slots for the cables, you can then mount the unit on any surface. as below
Please checkout my website www.zone-monitor.co.uk for my ideas and info (hope to have running in late Dec 2010)
other SNMP sites I have used
www.snmpview.de (english - german freeware few years old now)
http://www.mikrotik.com/thedude.php (freeware good for graphics )