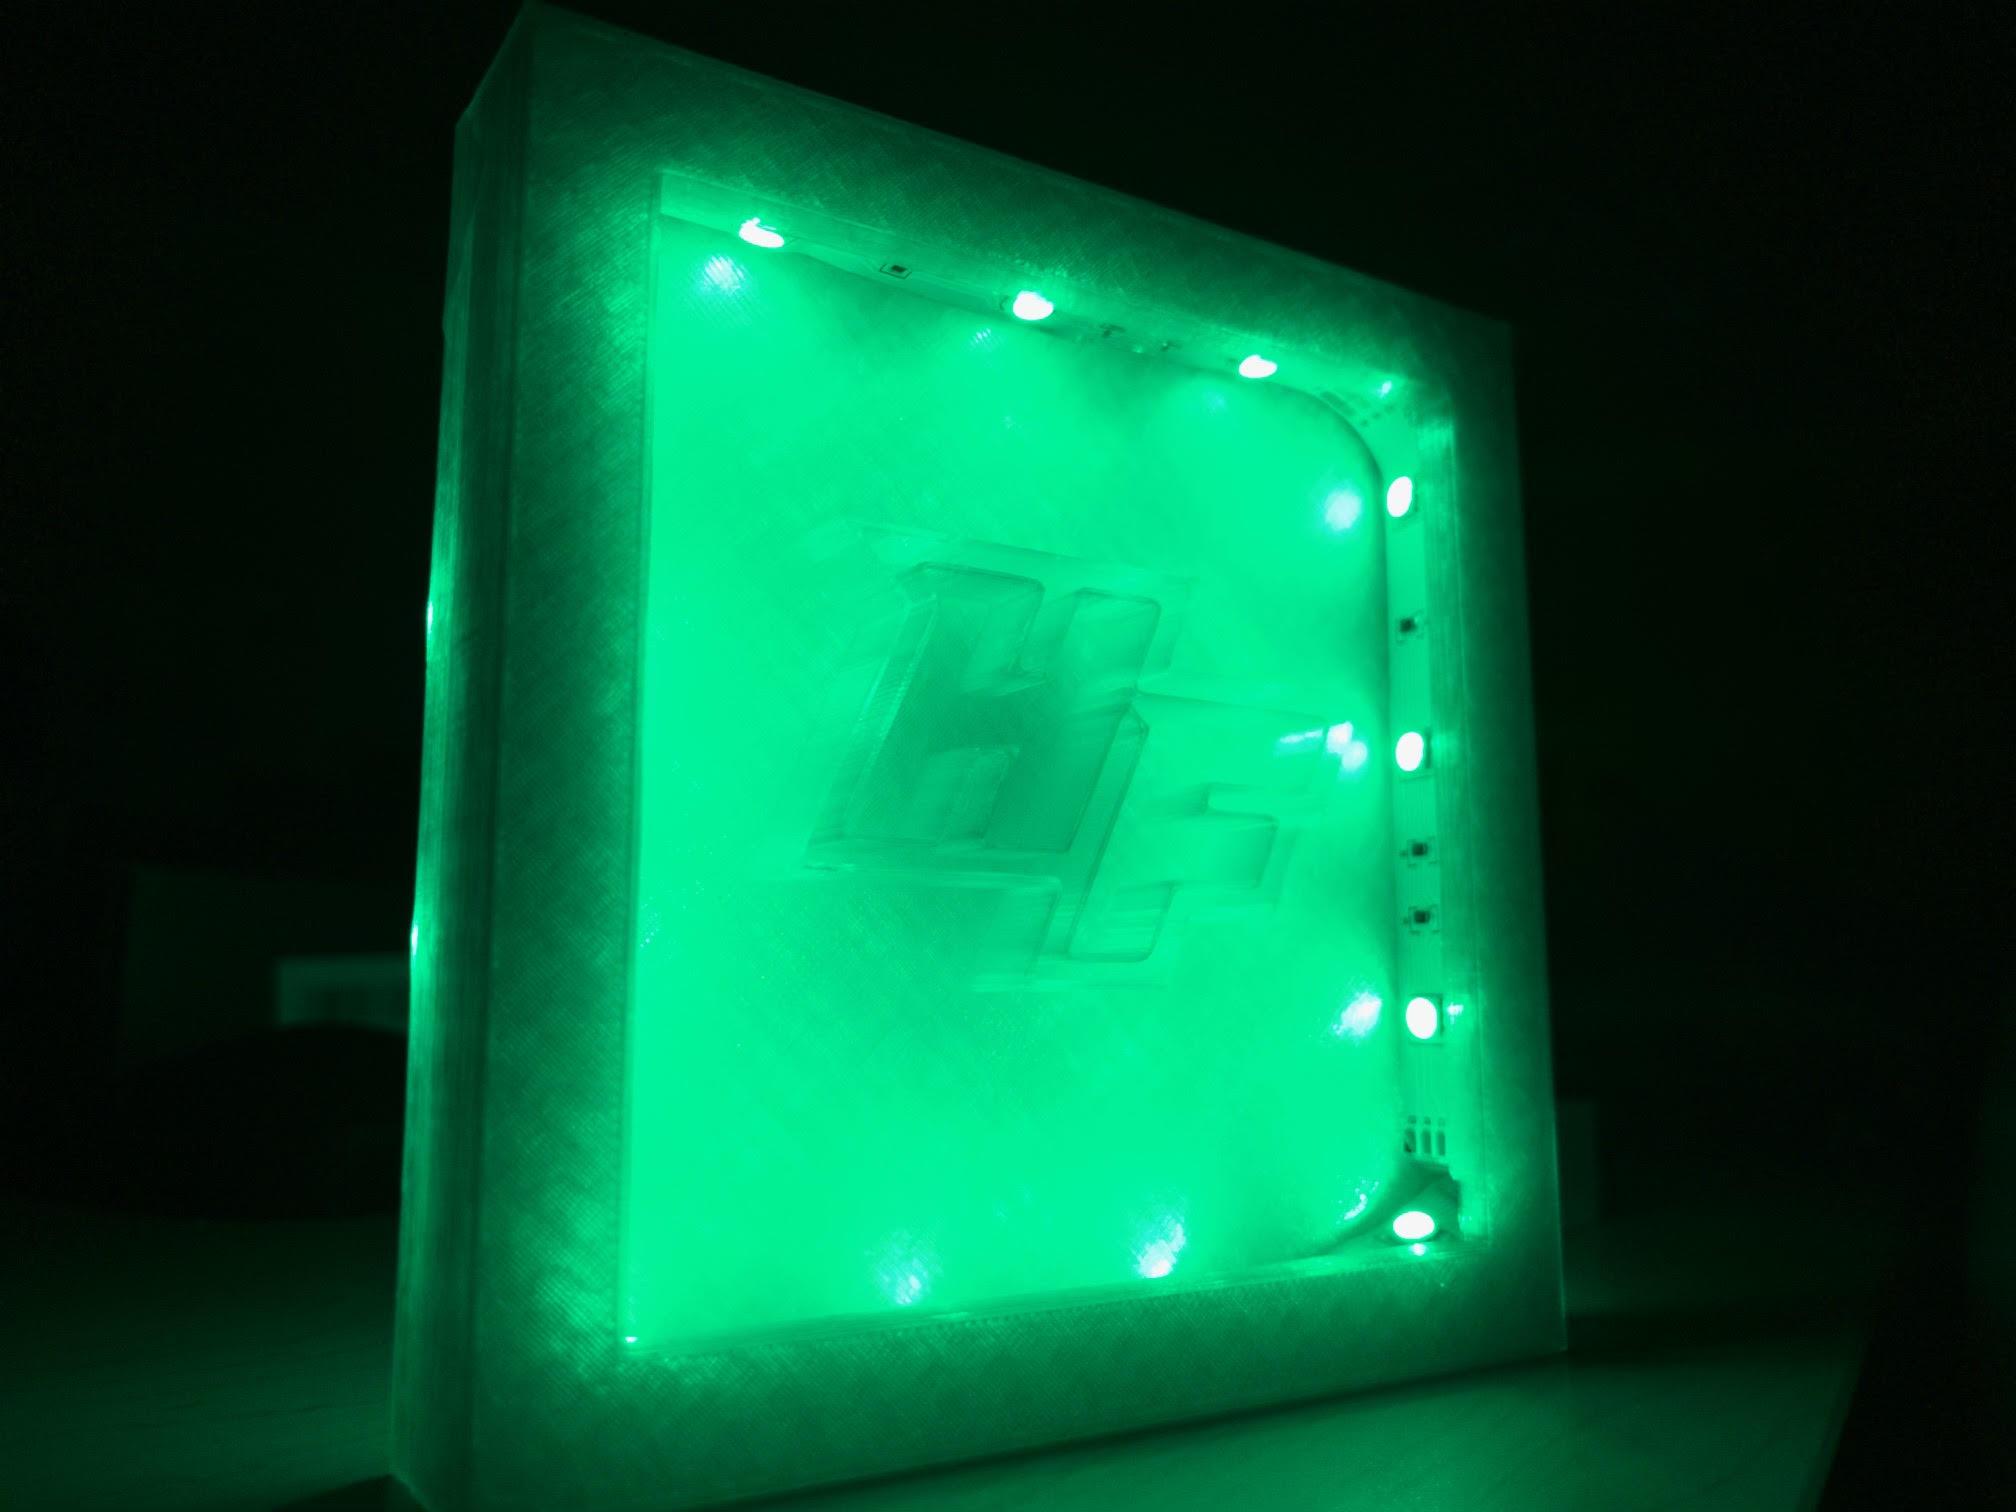
Holy Family Light Box
.jpg)
.jpg)
I was assigned in the Design and Manufacturing class I am taking at Holy Family Catholic High School to choose a project to work on.
I thought the make it glow project would be a good project to do with the supplies I had available.
I designed the box in Autodesk fusion 360.
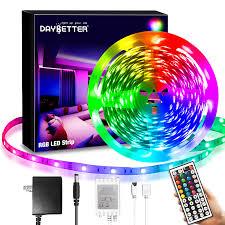
The lights are from amazon that can change color.
Supplies
- The Autodesk desk fusion 360 program
- A 3d printer
- Color changing LED lights
Gather Supplies
The computers at my school have Autodesk Fusion 360 so I did not need to gather it.
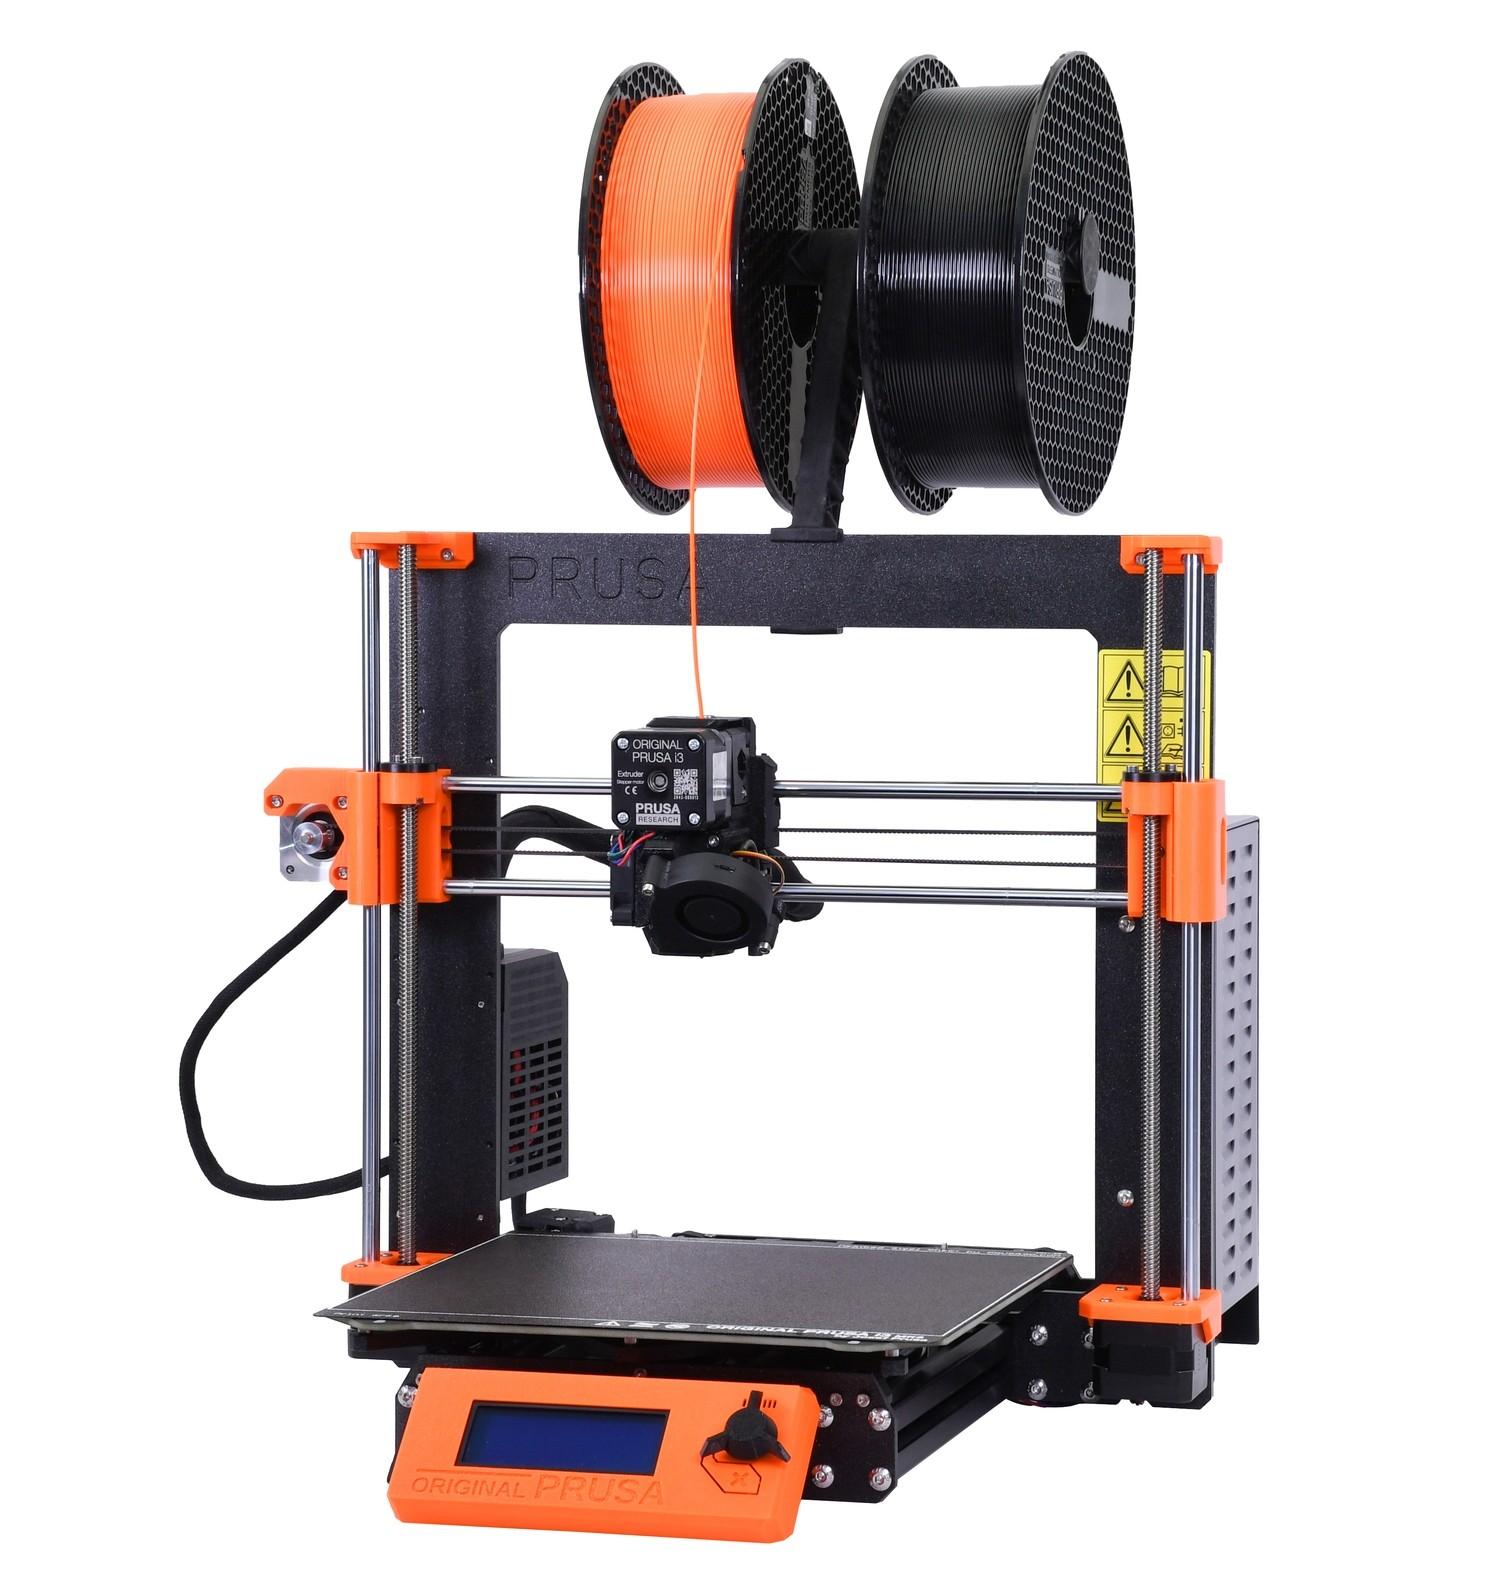
3d printer material
3d Printer
Color changing LED lights. I got mine off amazon.com.
Design
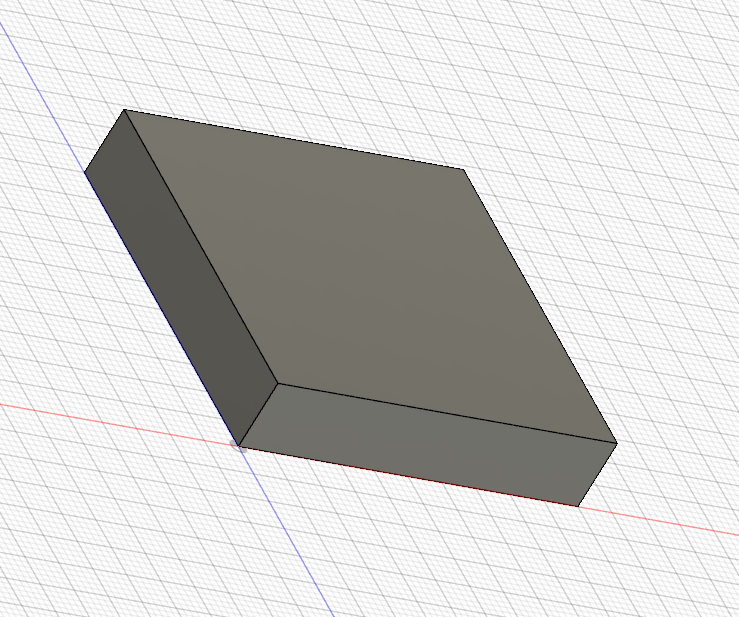
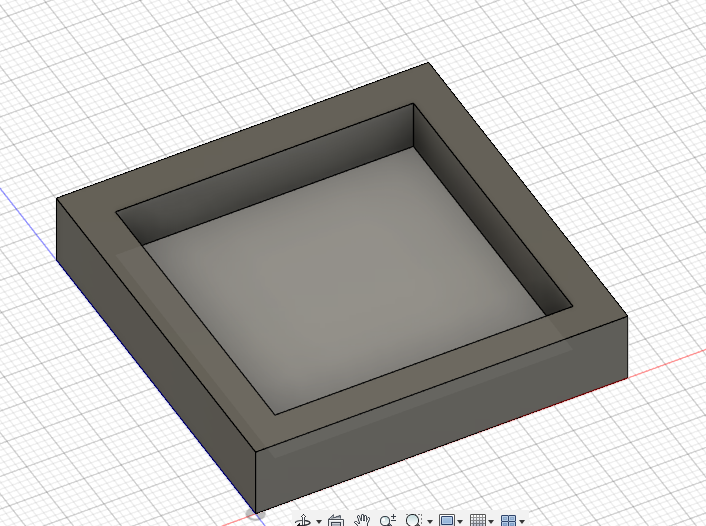
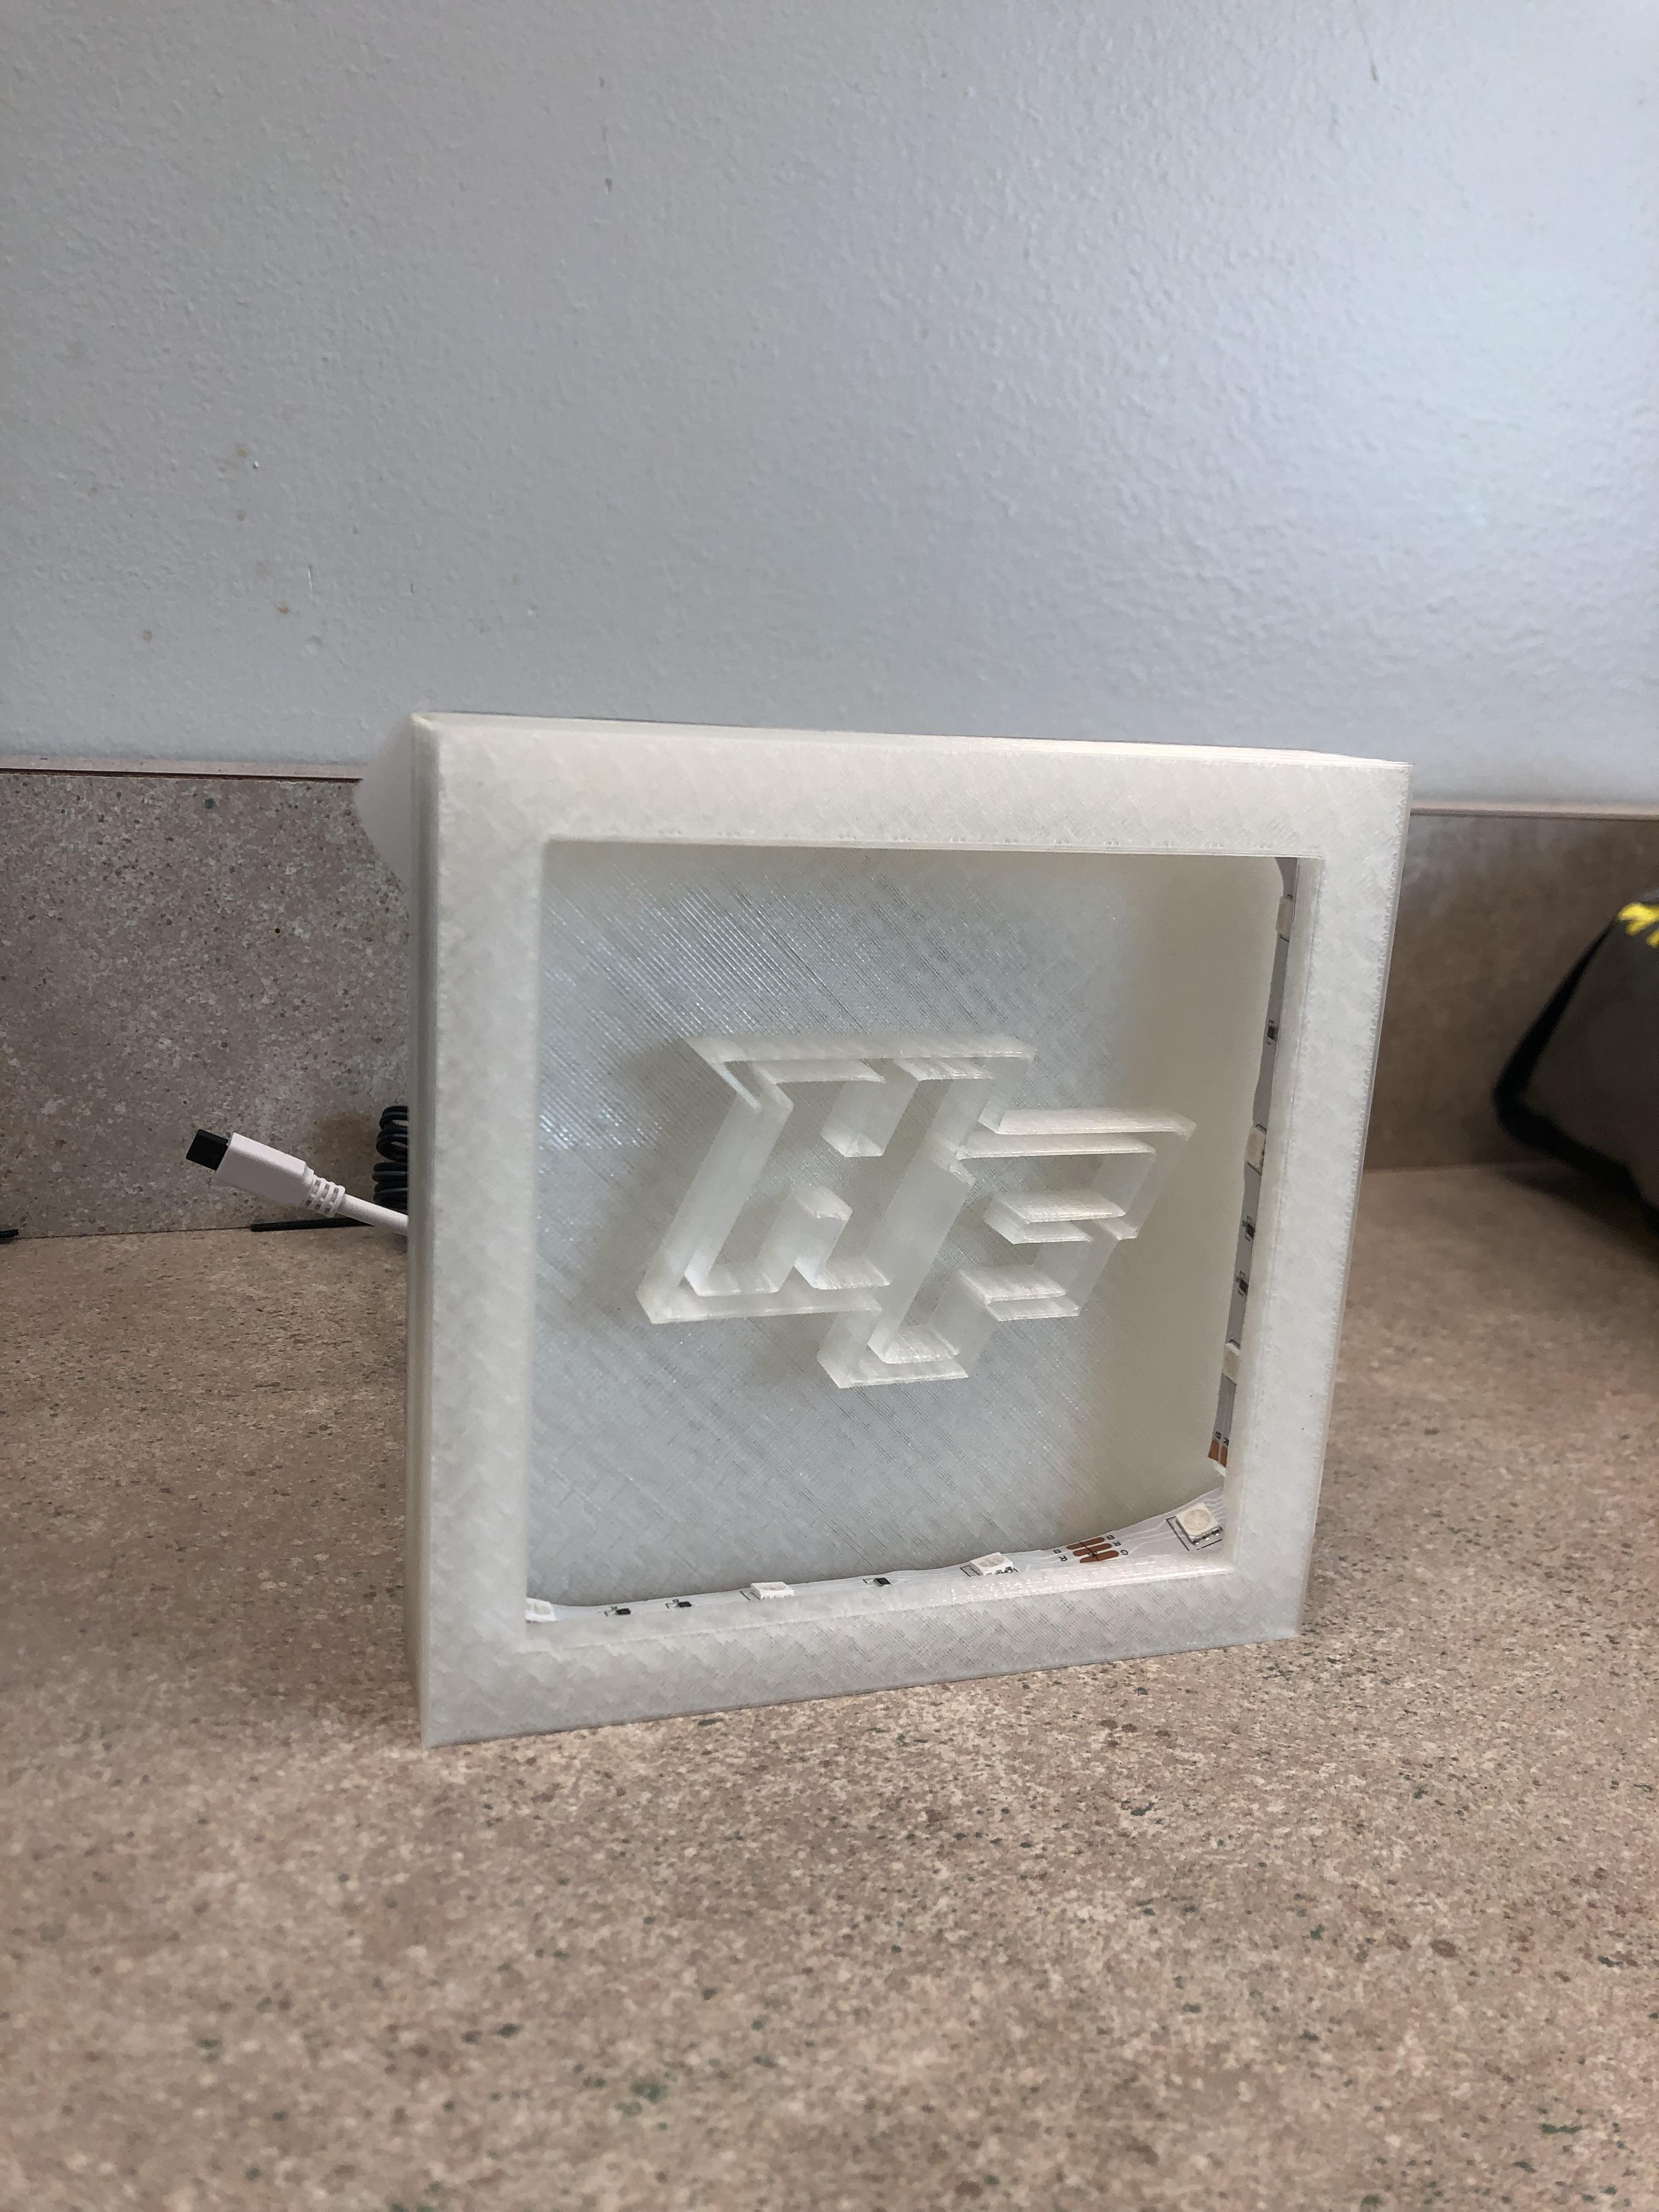
- Start with a 5inch X 5inch X 1inch box.
- Make a hole in the box by cutting out a 4inch X 4inch X 0.7 inches
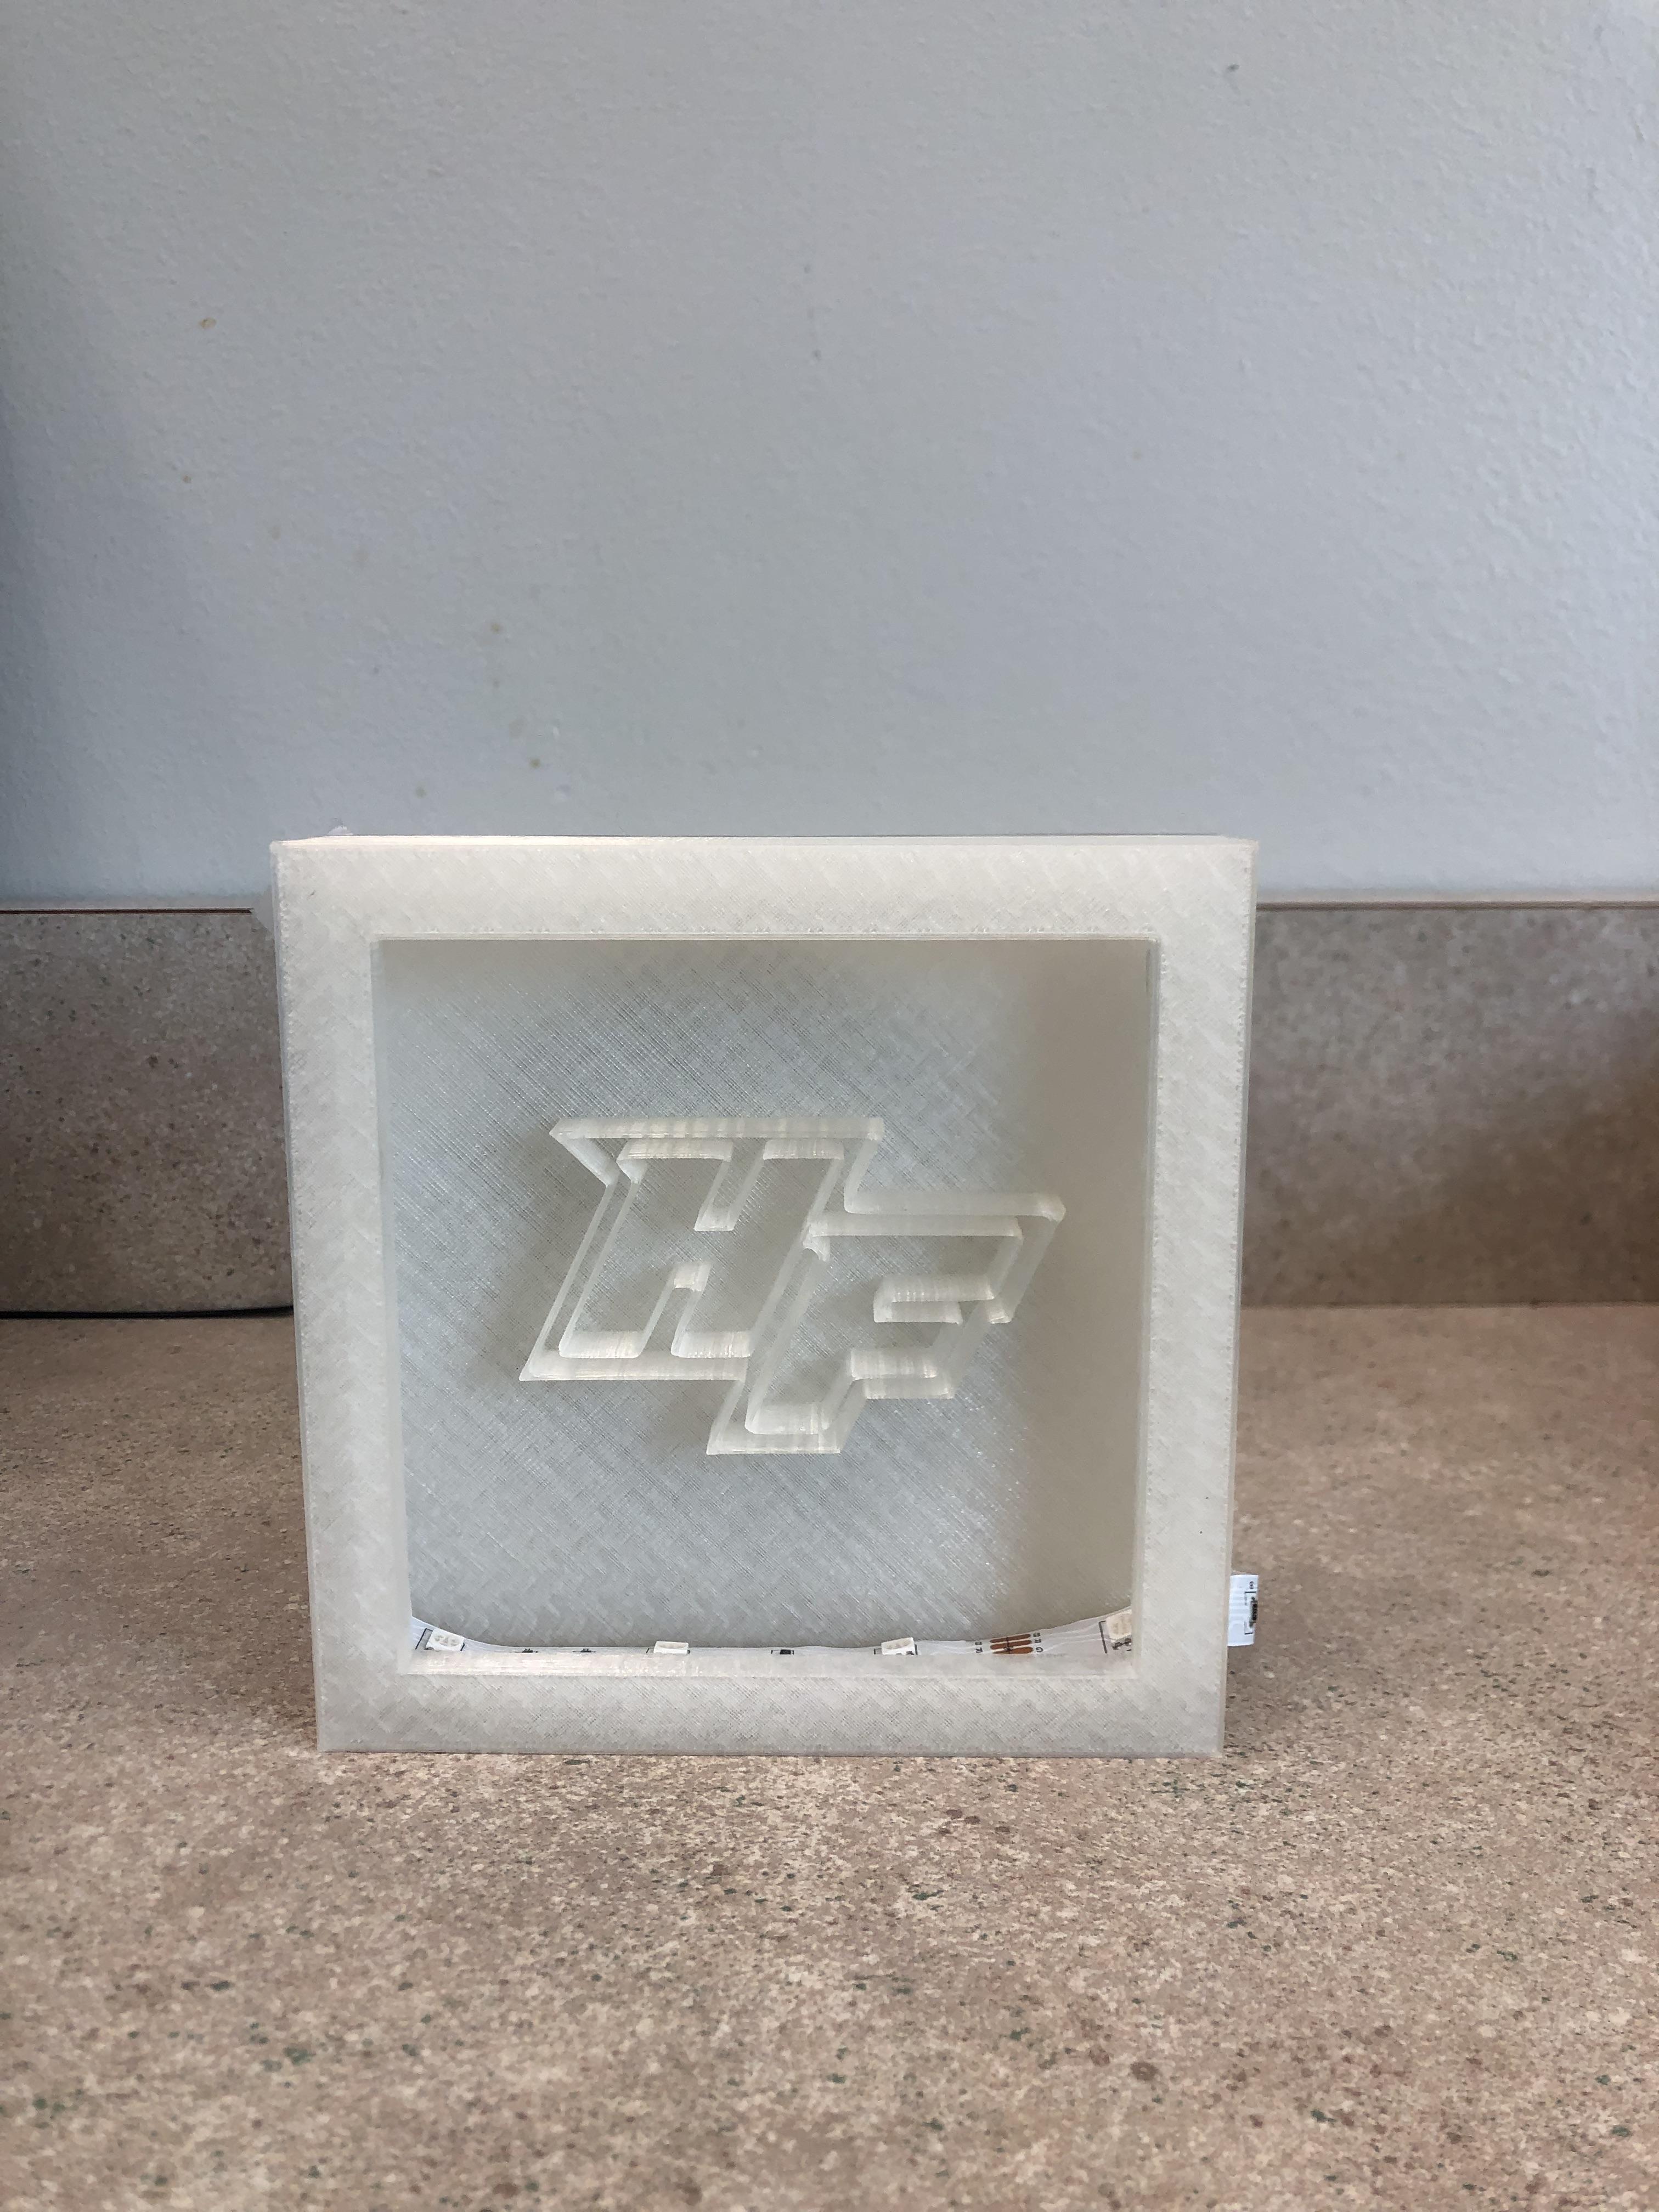
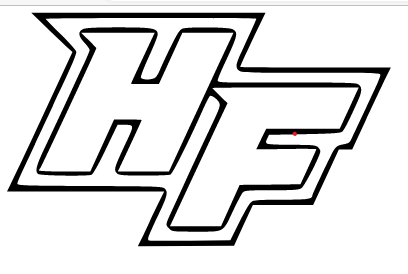
- Find picture you want to light up I went with my schools logo.
- convert the picture to a SVG file using a online converter.
- import the SVG file on to your project in Fusion.
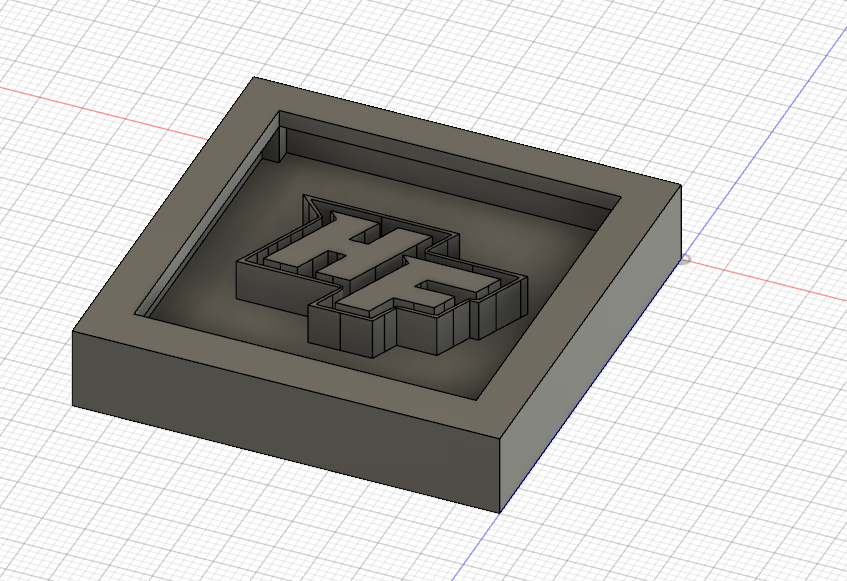
- Extrude the logo to make visible.
- Create a .5inch tall X 4inch long X .5inch deep extrusion into each wall on the inside of project
- Create a .5inch by.75inch hole to put LED strip in.
- Export your Cad file as a STL and print it.
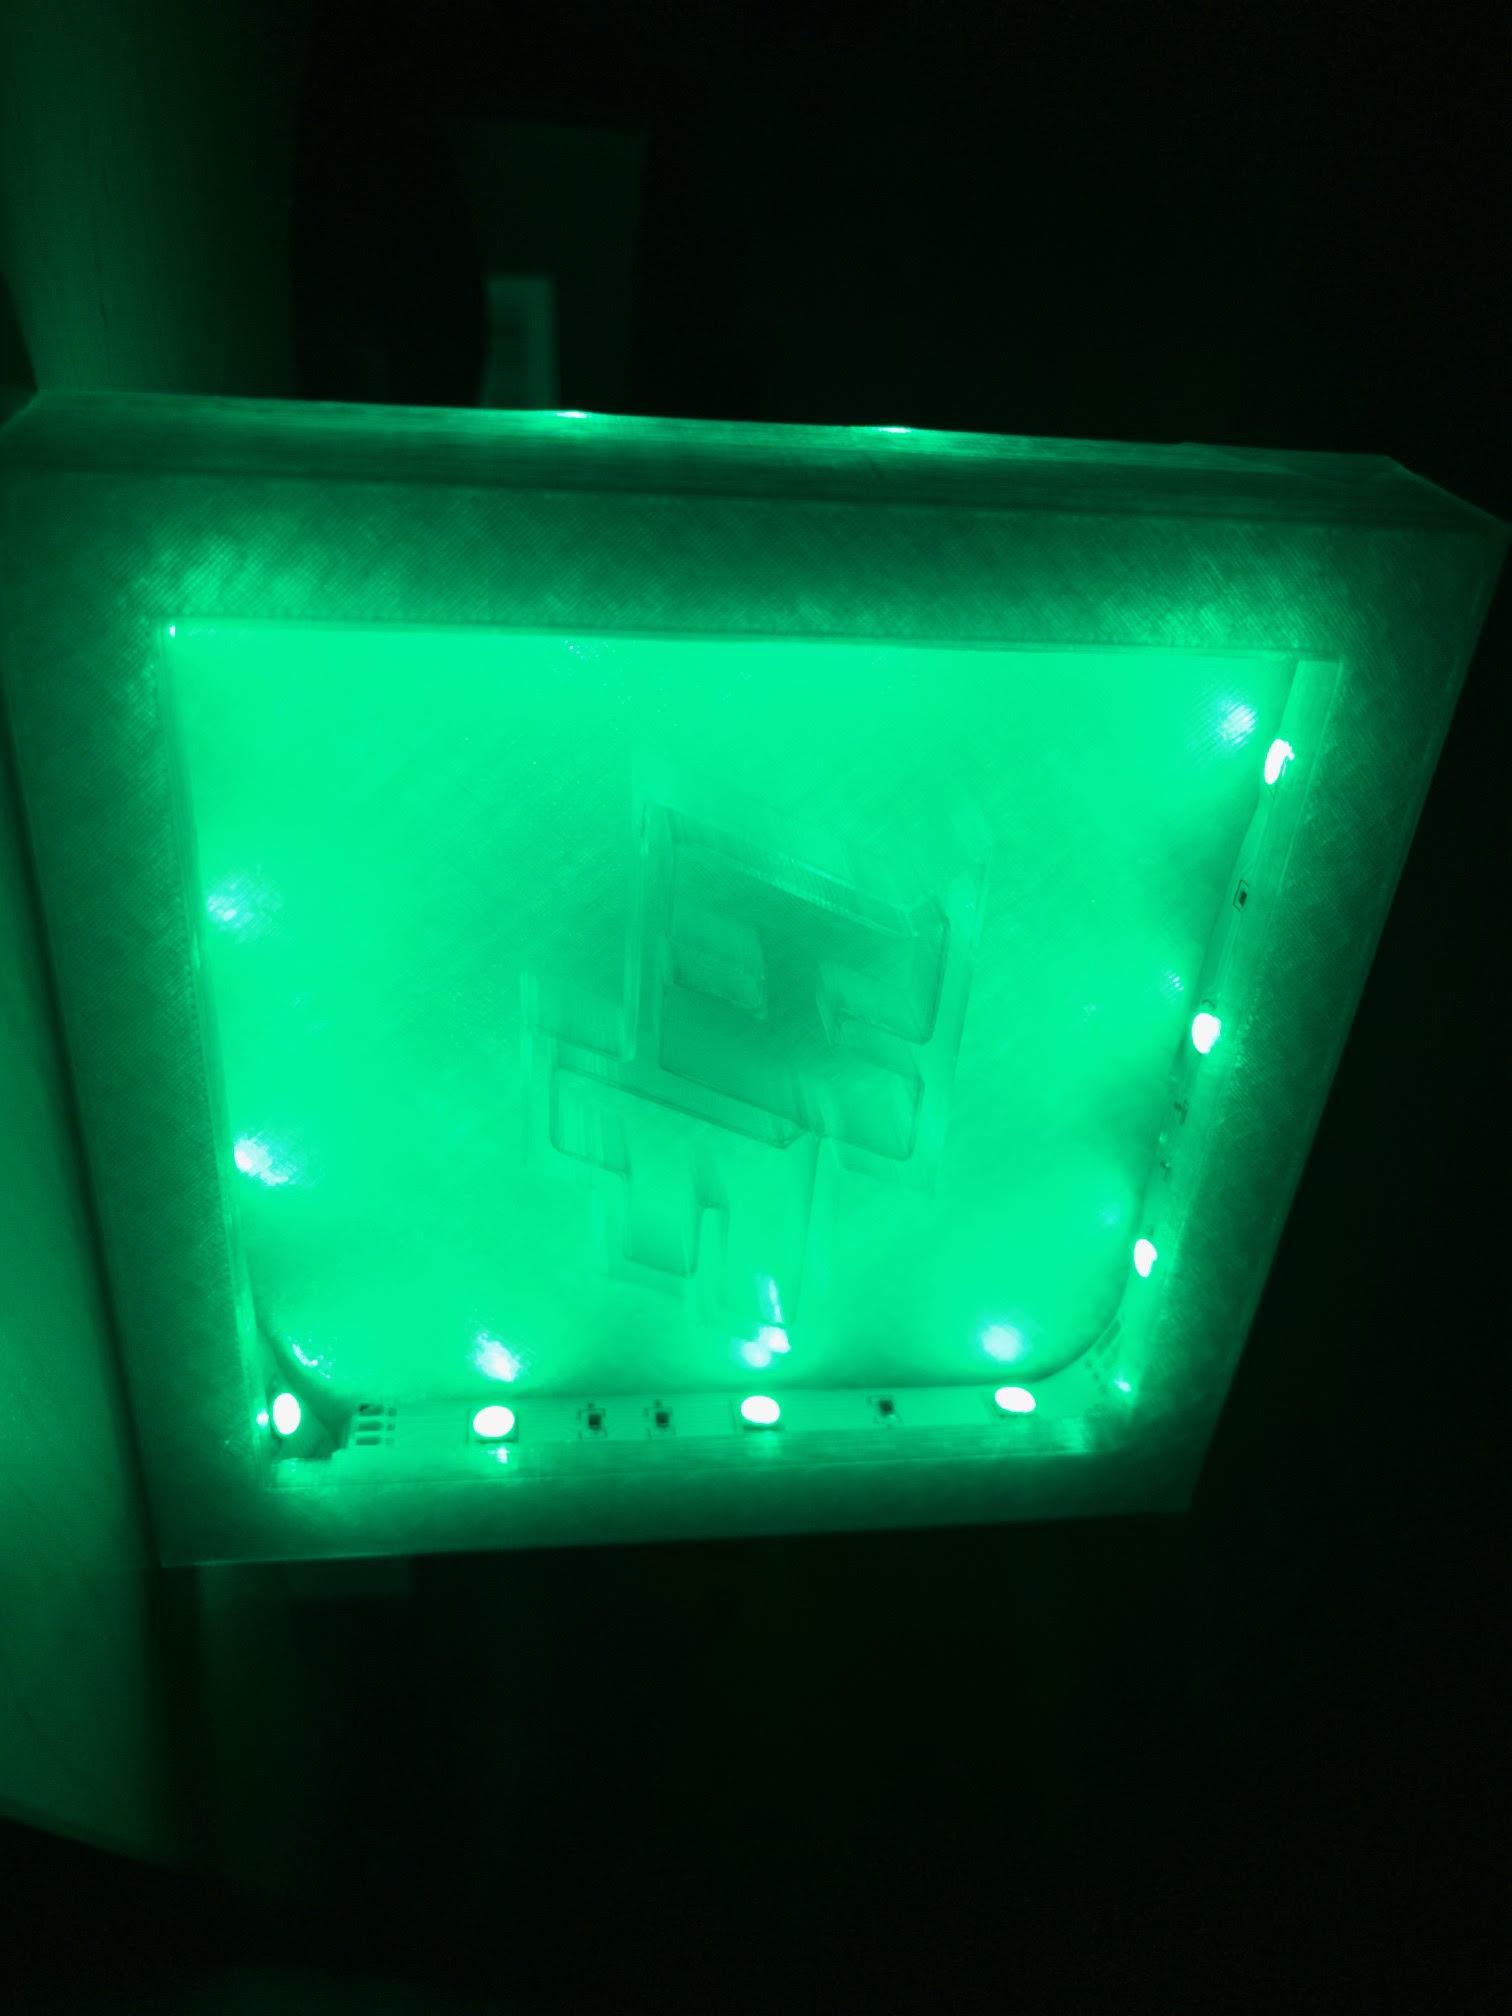
Putting Lights In.
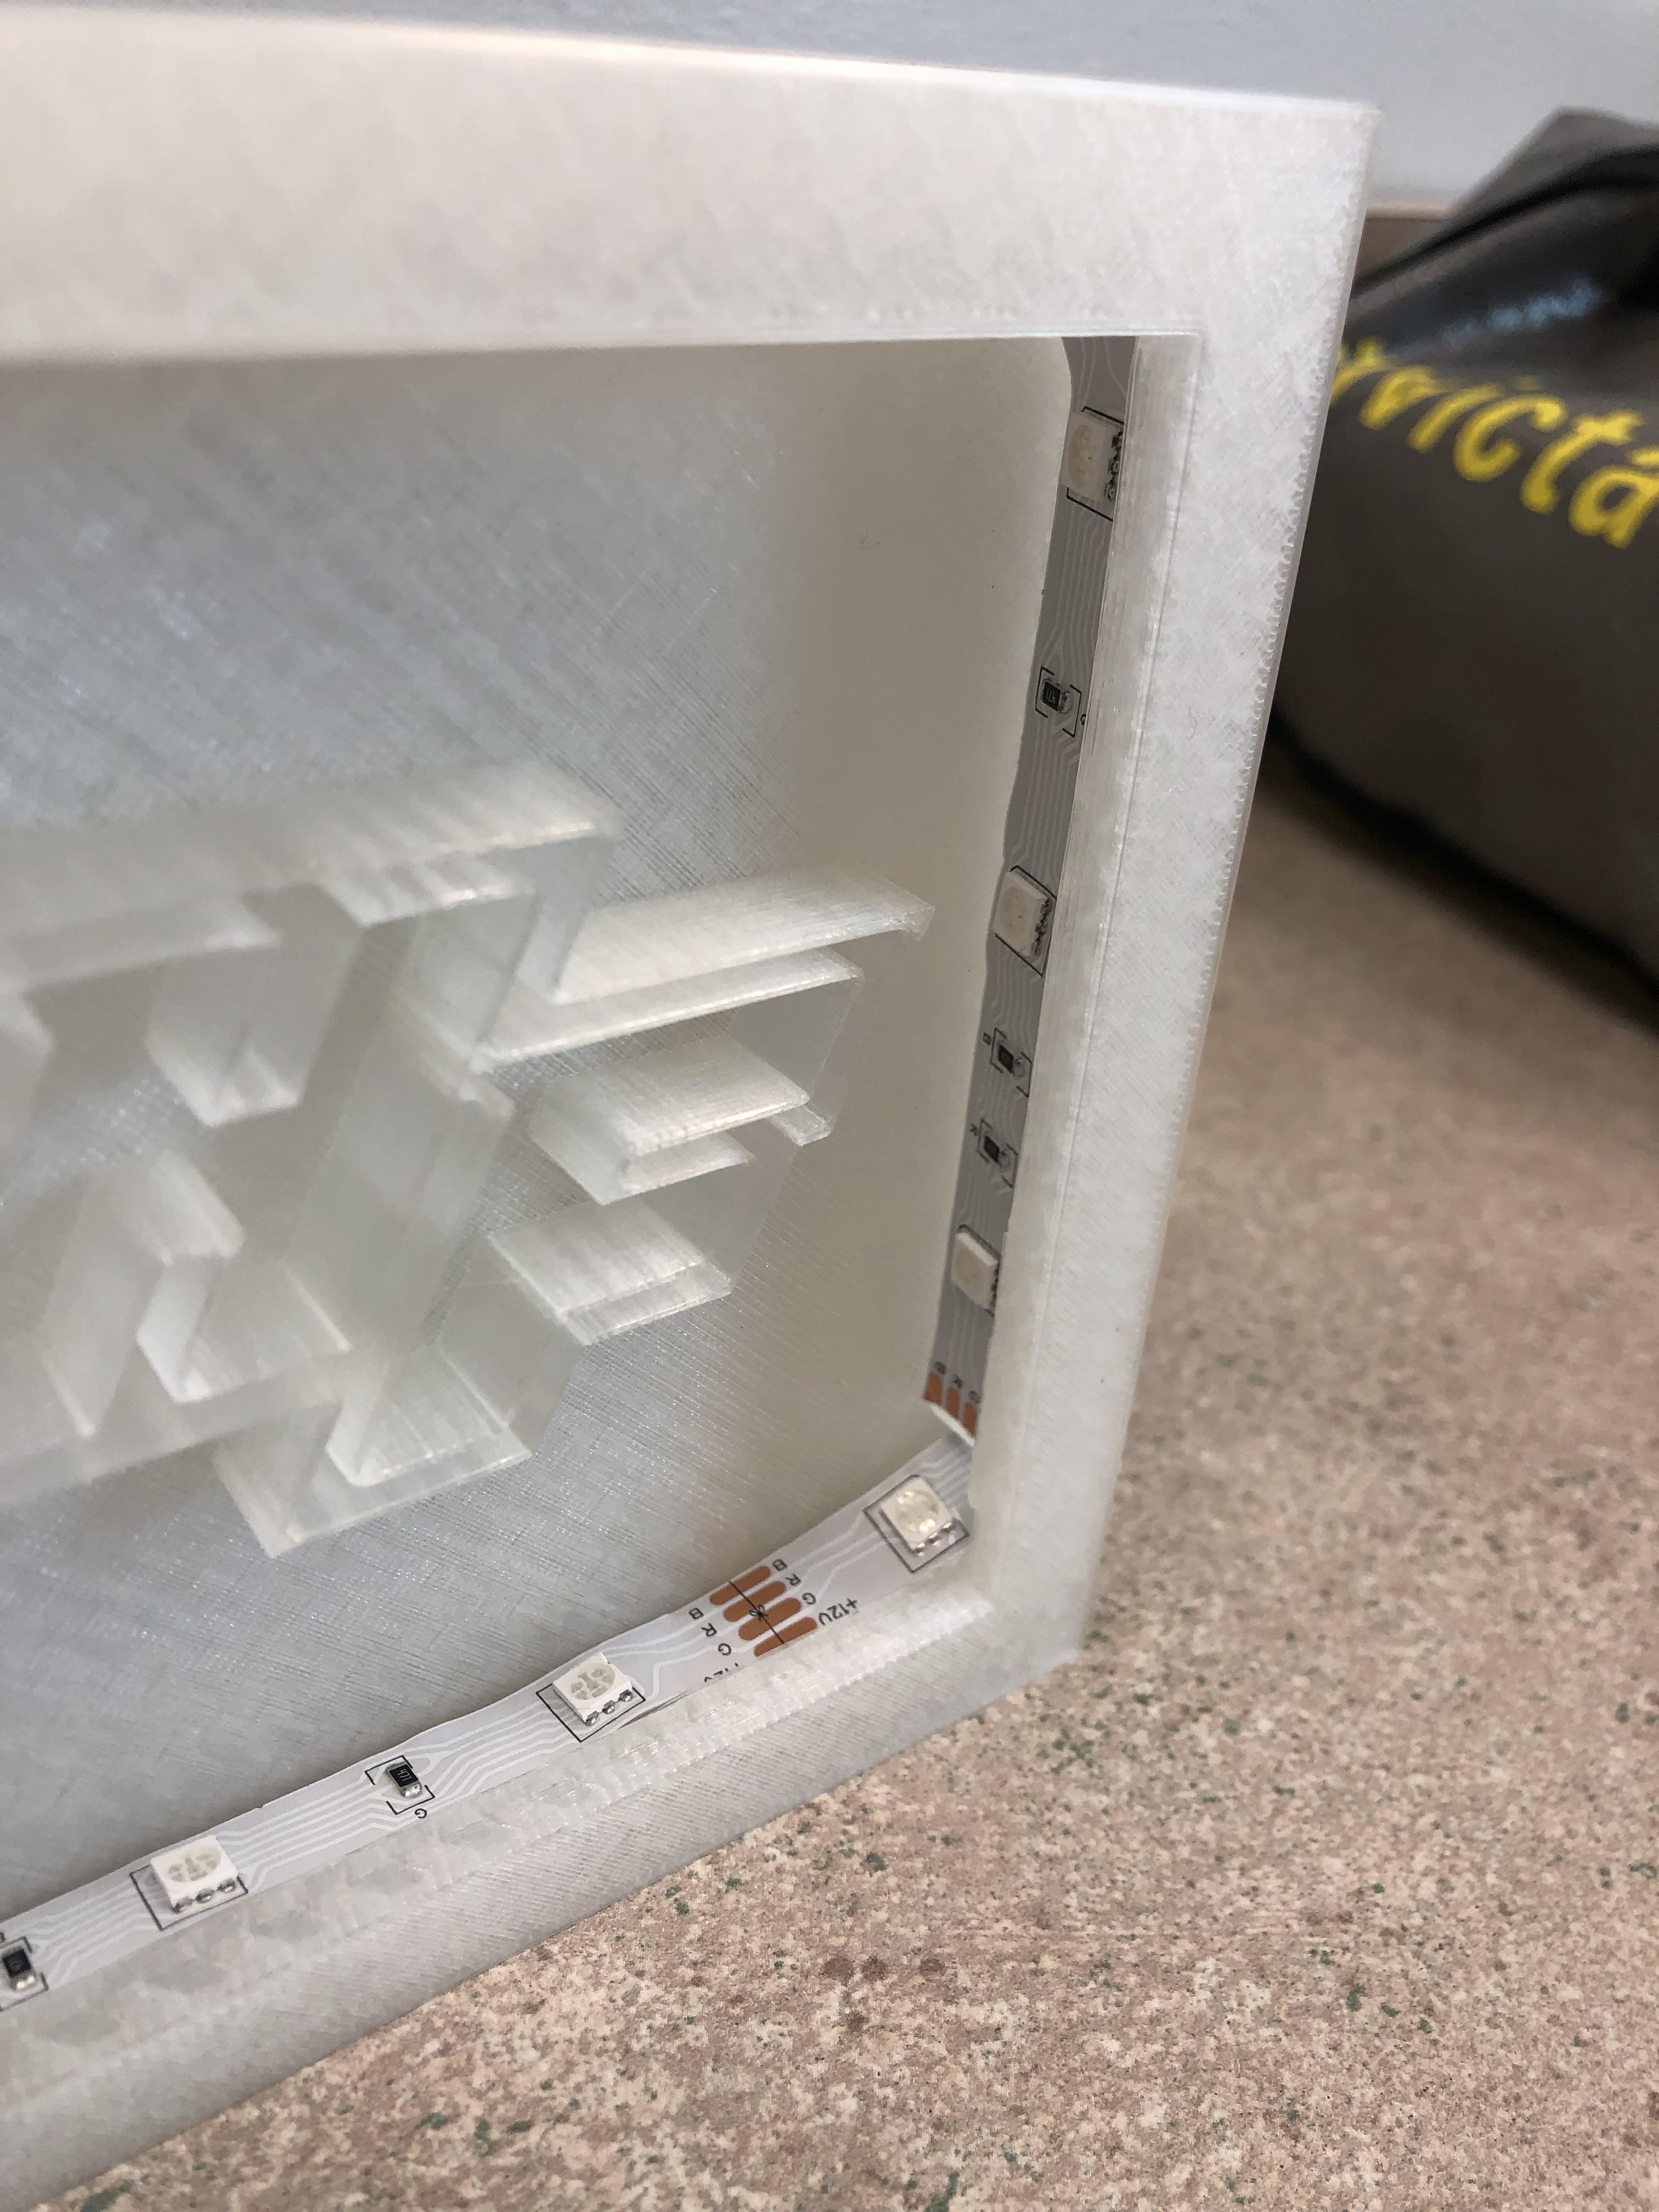
- After printing clean off any support material
- Put LED light strip in the hole on the side.
- Guide light strip under the ridge on all four sides.
- Take off paper to reveal sticky side of light.
- Push the light on to your project until it stays.
- Plug in to wall outlet.
- Enjoy.