Hobo Storage Shed, No Tools Build, for Dirt Cheap or Free - Easily Expandable and Upgradable!
by ElectroIntellect in Outside > Backyard
2570 Views, 35 Favorites, 0 Comments
Hobo Storage Shed, No Tools Build, for Dirt Cheap or Free - Easily Expandable and Upgradable!


So you need somewhere to store your things that is protected from the elements and that doesn’t require tools. No problem with a little creativity and some collecting you can make your own hobo shed as well using what most people just see as garbage which means it will be nearly all free. So lets dive right in and get started!
If you would like to support me in making these projects you can do so here.
Supplies

The supplies are minimal and no tools are required. If you have to purchase these items it shouldn't cost much. You may be able to find some of these items, or a similar substitute, discarded in the trash for free! I will also link to the cheapest version I can find on amazon for you.
Disclosure: The links below are affiliate links. This means that, at zero cost to you, I may earn an affiliate commission if you click through the link and finalize a purchase. I am a participant in the Amazon Services LLC Associates Program, an affiliate advertising program designed to provide a means for sites to earn advertising fees by advertising and linking to Amazon.com.
Supplies (You need a knife, packing tape, scrap wire or rope, and a small stick)
- Utility Knife Razor Blade – (You will need some kind of knife for this project, utility knives are handy to have and replacement blades can be gotten for pretty cheap.)
- Snap Off Utility Knife – (This is even cheaper then the normal type of utility knives and when it gets dull you just break off the top blade. These are usually cheaper then other options.)
- Packing Tape With Dispenser Large – (This is a four pack with over 500 feet total. It would let you build a much larger shed or shelter.)
- Packing Tape With Dispenser Large – (This is a 6-pack and has over 300 feet total. It would take a few more rolls but this should be enough and still leave you with extra.)
- Packing Tape 3 Pack (No Dispenser) – (The dispenser is handy but if you don’t need it or just want to use the knife this 3 pack is cheaper sometimes.)
- Rope Clothes Line – (If you can’t find scrap wire or rope lying around this should work and comes with 90ft.)
- Scissors - (I used it to cut out the milk cartons but the utility knives would work for this too.)
- A Stick - (Used to make holes larger and as the handle.)
Get Milk Cartons, Cut and Wash


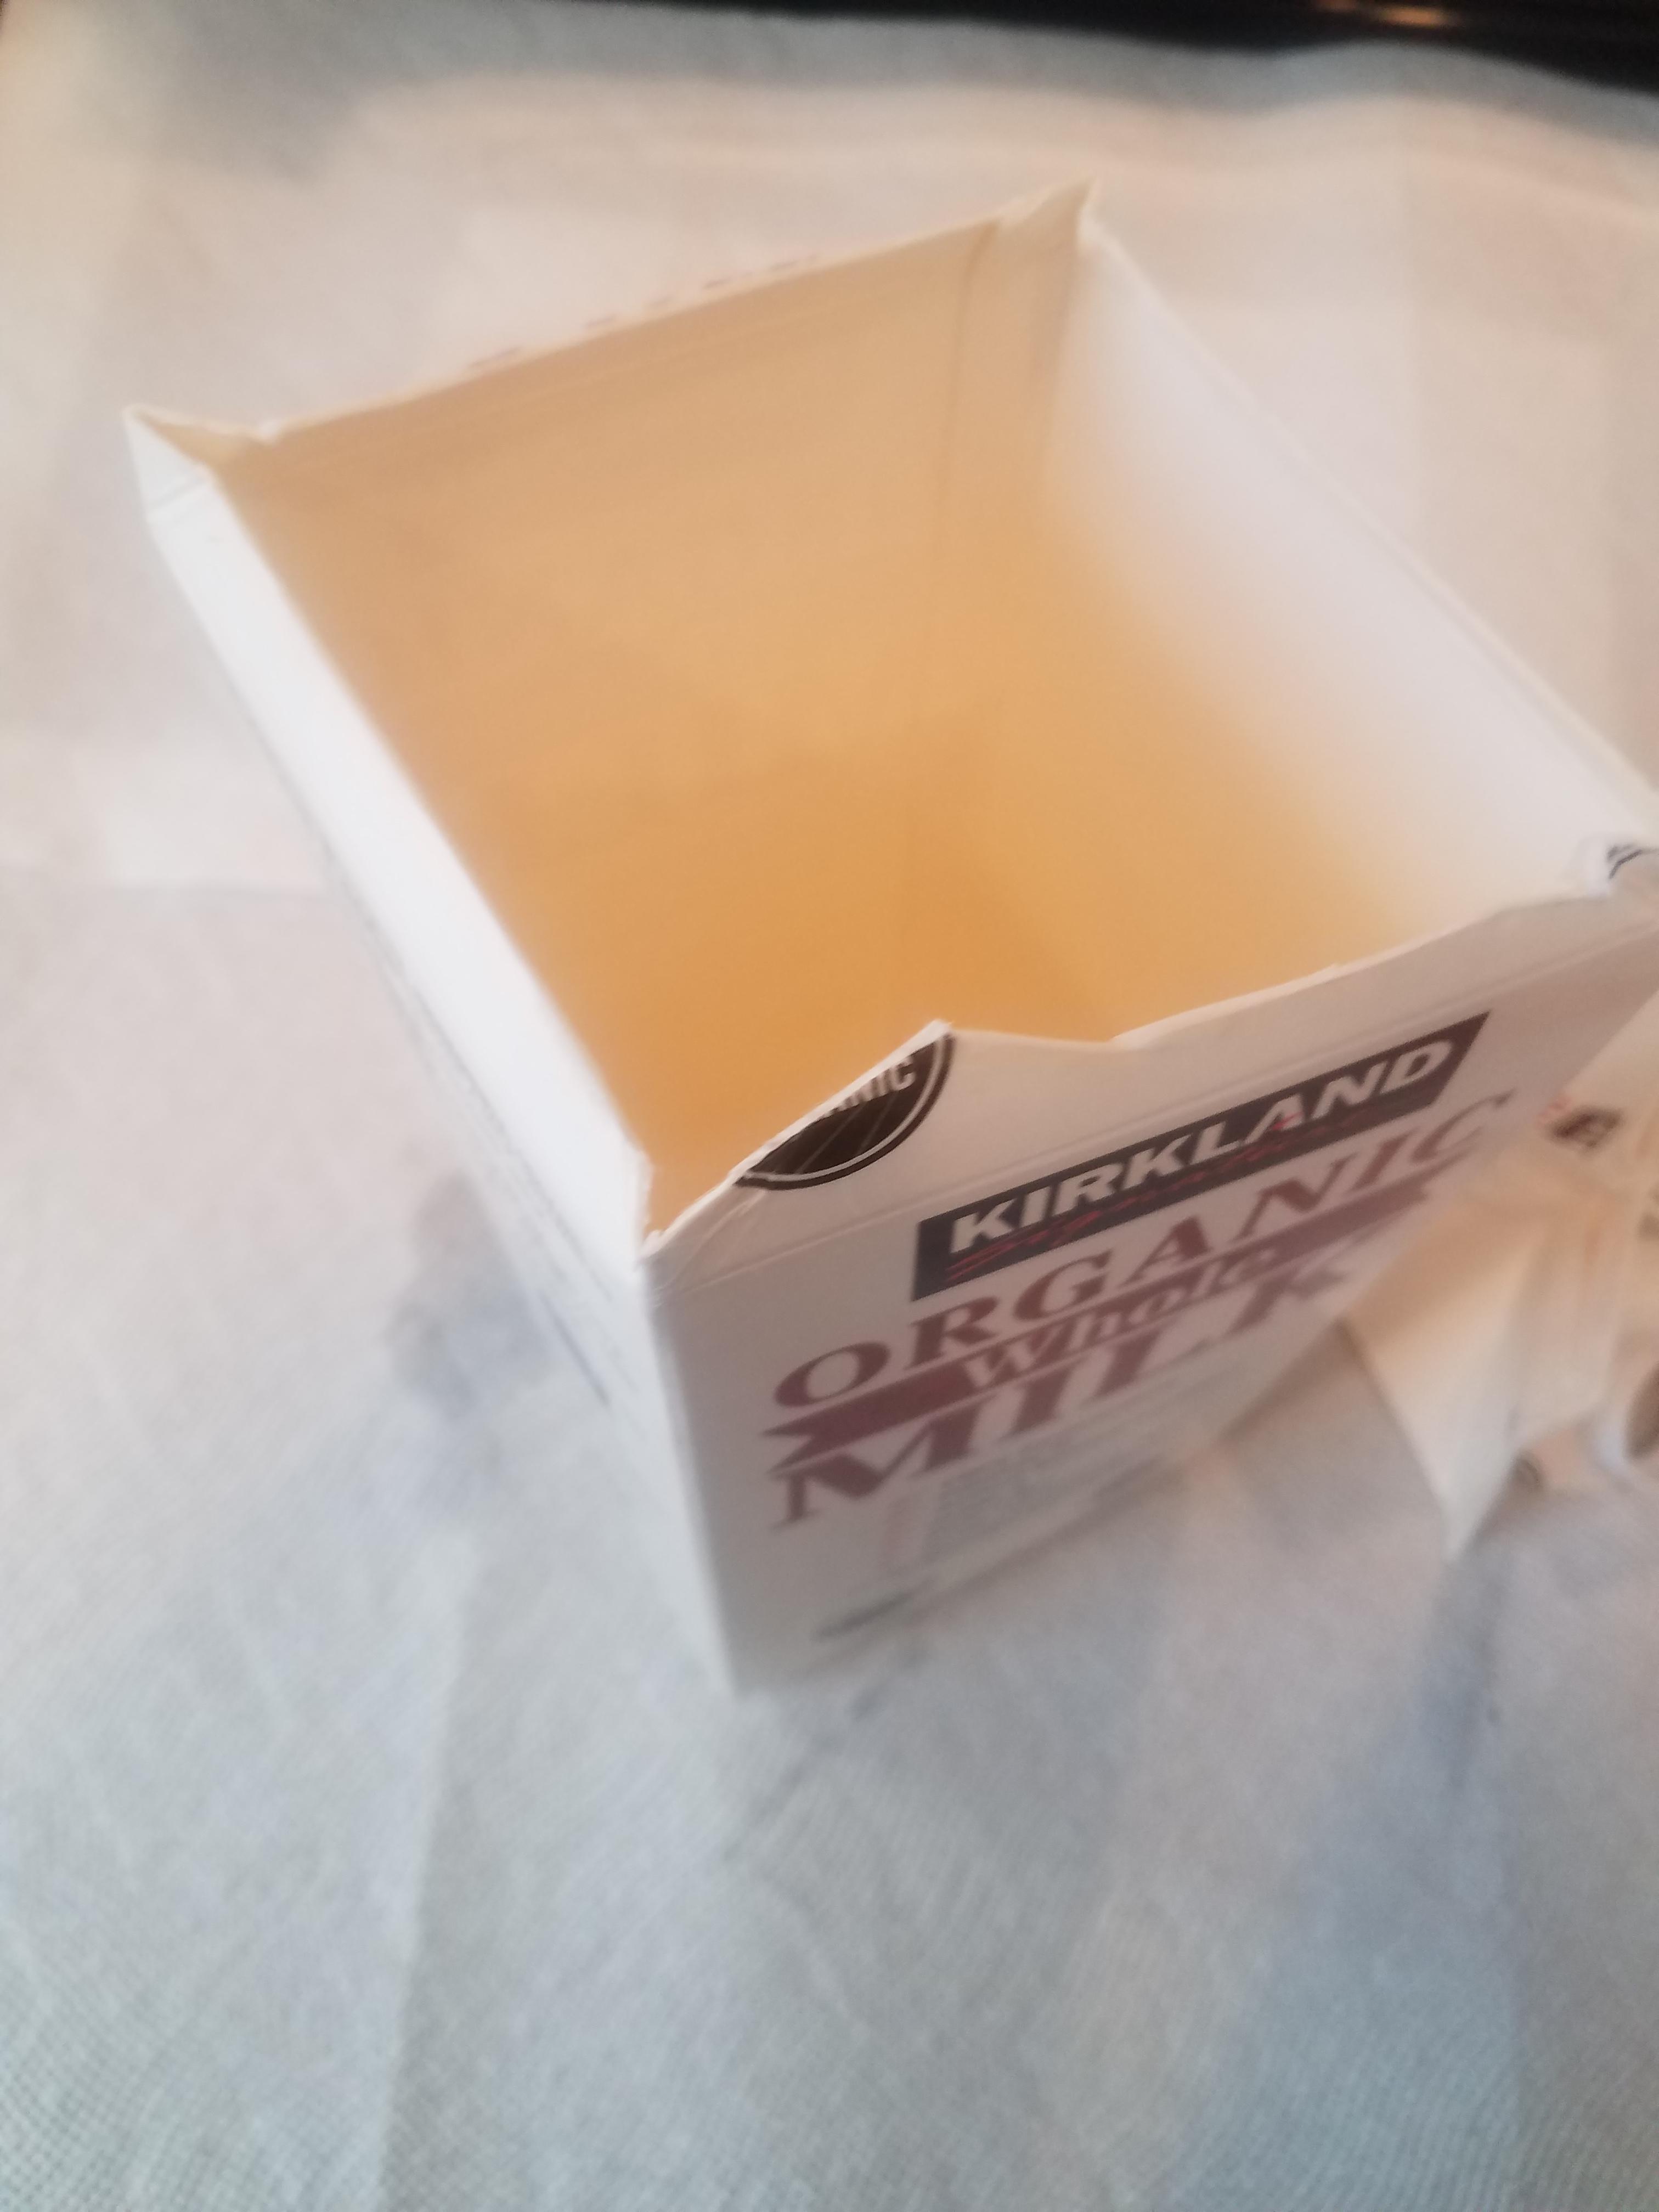
Take a milk cartons, soap and rinse them out thoroughly then cut off the top. I found it easier to clean them this way as you can fit your hand in and a rag to get the old milk out of them. This will give you 4 shingles for the roof per milk carton. You want the tetra pak cartons that looks like paper for this since they are flat on all sides and can keep in liquid. For this I collected 6 half gallon ones, if I could have found 7 it would have been perfect for the shed size I chose. I used scissors but a utility knife would work.
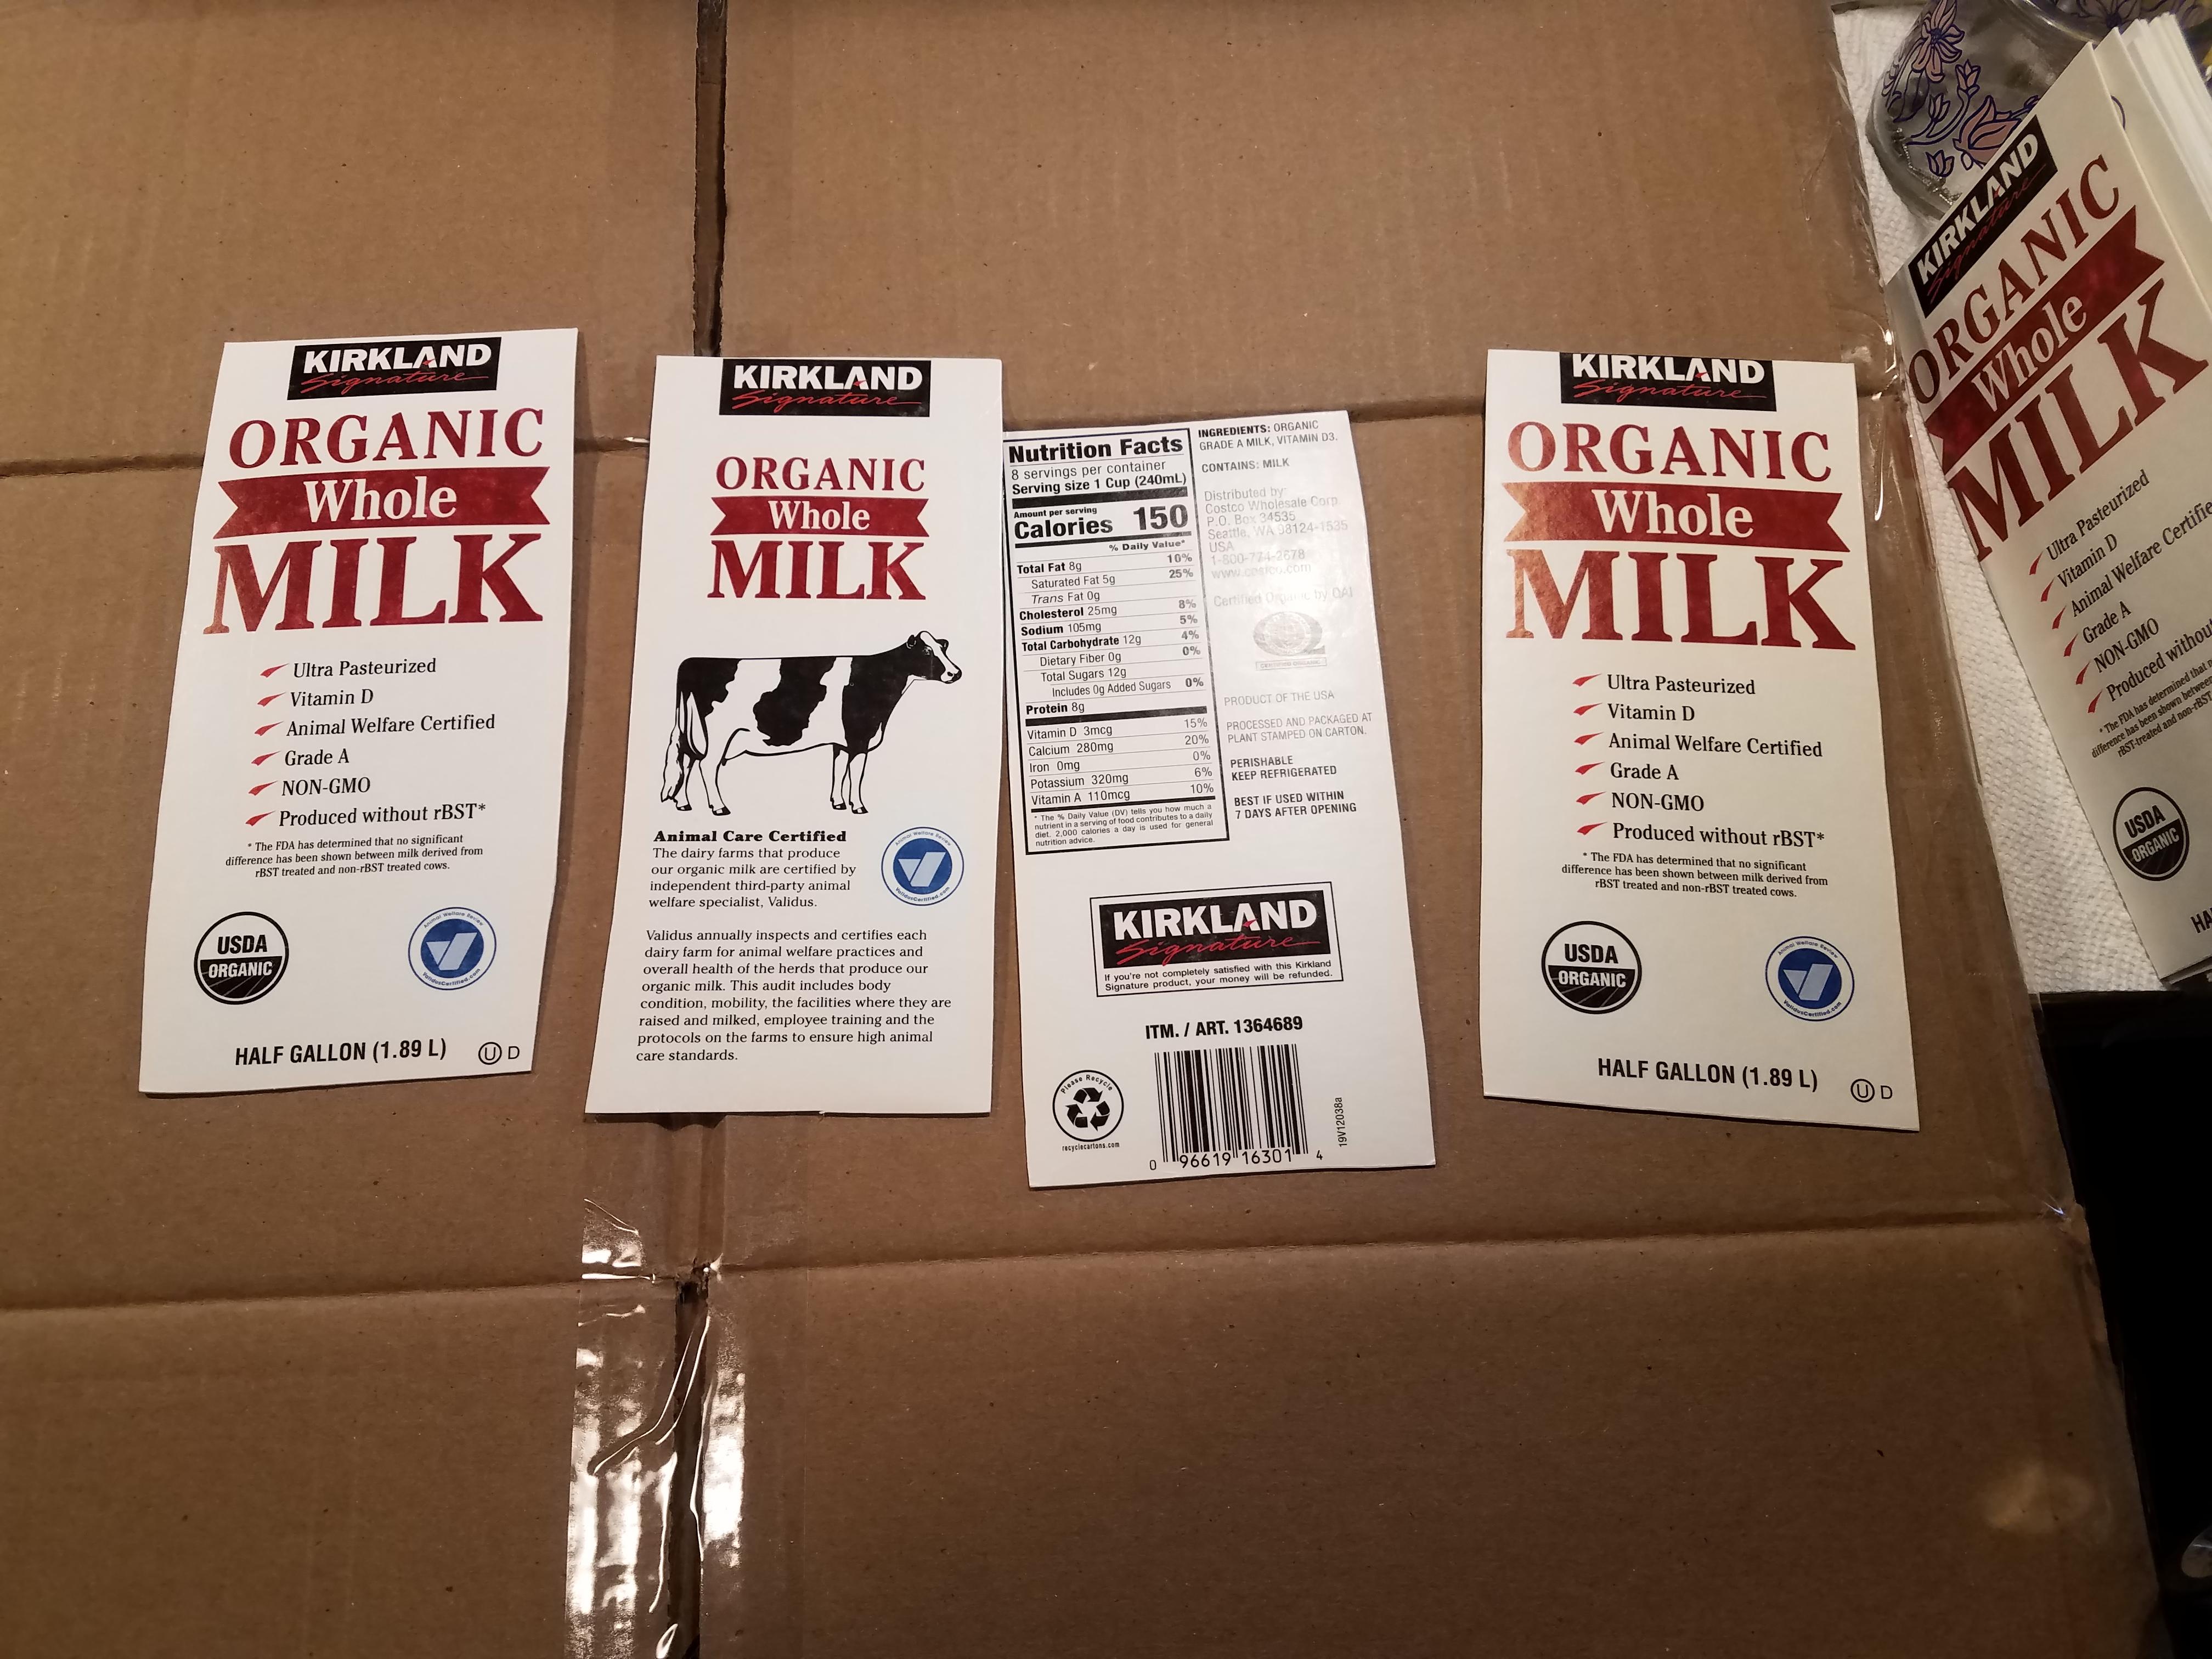
Cut Milk Carton Into 4 Roof Shingles


.jpg)
.jpg)


.jpg)


Once cleaned and rinsed now cut down each side of the milk carton so that it looks like a plus. Then they can be easily removed from the bottom. I also cut off any bends or doubled up parts so that the shingles would be flat and more water resistant. The sides are where water would manage to get in. I used scissors but a utility knife would work. I didn't do it but taping around the edges of each milk carton side or shingle would make them more water proof all around.
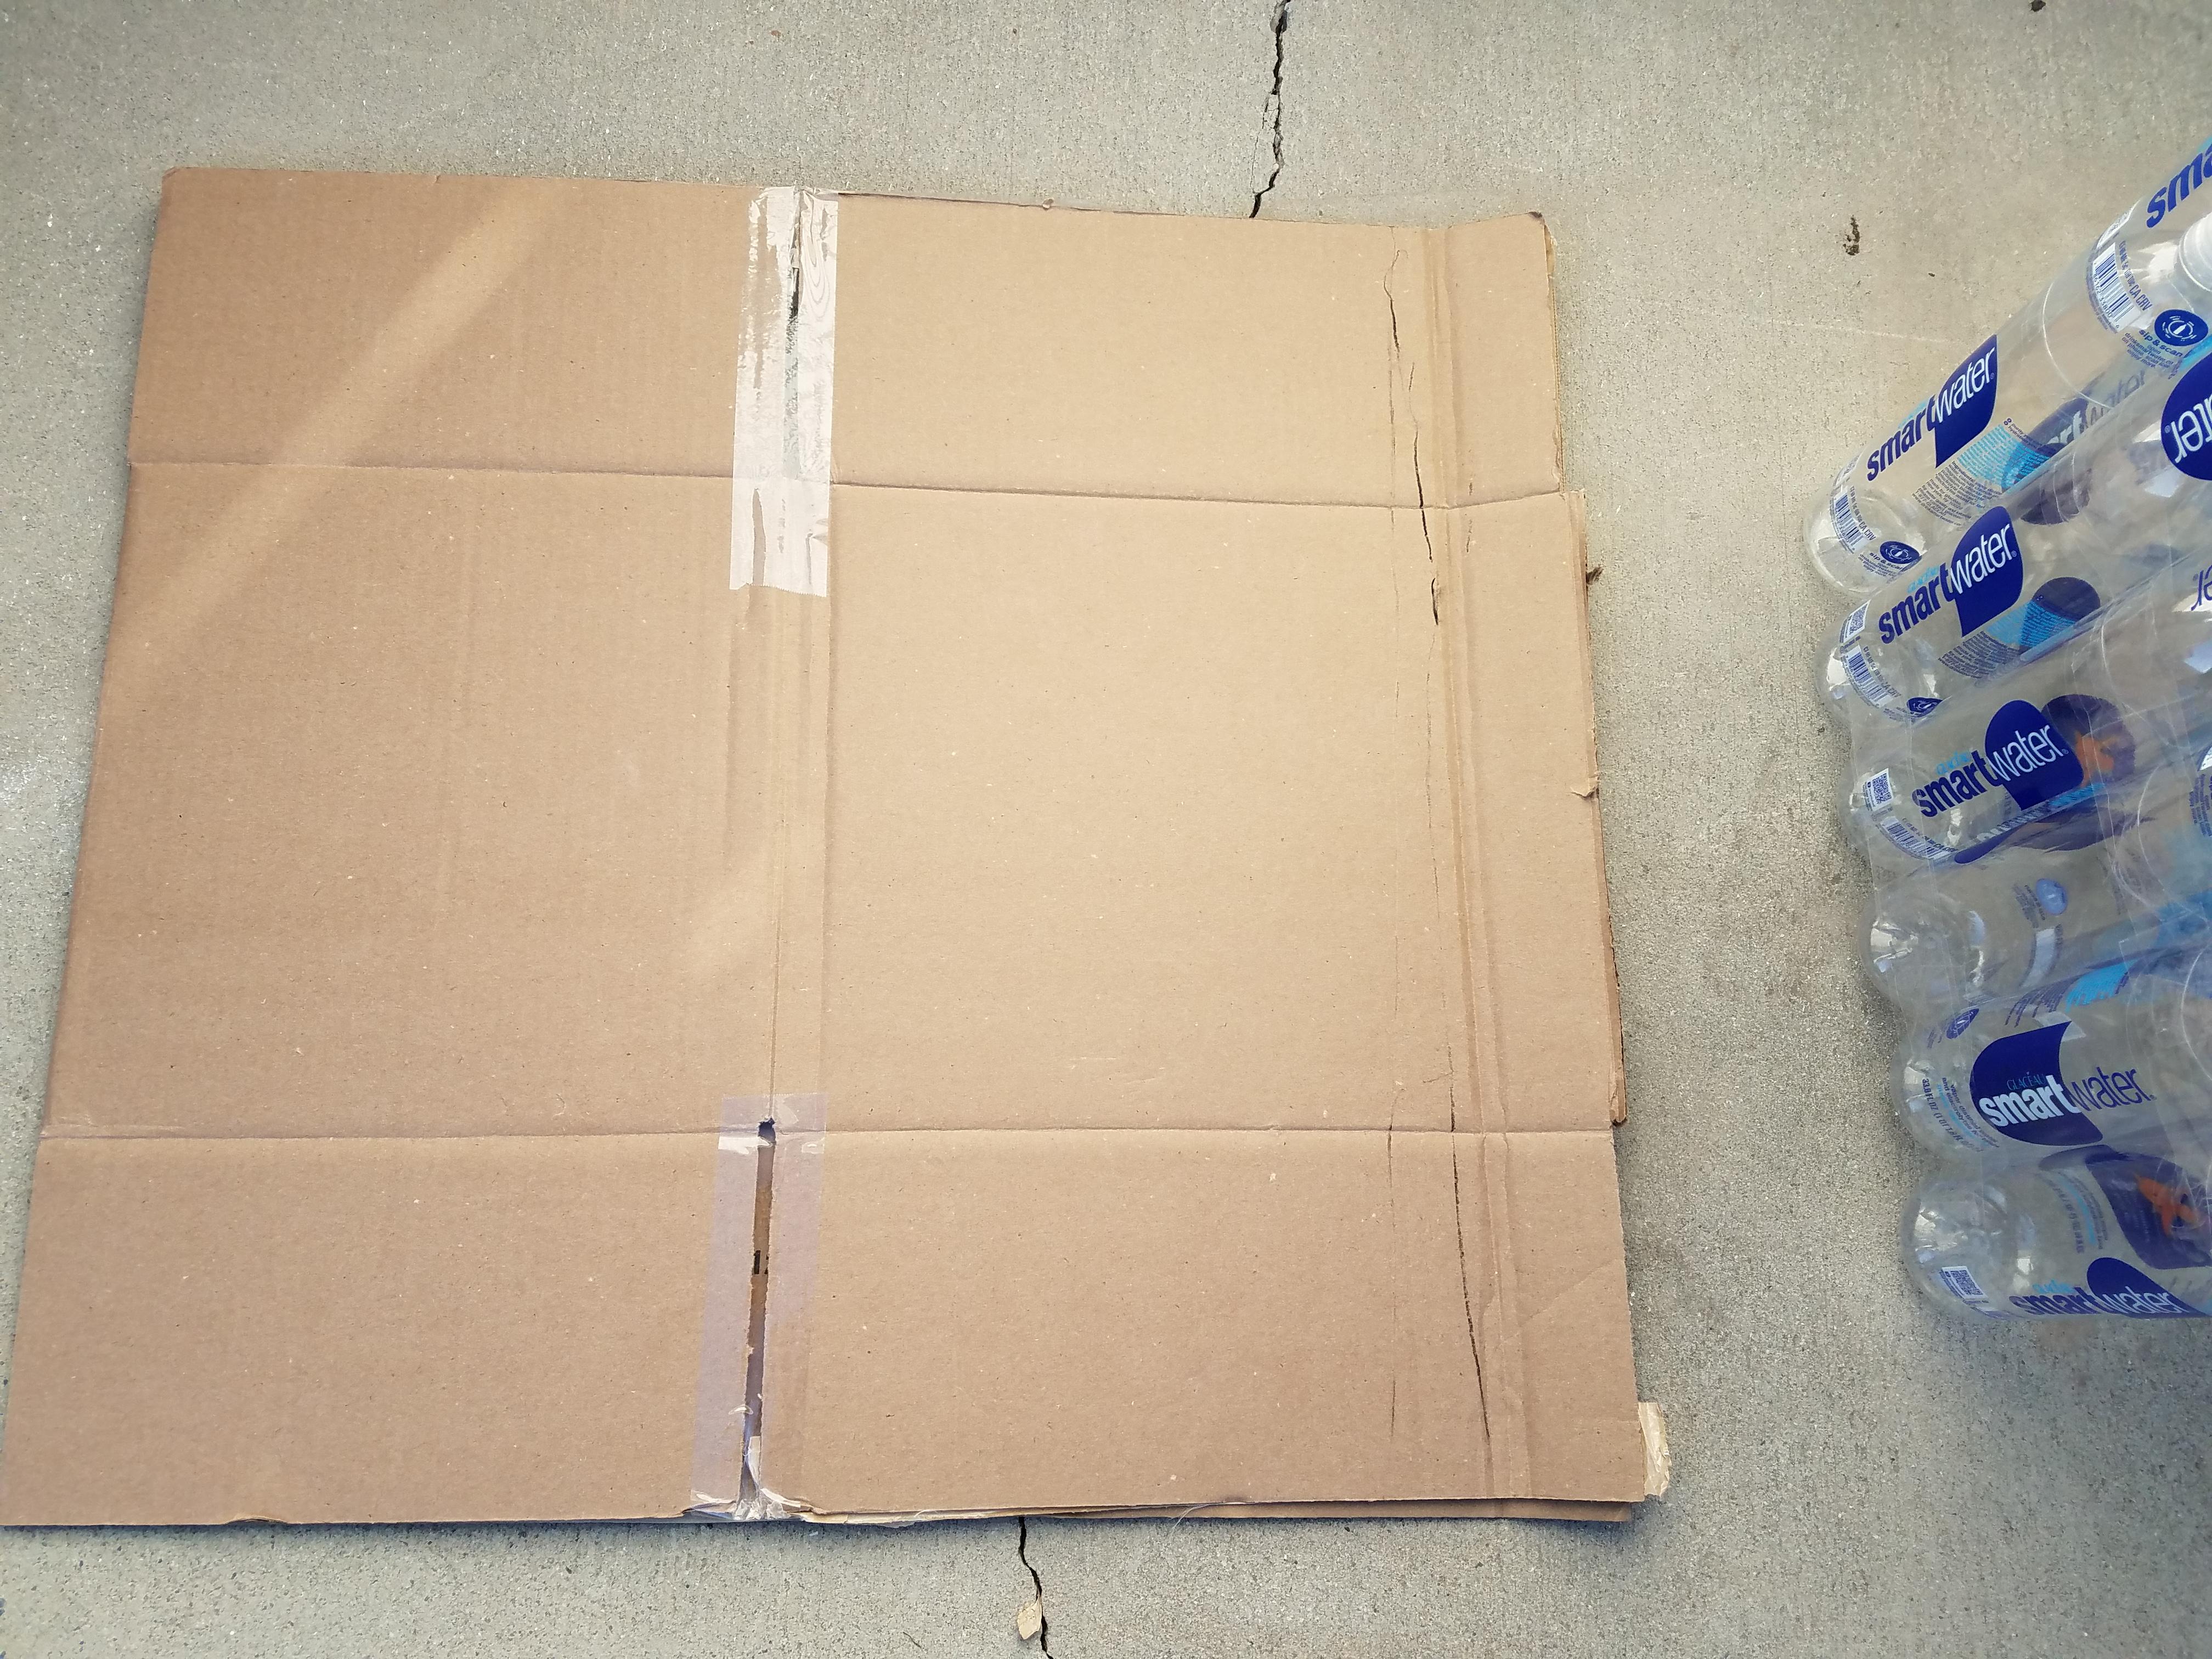
Find & Tape Flat Cardboard Box for Roof Structure


Find a cardboard box and flatten it if its not already, test the size against the number of shingles you have. The more shingles the larger the roof you could make. After a certain size you will need to reinforce the roof with something like sticks, more cardboard, etc or it will sag in the middle. Then tape between the flaps and all the sides of the cardboard box to reinforce its strength. You will need packing tape for most the rest of the build. I went with packing tape as it tends to be both cheap and does well against water as long as it doesn't get under the adhesive part.
Gather Your Milk Carton Shingles

Gather together your milk carton shingles and do a test fit against the cardboard box you chose as roof. I got 24 shingles from 6 milk cartons but needed 26 shingles. I found an alternative for the last two shingles since I couldn't get another milk carton.
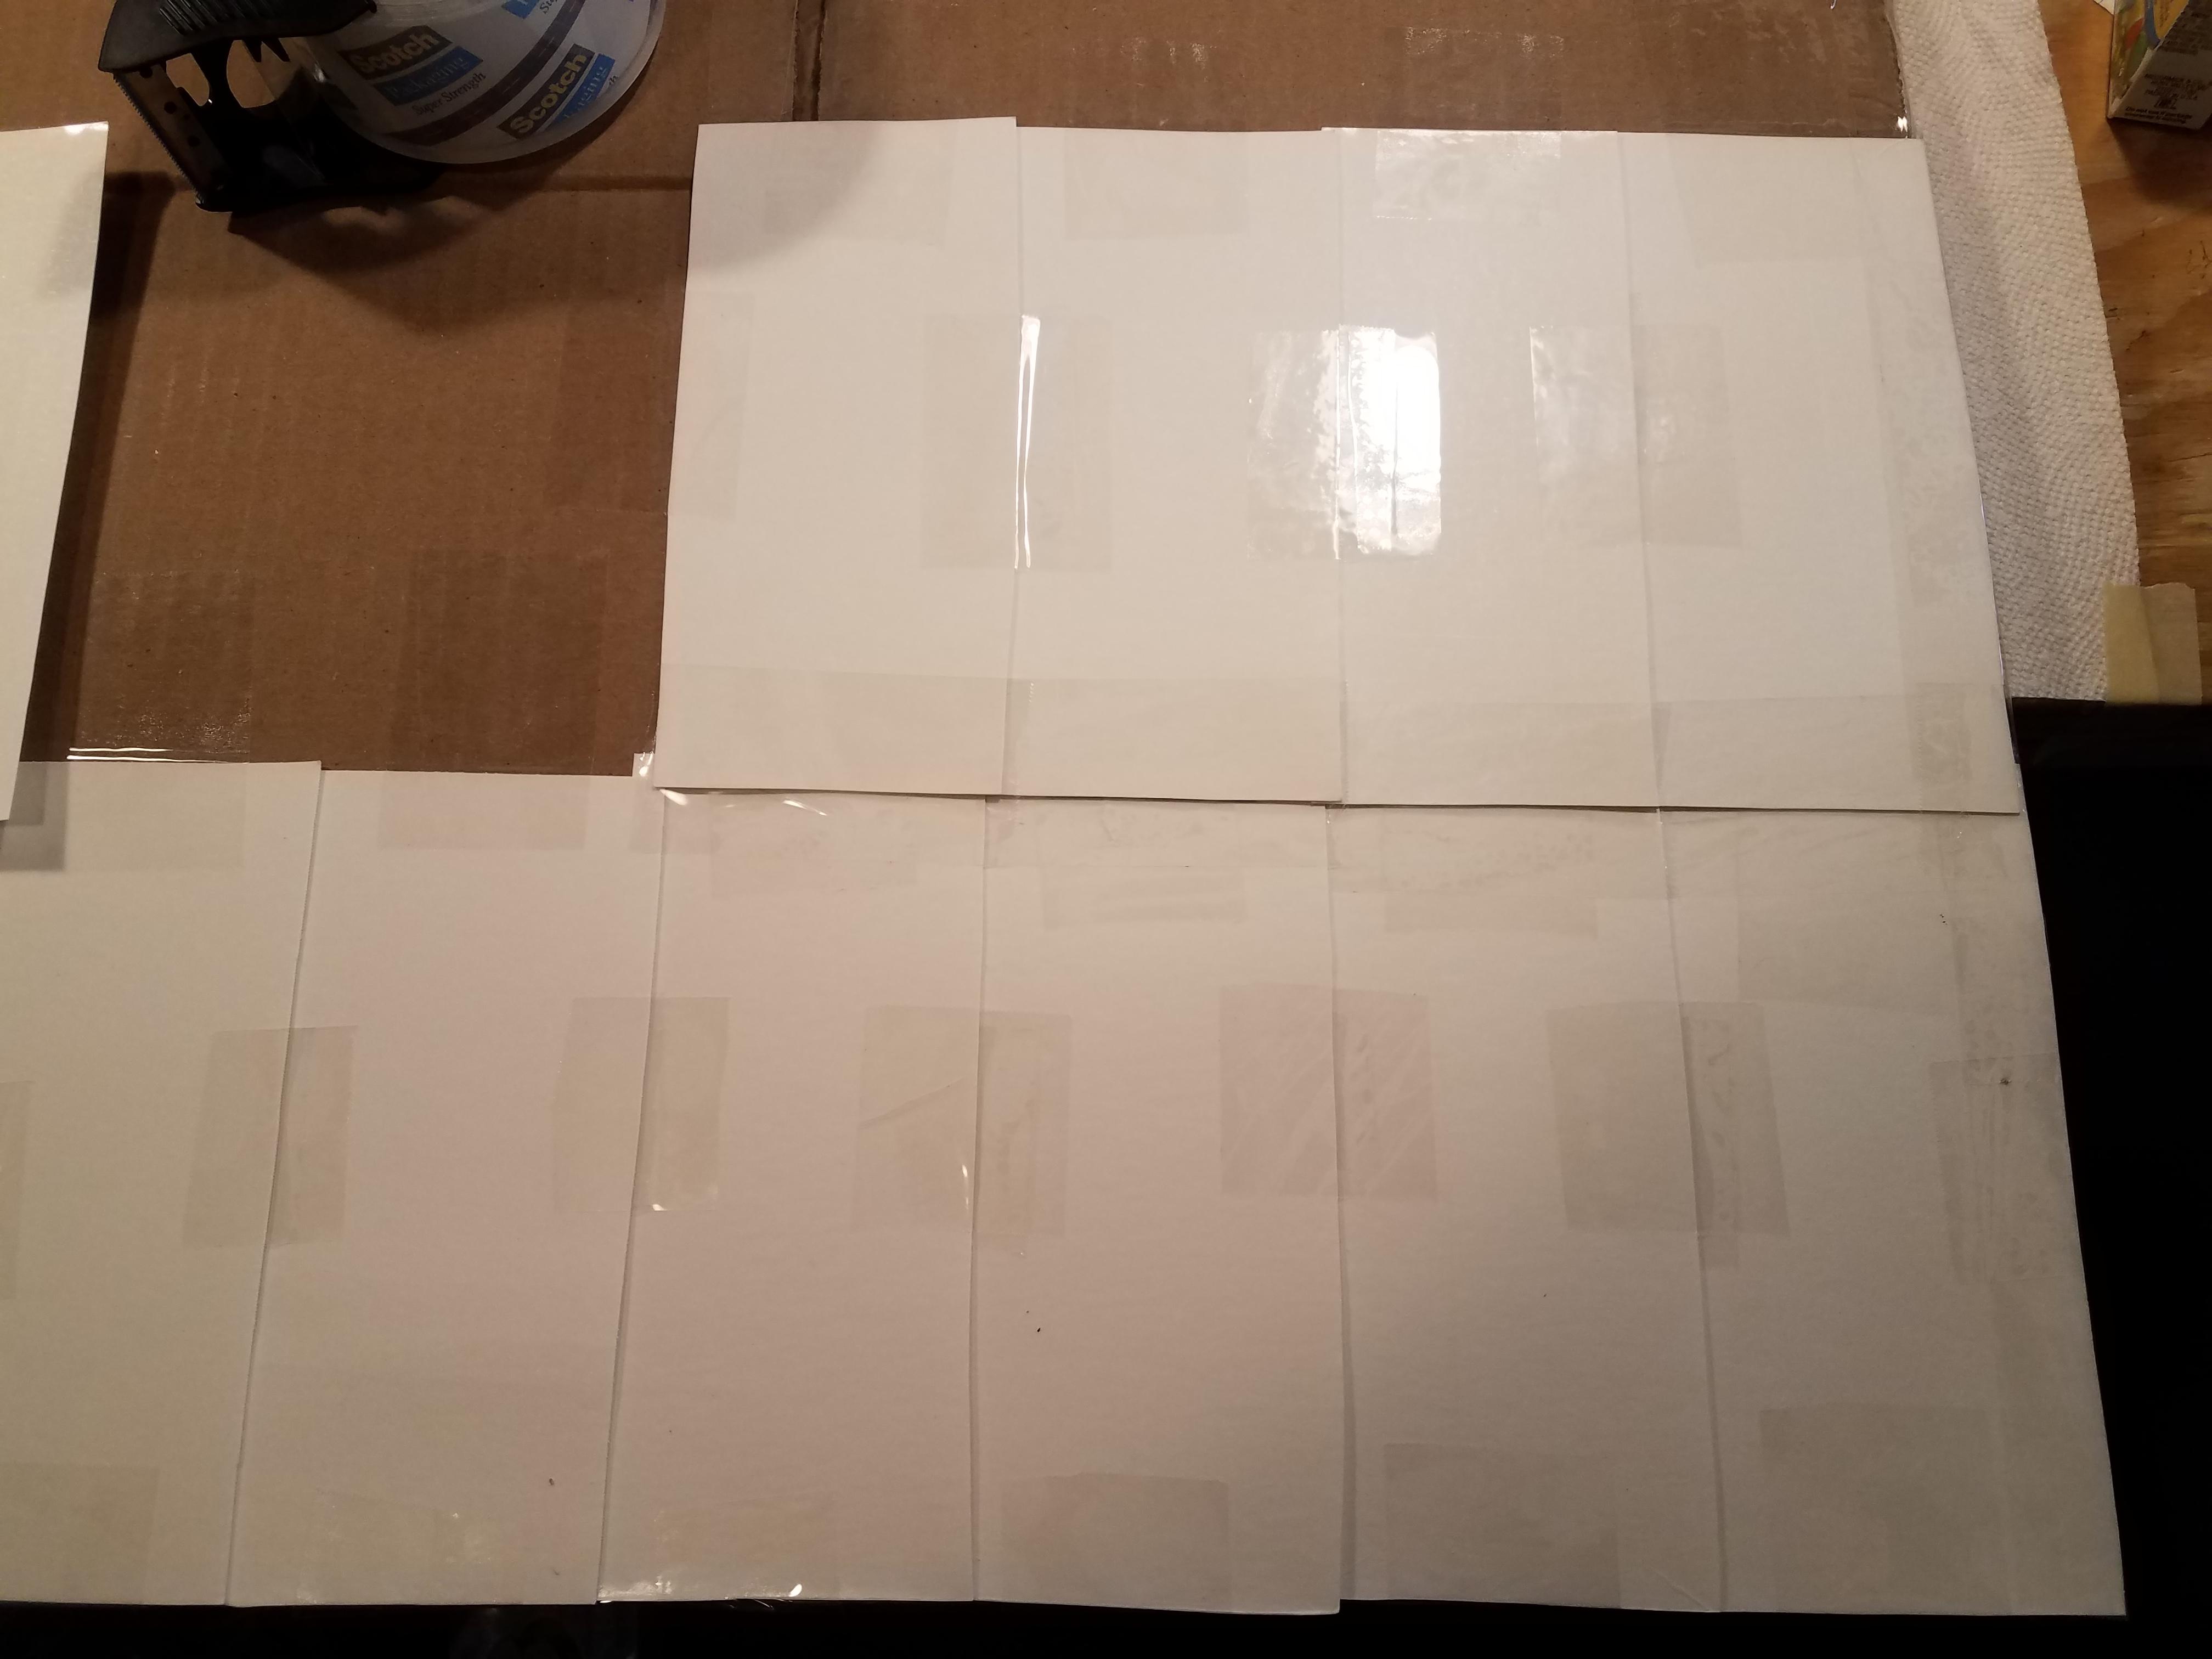
Tape on Shingles One Level at a Time


.jpg)

Place the milk carton shingles white side up and print side down. This is the side that held in the milk and is water resistant which will make a good roof shingle. I taped the top first and placed it on the corner overhanging slightly. Then I taped the right side, bottom, and left side. Any sides touching an edge I completely taped the side which a full strip which will hopefully prevent moisture from getting under them. The shingles should overlap slightly on one side for this level on each shingle.
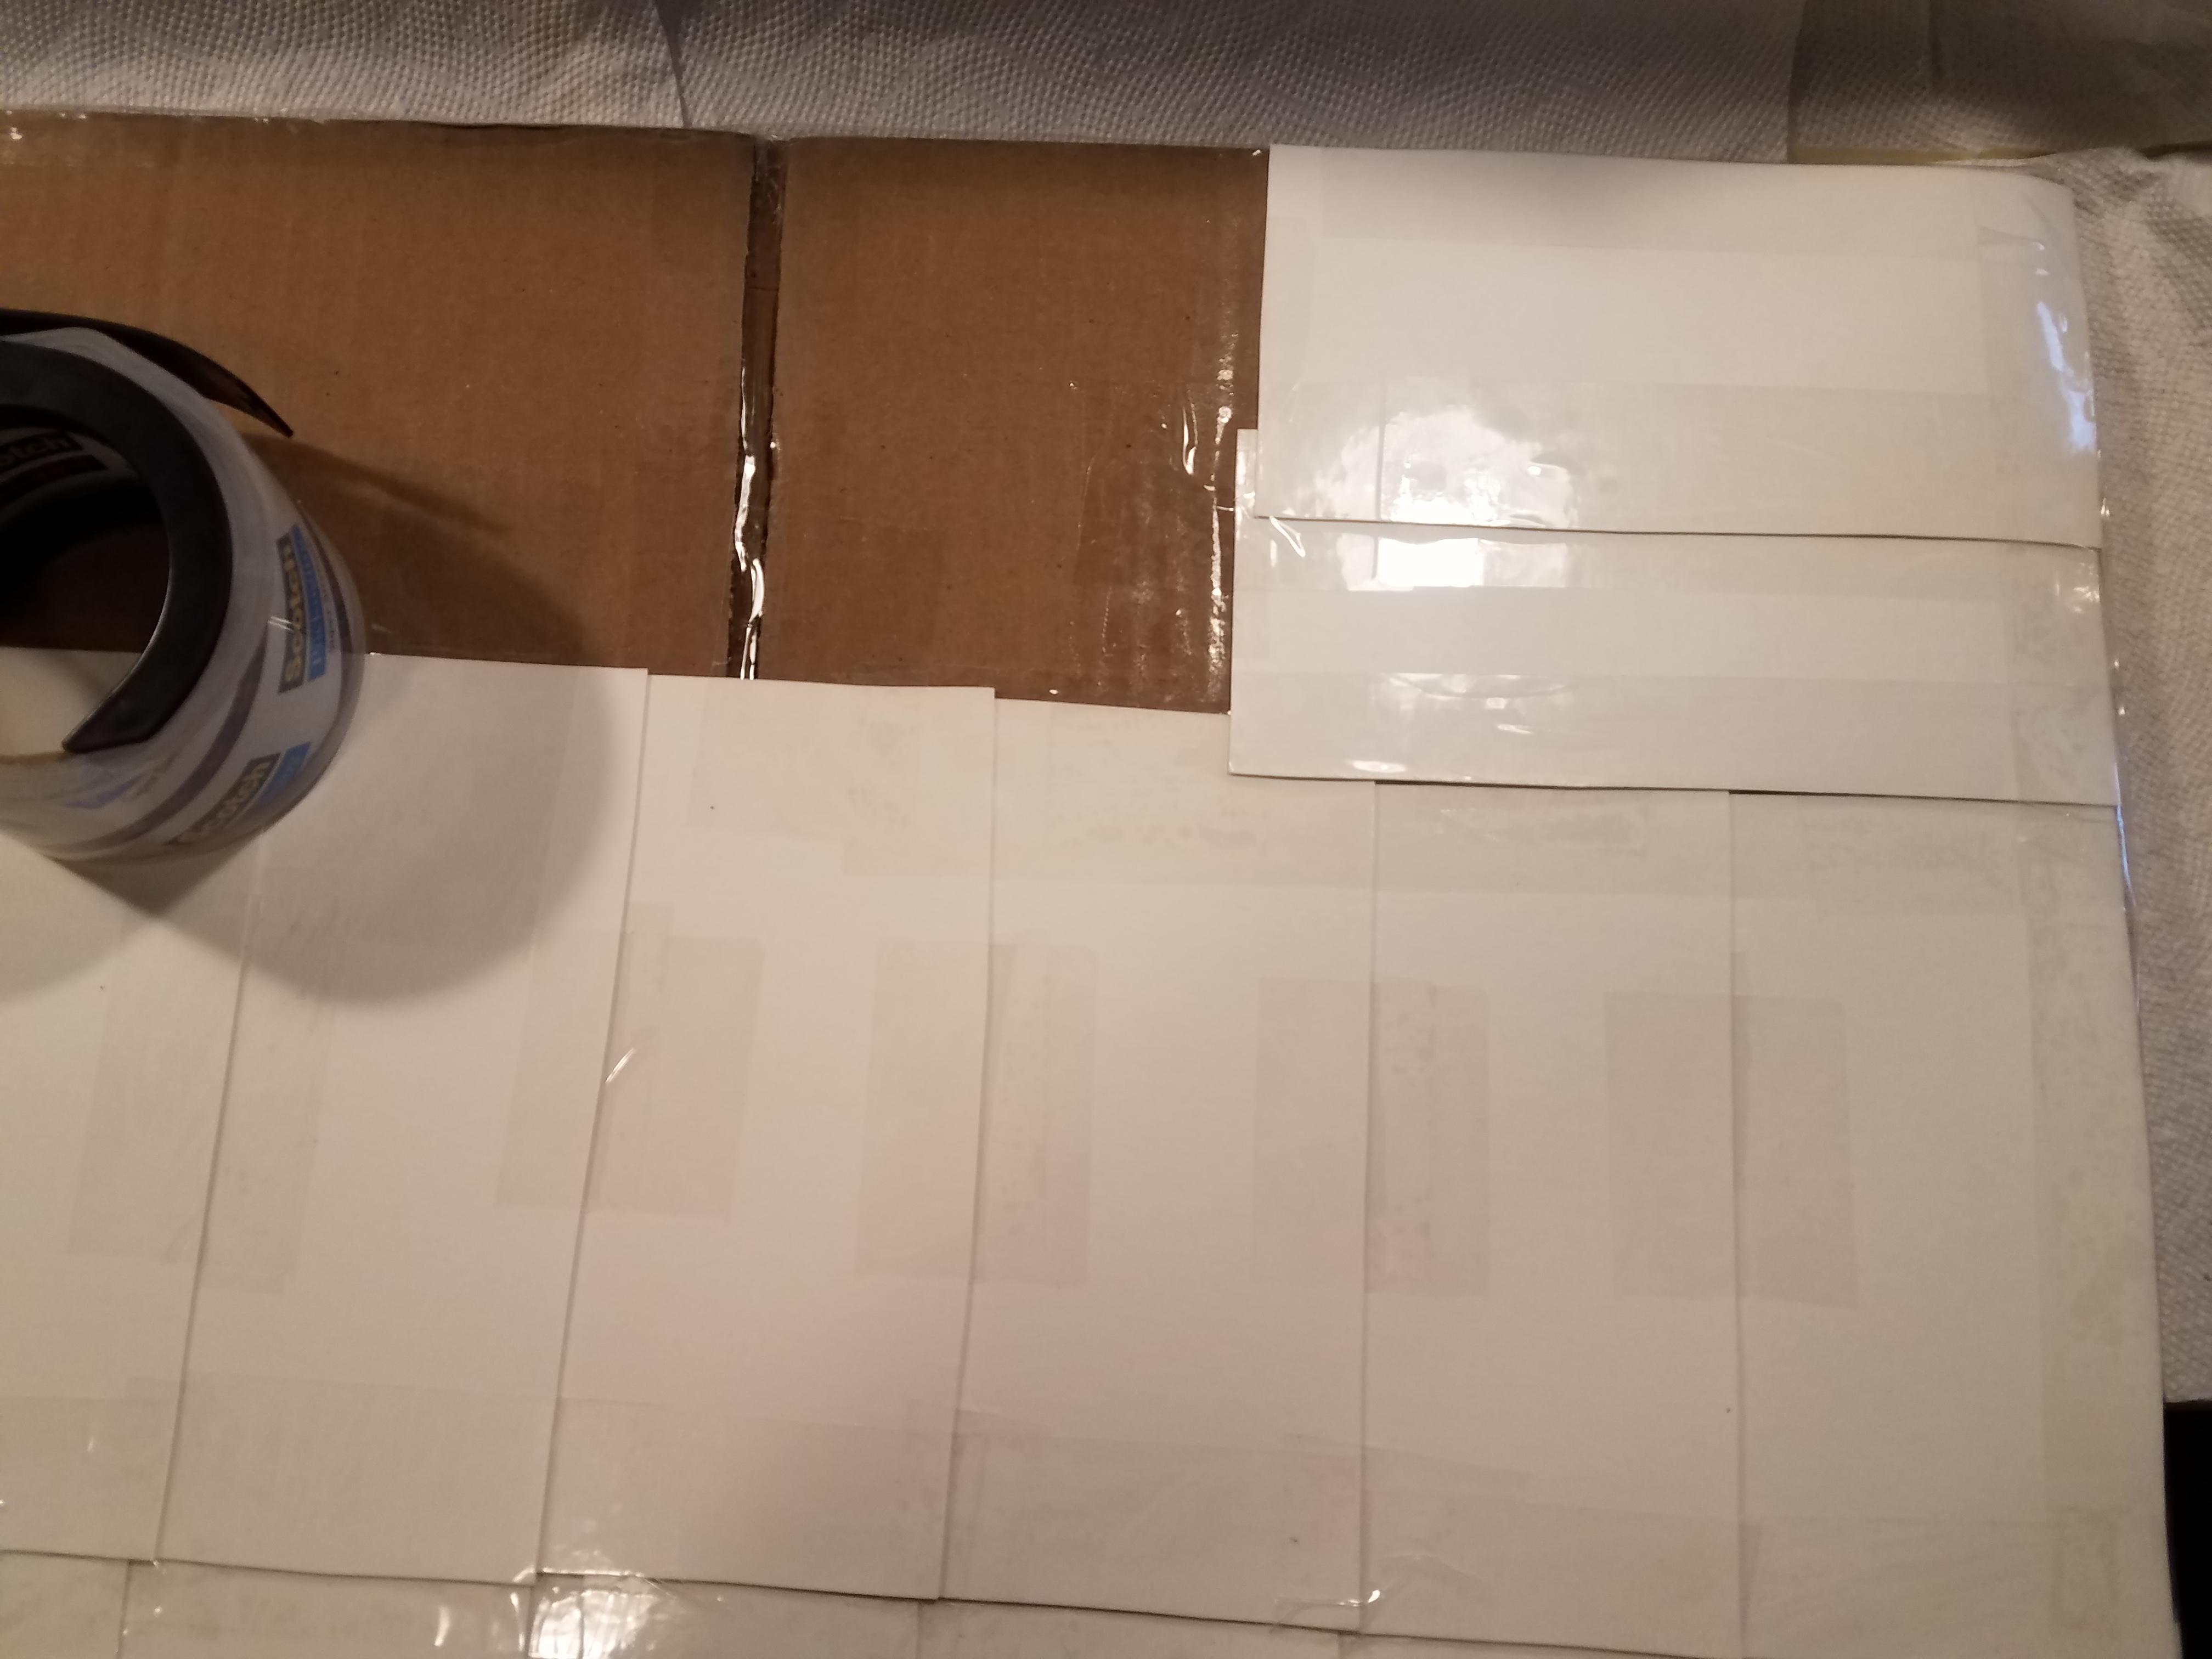
Tape on Second Level of Shingles


.jpg)
Now overlap the shingles slightly on the top of the previous level of shingles. Then continue to overlap slightly on the side of the shingles and tape each one four times to ensure it stays down.
Tape on Third Level of Shingles

.jpg)


For the last level since I didn't have enough shingles I put them on their side so they would go a bit further instead of me having to cut them nearly in half and got so close to the end. I was 2 shingles short.
Alternative Shingles
.jpg)
.jpg)
Since I only needed two more rectangle shaped shingles and couldn't get another milk carton in time I found used paper plates and cleaned them. You want the kind that are waxy on one side and cut them into shingle shapes. If all you were using is paper plates you could go for round shingles instead.
Finish Adding Shingles to the Roof


Finish attaching all the shingles to the roof and tape all the edges to try and prevent moisture. I didn't want the curved part around the plate bottom so it gave me smaller shingles from the paper plates. I applied them wax side up as that is the only side that is more water resistant. I also applied tape over all the exposed cardboard beneath the paper plates as I expect them to last less long.
Press Down All the Tape
.jpg)

Find an old marker or something smooth like that and use the bottom of it to apply pressure to all the tape. We want it to be thoroughly attached or water will get under them and ruin them faster.
Here Is the Mostly Finished Roof

.jpg)


.jpg)
We now have the mostly finished roof ready to go and its time to work on the walls for the shed. It would be probably a good idea to also protect the underside in some way in case it gets wet. I didn't do this but will have to check how bad it gets after a rain storm. The water should roll off the shingles not around the edges onto the bottom.
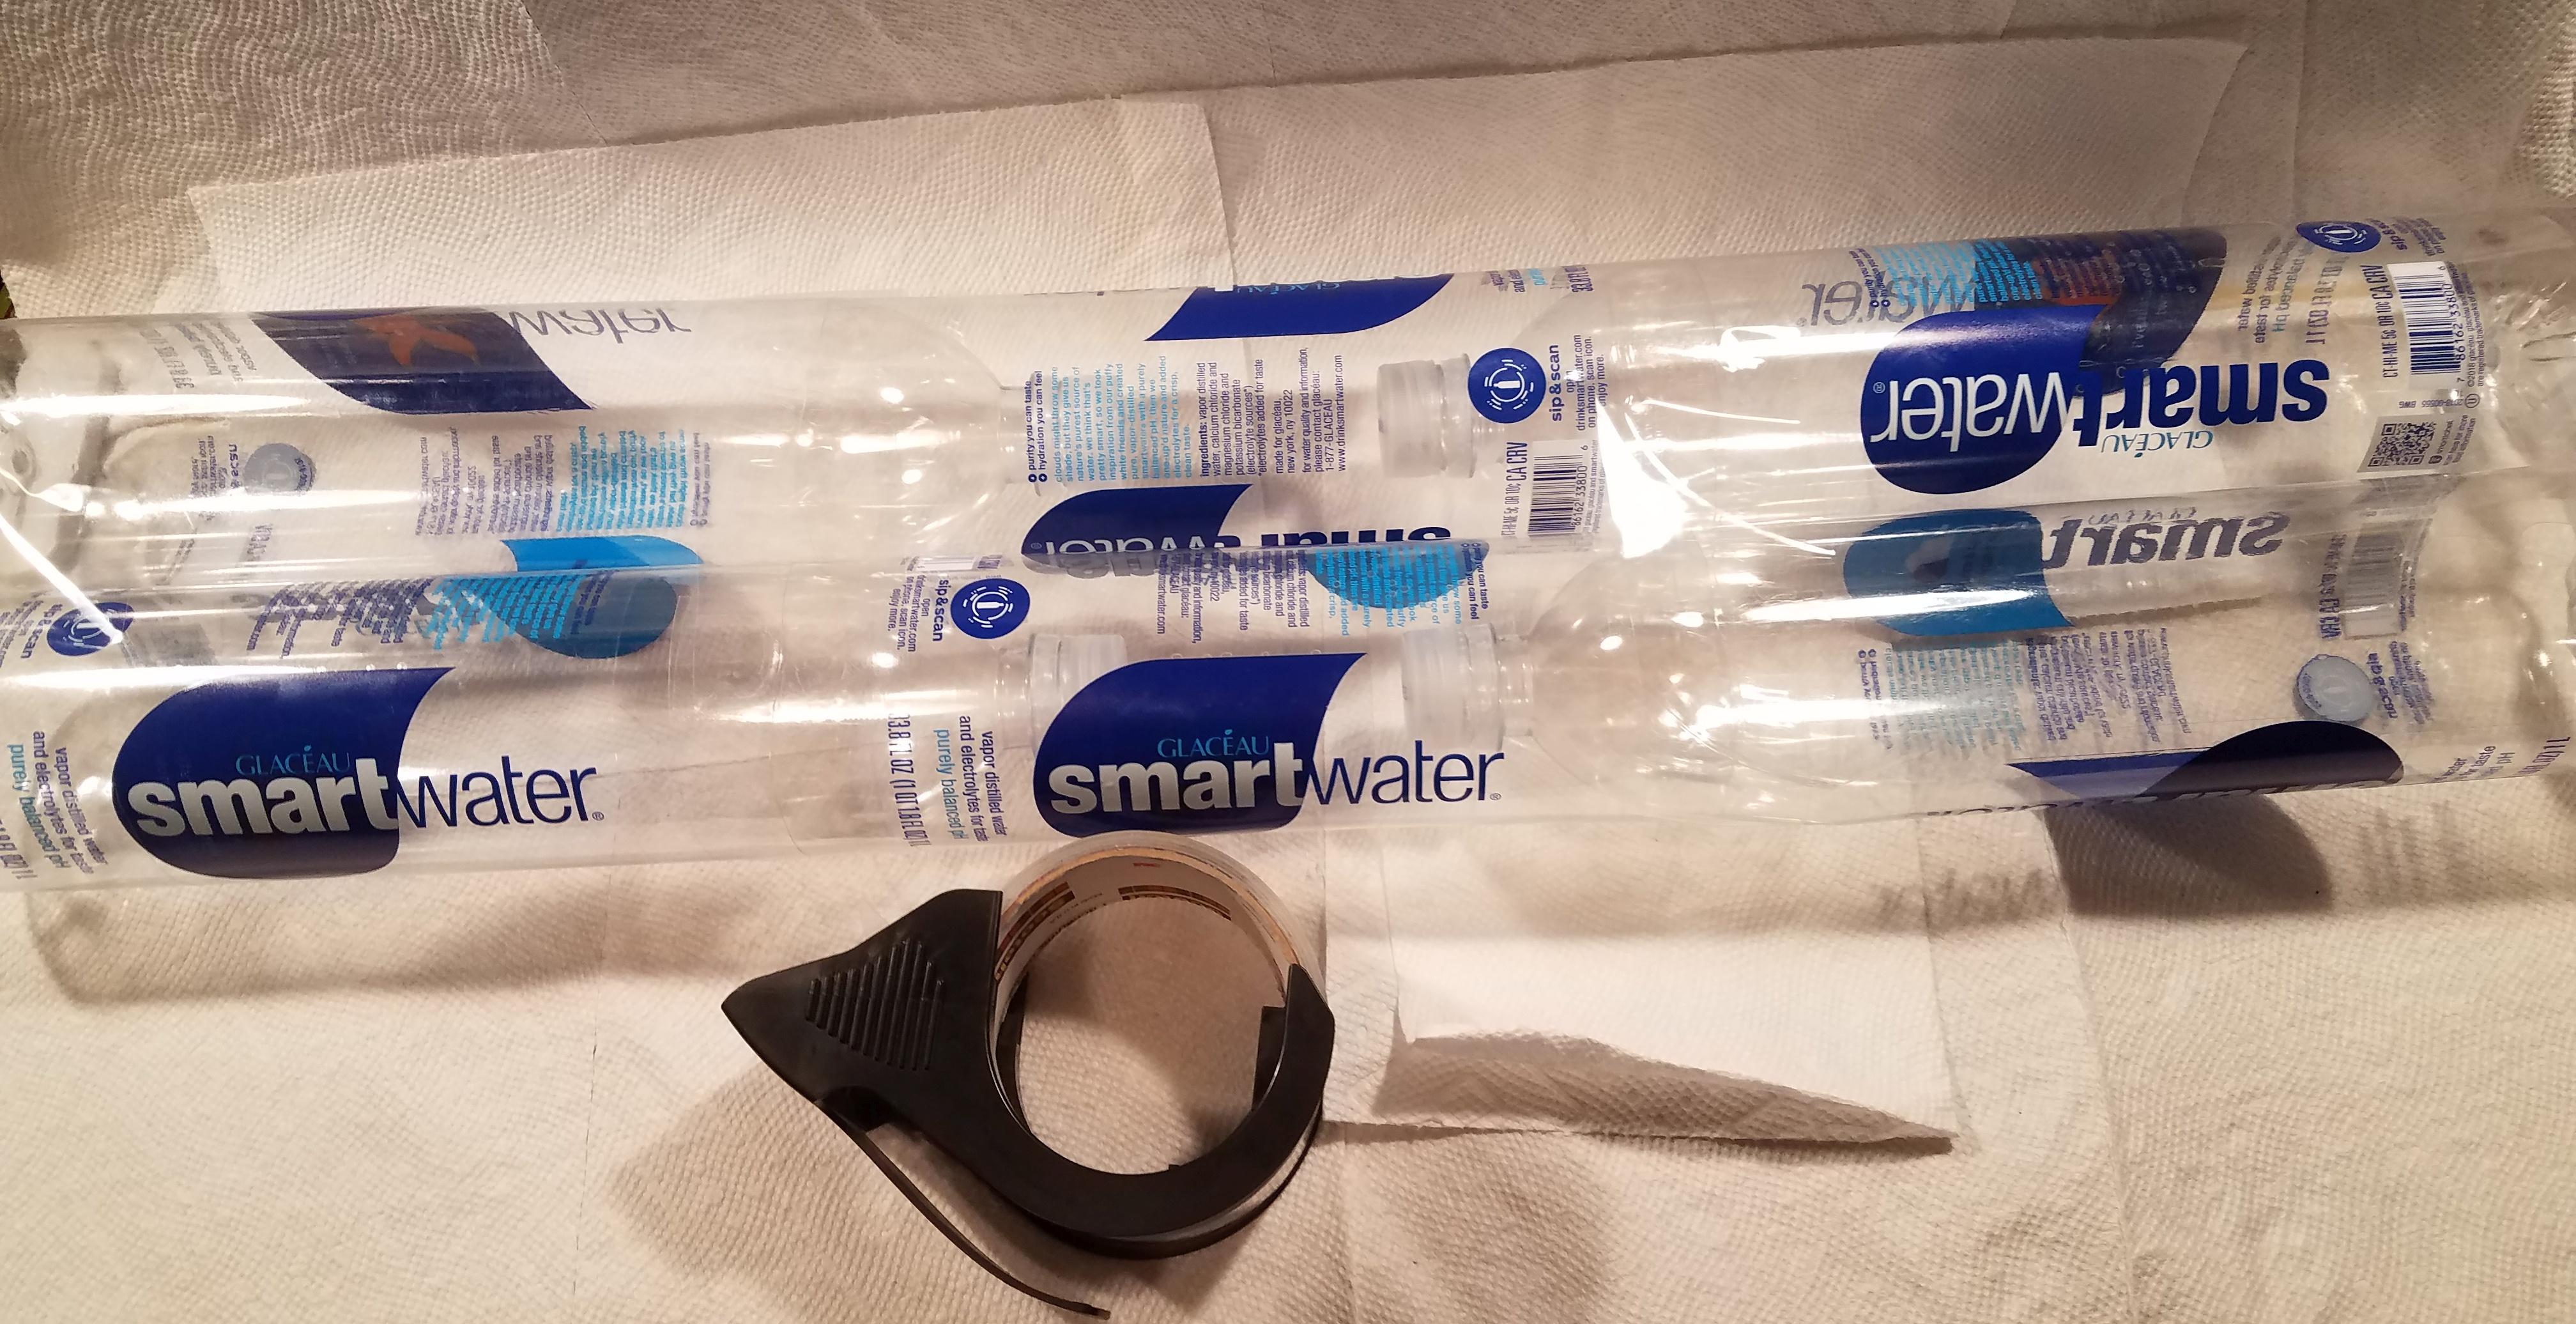
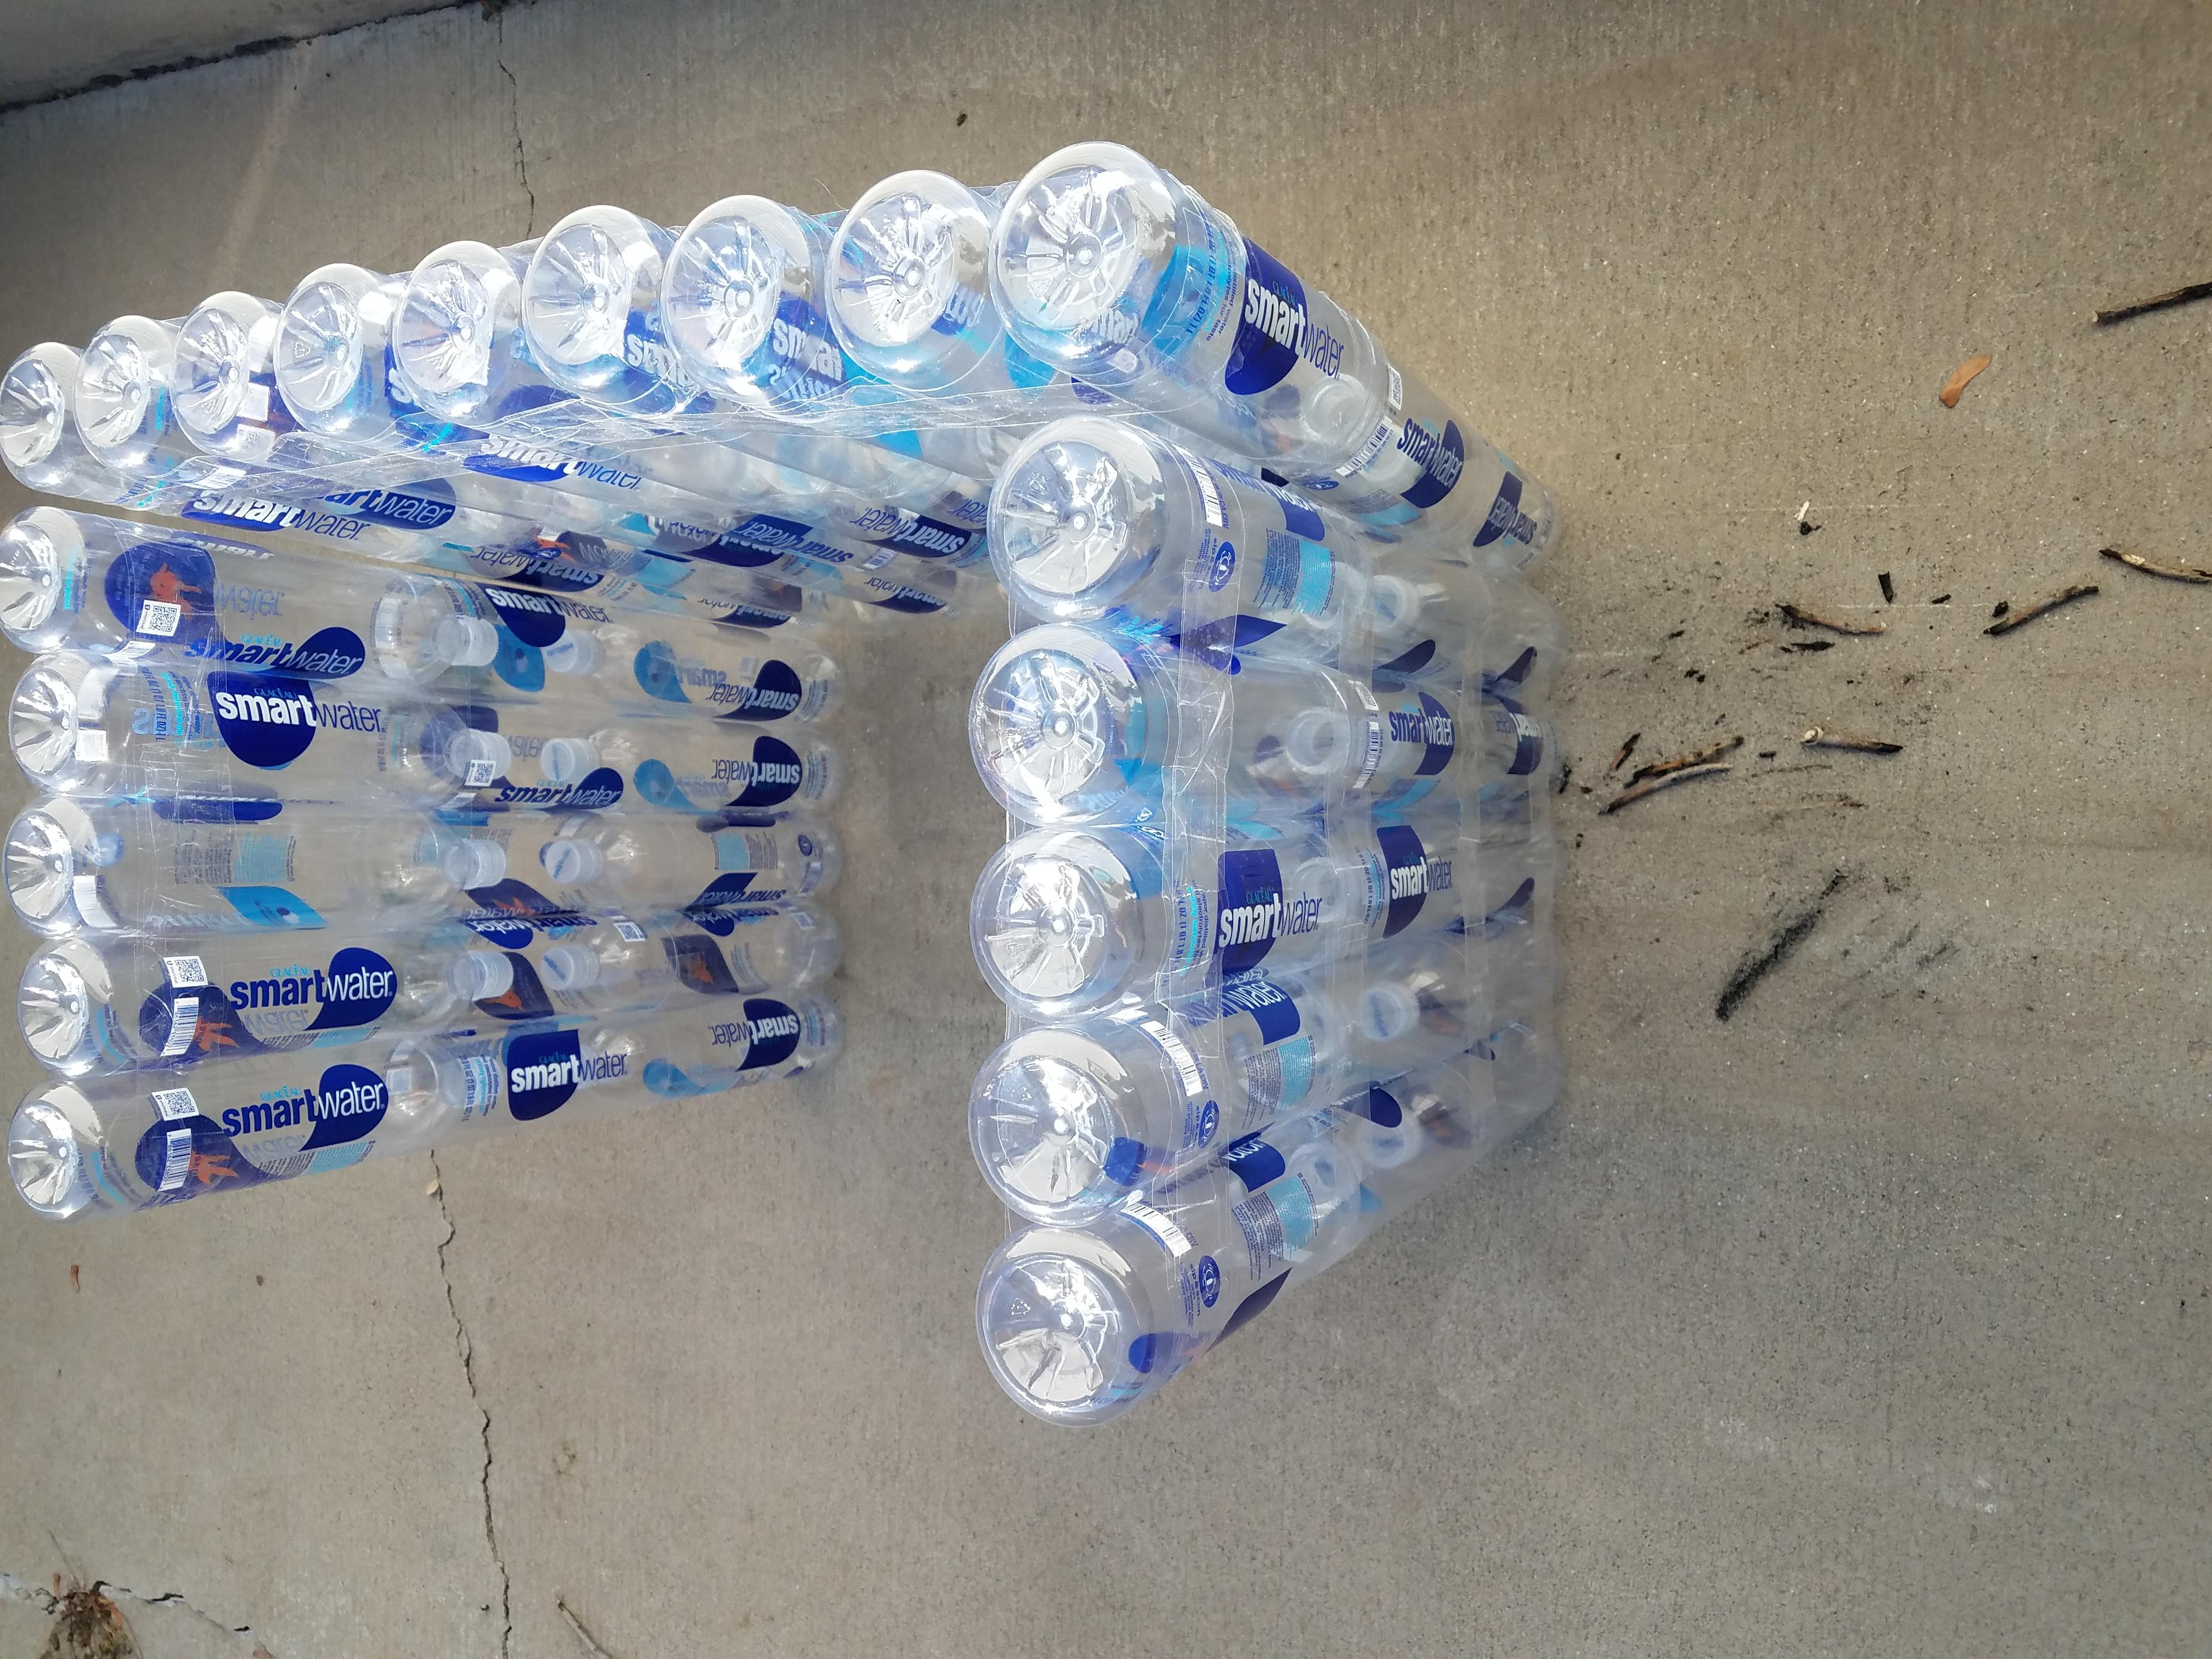
Creating Beams Out of Water Bottles


.jpg)


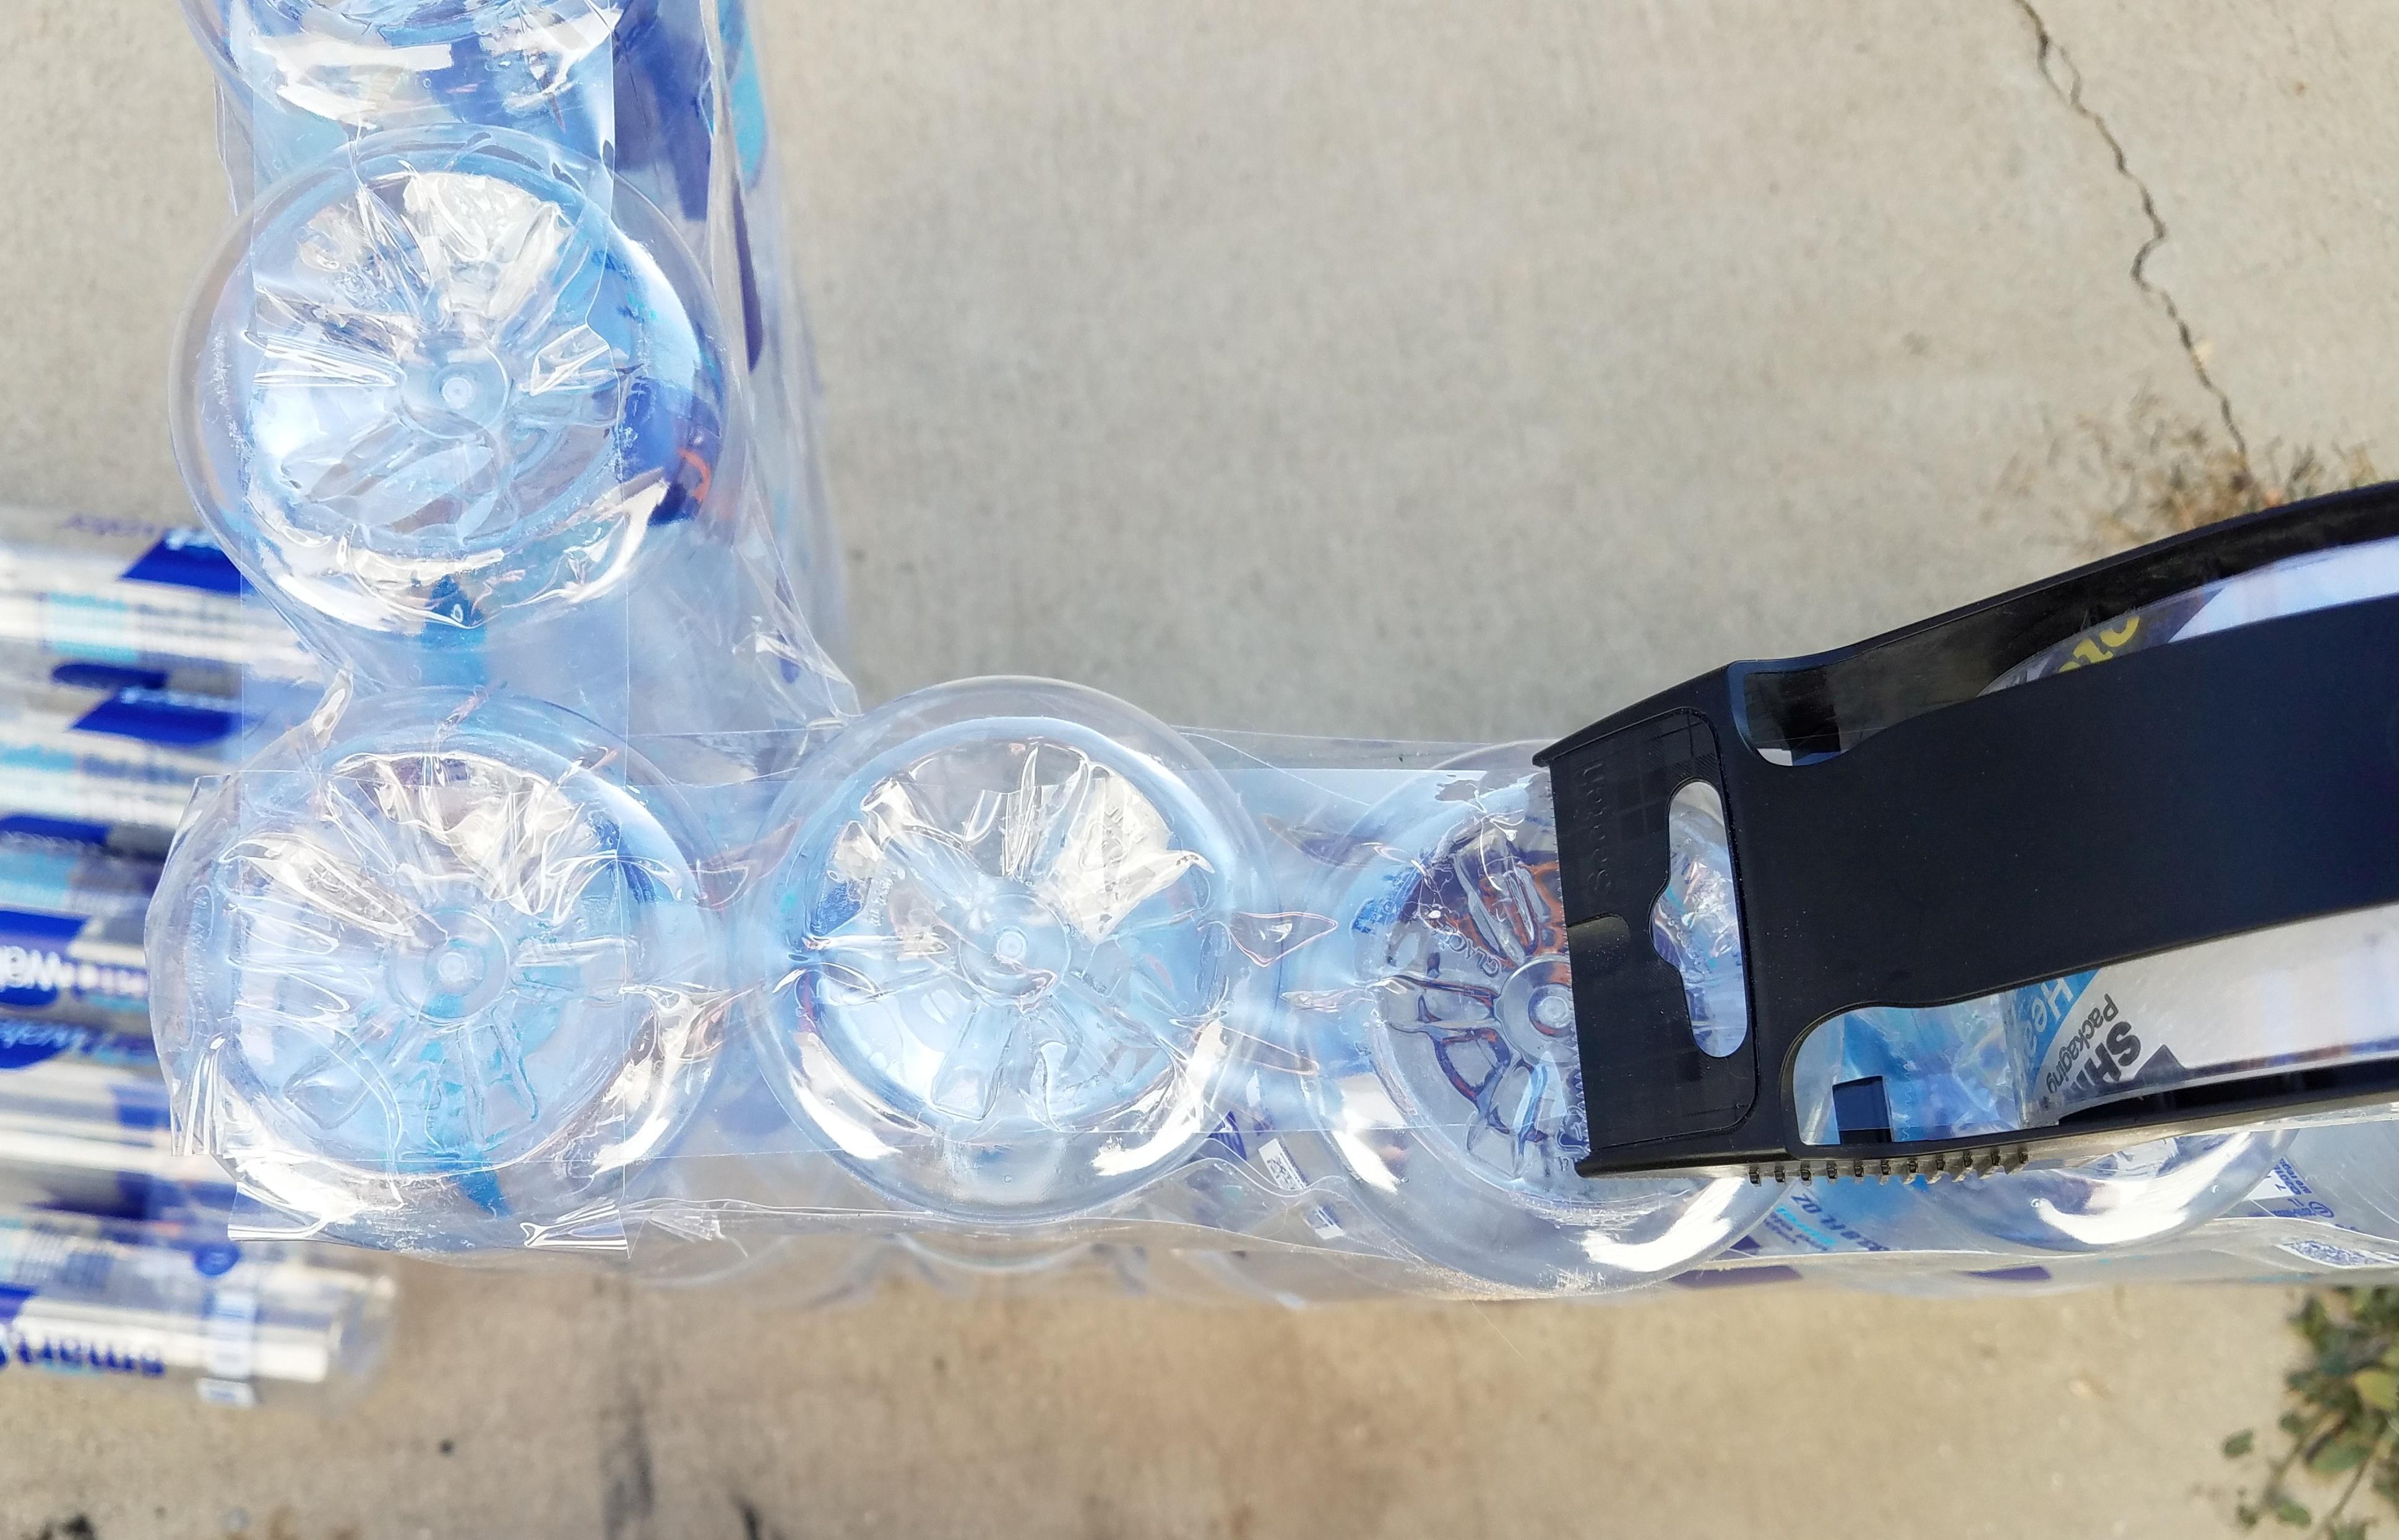
You will need the tallest water bottles you can find and you will need a lot of them. I found a supply of lots of empty smart water 33.8fl oz (1 liter) bottles that are stronger then most water bottles and quite tall. Now take 3 bottles at a time and cut the top and bottom off of one of them. Then put lids on the two remaining bottles and slide their tops into the cut water bottle. Then press down against a flat surface so they are not lopsided and tape them on. Sealed water bottles will trap air inside which is a great insulator and will make the temperature inside the shed higher then outside. Having the lids on the other two bottles should also reinforce them as it will take more force to cause them to crush. They should also withstand the elements quite well and hold up for awhile.
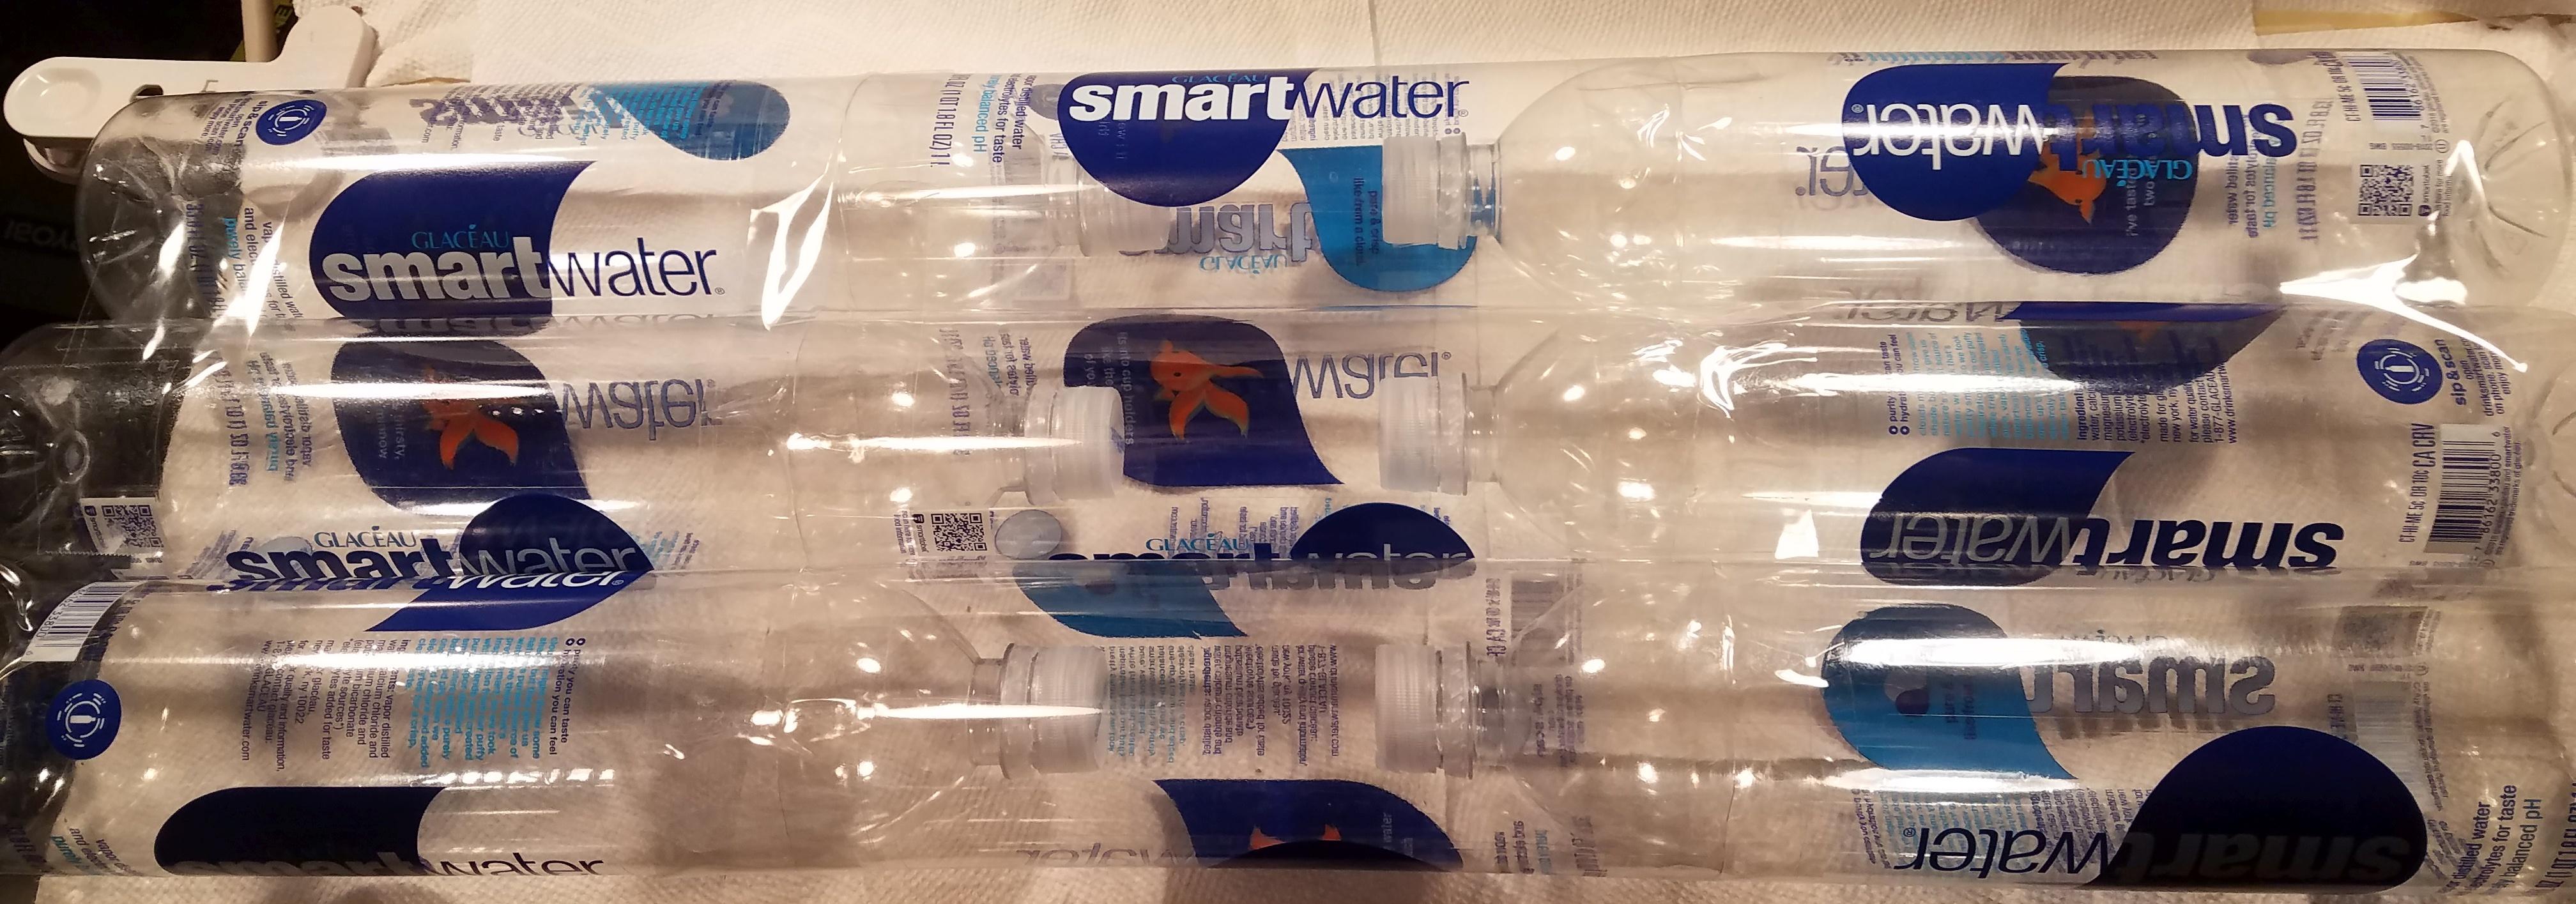
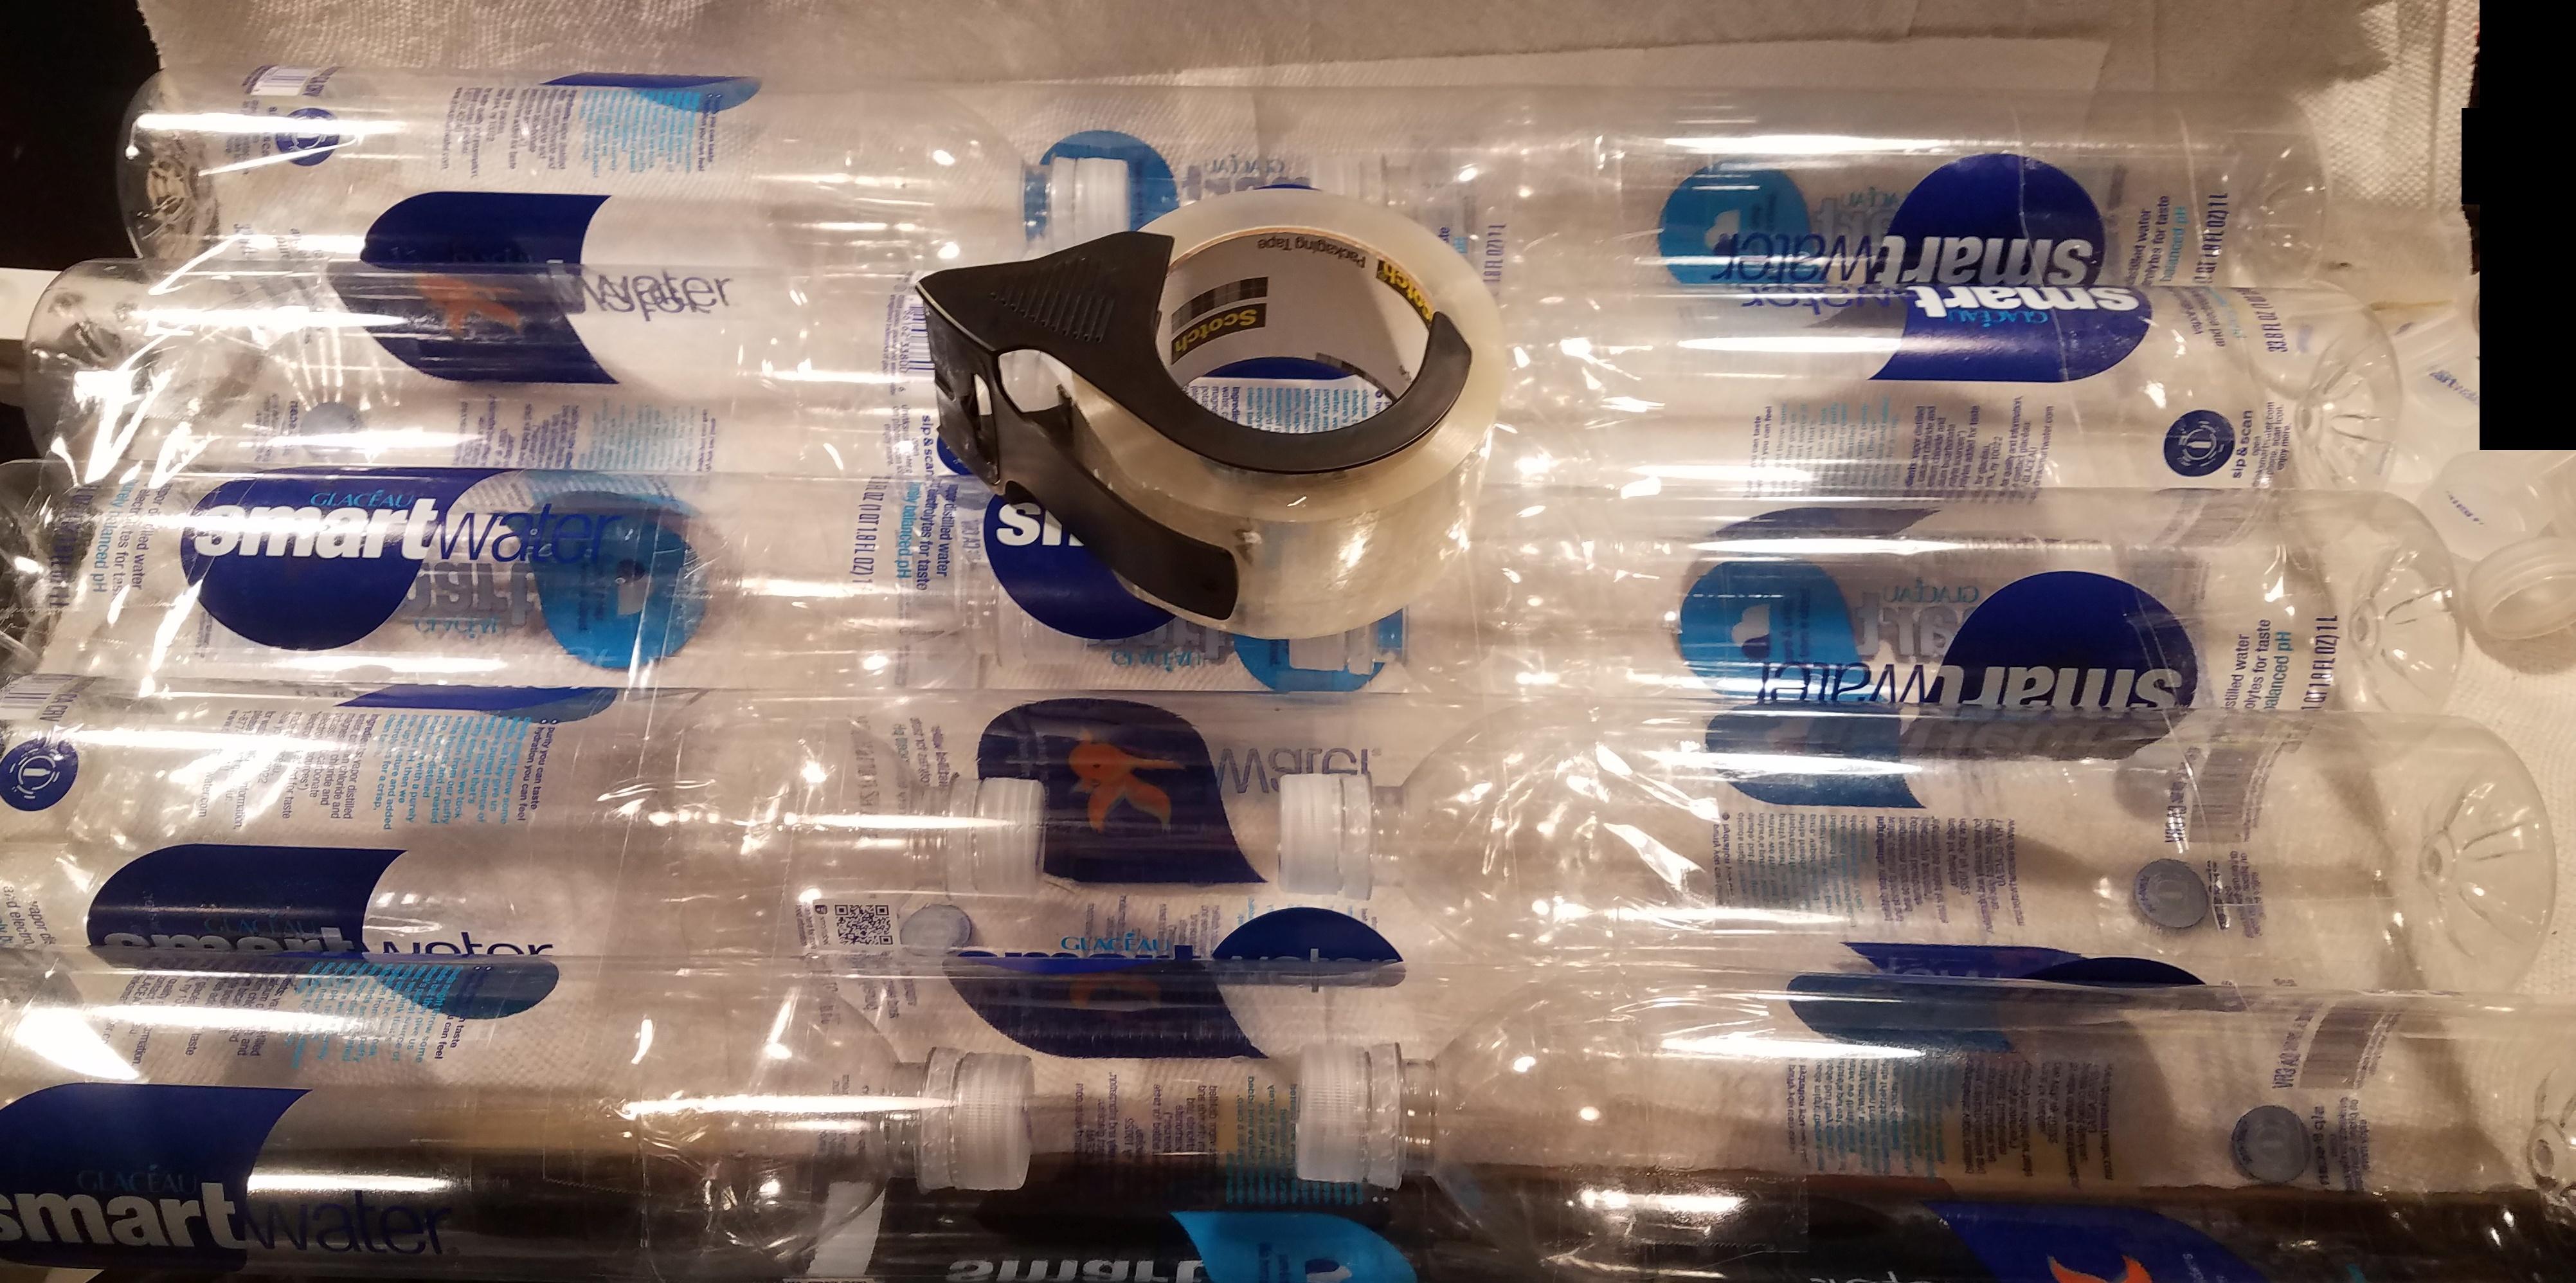
Create Lots of Water Bottle Beams


I managed to find 57 of the water bottles and lids for 38 of them which was perfect for the size of shed I needed. If you can get more you can make a much larger shed, possibly even a shelter which I would like to try if I can ever manage to get that many. This step takes about an hour or two.
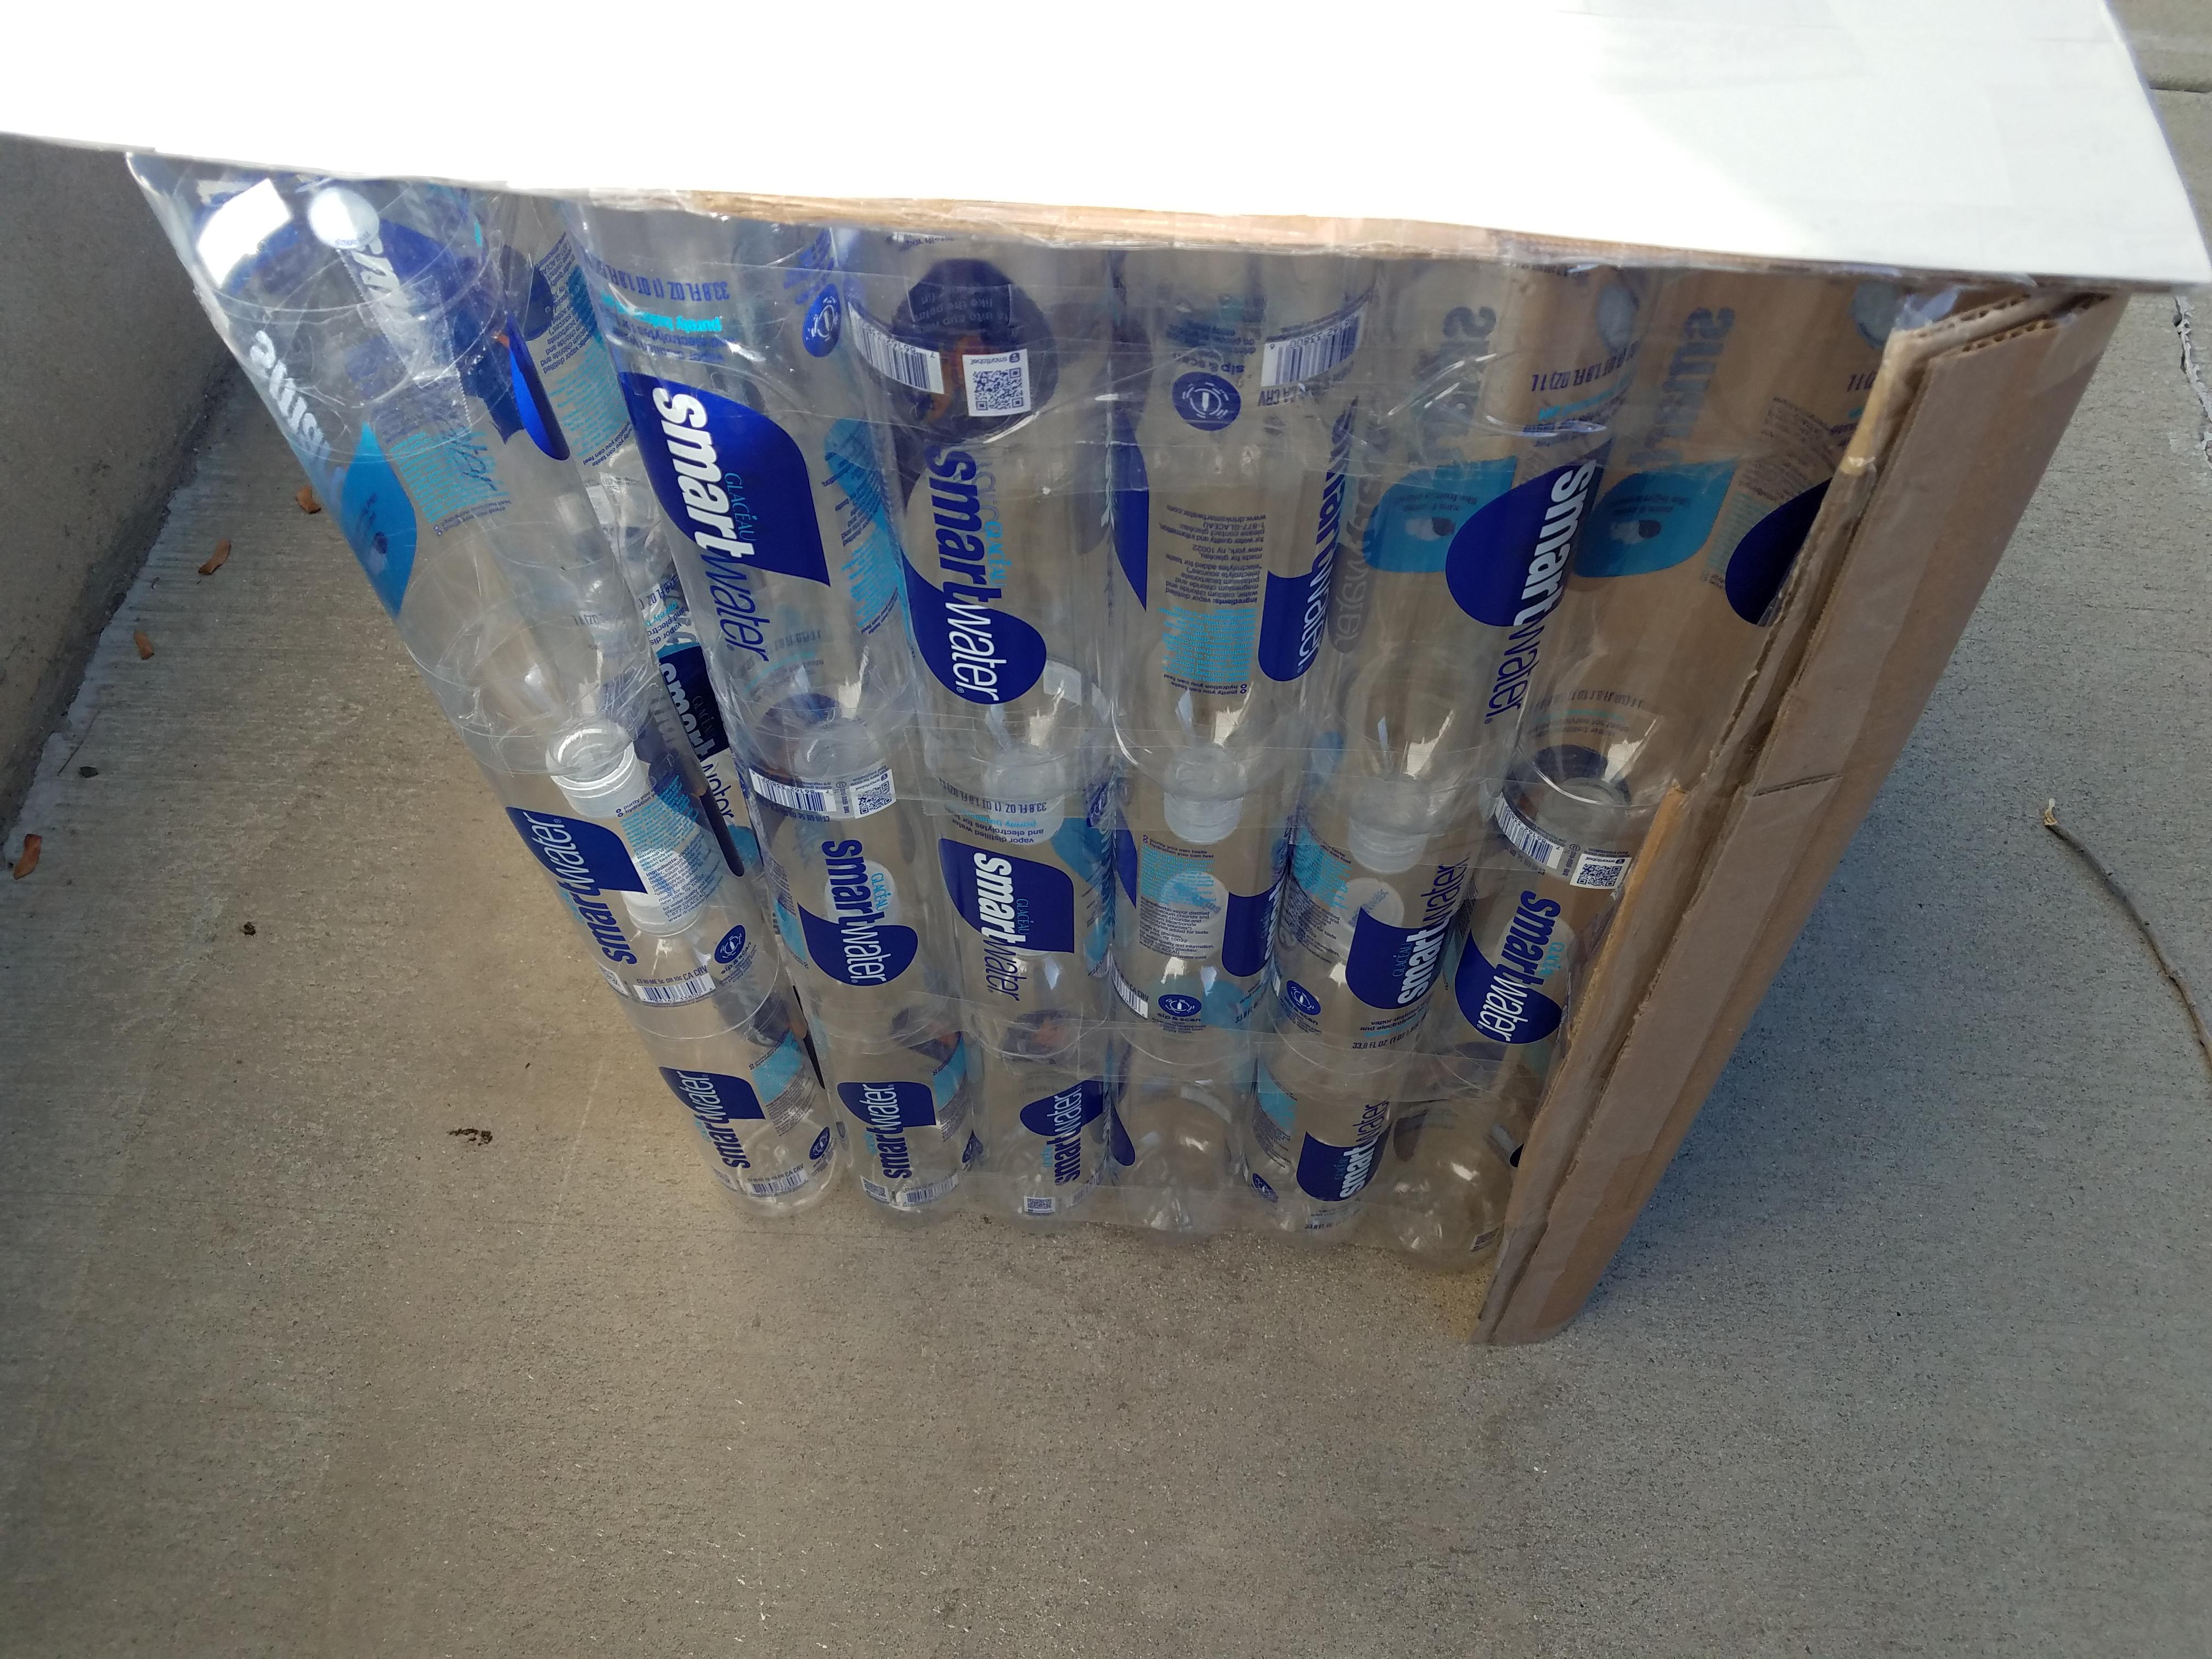
Test Fit the Water Bottle Beams on the Roof


The 57 water bottles became 19 beams which I then test fit against the roof previously completed. It took 9 for the back wall and 5 for each side. This is easier on a completely flat surface.
Tape 4 Beams Together for Back Wall

.jpg)

.jpg)

.jpg)
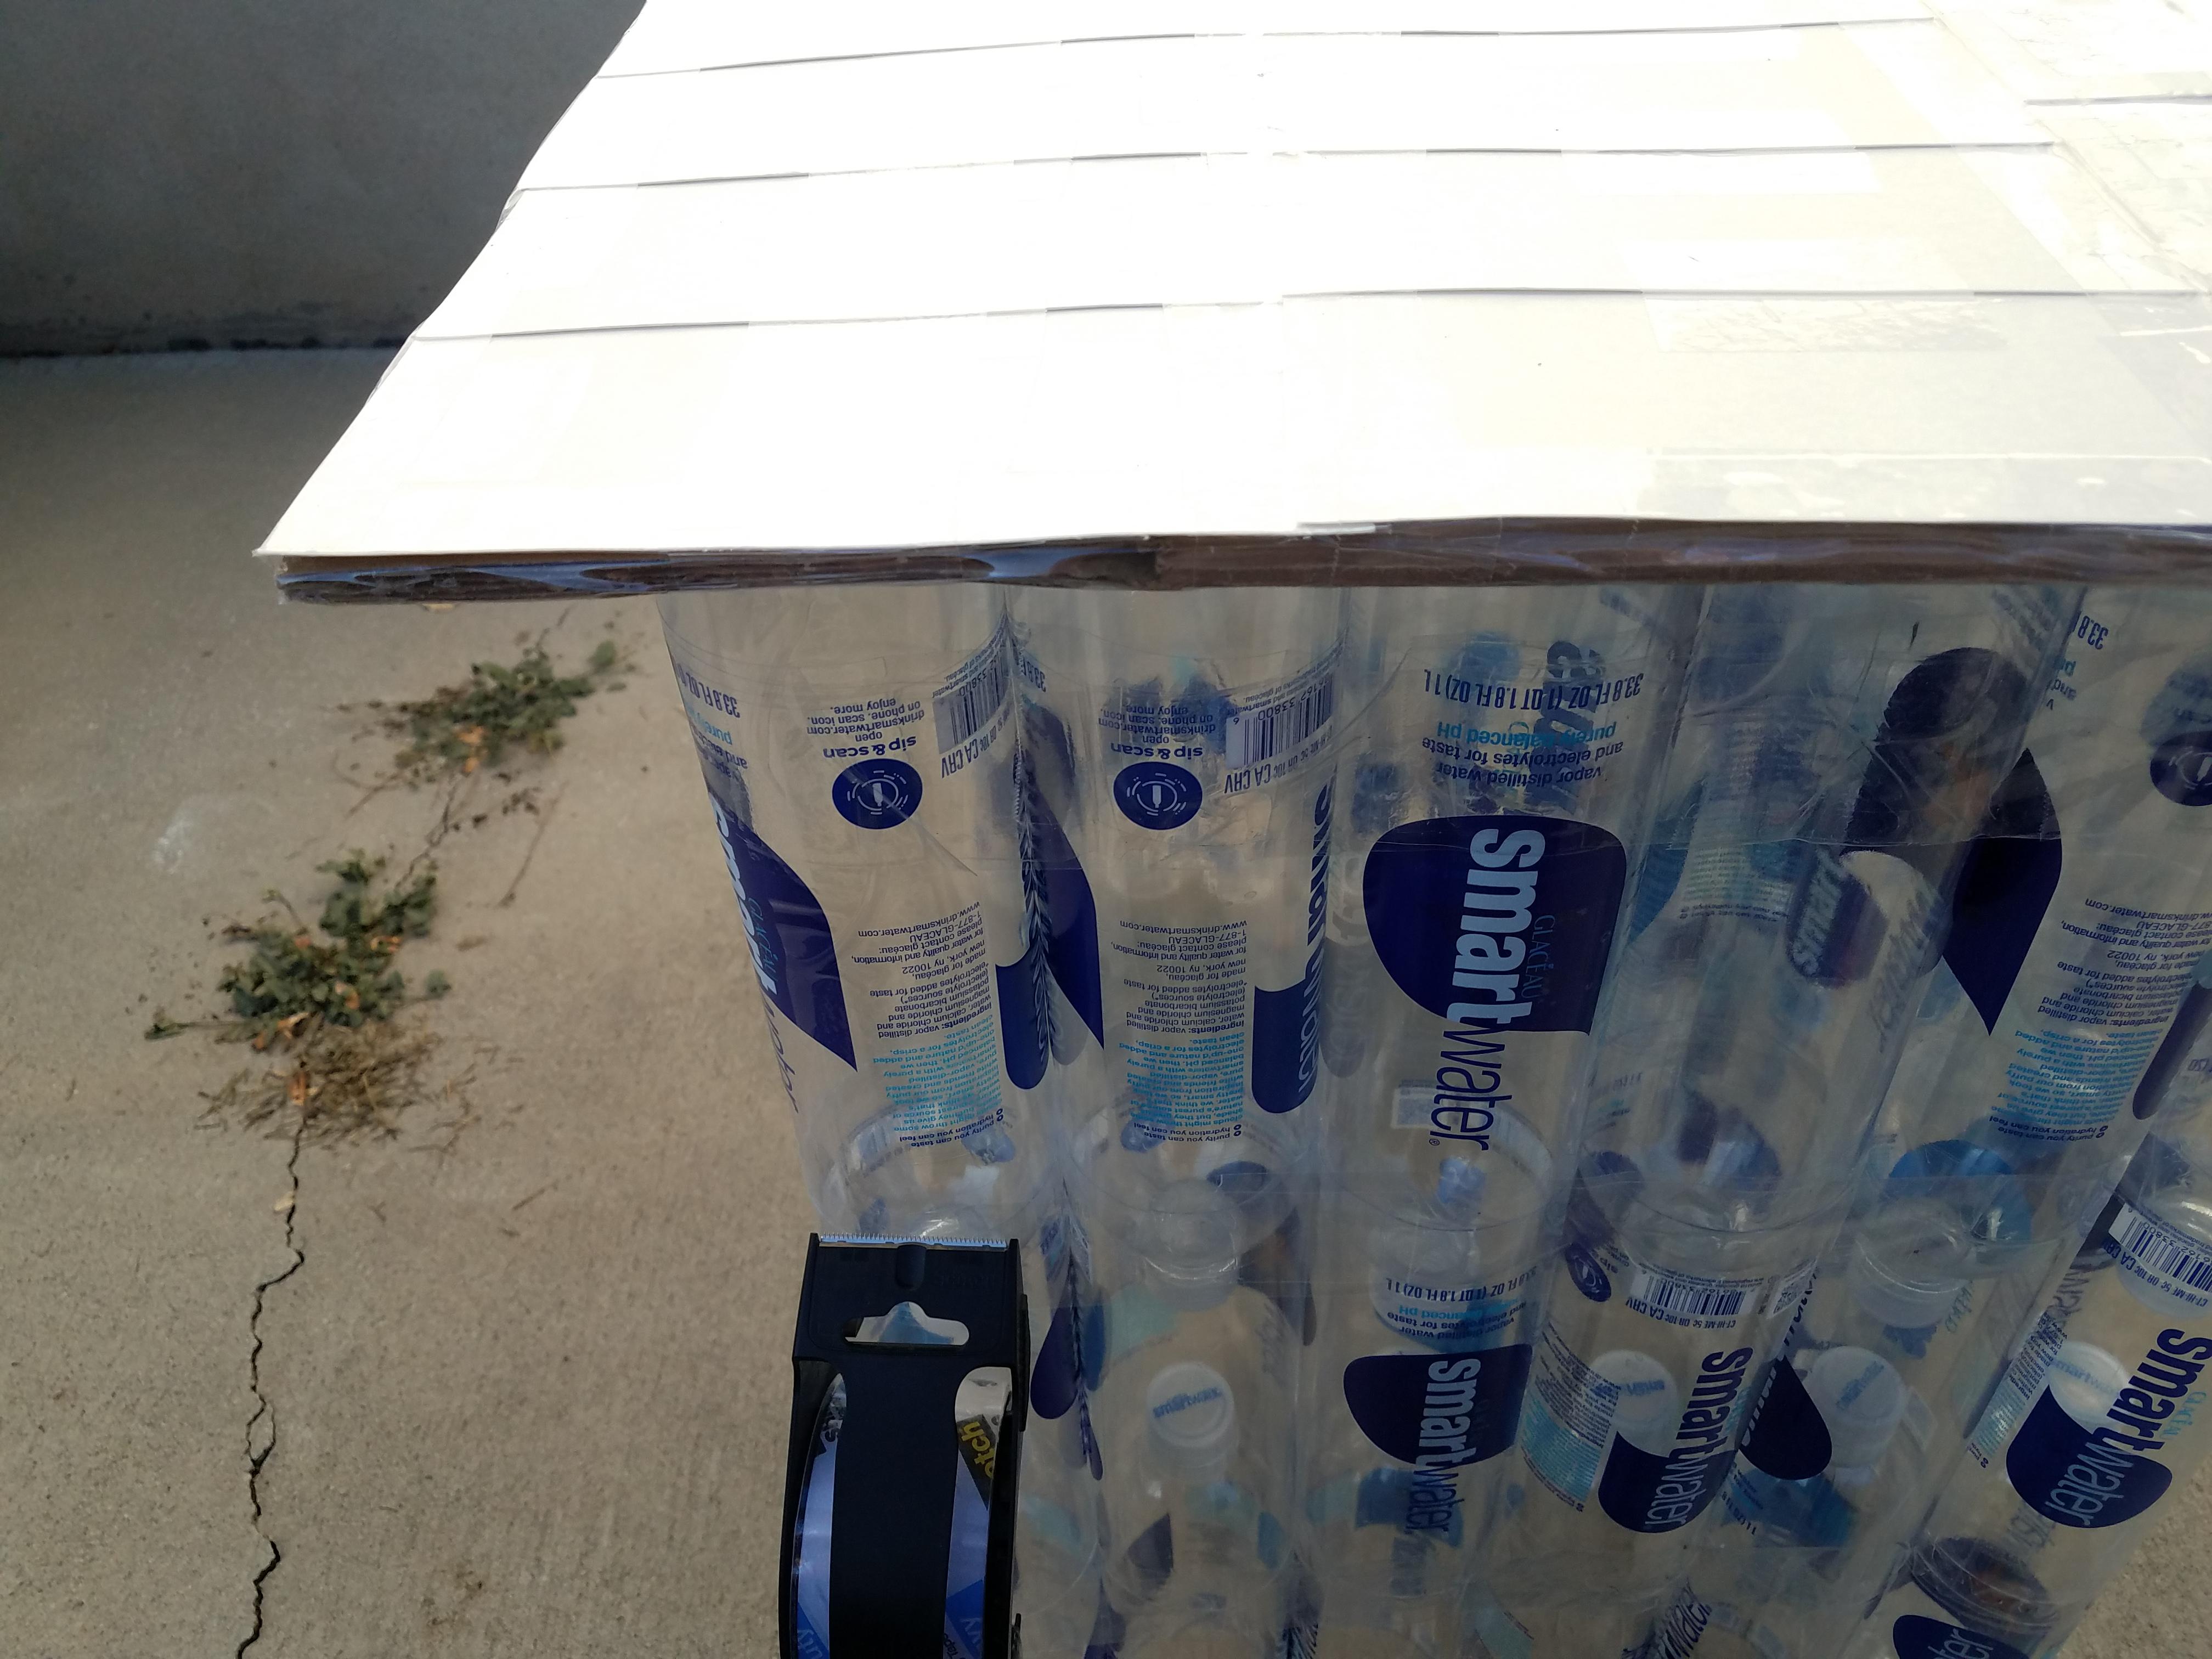
First we start by taping 4 beams together applying tape on the top and bottom of one side then carefully flipping it over and applying tape on the top and bottom while squeezing the bottles together so the tape doesn't sag and the layers hold together tightly. After the top and bottom of both sides are taped do the same where the tape is holding the 3 water bottles together on both sides to be extra sure they stay together. Squeeze it some but not too much so you don't have large gaps between the two water bottle beams.
Tape 5 Beams Together for Rest of Back Wall


Now tape 5 more beams together the same way as the previous step into a solid piece. It is easier to do two smaller beams then tape the two together into a solid wall which we will do next.
Combine the Beams for the Back Wall


Tape the two beams together the same way as the previous steps and you will now have a solid back wall. Anywhere the tape sagged apply a new piece over so it is held together tightly. We need to be able to grab it and move it as a solid wall for the rest of the steps. If you want you can do a layer of tape around all 9 beams on top and bottom now that they are held together, which will hold them together tighter.
Tape 5 Beams for the Left Wall

Now tape 5 more beams together the same way as the previous steps into a solid piece. This will become your left side wall. If you want you can do a layer of tape around all 5 beams on top and bottom now that they are held together, which will hold them together tighter.
Tape 5 Beams for the Right Wall


Now tape 5 more beams together the same way as the previous steps into a solid piece. This will become your right side wall. If you want you can do a layer of tape around all 5 beams on top and bottom now that they are held together, which will hold them together tighter.
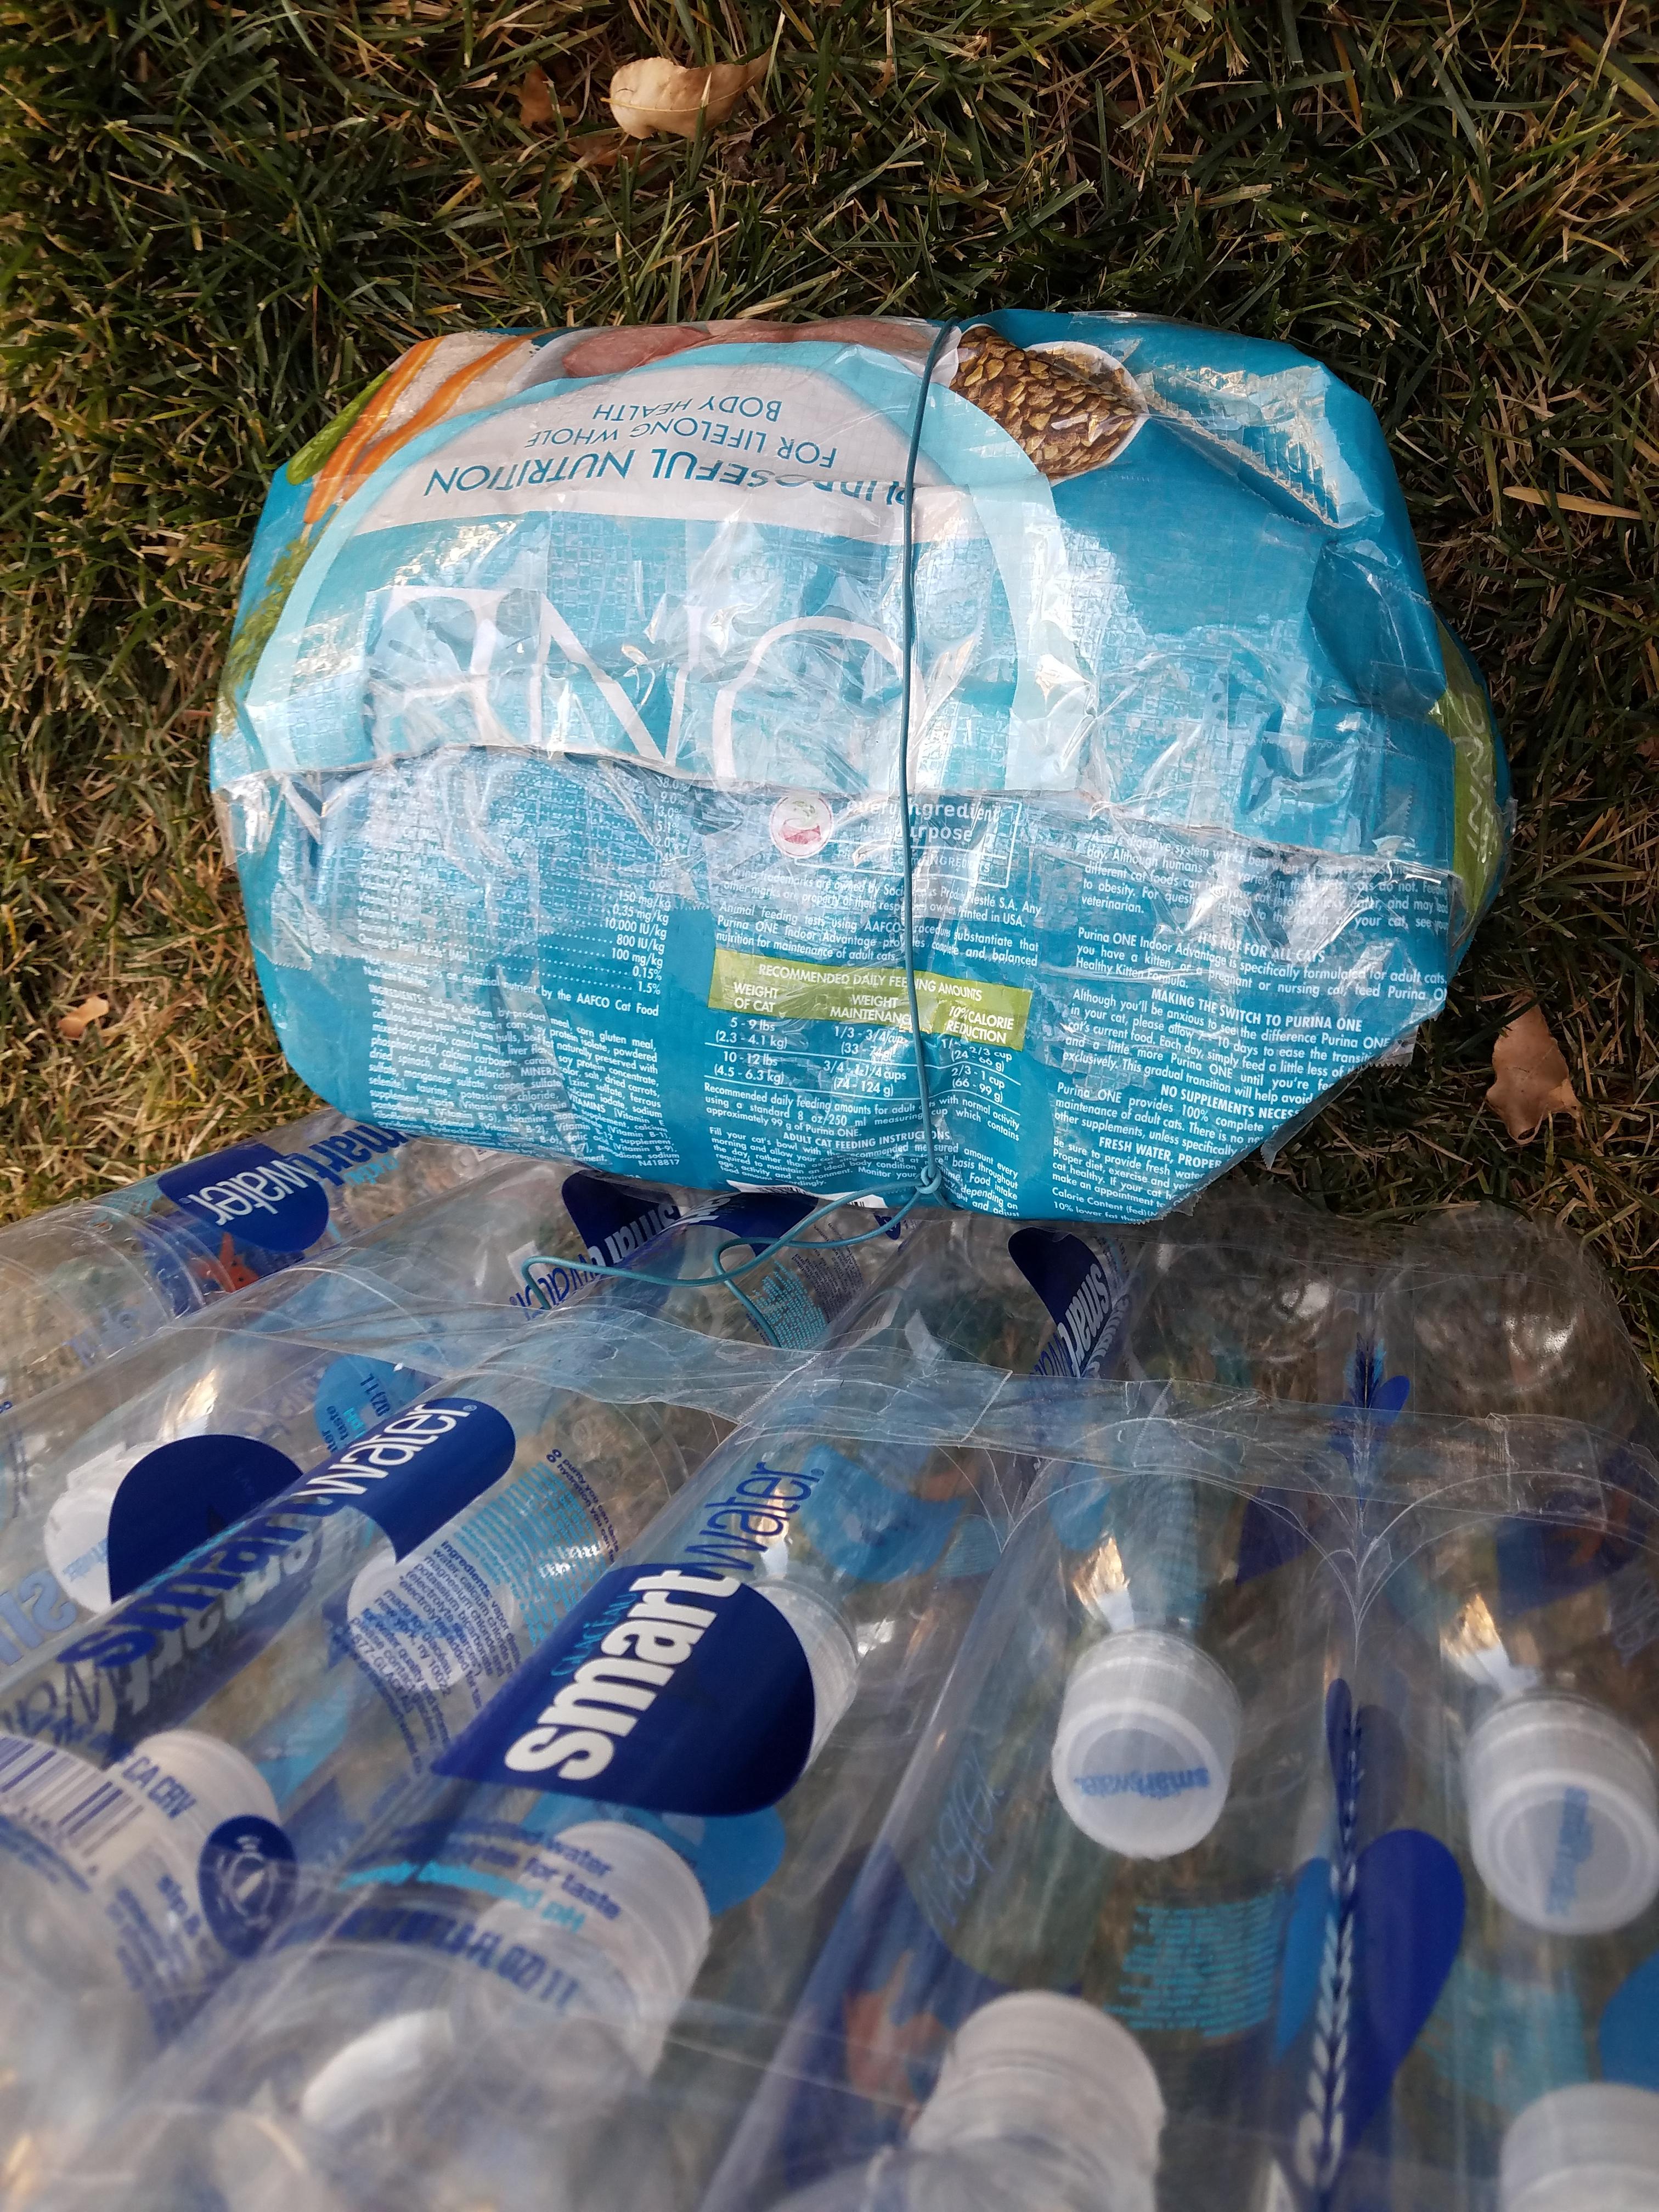
All the Shed Pieces So Far

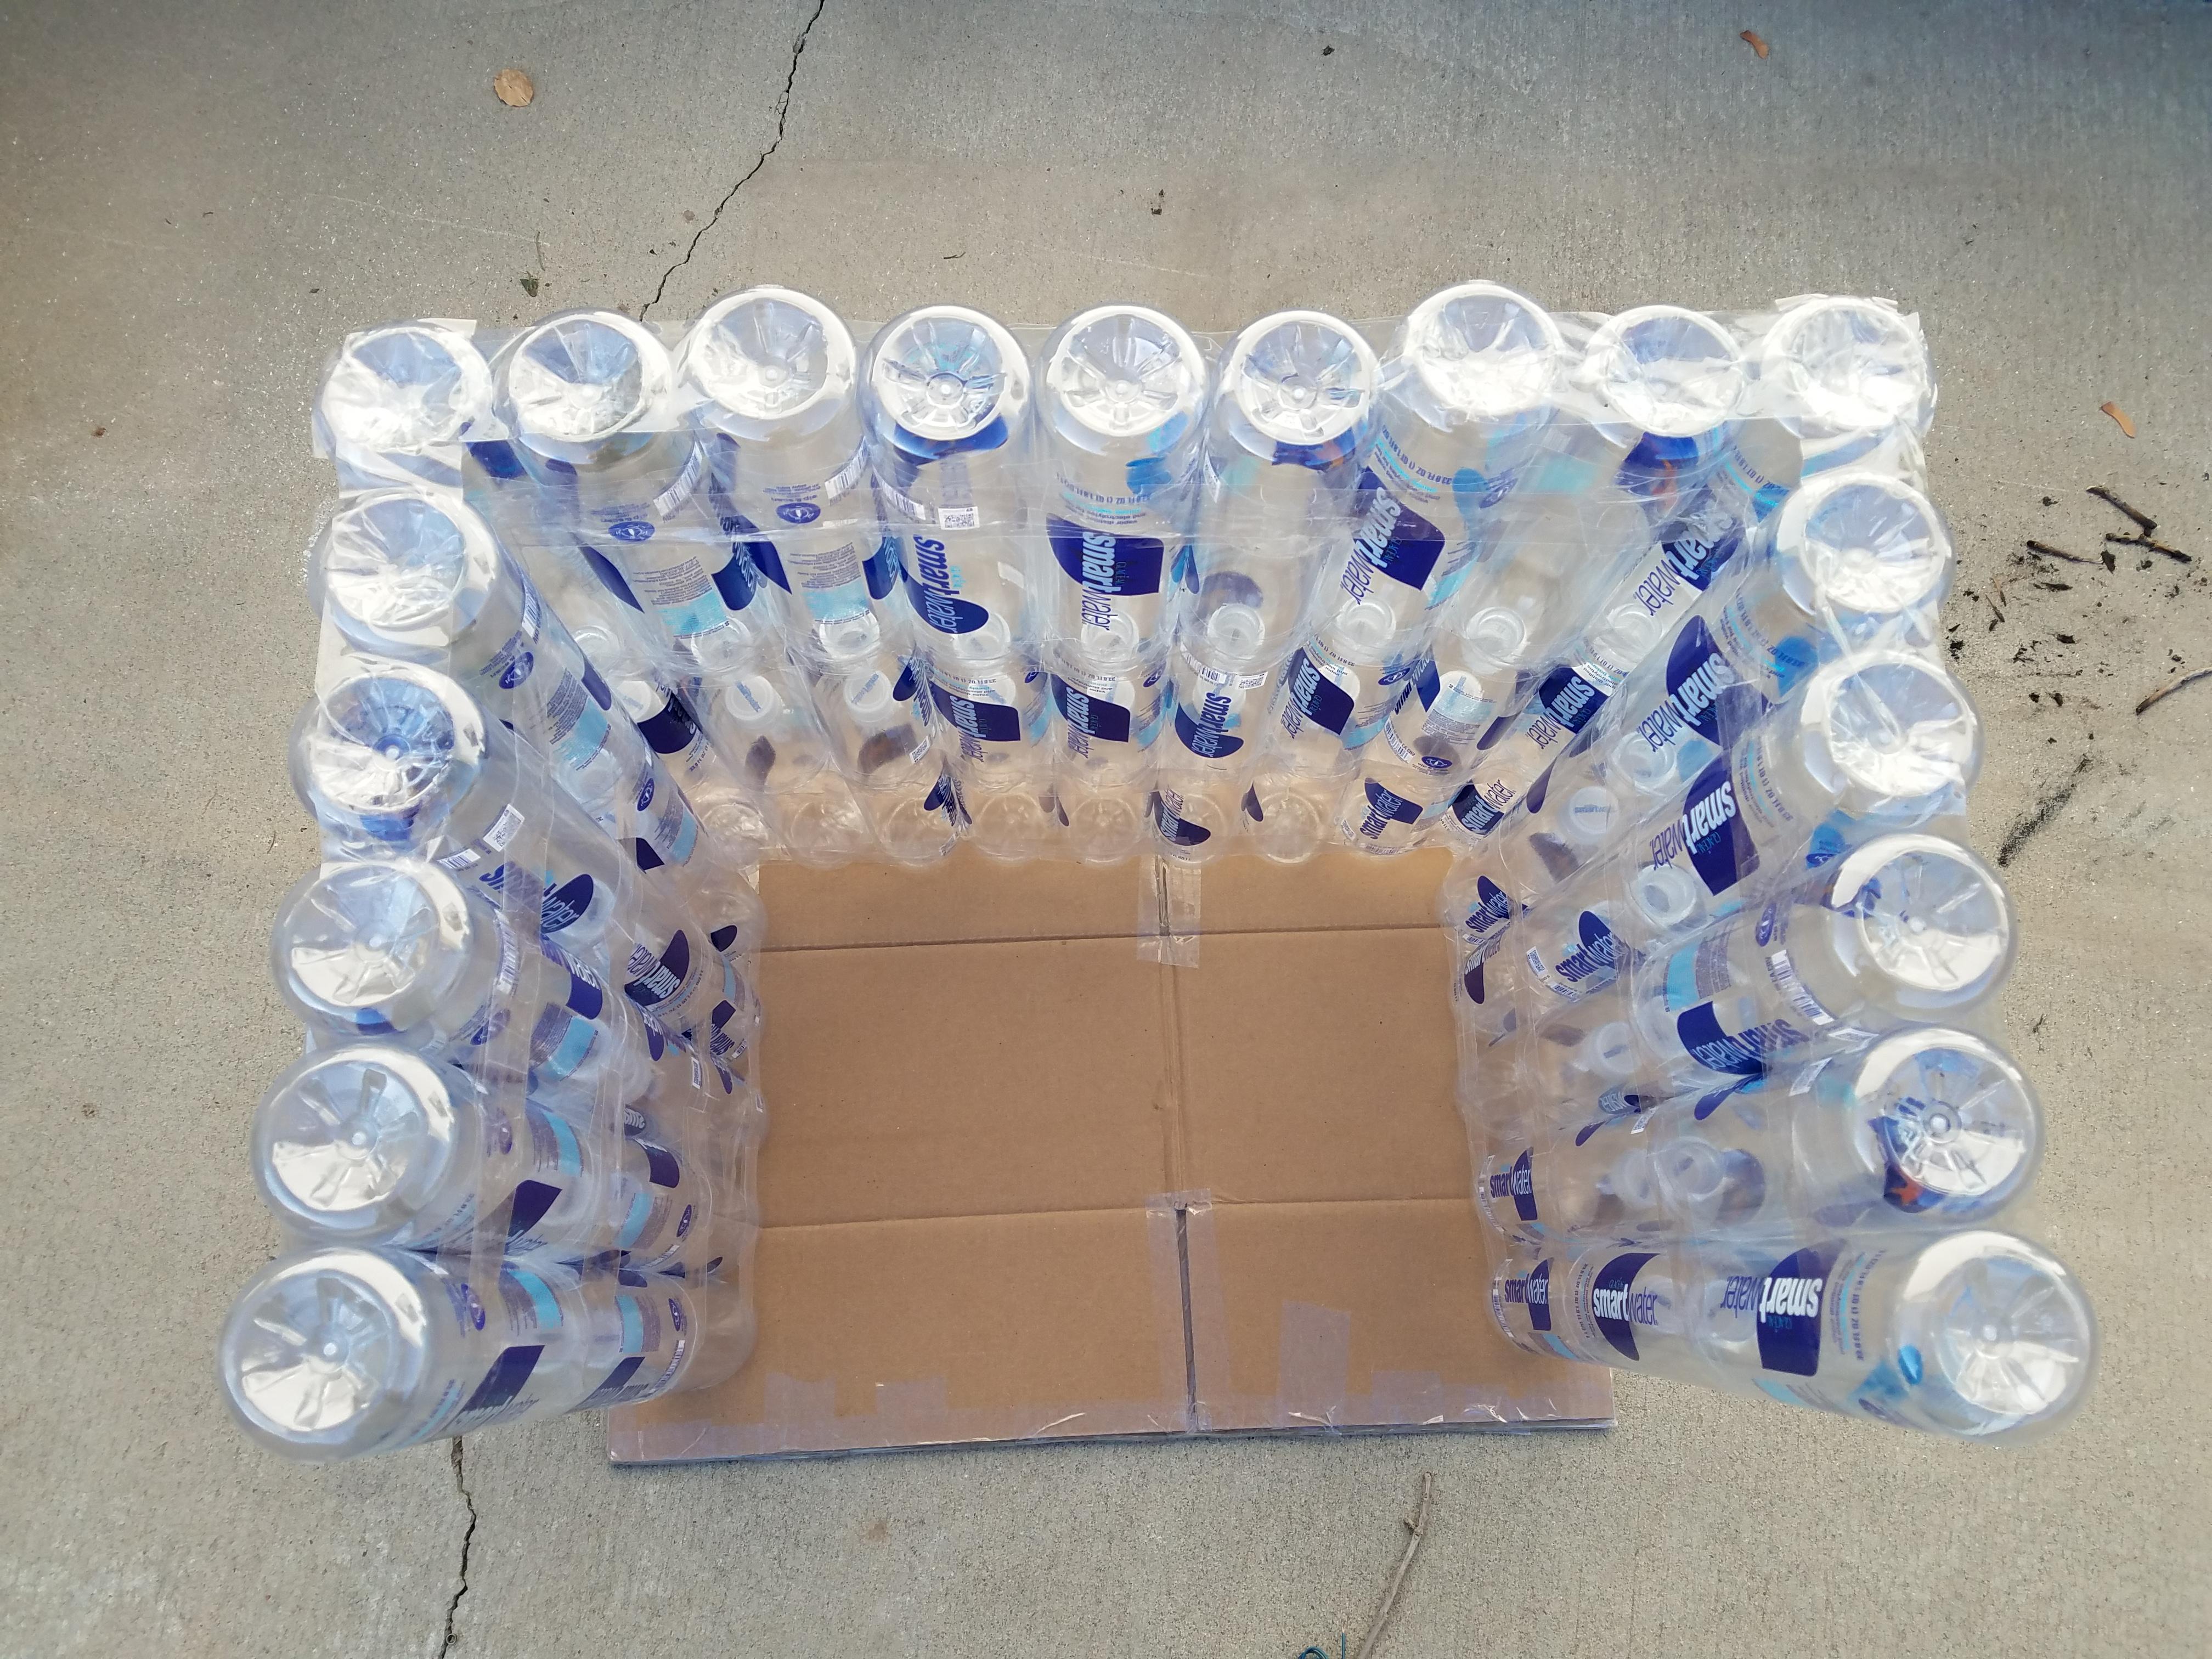
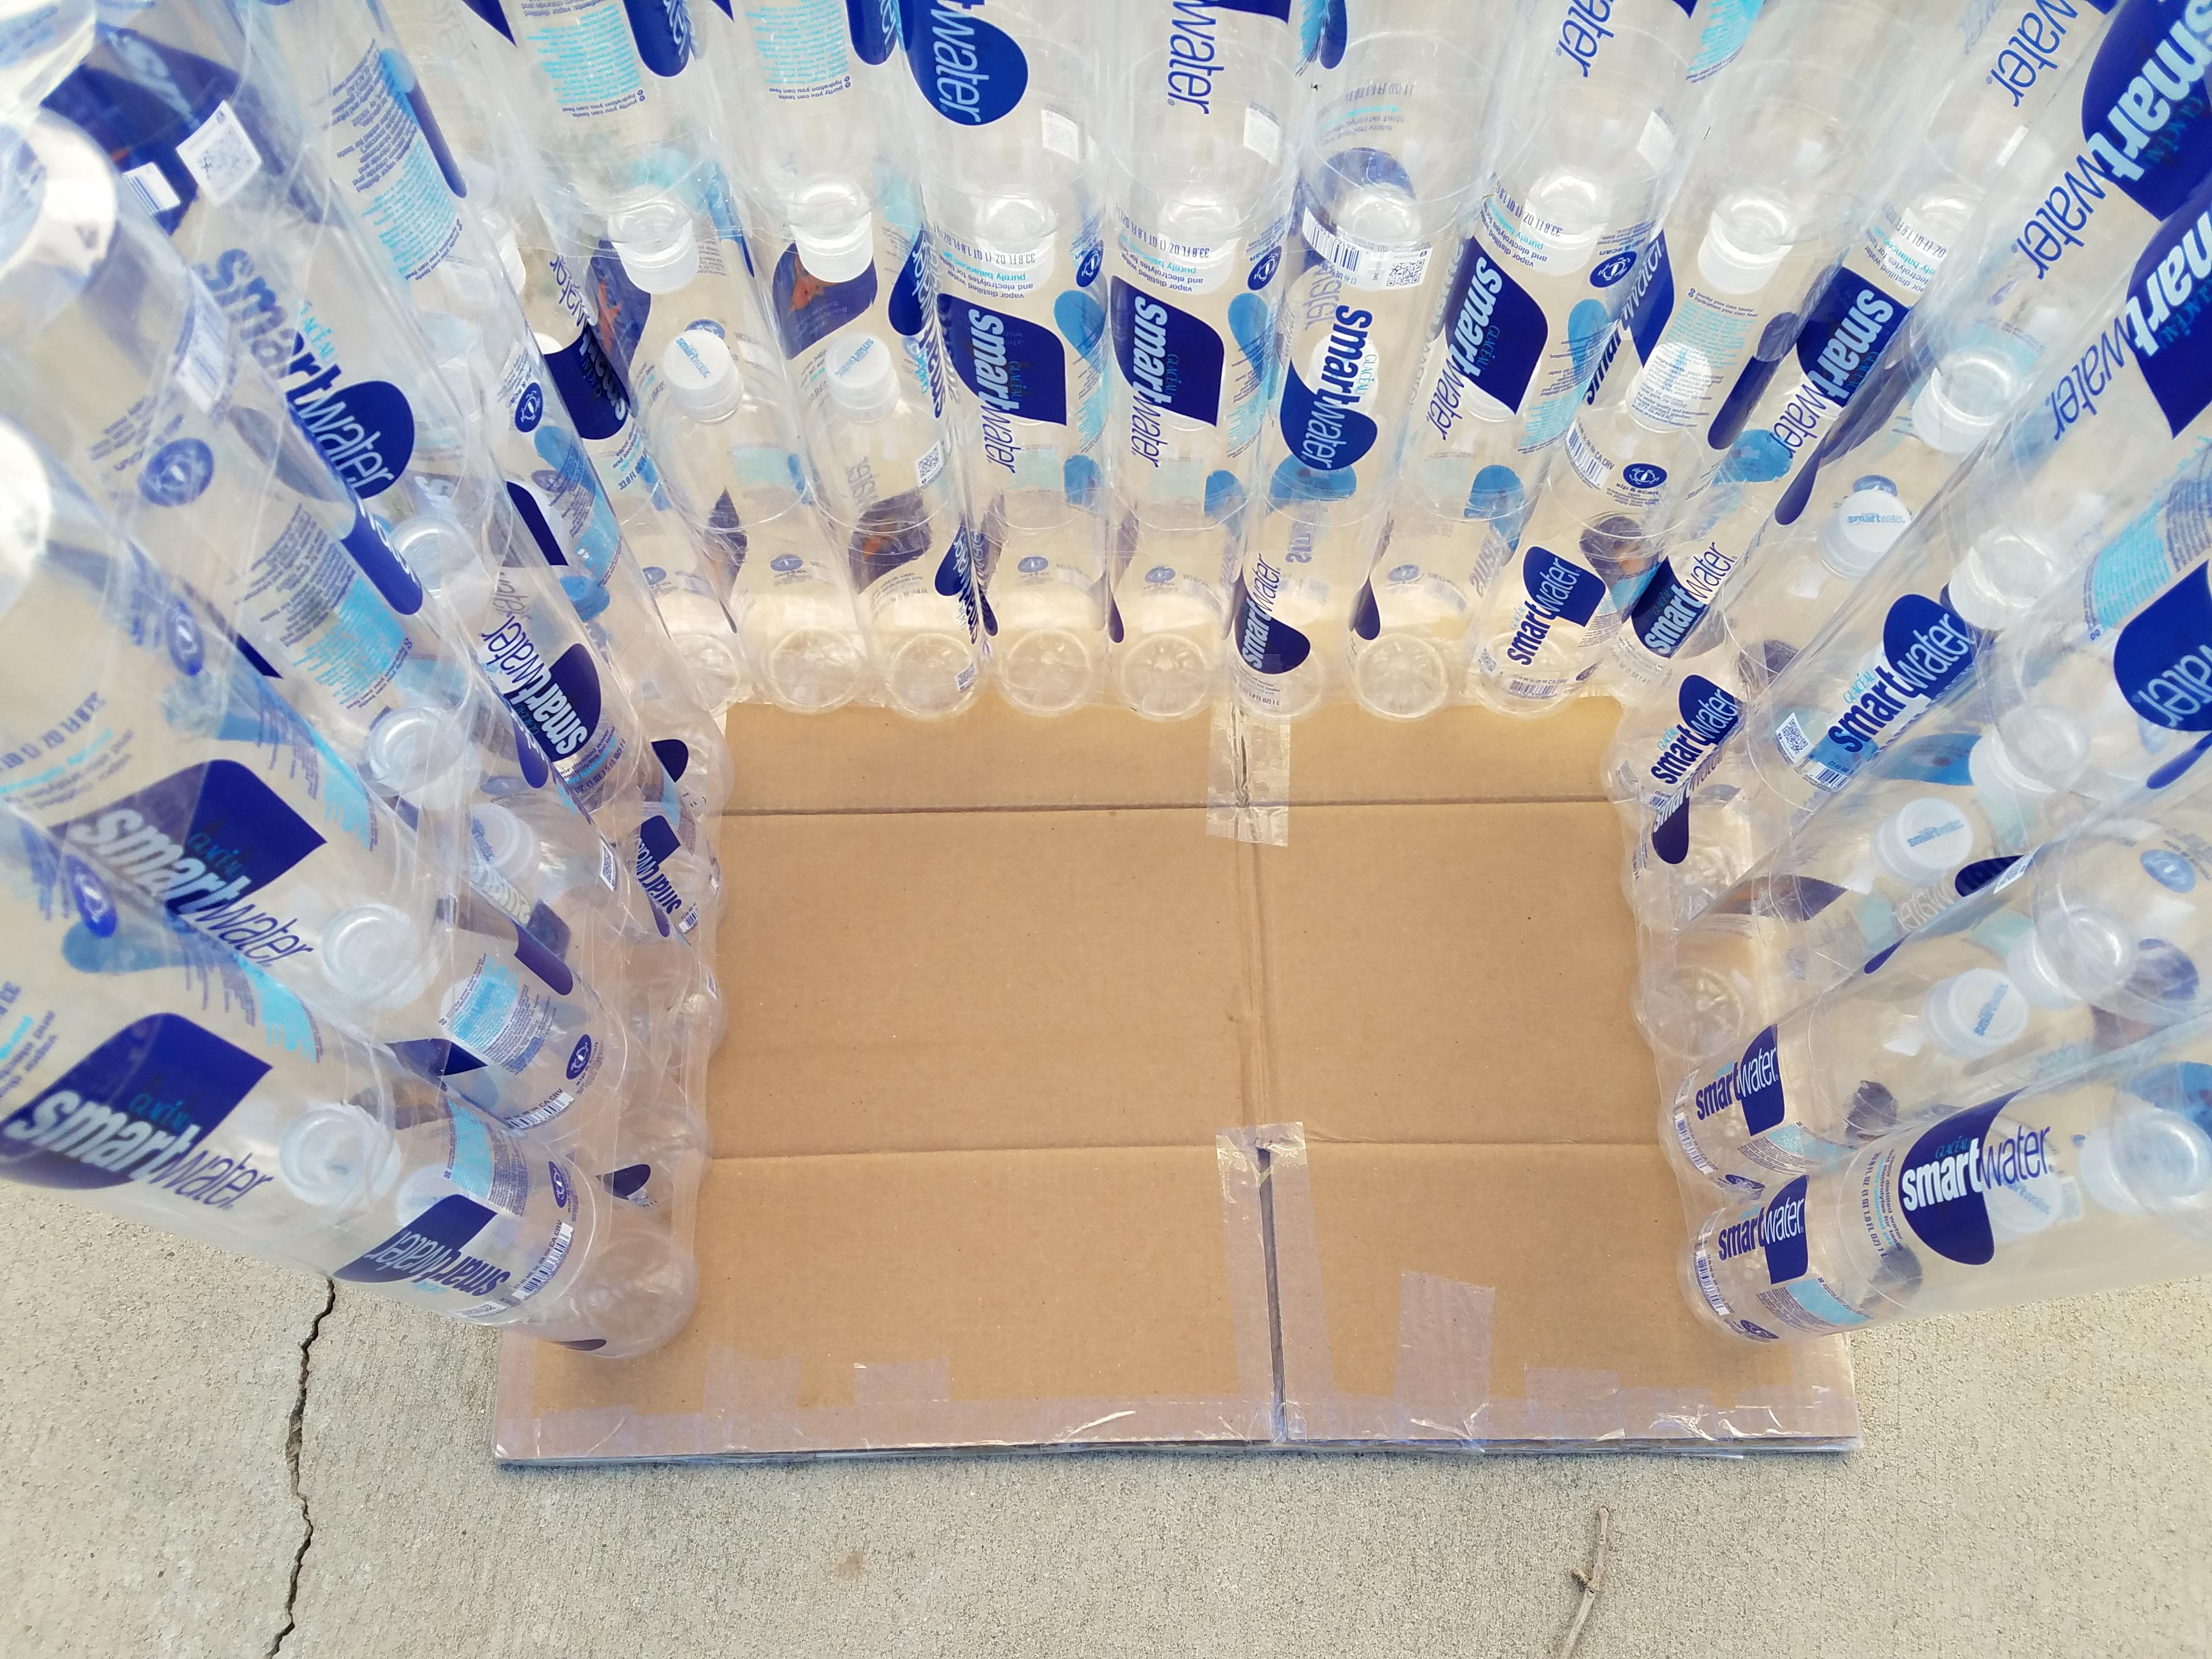
At this point you should have something like this, the roof is against the back which is hard to see in this picture followed by the back wall and then the left and right sides next to each other. It is easier to store this way as you collect pieces.
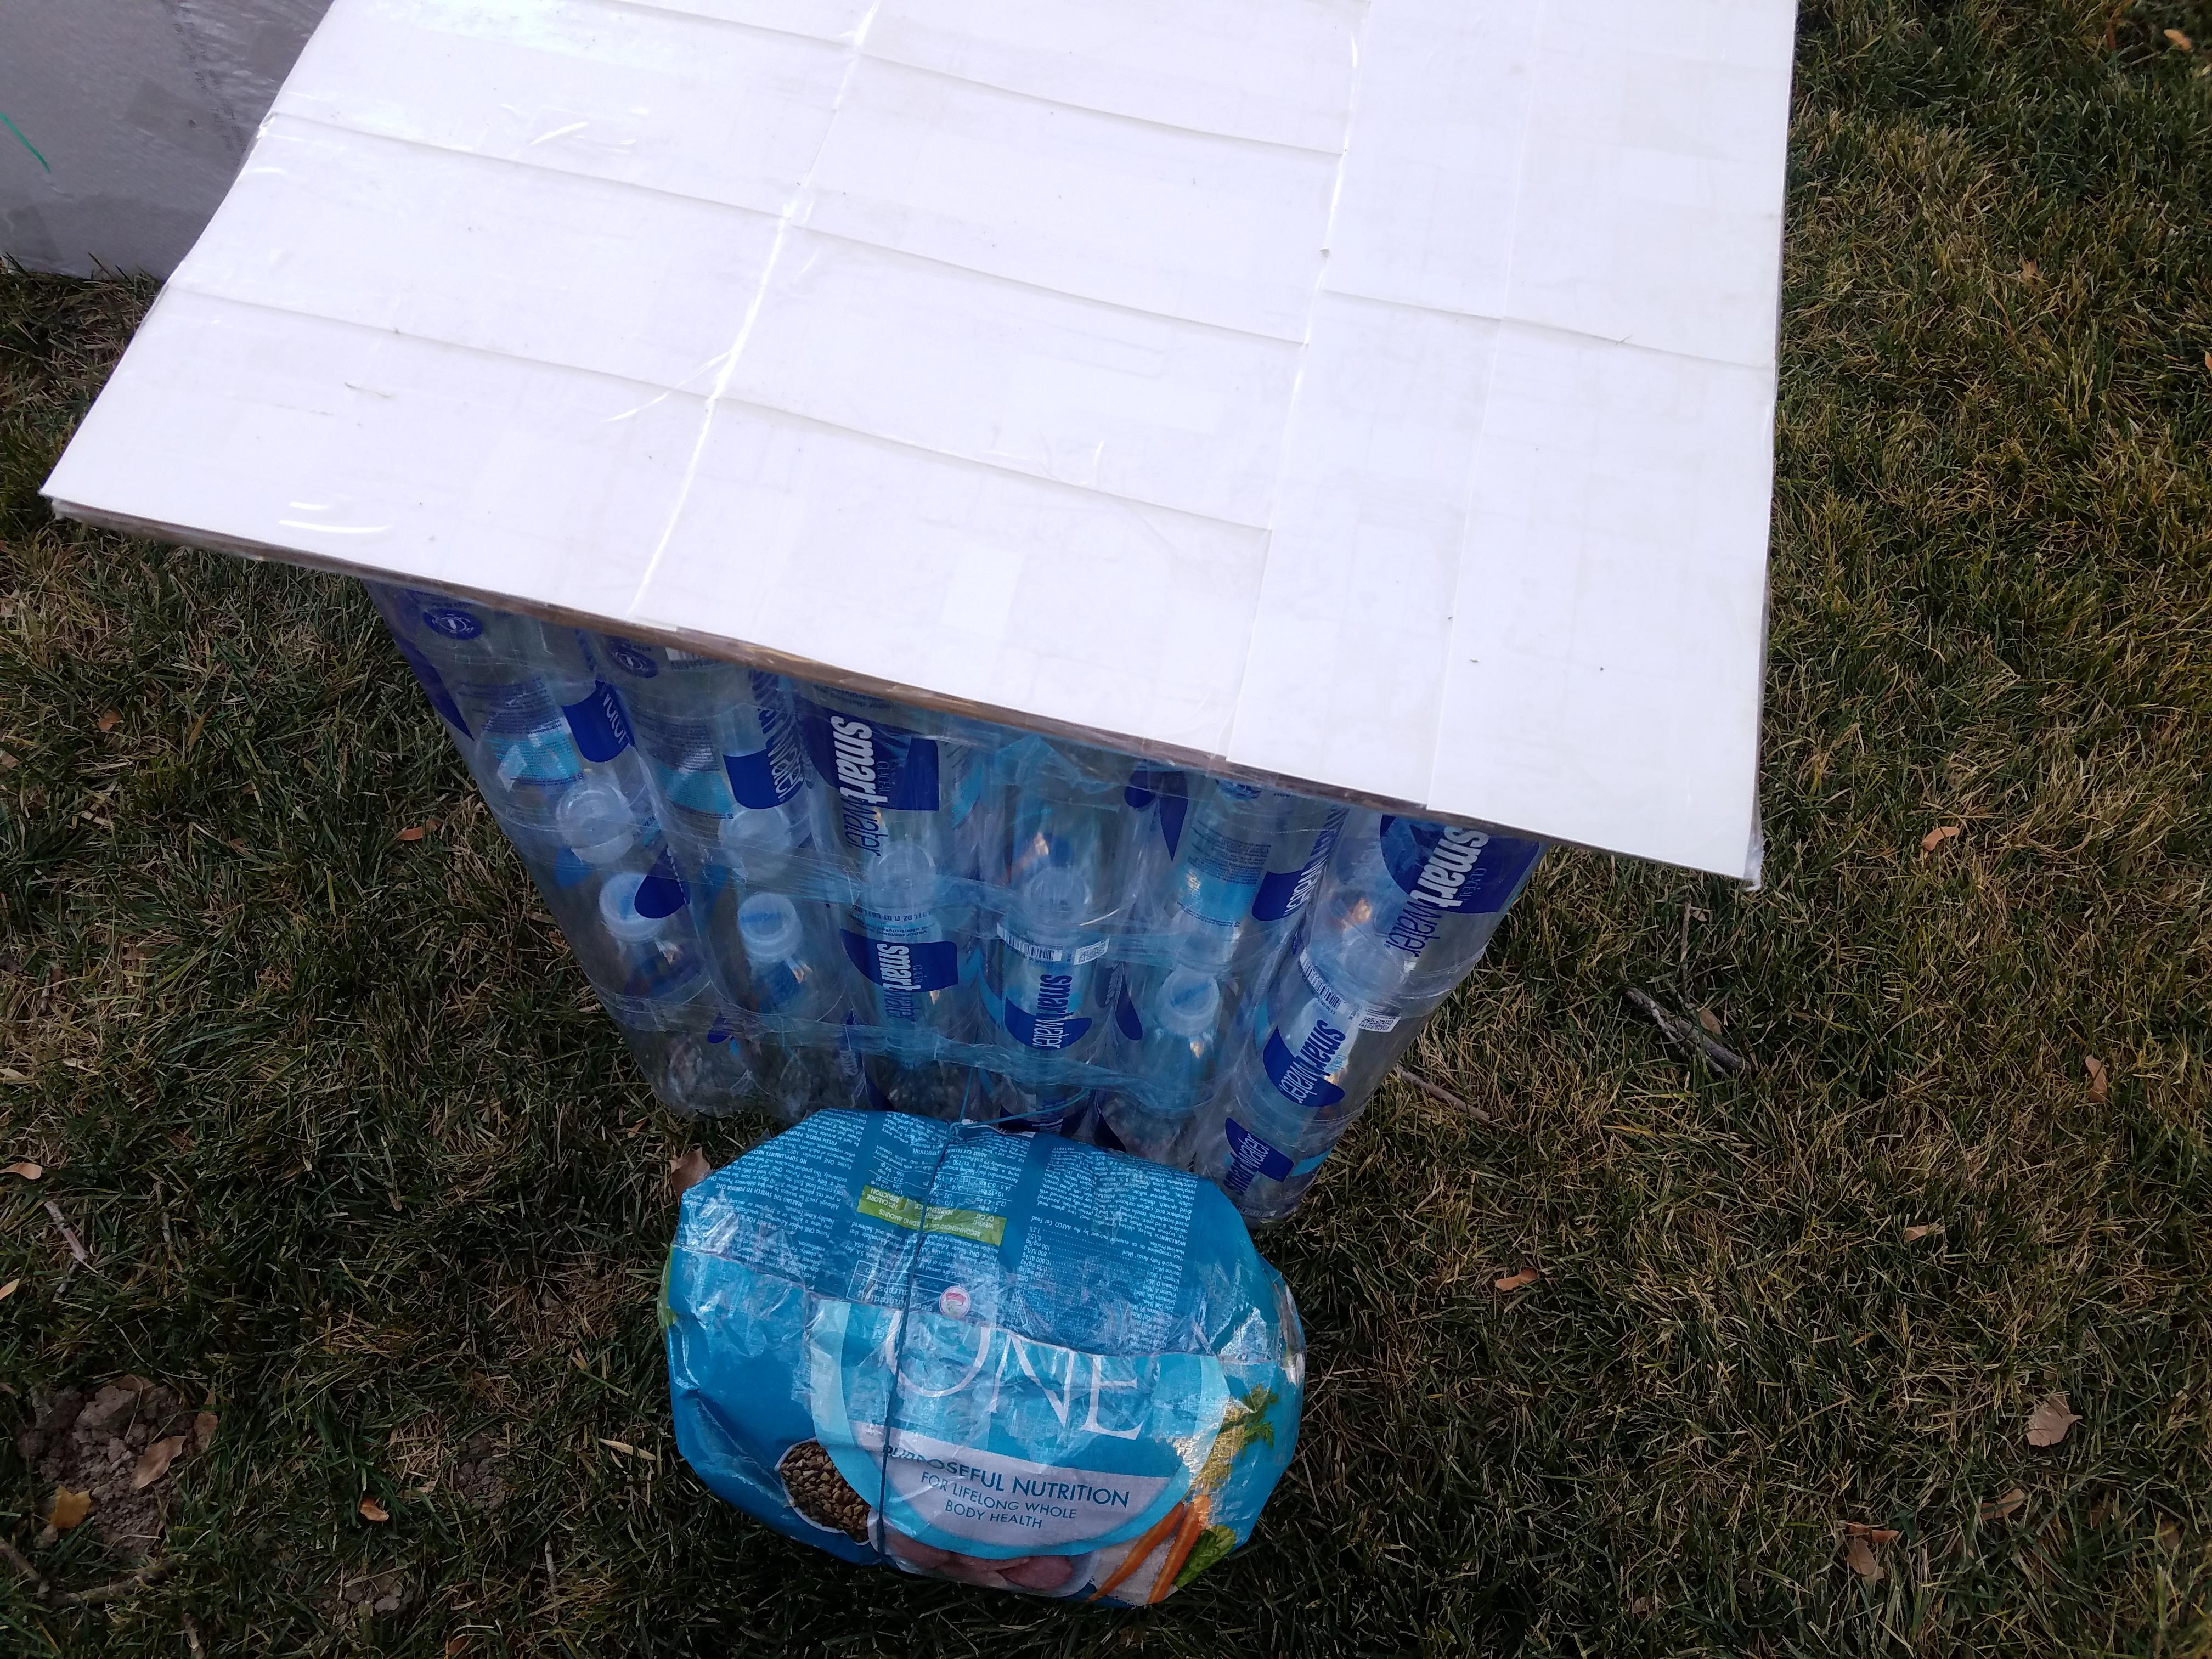
Pretest the Walls & Roof


We are now ready to stick the back wall and sides next to each other and lay the roof on top to make sure everything fits. If anything isn't working now is the time to fix it before moving on. The walls would stand up on their own for me so we are ready to continue. The shed can be set aside for now while we finish the next important part.
Cut a Pet Food Bag in Half


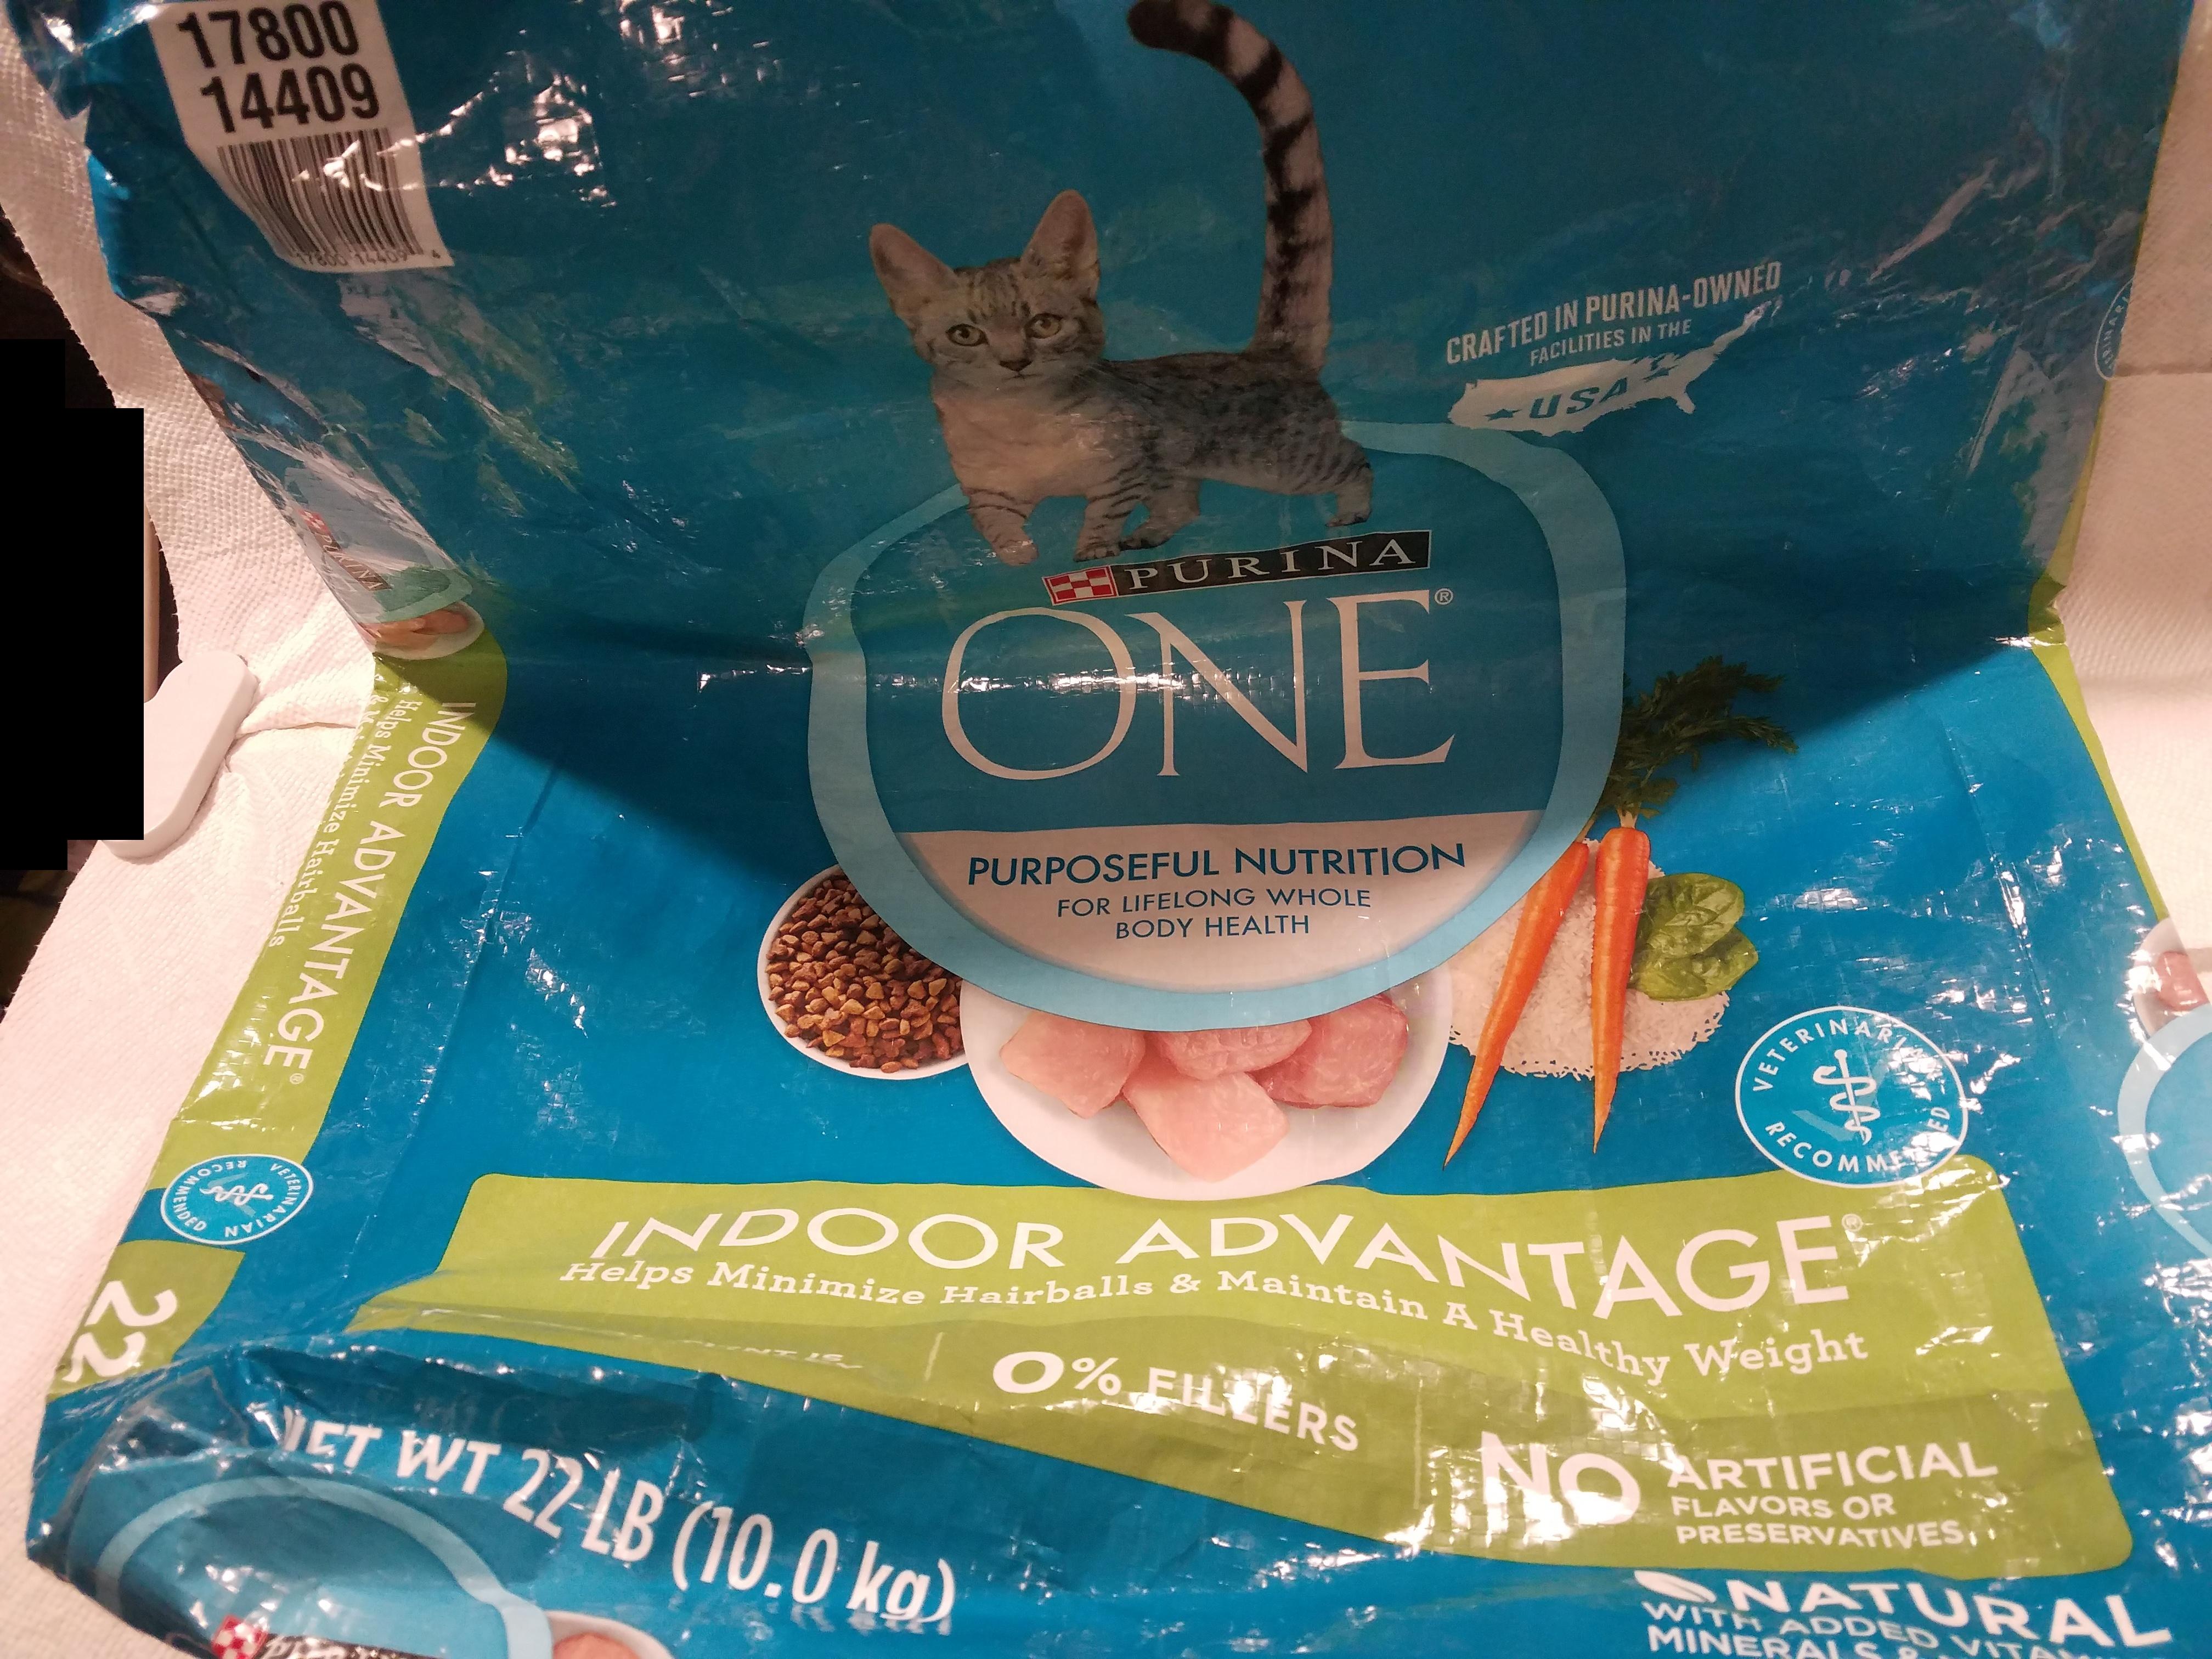


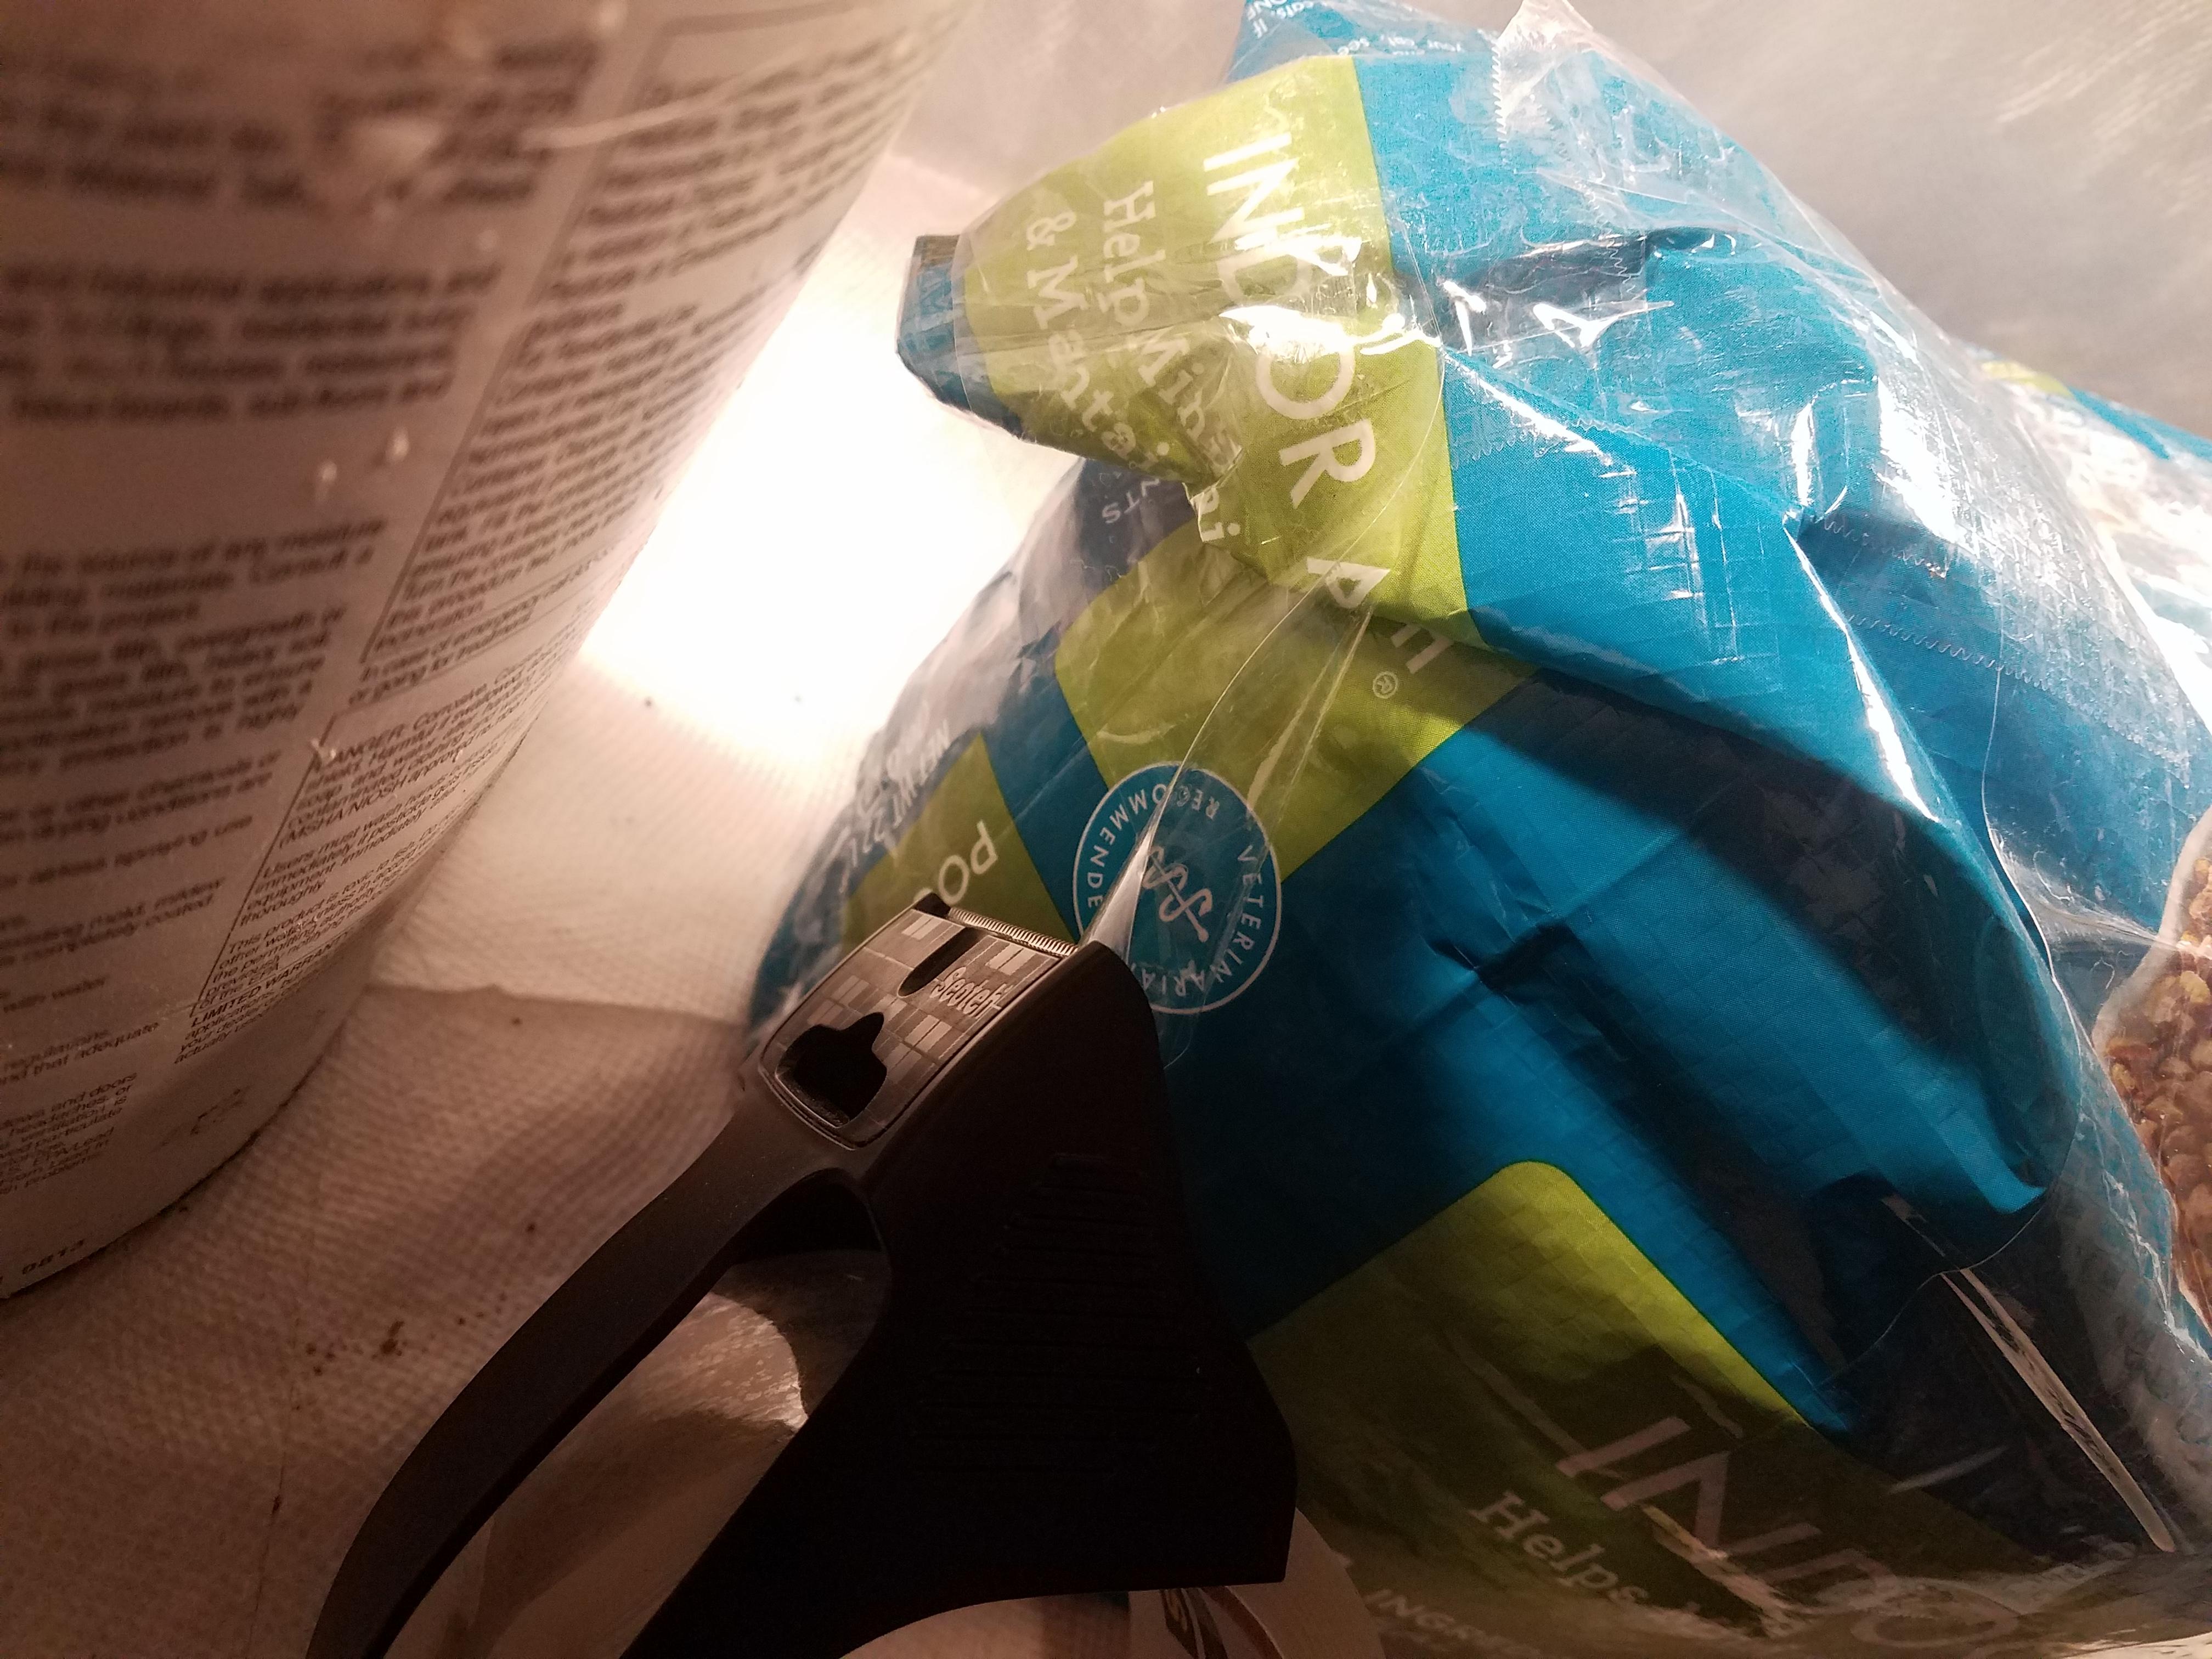
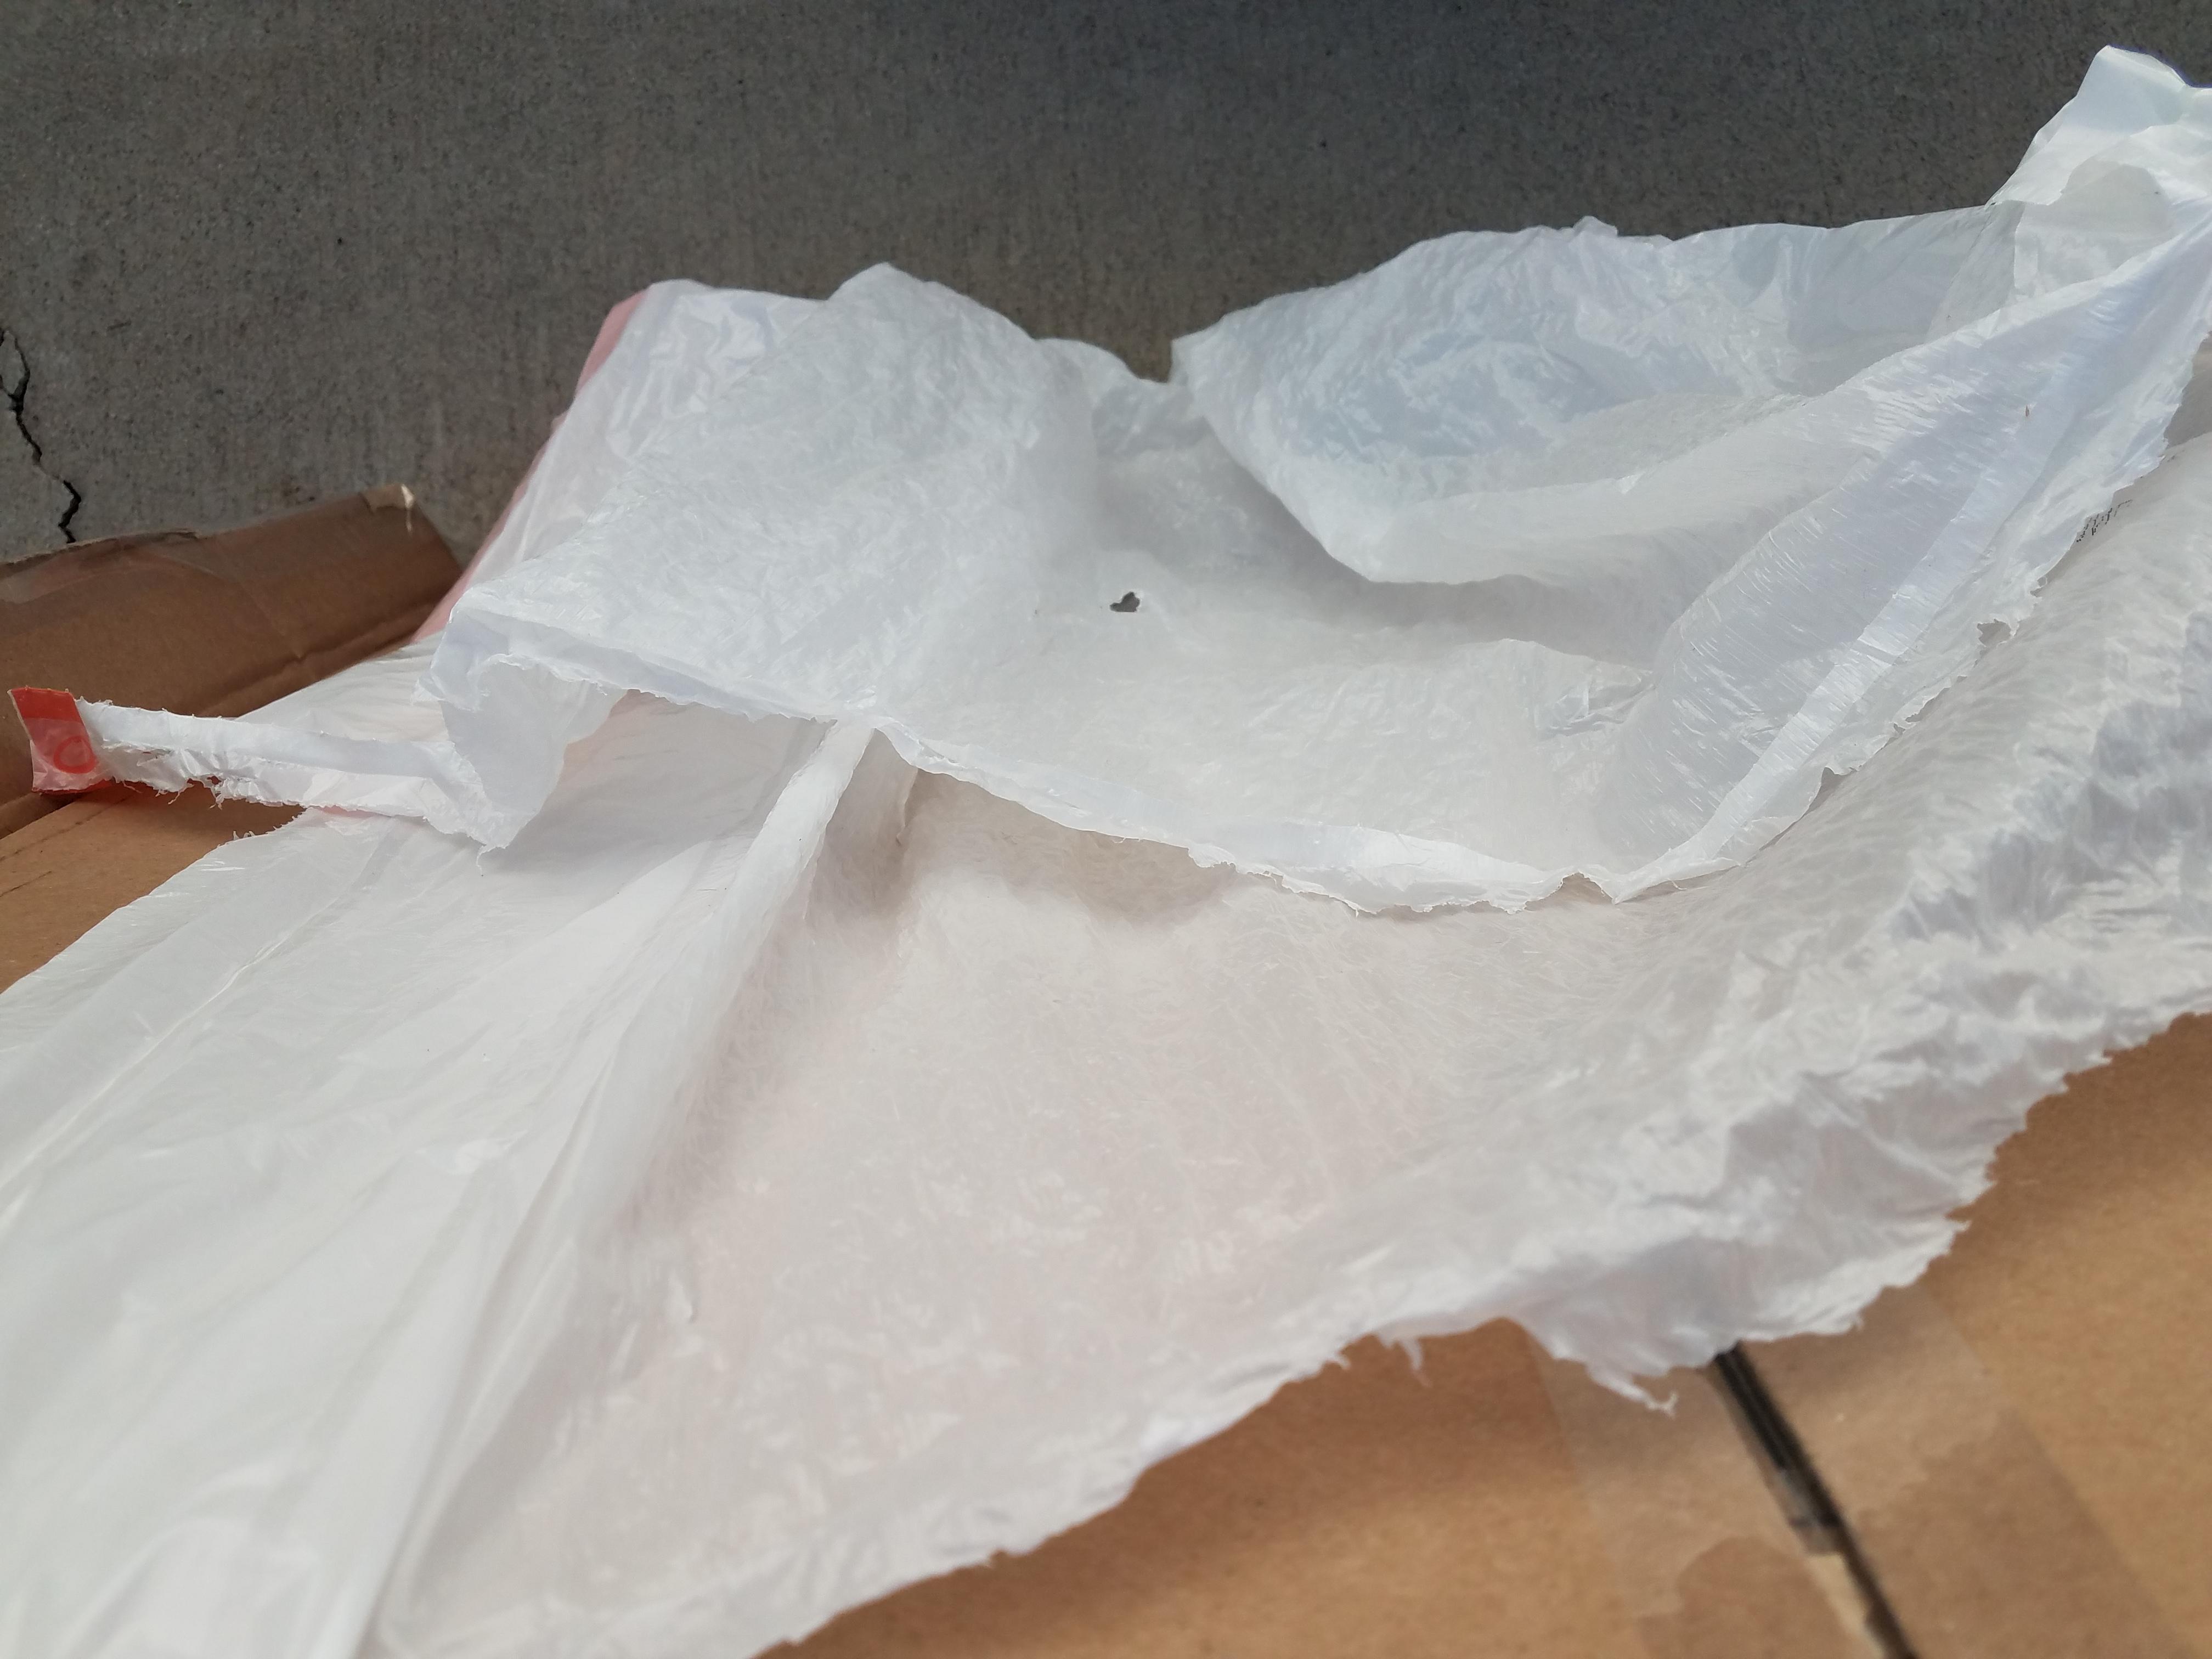
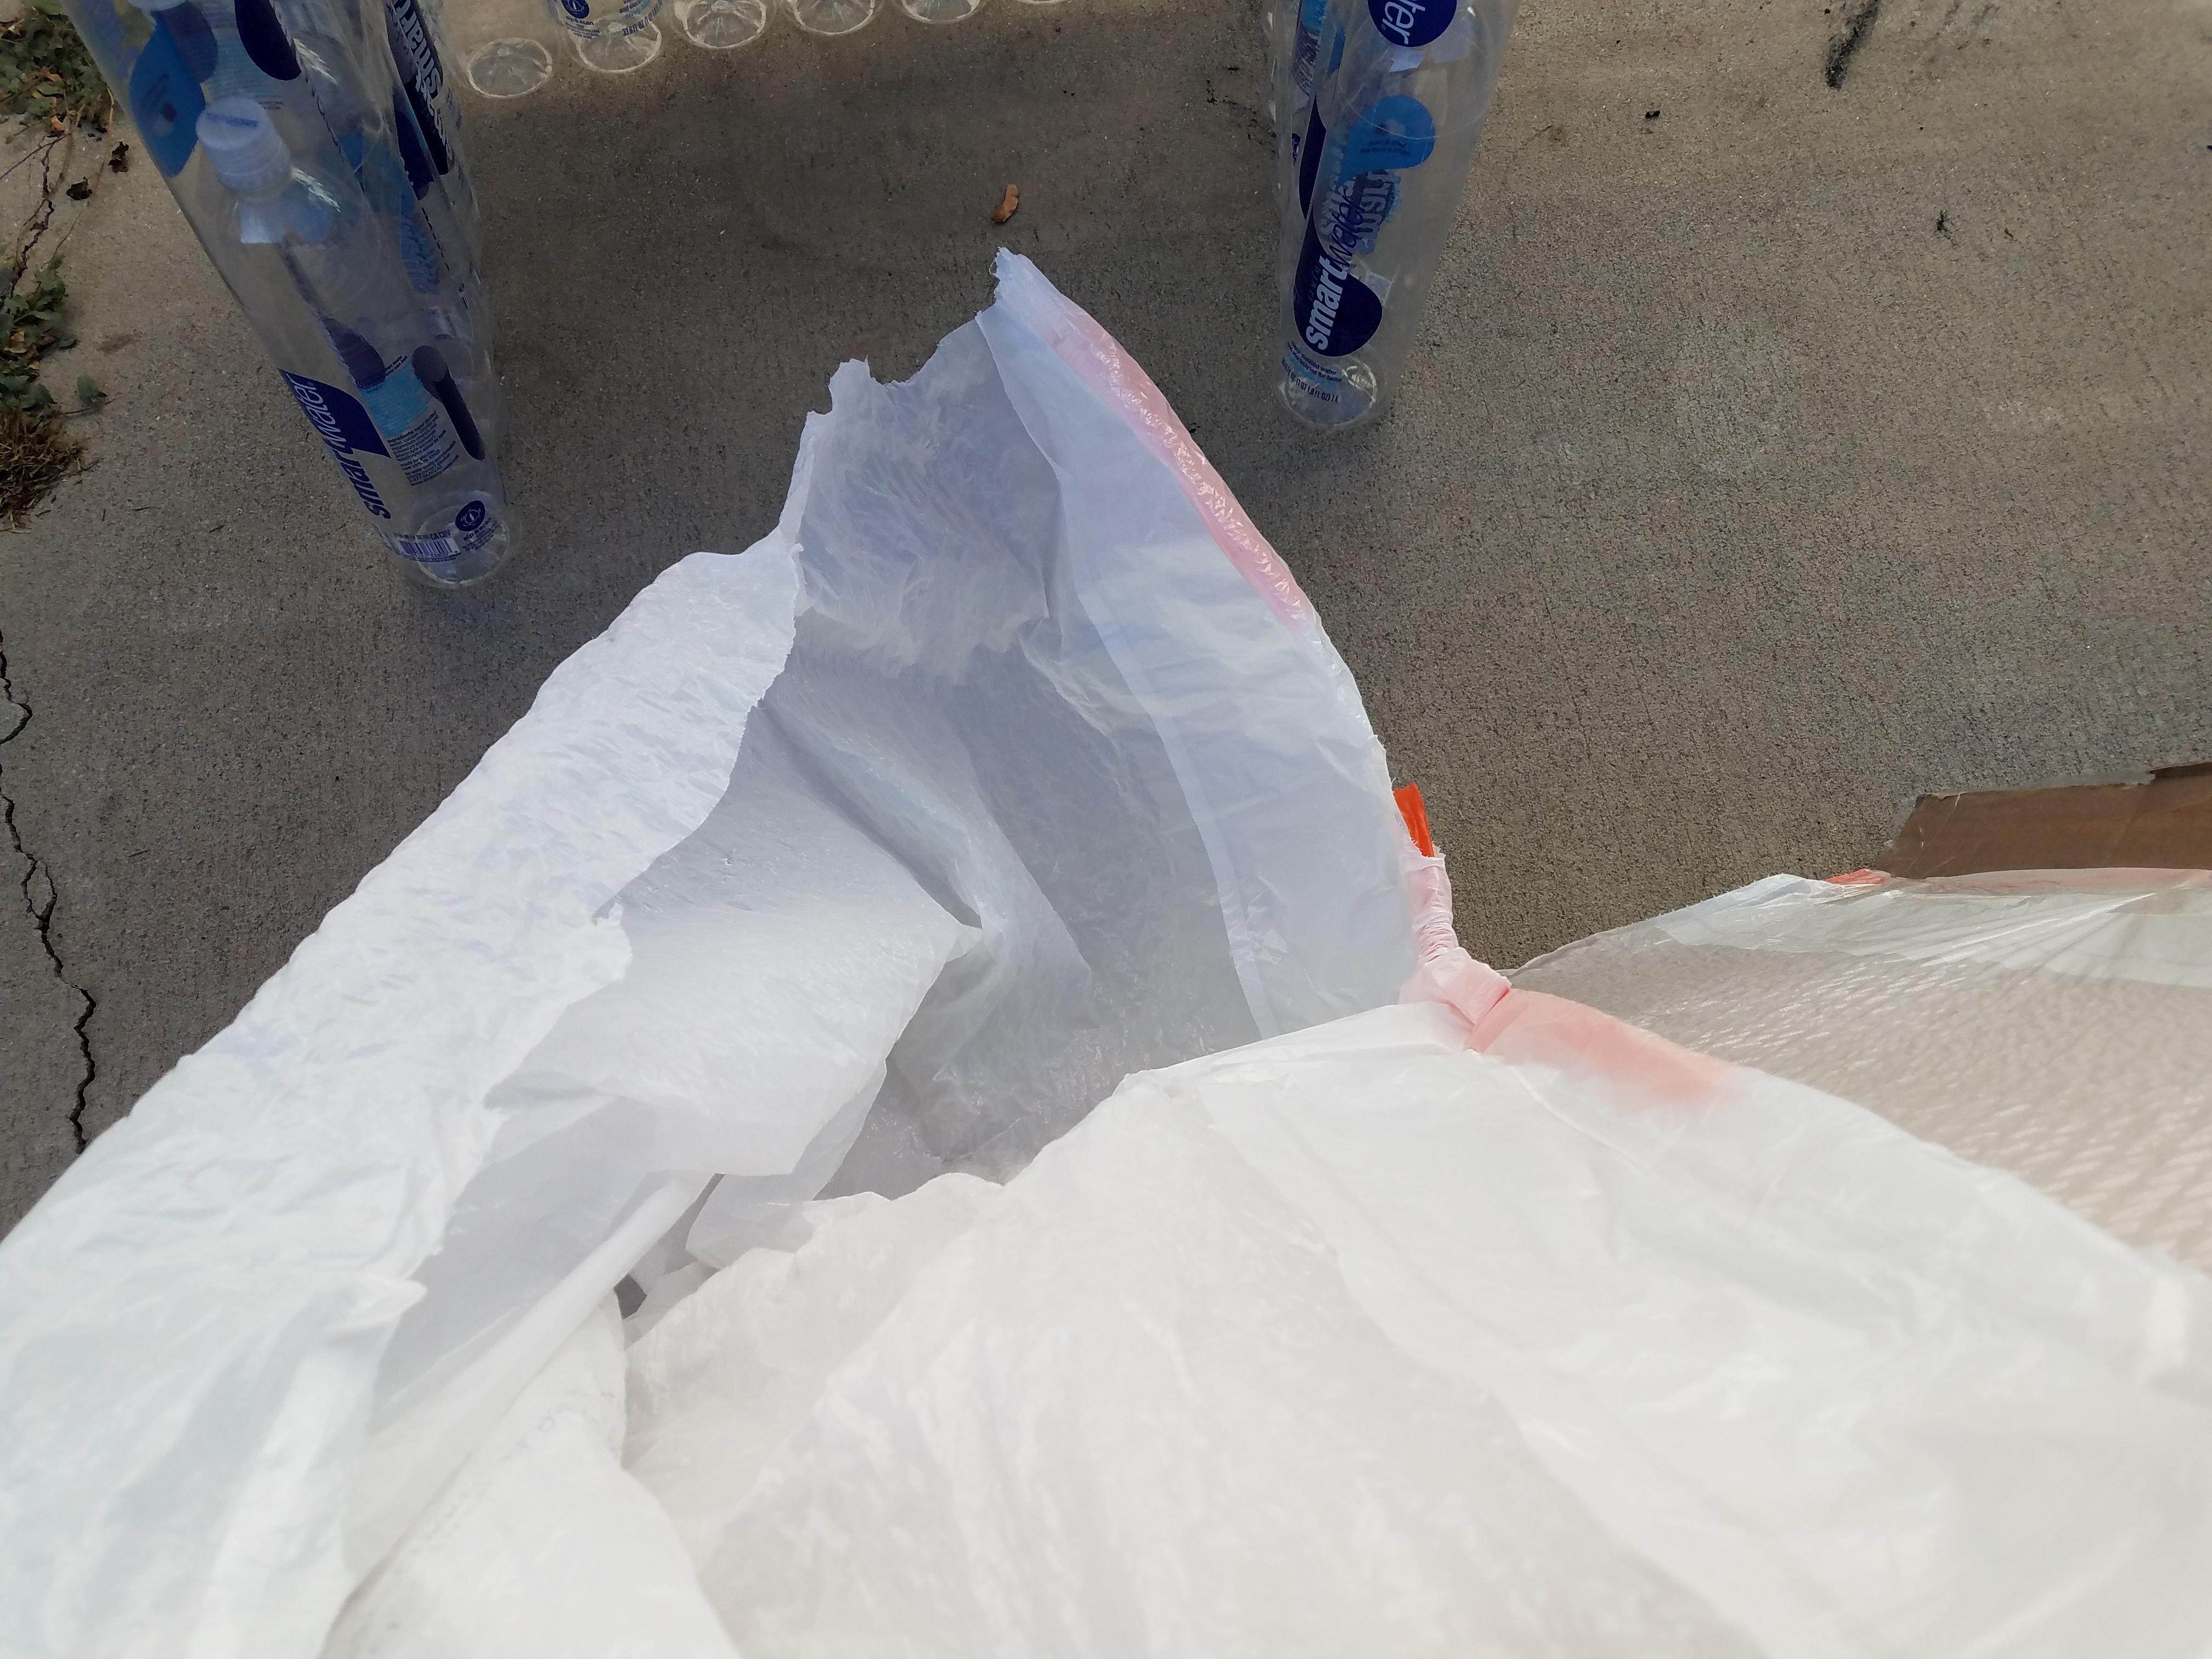
Now find a pet food bag that has this more plastic look and cut it in half. This is needed to check out the insides of it and give us two bags.
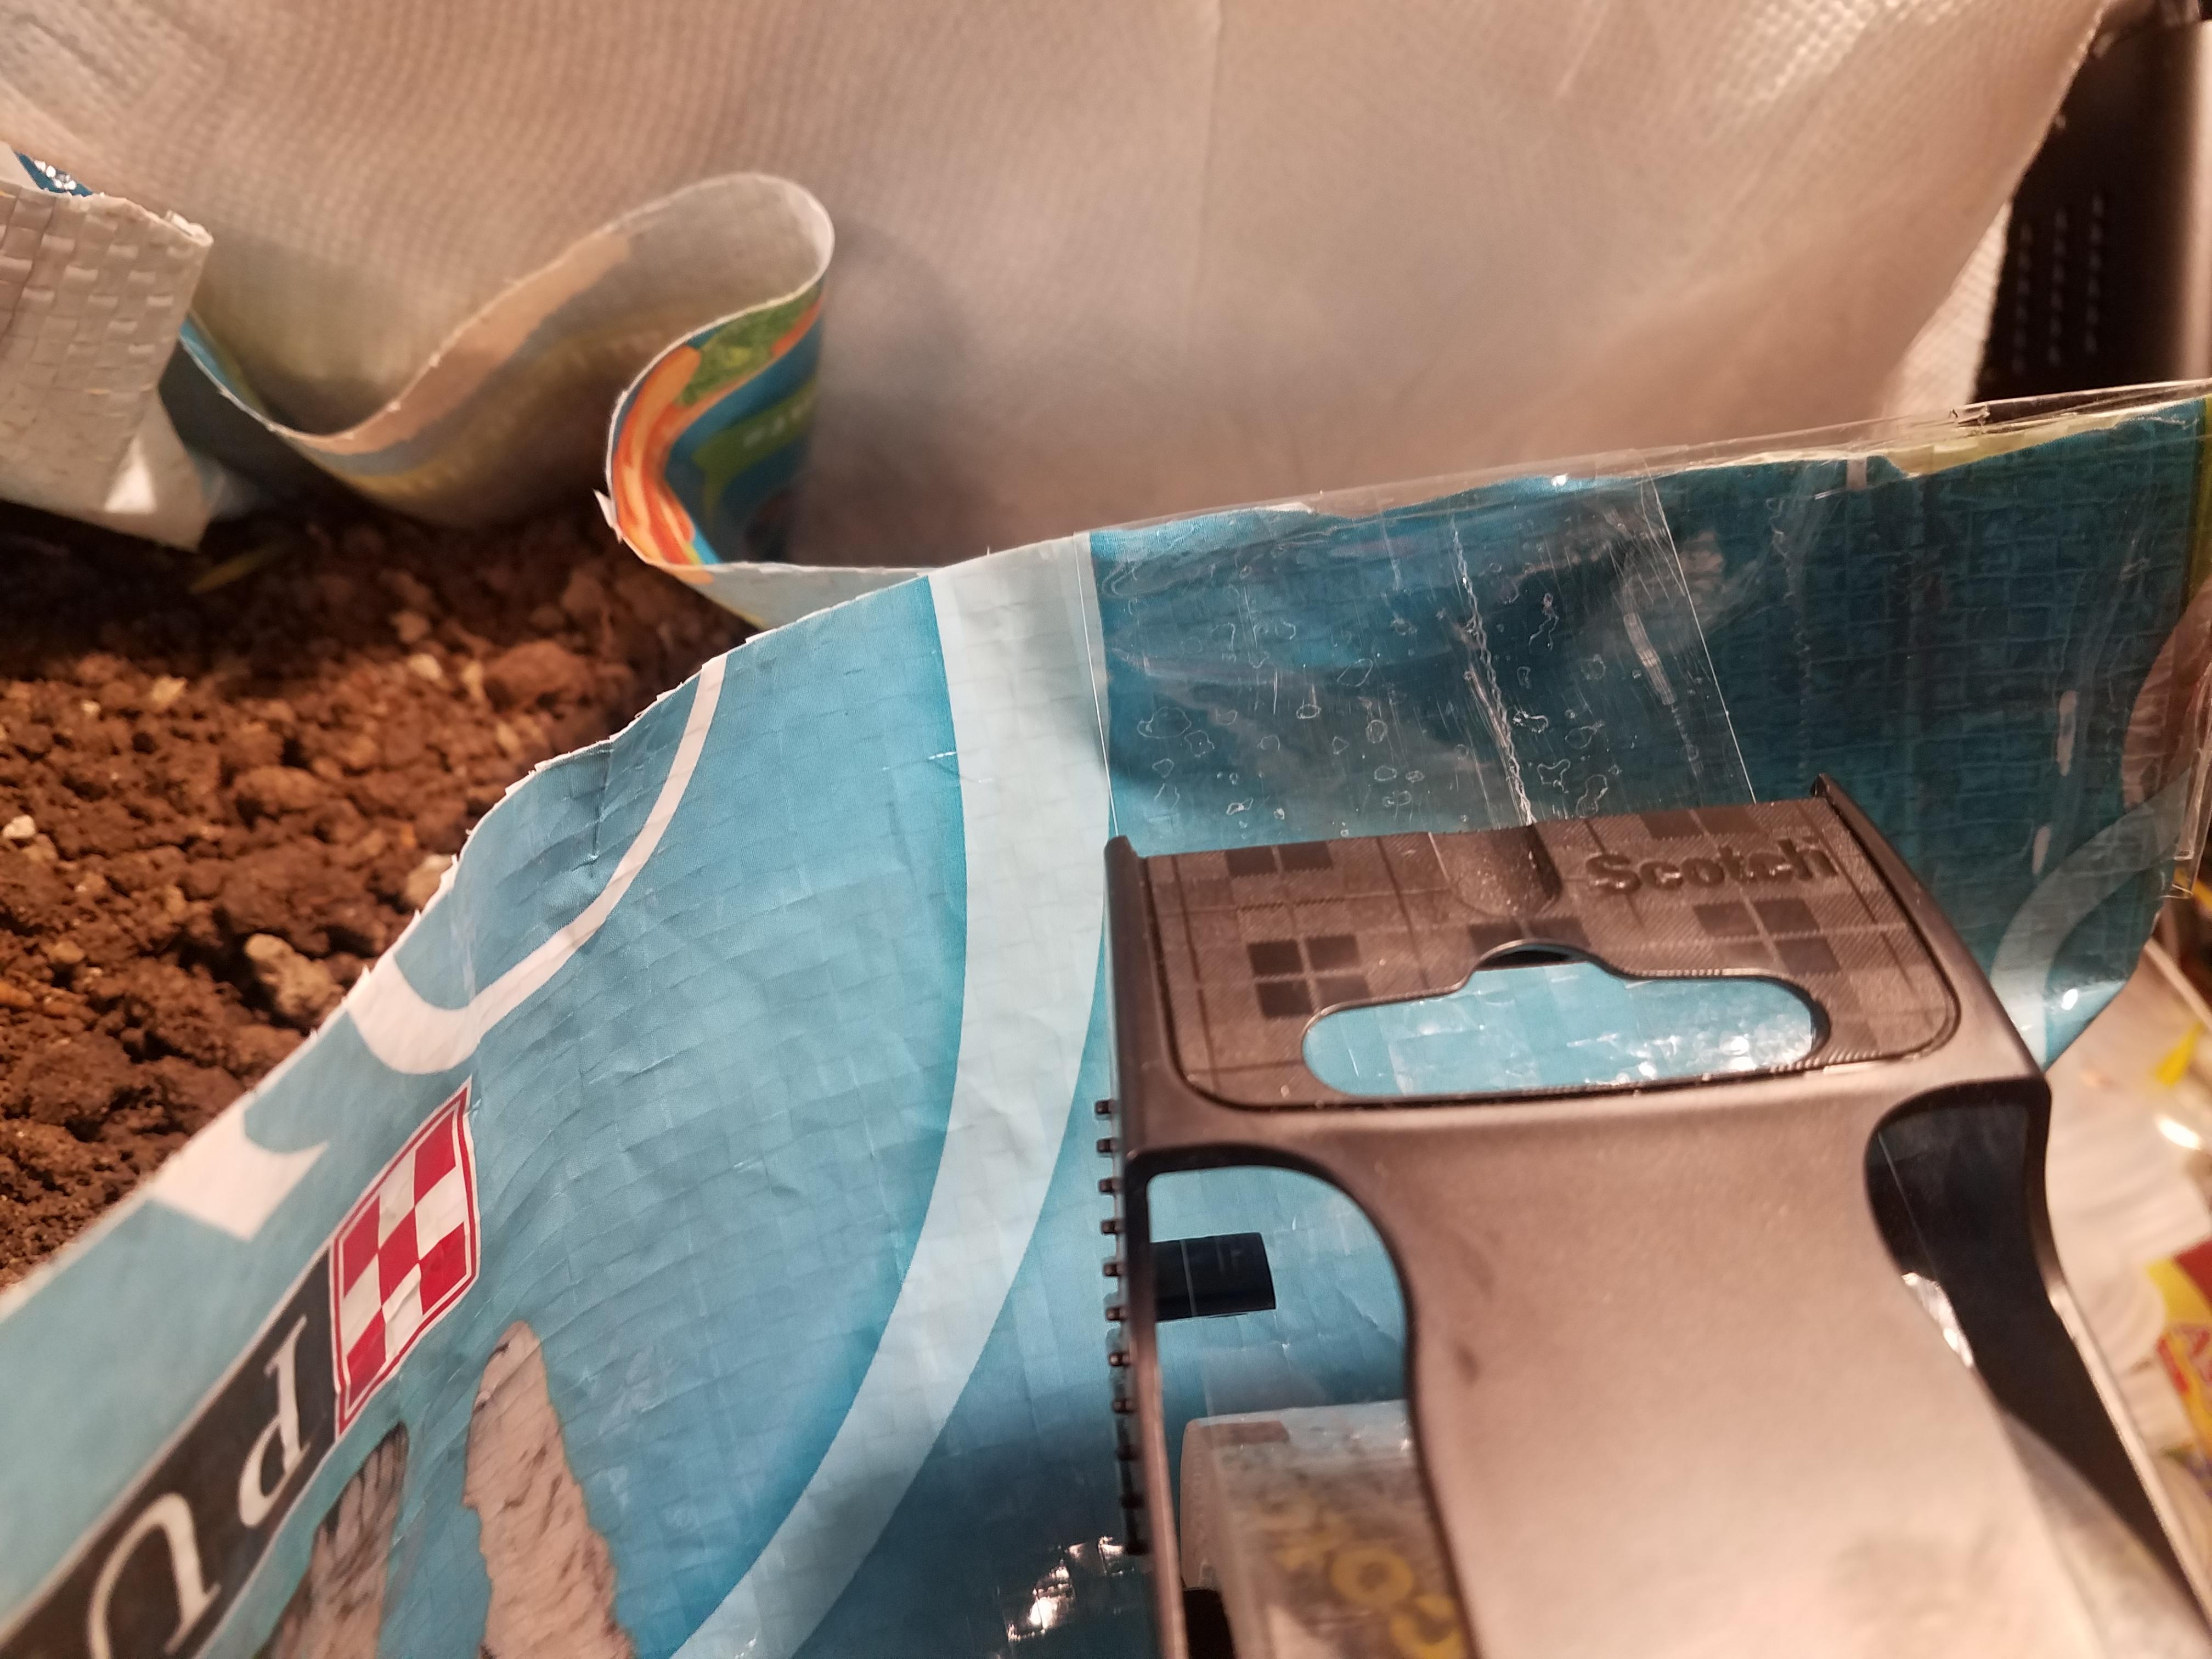
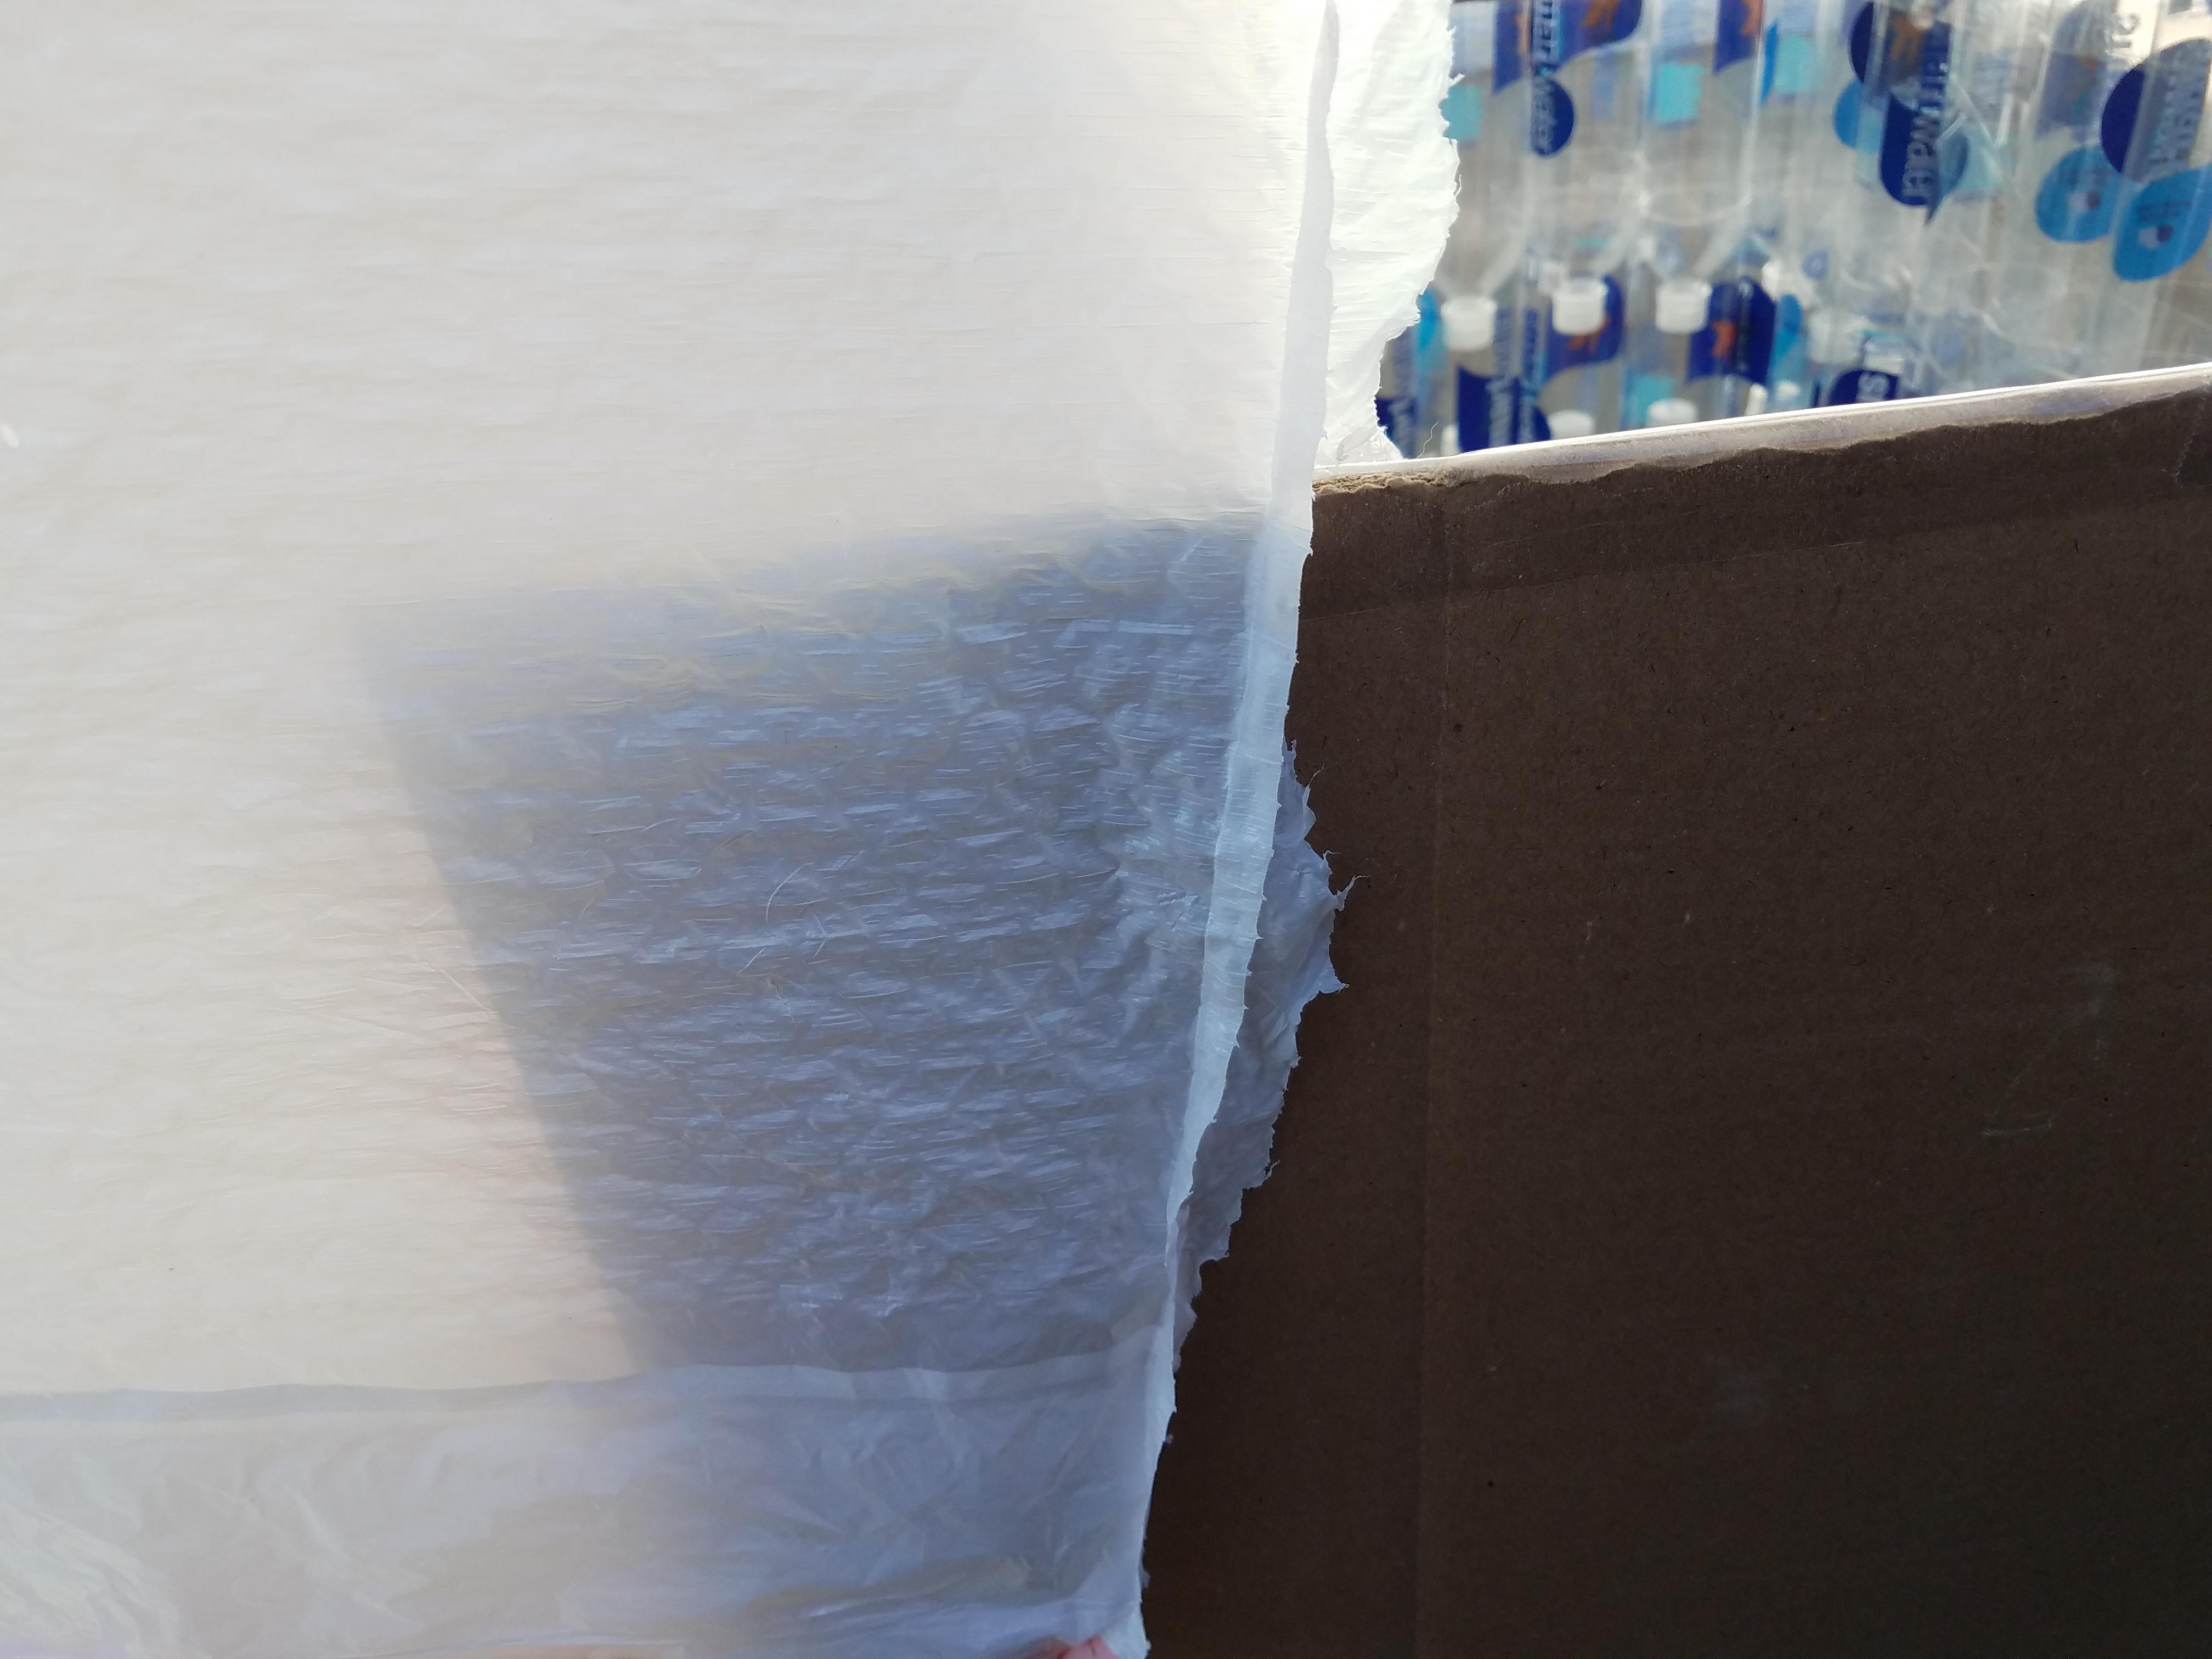
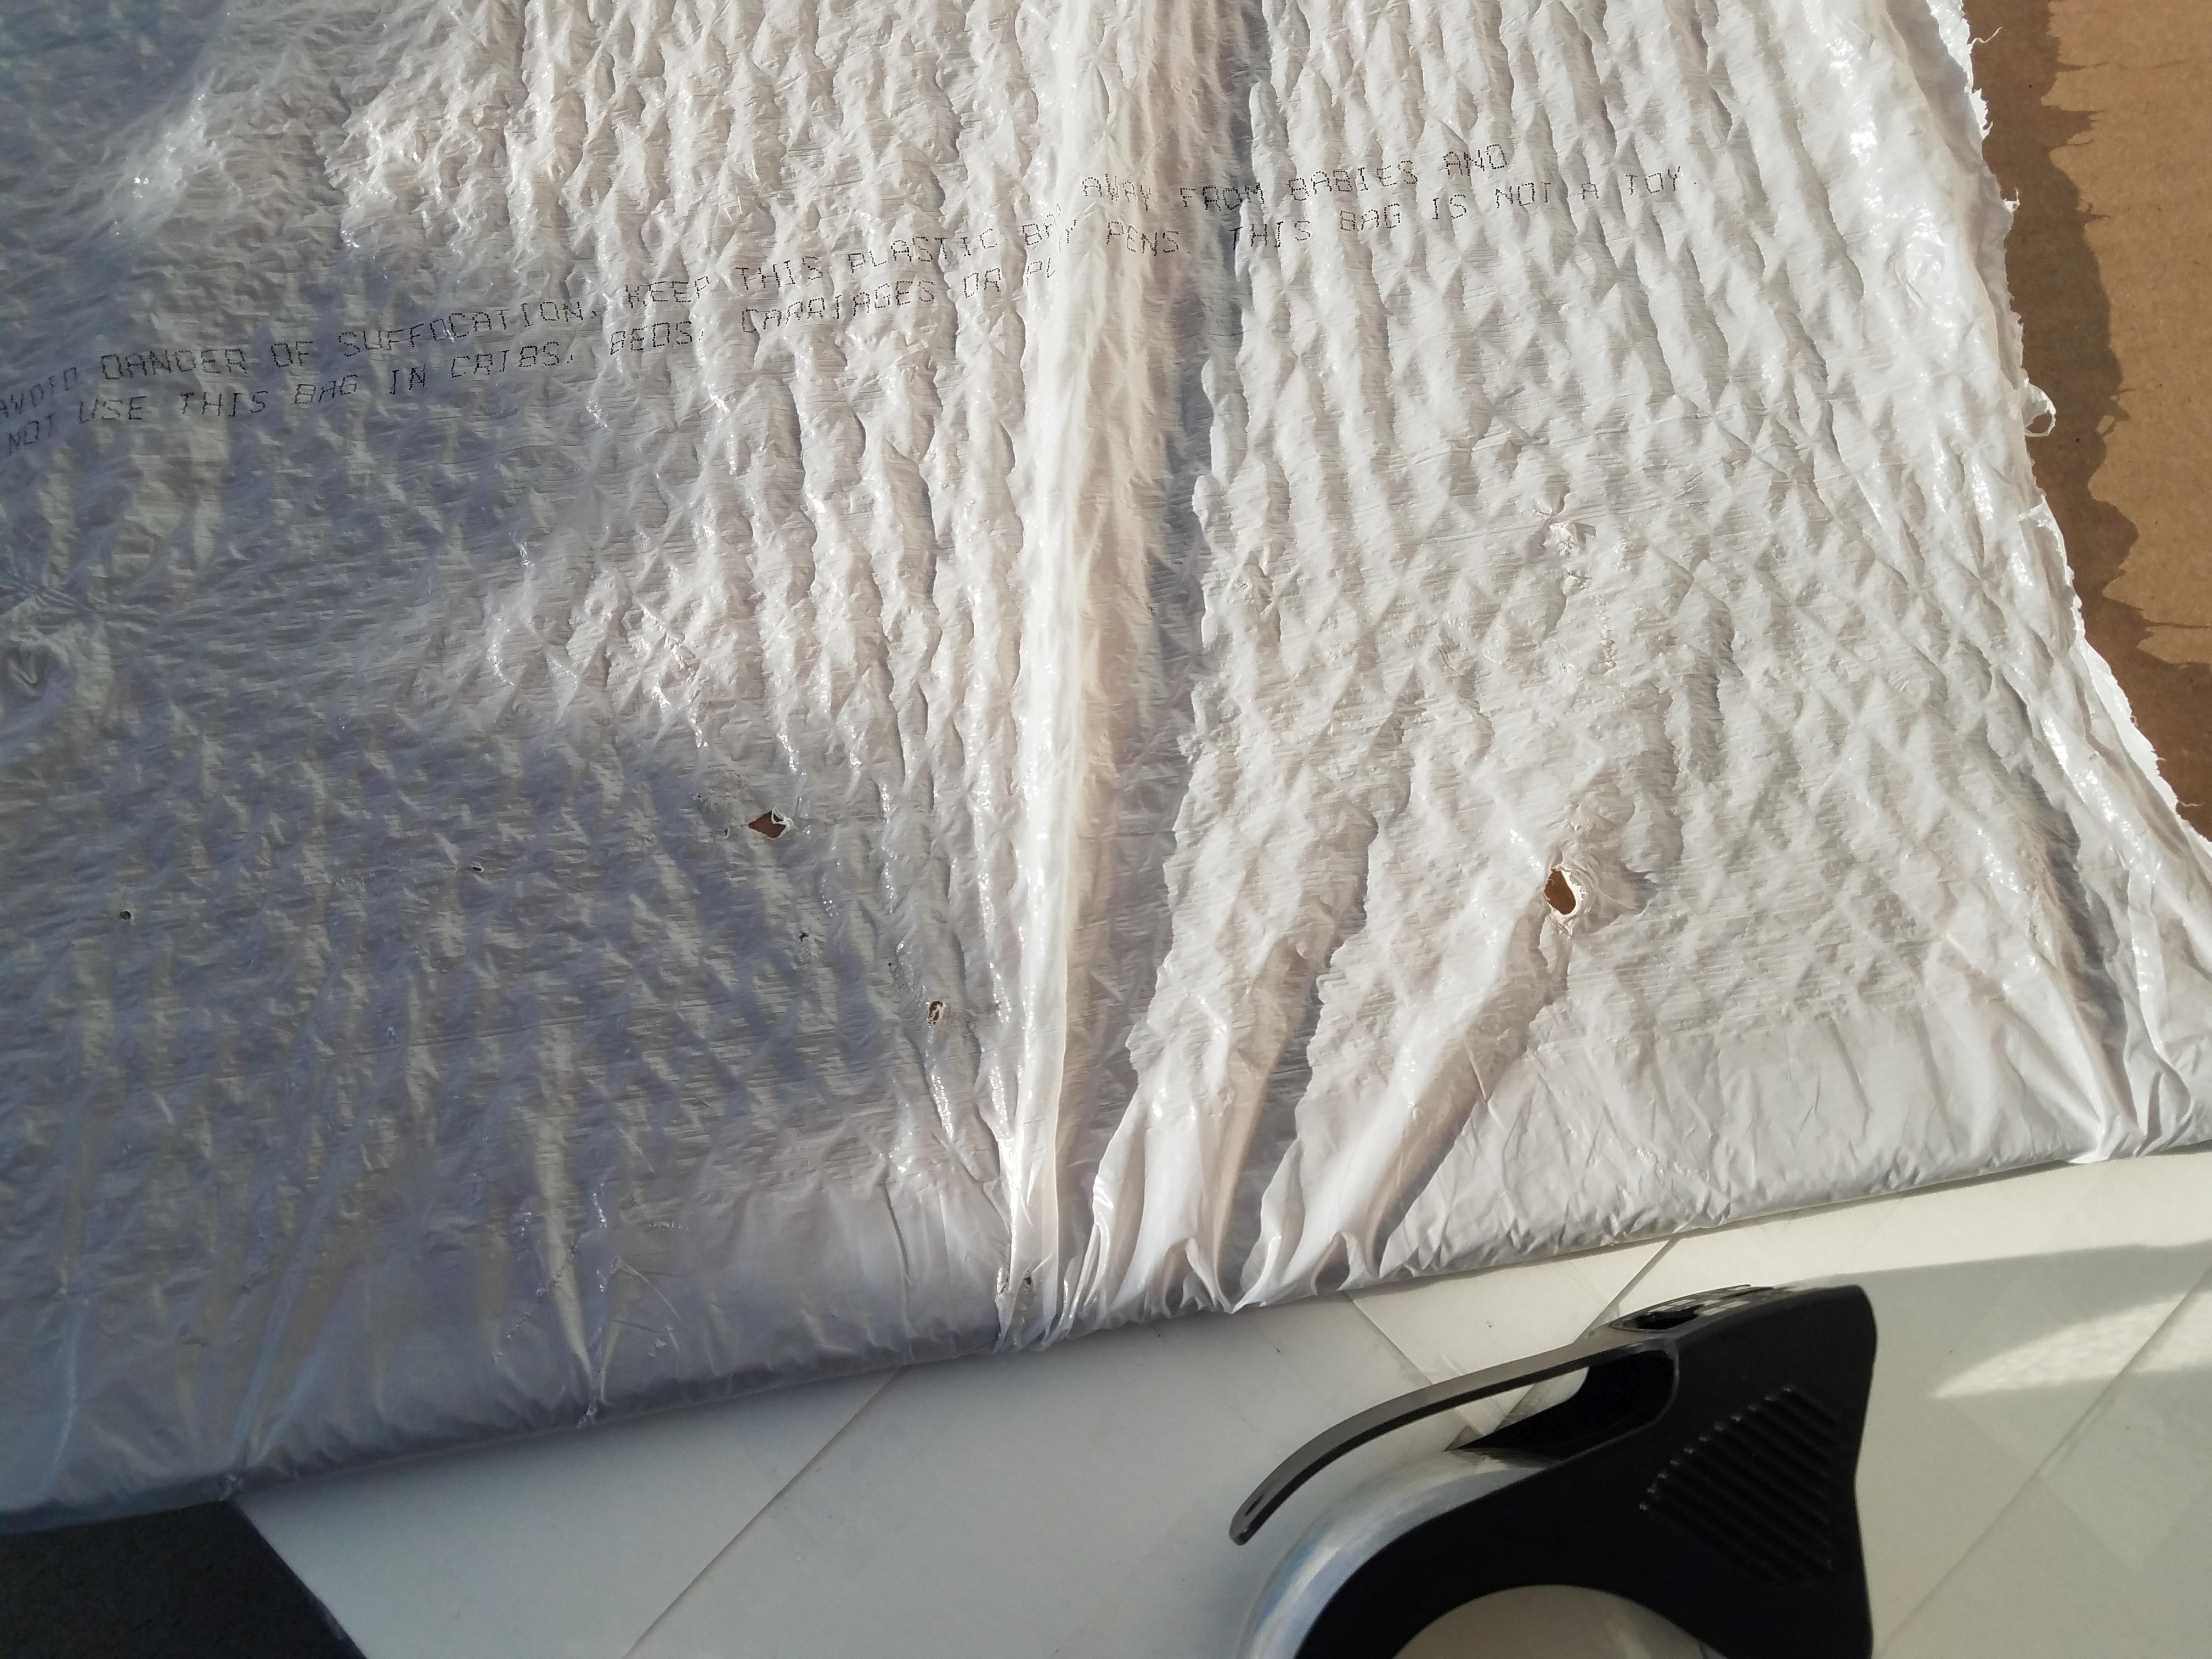
Check the Pet Food Bag for a Woven Pattern


Now the shed is getting closer to completion but to prevent it from flying away in the first wind storm, since the water bottles and roof are quite light, we will need to create some sand bags. I noticed that many pet food bags, in this case a cat food bag, have the reinforced woven pattern just like sand bags which will be perfect for simple sand bags. Yours will need to be similar to the pictures in that woven pattern if you want it to last longer. This was an empty bag that was cut open on top so be sure to tape where it was opened so it can hold dirt.
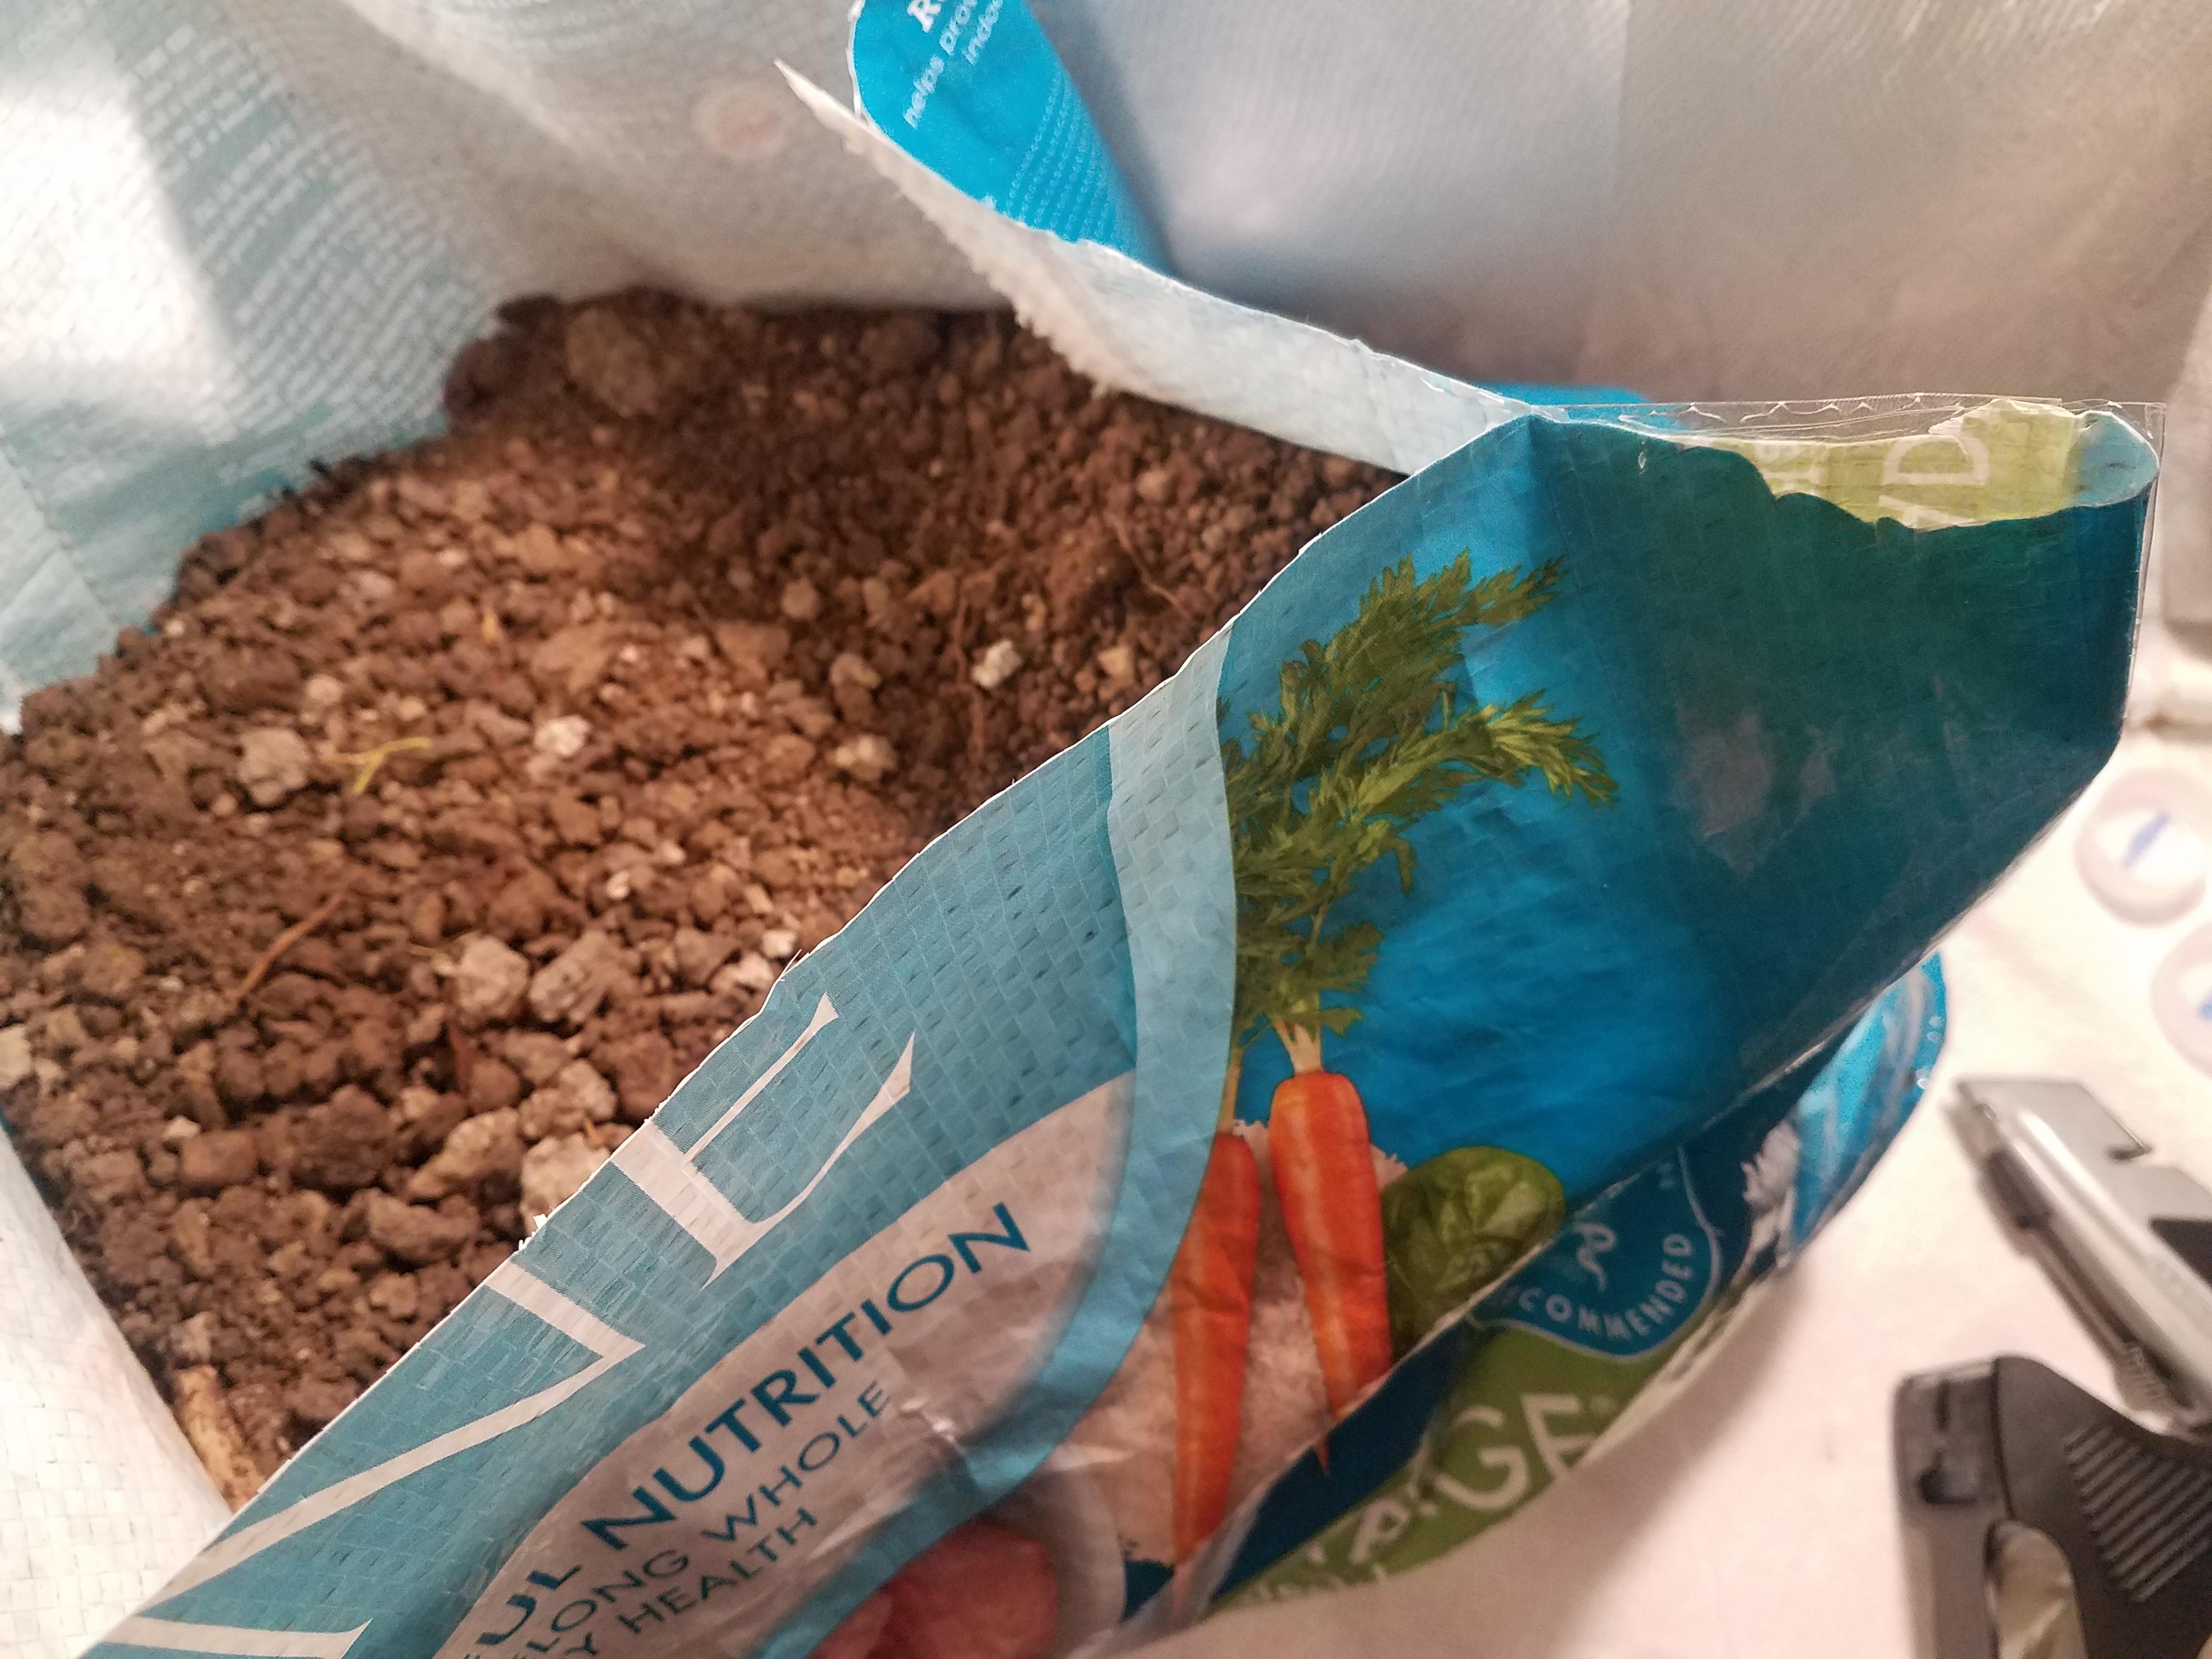
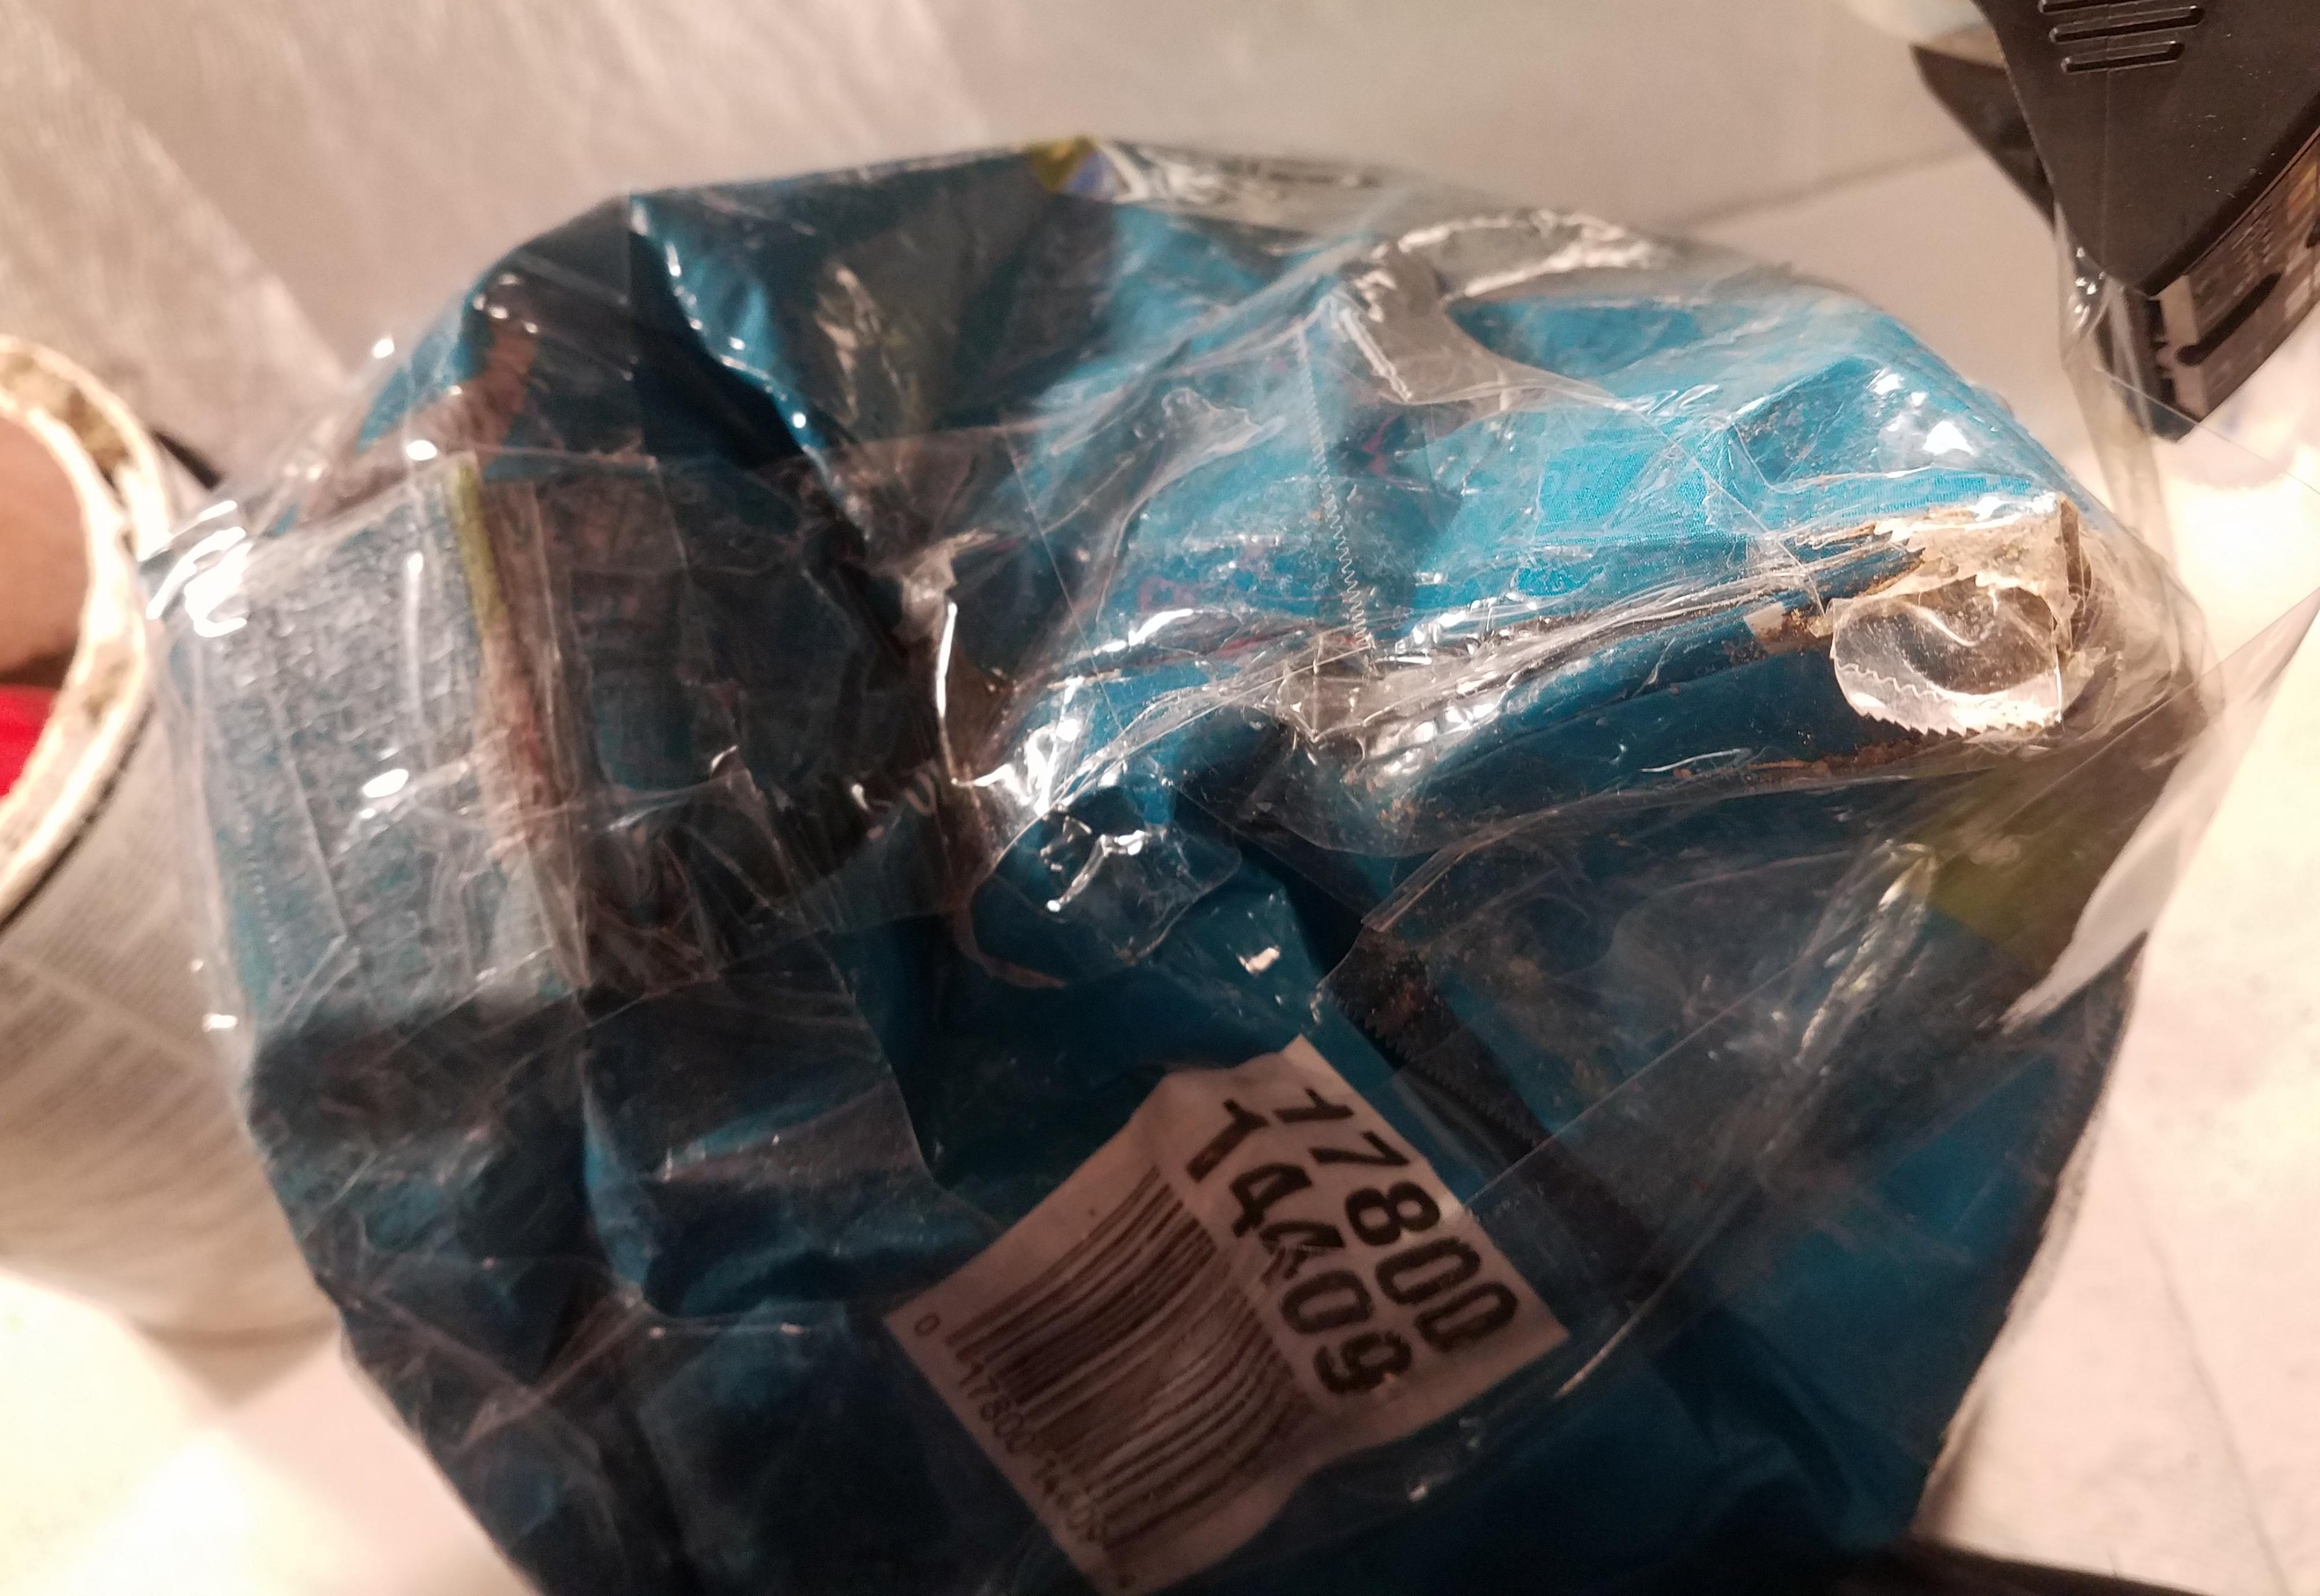
Fill Both Pet Food Bag Halves With Dirt
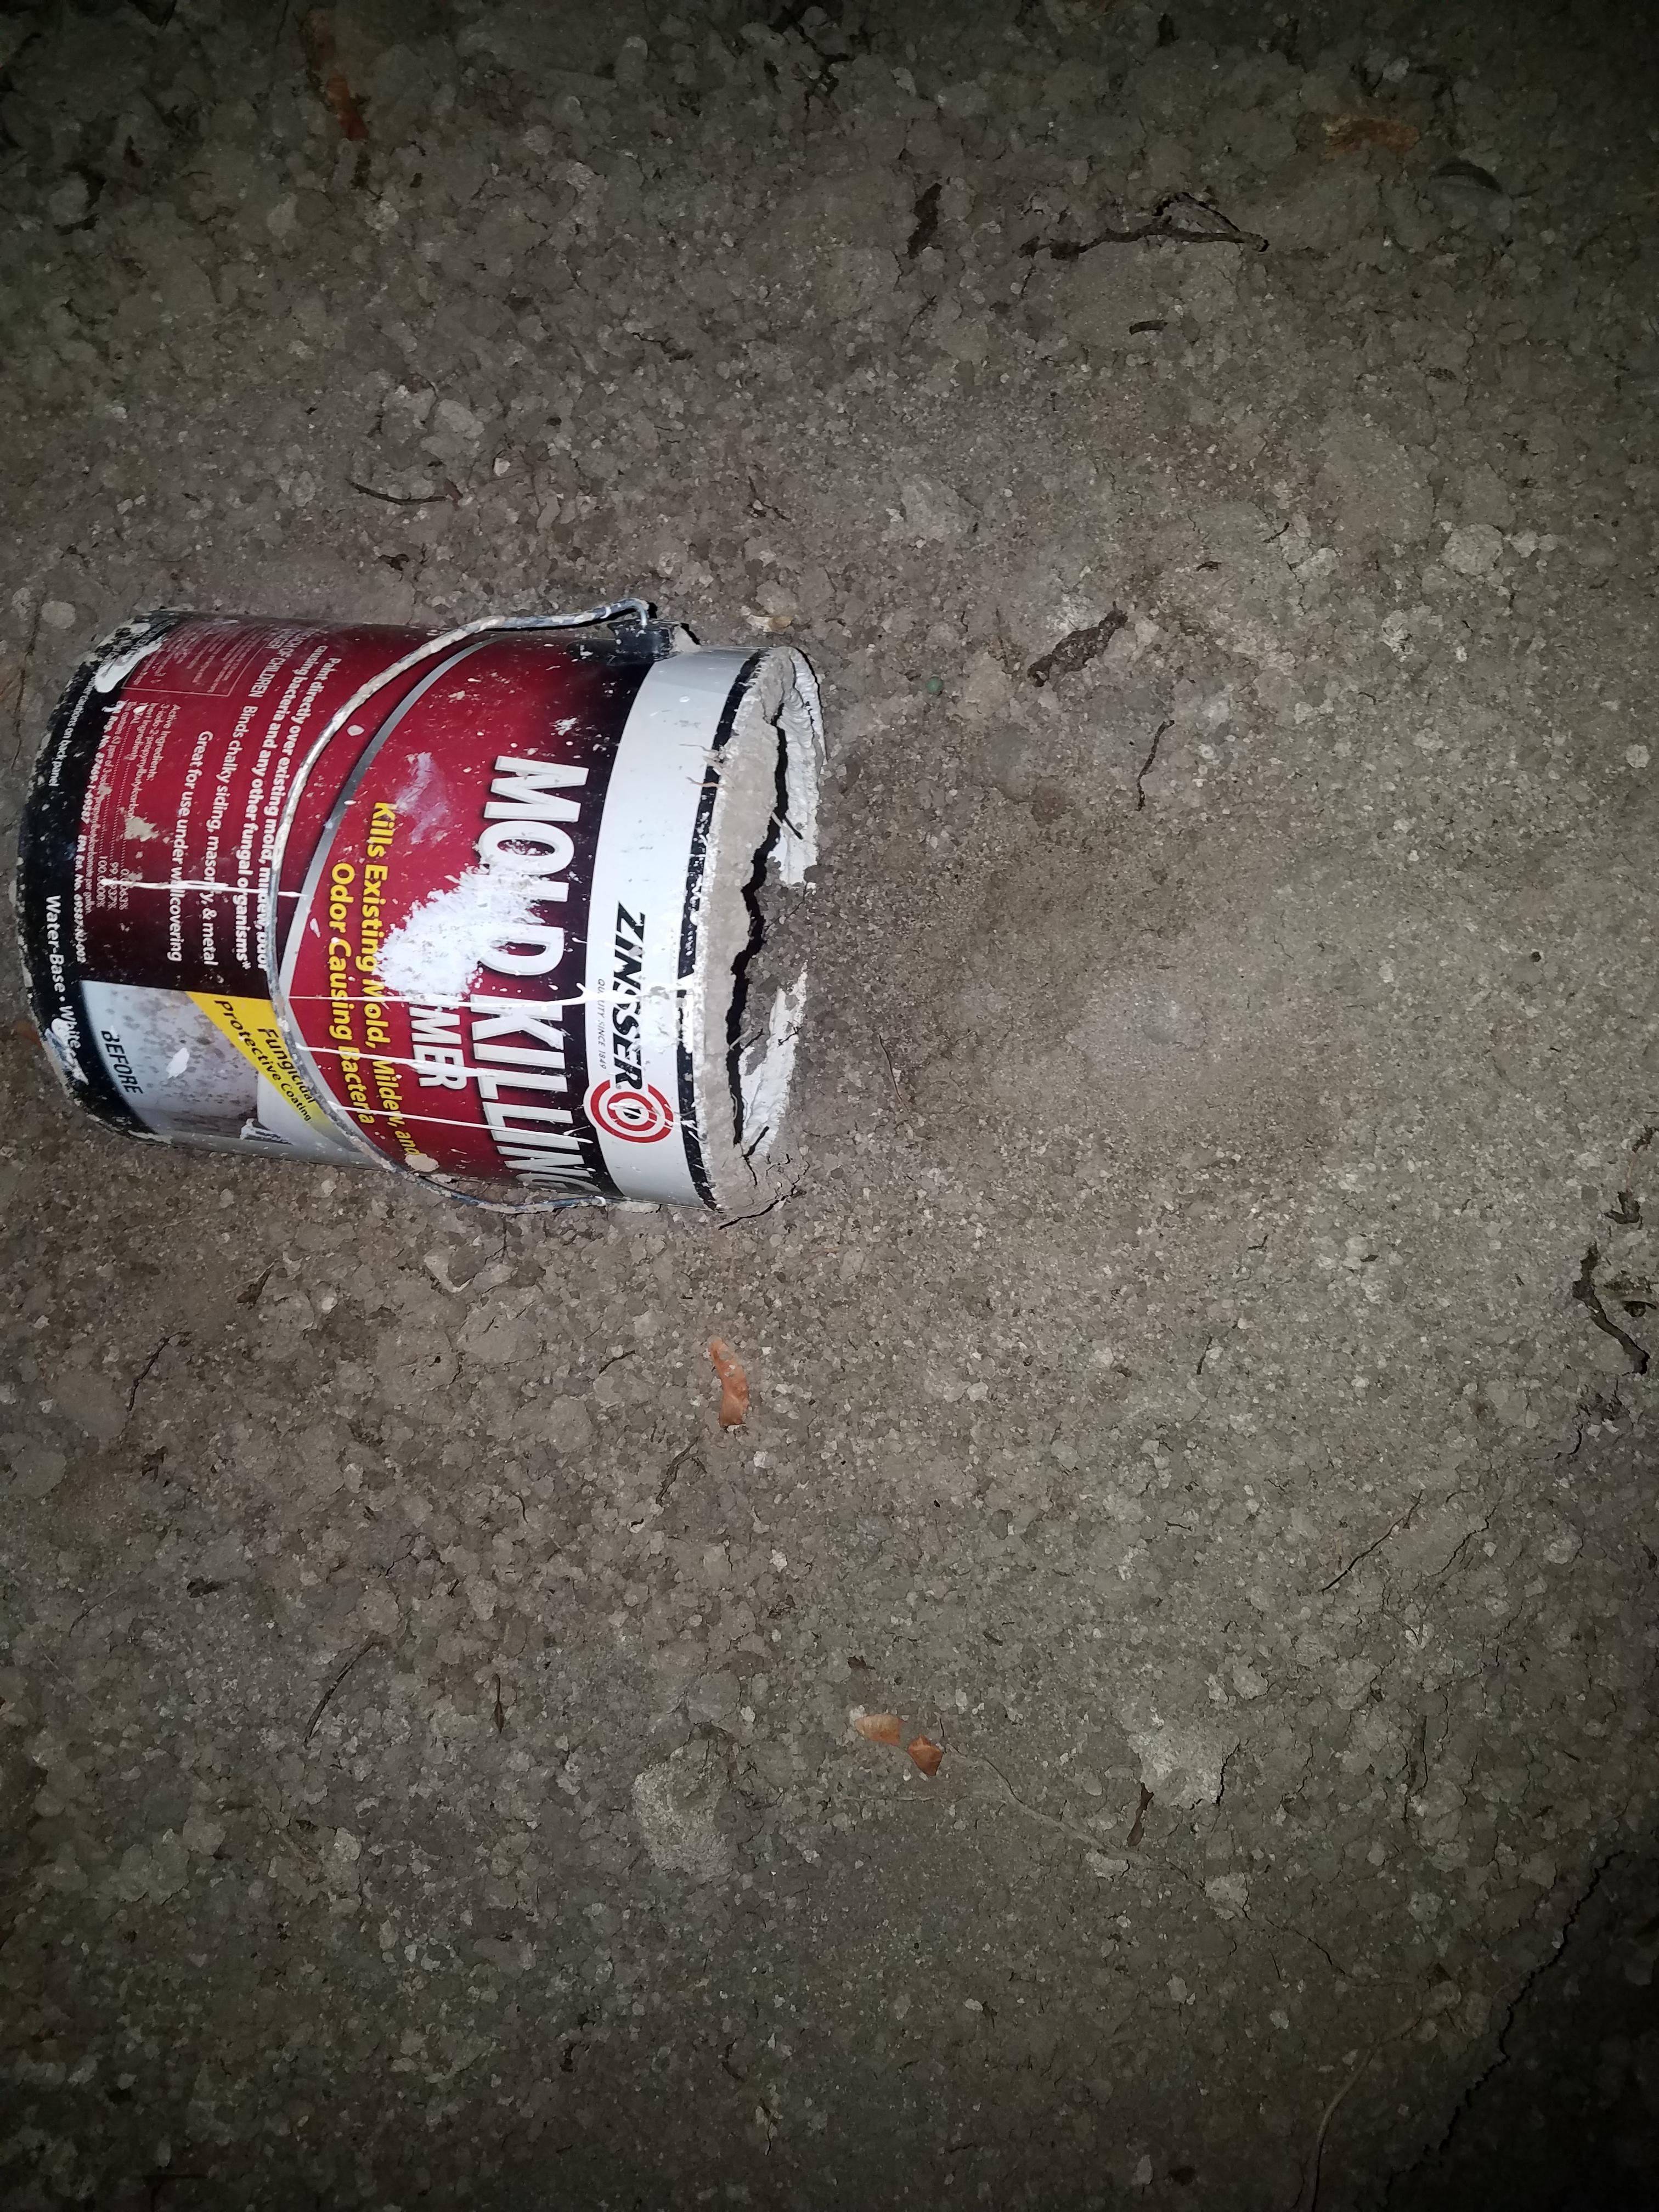


Find something like an old paint bucket or cup and use it as a shovel or scoop to fill the bags with dirt. Don't over fill them but mostly to the top and then fill the bucket one more time with dirt and take it to where you can tape them closed. If you are building a large shed you could just keep the bag intact and get two pet food bags instead and fill them both with dirt.
Start Taping the Top Closed But Not All the Way


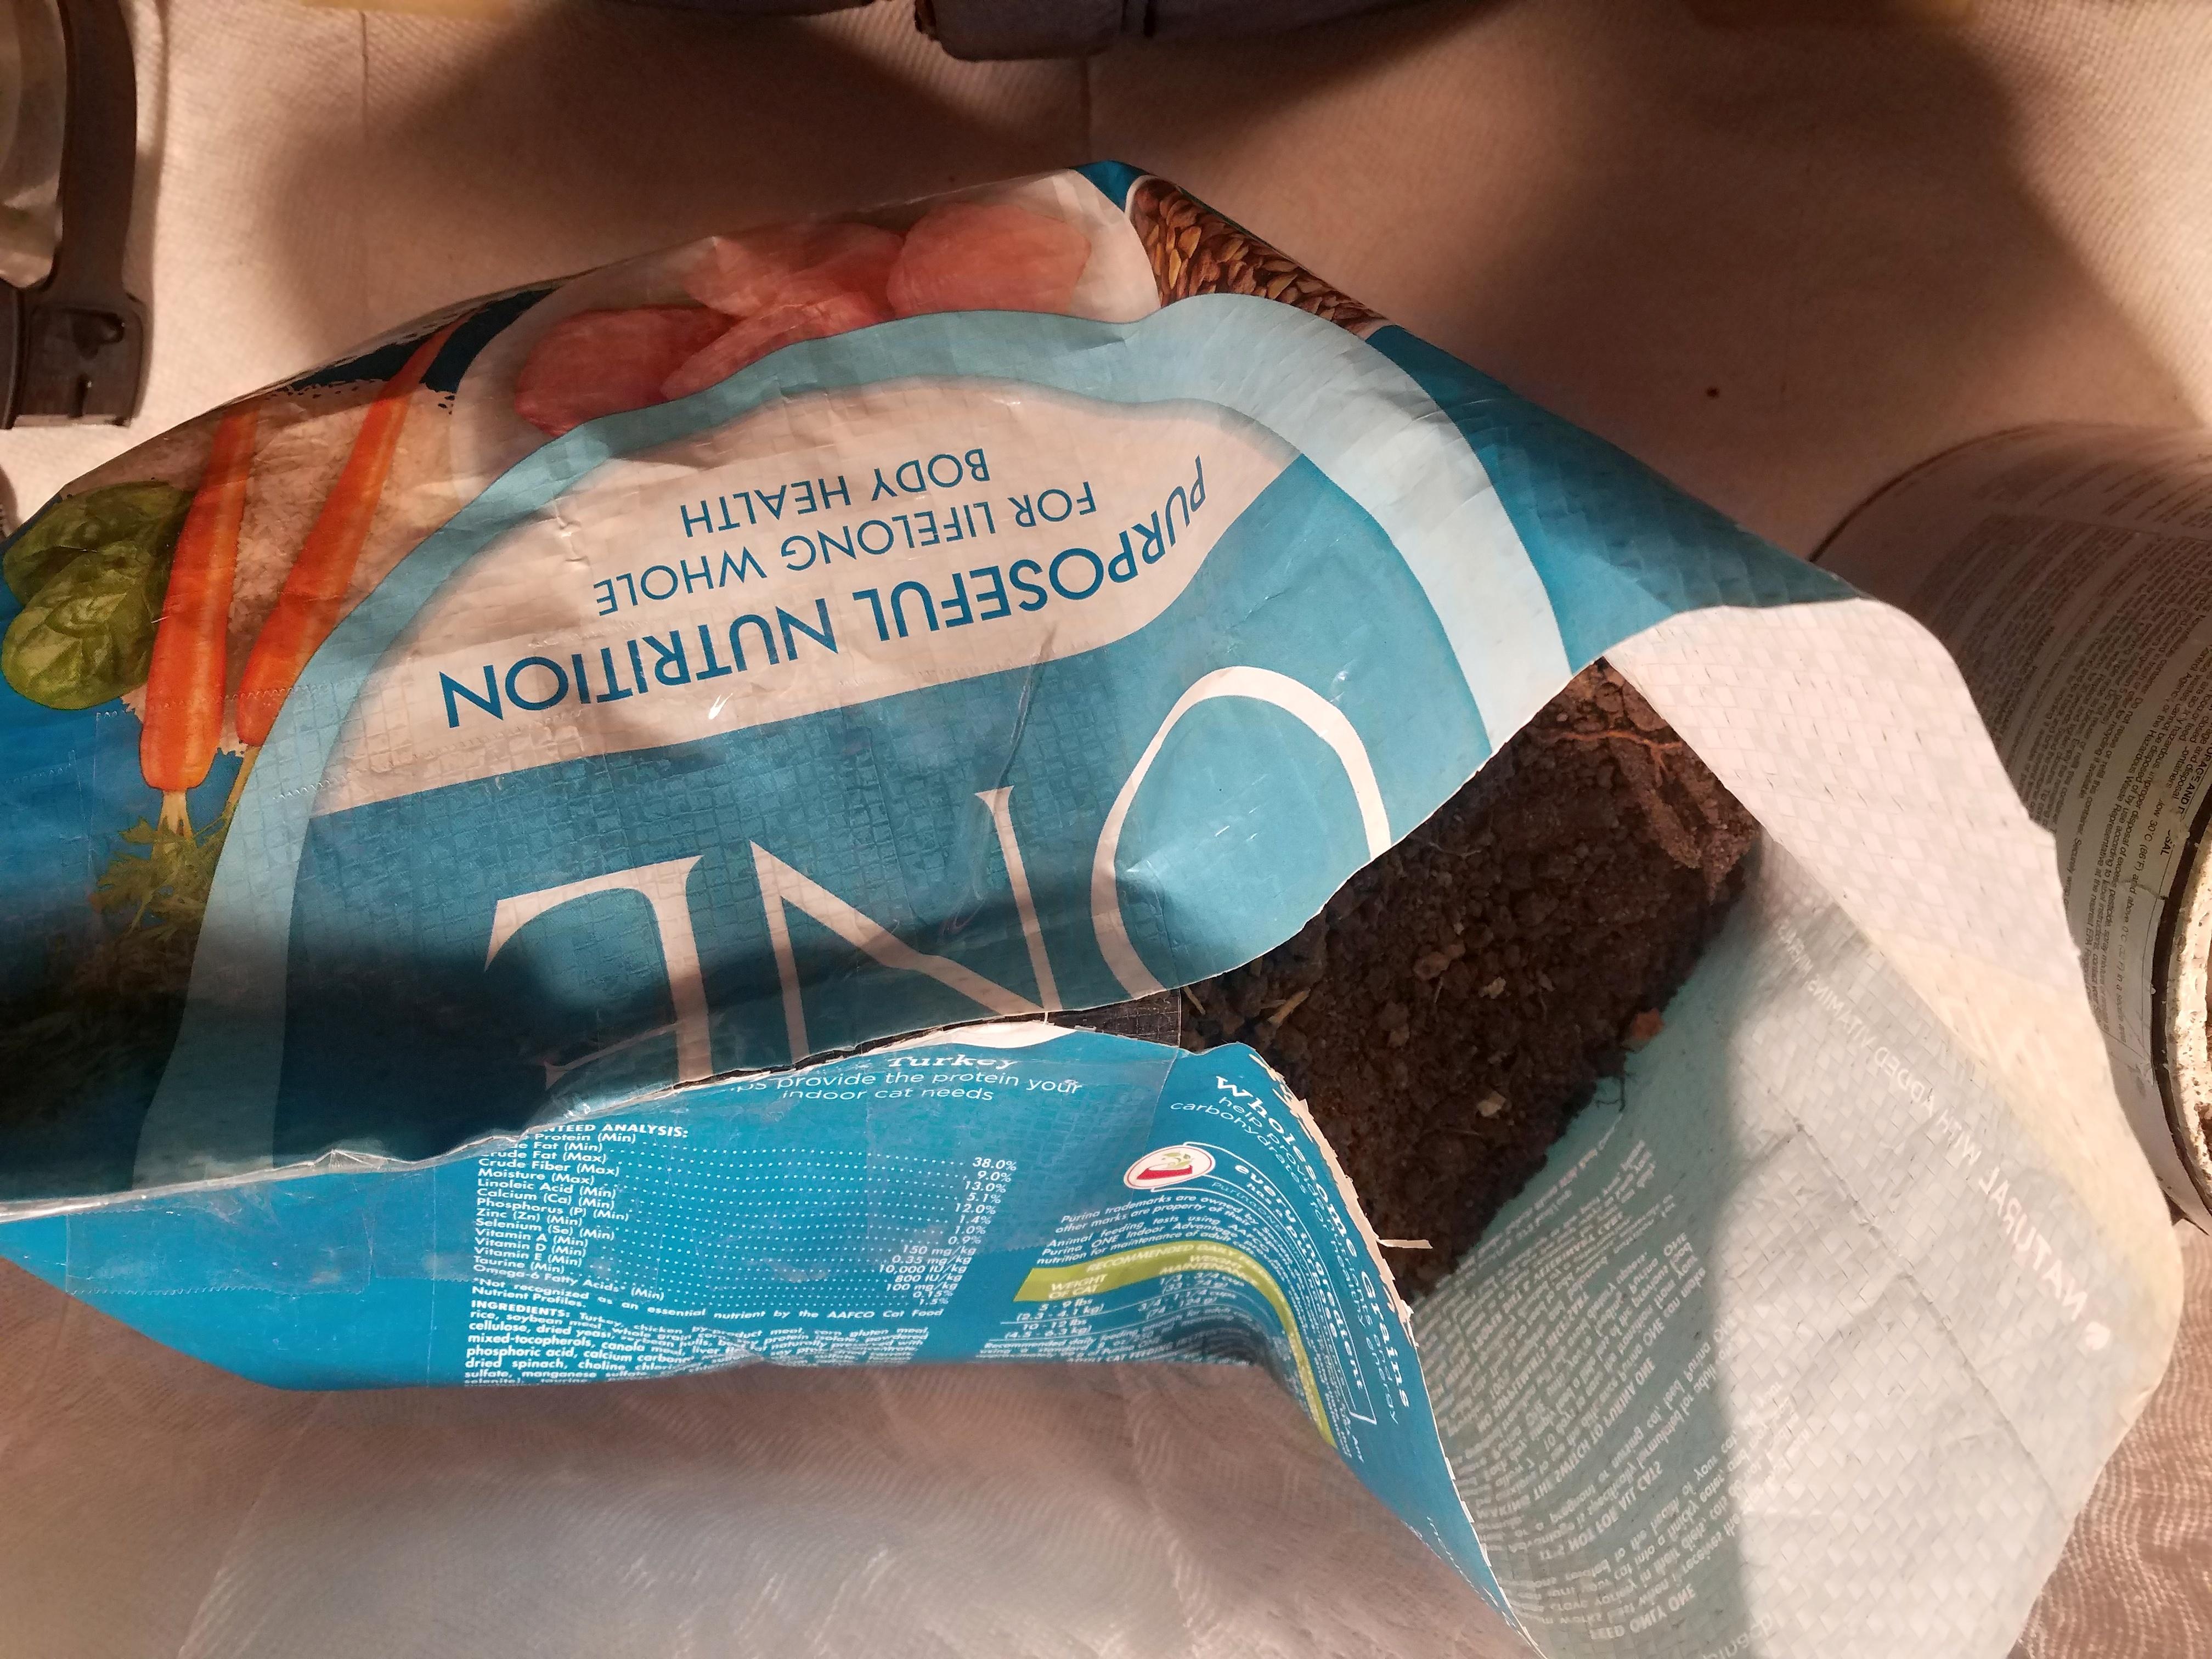
Now start taping the bag closed from one corner till a little past the halfway point of the top.
Add Dirt and Tape the Rest of the Top


.jpg)


If it needs it then add dirt a cup at a time. Then pick up and lean the bag so the added dirt goes to the side already taped then tape the rest closed. You don't want it bulging with dirt or we won't be able to fold down the taped top in the next step. So mostly full but not completely.
Fold Over the Top & Tape It Down


.jpg)


Now take the top part you taped and fold it over and apply 3 strips of tape to make sure it stays folded over, and do the same thing on the top that overhangs the sides. This will give it more of a sand bag shape and stop the dirt from coming out.
Tape the Top of the Second Half


The second half I determined had just the right amount of dirt so I just taped it all the way across the top. I tried to get more pictures of this showing each strip as I went and left the tape dispenser hanging so you can hopefully see the strip or at least placement of it. It is easiest to pinch the bag top with one hand then place the tape with the other and press it down firmly.
Fold Over the Top & Tape It Down


.jpg)


.jpg)


Now take the top part you taped and fold it over and apply 3 strips of tape to make sure it stays folded over, and do the same thing on the top that overhangs the sides. This will give it more of a sand bag shape and stop the dirt from coming out. I tried to get more pictures of this showing each strip as I went and left the tape dispenser hanging so you can hopefully see the strip or at least placement of it.
Add More Tape to the Opened Top & Sides


Since this is the side that was opened on the pet food bag originally I had to add more tape on what is now the bottom to stop dirt from spilling out. I put a few layers on the bottom and a few on the side so its completely enclosed. I also did one layer around the whole sand bag over top and bottom over this area.
You Now Have Two Sand Bags


You should now have two completed sand bags which should be enough to stop the shed from blowing away. You could also tie it off to posts or sticks sunk into the earth quite a bit, tie it to heavy things like rocks, or just make full size pet food bag sand bags one for each side. If its going in a grass or dirt location you could use tent stakes as well. If you make a bigger shed full size pet food bag sand bags would be better.
Find Scrap Wire & Cut Off End


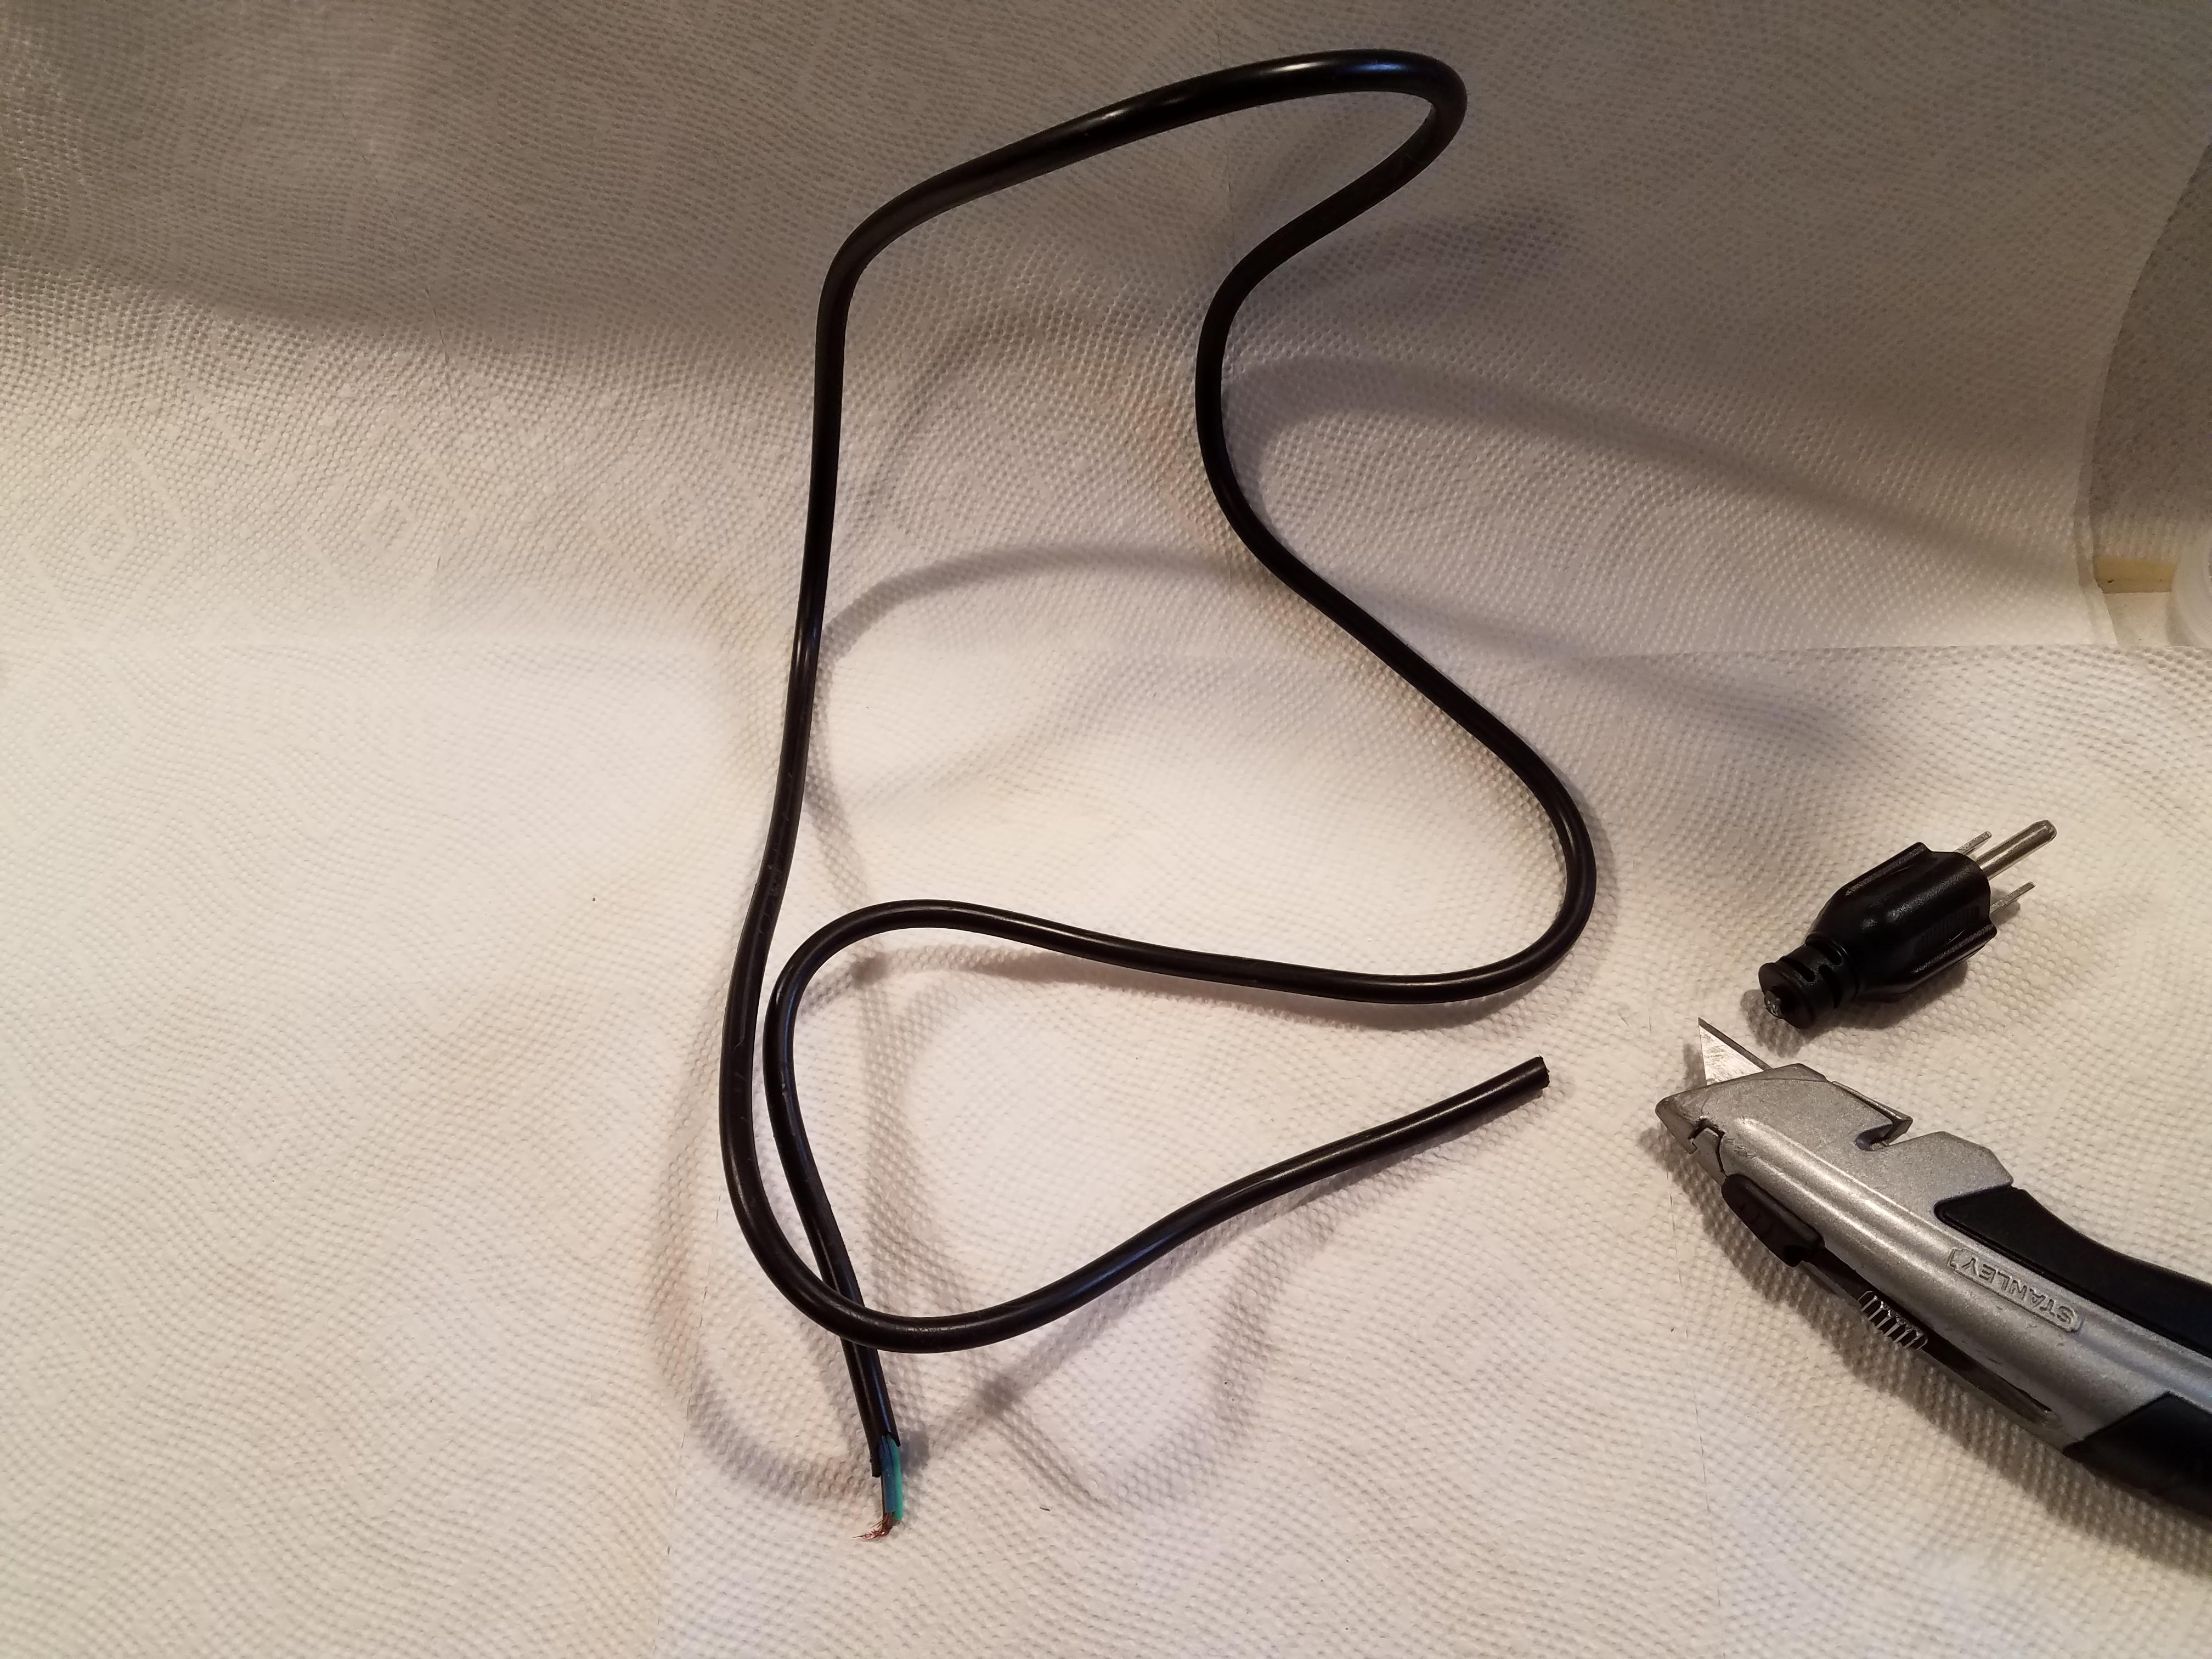
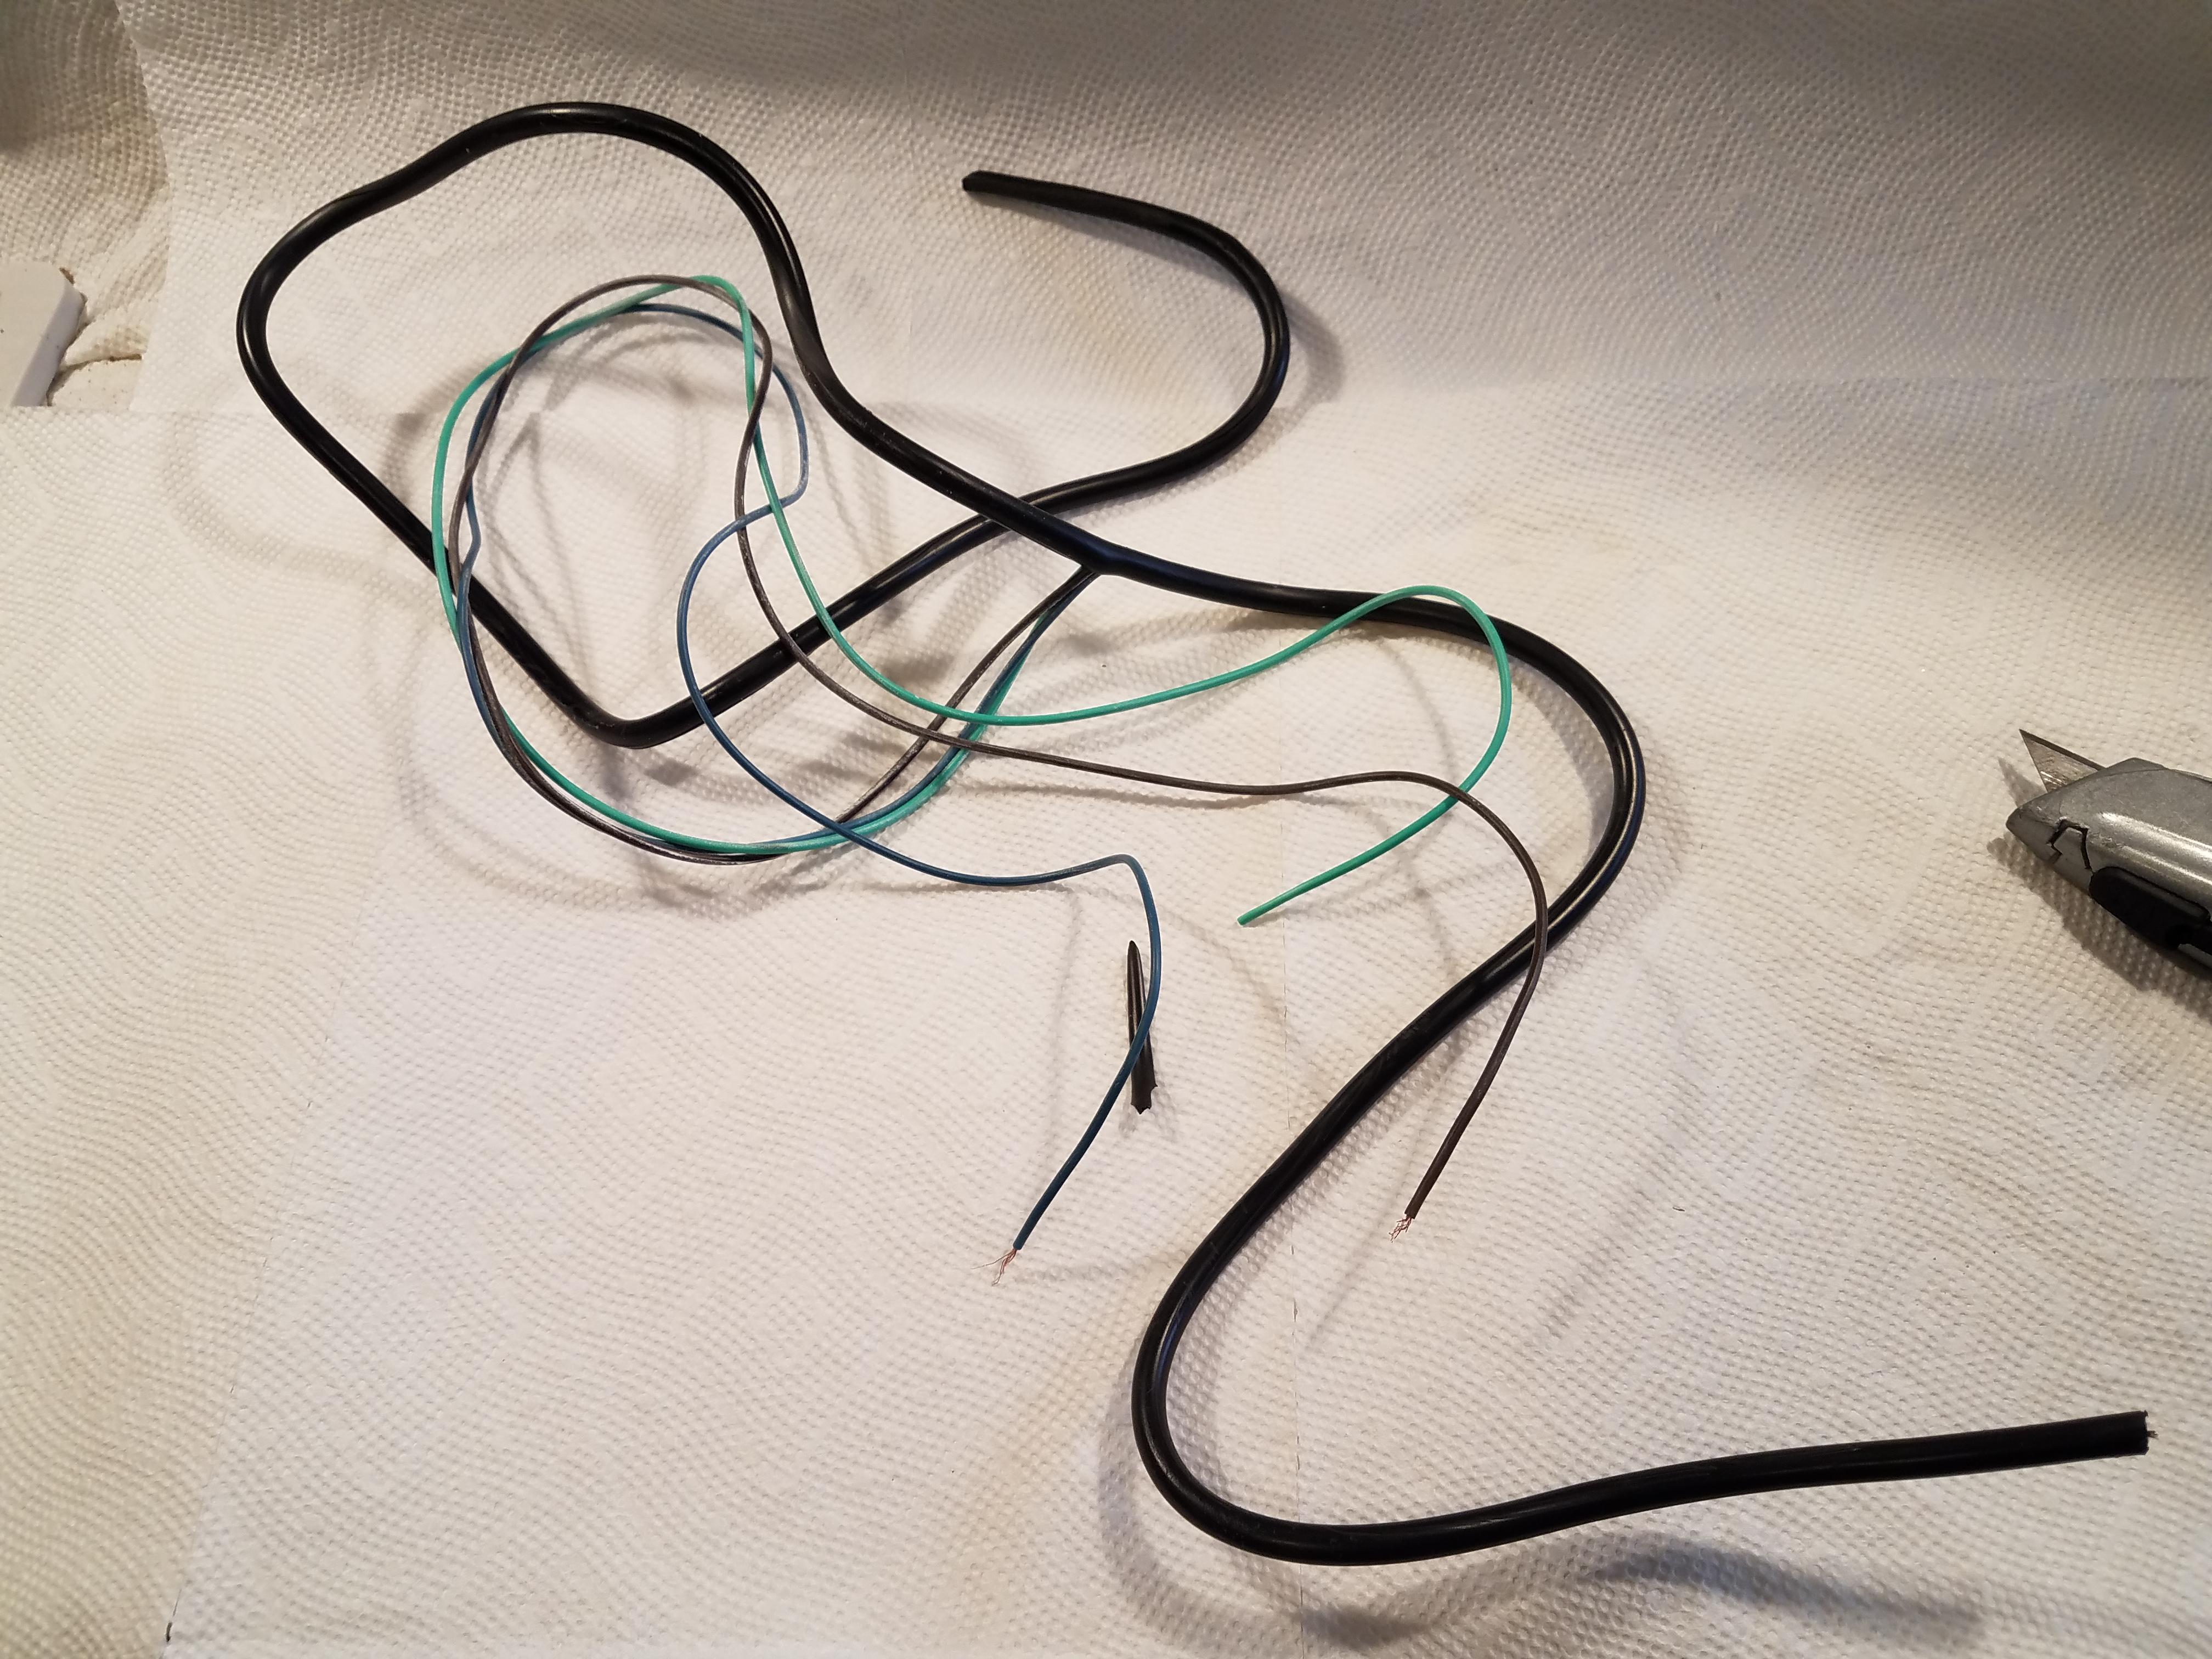
Now we need something to tie it off and I found a discarded wire that only had one end. I cut off the plug end and in the next step will process it further.
Split Wires Out of the Cable
.jpg)


.jpg)


We need 4 wires to tie everything down and make the door handle and lock later so take the knife and slice down the wire about 2 to 4 inches. Then pull the inner wires out and with the wires in one hand and the outer casing in the other pull apart and it should make them split out of the casing, then reposition your hands and repeat. Once you have all the wires out tie them up individually so its not a tangled mess and set it aside for the moment. I think the cable I found was around 6 feet or so. Don't throw away the outer casing it too has a use later. You could also use rope if you have it.
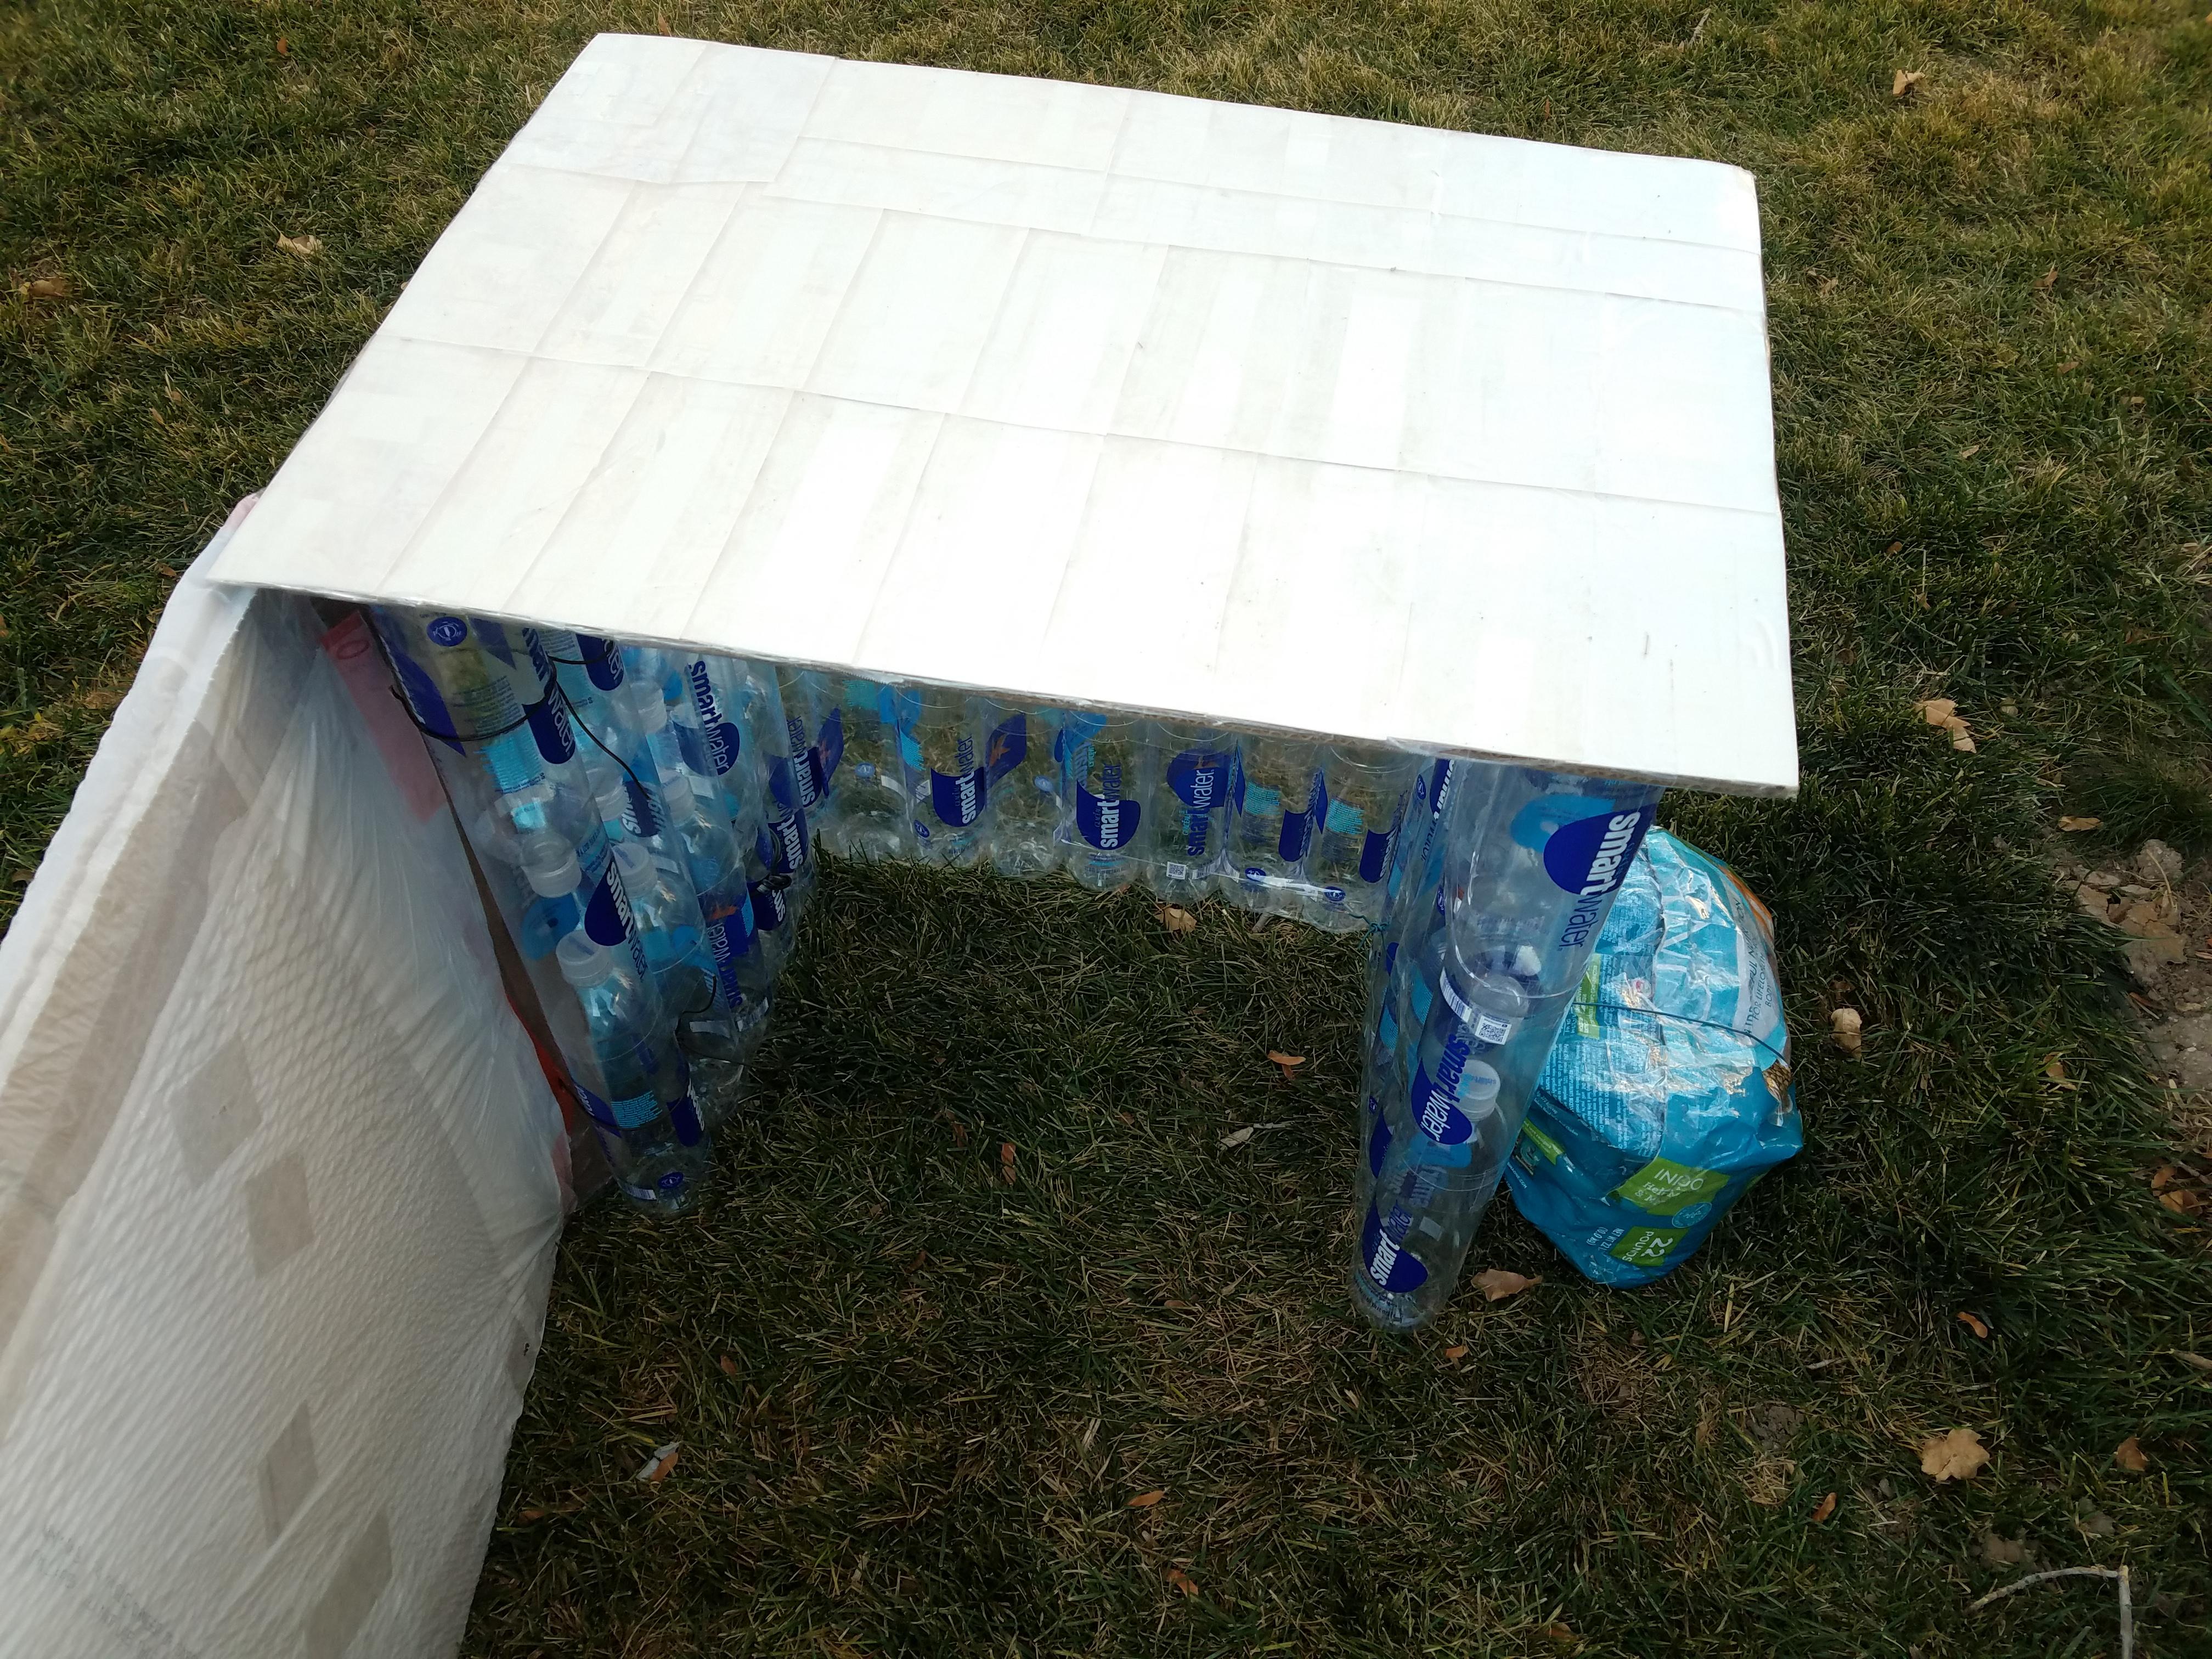
Here Is the Shed So Far


.jpg)


I am doing one more test fit of everything before the next step, it should look something like this with all the walls standing next to each other and the roof on top. Also if you haven't already now is a good time to wrap tape around the whole wall pieces on top and bottom so it is more solid. I started with the back wall then did it with the two side walls. The back wall and two side wall pieces are not combined in this step, that comes soon.
Find a Box for a Door & Fold the Side


.jpg)

Now before continuing the last steps we need a door. I found a flattened box that was almost exactly the size of the back wall that over hangs one one side just a bit, which is the size you will need. So I marked it using a burnt stick and then folded it over instead of cutting. This will give it a hinge and make it work better. I cut the end where it was glued together and turned the box inside out so it isn't covered in markings.
Tape the Sides & Flaps of the Box


Tape the flaps together and all the sides to reinforce the box and make it one solid piece. The part where you folded it over, to be the hinge, be sure to fold first before you tape that part so it stays in the folded position.
Test Fit the Shed Door
.jpg)


With the door all taped do a test fit against the shed. It should look something like the pictures. It is okay if it is slightly taller then the back wall like mine as that helps support the roof on this side when the door is shut.
Find Garbage Bags & Cut One Side


.jpg)
Now we need to weather proof the door, so find two medium garbage bags and cut one of the sides. I found these two in decent shape other then some holes in the sides we can fix later.
Slide Garbage Bag Over Top of Door & Tape


.jpg)

Now slide it over the top of the door and tape it down on all the sides that are open to the cardboard door.
Tape Holes in Garbage Bag


Tape the holes in the used garbage bag if it has any so it will be more weather resistant. I would actually do this after you tape down all the sides of the garbage bag to the cardboard first. Instead of the order I did it on this bag.
Tape Rest of the Sides to the Door


.jpg)
Tape the rest of the sides of the garbage bag completely with a long strip. I would do this before taping the holes in sides of the garbage bag like I did with the second layer, it works better.
Flip the Door & Slide the Other Garbage Bag On


Now flip the door and slide the other garbage bag over the top so it overlaps and leaves almost the whole door protected from the elements.
Tape the Rest of the Bag & Any Holes


.jpg)
Now tape all the open sides of the bag to the door. It holds fine if you are taping this bag to the other bag which is already taped to the door. You could also use one large garbage bag but I wanted it to be taped to the door so it stays in place better so I went for two medium bags instead. Also any exposed cardboard on the hinge side of the door place layers of tape over so that none of it is directly exposed to the elements. The hinge part should be mostly taped already from taping on the two bags, but mine had a few exposed cardboard spots left that I taped over.
Tape Side Walls to the Back Wall


Now its time to tape the side walls to the back wall on the very top and bottom first then on the sides to make sure they stay in place. You want it to be a solid piece so we can lift up the whole shed at once and move it later. I found it easiest to put a long strip overhanging the side of the top water bottle then over three bottoms of the water bottles. From the back wall to the side wall and press it down into the shape of the bottom of the water bottles so it makes good contact. I then put a strip near the top and bottom on the sides of the bottles on both sides to give it extra reinforcement. After you do this on the top carefully flip the whole thing then do the same on the bottom.
Tape Left Side Wall to the Roof


With the walls as one solid piece its now time to tape the left side wall to the roof. Line up the roof properly first, it should overhang the water bottles somewhat on all sides so it sheds the water and doesn't run down the water bottle tops where we taped. You will need to tape it from the top of the roof, to the underside of the roof, and then down the water bottle beam as long as the first water bottle. I did the far left and far right beams first then repeated it for every single water bottle beam to be extra sure it stays attached. I am going with tape to hold the roof down so I don't have to make any holes which could potentially get water in them later. But there are other ways you could attach it such as screws drilled into the bottoms of the water bottles which would hold stronger and then you just seal the holes.
Tape the Remaining Sides to the Roof


.jpg)

Now tape the right wall side to the roof the same way and then last do the back wall as well. I did tape down every water bottle beam onto the roof and then did two strips on the front facing side down the side of the water bottle beams as well. This makes it pretty solid and should keep the roof attached.
Tape Any Shingle Gaps Left


I noticed that I forgot to do a full tape strip between the milk carton shingles on some of them and did them here. At the end all the shingles have a full strip of tape between them on all sides which should keep the water out. If your roof is angled this step won't be as required.
Tape the Underside of the Roof


Now carefully flip your whole shed and tape the inside part to the roof. I didn't put nearly as much as I did on the outside as the tape was running low by now. Just enough to give it some extra reinforcement so I did the front water bottle sides and the back corner ones. Tape on each one would have probably been better on the inside like I did with the outside.
Cut Two Wires in Half


Now take two of the wires from earlier and cut them in half for the next step.
Slide Wire Through Top & Bottom of Side Wall


Now on the side where your door hinge will attached we need to slide half of one wire between the bottle on the top and again on the bottom. Put it around the center of the top and center of the bottom bottle of the beam. These will hold the door hinge part to the wall.
Line Up Door & Poke Holes for Wire


Now line up the door with the shed and put the hinge side towards the wires you just slid between the water bottle beams. Then poke two small holes through the hinge part of the door and slide the wire through it and tie it off. I rotated the knot of the wire between the two water bottles after tying it. After the knot in the picture I did about one or two more just to be sure it doesn't come undone. Using a stick to expand the hole and push wire though worked easier since I made the slits with the razor blade. This stick also becomes our handle next.
Attach a Stick As a Handle


Now near the top right of the door poke a hole and feed through the wire then tie it around the top of a stick then do the same near the bottom of the stick. I fed the extra wire hanging off the knots back through the holes. Tie a knot between the two wires on the inside of the door to keep the handle in place then feed one part of the wire between the top water bottle middle and tie a square knot that will hold strong and be easy to undo to open the door later. I may improve on the door locking system at a later point but for now it works and is simple. Every time you open the door you will have to slide the wire out from between the water bottle on top.
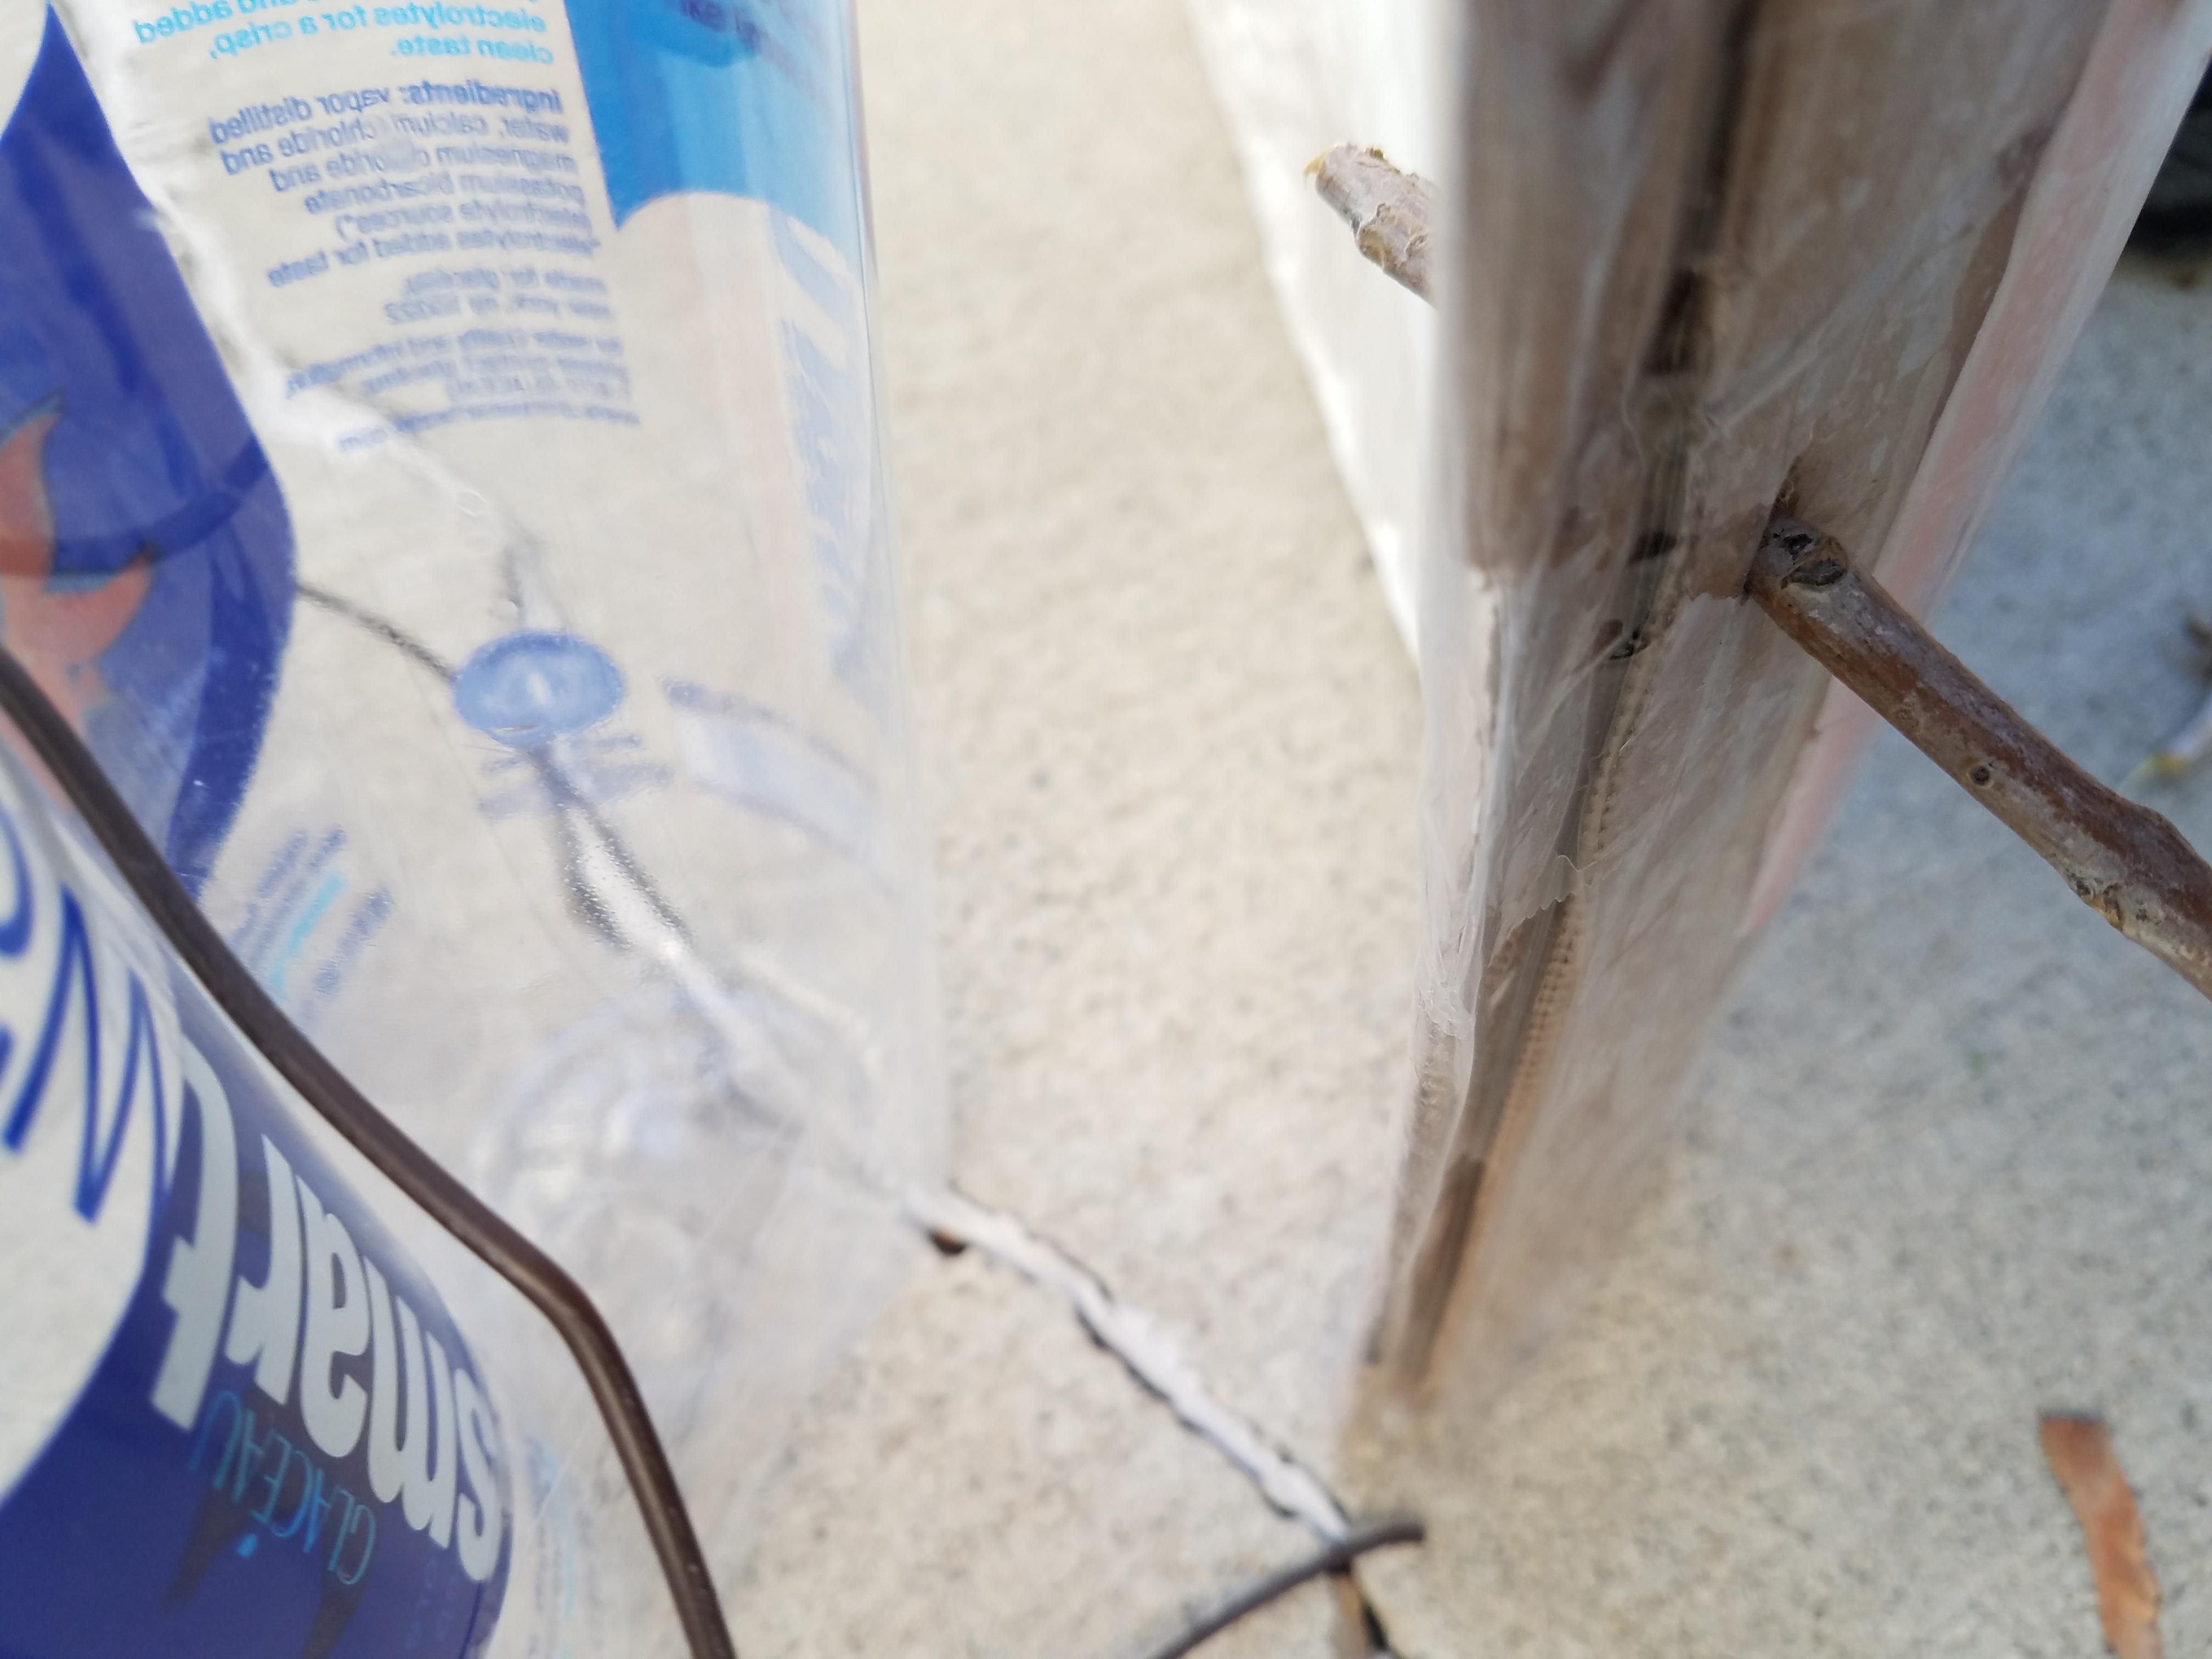
Wrap Wire Around Sand Bags & Tie Off


.jpg)


.jpg)
Now using the last full length wire and the wire casing tie each one around one of the sand bags then pull it tight and tie a knot. Then feed the extra wire lengths between the water bottle on the third bottle on the left and right side of the shed and tie it off on the inside. You could also use rope if you happen to have any. The wire casing was harder to tie knots in but it did work.
Finished Shed on the Grass


.jpg)

.jpg)


.jpg)


.jpg)


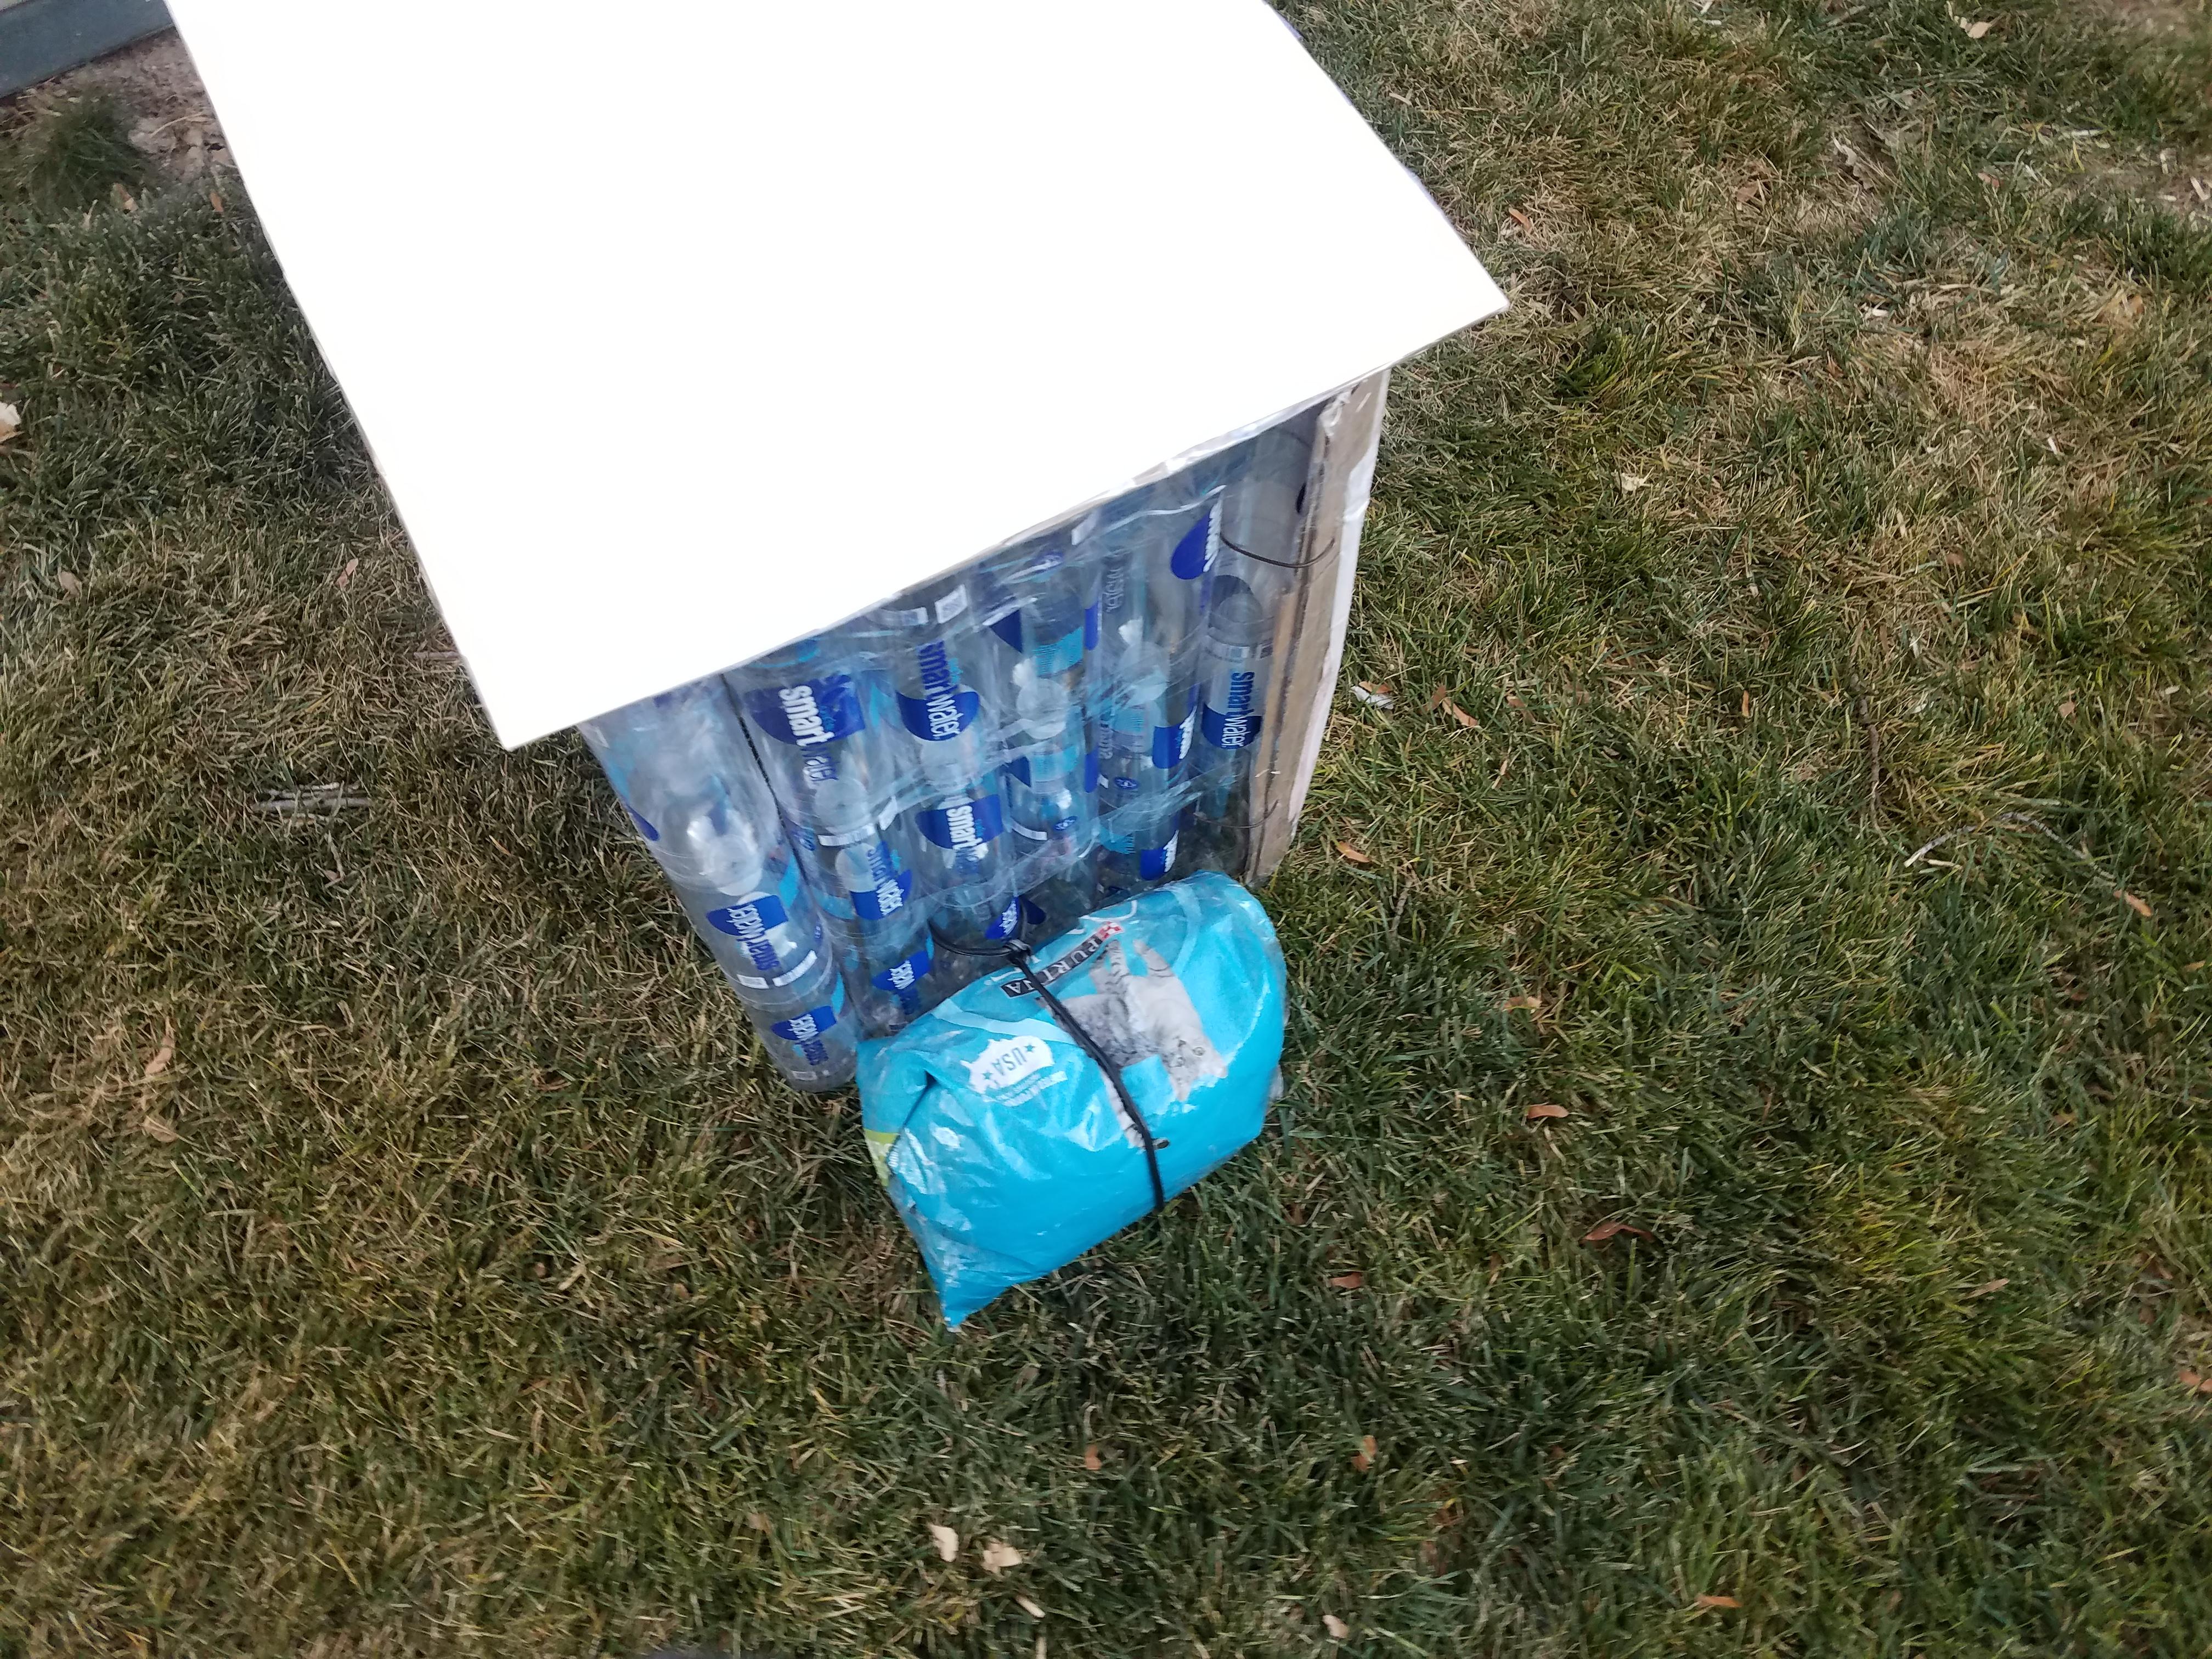


Here is the finished shed from multiple angles on the grass with the door open and closed. If you are keeping it in grass you could also use tent stakes and rope to tie it down.
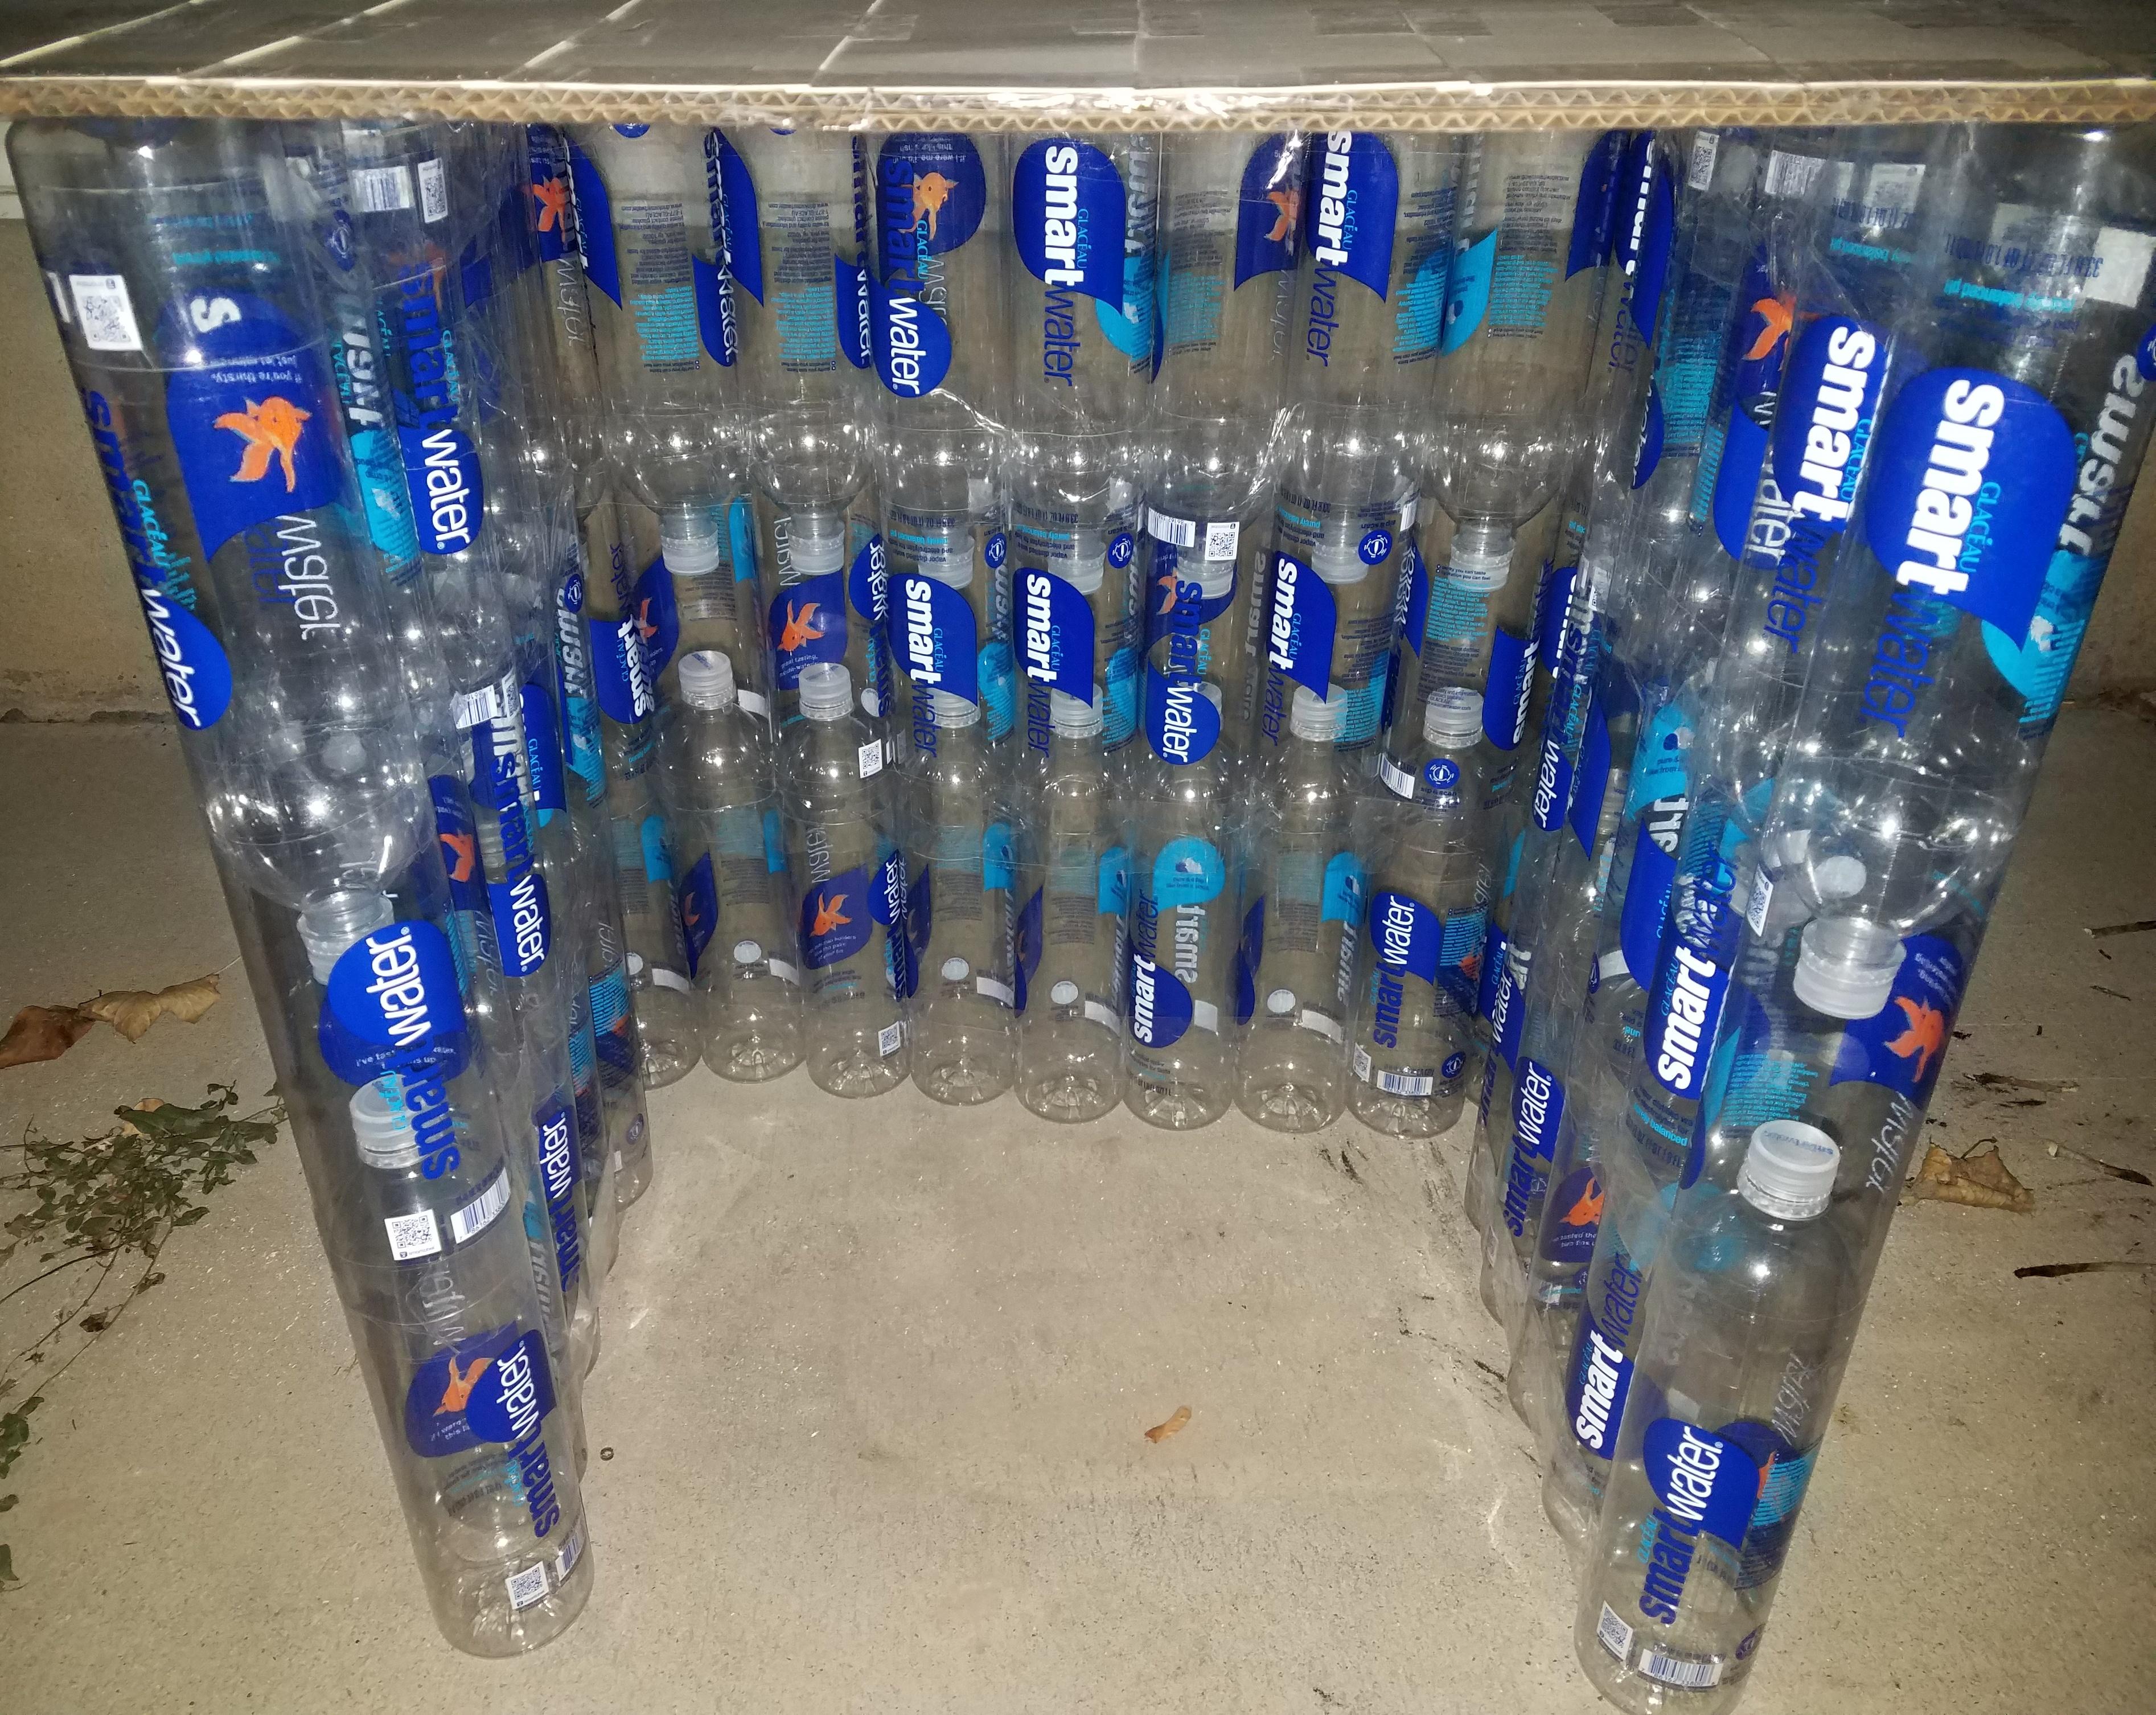
Shed Moved to Concrete


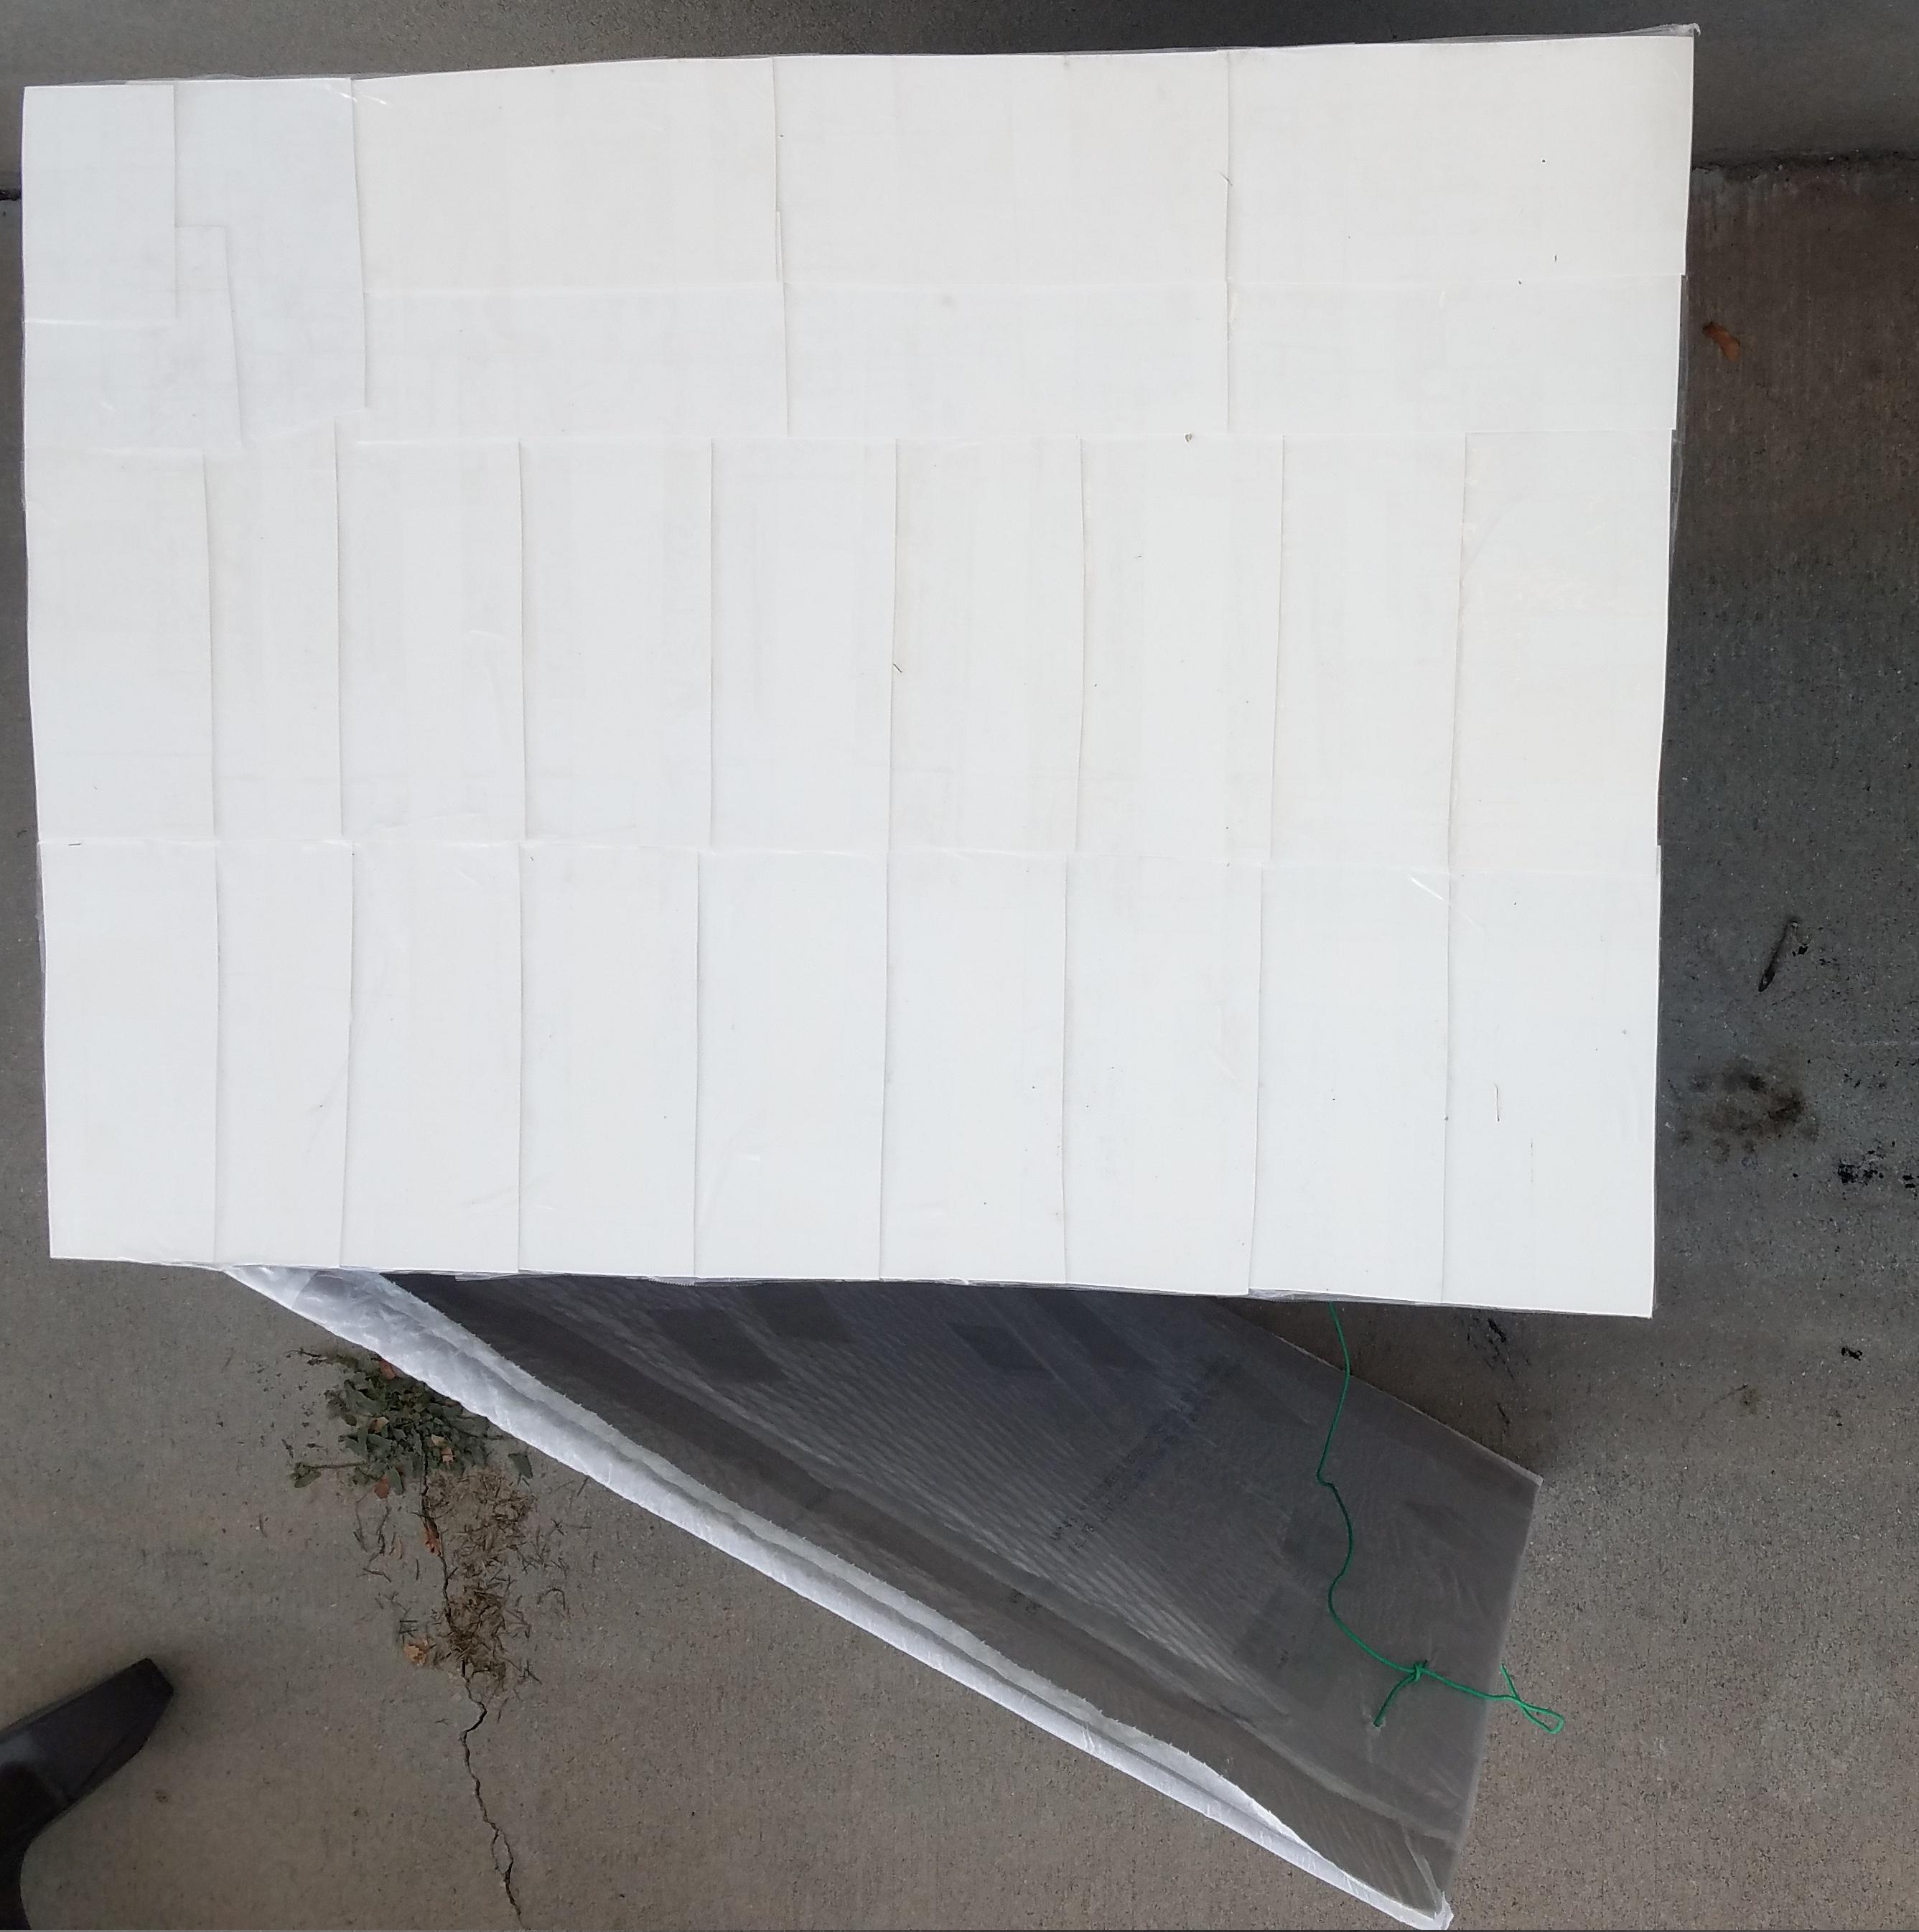.jpg)


The final position of the shed for me is on some concrete, if you have to move the shed untie the sand bags first then move the whole shed and sand bags separate. Once you get to the final location then tie the sand bags back on the same way. The sand bag method is nice because I can move the shed when needed and they work on concrete or grass.
Shed With Hobo Stove Cooking System


Here you can see the hobo stove cooking system stored inside. If you haven't seen it check out my other instructable here titled Complete Hobo Stove & Cooking Pots System Bundle.
Shed Closed Up on Concrete


Here is the shed closed up at its final location.
Bonus: Festive Christmas Shed


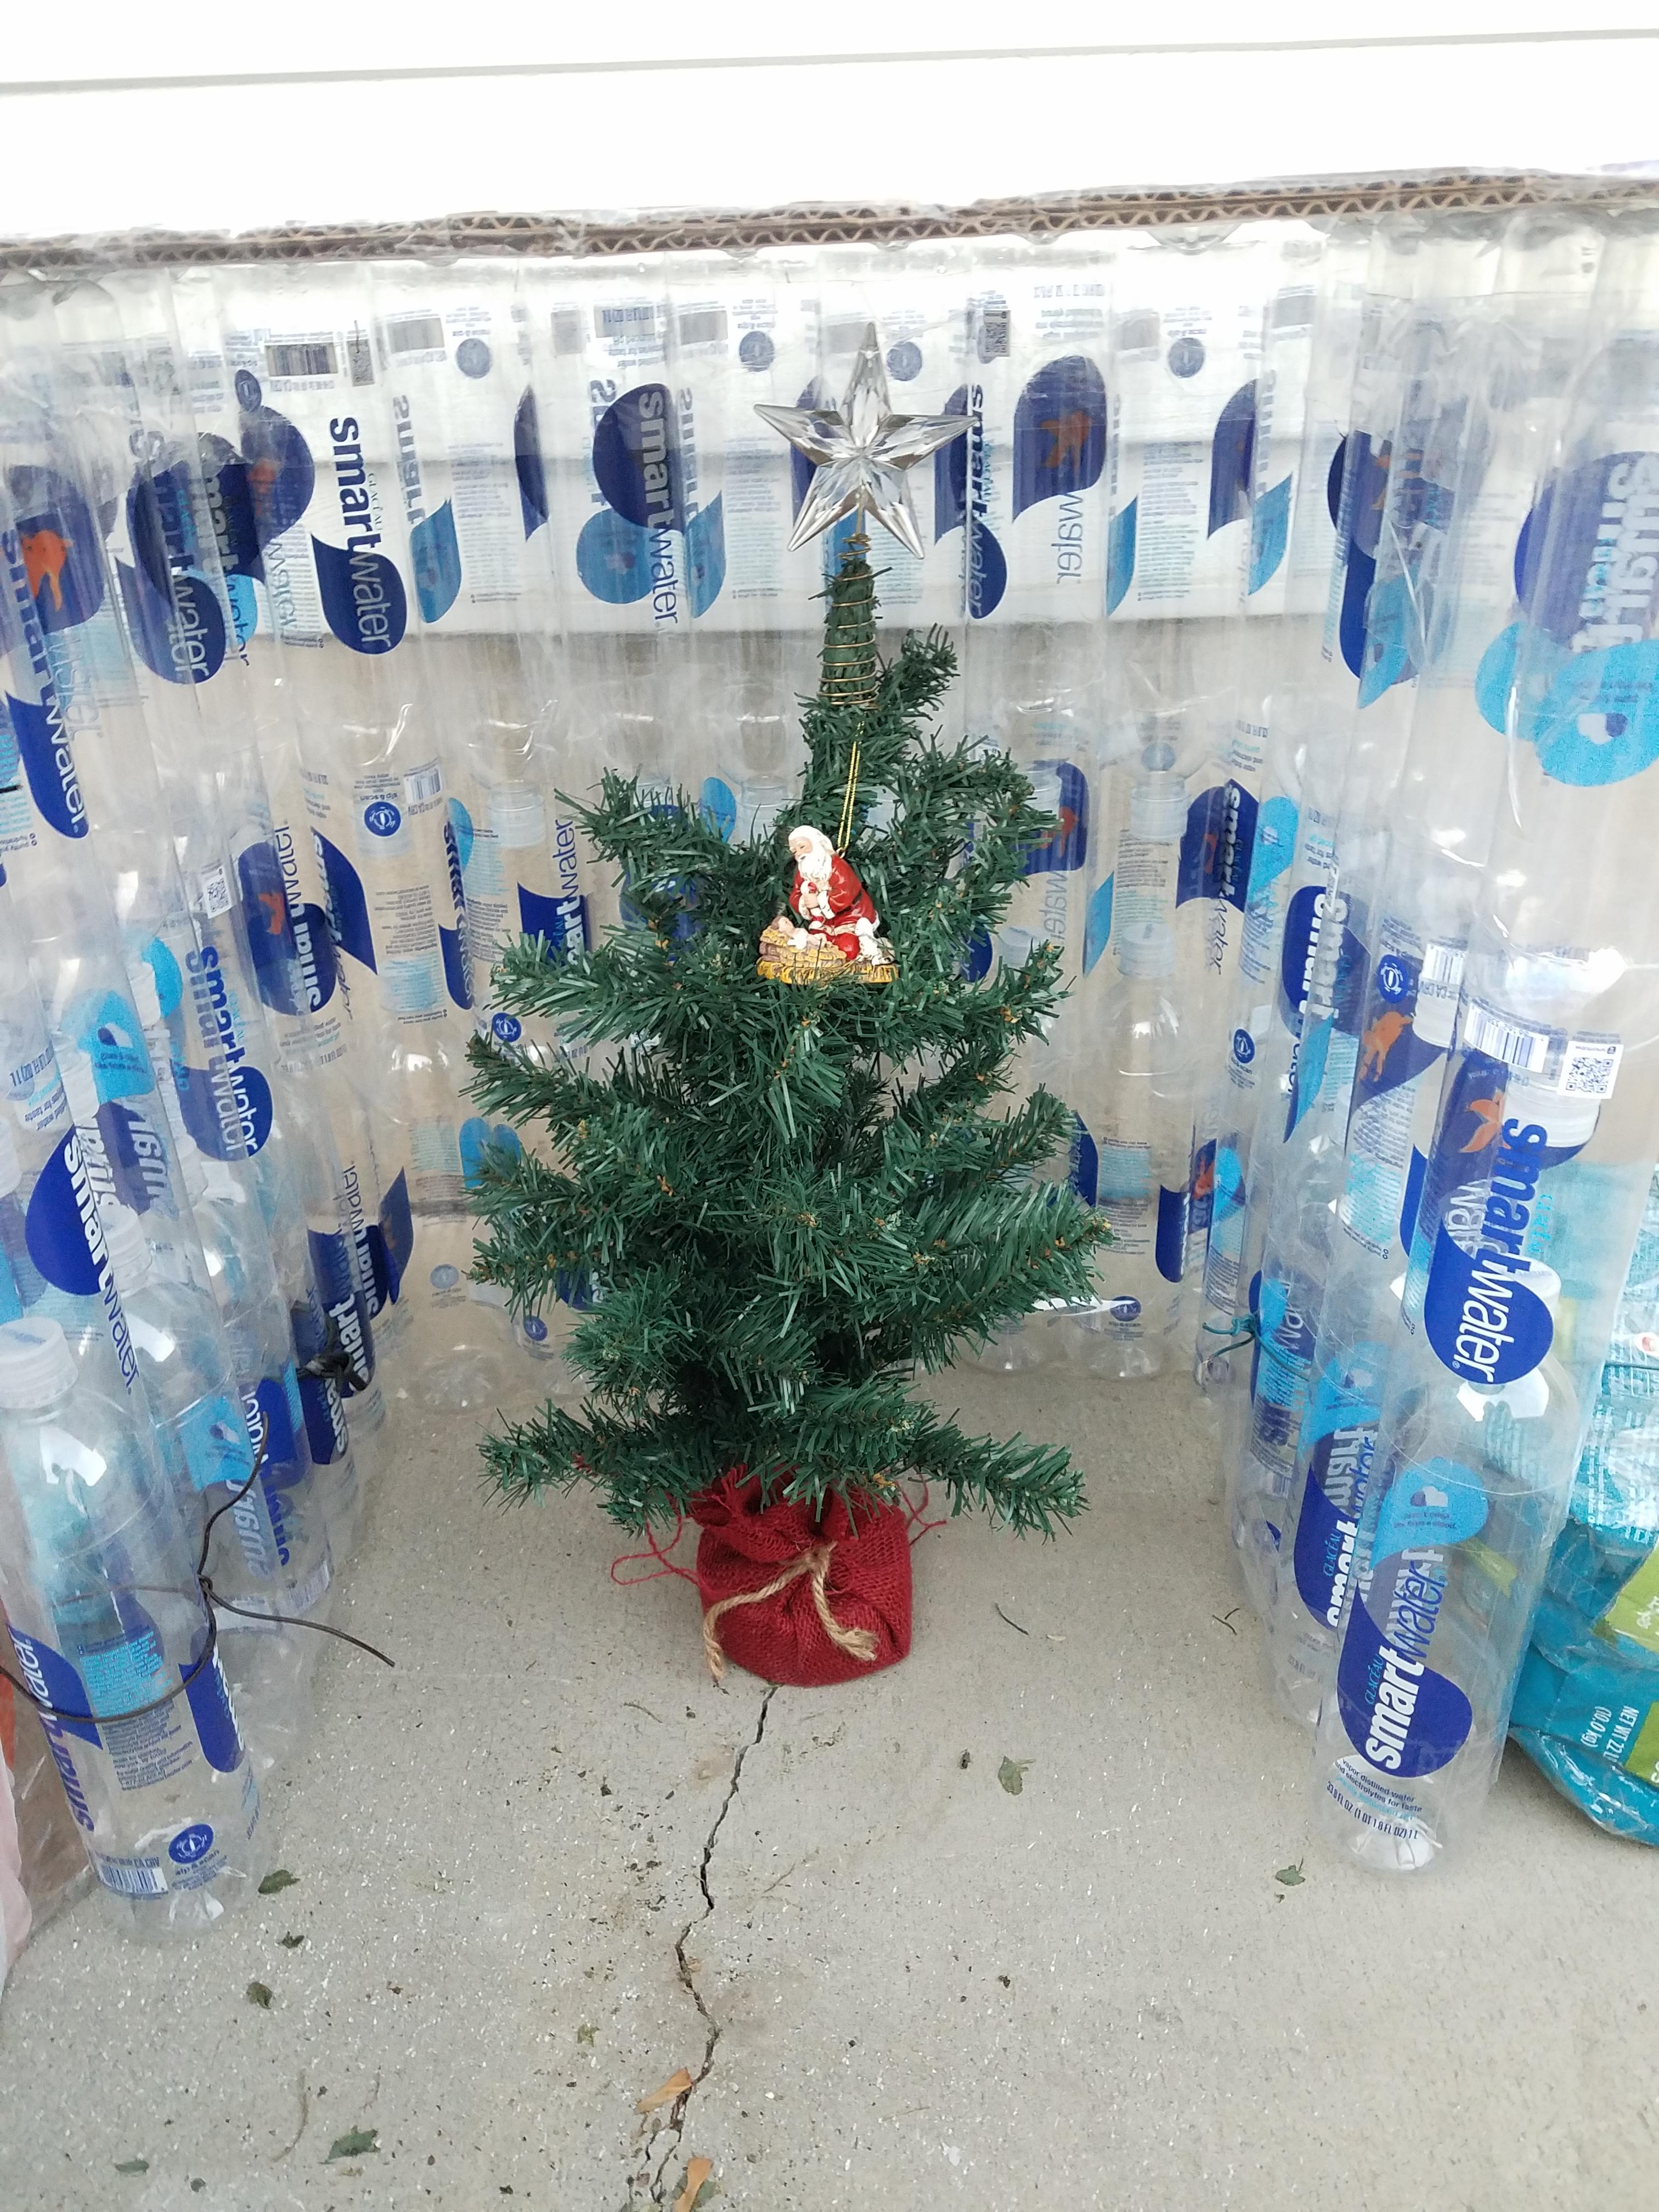
In time for the Christmas season here is the shed with my Hobo Christmas Tree inside. With a star on top and my favorite Christmas tree ornament.
Large Snowstorm Update


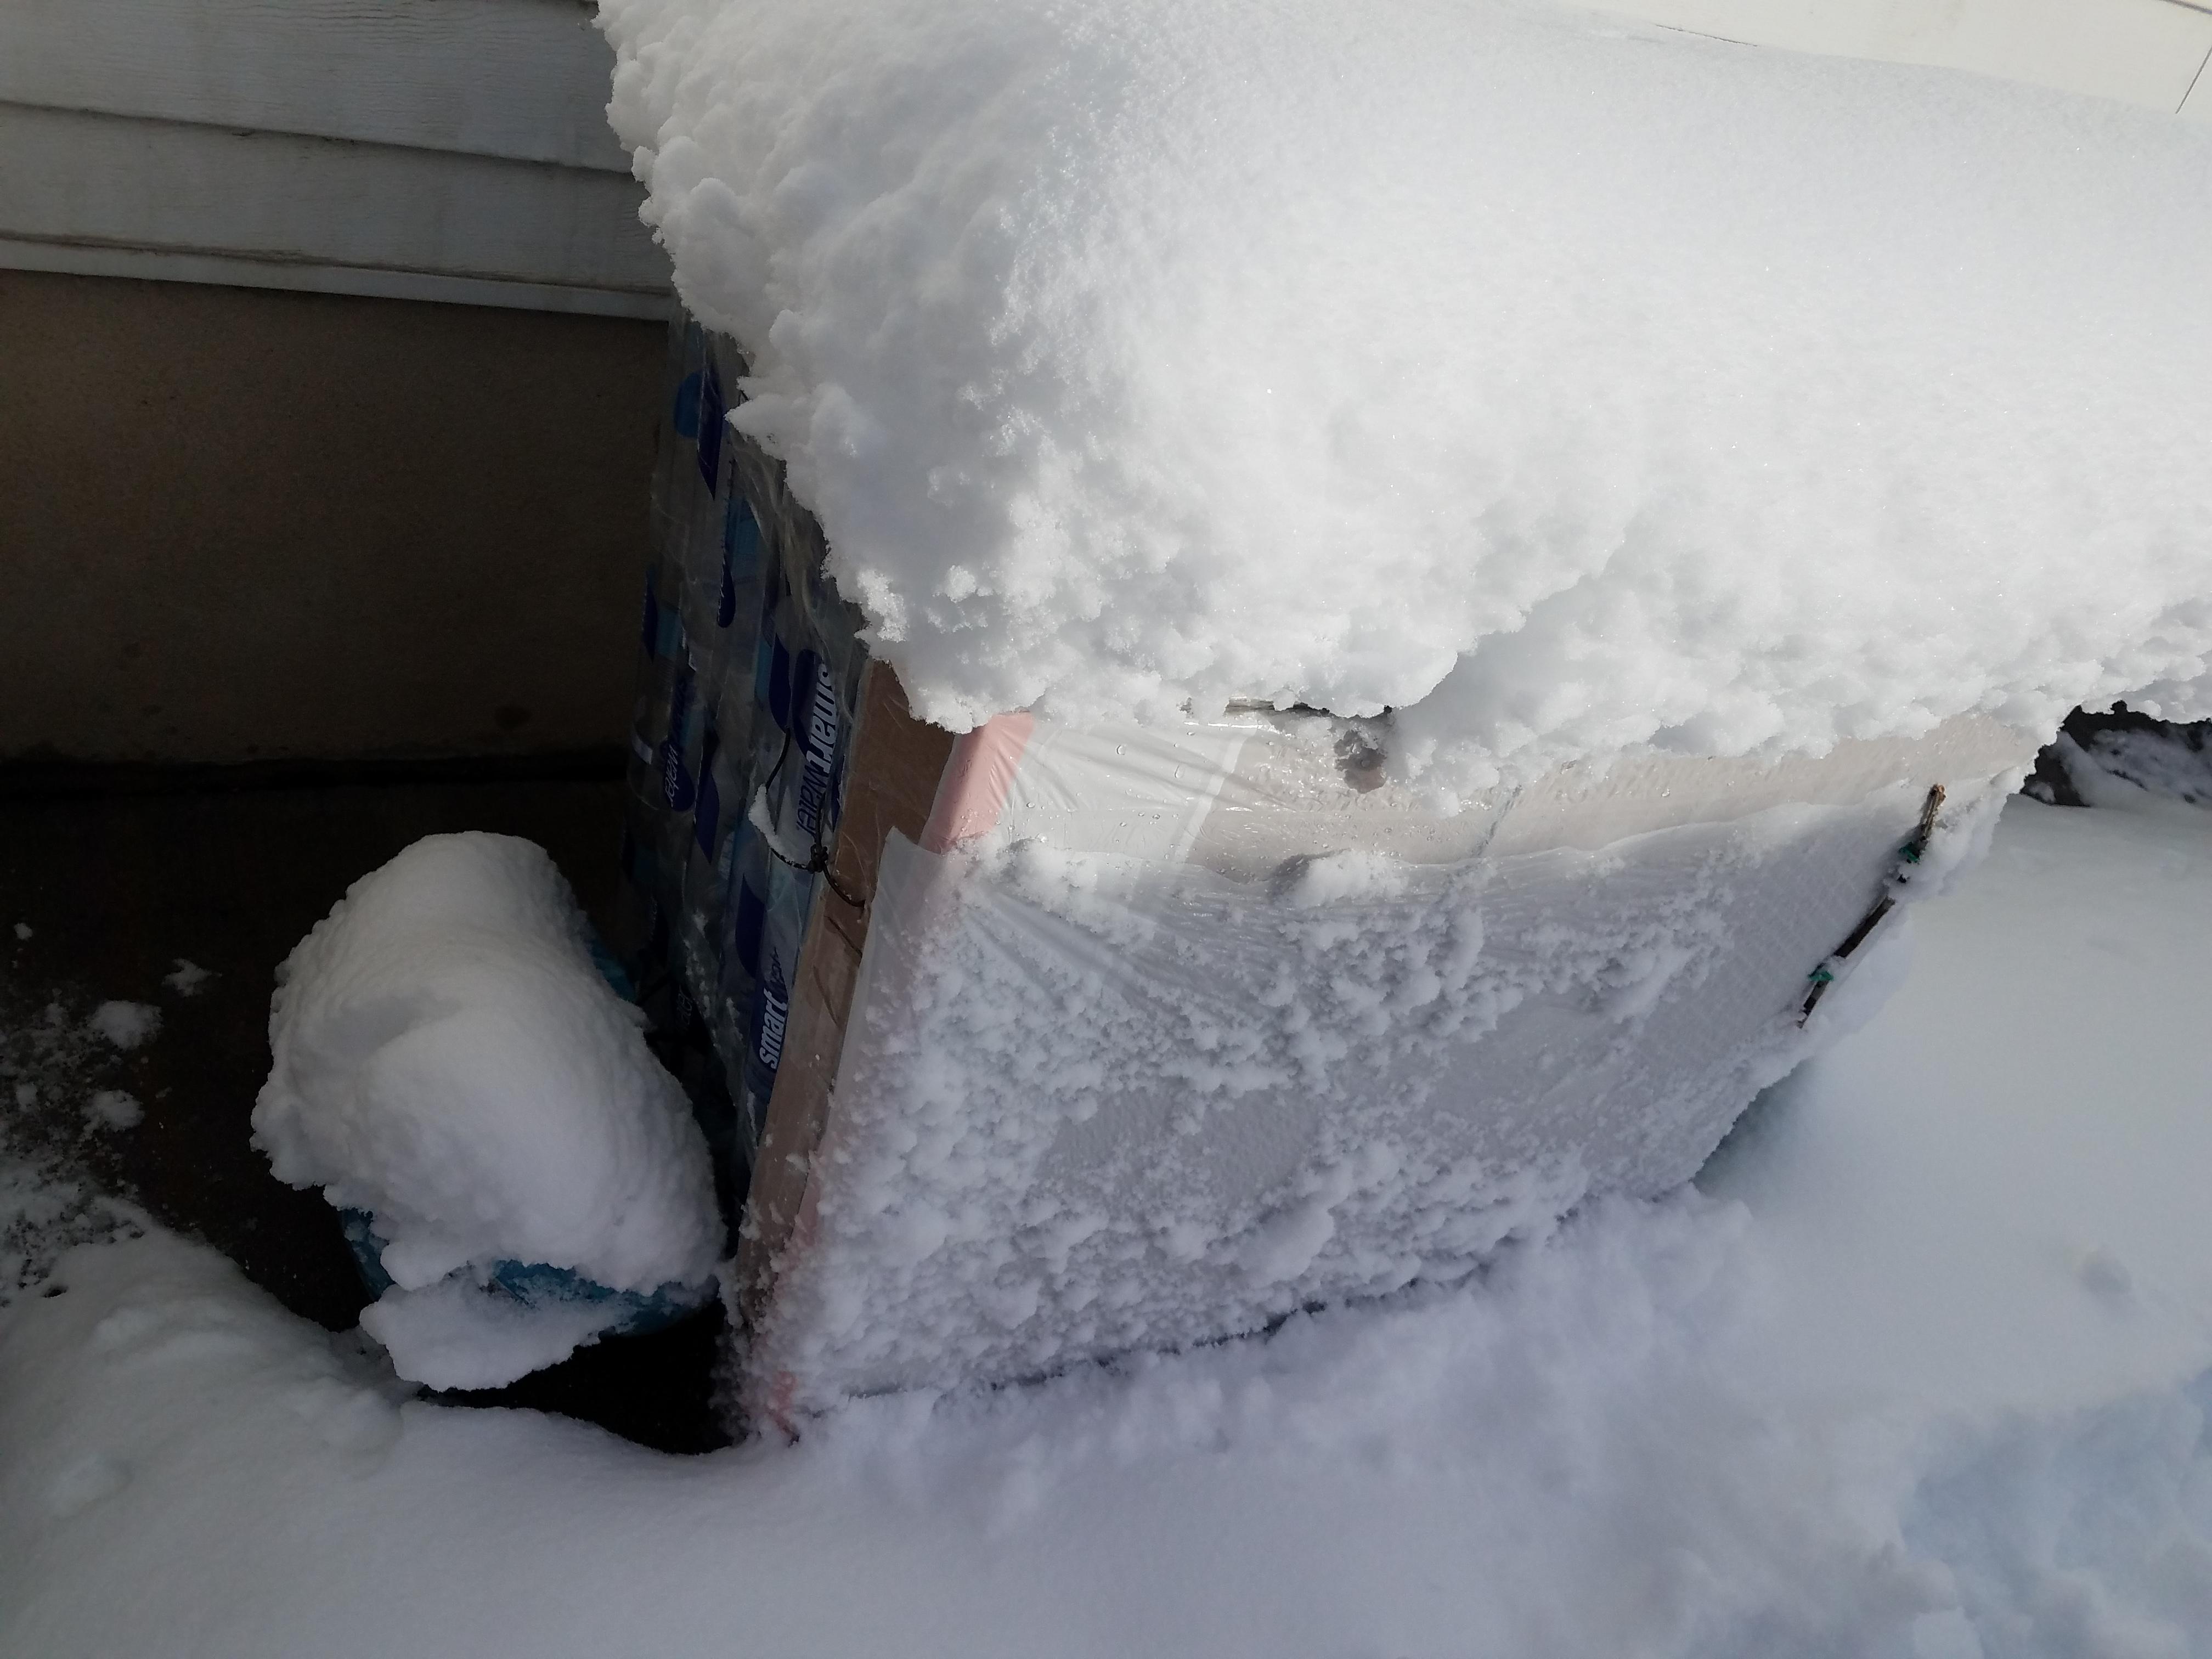

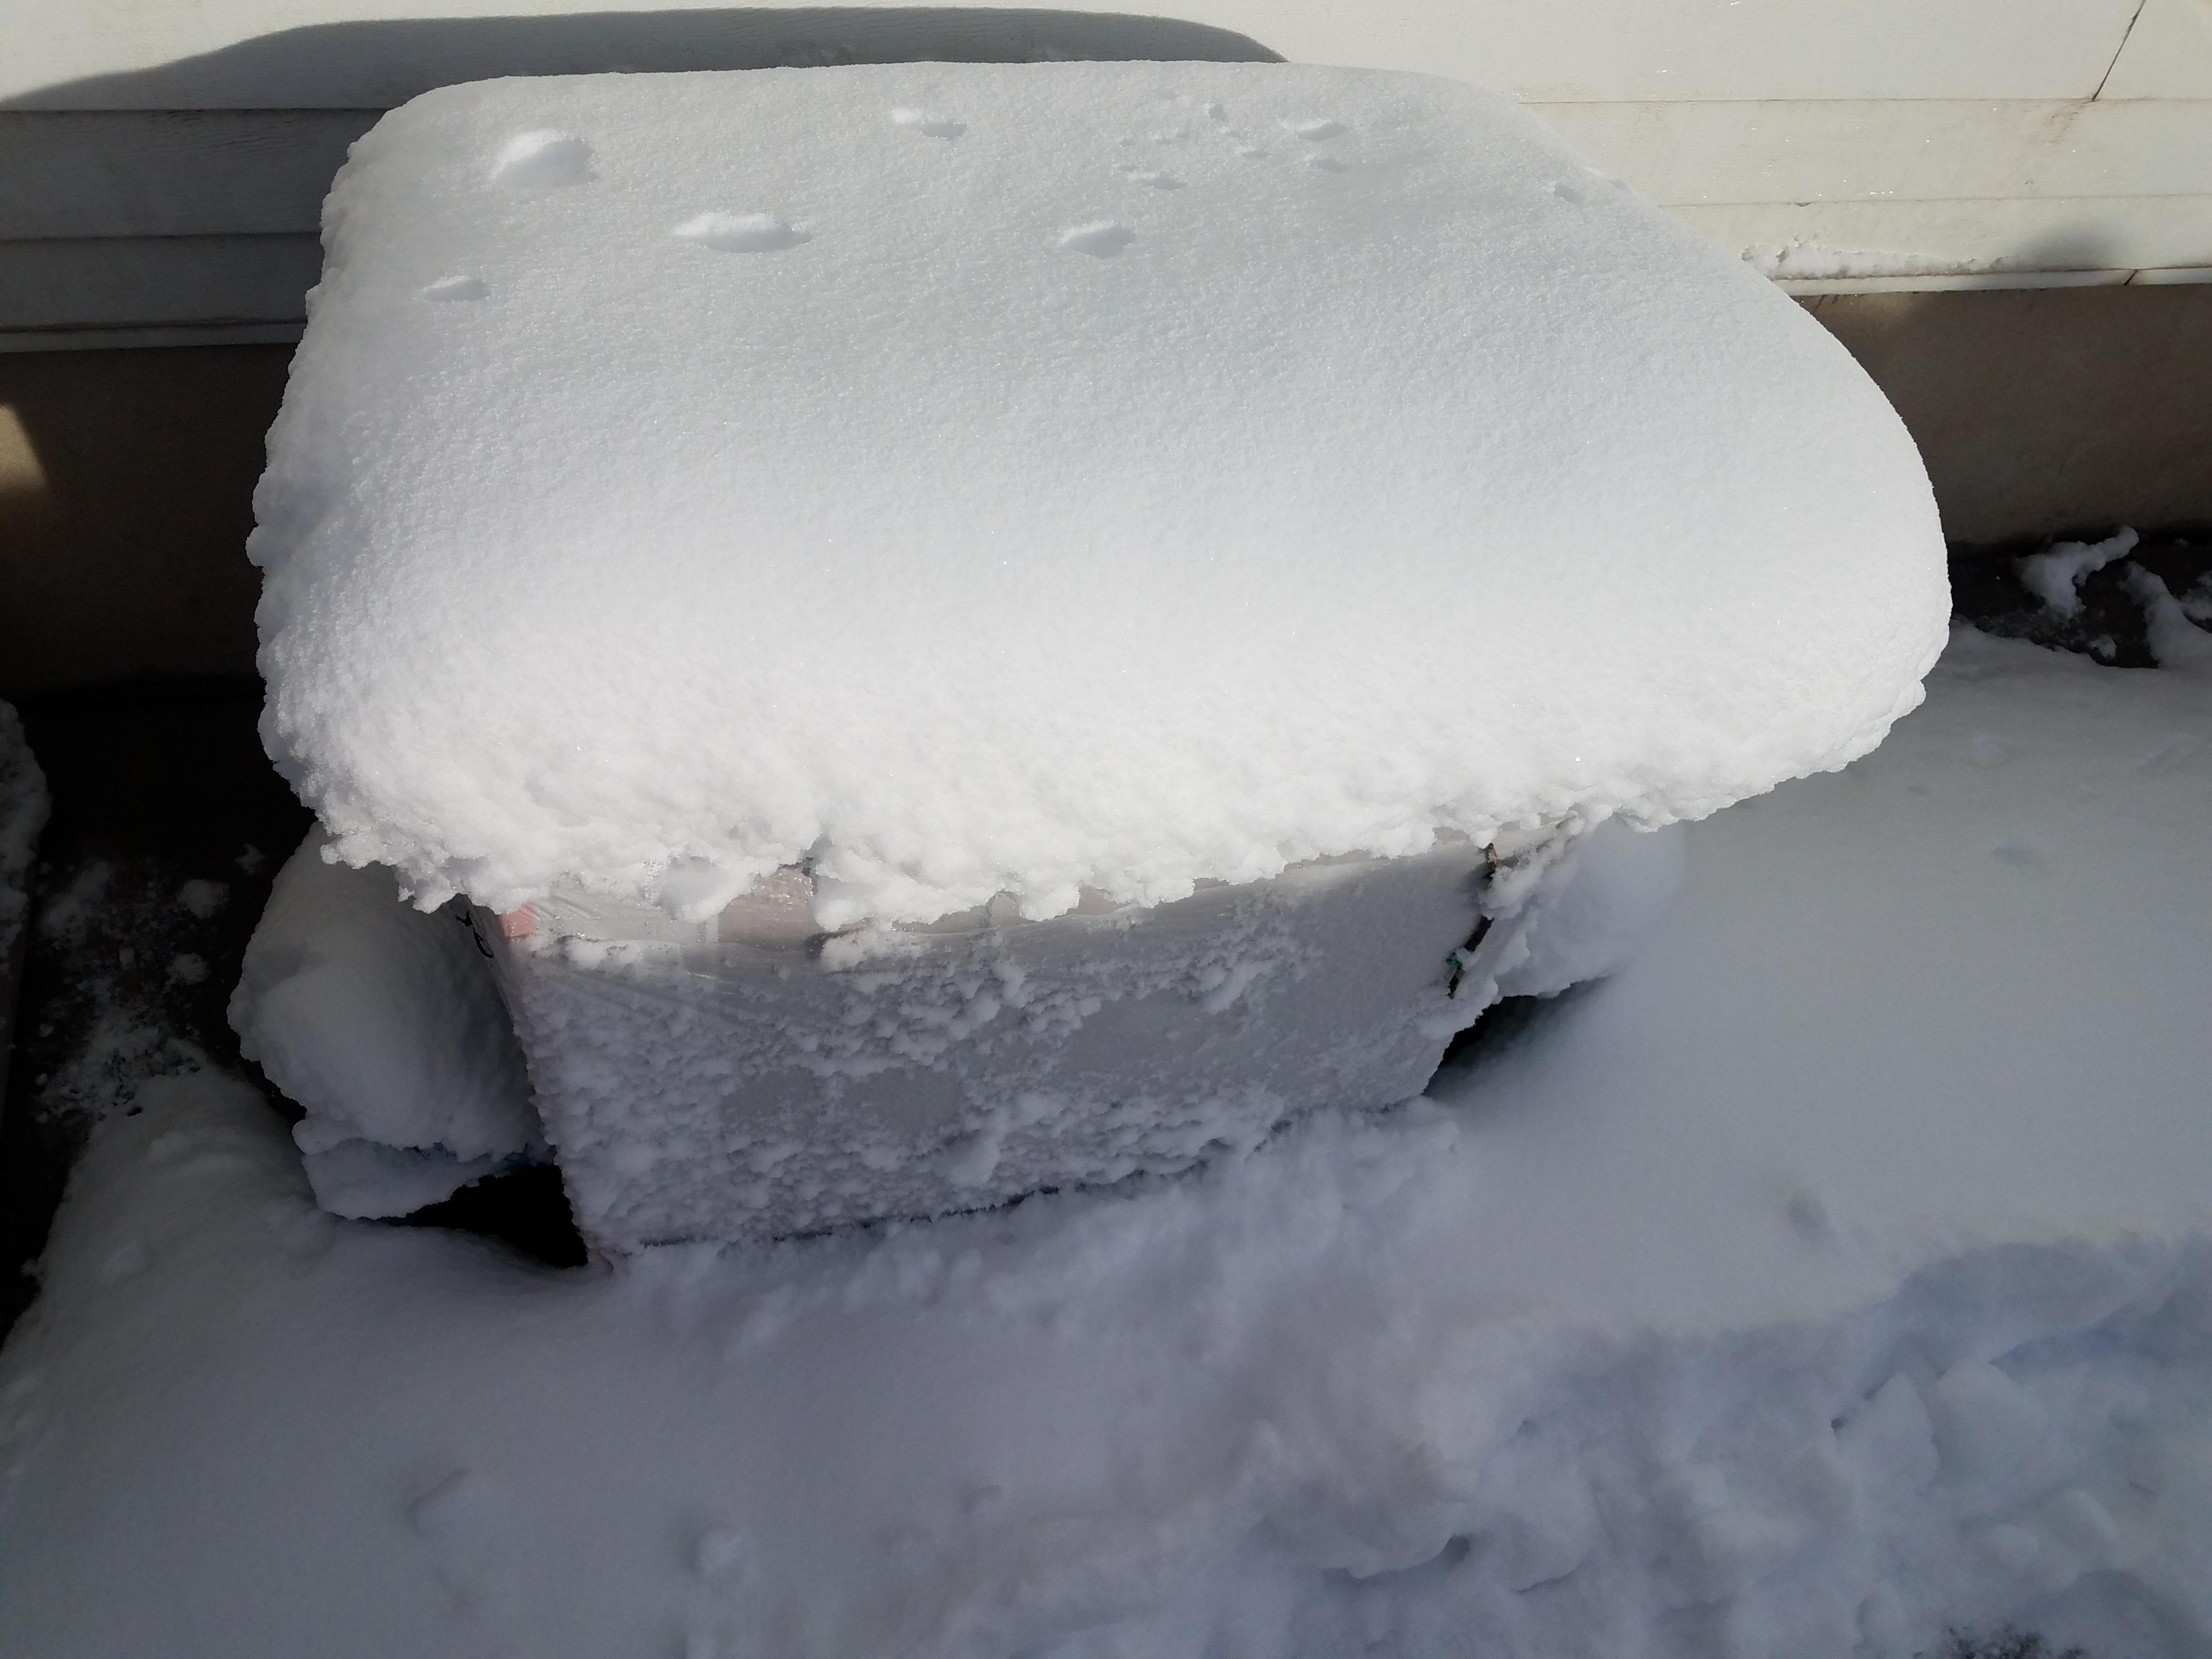


I got a really good snowstorm this winter and here is the hobo shed with about 2 feet of snow on top of it. This is more weight then I had planned on it getting, I wish I had reinforced the roof as it is now bowing inward somewhat now. It still blocks the elements inside of it so it works fine. If you make this project reinforce the roof with something like a stick frame, especially if you are anywhere snow can get deep.
Other Ideas & Upgrades
The wonderful part of this setup is you can repurpose anything you can think of to upgrade your hobo shed. If there is something you need to add, think of a clever way to make it yourself and add it. You can also upgrade any part at any time for free by clever means. Having tools would also greatly increase your possibilities as well, not that this no tool challenge was not fun. It made me have to think about how to do a lot of it without the convenience of tools which was totally worth it. I would also like to experiment at some point with making a hobo shelter but that will require a massive amount of materials. The mindset is creative uses of what is around you so why not try it and see what you come up with!
Here are some upgrade ideas:
- Making a full size shelter which would require hundreds of water bottles, milk cartons shingles, etc. This would be interesting to do but take a really long time to gather the materials.
- Making a sleeping shelter. This would be much easier to pull of and would just need a few times the amount of this hobo shed materials. It would be 3 bottles high like the shed but go far enough that you can lay down underneath it and be protected from the elements. This upgrade could be applied to the hobo shed by making it longer as you gain resources which I will probably do.
- Making a bed for above out of an old sheet sewed into a sack and stuffed with something like grass clippings, hay, tall grass, etc.
- Filling the water bottles with dirt. If you want the water bottles to not be transparent and also provide better insulation then just air alone you could fill them with dirt.
- Filling the water bottles with paper towels. If you want the water bottles to not be transparent and also provide better insulation then just air alone you could fill them with paper towels.
- Filling the water bottles with cloth scraps. If you want the water bottles to not be transparent and also provide better insulation then just air alone you could fill them with cloth scraps.
- Filling the water bottles with saw dust. If you want the water bottles to not be transparent and also provide better insulation then just air alone you could fill them with sawdust.
- Making cardboard walls like the door was made using garbage bags on the inside of the hobo shed. This would provide privacy and stop most the wind from getting in .
- Making the outer walls out of cardboard like how the door was made would be easier to acquire and make. But not be nearly as insulated.
- Using branches and sticks to make the walls instead tied with old wire or rope.
- Using old PVC pipes to make the wall instead tied with old wire or rope.
- Making the roof frame out of sticks and then using nails to hold on the shingles which I may do if the cardboard doesn't last.
- Using thumbtacks to hold on shingles instead of tape.
- Making a shelf out of cardboard that is held up with wires fed between the water bottles. This is a upgrade I may do in the near future.
- Making a sun roof out of an old bowl or water bottles.
- Making windows by cutting the top and bottom of the water bottles and then slicing down the side and flattening it out into a sheet. Held that way by two sticks in a plus pattern and a frame of sticks around them.
- Making roof shingles out of water bottles with the tops and bottoms cut off and cutting them in half then alternating them like a barrel curved tiled roof. It would require something like hot glue to hold them in place.
If you would like to support me in making these projects you can do so here.
Do you have any more suggestions? I will add good ones to this list and if there is enough demand I will possibly do some of these ideas in the future.