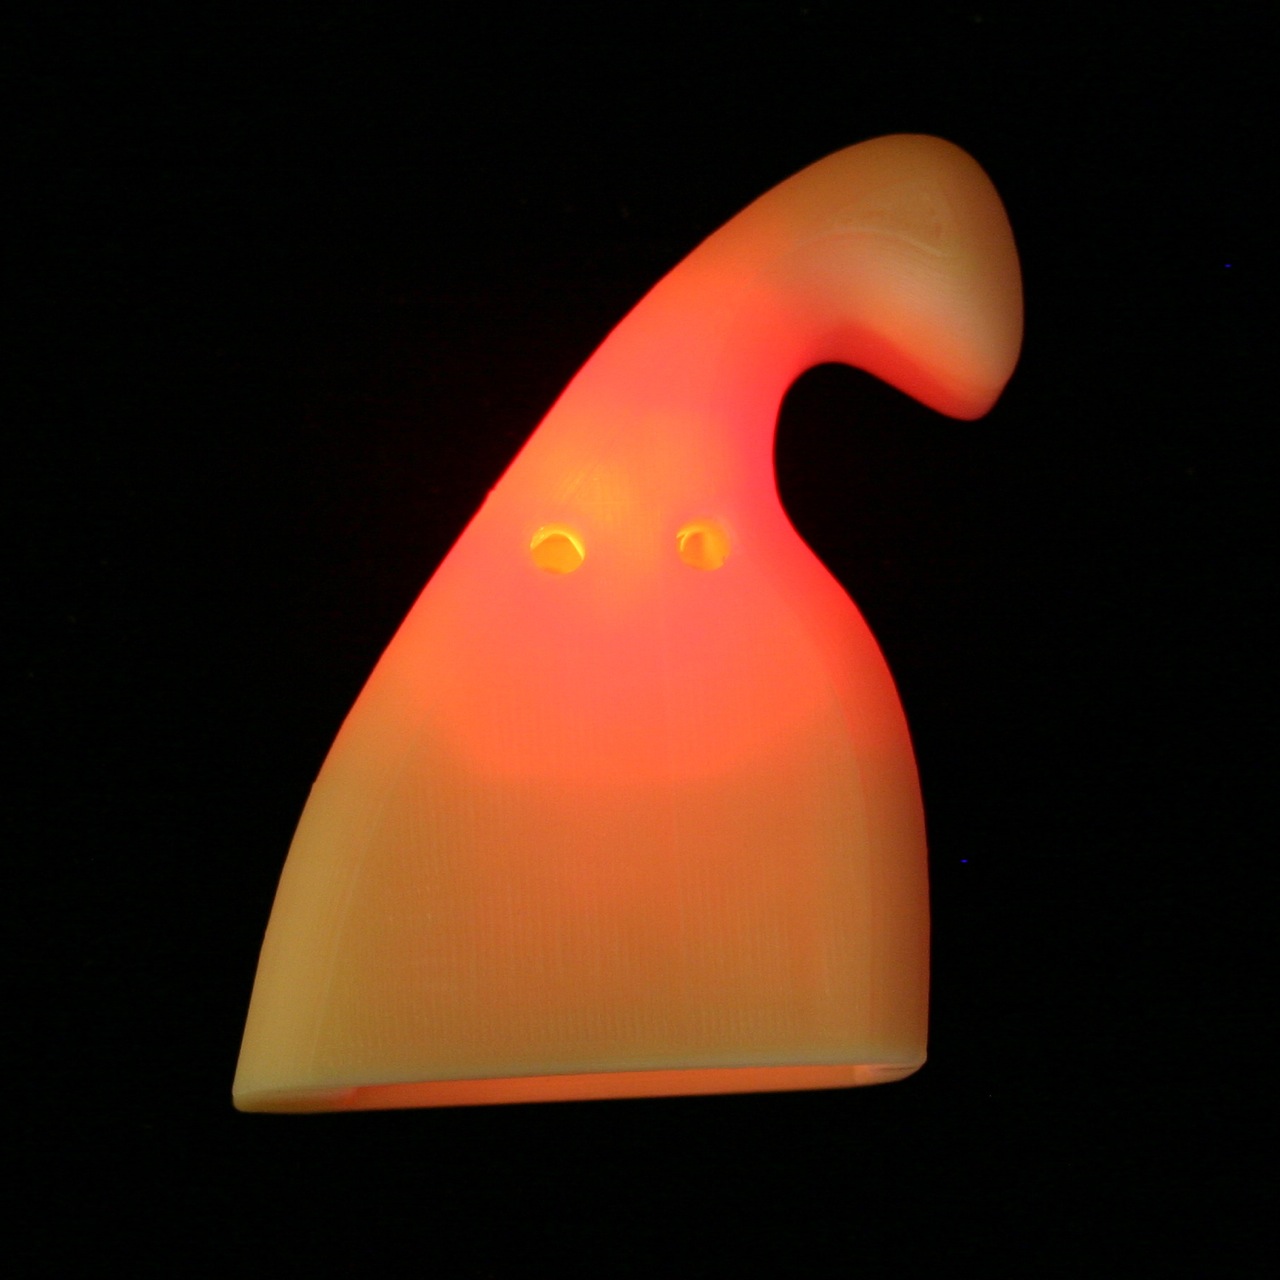
Hexbug Ghost
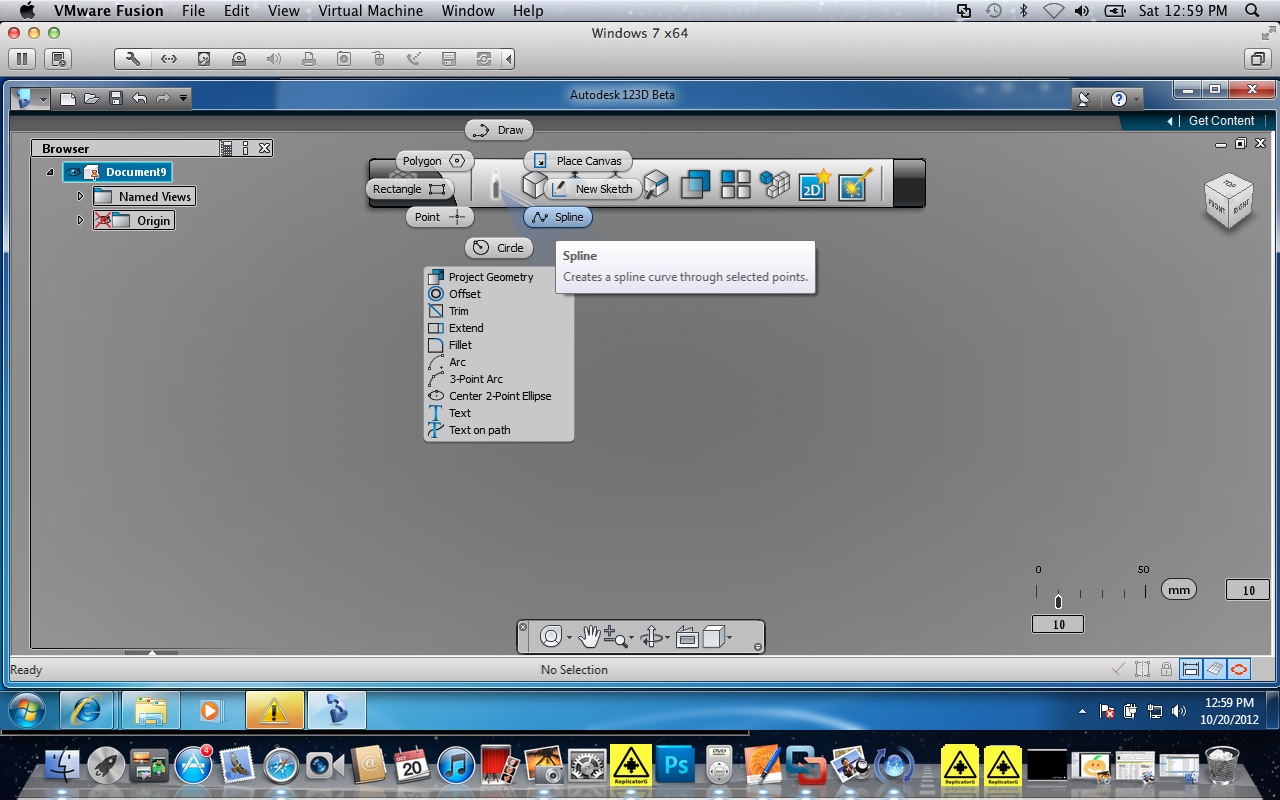
Using Autodesk 123d (free), open a new project. Using the "pencil" tool, select "spline."
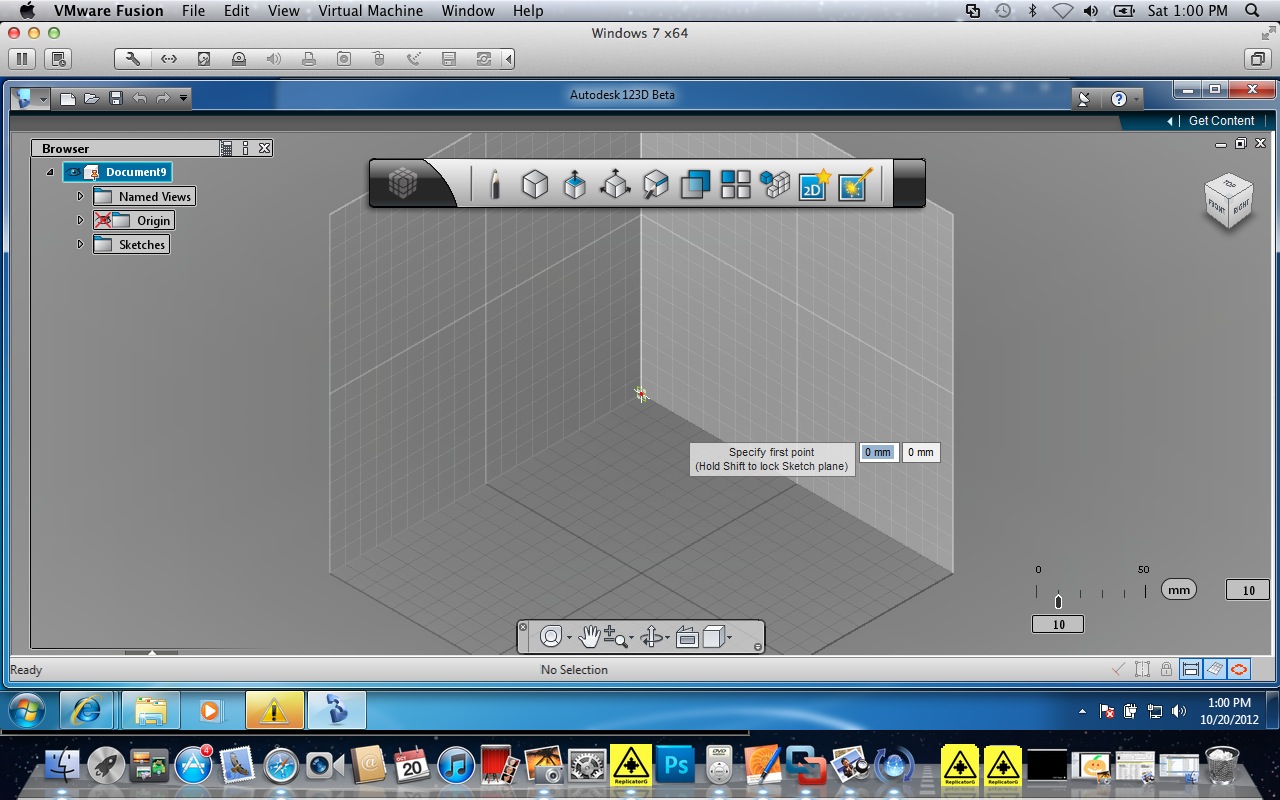
I select the back right plane (coordinate 0,0) to start. Click to select this.
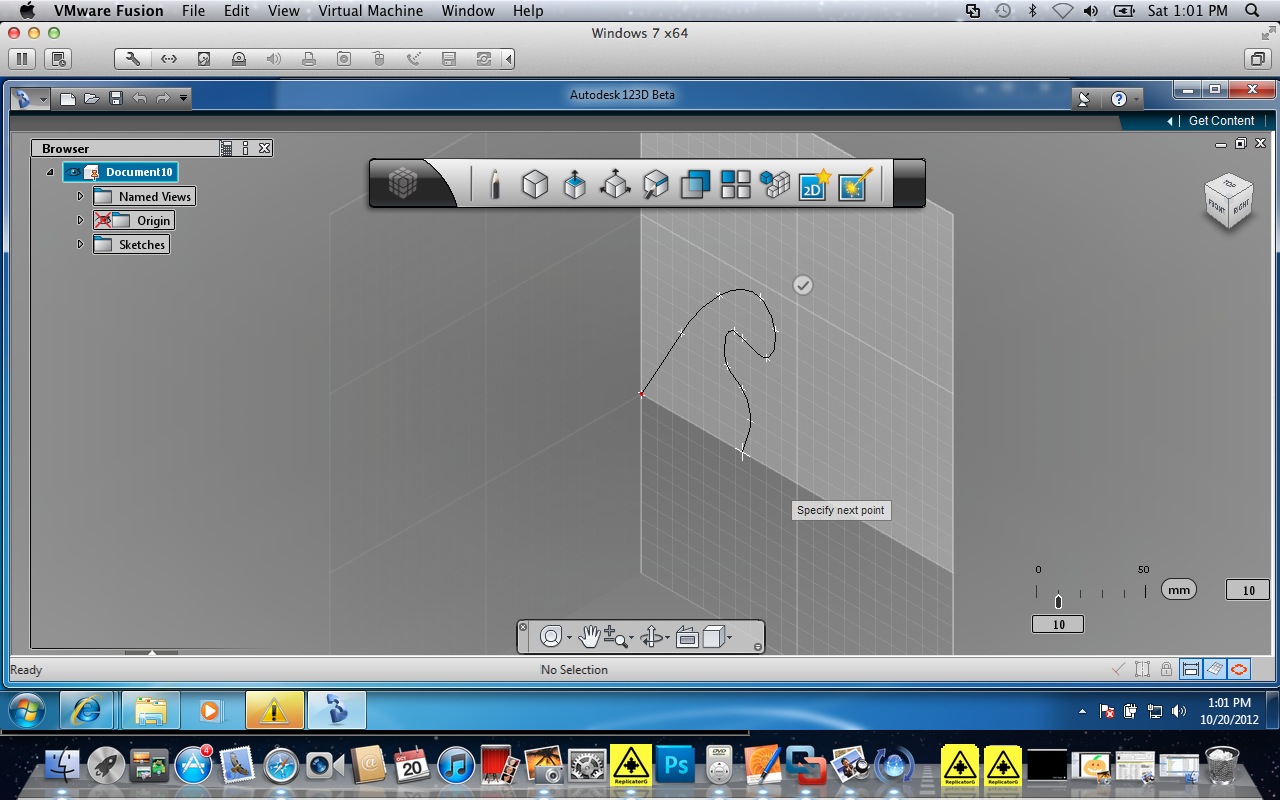
Draw your ghost outline. Keep track of the size of the image (shown in mm). My ghost is 60mm long, 85mm high and will be 25 mm deep. He has to be large enough to hold the hexbug.
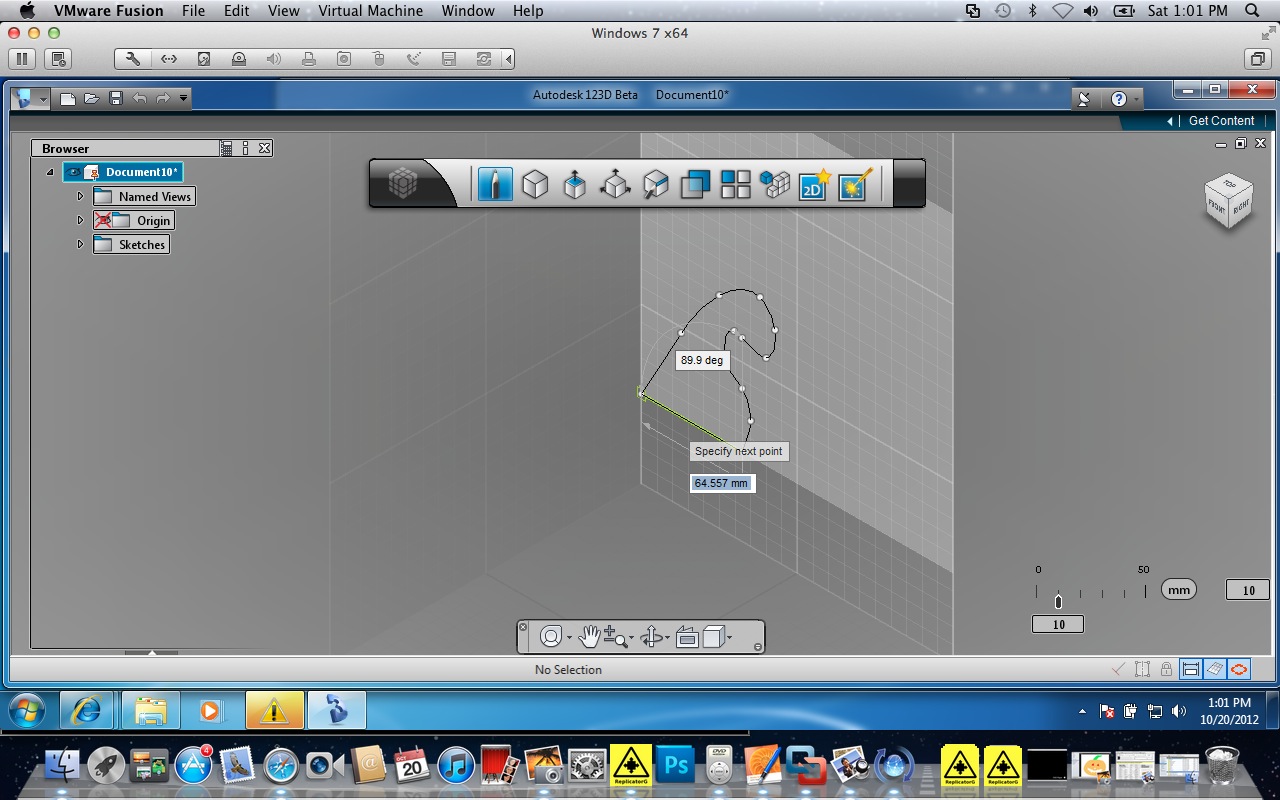
I didn't close the polygon (drawing) using the spline tool because I wanted the bottom to be flat--and the spline would fit some sort of curve there.
I went to the "pencil" and chose draw to connect a straight line at the bottom of the ghost.
I went to the "pencil" and chose draw to connect a straight line at the bottom of the ghost.
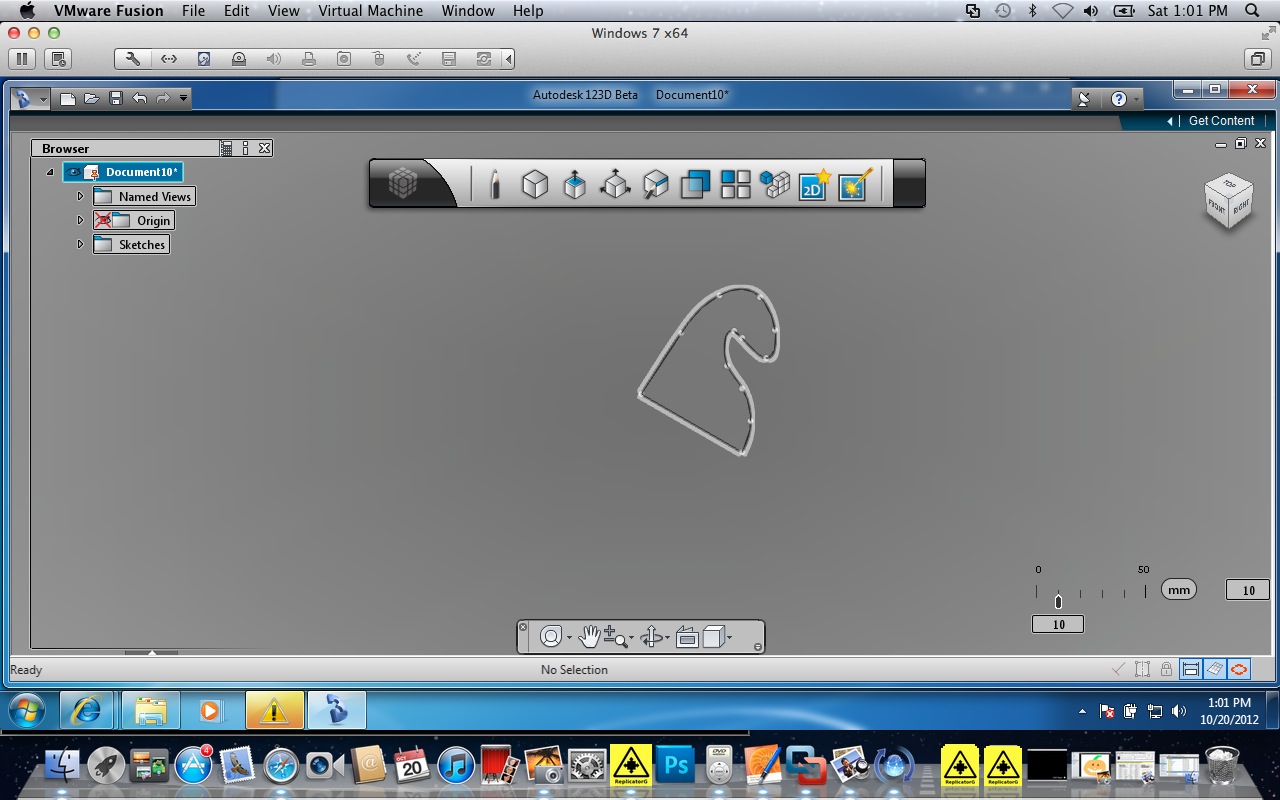
I now have a rough ghost shape, but no depth.
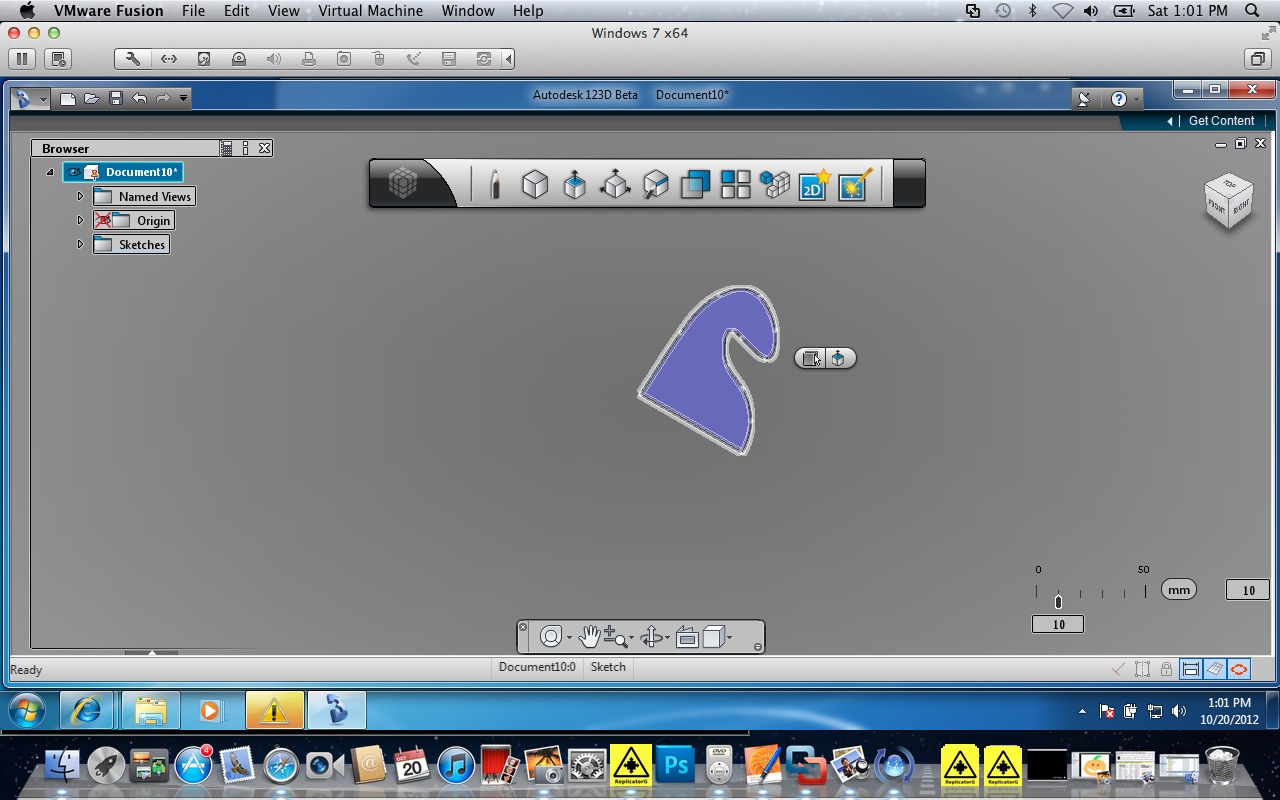
Select the shape (left click).
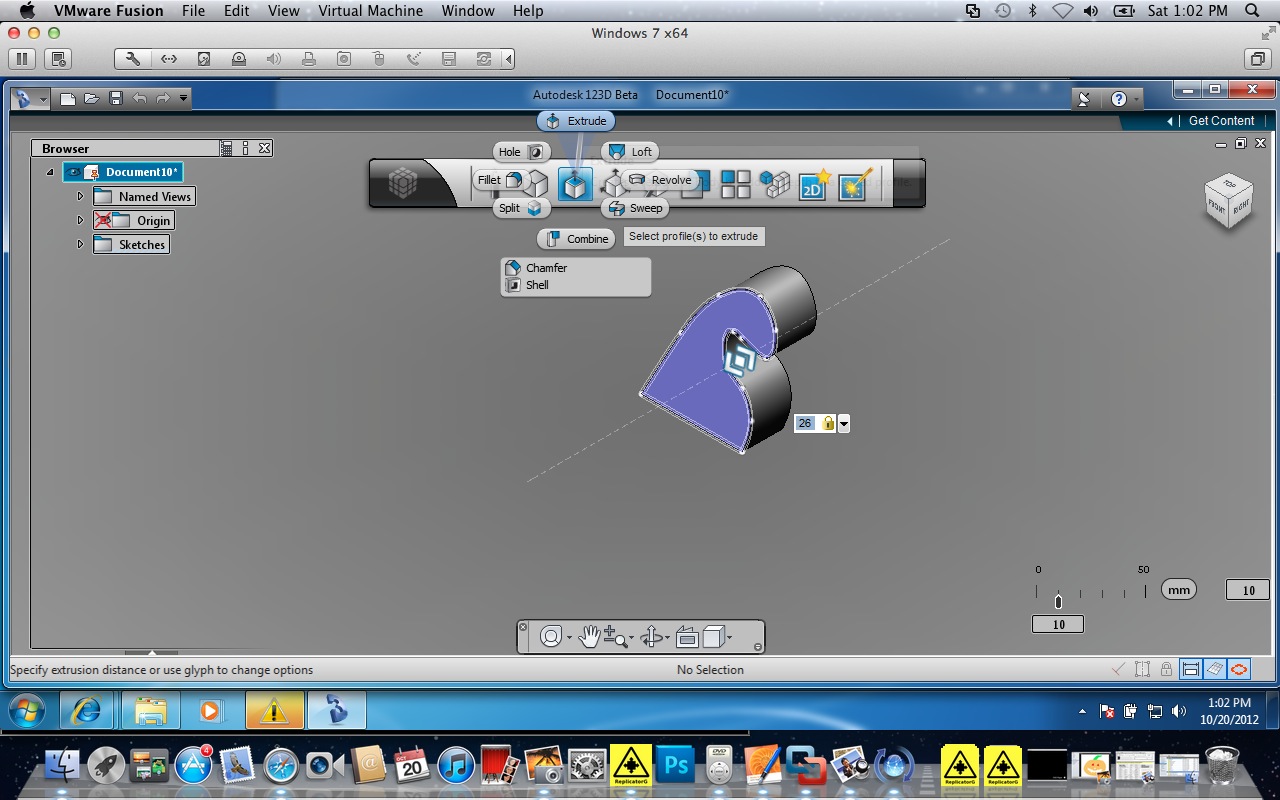
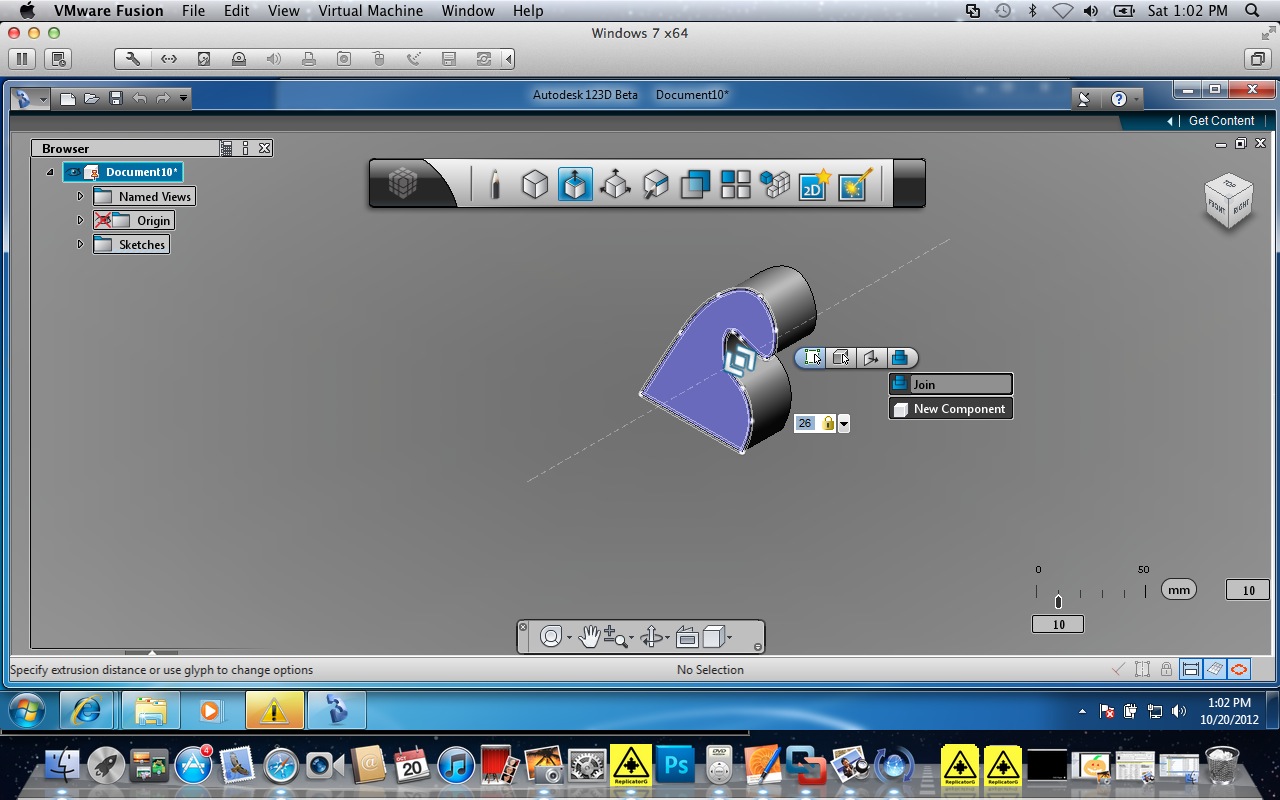
In the "create" box (3rd tool from left) choose "extrude." Type in a depth--I used 26. Select "join" in the little box to the right of the ghost. Then go back to the "create" box above and click on extrude.
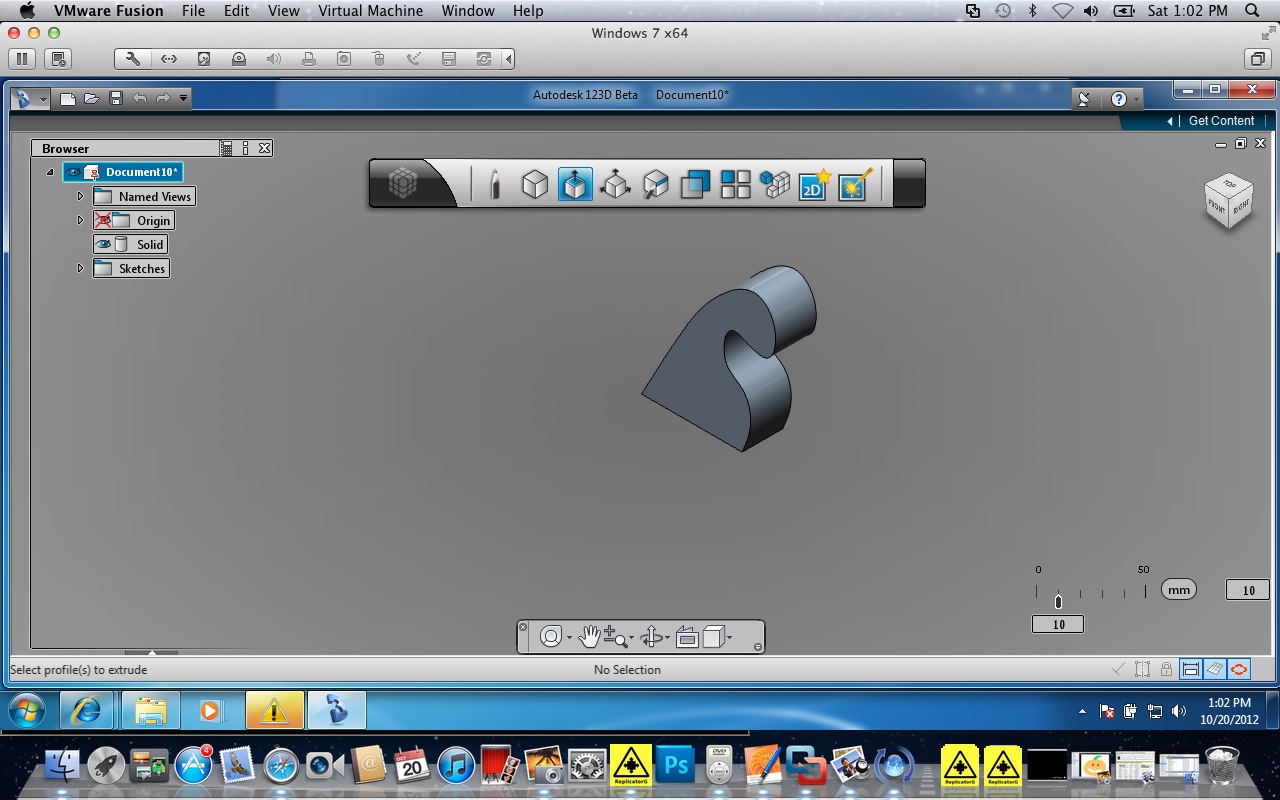
You should now have a 3d ghost.
I recommend saving now--save early and often and use different file names (like ghost a, ghost b, etc.). I have not found it easy to undo some of the many mistakes I make, so I just close and go back to my last good step when required.
I recommend saving now--save early and often and use different file names (like ghost a, ghost b, etc.). I have not found it easy to undo some of the many mistakes I make, so I just close and go back to my last good step when required.
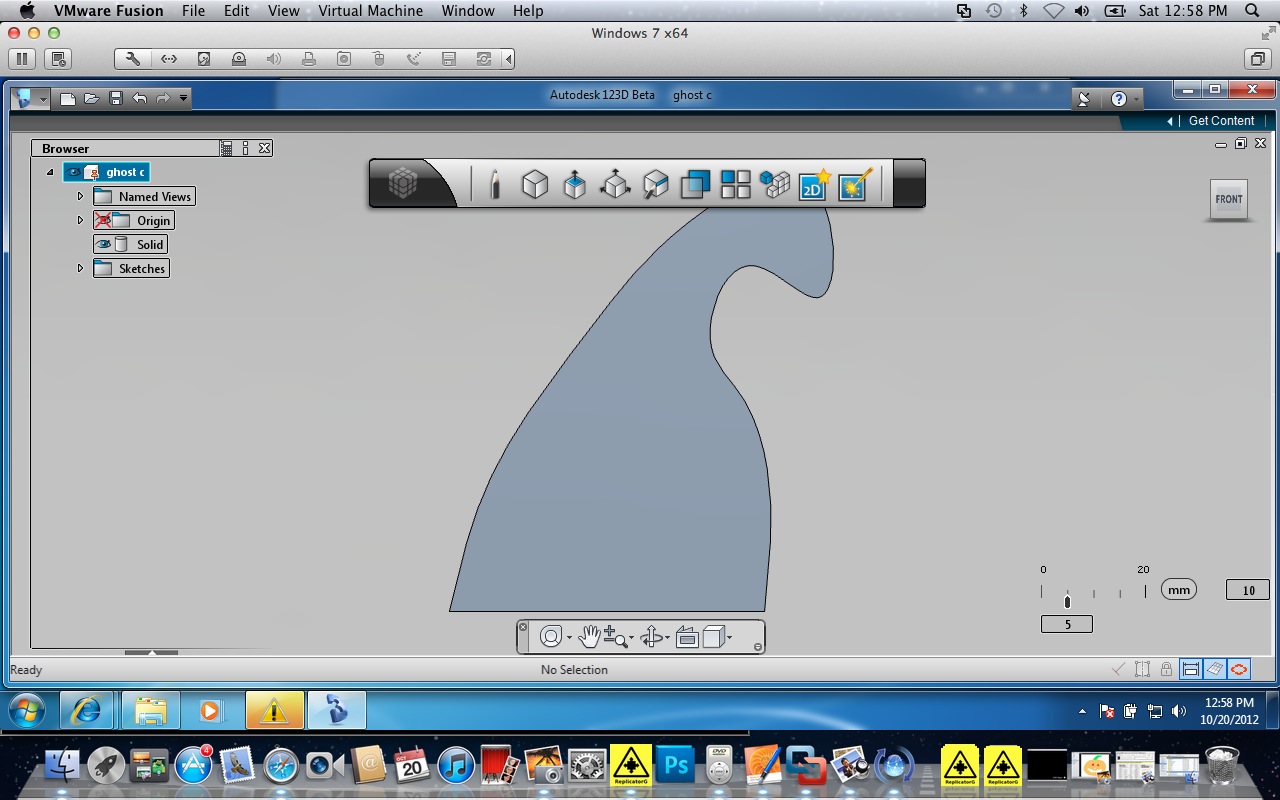
Using the view tool (little box in the upper right), choose "front."
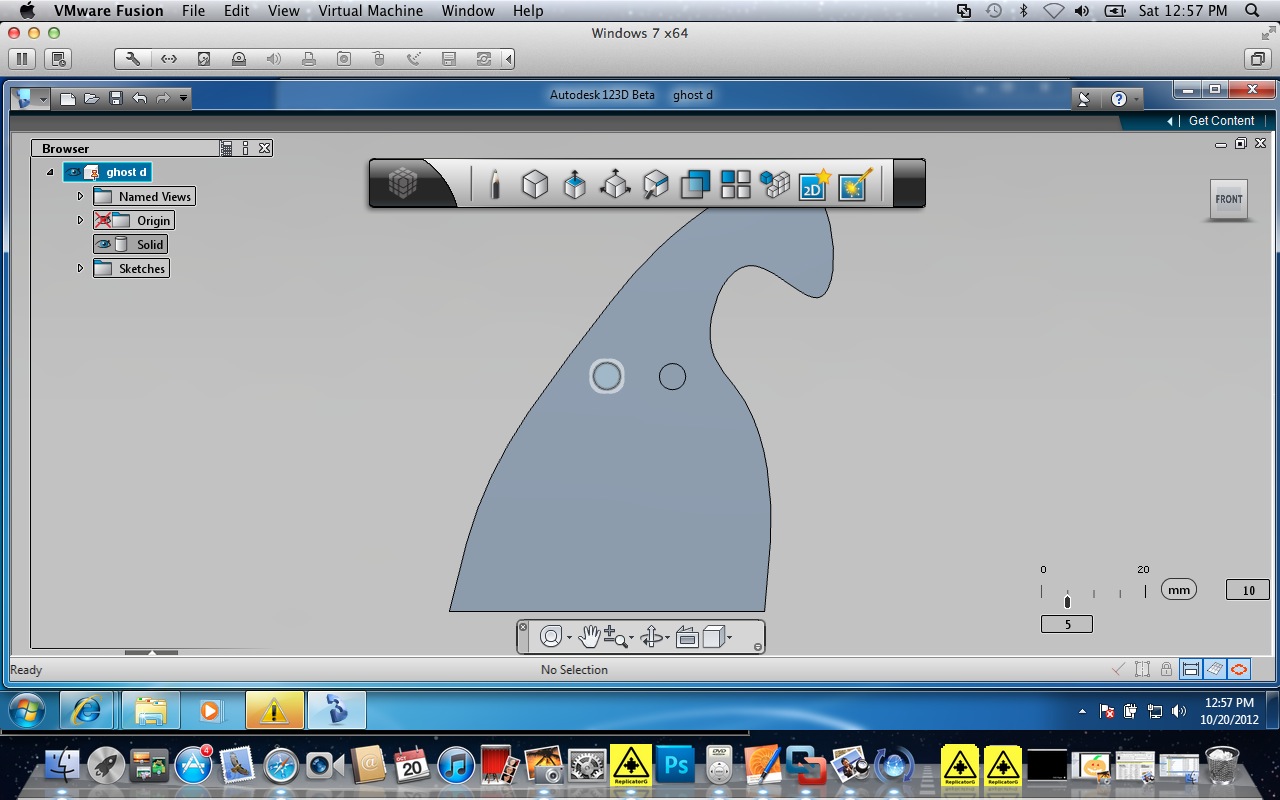
Using the pencil tool, choose "circle," and select a center point for an eye. Then choose a radius.
Do the same for the second eye.
Select an eye, then choose "extrude" and a depth for your eye hole. Depending on your view, cutting a hole may be a positive or negative number (someone smarter than me can explain which time is which).
Do the same for the second eye.
Select an eye, then choose "extrude" and a depth for your eye hole. Depending on your view, cutting a hole may be a positive or negative number (someone smarter than me can explain which time is which).
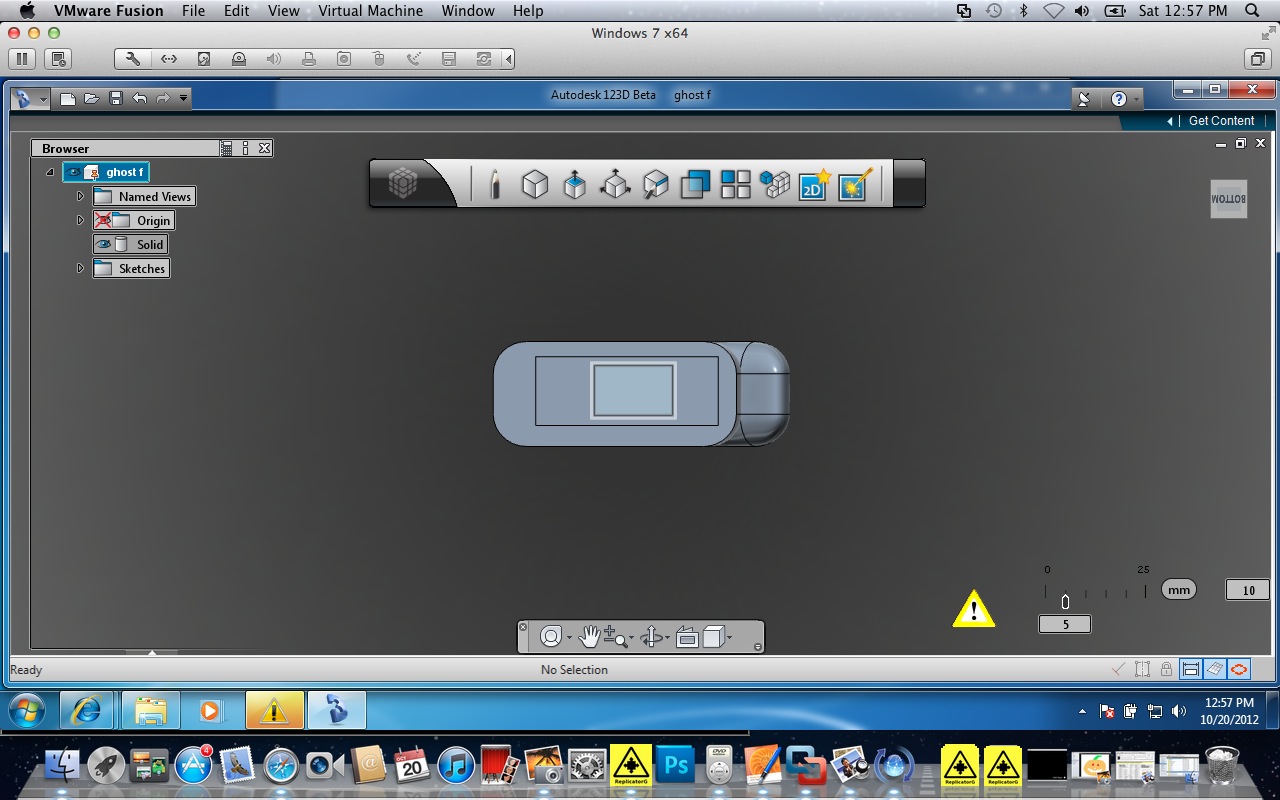
View the ghost from the bottom.
Draw a rectangle (pencil tool) that the hexbug will fit in. Extrude the rectangle (cut out the hexbug space).
Draw another rectangle and extrude it (cut it out)--this will go up to the eye sockets.
Draw a rectangle (pencil tool) that the hexbug will fit in. Extrude the rectangle (cut out the hexbug space).
Draw another rectangle and extrude it (cut it out)--this will go up to the eye sockets.
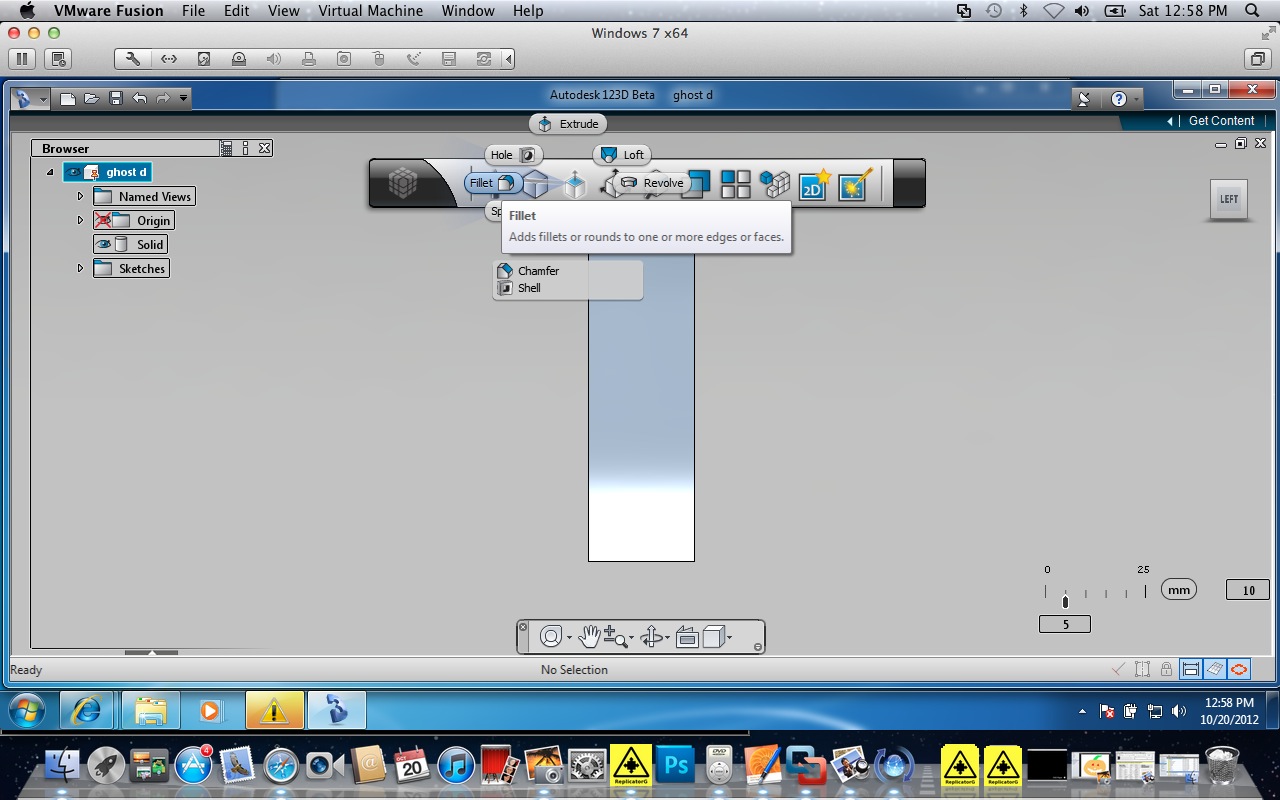
View the ghost from the left side.
Choose "create," then "Fillet."
Choose "create," then "Fillet."
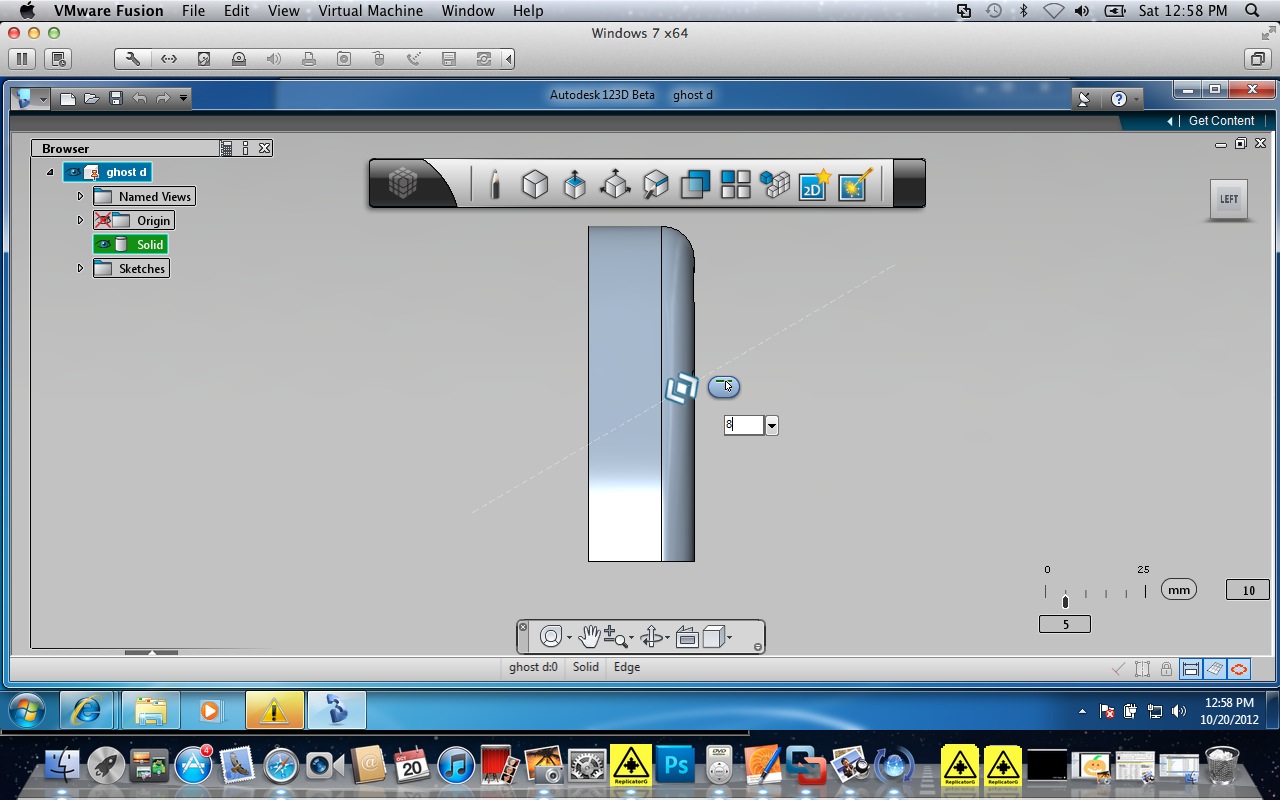
Choose an edge of the ghost and click. Make the fillet about 8 mm (larger number is more "rounding").
Do the same with the other edge.
Do the same with the other edge.
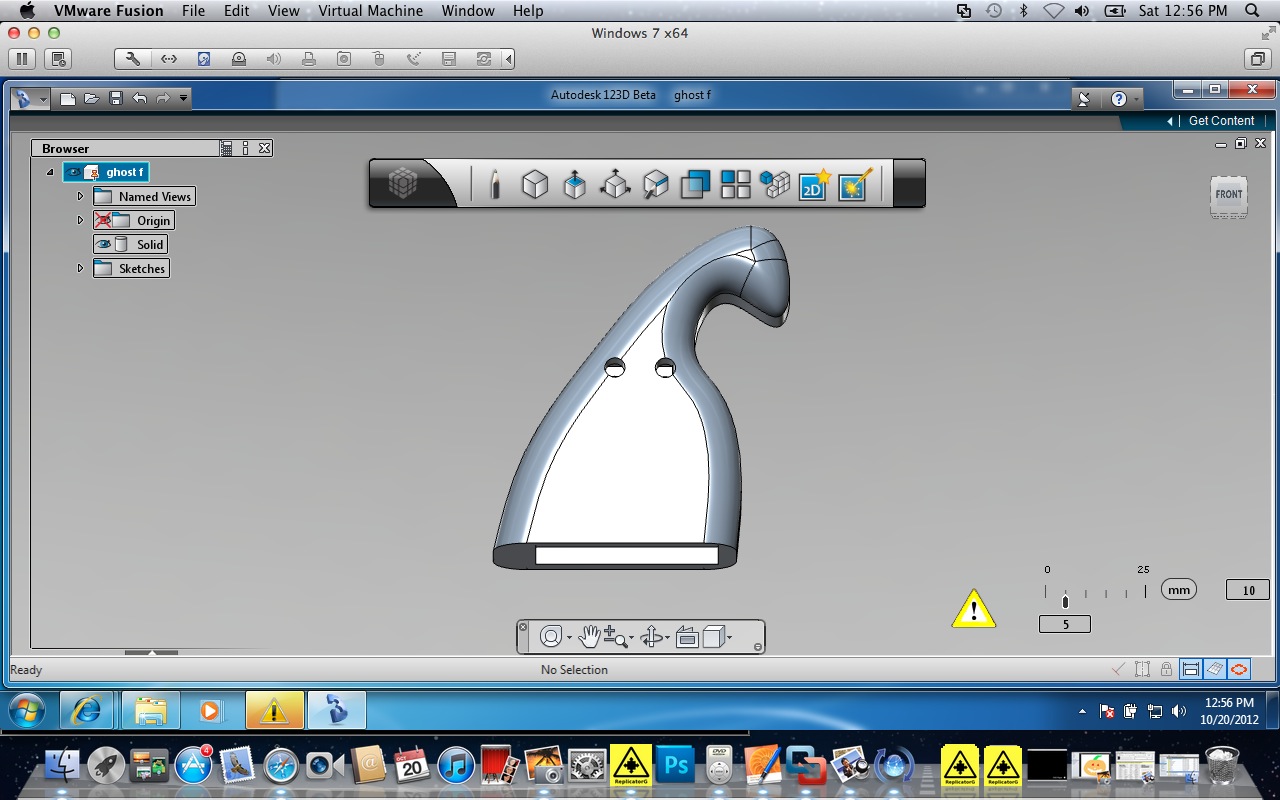
You're pretty much done with the design.
Save. Save again as an .stl file. This is what you will send to your printer.
Save. Save again as an .stl file. This is what you will send to your printer.
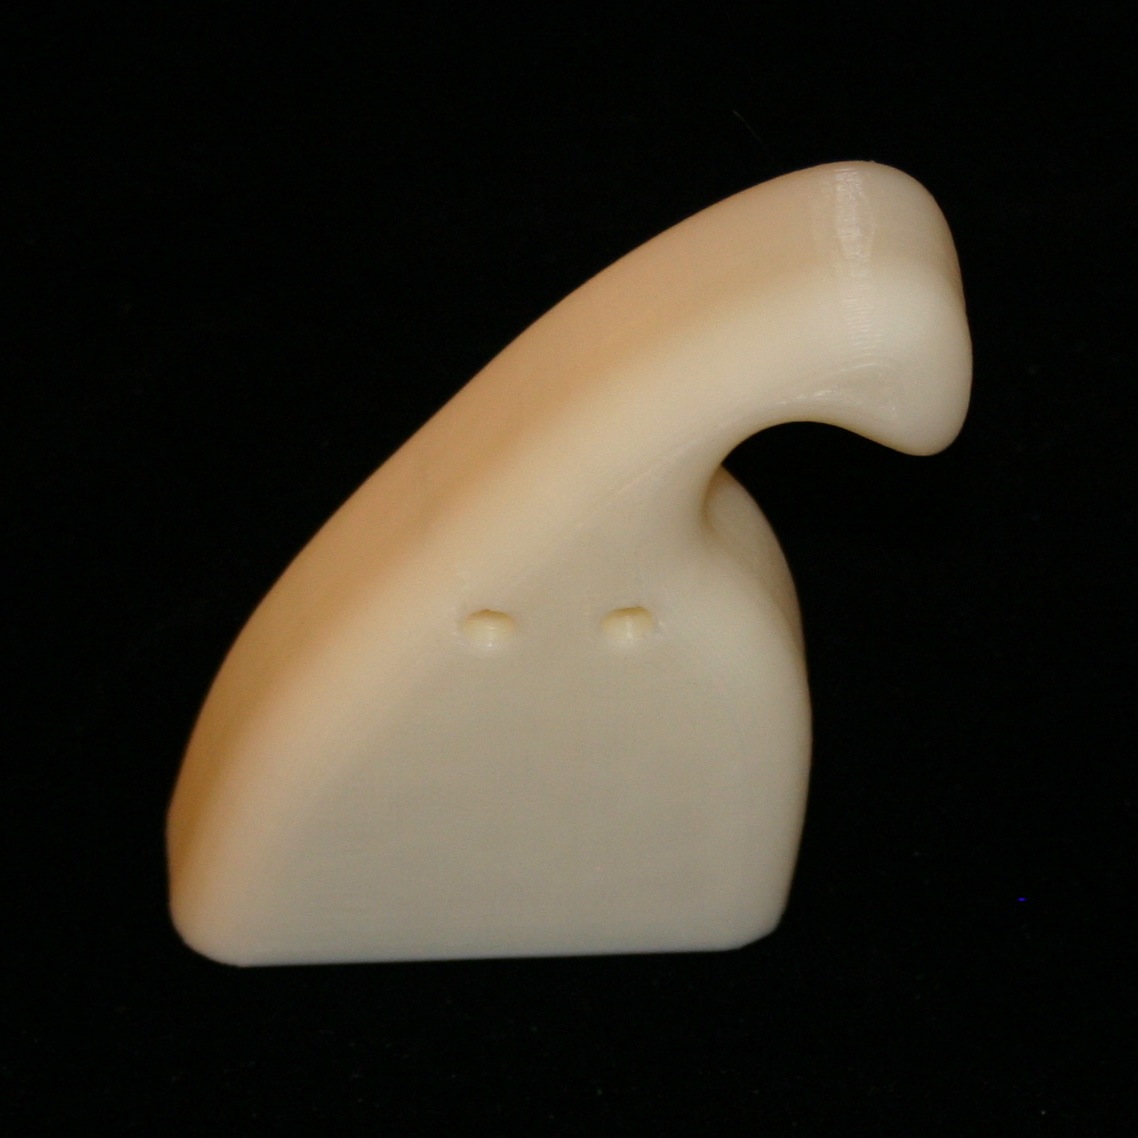
This is the top, front view of a finished ghost.
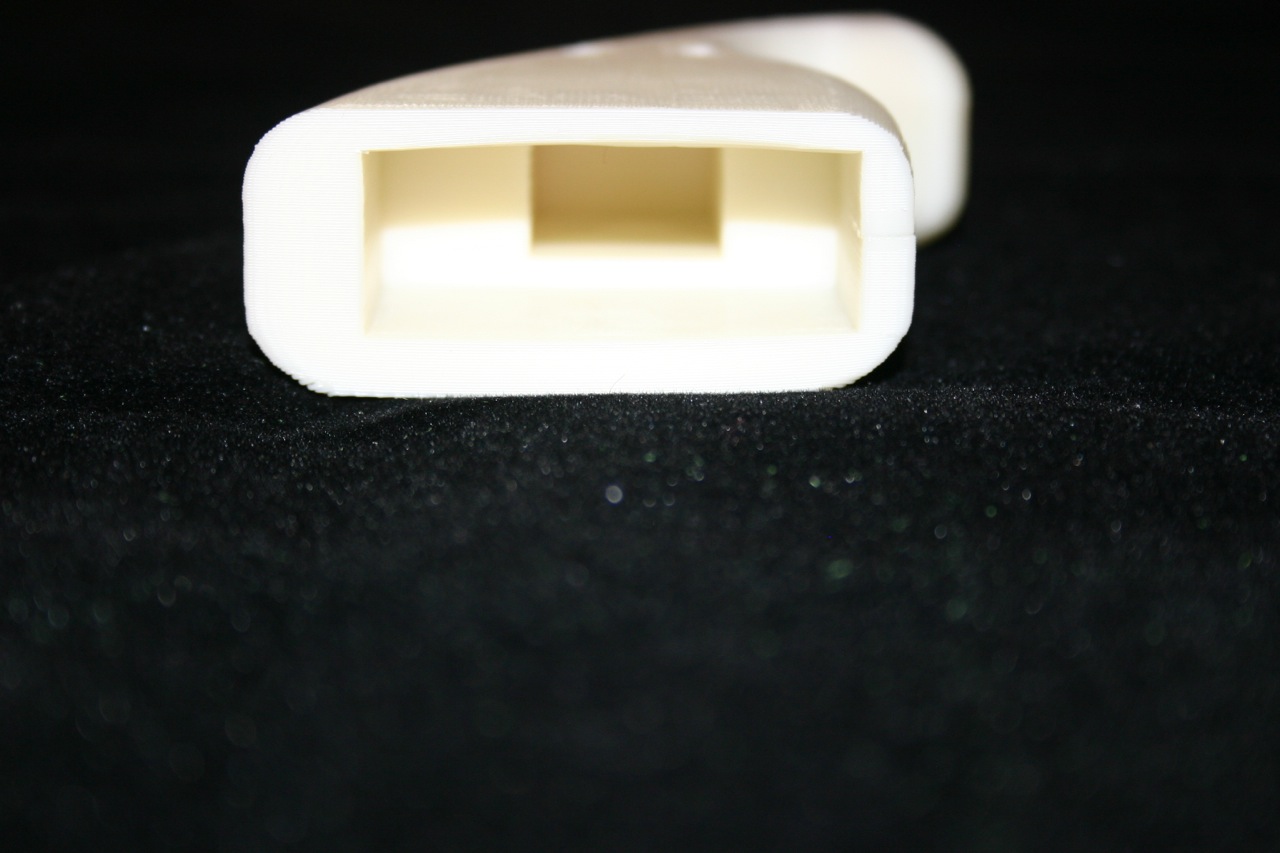
This is the bottom.
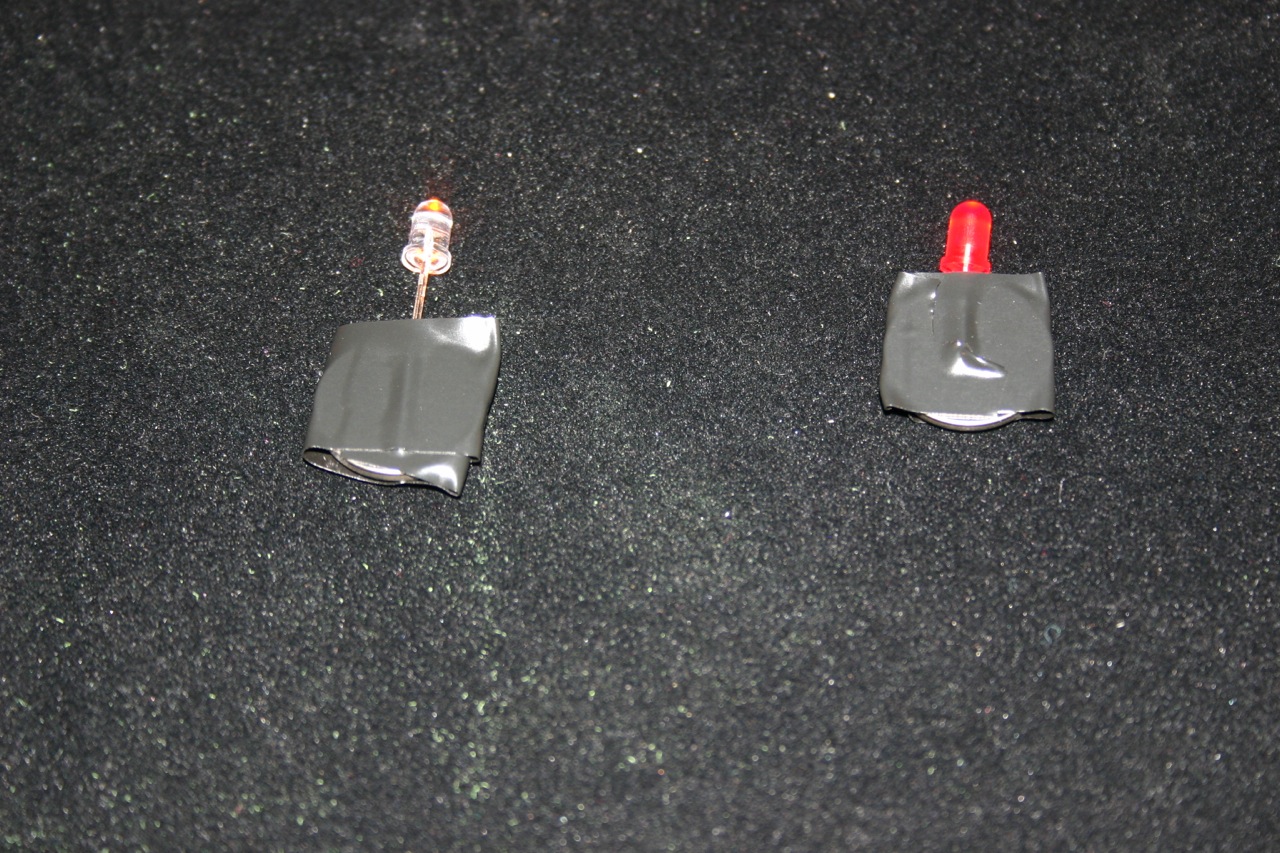
Tape a led to a 2032 battery--long led leg on the "+" side of the battery.
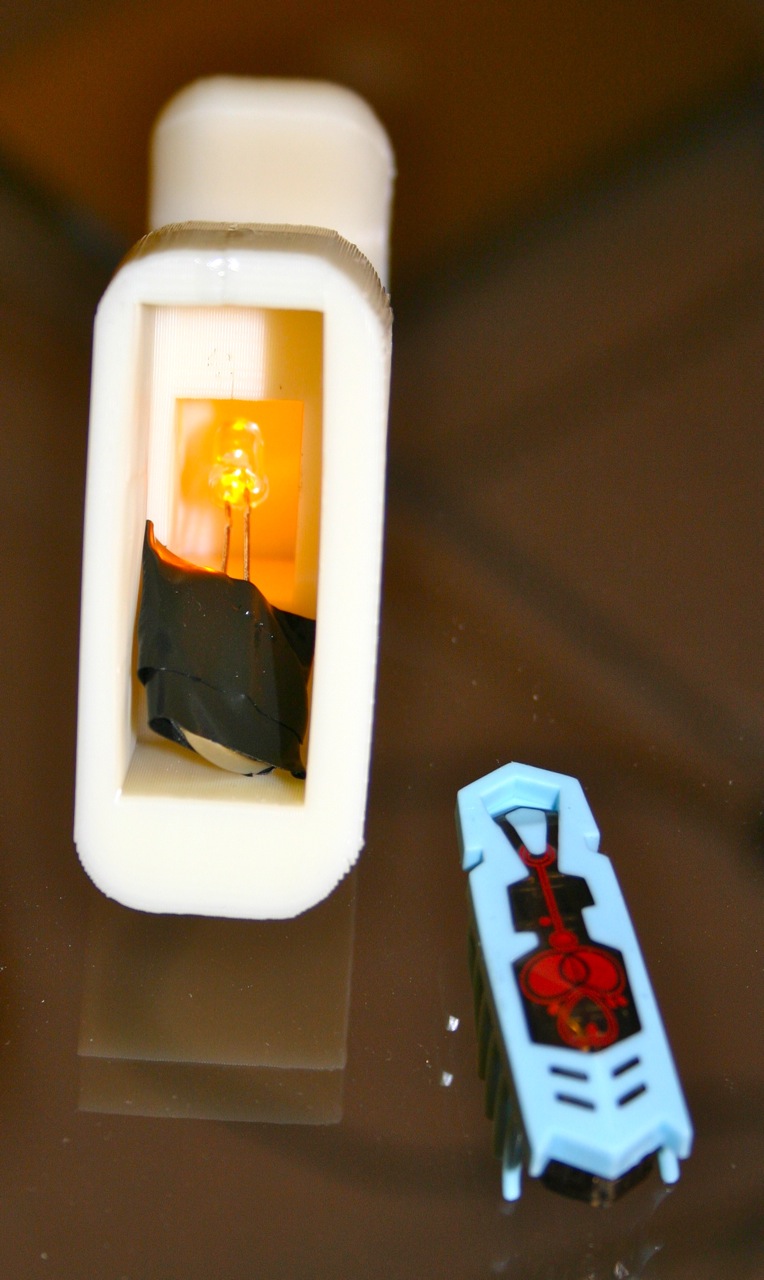
Insert the glowing led. Turn on the hexbug and insert it.
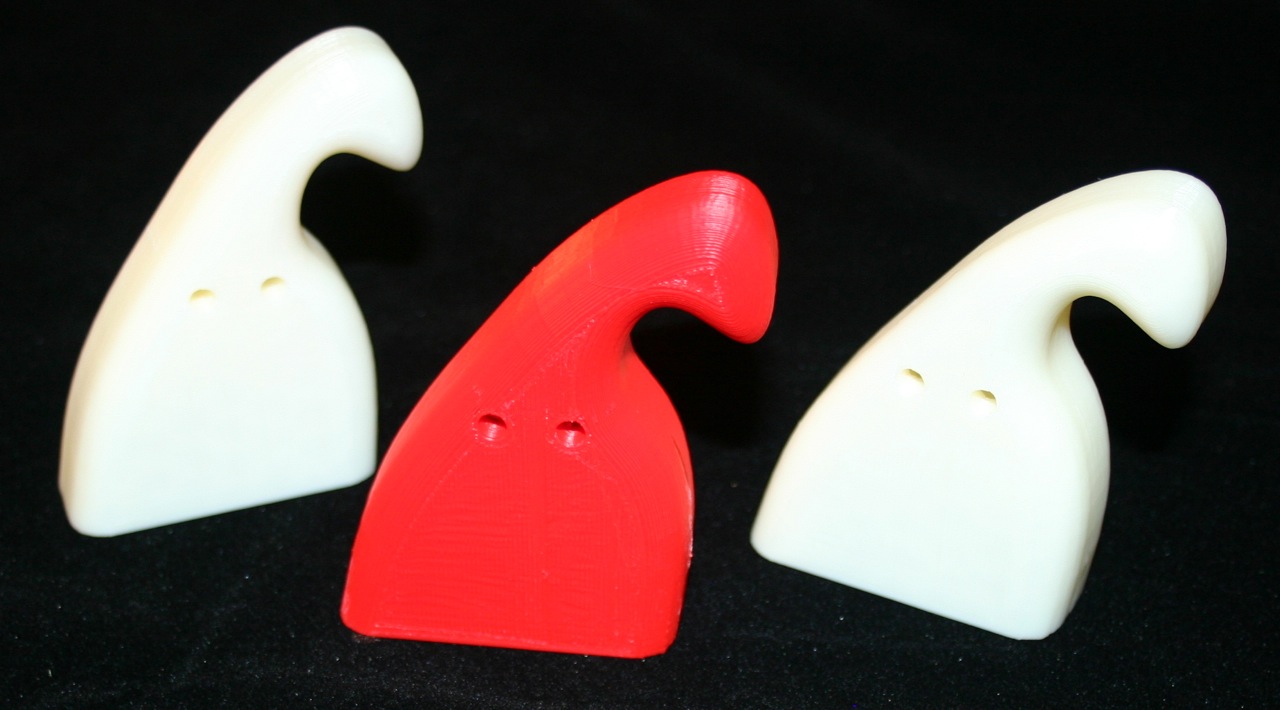
Put the ghost down on a table and watch it go. You can print ghosts from different colors of plastic, and you can use different colors of led for eyes--making lots of different ghosts.