Hexagonal Self Watering Planter
by Timothee Gillier in Living > Gardening
2057 Views, 28 Favorites, 0 Comments
Hexagonal Self Watering Planter
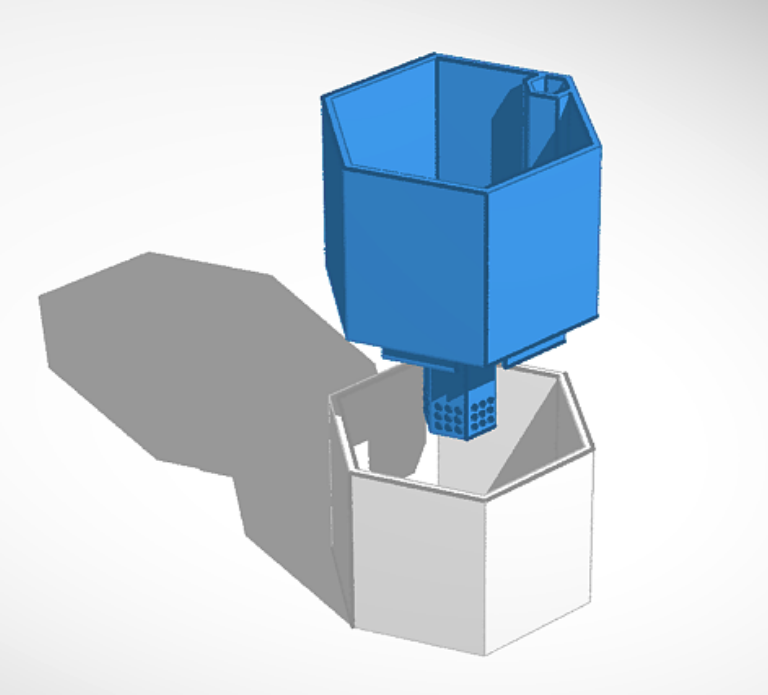
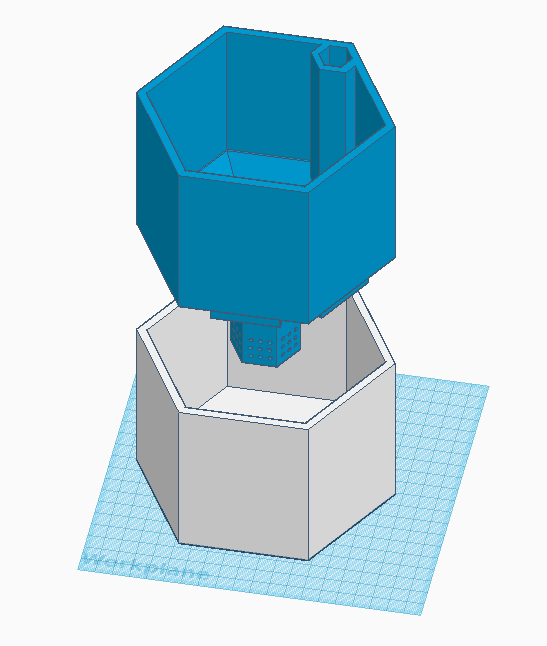
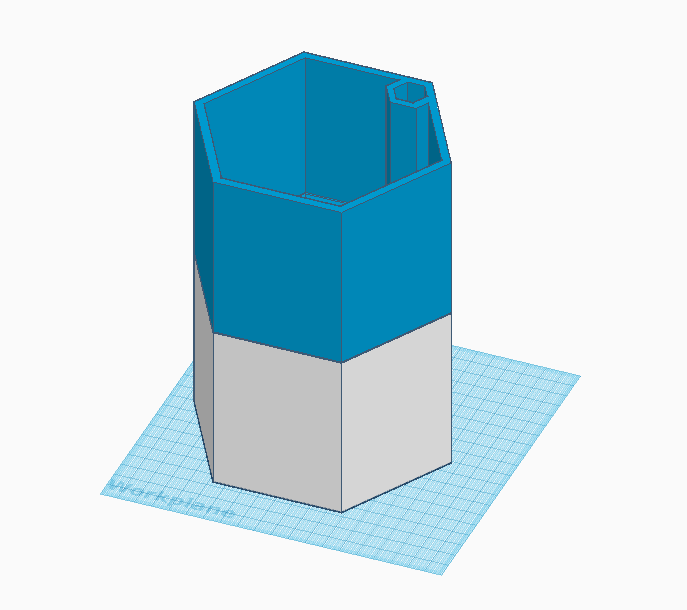
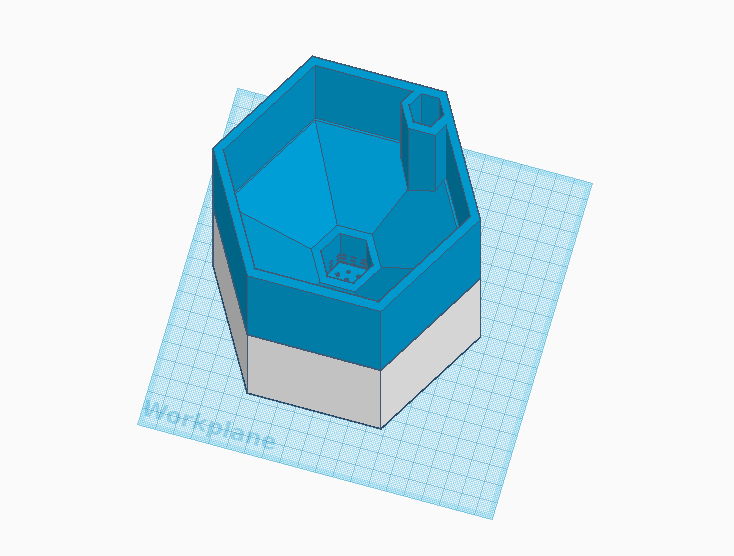
You might have multiple indoor plants laying around in boring pots, and find it annoying to have to water them all the time. I found a solution to water your plants automatically, without any complicated mechanisms and that looks nice.
So if you want to be able to leave on vacation without having your plants dry up, follow the steps, or directly printout this Hexagonal Self Watering Planter at the end of this Instructable.
Supplies
You will need an access to Tinkercad, and eventually a 3D printer if you want to have a physical copy of the planter.
Tinkercad website: https://www.tinkercad.com/
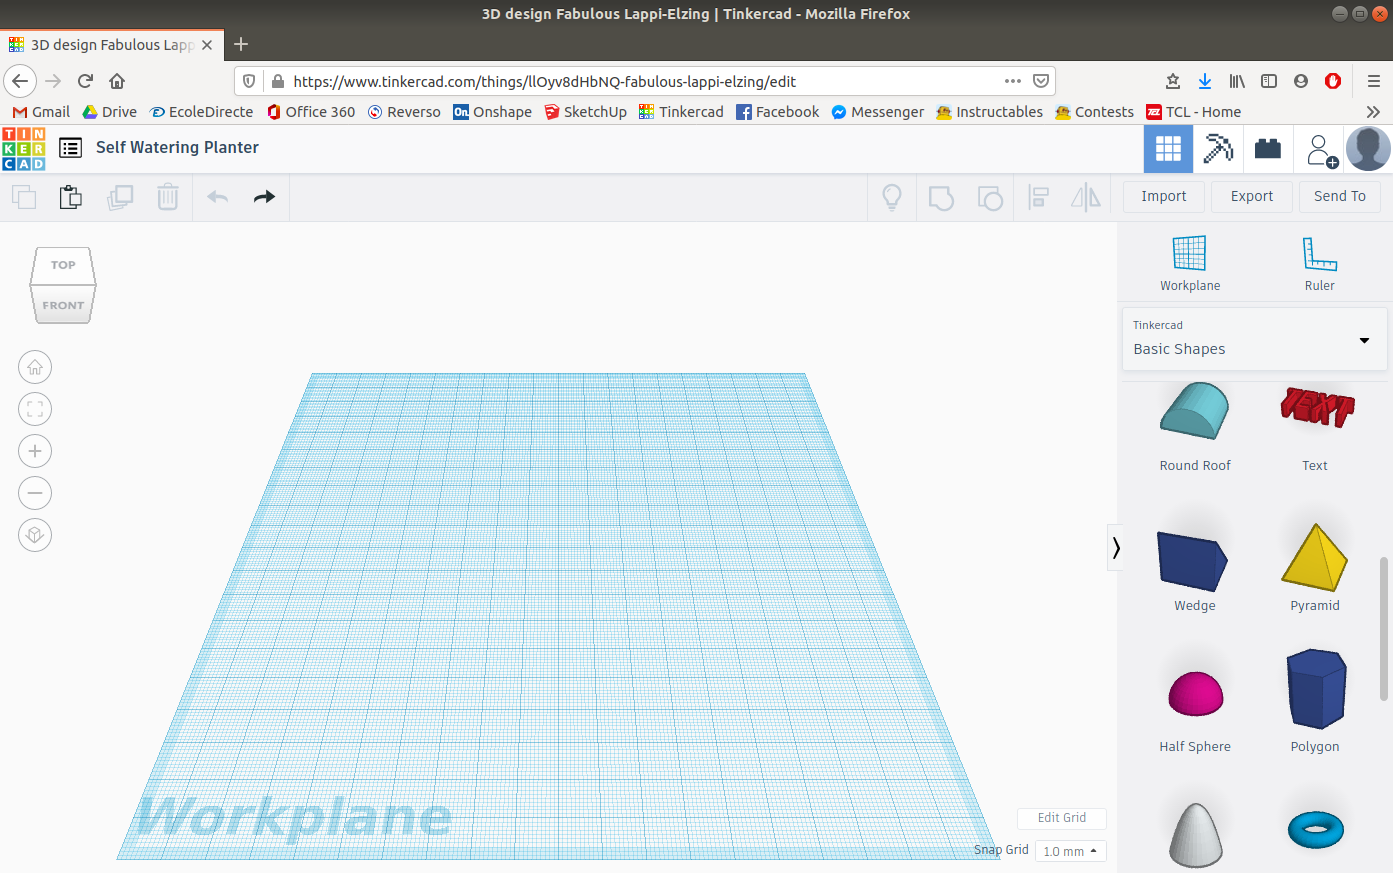
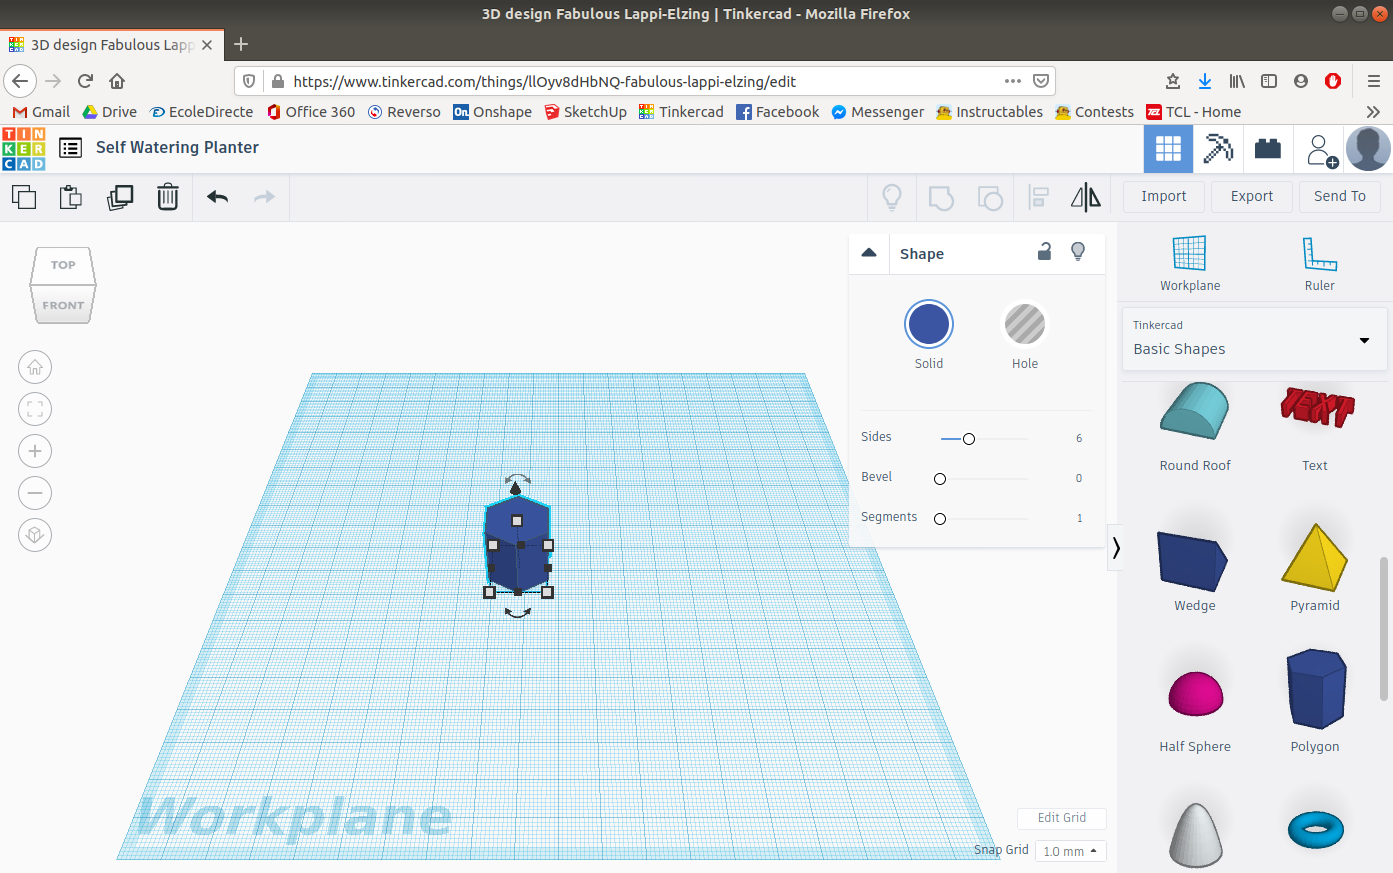
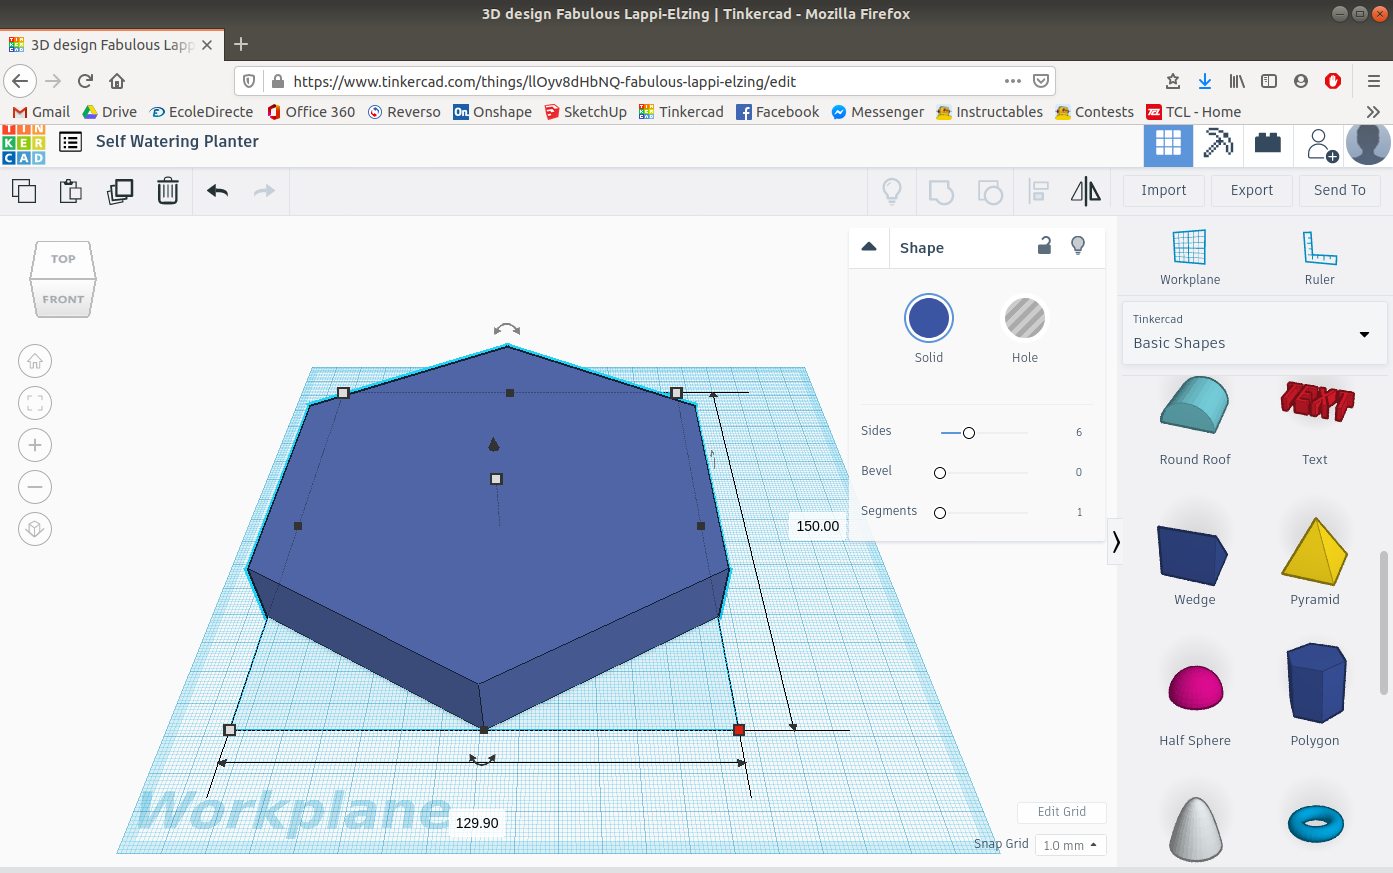
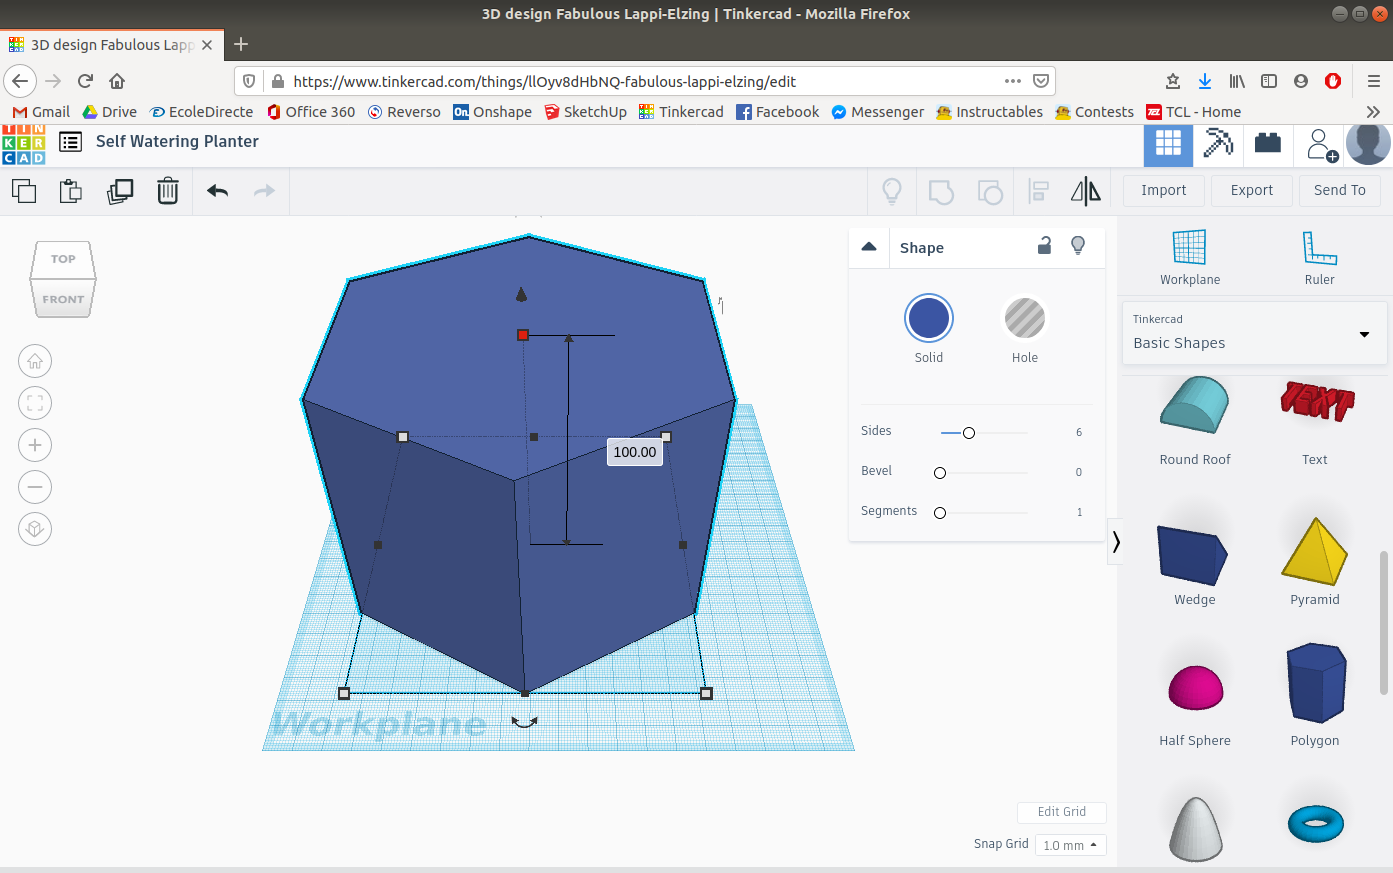
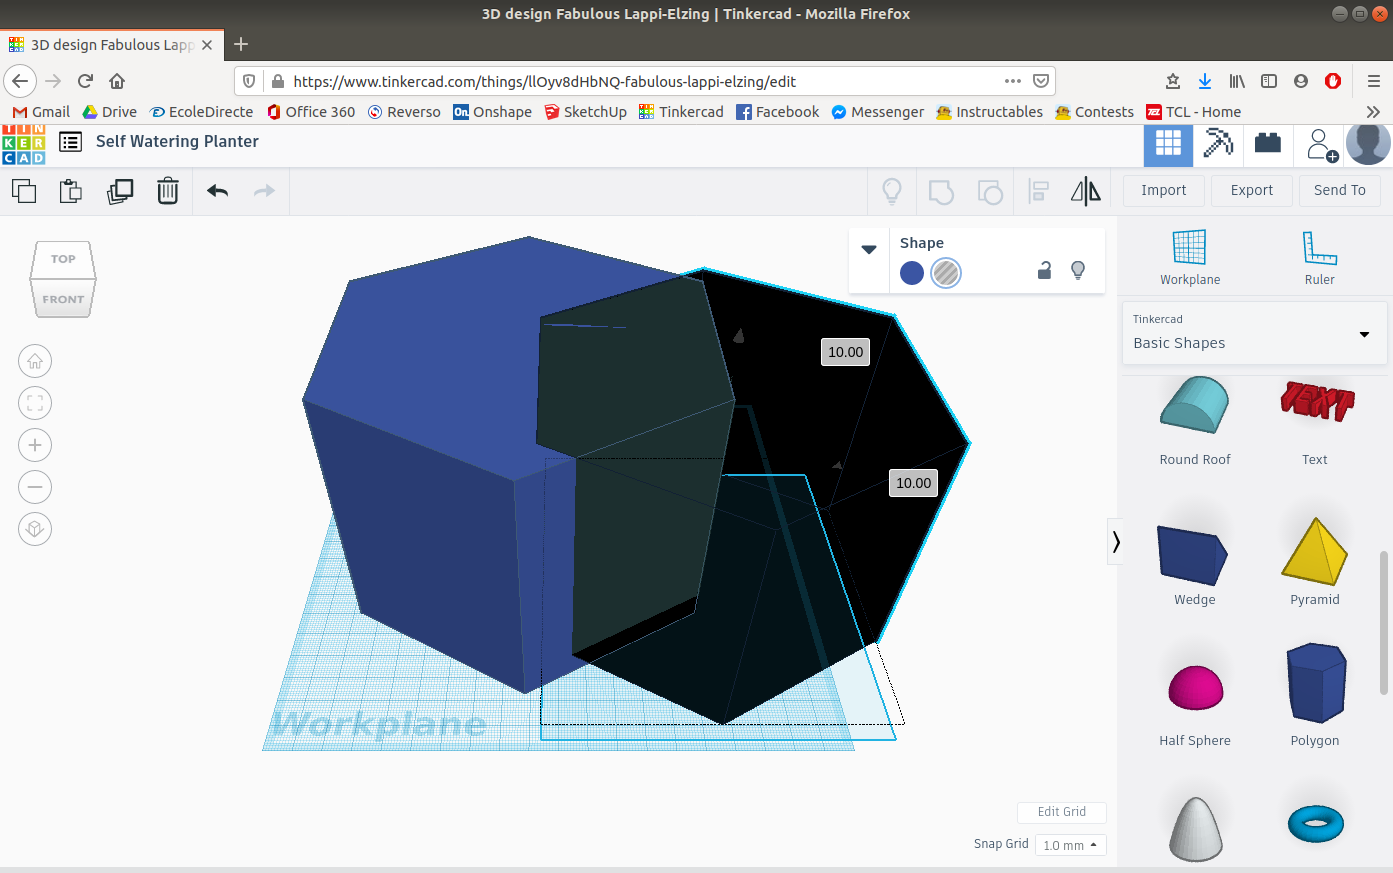
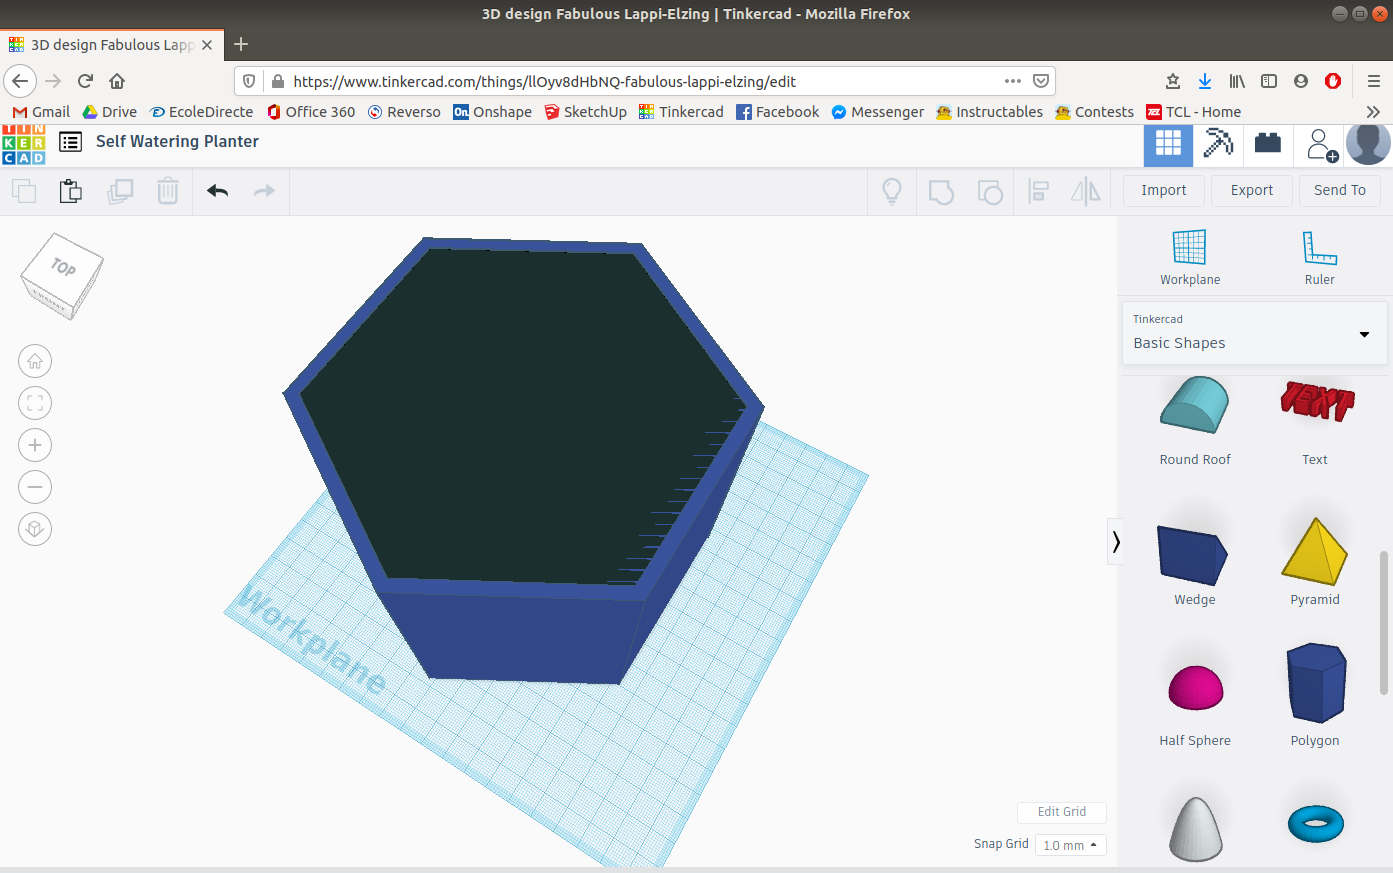
The first step in making this hexagonal self watering planter is to open Tinkercad. Once Tinkercad is open, insert a pentagon and select 6 sides. Then give it the dimensions of 150 x 129.9 x 100 so that it makes a hexagonal prism.
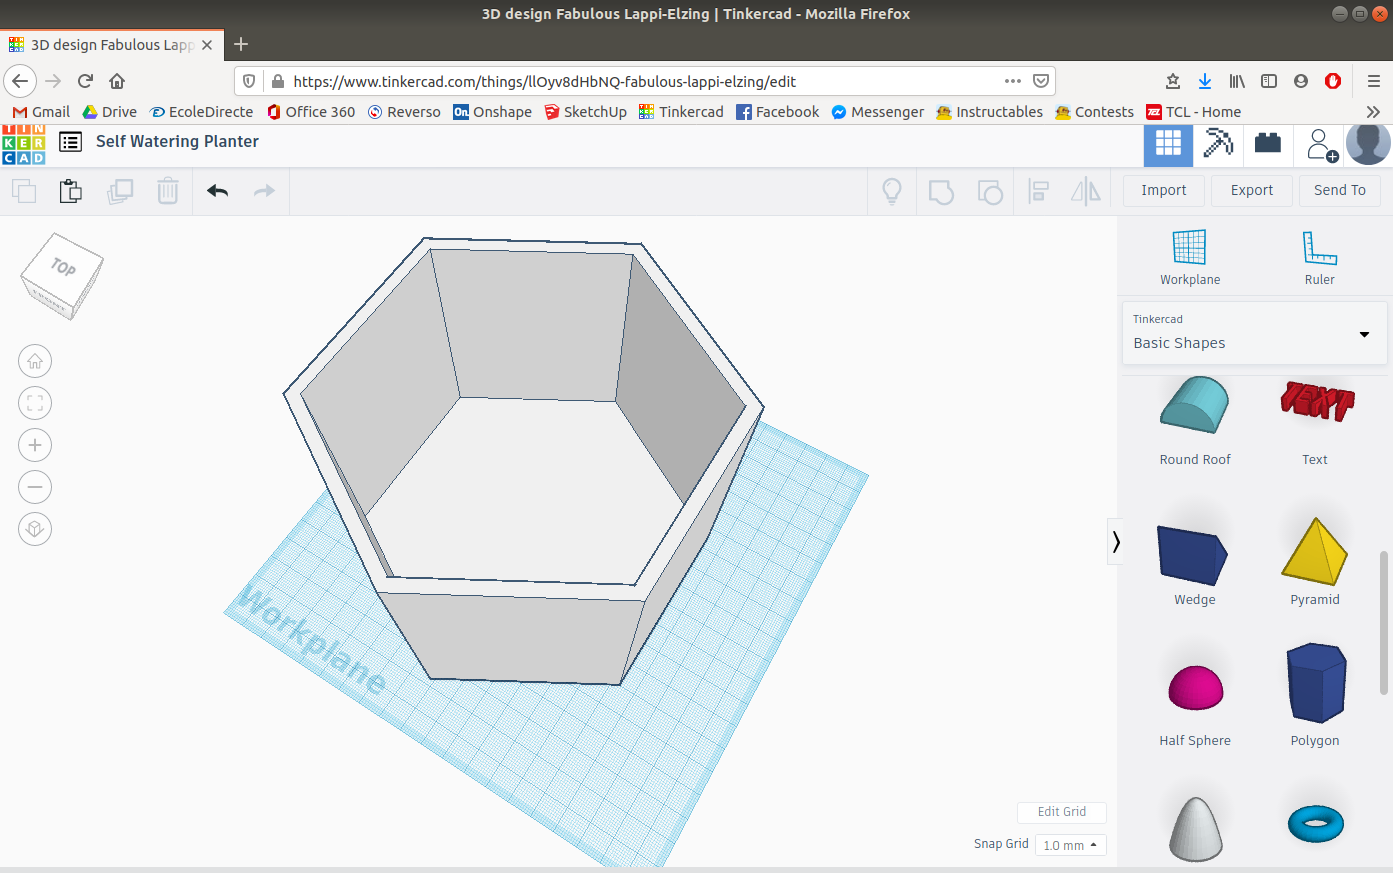
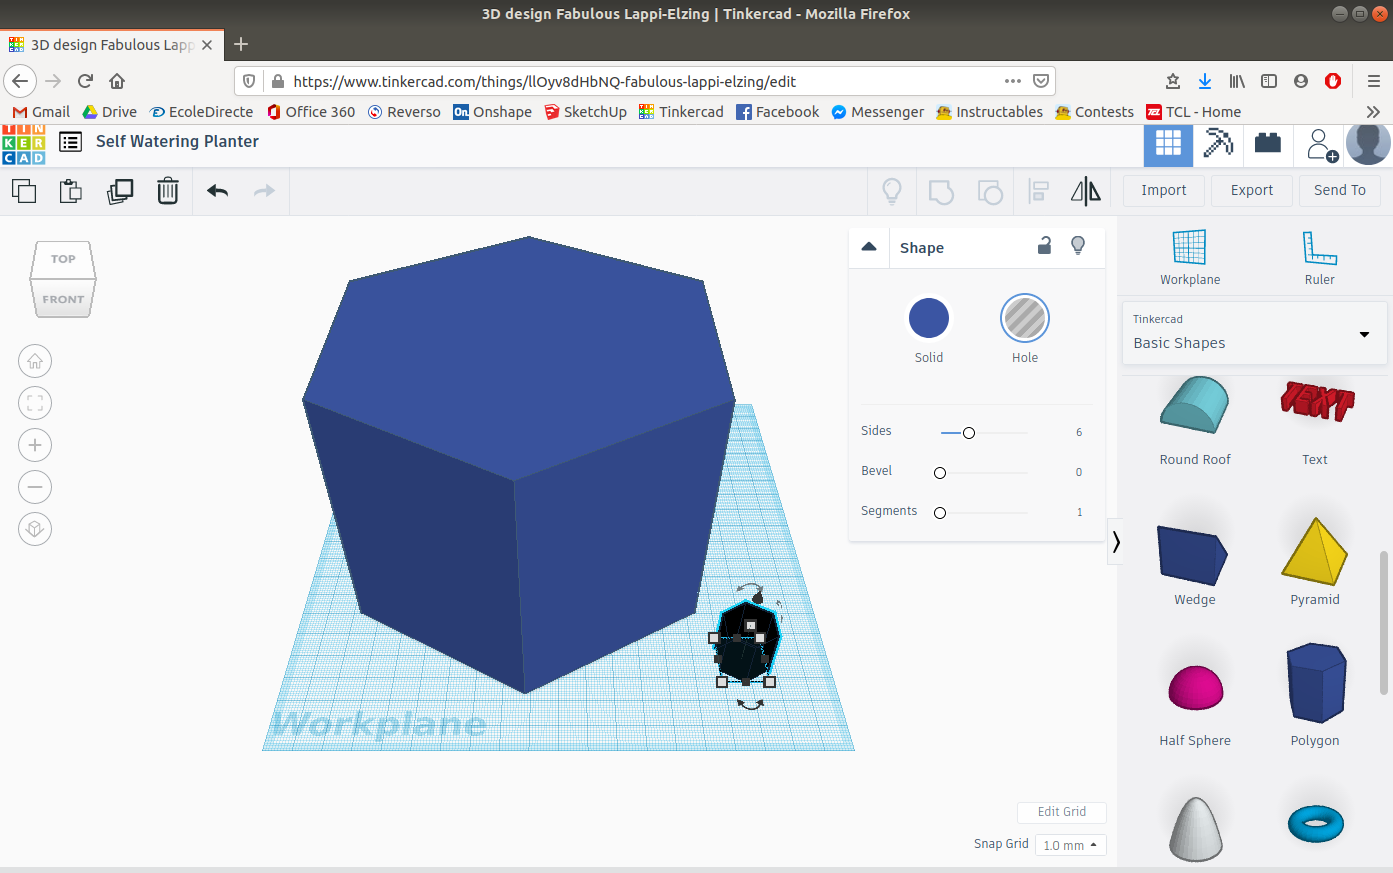
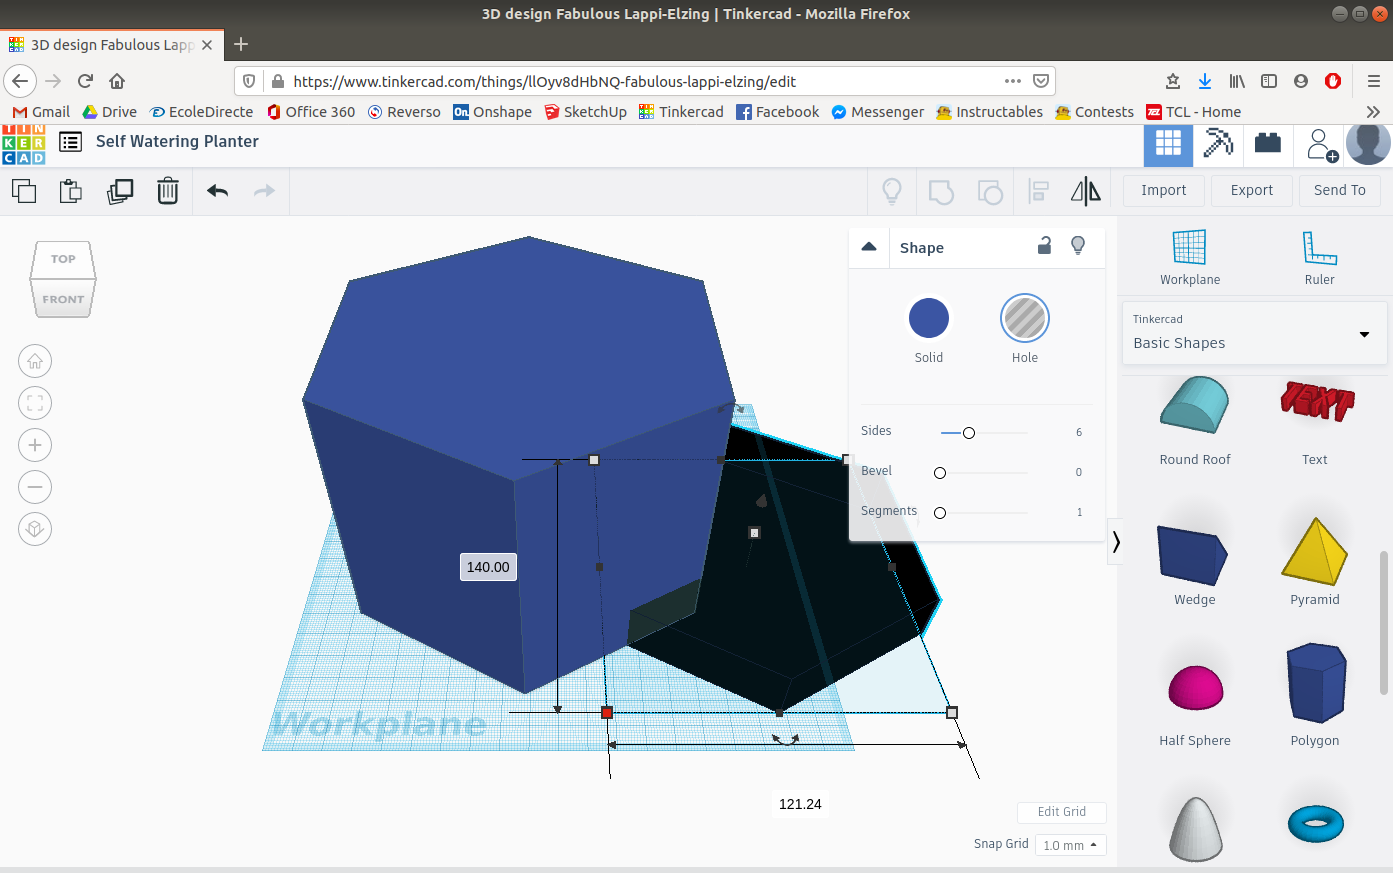
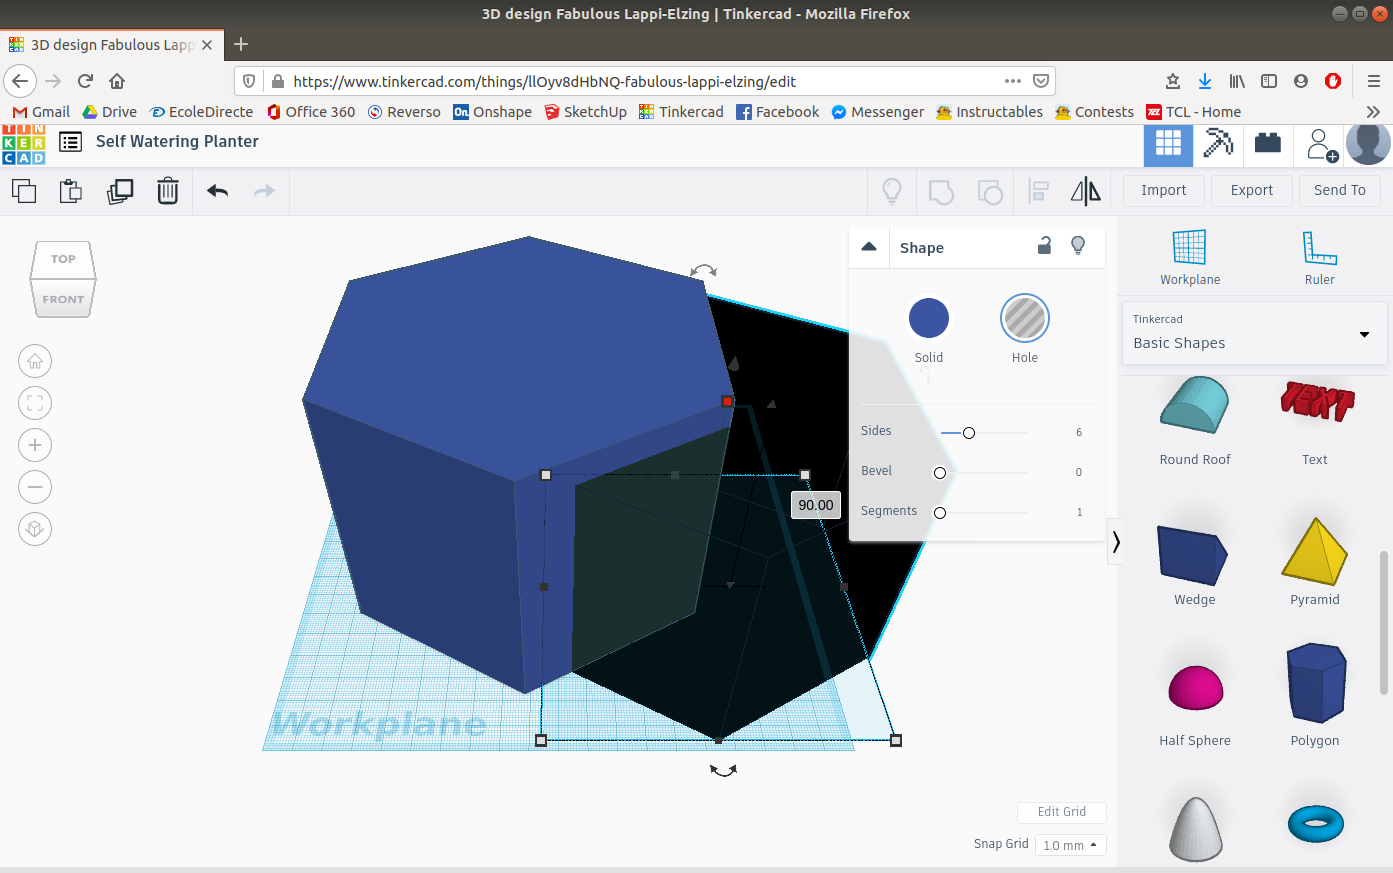
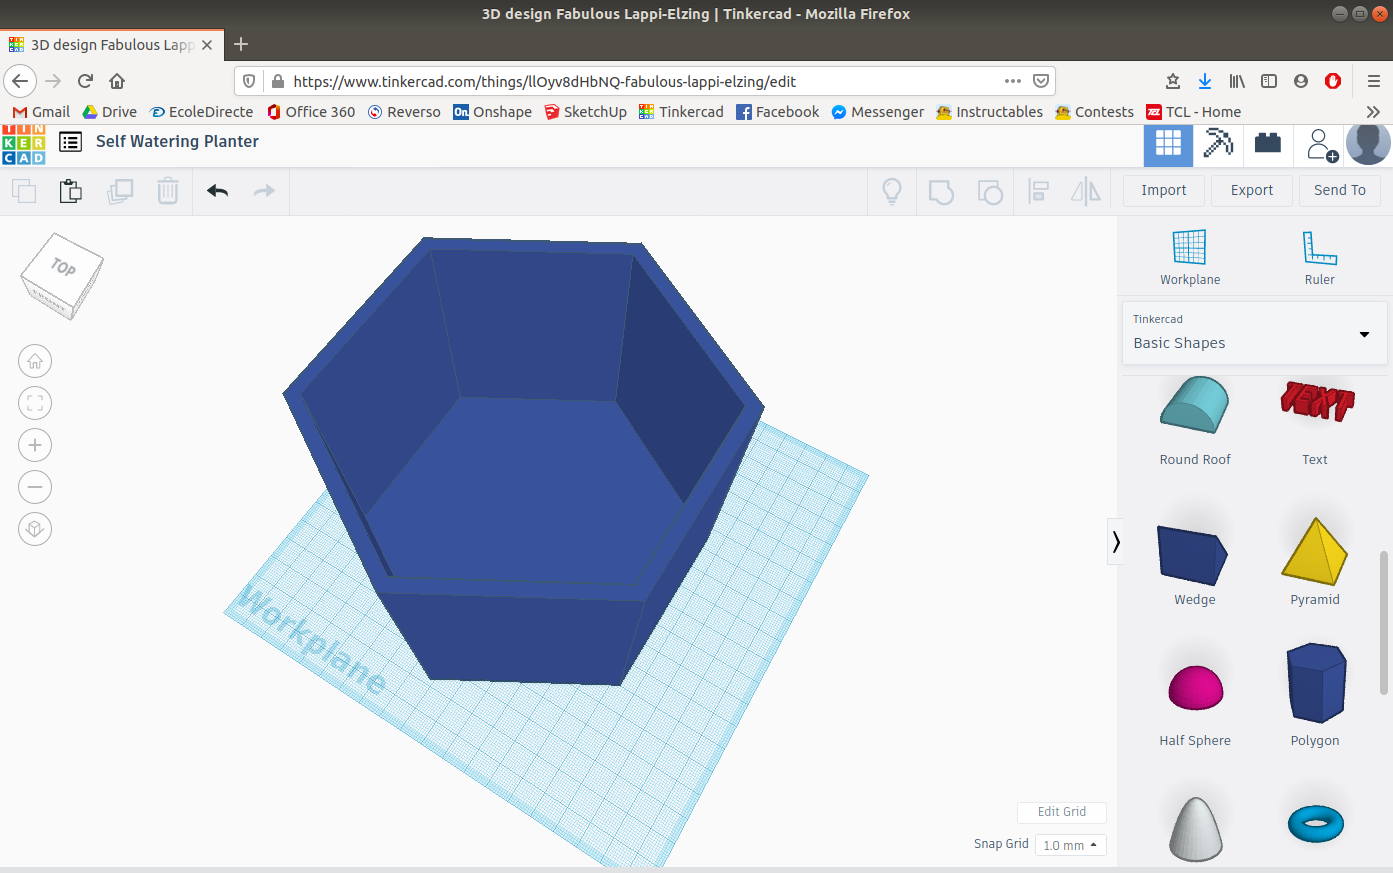
Then insert another pentagon, select 6 sides and select the "hole" option. Give it the dimensions of 140 x 121.24 x 90 and elevate it by 10 units. Then place it in the center of the other hexagonal prism and select the group option to merge the two parts together.
So now you have the base of your hexagonal self watering planter. This is in what the water will be stored.
Create a new design on Tinkercad to make the top part of the hexagonal self watering planter.
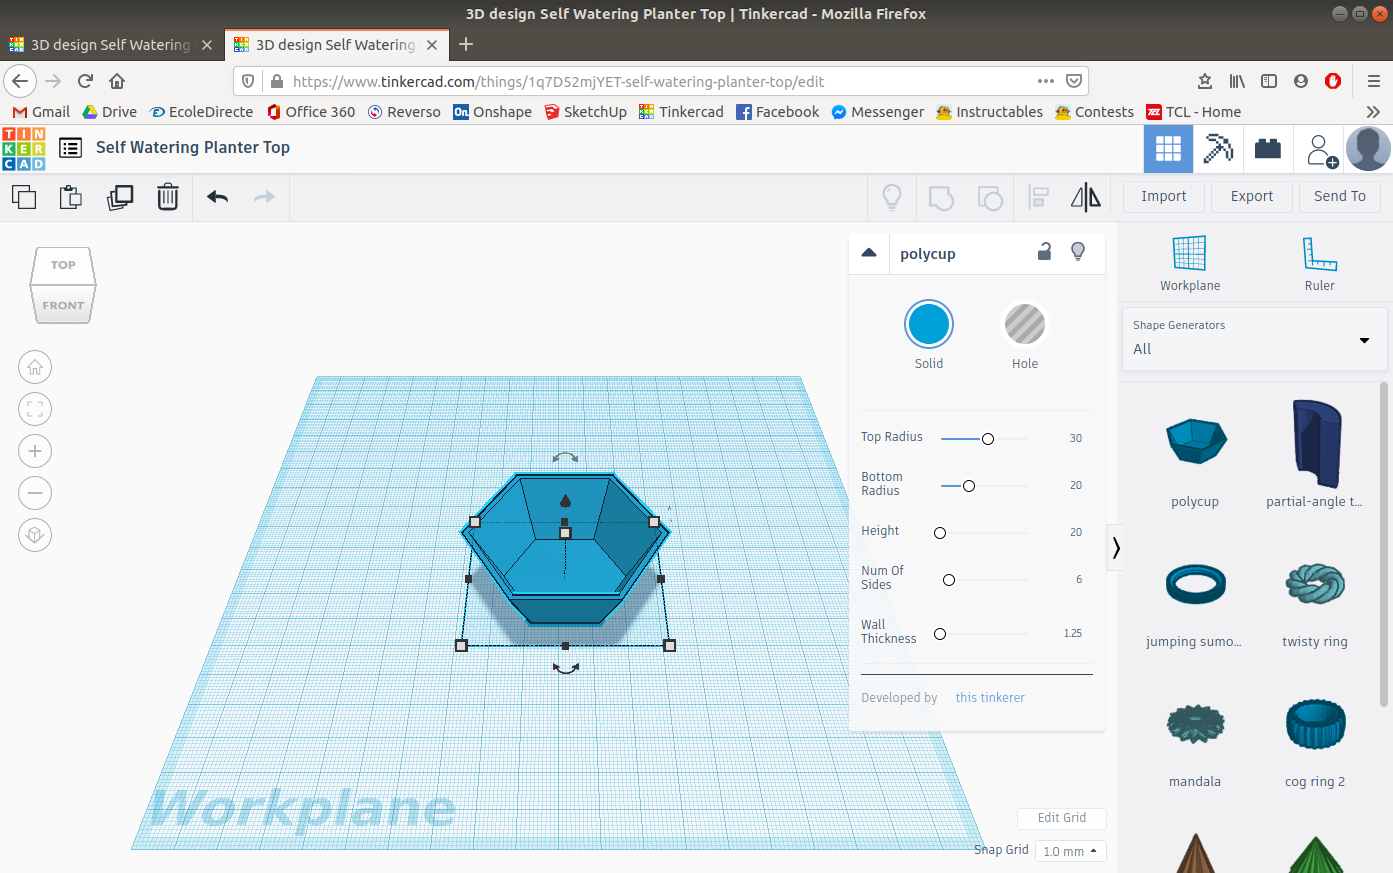
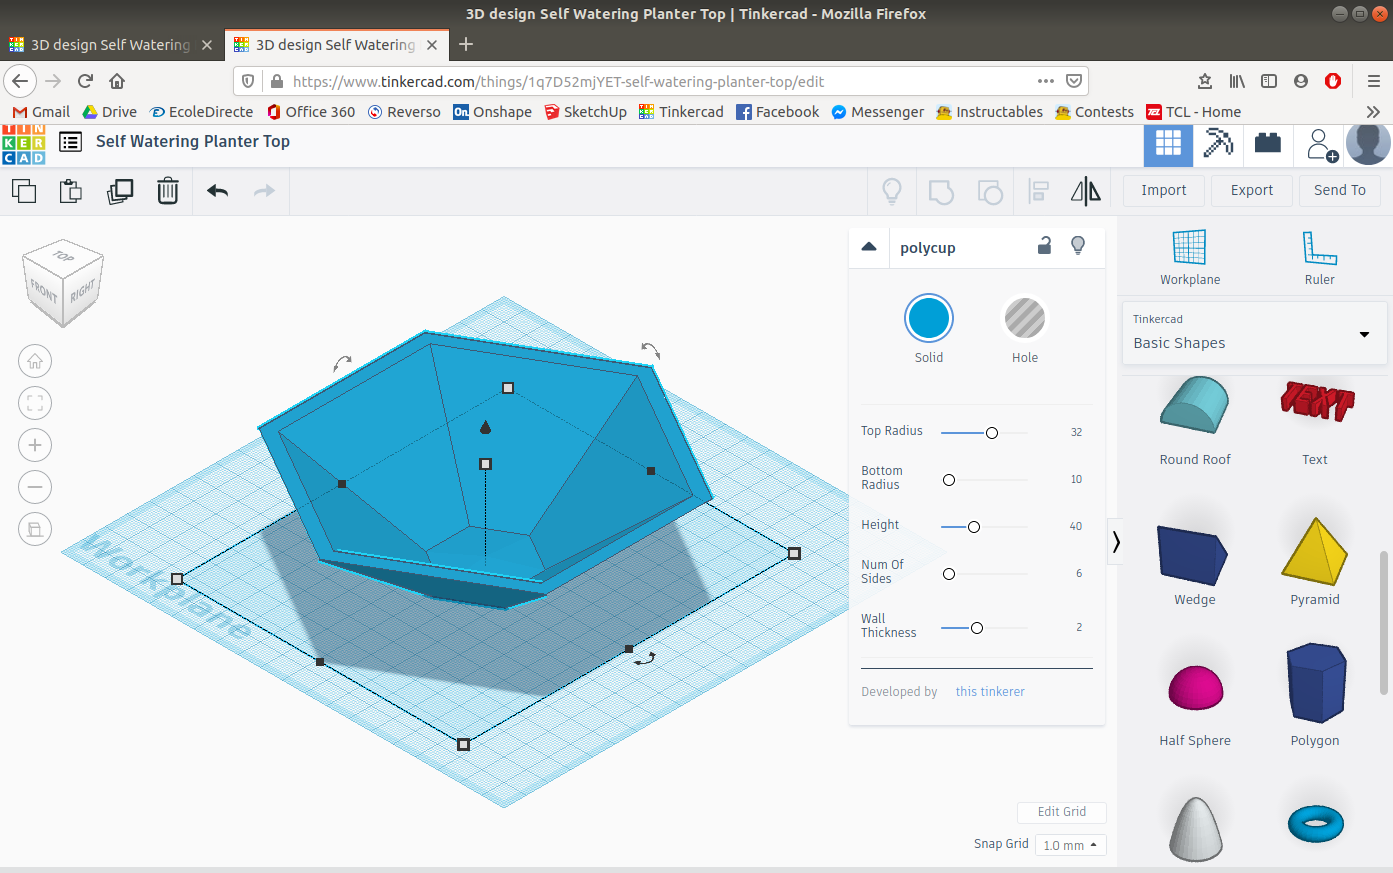
In the workplane insert a polycup it is in Tinkercad / Shape Generator / All / Polycup, and give it the following dimensions:
Top Radius: 32
Bottom Radius: 10
Height: 40
Number of Sides: 6
Wall Thickness: 2
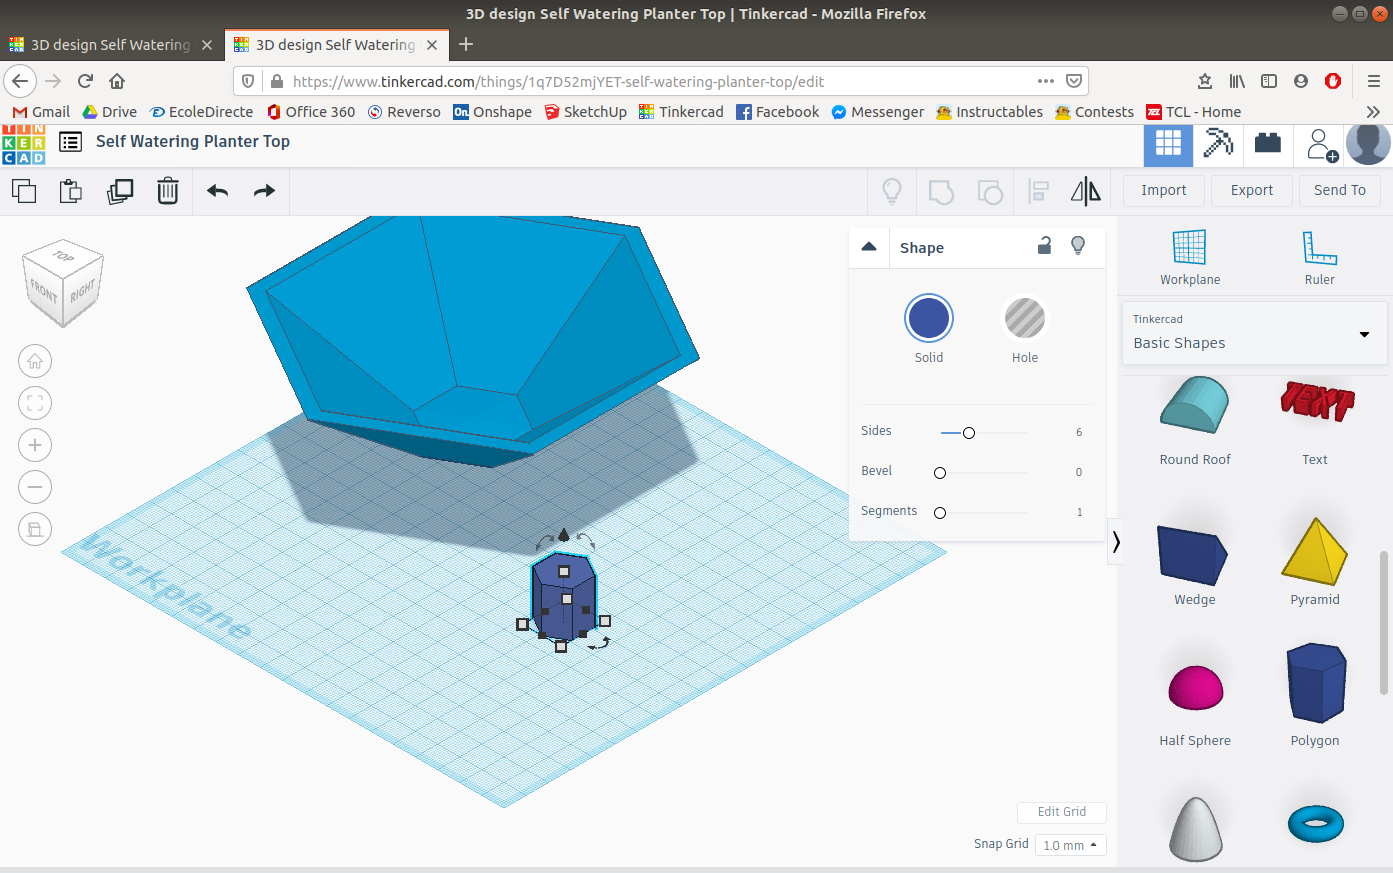
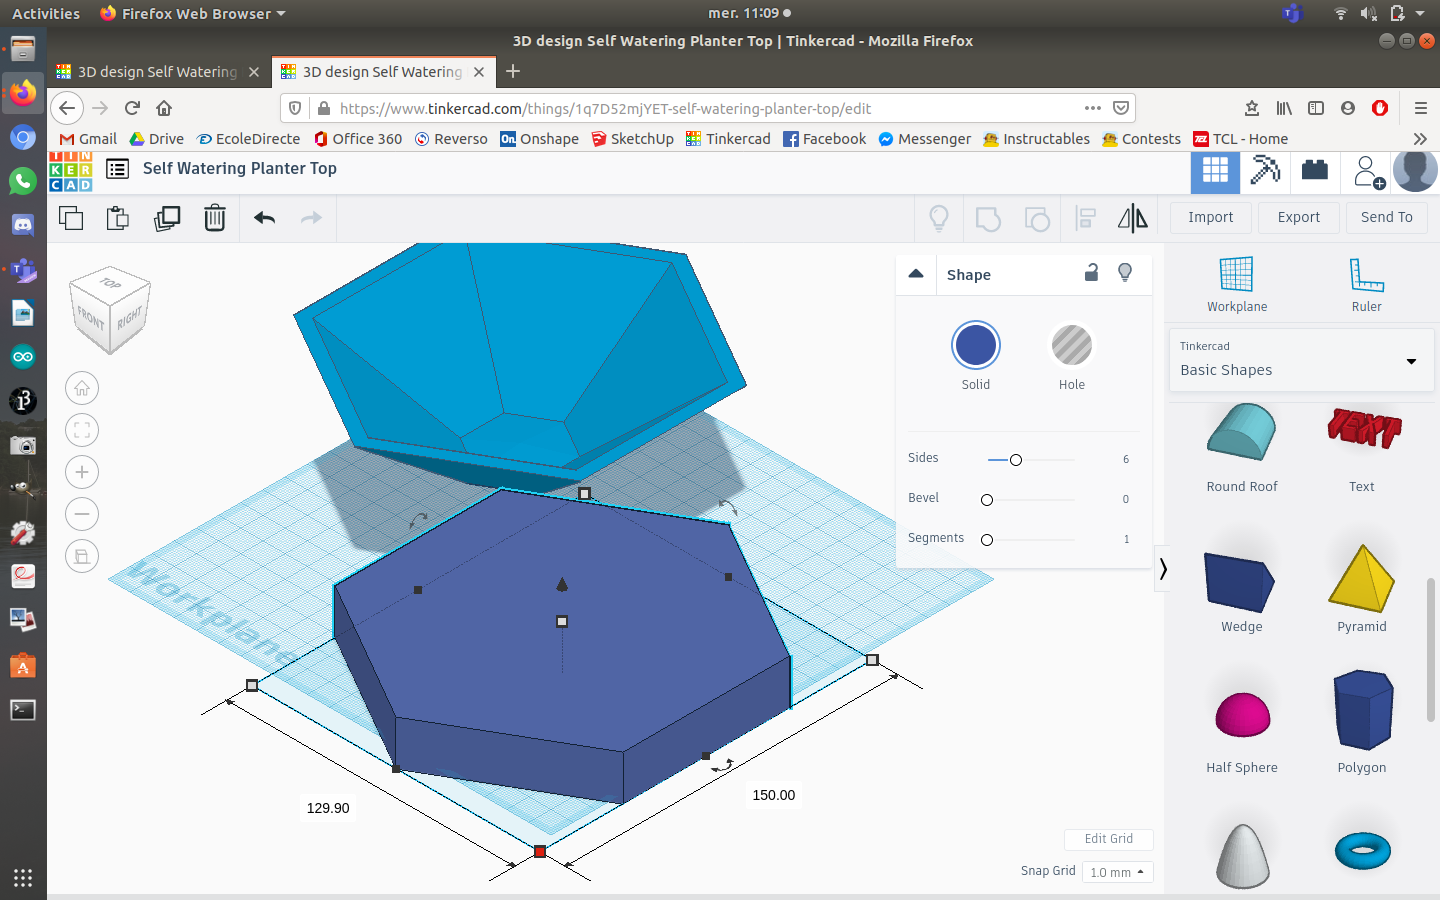
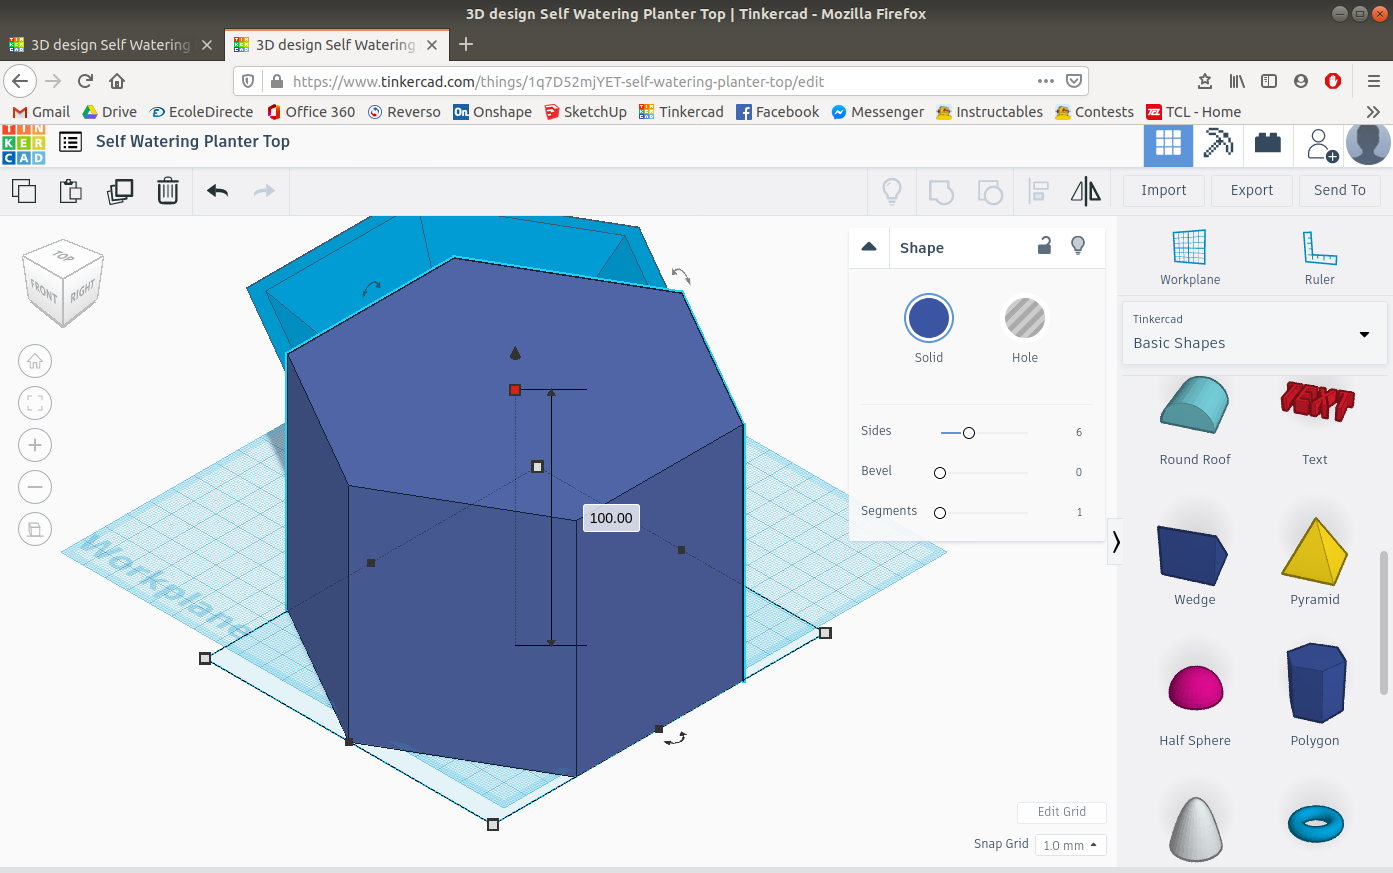
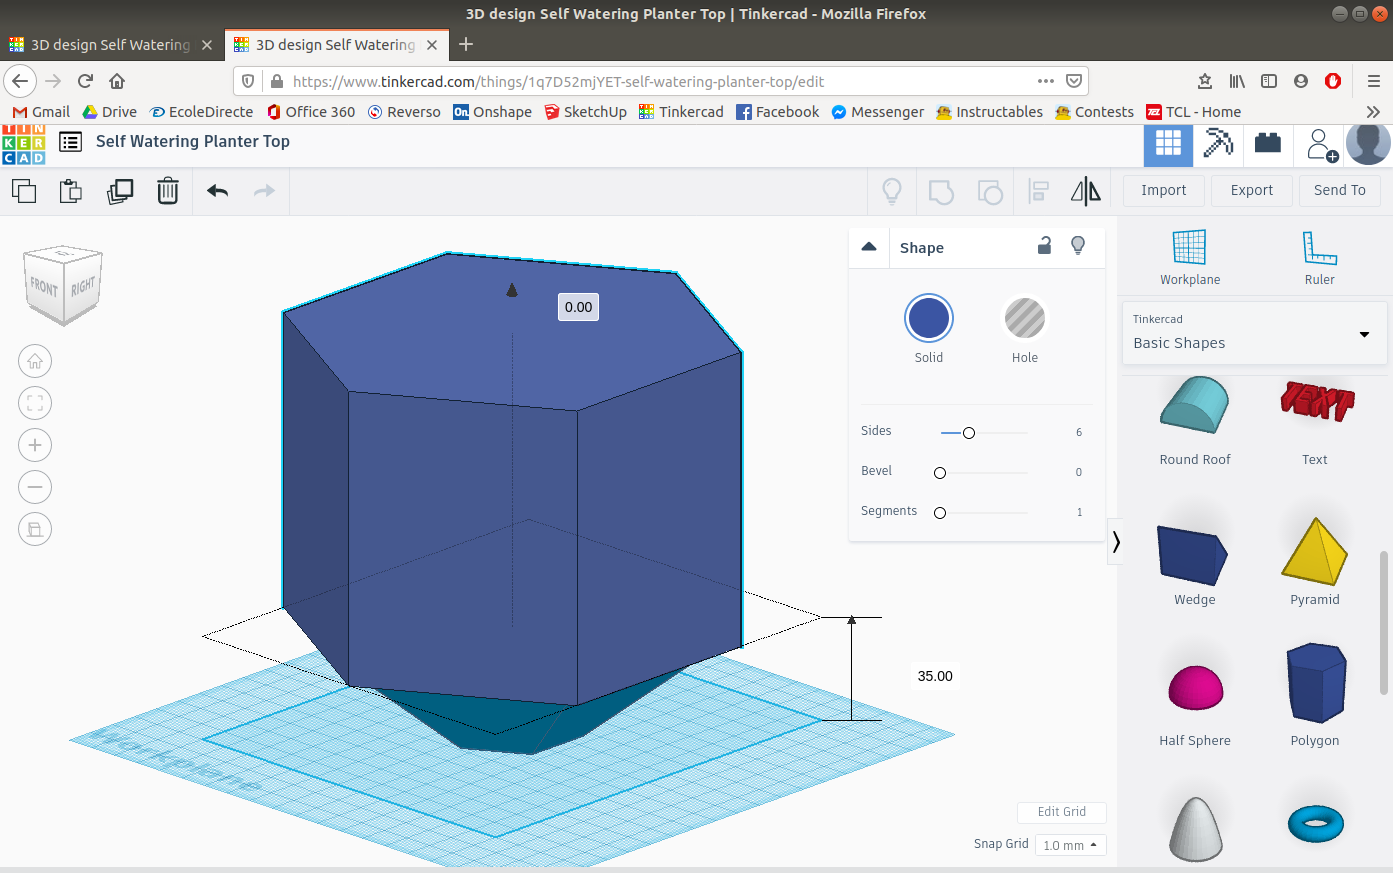
Then insert another hexagon and give it the dimensions of 150 x 129.9 x 100 and place it on top of the polycup.
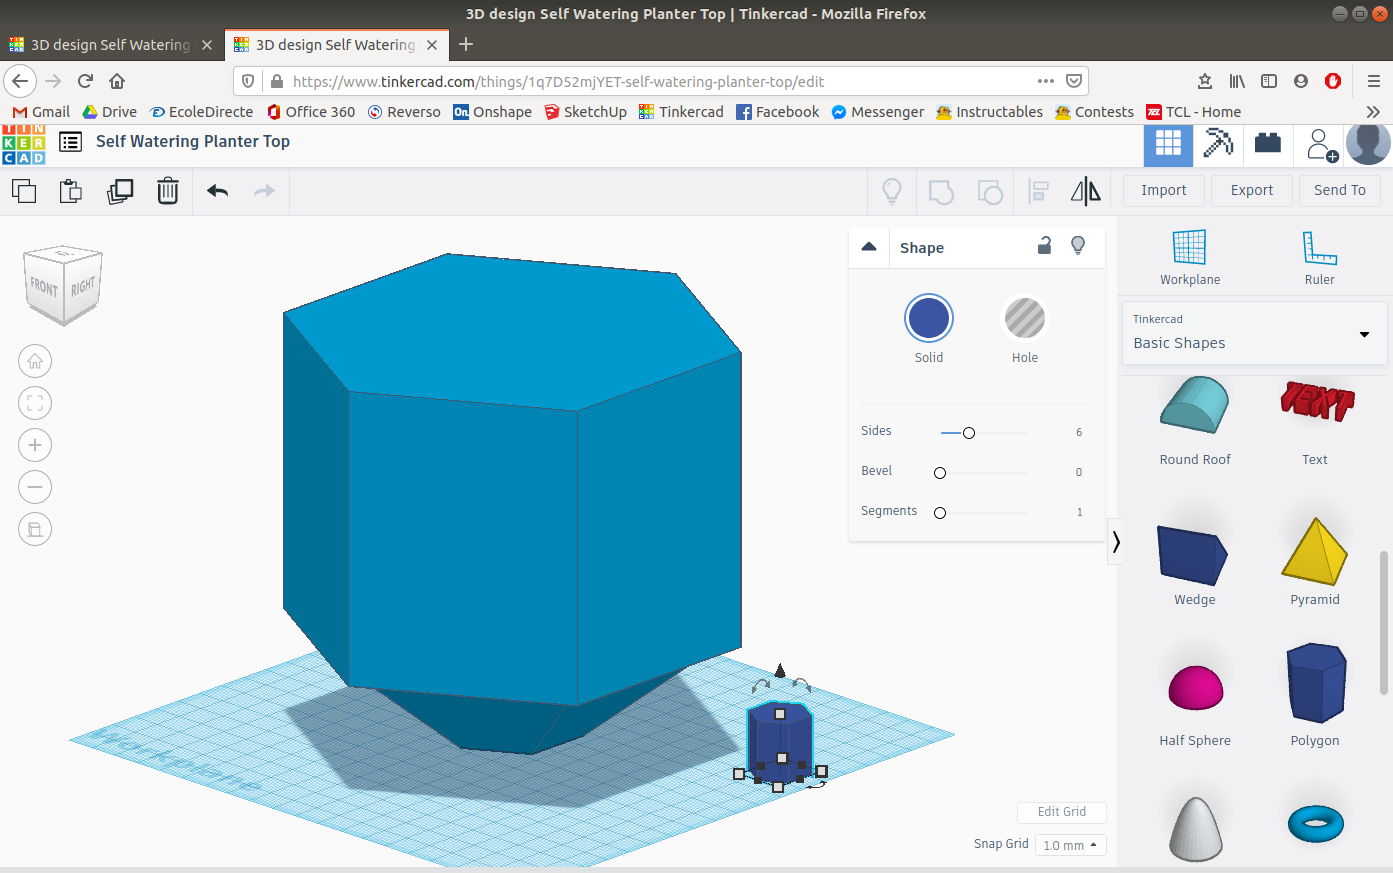
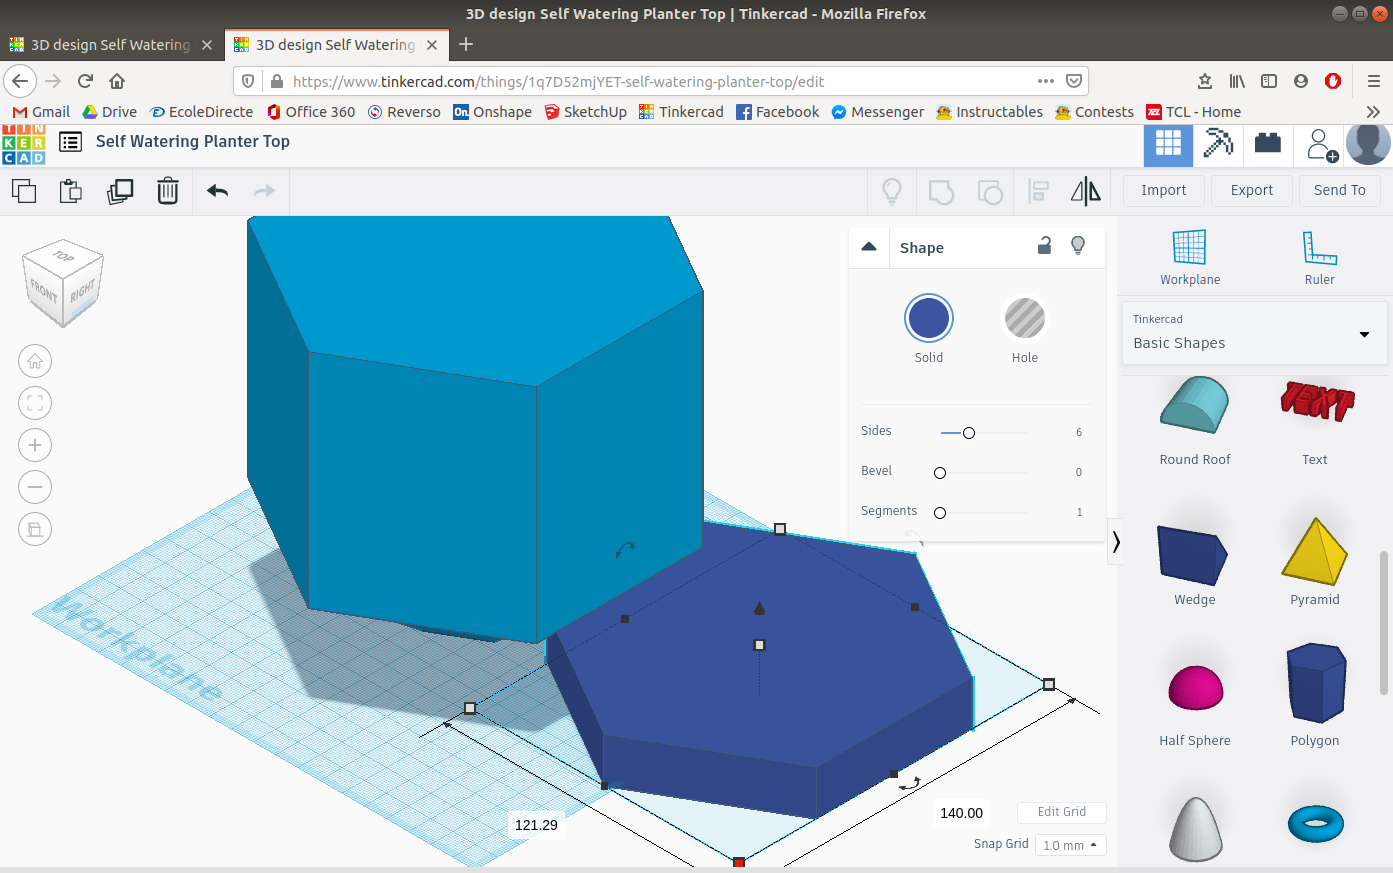
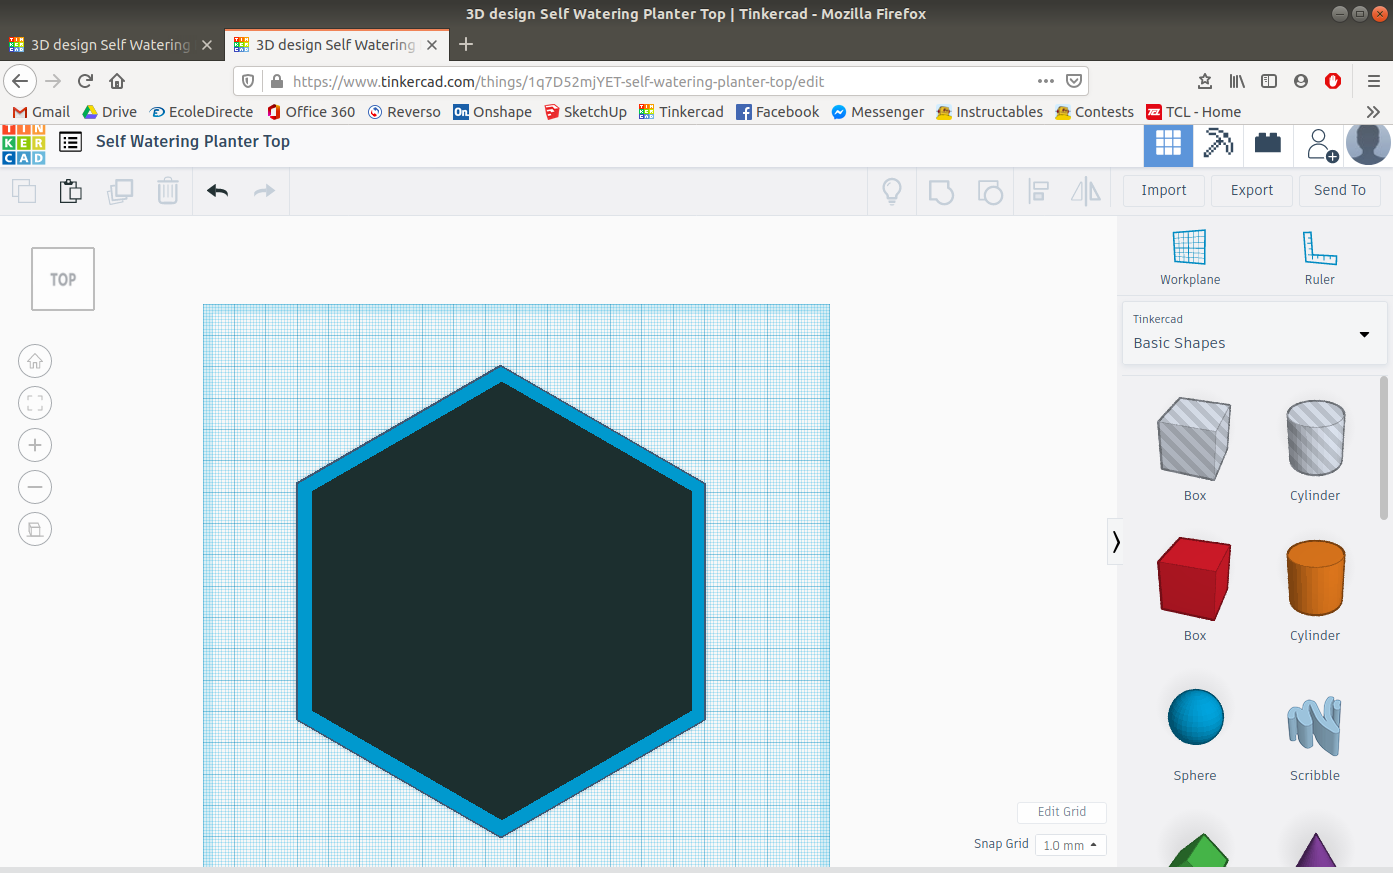
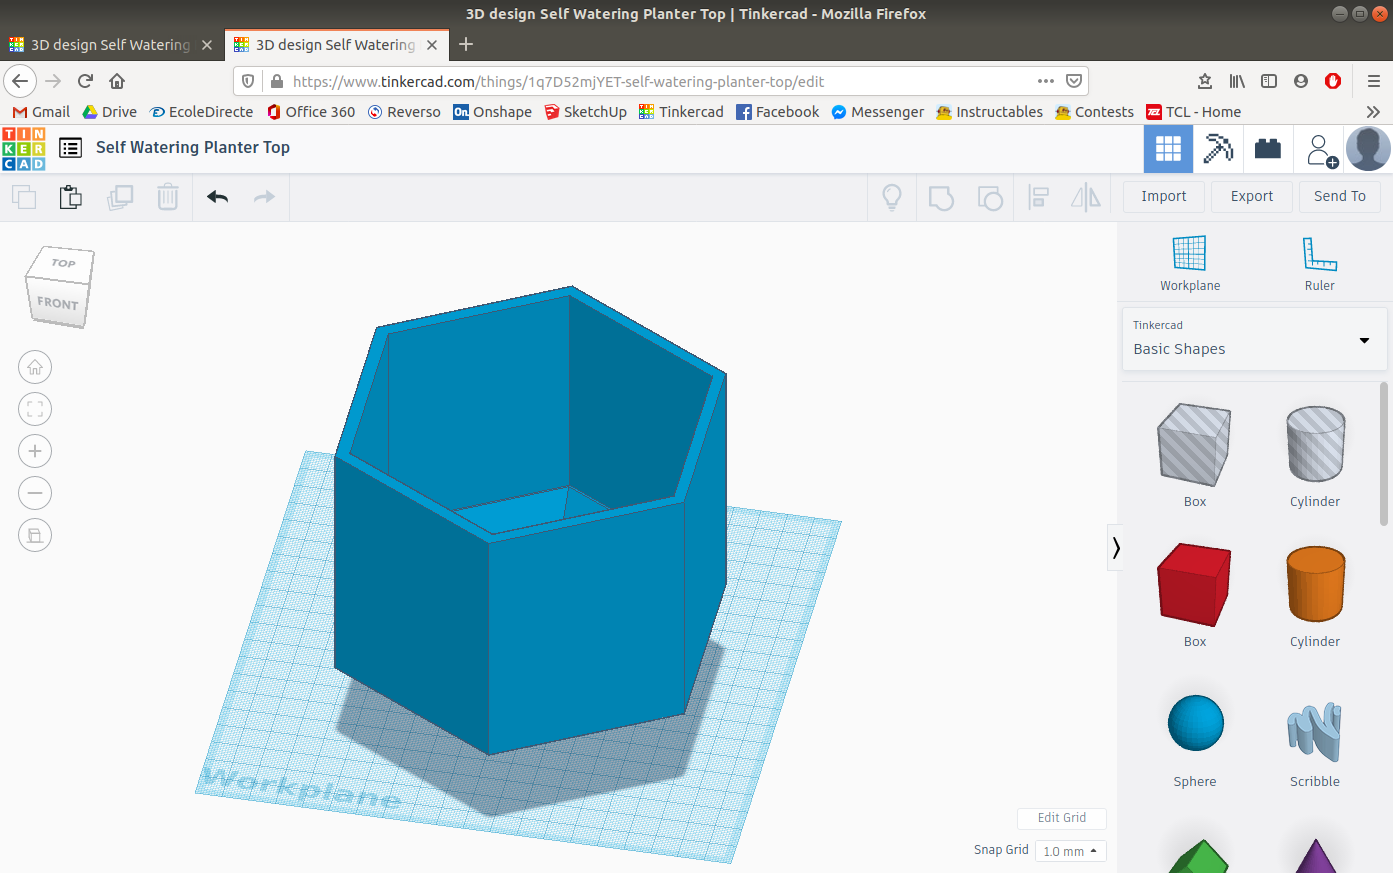
Insert another hexagon and make it as a hole, then give it the same height as the other hexagon. Make the two hexagons overlap and then group the three parts together.
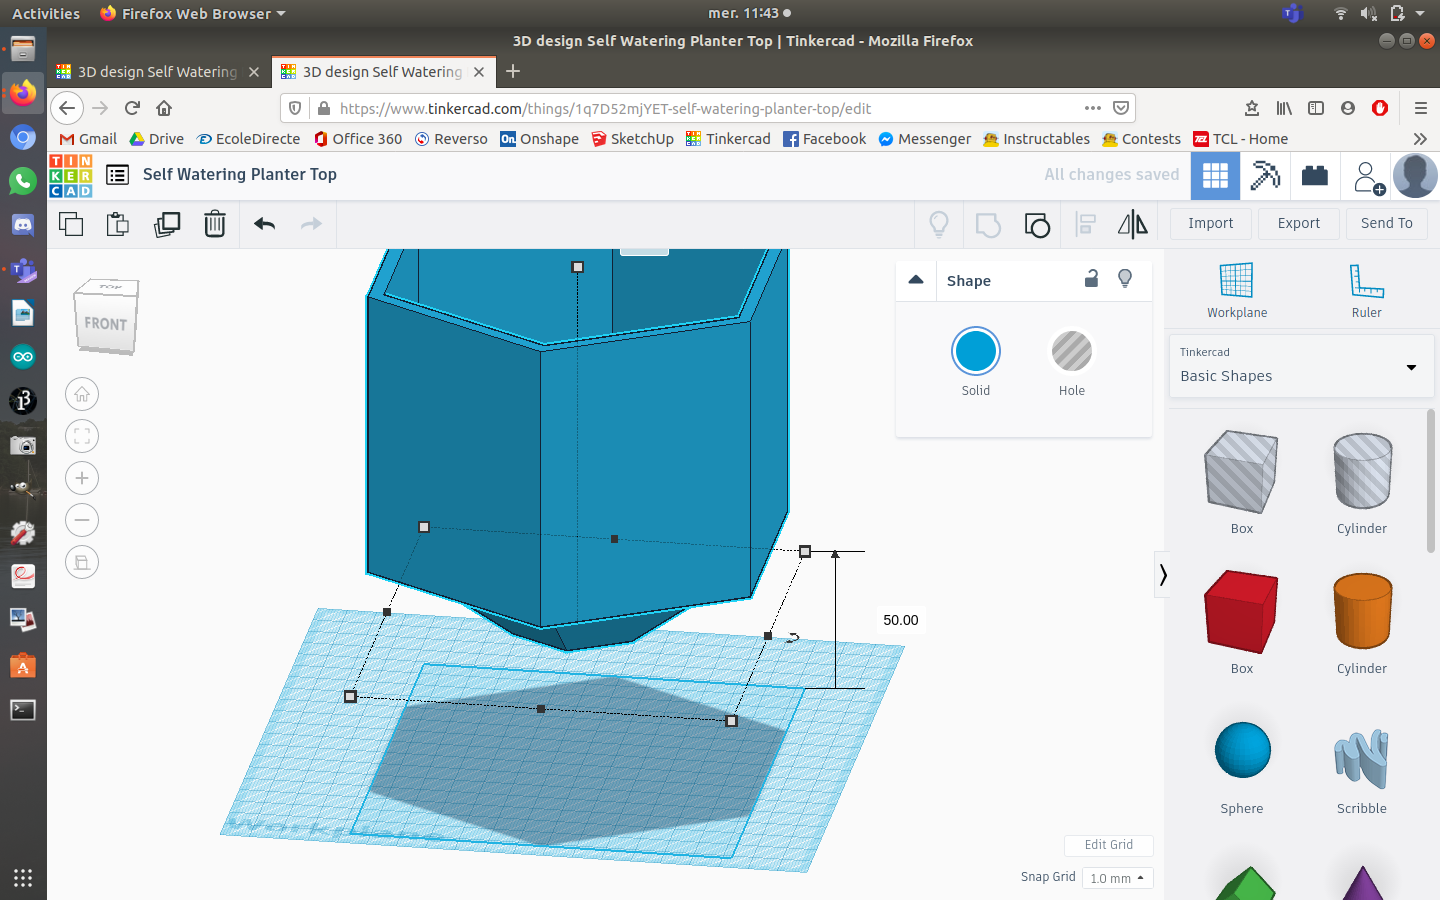
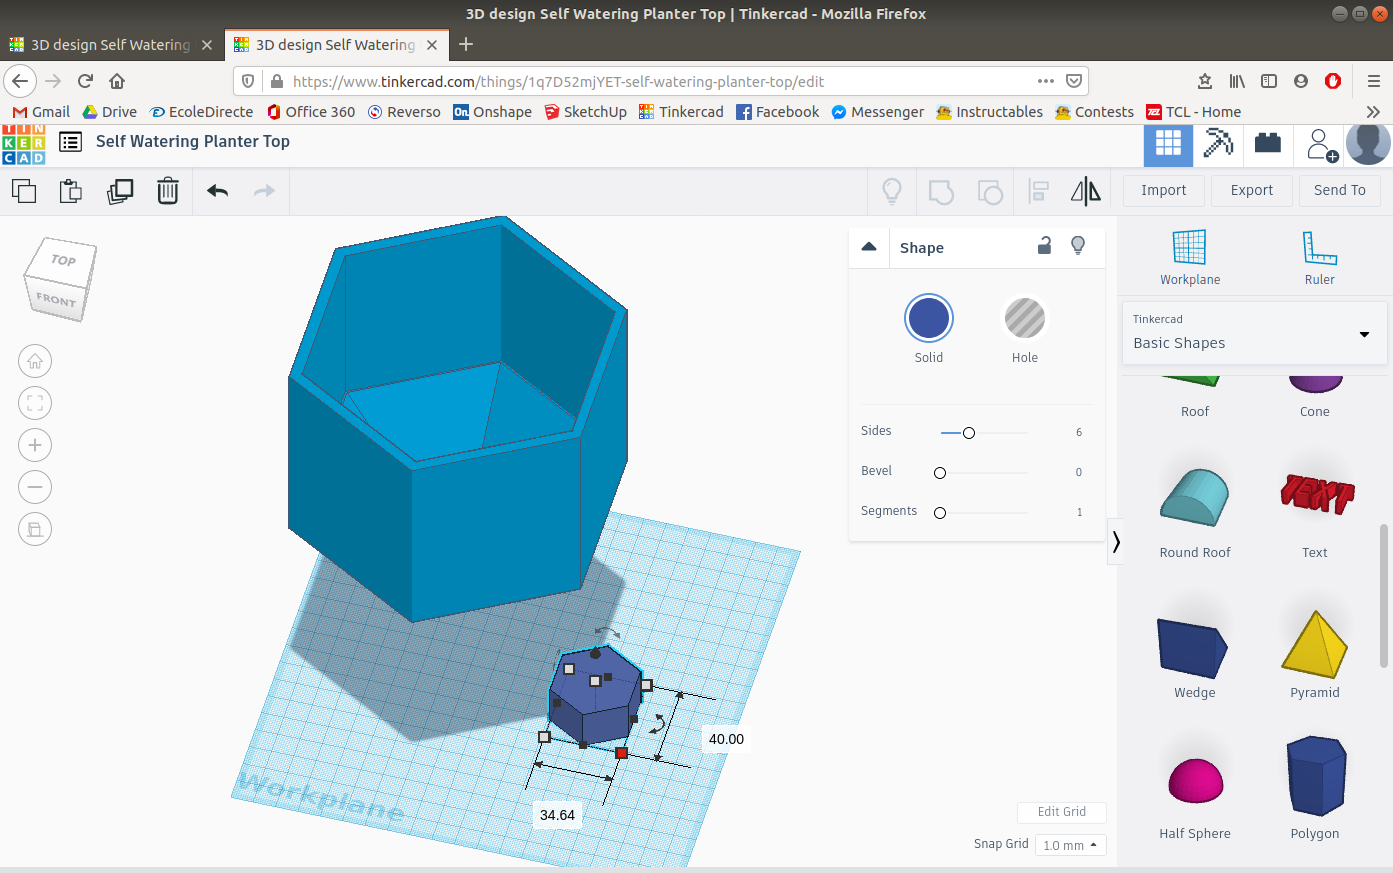
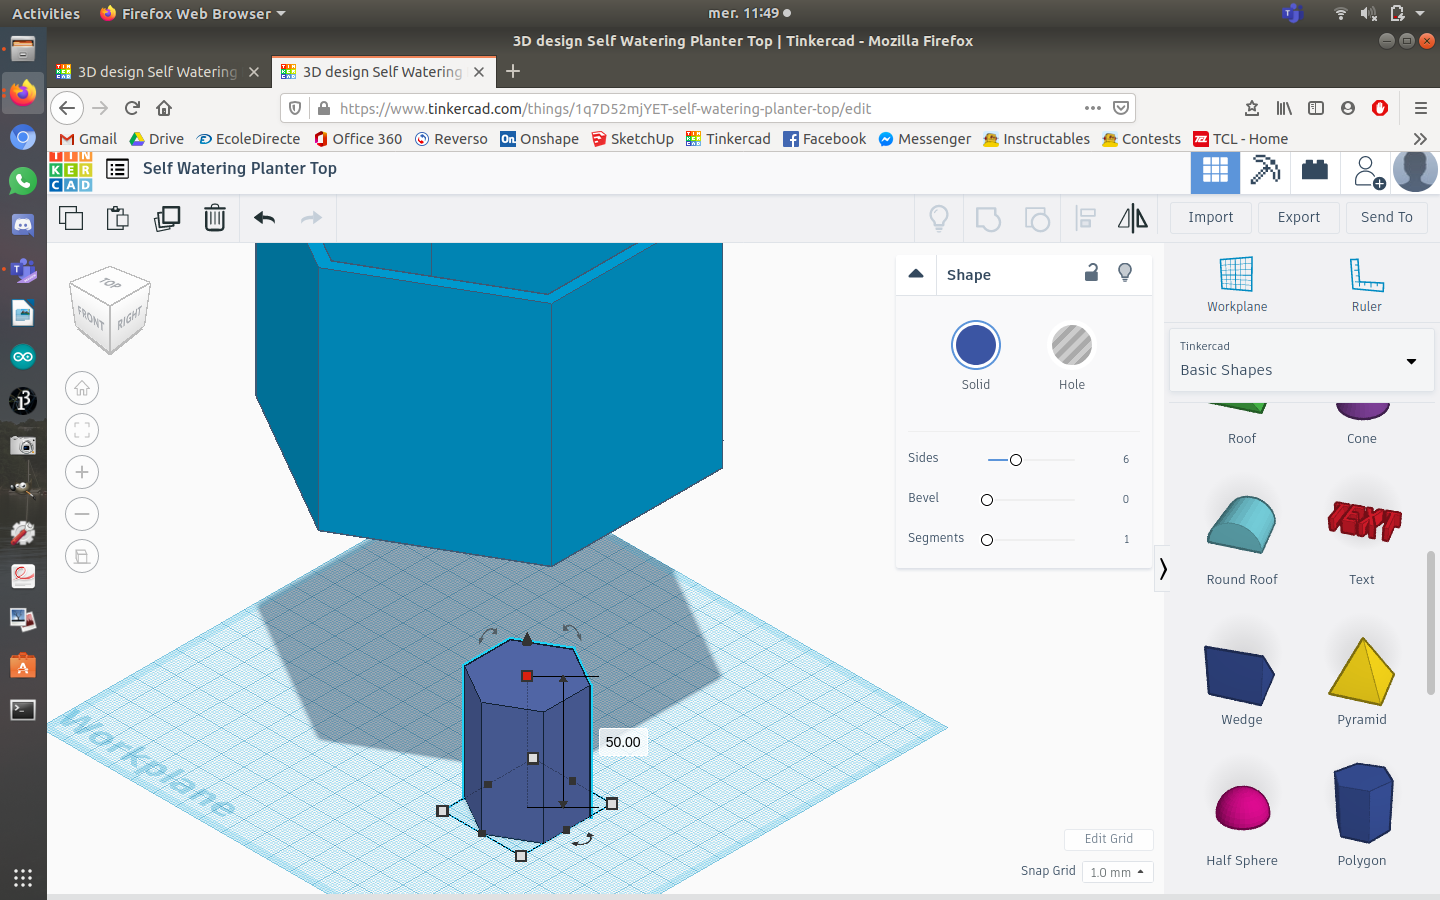
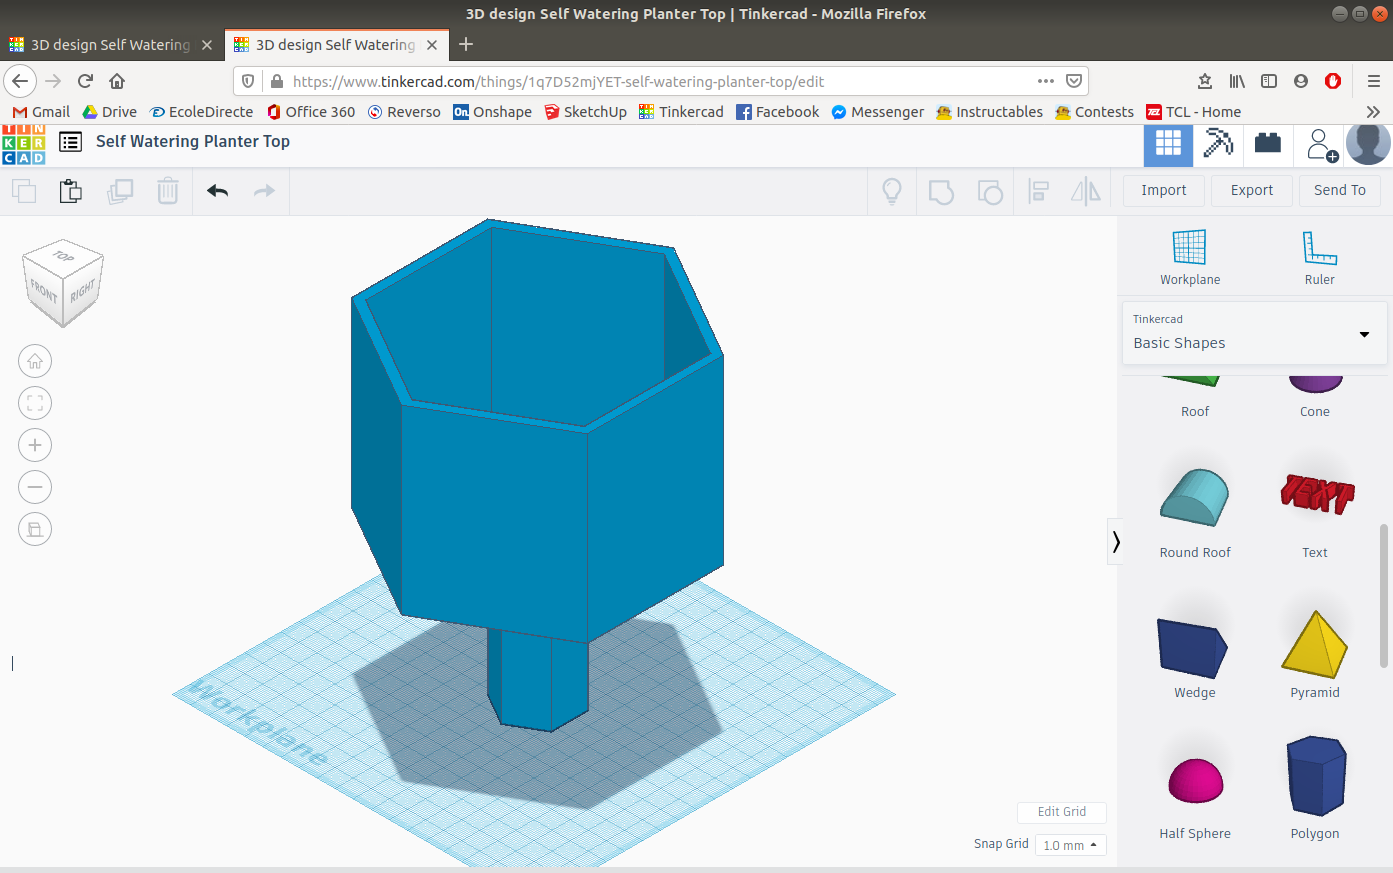
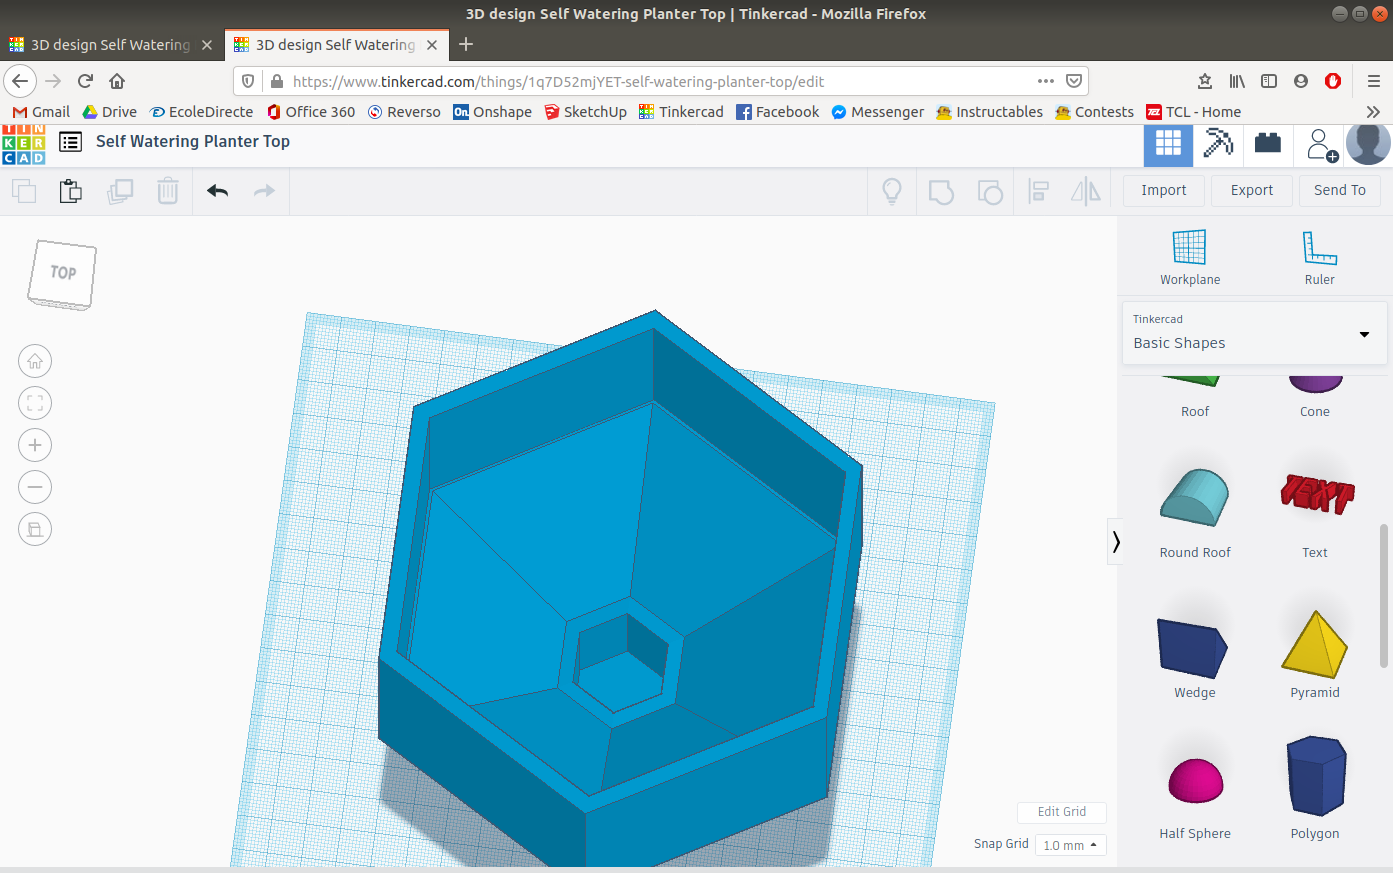
Next you will need to elevate your part 50 units and insert another hexagon. Give it the dimensions of 40 x 34.64 x 50 and place it under the other part. Merge these two parts together using the group option,
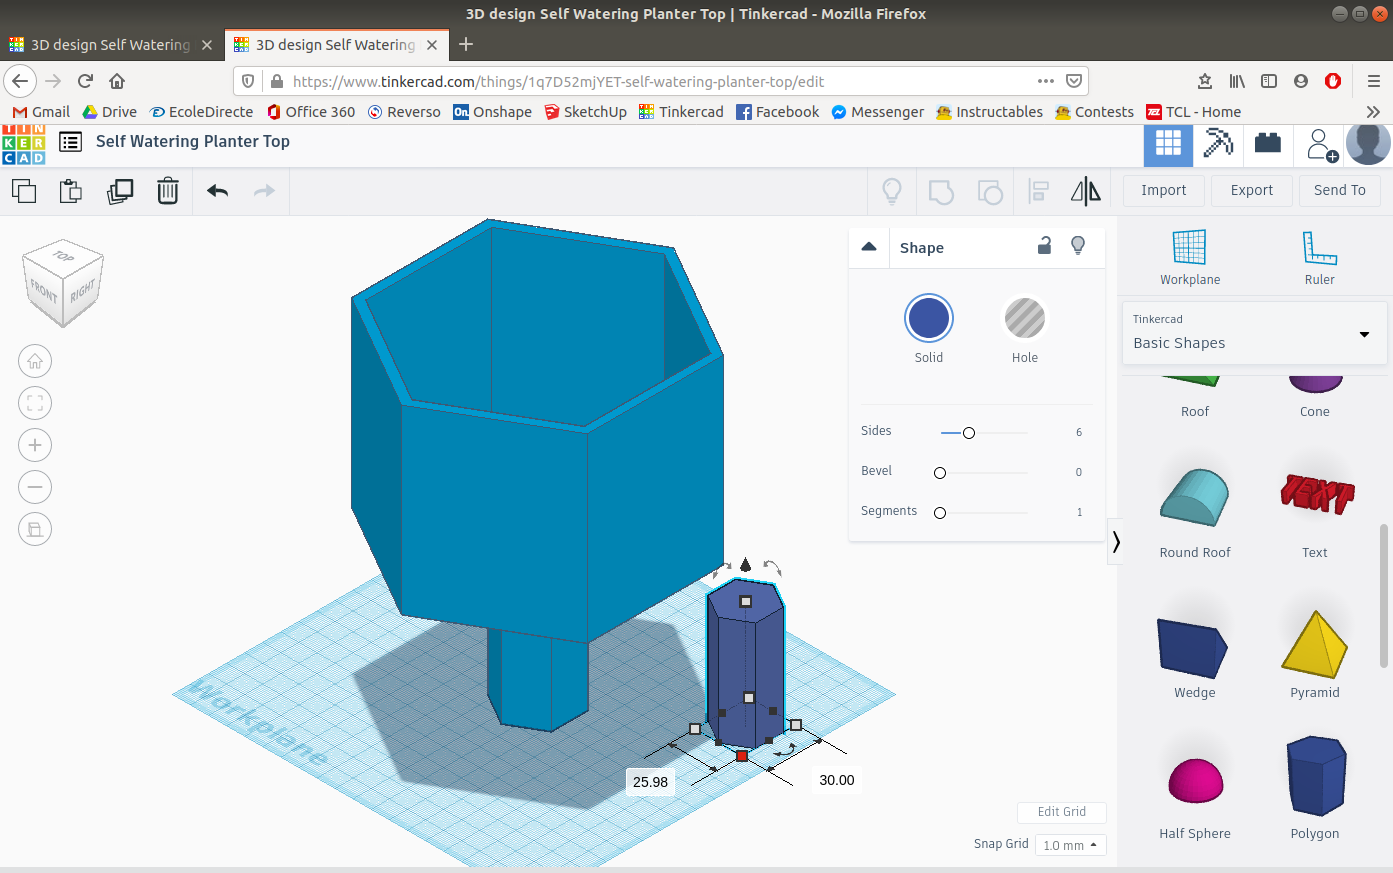
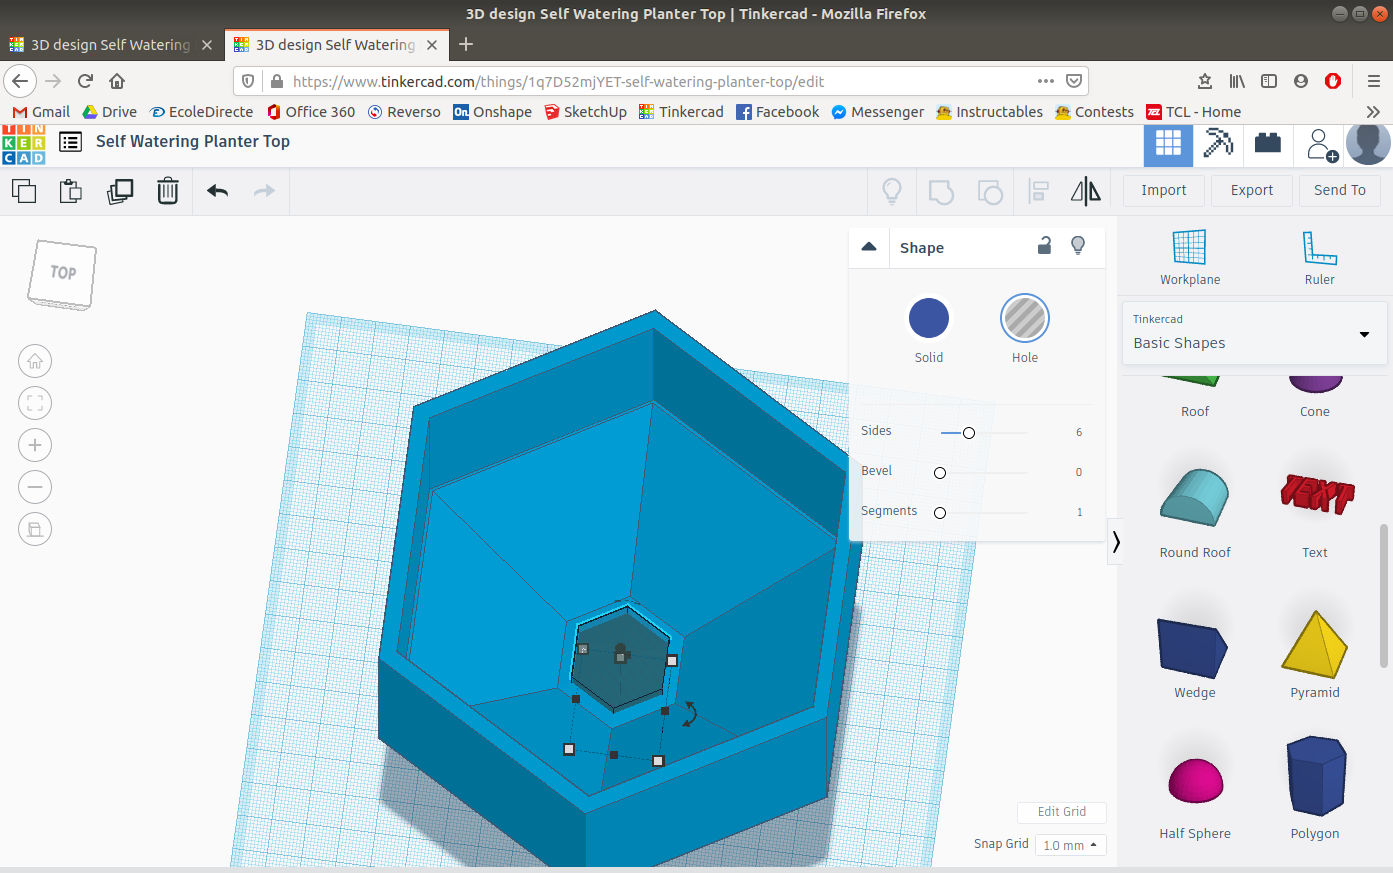
Then insert another hexagon but as a hole and give it the dimensions of 30 x 25.98 x 50 and make it overlap with the other hexagon at the base. After that elevate the hexagon of 5 units and merge the two parts together.
At this point you should have a shape that looks like a funnel.
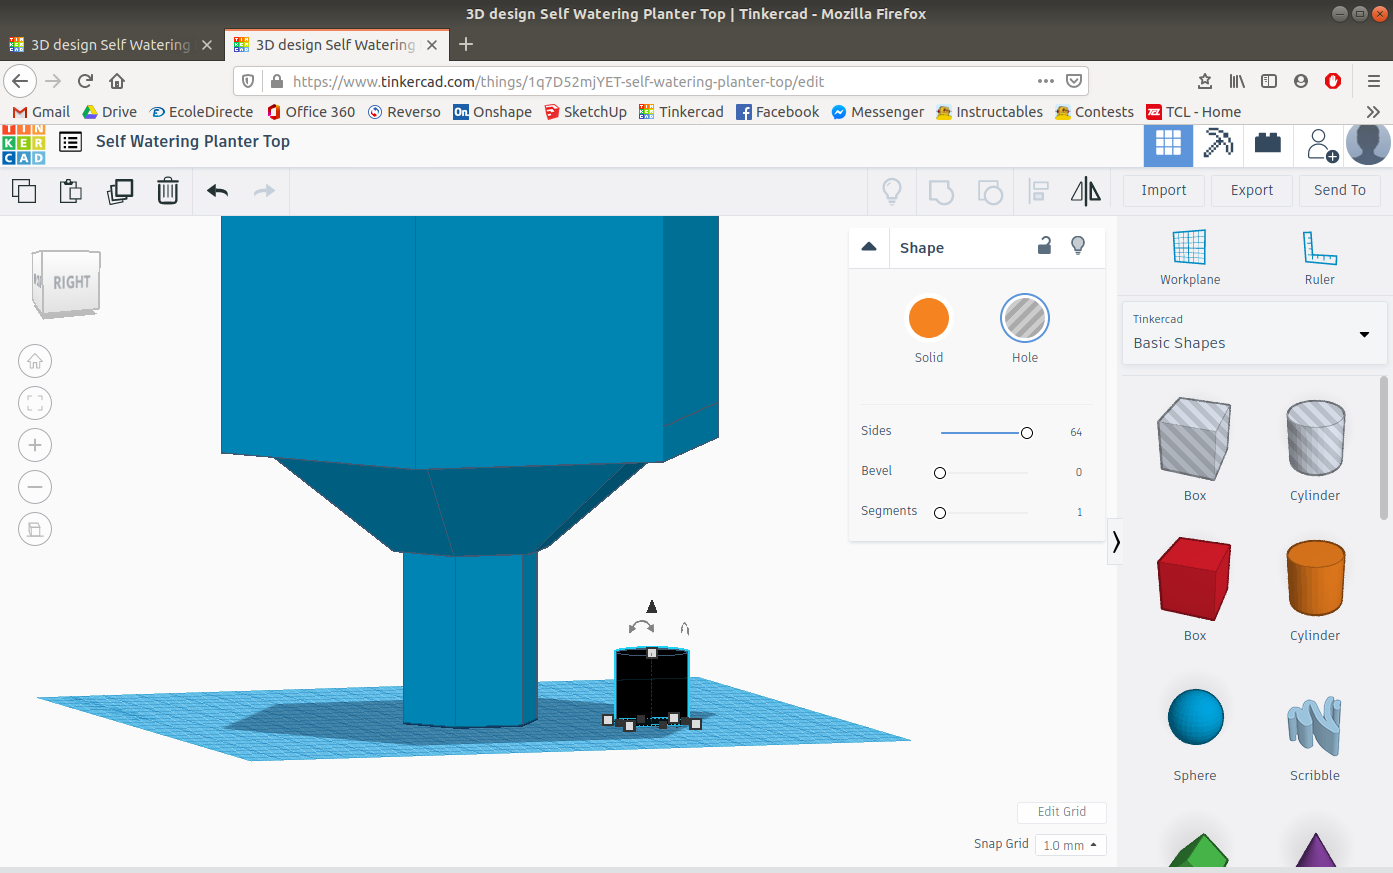
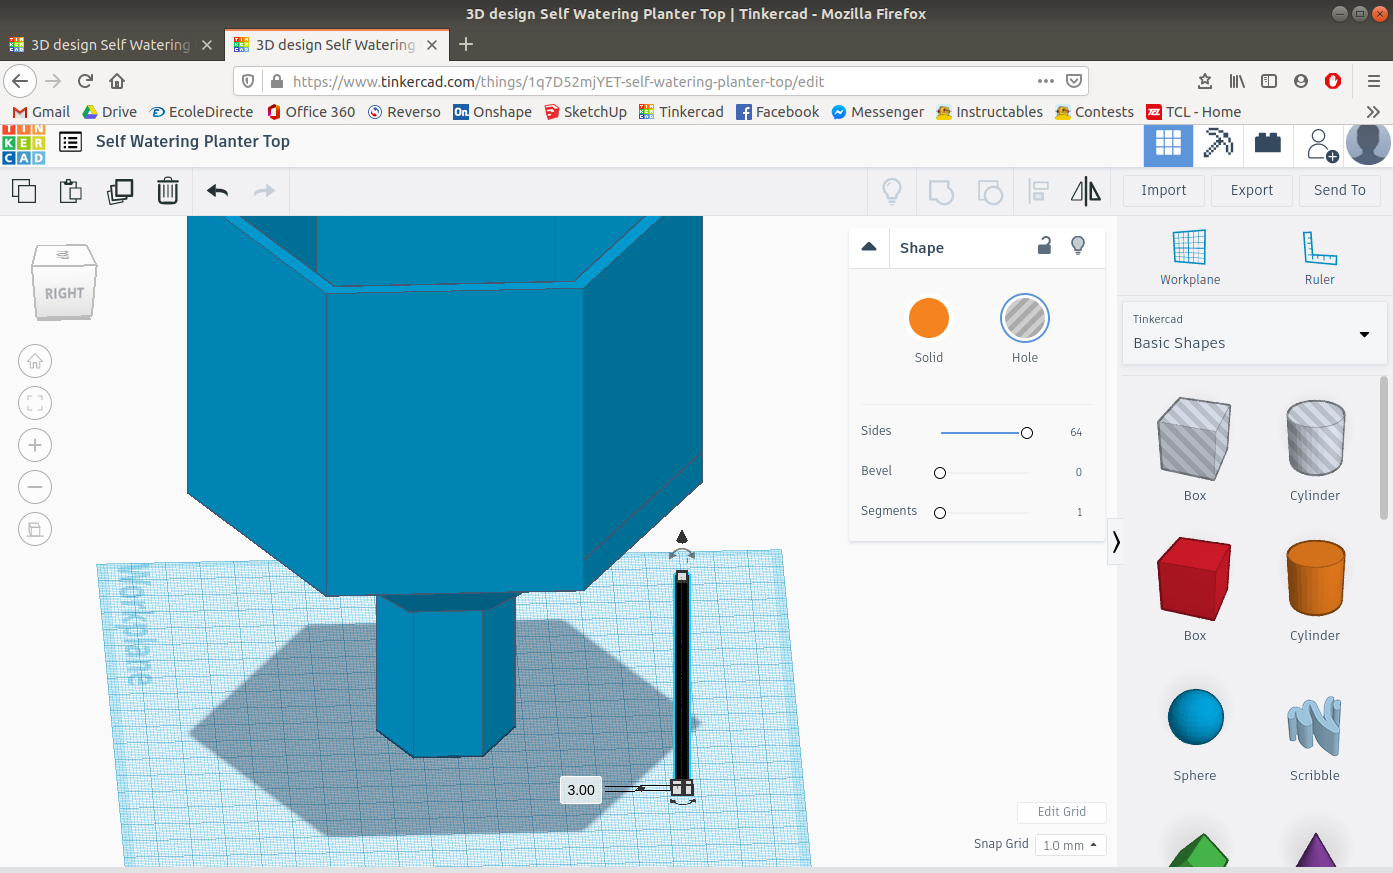
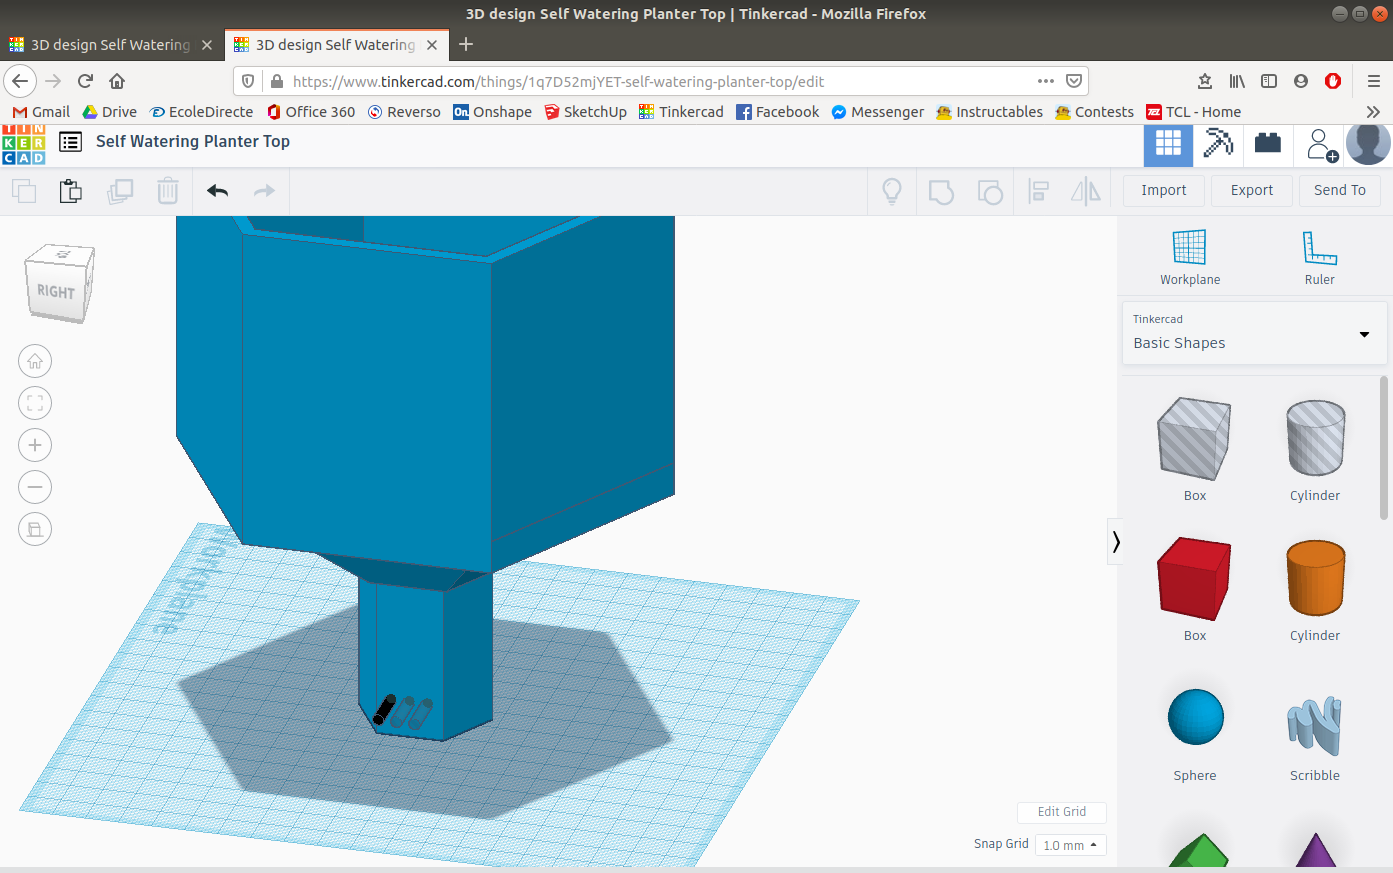
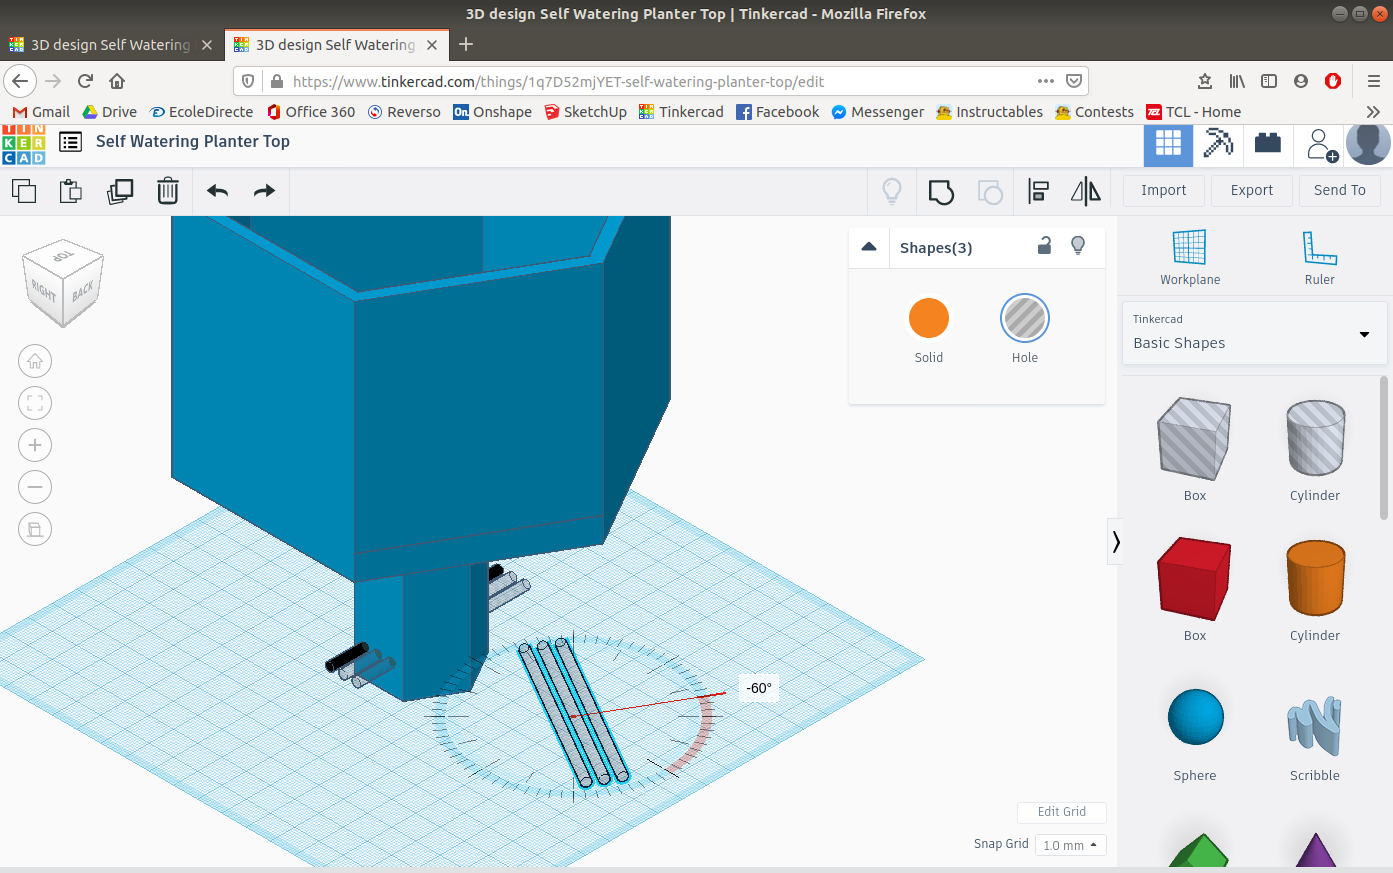
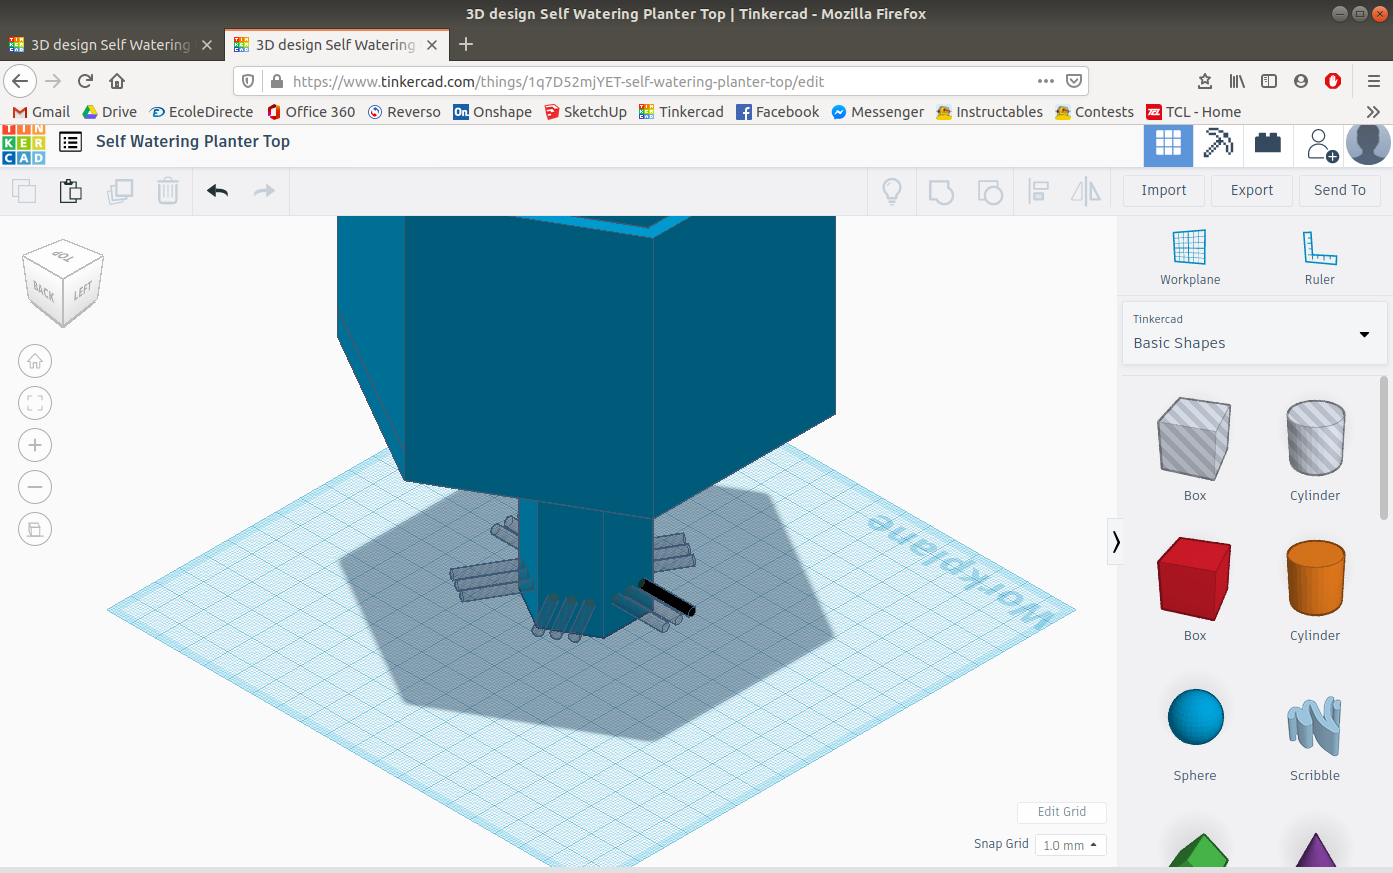
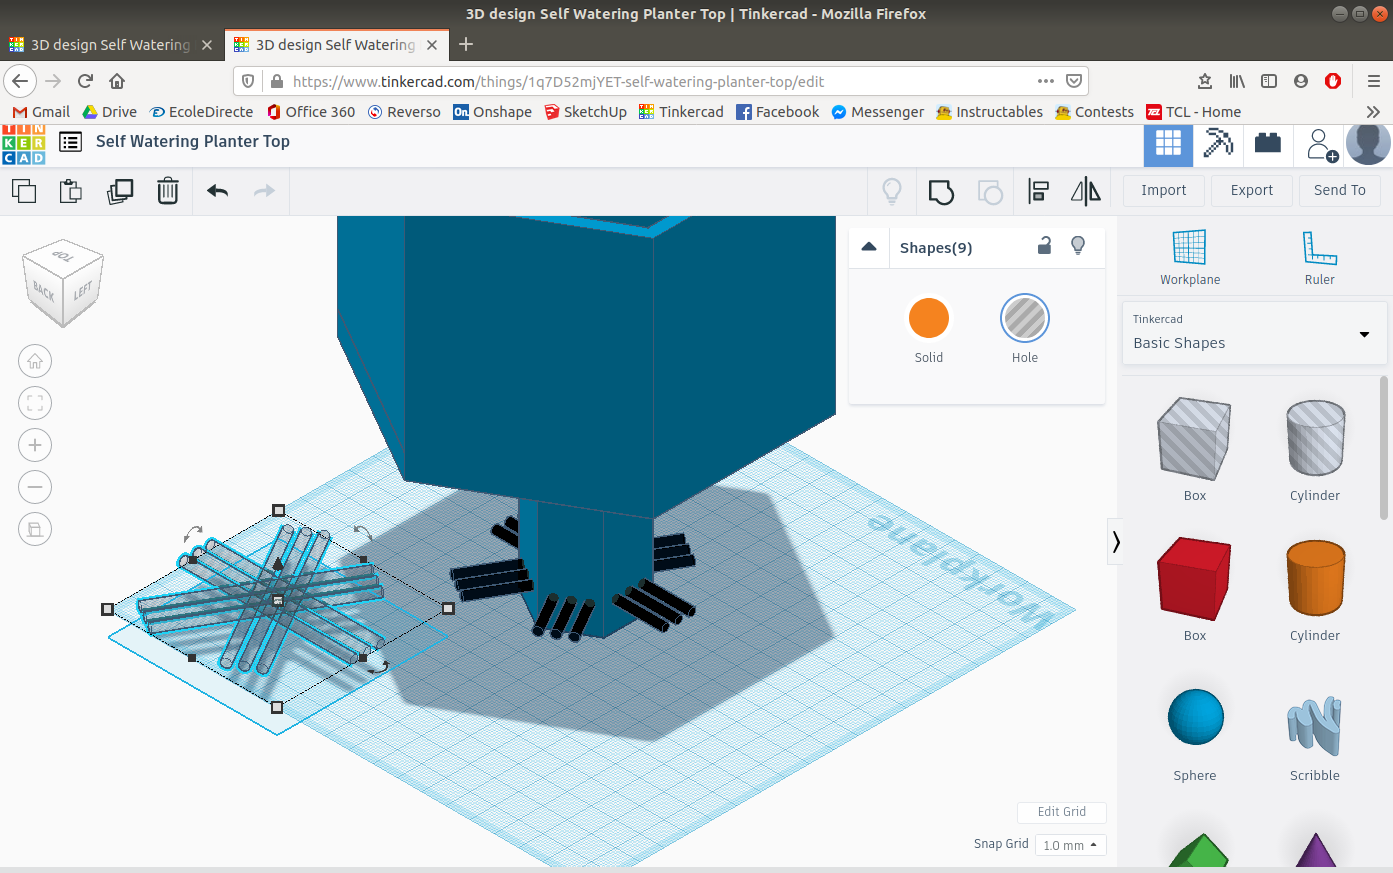
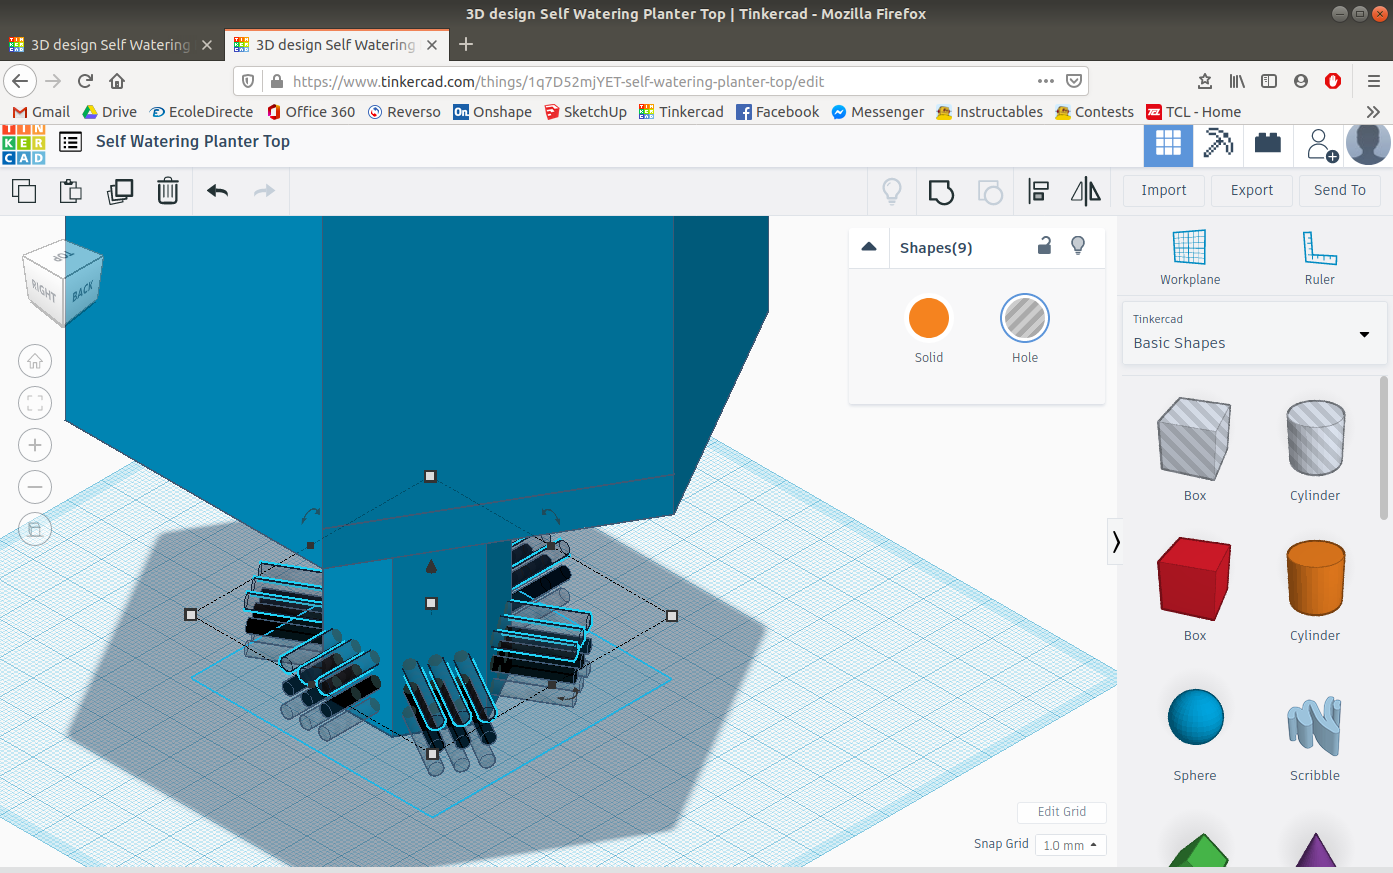
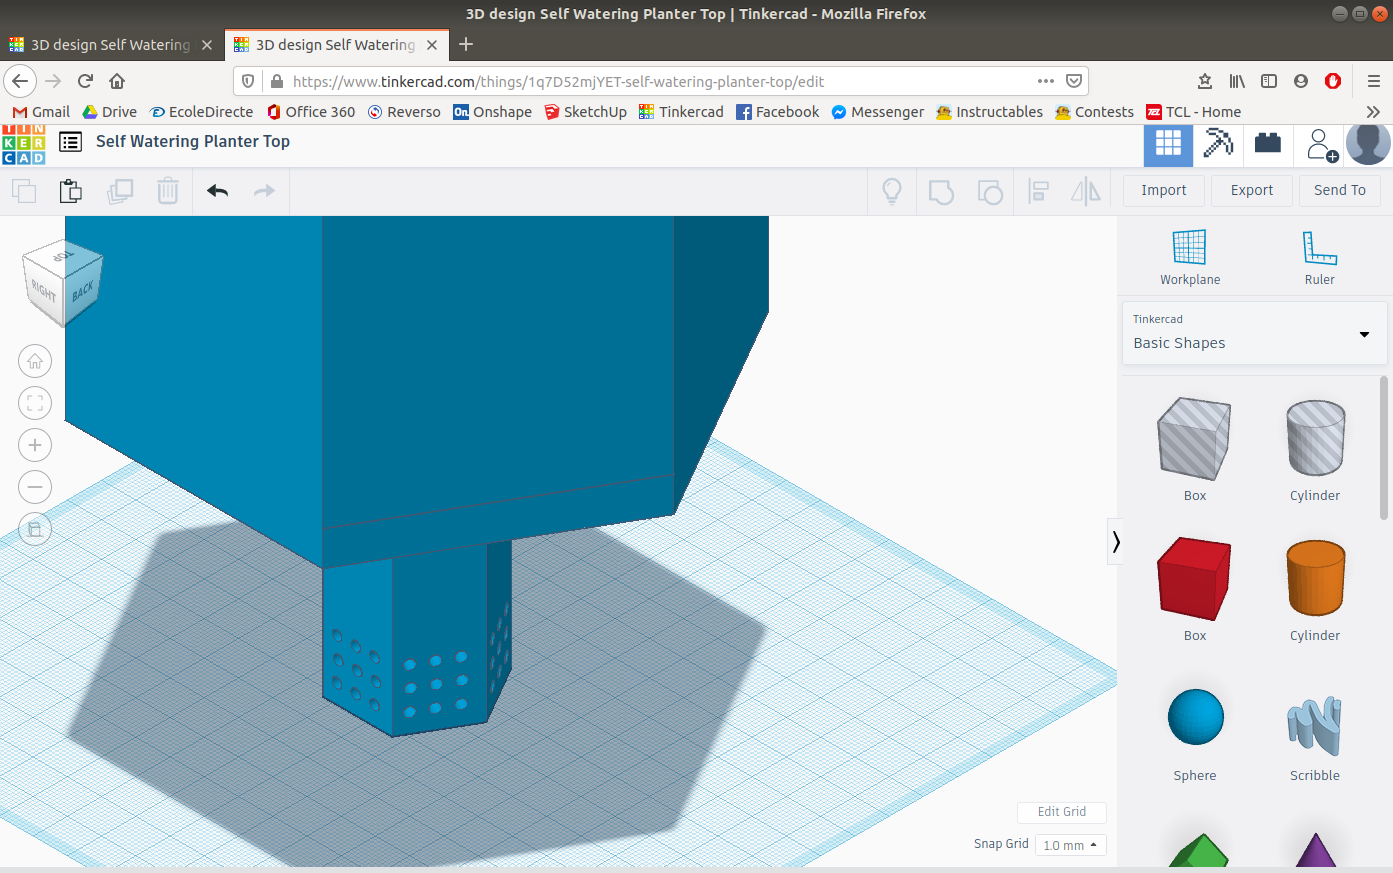
Insert a cylinder and select the "hole" option and give your cylinder a diameter of 3 units and make it long enough for it to go through the bottom of your part. Place it horizontally through the bottom part. Copy your cylinder and insert it multiple times in the different faces of the bottom part.
The more holes you put the better the plant will be able to drink water.
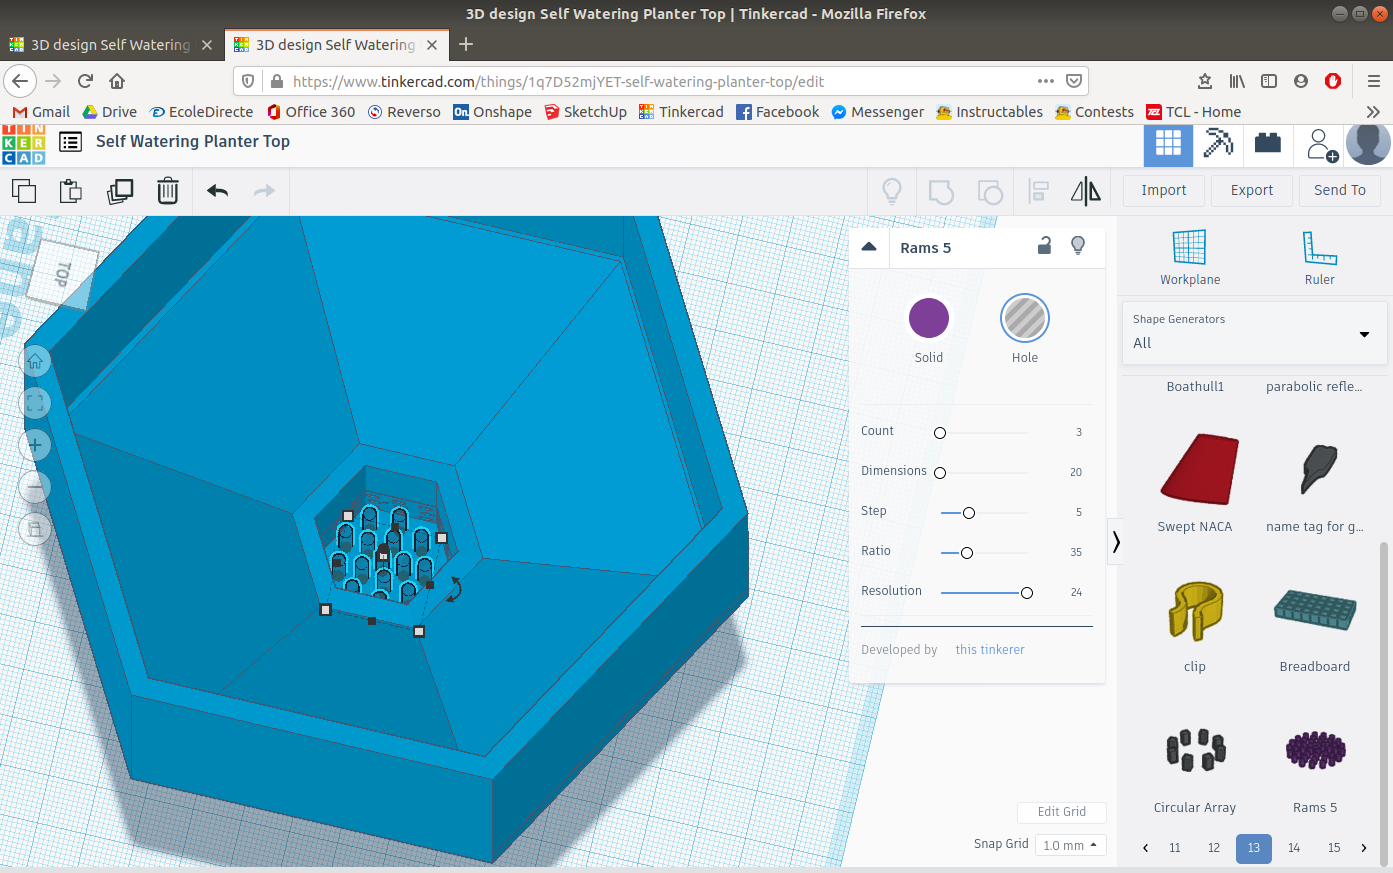
To simplify the process of inserting the holes you can insert a "Rams 5", it is located in Tinkercad / Shape Generator / All / Rams 5. Once the part is inserted you can select the number of holes you want and their size and then insert it at the bottom of the funnel.
At this point the planter is finished, but you have to remove the top to insert water.
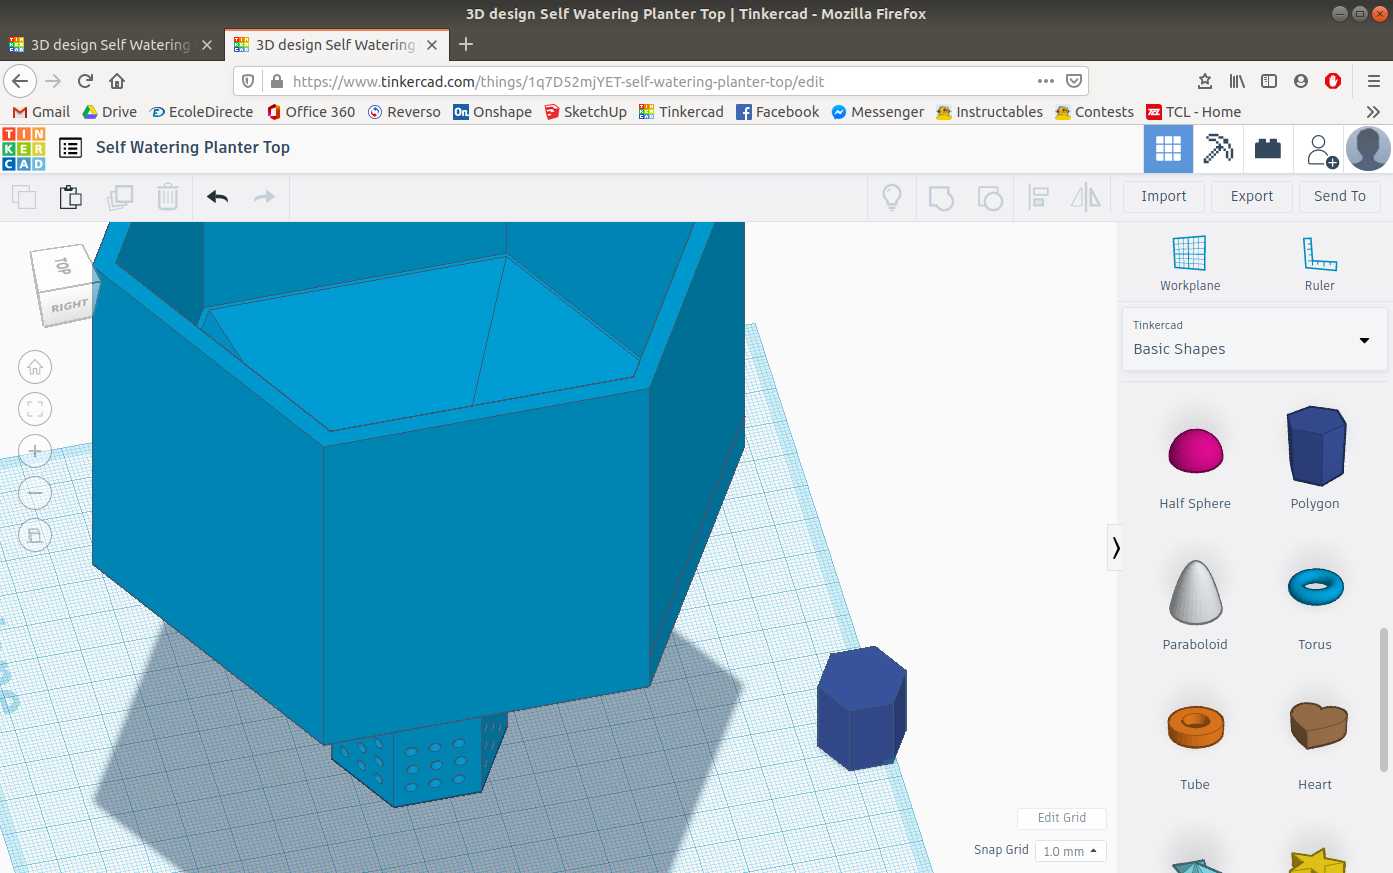
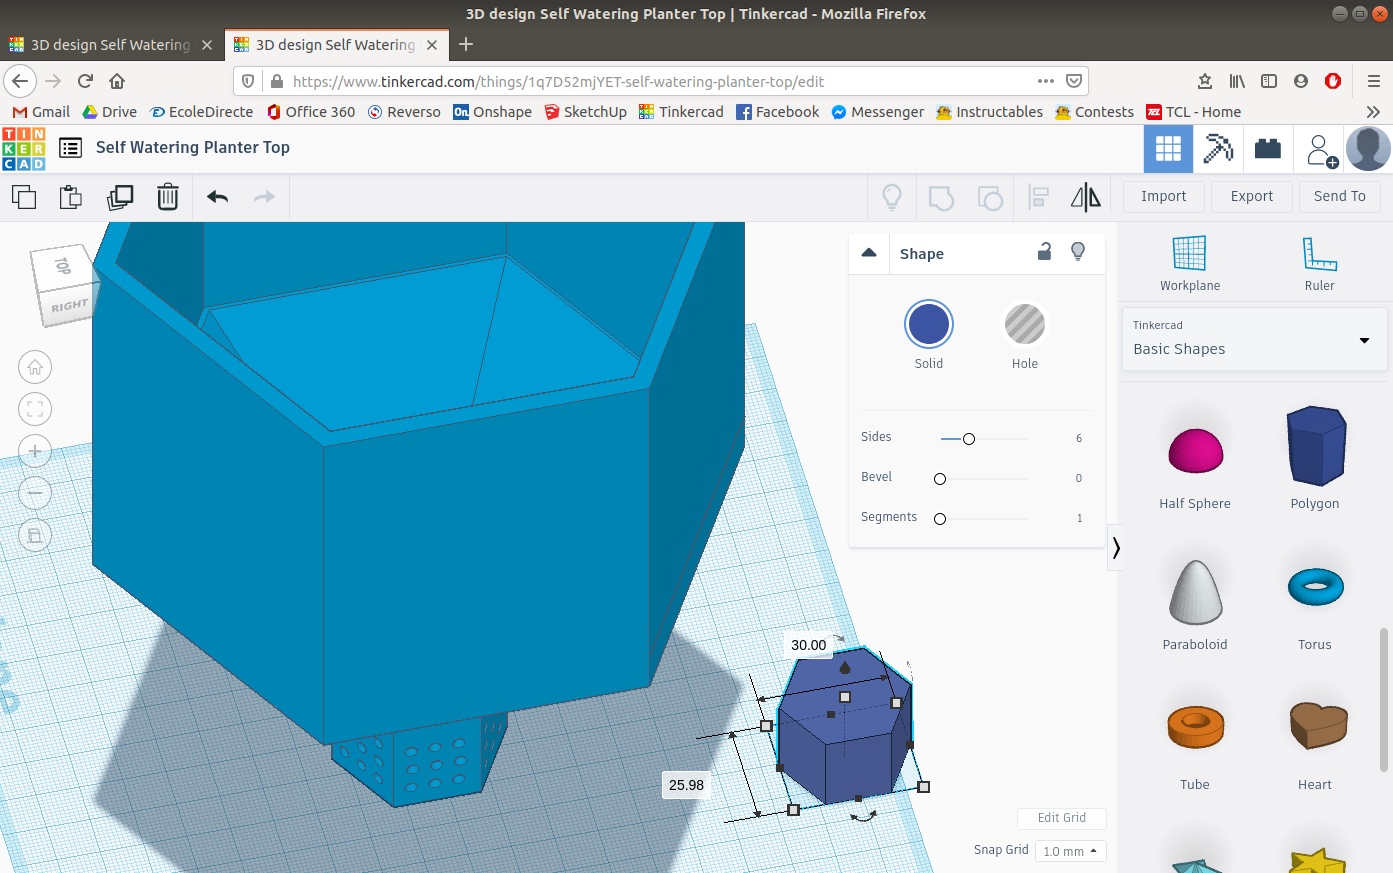
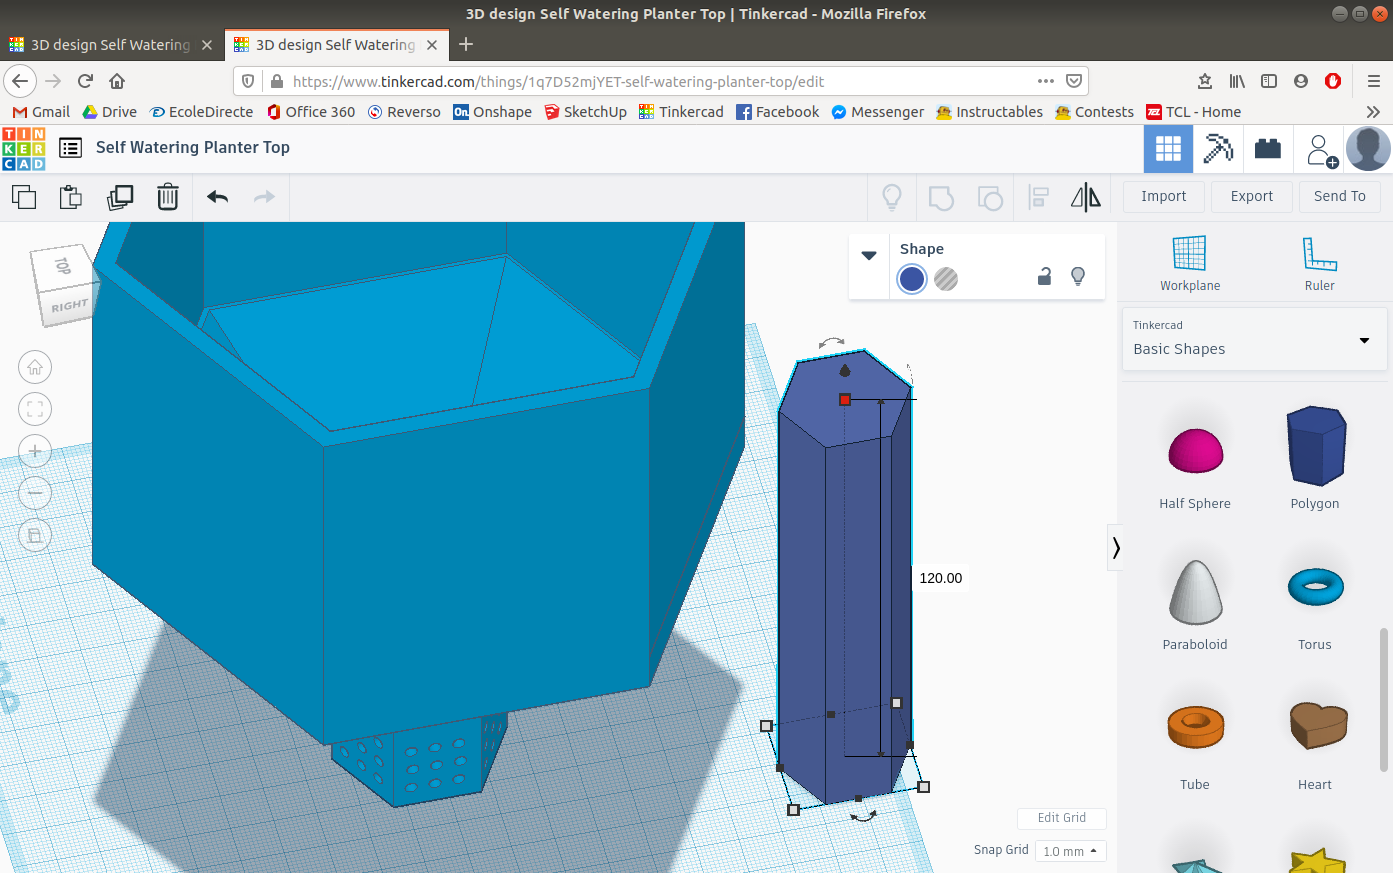
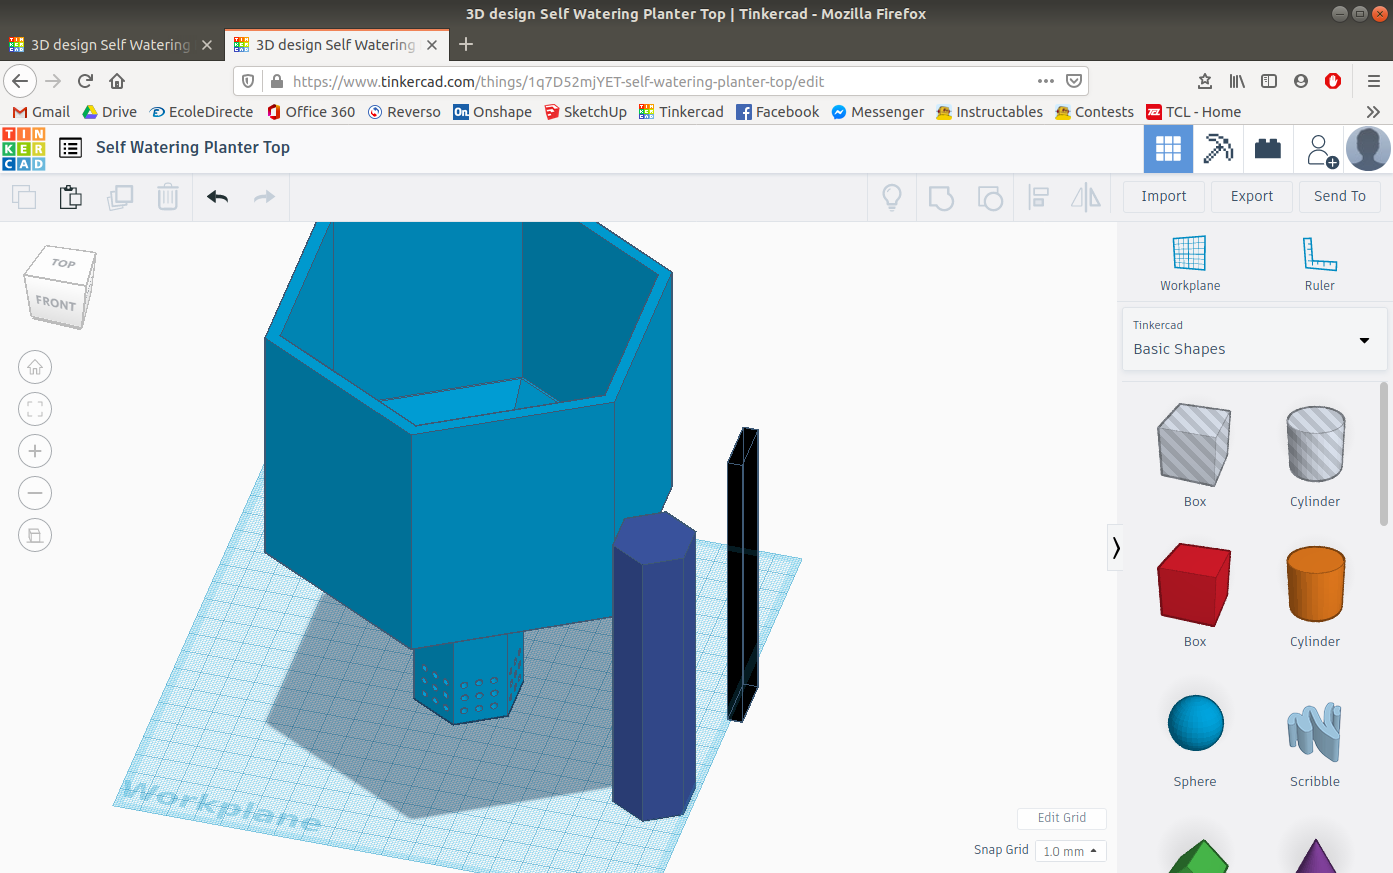
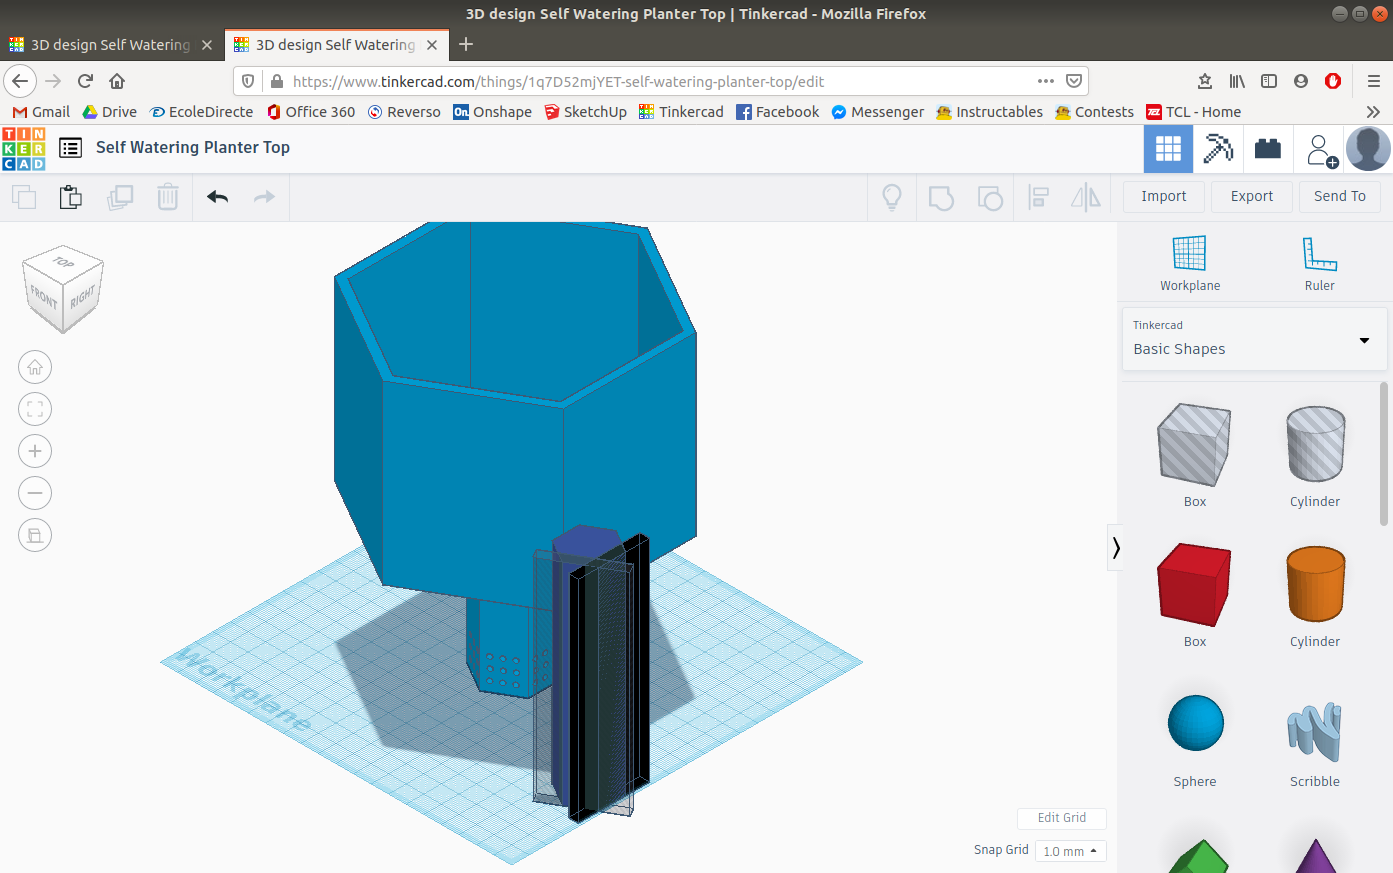
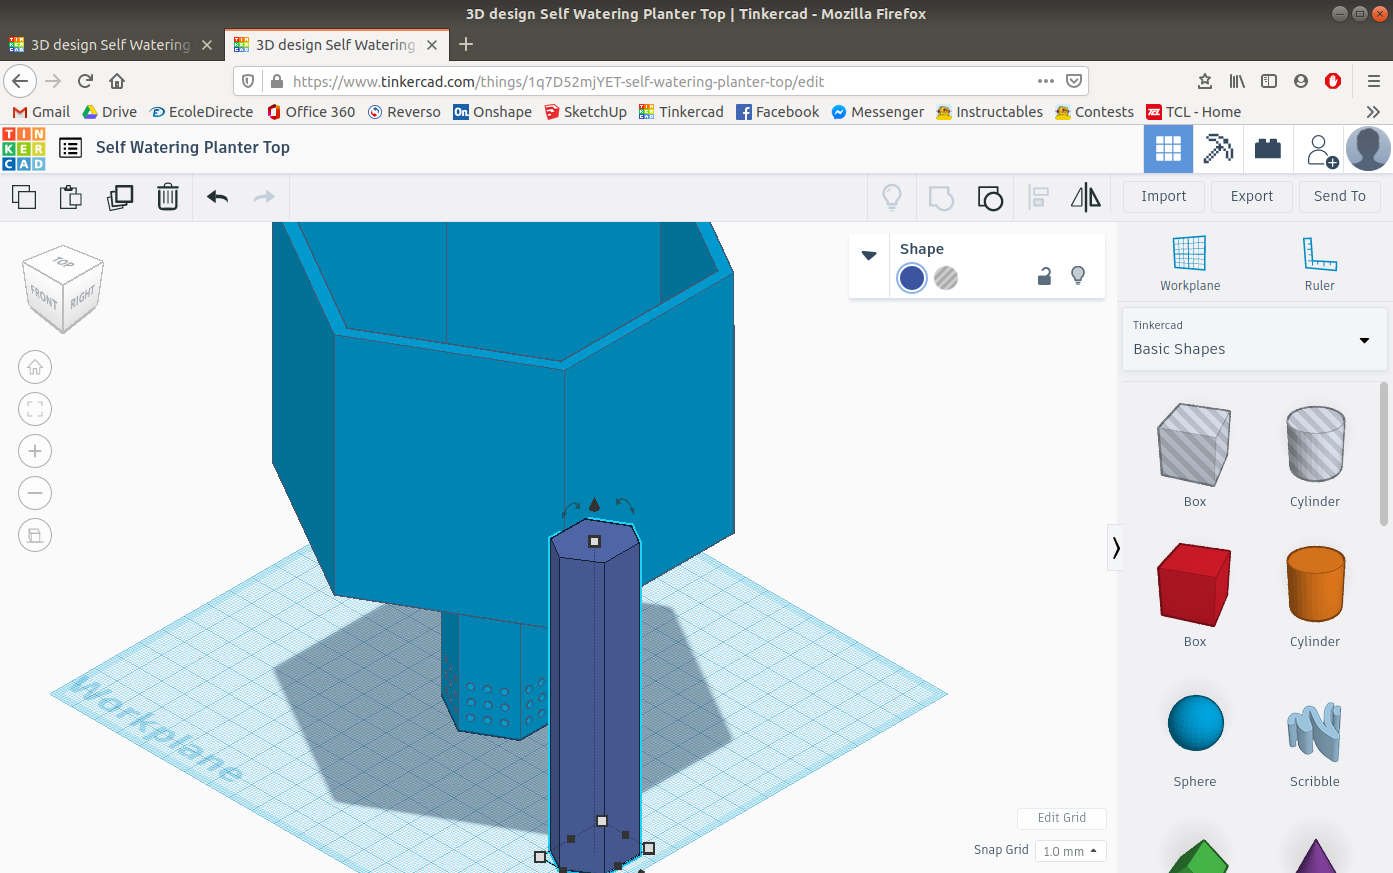
To facilitate the filling up you can insert a hole that leads to the bottom part of the planter.
To do this you will need to insert a hexagon and give it the dimensions of 30 x 25.98 x 120. Then with two cubes remove the width of the wall, ( 5 units) on two faces of the hexagon.
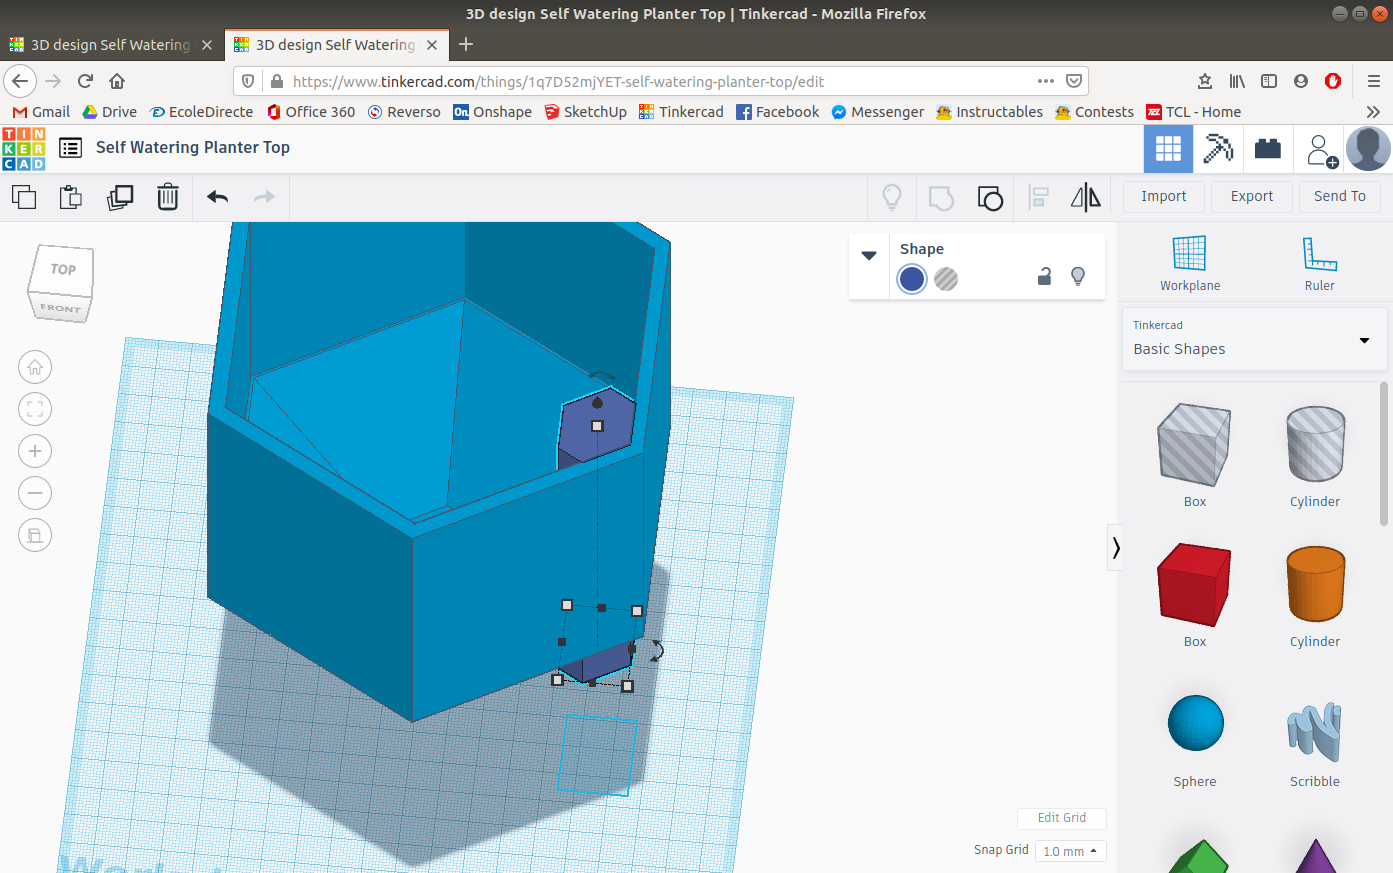
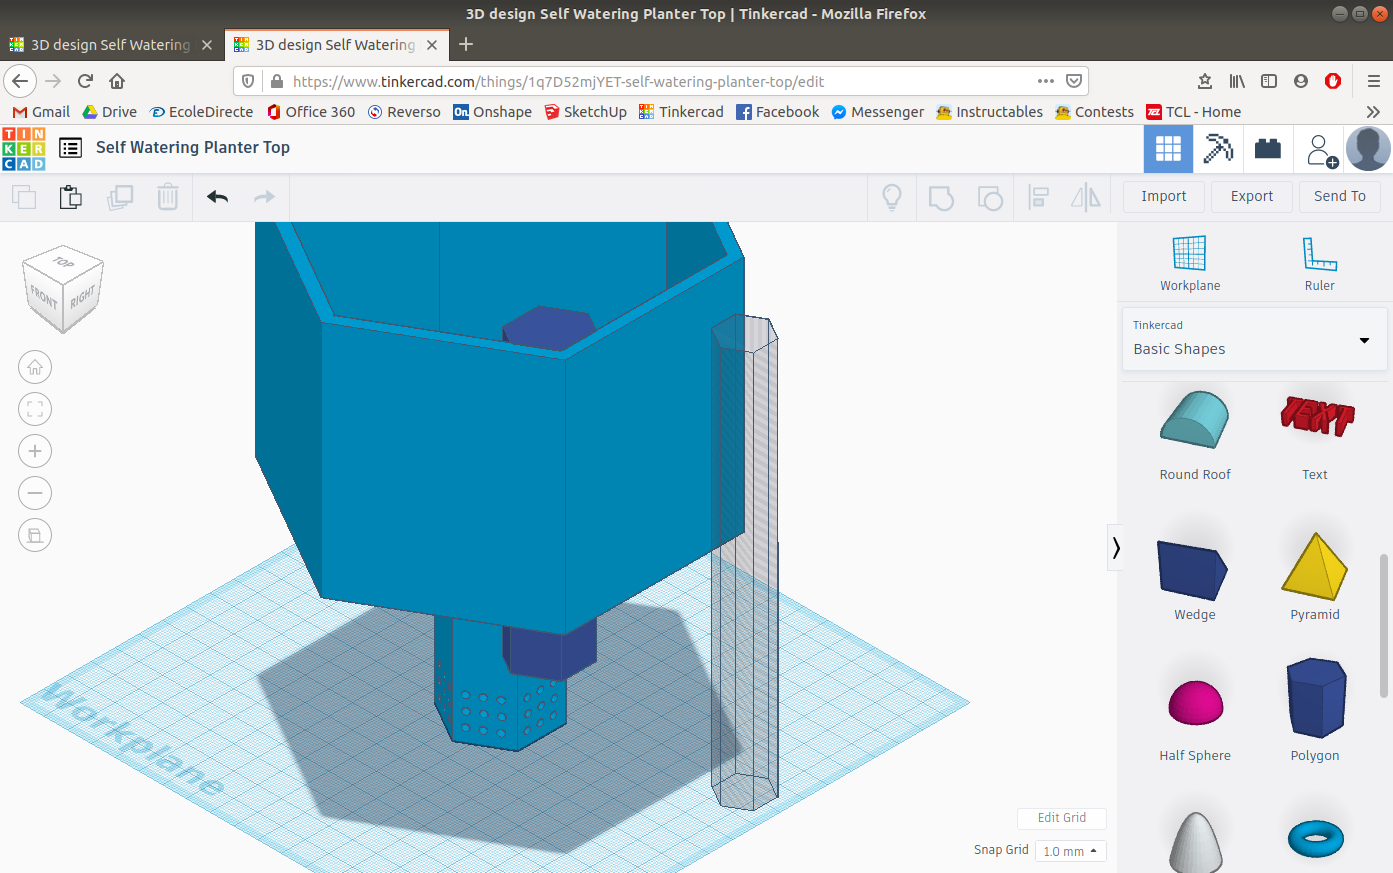
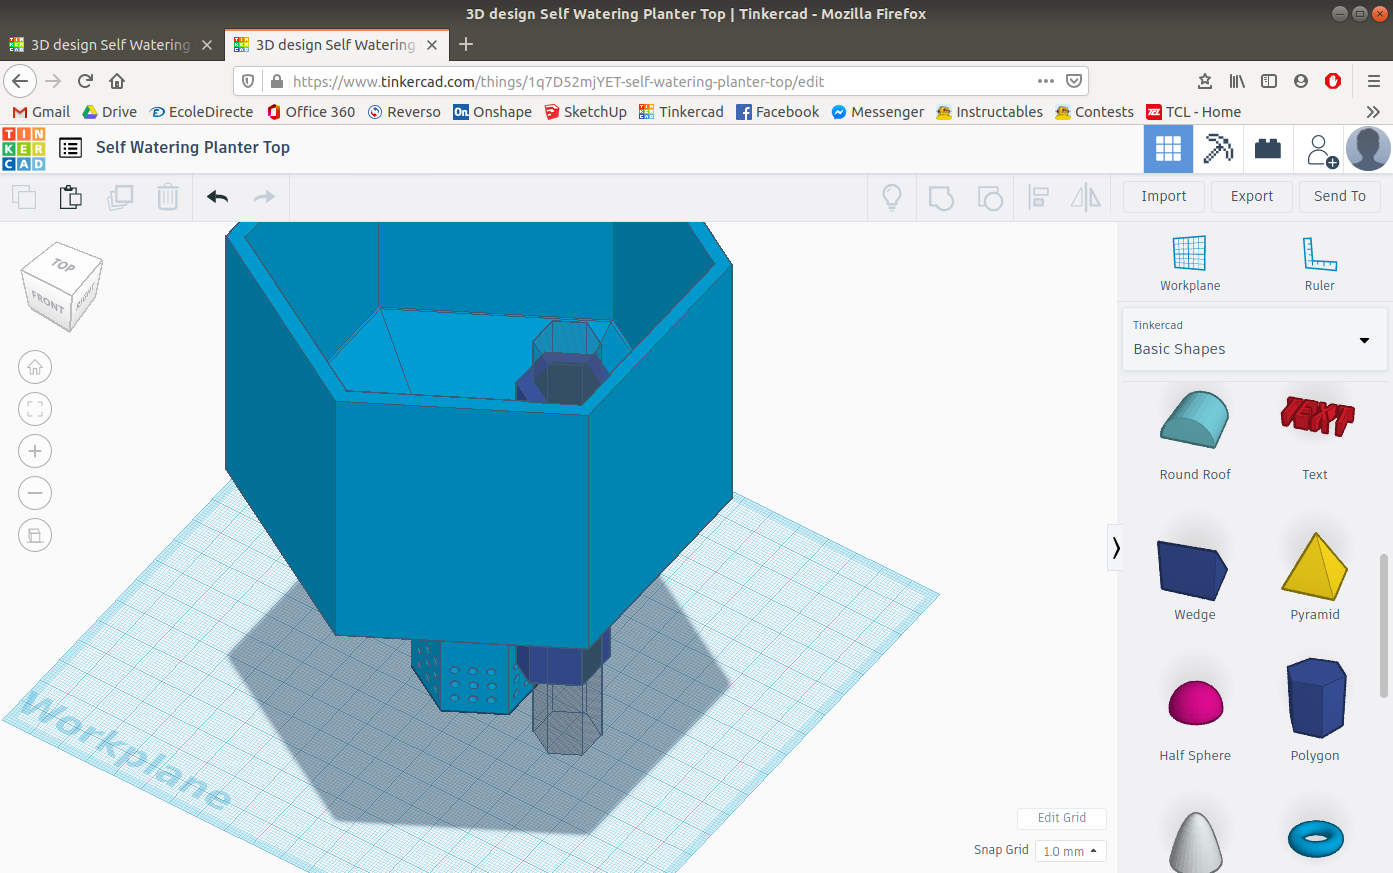
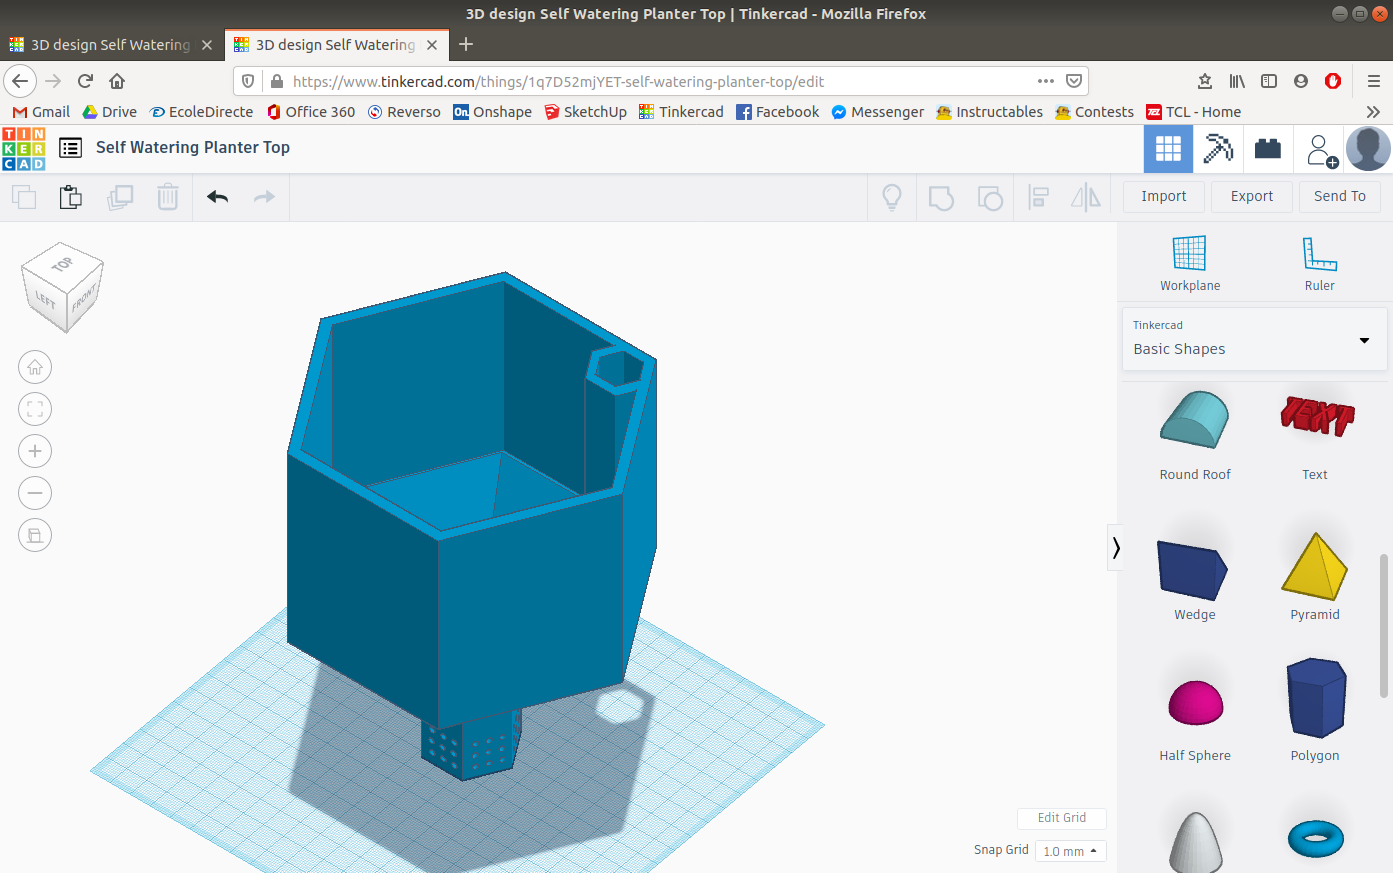
Then elevate the hexagon so that is is at the same height as the top of the planter. Then insert another hexagon but as a "hole" with the dimensions of 20 x 17.32 (original dimensions of the hexagon when you insert it) with a height tall enough to go through the entire planter.
The make the hexagon overlap with the other hexagon and merge the three parts together.
Now the planter is done, but it can still slide on the base of the planter.
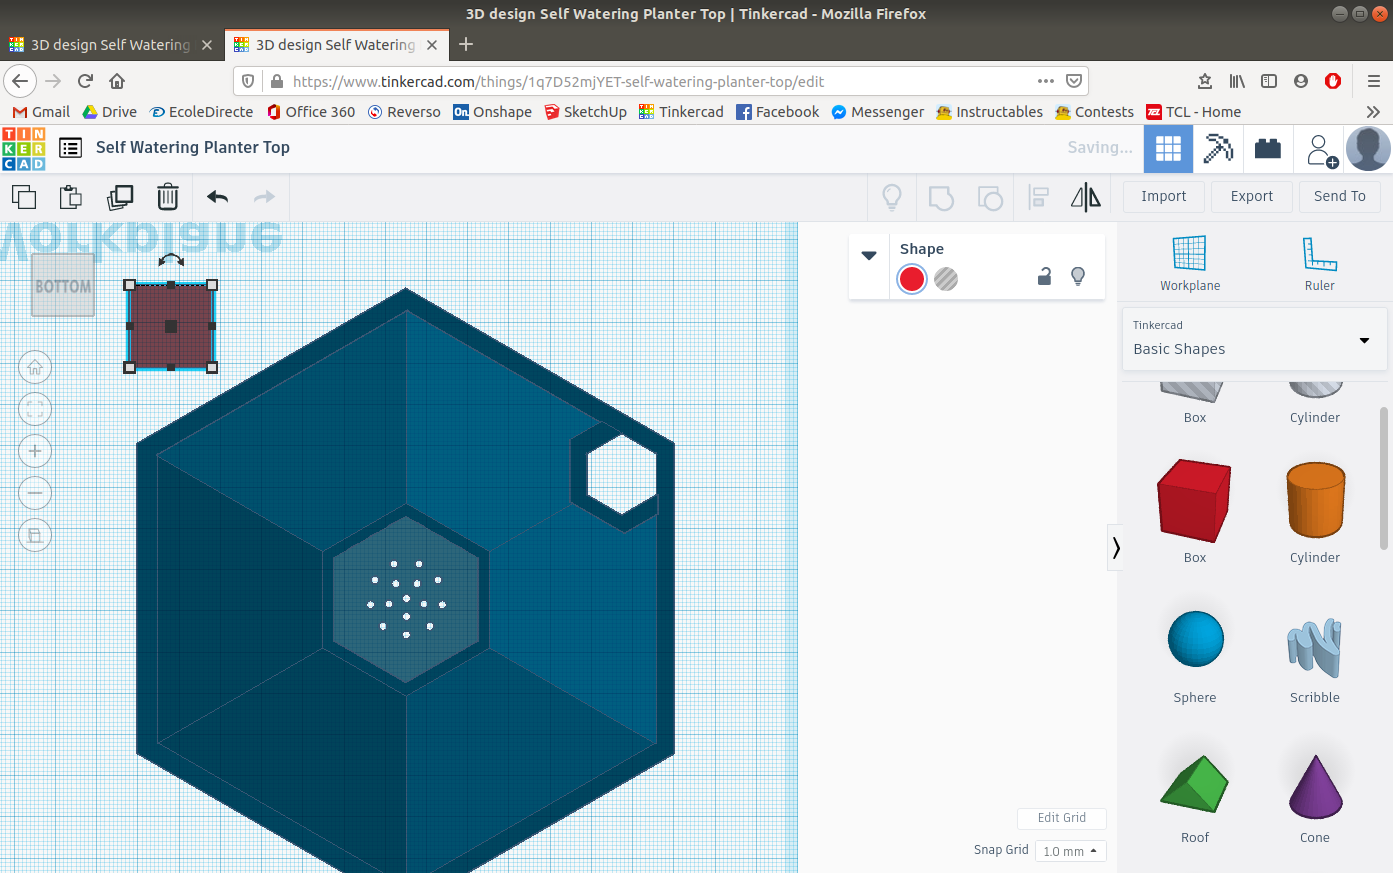
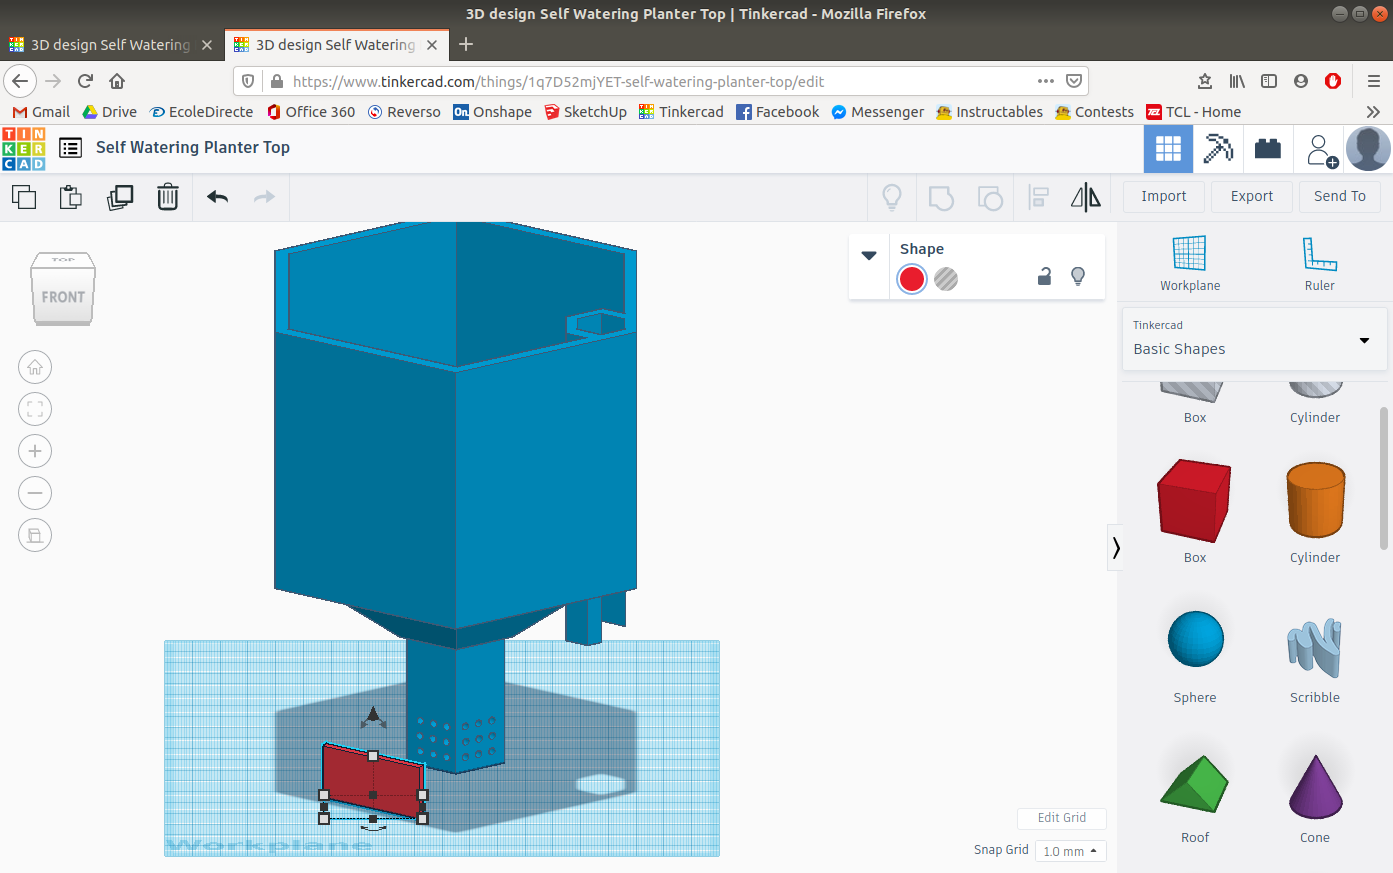
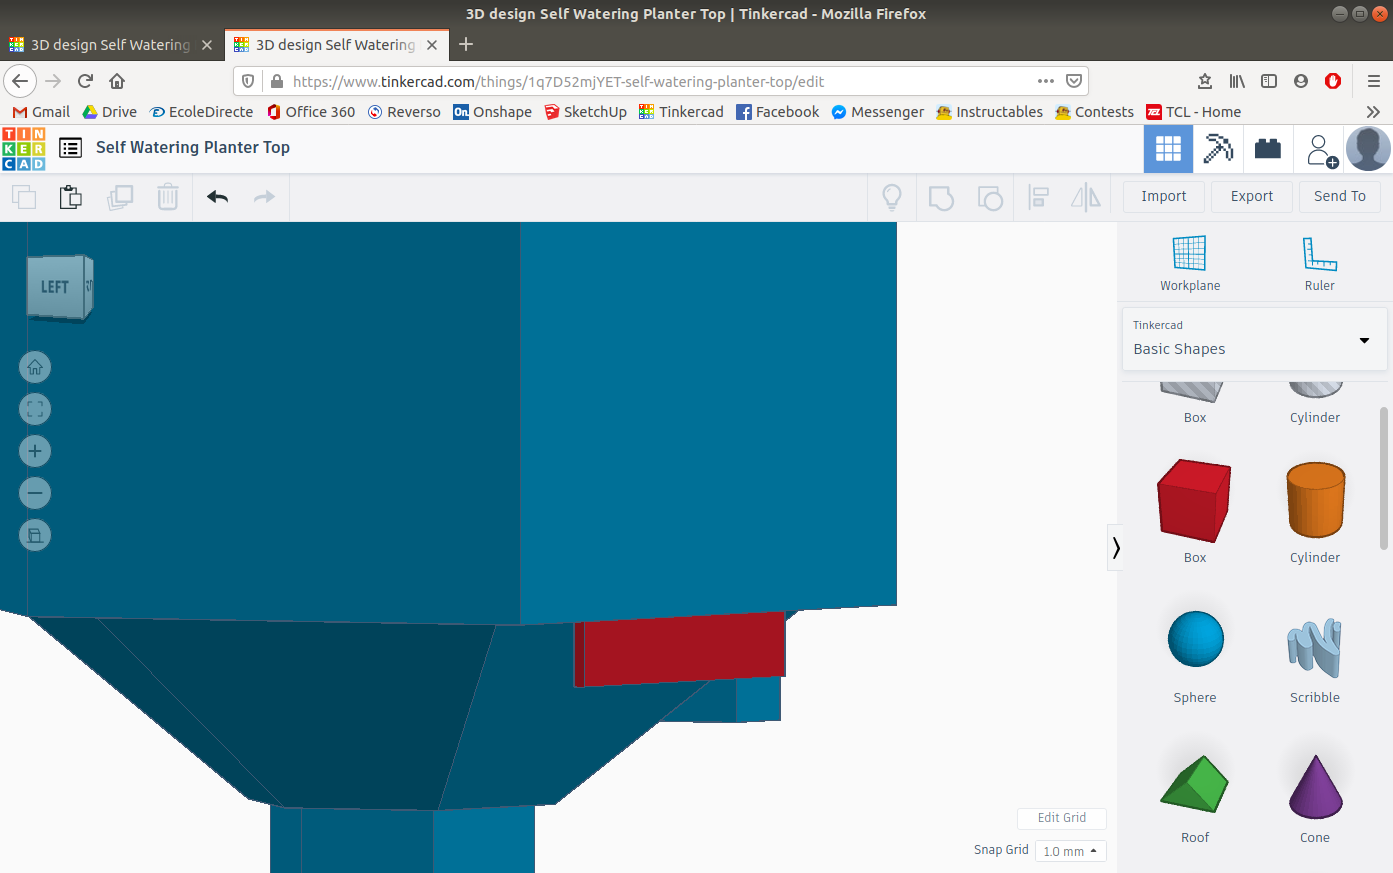
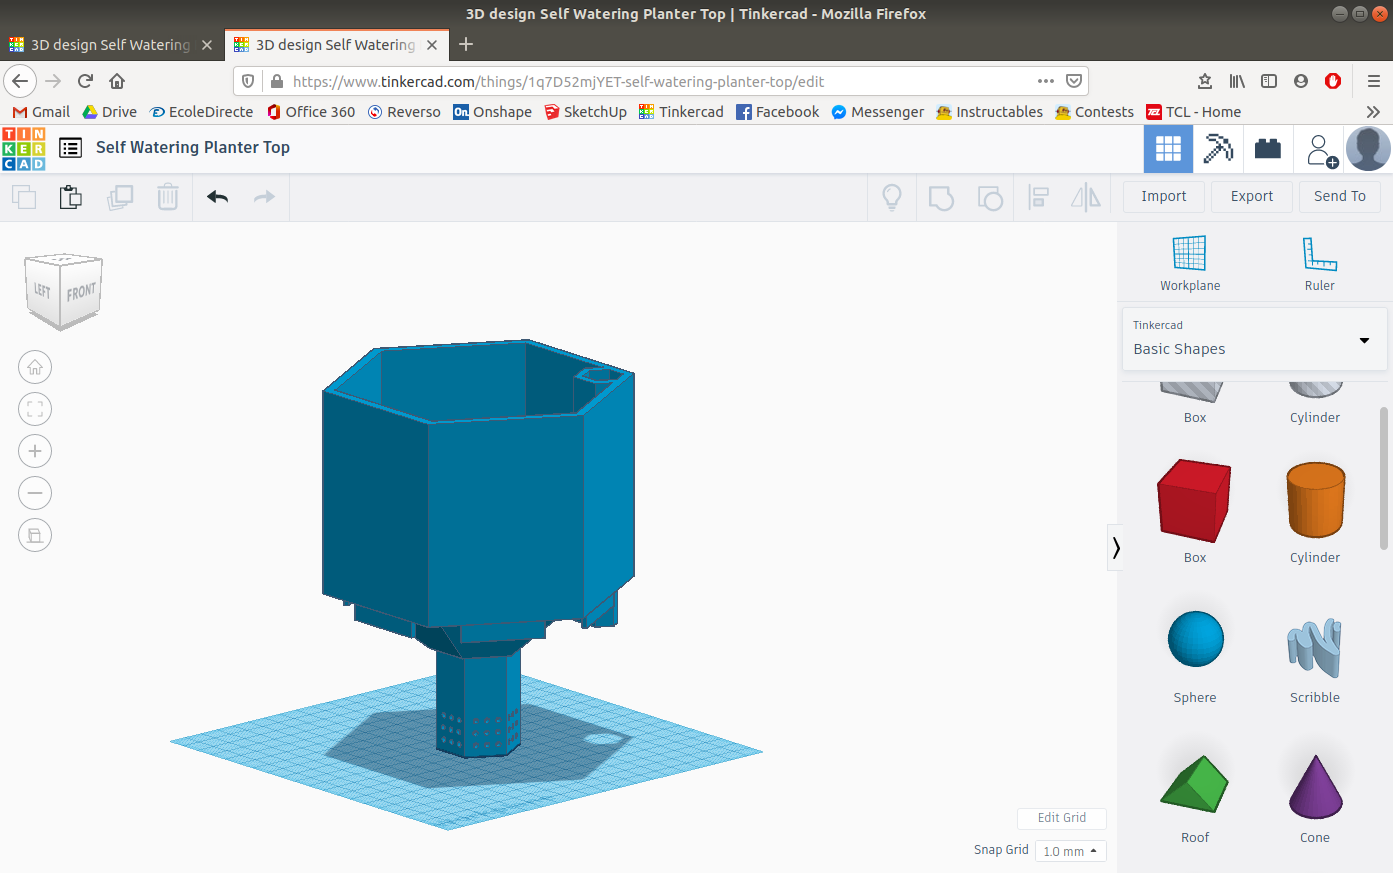
So that the top part of the planter doesn't move you will need to insert some walls on the inside of the top part.
To do this you will need to create a six cubes that you will flatten out and insert on each inside face of the top part. Once that is done merge them with the top part of the planter.
Now your planter is officially done, all you need to do is print it out.
Here are the files of to print out this self watering planter is you do not want to make is yourself.

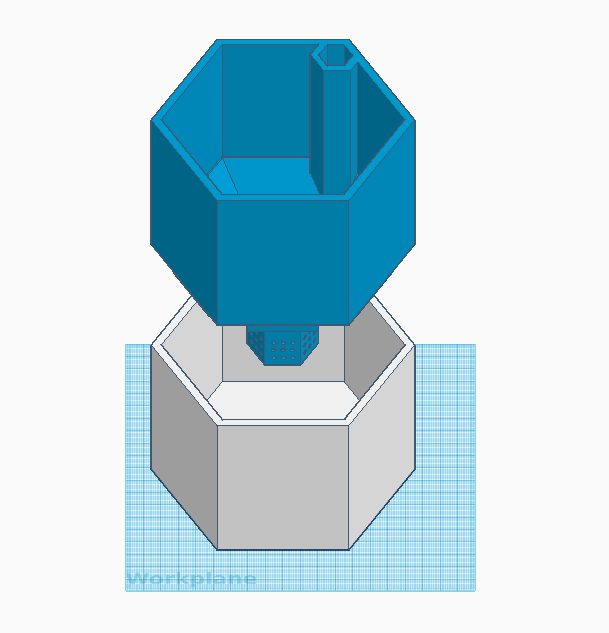


I'm not sure if I was clear enough in explaining the steps, but I think the photos will help. Also if you have any questions please don't hesitate to ask. Suggestions and corrections are appreciated. I hope you will enjoy making this Hexagonal Self Watering Planter.