Headphone Stand

This project is a colorful display for a pair of wireless headphones that makes use of carefully cut reused plastic. In this instructable, I will be showing you how to make a headphone stand of your own.
Supplies

For this project you will need:
- Melted plastic sheets
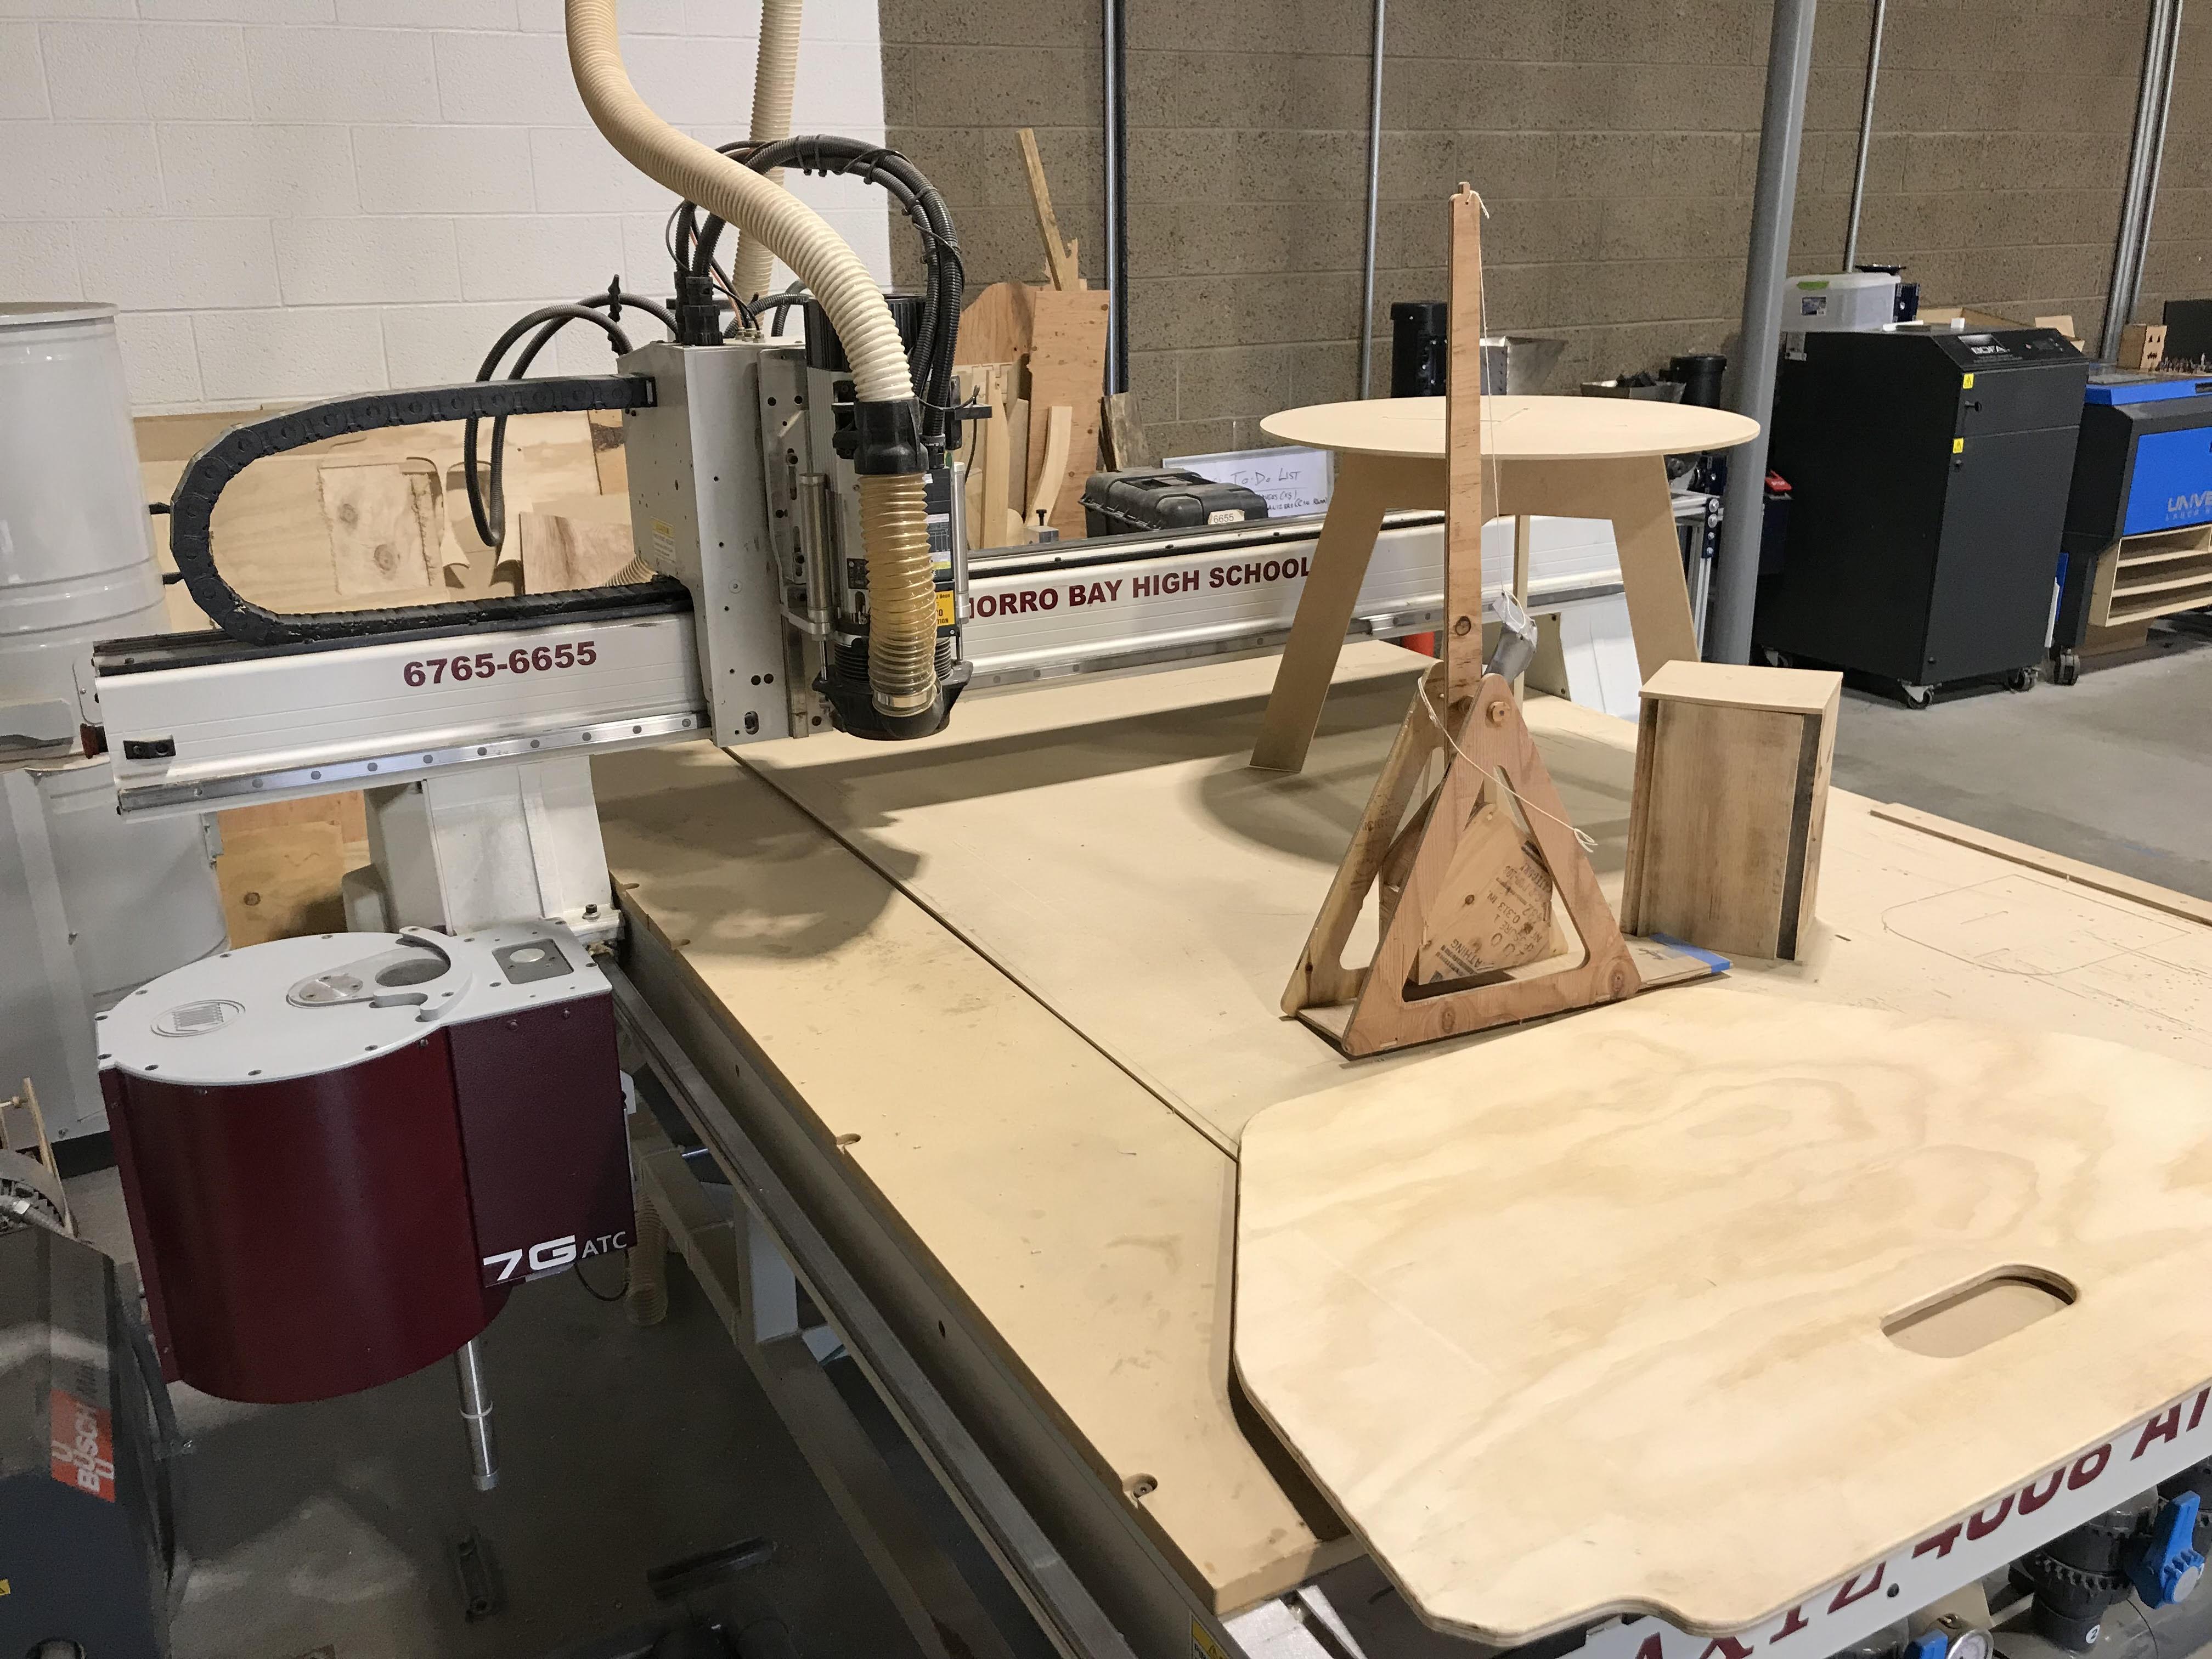
- Access to a CNC router
- A pair of Bluetooth headphones
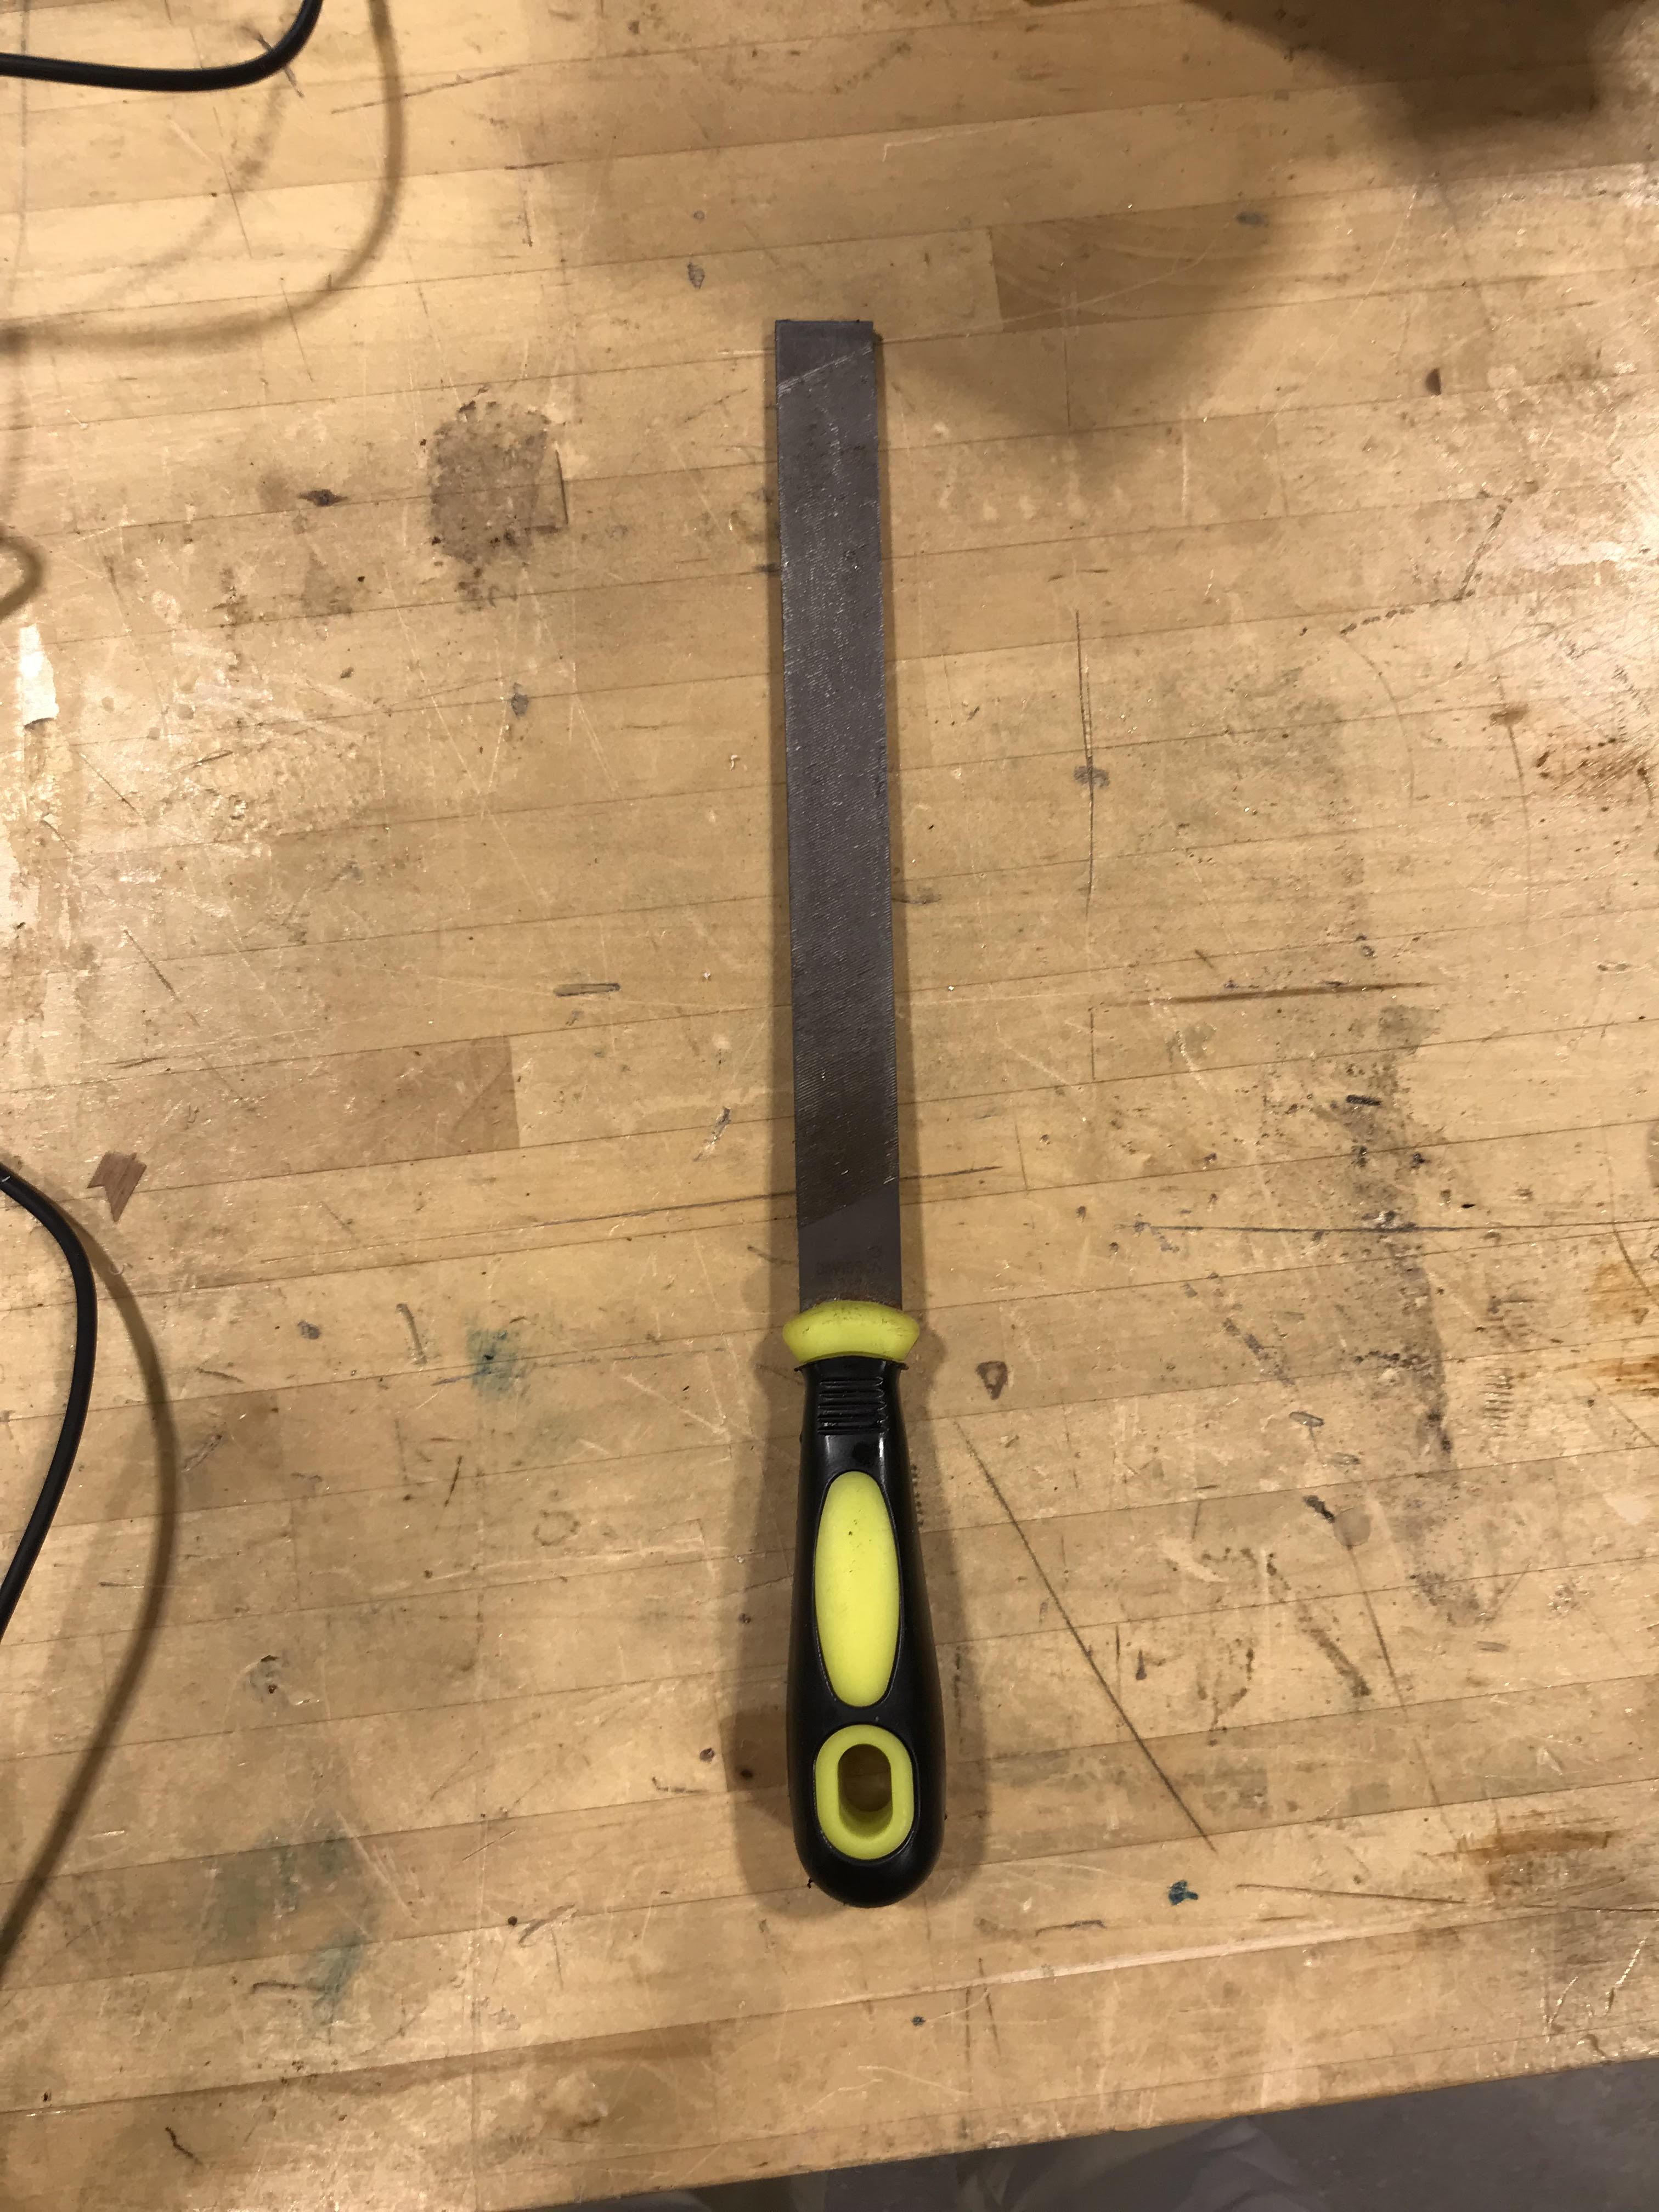
- A file tool
- Cardboard and tape for a prototype
Prototype

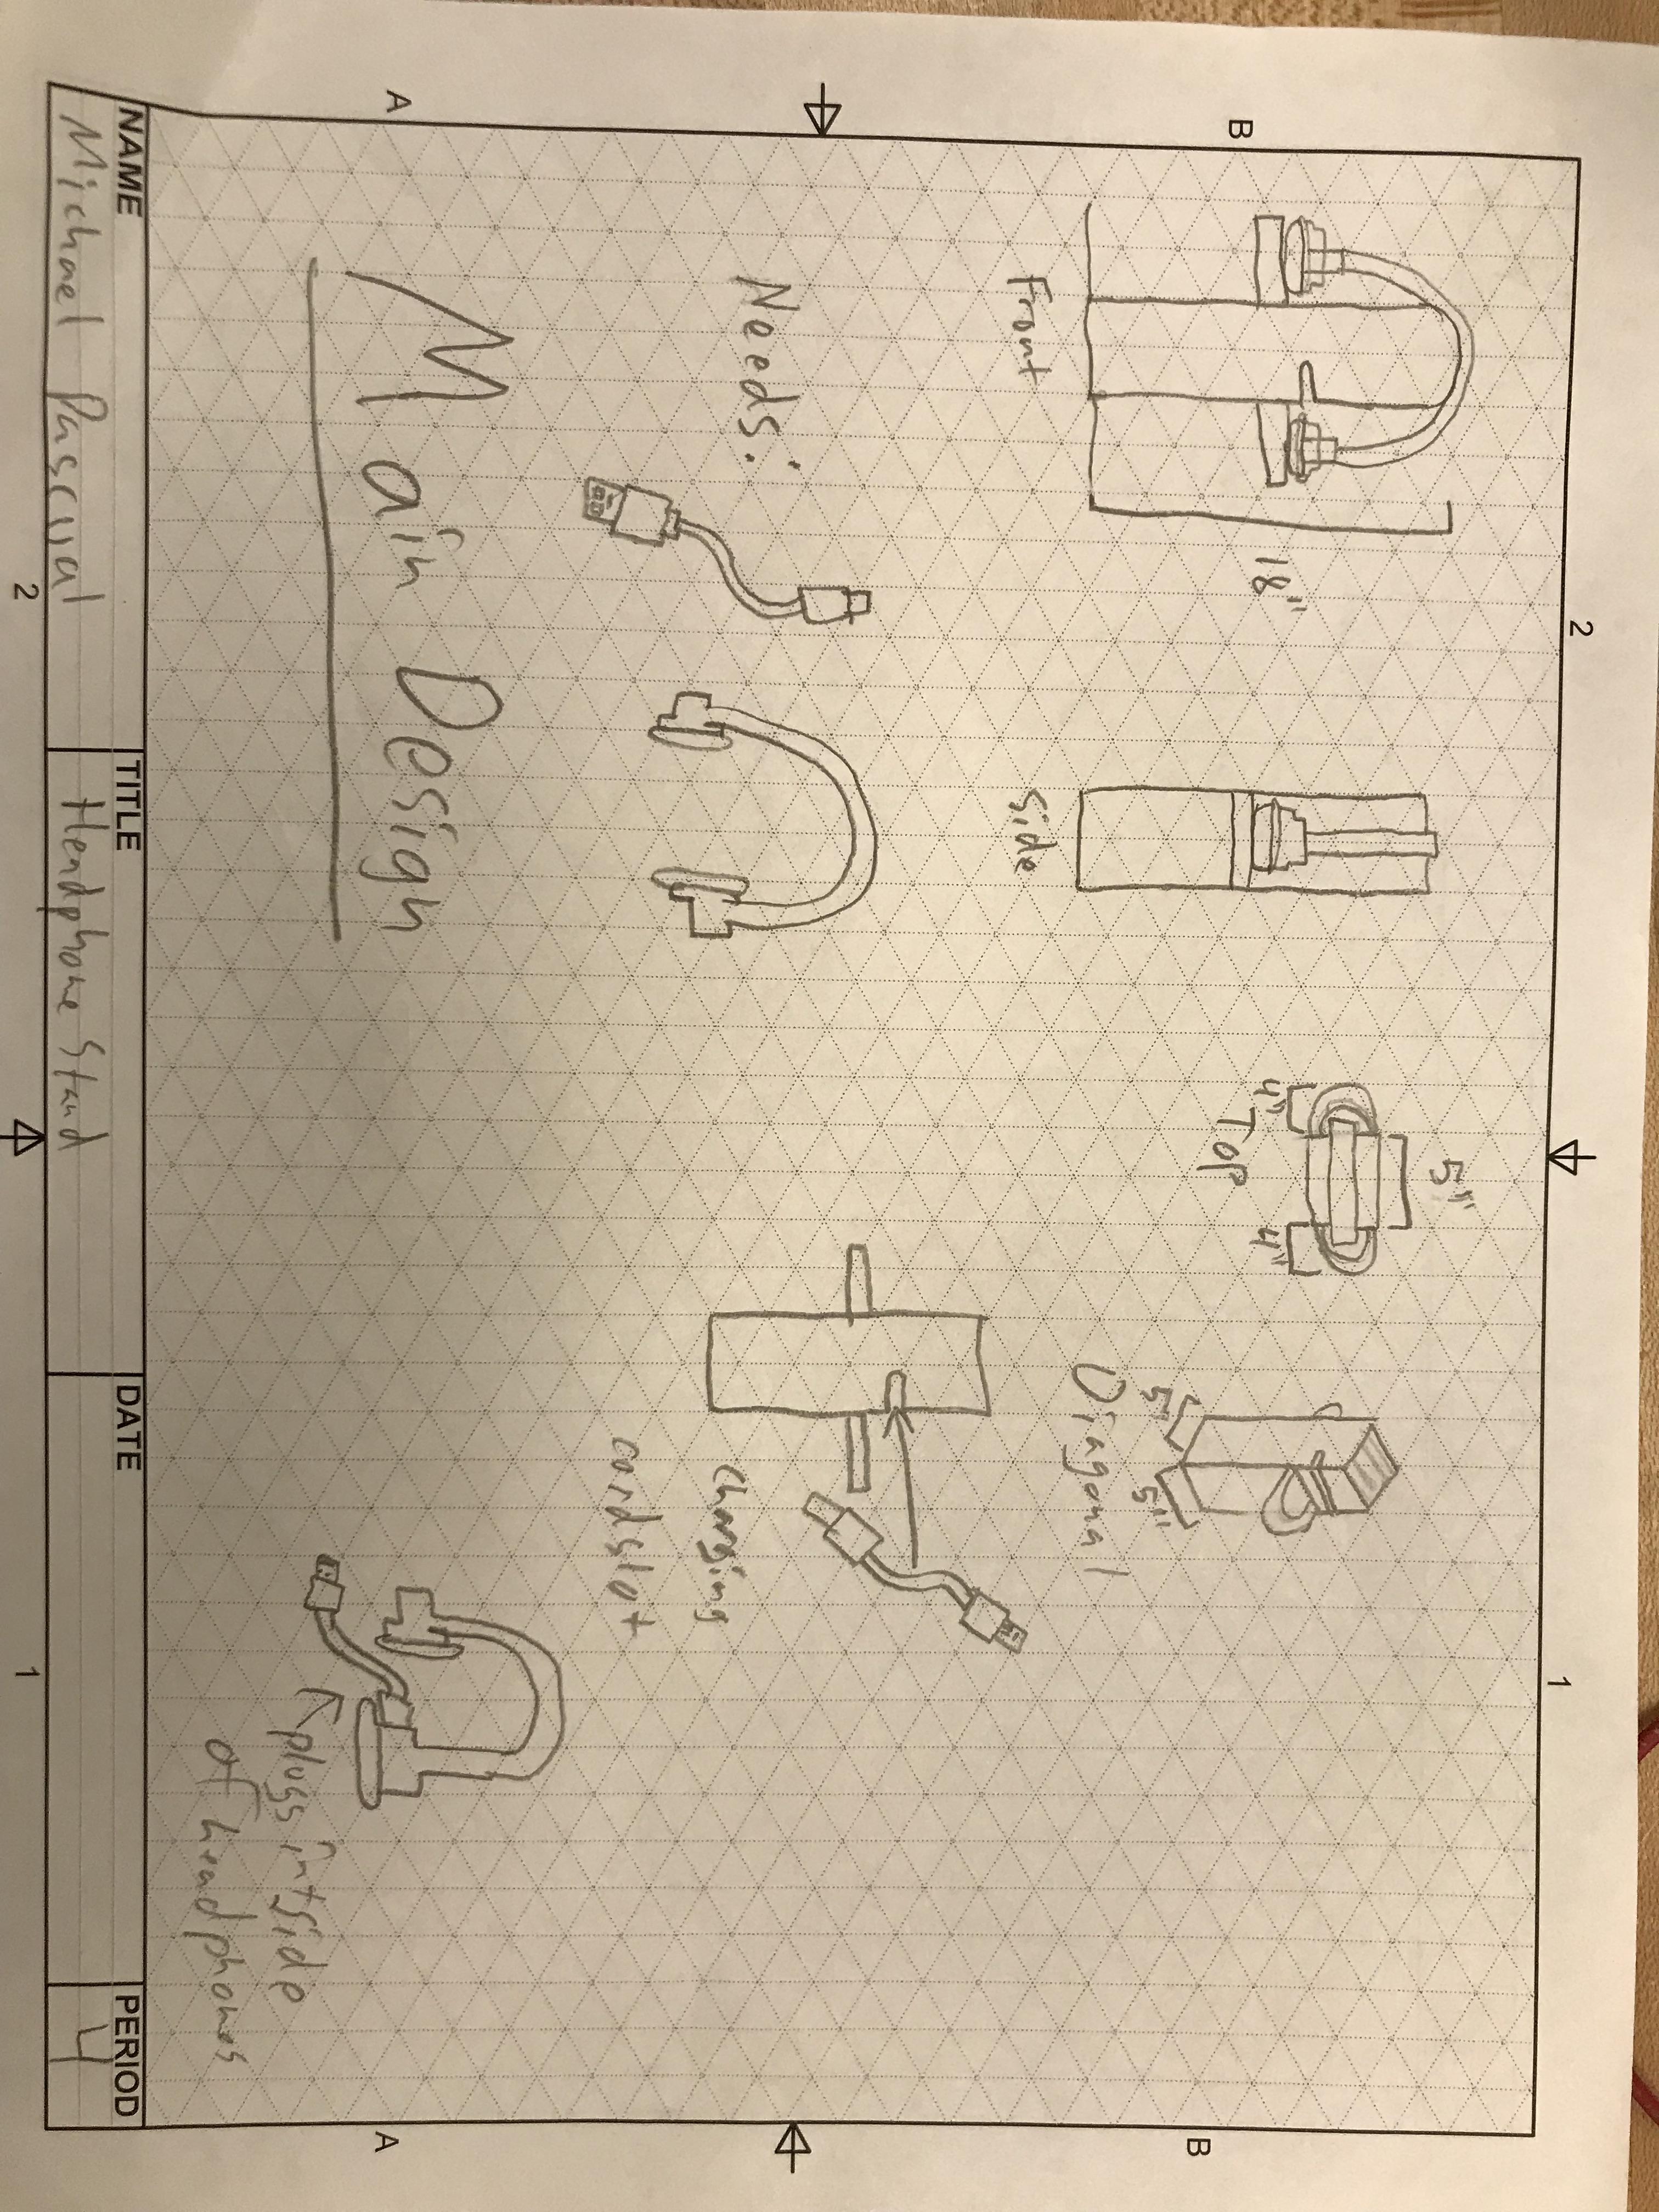
First, draw out the design you hope to create. The drawing above shows the design that I originally wrote out.
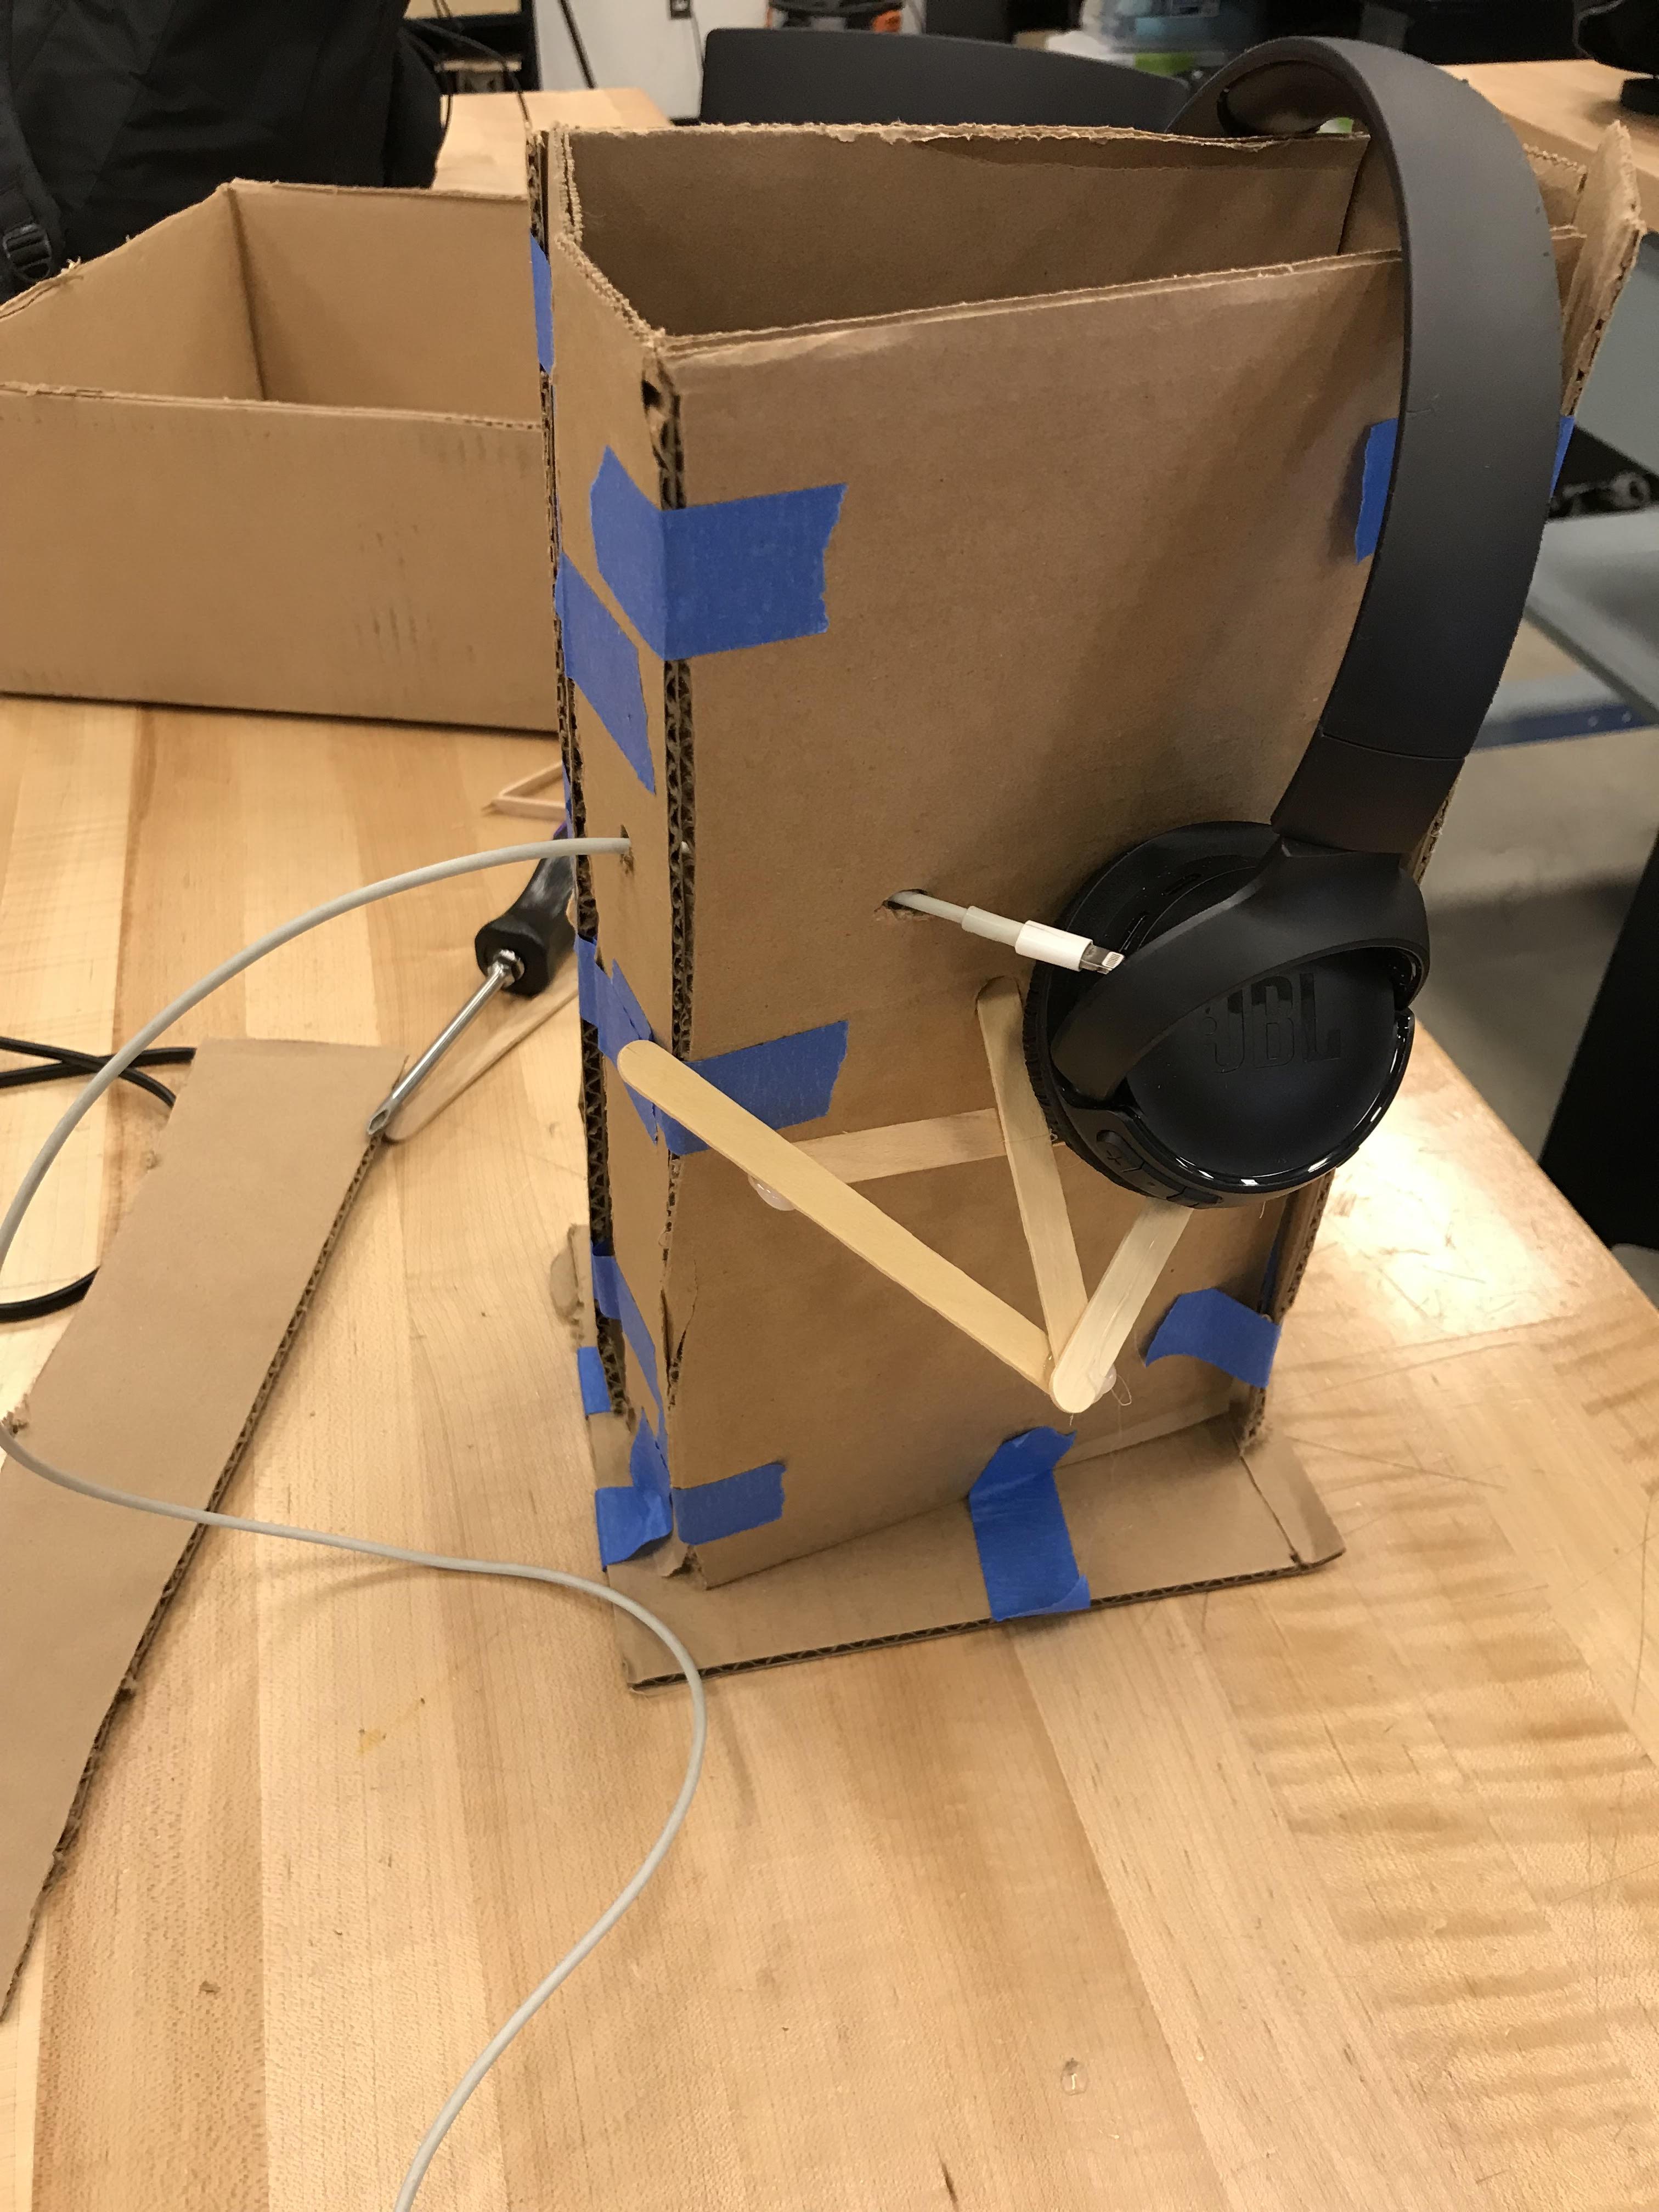
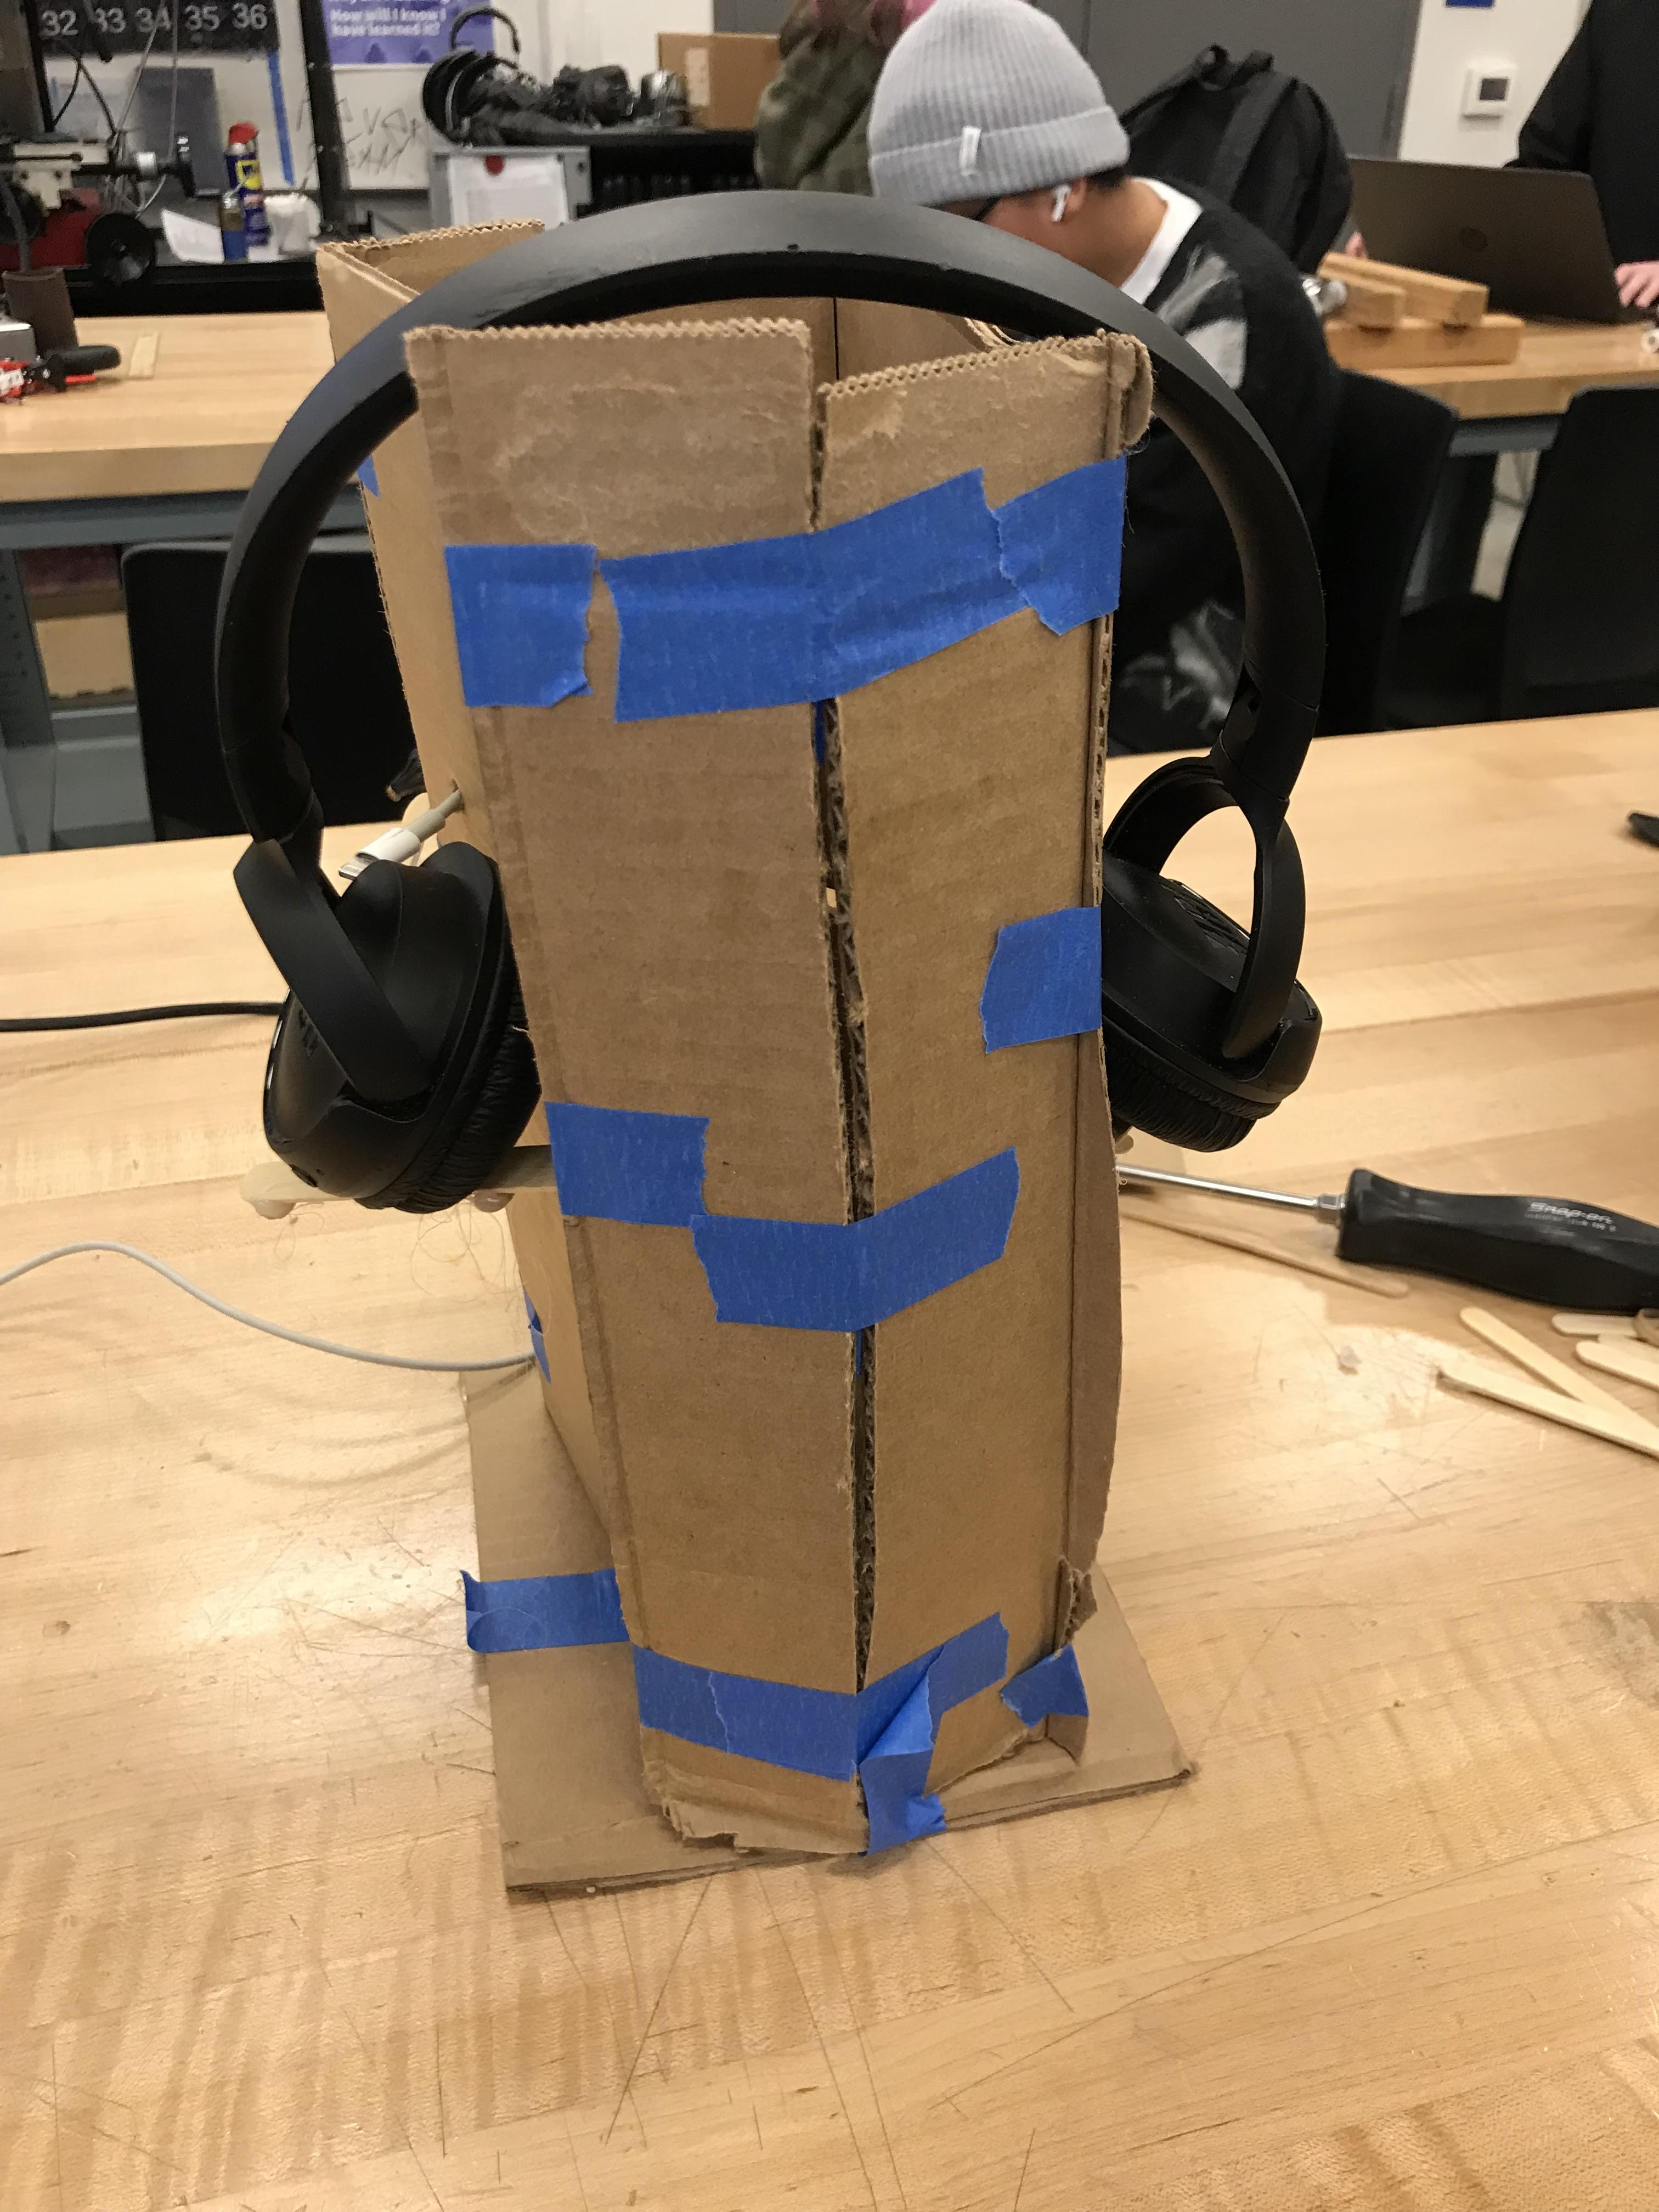
Then, create a prototype that matches the dimensions of the wireless headphones you want to display. I made my prototype out of cardboard and duct tape and sized it to match. These dimensions will be used in deciding the final lengths of your plastic sheets.
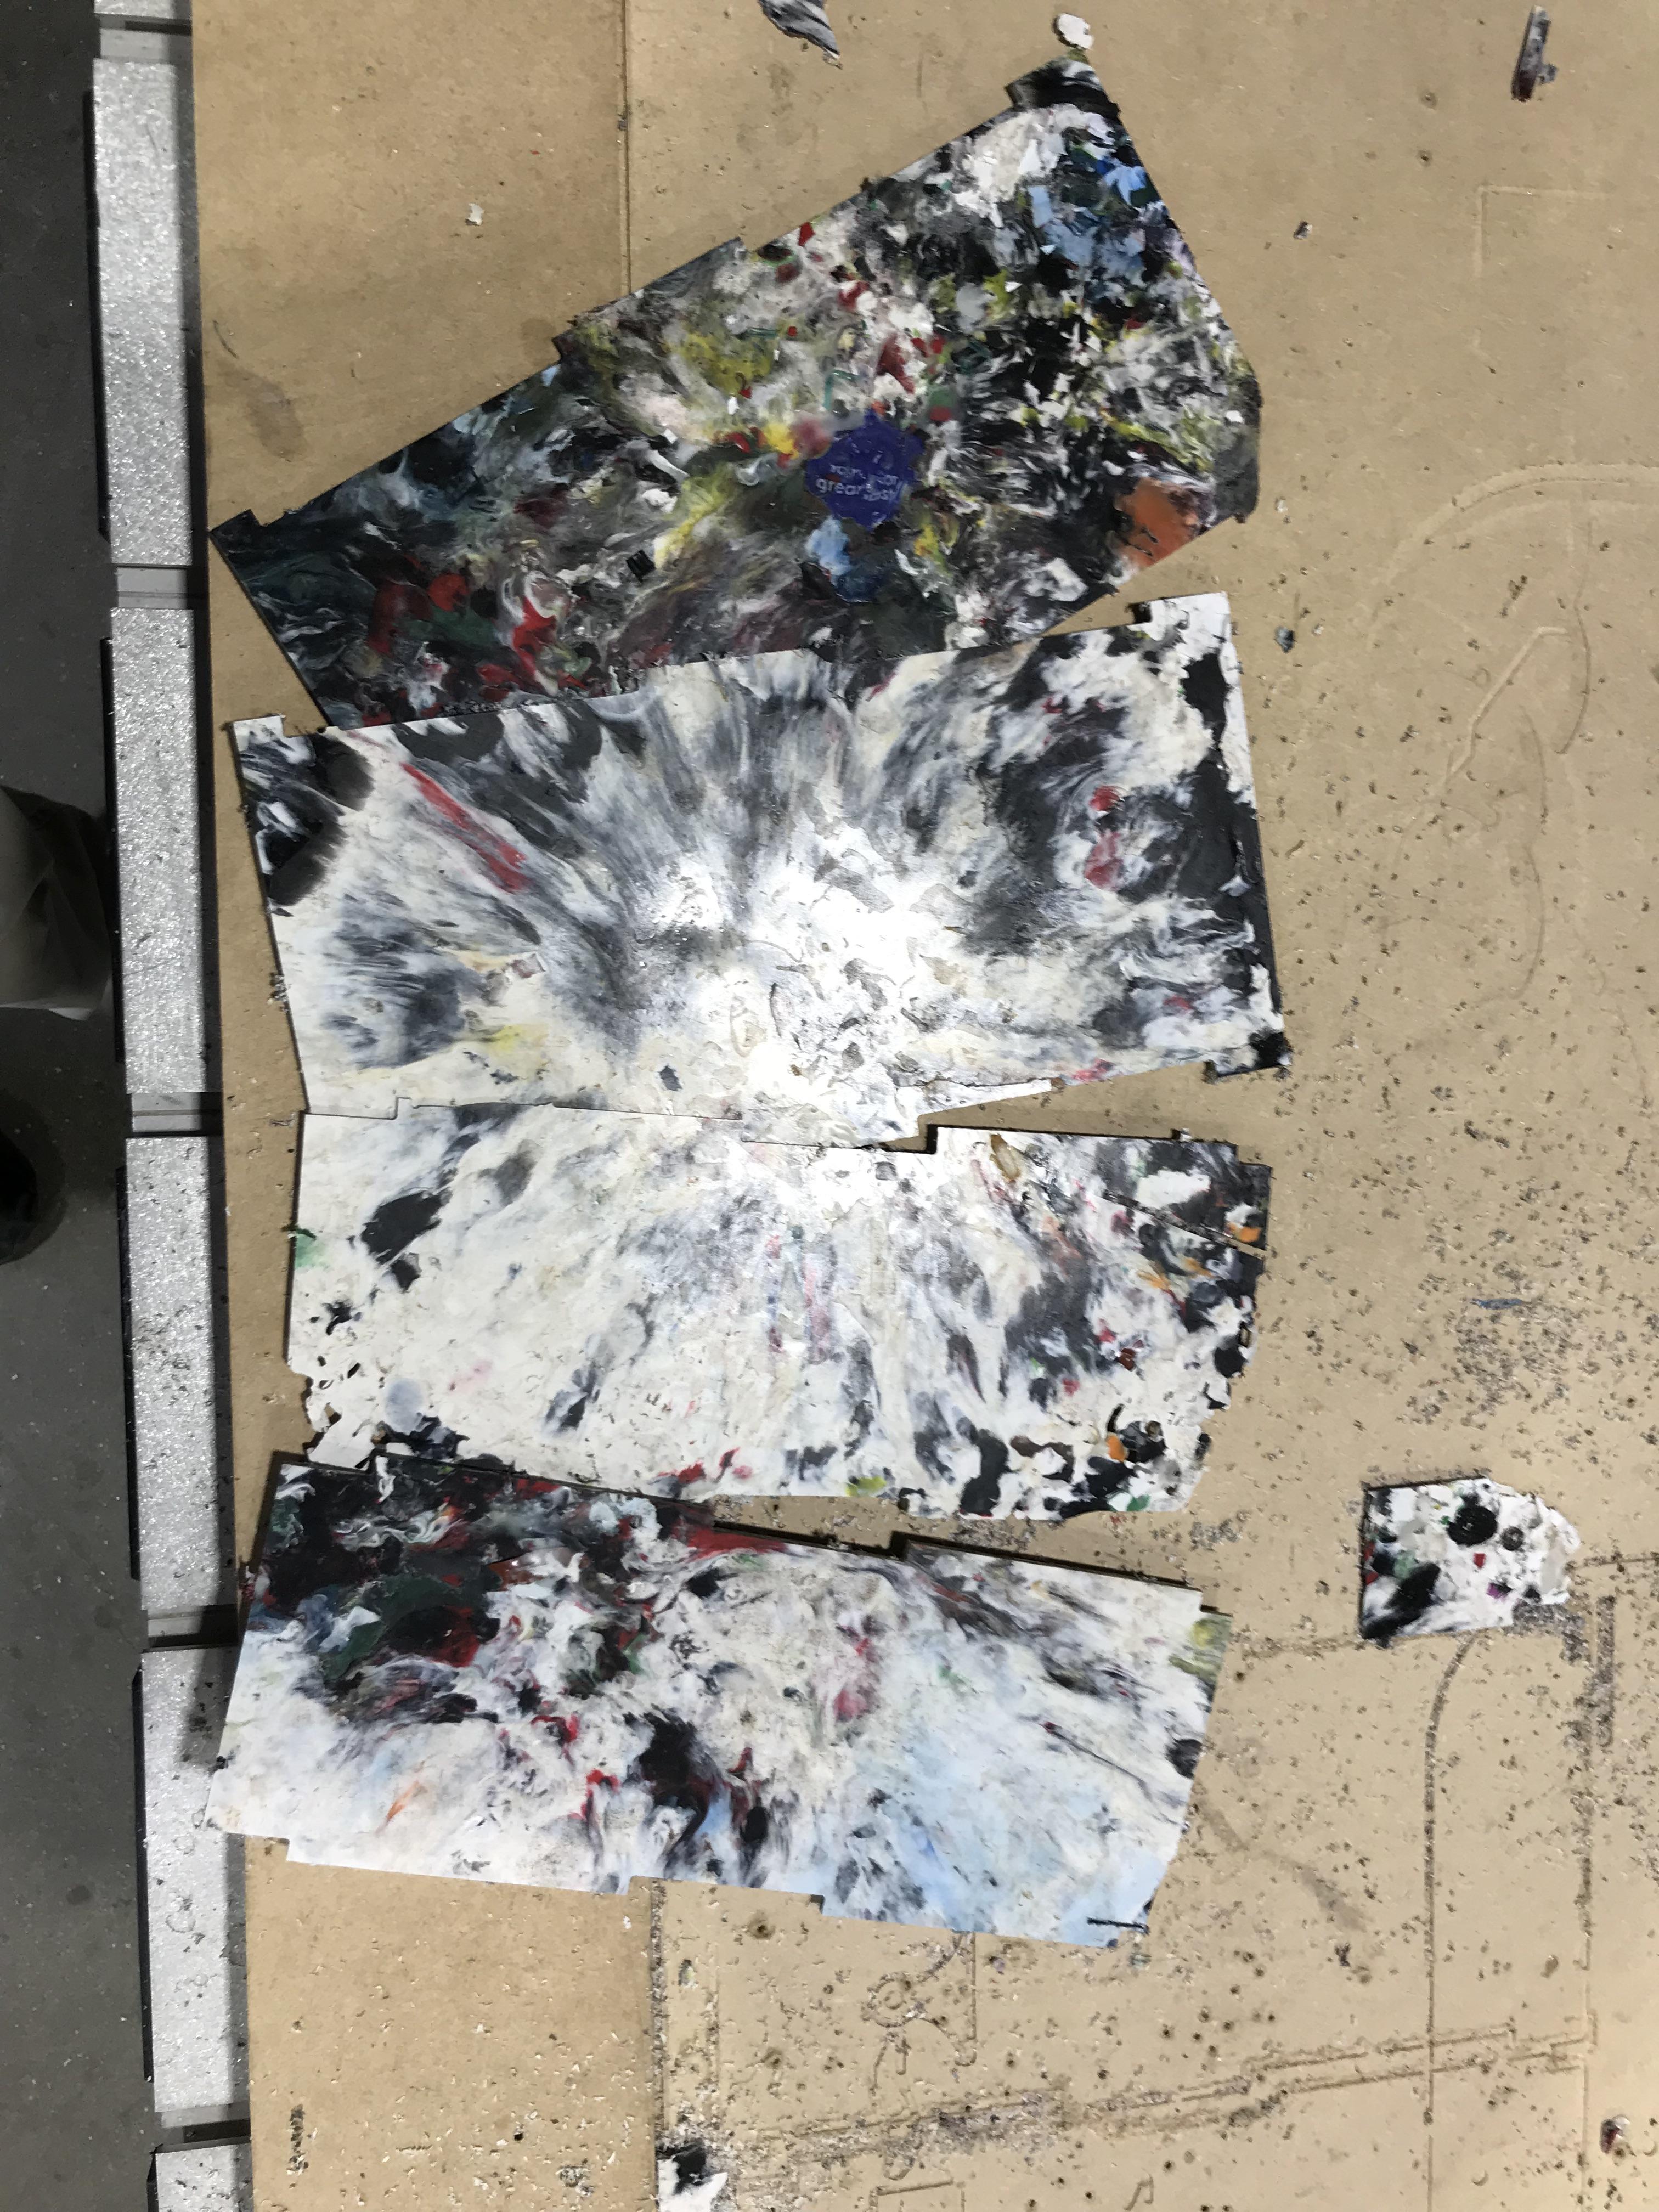
The main issue with my prototype was how loosely connected the walls were. This is easily resolved by cutting connectors out of each sheet, as shown in the CAD models below.
CAD
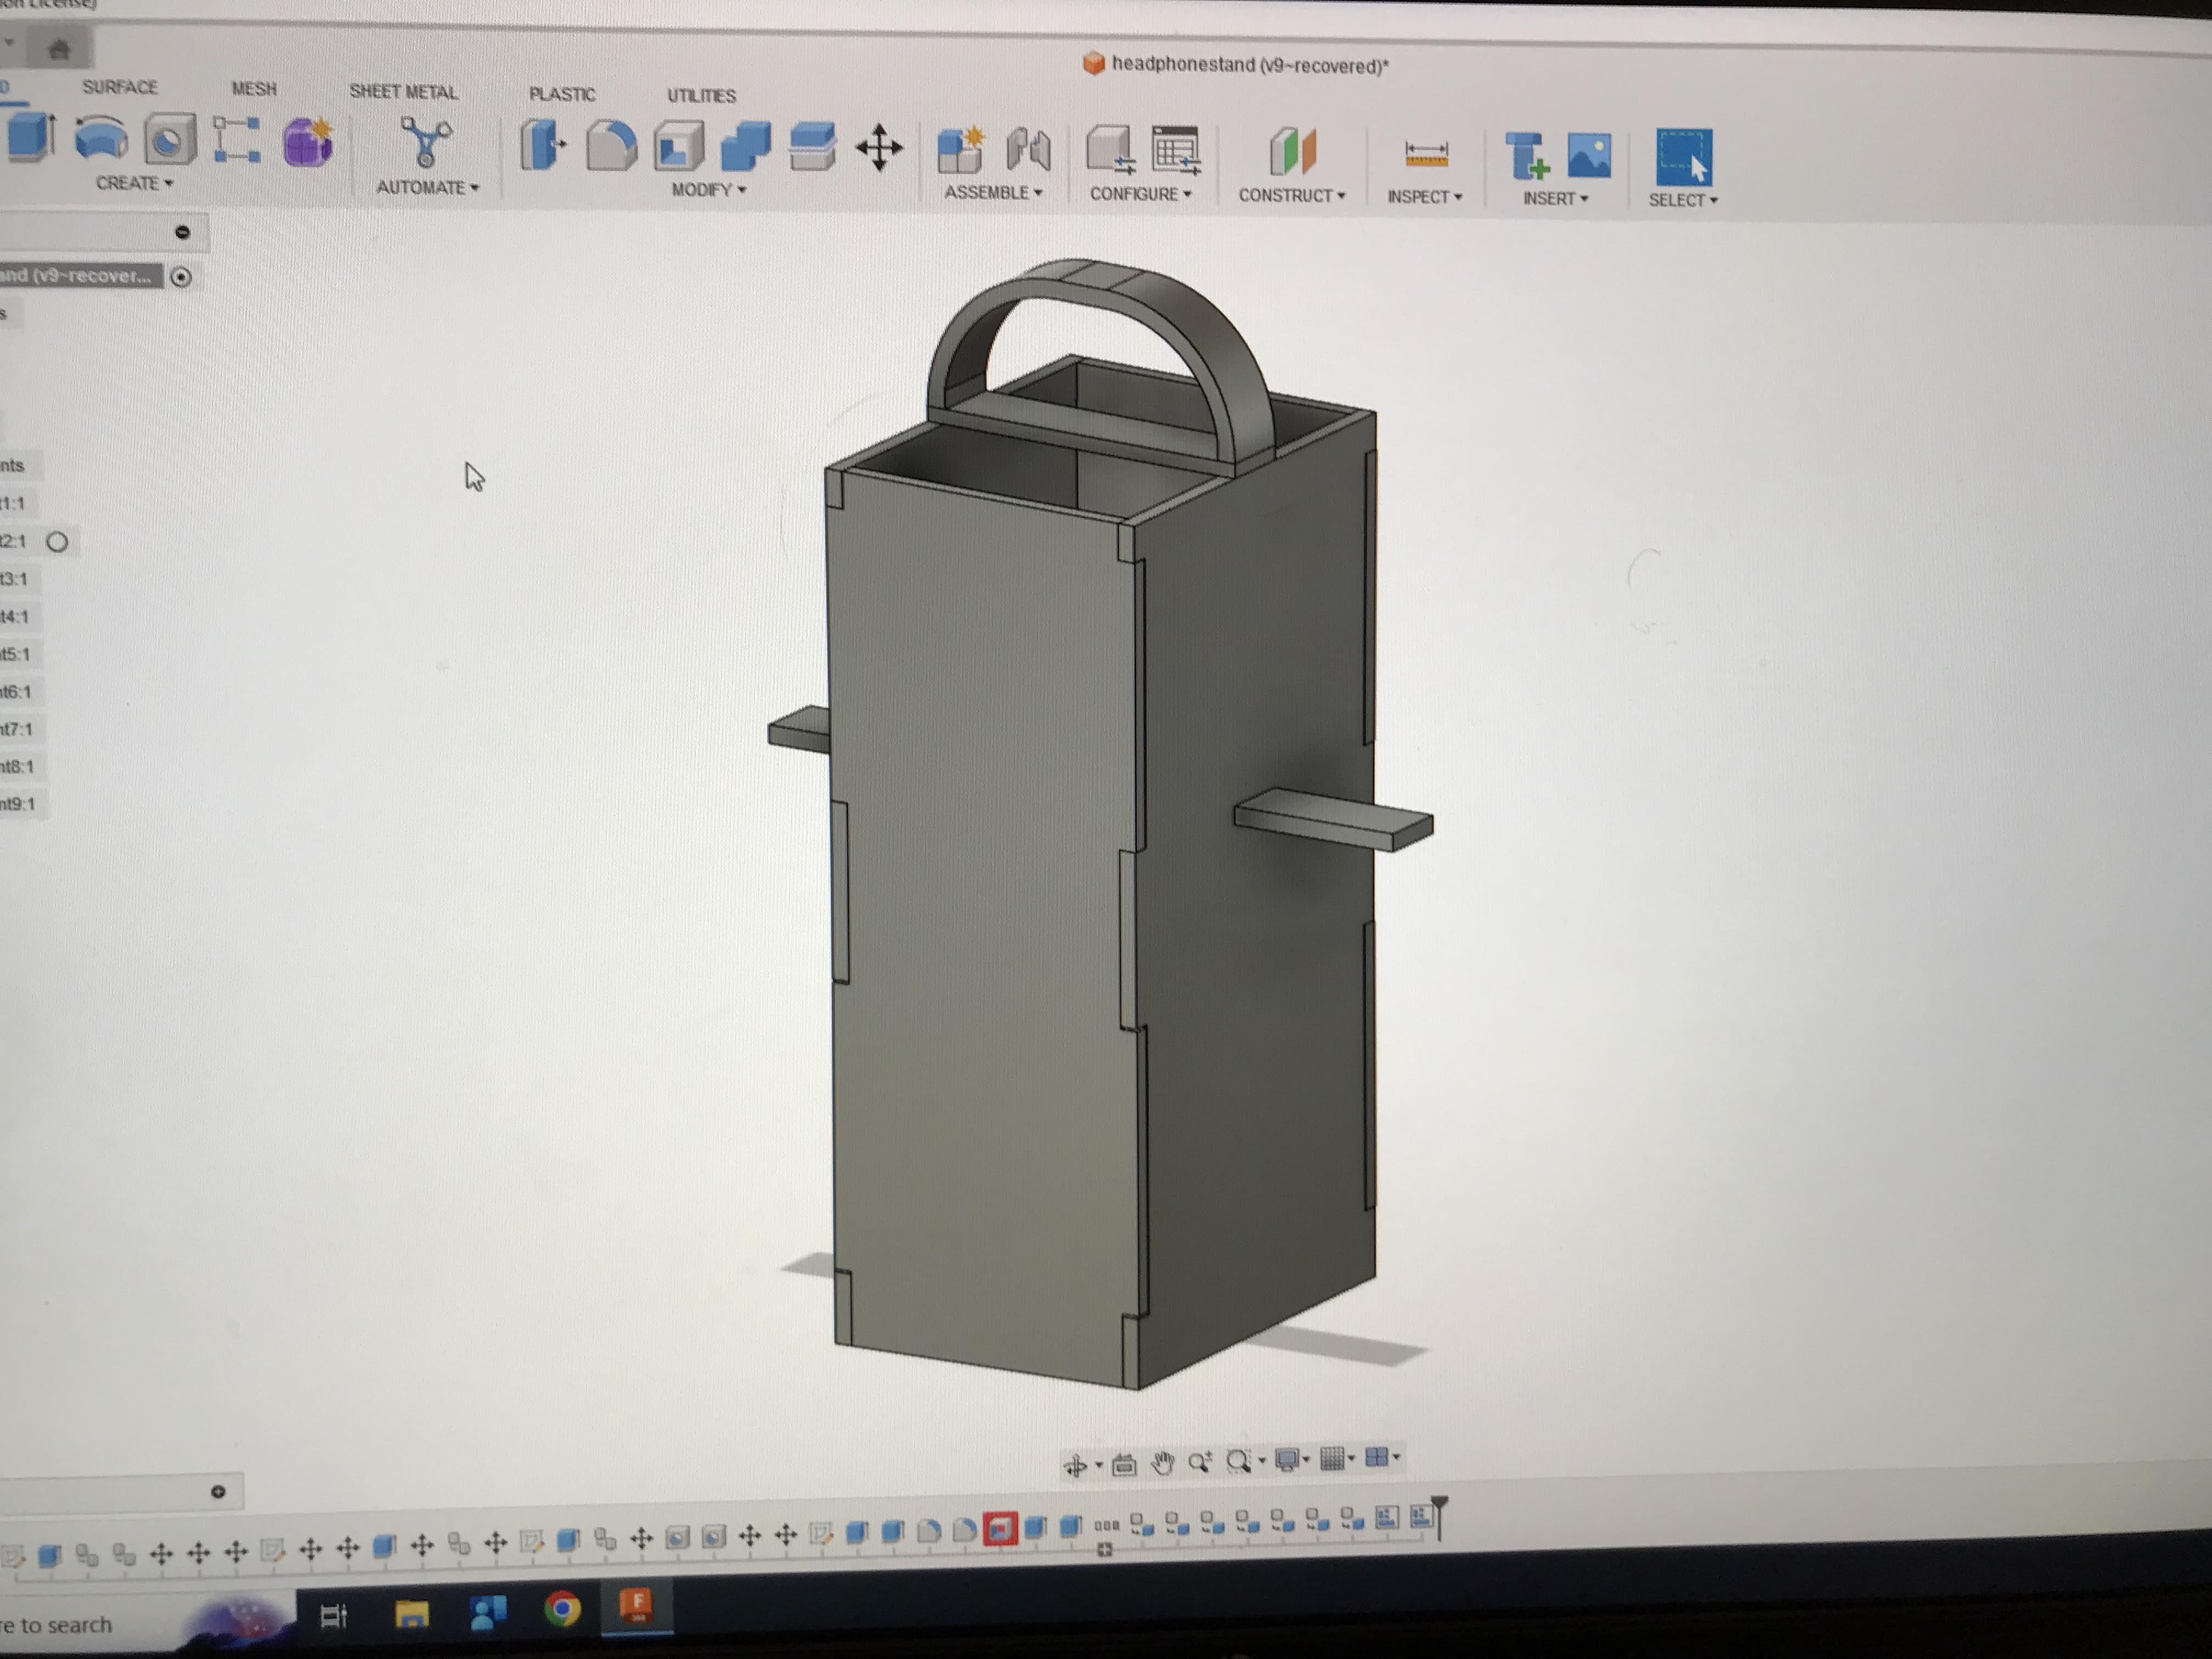
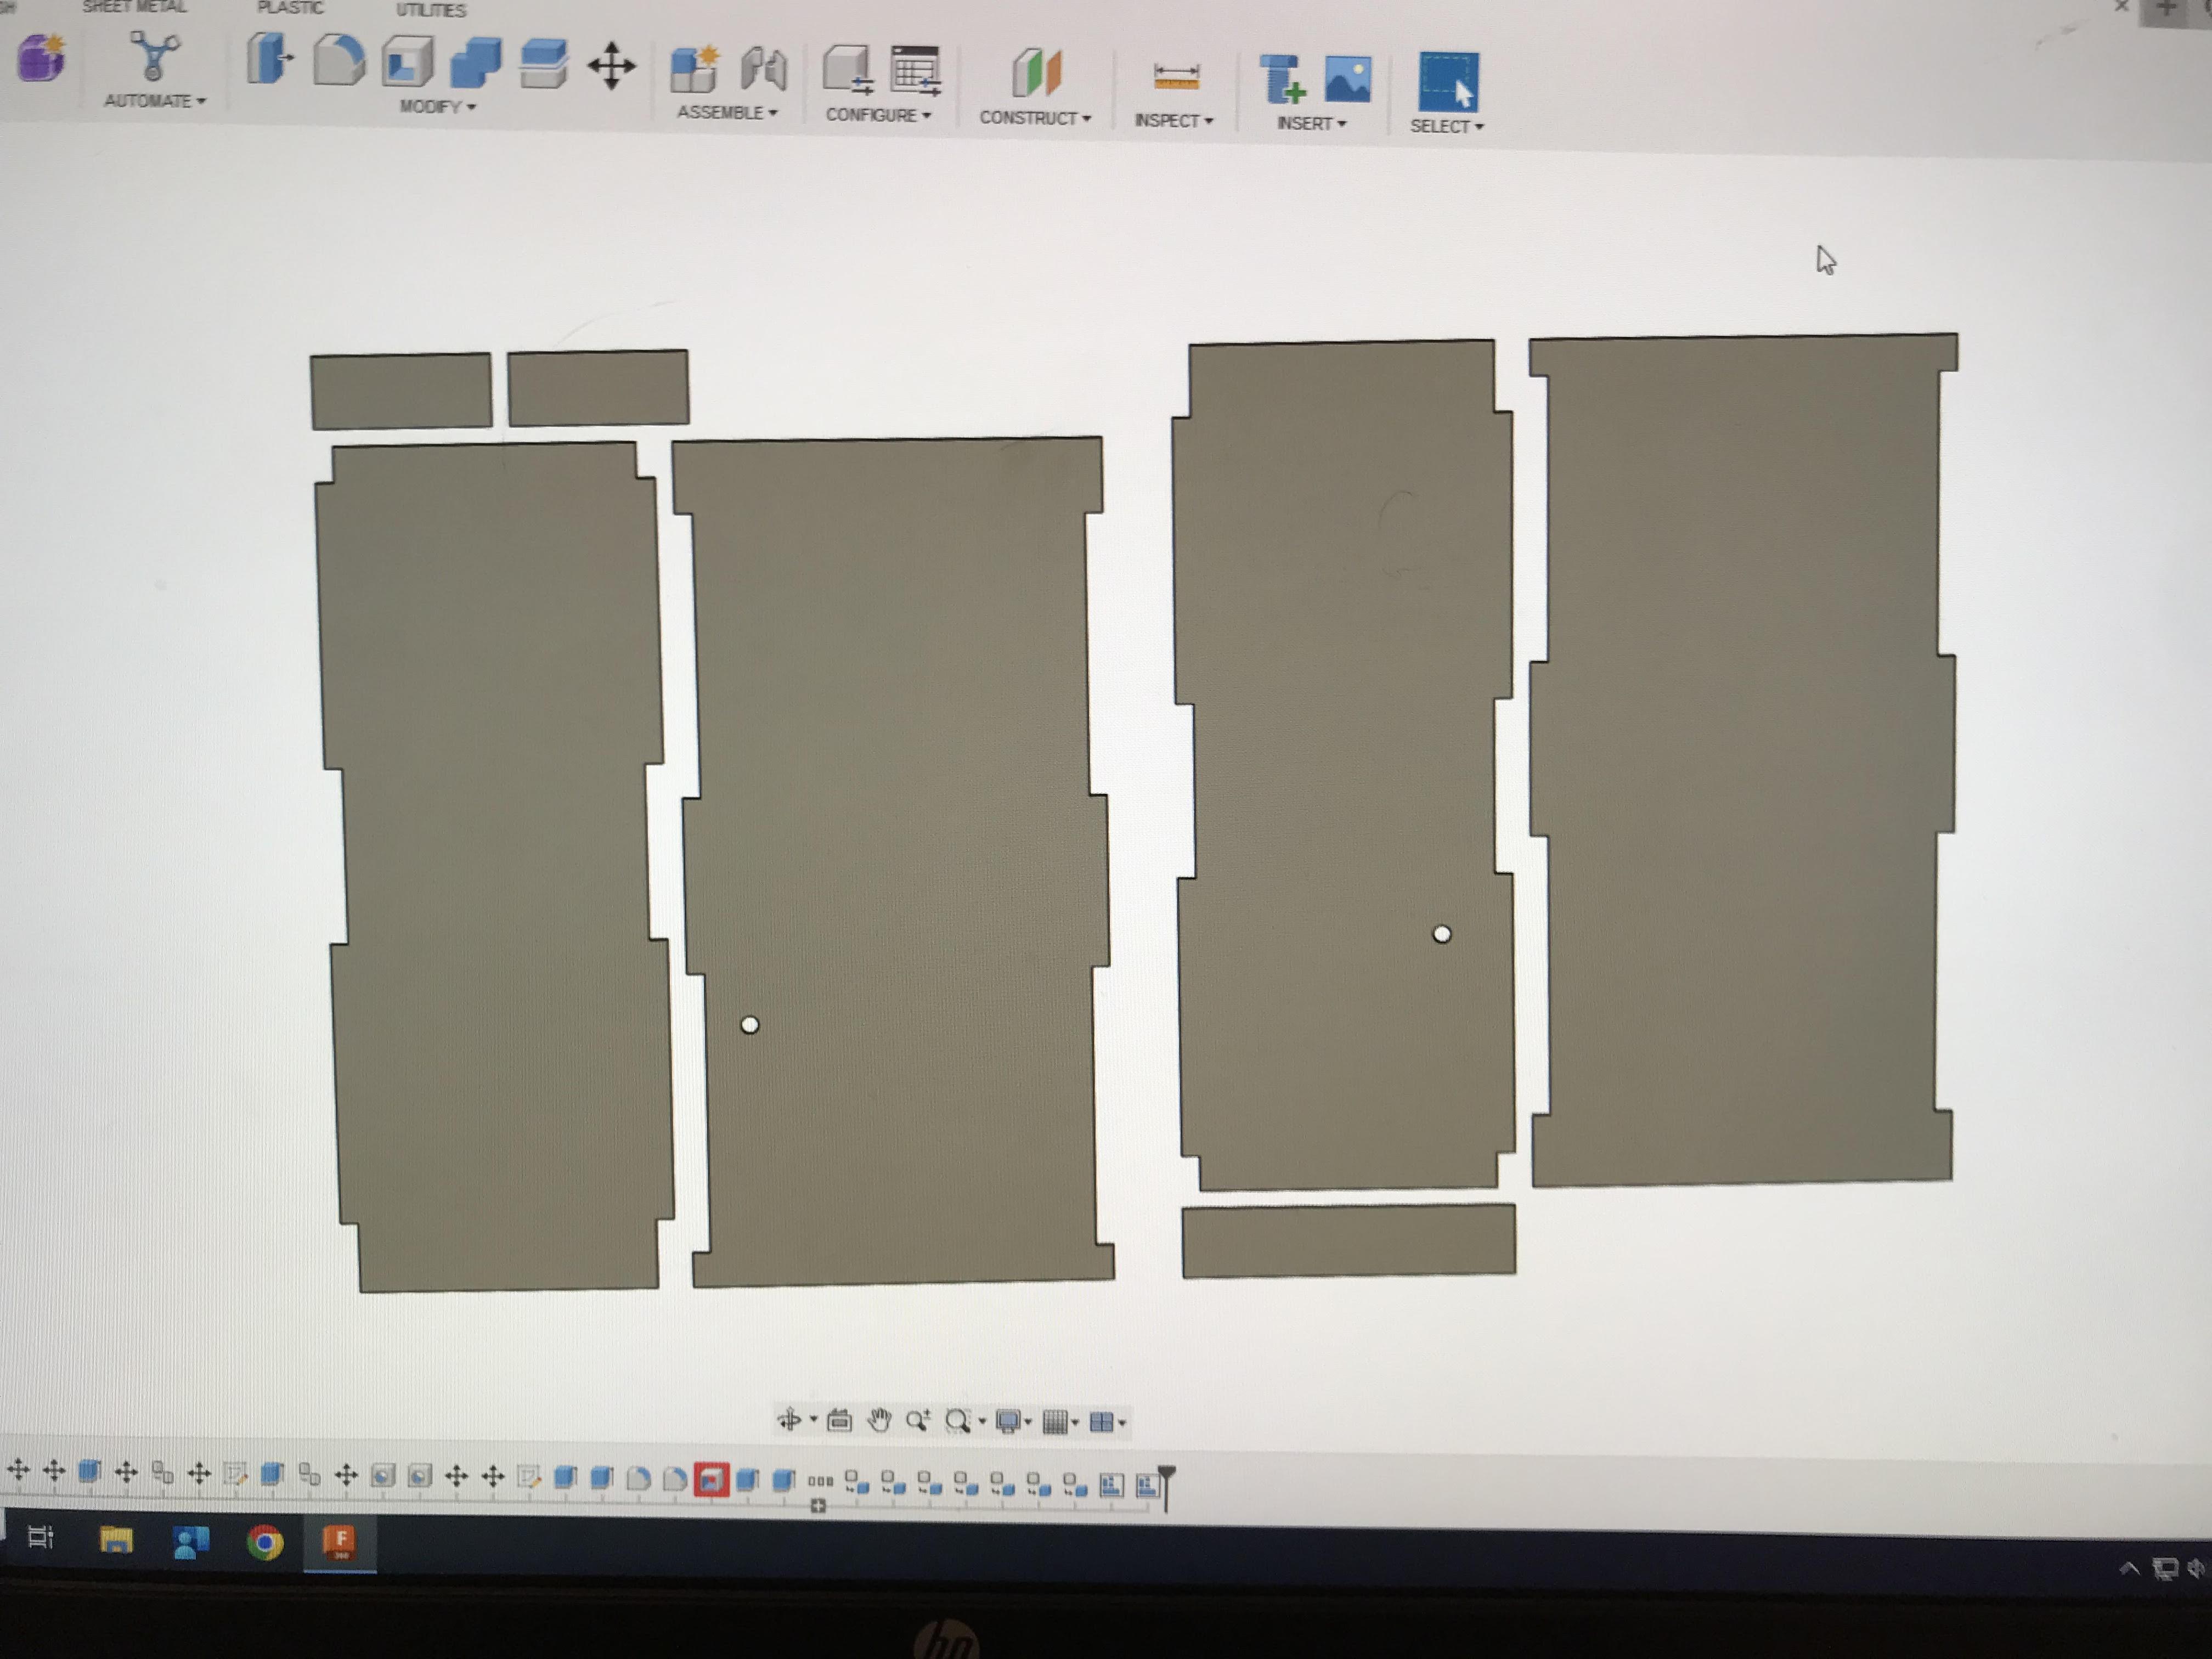
Next, using the dimensions you determined in Step 1, create a 3D model in Fusion 360. Making use of the manufacturing workspace, translate the prototype into separate components that can be downloaded to the router.
Printing
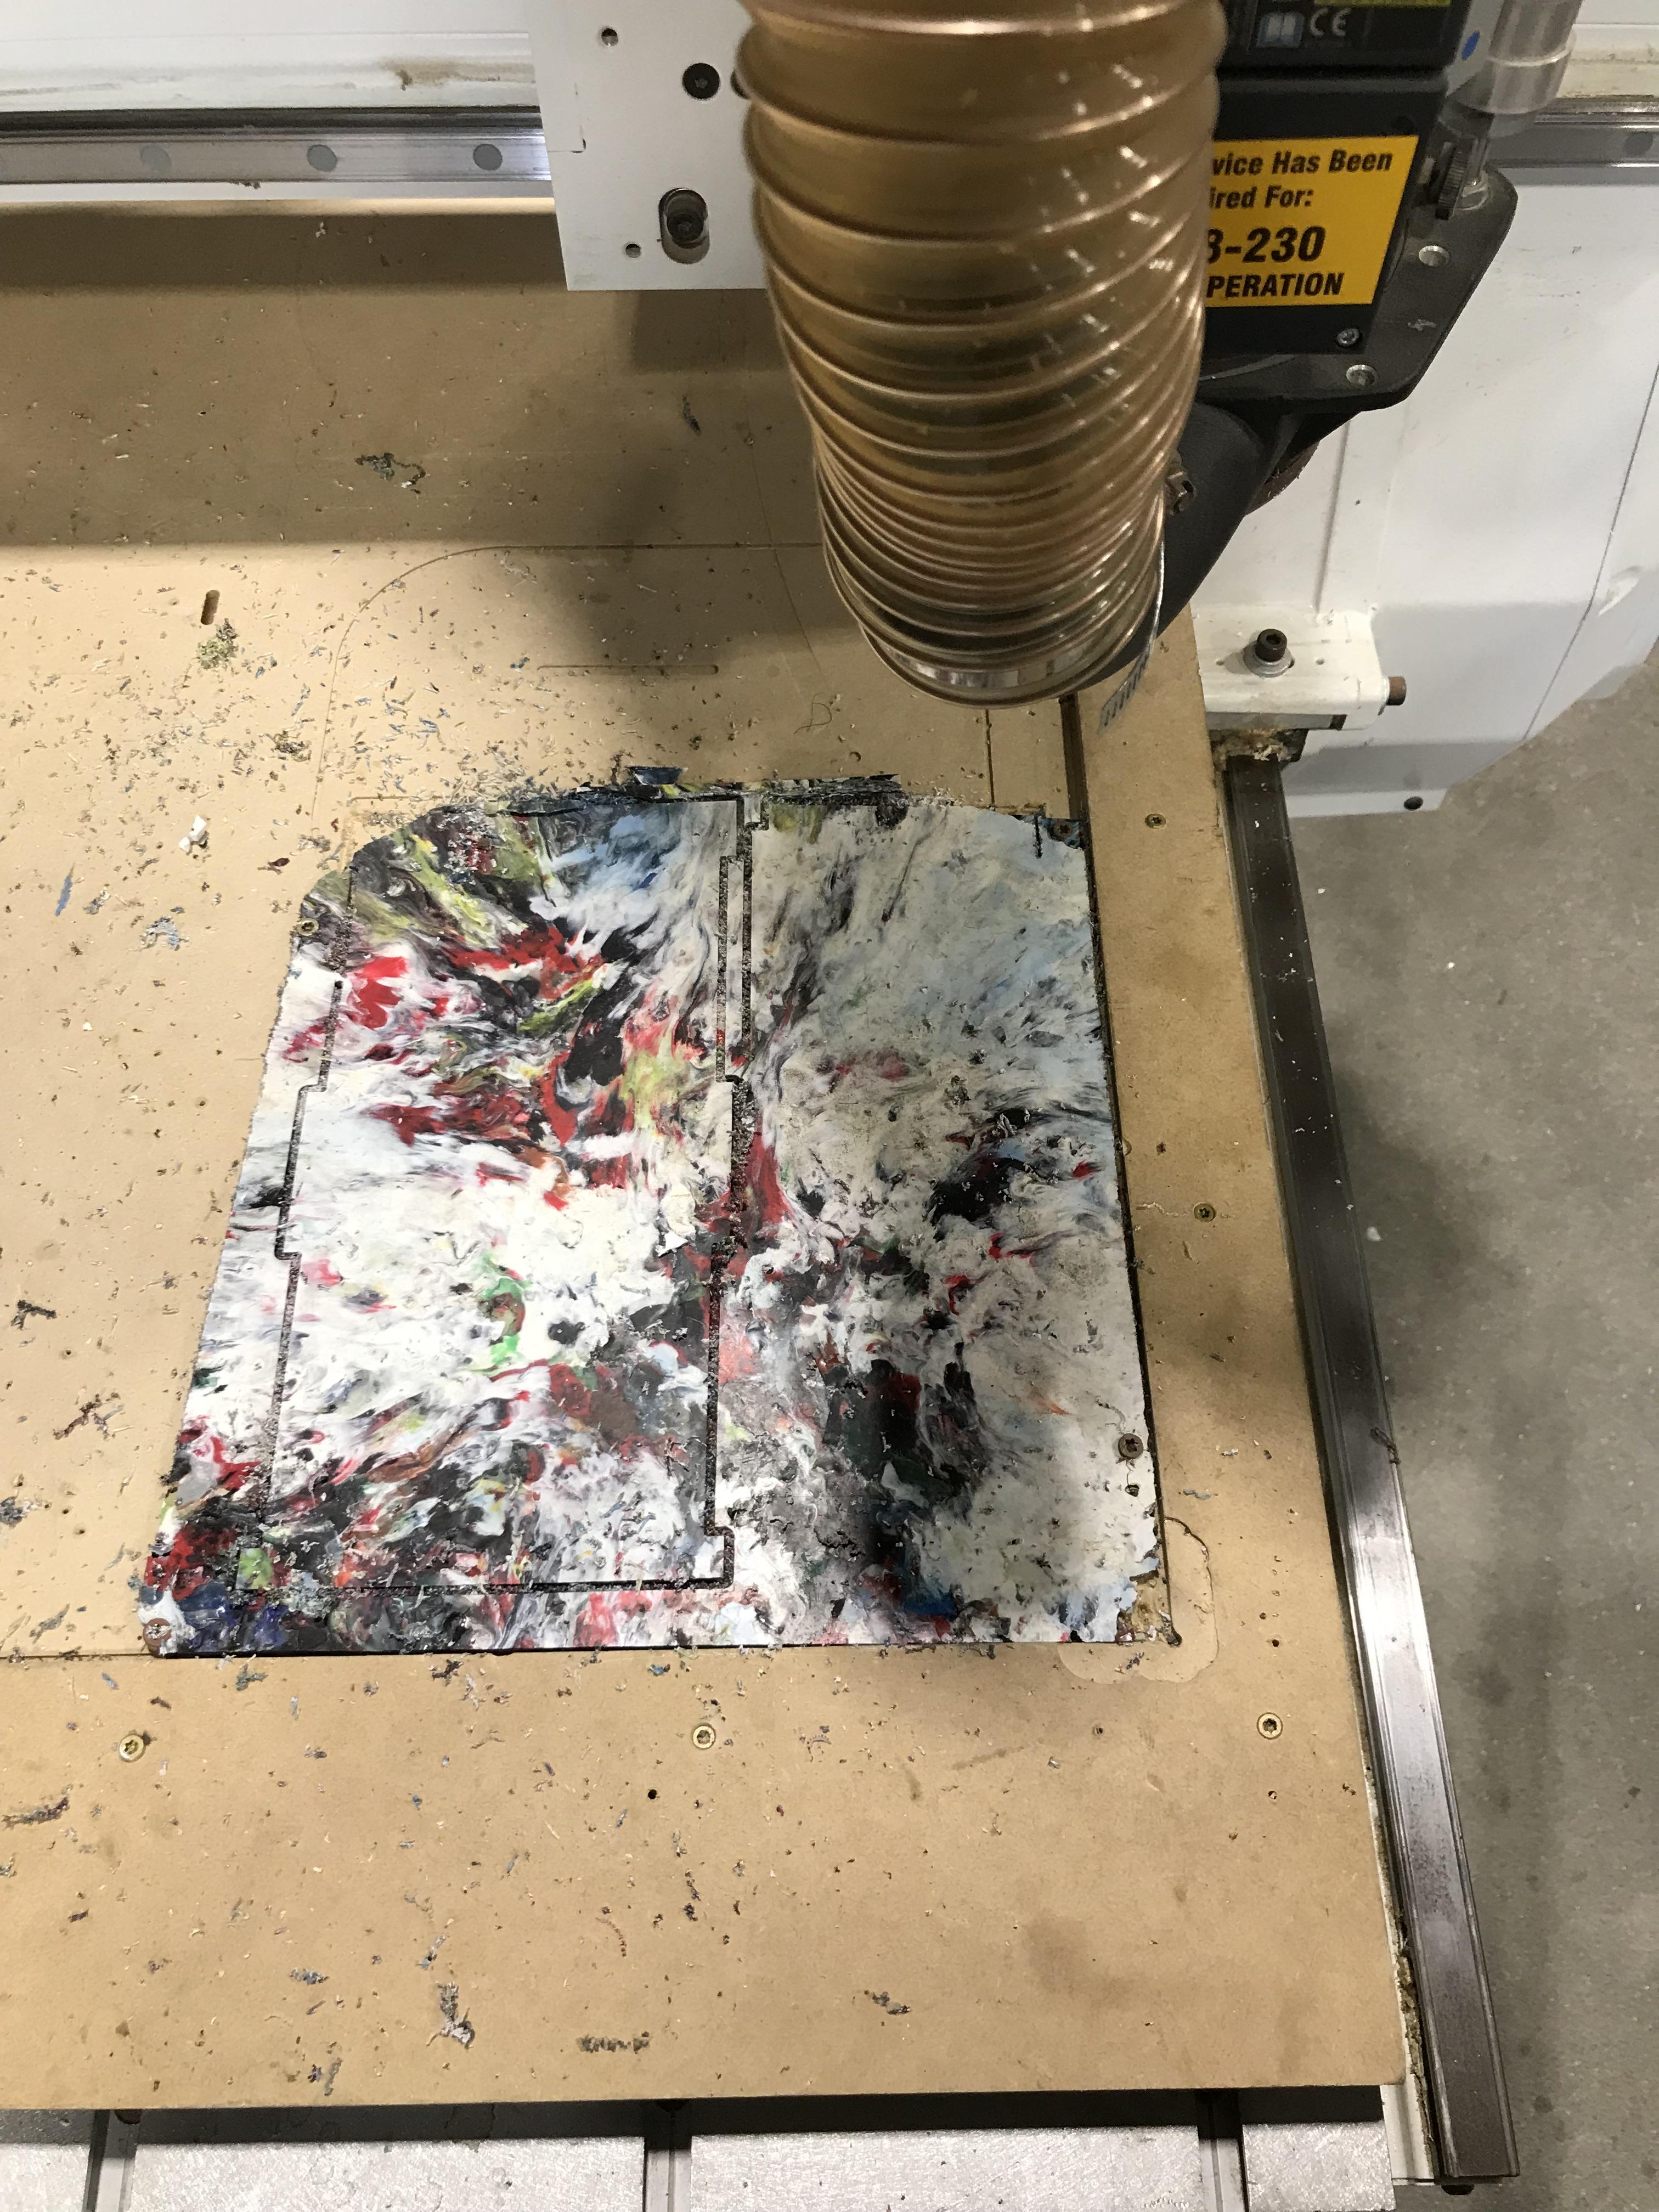
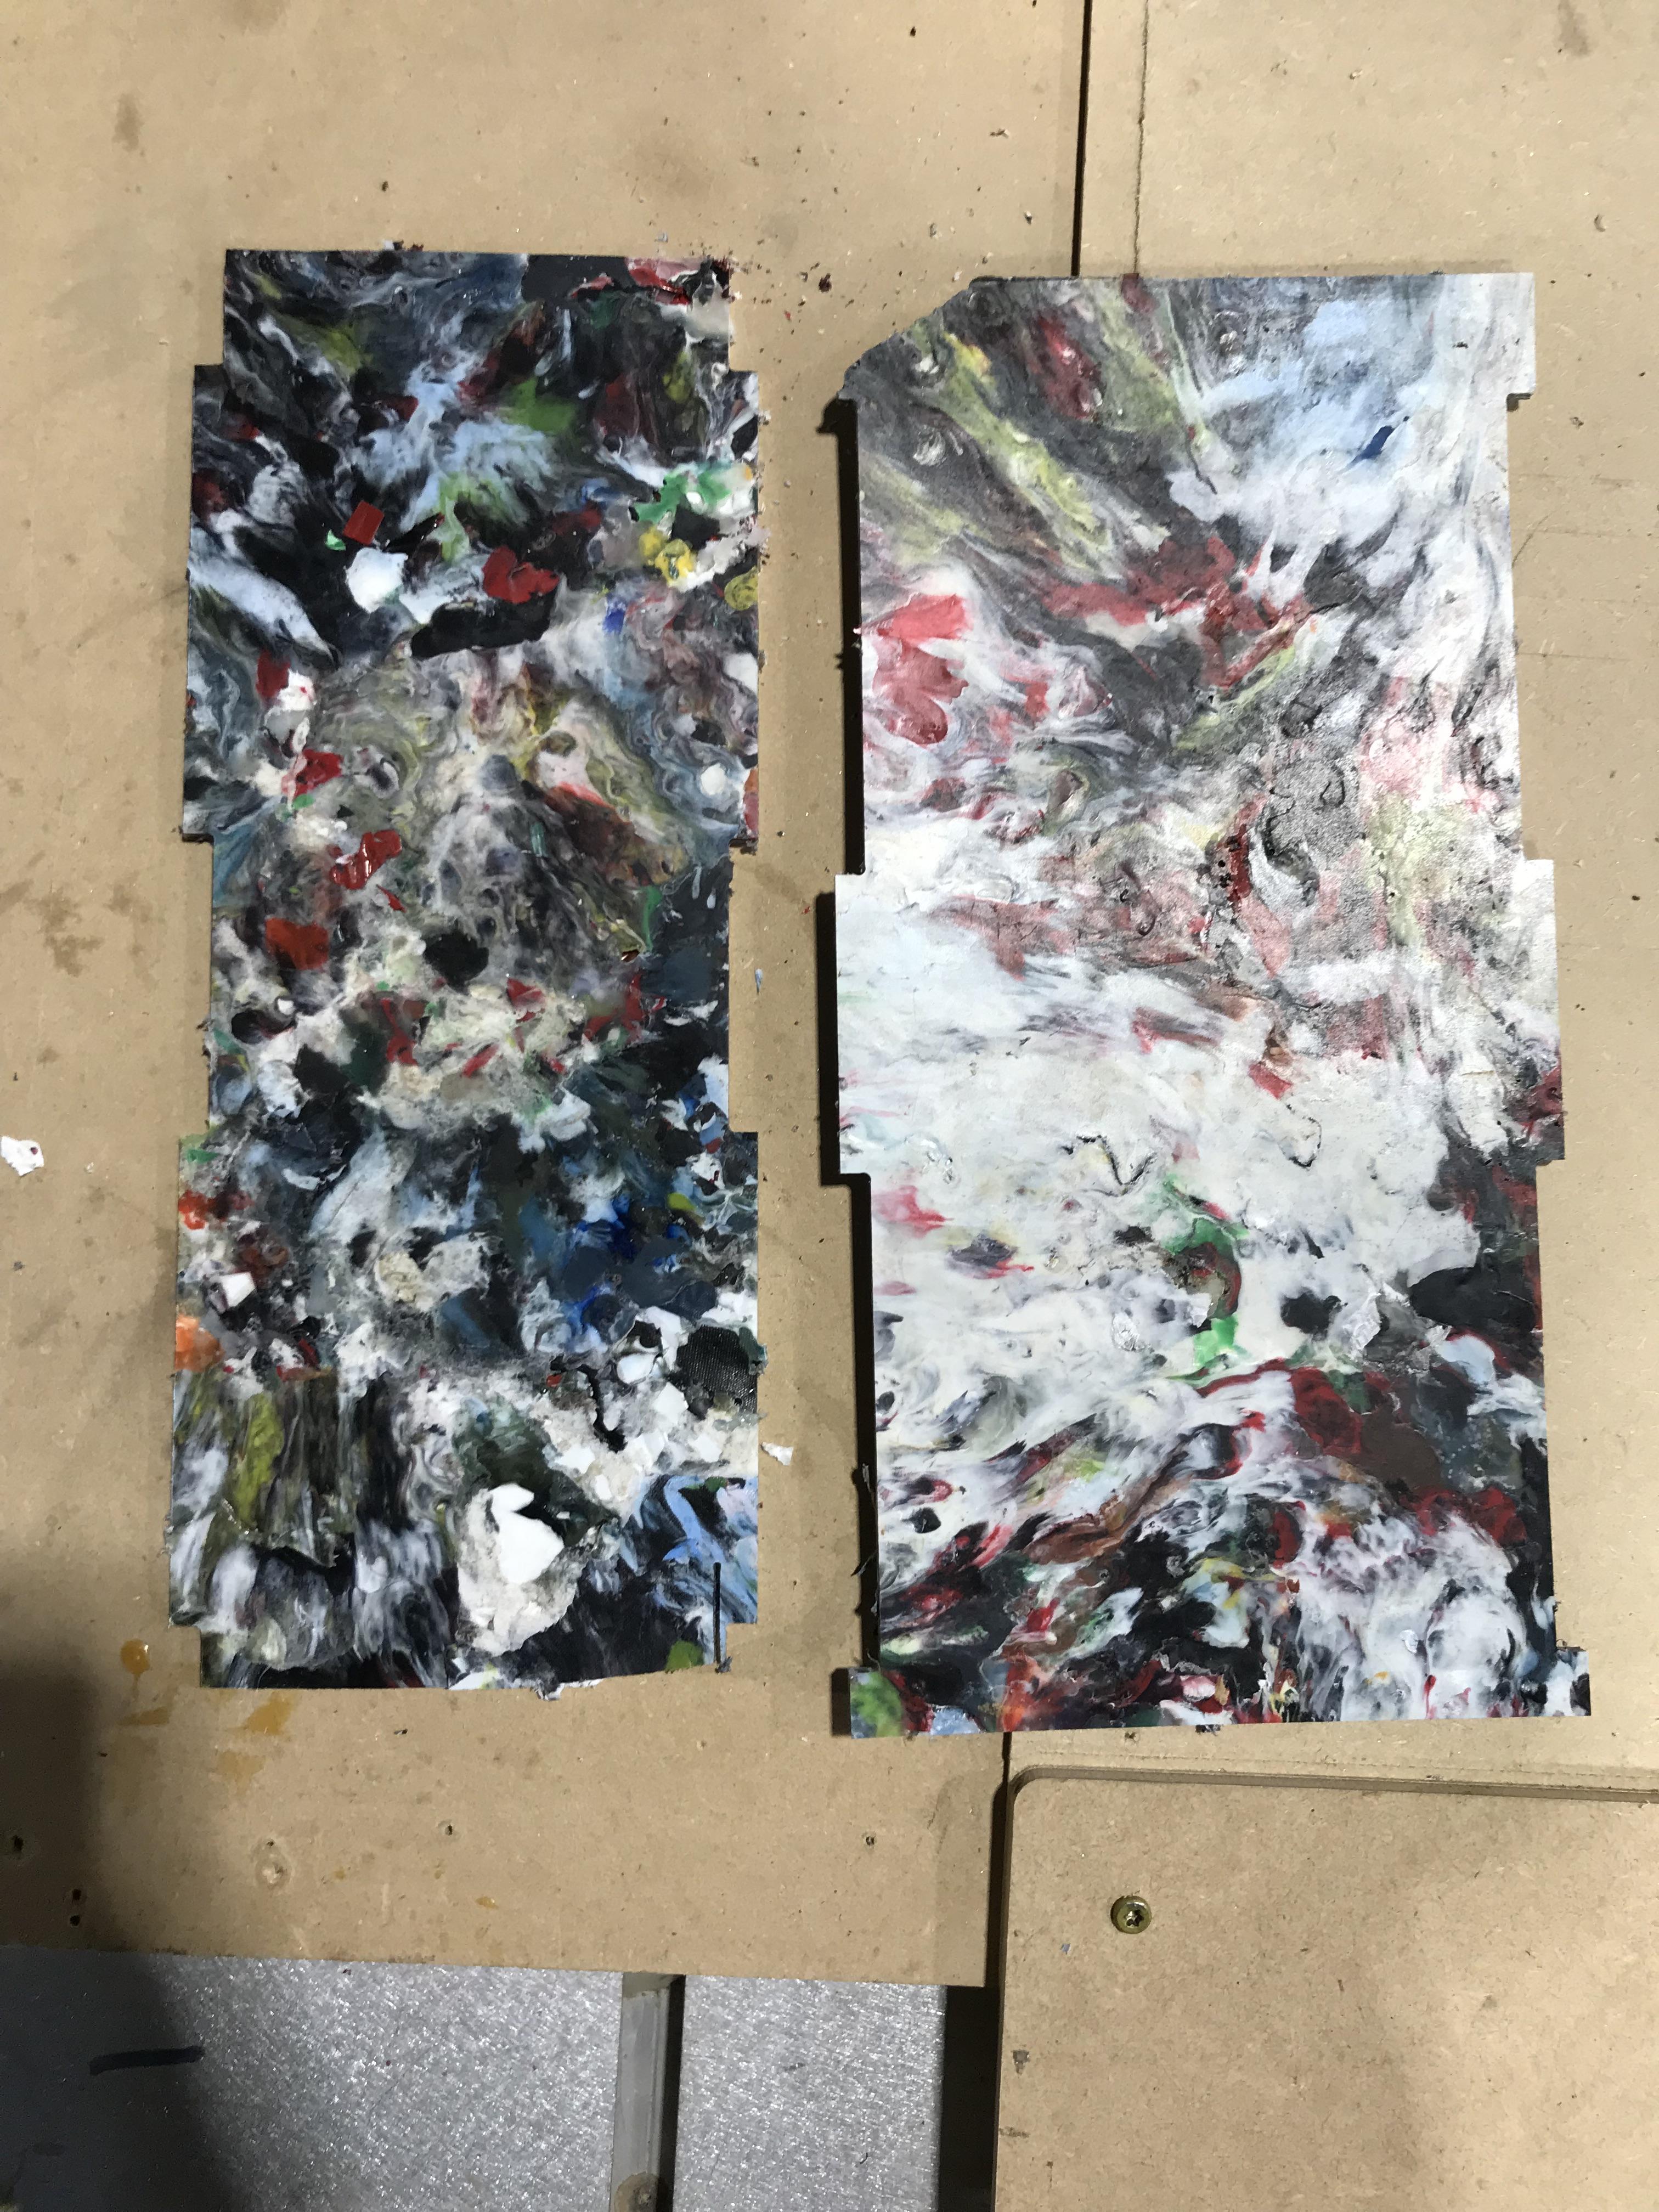
After downloading the CAD file to the CNC router, run the program until you have the pieces cut out, using the 1/8 inch tool.
Assembly
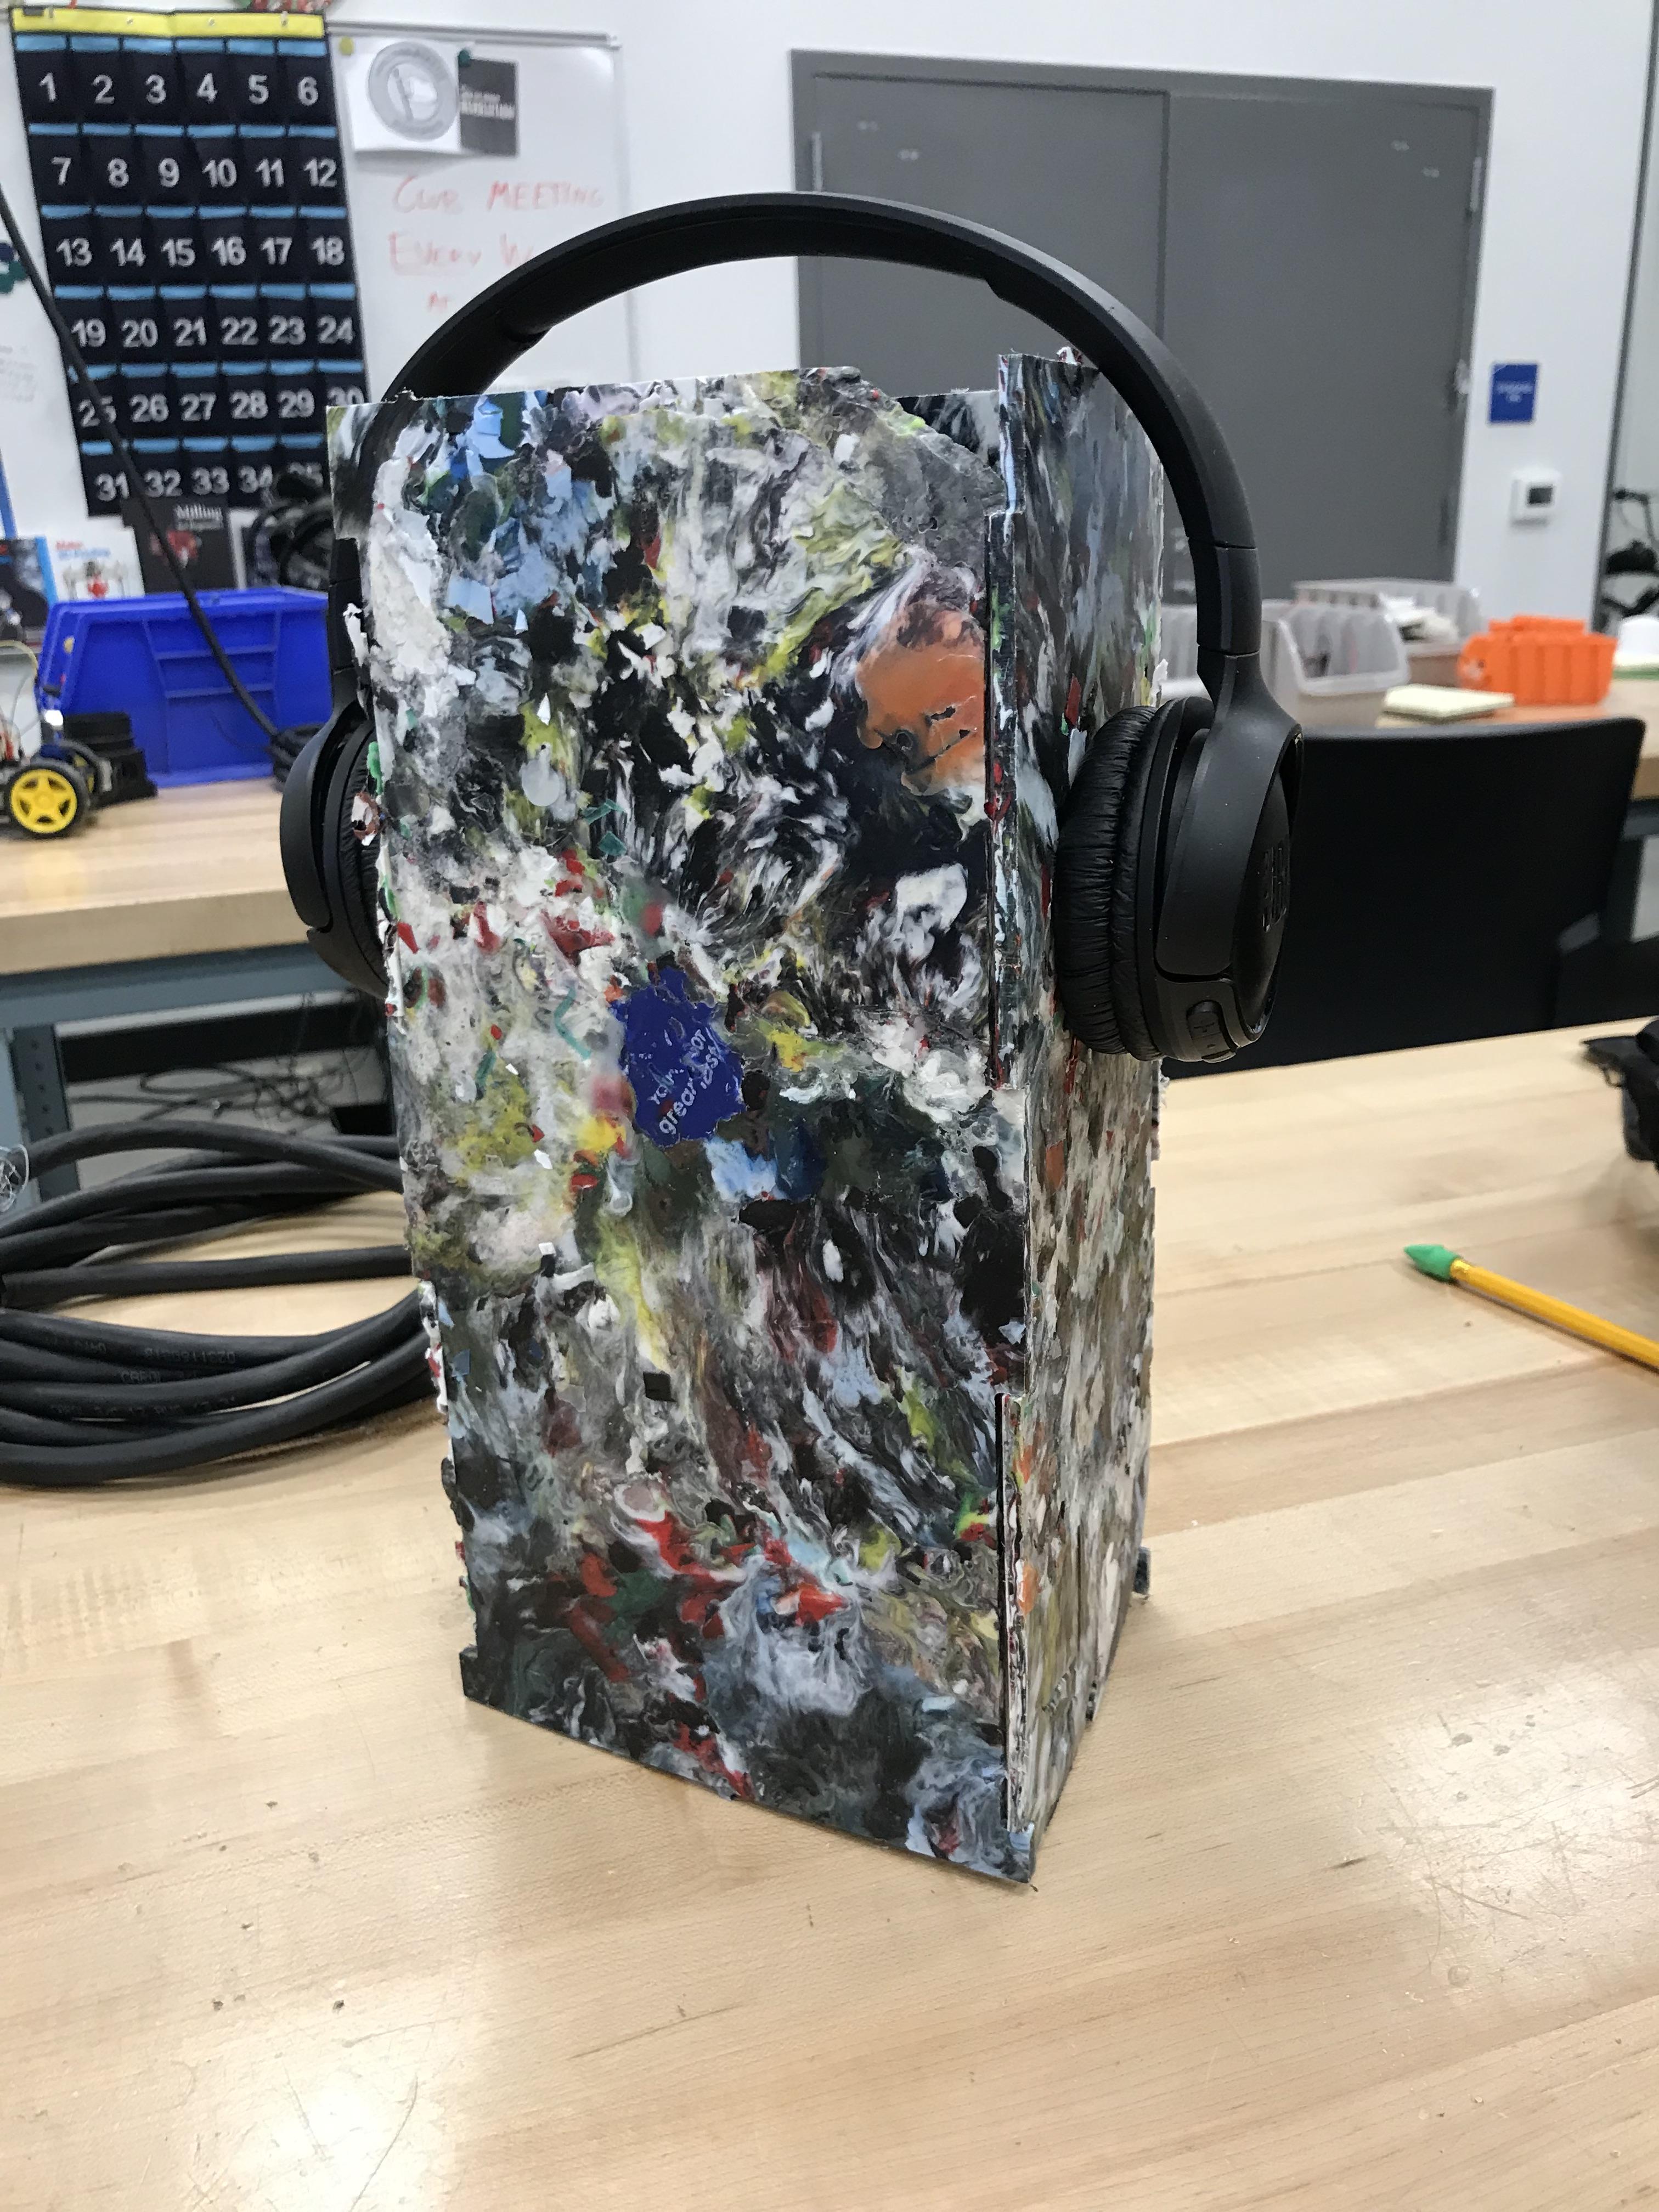
Interlock the four sheets into a rectangular prism. Use the file to make any size adjustments so that the parts fit together well. Once assembled, place the headphones on top and enjoy.