Harvesting Parts From a Laser Printer
by Greg_The_Maker in Circuits > Reuse
216496 Views, 351 Favorites, 0 Comments
Harvesting Parts From a Laser Printer


FREE!
A lovely word isn't it.
Free is the prefix to so many exciting idioms; Free Speech, Free Money, Free Lunch, and Free Love, are but just a few. However nothing quite sparks the imagination, or sets the heart racing quite like the thought of Free Parts!
Sometimes opportunity knocks, and chance delivers something wonderful and free. This time the chance of opportunity brought me an Epsom C1100 Colour Laser Printer!
Please help support my work, your donations really do make a difference.
http://ko-fi.com/gregthemaker
Tools


To take a printer apart you will need the following;
- A Screwdriver, or two.
- Needle-nose pliers.
- Side-Cutters.
- A Cardboard Box, or similar, for the big bits.
- The lid from an Aerosol can, or similar, for the small bits.
- A bin, for the unwanted bits.
- A bit of rag to clean off the toner.
There are two things you should know about the Laser Printer; One, it prints, so it has toner inside which can get everywhere, and two, it has a laser in it, which can render your eyes useless.
Don't disassemble the printer while it is connected to a power supply, or a Doctor might ask to start harvesting parts from you.
Please help support my work here on Instructables and on Thingiverse
by using the following affiliate links when making purchases. Thanks :)
In the Beginning


Peel back the layers. The simplest method is to just unscrew any visible screws until you can't get any further, then spin the whole assembly around, and carry on attacking from another side. I began with the duplex unit at the back.
Toner Cartridges; bin them. Don't even touch one if you can help it. Should one of them open and dump toner everywhere it will be hours before you're done with the clean up.
You'll want two receptacles, one for the large parts like gears, motors & wires, and a second smaller pot for the screws, washers, clips & bearings. Everything else, like plastics and scrap metal will go in the bin.
Motoring On


Take your time, your collection boxes will slowly fill with goodies.
Frickin' Laser Beams


The laser assembly features a Class 3B Invisible Light Laser Diode and if you're not careful you could damage it. Luckily the laser diode is enclosed within the laser assembly along with several lenses and a spinning mirror.
Colour Me Bad


This is where some scrap cloth is important. Place down a sheet of cloth and dismantled the carousel on it. Any loose toner should remain on the cloth which can be thrown away when finished with.
The End....


The fuser unit was removed from the printer before I began the stripdown, along with the photo conductor unit. They are the final two components left in the strip down. Be careful with the photo condutcor, I took the side off and a pile of black toner came out. Thankfully the scrap cloth was there to catch it all.
Next, we'll take stock of what we have reclaimed.
The Spoils


- 17 Bars
- Lots of Cables
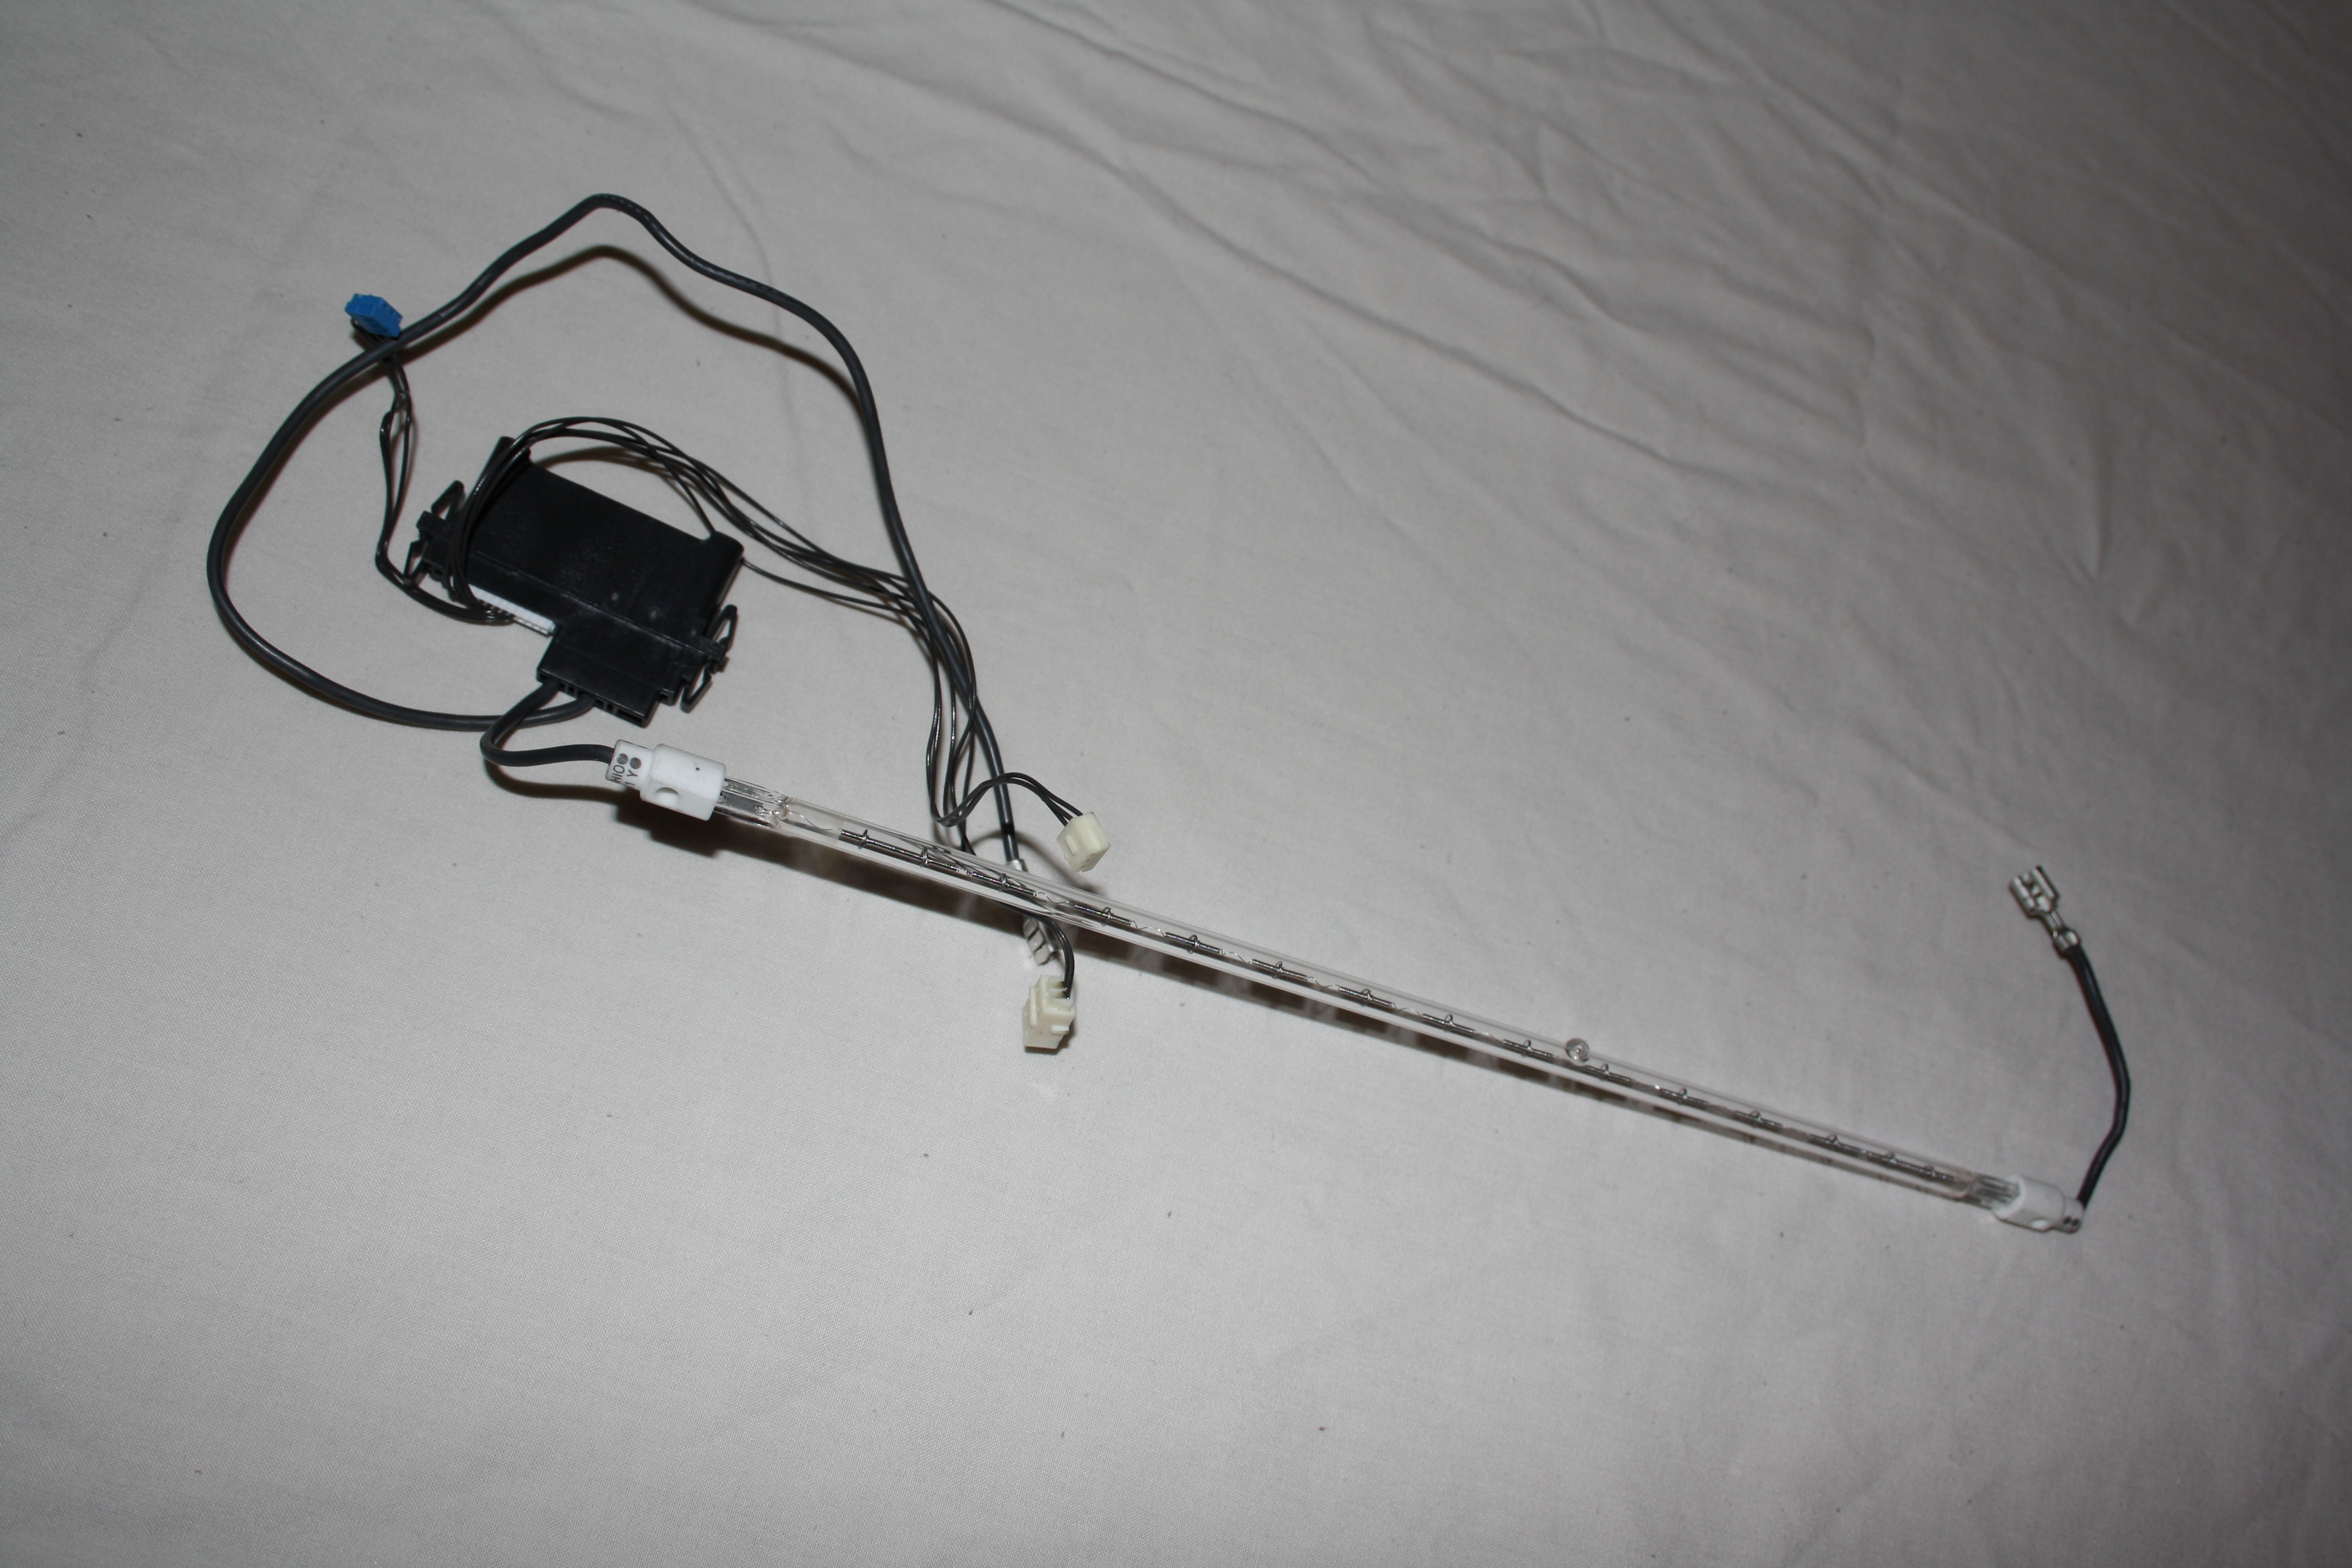
- A heating element
- 10 Motors
- 10 Opto Switches
- 9 Micro Switches
- 2 Solenoids
- 2 Electric Clutches
- 8 as yet unidentified parts
- An orgy of gears
- An entanglement of springs
- A gathering of wire clips
- A congregation of rollers
- A circuit of bearings
- A splash of random bits
- And a revolution in screws
In the next step we'll take a closer look at the motors, and the other electro-mechanical parts. Hopefully we can find their accompanying datasheets.
In Detail


- 127E83711 | 17PM-J203-G5VS - Stepper motor (link).
- 127K45271 - There isn't many details about this, but it appears it's a Dell/Xerox general purpose motor.
- 127K38602 | 127K45891 - Its a similar story with this motor, and the clutch.
- 127K38560 | KH42JM2B176 - Stepper motor (pdf), the pdf isn't an exact match to the B176 model but I expect there will be some obvious similarities.
- 127K38581 - No details again beyond a mention of Dell, but it is fitted with a gearbox.
- 127K45770 | BH60AT10-02 - A huge motor & gearbox assembly. Once more details are low on the ground.
- 121k32723 | TDS-KN07A-44 - Solenoid (link).
- 121E92700 | TDS-F09A-12 - Solenoid (link).
- 121K32310 | MCA-26E - Magnetic Clutch.
Questionables


Thanks!
What Now?


Suggestions in the comments please. The best idea wins 3 months Free Pro Membership on Instructables!
Judging ends midnight (GMT) on the 31st of January 2013. I am the judge, and my decision is final.