Harry Potter Text in Adobe Photoshop Cs4
8120 Views, 14 Favorites, 0 Comments
Harry Potter Text in Adobe Photoshop Cs4

Ok, so there a load of tutorials on this on Youtube and what not, but i thought i'd show you all my version, based on the text of The Prisoner Of Azkaban. Enjoy!
The Text

Well as you probably know the font HarryP is out there and if you like you can use this, but If you look closley, there are major differences, so I'm just going to use an Image. To get this already cut image click here,http://www.deatheaterart.harrypotterorderofthepoenix.com/web/ ,click up in the top right hand corner on the 'download art kit' button. (the image is in the folder logos) Then Open it in Photoshop.
Coloring the Text
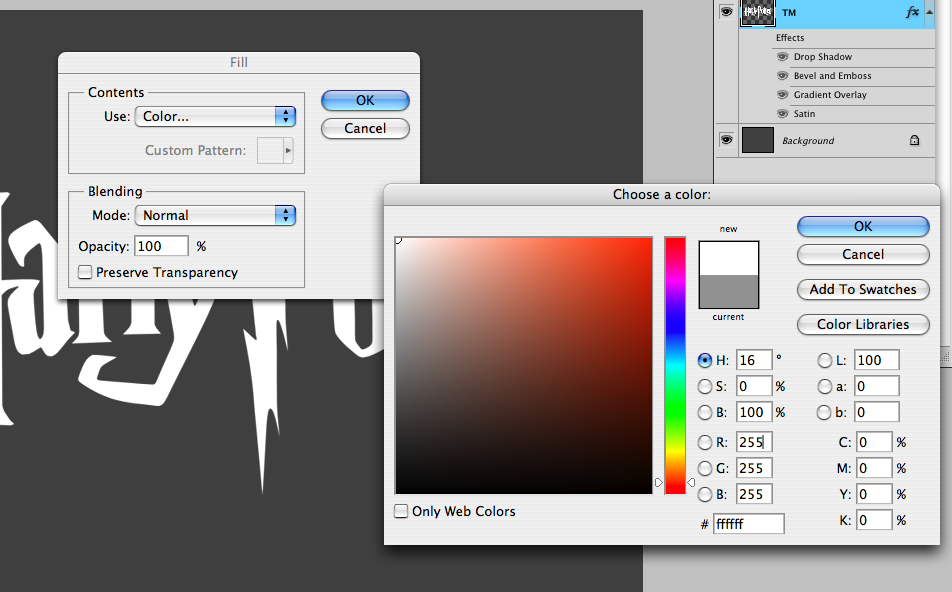
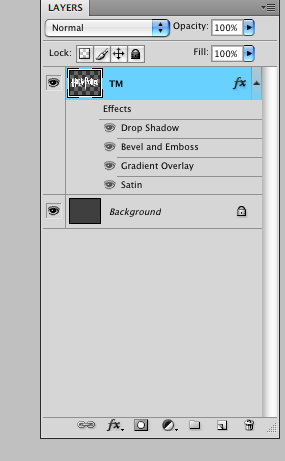
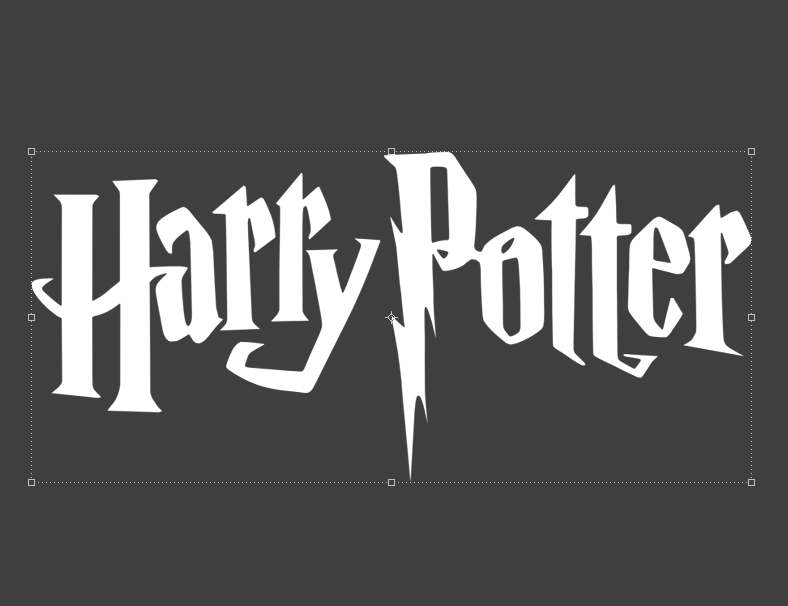
When you first open the image you will see that is the OOTP logo, on the layer, called TM use the polygonal lasso (L) and select around the Order of the ... text its self WARNING: DO not select any of the HARRY POTTER bit. and hit the delete or backspace key, depending if your on a Mac or PC. after that color the background a 50% grey and the harry potter text ( on layer TM) White. To color the text white, simply hit the transparency lock button at the top of the layer pallet, underneath the opacity and blending settings. Then hit on thew key board SHIFT F5 which will bring up the fill options. make sure your filling the text white.
Layer Styles
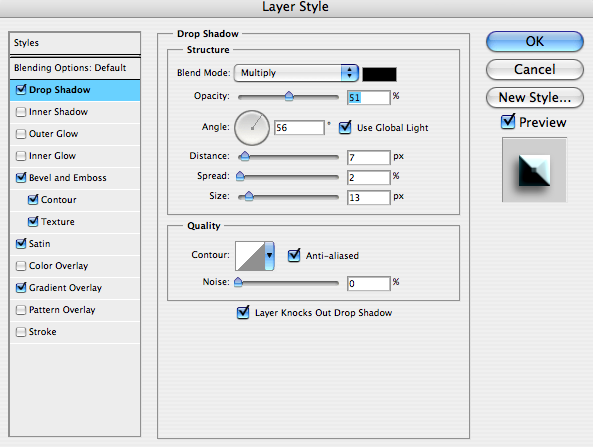
Now just follow these layer styles ( Uncheck the transparency lock now).
Layer Styles...
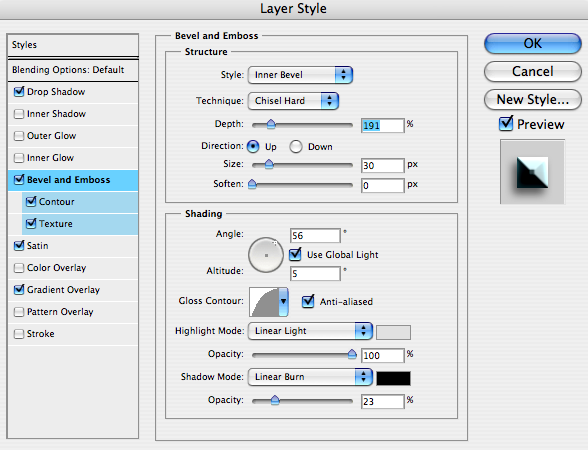
Bevel and Emboss.
Layer Styles...still!
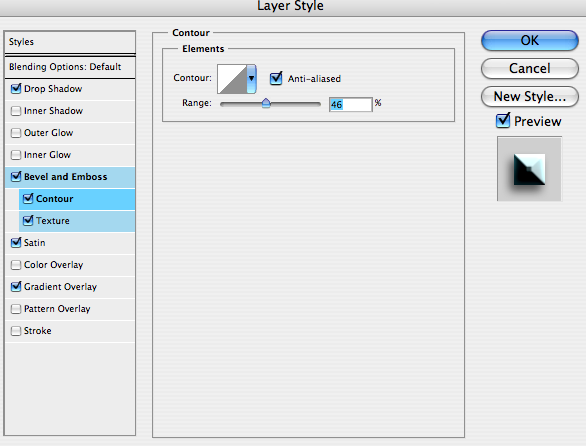
Contour.
Yet Another... Layer Style
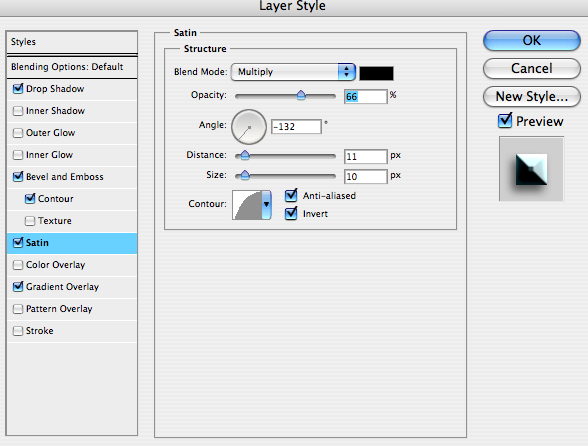
Satin.
The Last of the Layer Styles
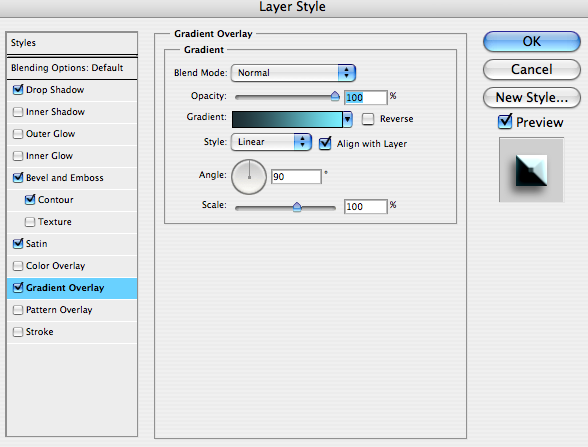
Gradient Overlay. The hash tags are: 273b42 and 8cf0ff.
Now... It Should Look Like.
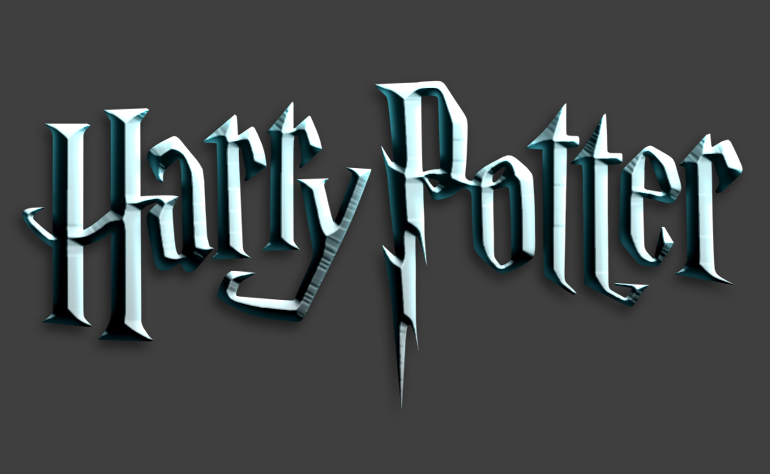
It should resemble something like this. If it doesn't, go back and check all the layer styles to make sure you got it right.
Giving It Some Texture...

Duplicate the TM layer and turn off the effects. Fill it with a gradient of 8ab4ba and 273b42, Making sure the transparency lock is checkon before doing so. Then go Filter>Noise>AddNoise and make it around 25 on monochromatic and the distribution on gaussian. the go Filter>Blur>MotionBlur and set it to a distance of 8 and an angle of 39. then set it to Soft Light. Should look like this:
Even More Texture...
Now duplicat the layer again and do the same, only fill it with white instead of the gradient and set the opacity to Multiply.
DONE!!!! N


Now it should look like this. You can download my image plus the layer style as-well. I hope you enjoyed the Tutorial!!!