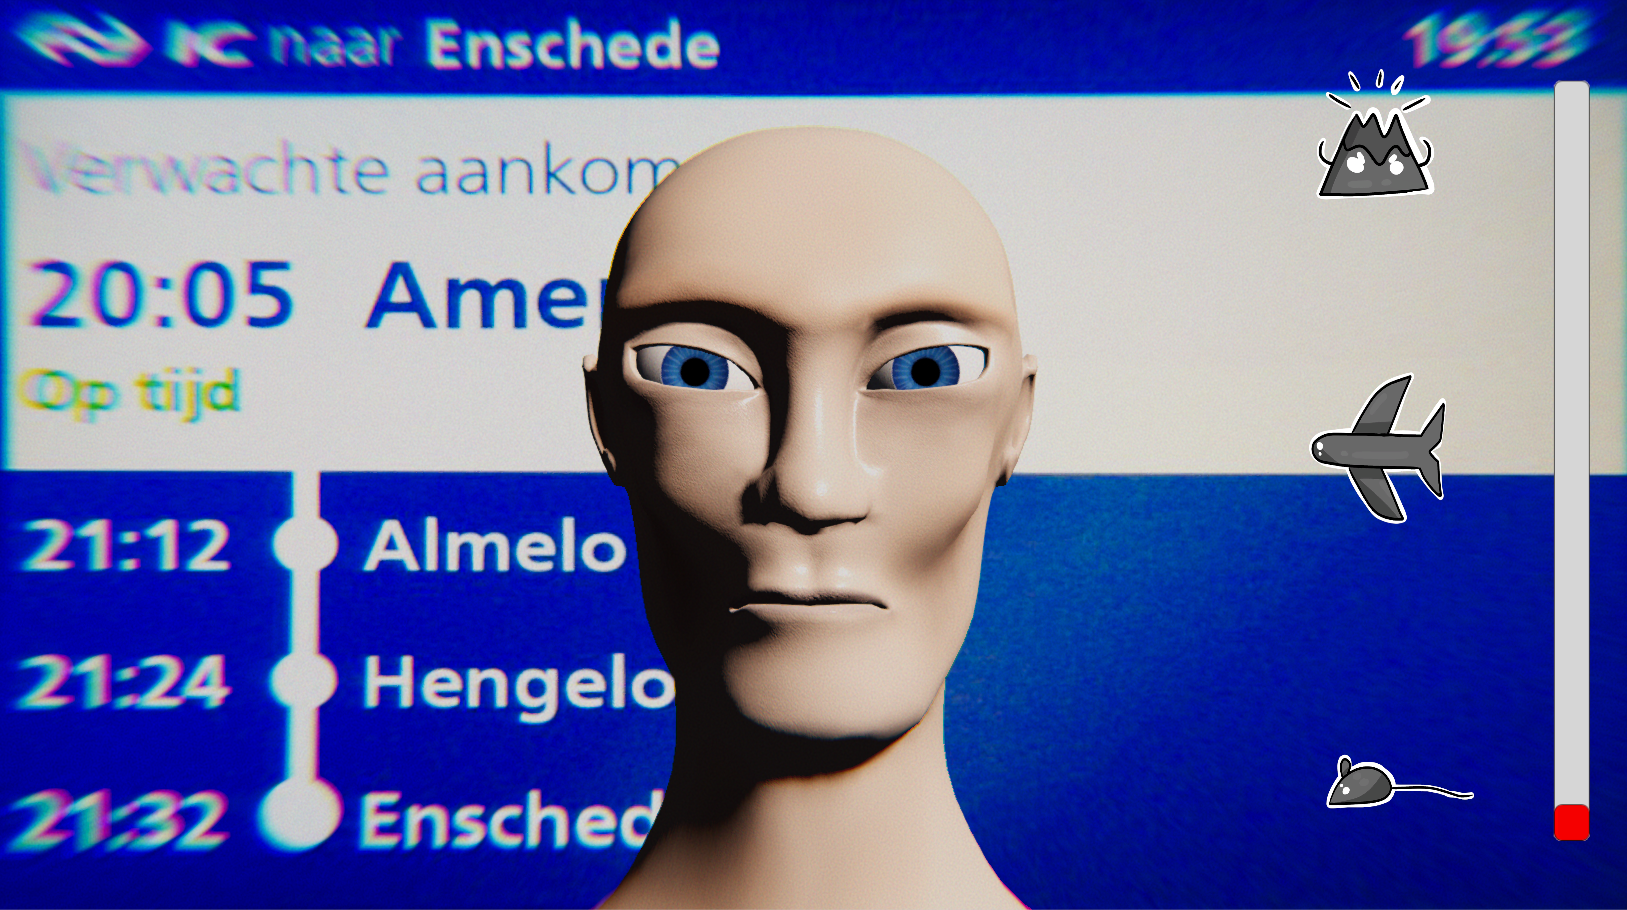
Happy Hack: People Silencer

A happy hack the NS (Nederlandse Spoorwegen) might be able to use one day.
Use the PDF to print the instructions or as an offline alternative to the webpage.
Use this link to download all the scripts: https://wetransfer.com/downloads/43ee47c9c4556ffb...
Downloads
You Will Need:

What you need:
Standard Arduino Uno with the USB B cable
Jumper wires
Potentiometer
Analog Microphone/sound sensor
Two servo motors
A breadboard
Wood
Wood glue
Rubber bands
Thread Ducktape
Bolts and nuts
A laser cutter
A computer
Software:
Arduino IDE
Unity
Arduino Setup

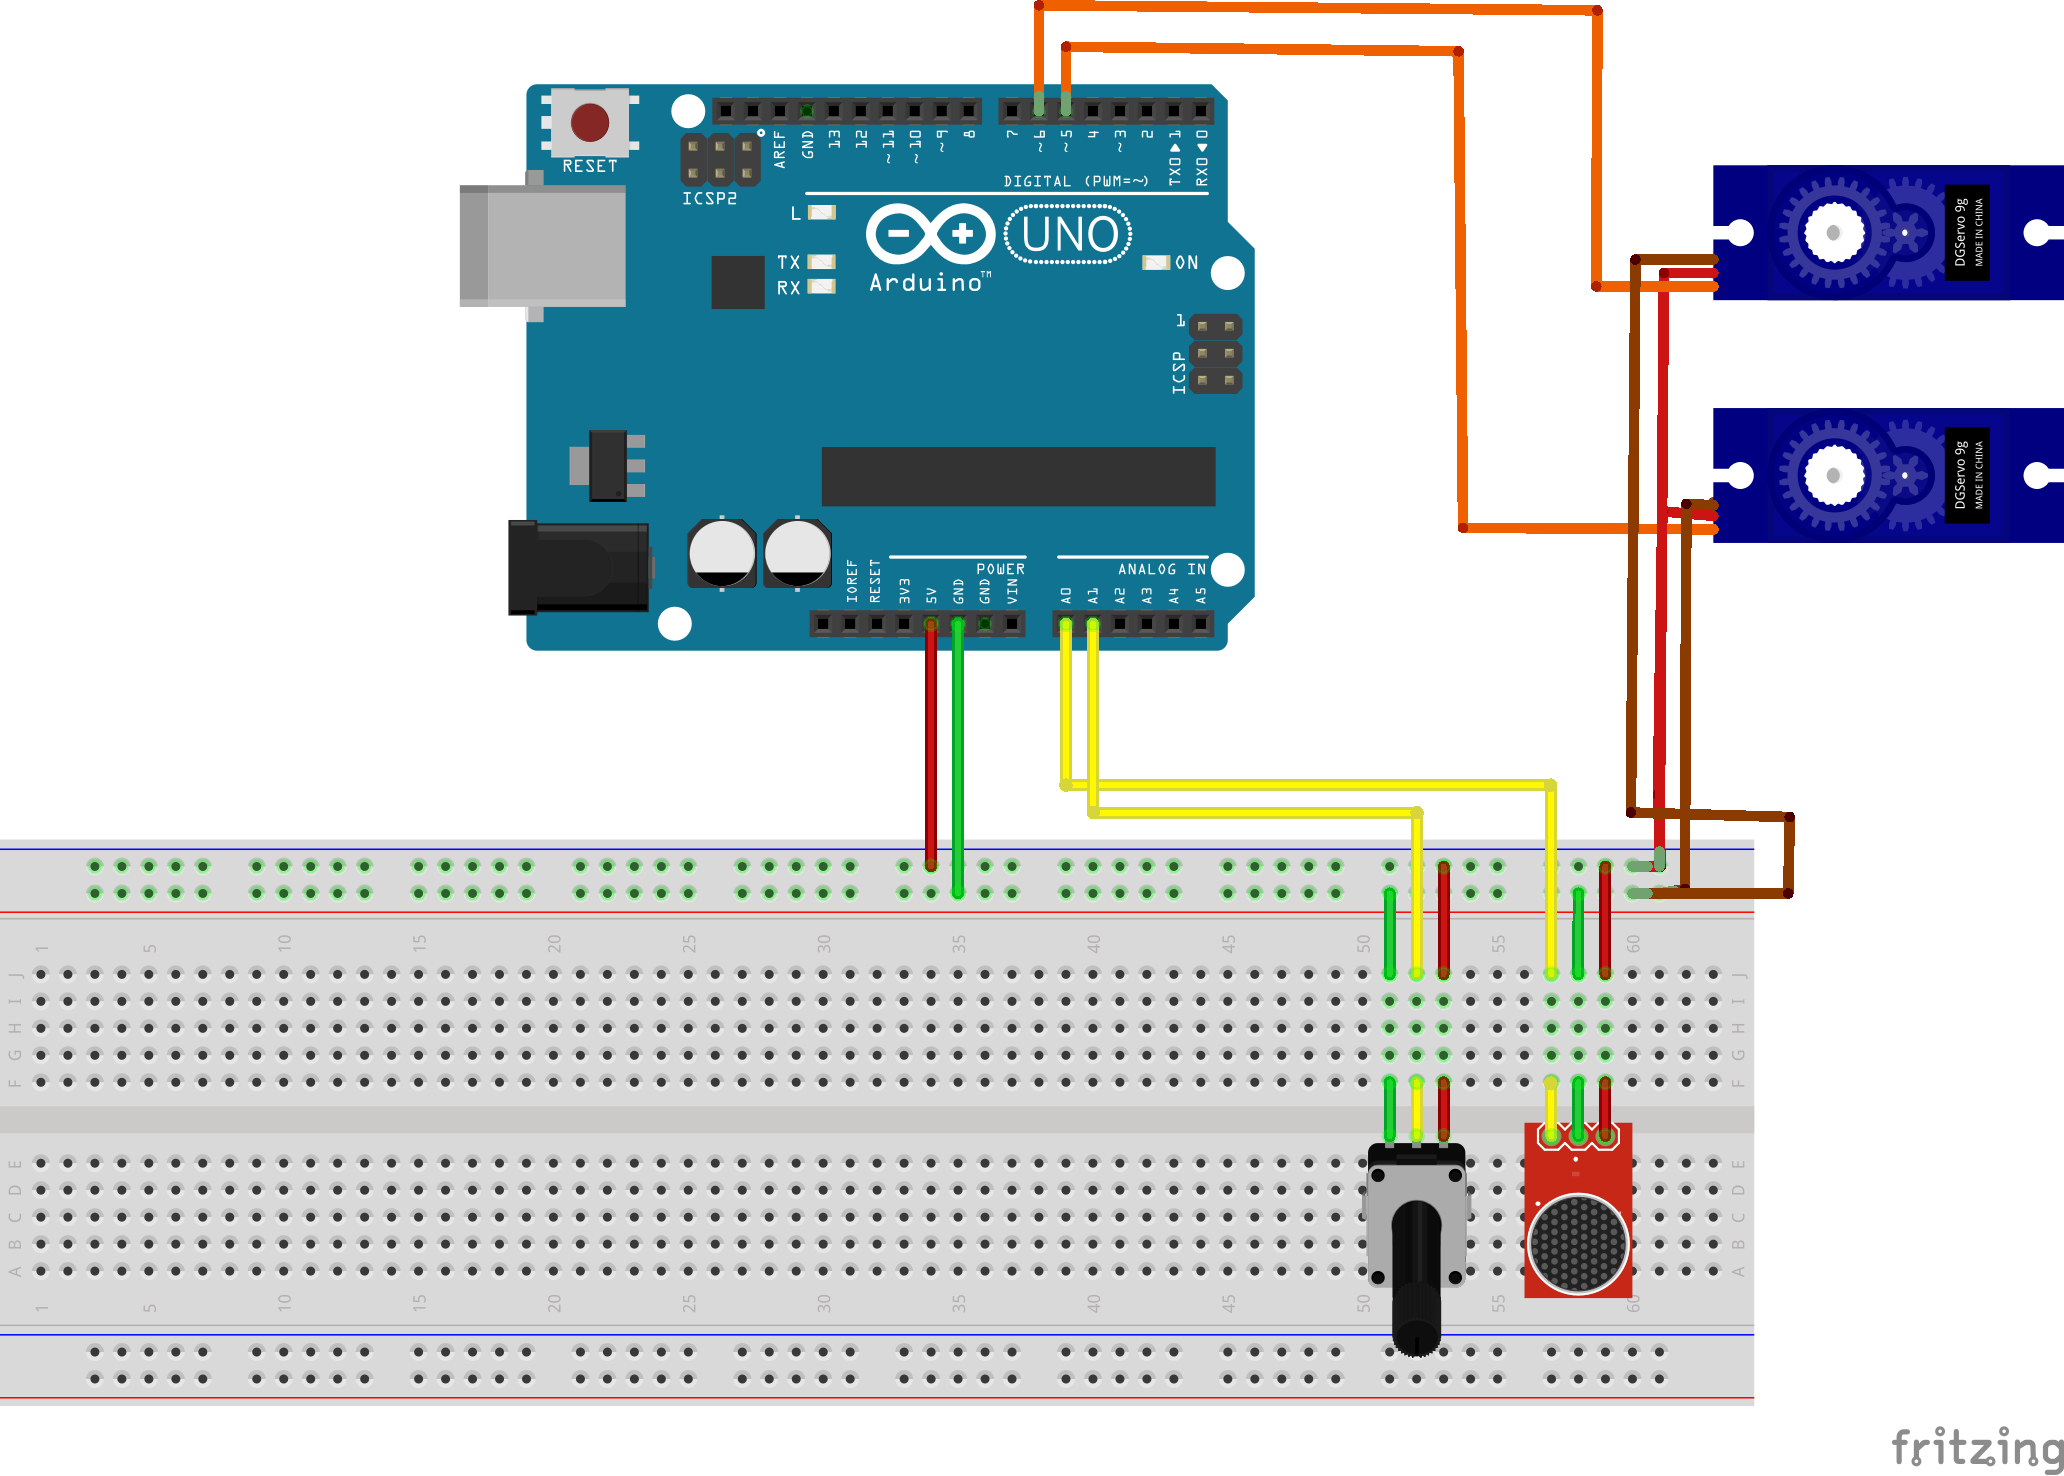
- Set up the following circuit with some jumper wires, servos, potentiometer and an analog microphone
- Make sure that you have installed the Arduino IDE and have the .Servo library downloaded
- Plug in the Arduino and upload the following code:
#include
Servo servo1; Servo servo2; int microphonePin = 0; int potentioMeterPin = 1; int ledPin = 10; int soundValue = 0; float soundThreshold;
int servo1Angle = 0; int servo2Angle = 0;
int targetTime = 100;
int timer = 0; void setup() { servo1.attach(5); servo2.attach(6); Serial.begin(9600); timer = targetTime; }
void loop() { // put your main code here, to run repeatedly: soundThreshold = analogRead(potentioMeterPin); soundValue = analogRead(microphonePin);
if (timer > 0){ timer -= 1; } else { servo1Angle = 0; servo2Angle = 0; servo1.write(servo1Angle); servo2.write(servo2Angle); } if (soundValue > soundThreshold){ digitalWrite(ledPin, HIGH); Serial.println(String(1) + "s" + soundValue); SetAngleOfServos(); timer = targetTime; } else { Serial.println(String(0) + "s" + soundValue); digitalWrite(ledPin, LOW); }
delay(20); }
void SetAngleOfServos(){ servo1Angle = 180; servo2Angle = 180; servo2.write(servo2Angle); servo1.write(servo1Angle); }
Unity
.png)
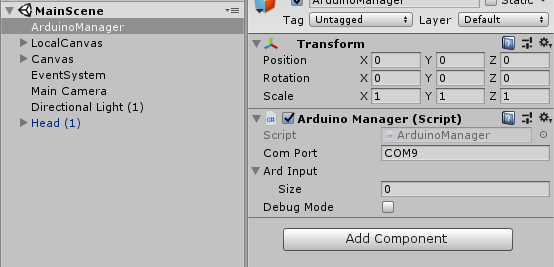
- Configure Unity’s player API compatibilty level to .NET mono, that way you can receive data via a com port
- Write an Arduino manager script like this one:
using System.Collections; using System.Collections.Generic; using UnityEngine; using System.IO.Ports;
//This script is put on an ArduinoManager (the prefab) and this gameobject needs to be put in the scene public class ArduinoManager : MonoBehaviour {
public string comPort; SerialPort sp;
[SerializeField] public string[] ardInput; private string[] tempArdInput;
public bool debugMode;
// Use this for initialization void Start() { sp = new SerialPort(comPort, 9600); sp.Open(); }
// Update is called once per frame void Update() { if (sp.IsOpen) { DontDestroyOnLoad(this.gameObject); try { //print(sp.ReadLine()); tempArdInput = sp.ReadLine().Split('s'); if (tempArdInput.Length == 2) ardInput = tempArdInput;
if (ardInput[0] != null && ardInput[1] != null) //Check if all values are recieved { print(ardInput[1]); sp.BaseStream.Flush(); //Clear the serial information so we assure we get new information. } sp.ReadTimeout = 15;
} catch (System.Exception) { throw; } } } }
Make sure that the Arduino Manager is added to the scene you will use.
Utilise the Arduino Input in Unity

Step 3: Utilise the Arduino Input in Unity
- If you want you can make a bar that displays the sound input of the Arduino and you can trigger an animation when the threshold is exceeded.
- The bar can be made with the build in Unity slider component. You will need to write a script that will manipulate the value parameter with values between 0 and 1.
- The animation trigger can be made by first making an animation clip and add it to an animation. You also need to make an idle clip. Then connect the two animation clips in the animation window and give the idle animation the exit bool “isLoud” and set the trigger animation exit time to true.
- All the scripts will be available as a download on the bottom of the page if you want.
- With the potentiometer you can calibrate the threshold for the servos to respond.
Make a Hand Out of Wood and Attach the Servos to Finish the Shhh Effect
This video shows how the the finger joints work:
What the finger needs:
- Joints to bend the finger bones.
- A thread that is at one end connected to the top of the finger and at the other end to the servo, for closing the finger.
- Rubber bands to stretch the finger when the servo stops pulling.
- Stopping blocks to prevent the finger joints from bending the wrong way.
Use Adobe Illustrator (or similar software) to create a vector design for the laser cutter.
(see image in the full PDF tutorial)
Put all the parts together and this is what you get: