Hanging Shelves
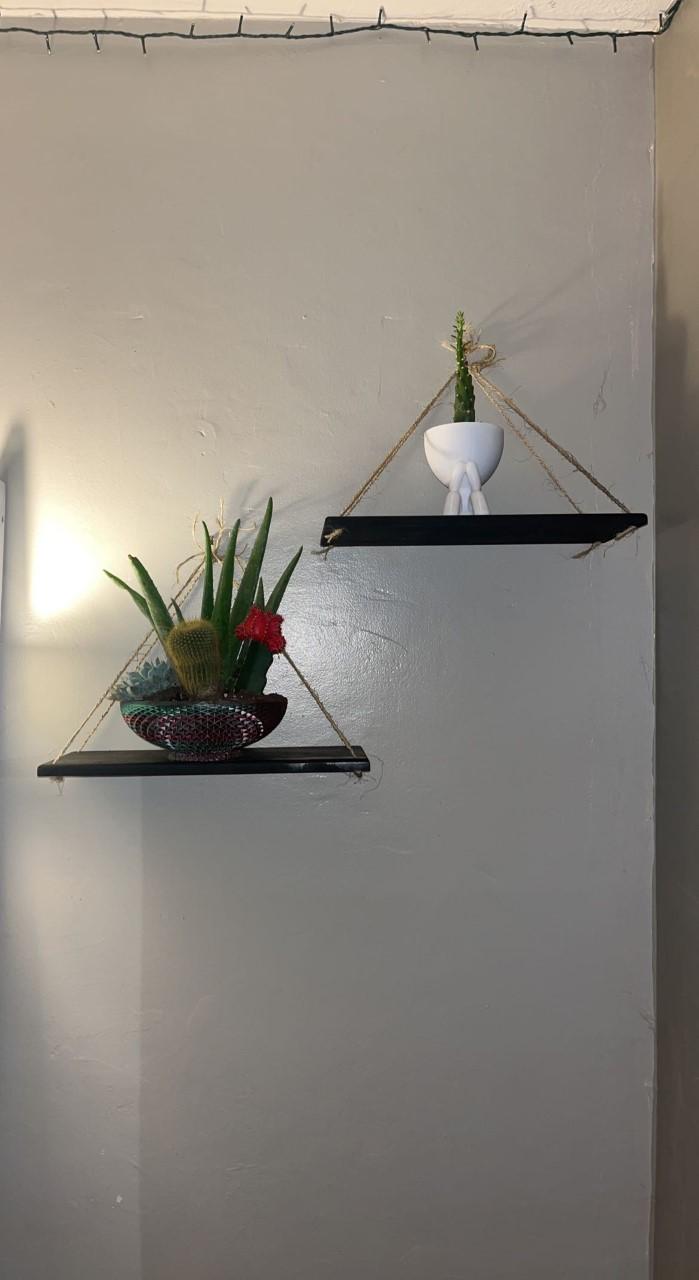
I made two matching hanginh shelves to put decorative plants on.
Supplies


Use the radio arm saw to do a rough cut to about 13 inches.
Radio Arm Saw

Use the radio arm saw to do a rough cut to about 13 inches.
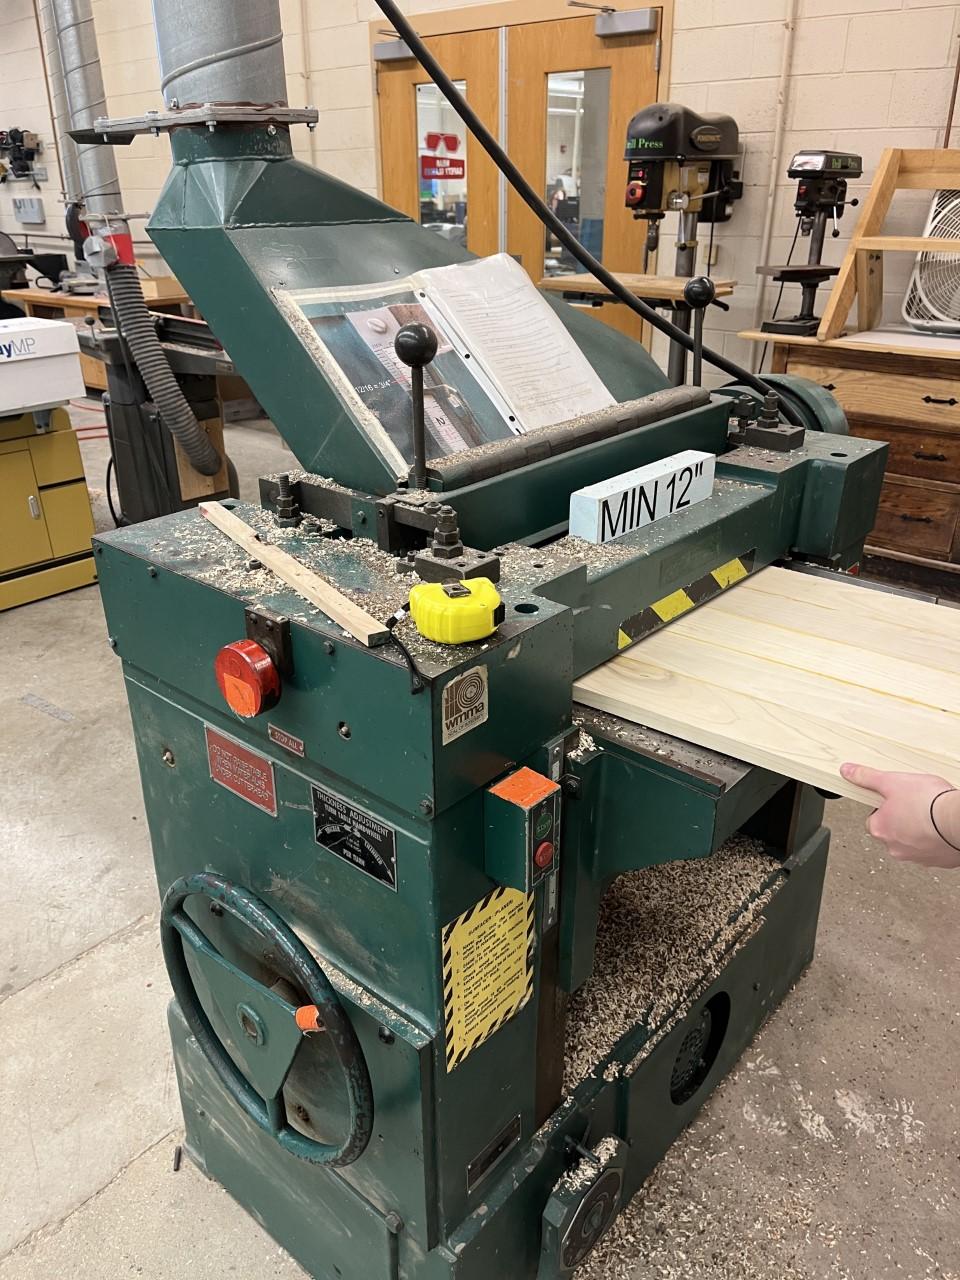
Planer

Send the wood through the planer to get each side to be smooth, then get it down to a1/2 inch thick.
Jointer

Joint one side of the wood so you have a completely straight edge and have a straight cut on the table saw.
Table Saw

Use the table saw to get the width of 6 inches and the lenth of 13 inches.
Use the router to round off 3 out of the 4 sides. DO NOT curve one of the long side so that the shelf can sit flat against the wall.
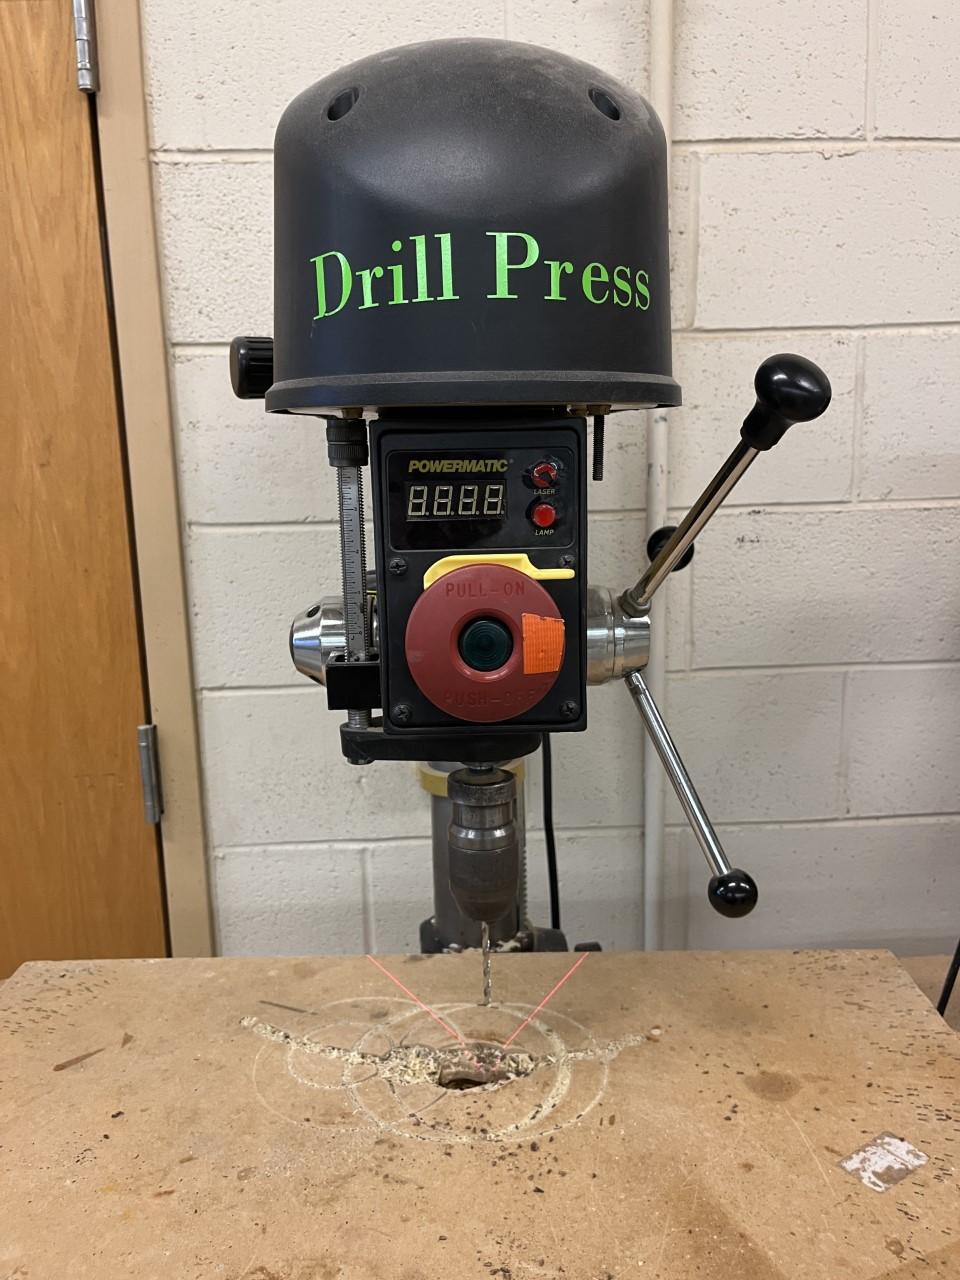
use the drill press to put four 3/16 inch holes in each corner of the shelf.
Sand the shelves so that there are no jagged edges or sharp pieces of wood
Use whatever color spray paint you want, or keep it orginal wood color.

Each hole is going to need three 16 inch piece of string, you should have 12 strings cut total. Braid three of the strings together and put it through on of the holes, repeat 4 times. Tie the four strings at the top of it makes a pyramid shape so you can hang them up.