Hang a Picture for Less Than $1
by sshuggi in Living > Decorating
7912 Views, 33 Favorites, 0 Comments
Hang a Picture for Less Than $1
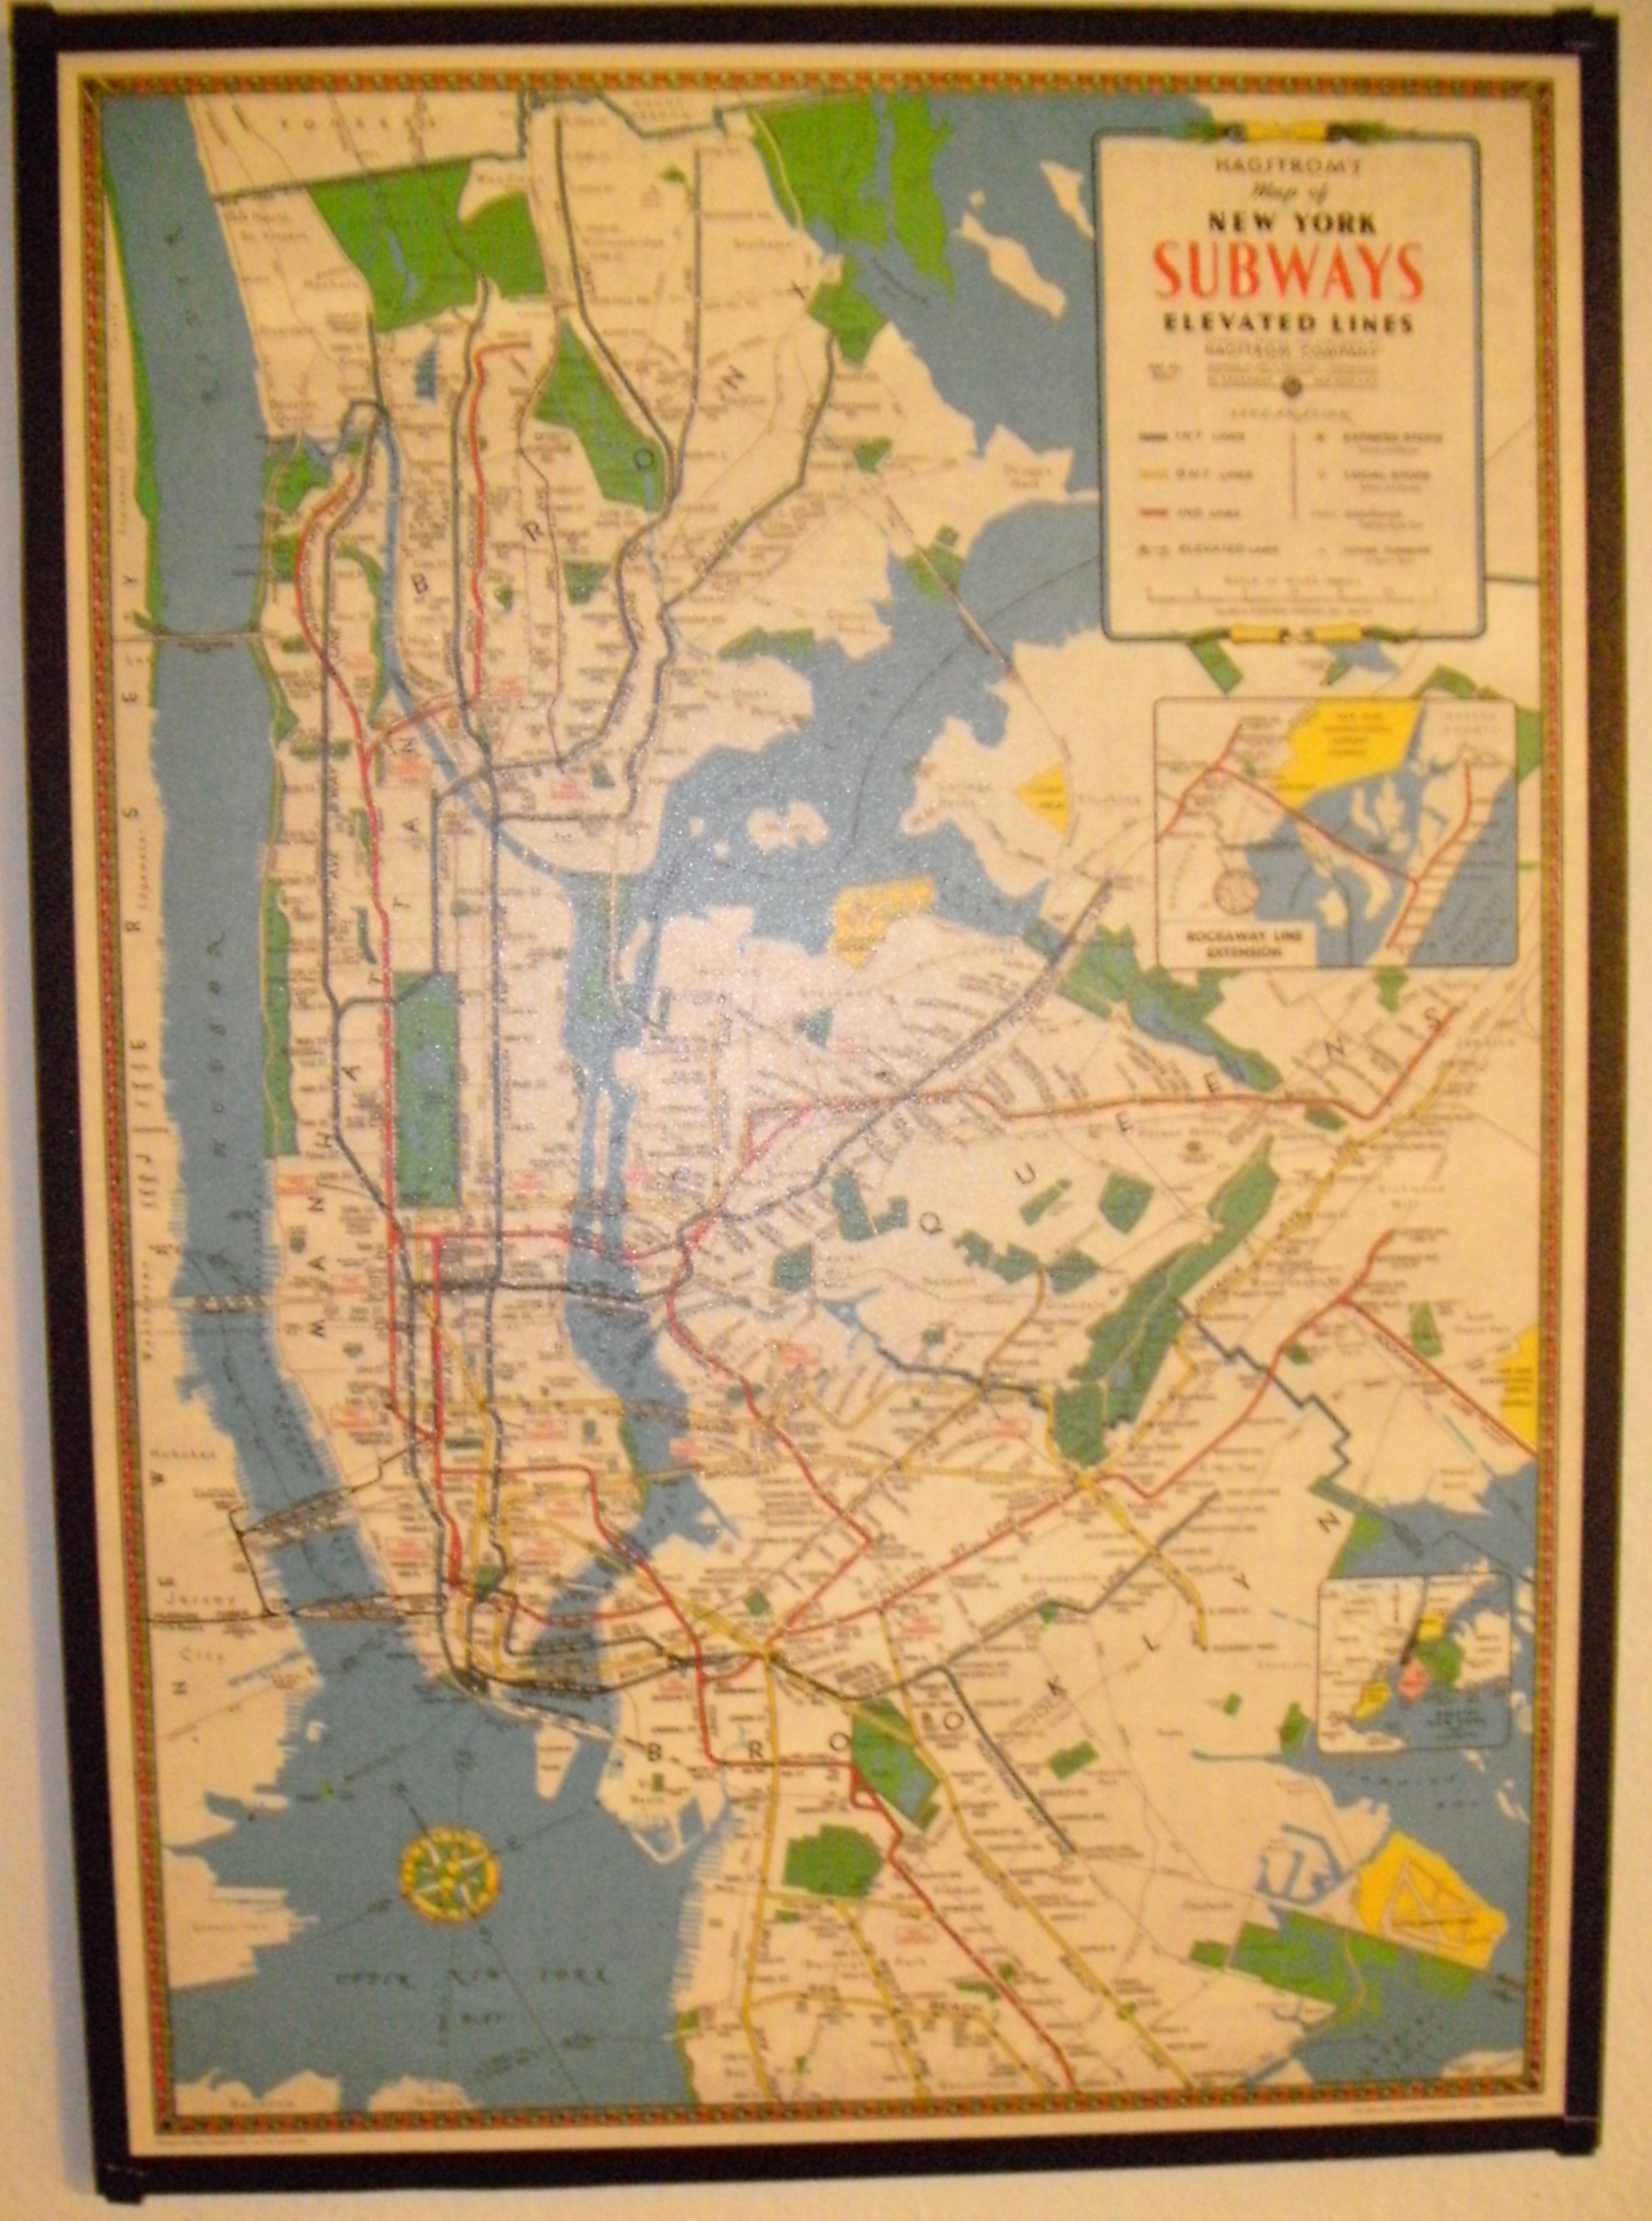
If you're strapped for cash like me, you take every option of doing things yourself to save a bit of money. Here's a way to hang your pictures for a bit of pocket change and a couple minutes.
Tools and Materials
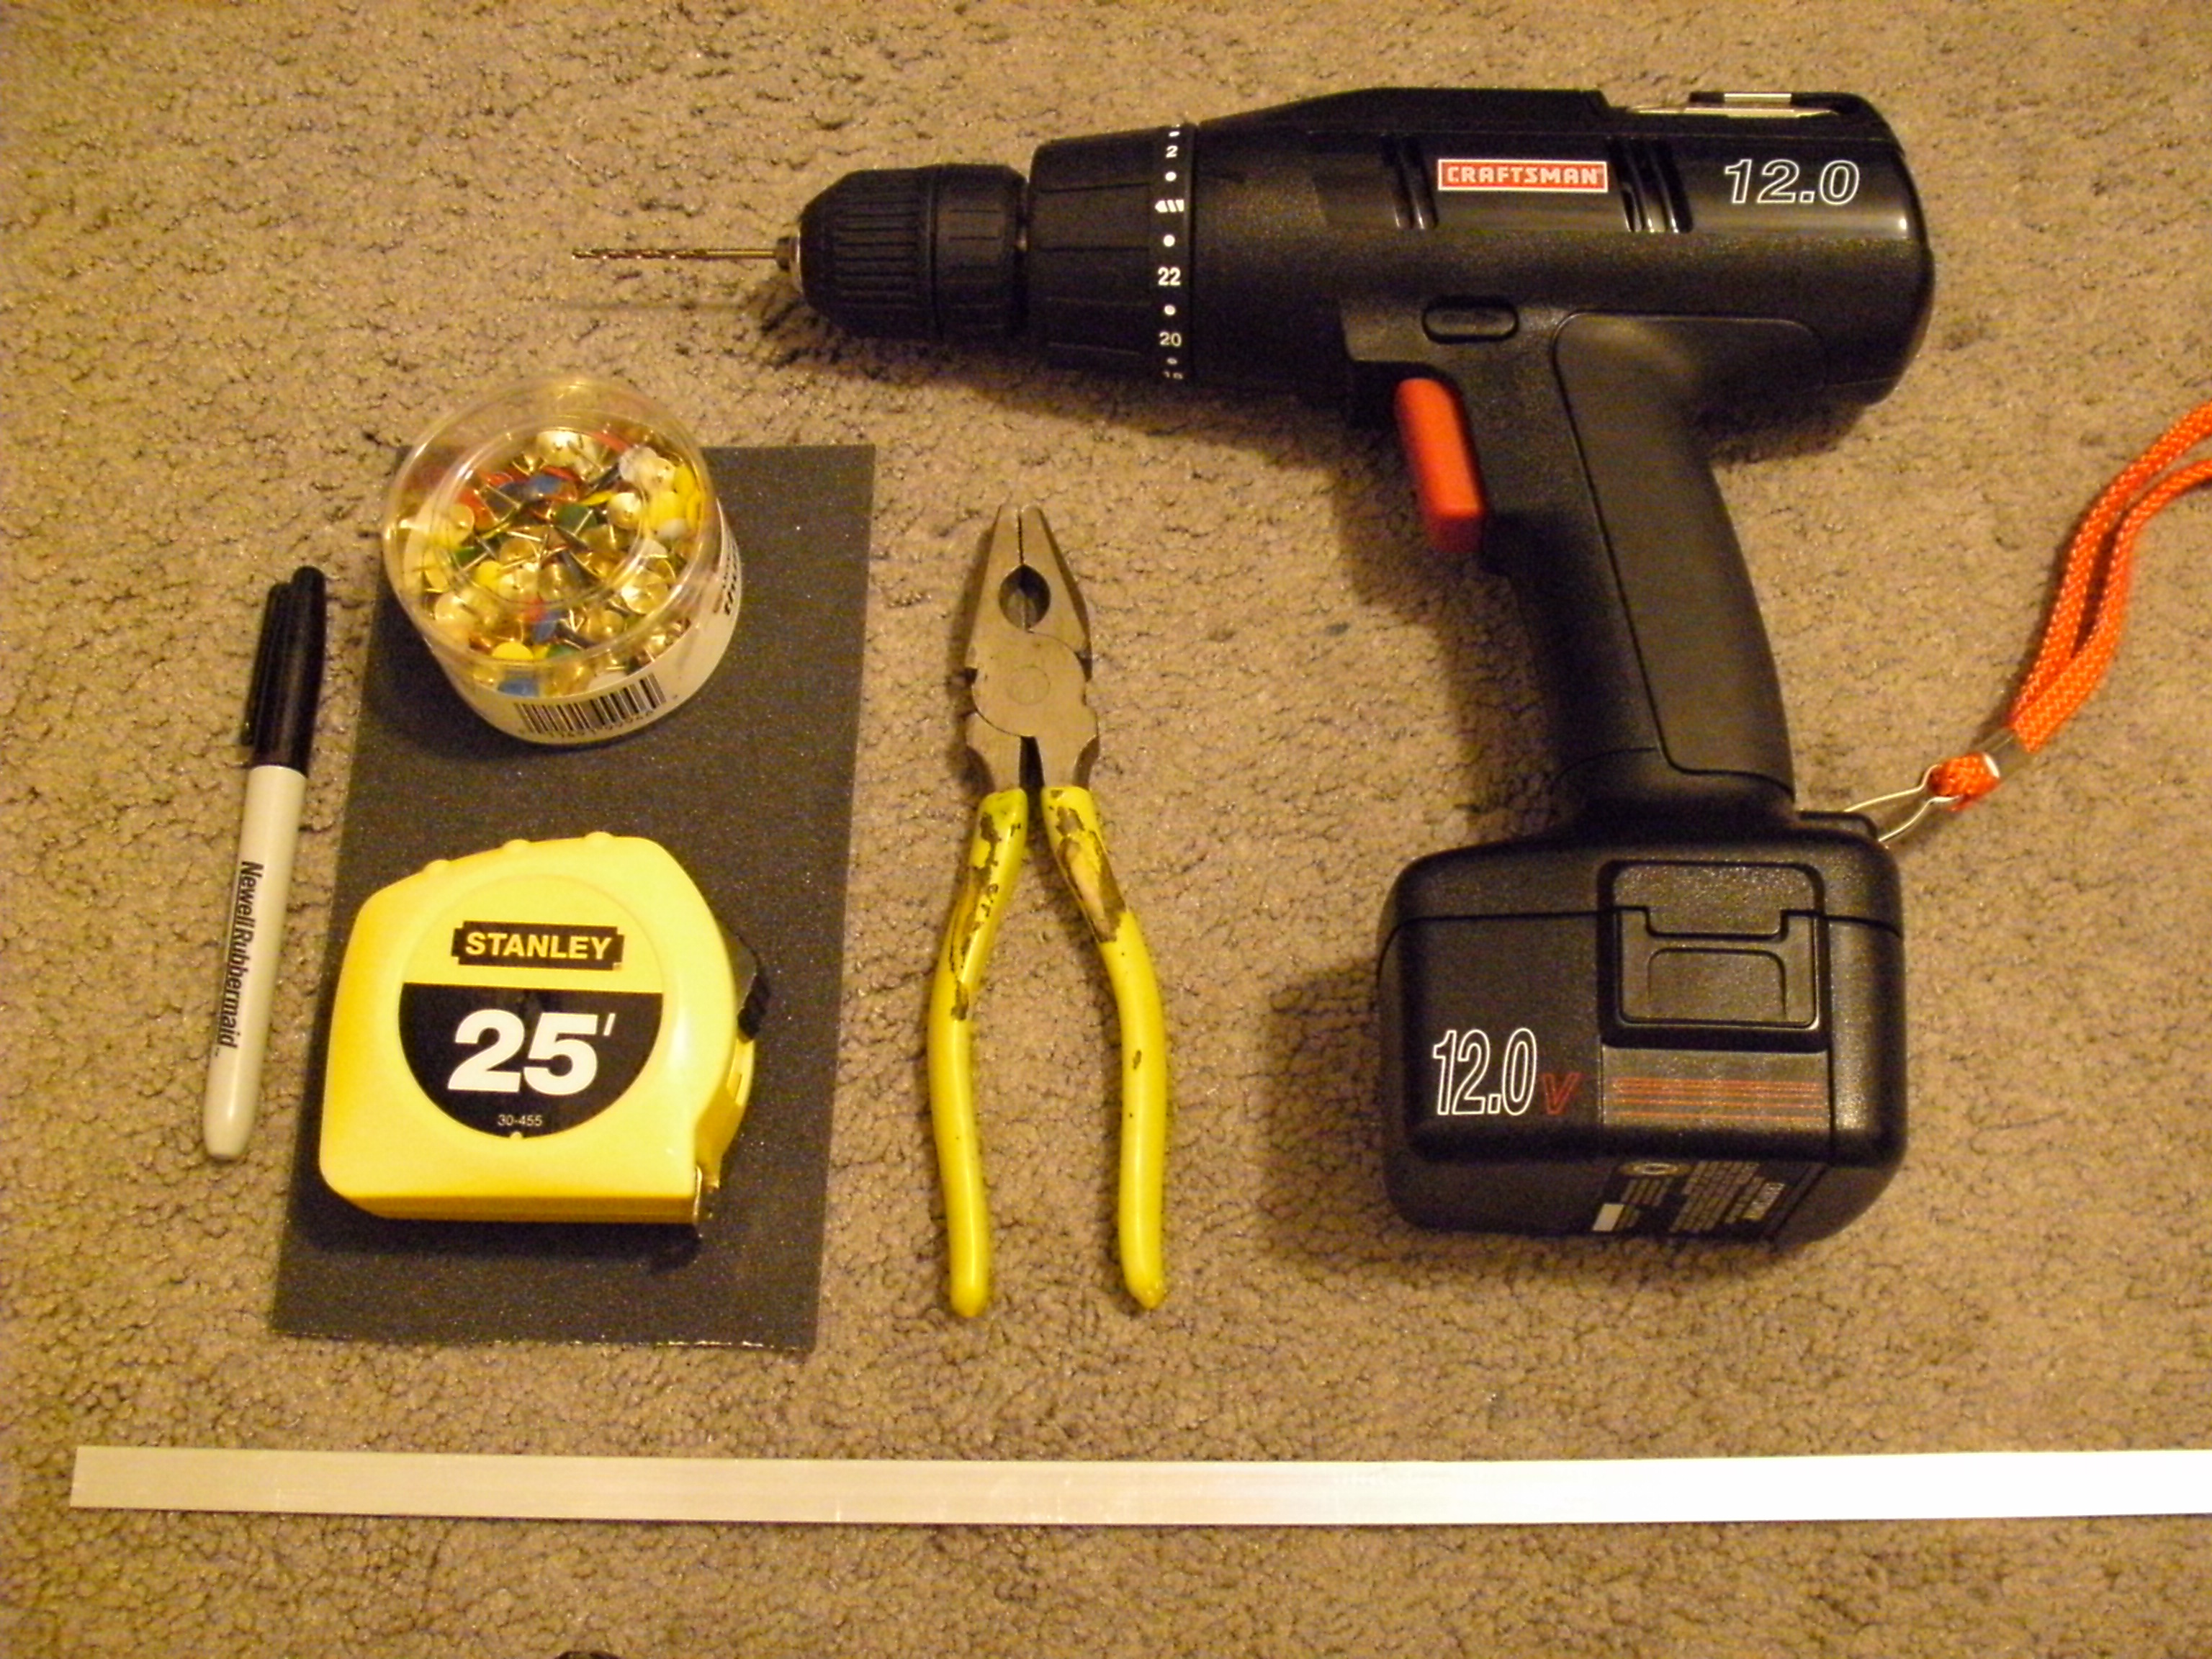
Tools:
Small drill bit (I used 3/32")
Drill
Pliers with tin snip section (or a different method of cutting)
Ruler/Tape measure
Marker
Sandpaper (optional)
Materials:
Thin strip of metal (I used 1/16" X 1/2" X 3' Aluminum @ $2.68. This makes three sets.)
Thumb tacks
Small drill bit (I used 3/32")
Drill
Pliers with tin snip section (or a different method of cutting)
Ruler/Tape measure
Marker
Sandpaper (optional)
Materials:
Thin strip of metal (I used 1/16" X 1/2" X 3' Aluminum @ $2.68. This makes three sets.)
Thumb tacks
Measure and Cut Your Hangers
Measure:
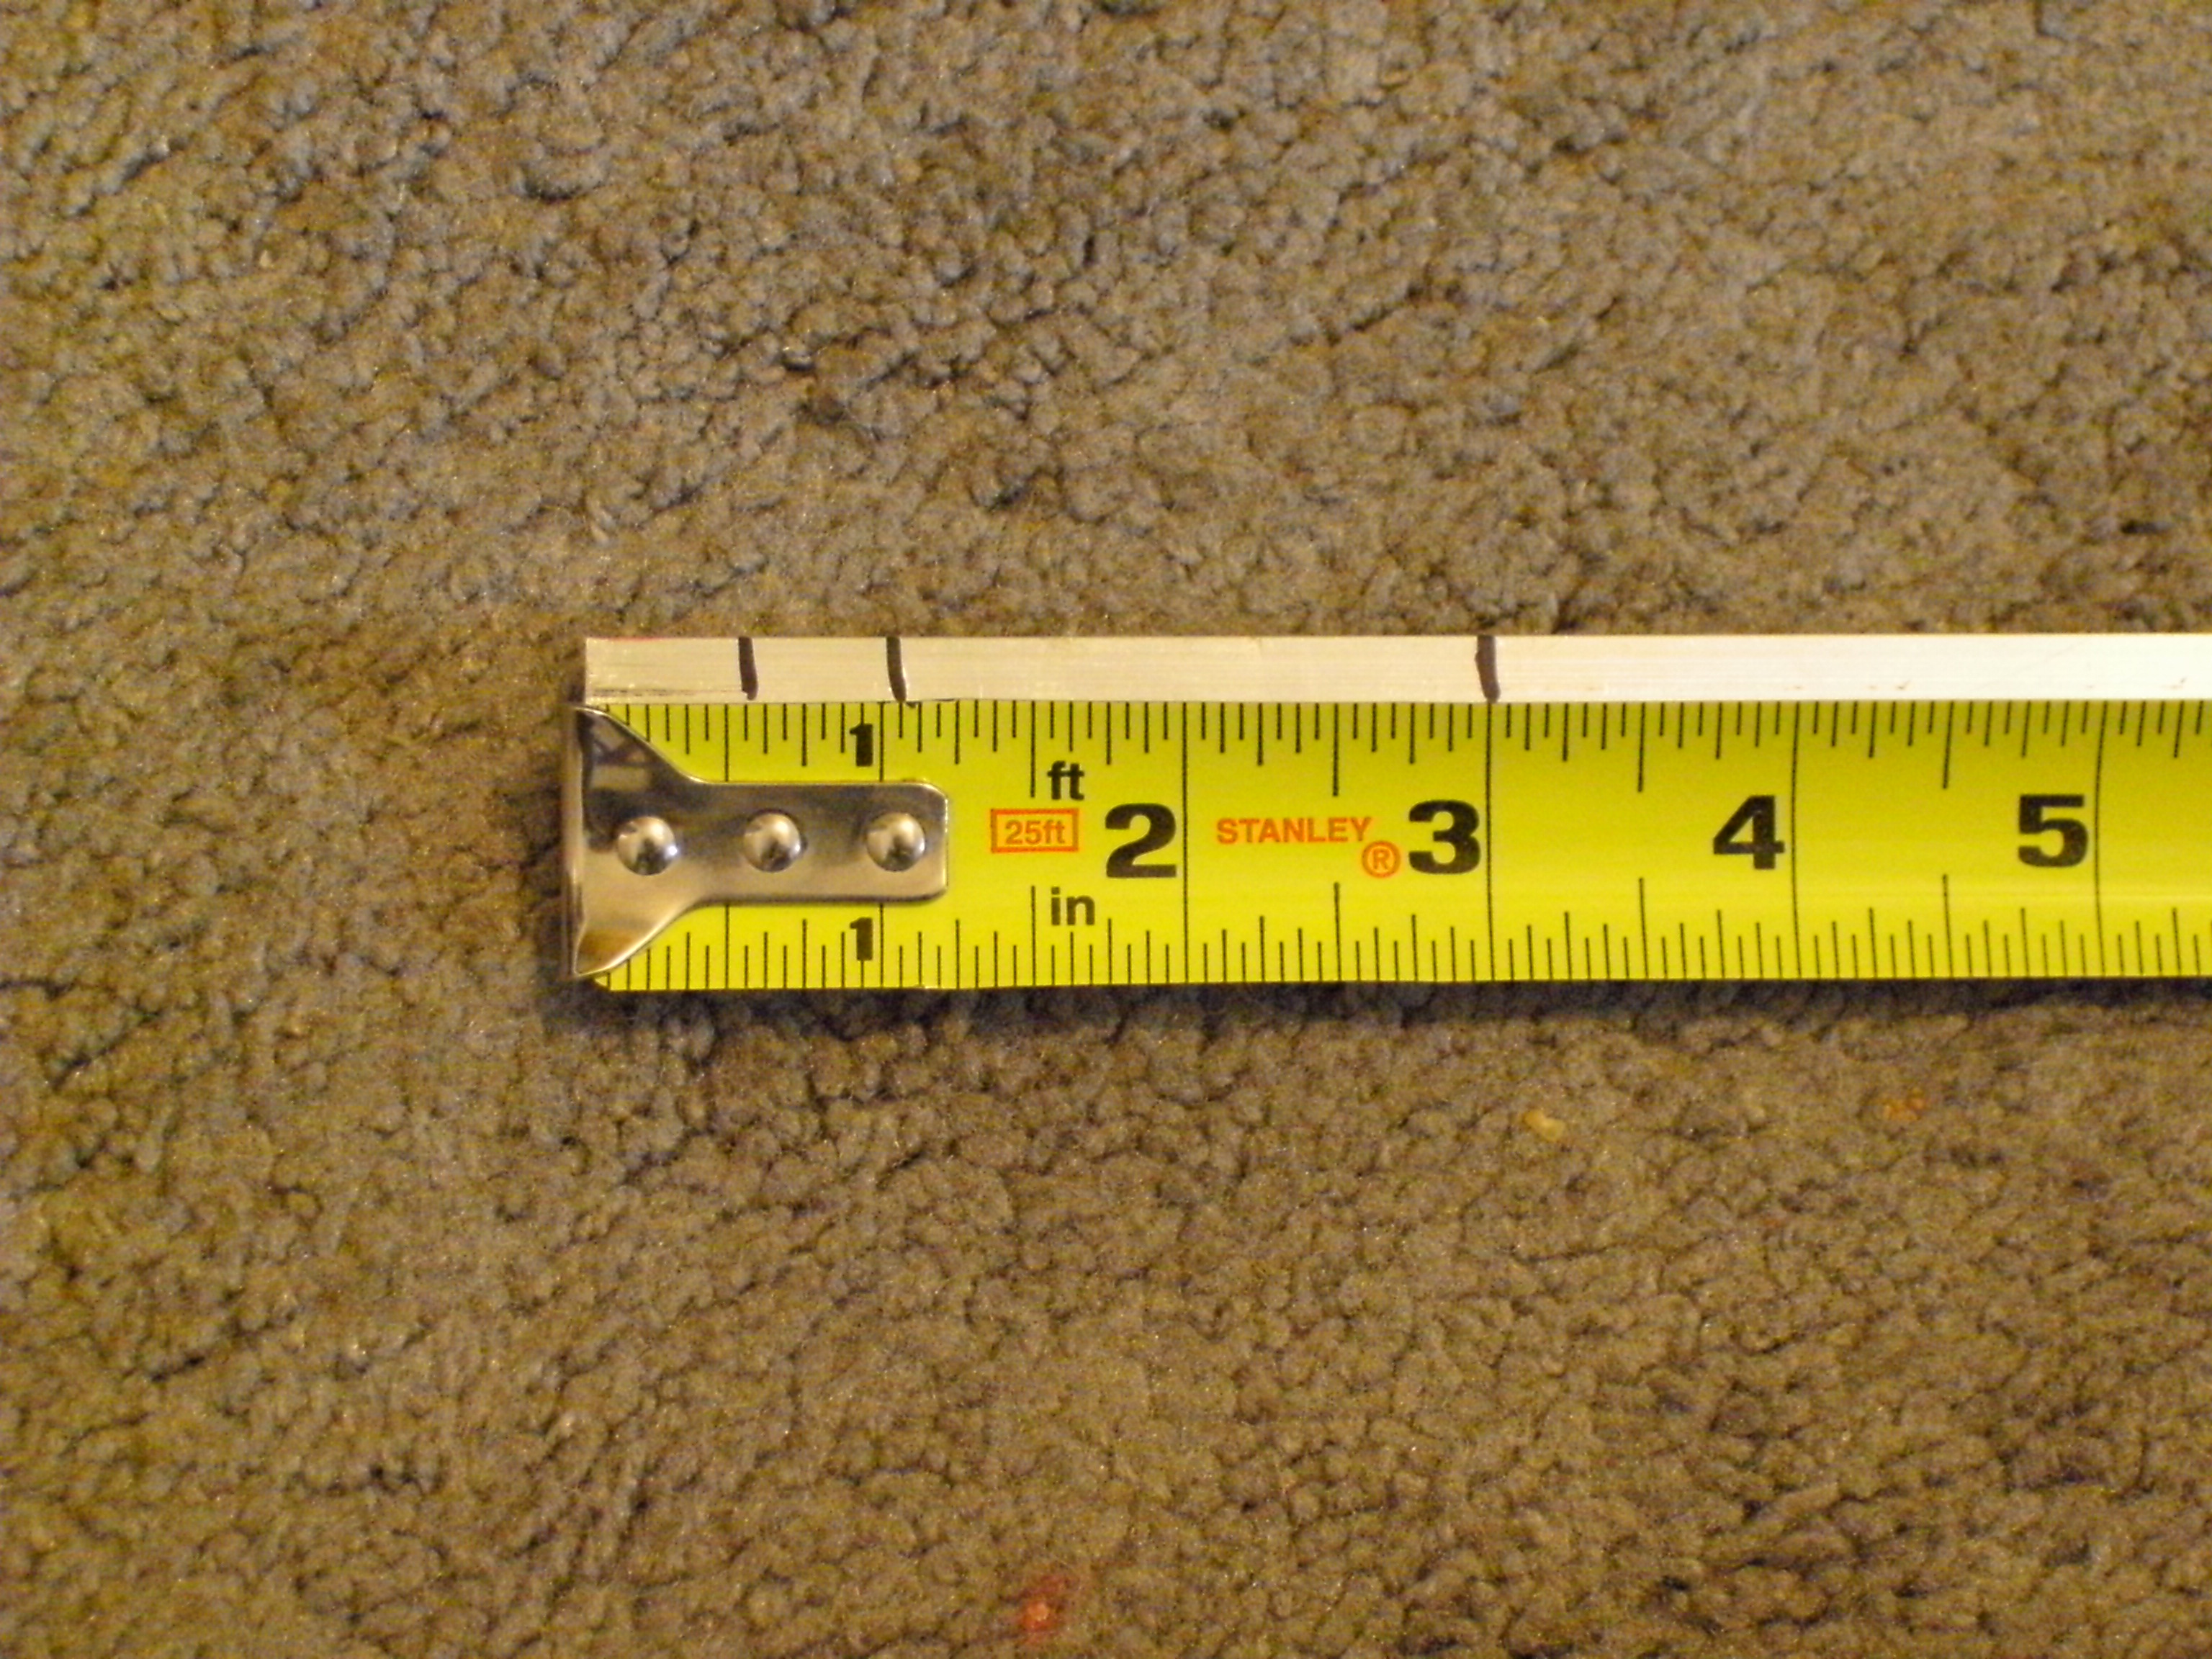
1. You're going to want a good 1/2" to hold the front of the picture, so put a mark at 1/2".
2. Then, add onto that the depth of your picture frame and whatever the thickness of your metal is. (You lose about 1/2 thickness in each bend.)
3. Then add to that about 2". (For my 1/2" picture frame, I used 3" hangers to make even foot increments.)
Cut:
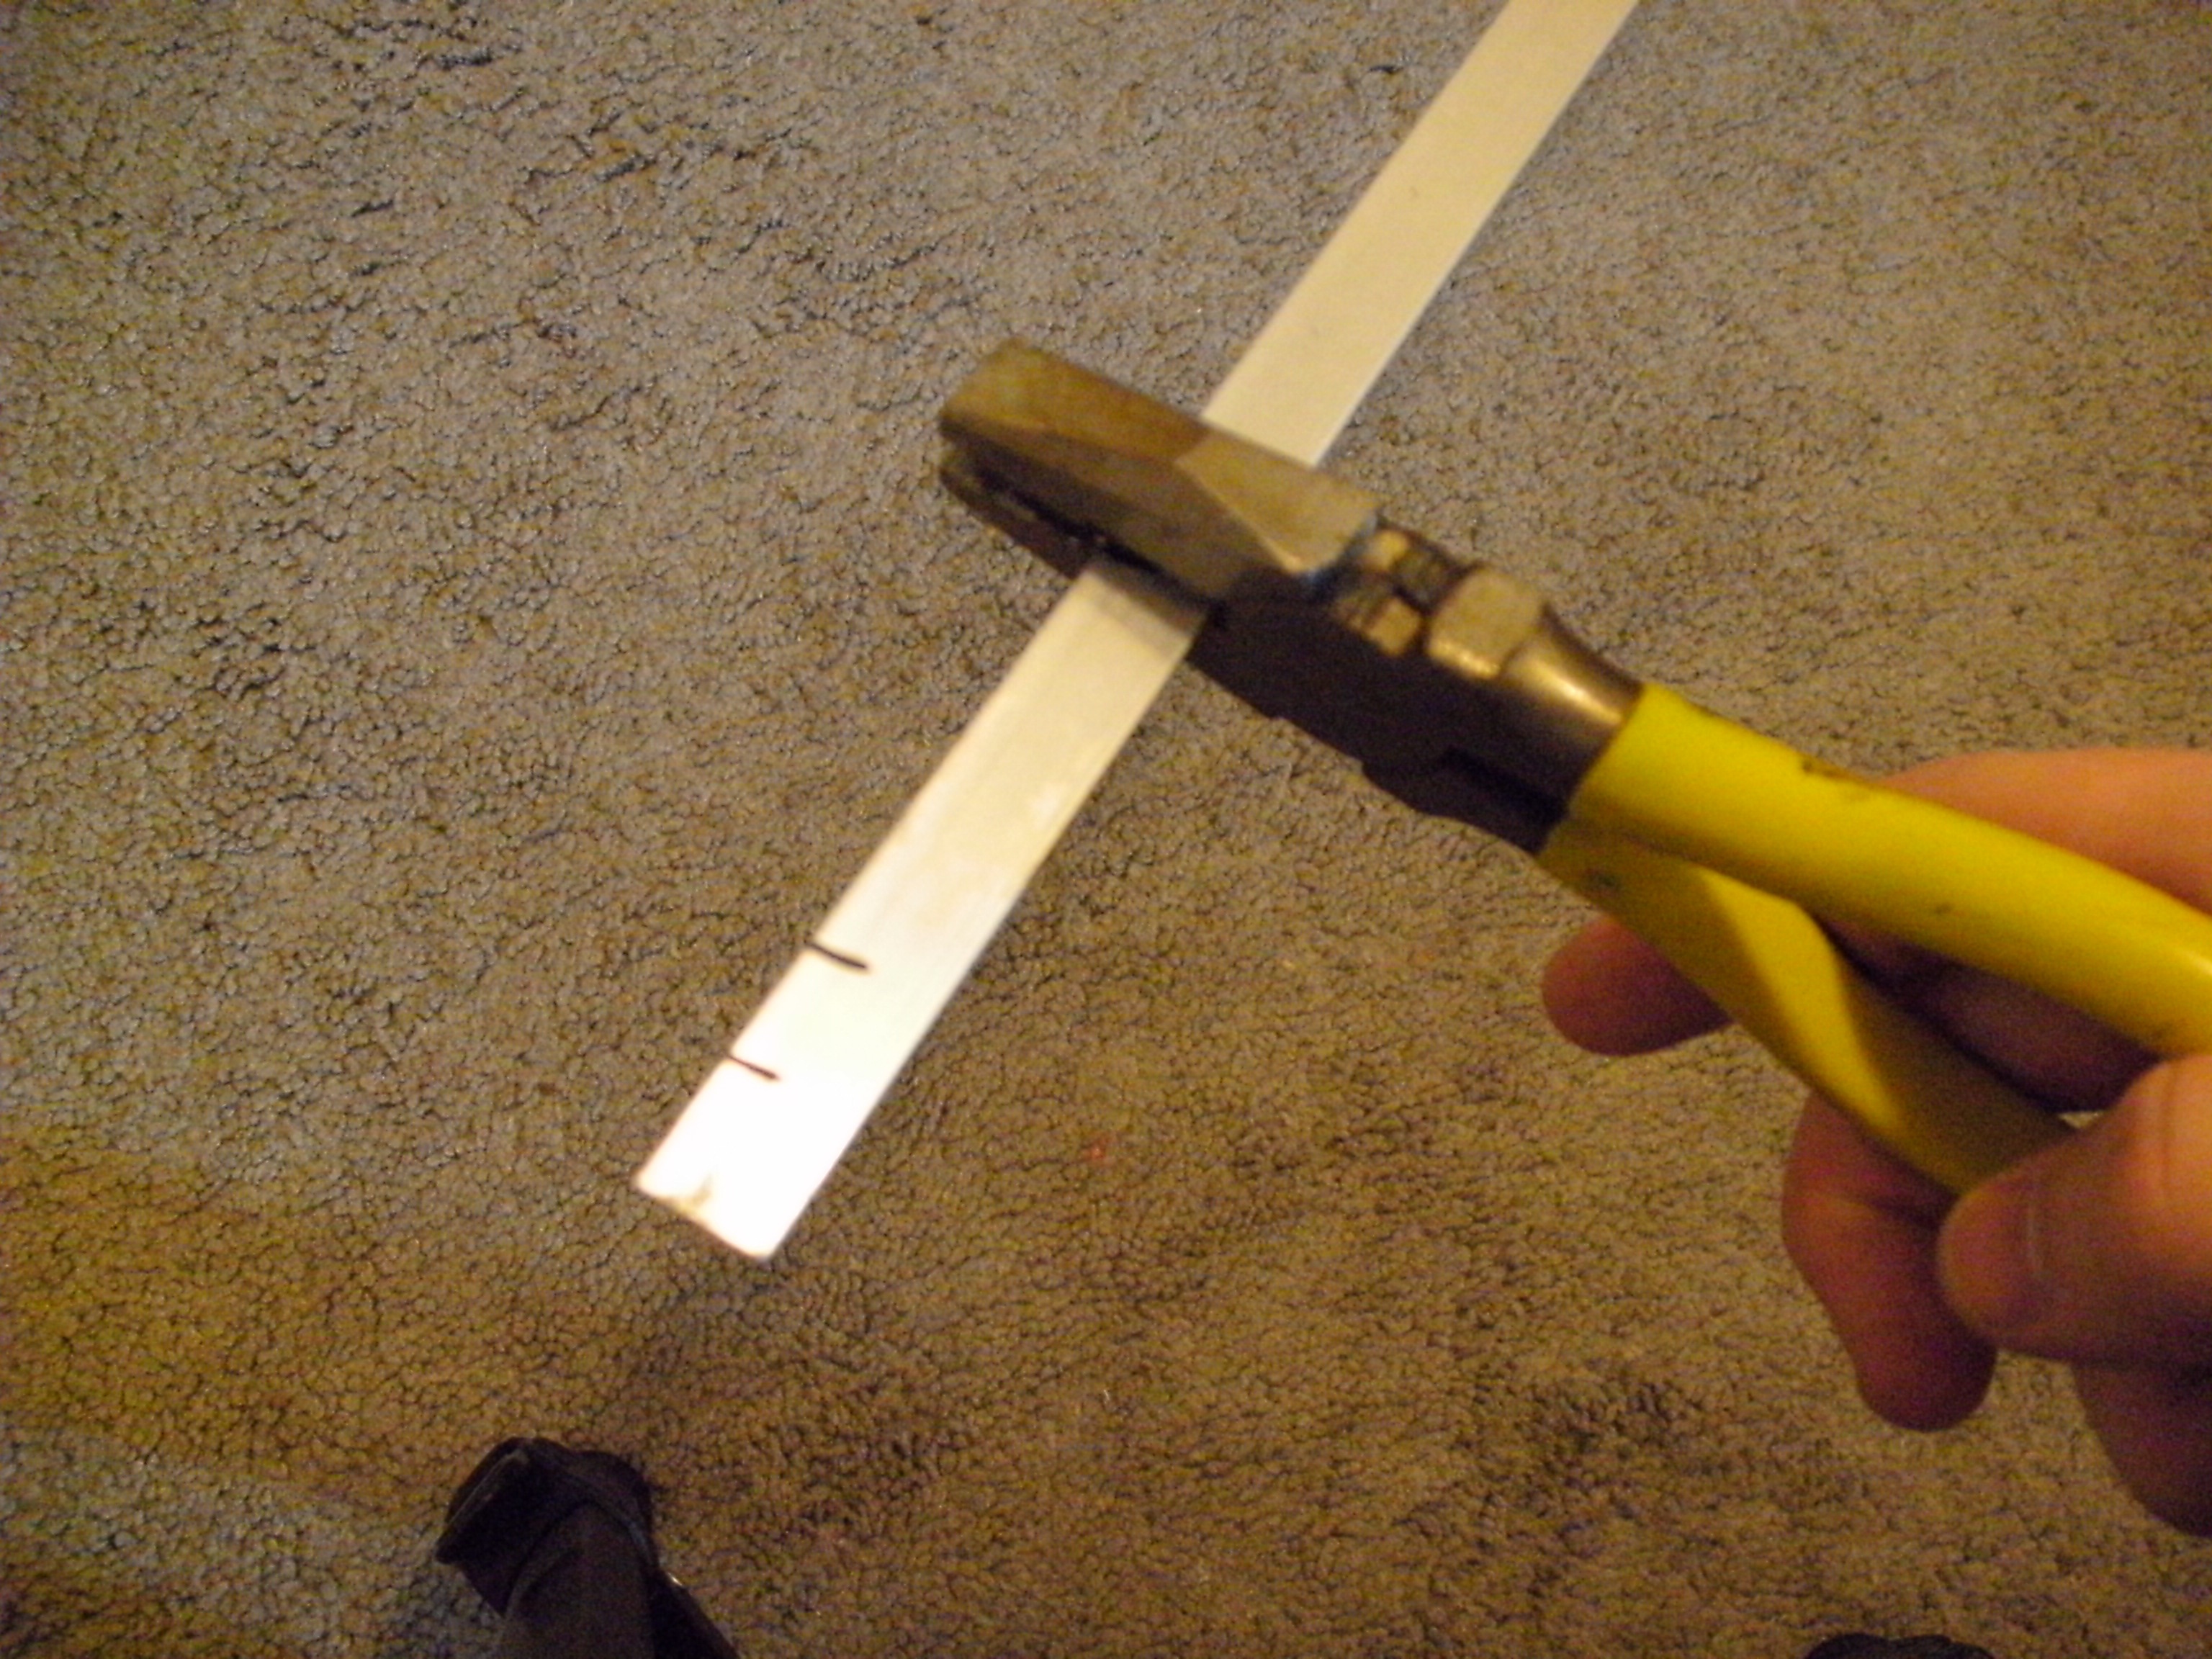
Pretty much any means of cutting works. I used the tin snip sections of the pliers to put a notch in the metal and then bent it multiple times until it fractured at that point. (Like you would a paperclip.) Deburr the edges with sandpaper if necessary.
Finalize the Hanger
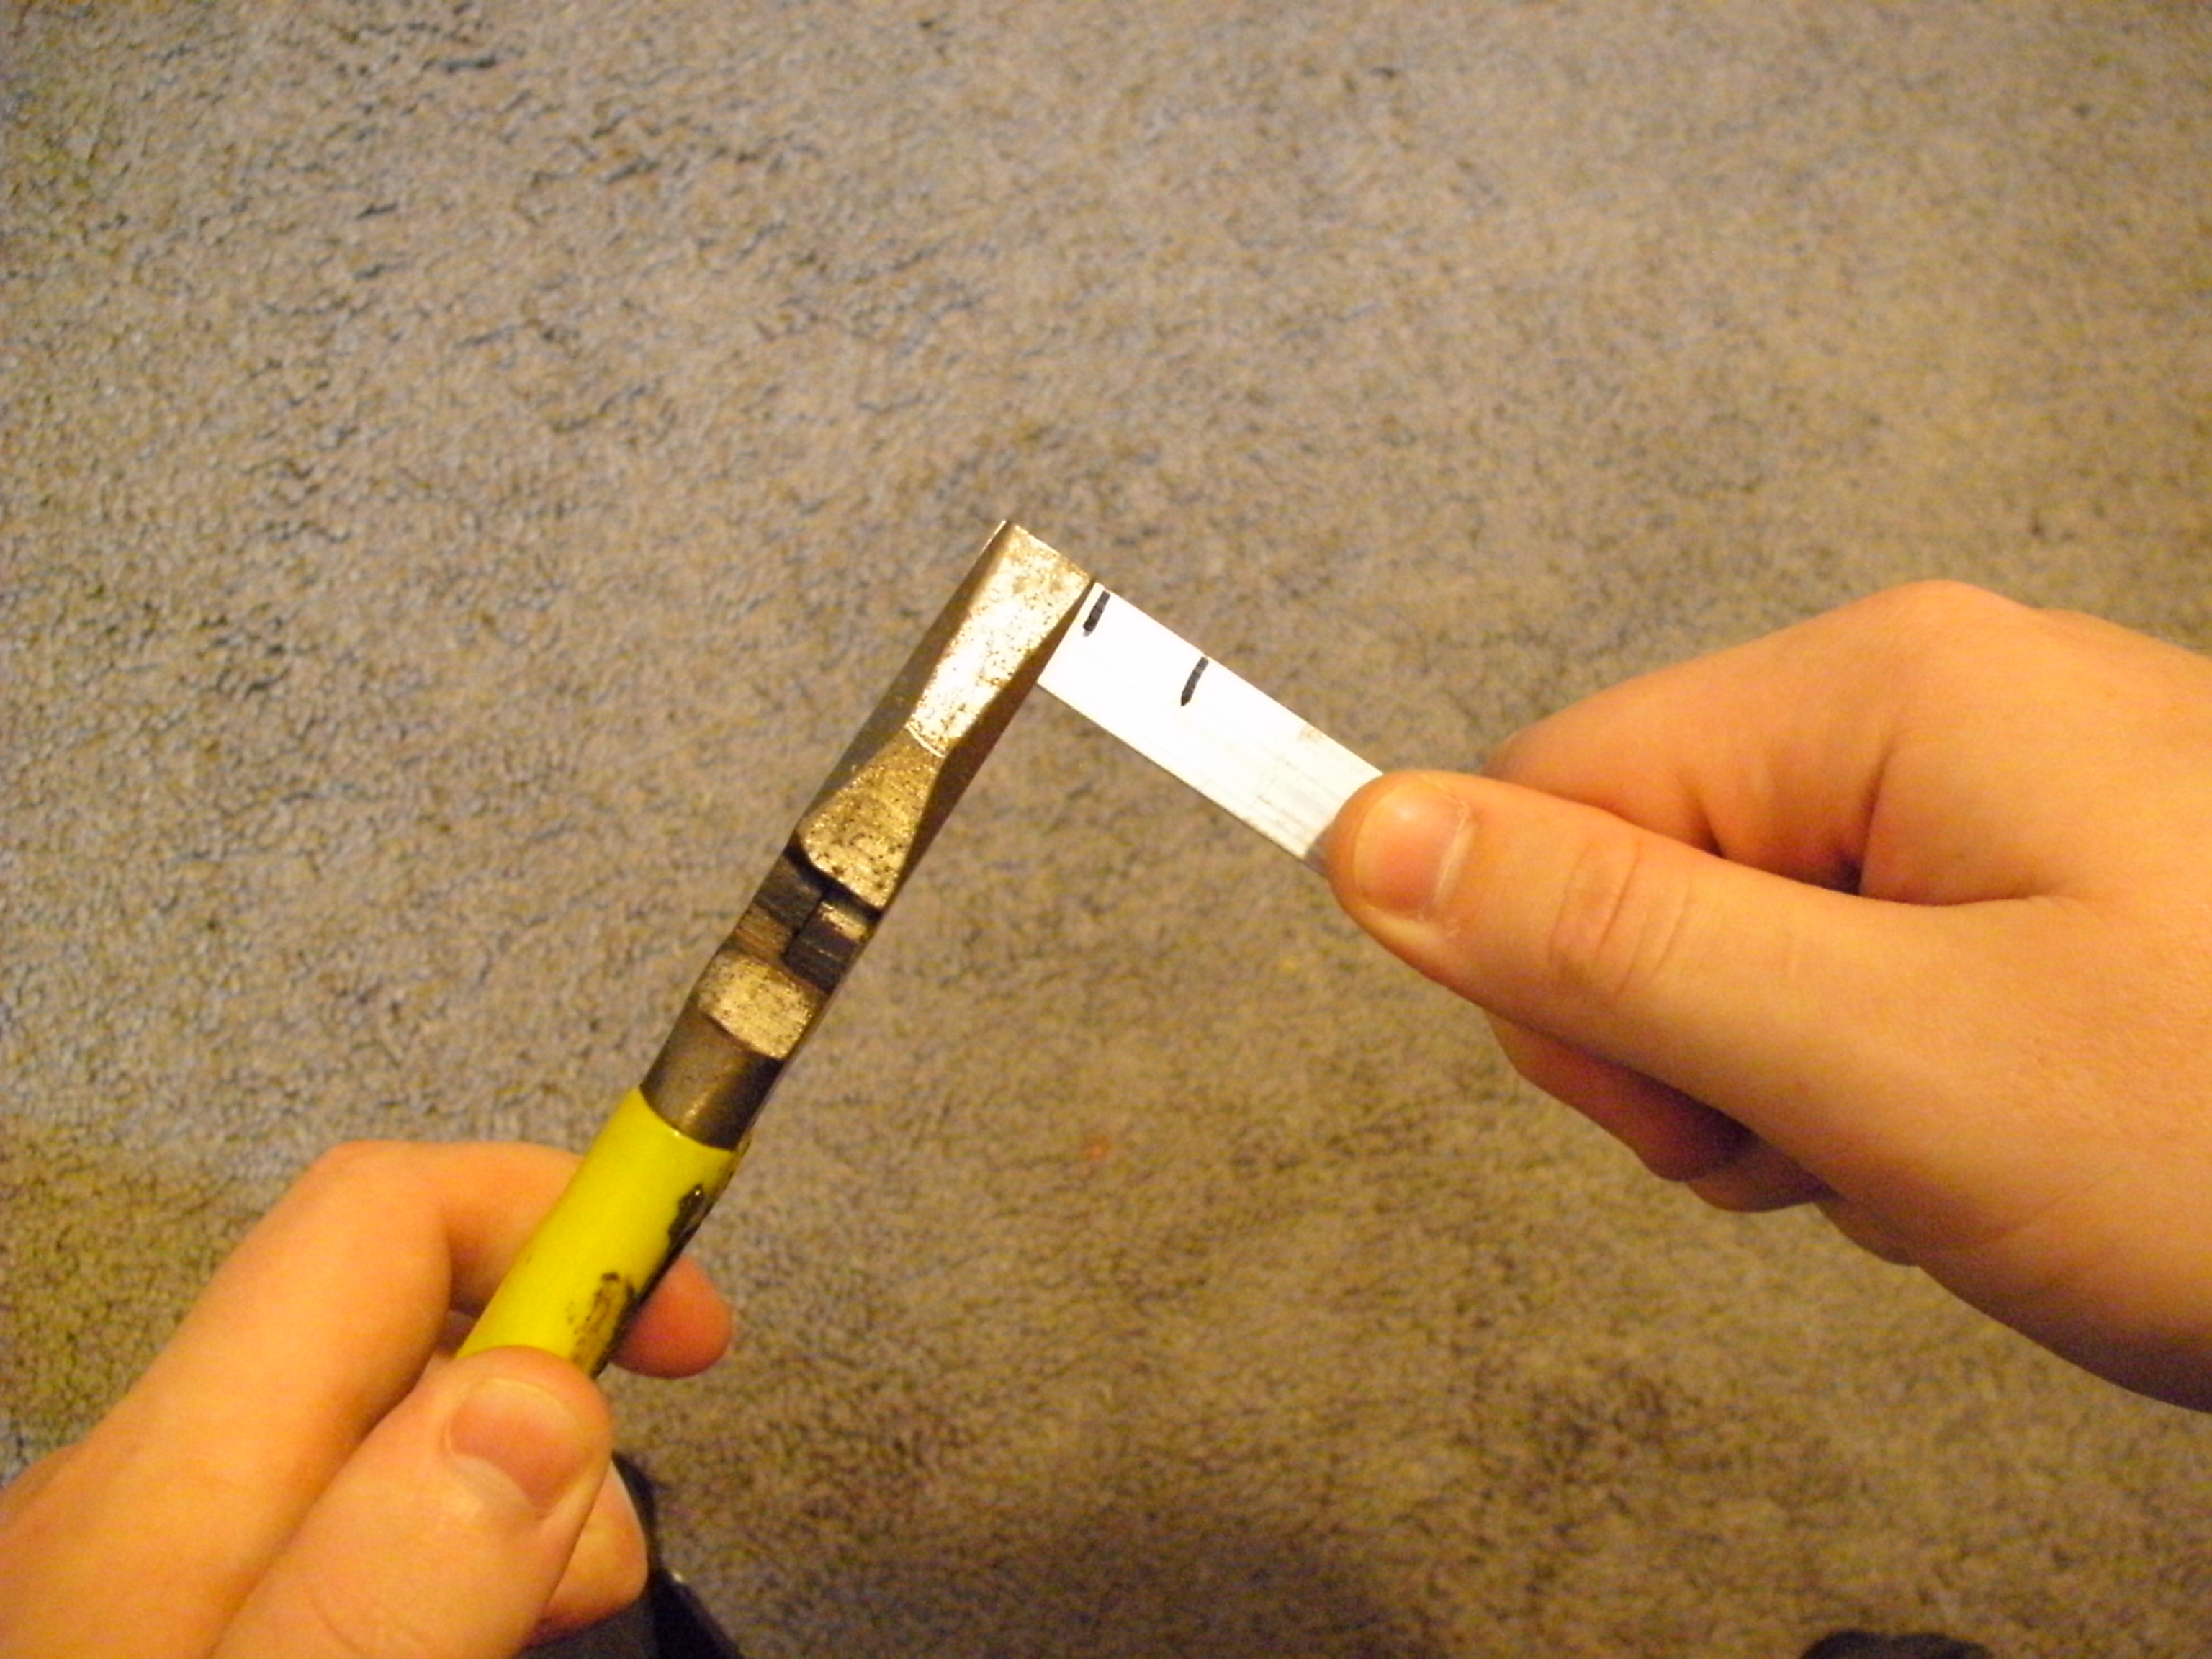
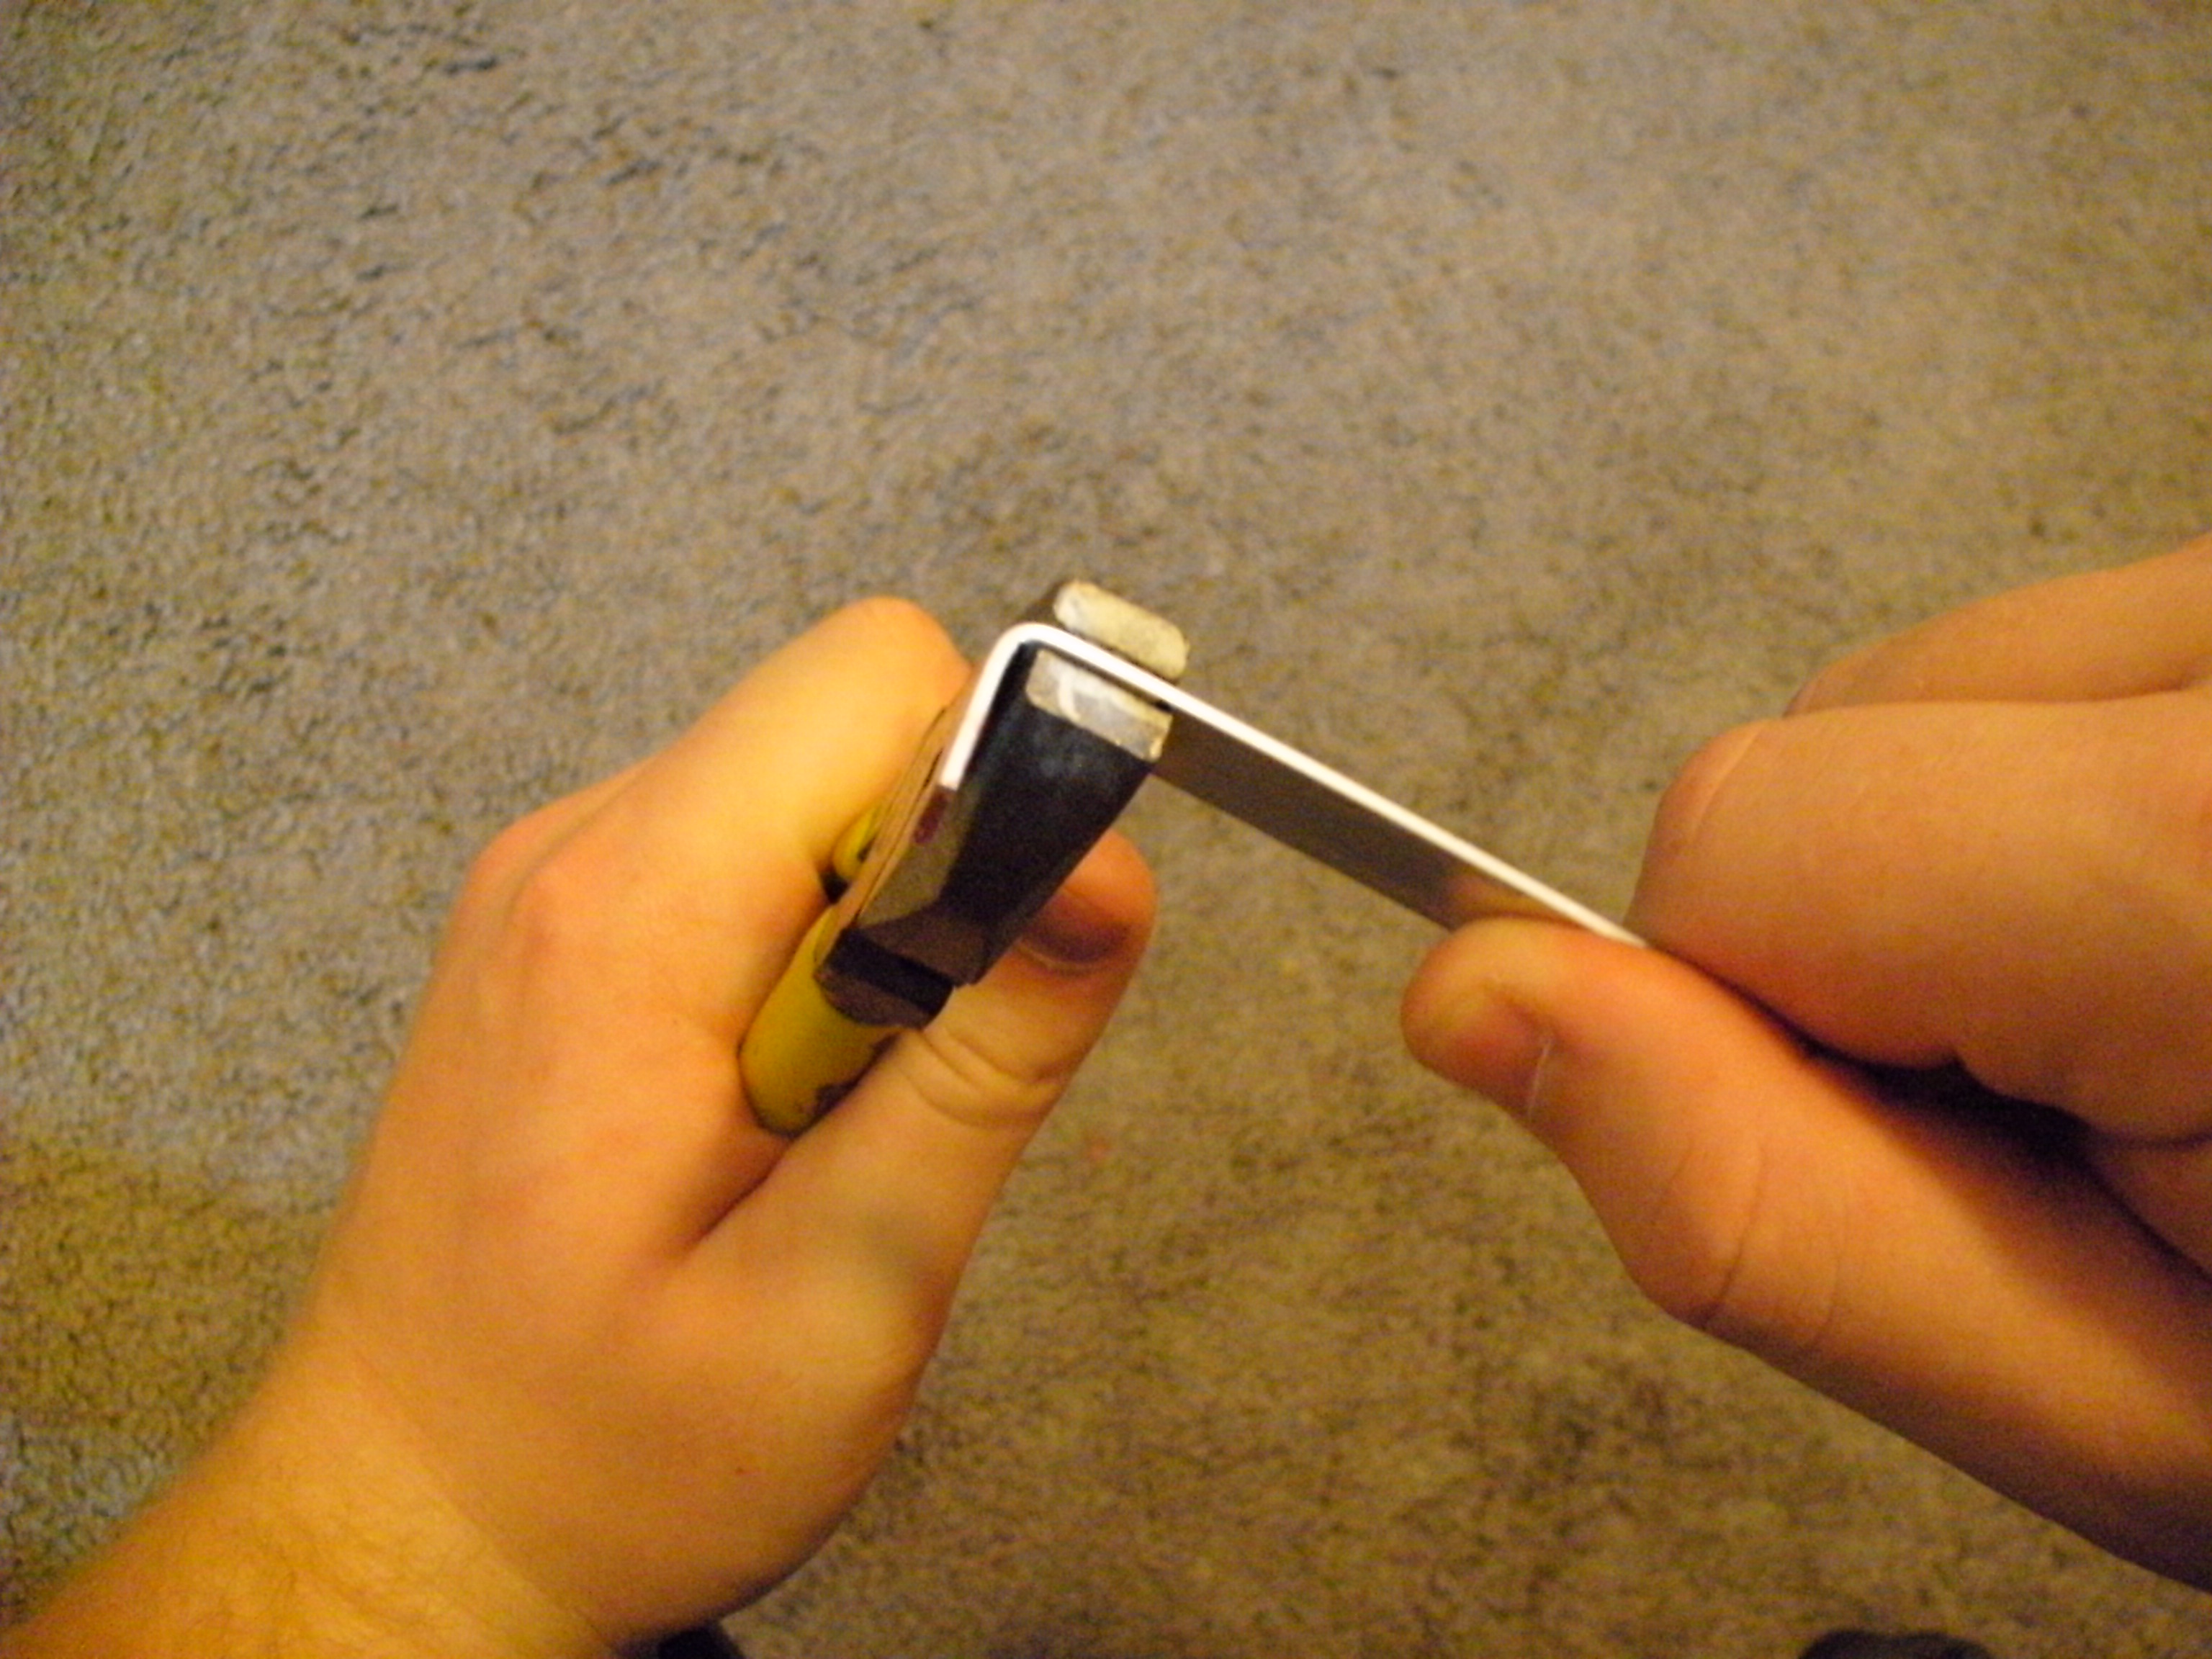
1. Bend the metal using the pliers, making sure to leave room for the bends in your middle section and holding the pliers perpendicular to the metal.
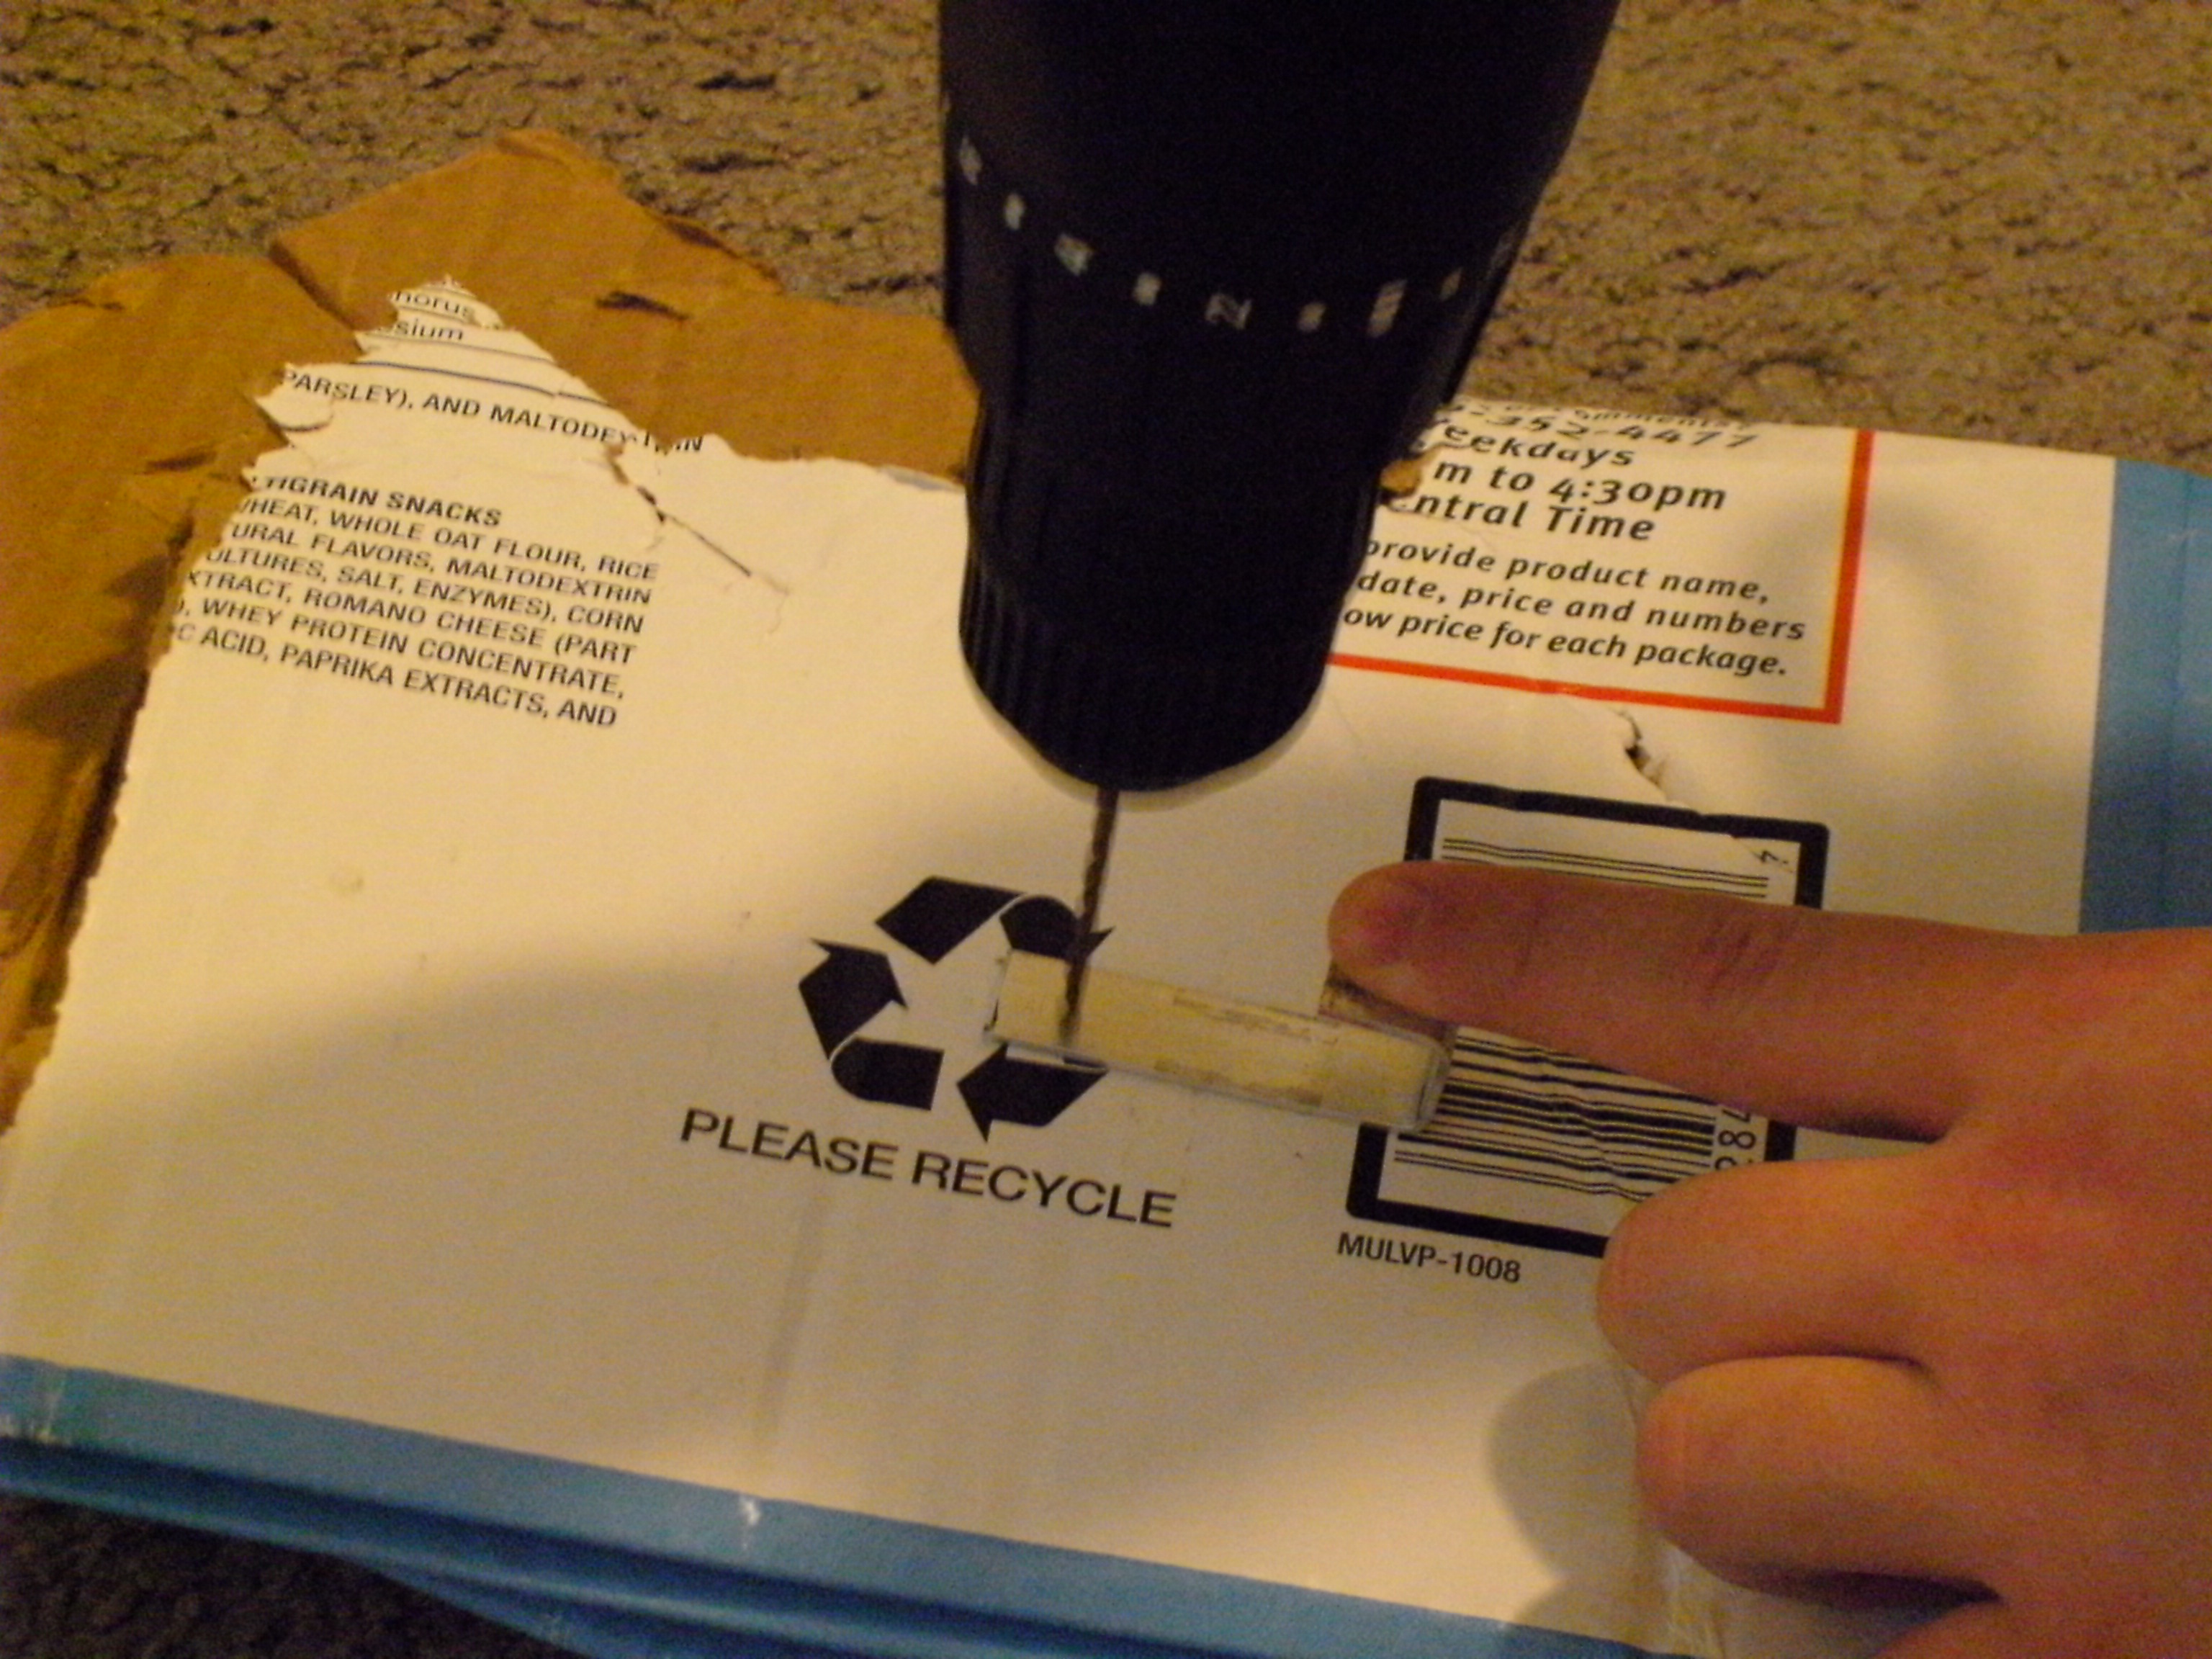
2. Drill your hole about 1/2 the width of your metal from the end. (Remember what you drill on.)
3. Deburr hole with sandpaper if necessary.
You're done---with your first one. Make four of these and move onto the next step.
2. Drill your hole about 1/2 the width of your metal from the end. (Remember what you drill on.)
3. Deburr hole with sandpaper if necessary.
You're done---with your first one. Make four of these and move onto the next step.
Hang the Picture
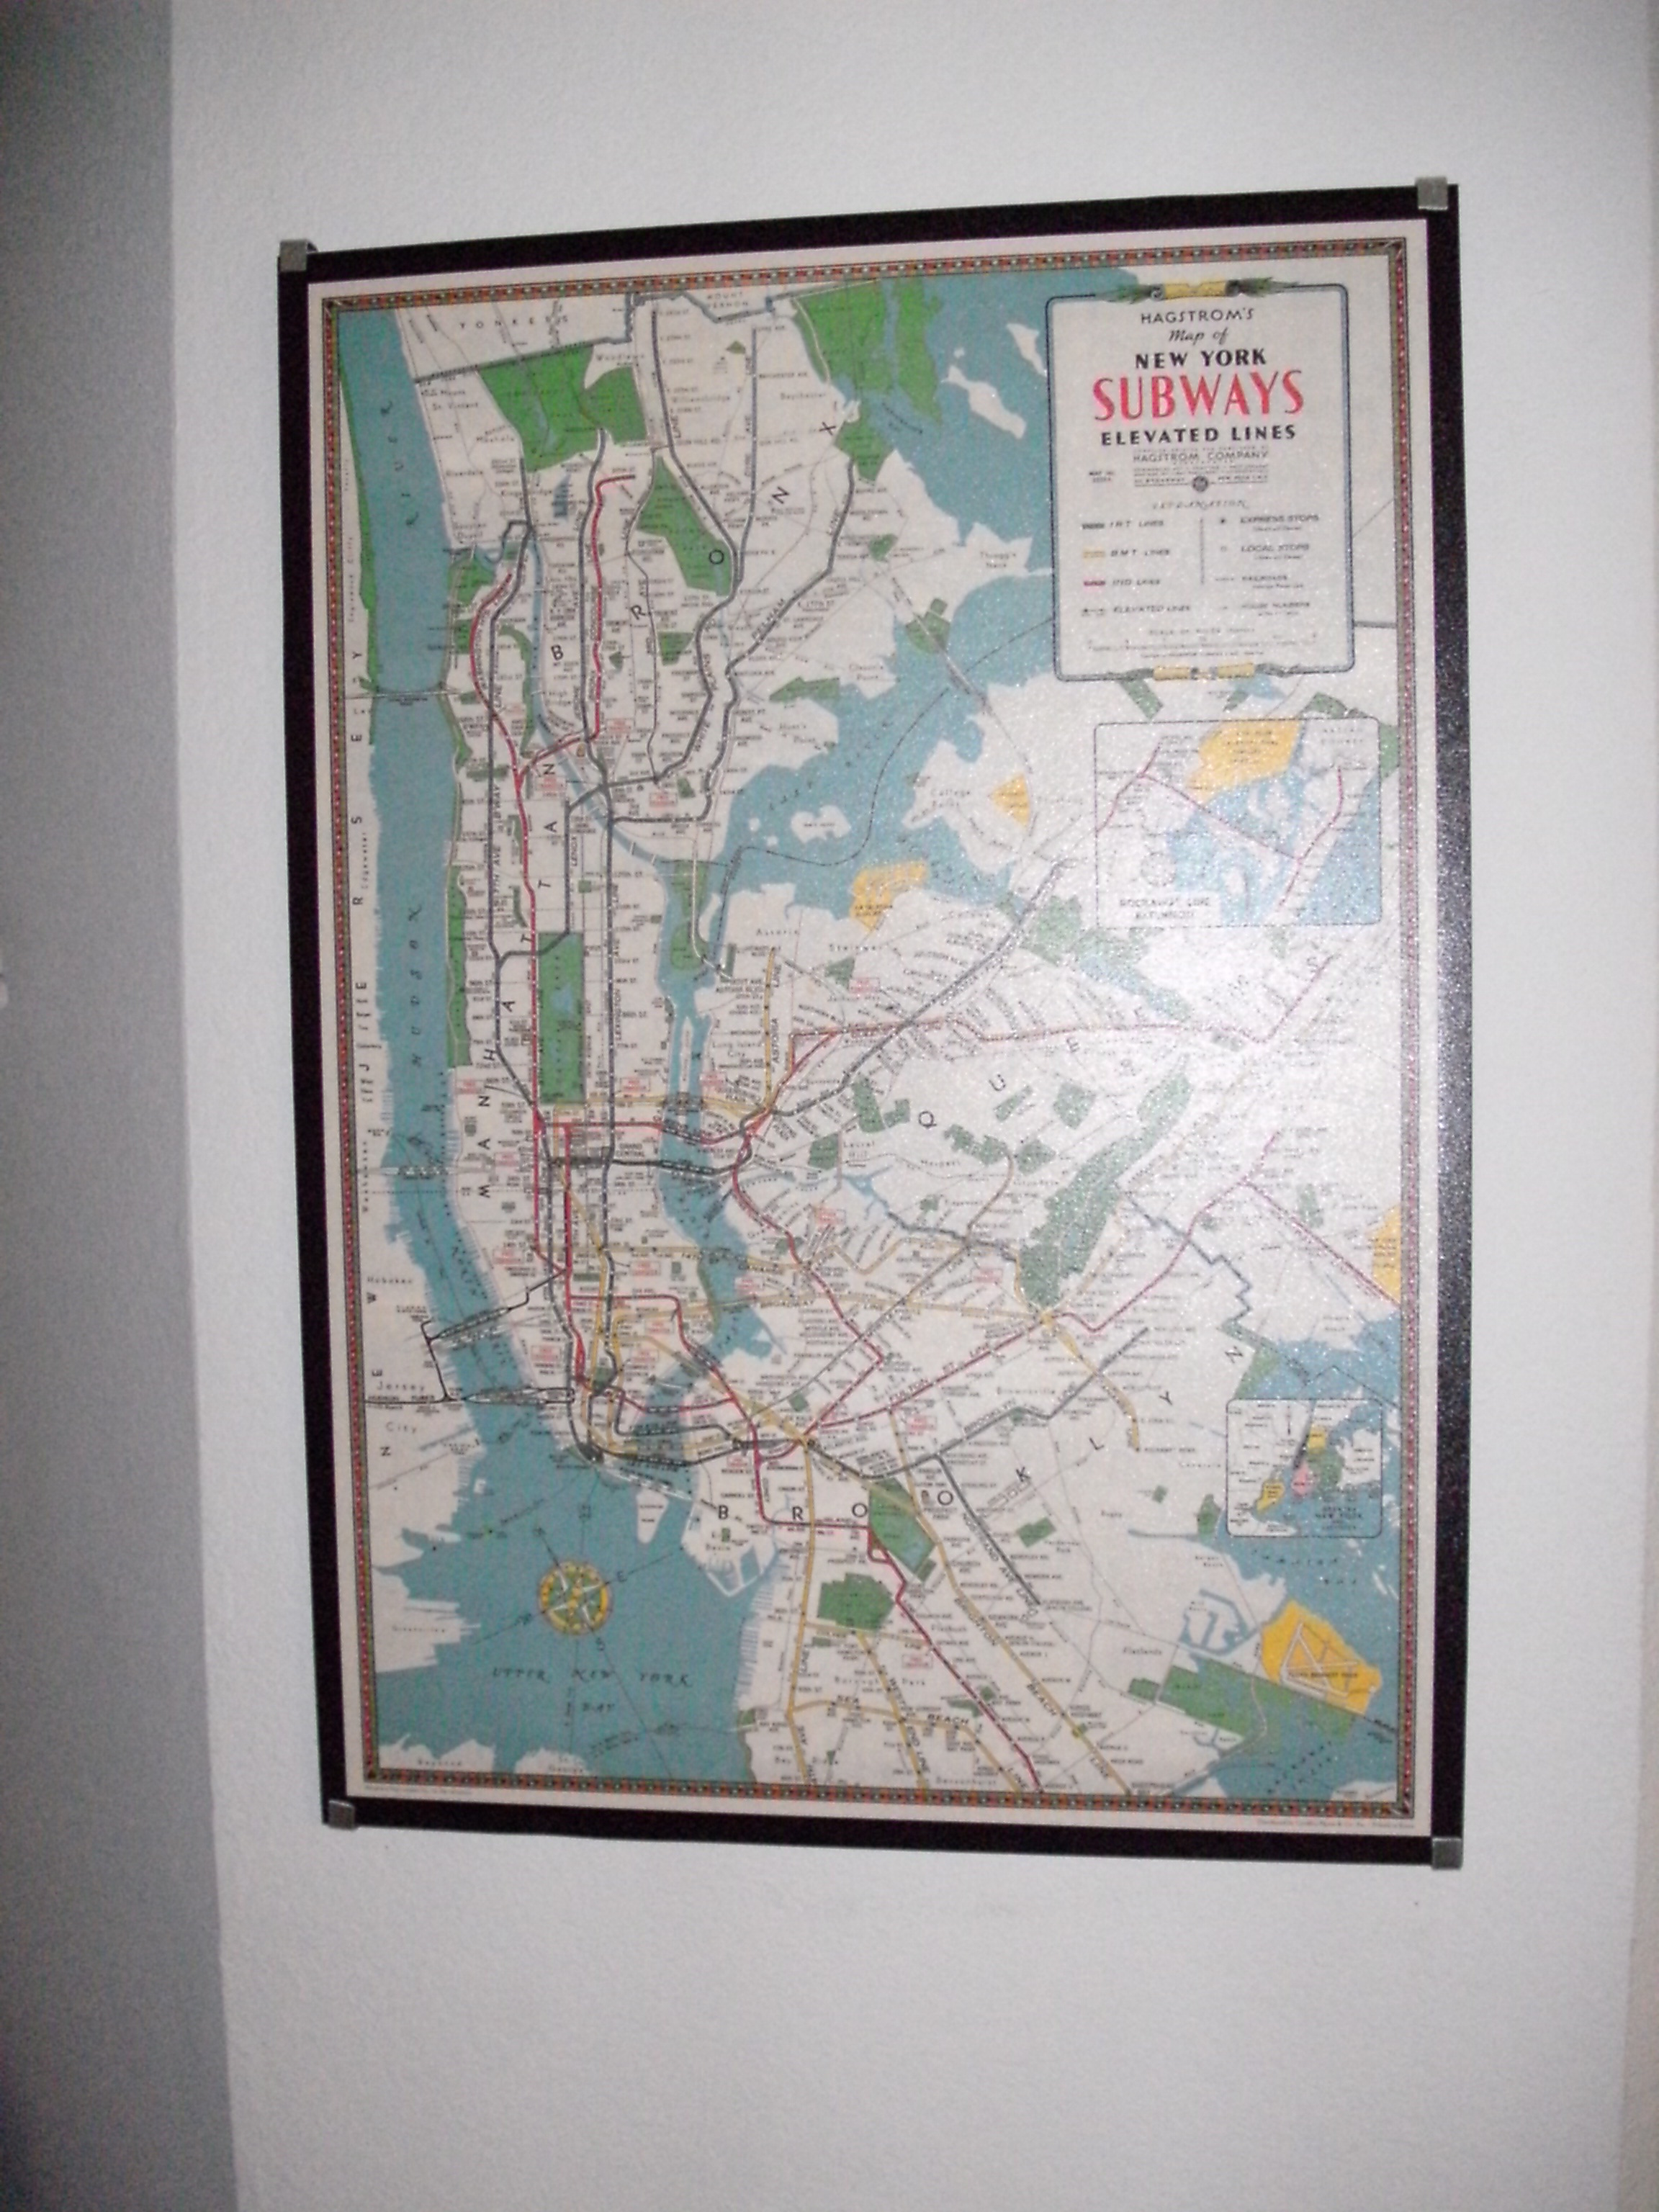
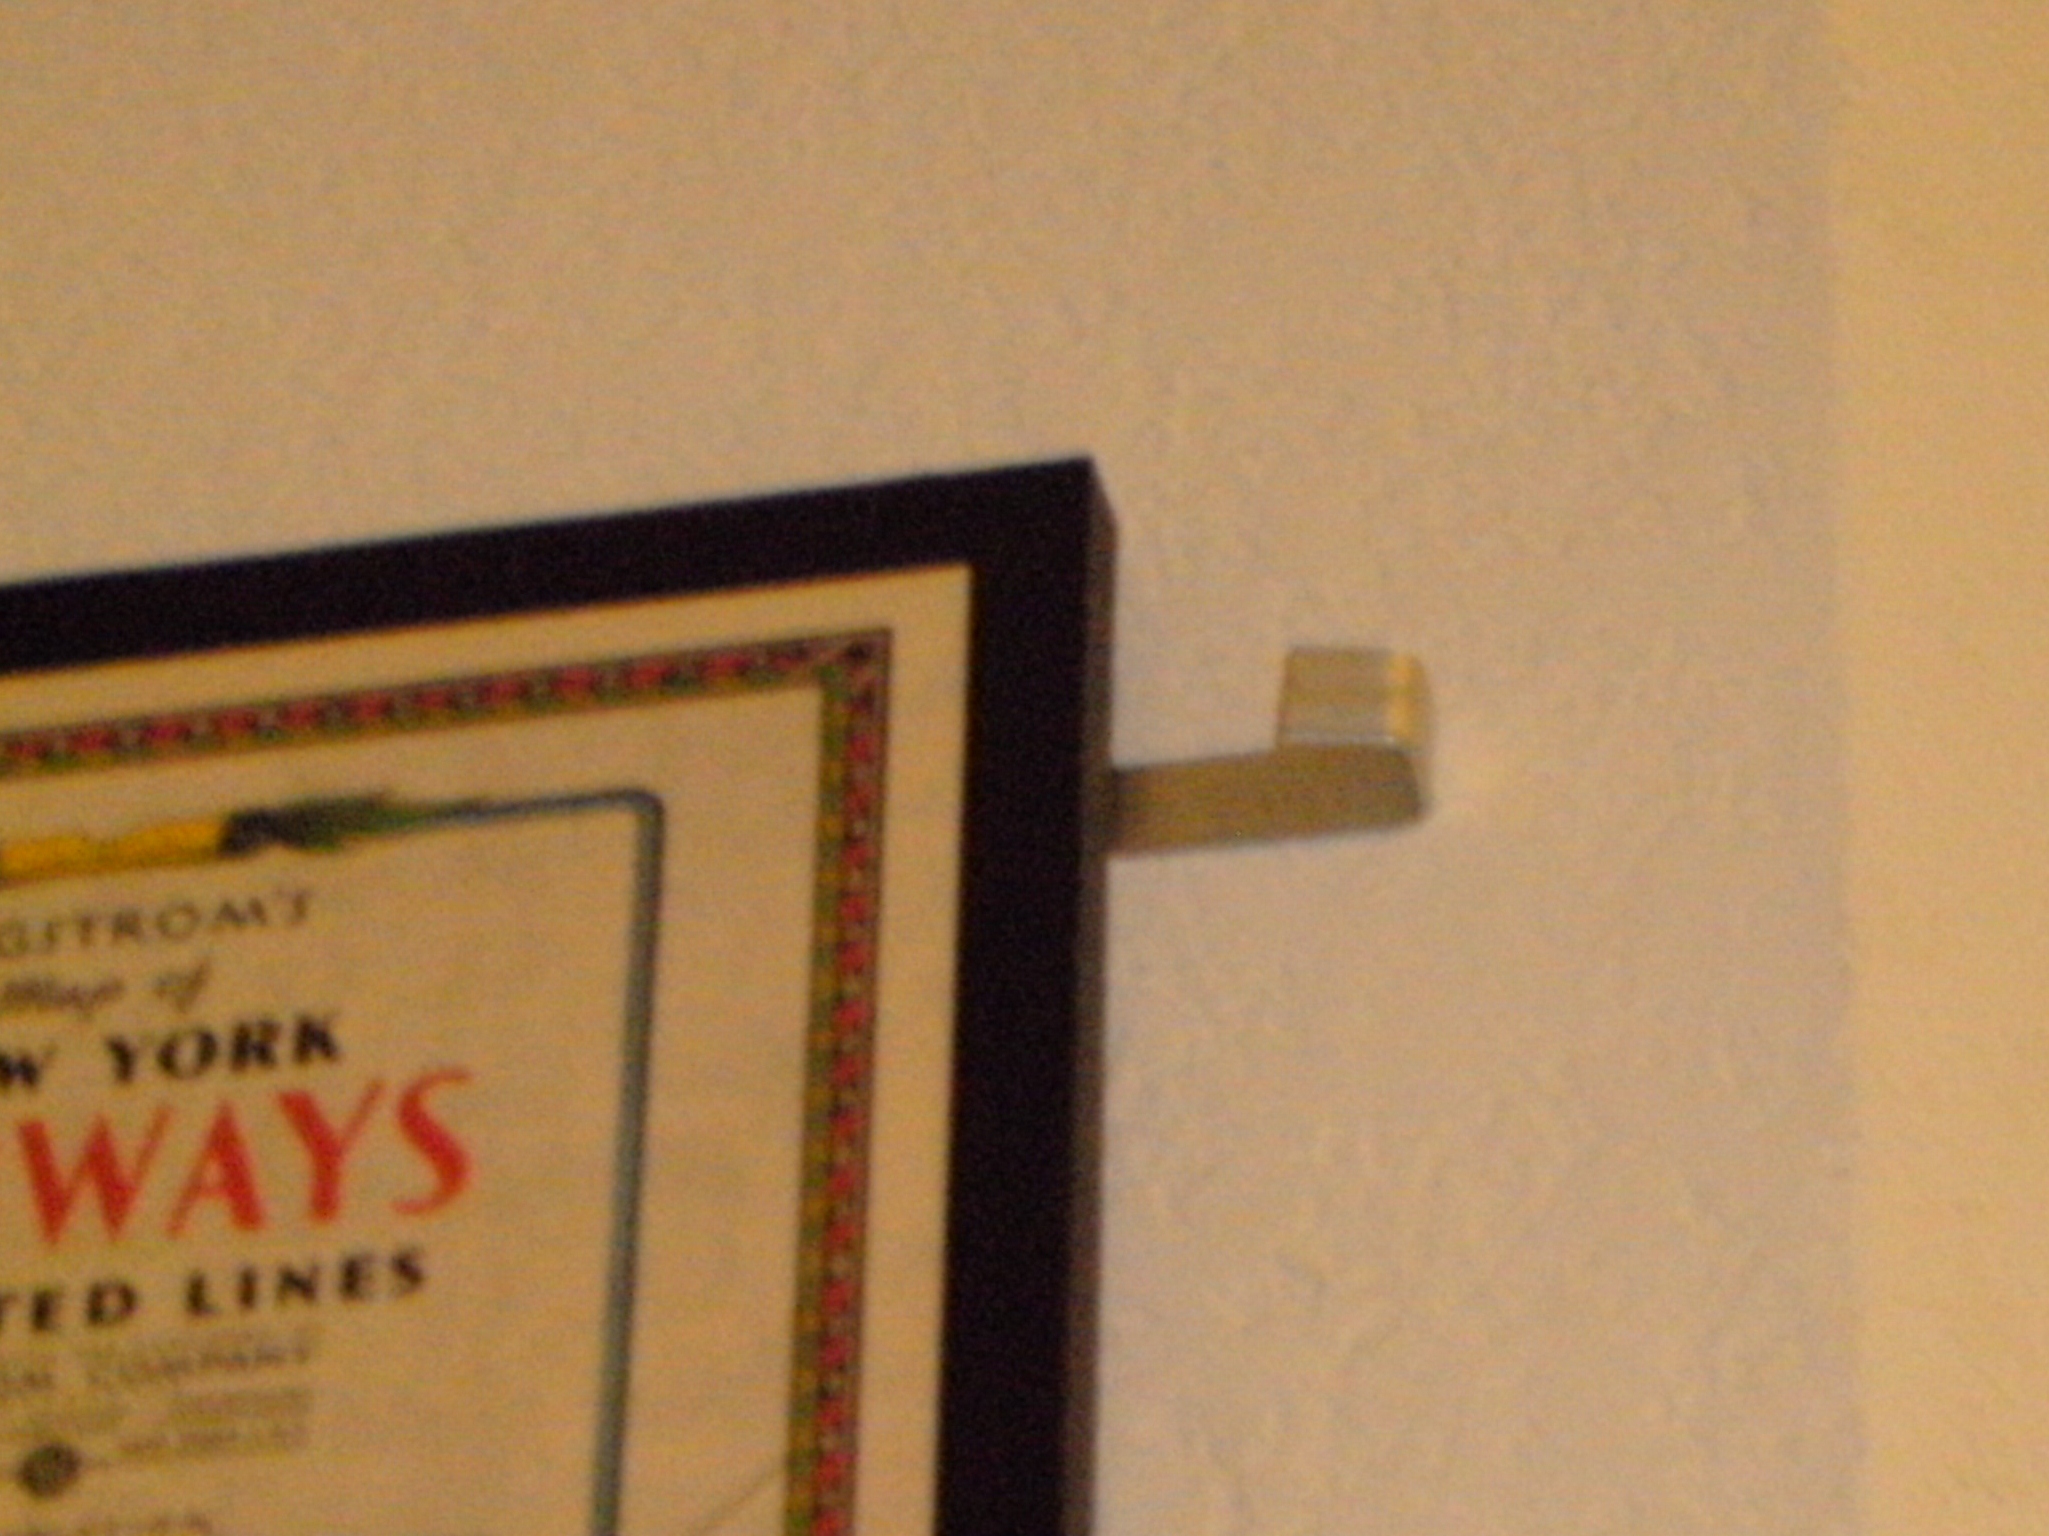

Hang it:
1. Put your tacks into the holes of your hangers.
2. Slide the hangers with tacks onto the picture frame corners (like in the picture) and temporarily tape them in place.
3. Put it up onto the wall squarely and push the corners. You can either push the tacks all the way in or lightly press them so you get a mark on the drywall and push them in without using the frame.
To remove, simply swivel the top hangers and lift it out of the bottom two.
ProTips: Use a sharpie to color the hangers the same color as your frame. If your frame is wooden, round the inside edges of the hangers and put some duct tape on the inside to protect it.