Handy to Do List
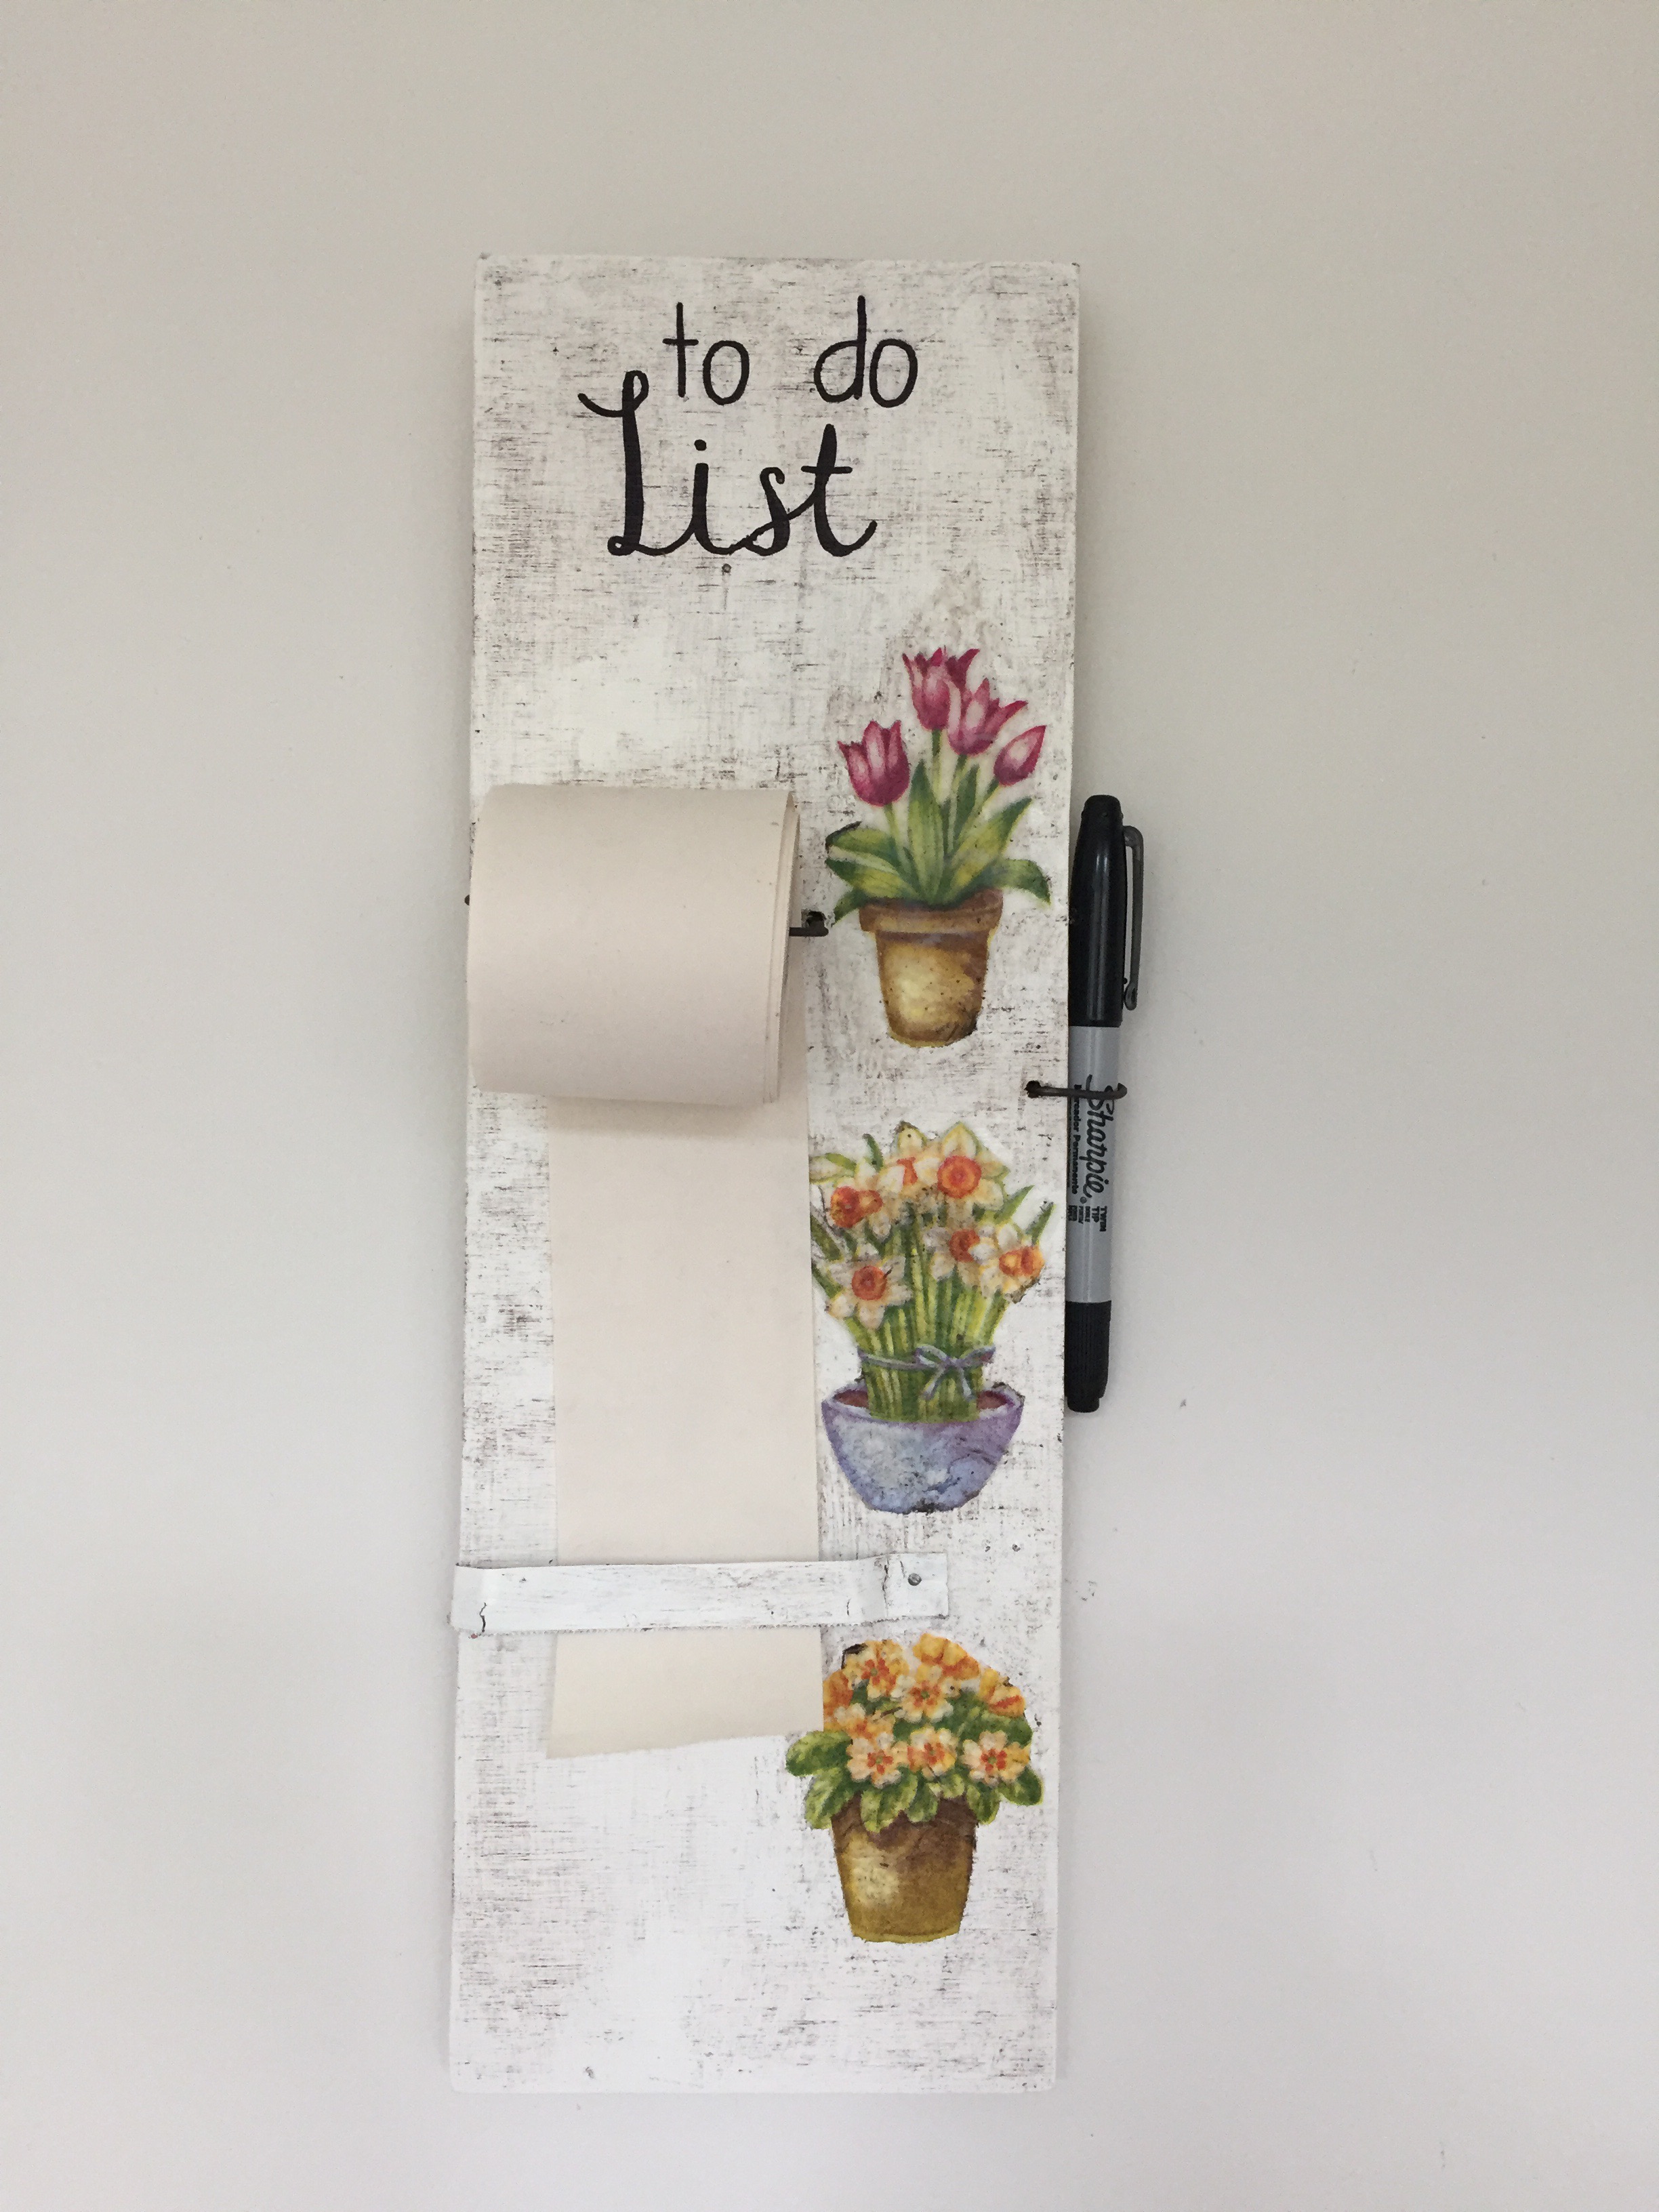
I am the kind of person who likes to write things down so having a list for what I have to do is essential. I've had lots of notebooks and blocks for this but now I wanted something different. This list board is great to hang in the wall or you can put magnets on it for the fridge. Besides looking great it's very useful!
Materials
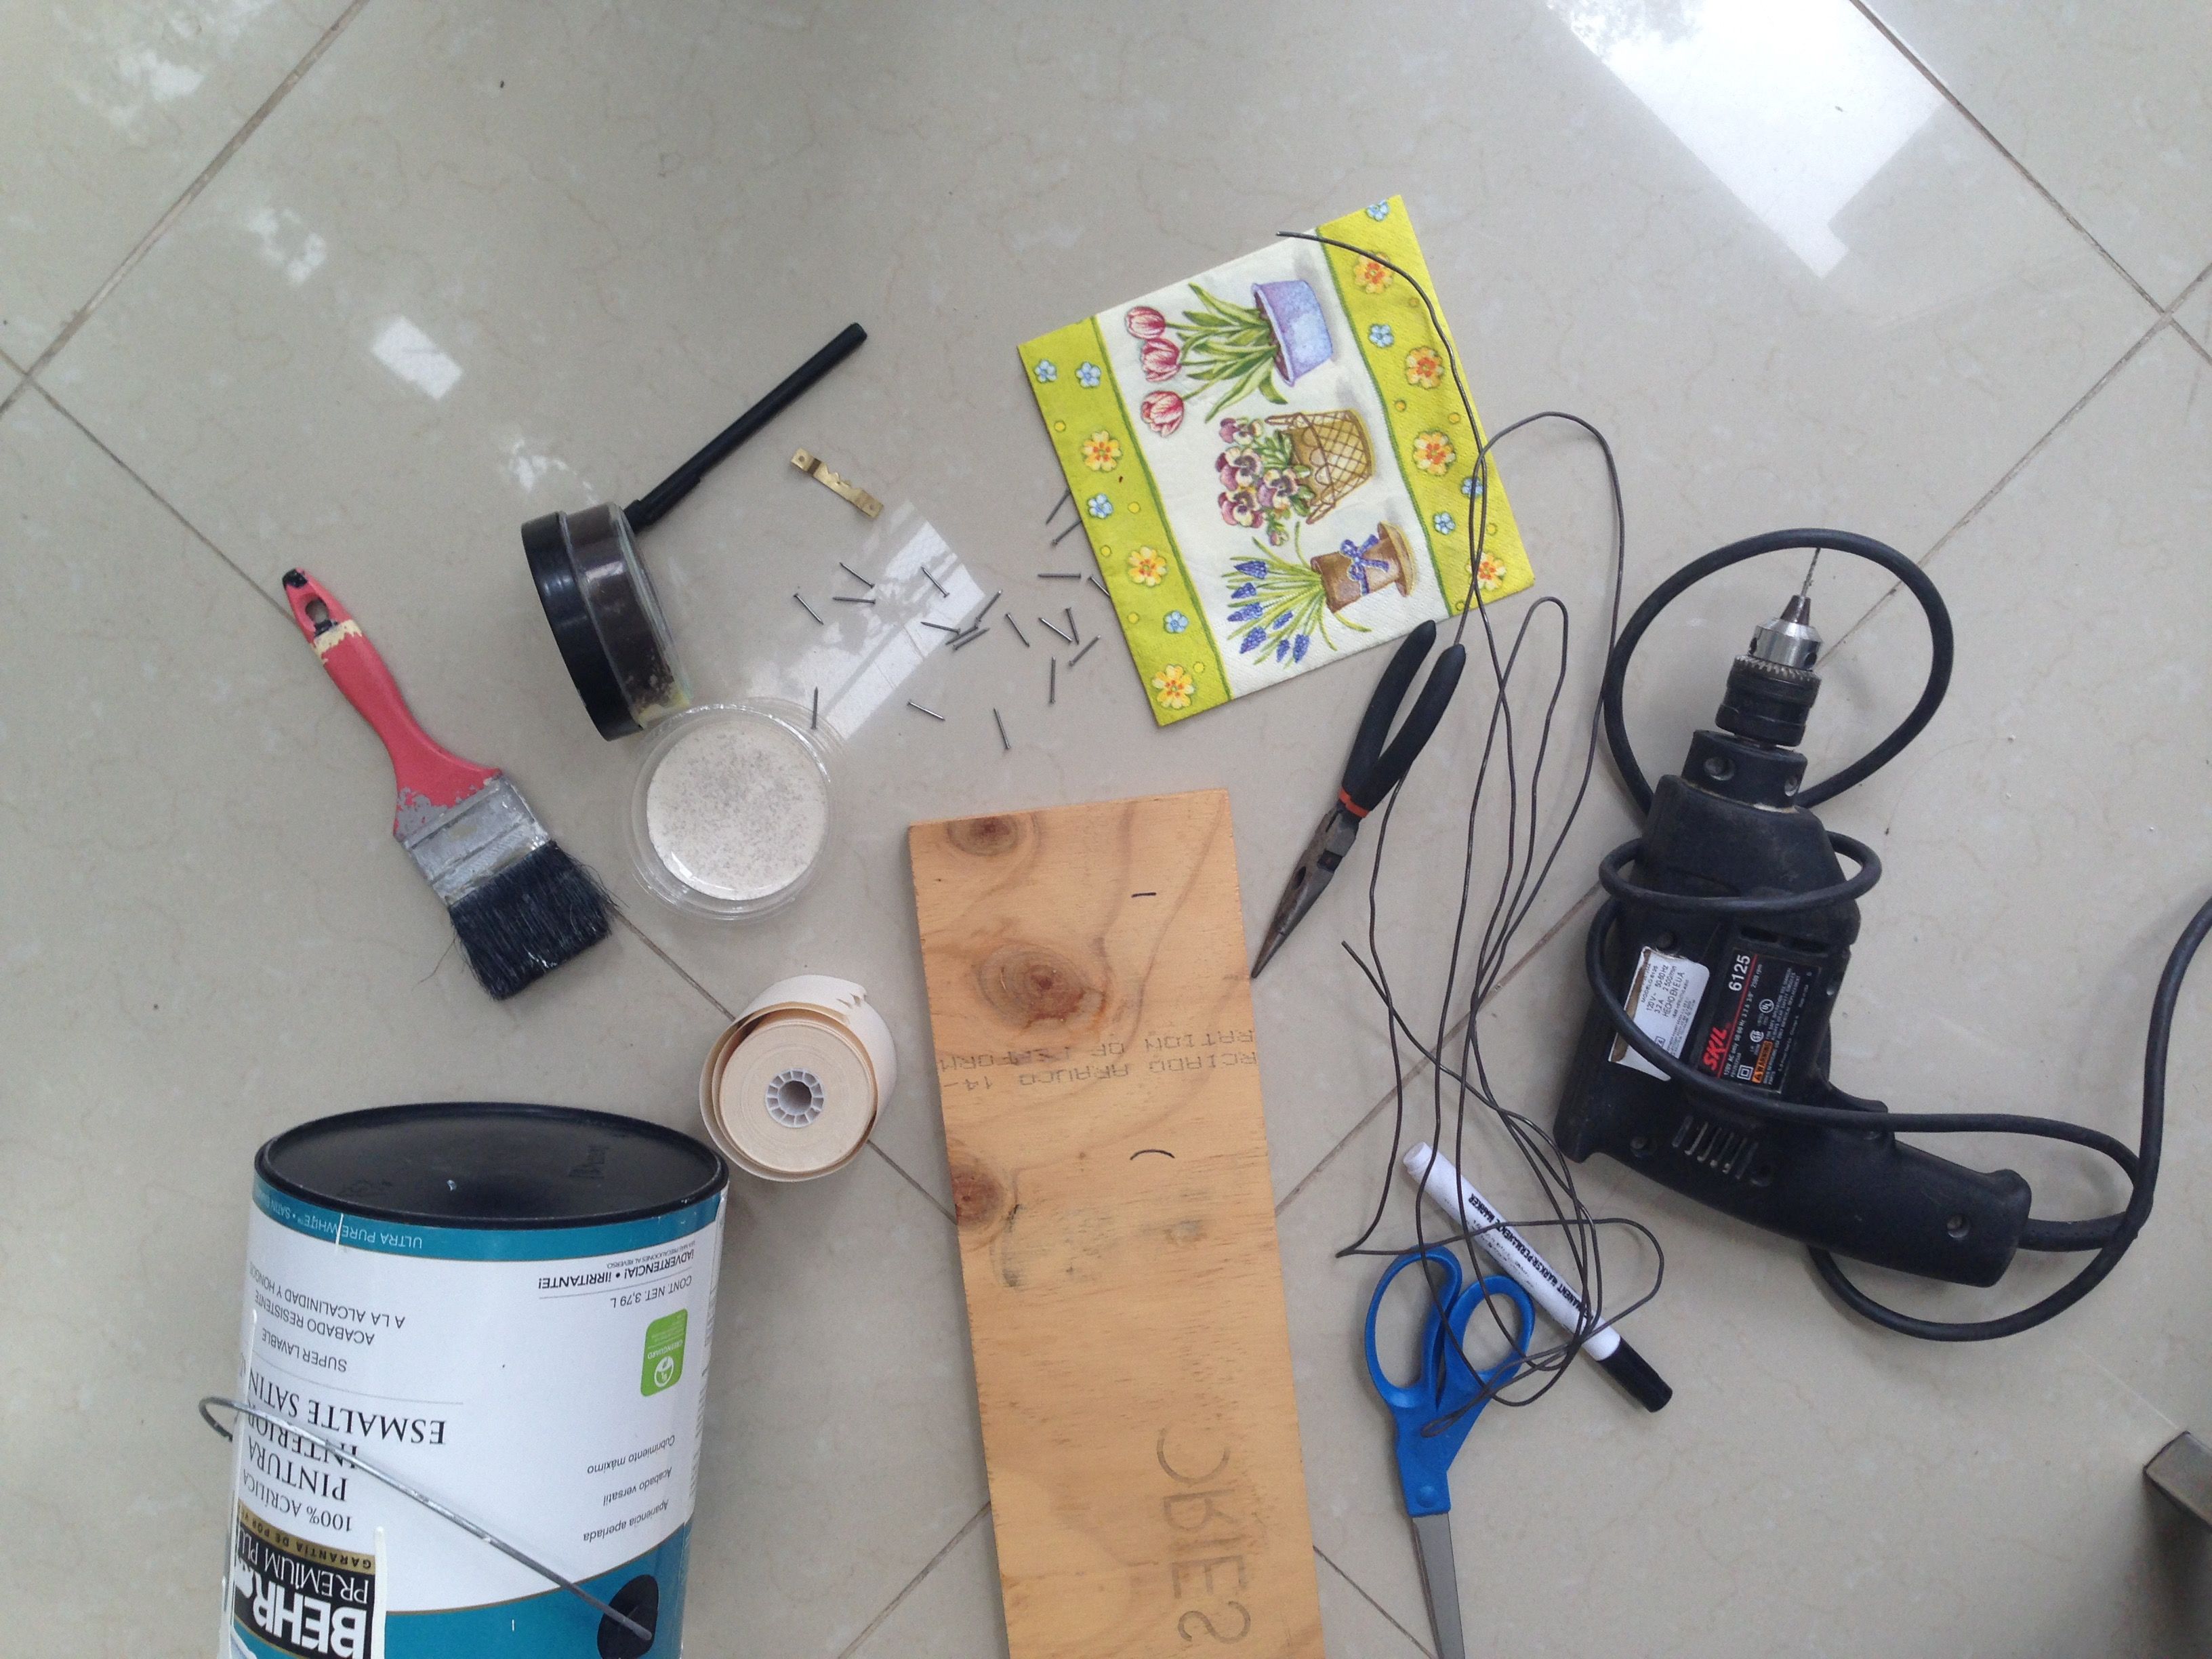
Wood board
White paint
Patina (optional), I used this one I made
Aluminum foil empty box (or wax paper)
Alligator hook
4 little nails
Hammer
Decorated napkin
Scissors
White glue or mod podge
Drill
Black marker
Paper roll (like the one they use to print tickets in the supermarket)
Wire
Pliers
Paint Wood
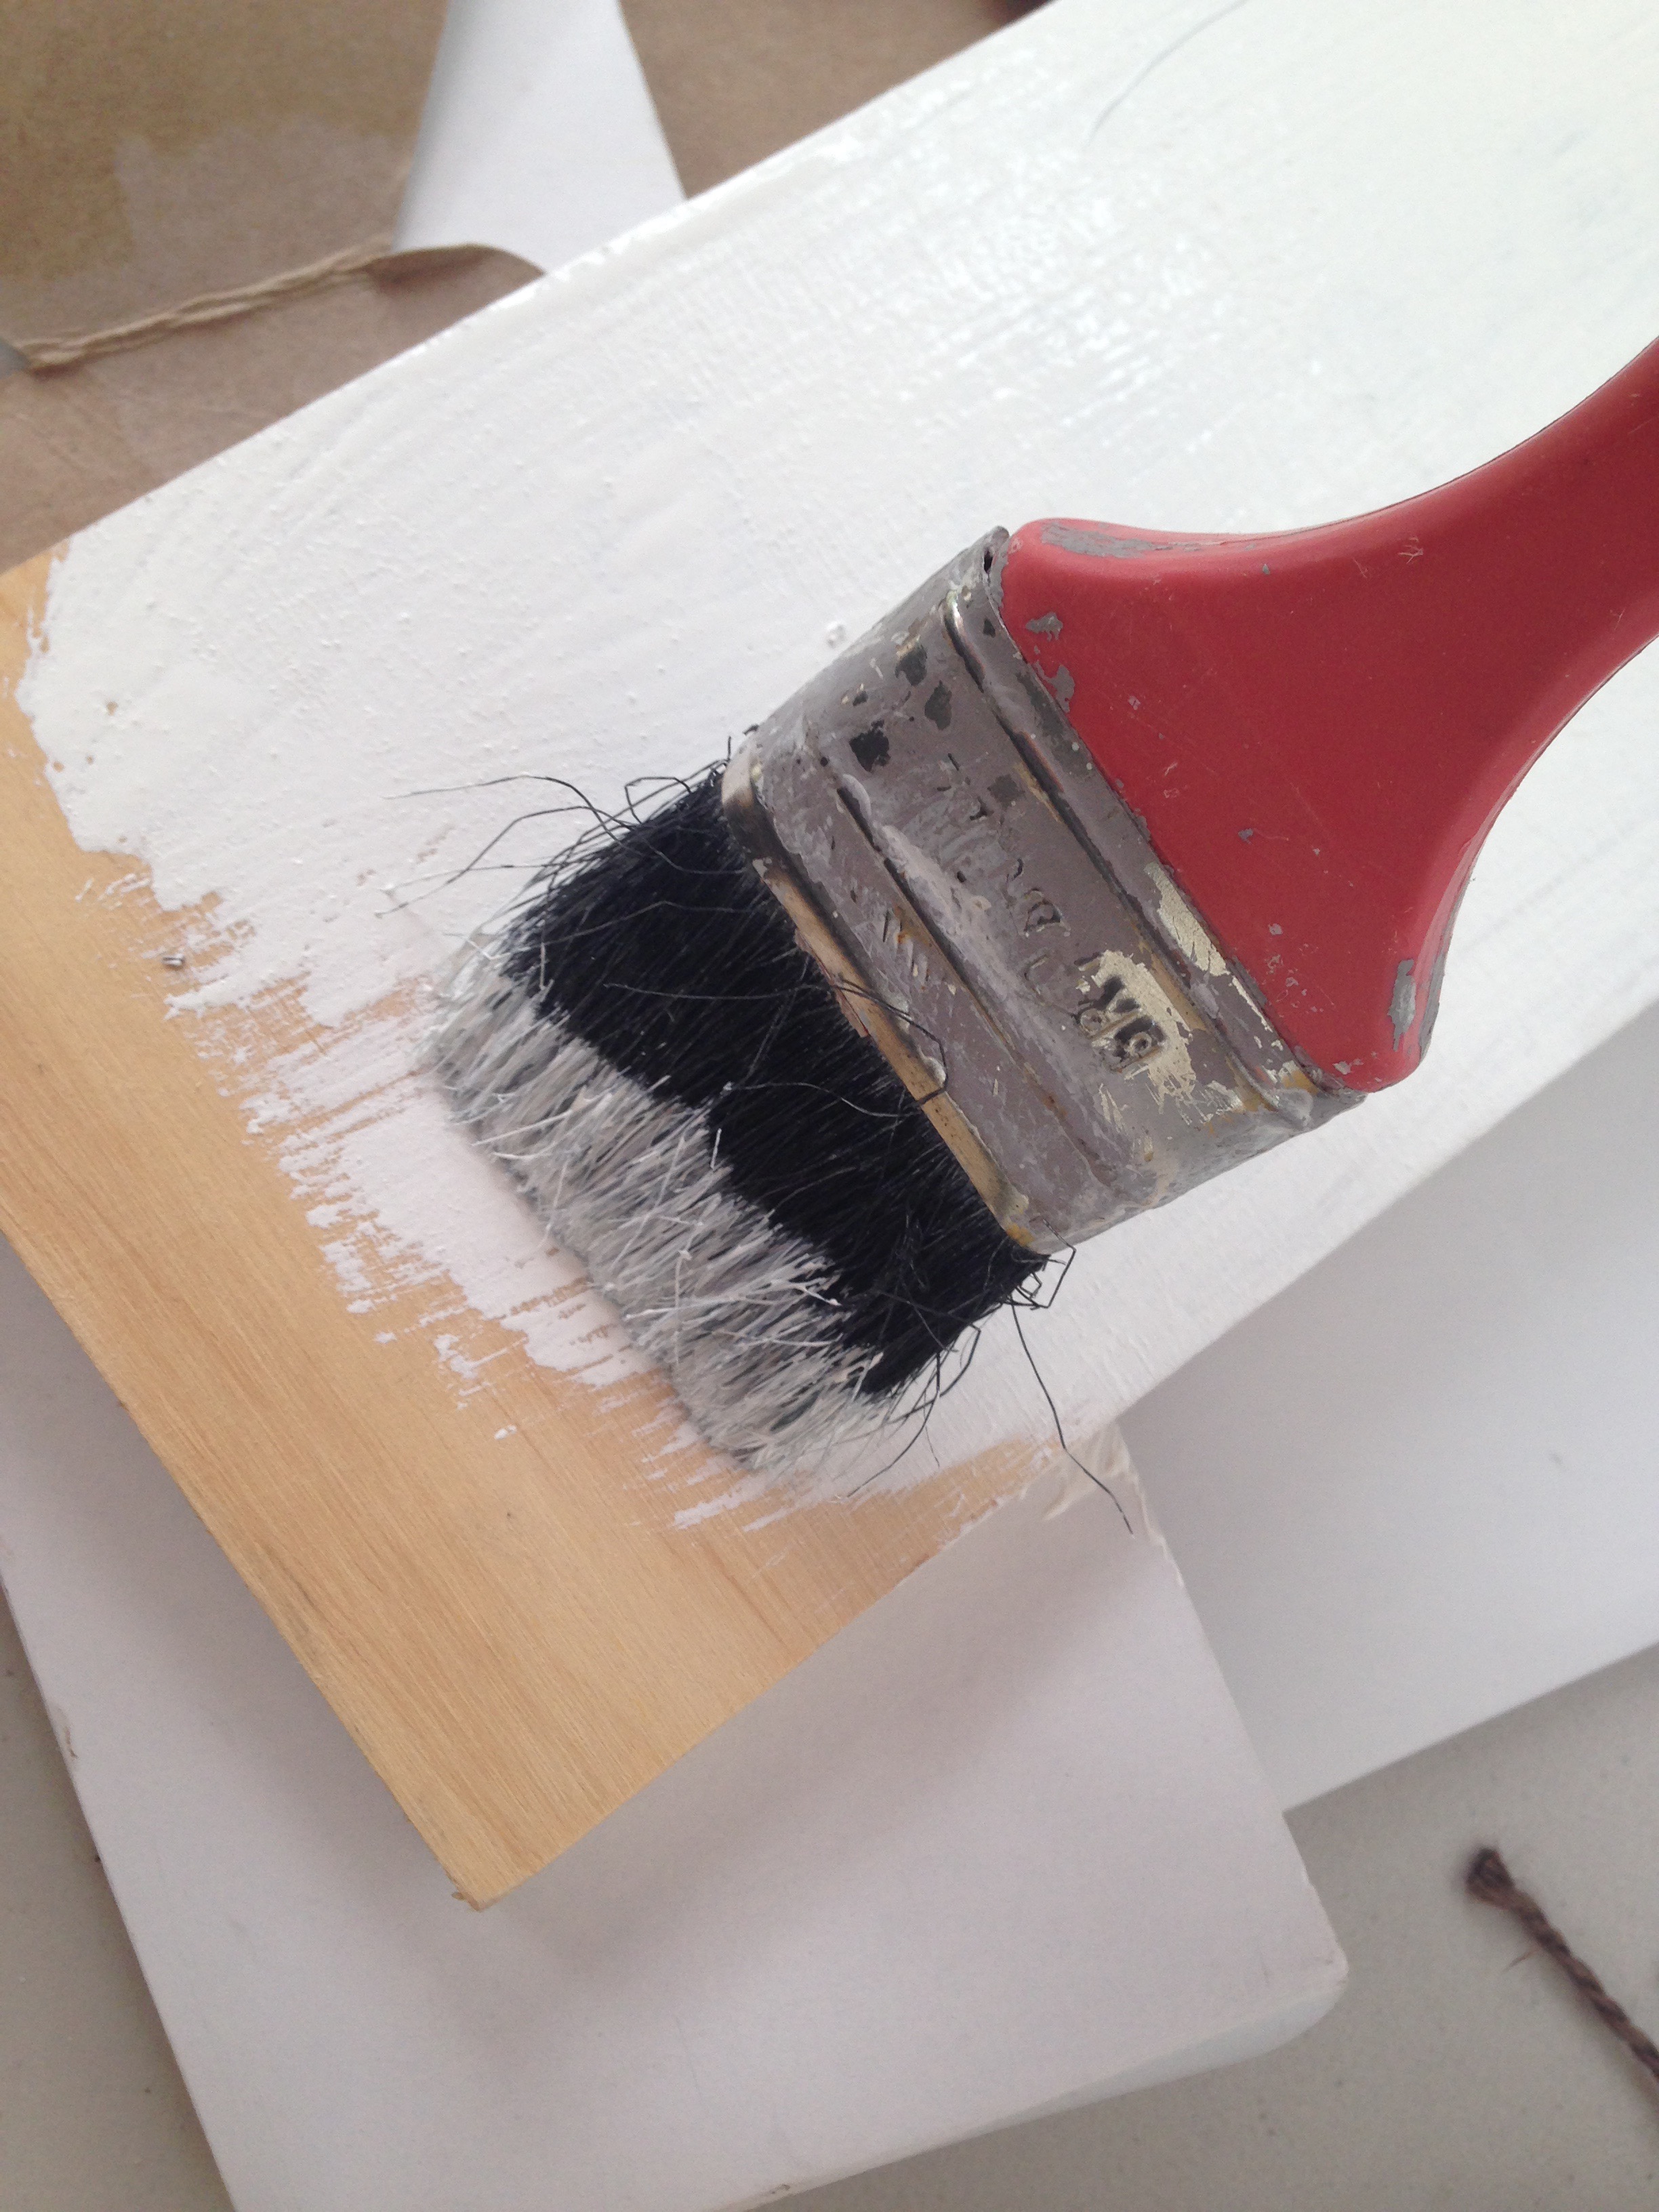
Use your brush and white paint to paint your wood, don't forget the sides. If necessary, paint two layers of paint. Let it dry perfectly.
Alligator Hook
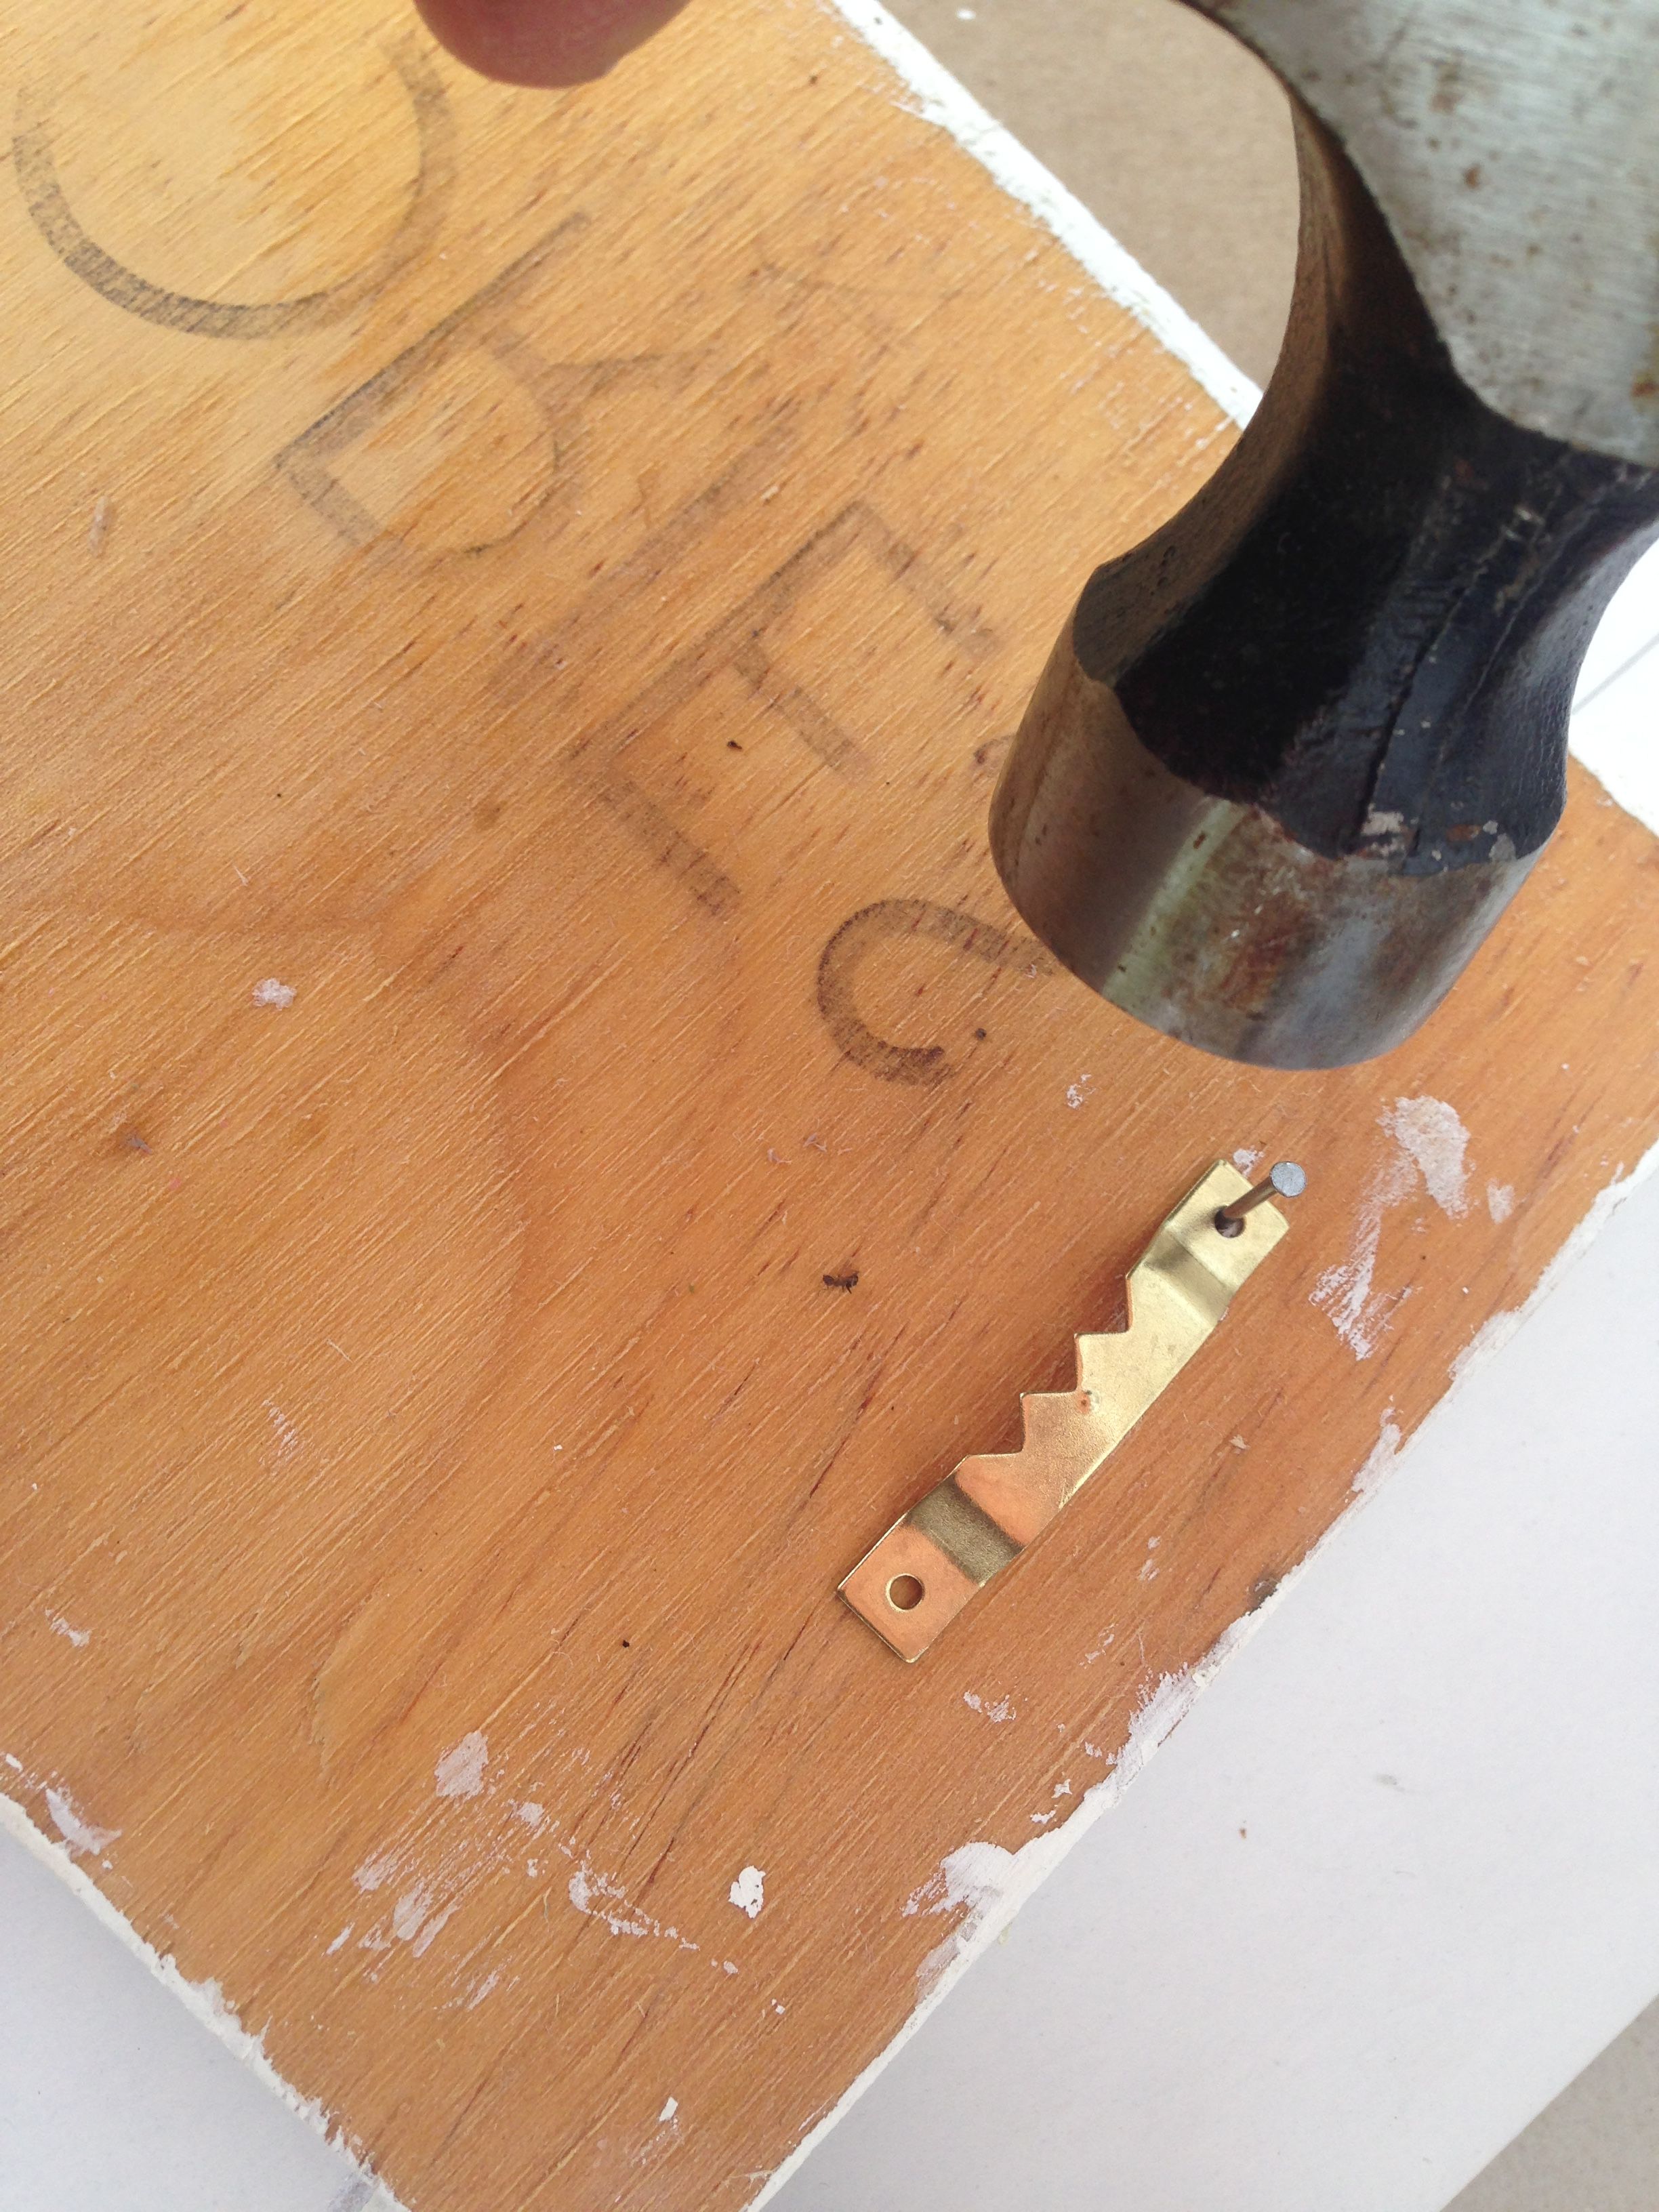
Use the nails and hammer to attach the alligator hook to the back of your wood board.
Cutting Blade
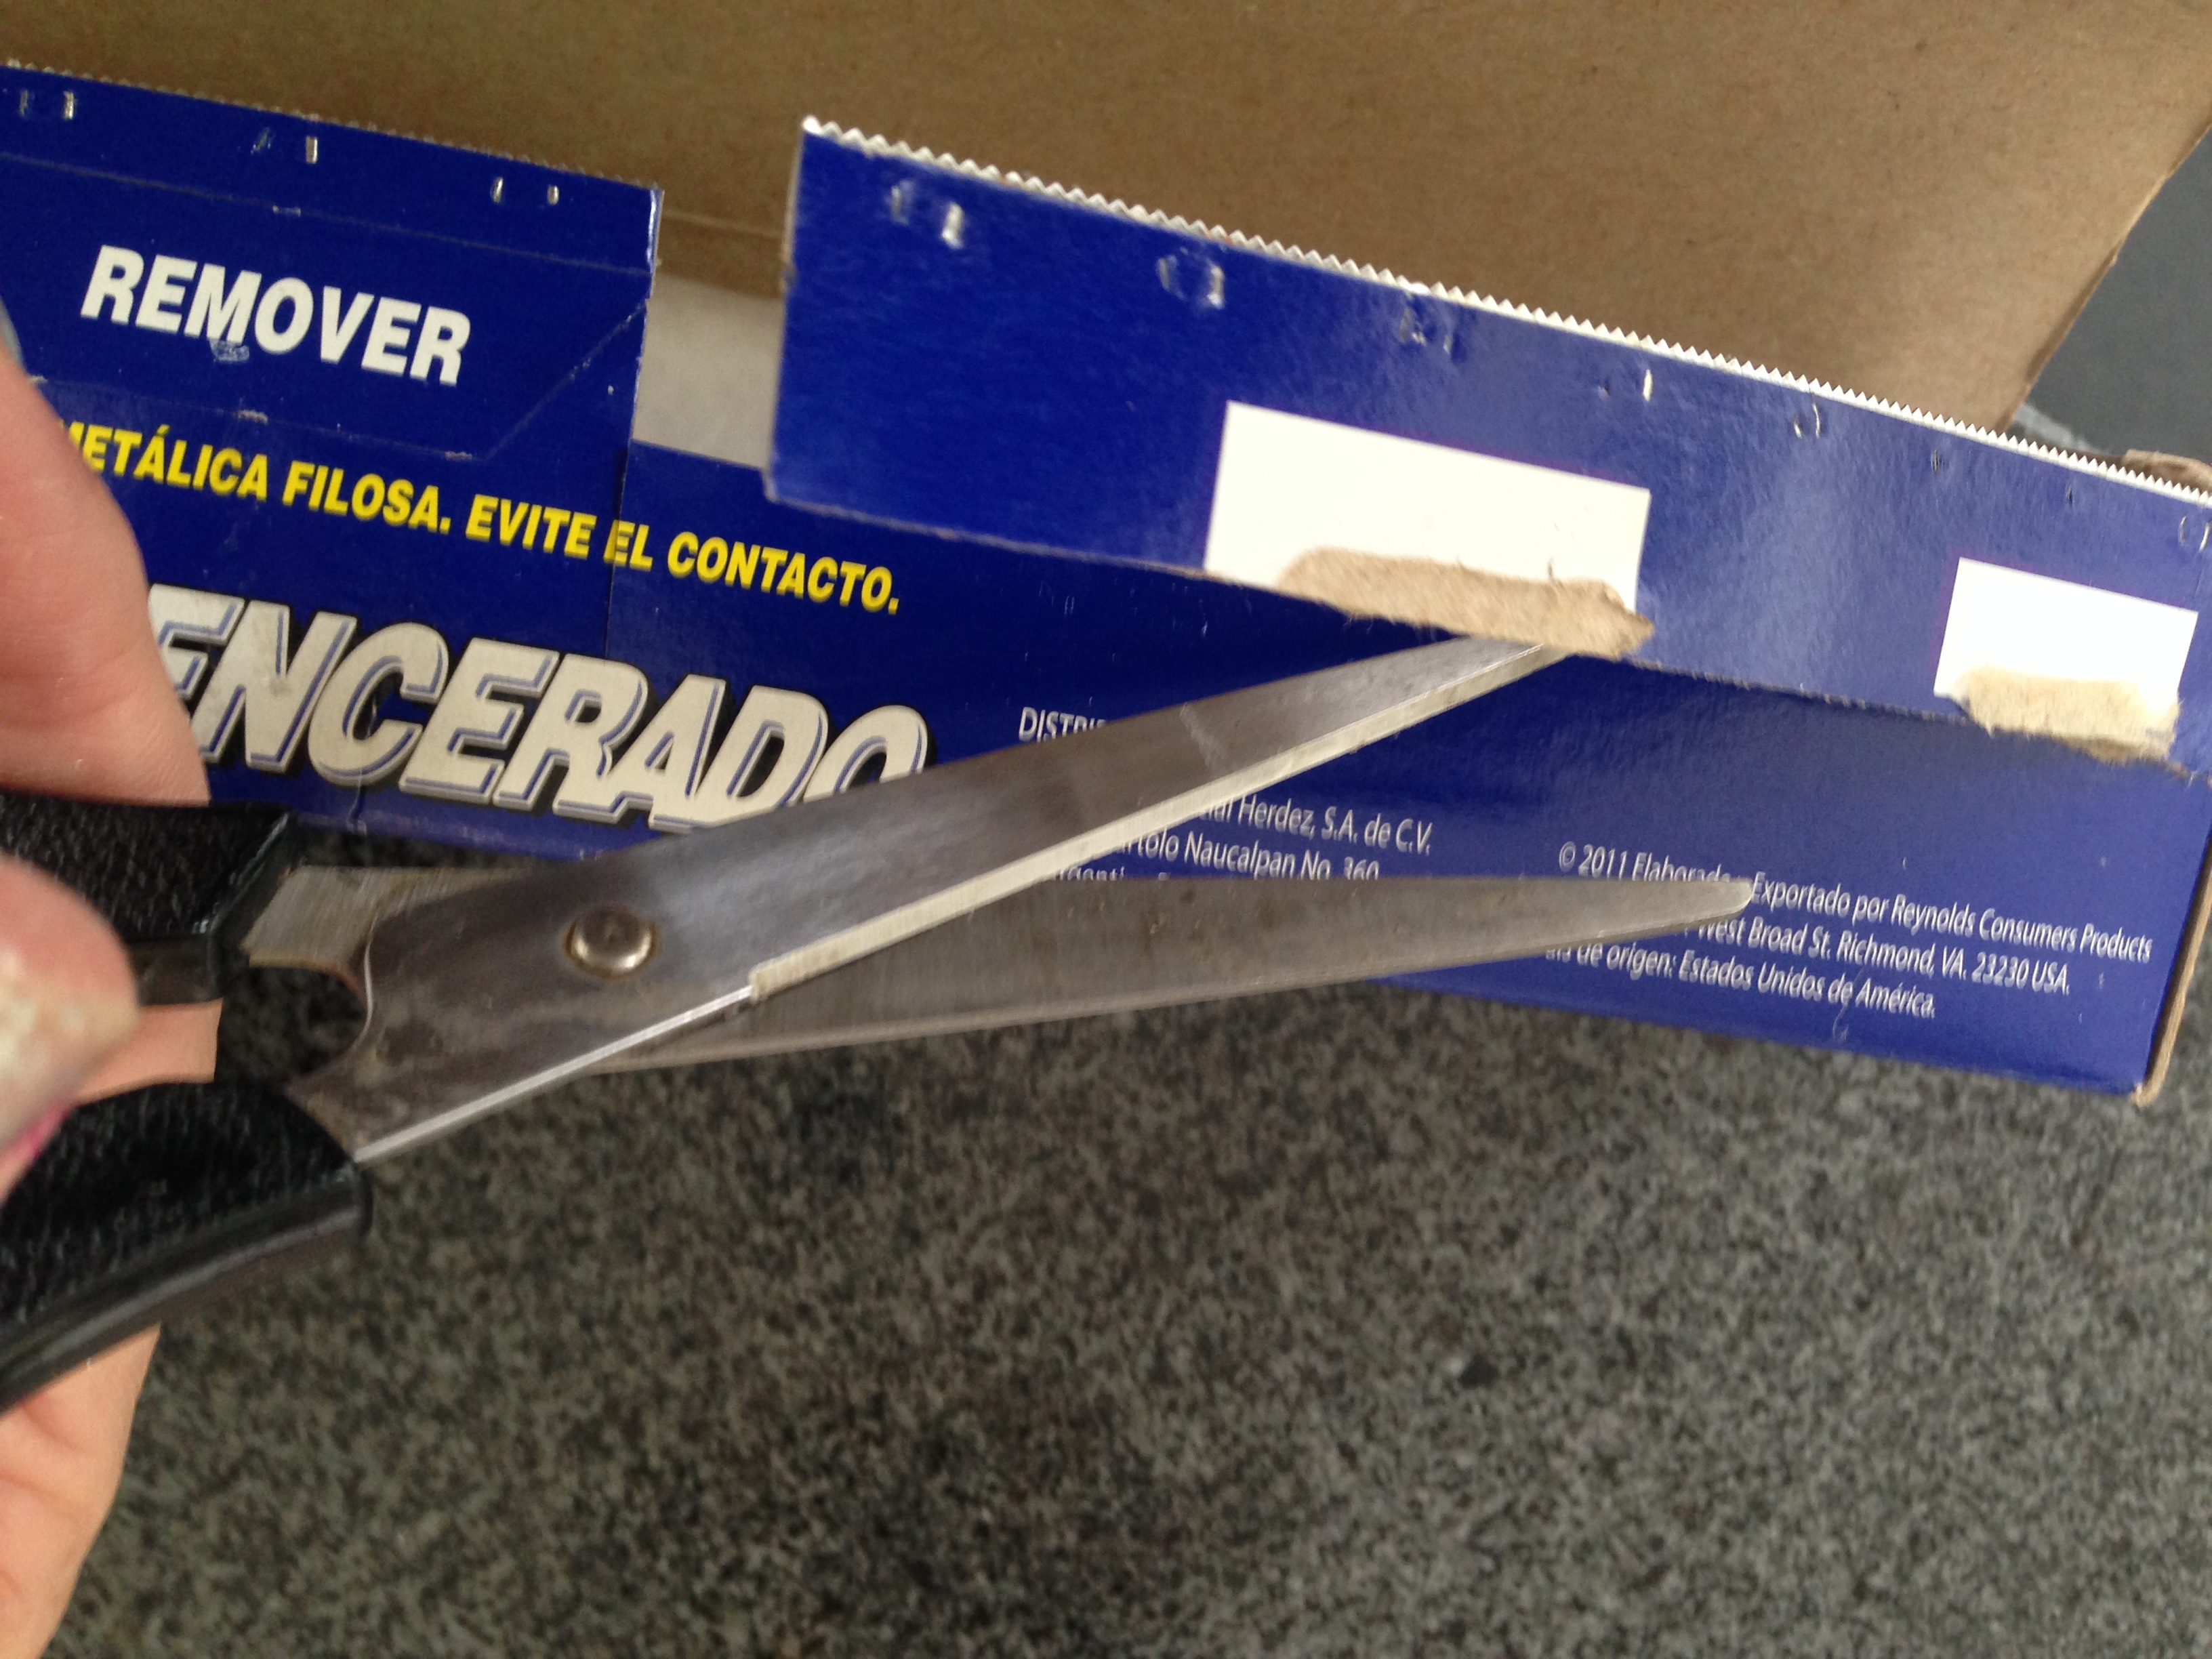
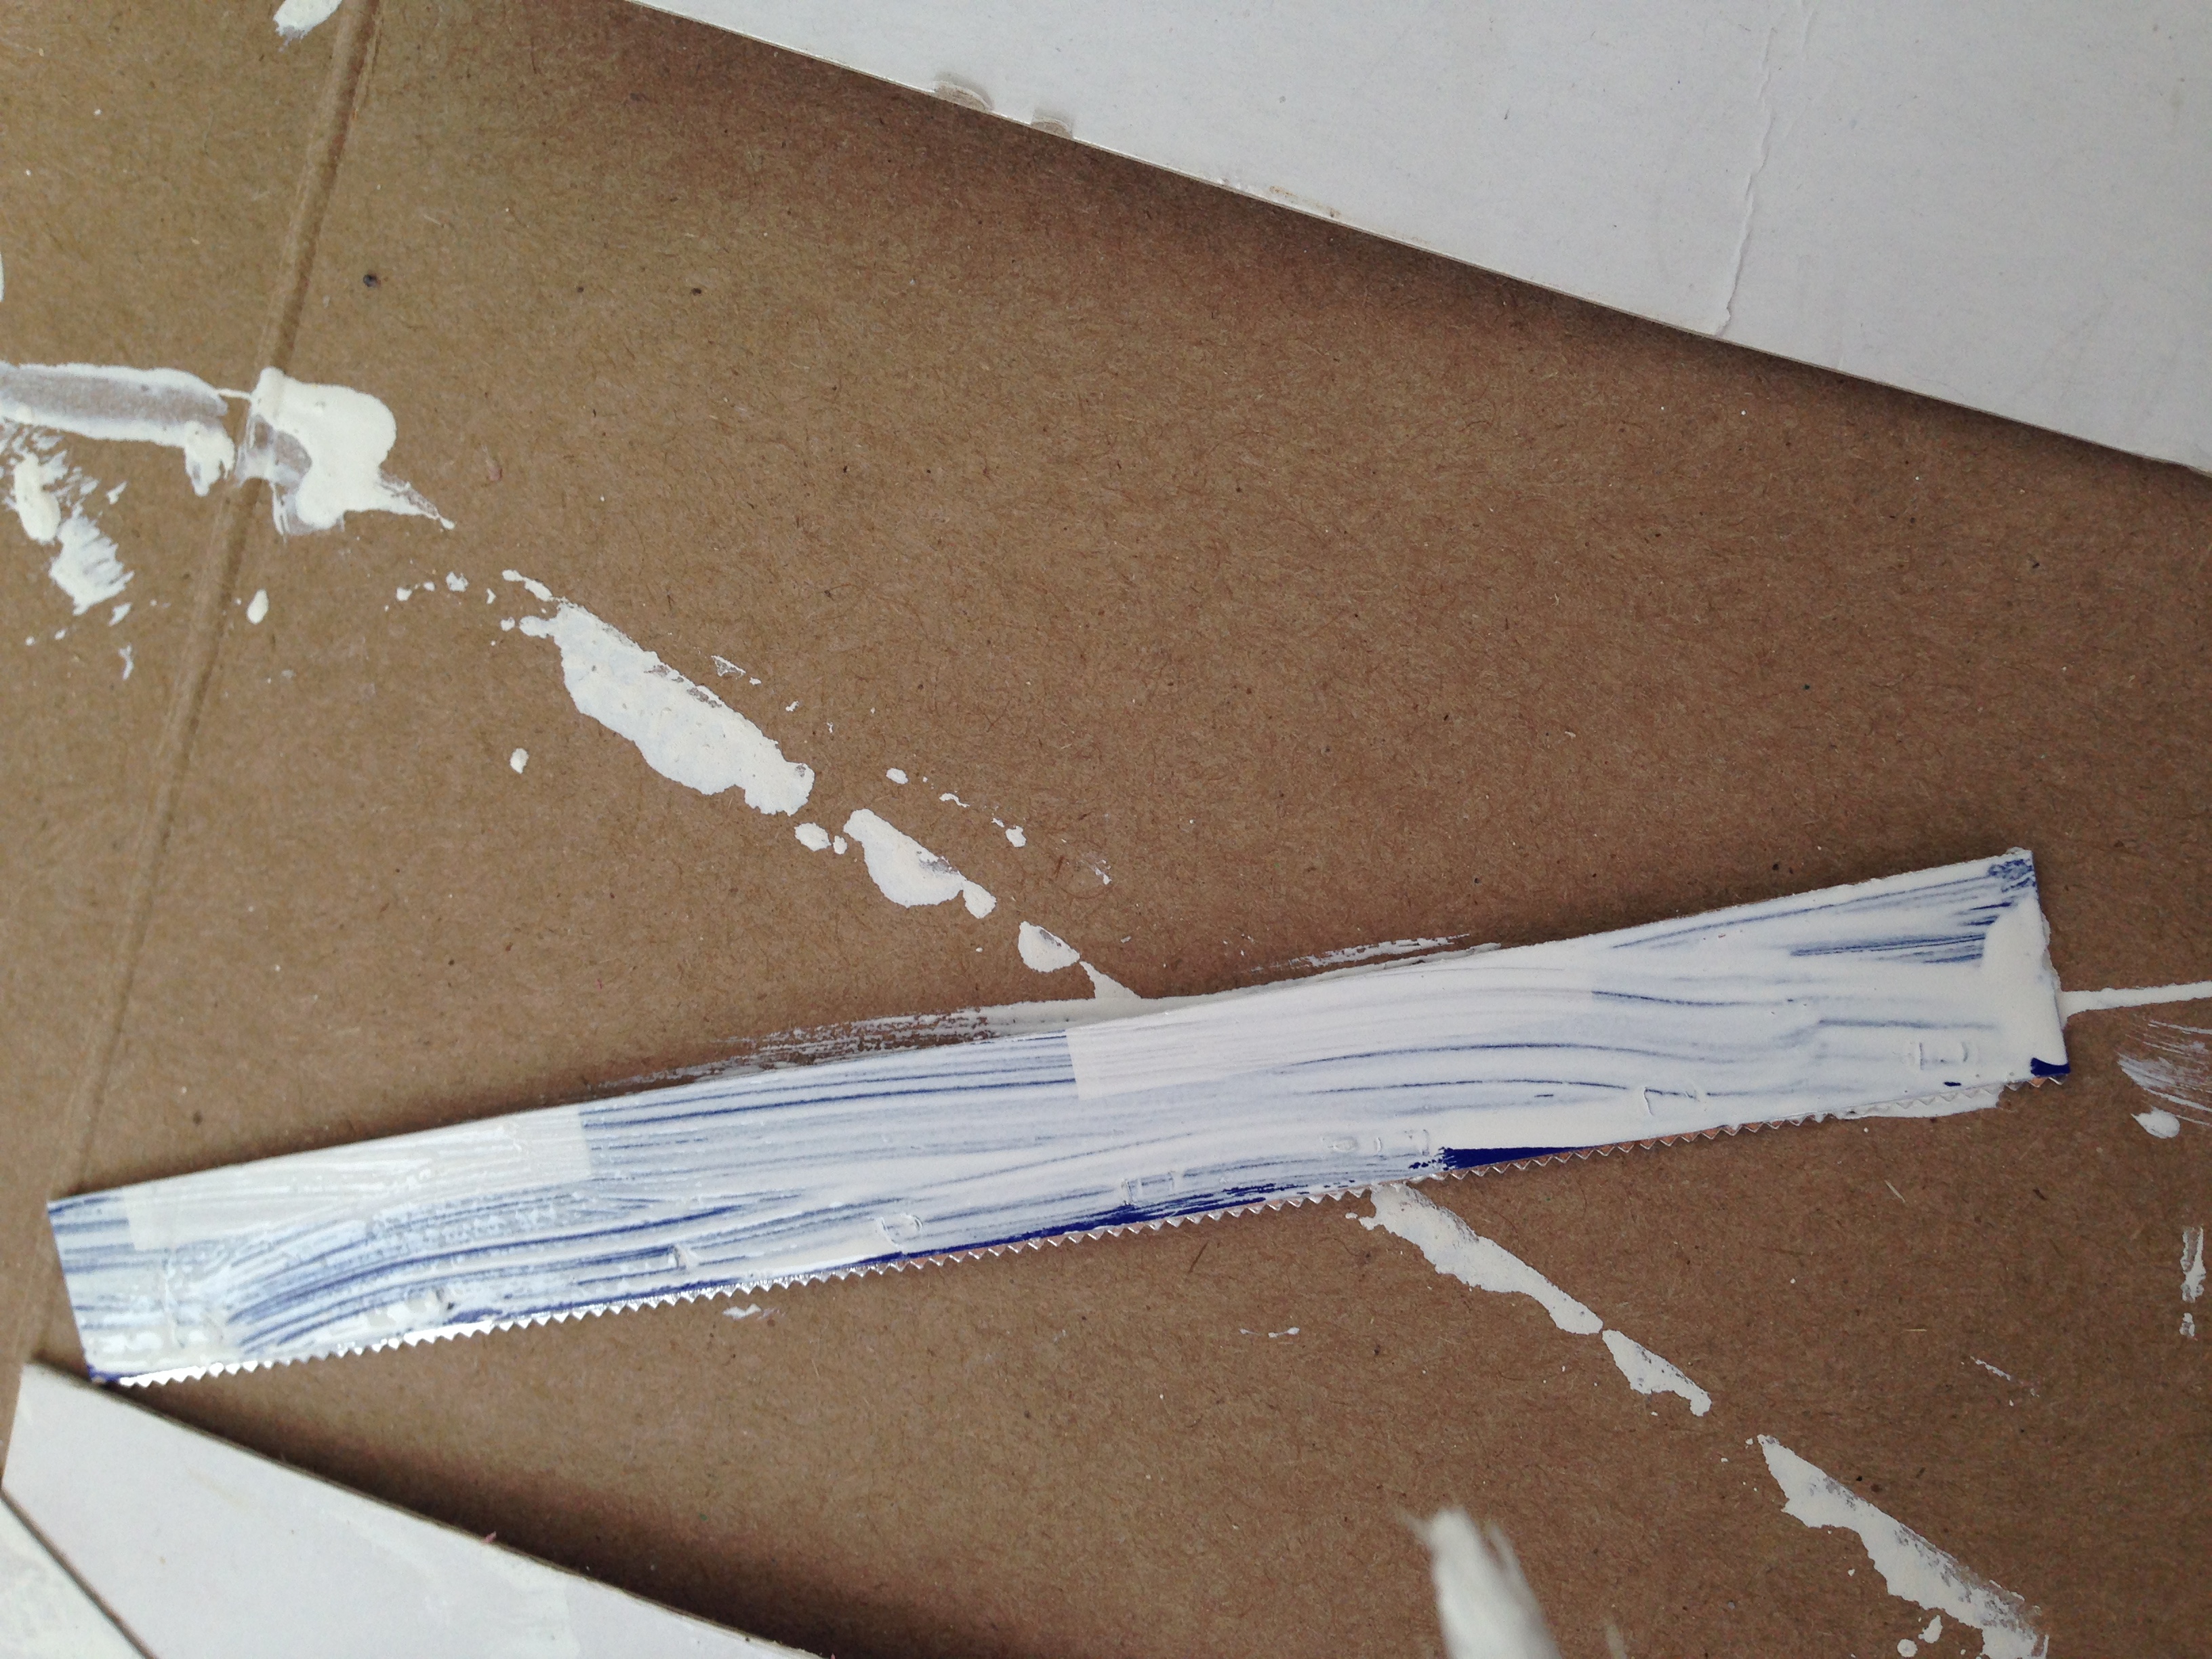
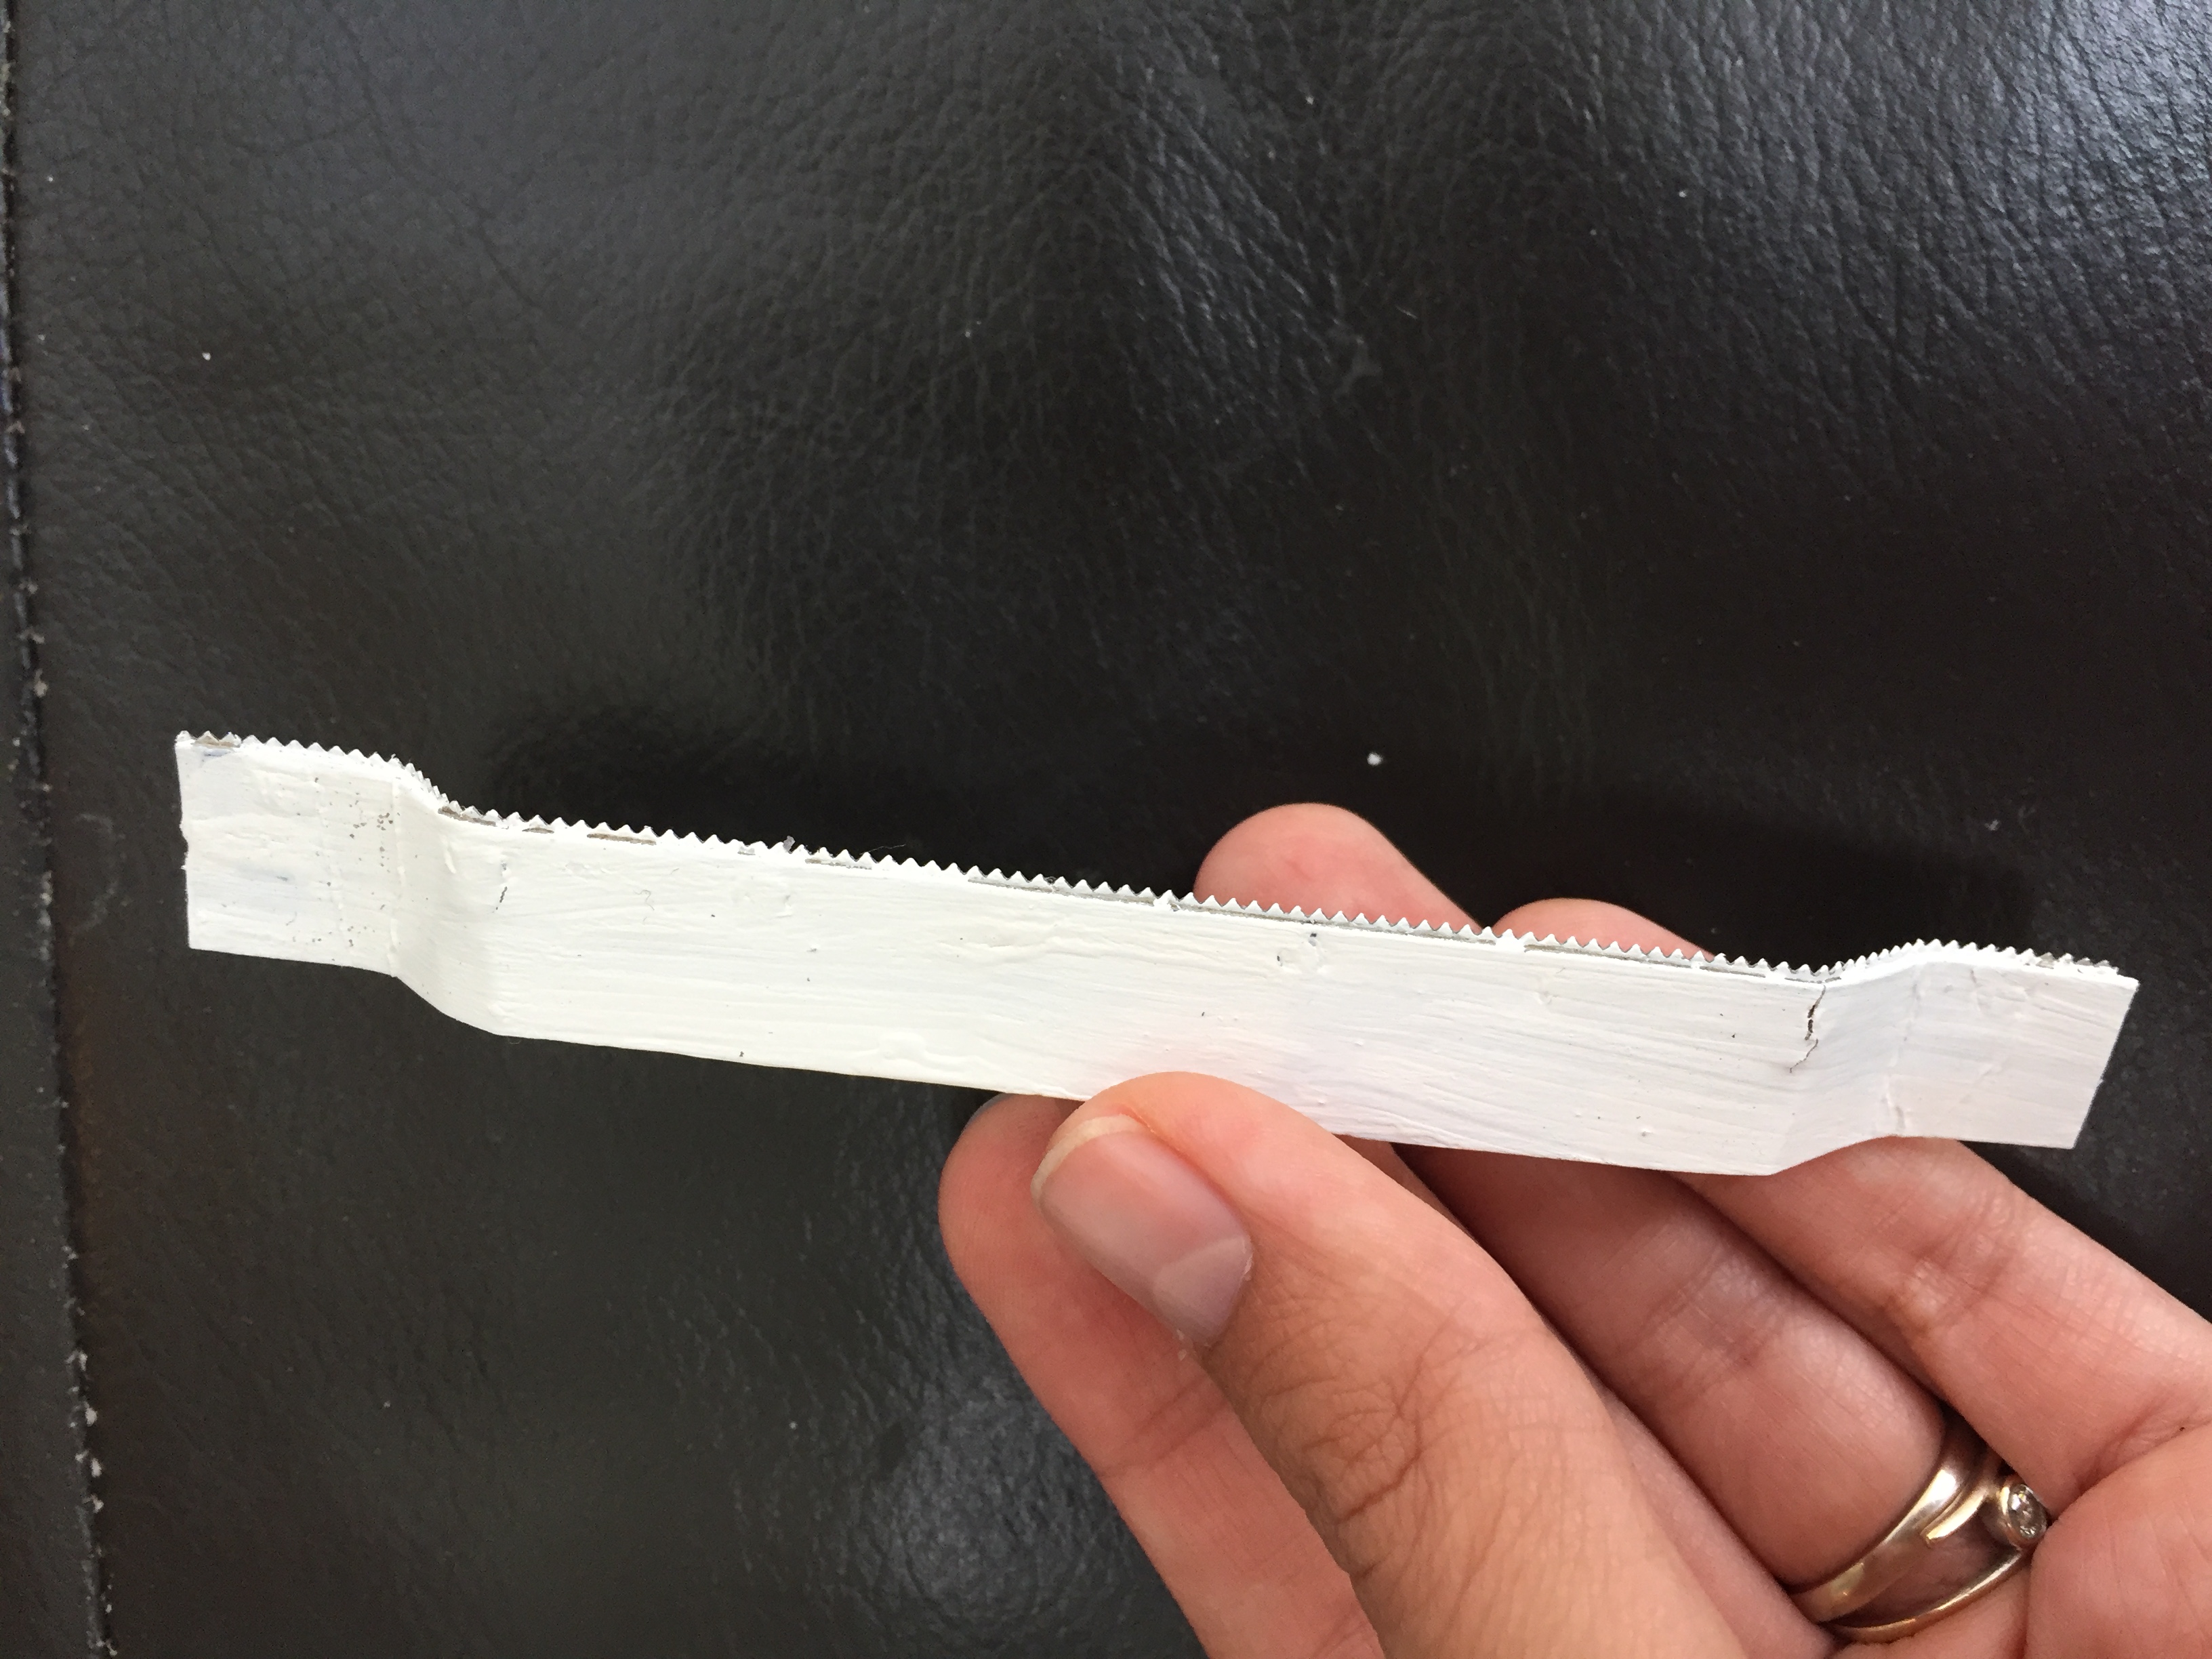
Cut 5 inches of the aluminum foil box blade. Paint it with the white paint and let it dry. When it's ready Bend the sides as shown in the last picture.
Napkin
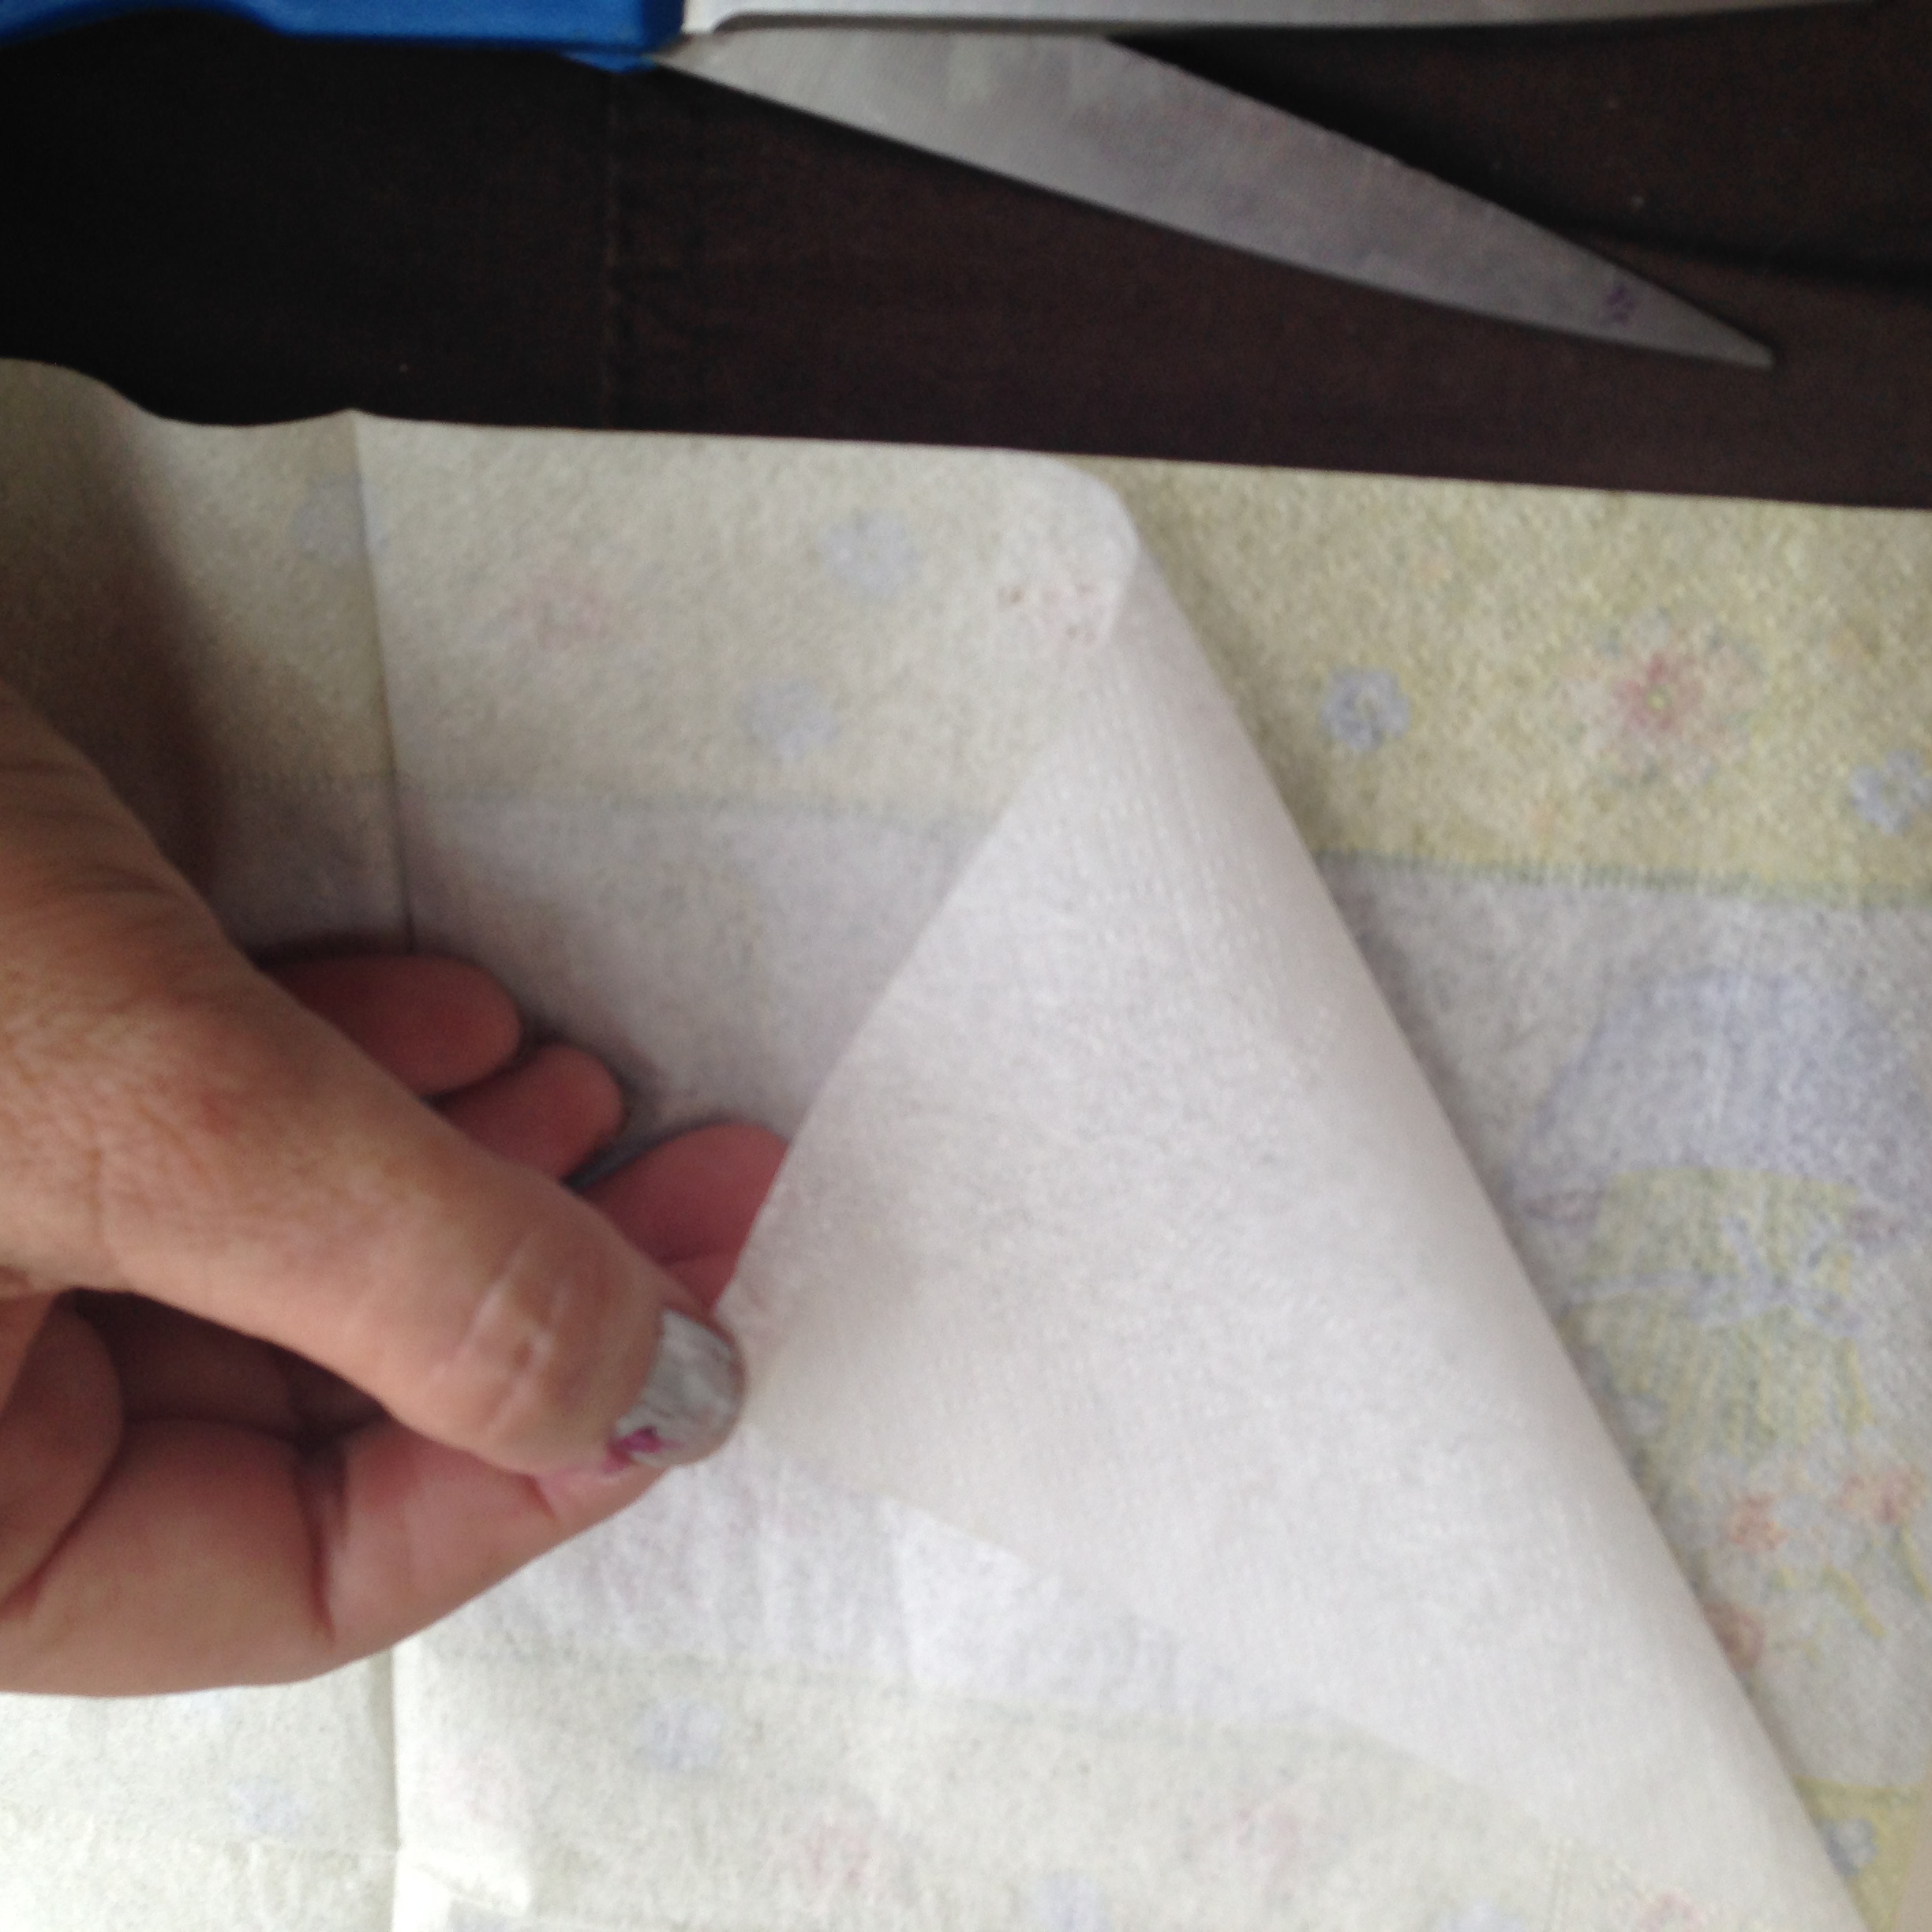
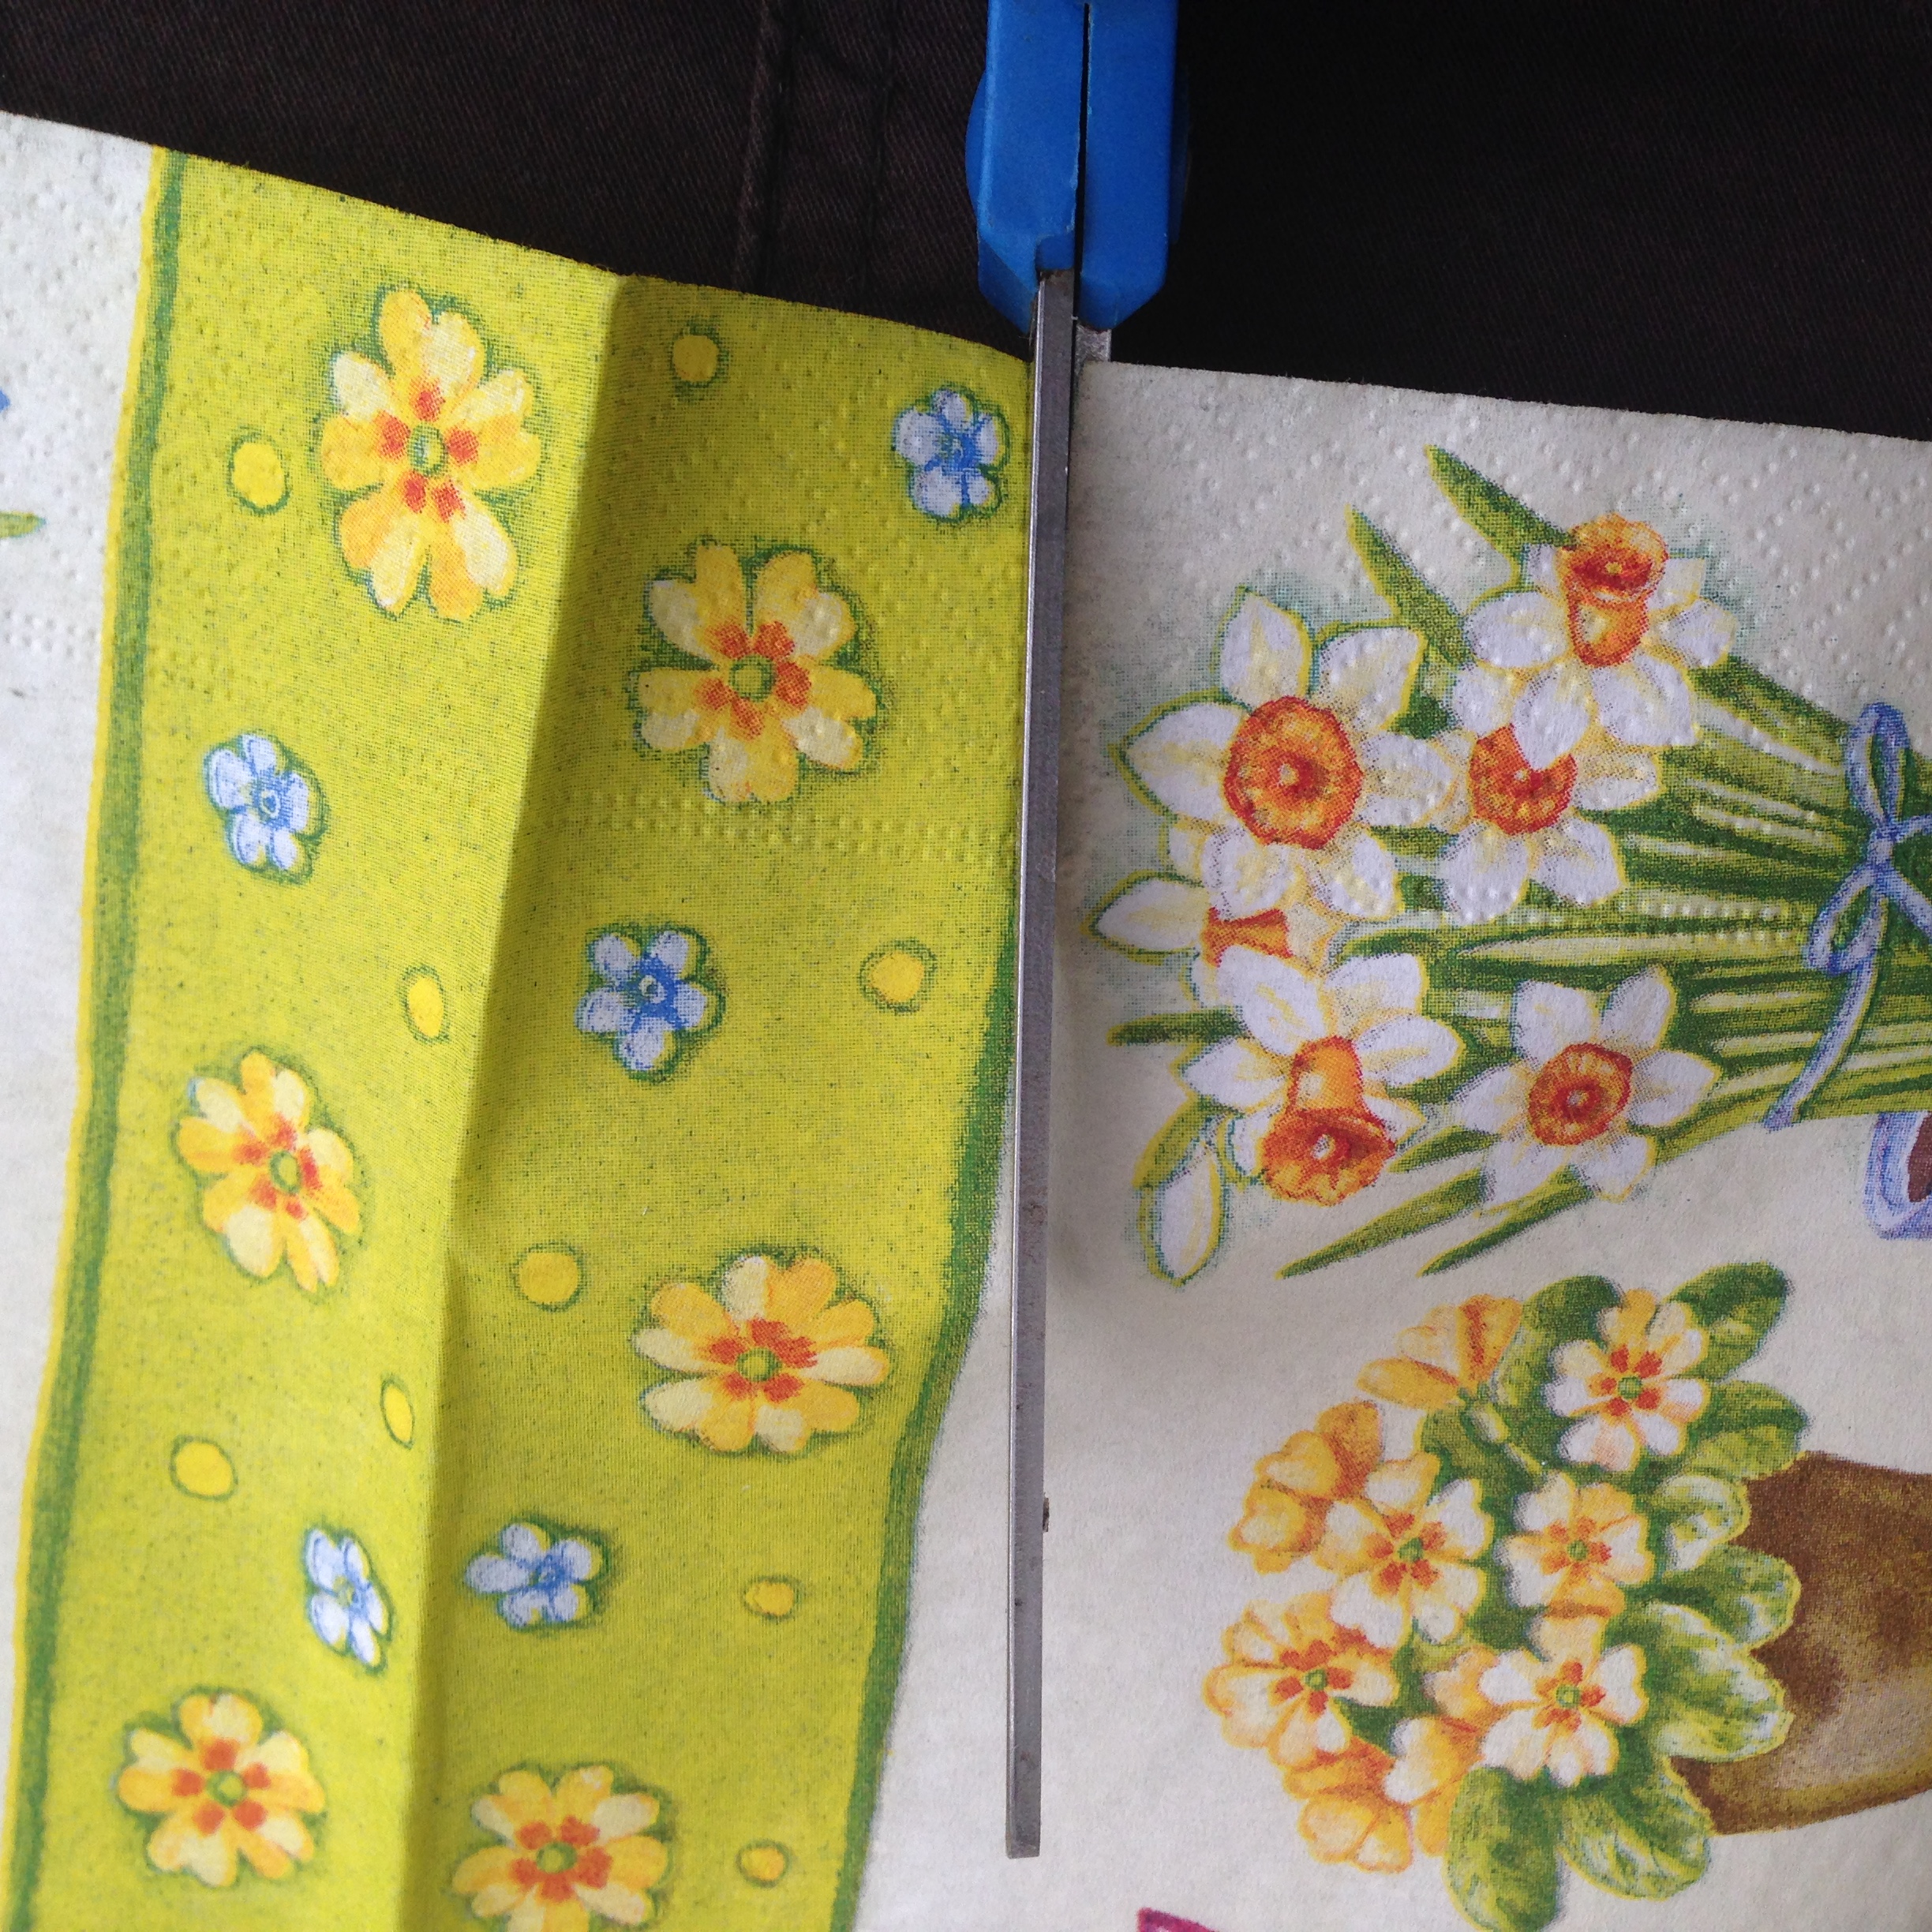
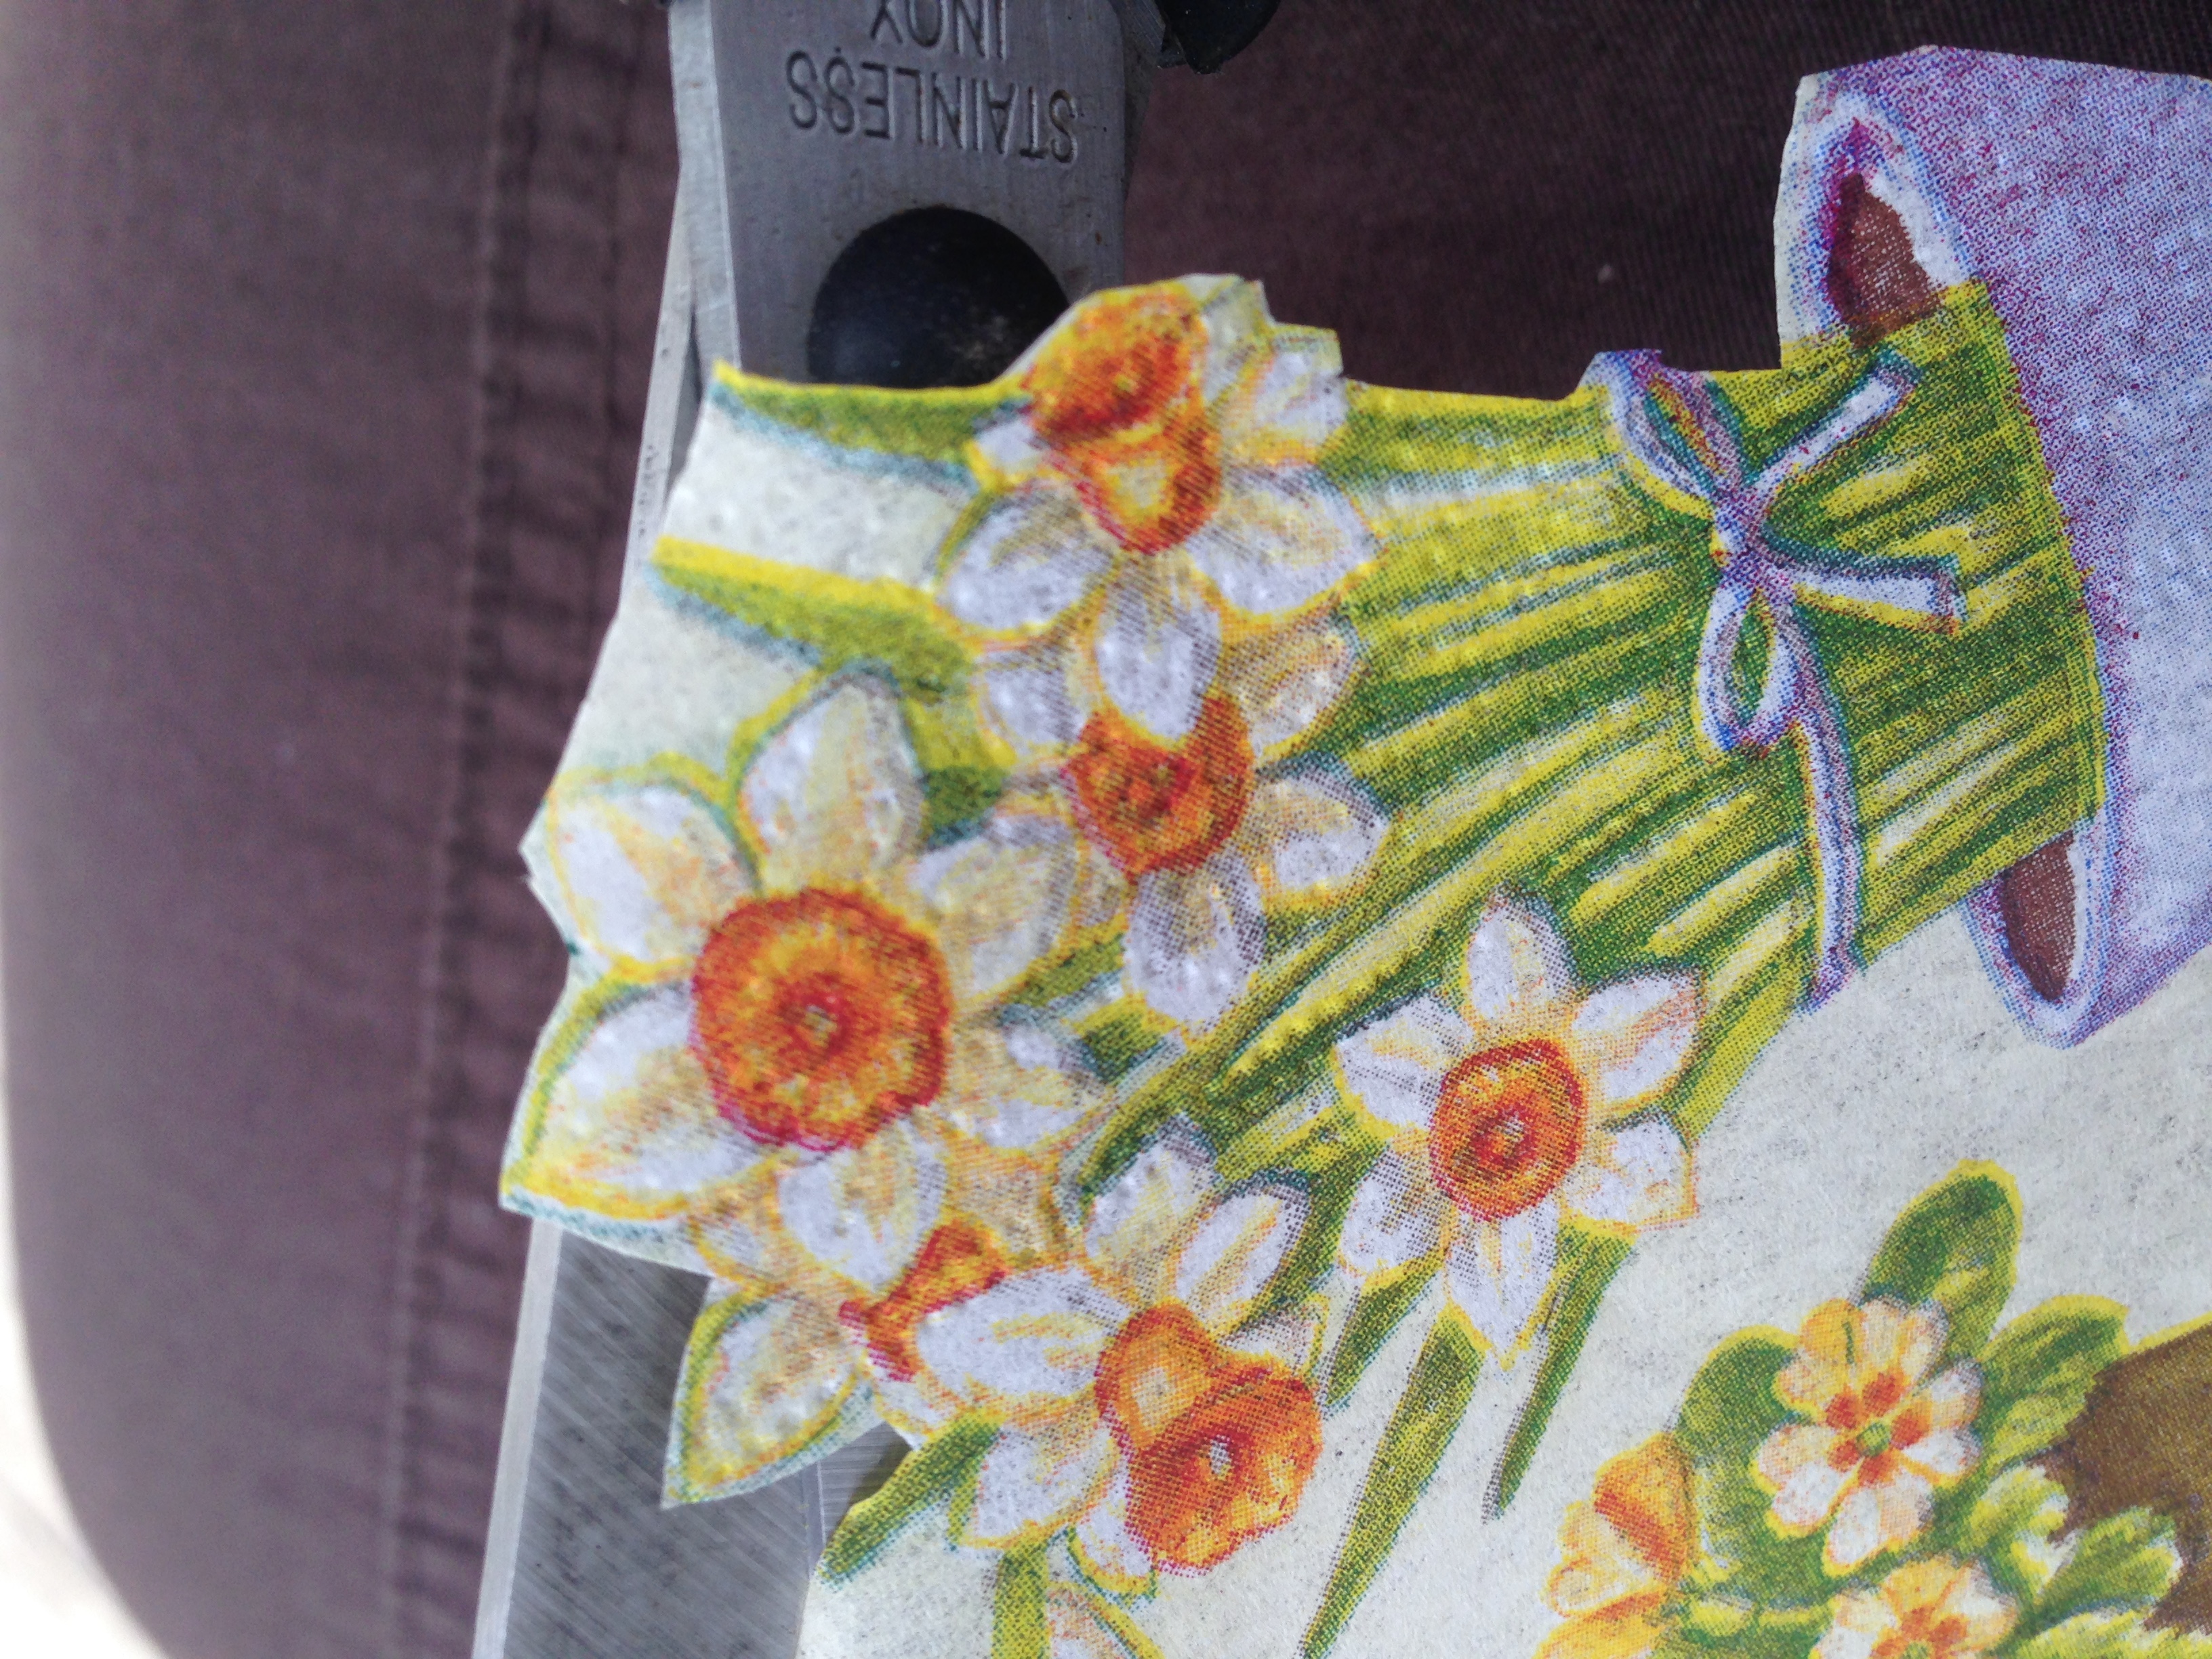
Separate the layers of your napkin, we're just going to use the layer that has the print. Cut the shape you want to use.
Glue Napkin
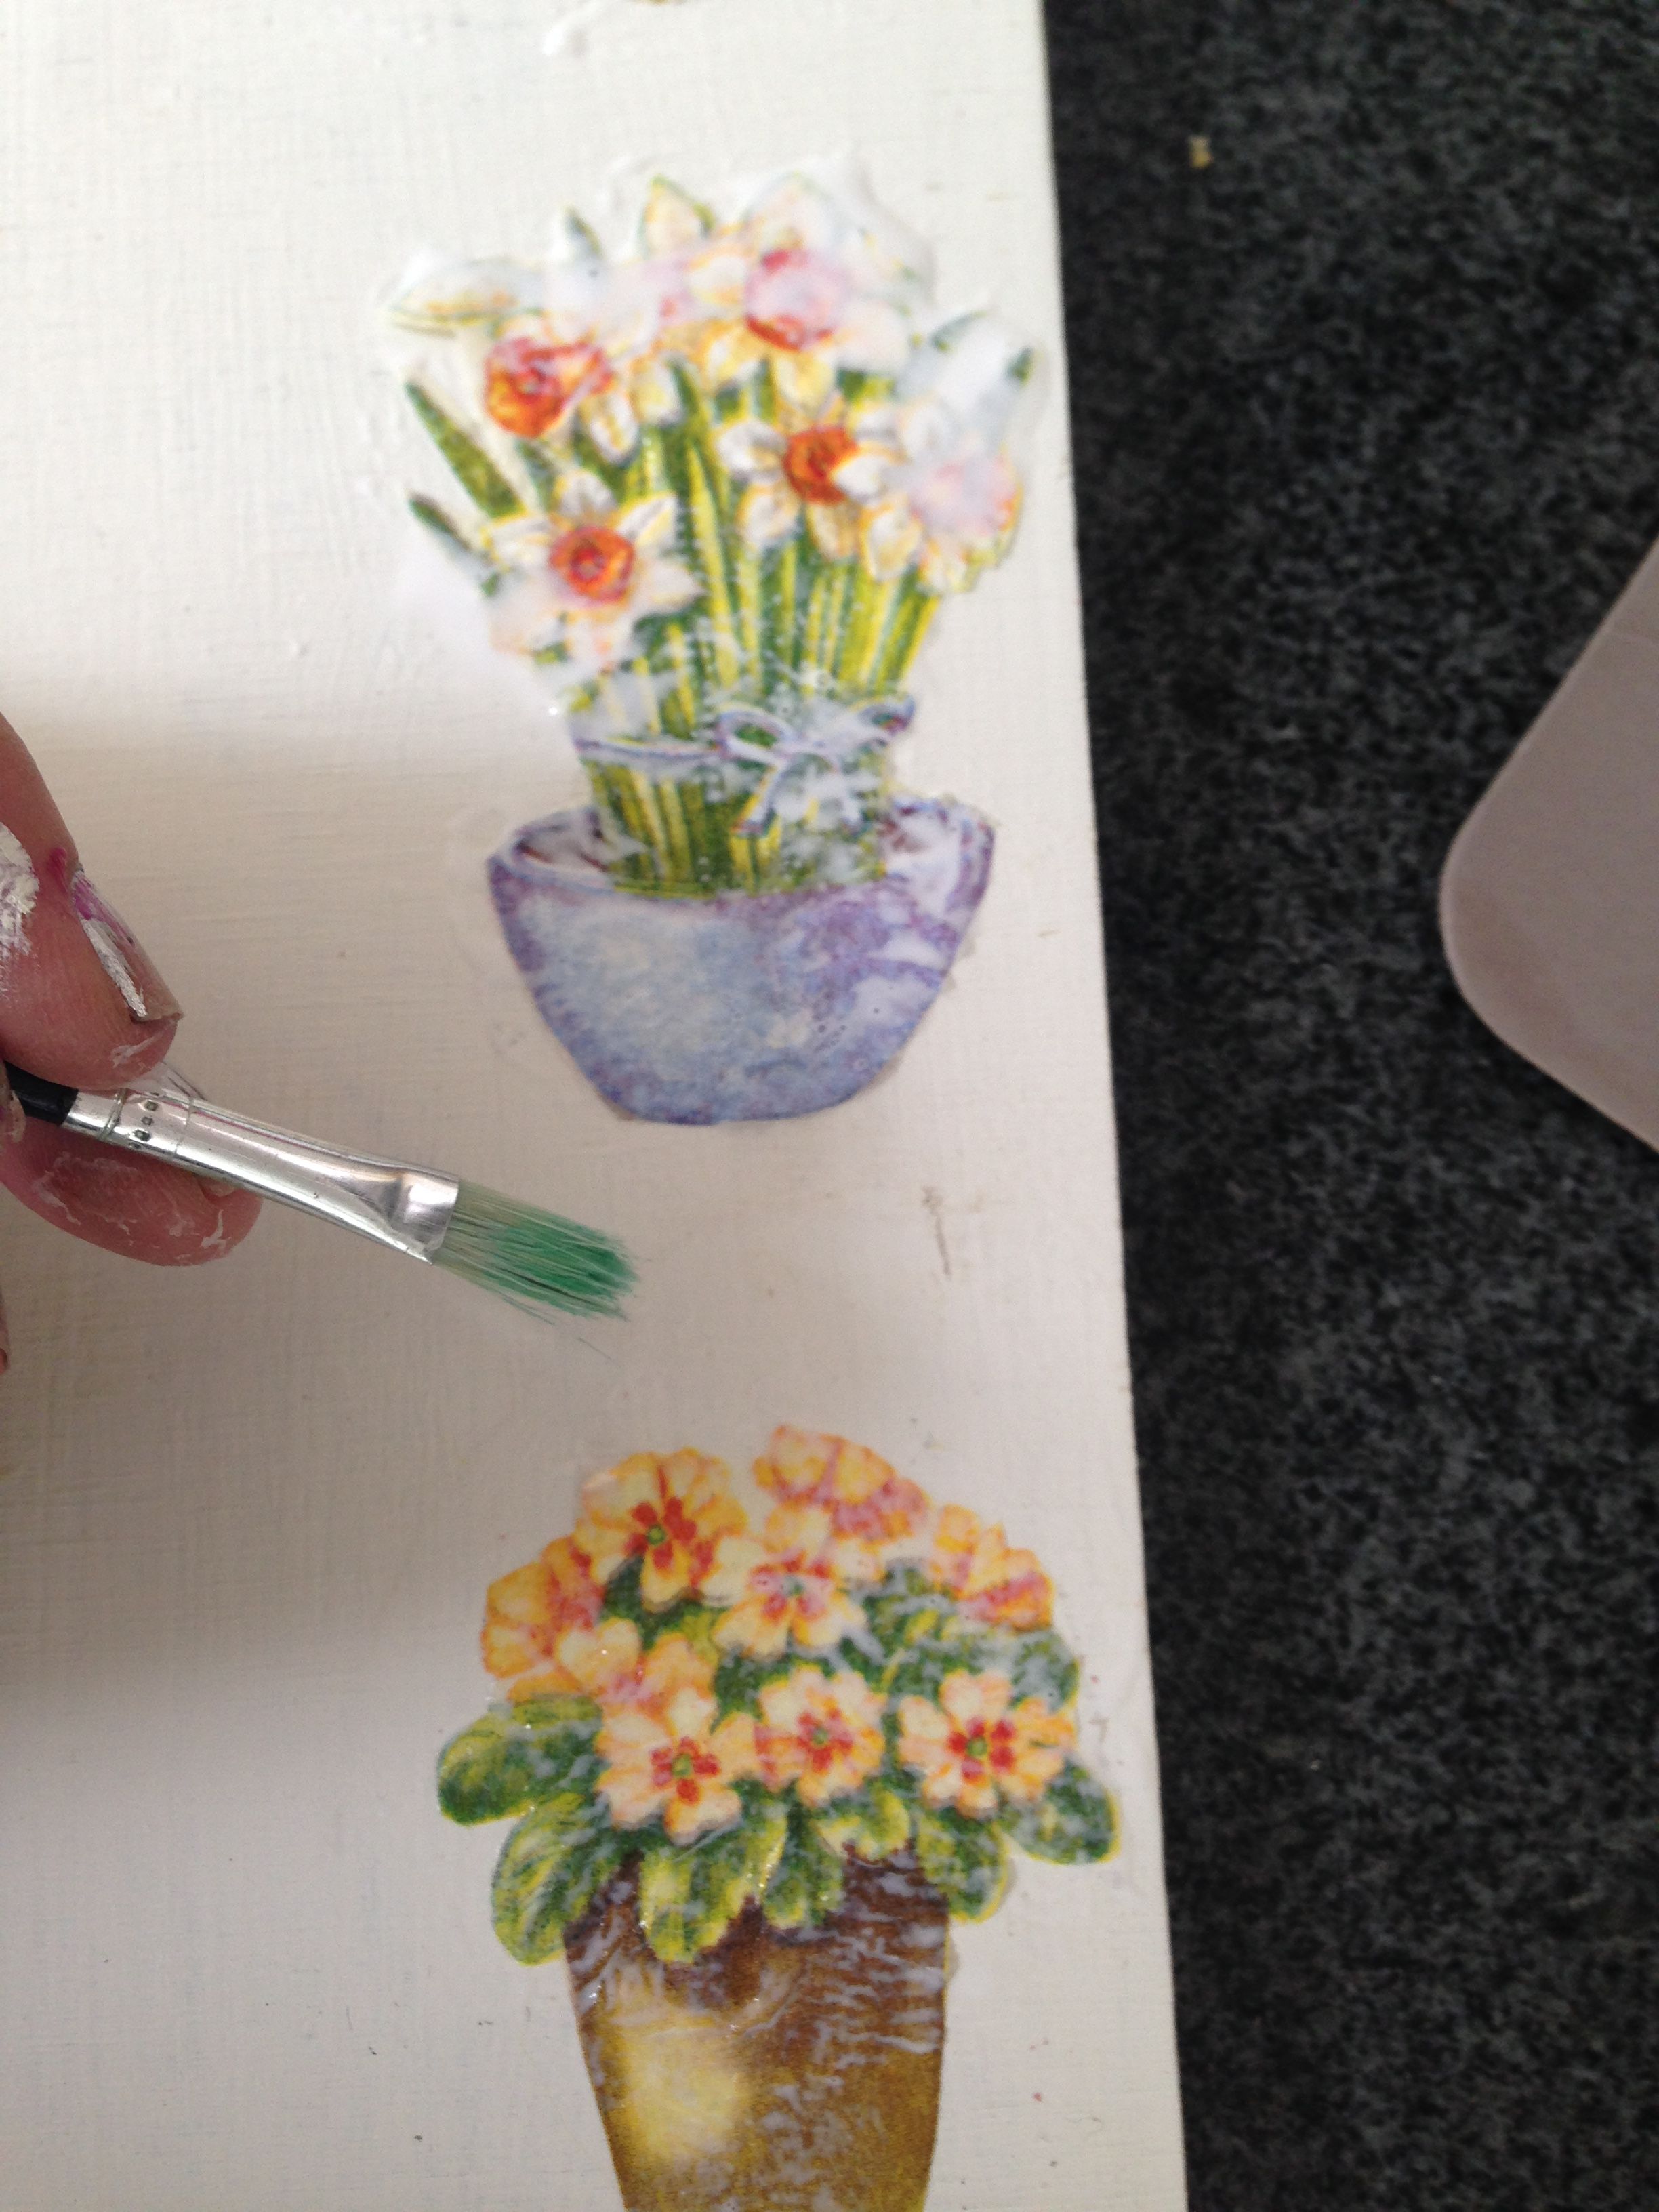
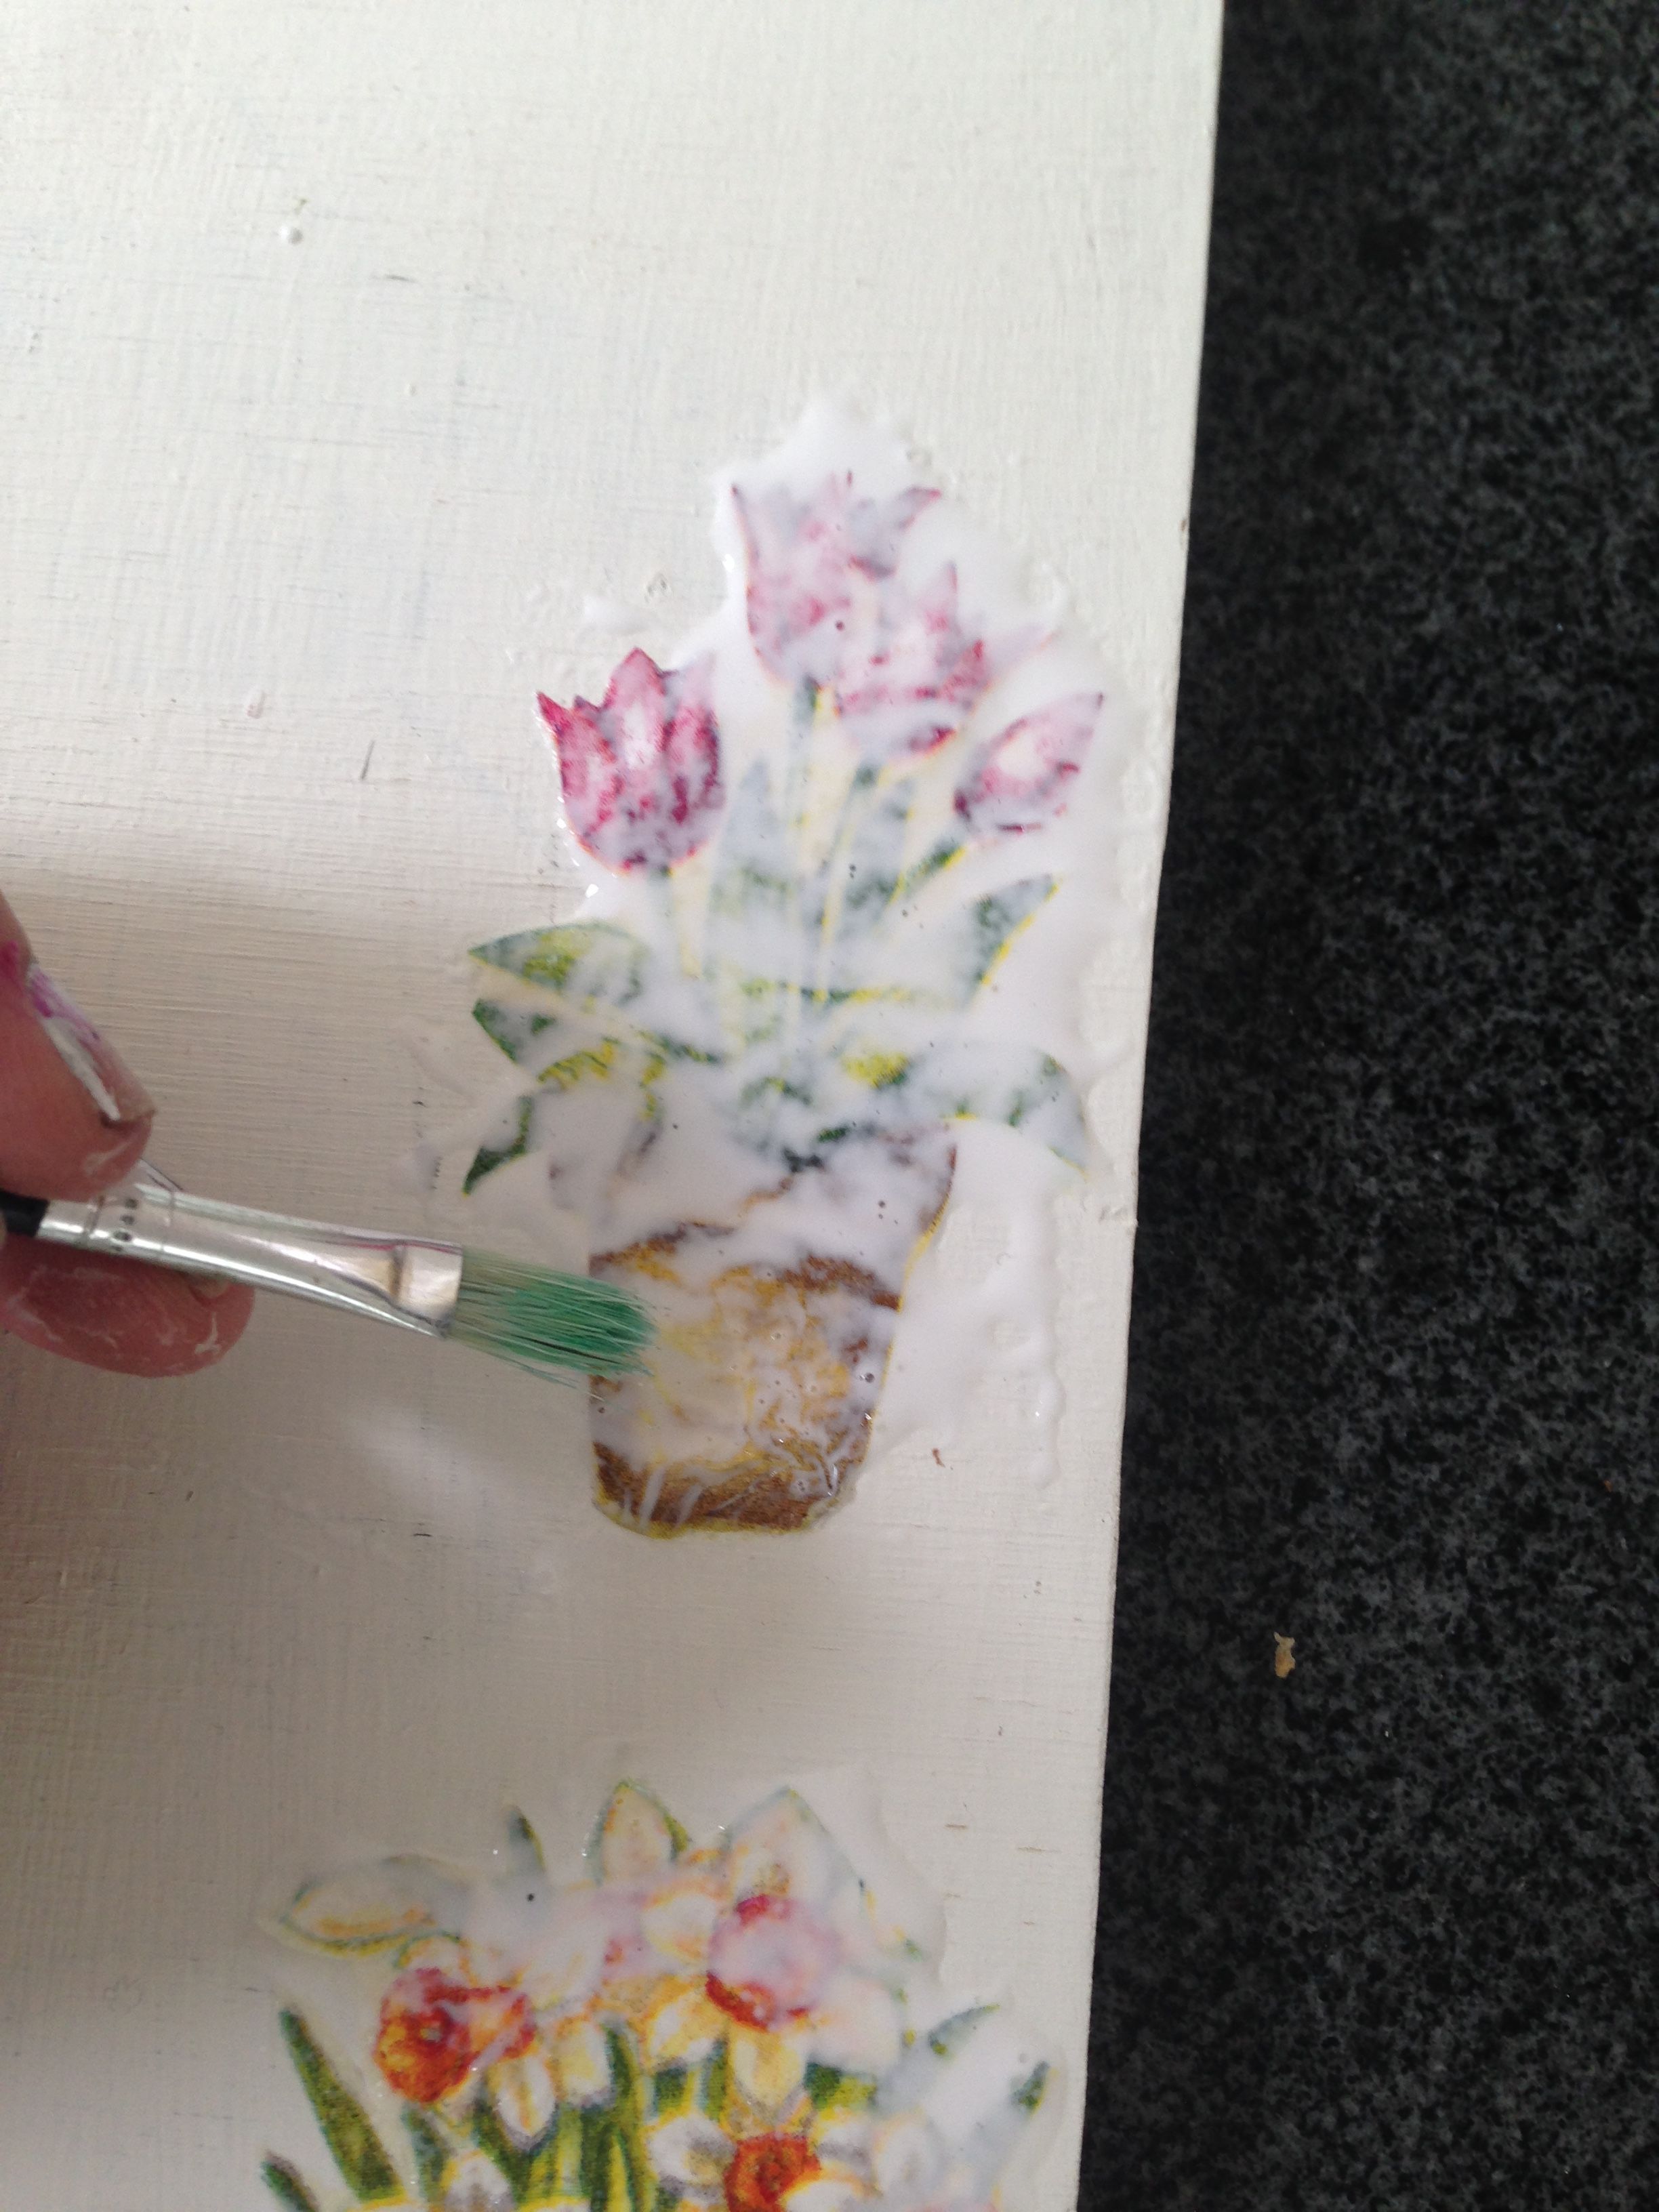
Put some white glue or mod podge in the place where you want your napkin to be. Put more glue over the napkin using the brush, you must cover all the surface of your napkin and a little border around your shape.
Let it dry perfectly for one hour or until the glue turns clear.
Patina
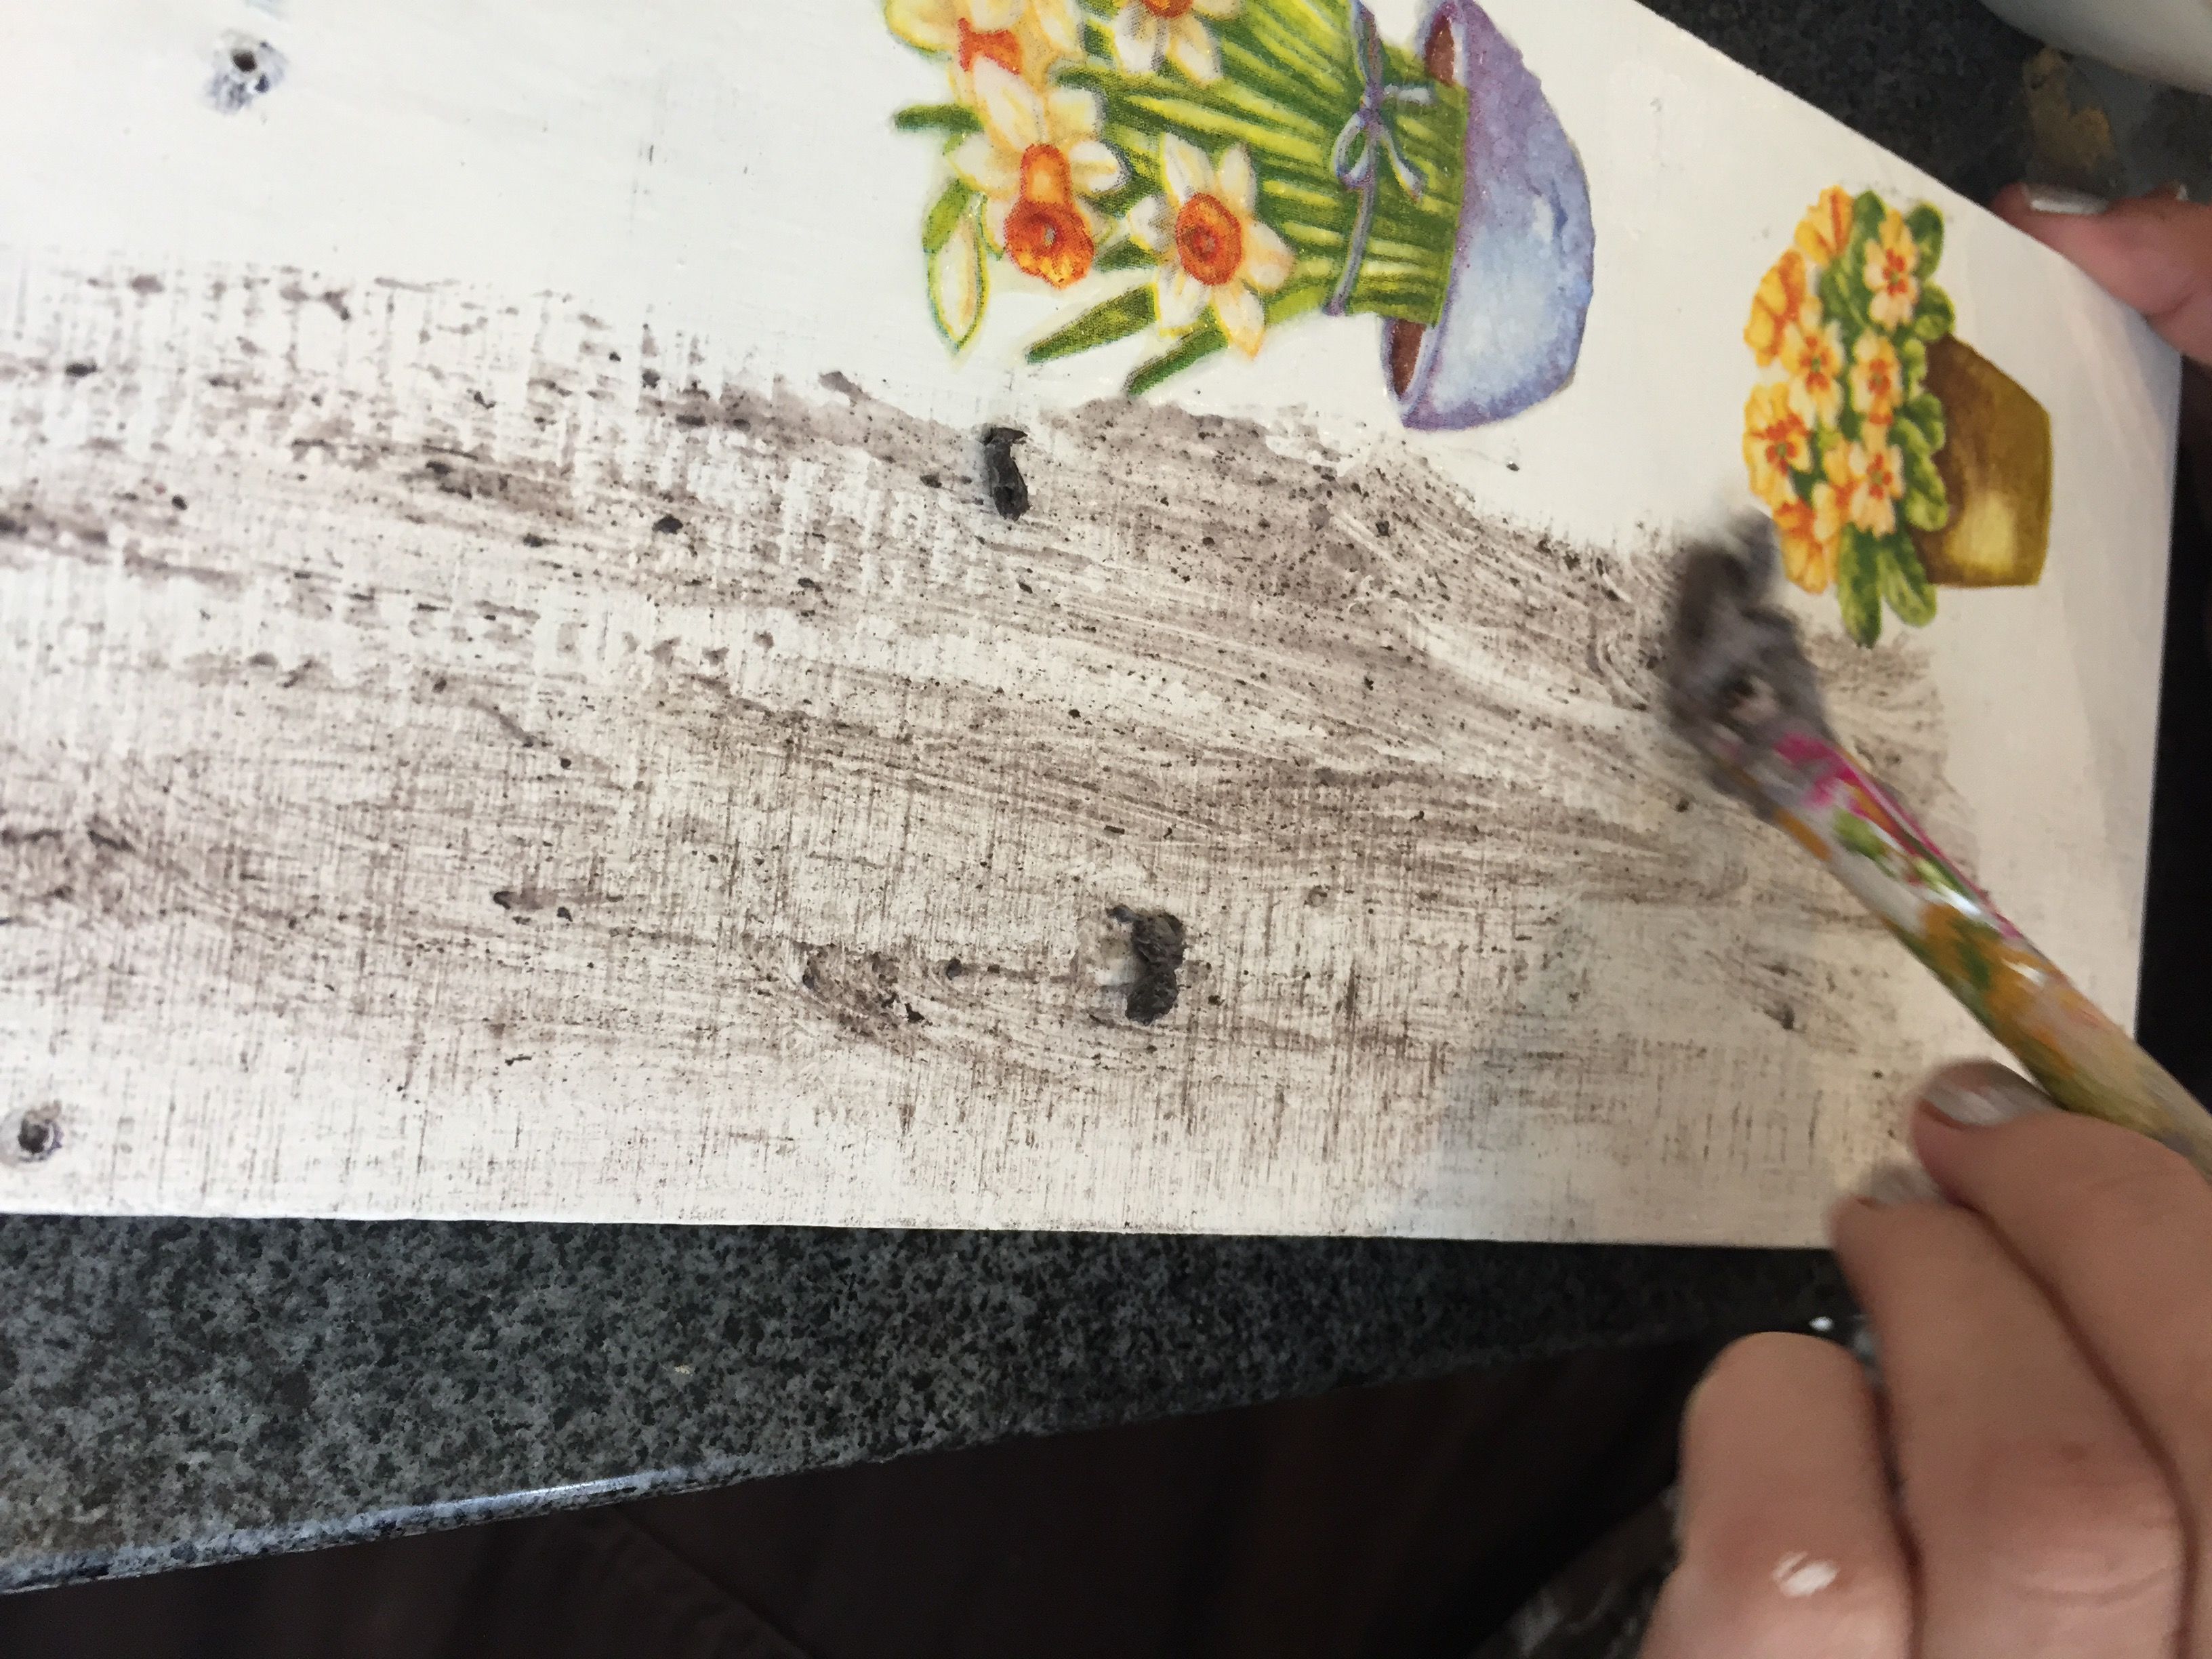
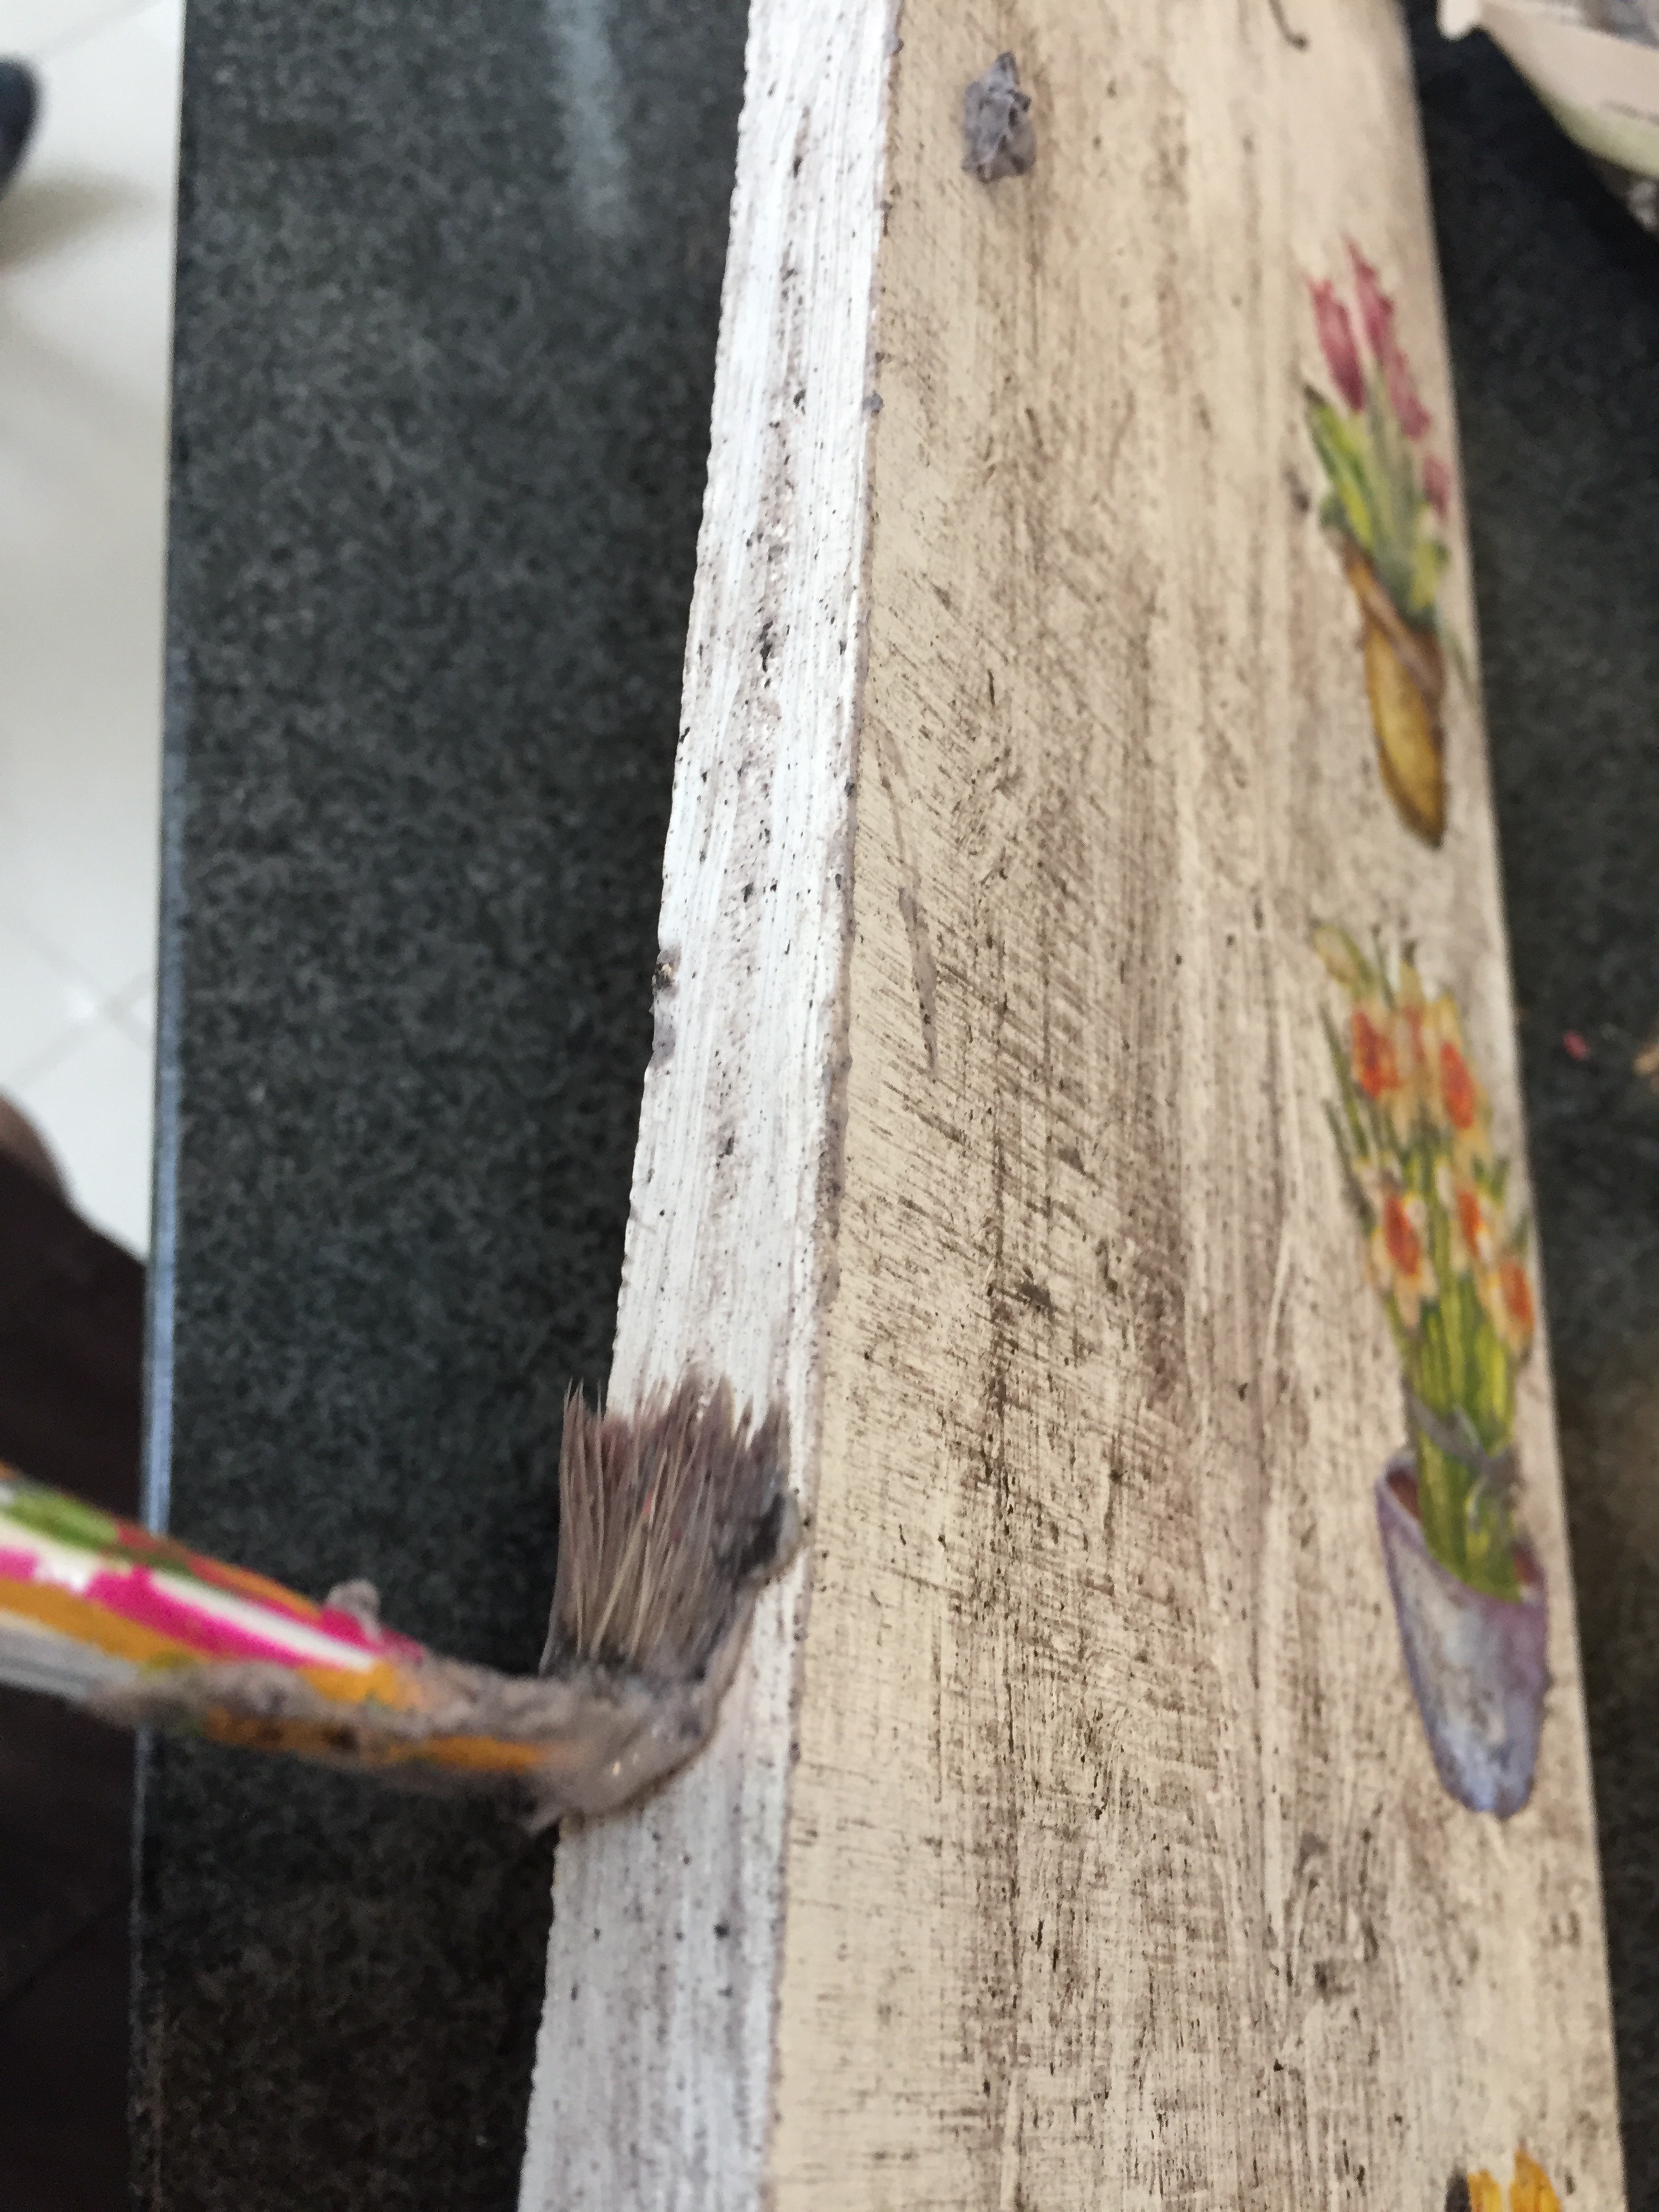
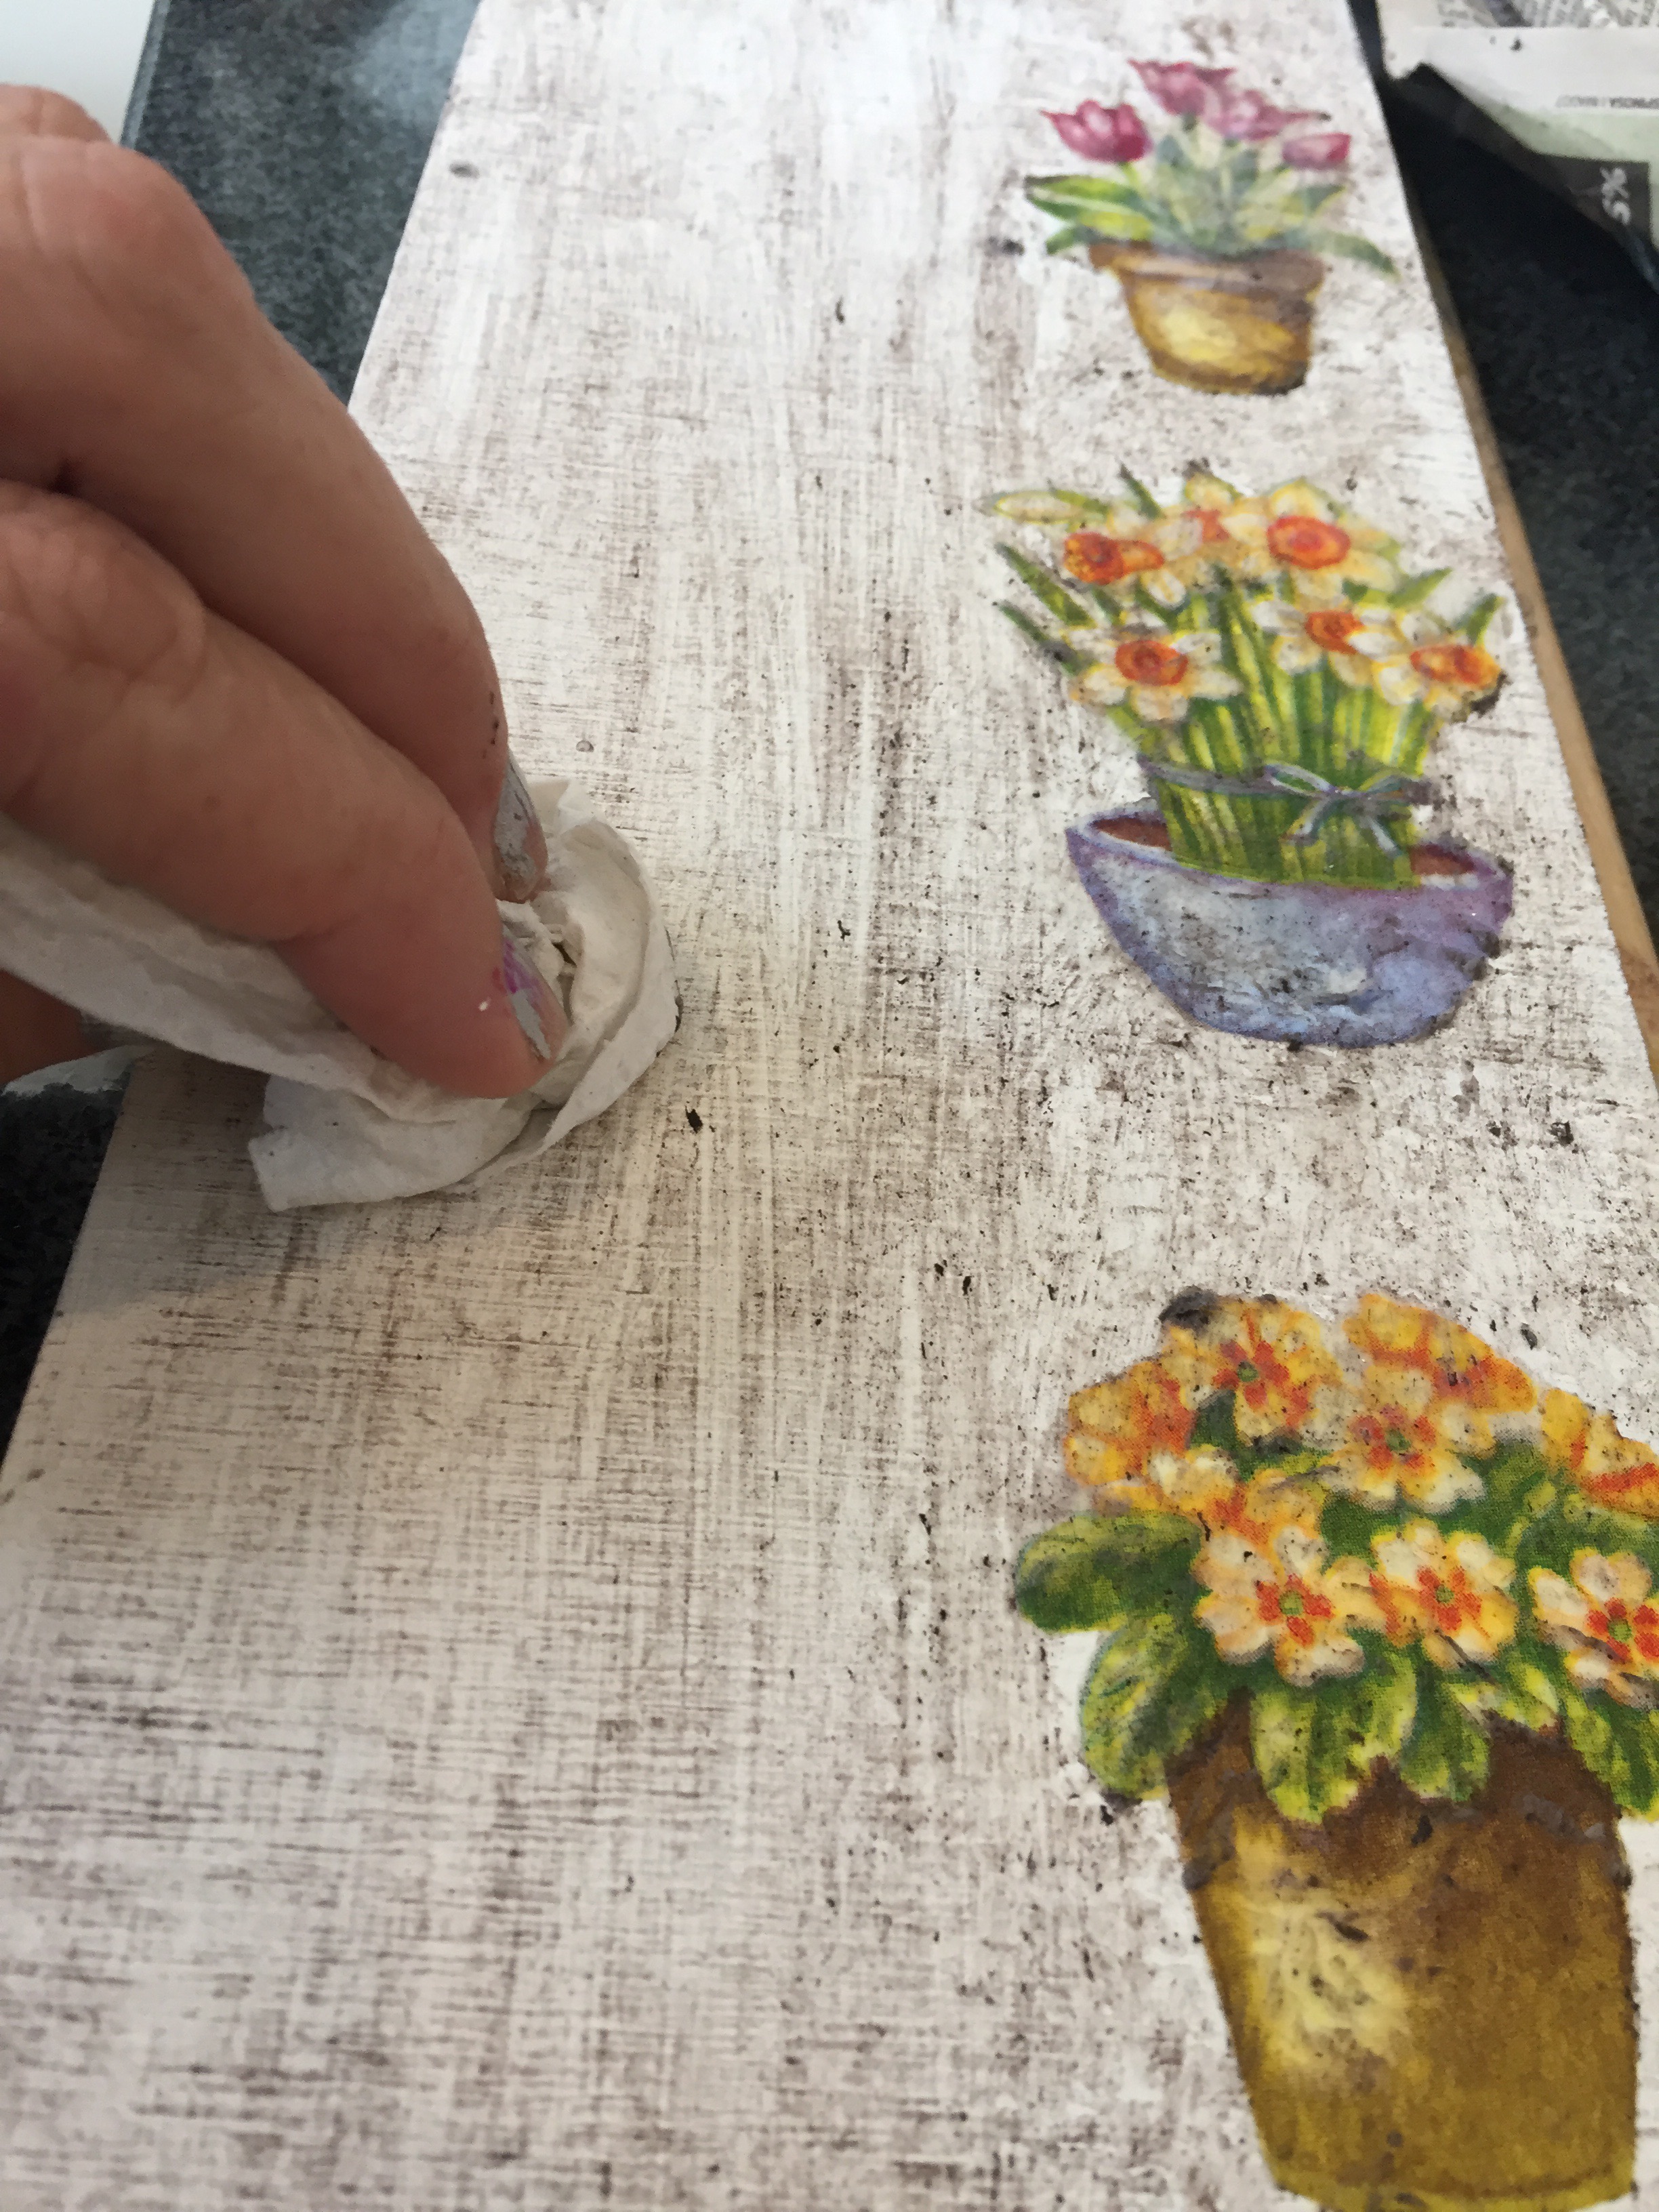
This step is optional but I think it looks better with it. Paint with your patina long strokes all over your board in a vertical way. Don't forget the sides. Let it dry for 5 minutes and clean it with a napkin or tissue paper until you get the desired shade.
Draw Letters
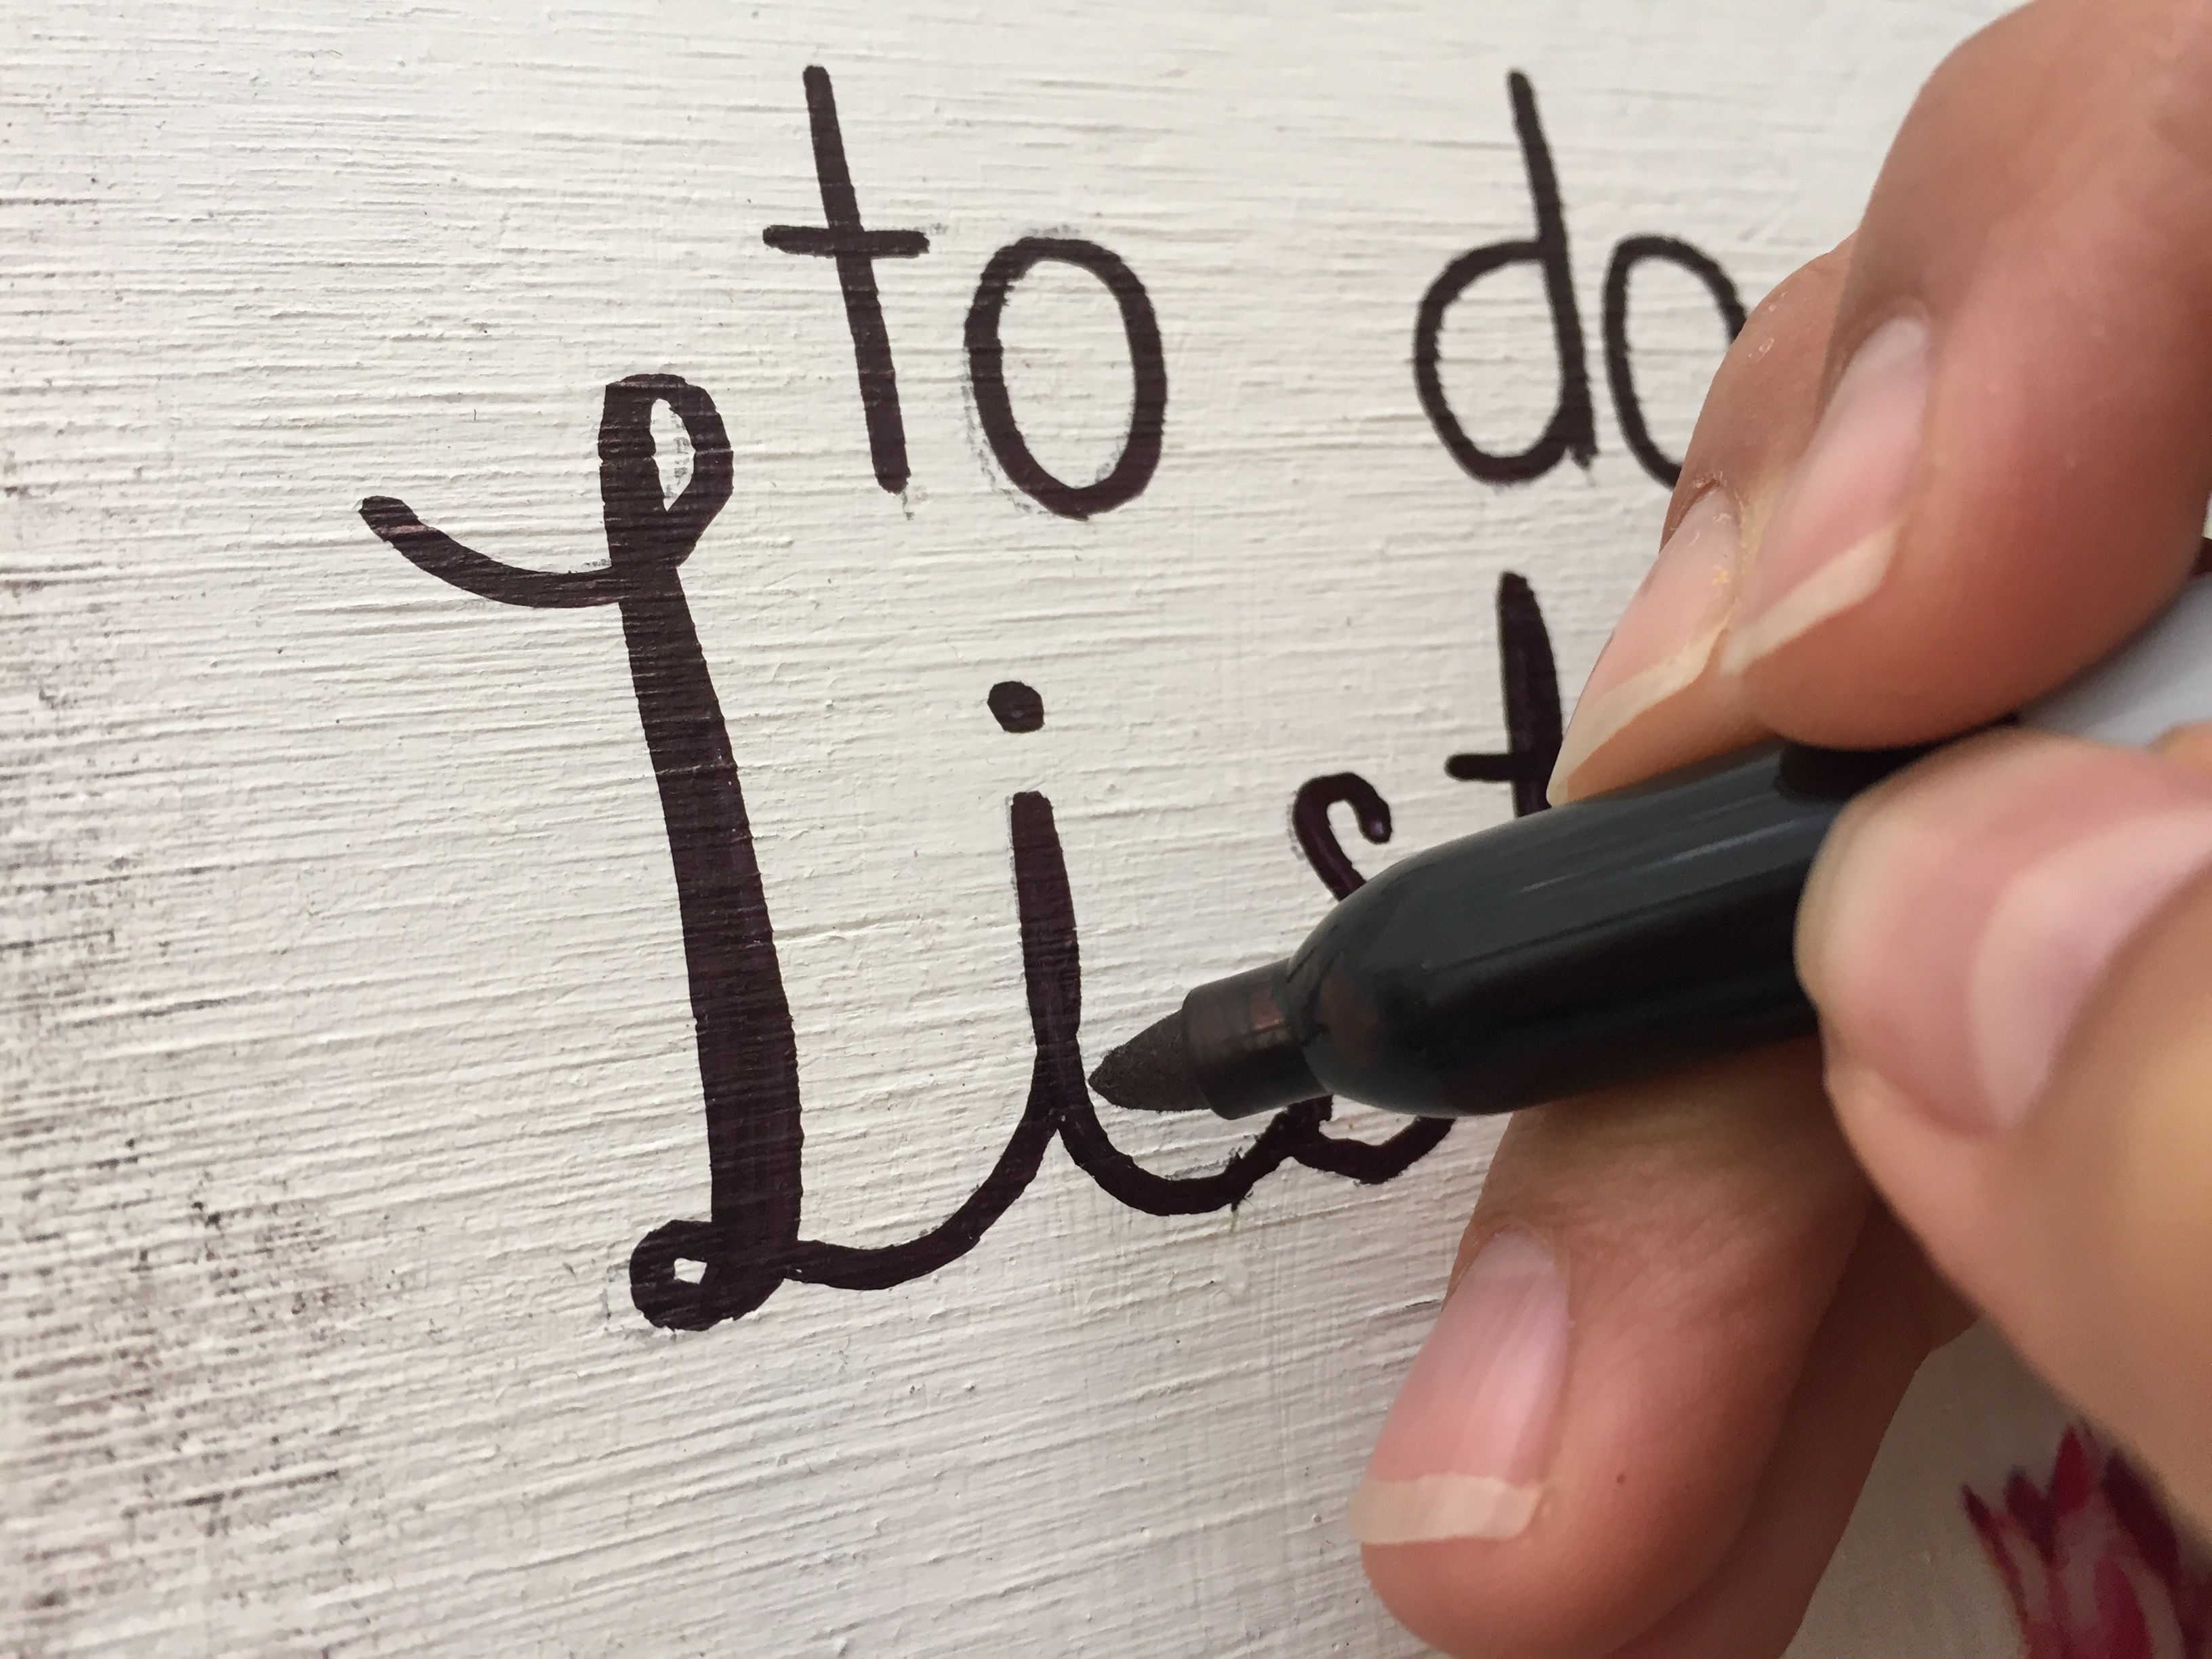
Use your black marker to draw the letters in your board. Mine says "To do list" but yours can say "Grocery list", "Week's menu" or something else.
Paper Blade
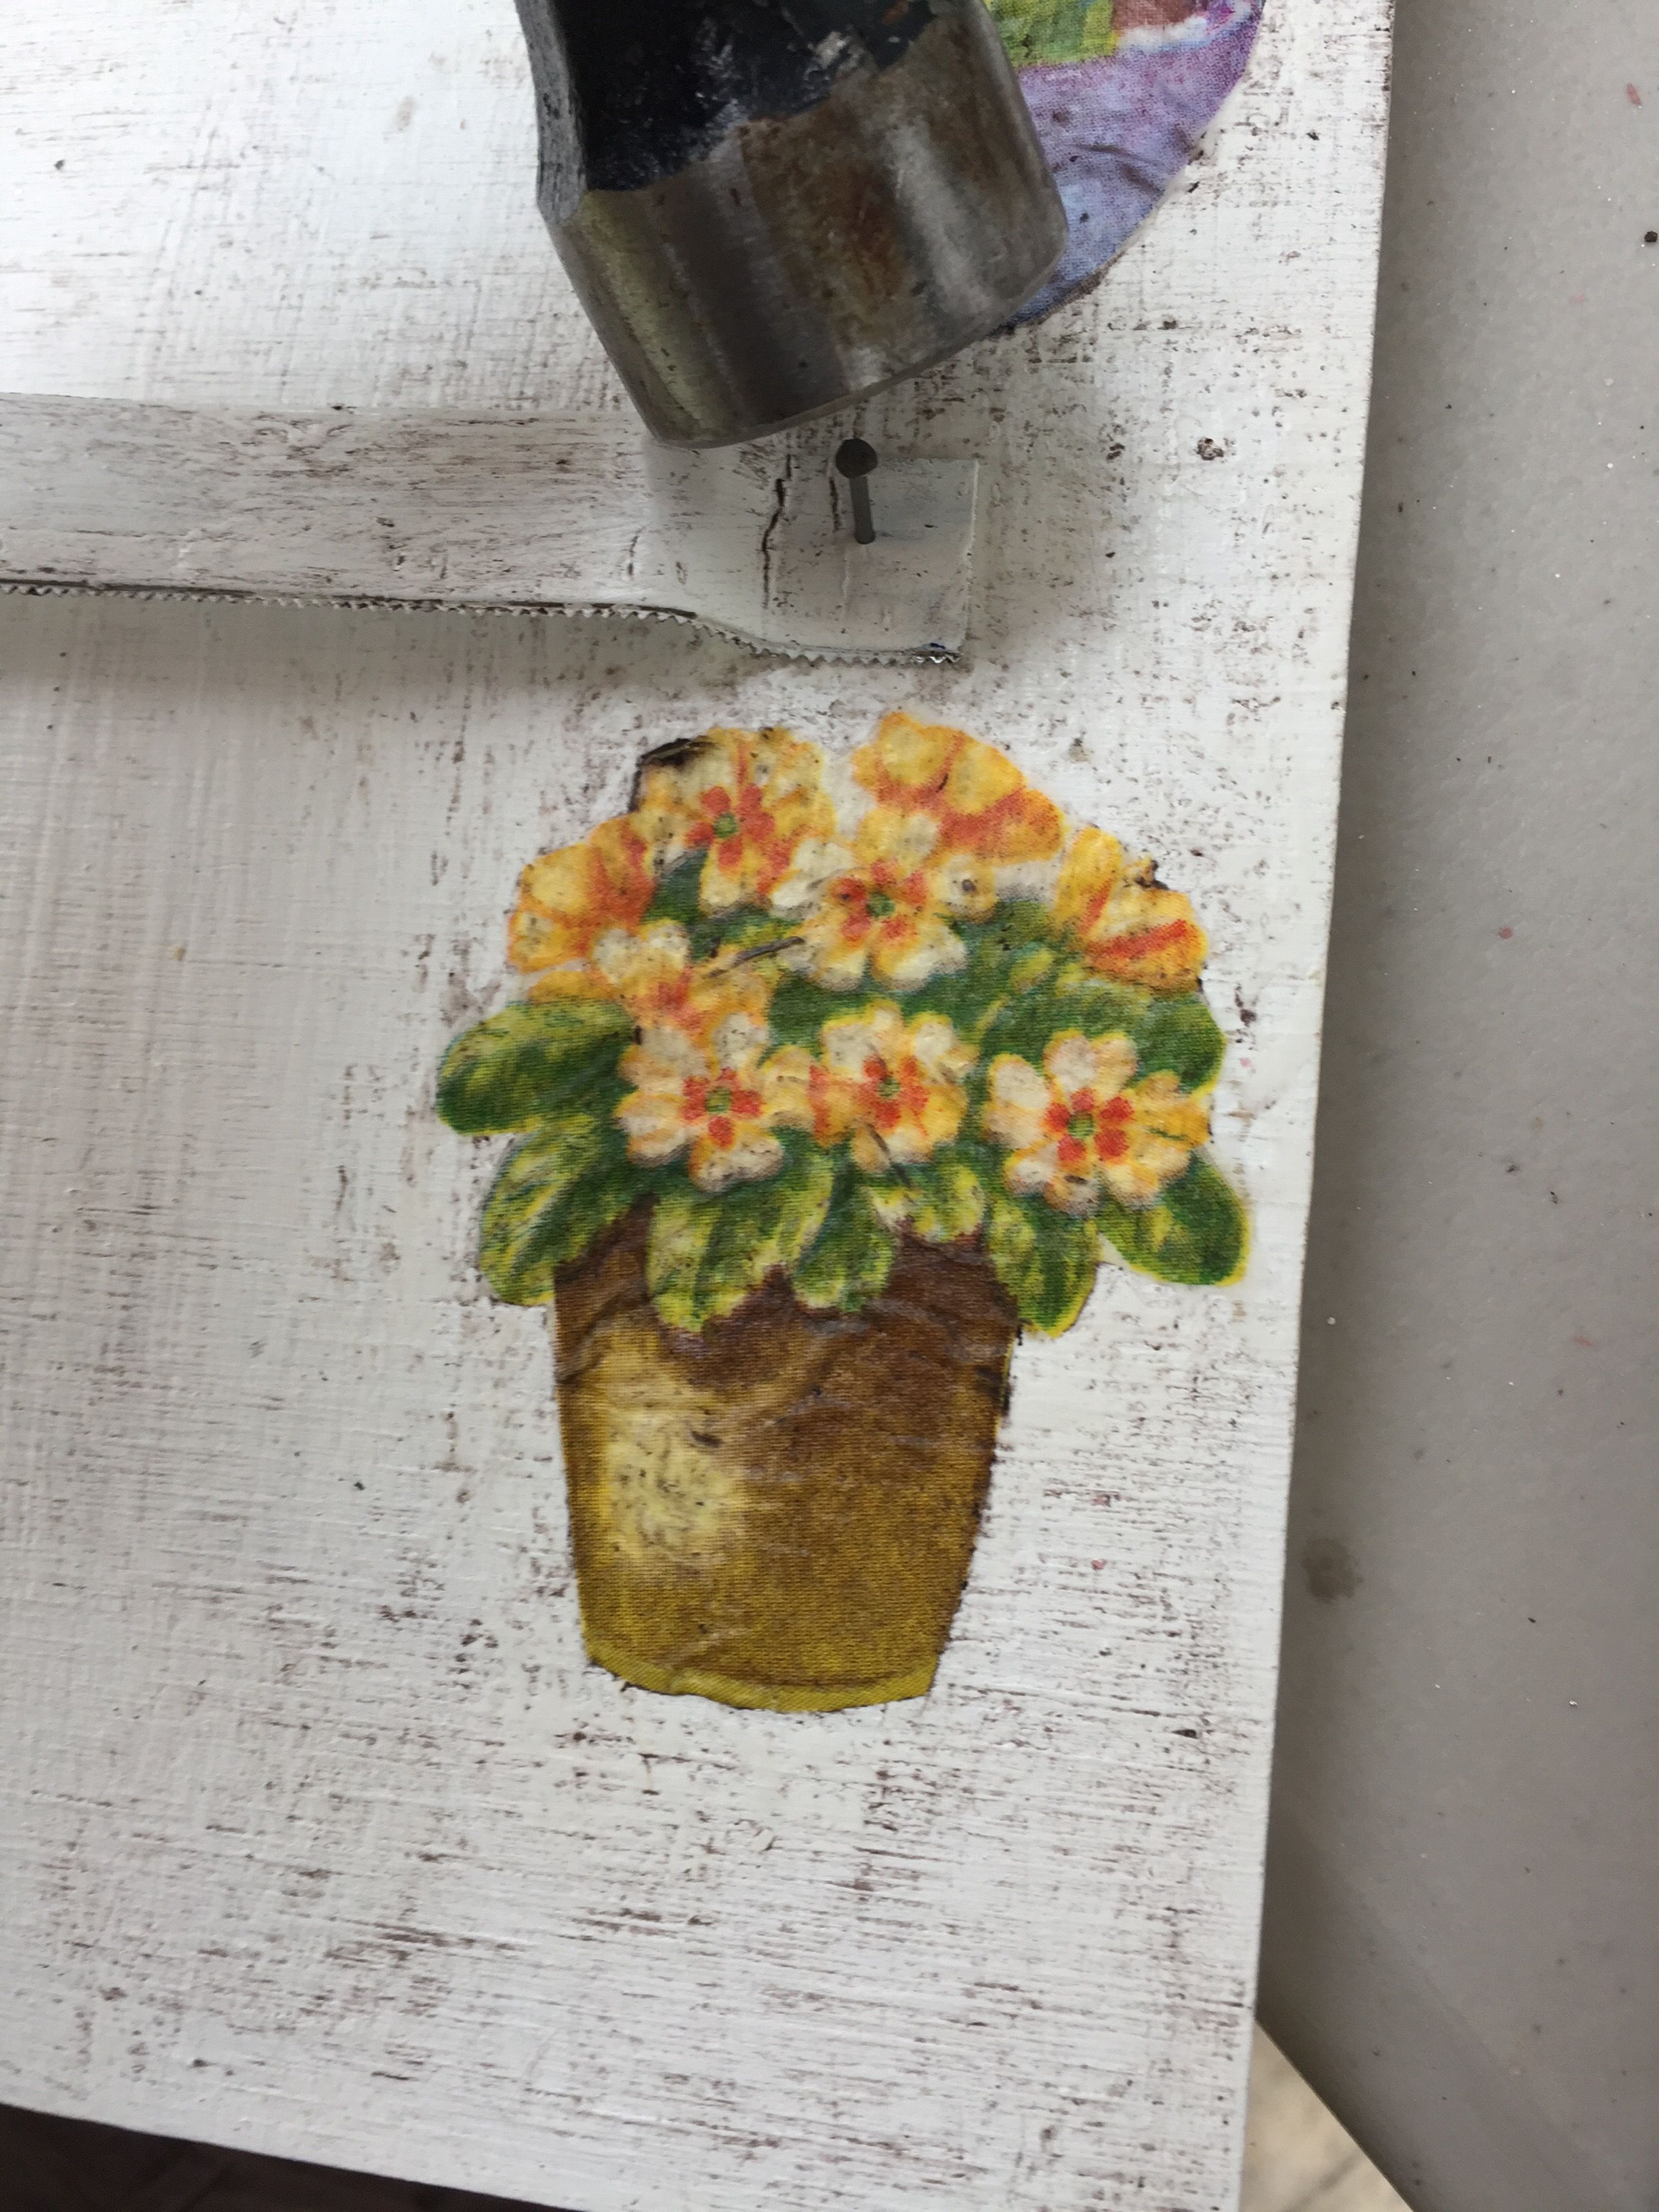
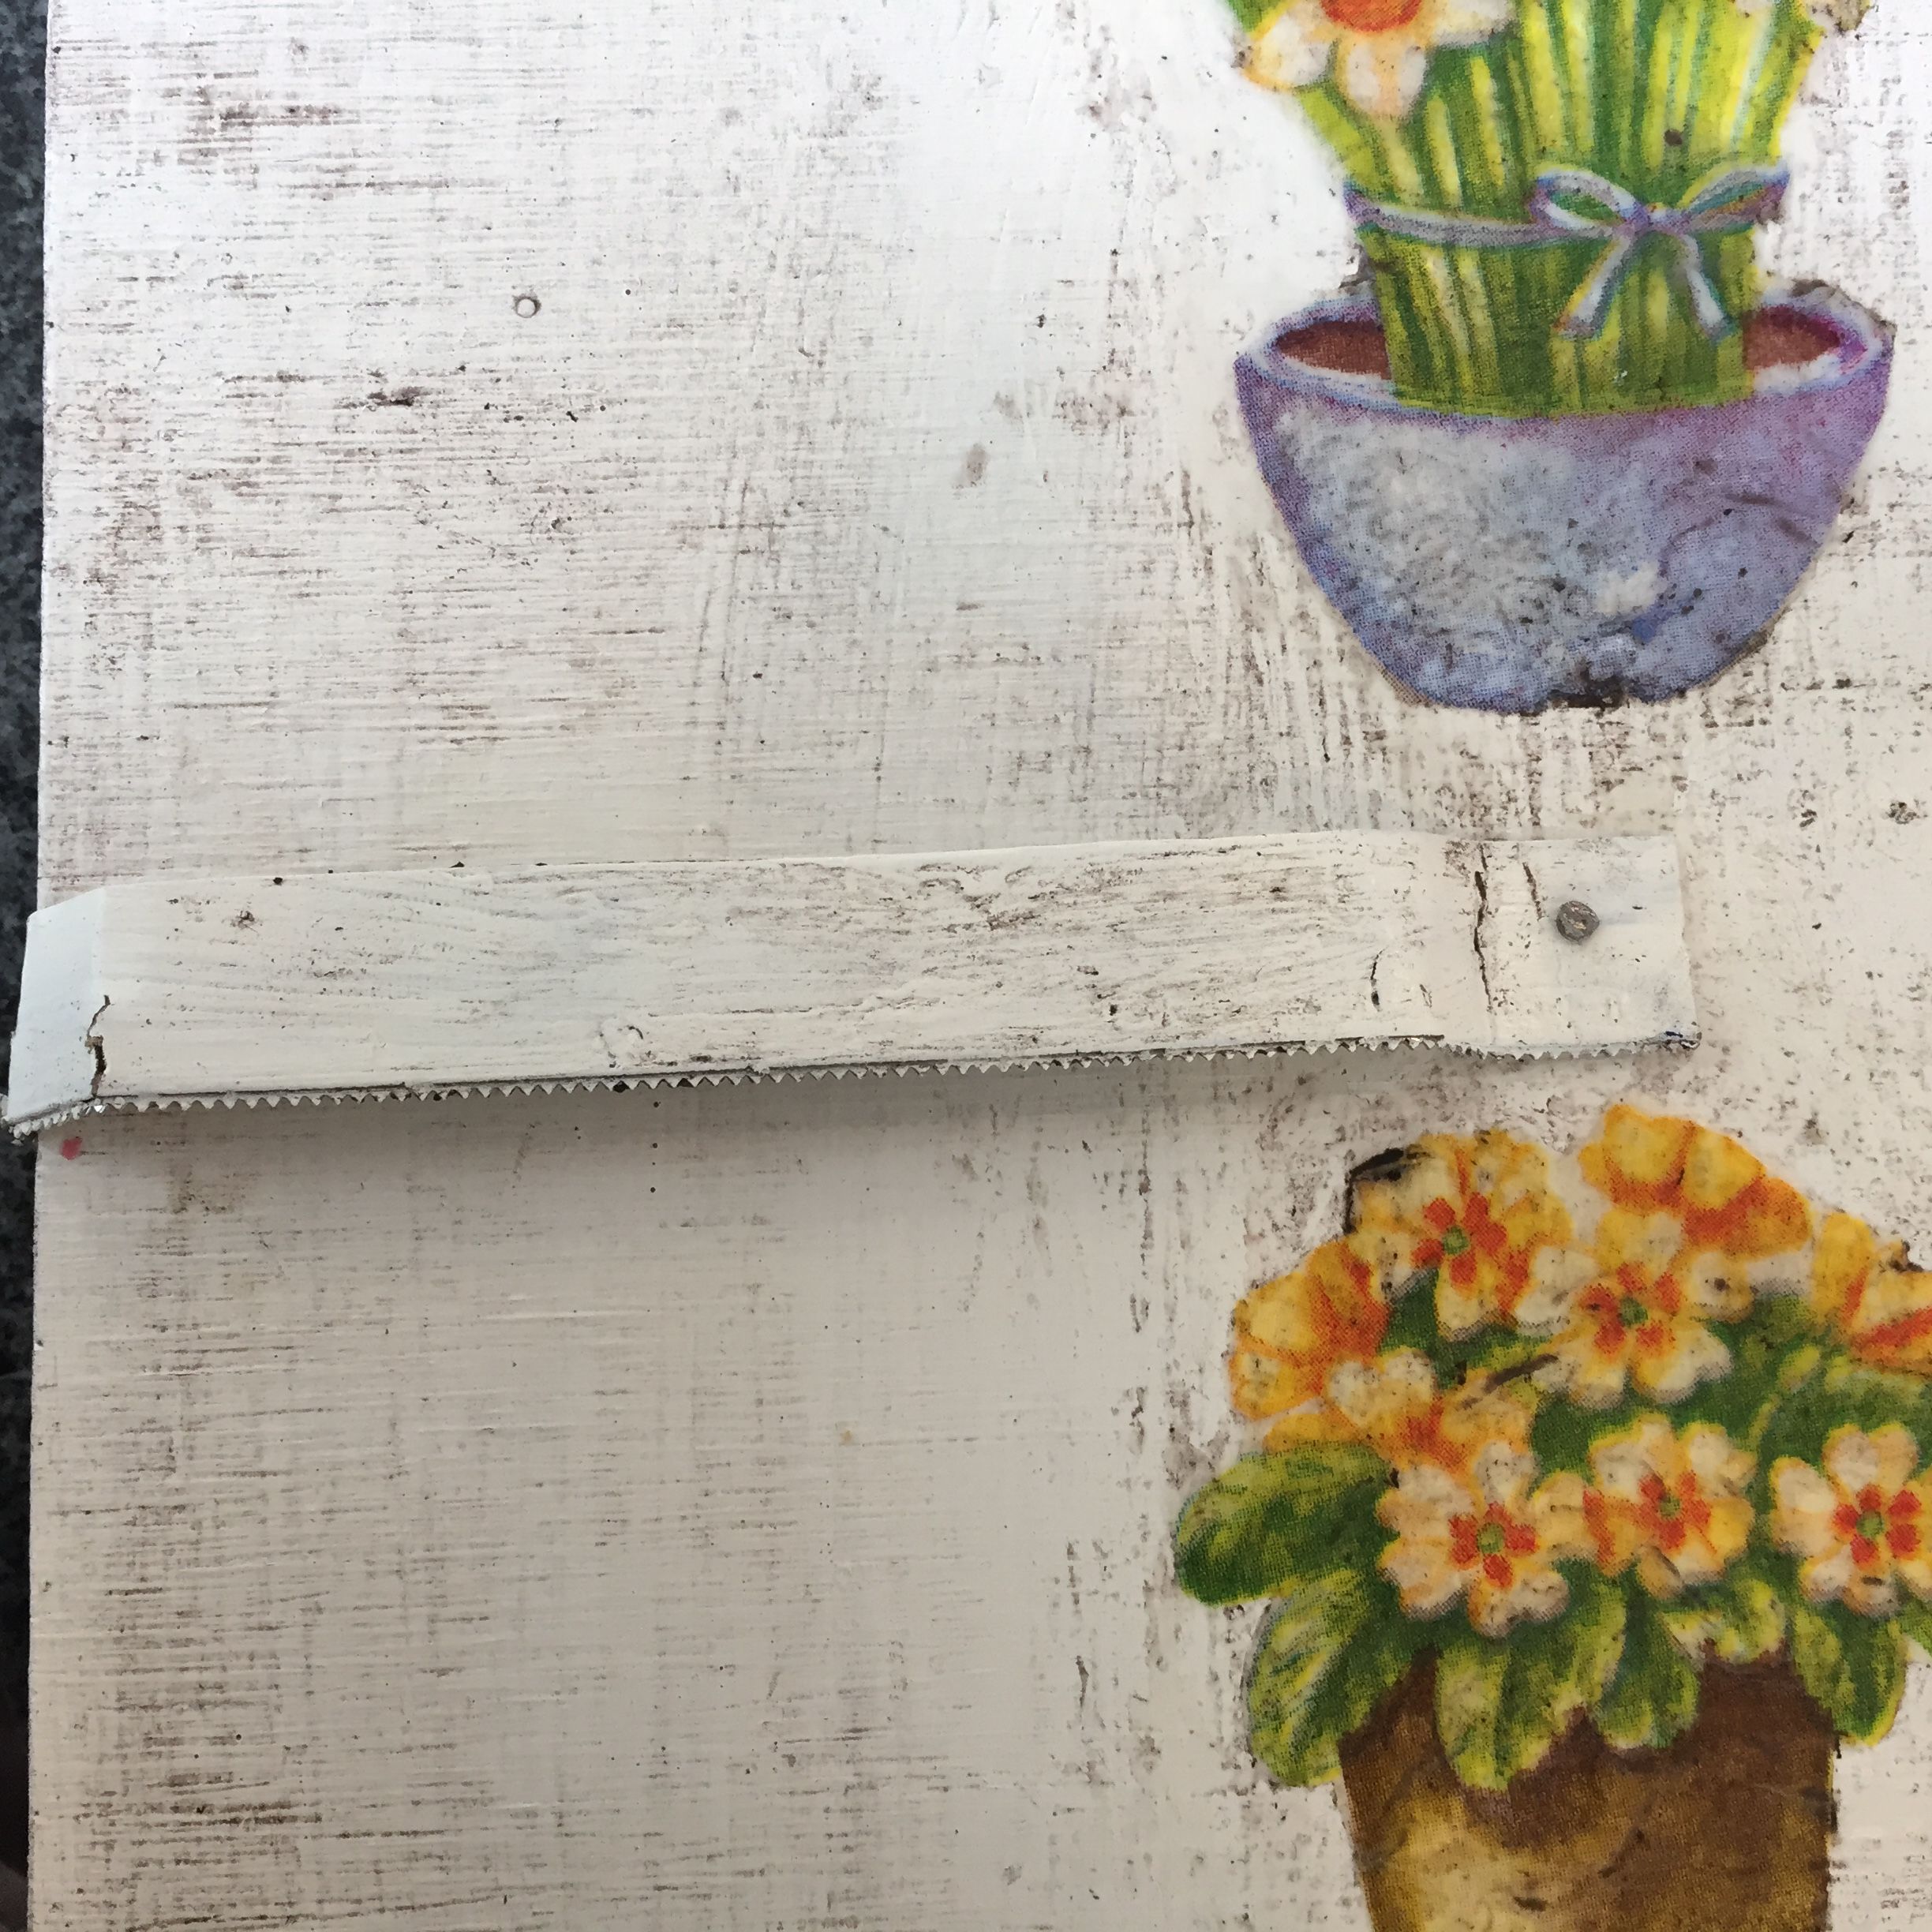
Place your blade in the place you want it to be and nail one nail in each side. You can use a ruler to mark spots to put it horizontally.
Drill
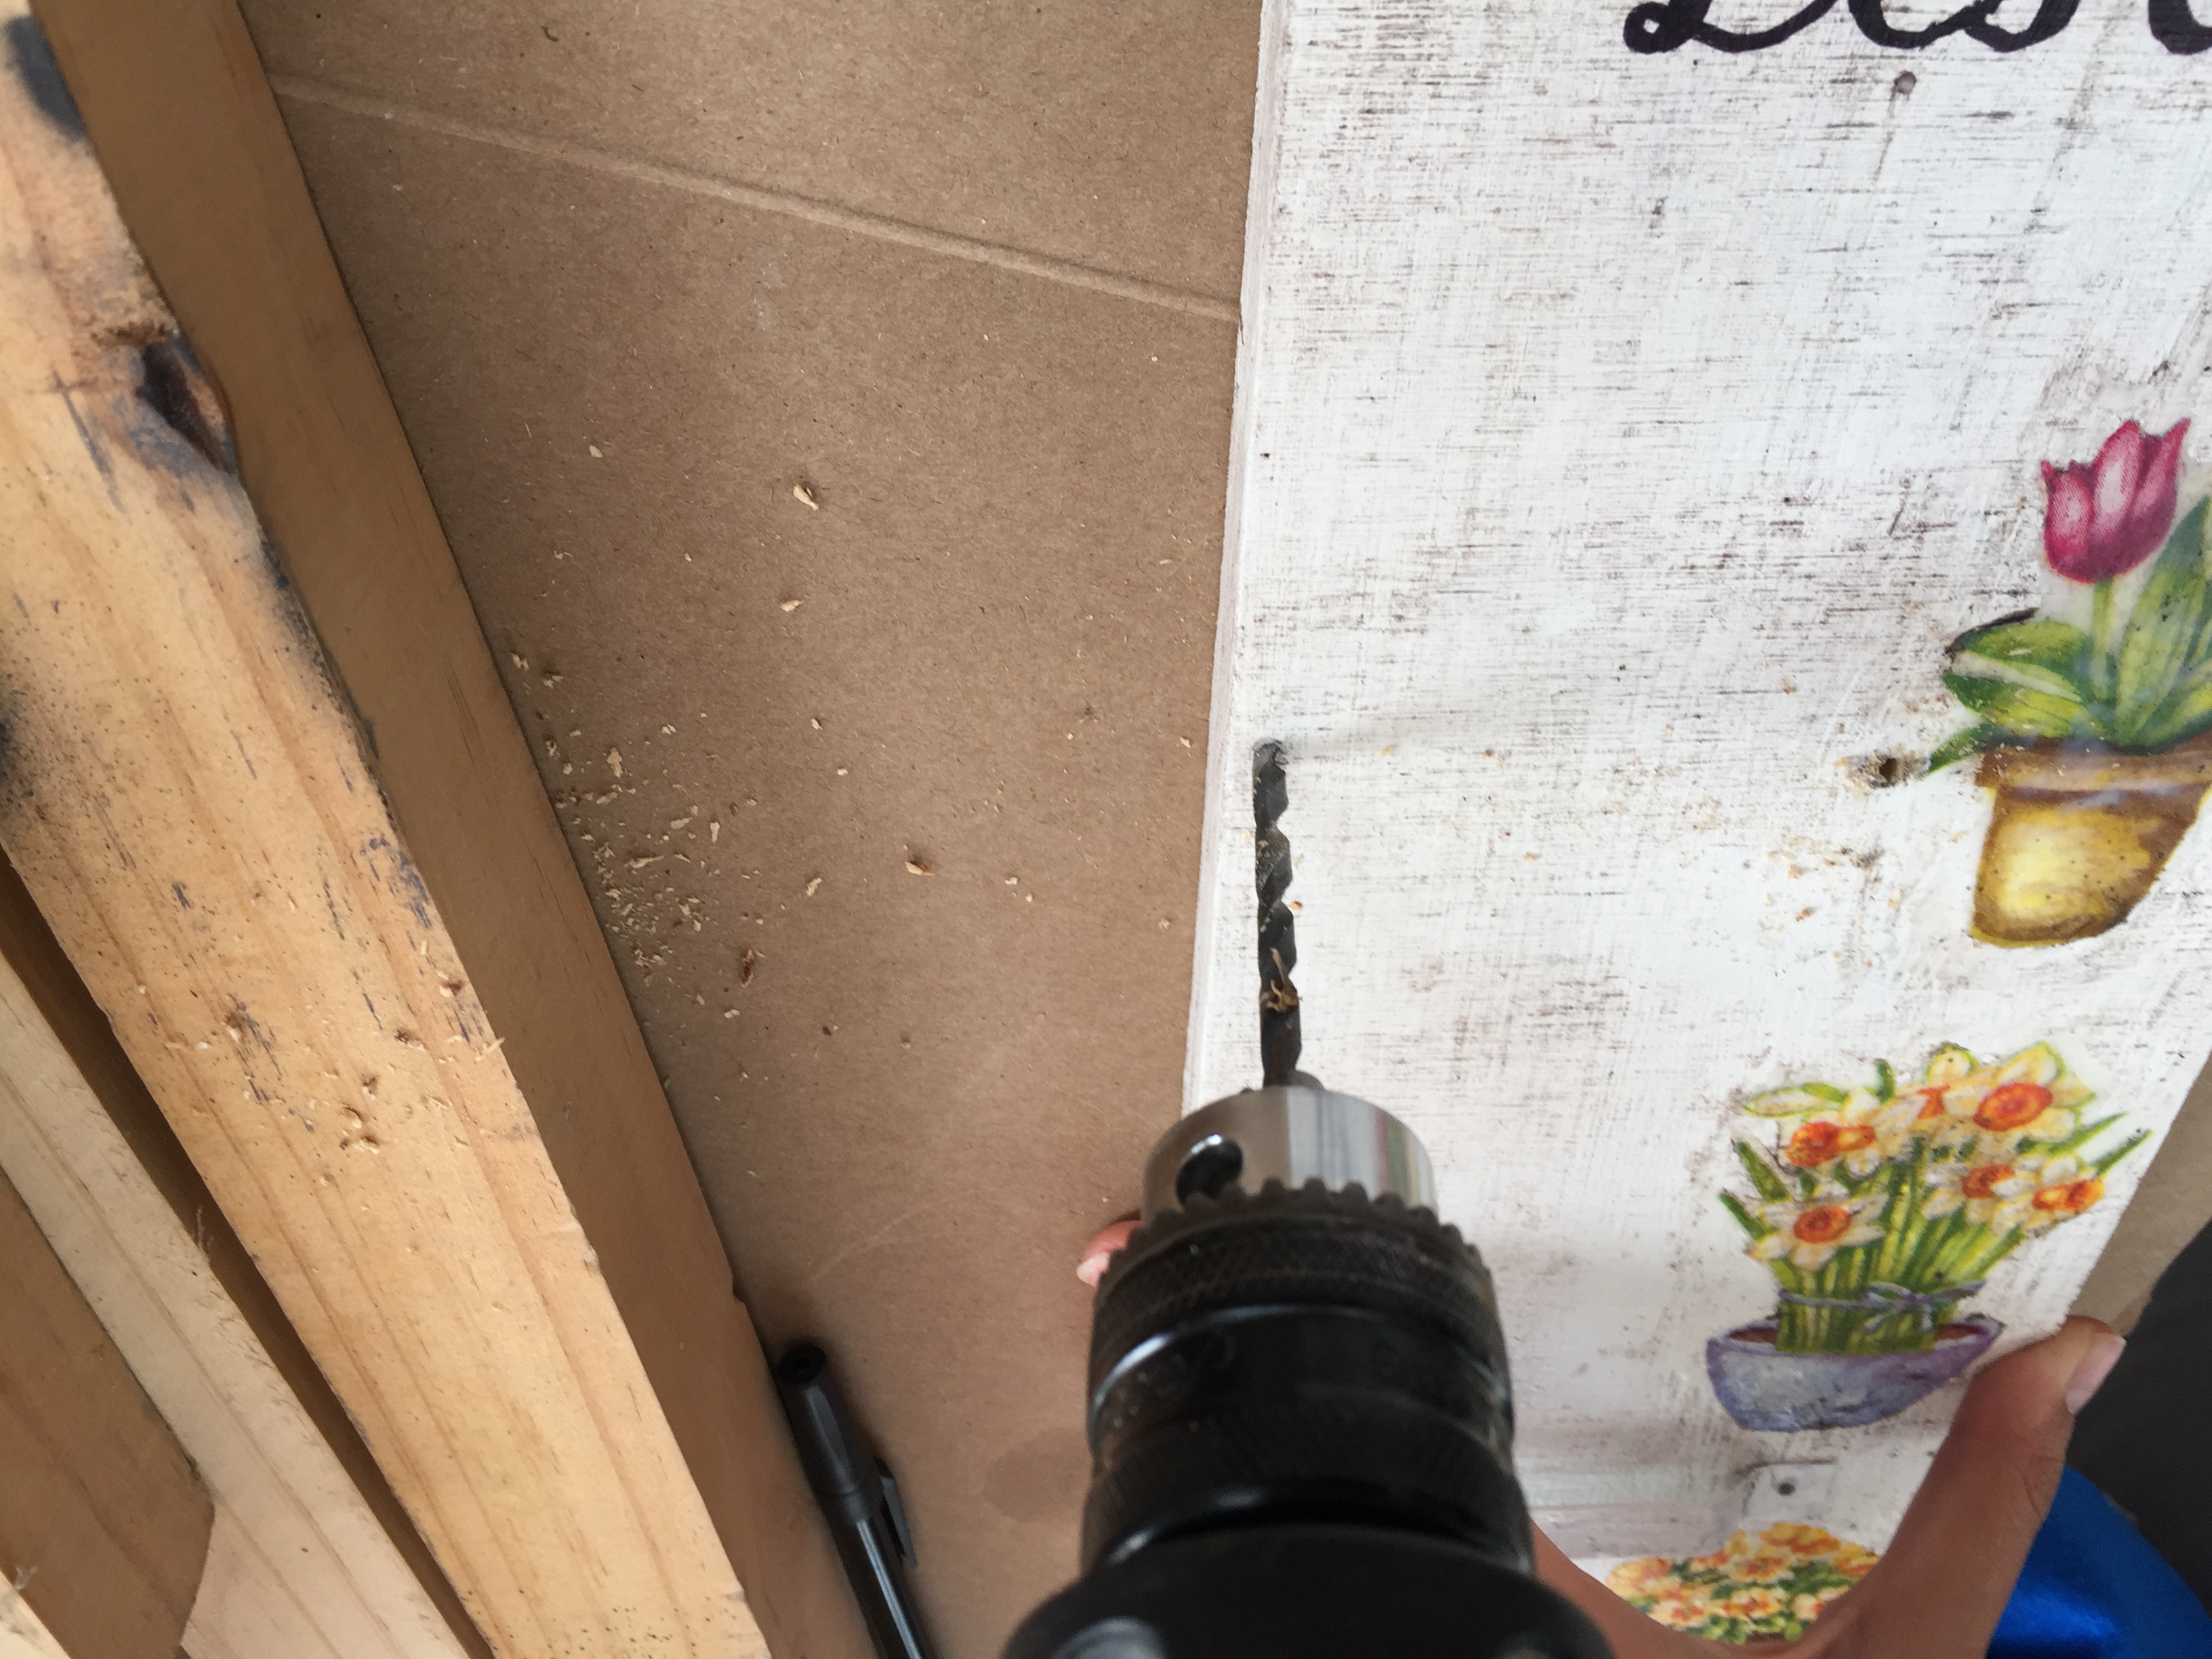
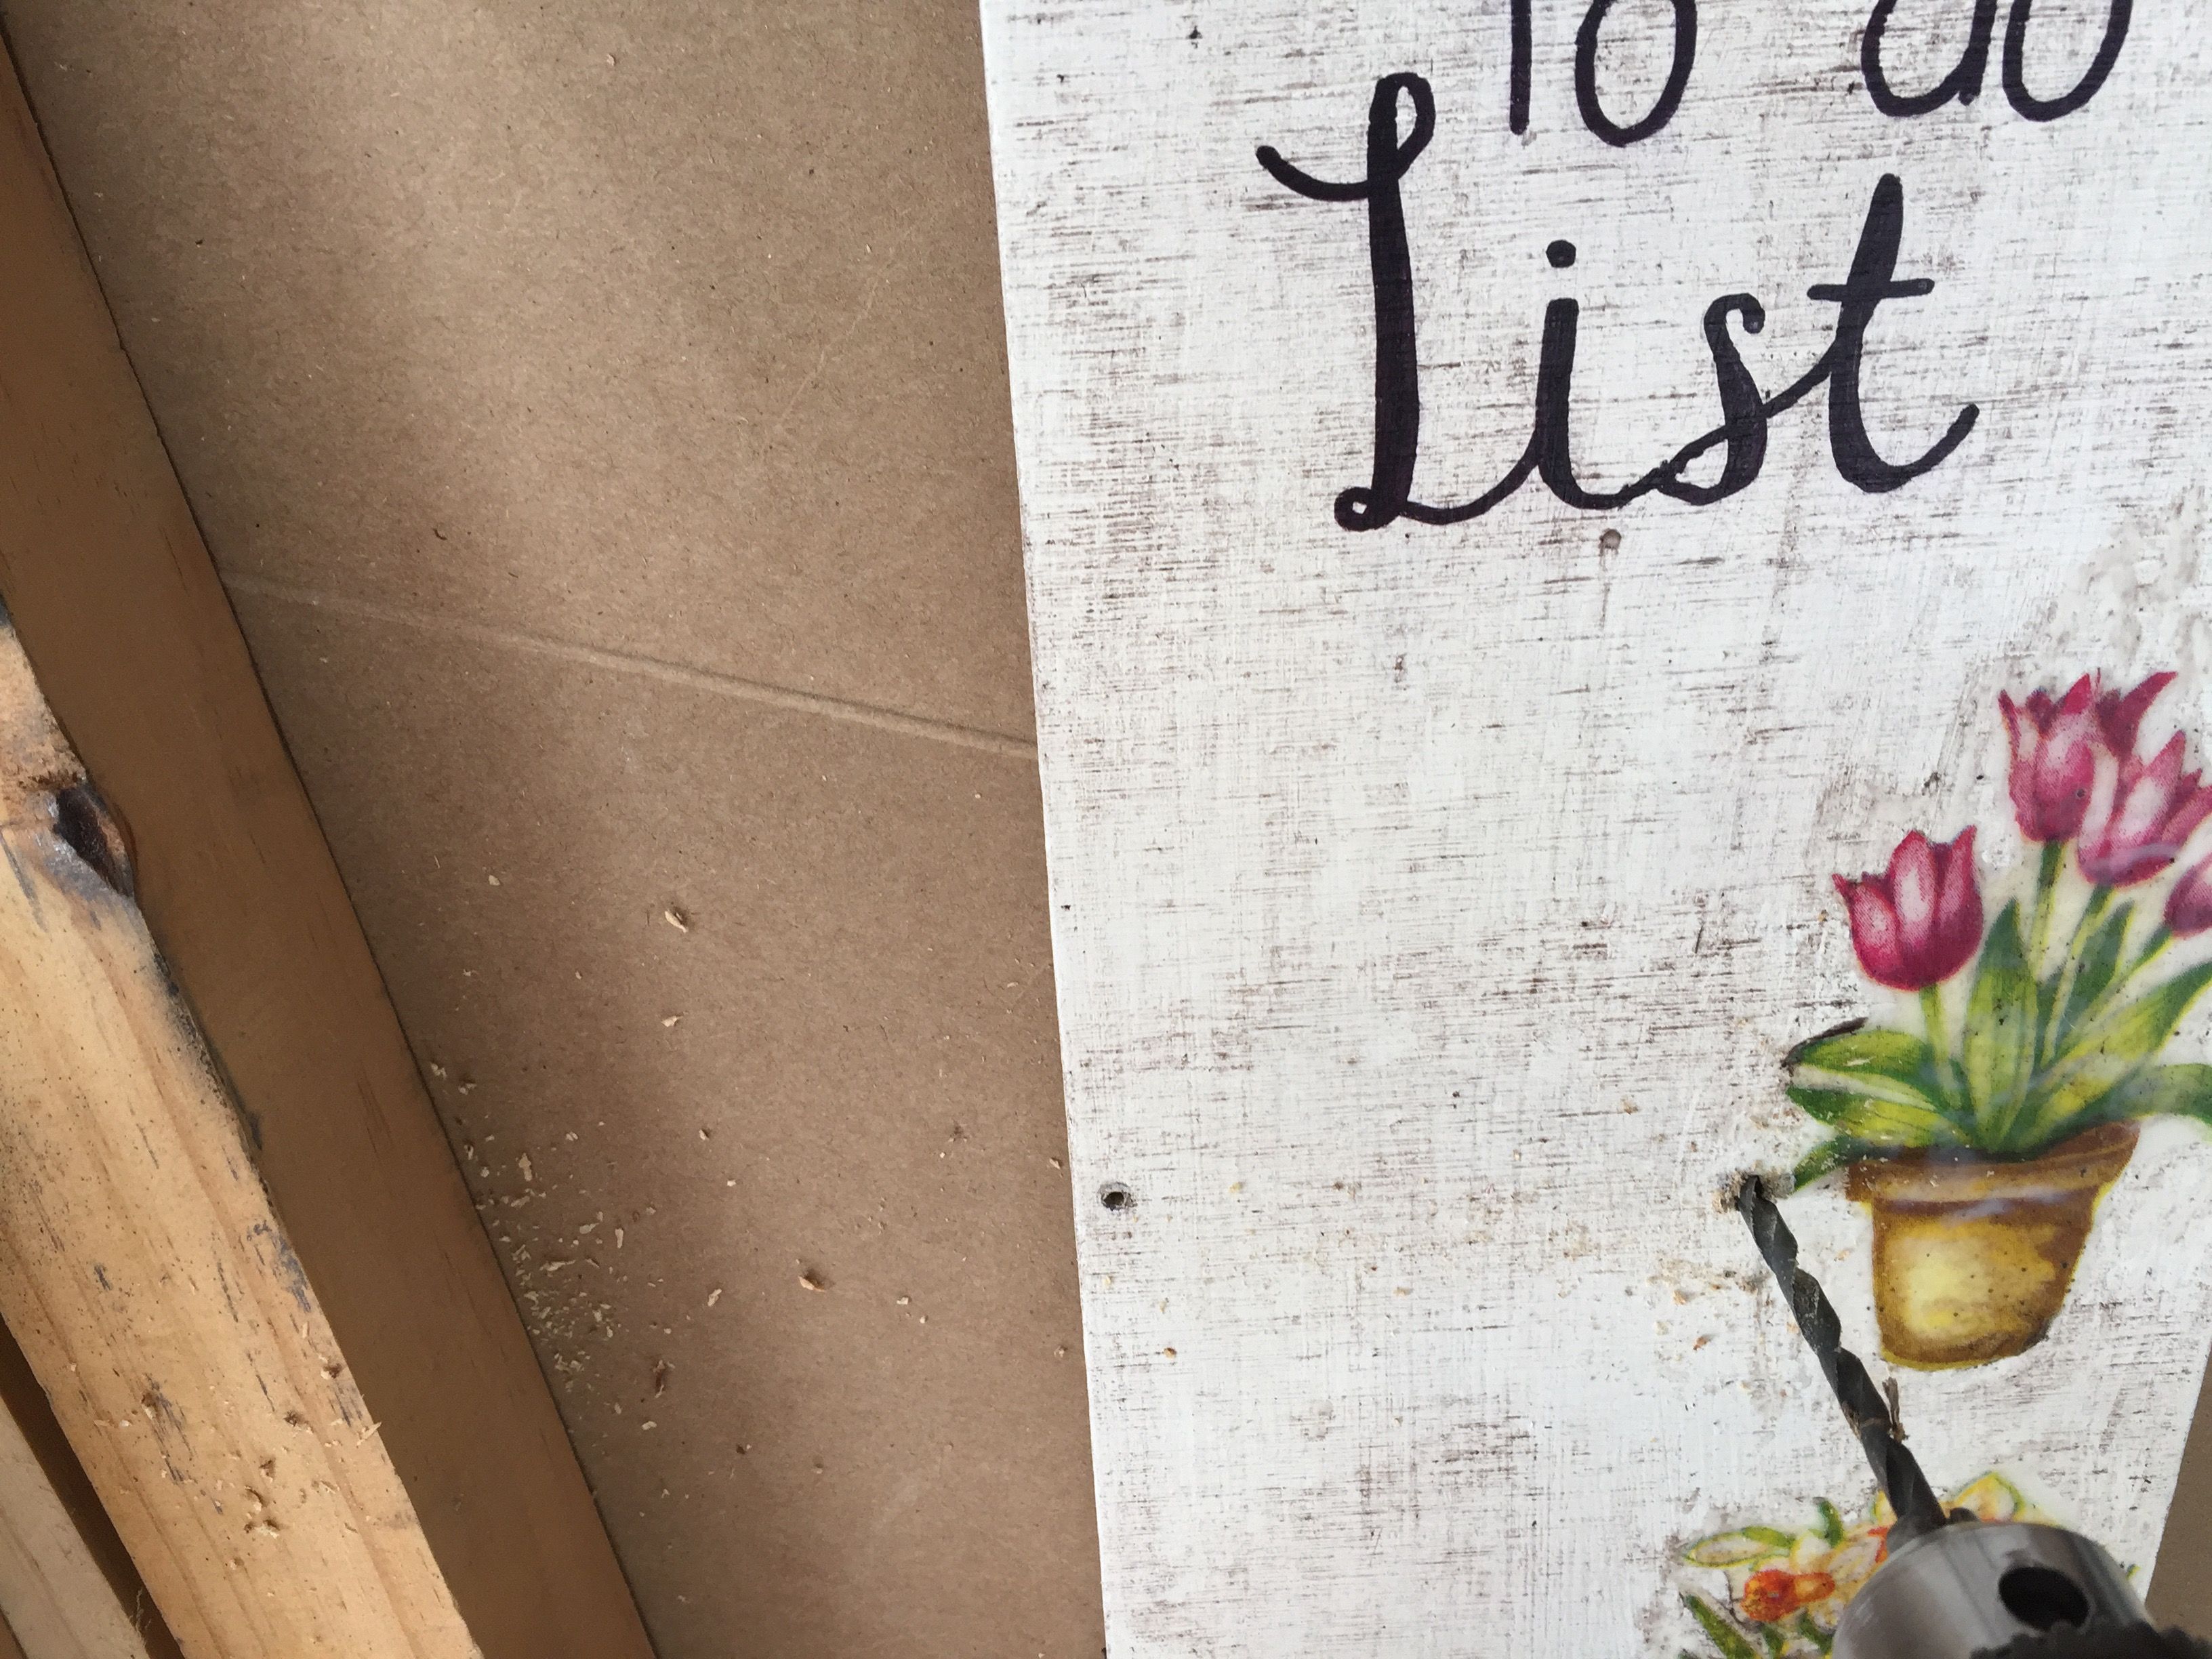
You're going to drill 3 holes: two for the wire that will hold the paper roll and one in the other side of the board to hold the pen.
Wire
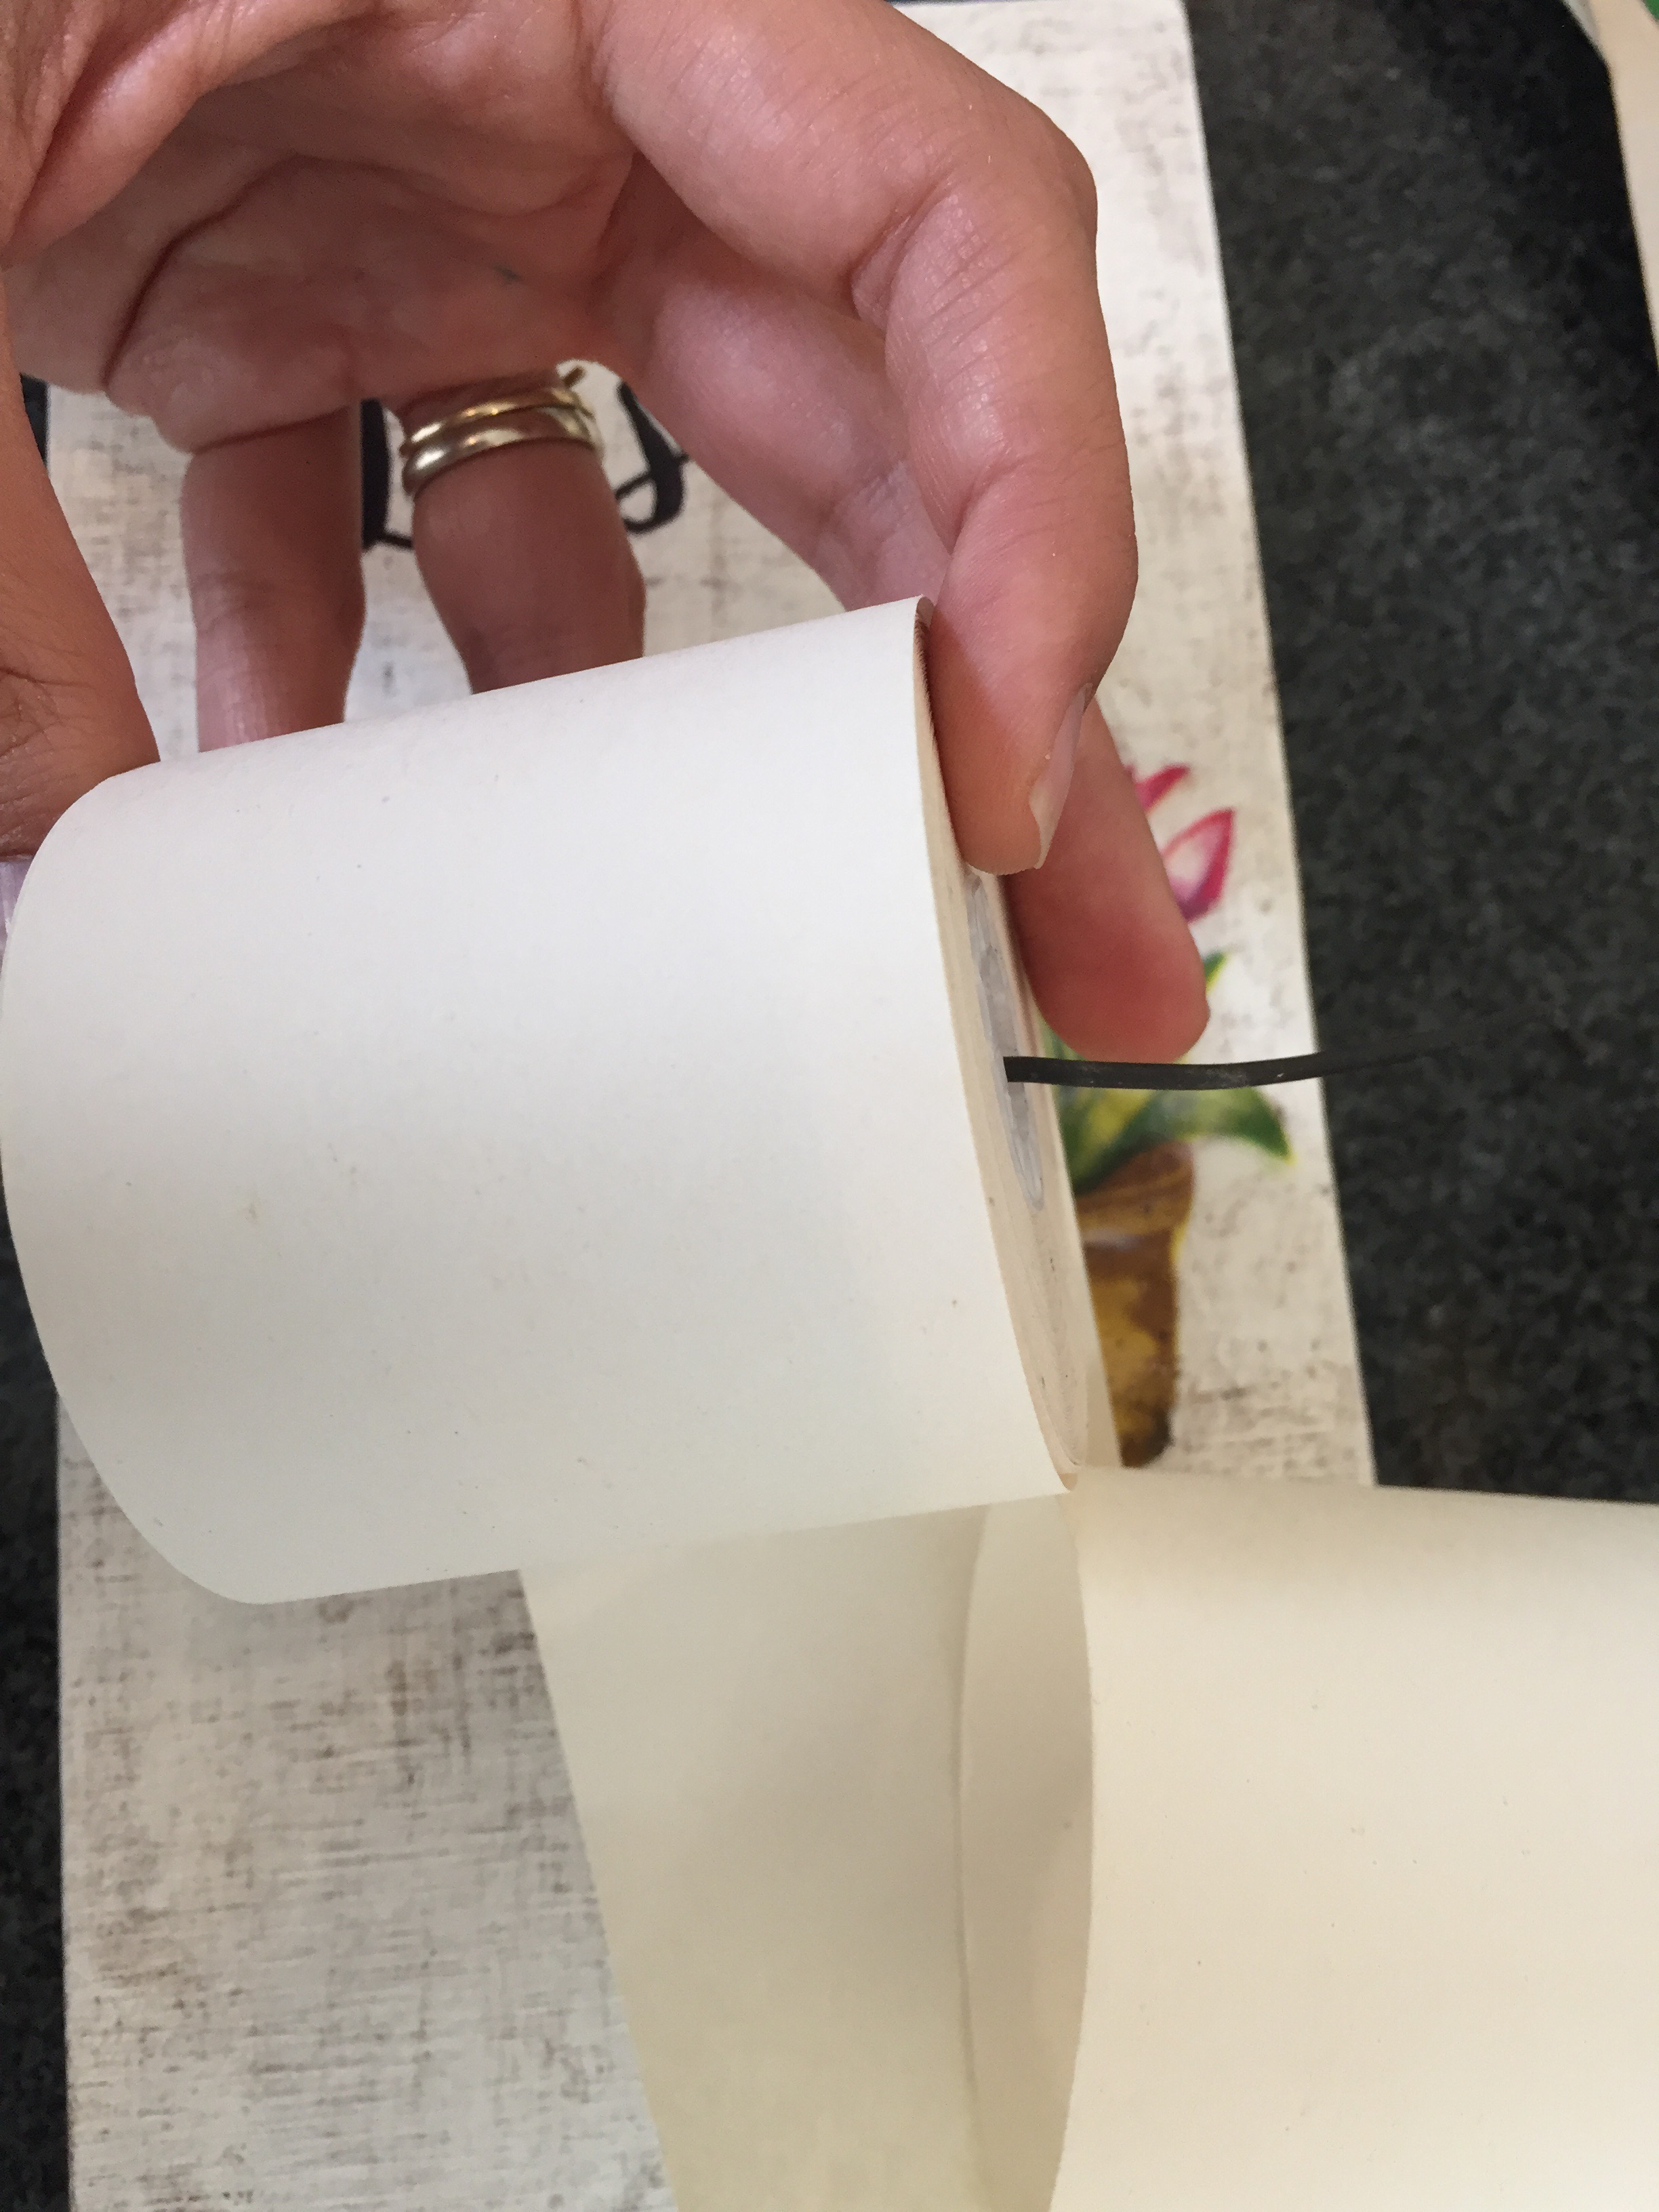
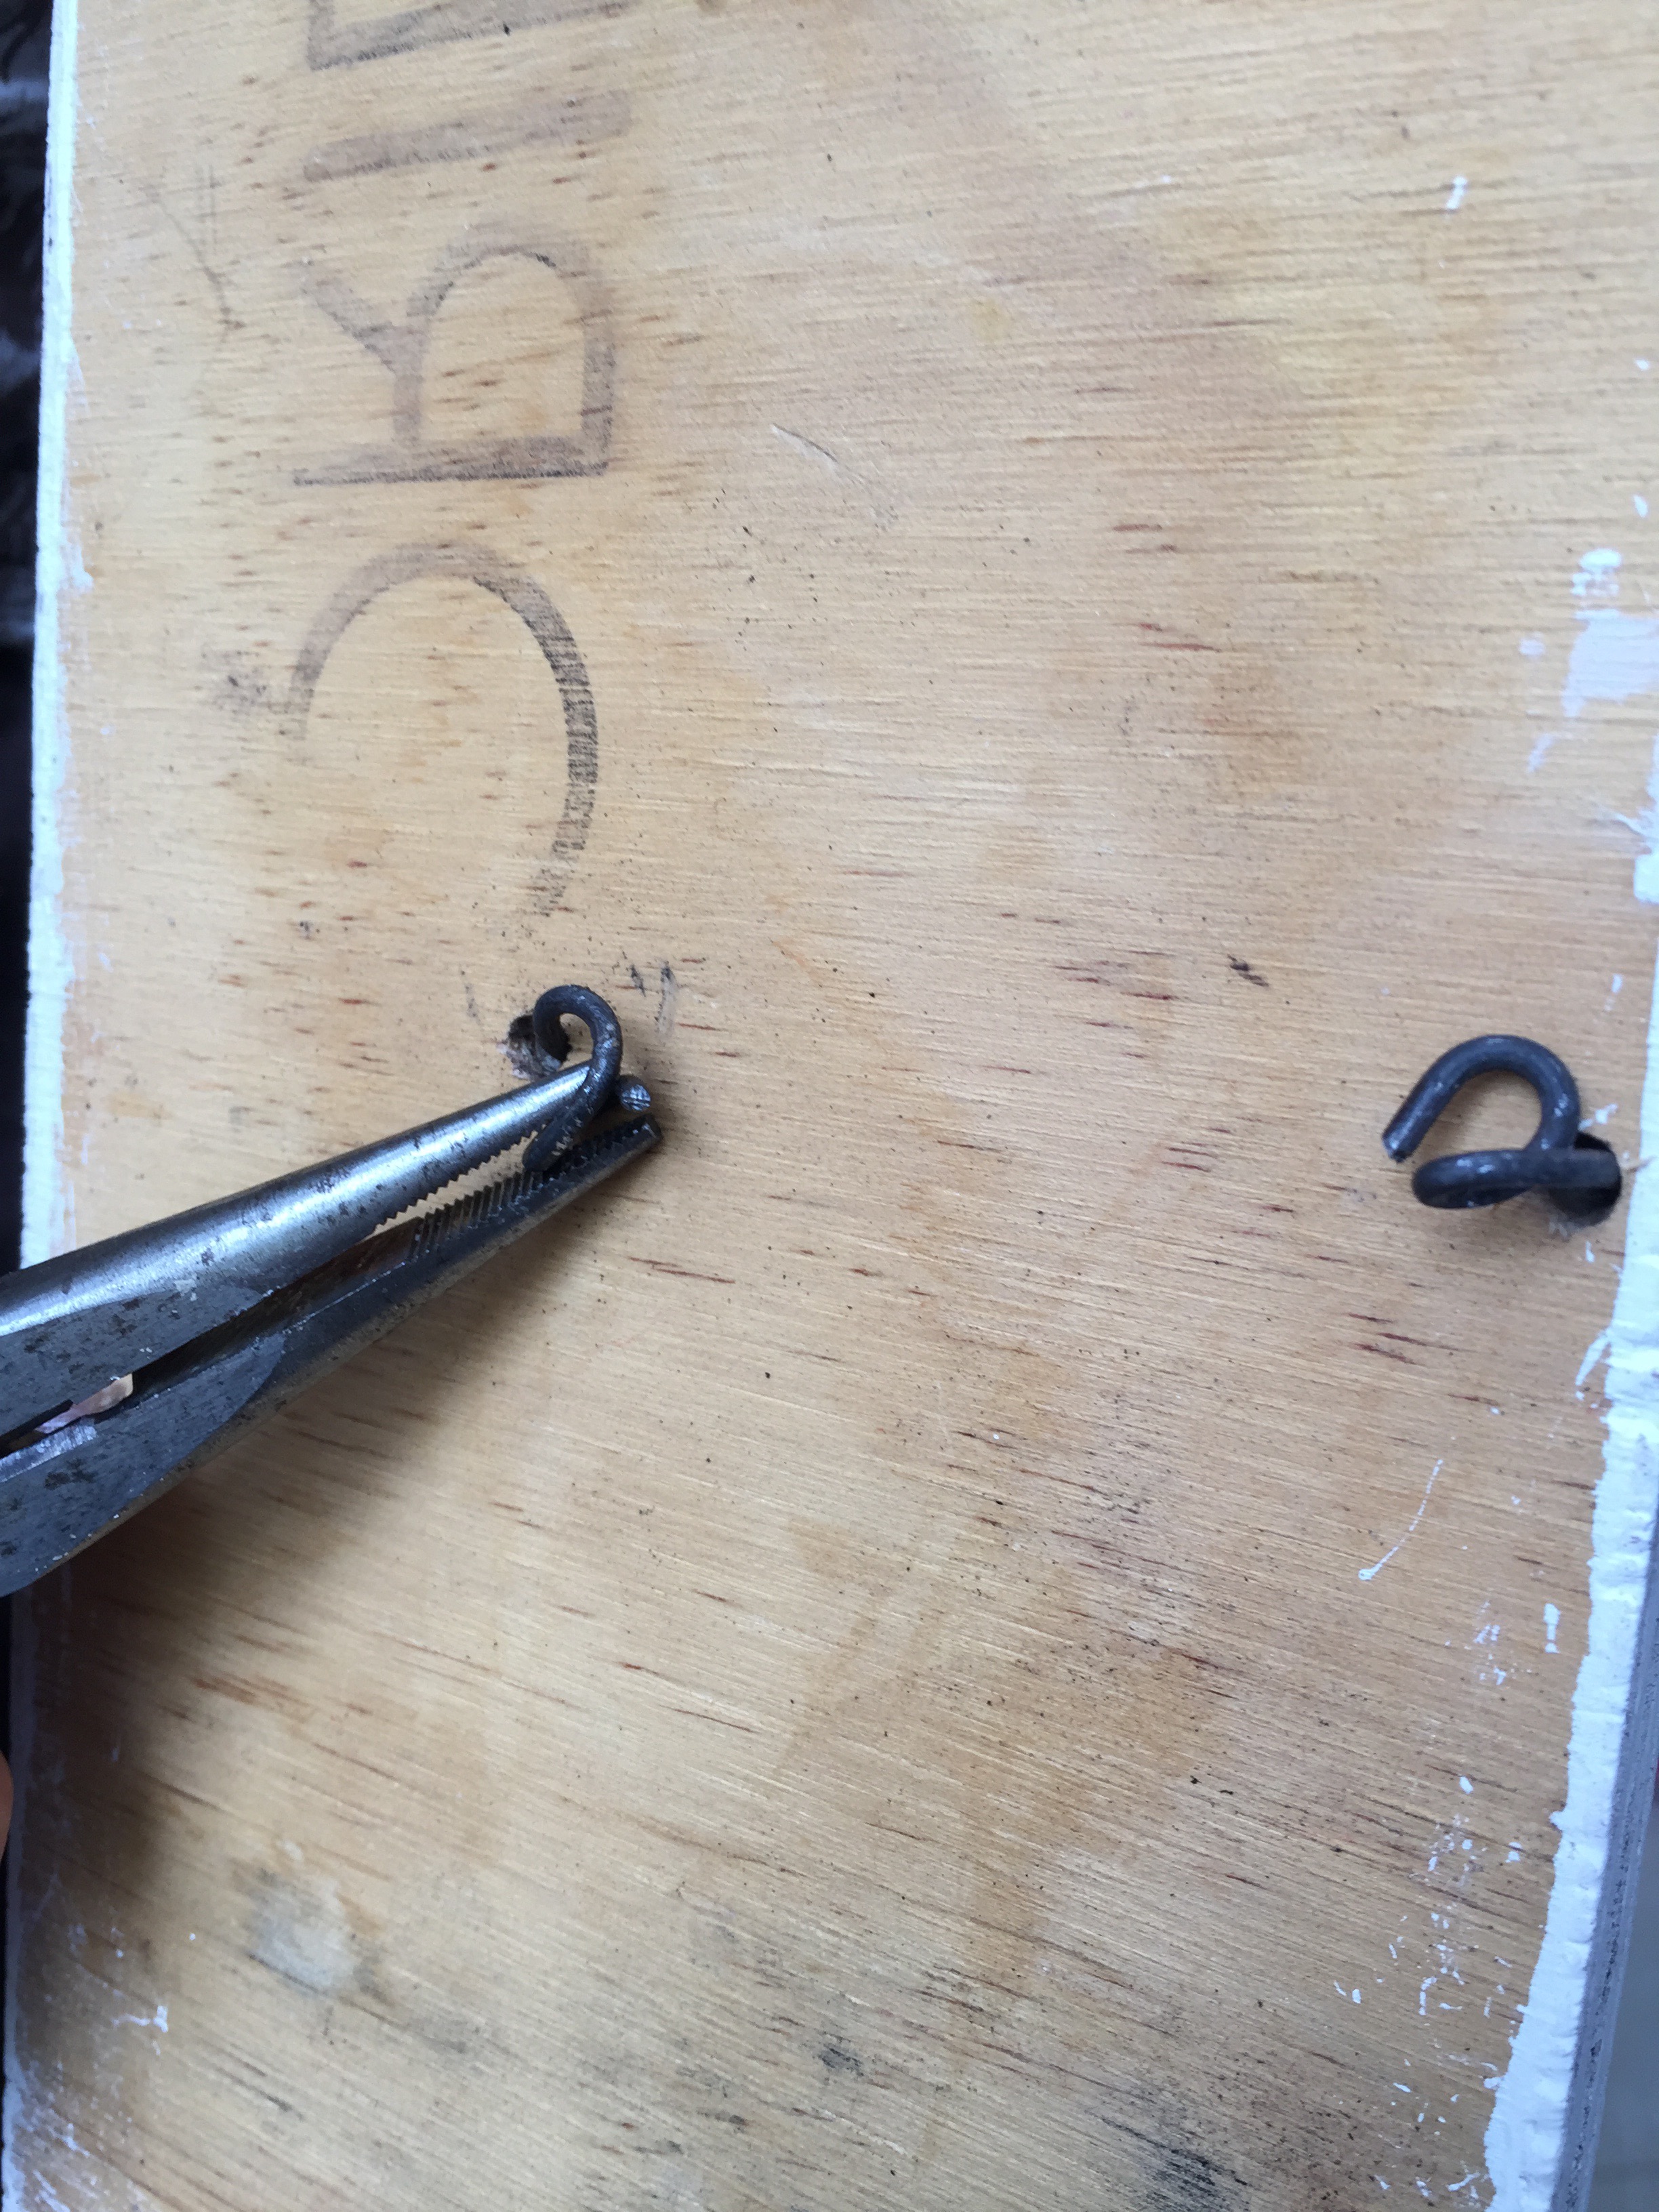
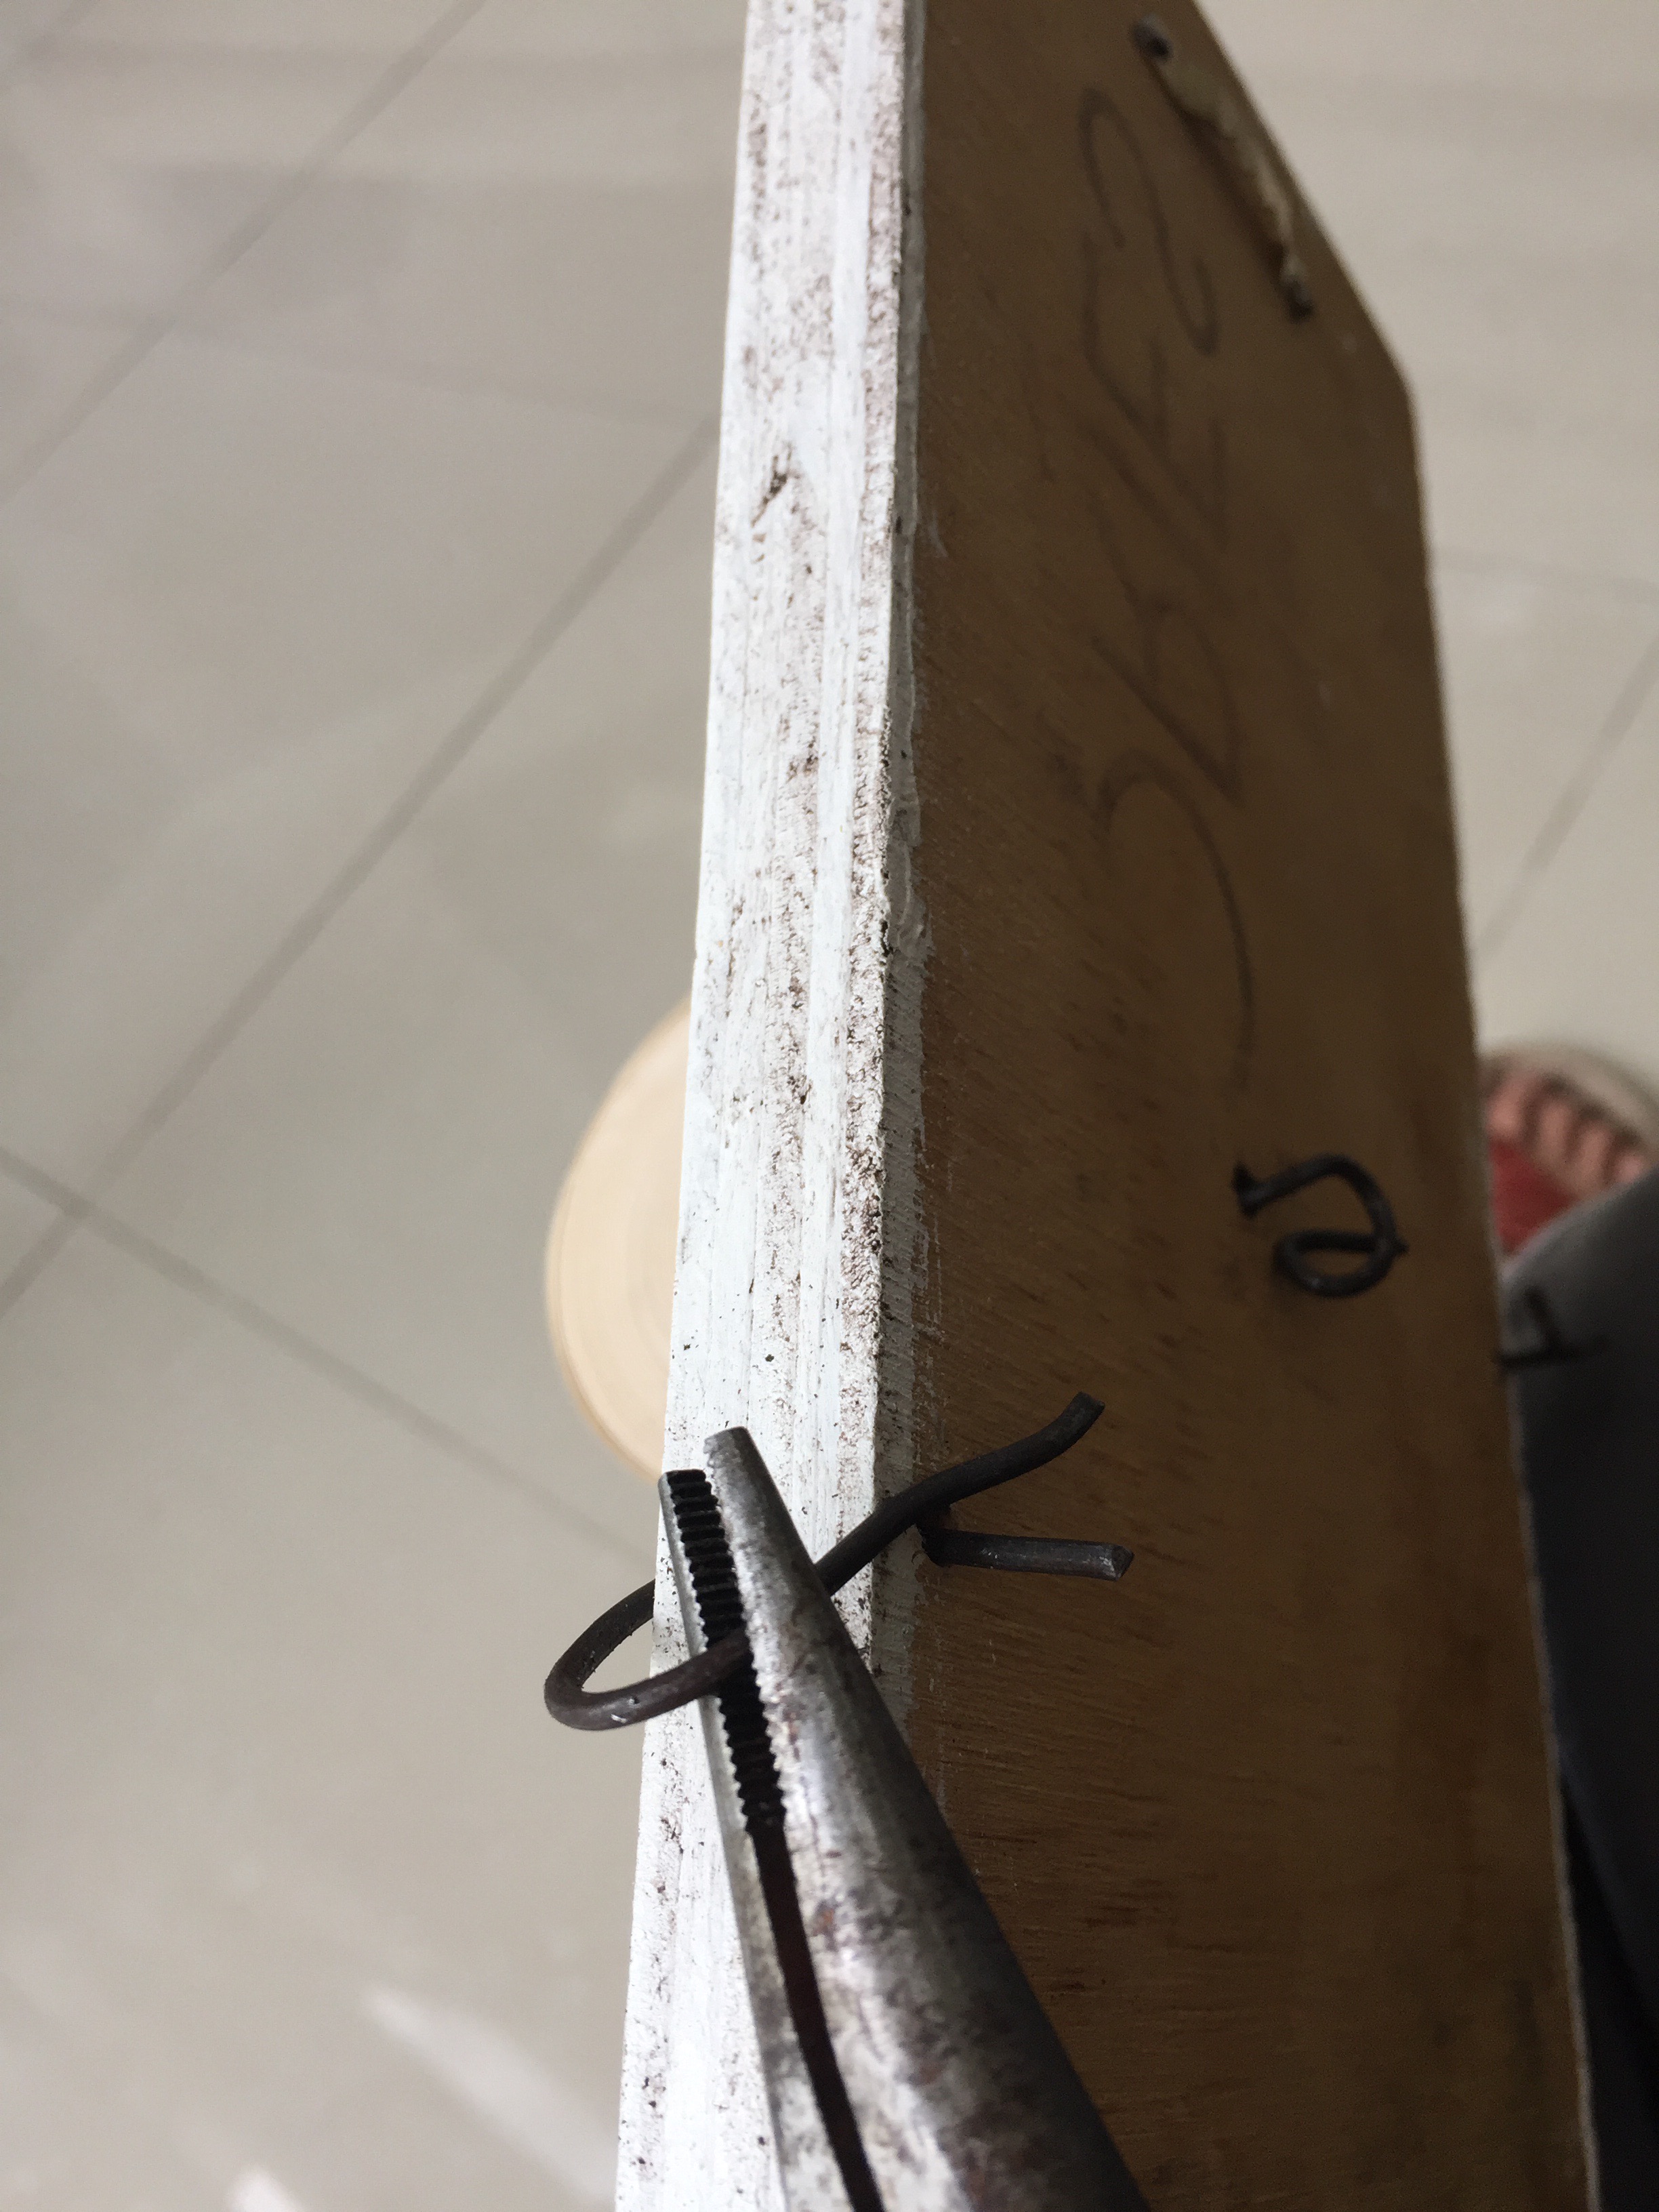
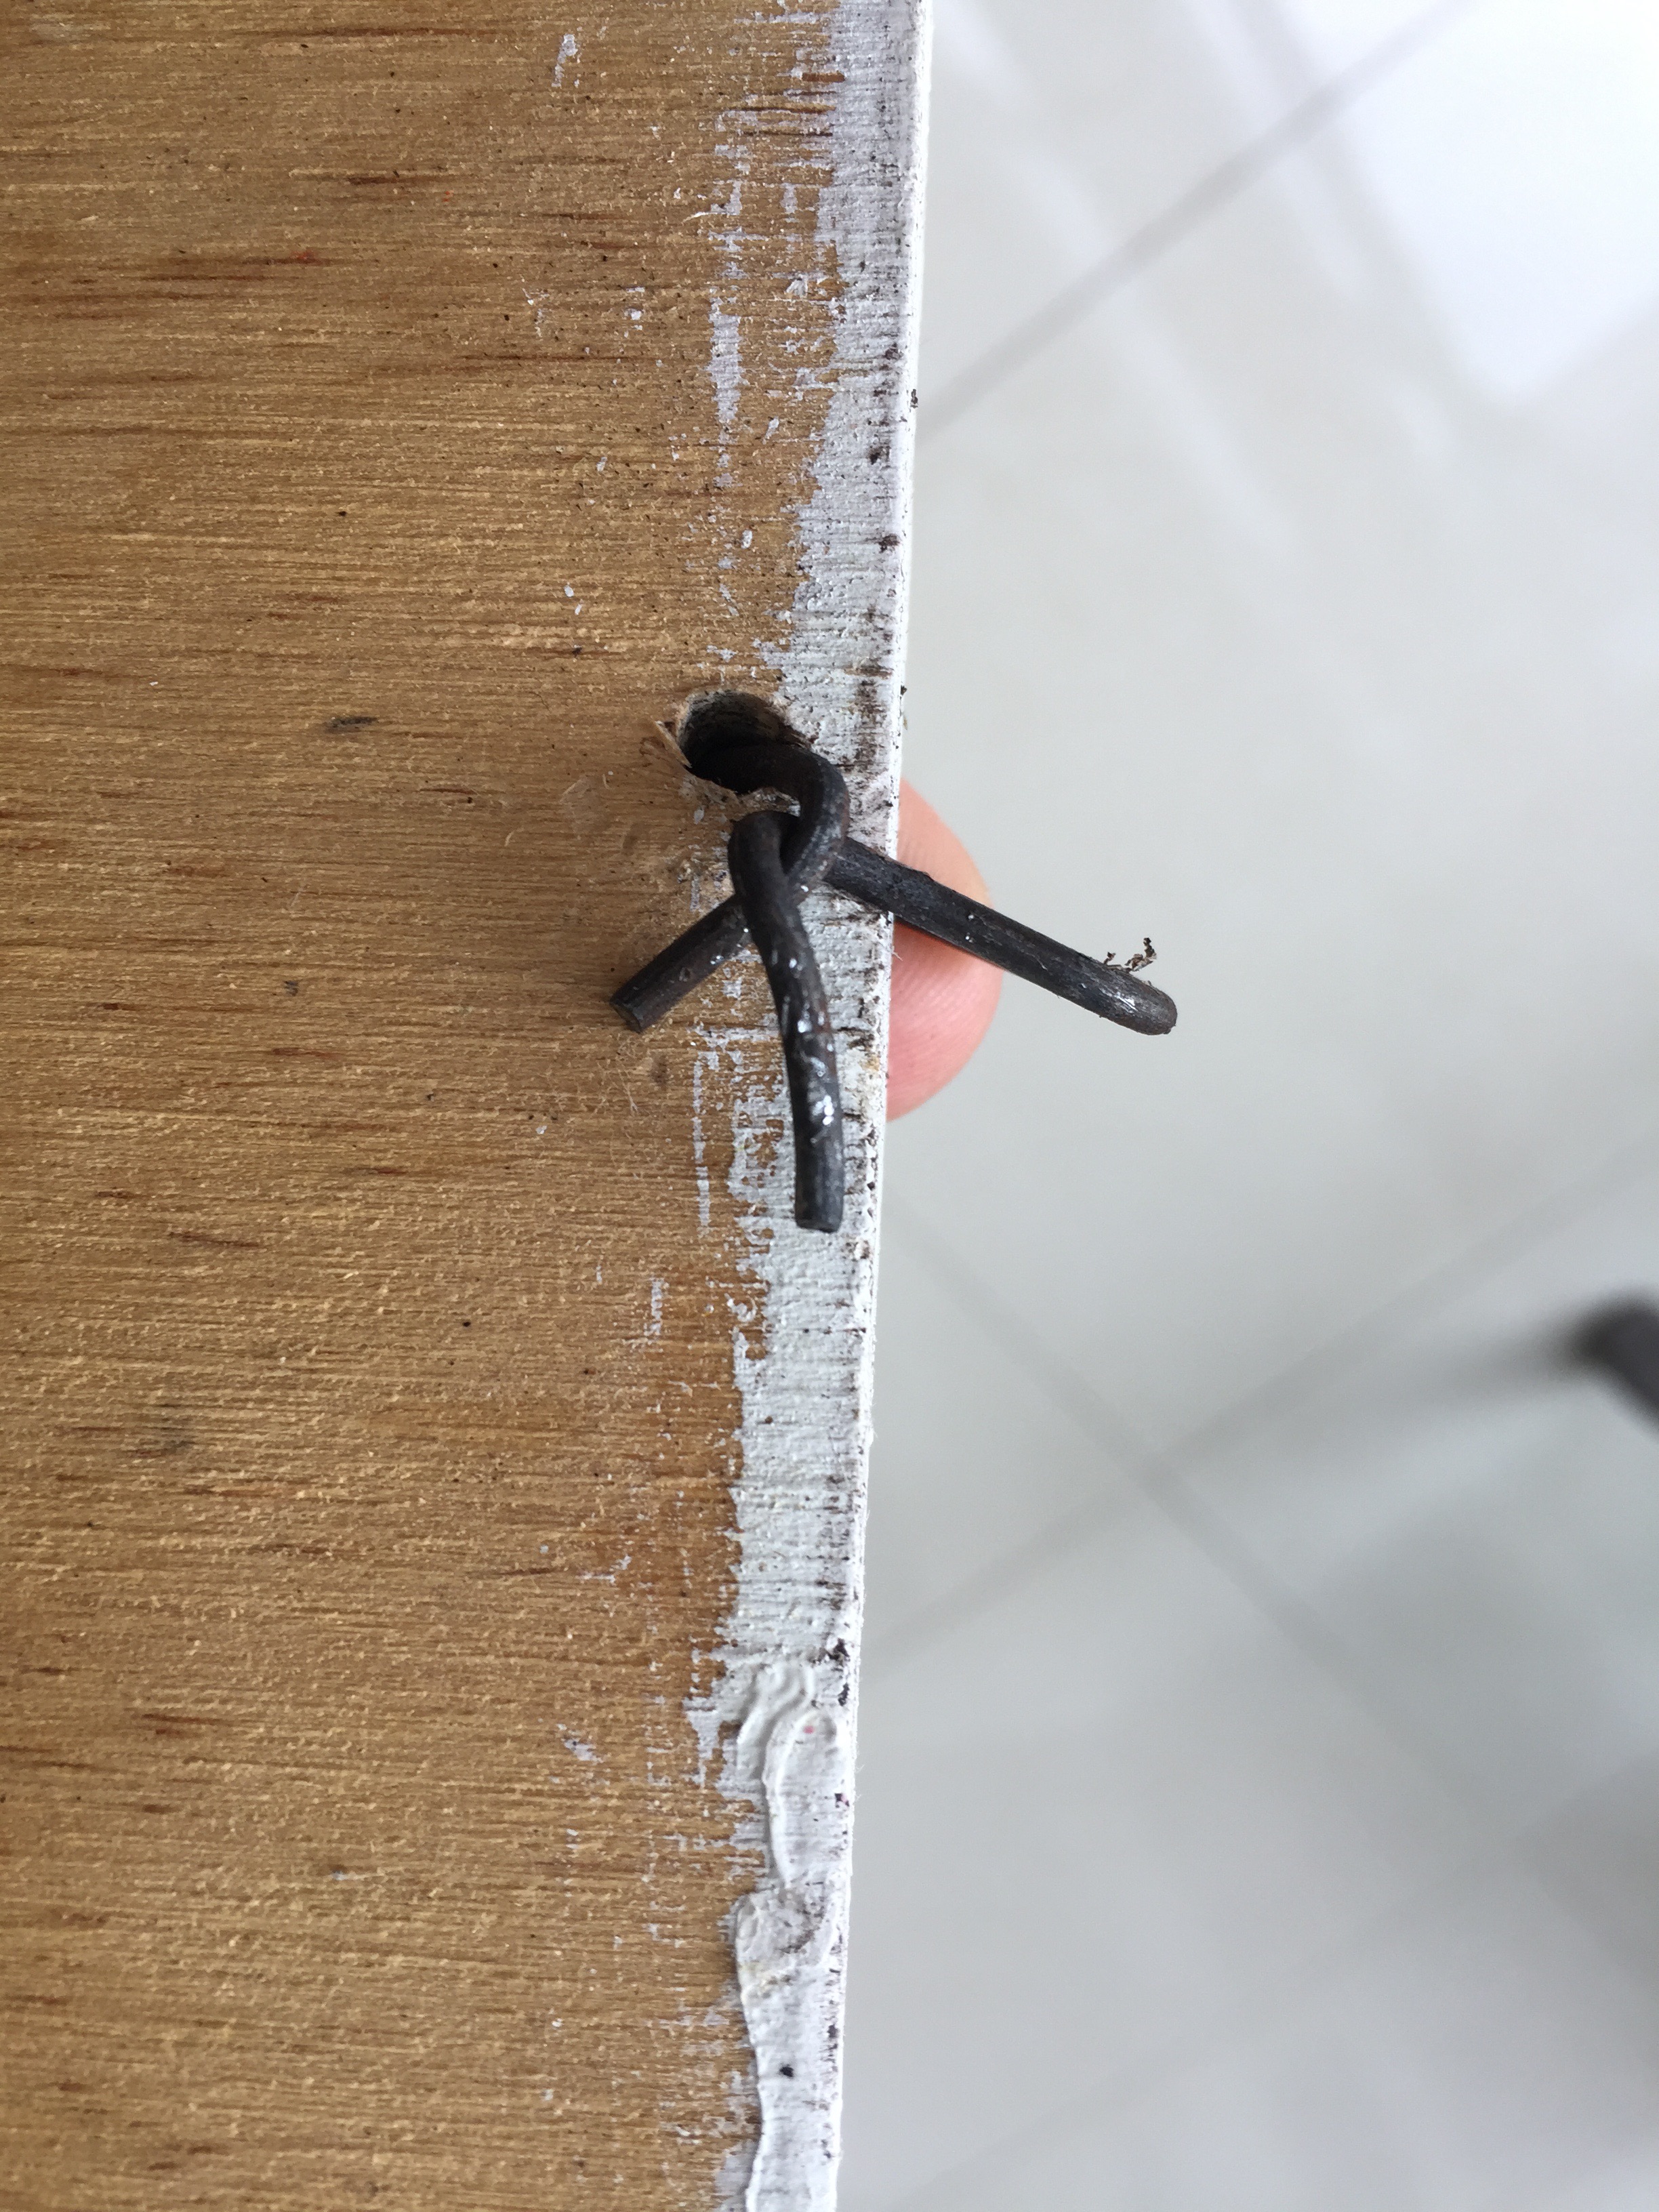
Put your paper roll in a piece of wire, bend the sides and pass each end through the holes we previously drilled. Use the pliers to make a circle with the wire to hold it in place.
For the pen holder put a wire in the hole and shape it with the pliers to make a little arc that will hold the pen. Twist both ends behind the boards and hide them by pushing them to the back.
Ready!
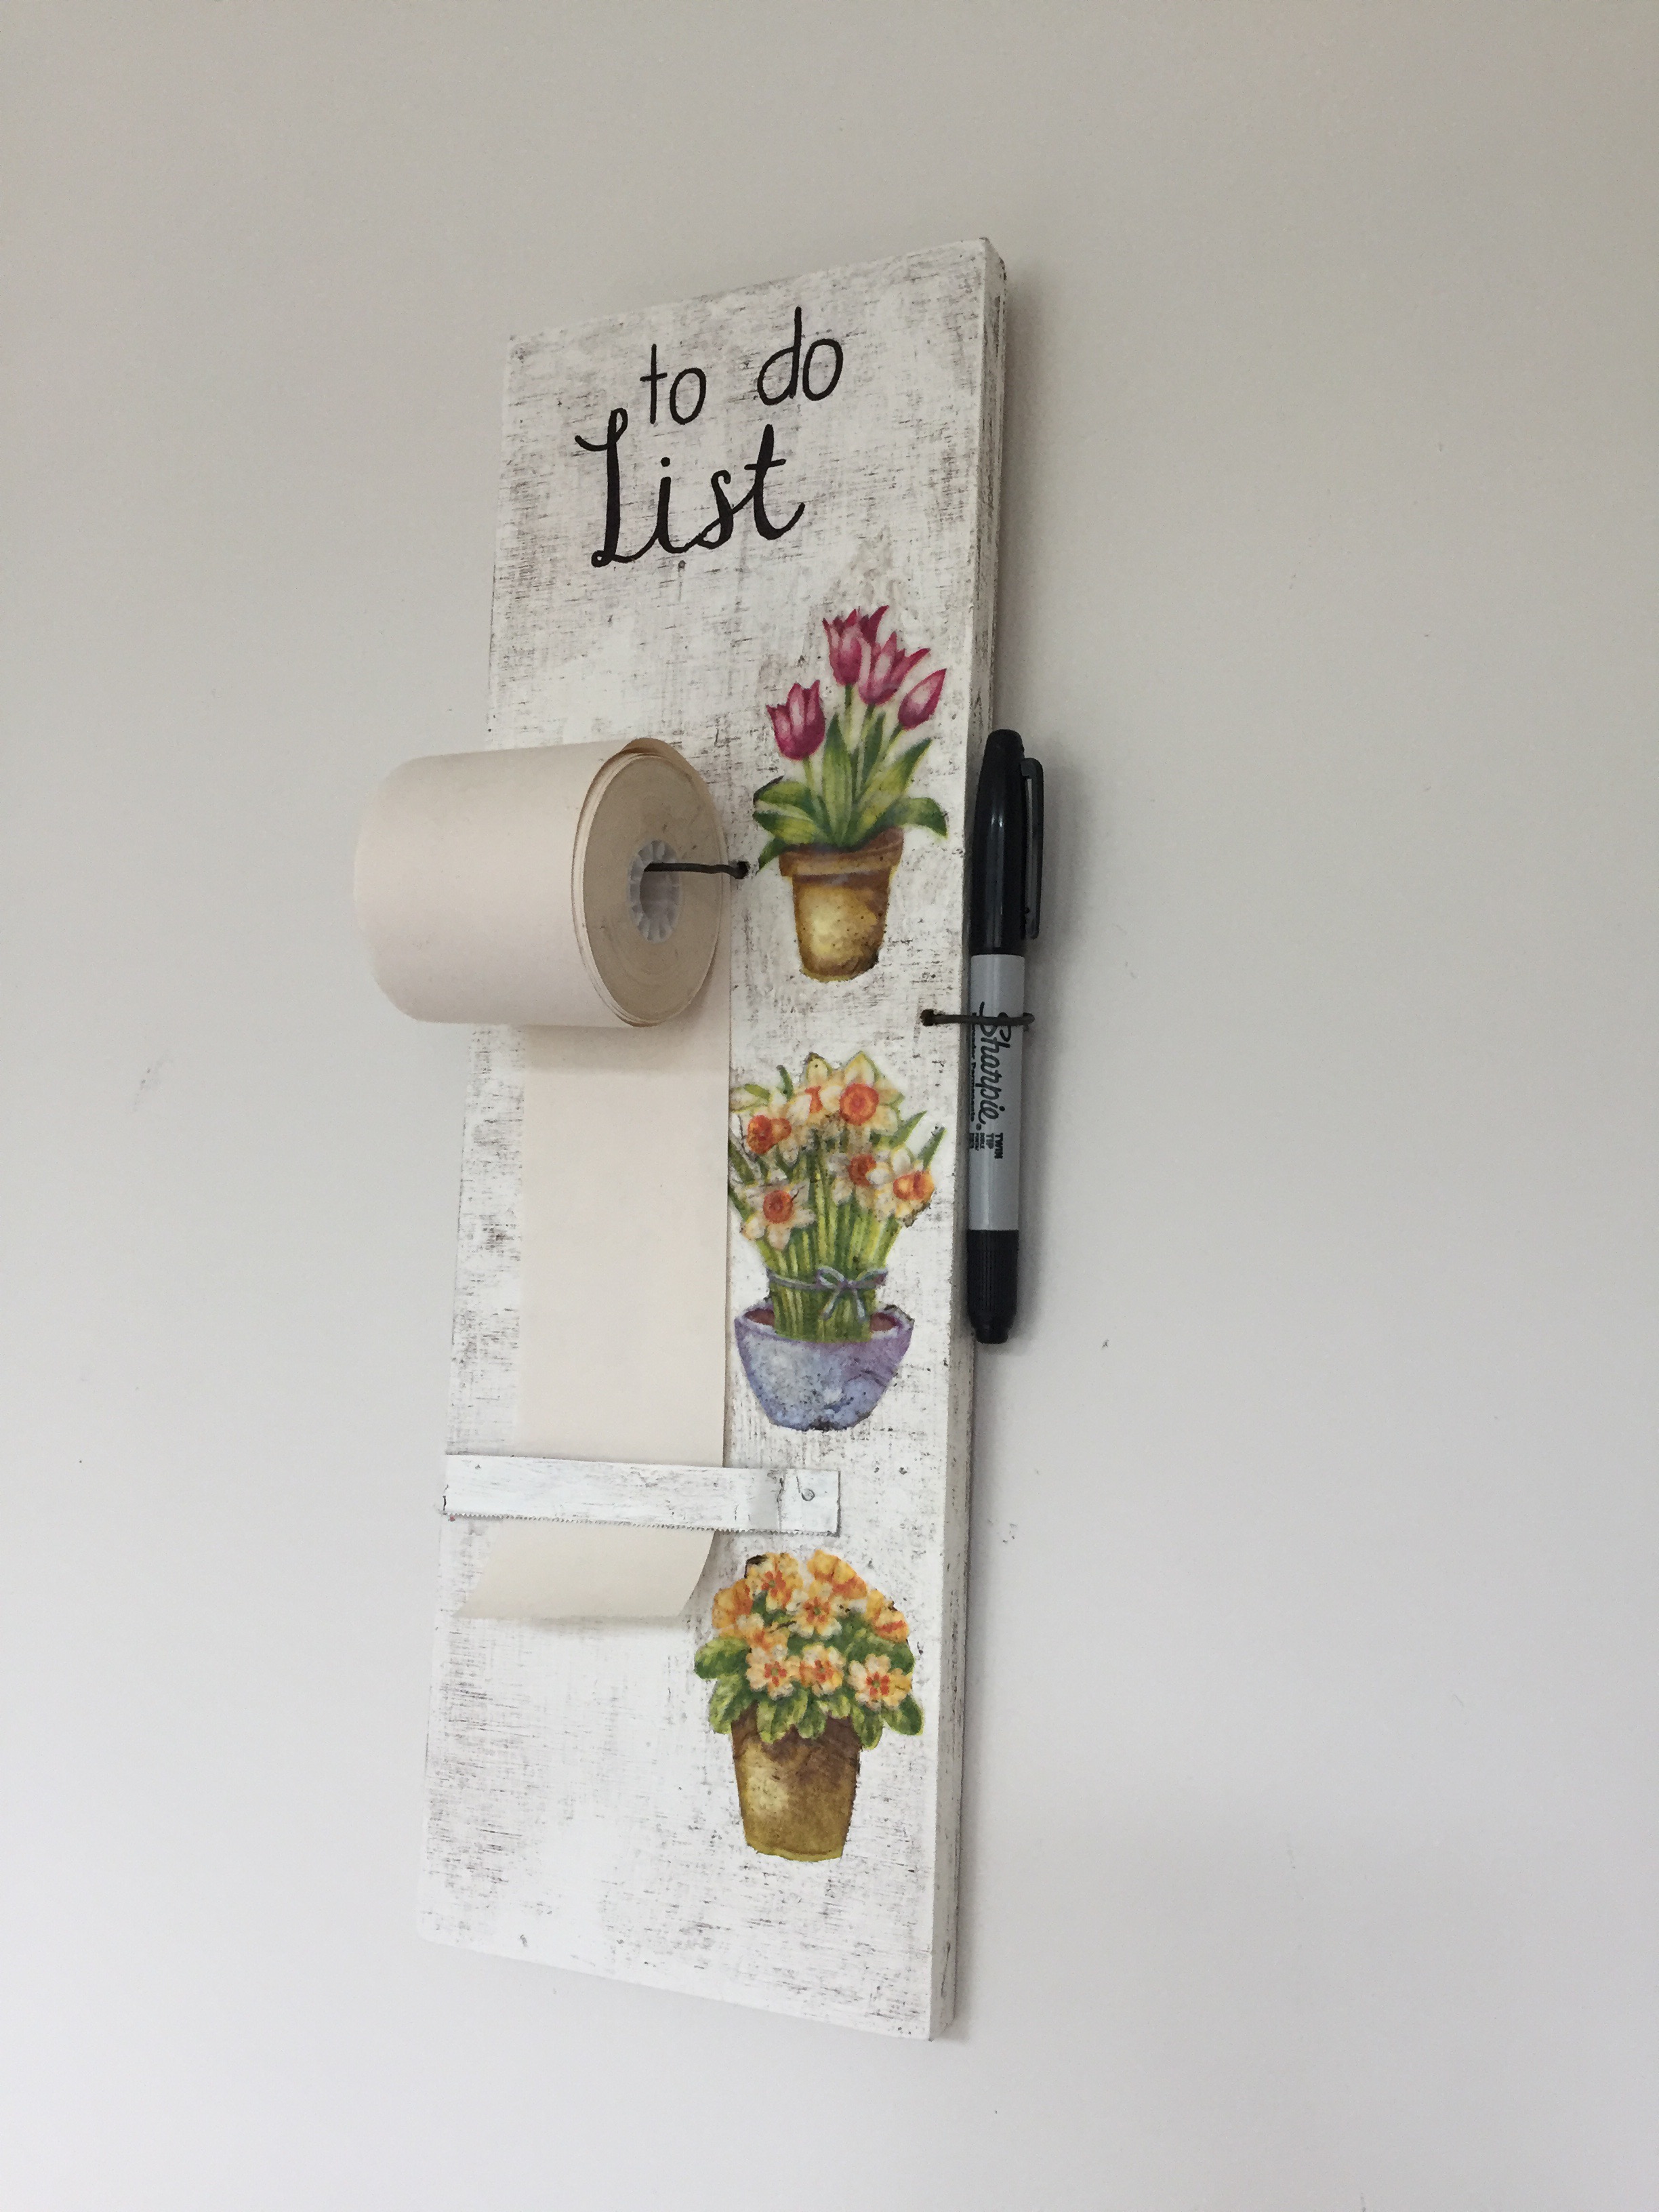
Now your list board is ready to be hung and used. I like to keep this in my crafting room because it's the place where inspiration flows and if I don't write things down I know I will forget them!
Create yours and make your day more productive!