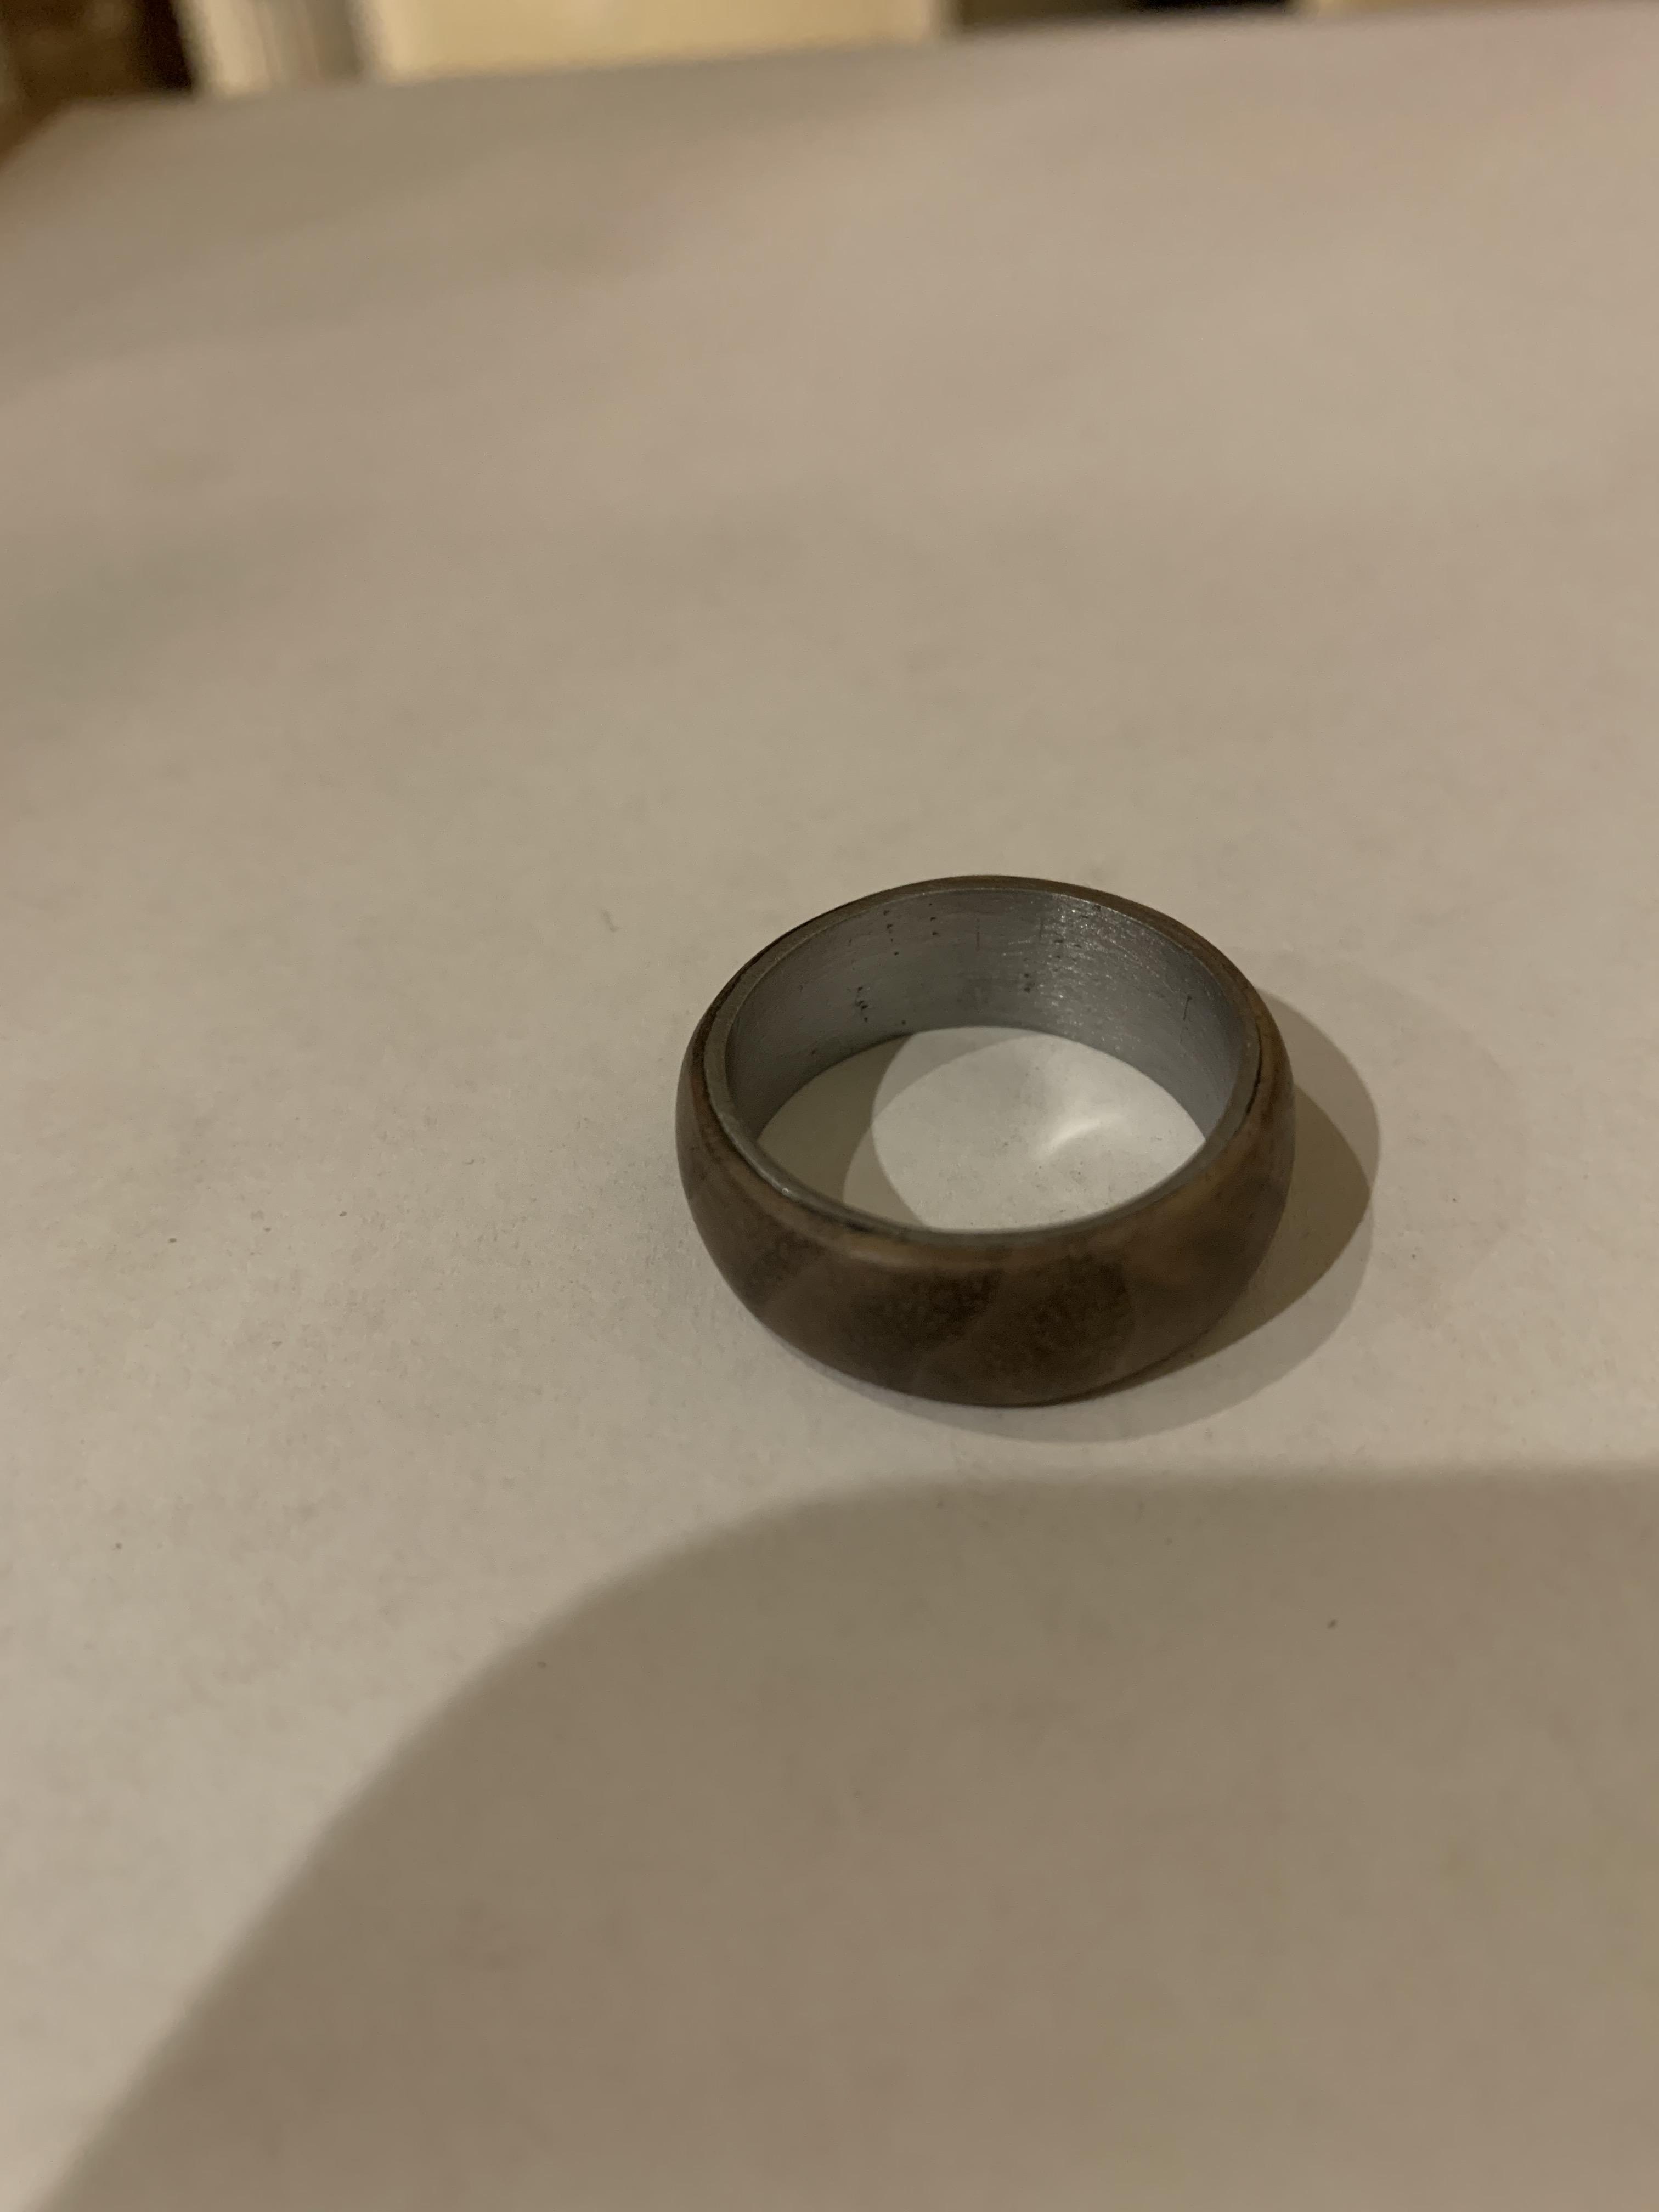
Handmade Walnut and Steel Ring
by CasualBuilder in Craft > Jewelry
1178 Views, 22 Favorites, 0 Comments
Handmade Walnut and Steel Ring


I decided to make this ring when I found some old hardwood scraps in a corner that I may or may not have liberated from the woodshop at my high school. I've tried my hand at creating rings of various sorts, but this has been my favorite because of its elegance and simplicity, as well as its far greater durability than purely wooden rings.
Supplies
Bare minimum:
Any Type of Hardwood
Coarse, Round File
Sheet Metal (18-20 will do)
Sheet Metal Snips
Saw (coping is best, but any will do in a pinch)
Vise/Clamp
Solder/Heat (torch, soldering iron, etc.)
Sandpaper of Increasing Grit (I used 150 to 1500)
Drill
Bits
Optional:
Lacquer/Superglue/Oil (Finish)
Cost: Totally Free!
If your'e like me and hoard small scraps for some unknown future project, you're set for this! If not, you can go to Home Depot and snag a couple of hardwood floor samples, which are a great source of free hardwood and also happen to be a very good thickness for this project. There is no need to buy additional tools for this, since you can make do with practically anything you have.
Supplies


Bare minimum:
Any Type of Hardwood
Coarse, Round File
Sheet Metal (18-20 gauge will do)
Sheet Metal Snips
Saw (coping is best, but any will do in a pinch)
Vise/Clamp
Solder/Heat (torch, soldering iron, etc.)
Sandpaper of Increasing Grit (I used 150 to 1500)
Drill
Bits
Optional:
Lacquer/Superglue/Oil (Finish)
Ring Sizers
Ring Sizing Mandrel
Flux (Very helpful)
Jewelry Mallet
Rough Cut and Shape Wood


Begin by cutting a circle from your wood of choice (I used walnut). Make this significantly wider than the final ring, since you will lose material as you refine.
Next, widen the hole in the middle to the point that you can get the file in. Begin filing until the hole is wide enough for the finger you will put the ring on, then stop.
The piece of wood I used was far thicker than I wanted the final product to be, so I cut it down to slightly wider than the final width of the ring.
Pro Tip: Wrap a piece of coarse sandpaper around a drill bit. Tape the inside edge lightly to the bit itself, so the paper doesn't slip. You can use this assembly to widen the inside of the ring faster and more accurately than with a file. Of course, if you have the correct size drillbit, this isn't necessary.
Cut and Shape Metal Lining


Cut a strip of your sheet metal a little wider than your ring and just long enough to perfectly fit your finger when bent into a perfect cylinder. If you know your ring size, then you can use the attached chart to find the approximate length of your metal strip.
Form the strip into a perfectly circular shape the exact size you want the final lining to be, but DO NOT SOLDER yet. bend the edges of the strip in so that the metal forms a D shape, so that the raw edges are aligned on the same plane. Apply flux and solder edges.
If you have a ring sizing mandrel, put the soldered loop on and hammer to a circular shape. I did not use a ring sizer for this project, instead I clamped a small piece of round stock that fit just inside the ring and hammered the loop round. Ideally you should use a small rubber mallet for this step, so you don't put dents in the finished shape.If you don't have anything like this, then you can place several layers of tape over the head of a claw hammer or a ball-peen hammer, which will achieve essentially the same effect. Your solder may split during this step, if it does, bend the ring back into the D shape and resolder. The purpose of this it to join the two ends snugly to each other, which makes a stronger solder join. Basically, the ends should meet each other like this || and not like this \ /. The first is stronger because the solder joins the ends, but in the second you are relying on solder to fill the gap between the ends, and solder is much weaker than the steel itself.
Fit Metal Lining to Wood


Take your nicely rounded metal strip, and begin VERY CAREFULLY sanding the inside of the wooden section to fit snugly around the metal ring. this fit should be as close to perfect as you can get it, because you want absolutely no gaps between the metal and the wood. The metal should fit snugly inside the wood. I applied some superglue to the outside of the metal ring and the inside of the wooden one, then fit the two together and wiped off the excess. After the glue has dried, file or sand the edges of the ring flush.
Refine Shape and Smooth
To refine the outside, I highly recommend using the drill as a makeshift lathe. I very carefully wrapped some duct tape around the largest drill bit I had, so that the ring fit snugly and stayed in place when the bit was spun. Use sandpaper or a file to shape the ring, then use increasingly fine grits of sandpaper to smooth the surface and buff away any scratches or blemishes.
Apply Finish
You can use any kind of finish you would like on this, depending on the finish you desire. Apply while spinning the ring on the drill for a nice, uniform coat.
I ended up using a relatively unorthodox finish. I had the basic idea to use some kind of hard finish that I could buff to a shine, and since I am a very impatient fellow I decided to use superglue (dries fast, instant gratification. You know how it is.) I applied it using a little scrap of fabric, then let it dry and sanded it to the highest grit of sandpaper I had. I repeated this process one more time, which gave the ring a lovely shine and a durable, scratch-resistant finish. I've accidentally worn it while working out already, and the finish held up great! I couldn't find any new scuffs on it at all. For a more matte finish, I would recommend using linseed or mineral oil. Other finishes that I have used in the past include beeswax, coconut oil, and polyurethanes, all of which will work well on this project.
Finished!


Admire your work, take some glamour shots, and share!
I really hope you enjoyed this brief tutorial, if you have any questions or comments please let me know, I'll respond as soon as I can! If you made one of these yourself, share some pictures!
*I created this project as an entry in the jewelry contest, so if you liked my instructions or tried it out, consider voting for me!