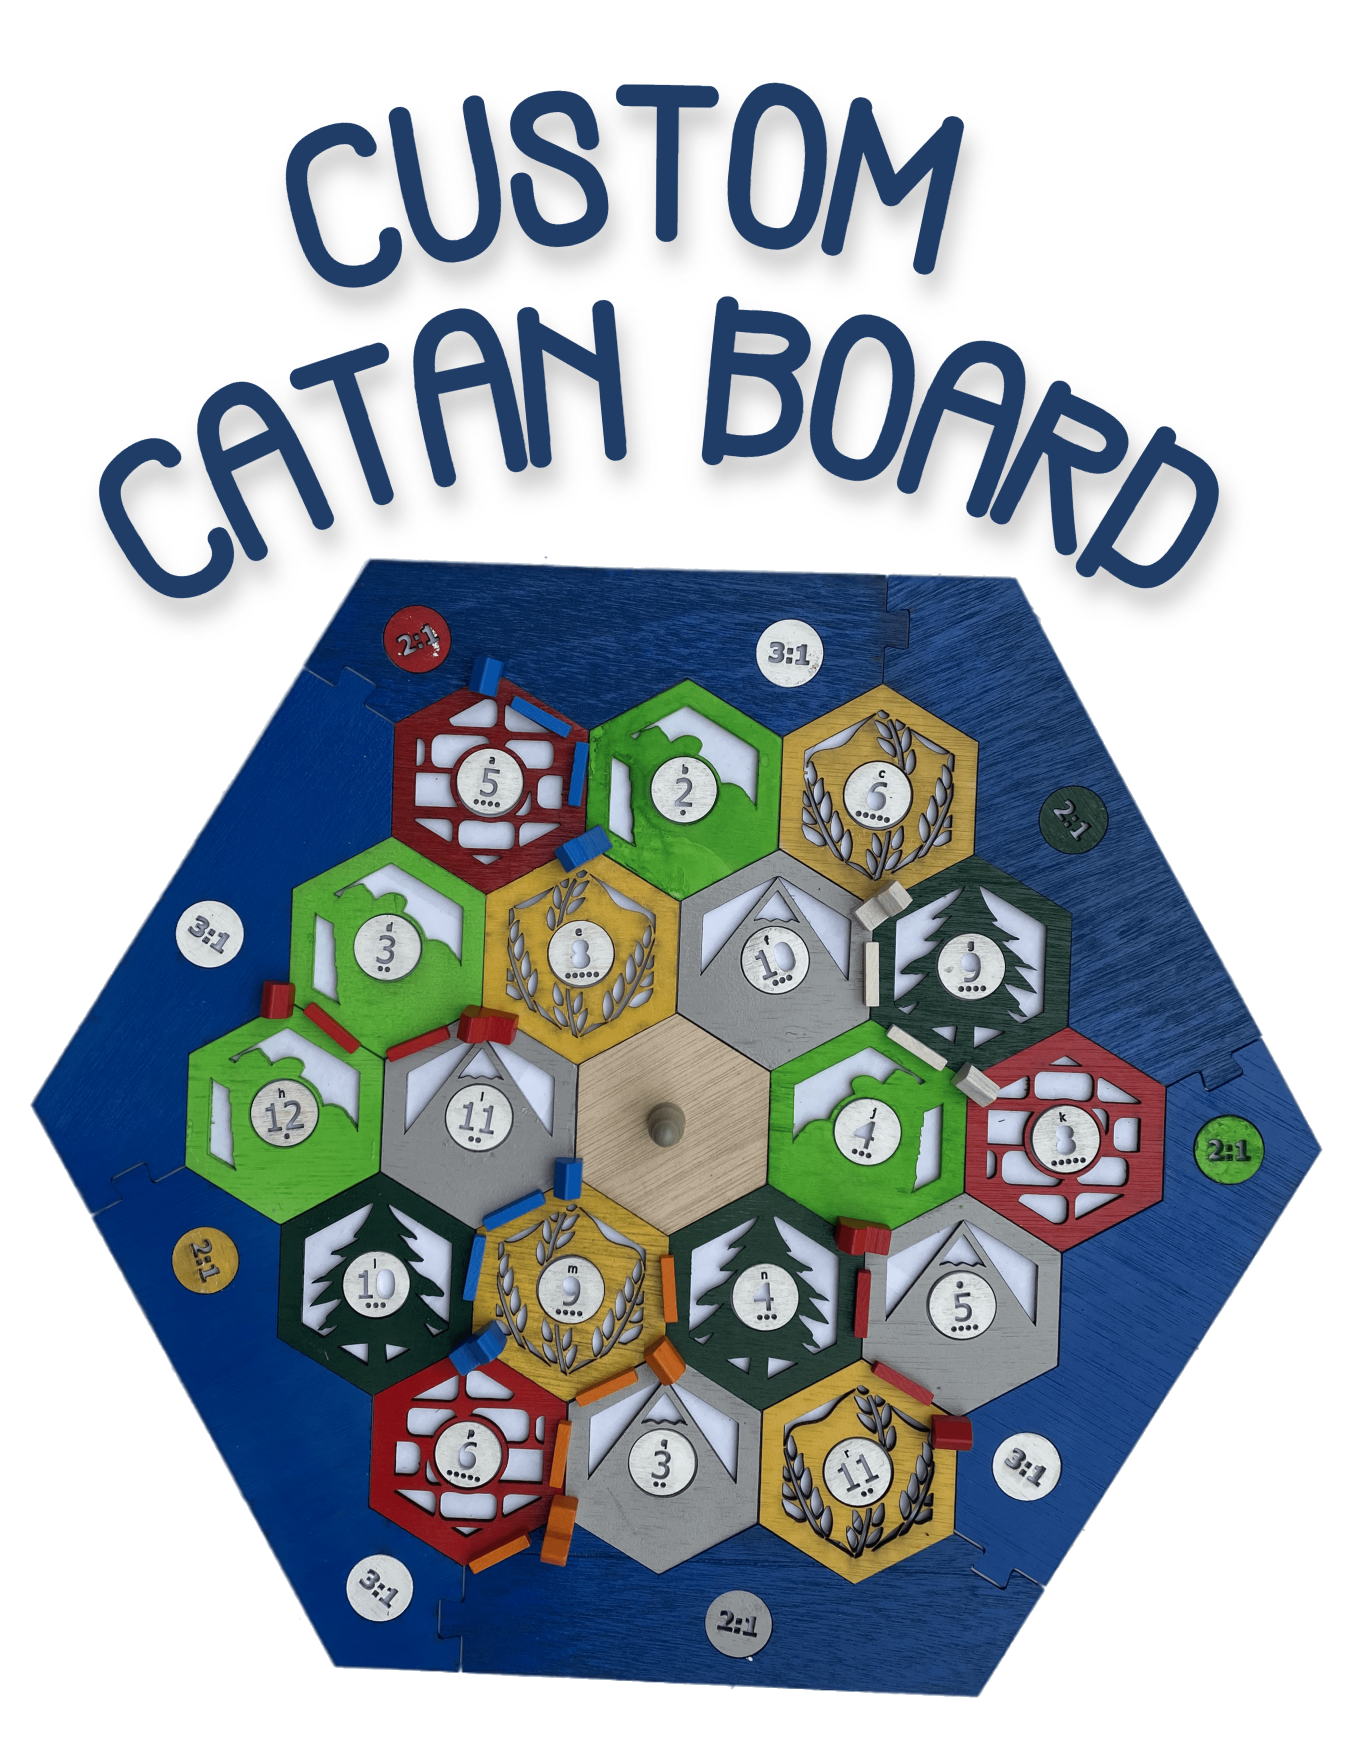
Handmade Catan Board
.jpg)
We've all heard the saying that "home is where the heart is". For many of us, that means board game nights spent with family or friends haggling for resources and wealth.
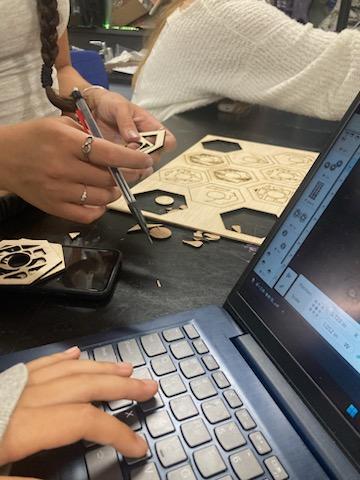
This project has been created by three high schoolers, brought together by Woodbridge High School's Makerspace class, who each have their own fond memories of playing Catan with others. We created our own Catan board as homage to our childhoods spent playing this game, and to welcome a future where we can share these memories with others.
Supplies
Plywood (Amazon link)
- 3 Sheets
Spray paint (Amazon link)
- Neon green (sheep tile)
- Dark green (wood tile)
- Red (brick tile)
- Gray (ore tile)
- Yellow (wheat tile)
- White (number tokens)
- Royal blue (sea borders)
Sandpaper (Amazon link)
- 320 grit
Varnish (Amazon link)
EQUIPMENT AND SOFTWARE:
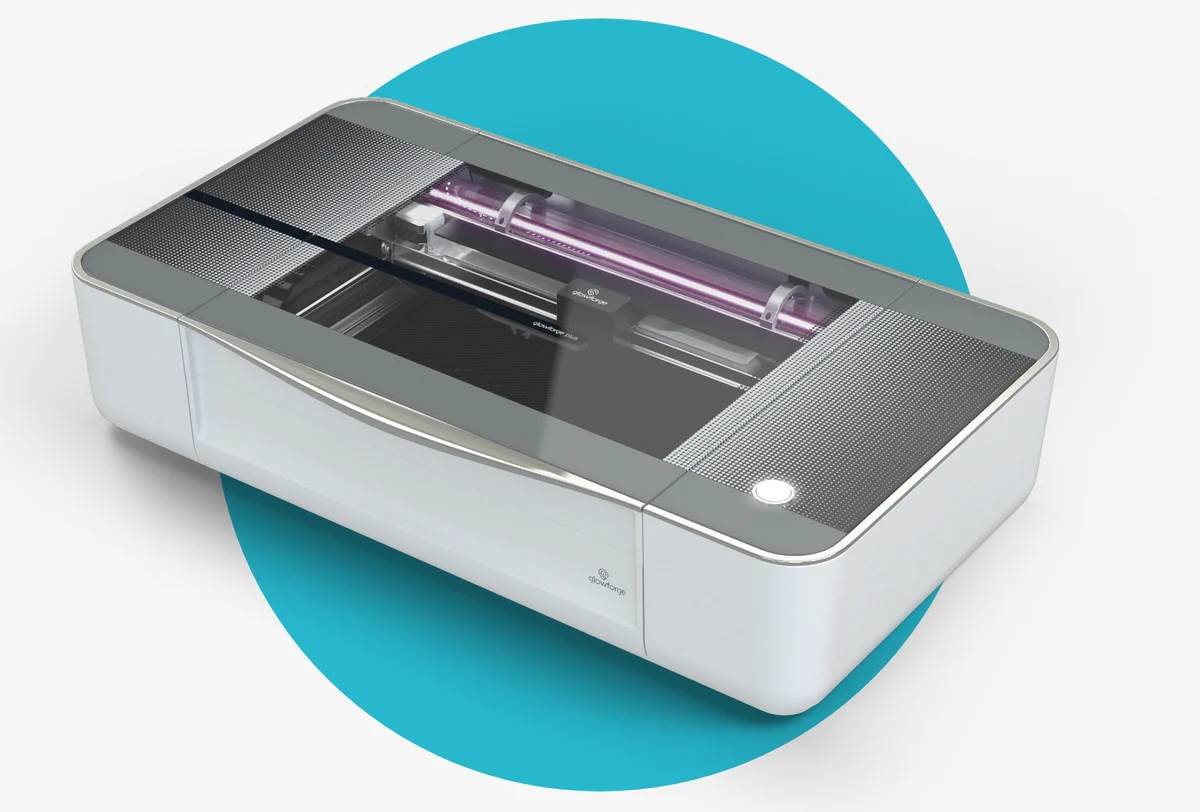
Glowforge laser cutter (app.glowforge.com)
SVG Design
.jpeg)
.png)
The free vector editing program, Inkscape, allows you to create your own Catan designs easily. However, in theory, any other vector editing program should do the trick for this project as long as it is able to export files in SVG format.
1) Getting Started:
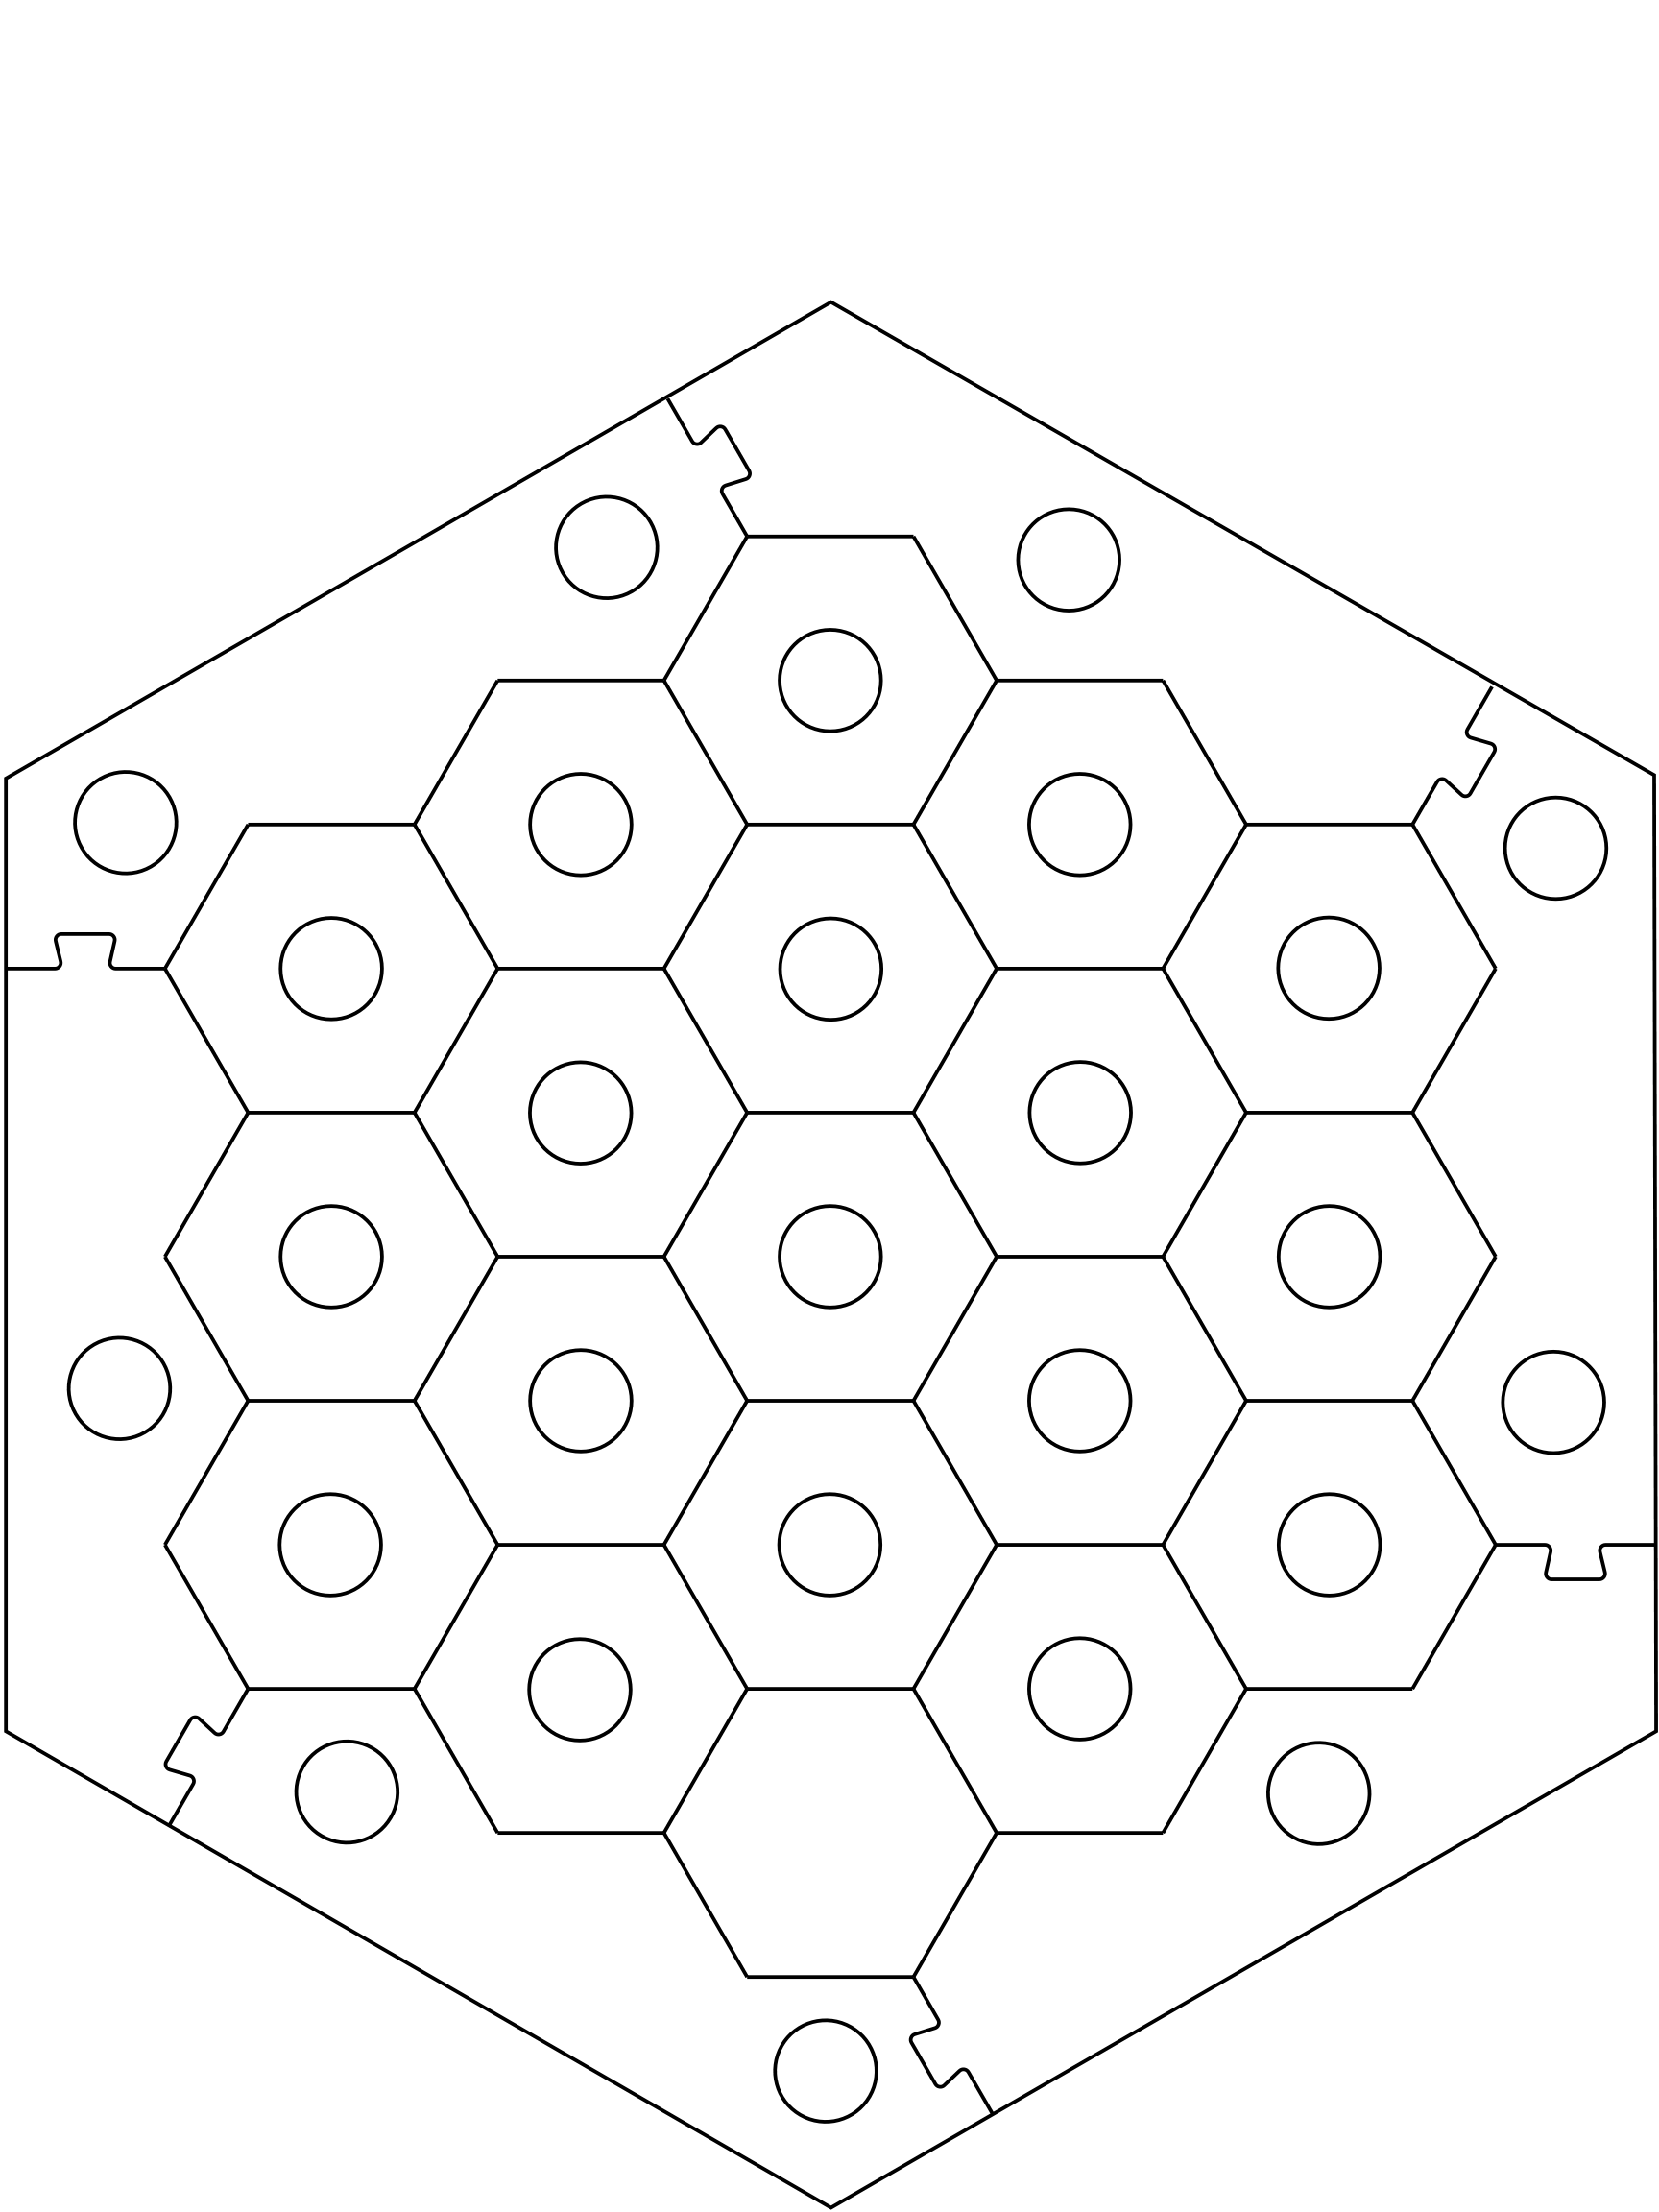
"General Board Design" (see files below) is a guideline for the board layout. It gives the proportions for the pieces.
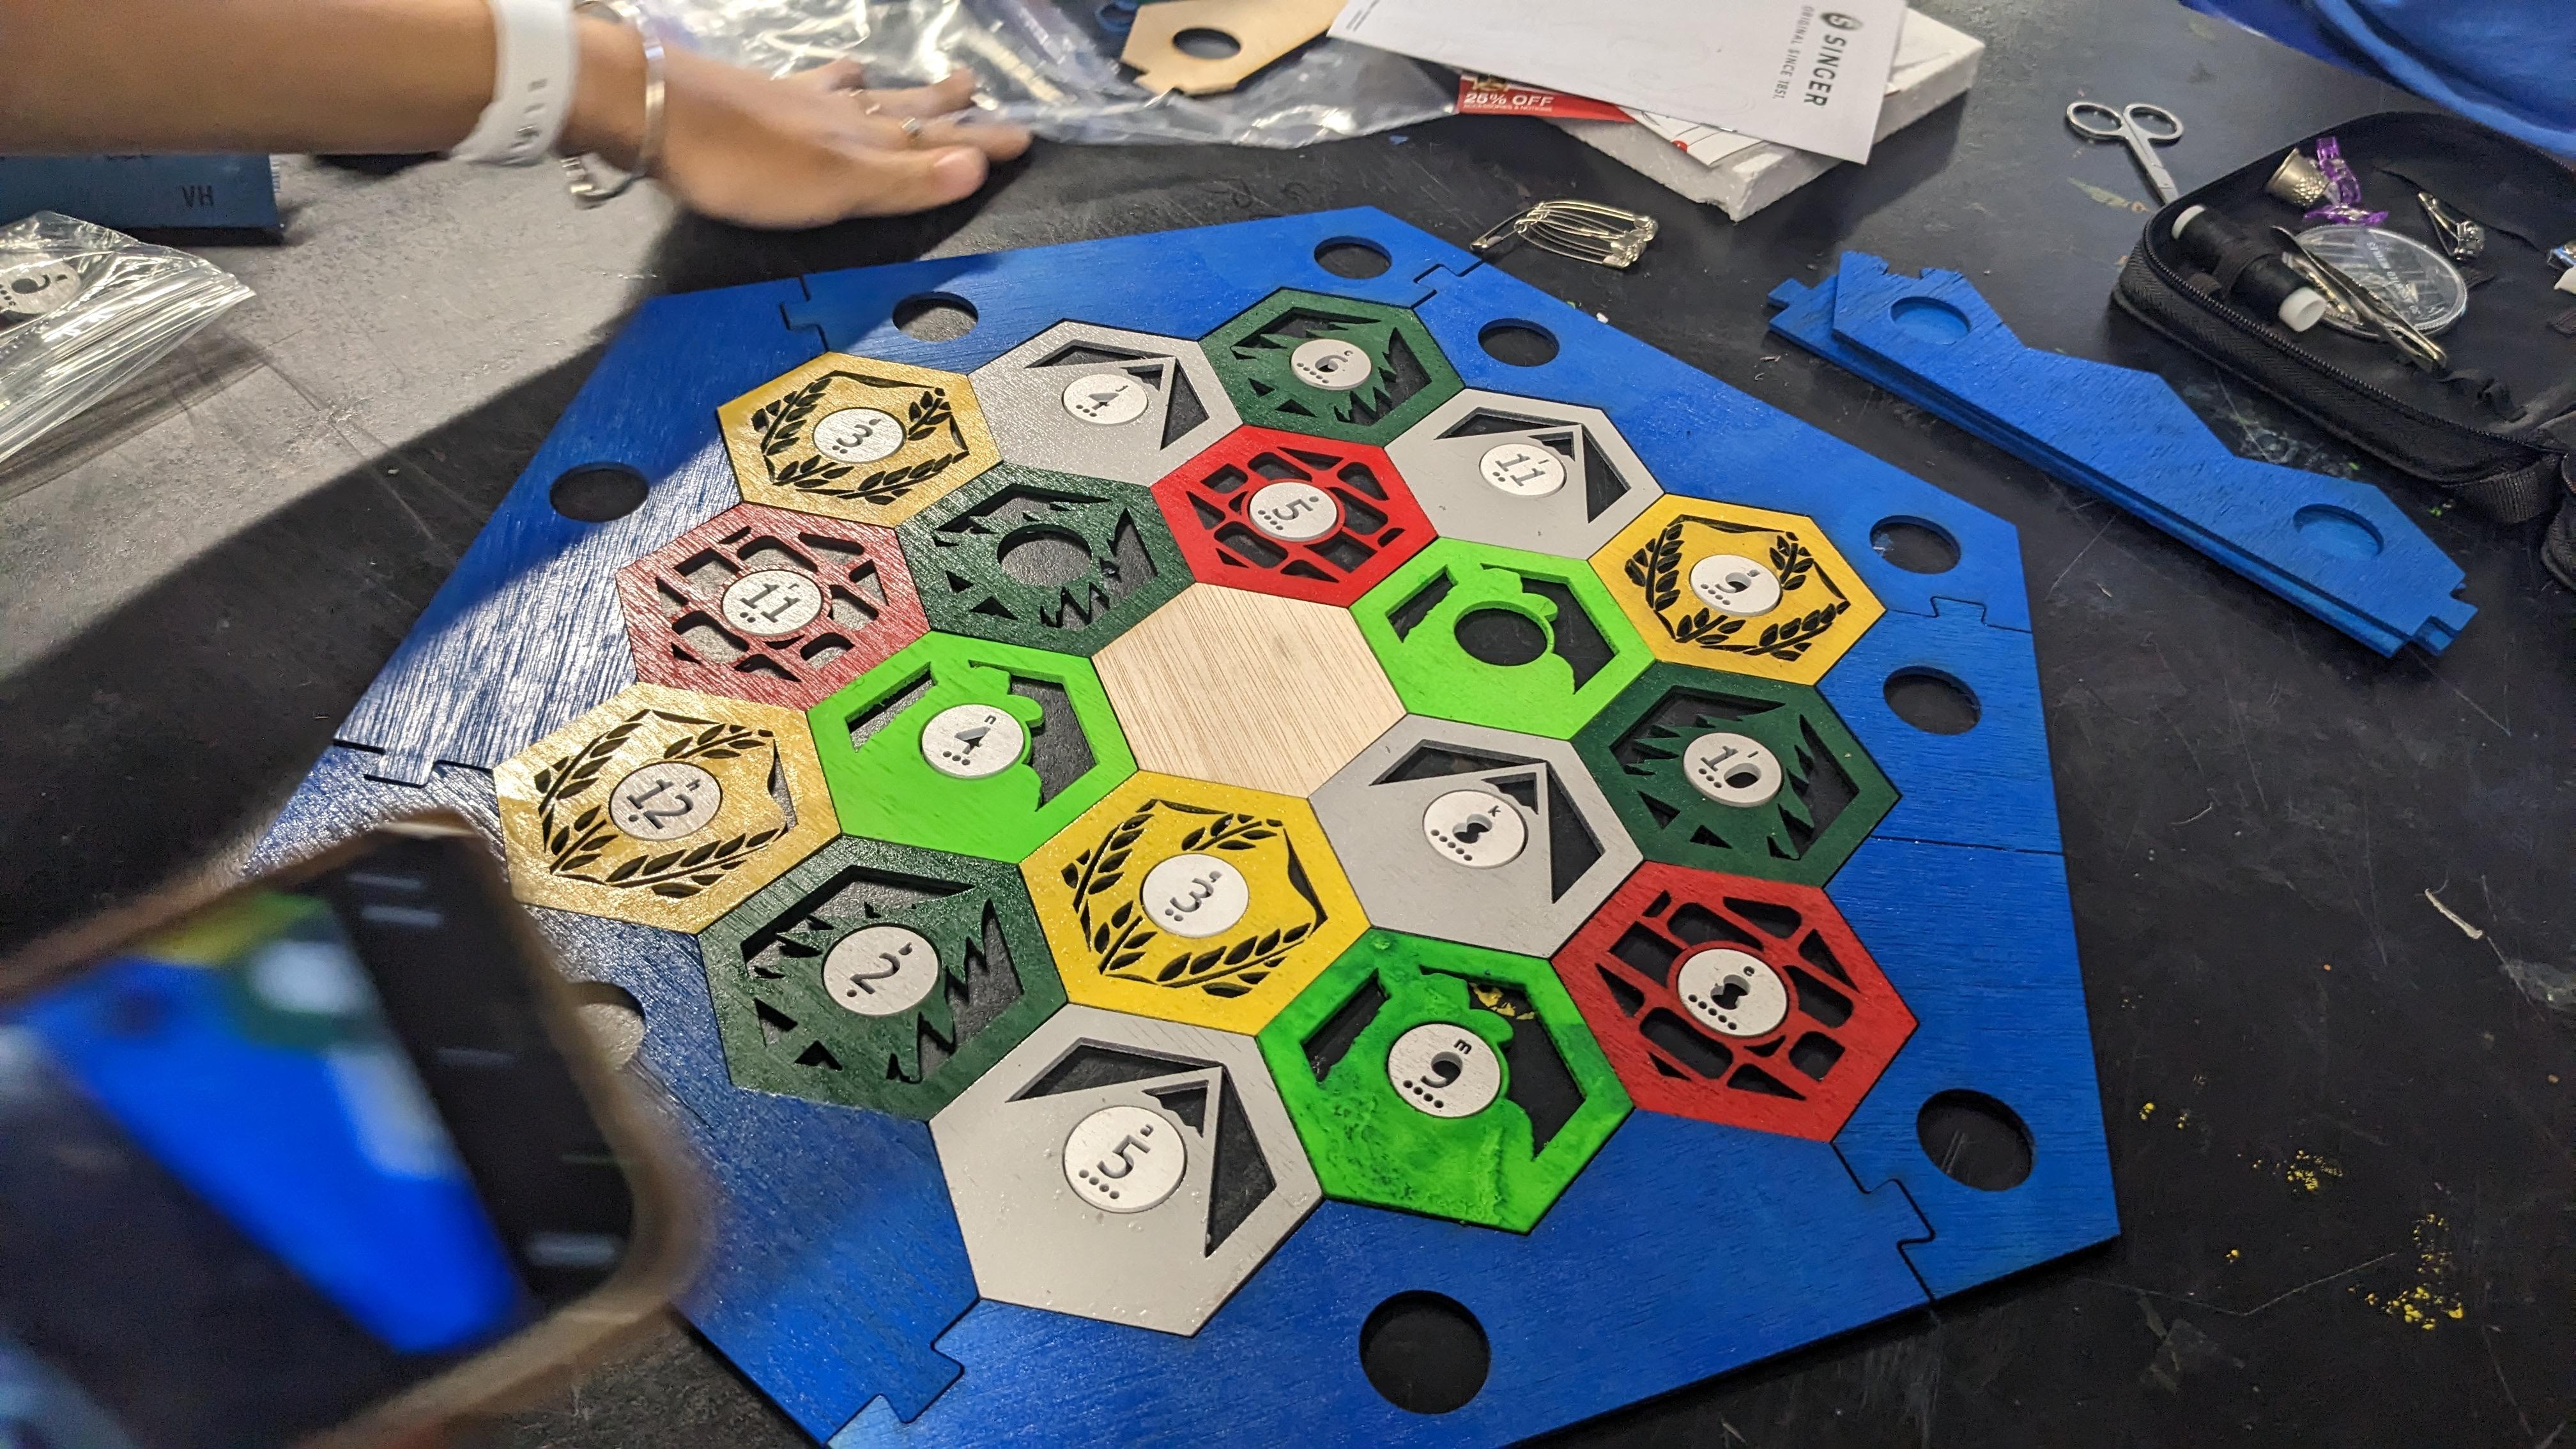
2) Designing Tiles:
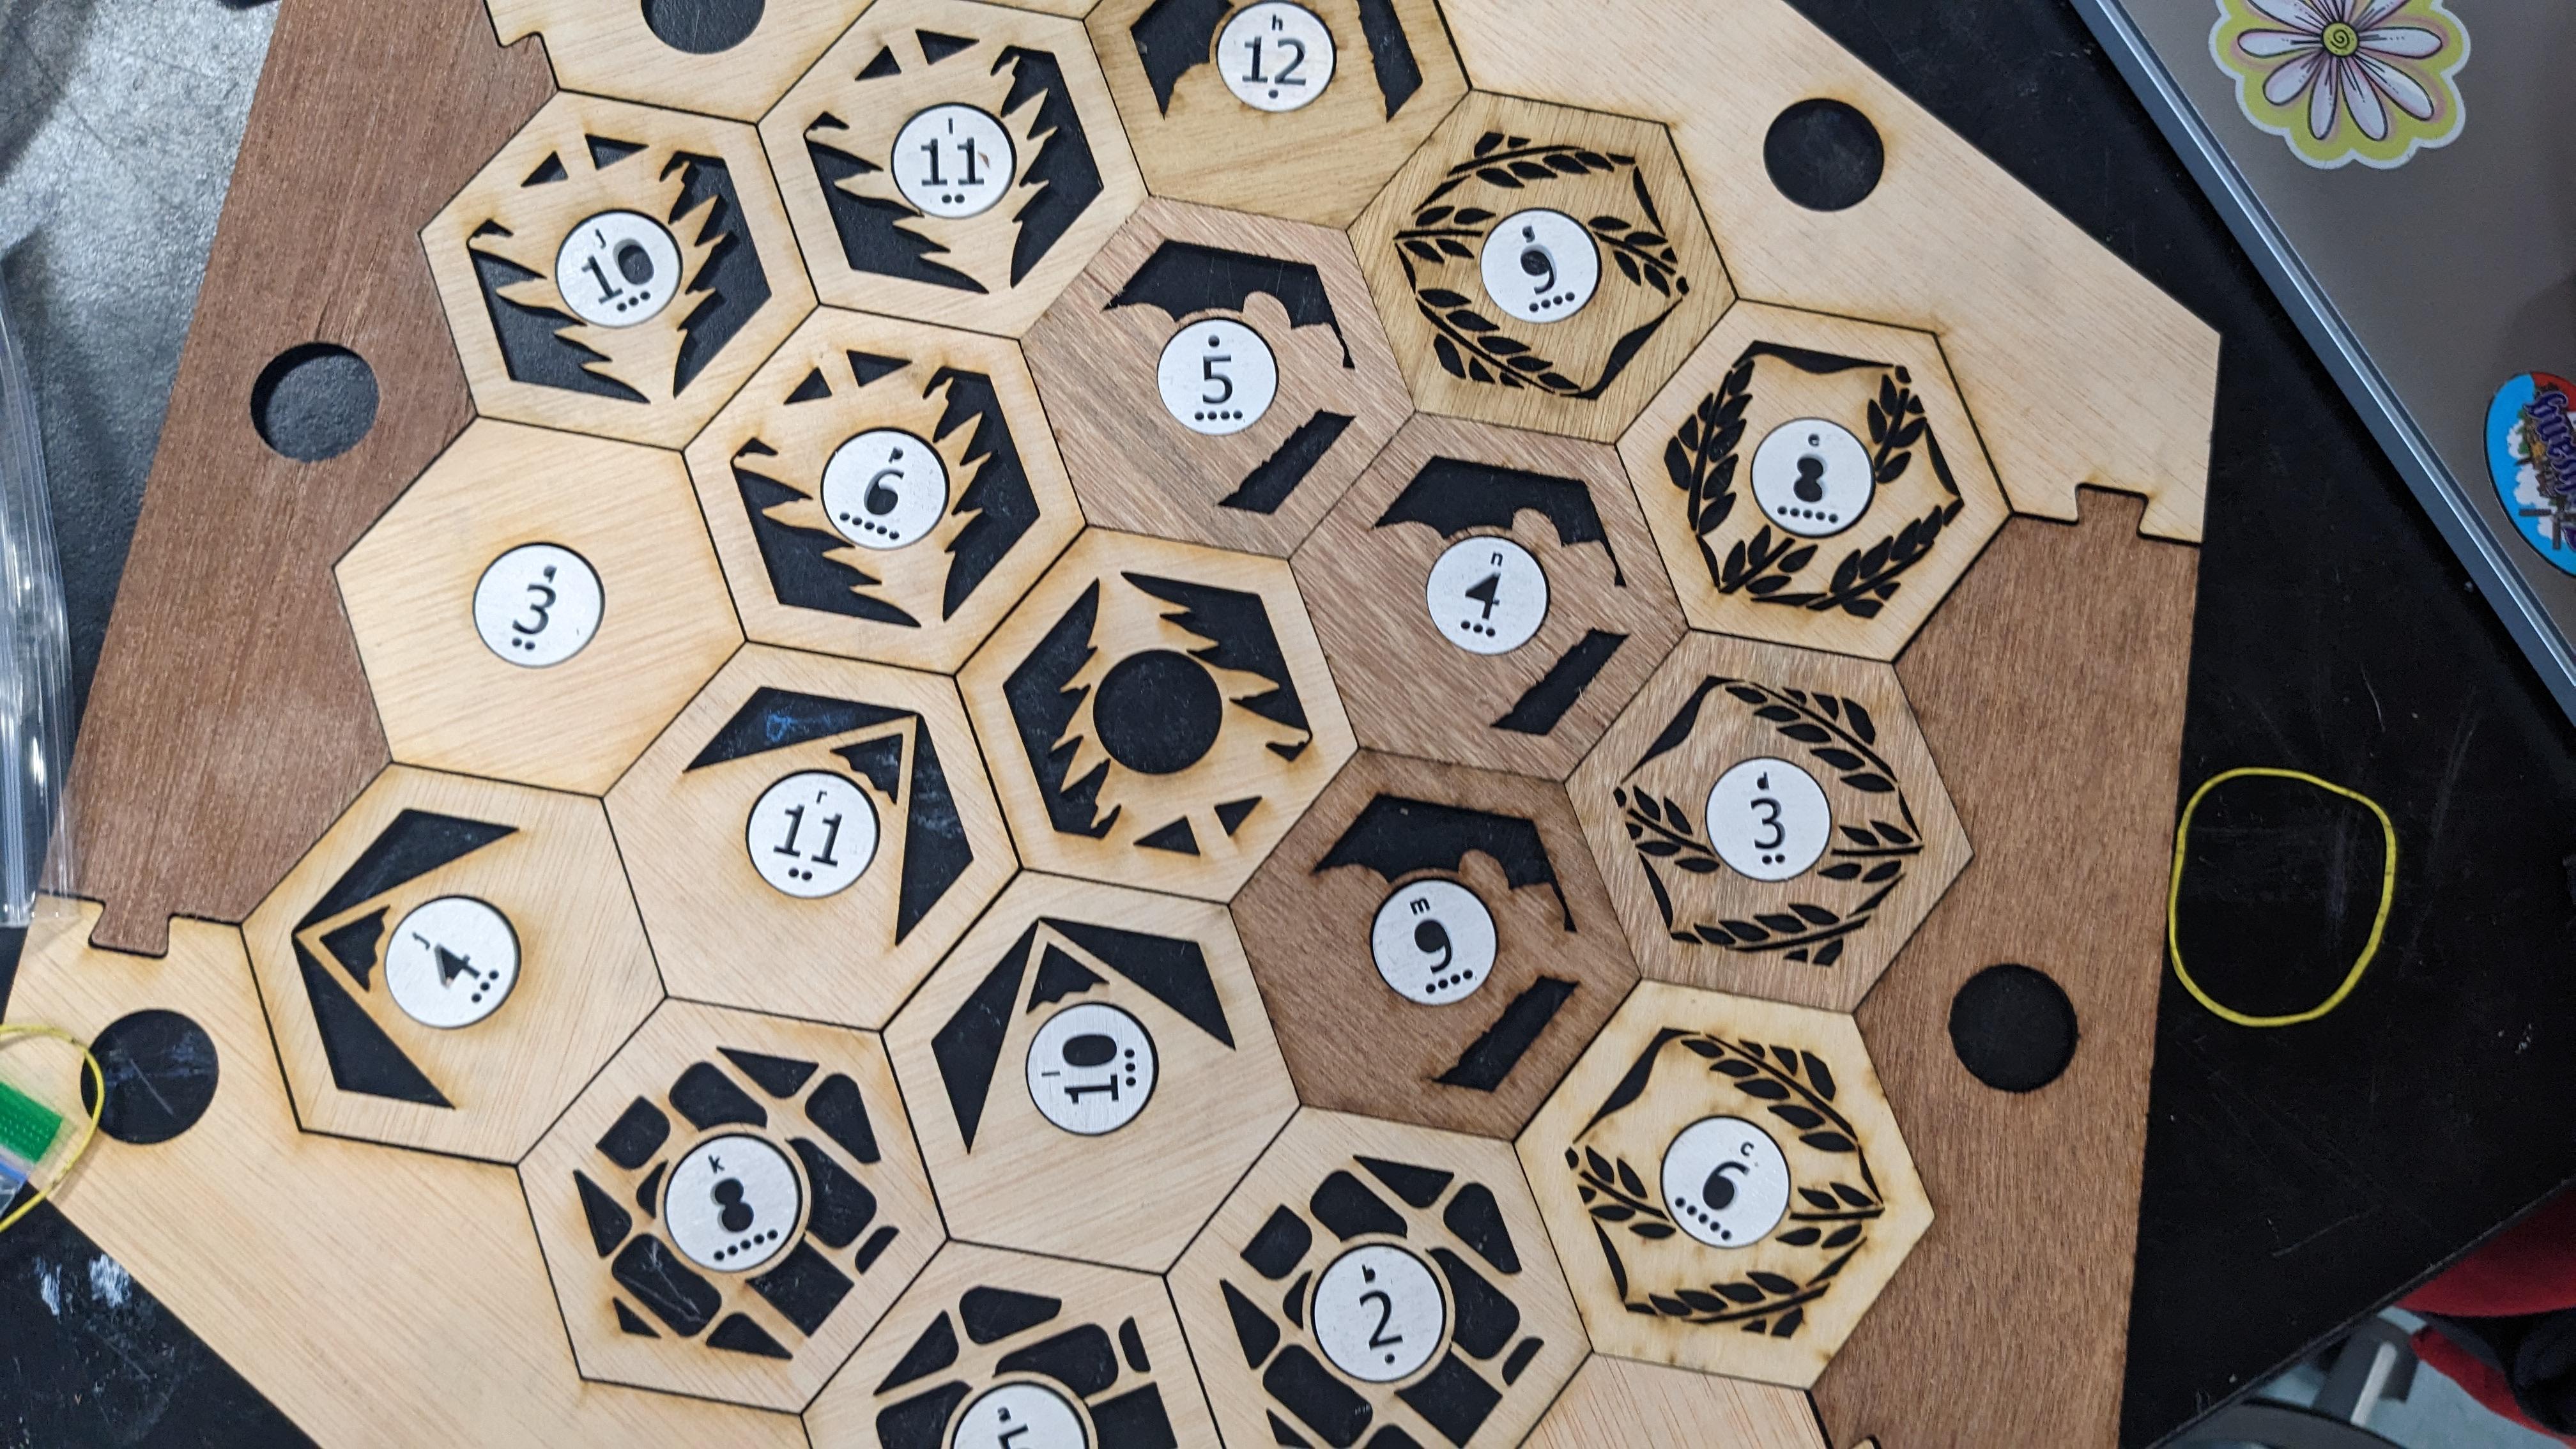
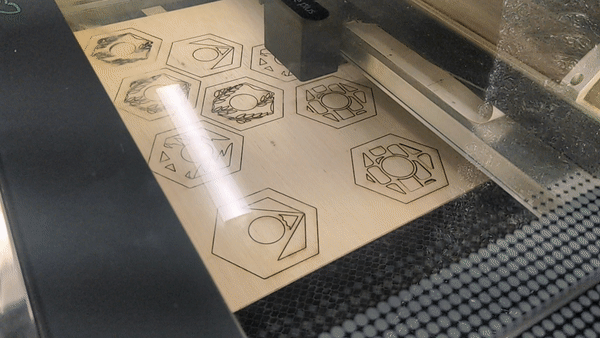
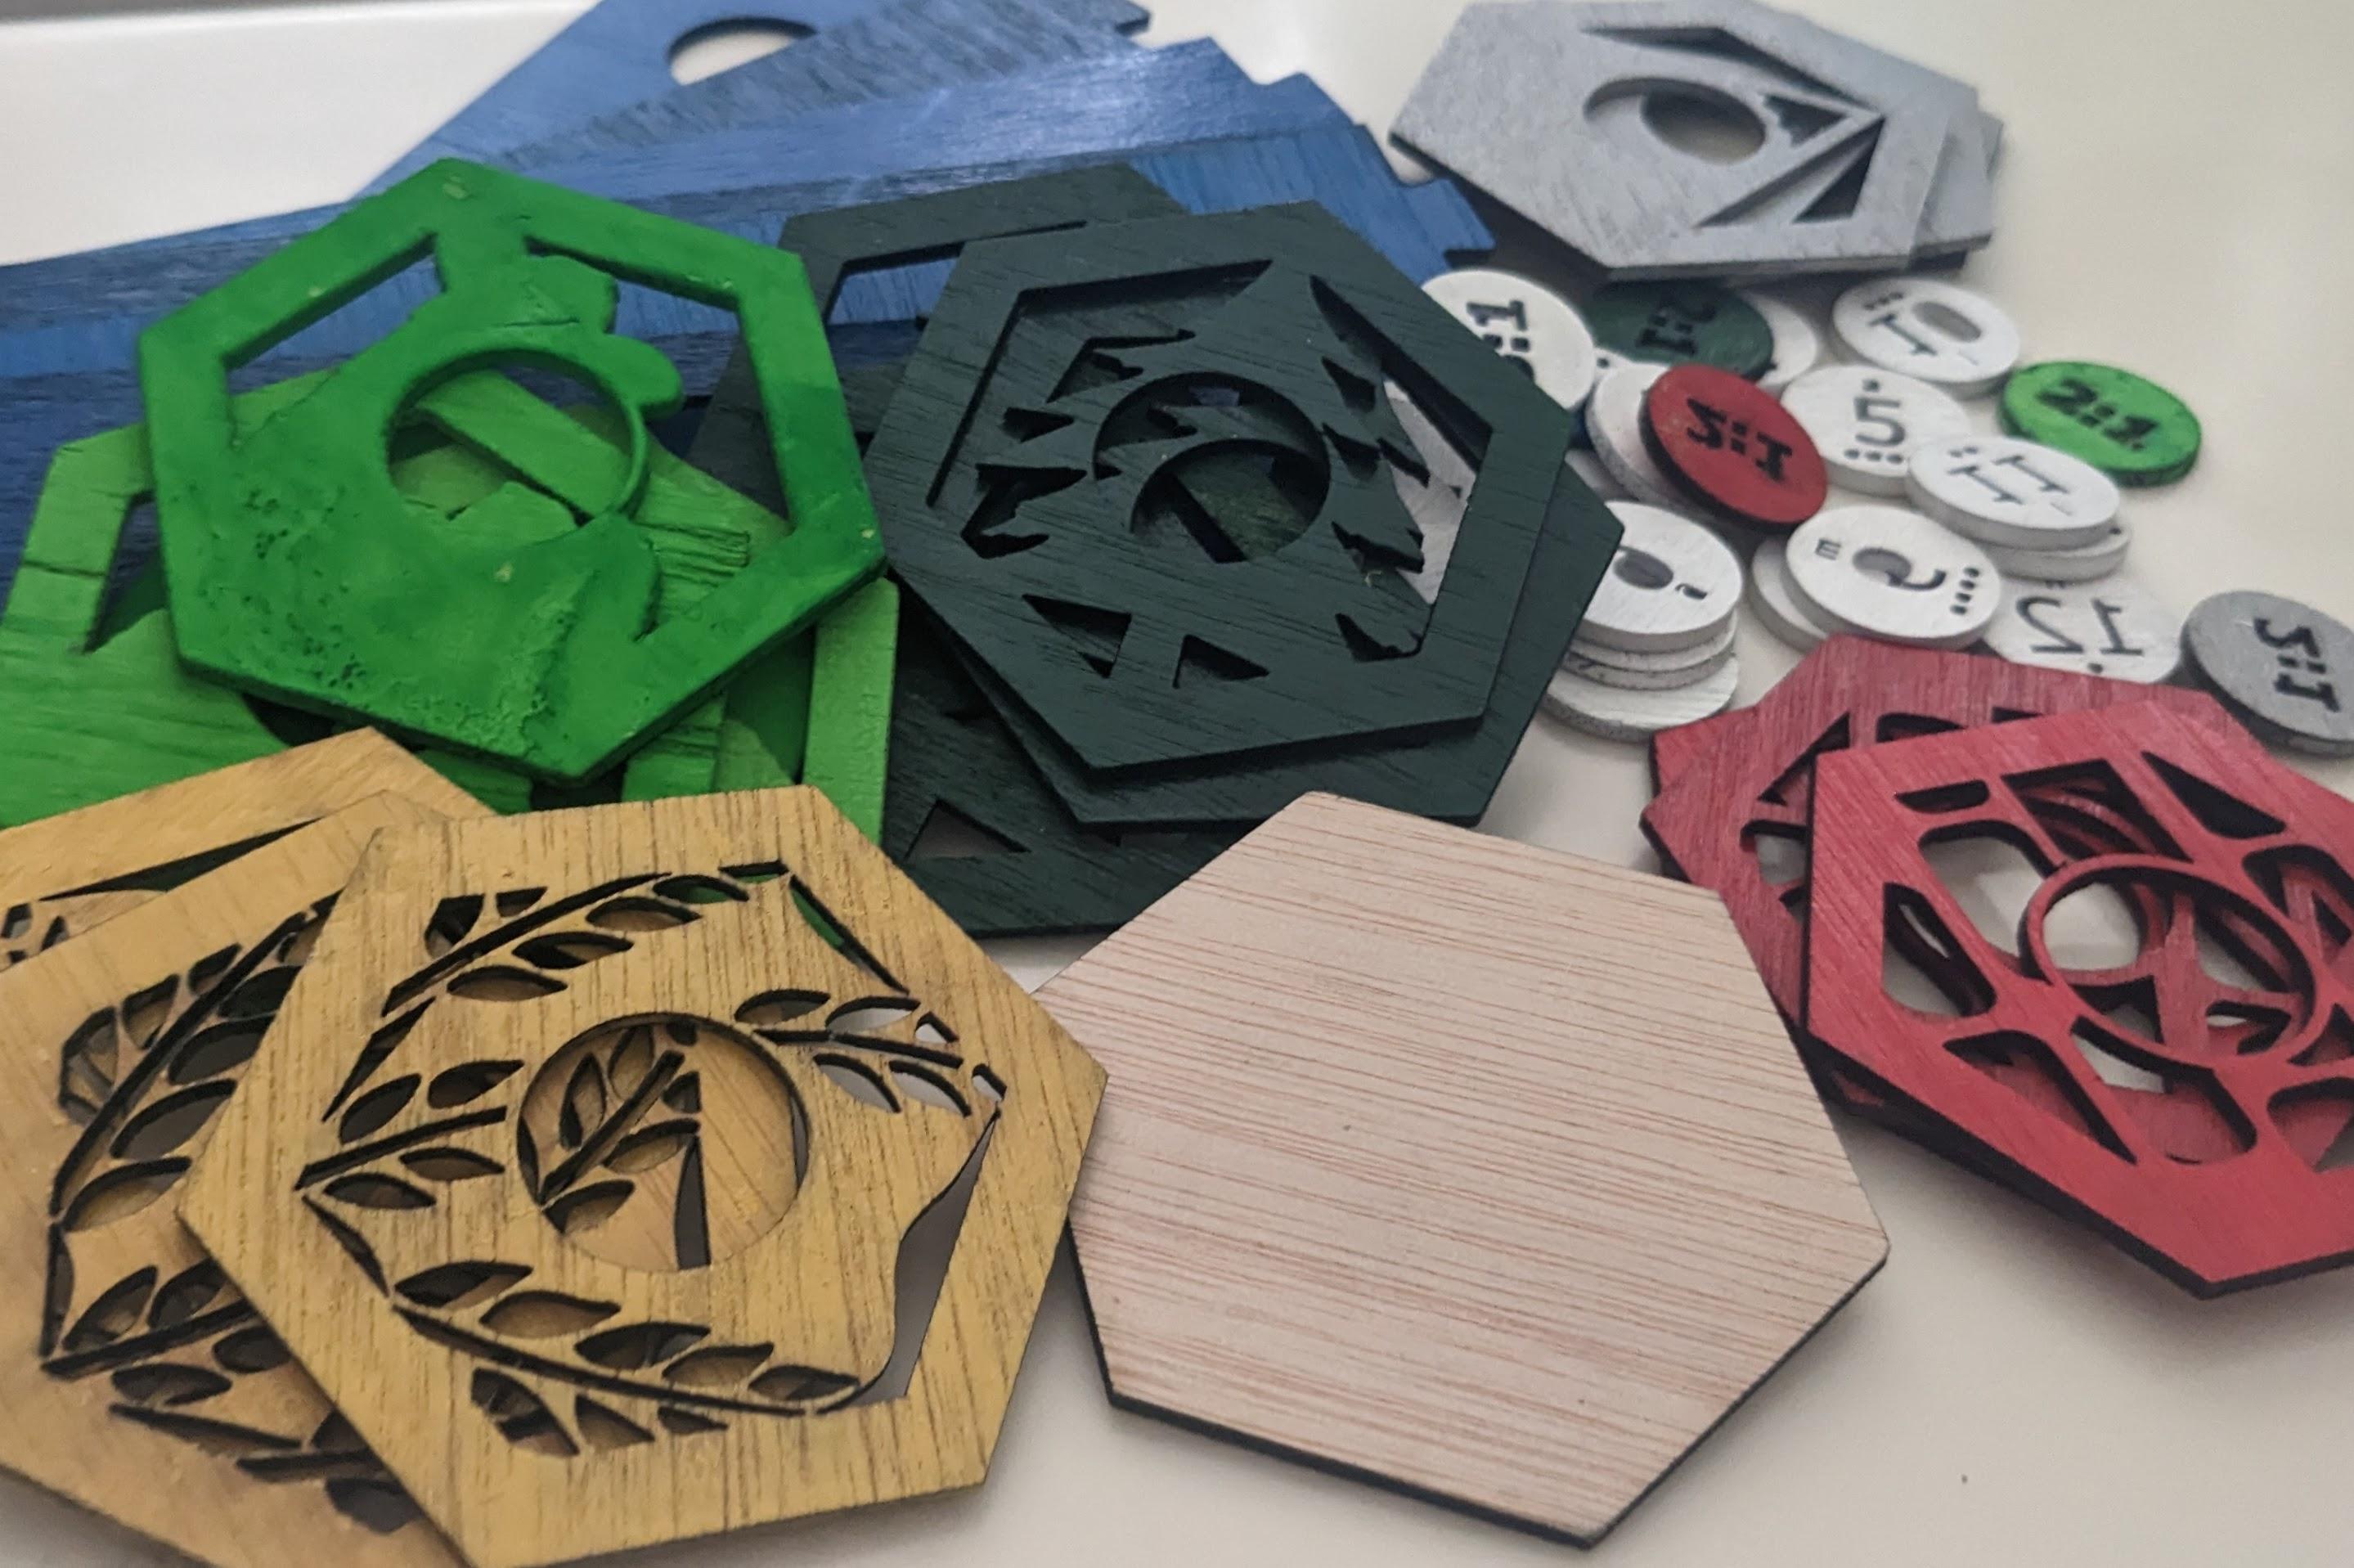
Copy and paste one hexagon tile from "General Board Design" onto a new Inkscape document. From there, start designing one of each tile- ore, sheep, wheat, wood, and desert. We used the line tool to create the mountain and the rectangle shape with curved edges for the brick. We also free-handed some of the shapes on the wheat tile. You can take the designs in many different directions, and even switch up the resources if you choose! Have fun with this step!
3) Using Images Off the Internet For Your Design:
For the wheat, tree, and sheep design, we vectorized images off the web to laser cut.
Find the desired image by searching a keyword and "silhouette" afterward (e.g. "wheat silhouette"). Copy and paste into your Inkscape document. Select the image, Path > Trace Bitmap > Apply. For more on tracing bitmap, see the official documentation.
4) Designing Tokens:
Create circles using the shape tool. Then, insert text to add the number and letter in the circle. Lastly, create smaller circles to indicate the probabilities.
For the trade ports, apply a similar process, only with the text "3:1" and "2:1".
Note, the use of the given token design ("Tokens") is not suggested because there is an error with text design and printing which can easily be avoided by using a stencil text.
Downloads
.svg)
Laser Cutting
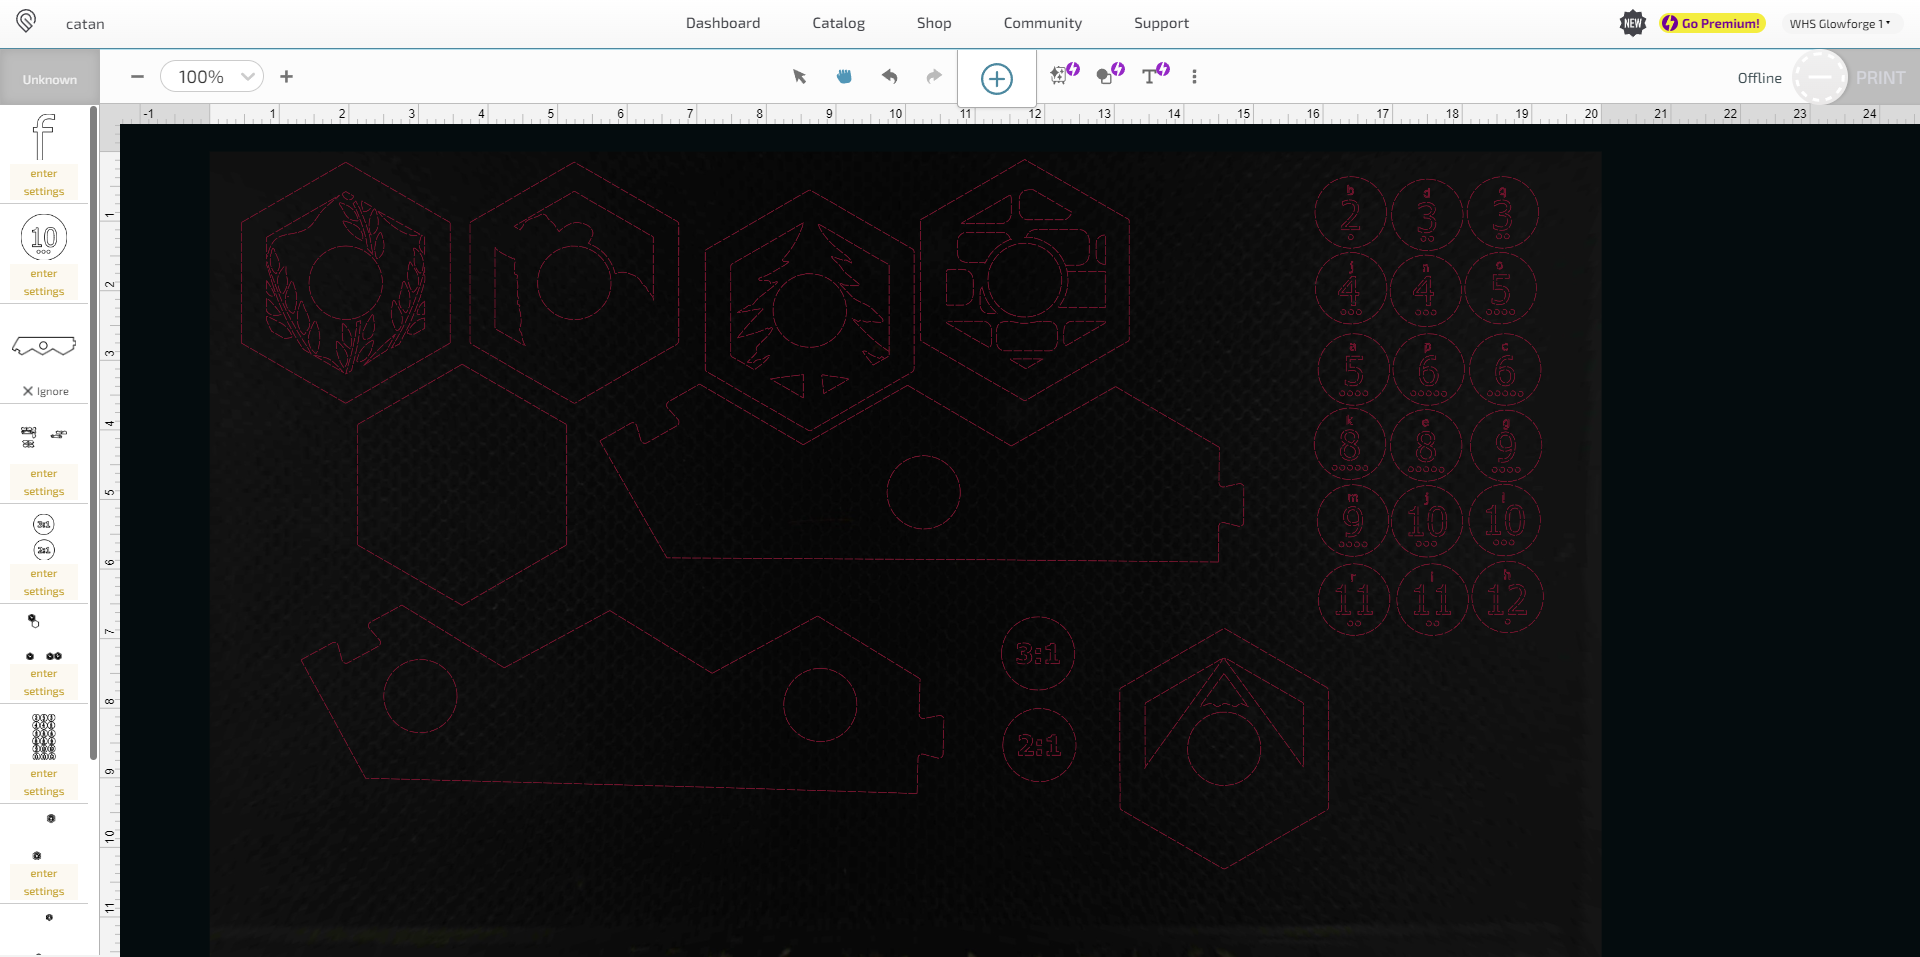
The following pieces are needed as SVG files:
- 3 sea borders with 1 trade port slot
- 3 sea borders with 2 trade port slots
- 3 clay tiles
- 3 ore tiles
- 4 wheat tiles
- 4 wood tiles
- 4 sheep tiles
- 1 desert tile
- 5 trade ports - one for each resource (2:1)
- 4 trade ports (3:1)
- 18 number tiles
1) Place a piece of plywood into the machine.
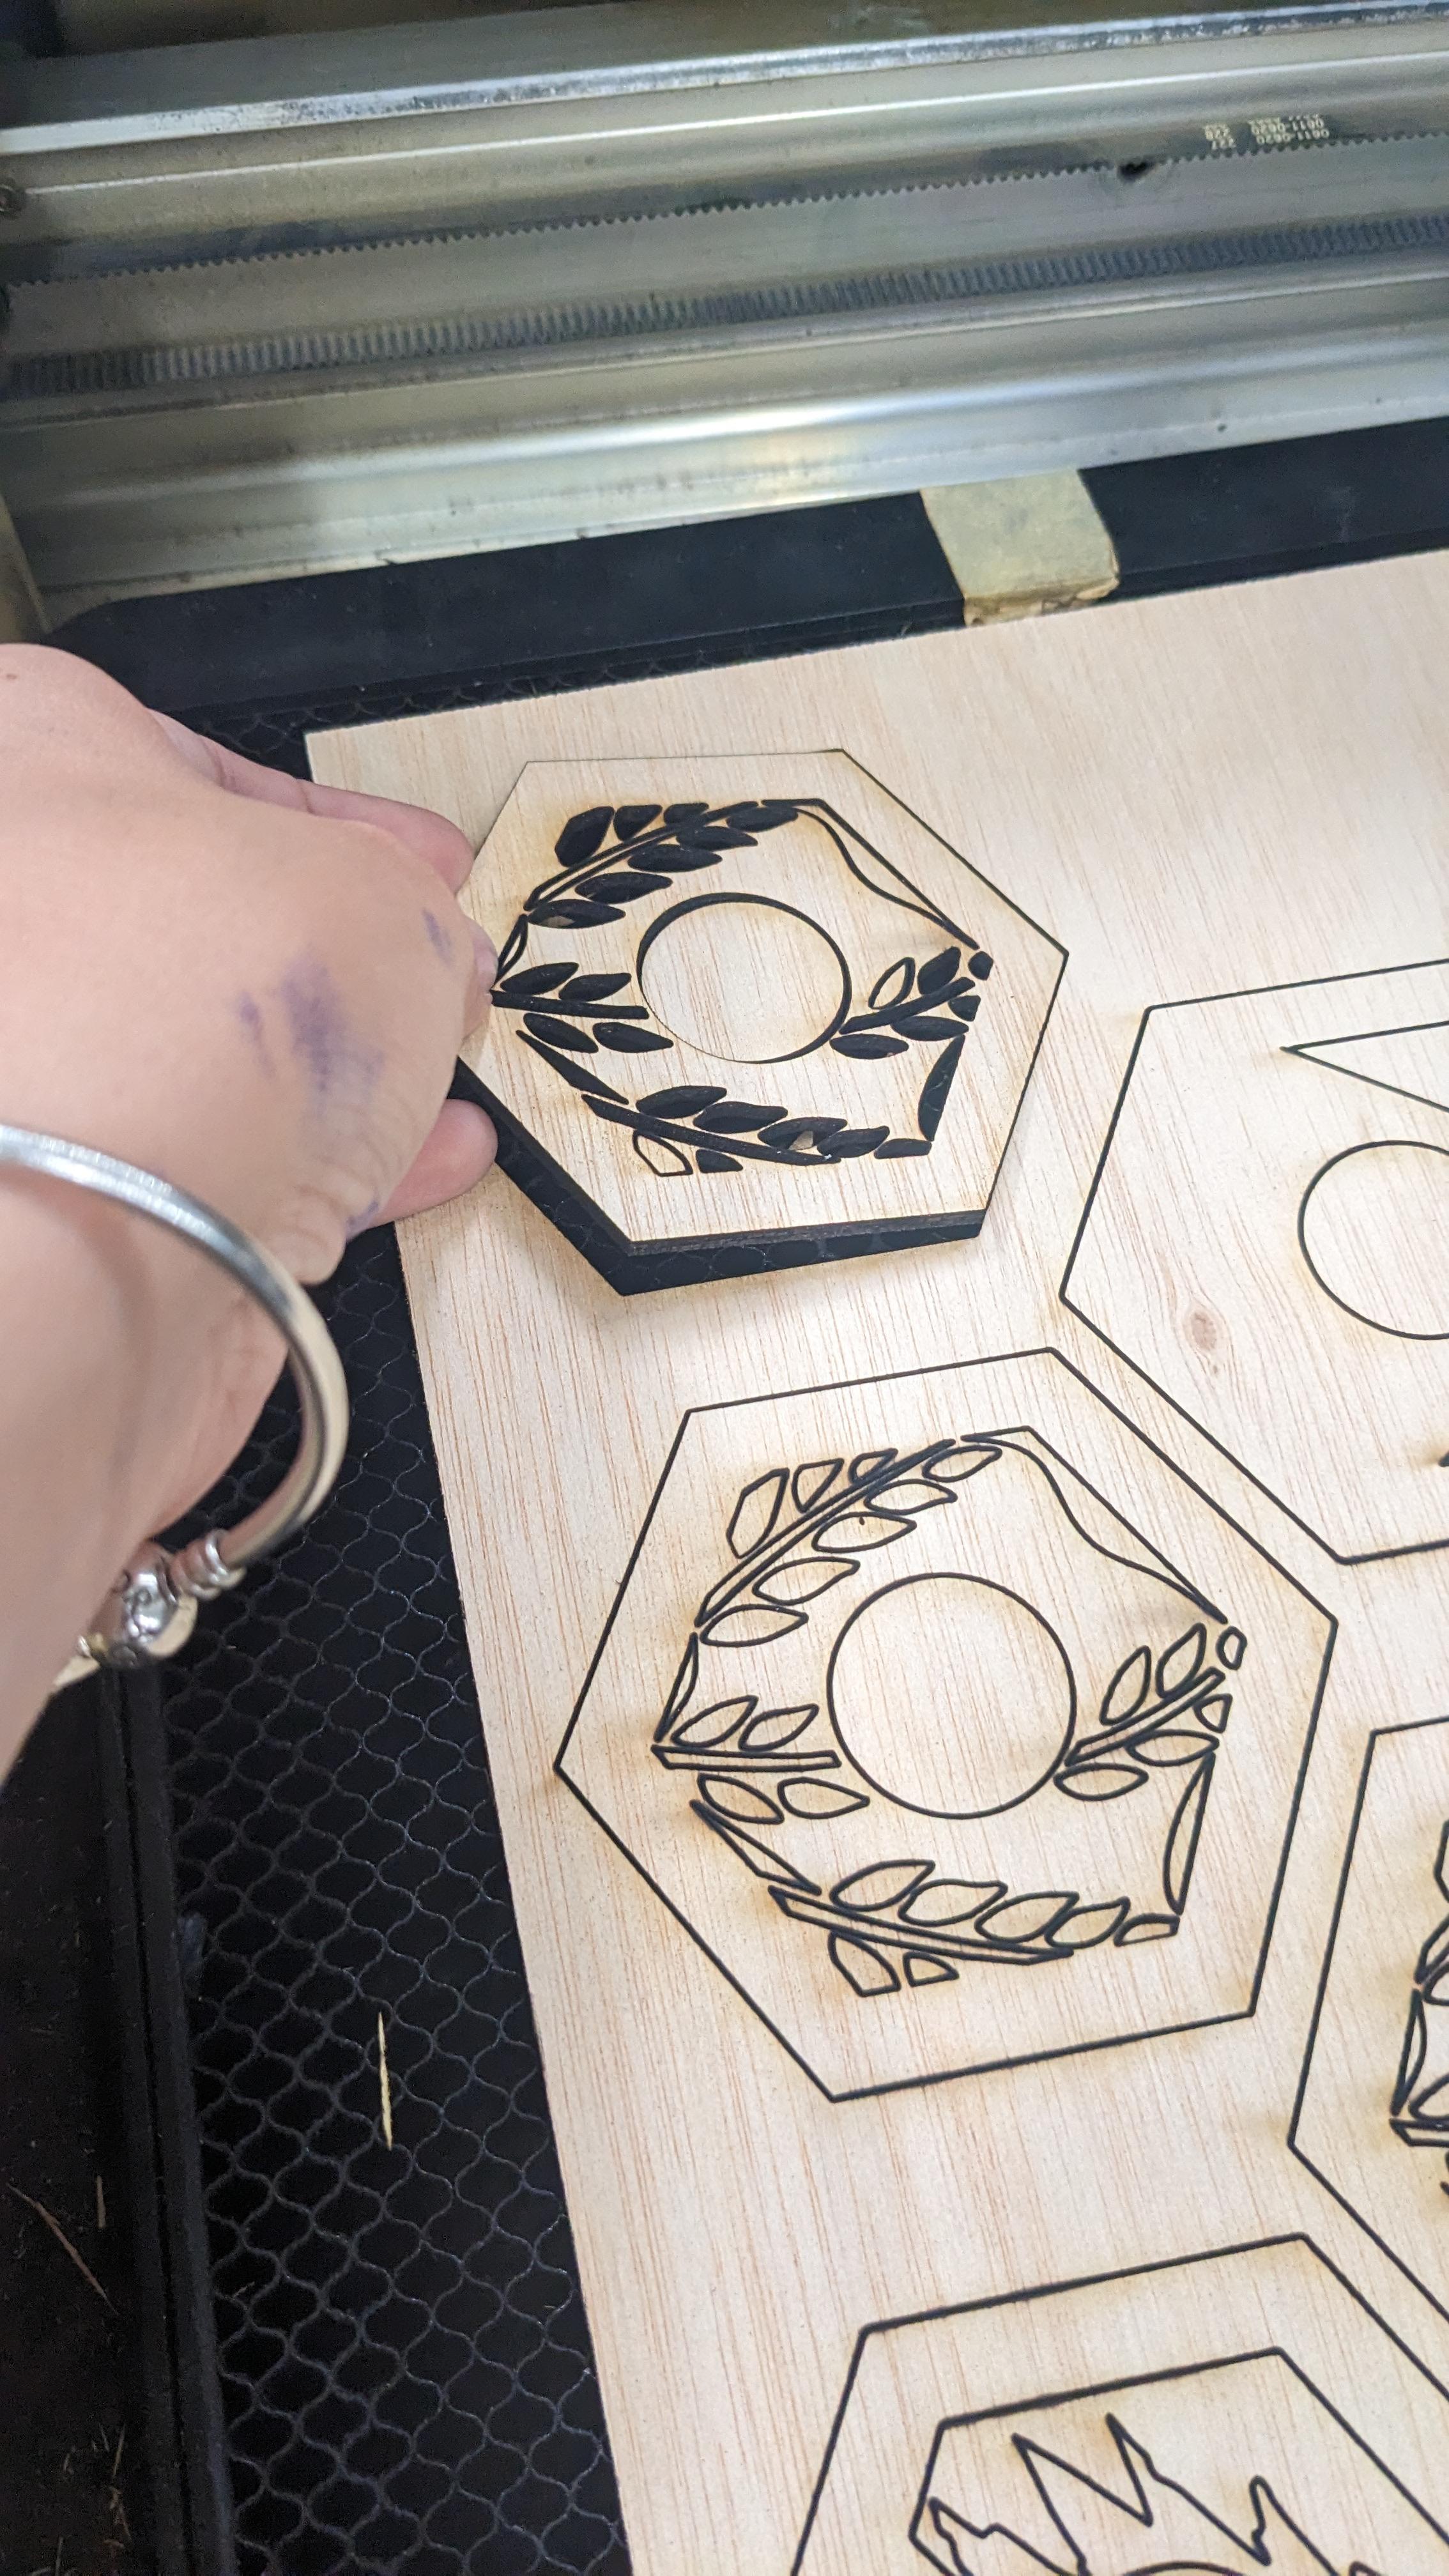
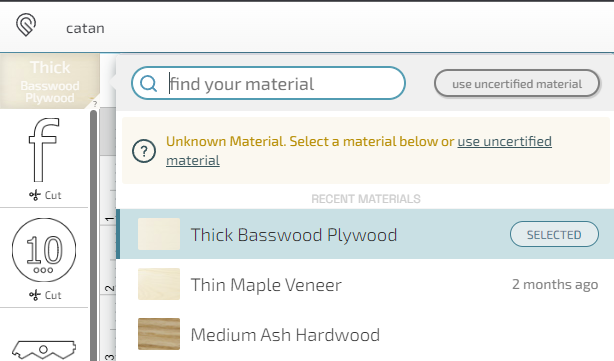
2) On app.glowforge.com, open a new project, then click the blue plus sign (+) in the center to start uploading your files. Rearrange each piece on the digital workspace so that it fits on the plywood sheet. Select "Thick Basswood Plywood" as your material of choice. Click "Print", and once it is finished calibrating, press the blue button on the printer.
3) After the print is finished, open the lid and take out the pieces. Repeat the process until all pieces have been cut. Sand any harsh edges to prepare for painting.
Paint and Varnish
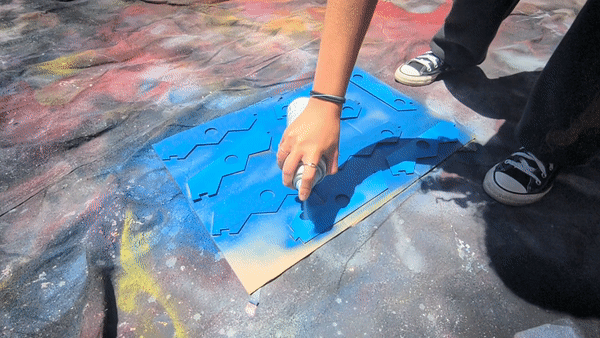
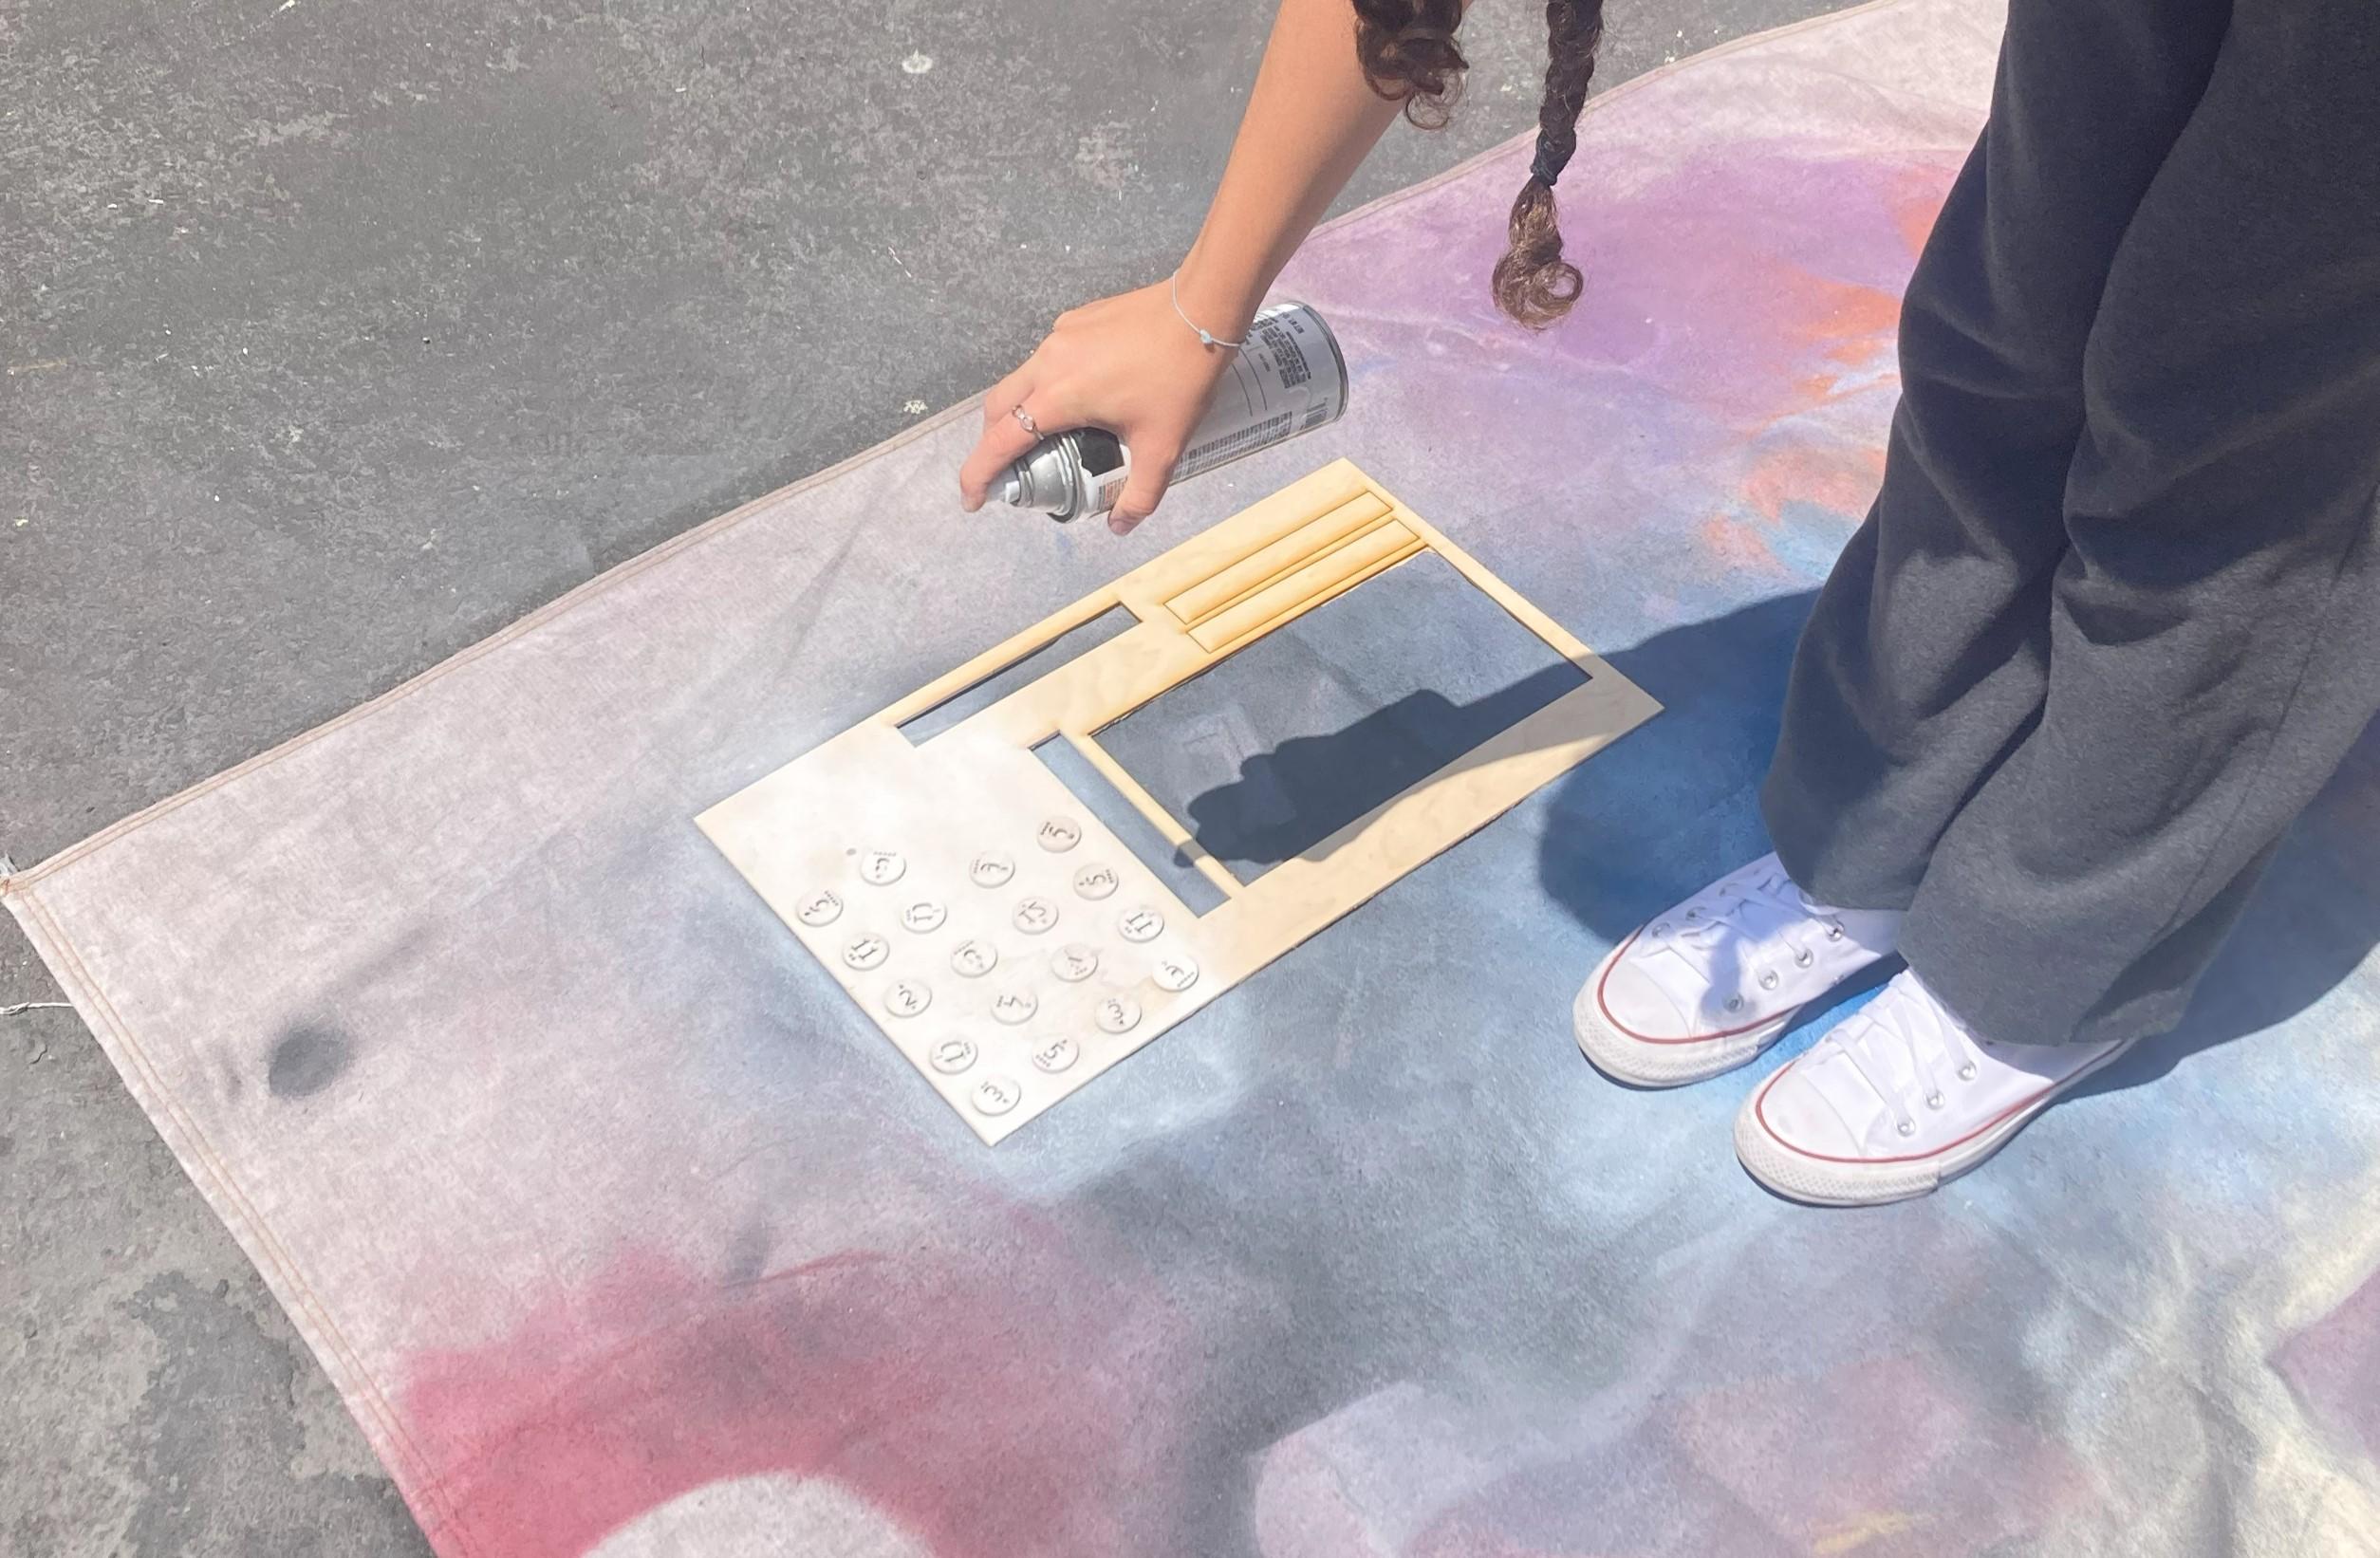
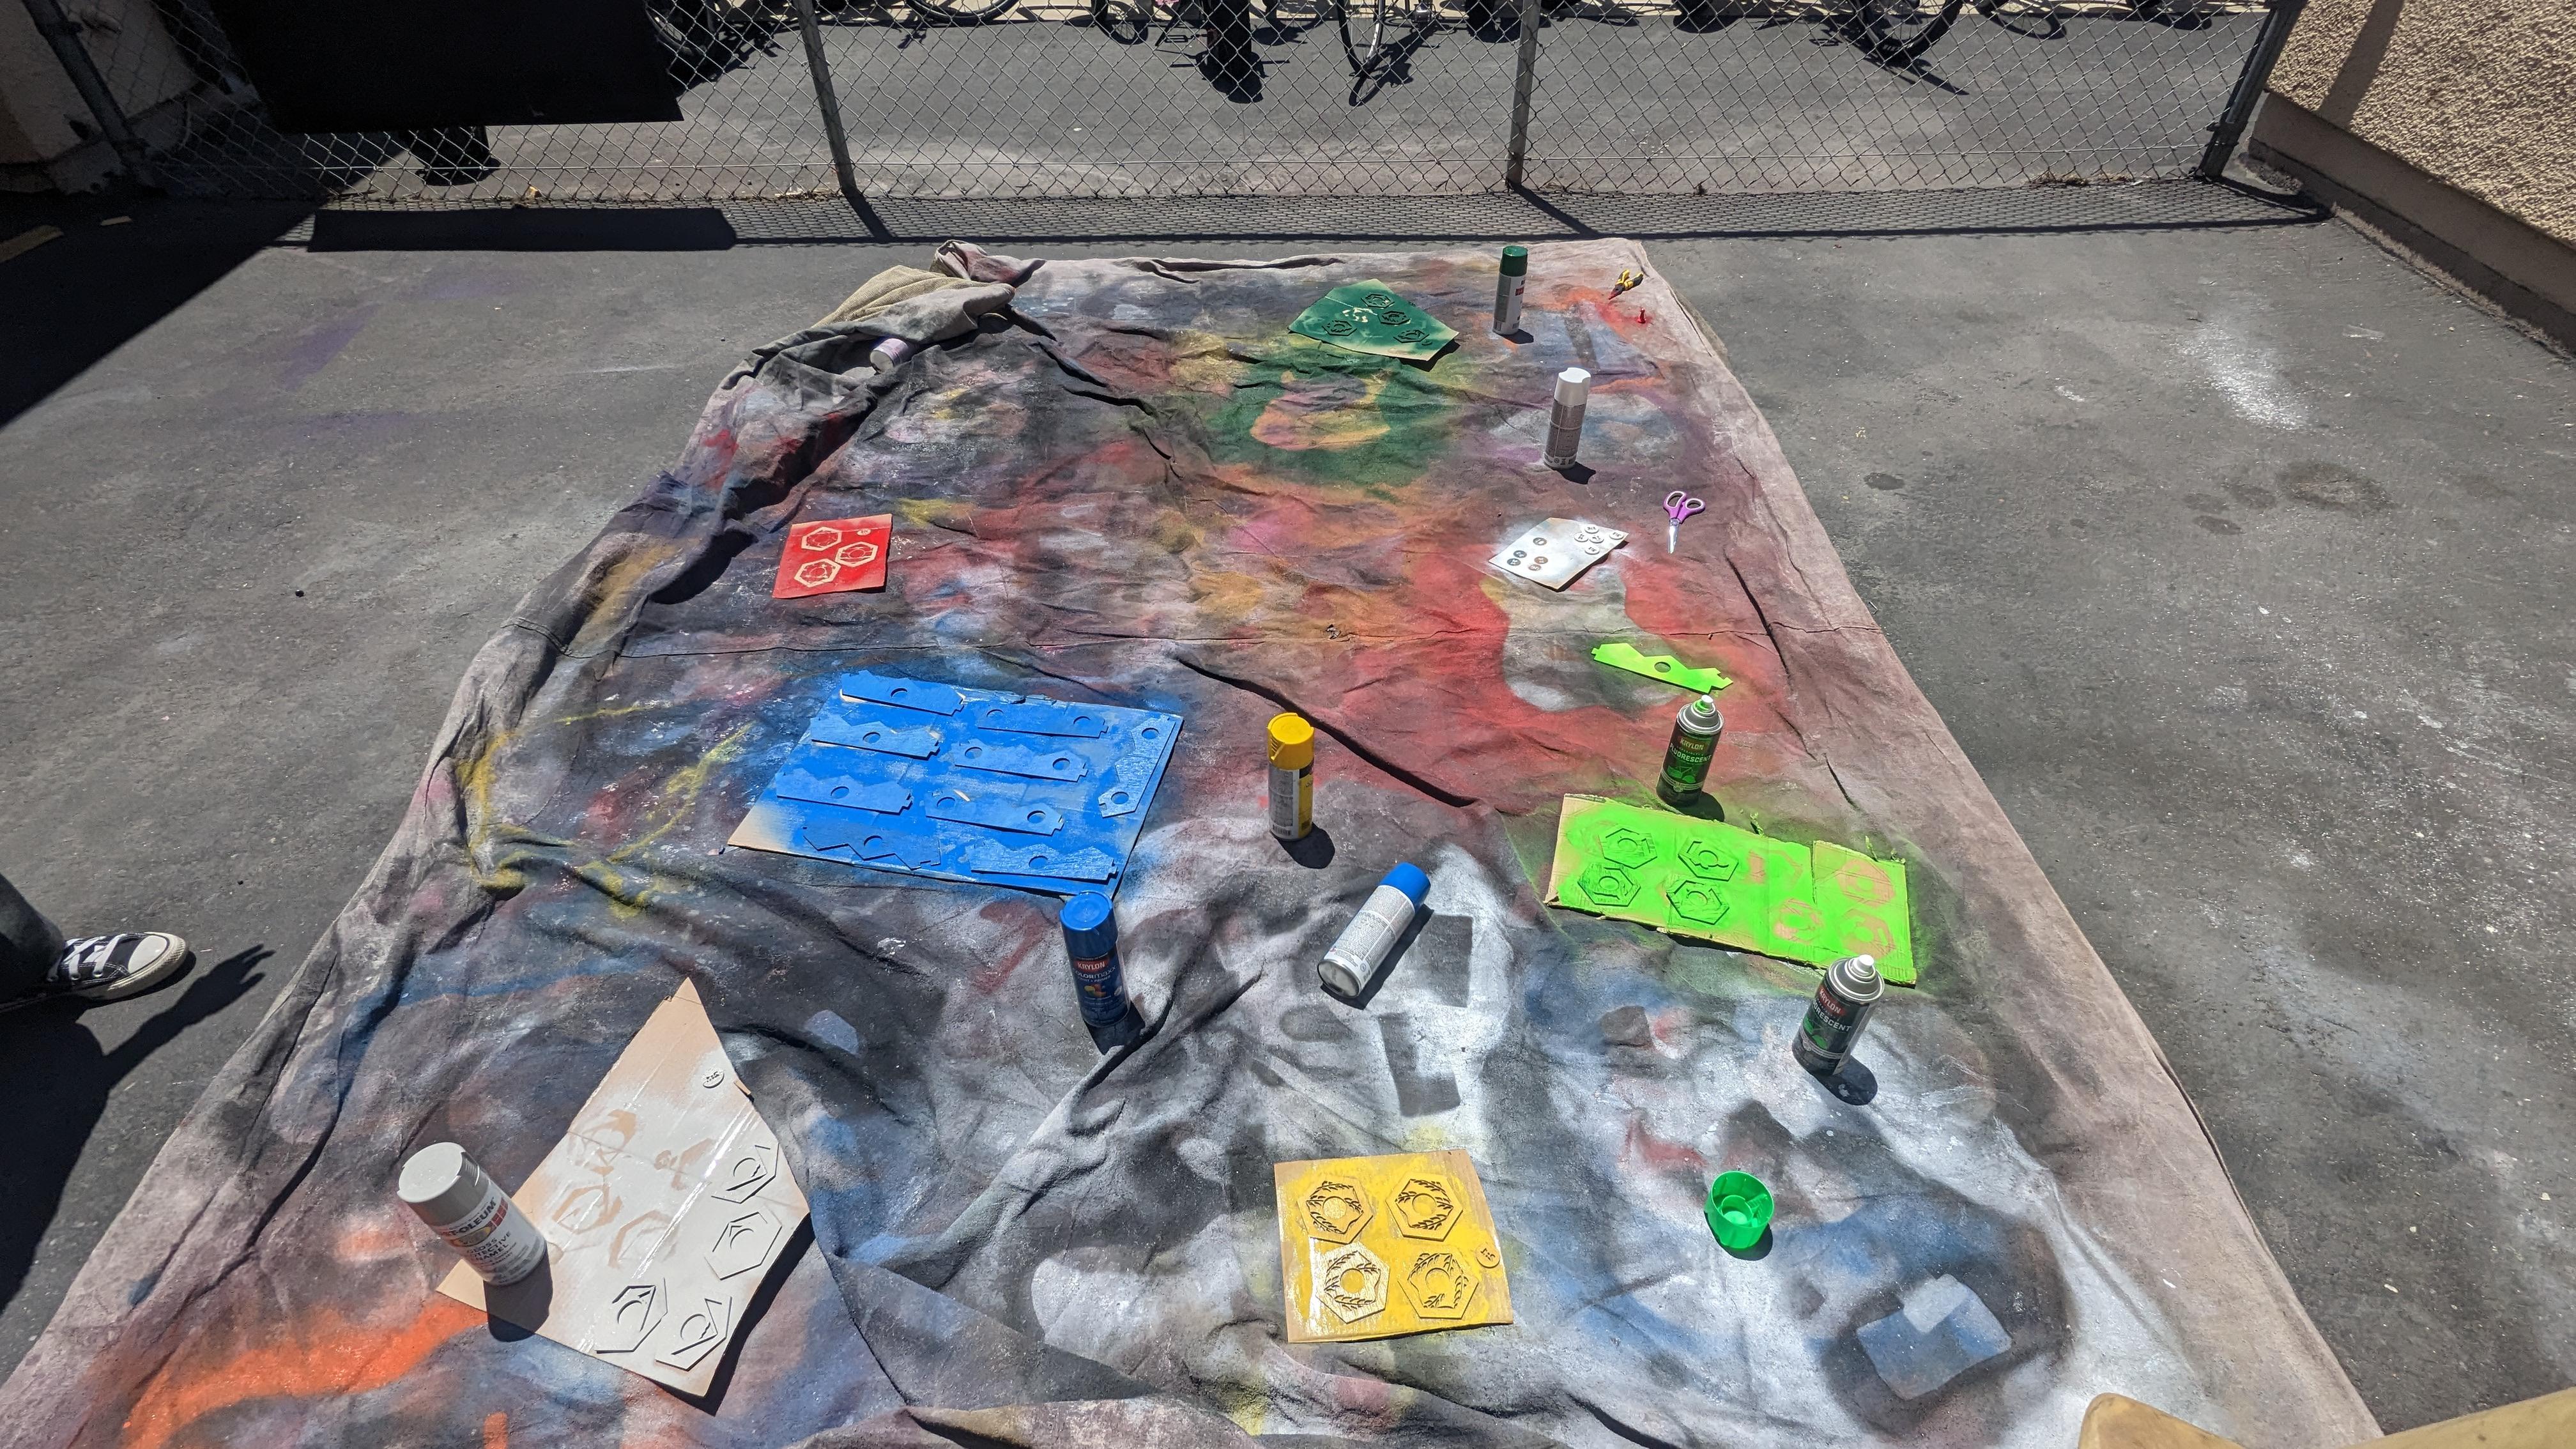
Before painting, make sure you are in a well-ventilated area. We sprayed ours outside with a tarp lined to catch any mess made.
- Shake the can thoroughly before starting.
- Hold the can 2-4 inches away from the piece you wish to paint.
- In a smooth side-to-side motion, cover the pieces with paint.
- Wait 10 minutes for the paint to set, then add another coat of paint.
- Repeat until the pieces have the desired color.
- (We painted the tokens and tiles with around 2-4 coats of paint. The sea borders took a substantially longer time to paint, totaling around 10 coats)
- Wait until the paint is dry to the touch, then flip over and repeat the steps for the back of each piece.
You may want to sand the pieces in order to make them softer to the touch. Note, however, that sanding may decrease the intensity of the color.
- Optionally, spray varnish to finish at the end.
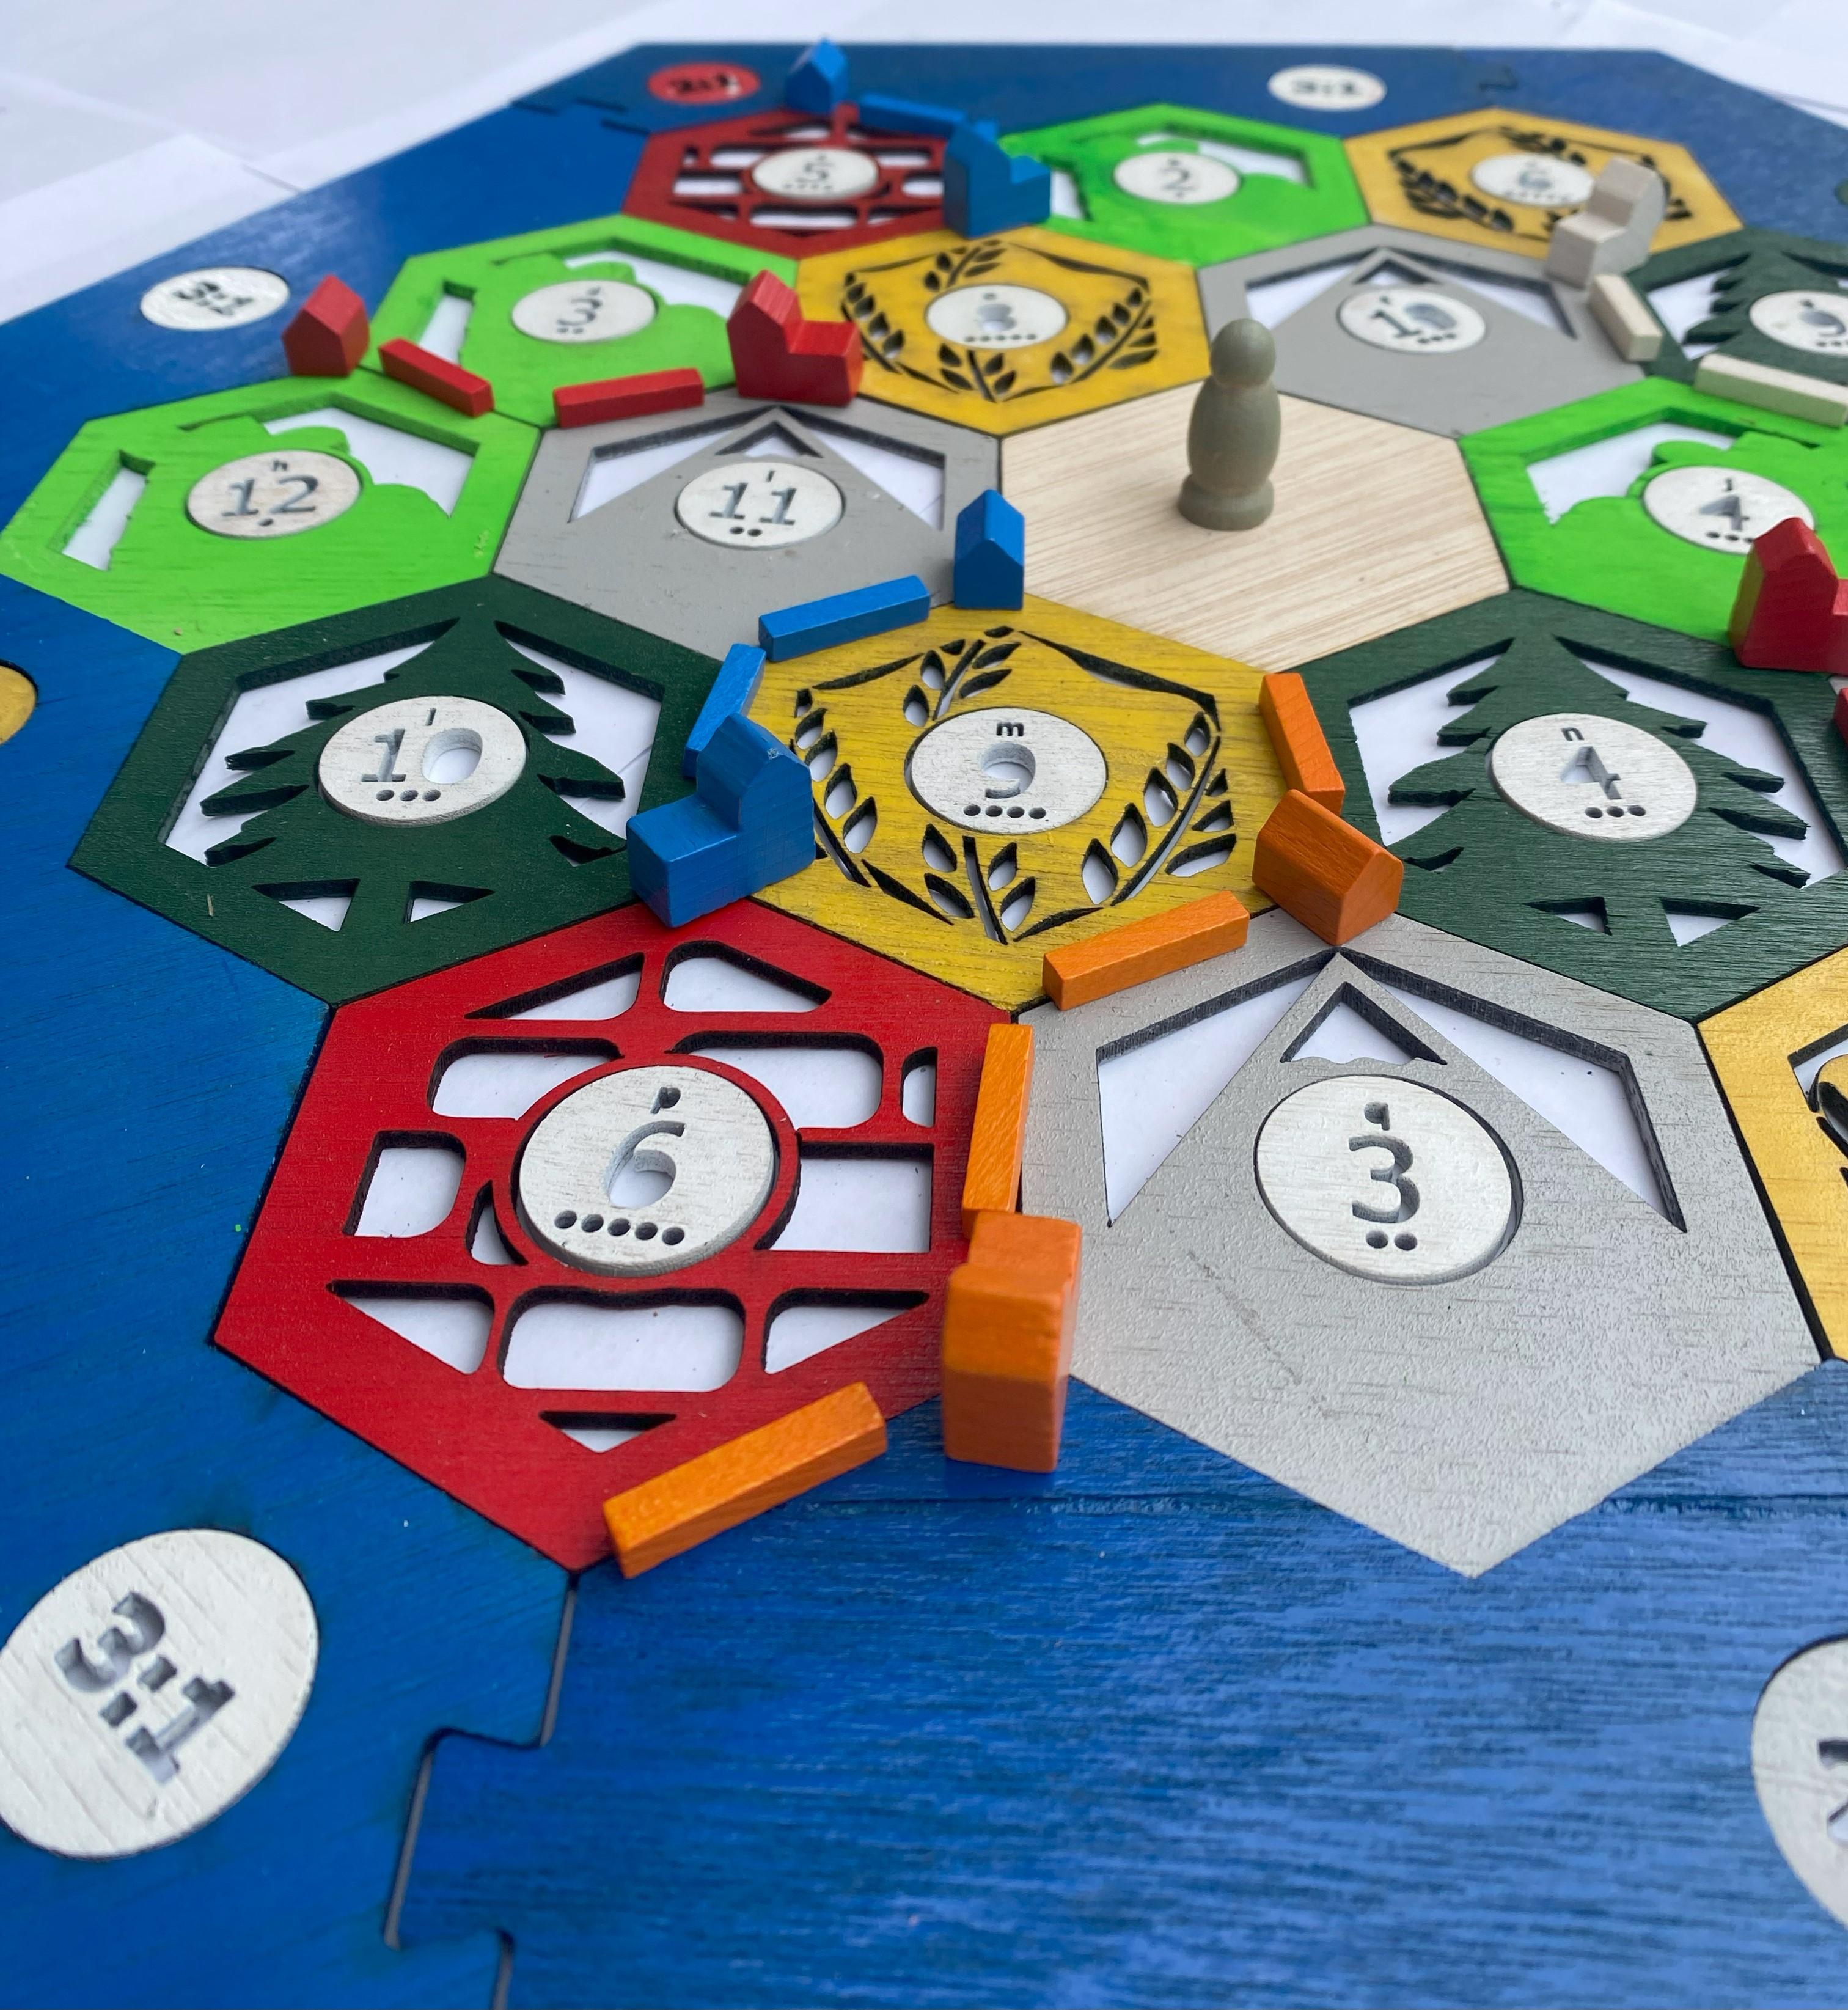
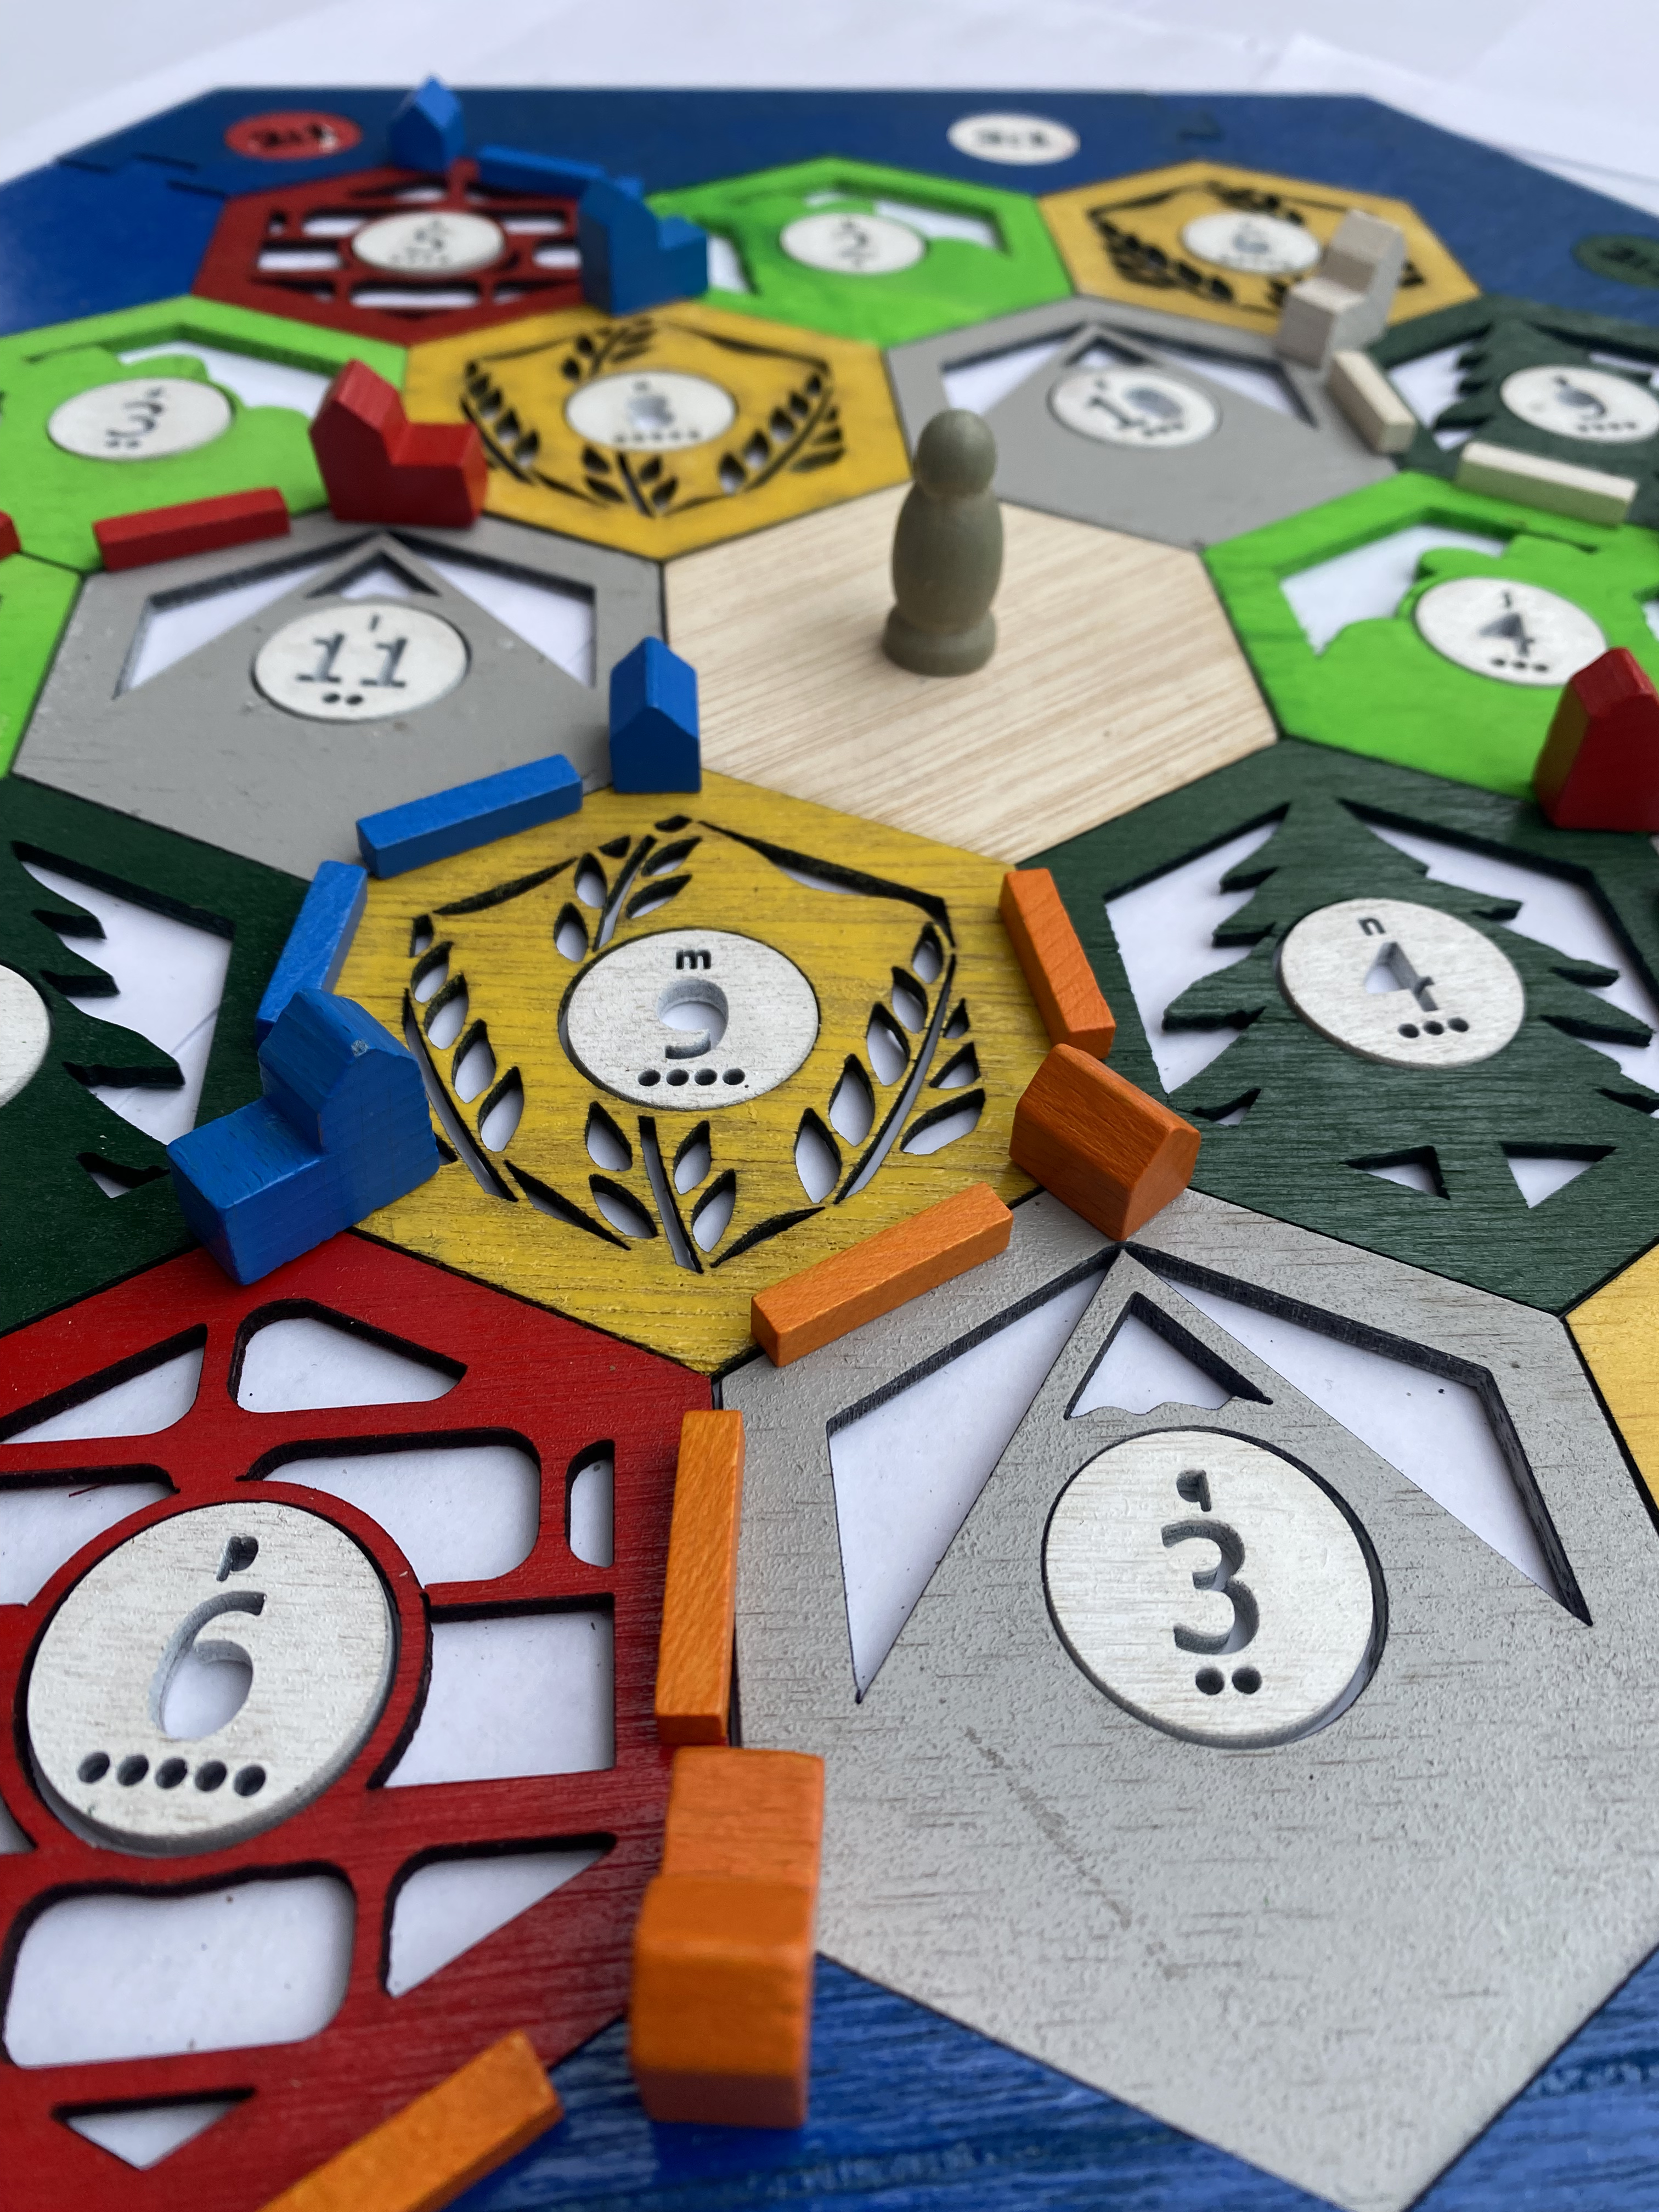
Play Catan!
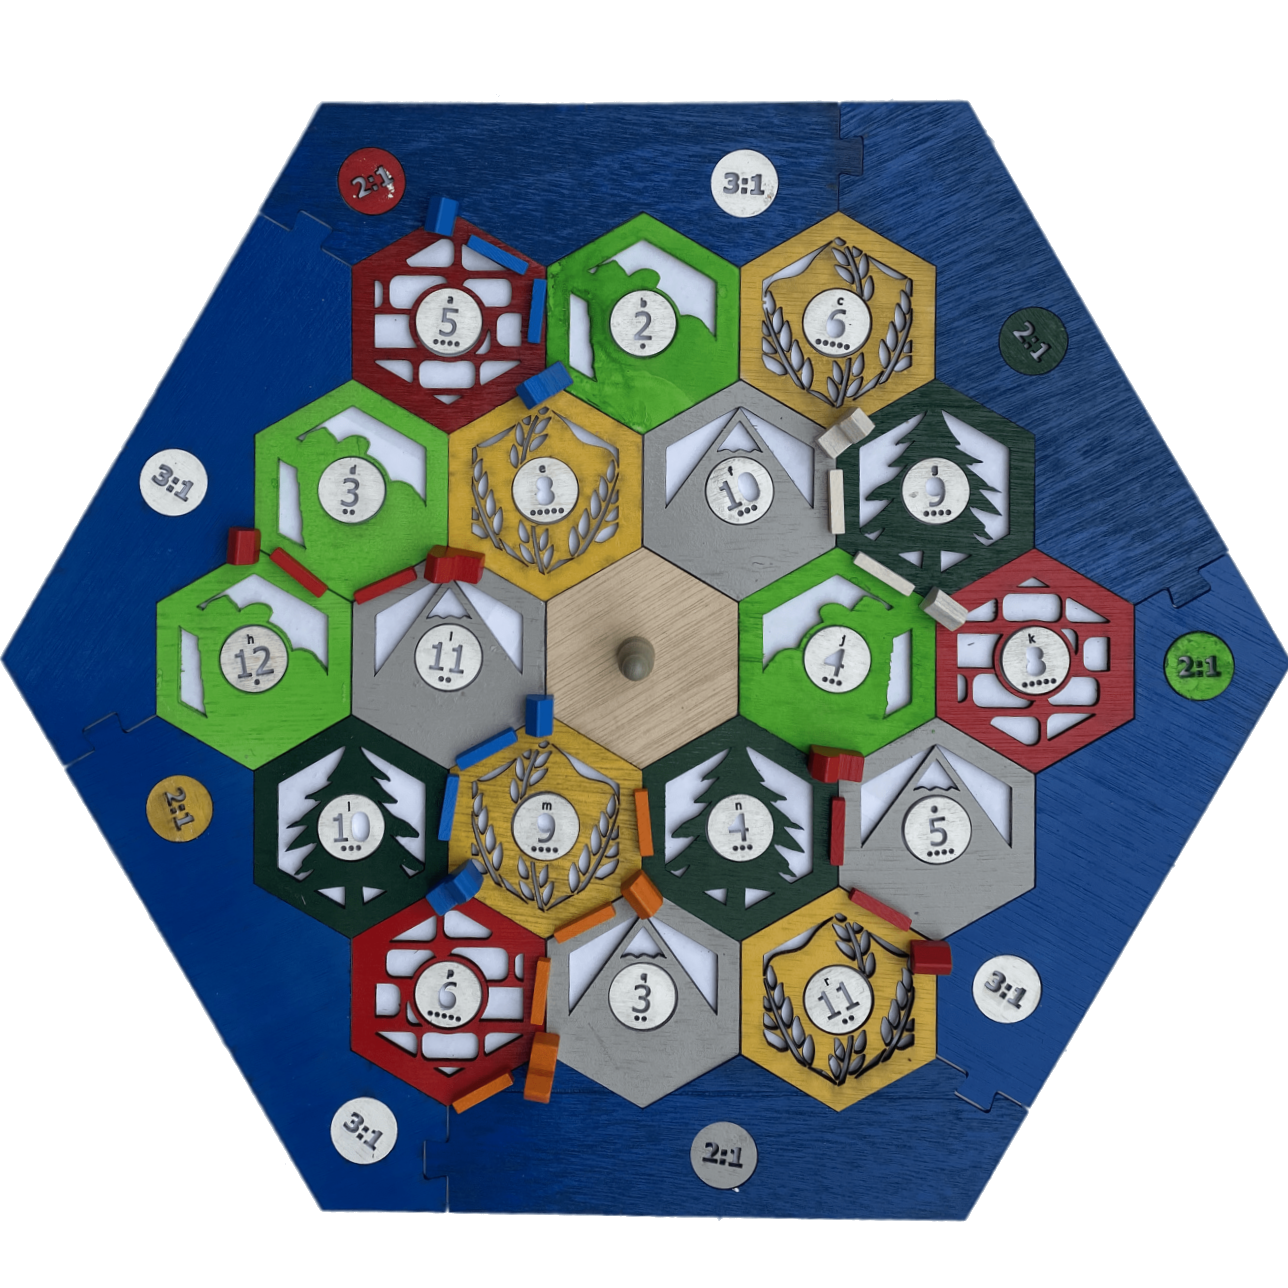
Set up your newly created tiles and invite family and friends to play. Grab houses and cards from the base game, and start rolling the dice! Home is where memories are made and where laughter is shared, together. 💗
A Quick Reflection:
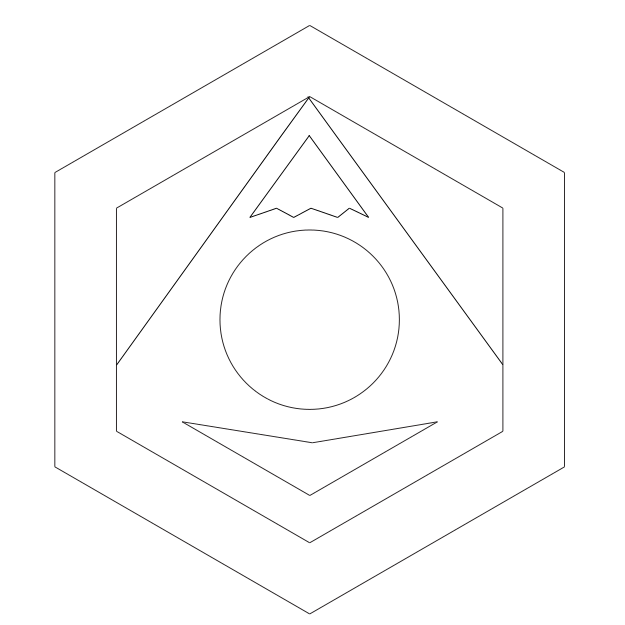
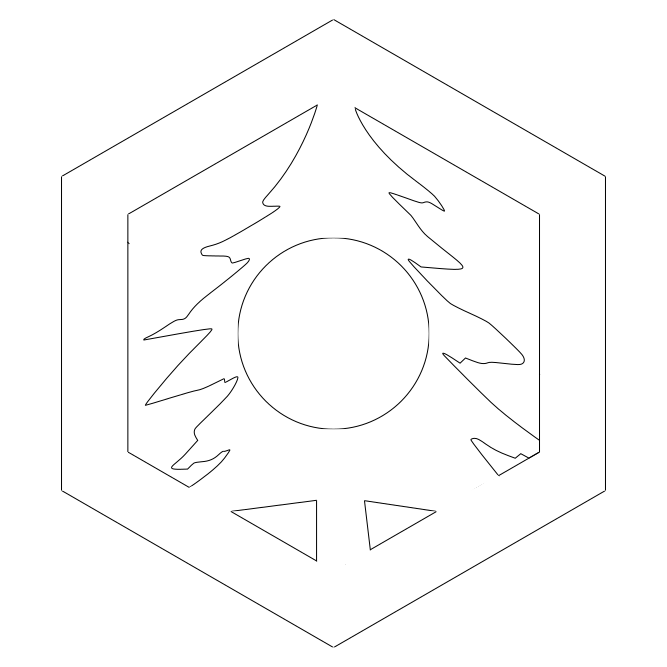
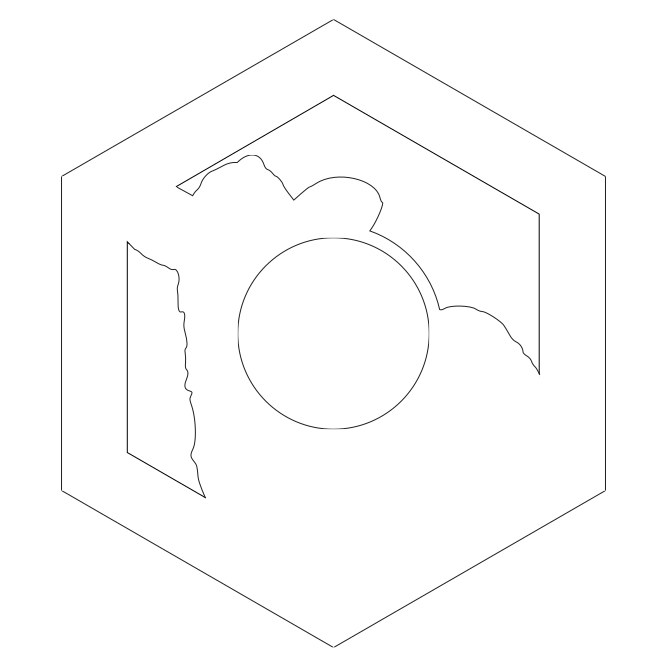
Thank you for reading through our Instructable! We had tons of fun making this come to life, although there were a few mishaps along the way. We went through quite a few prototypes with the tile designs and were able to learn a lot along the way. For example, that mountain design (see above) was a huge no-no since the laser cutter would just cut the smaller hexagon out, and we would be left with a smaller shape than expected. With a number of alterations to each design, we were able to create something we were proud of.
If we went back and made an improved, or differently designed board, we would fix the issue we had with the number tiles. Hollow portions of the numbers got completely cut out in numbers such as "6", "8", "10", and more. In hindsight, it seems like a silly mistake that could easily be avoided. This was one of many instances that taught us the importance of attention to detail.
We hope we've inspired you to create in some way, whether it be hand painting your own board, or creating a cat-themed Cat-an with resources such as yarn and tuna! 😺🐟 Settlers, the journey is now yours!