Hand Painted T-shirts.

Dear DIY fans.
Making t-shirts is fun, and it is not as complicated as you may think! I'm a designer by education, and owner of Superstitchious Designs page. To prove that everyone is capable of making a quality, permanent design on the t-shirt I will use my last organised workshop to create an easy to follow instructable. I hope you will follow and have fun!
*none of the participants of the workshop had previous experience in t-shirt making, or is a qualified artist, designs were their choices, I was there to guide them and show them the crafting process.*
I will show you how to make permanent designs over your textiles (t-shirts pants you name it!) in an easy and a fun way. The big advantage of this method is that your design can be placed anywhere, unlike commercial print offerings, it is more resistant to washing, and often better quality.
(I got featured, so at the end of the contest, my 3-month premium code will be given to one of my instructable followers - picked at random, also there is a vote button now *wink *wink)
Requirements:
- a plain t-shirt (start cheap, avoid stretching textiles, cotton rules)
- an acrylic paint (more about that in step 3)
- access to the printer and a computer (optional)
- a piece of cardboard and tape (masking or insulation)
- sharp paper knives
- iron and iron board (or flat table)
- will and some patience!
Advantages
- Great and inexpensive way of making gifts
- You can put a design anywhere, unlike professional printing services
- unique feel
- lots of fun
- can be a social activity
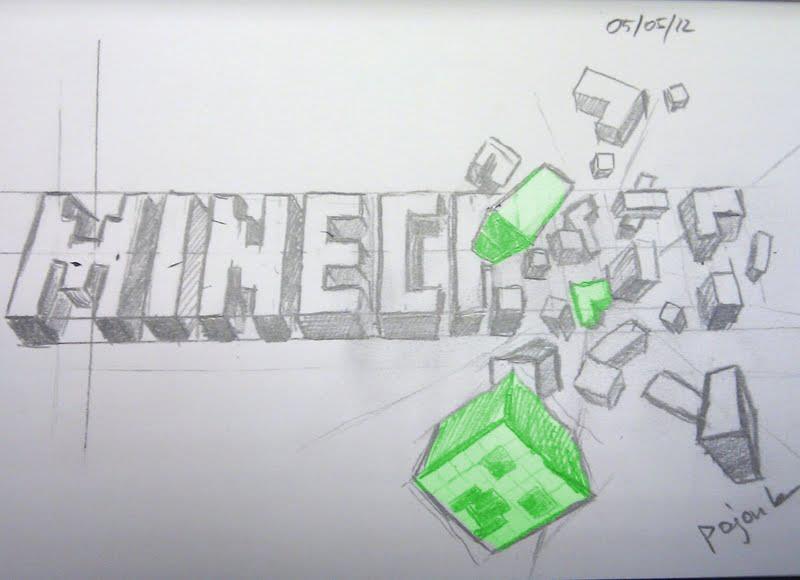
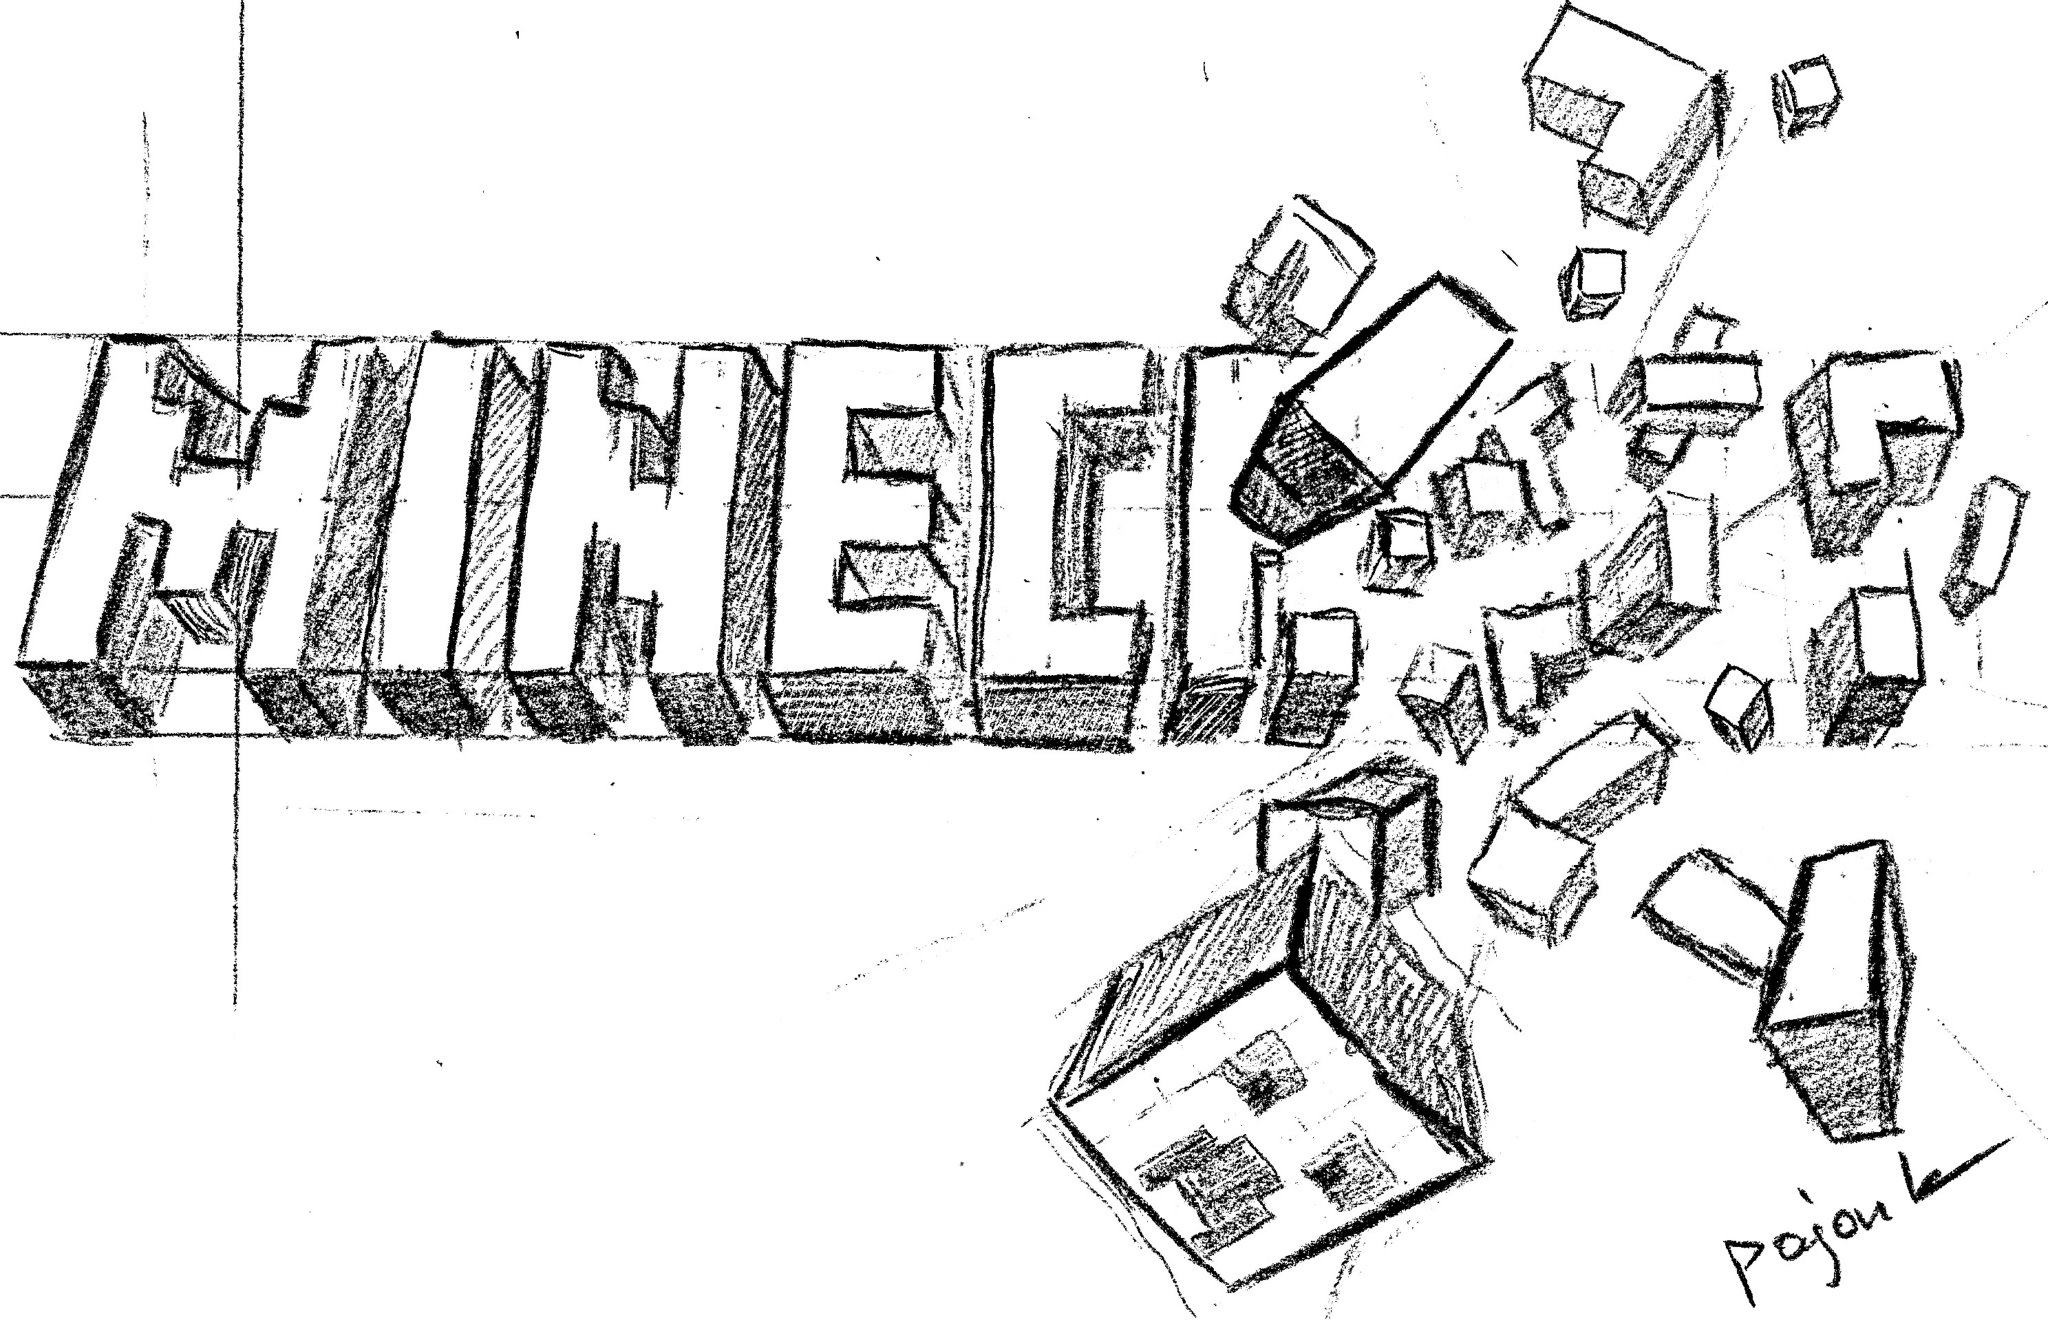
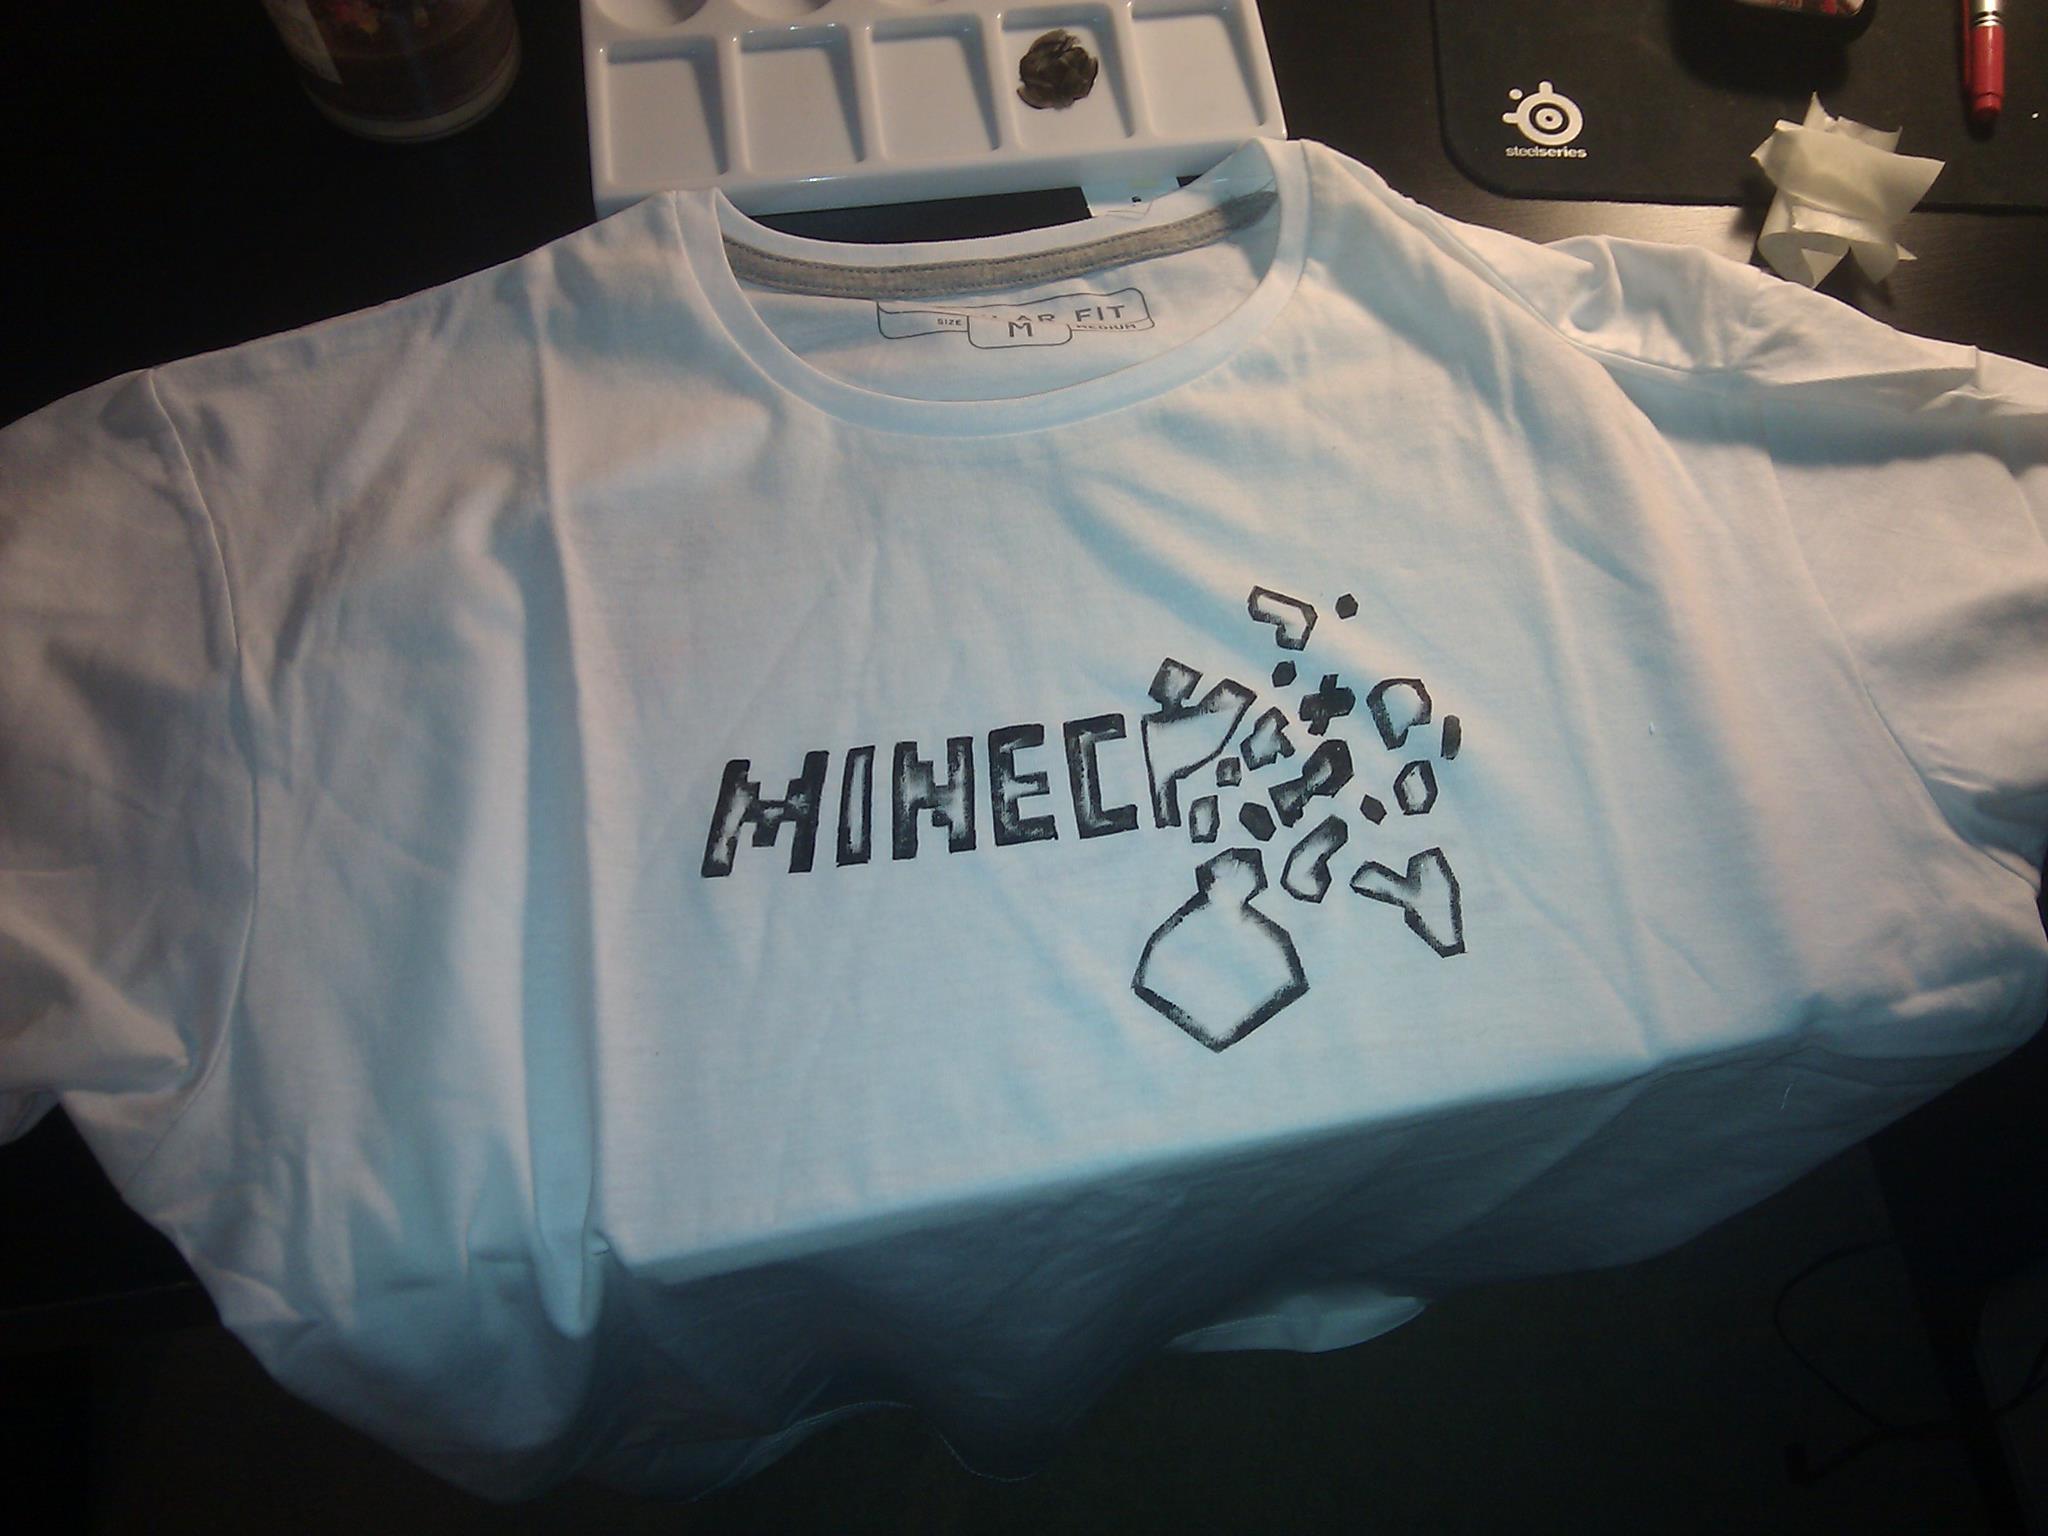
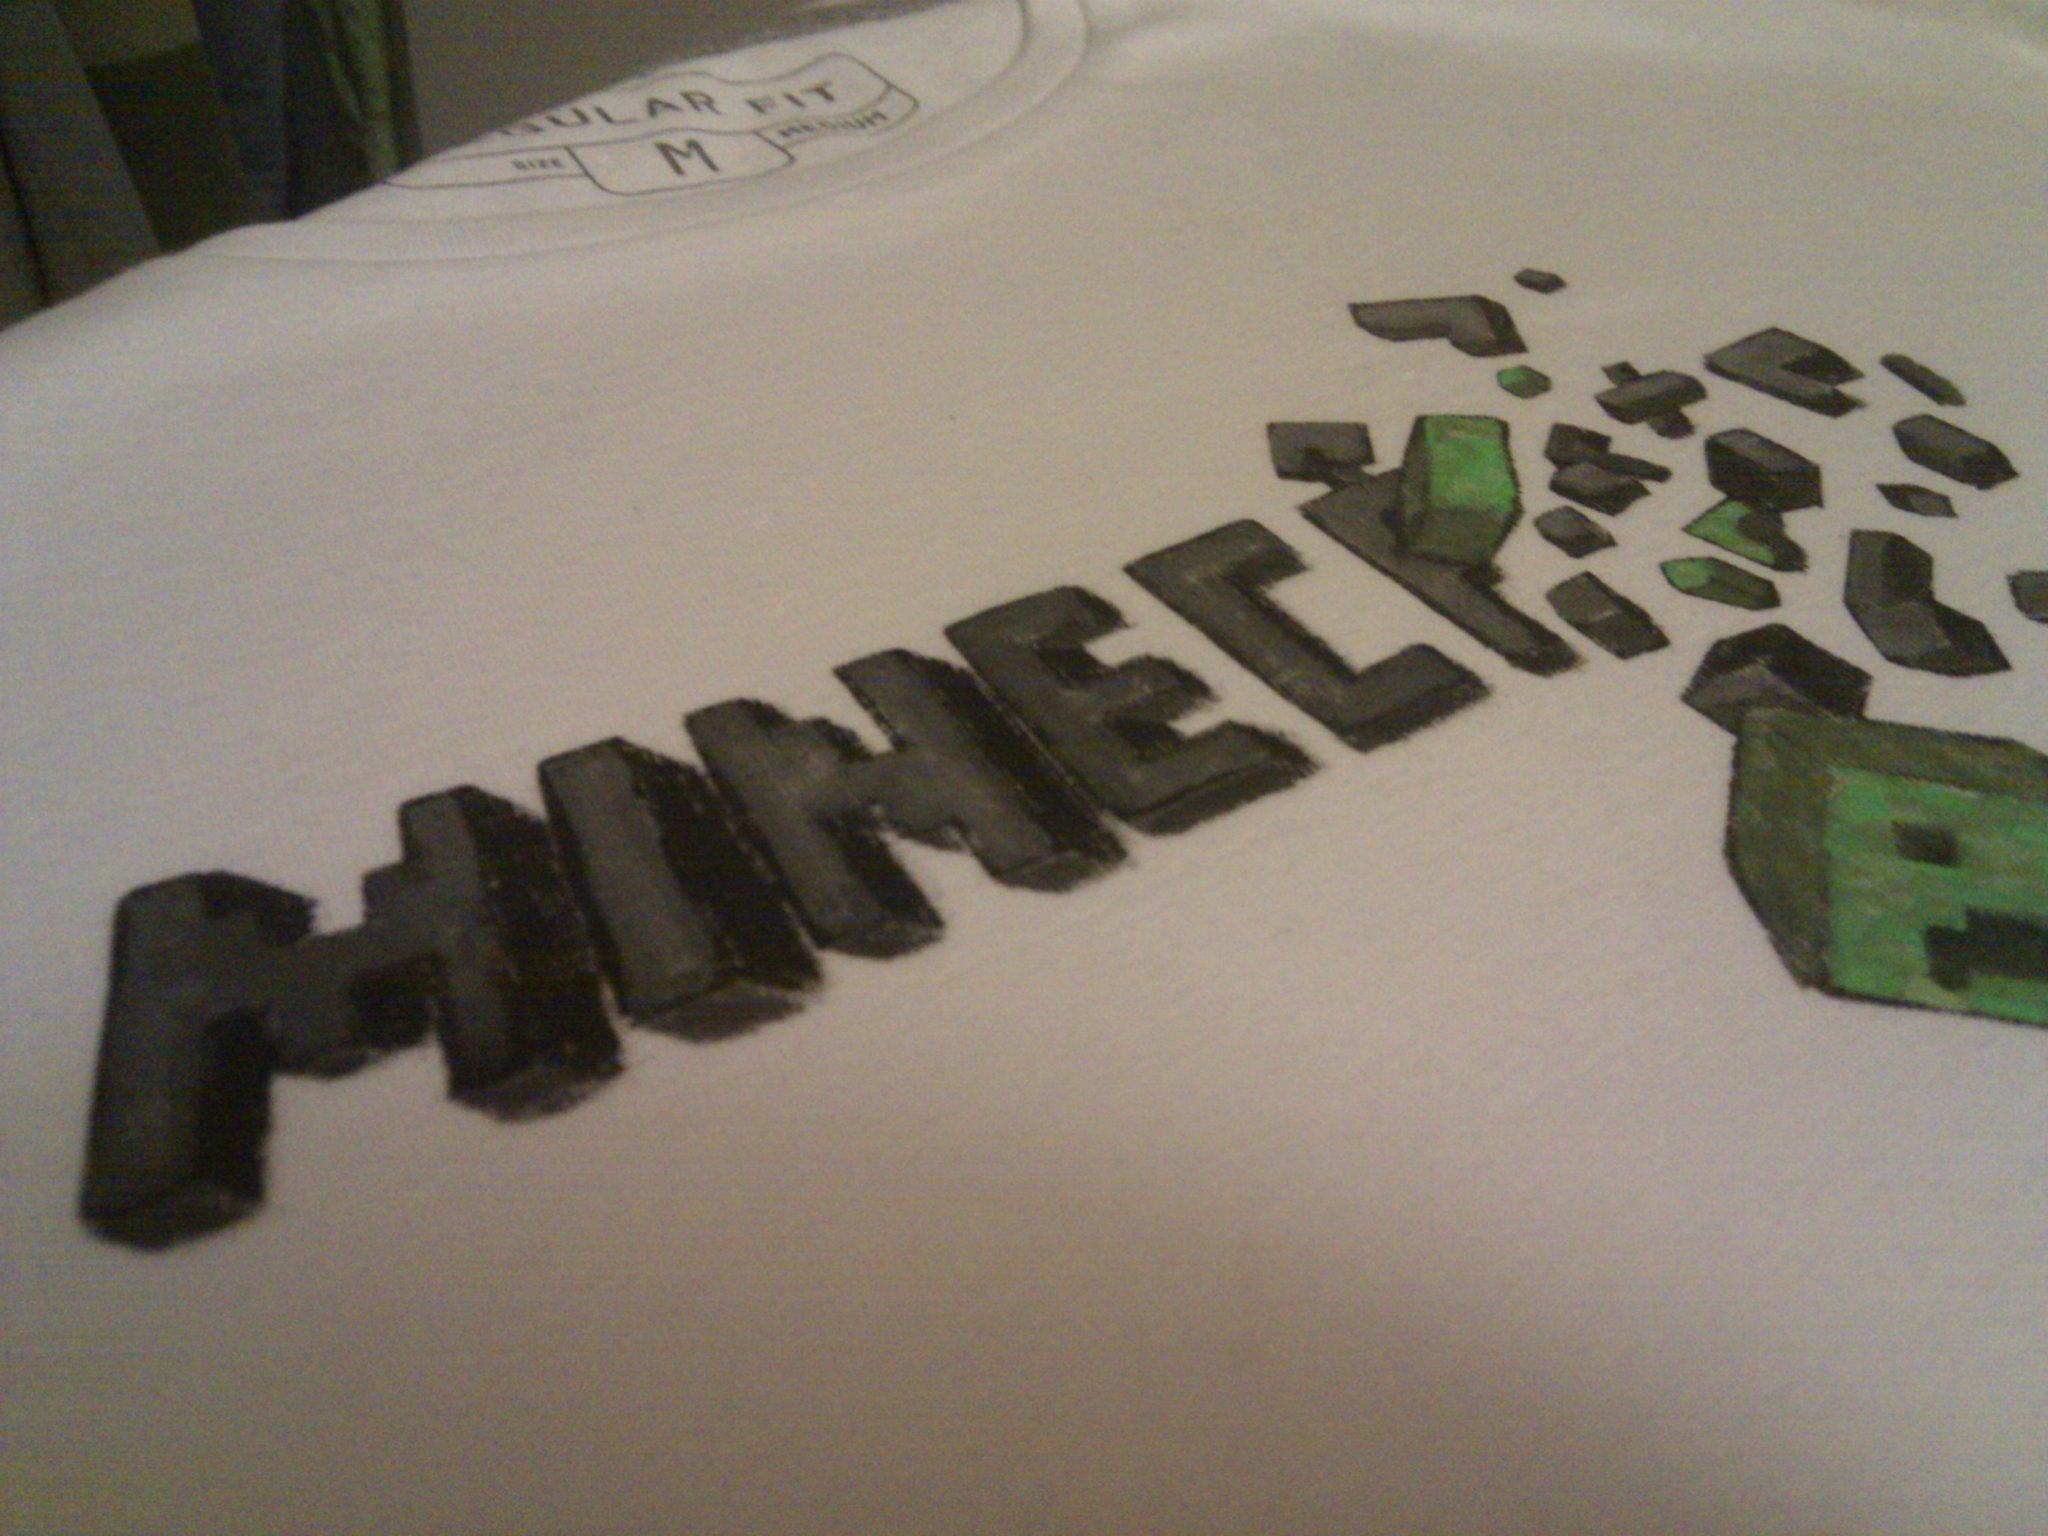
Estimated time can vary depending on your skill and design choice. Minecraft t-shirt took me about 2-3 hours, but I do know what I'm doing :)!
Select Your Design
This is an important step. There are some constraints here, but with practice, you will find, that you can do almost any design on the t-shirt!
1.Google image search!
(unless you have something made yourself, or took a picture of something you like)
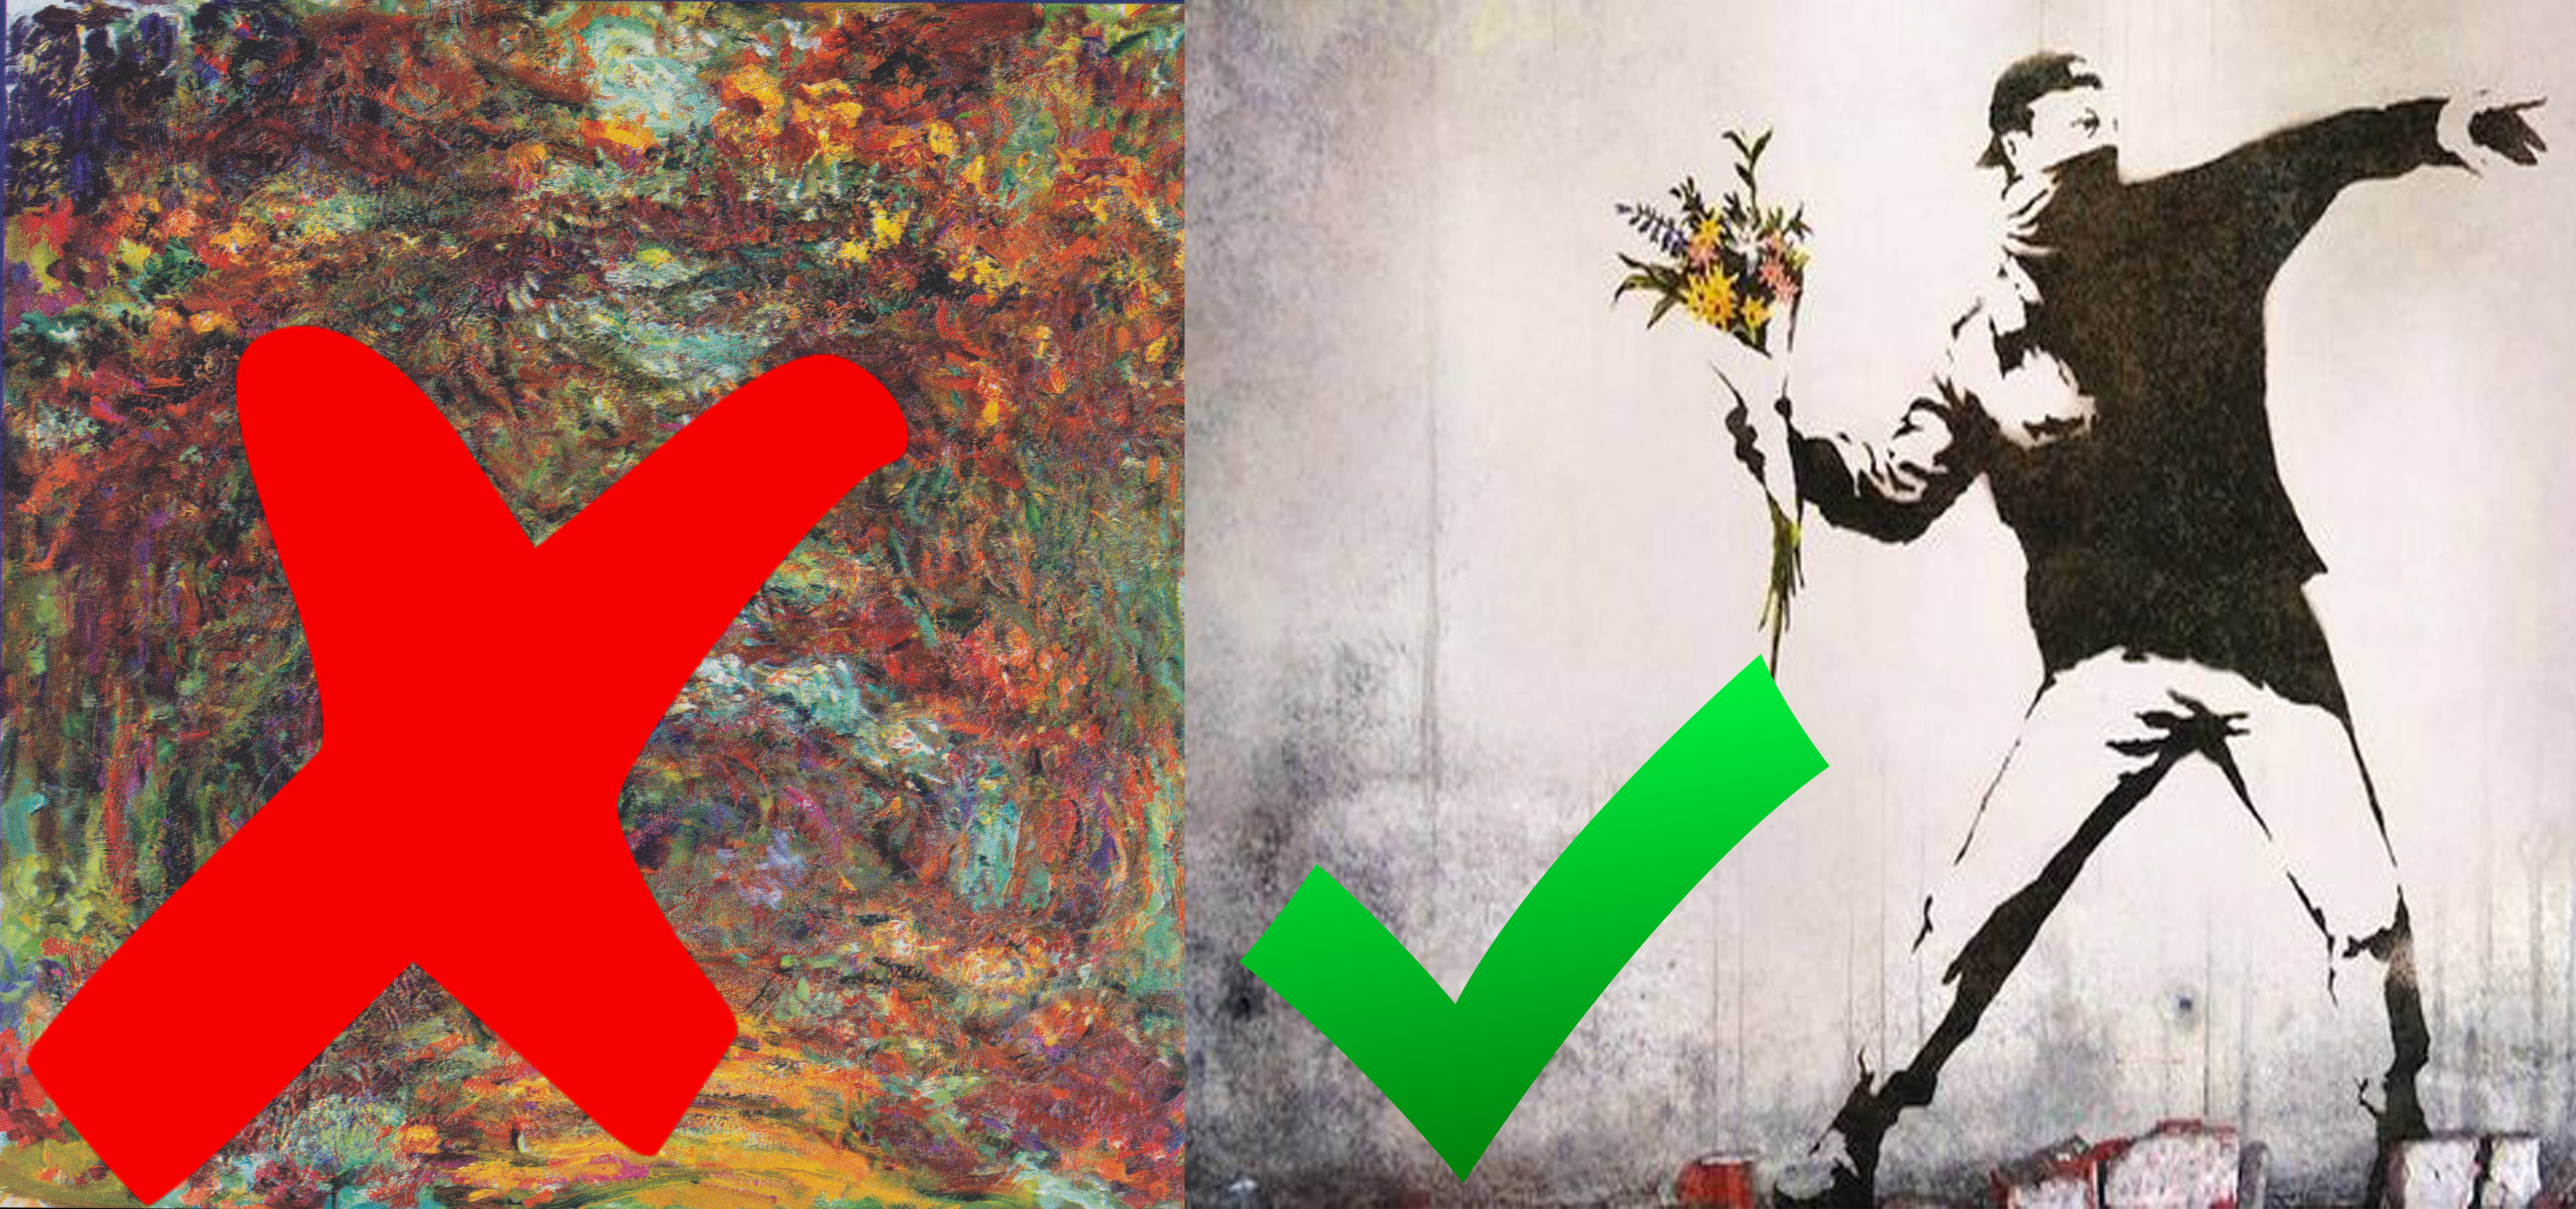
Select something simple to start with. Look for bold shapes and lines. You can pick a colour image, or B&W design (B&W will be easier for you to start with.). The principle here is, shoot something that you could easily draw over.
So Banksy YES, sorry Monet, but you will have to wait for level PRO!
2. Design by hand
If you little more familiar with drawing, you can design your piece yourself. I have nothing against this! If you are a beginner, keep it simple. Best results will contain careful craftsmanship over extravagant design, but shoddy execution.
Make a Stencil
You will need a printer unless you feel really good about your drawing skills. We will need to finalise the design, and make it stencil ready.
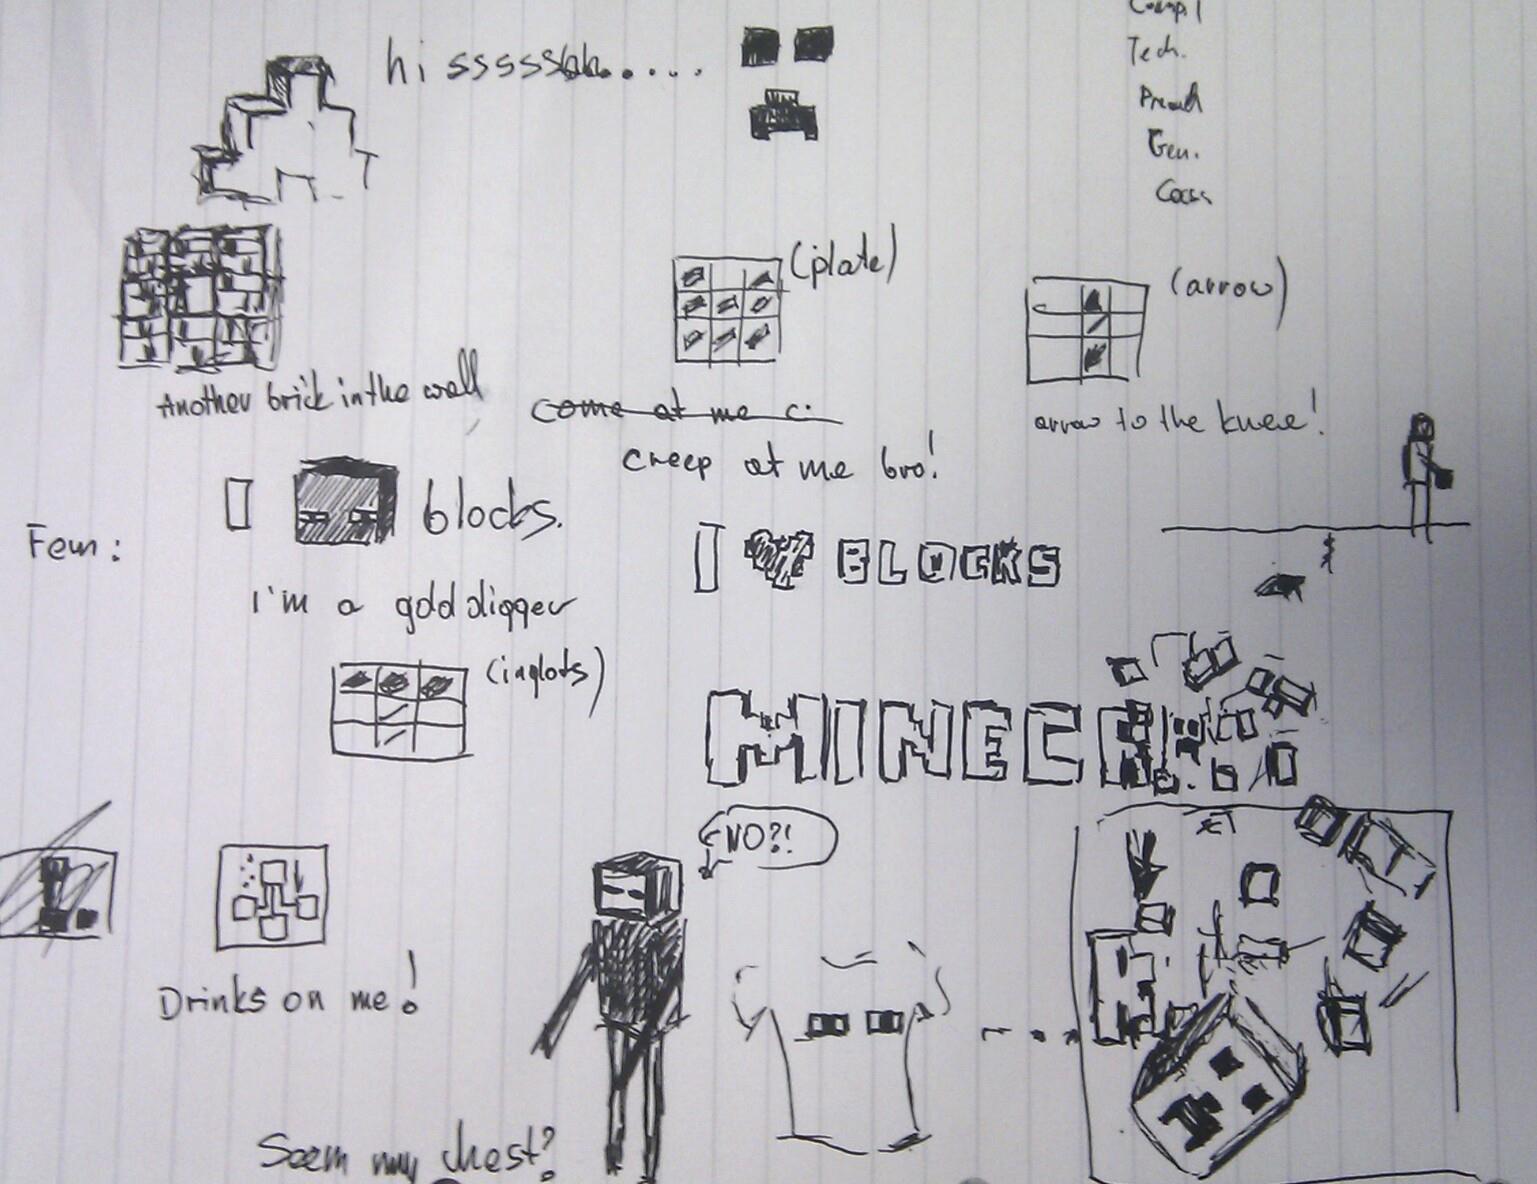
You can use a photo editing software (GIMP, Photoshop etc) to compose your design. Letters can be added, you can mix and match few different pictures. Something that will convey your message and personality.
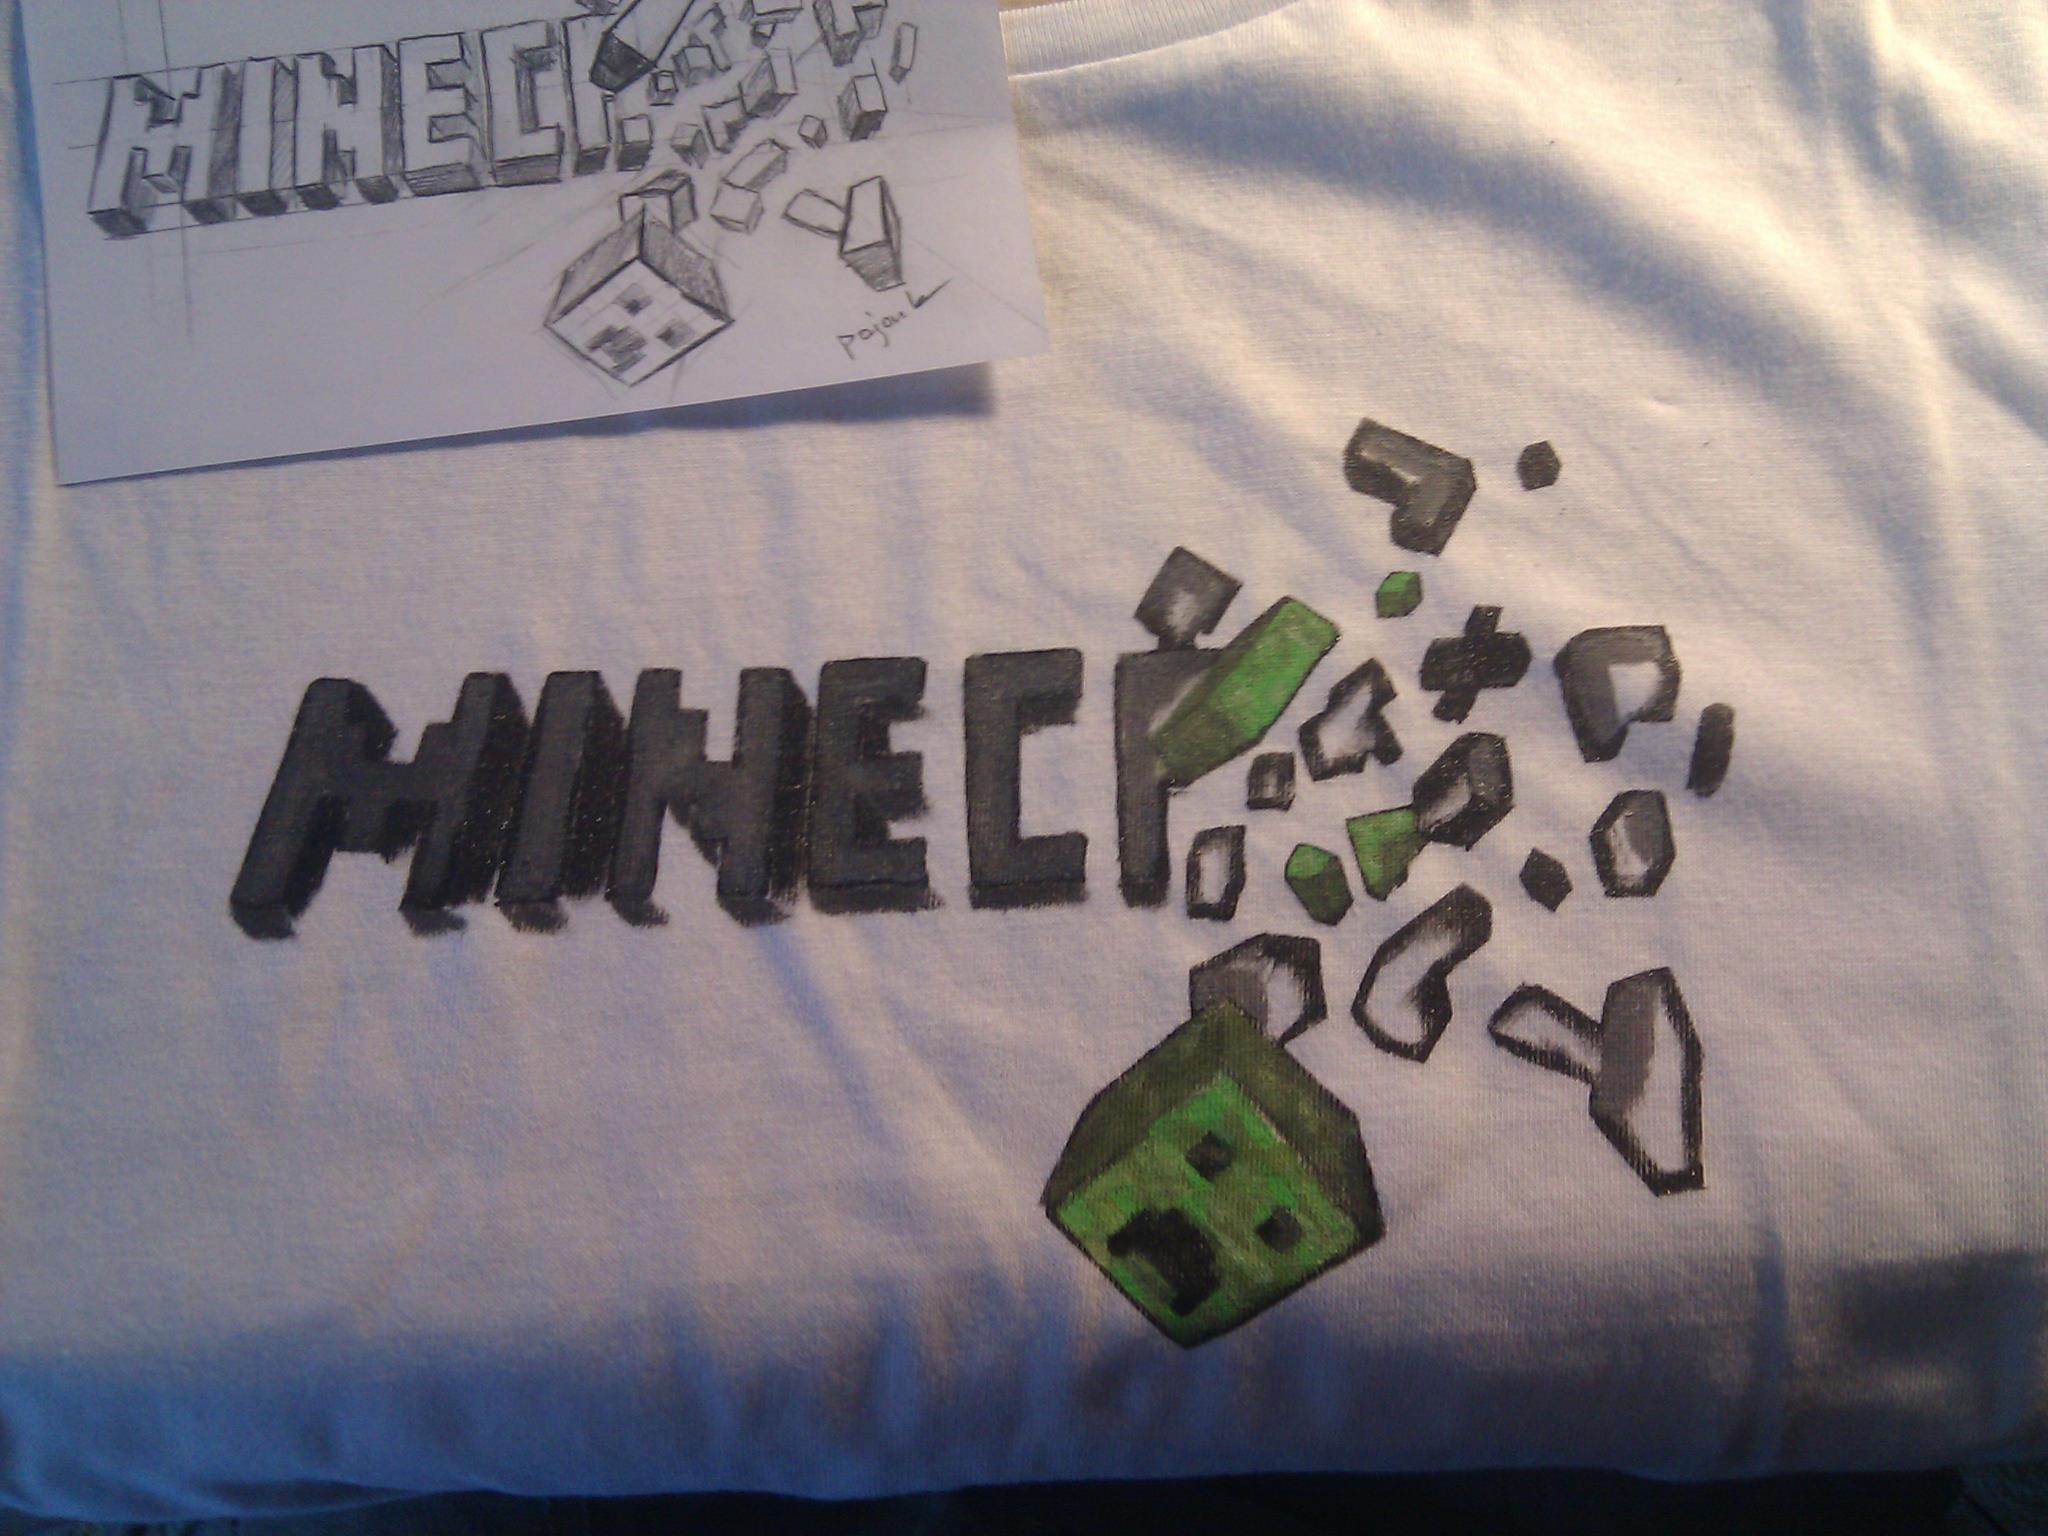
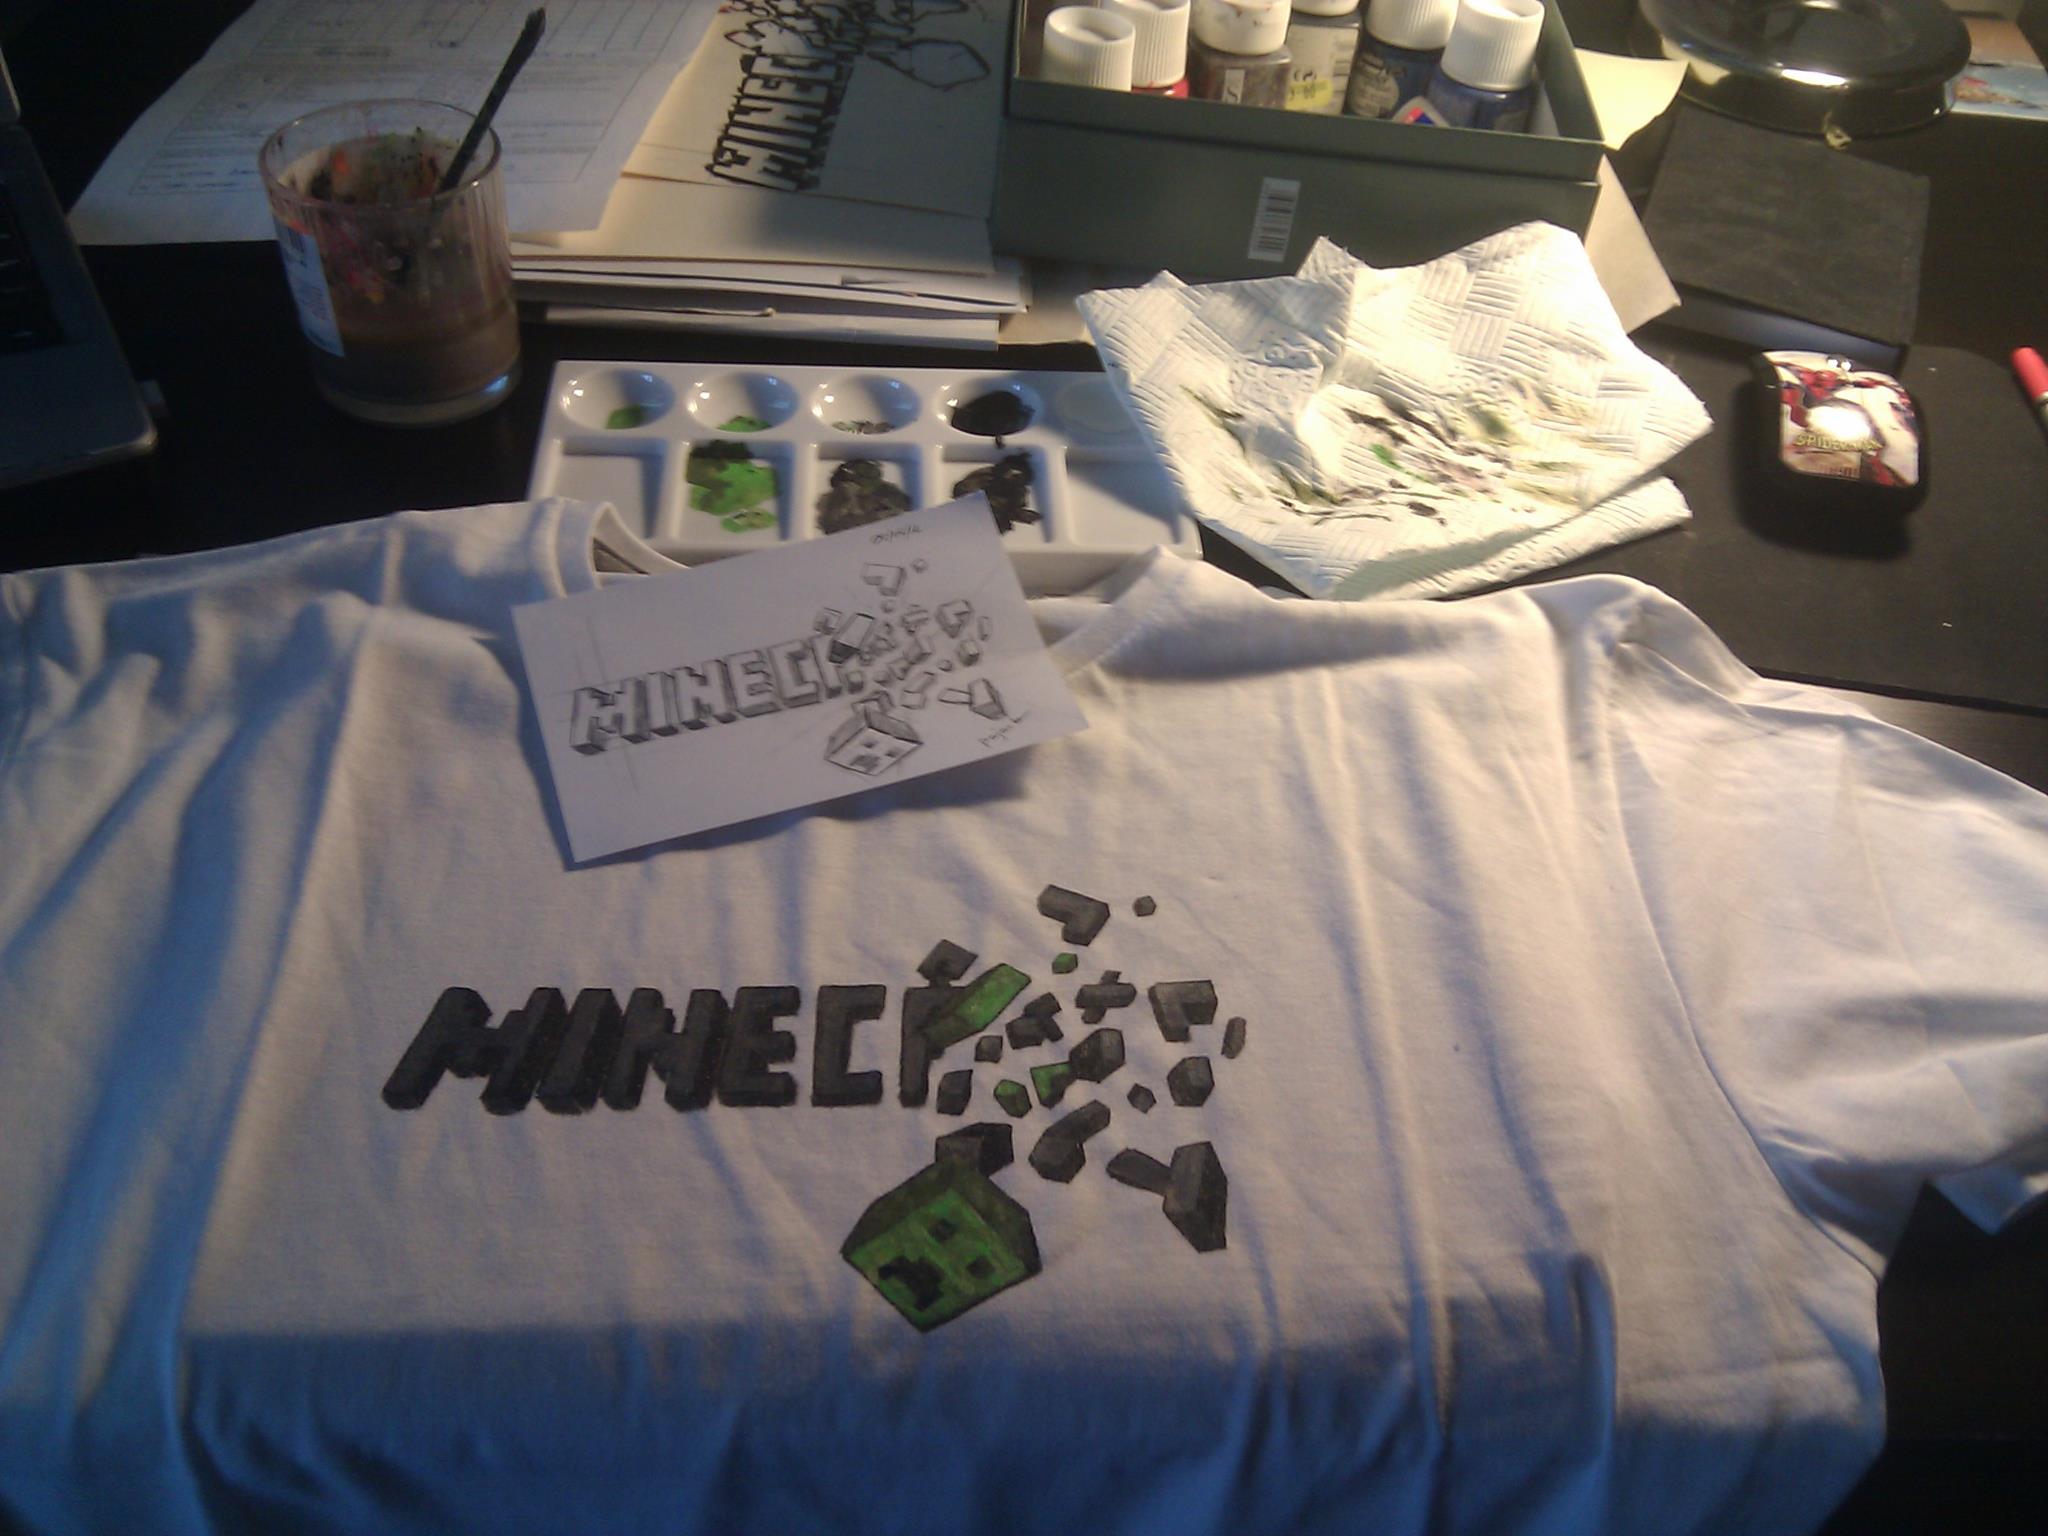
Have a look on few designs I made, how I put them together. It should help you to understand your final goal.
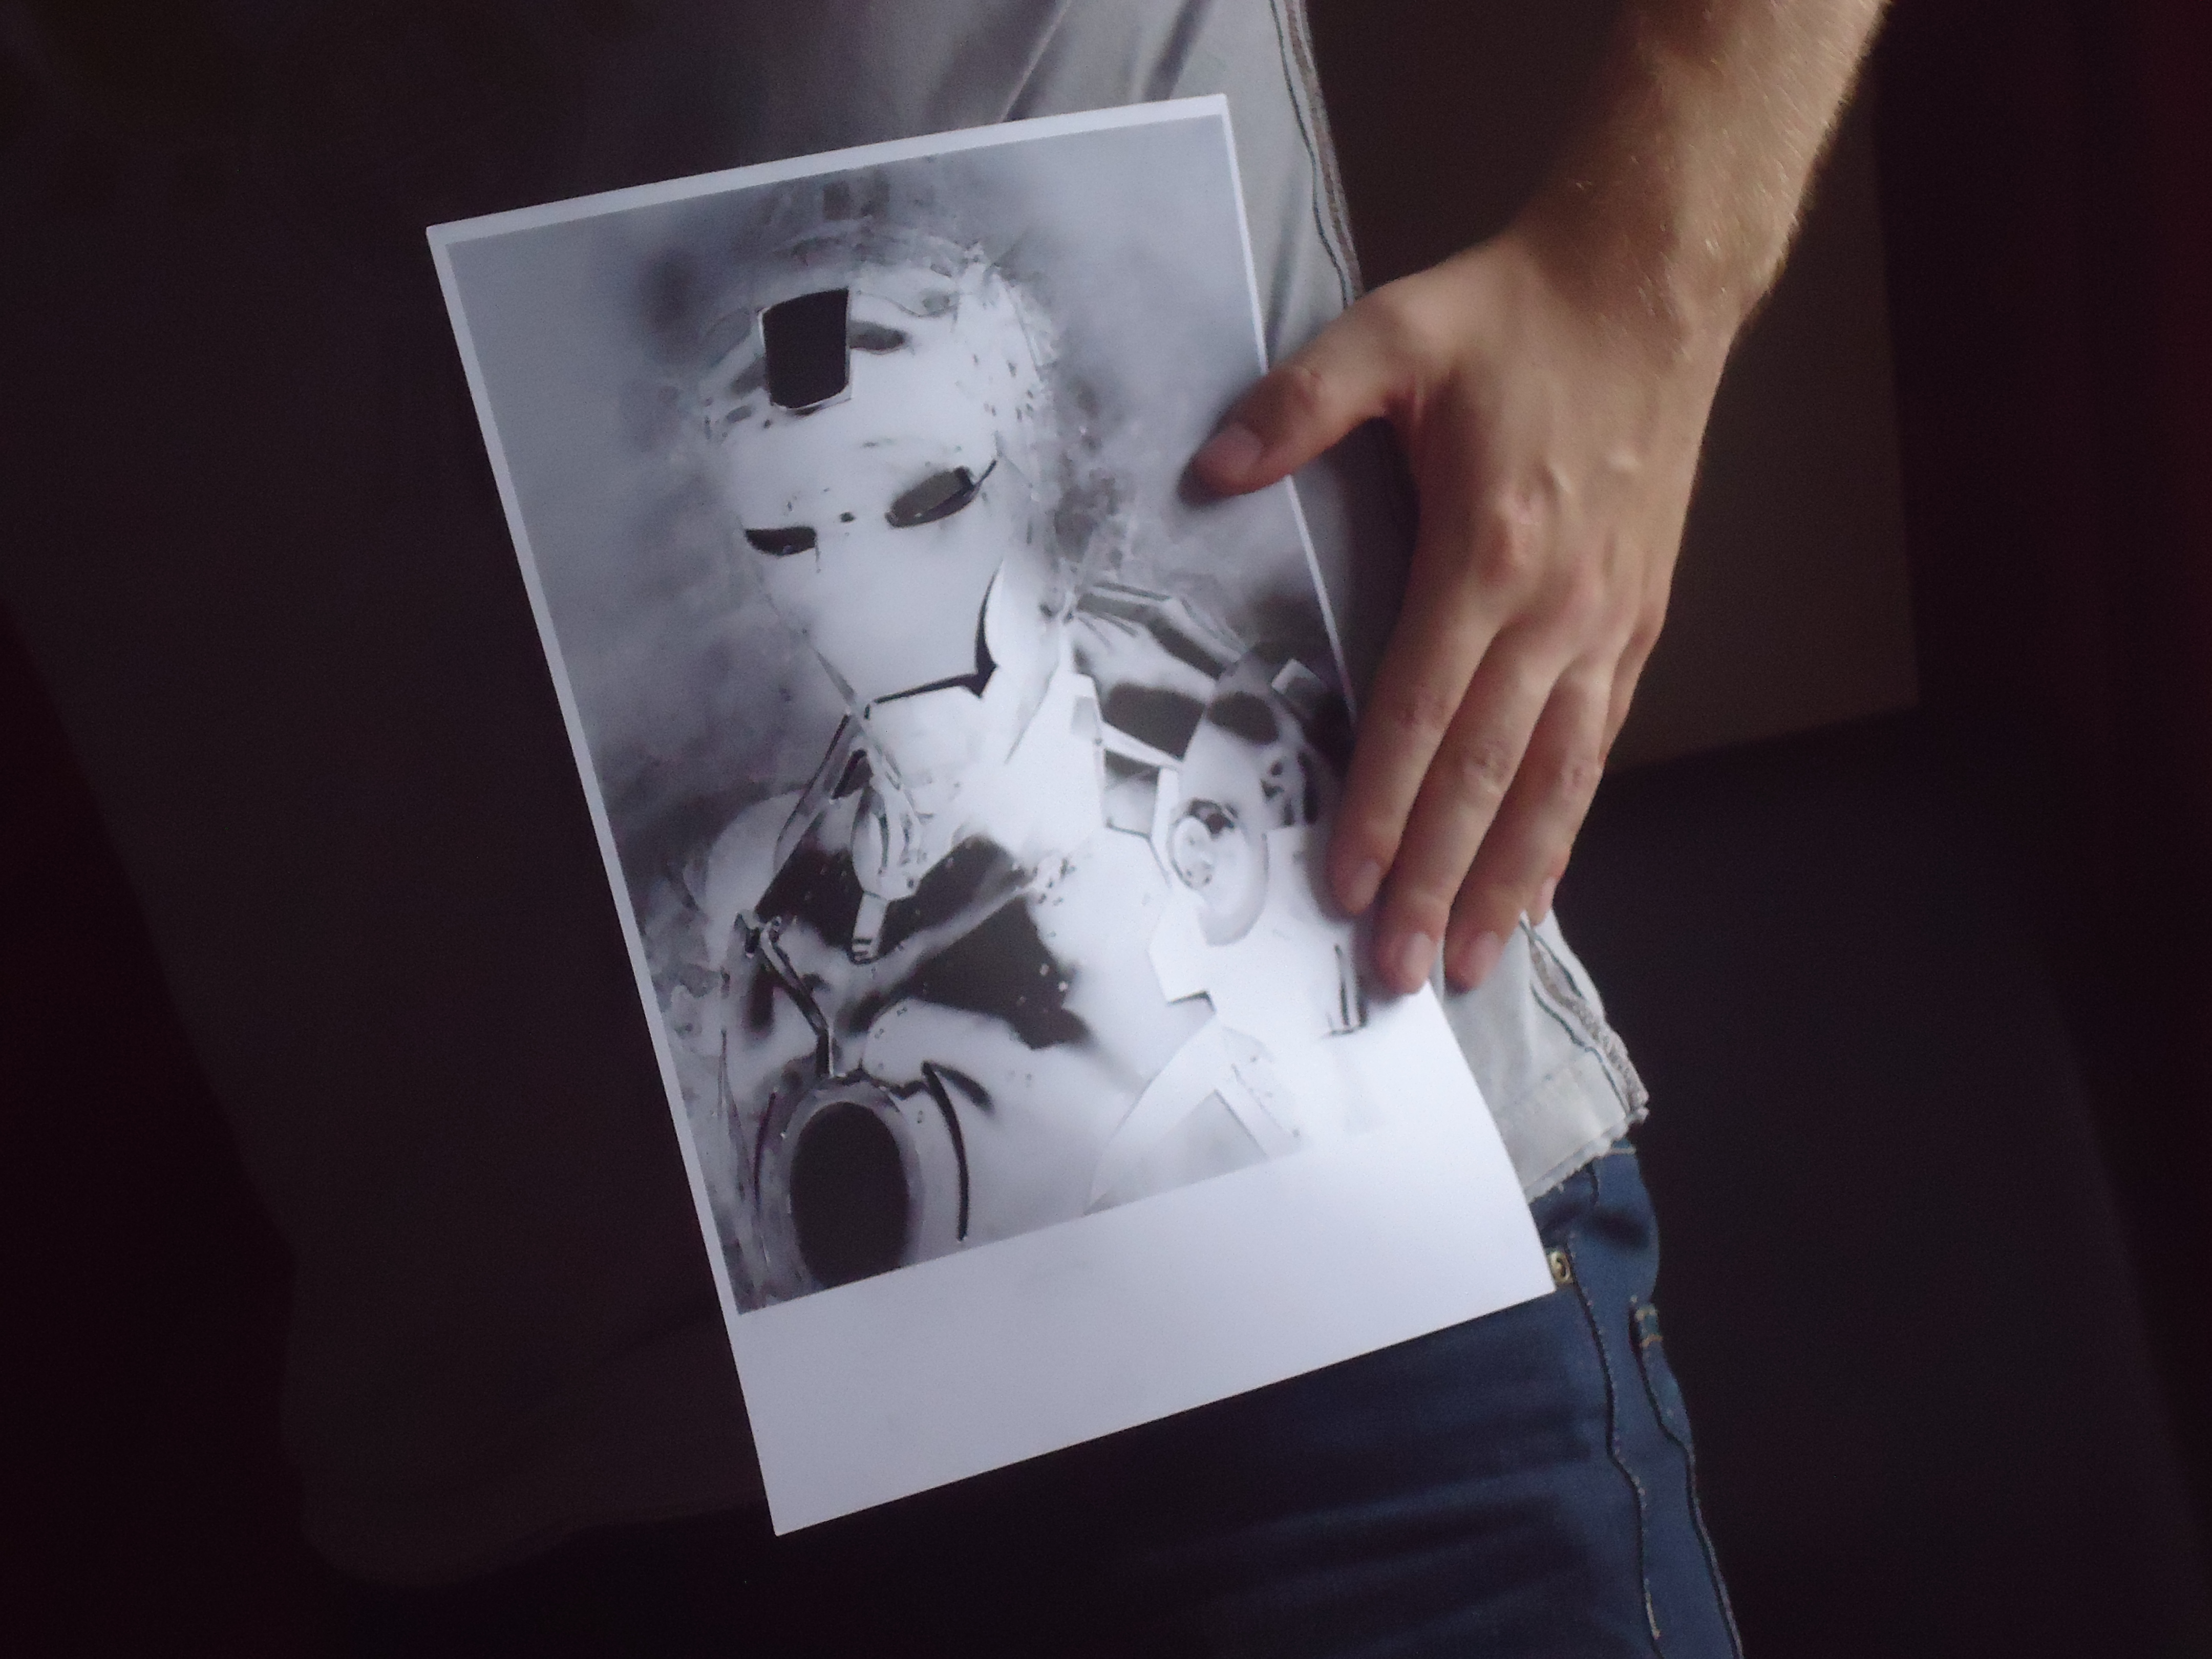
When this is done, it is helpful to have 2 copies of your design ready, one in colour as a reference and one in B&W.
You will need A4 piece of paper. Try not to use the printer paper, you will need a crafting cardboard. It is stiffer than paper, but with a little help and gentle push, the printer will take it and will start to print on it. Another option is to draw directly on the cardboard yourself.
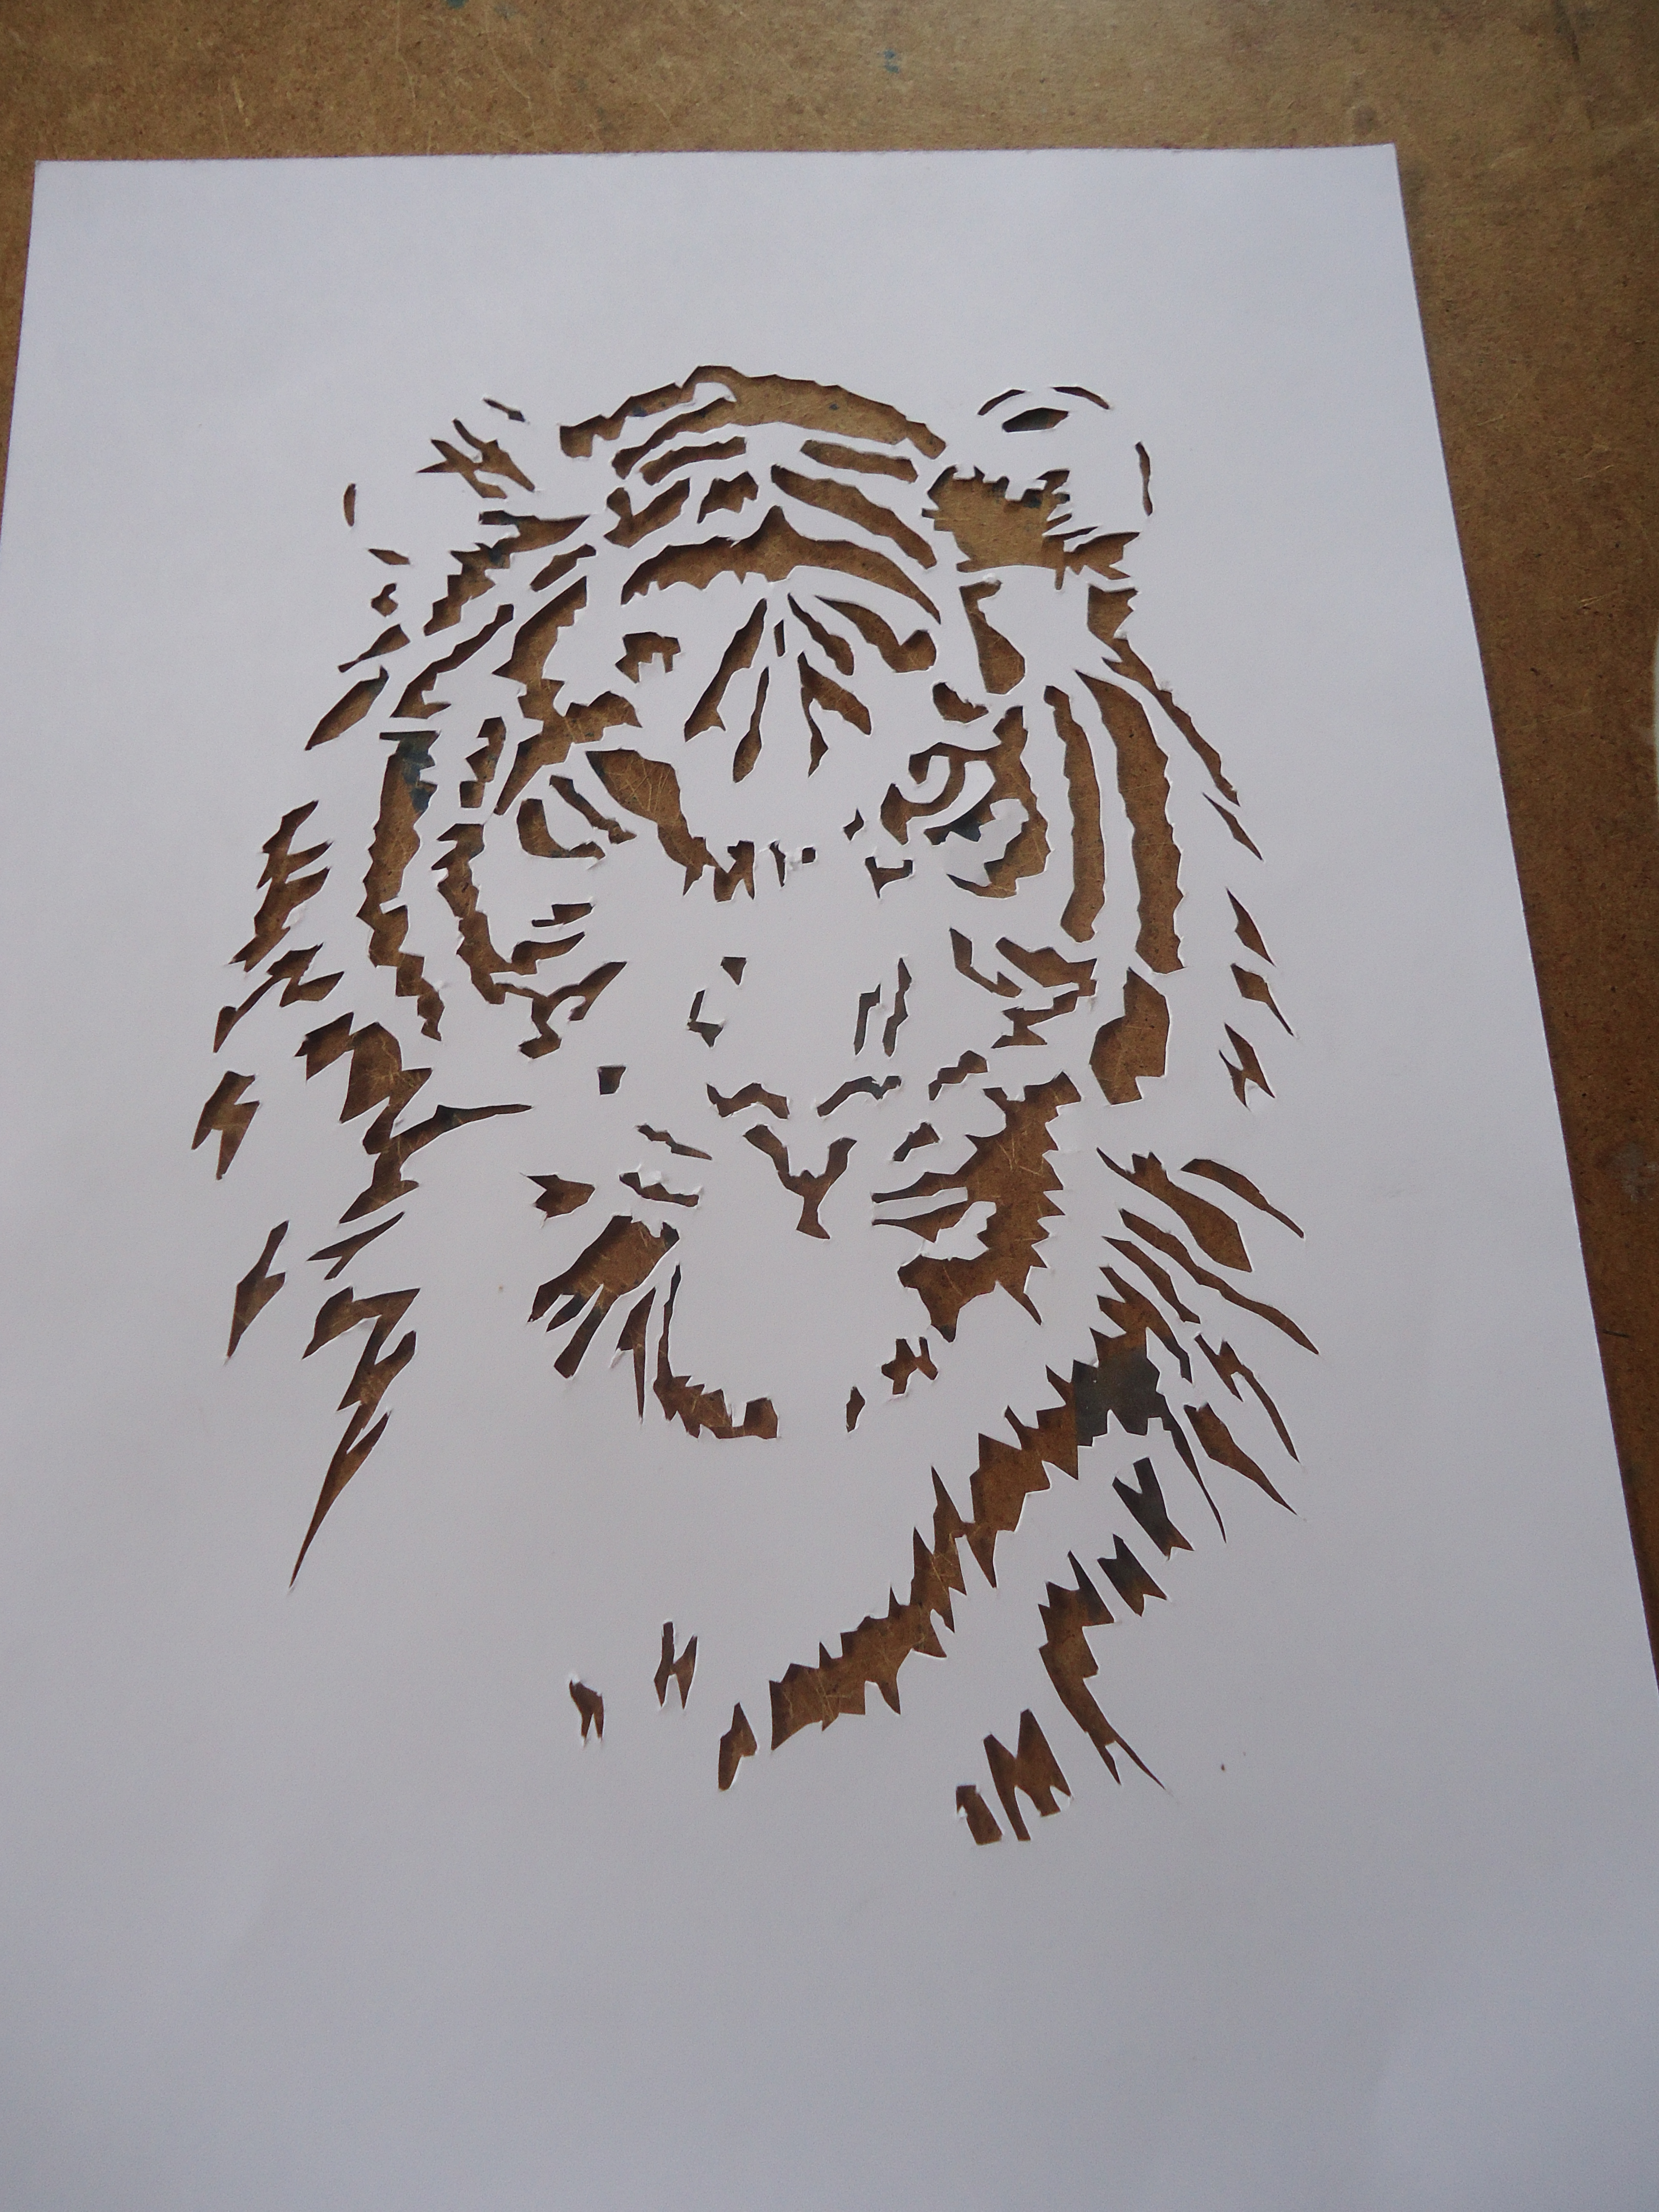
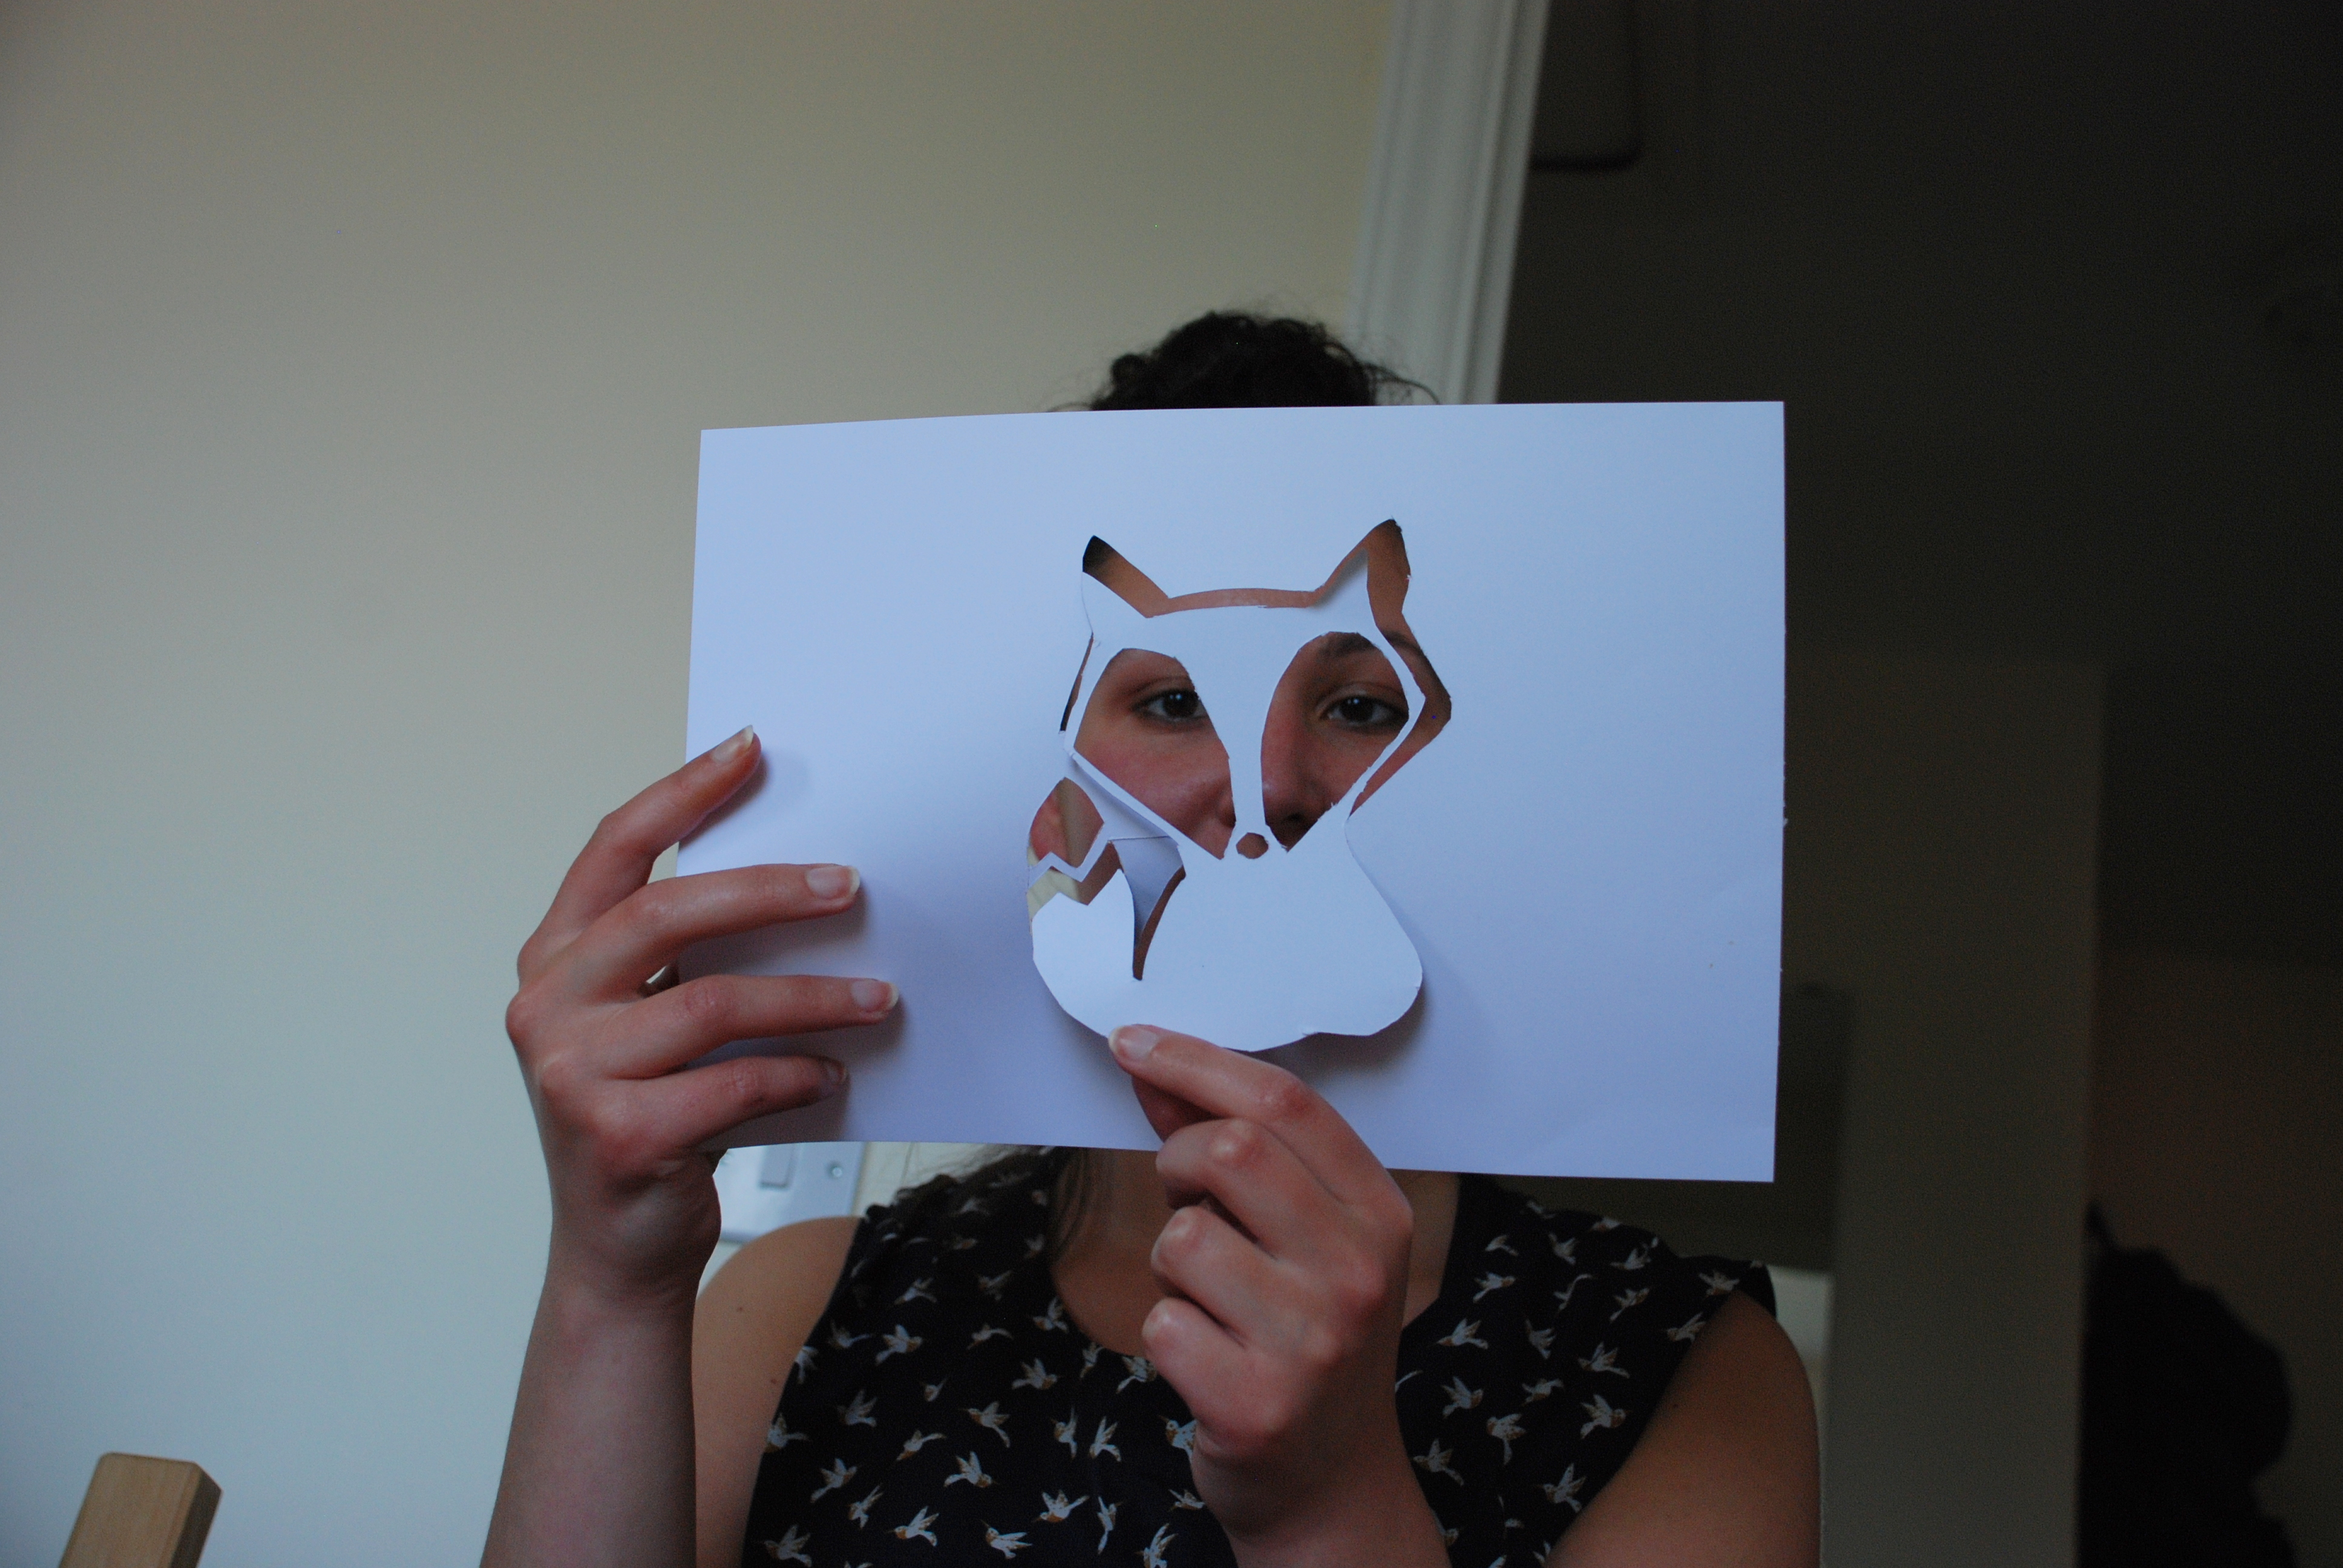
Cutting the stencil out.
- Please use paper knives carefully, I cut myself million times by now! There are no perfect rules about stencil, as it depends on the design. You have to use your imagination, which sections to cut out. Use black sharpie pen to mark areas to cut out, check if all holds up together.
- Try to avoid leaving thin lines of paper connected, as they are likely to break during the cutting or painting process.
- Don't cut out everything, you will only need an outline. This is mainly to let you paint the main lines, to keep proportions in check, and mark most complicated lines. You will fill in blanks later.
- You can use multiple colours (more on paint later) while painting over stencil, you will be also able to paint over stencil lines later providing the colour used for stencil step is brighter than colour applied later
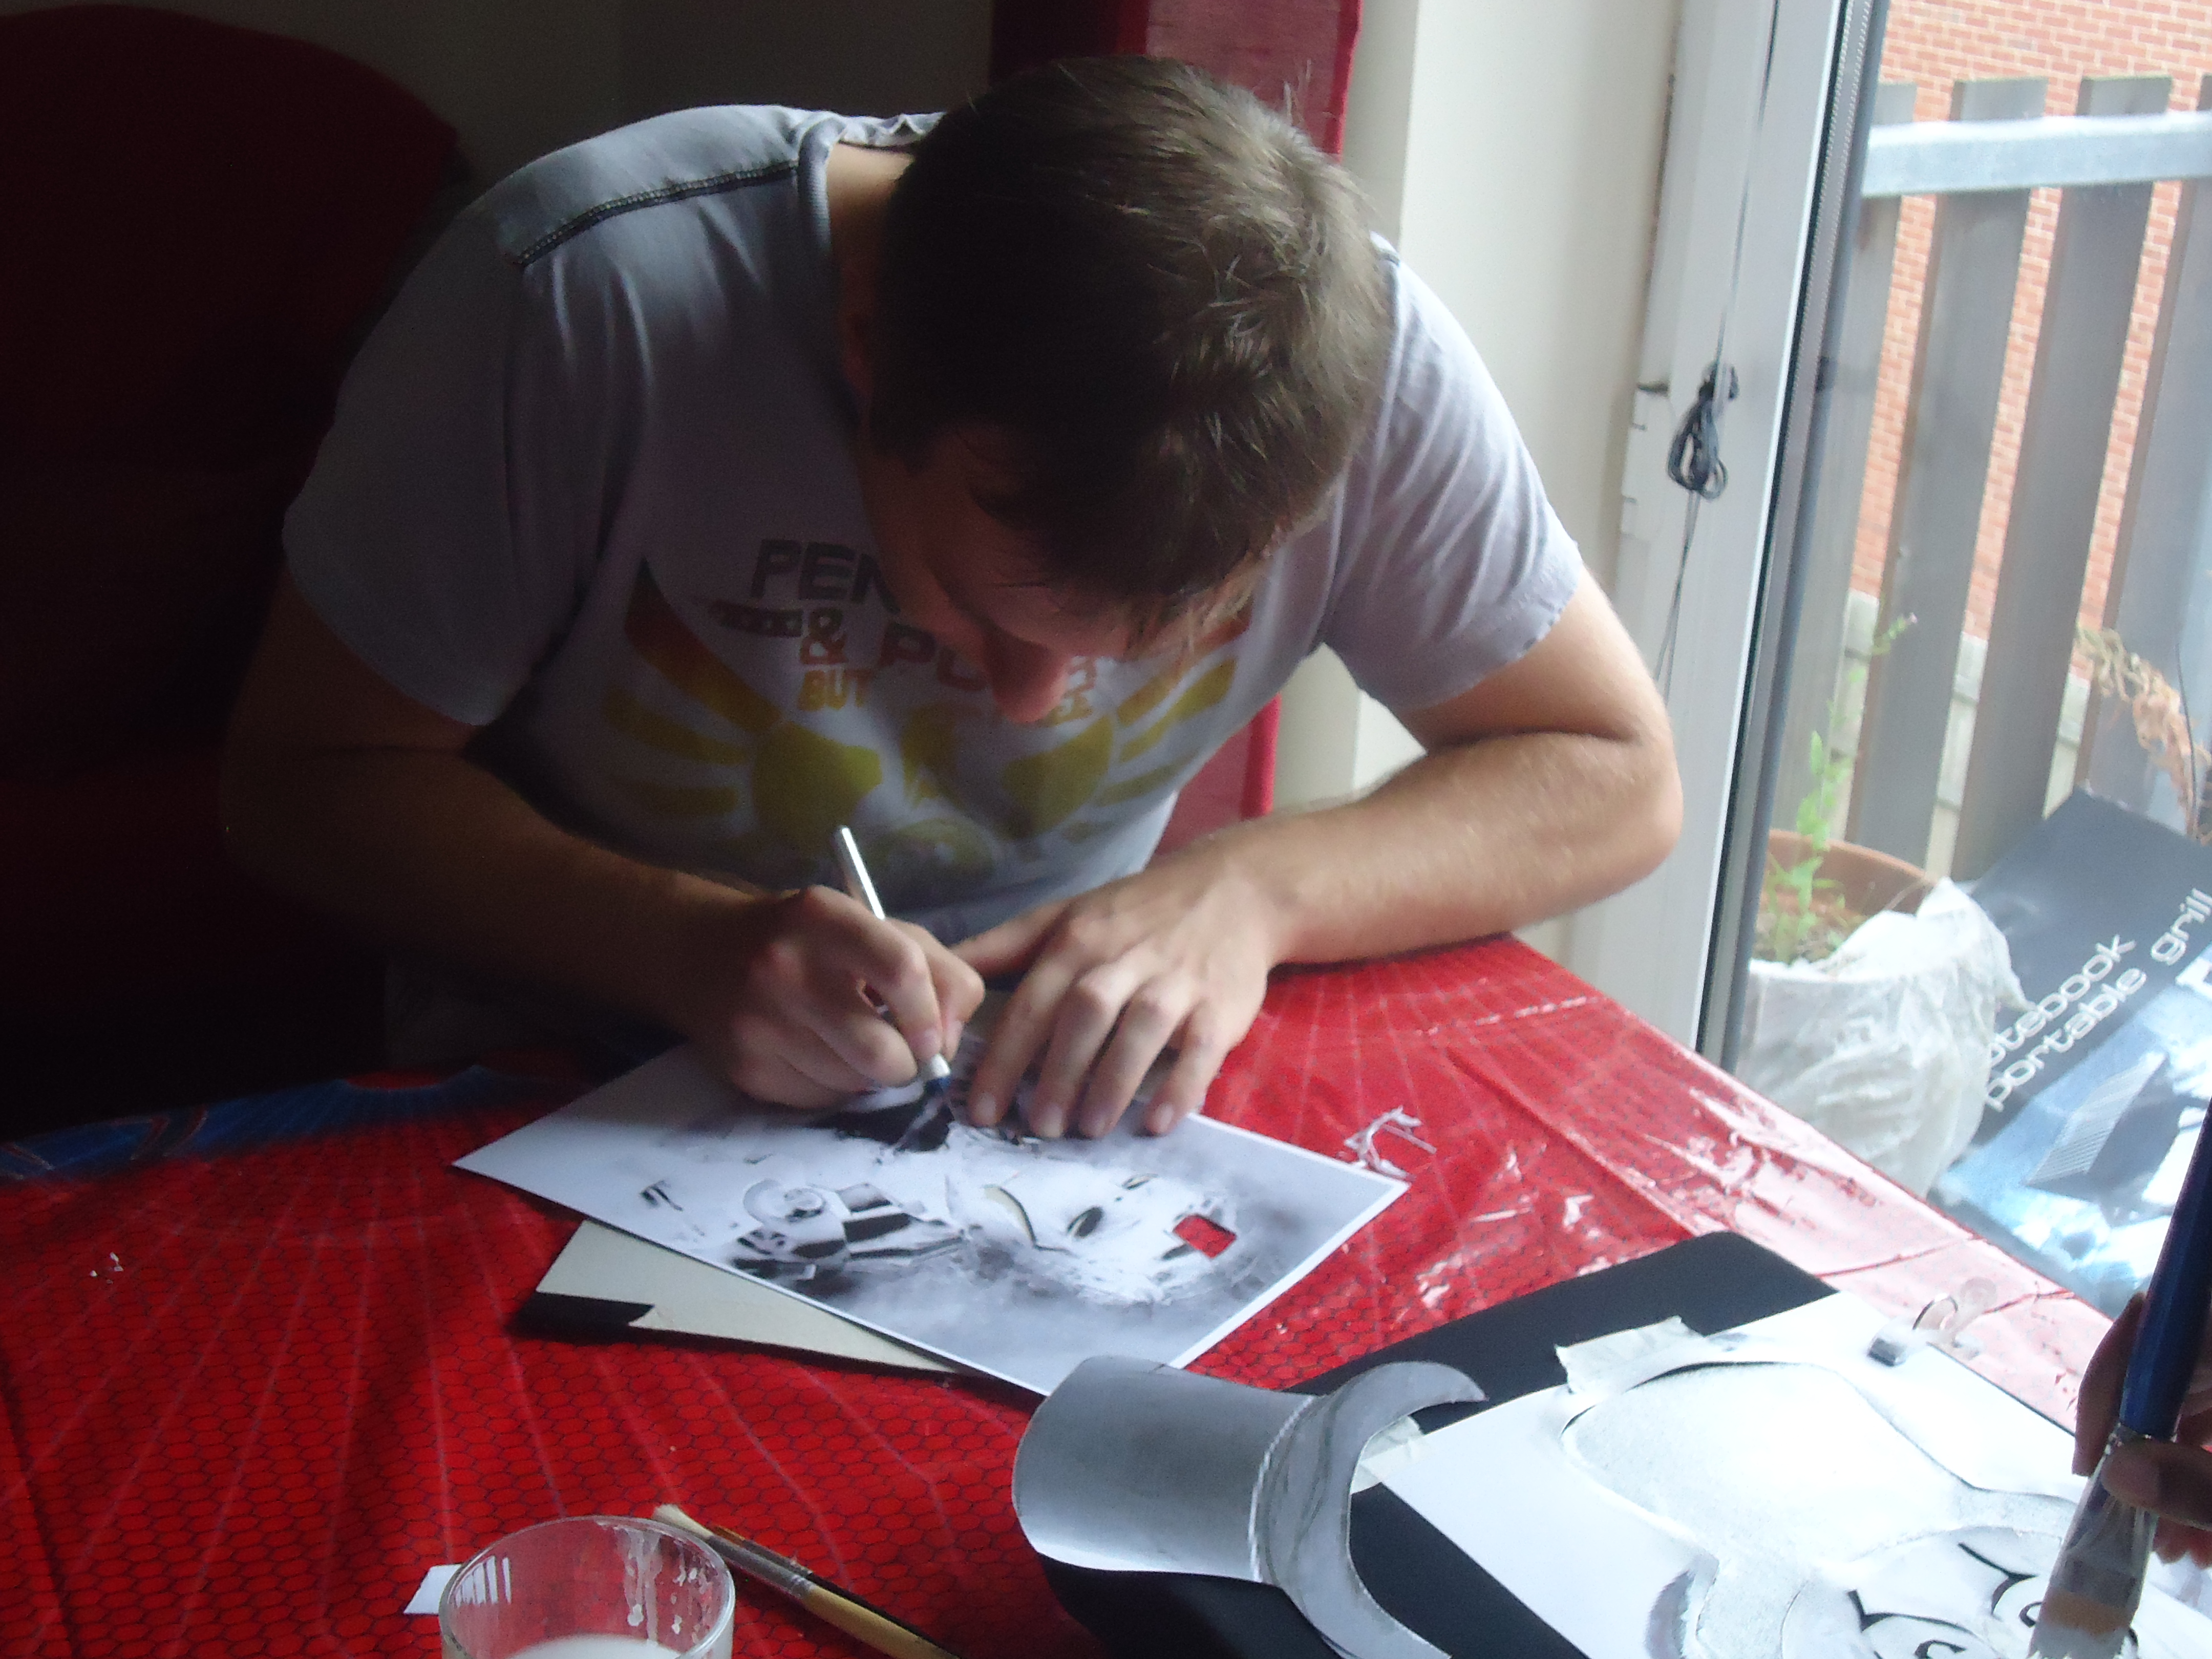
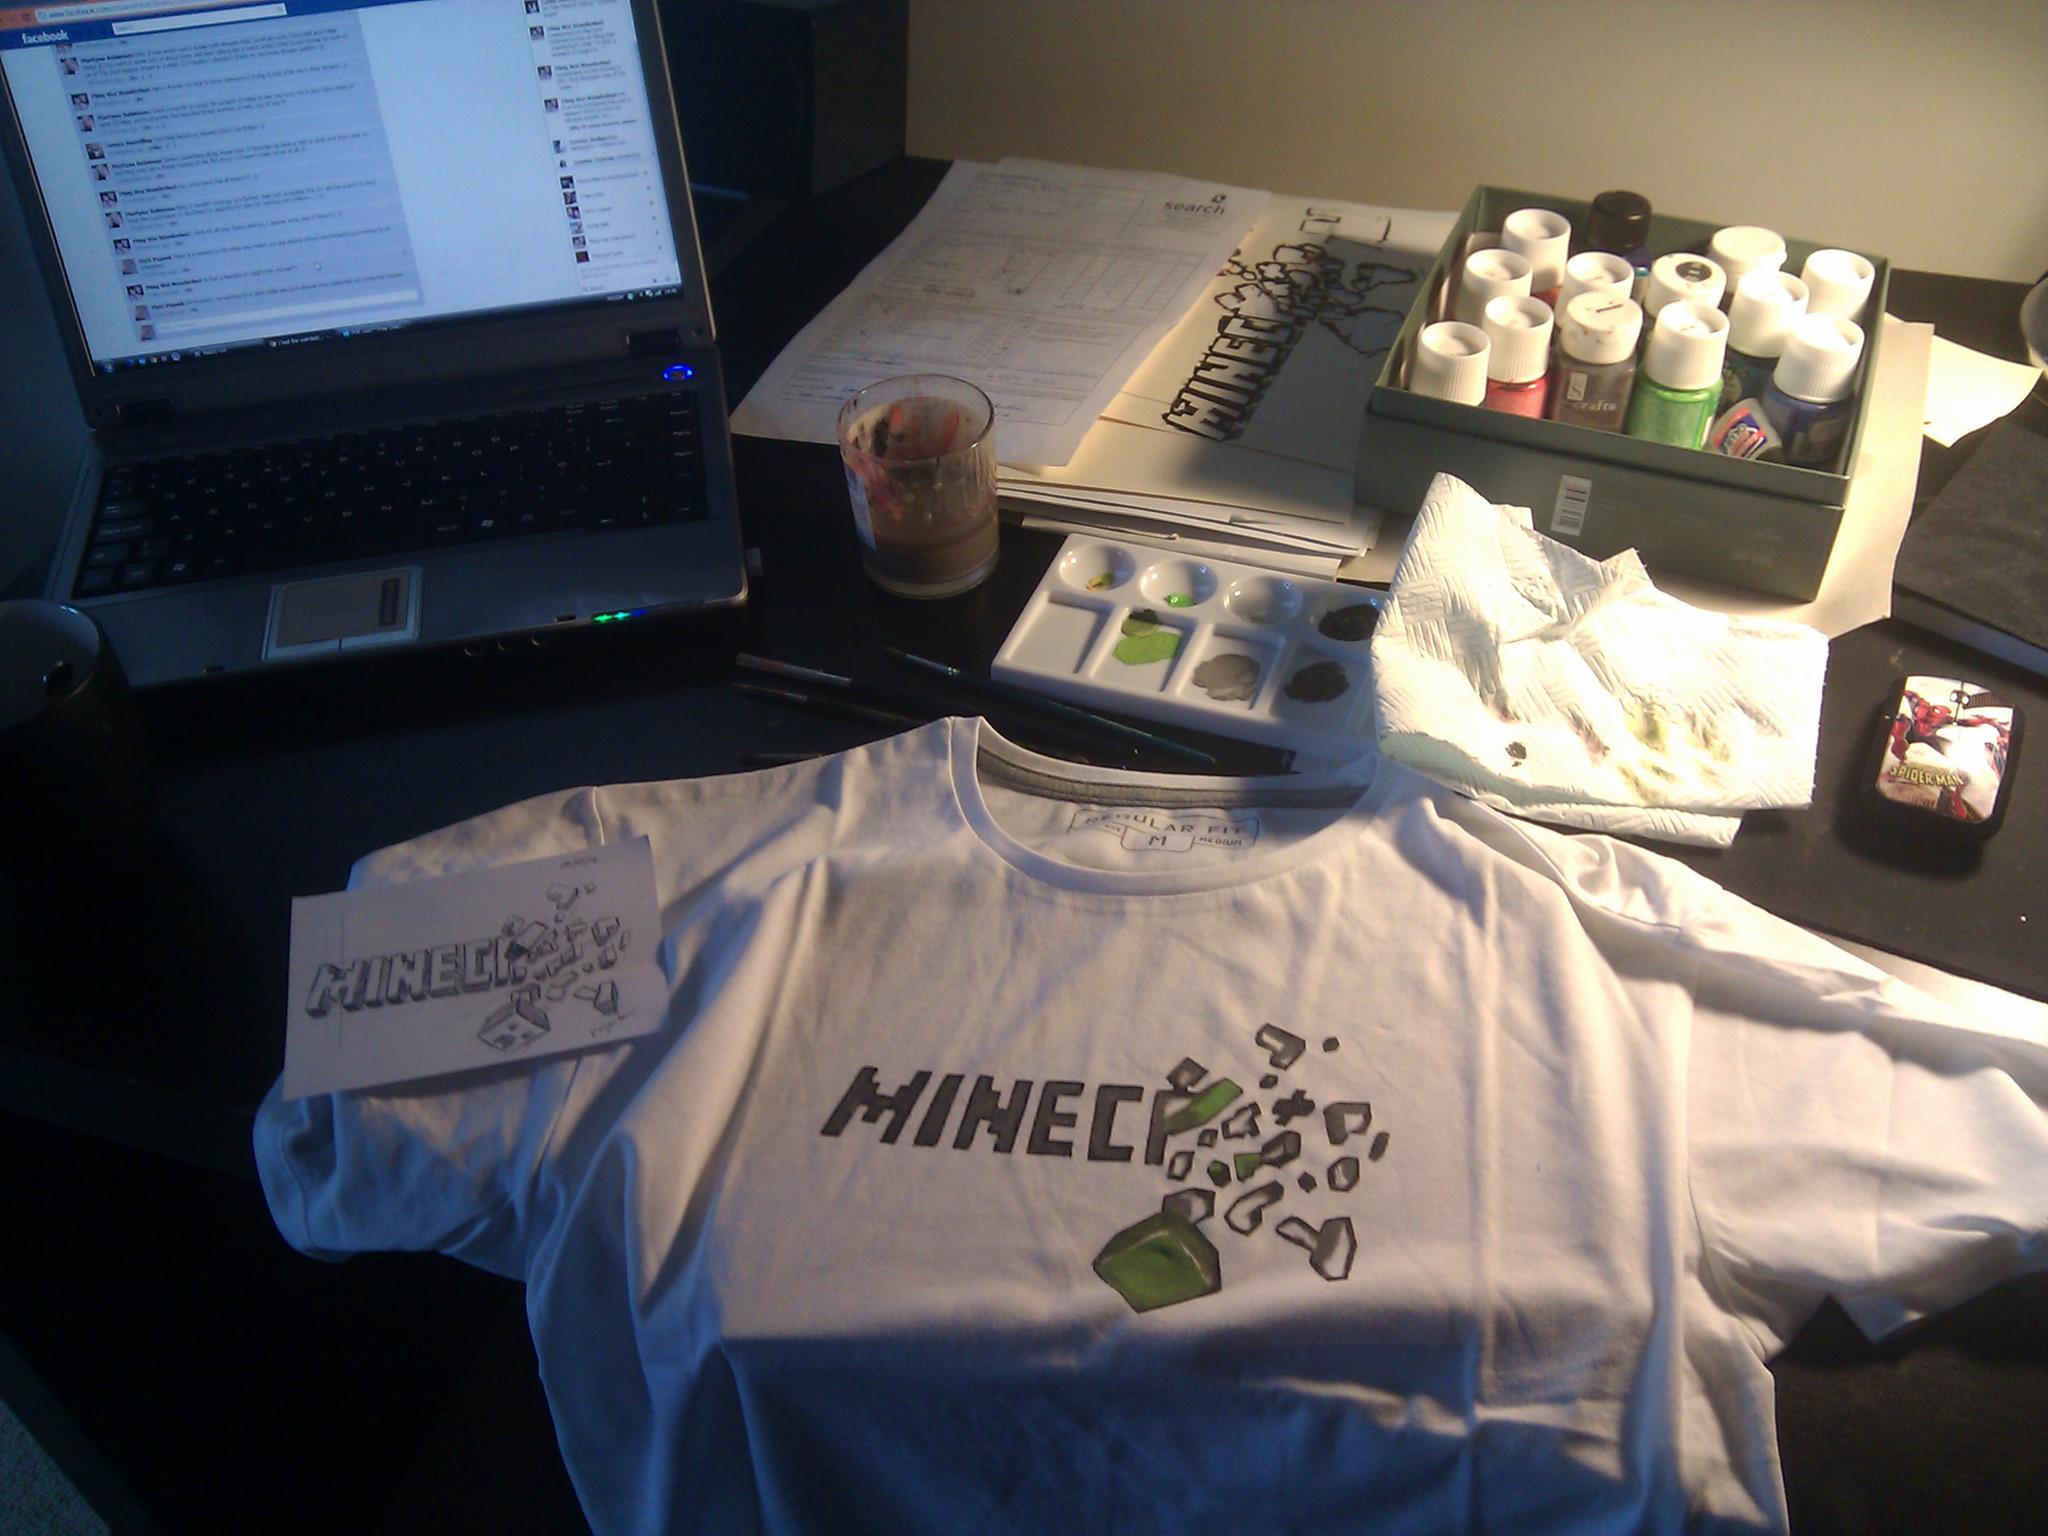
Using Stencil and Paint
Paint
- You will need acrylic paints. It dissolves in water, but once dried becomes waterproof. Don't worry you will have plenty of time to paint!
- The paint I use is an acrylic paint for textiles, bought in local DIY store but if I'm honest, any acrylic paint will do the job. The number of colours depends on your design, and your mixing skills and Red, Green & Blue are a bare minimum.
- Use water to dilute the paint. Aim for cream texture, it should be thick, but smooth. You can apply multiple layers if needed.
Stencil
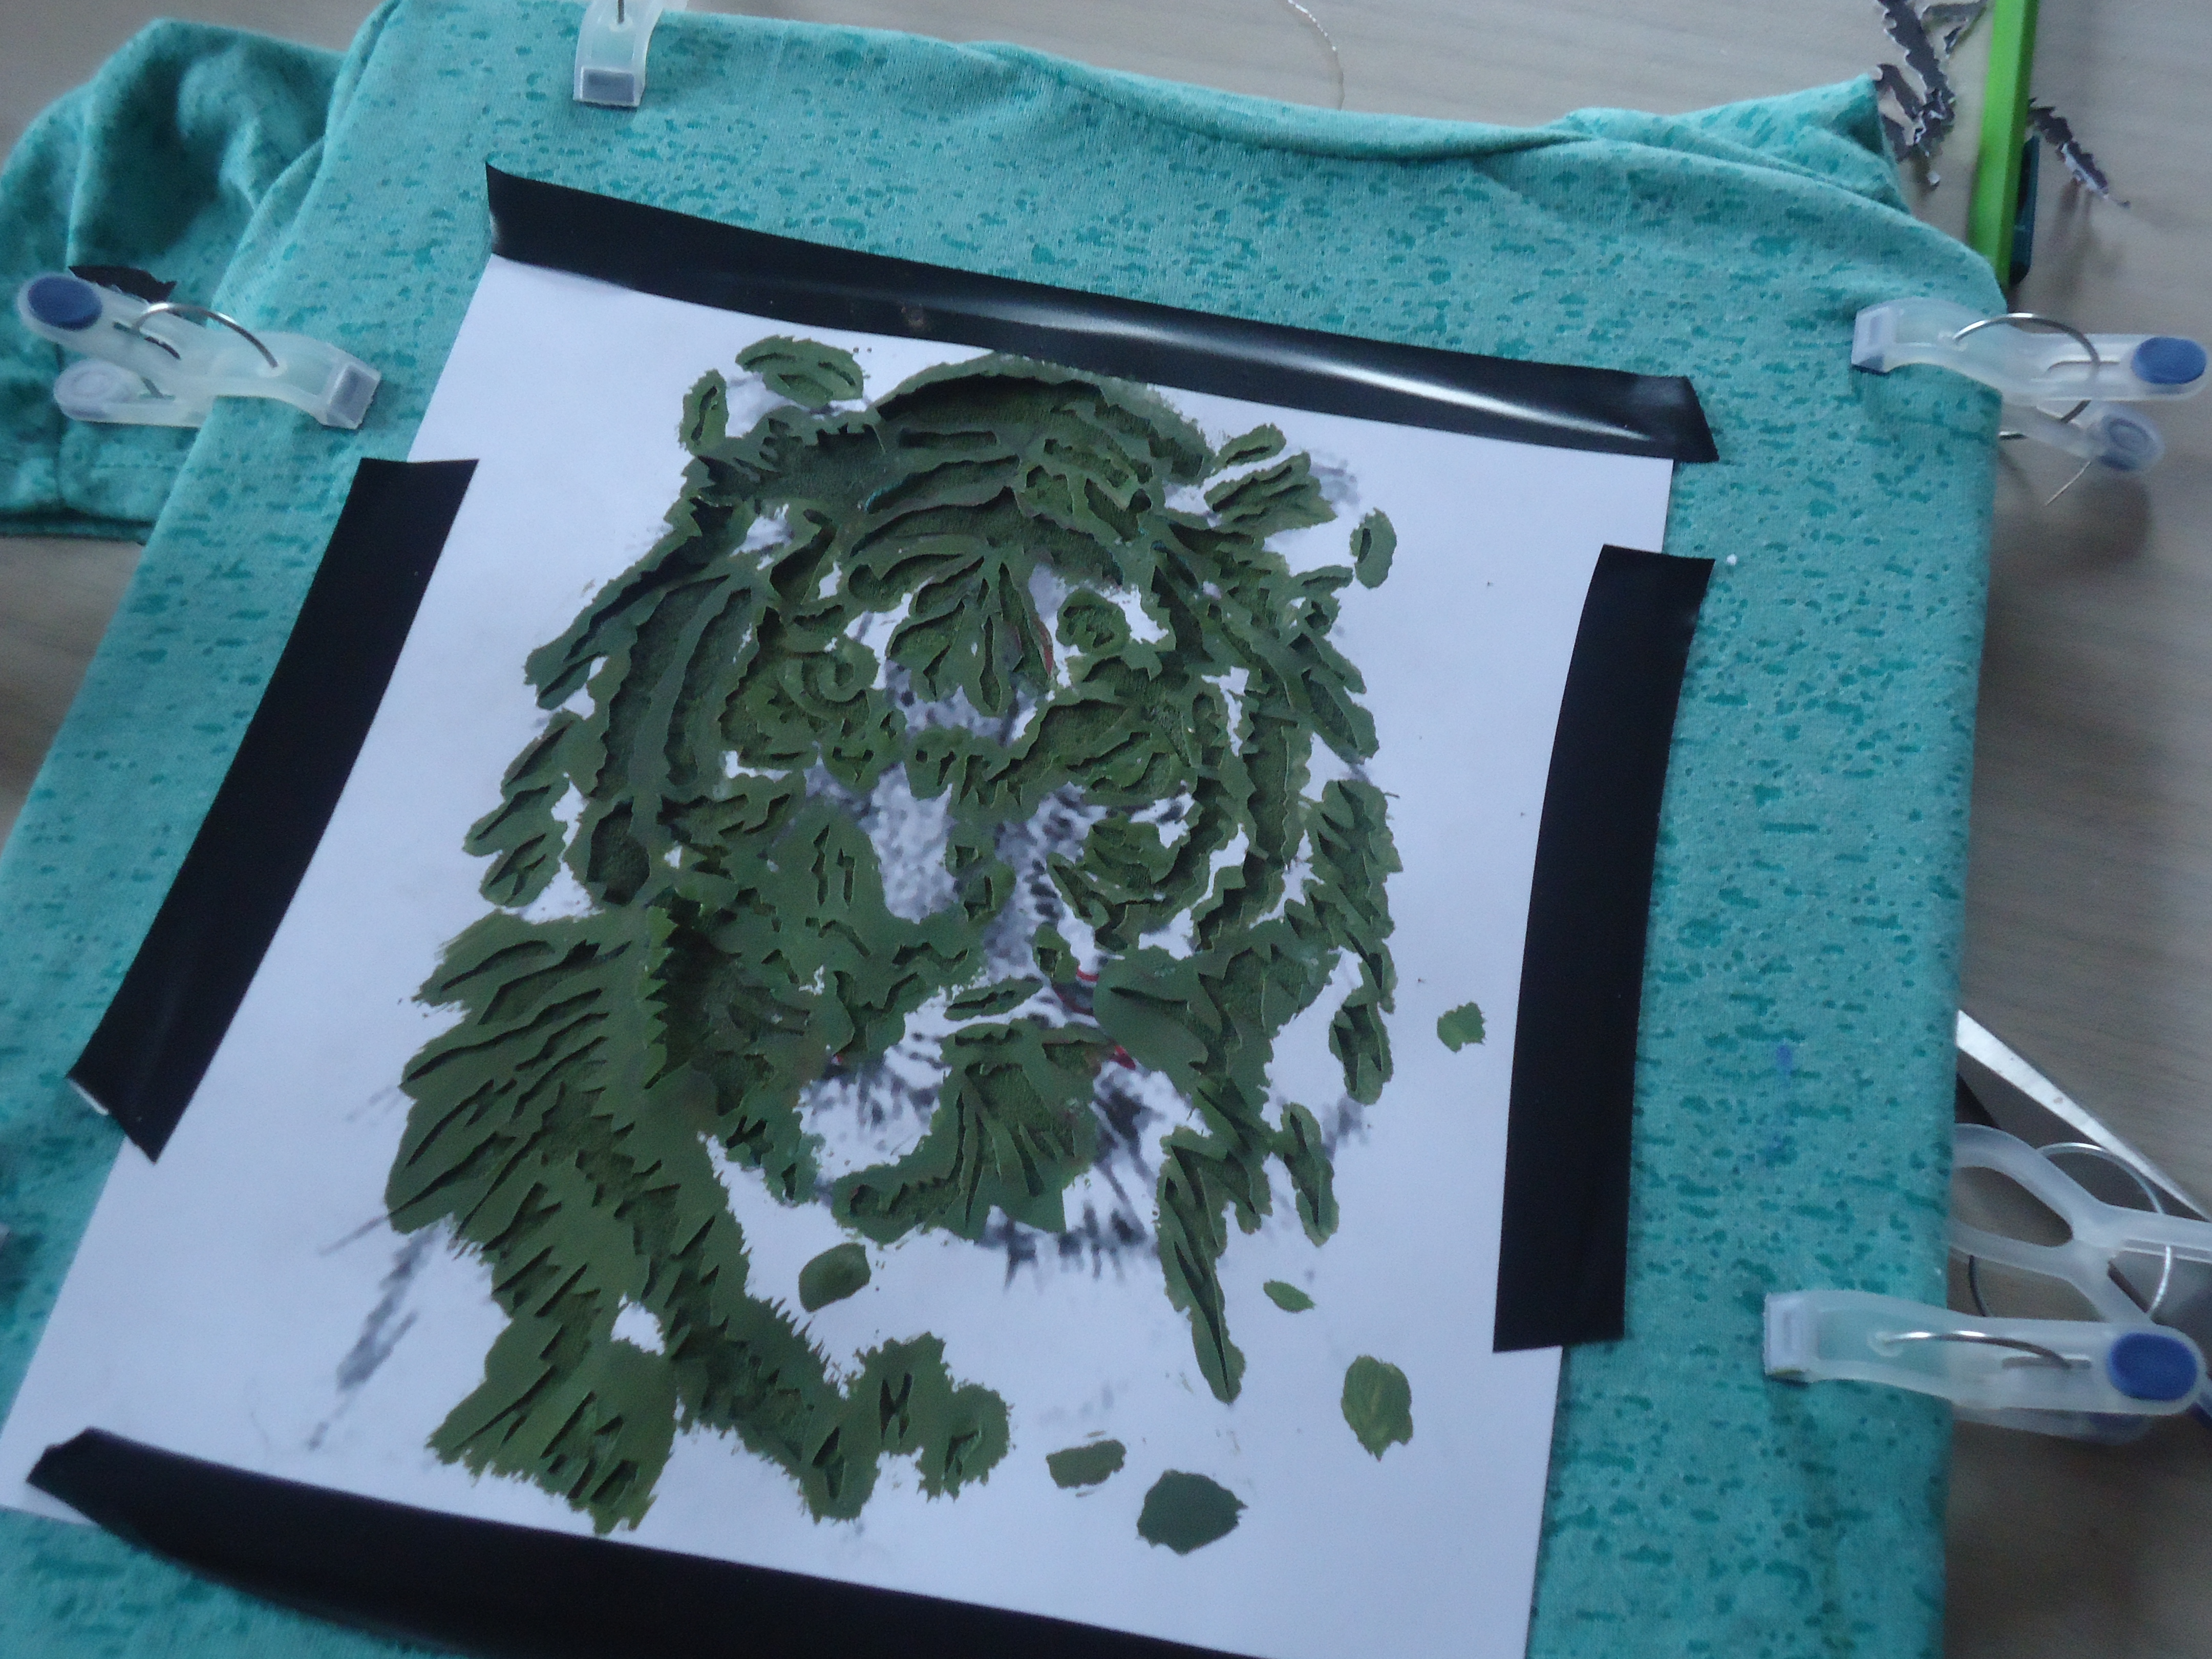
- Iron the shirt flat before painting, use a piece of stiff board or cardboard to stretch it gently to create the canvas alike structure, you can use tape or clips to hold t-shirt in place.
- This will create stiff working area, and will prevent the paint from soaking through the front of the t-shirt to the back. (make sure the board is placed inside of the t-shirt)
- place the stencil in the desired spot and affix it to the t-shirt with tape. Make sure this is firm as you can't allow stencil to move during painting.
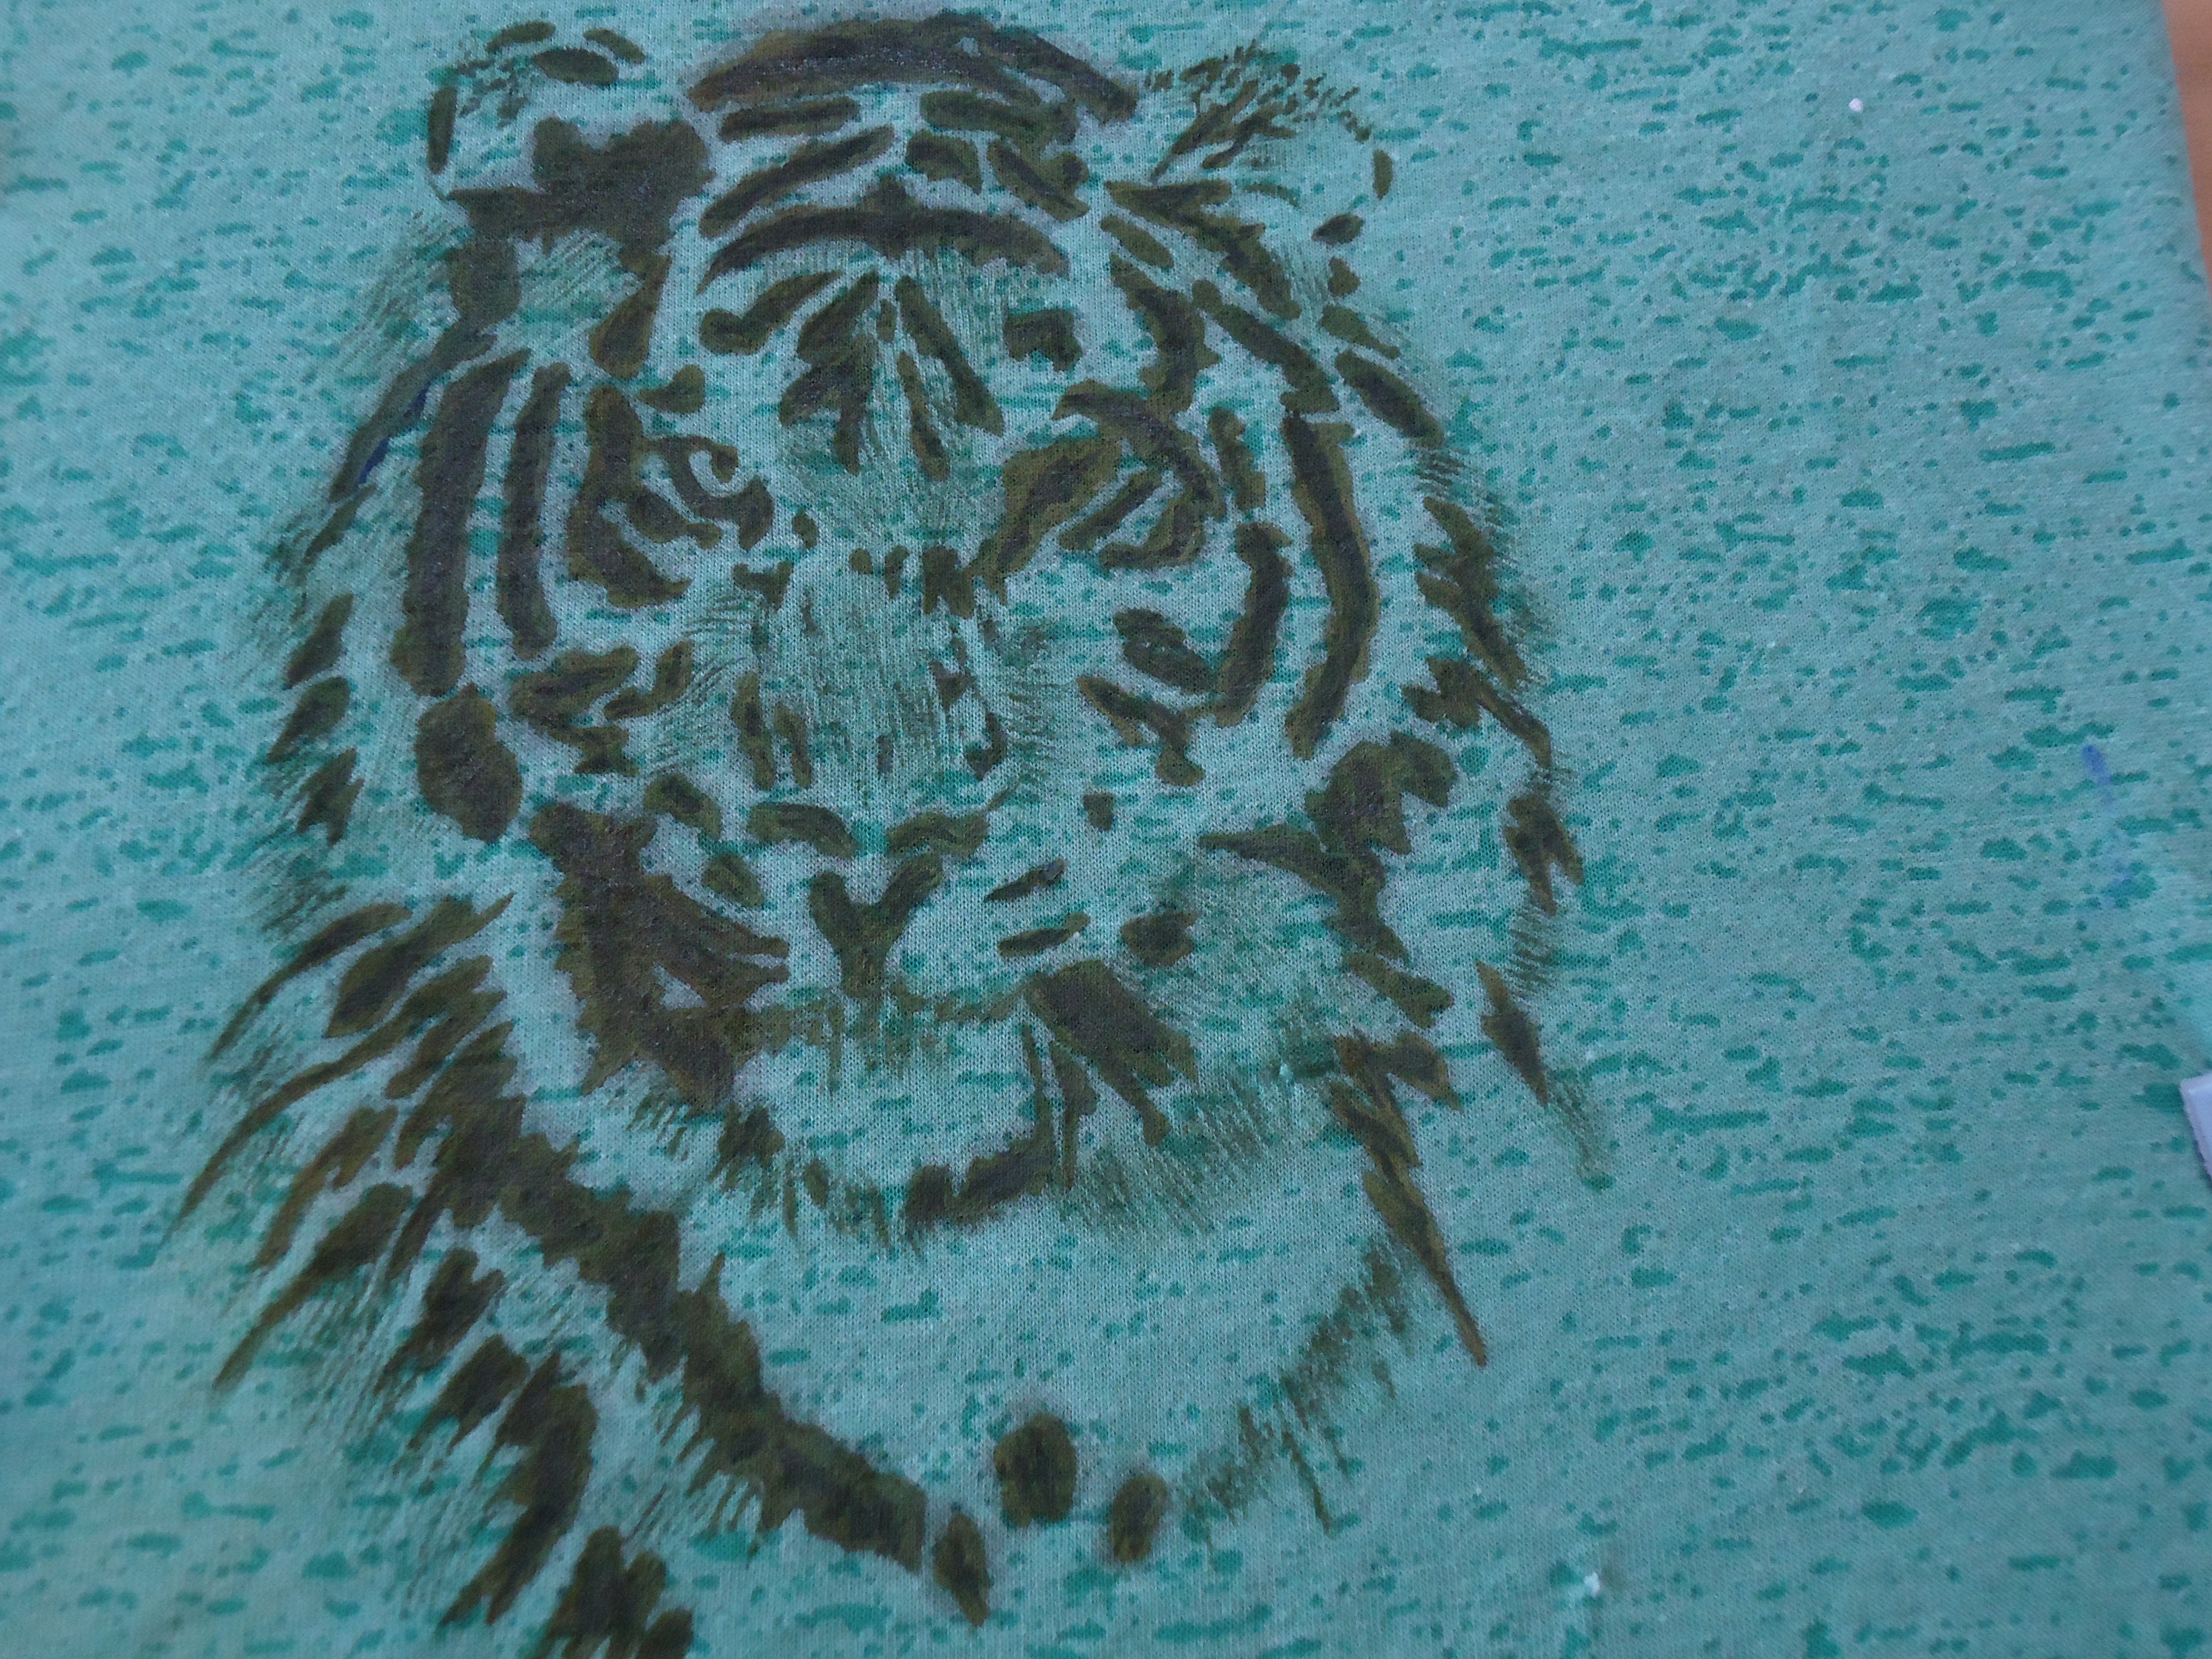
Using the stencil
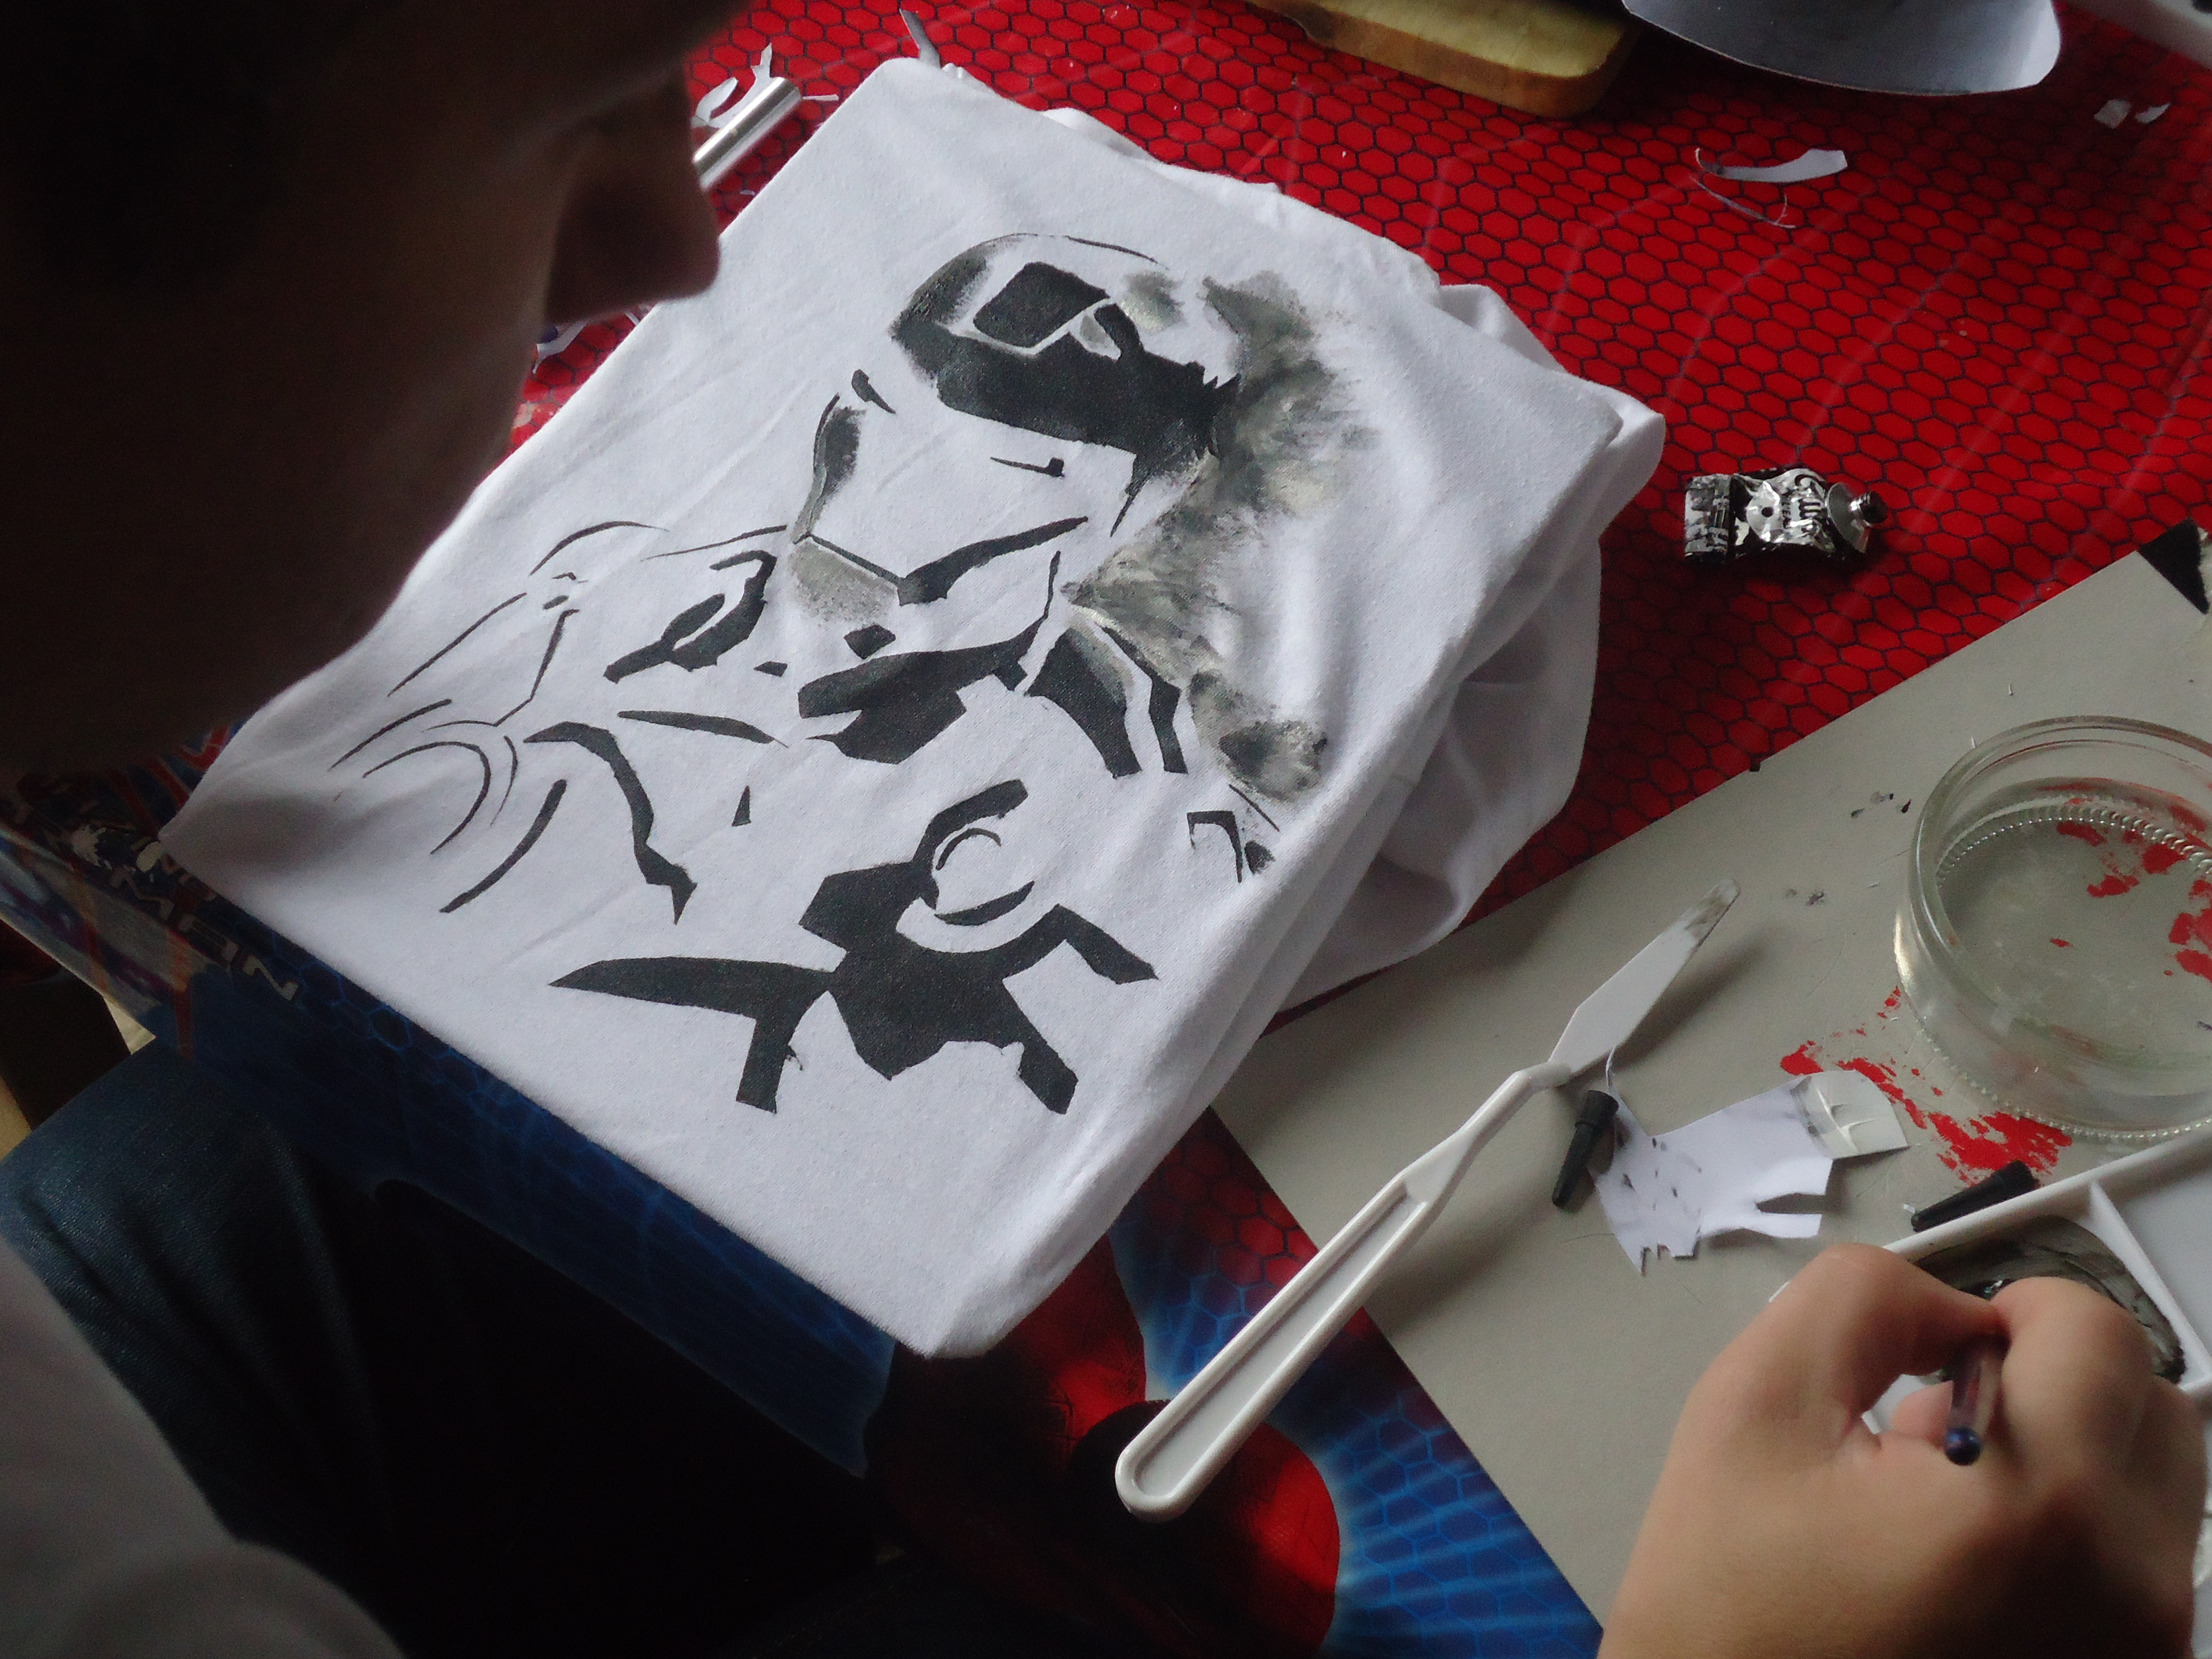
Once the stencil is affixed, we can start painting over it. Paintbrush should be soft but should not split under pressure, synthetic brushes are good. Work your way starting from painting over the stencil towards the uncovered area. You should not encourage the paint to go in the direction that would force it underneath the stencil board.
Use appropriate colours, keeping it as light as possible, and being extra careful with black outlines.
Your final result should resemble something alike colouring book page waiting to be painted.
Wait until the paint is dry before removing the stencil, use a hair dryer if you are in a hurry.
When removing stencil some of it will stick, try to do it in a smooth motion, if any paper is left sticking to the t-shirt, use paper knife to remove it before the final painting.
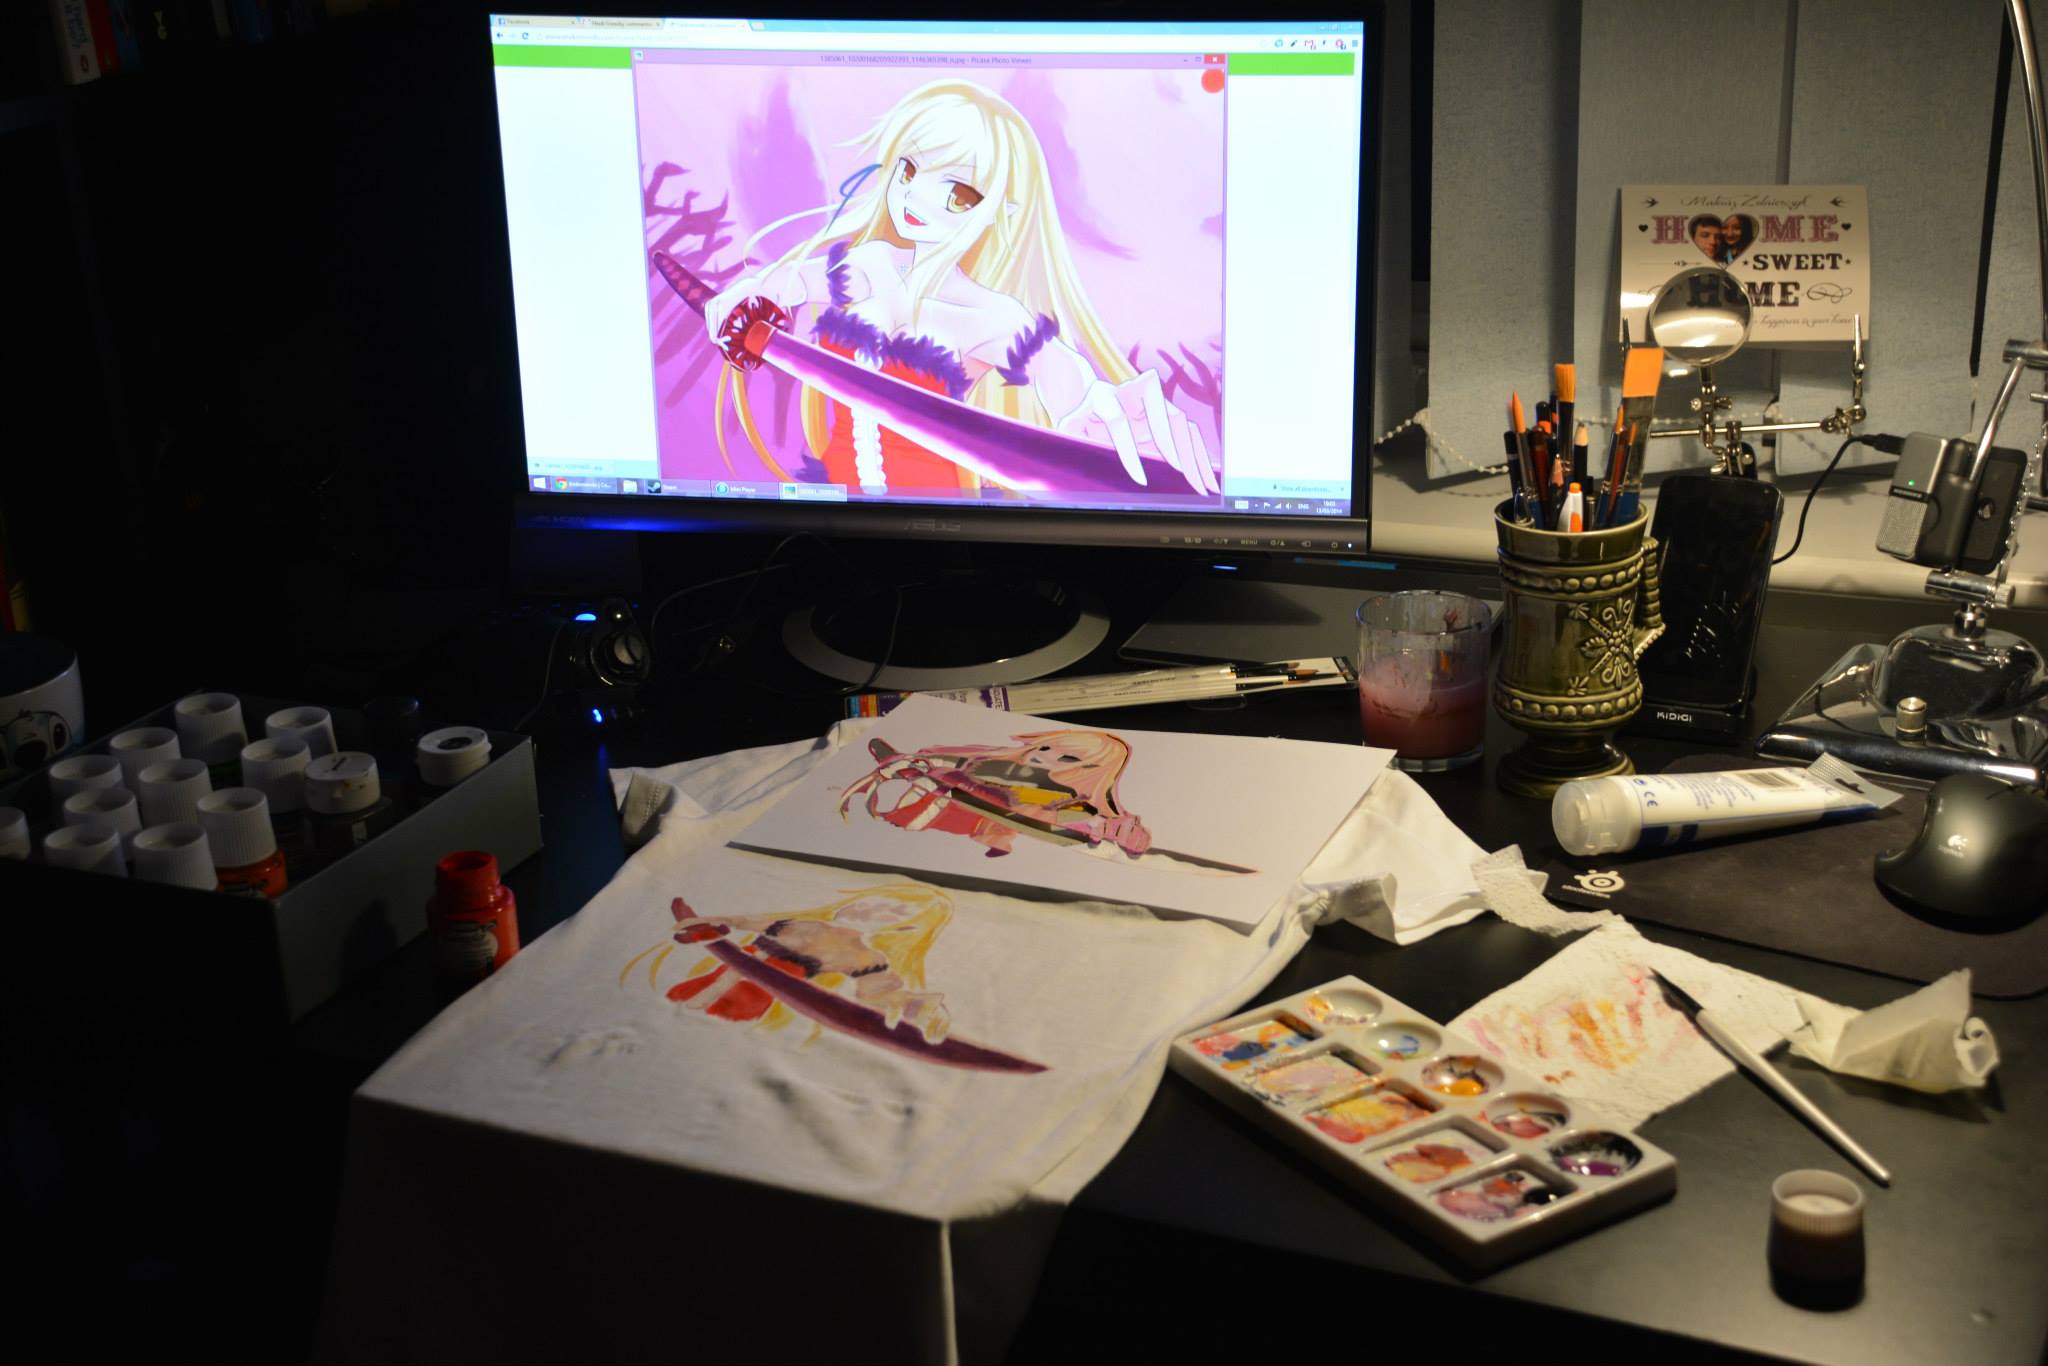
Painting the T-shirt
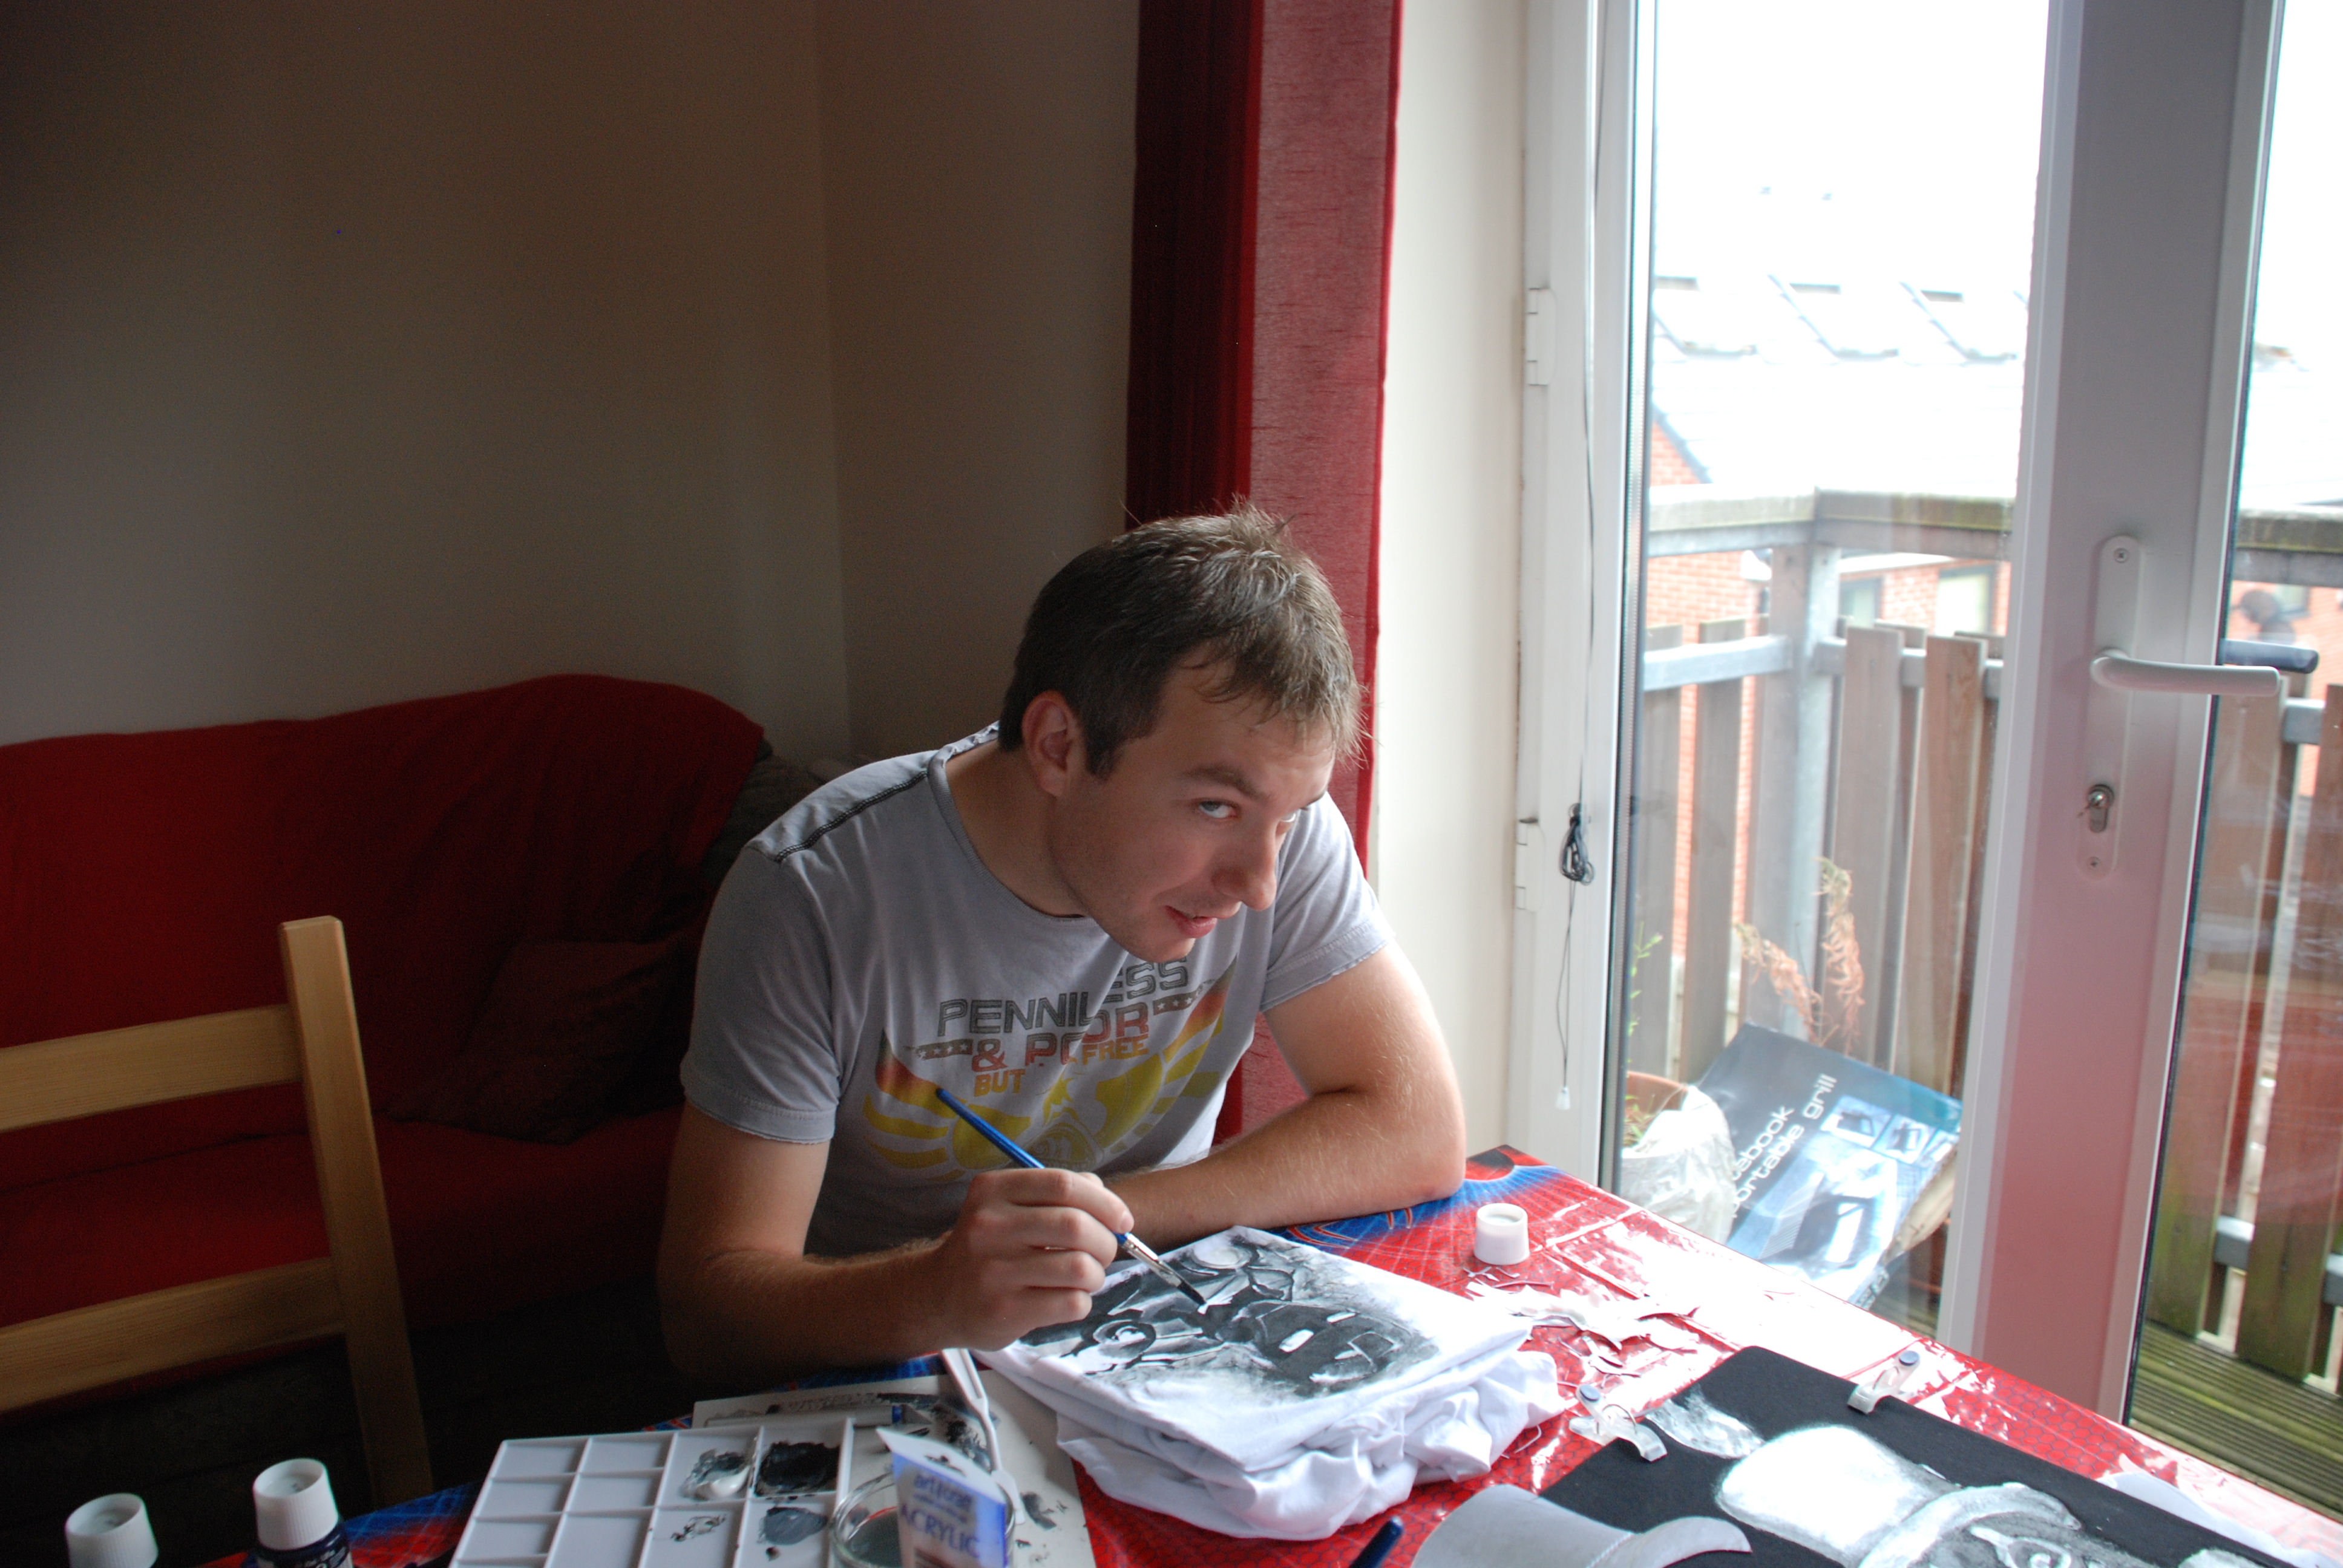
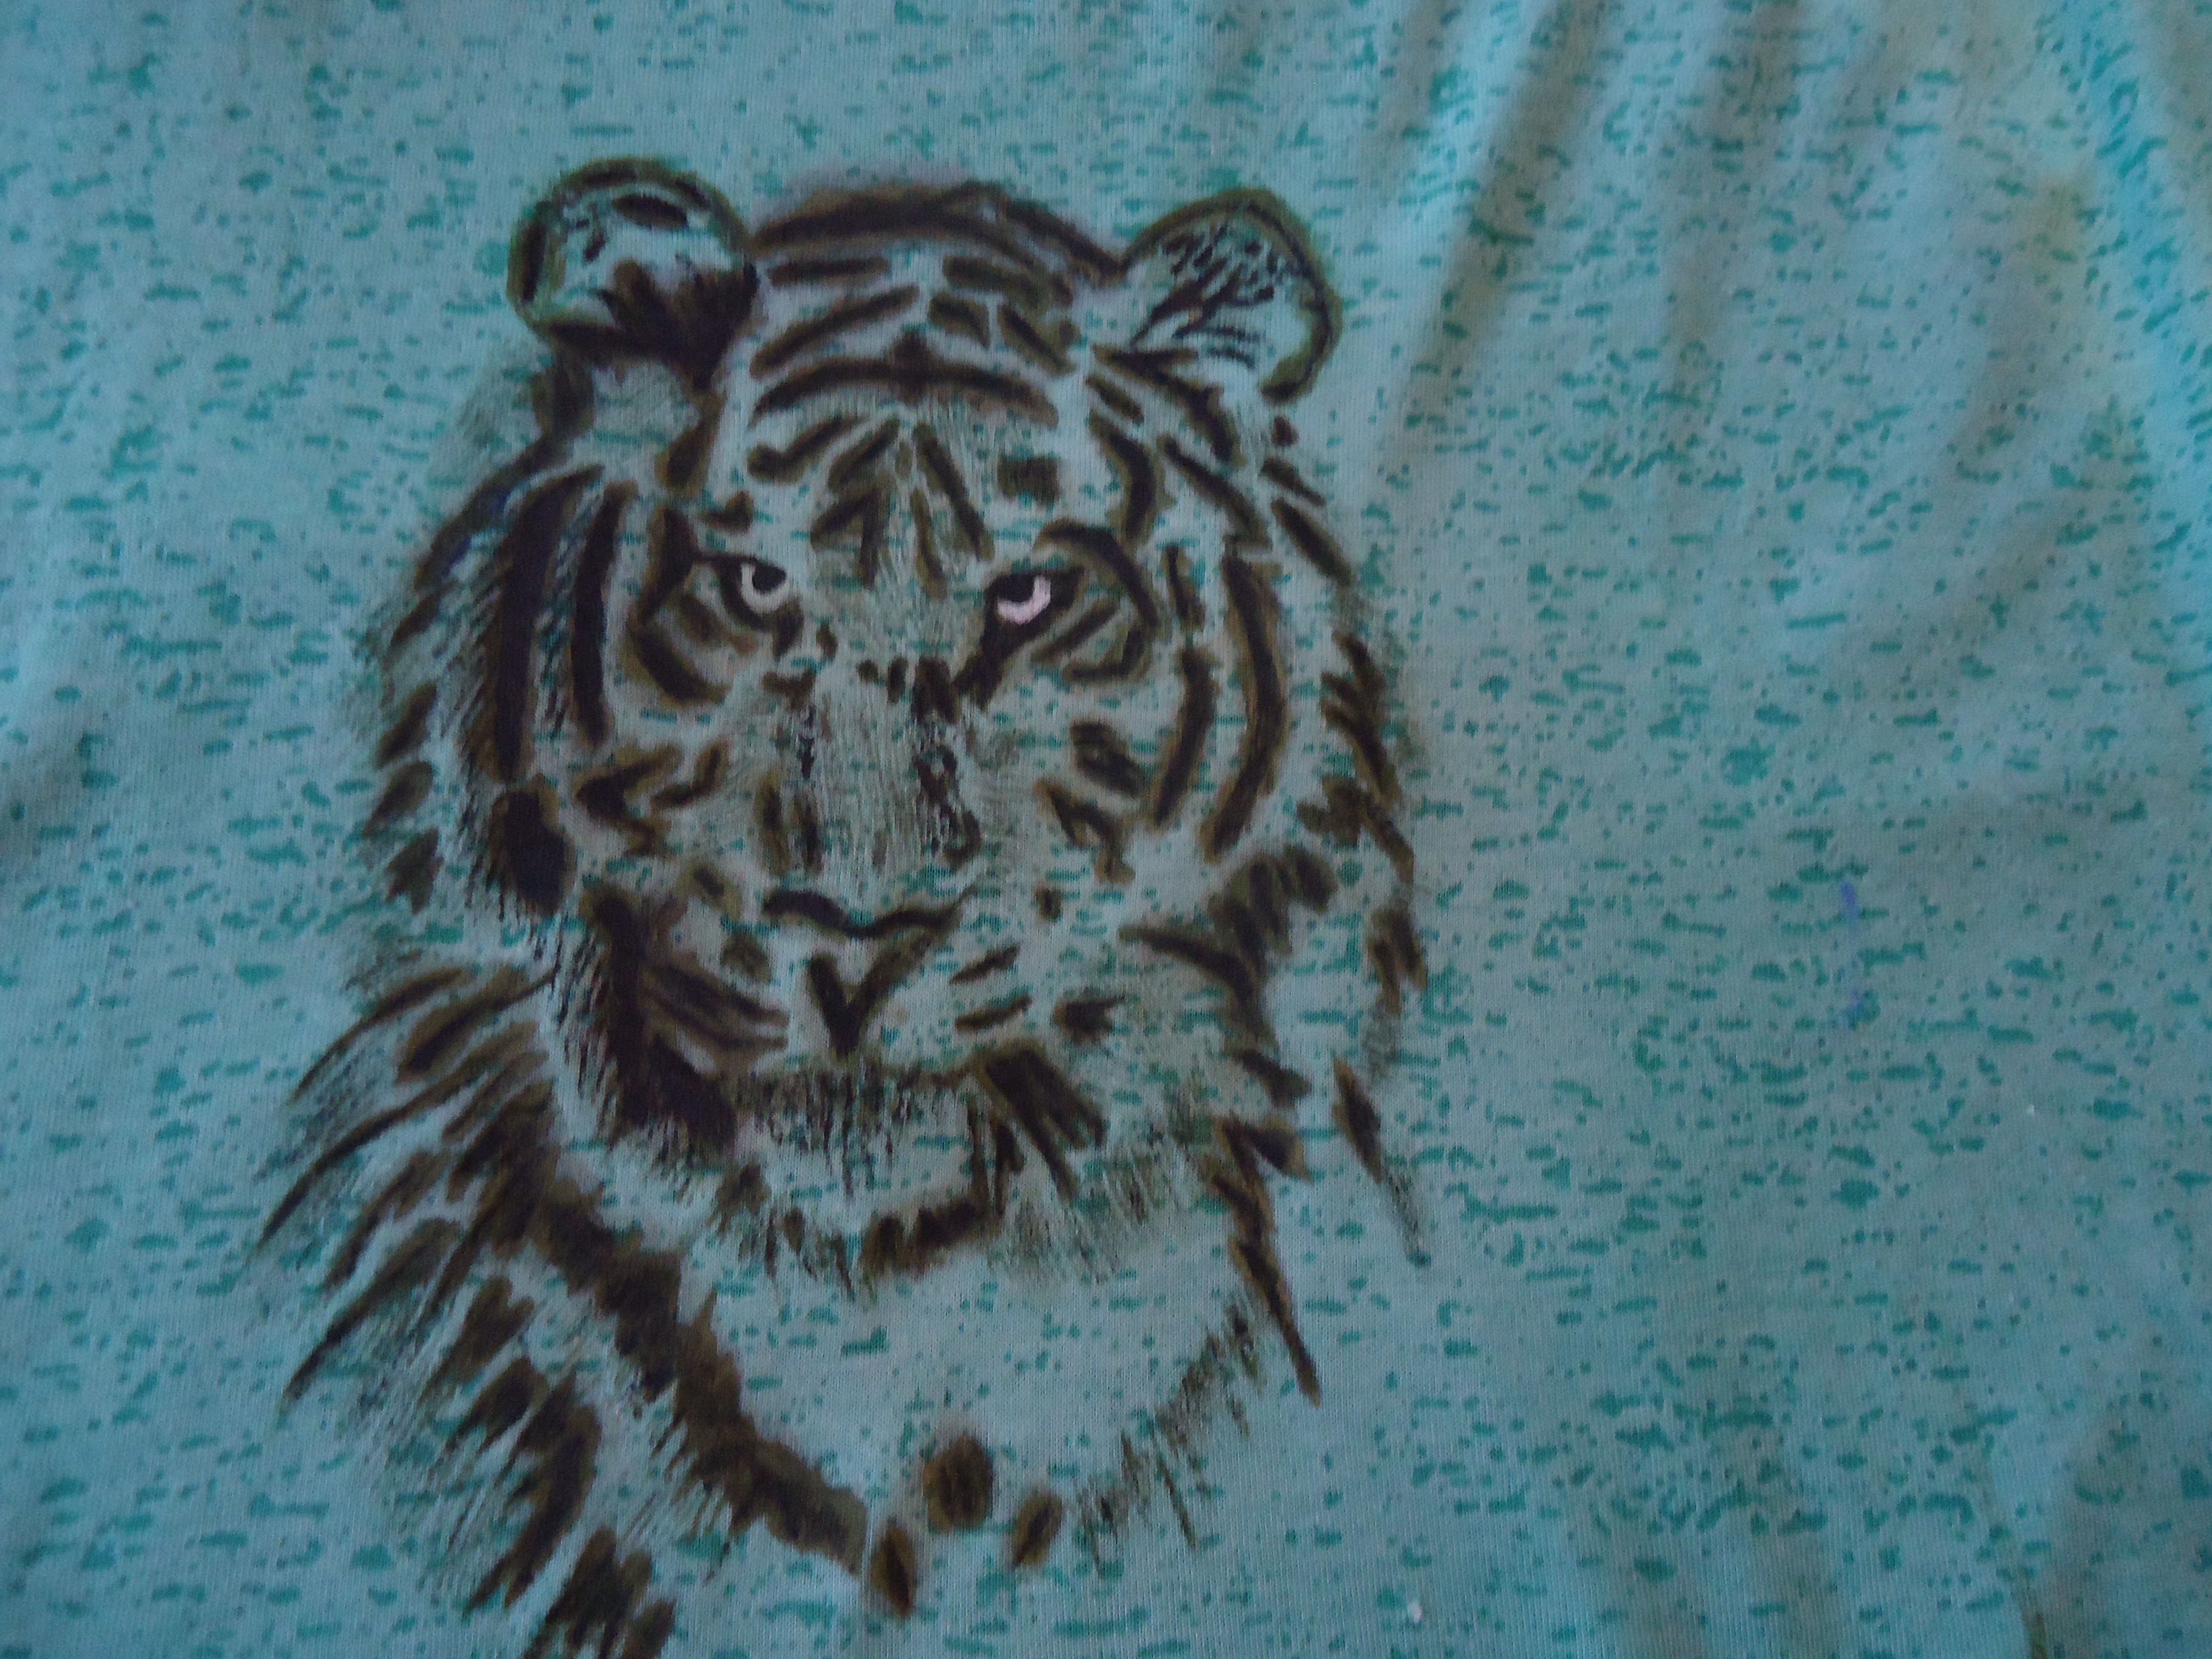
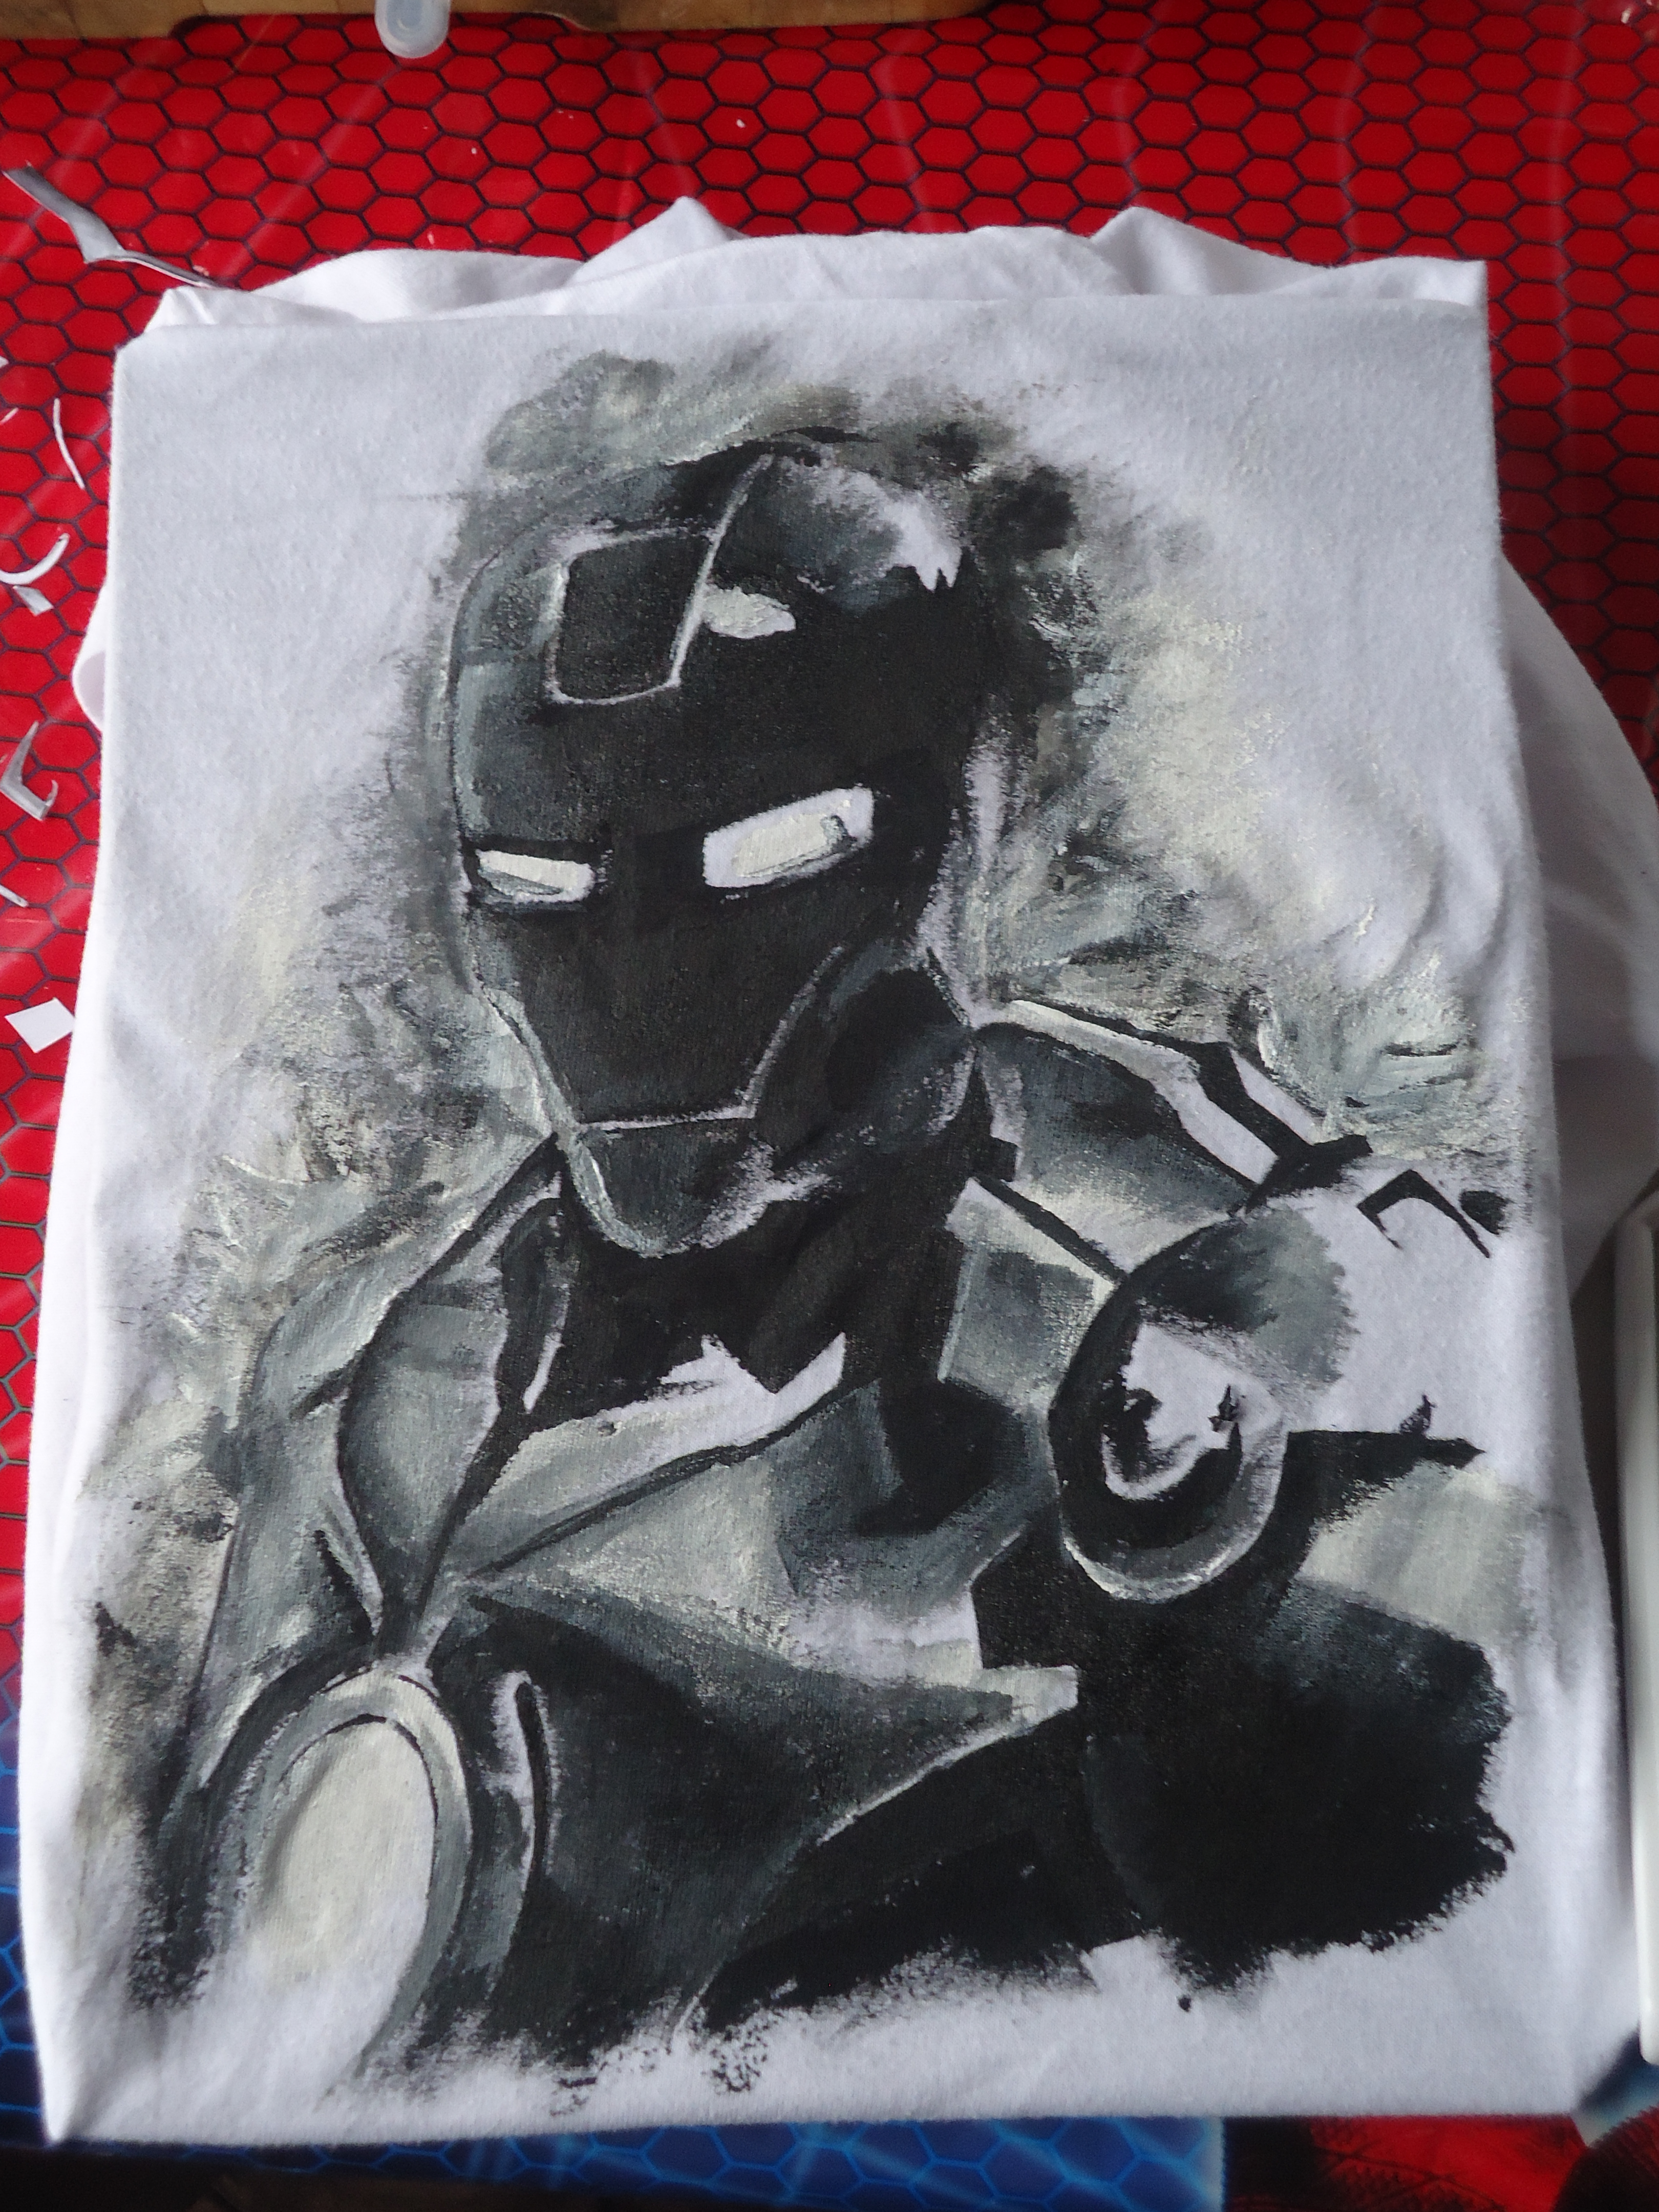
This is the most creative part and the part that can make or break the t-shirt! Take time with this step! It is worth it!
Start with bright colours.It is easier to cover mistakes with darker paint than fix the dark mistakes. Slowly work through the design starting from top left to bottom right, (unless you are a leftie) to avoid smearing the paint all over.
Keep your hands clean at all times. This is the easiest way to make some unwanted paint marks.
You can cover up the area that isn't worked on, keep paint in the reach, don't make your hand travel far for paint over the t-shirt. It is an accident to happen.
Ironing Stage
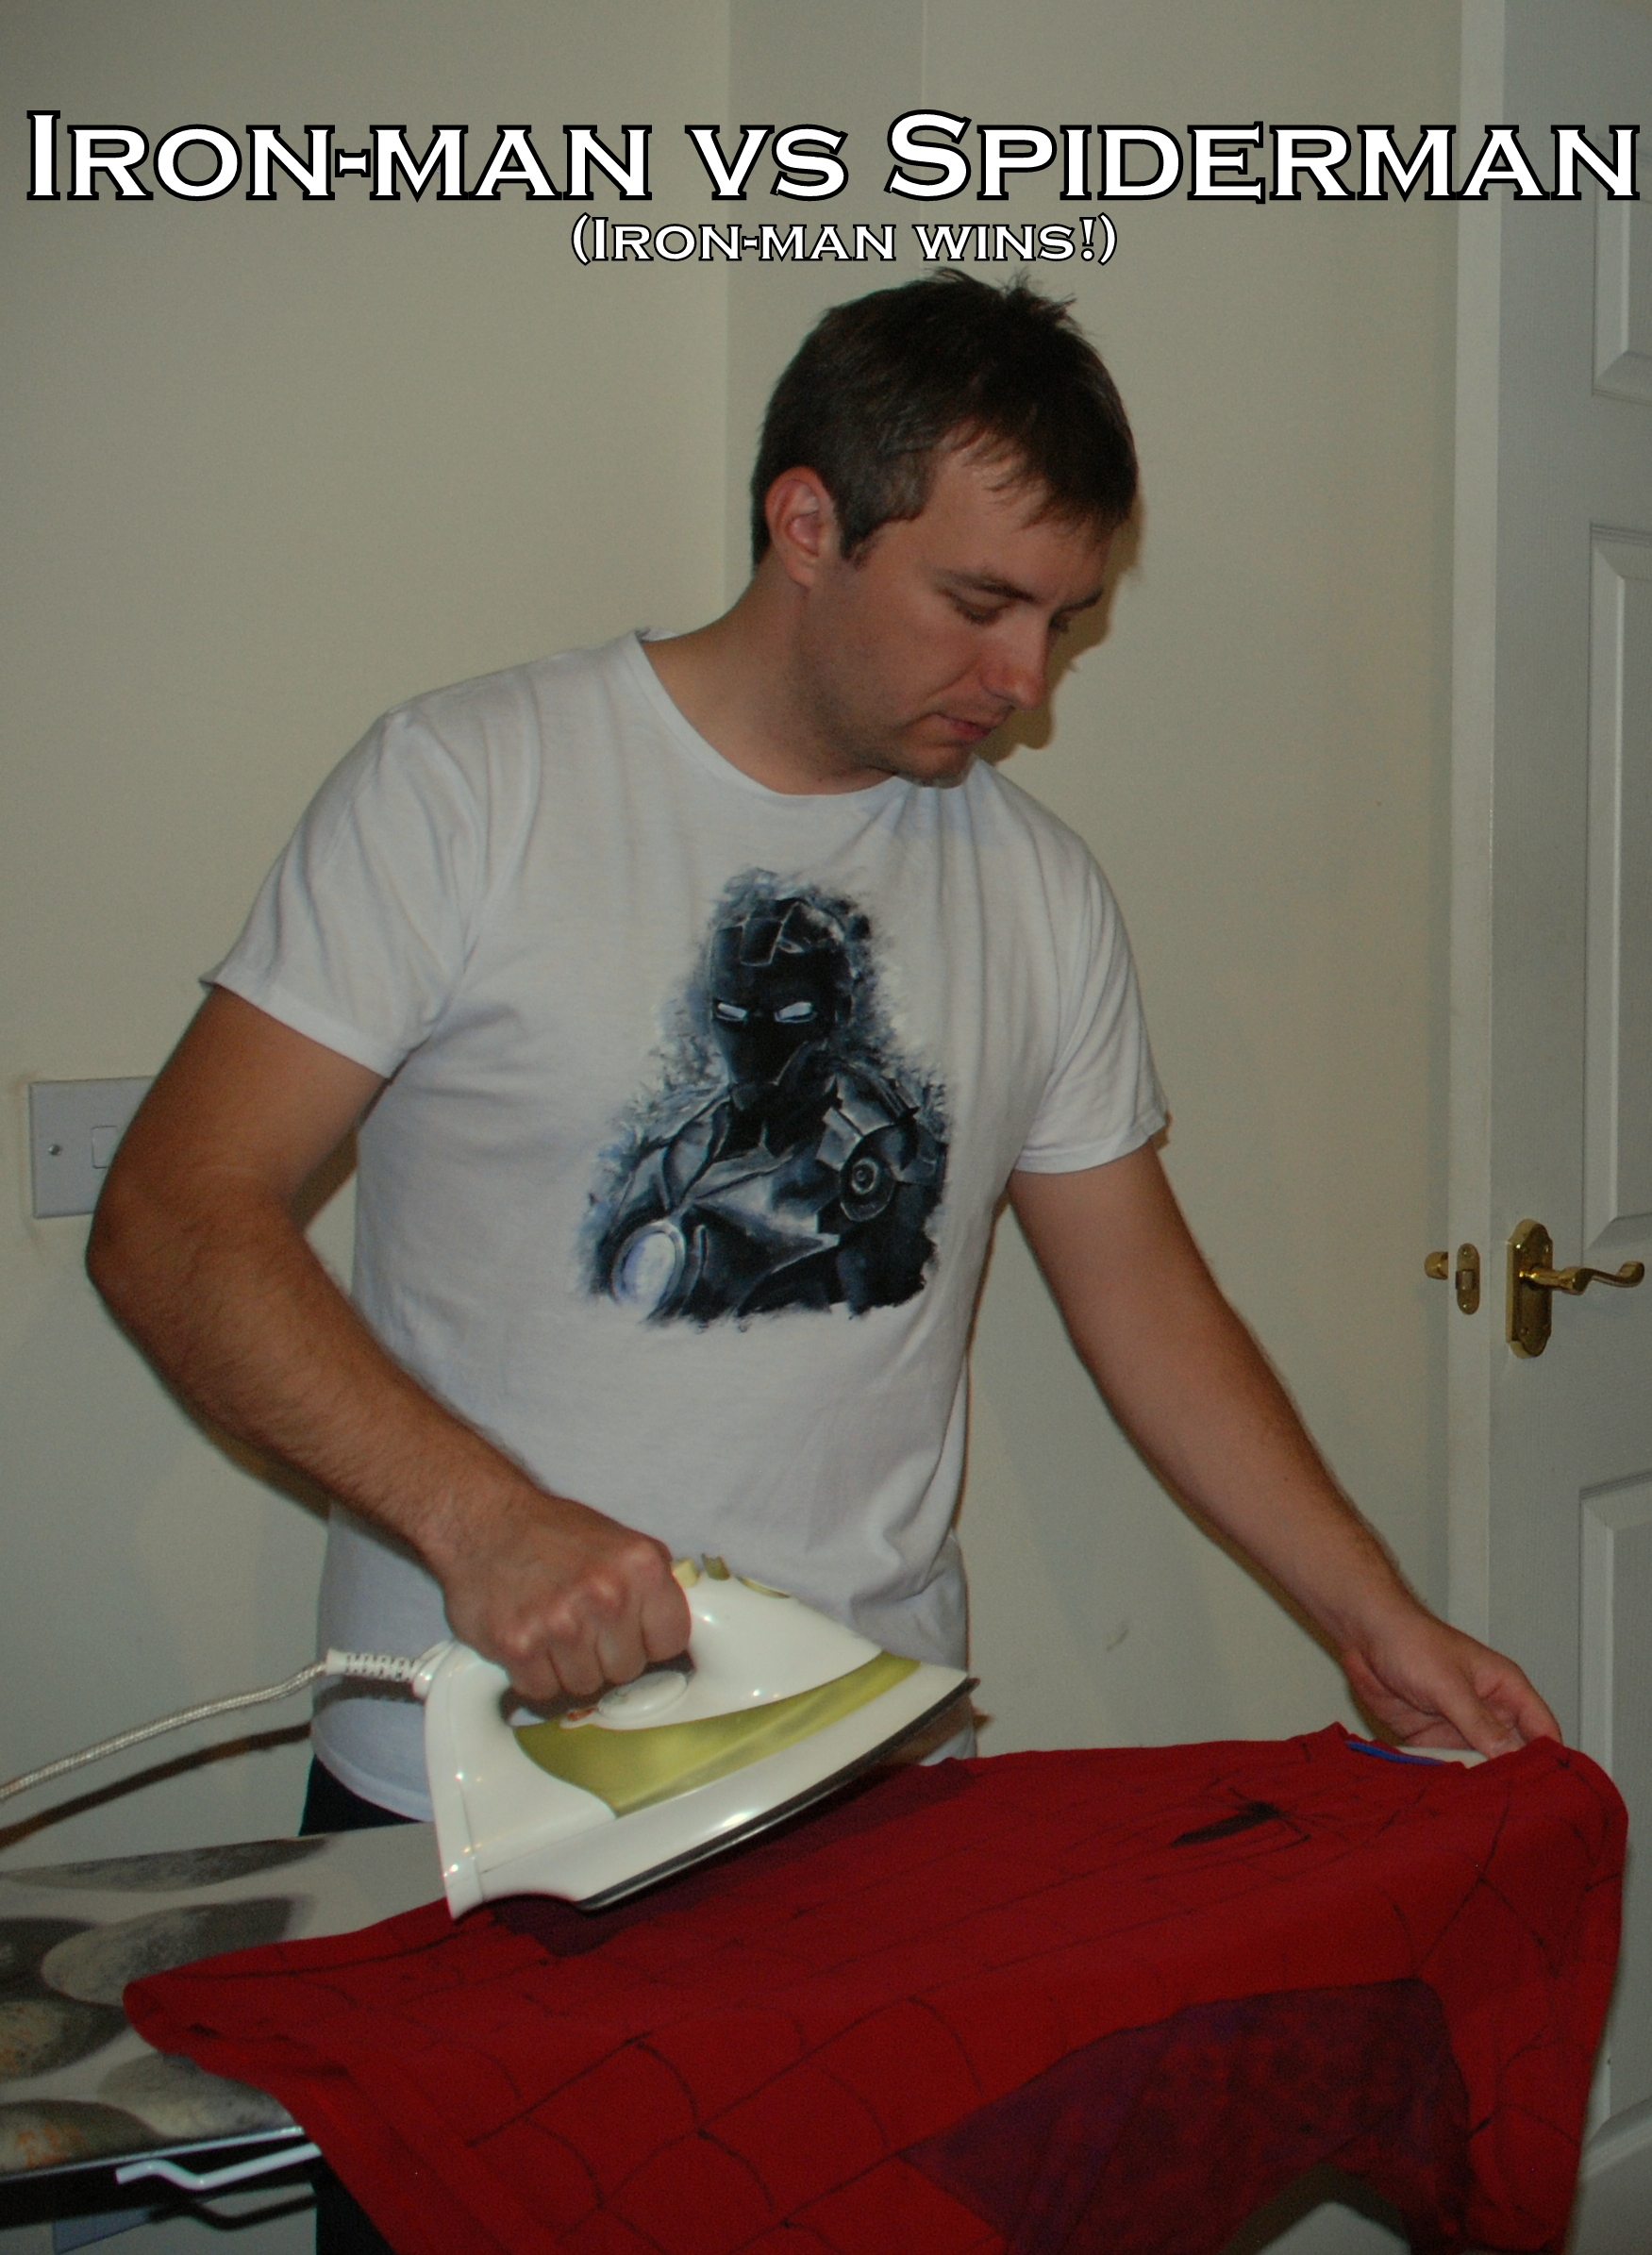
Once the design is dry it is ready to be permanently affixed to the t-shirt, ignore this and half od your work will wash away.
Use your fingertips to touch the areas painted to make sure they are not sticky. Careful, do not make a mess by doing so, be patient, or use a hair dryer.
Place a piece of printer paper, to cover the design and start ironing it at high temperature (check the t-shirt label for limits). Continue doing so for about 10 min across the design. When you finish, your design should be very hot. Can burn your fingers. It will feel smooth and stiff. Give it 10 min for the design to cool down, then repeat the process.
You can iron the design from both sides, move iron constantly to make sure you won't leave any burn marks on the t-shirt.
Once this is complete, you are done!
T-shirt is ready to be used, water resistant, and can be washed up to 60 C in a washing machine. The oldest t-shirt I have has over 10 years now, the material is in bad shape (some holes etc) but the color is still there. Some of the colour has faded but I admit I was perfecting my manufacturing process at that time.
Finished T-shirts and Final Thoughts!
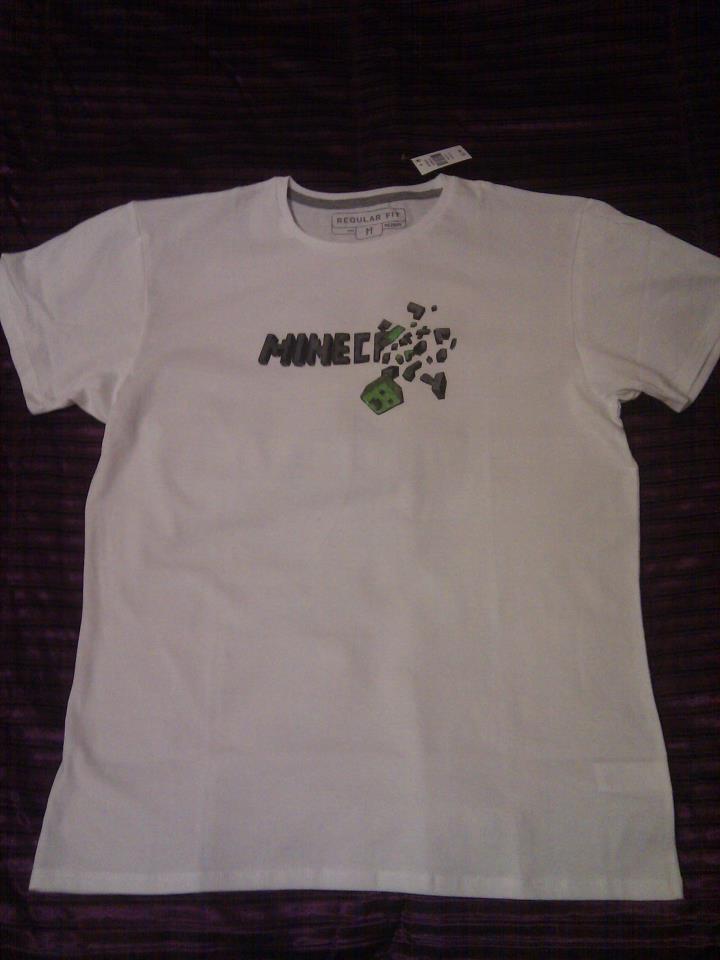
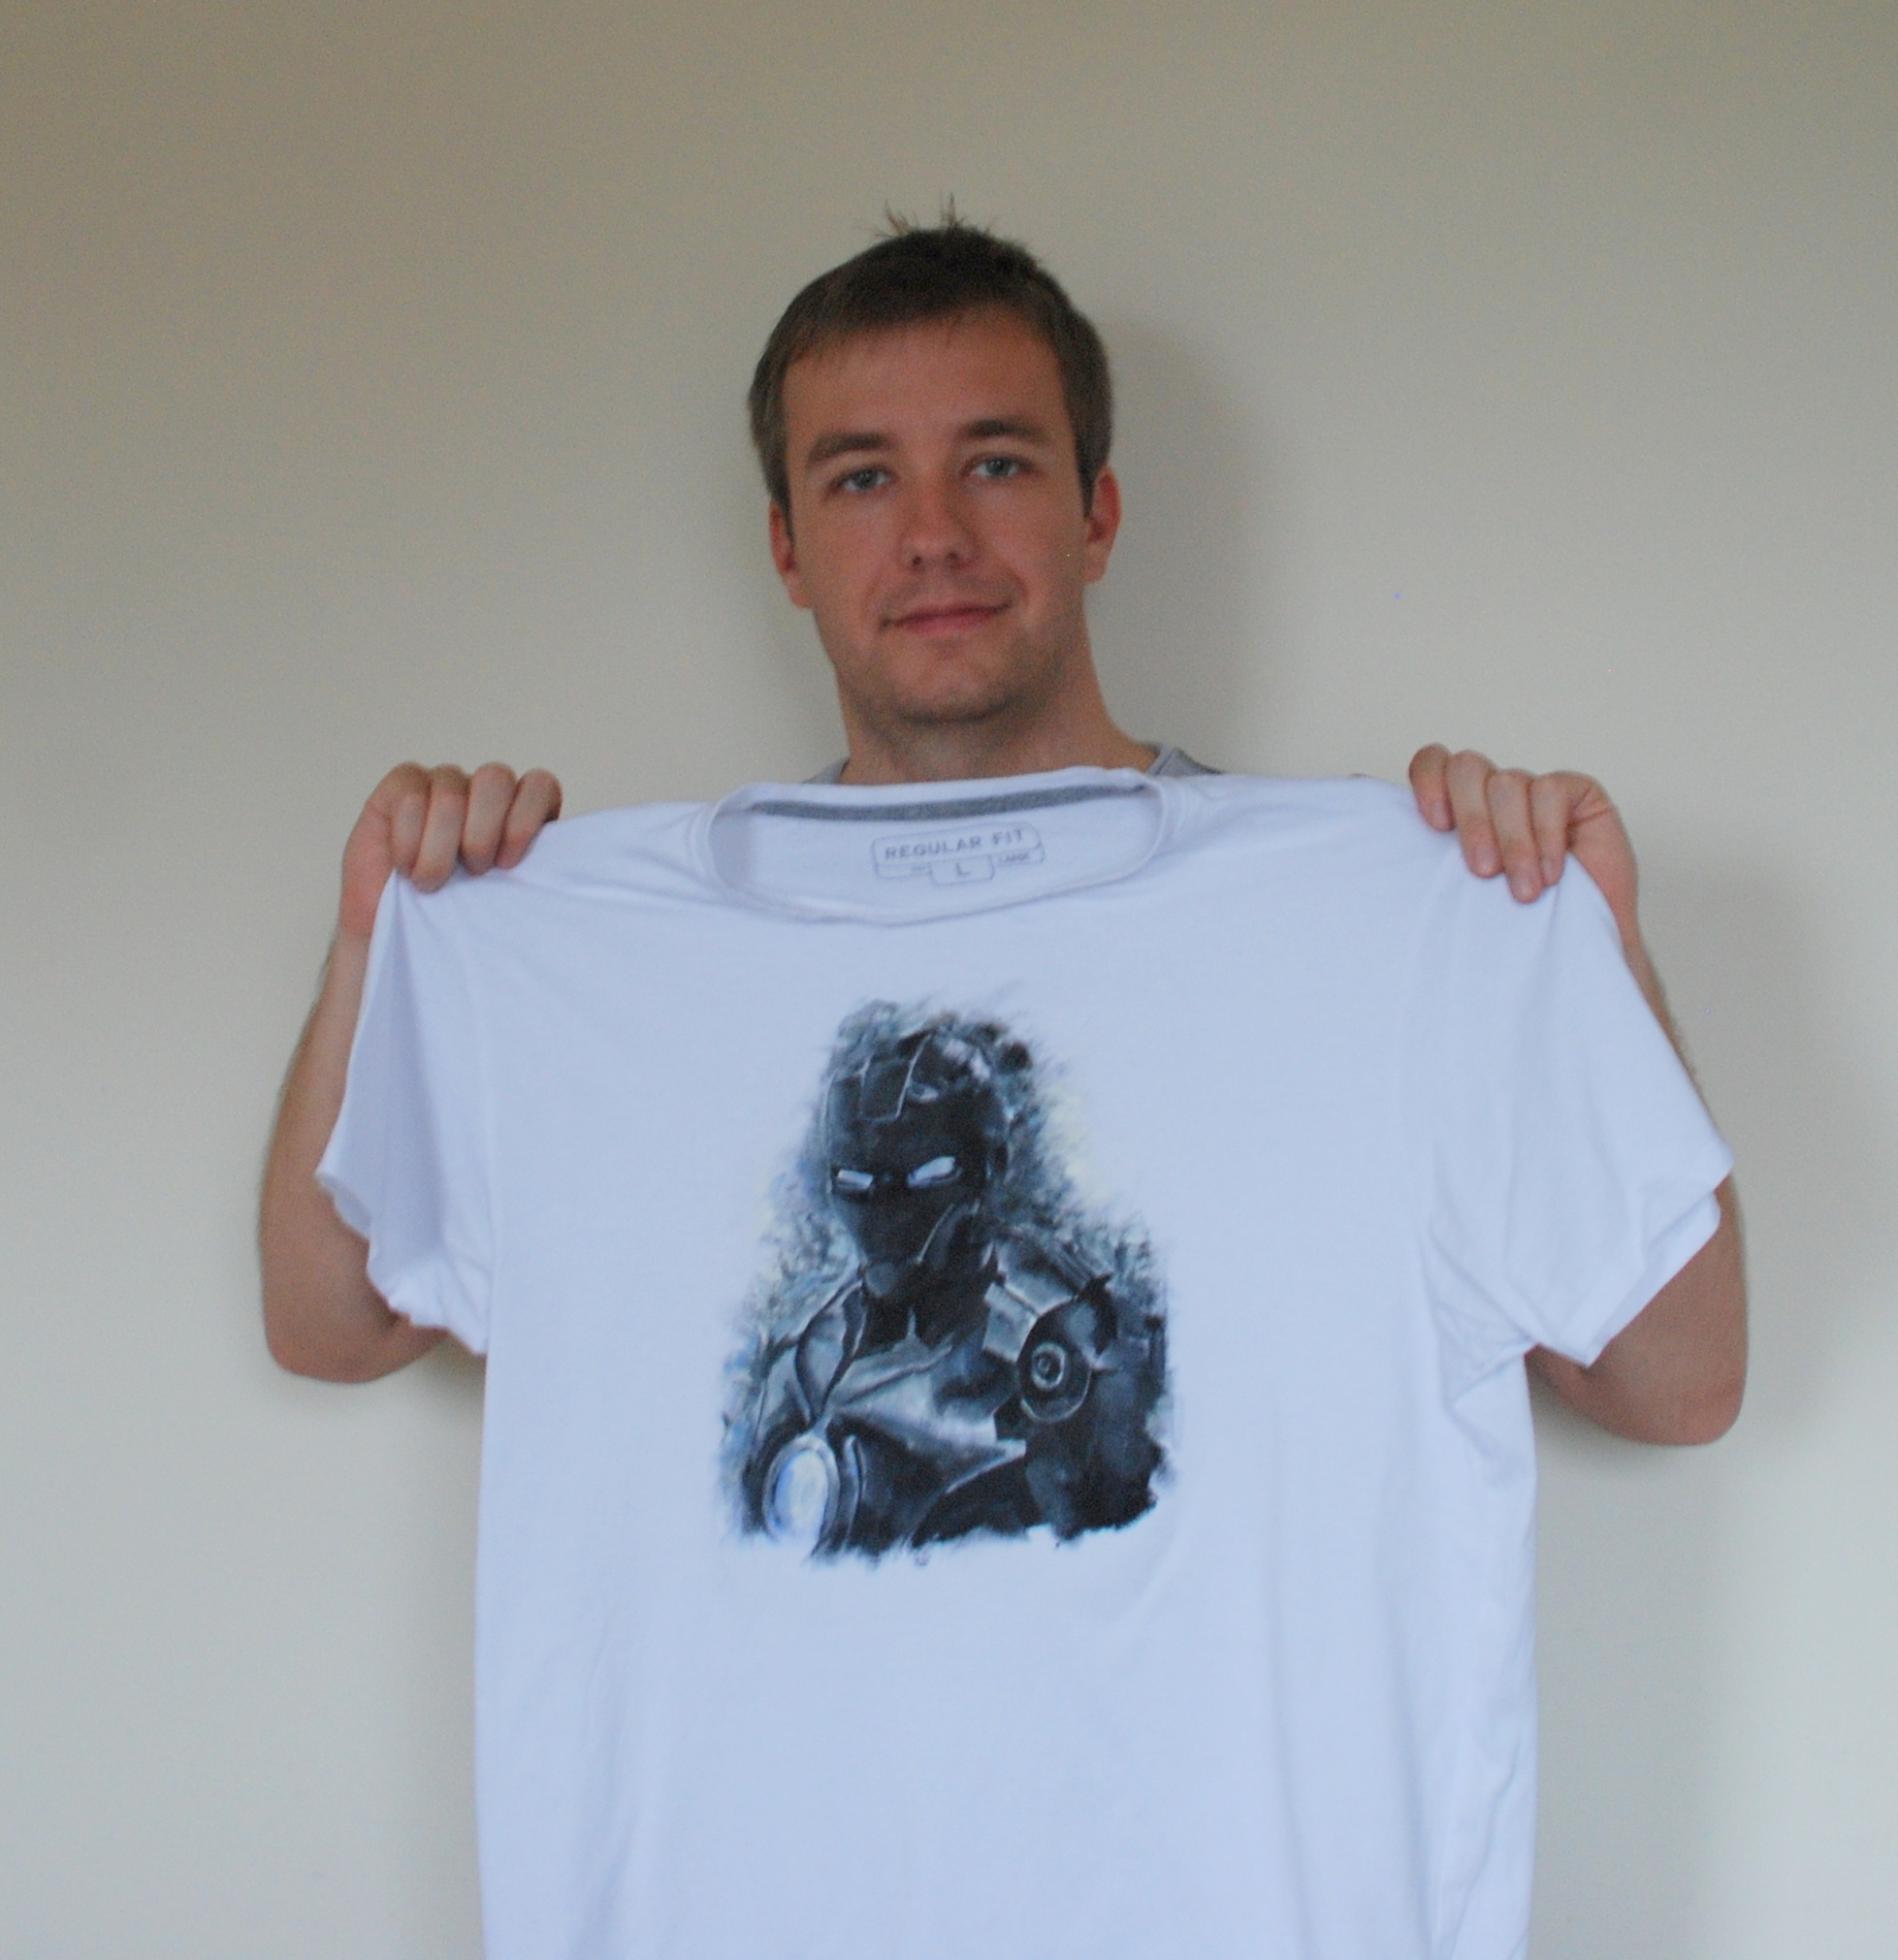
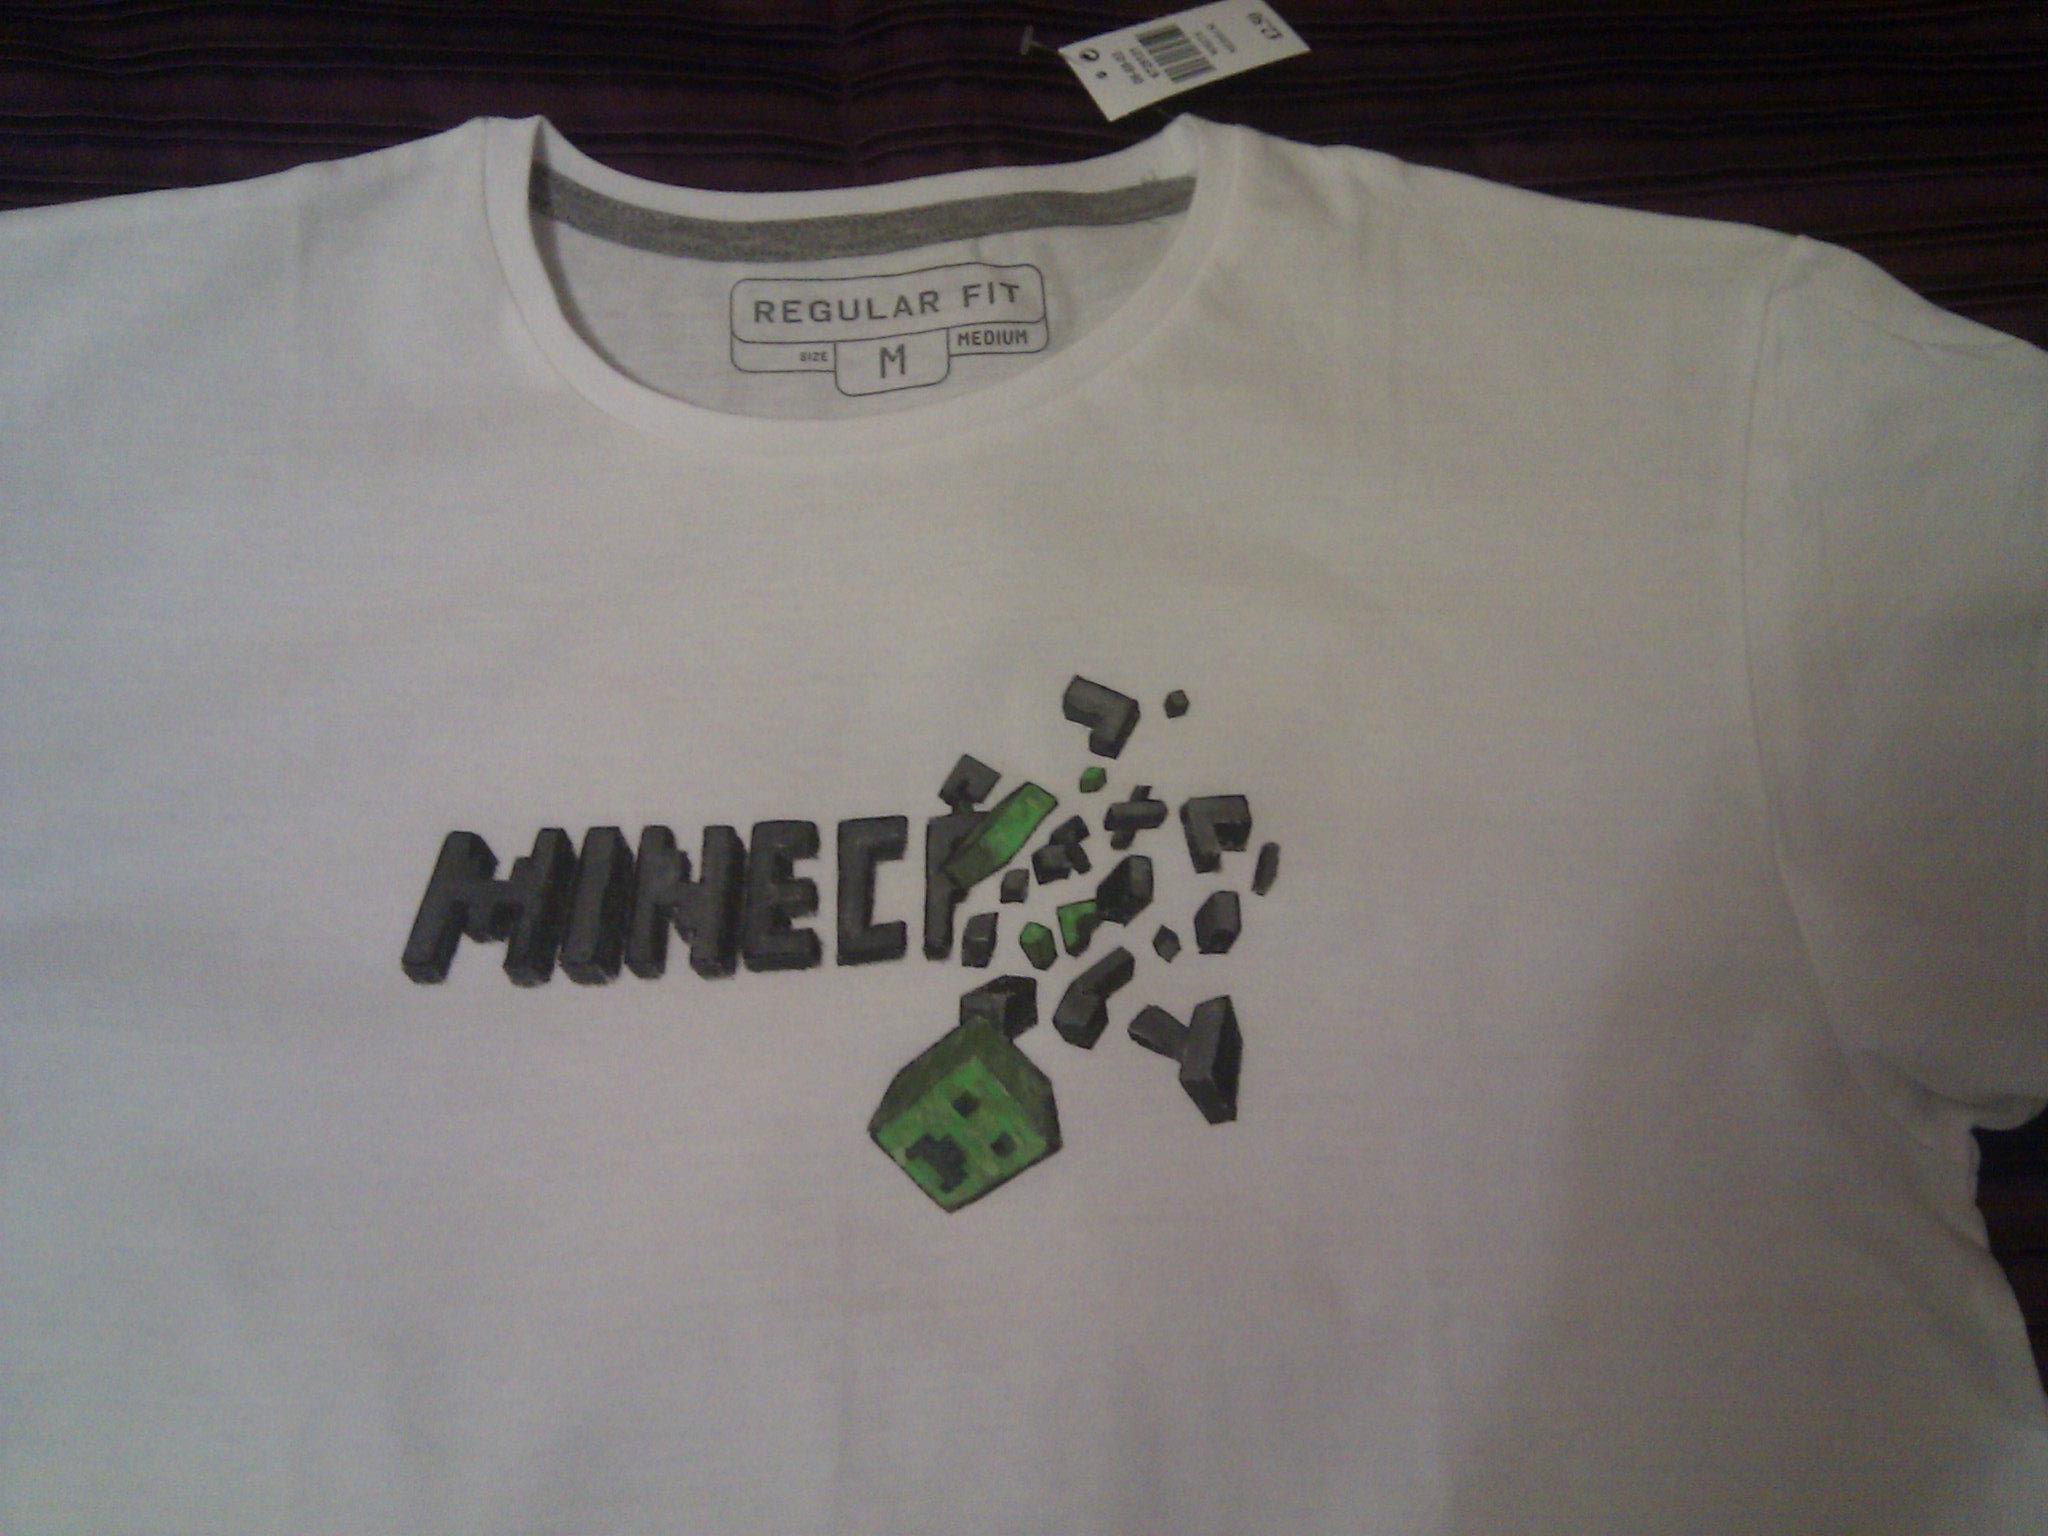
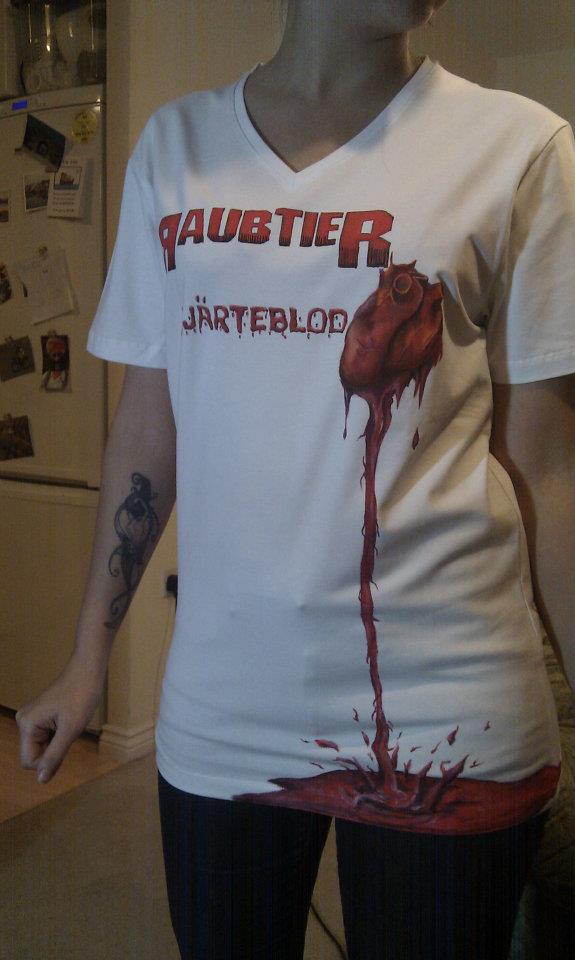
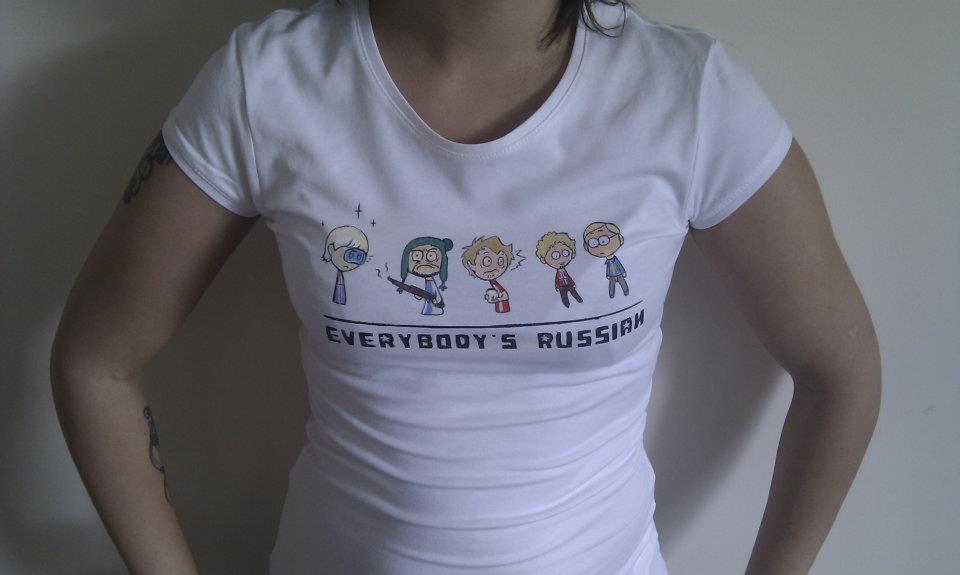
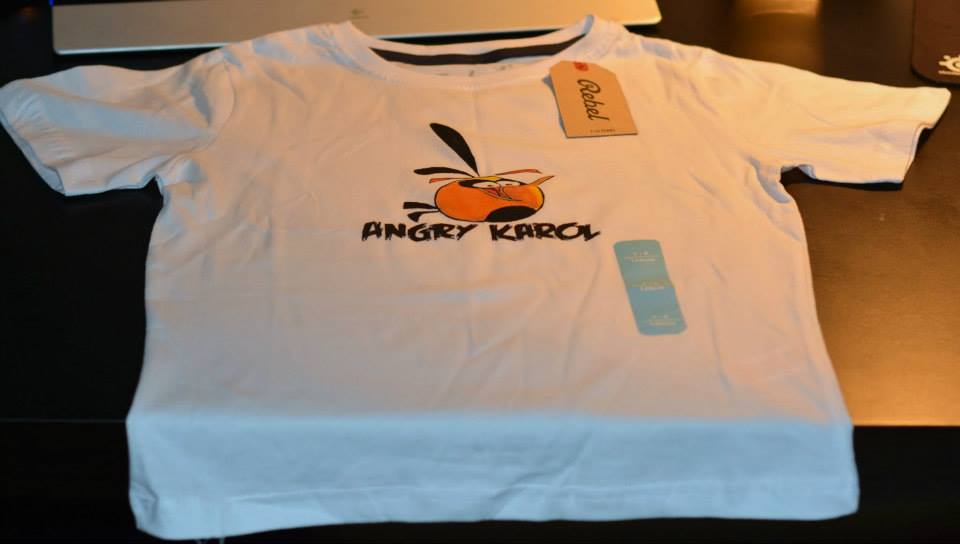
If you did everything as described, these t-shirts (especially cheaper ones) will fall apart quicker than paint will get washed off. Hand made t-shirts are great, cheap to make and an excellent idea for a gift!
You can follow my artwork on my Facebook page