Hall Effect USB Joystick
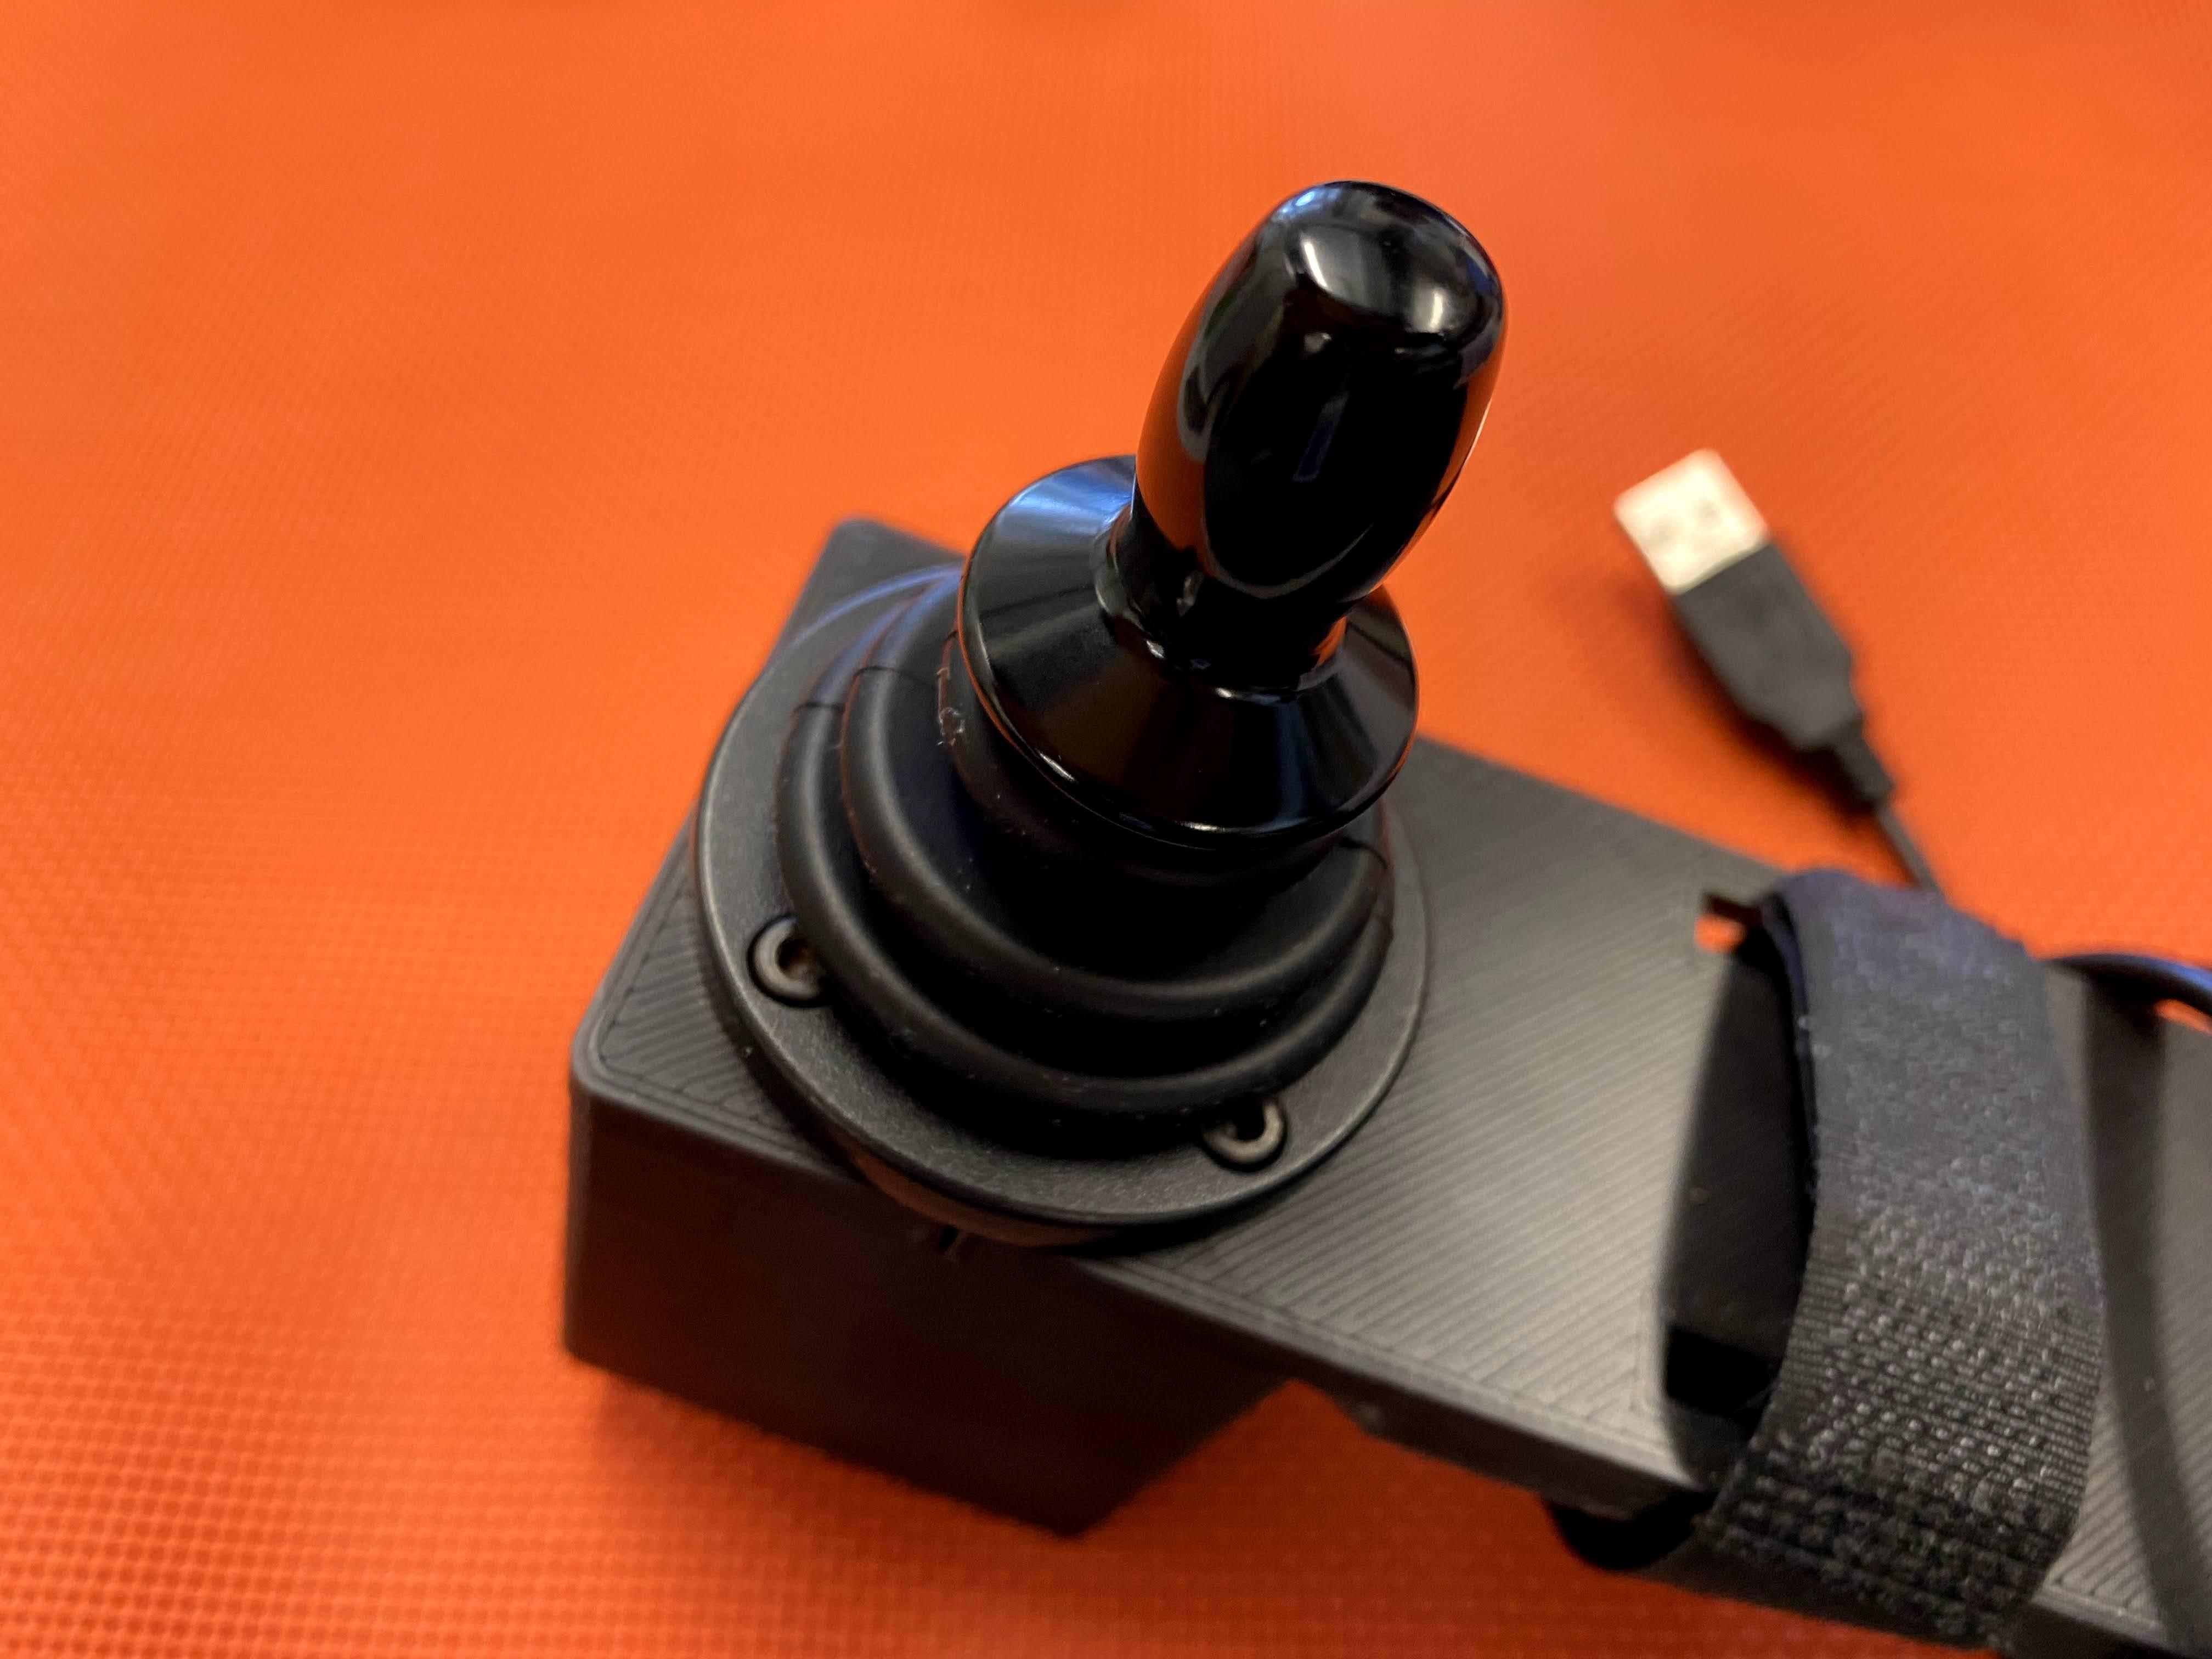
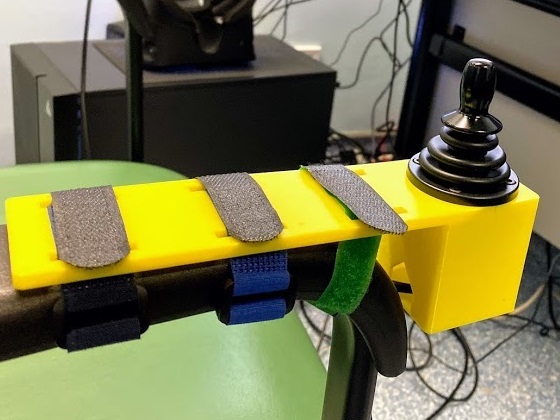
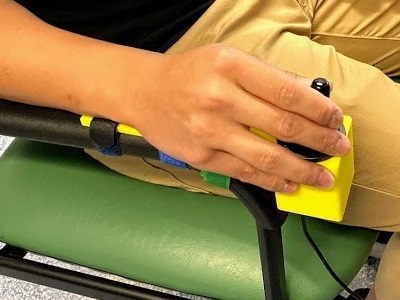
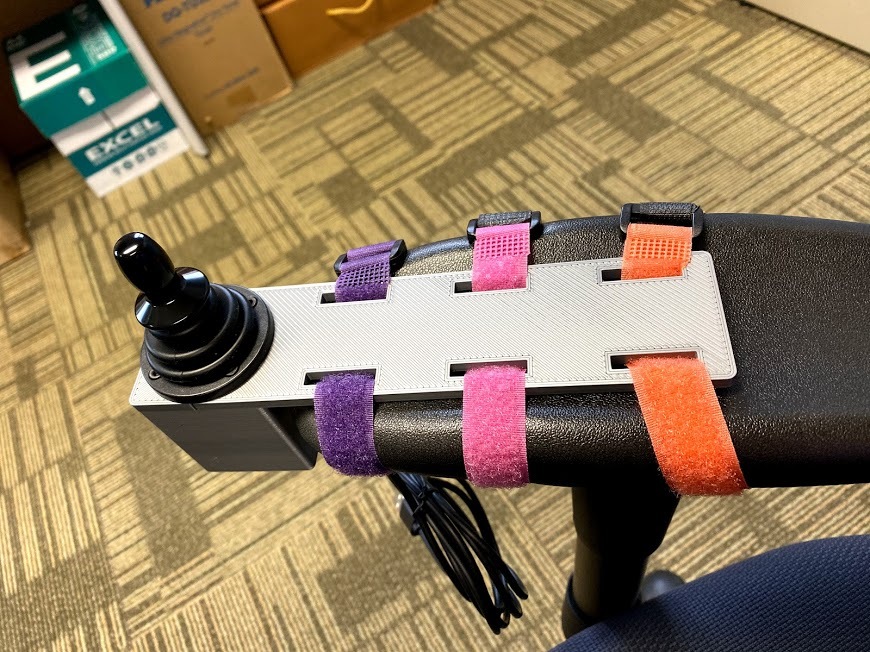
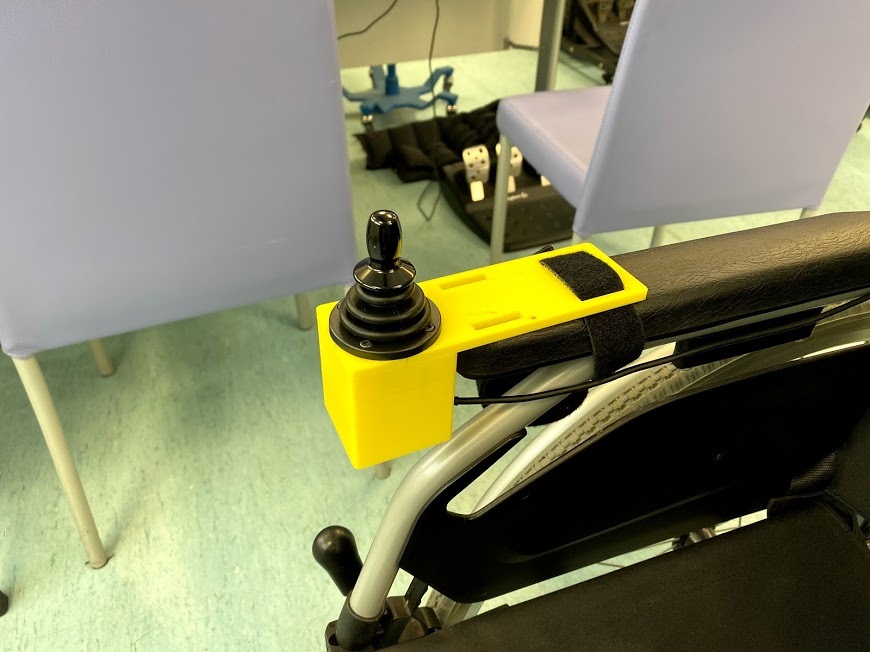
This instructables show how to use a industrial Hall Effect joystick to make a high presision USB joystick.
There are another related instructables Tiny USB Joystick that can provide low cost solution ;>
Why Hall Effect Sensors?
Normal USB joystick use 2 potentiometers as sensors on X-axis and Y-axis.
There are a few limitations on potentiometer:
- not sensitive enough on minor movement (minor resistance change)
- physical contact in the sensor is easy worn out (short lifetime)
- the worn out in partial area make the axis movement return nonlinear value (return incorrect value)
In contrast, Hall effect sensor is contactless in sensor part, so not easy worn out and give a lifelong precise value.
Preparation
Arduino Pro Micro
This a special version of Arduino that can emulate as a USB HID joystick.
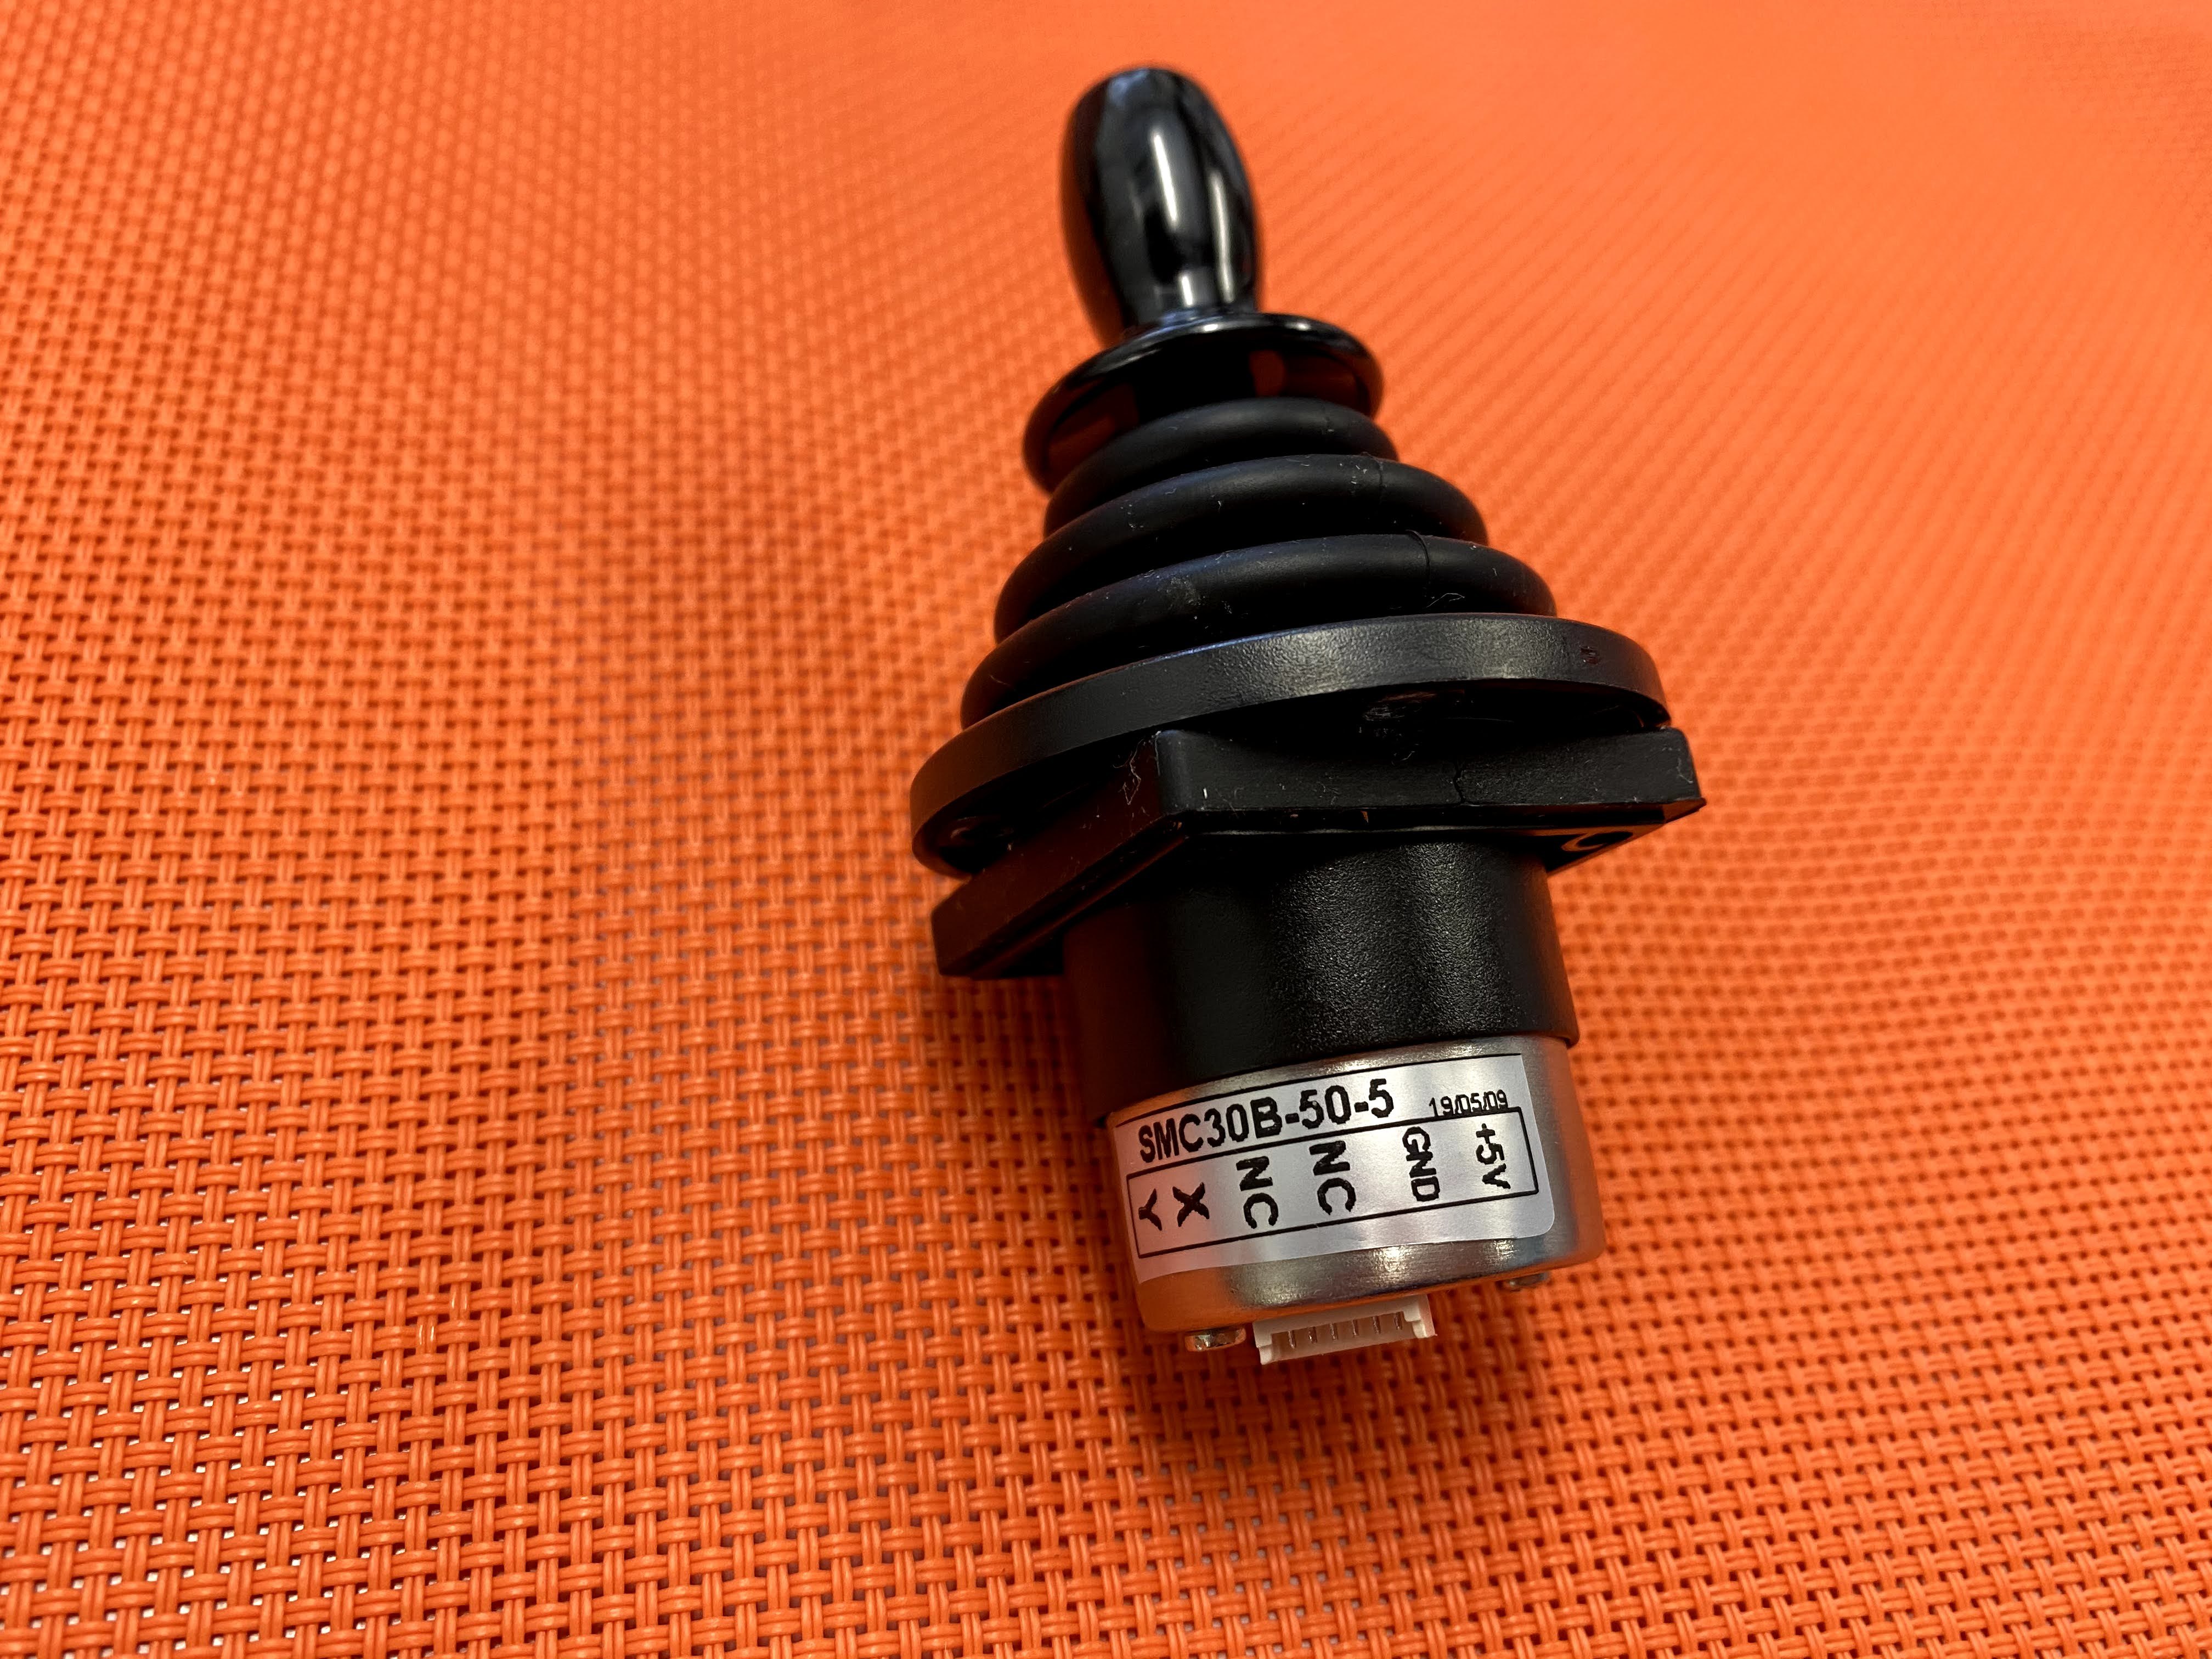
Hall effect joystick
Hall effect joystick have many variant. In order to compatible with Arduino, it should be powered by 5V and output 2-axis analog values in the range within 0-5V.
Others
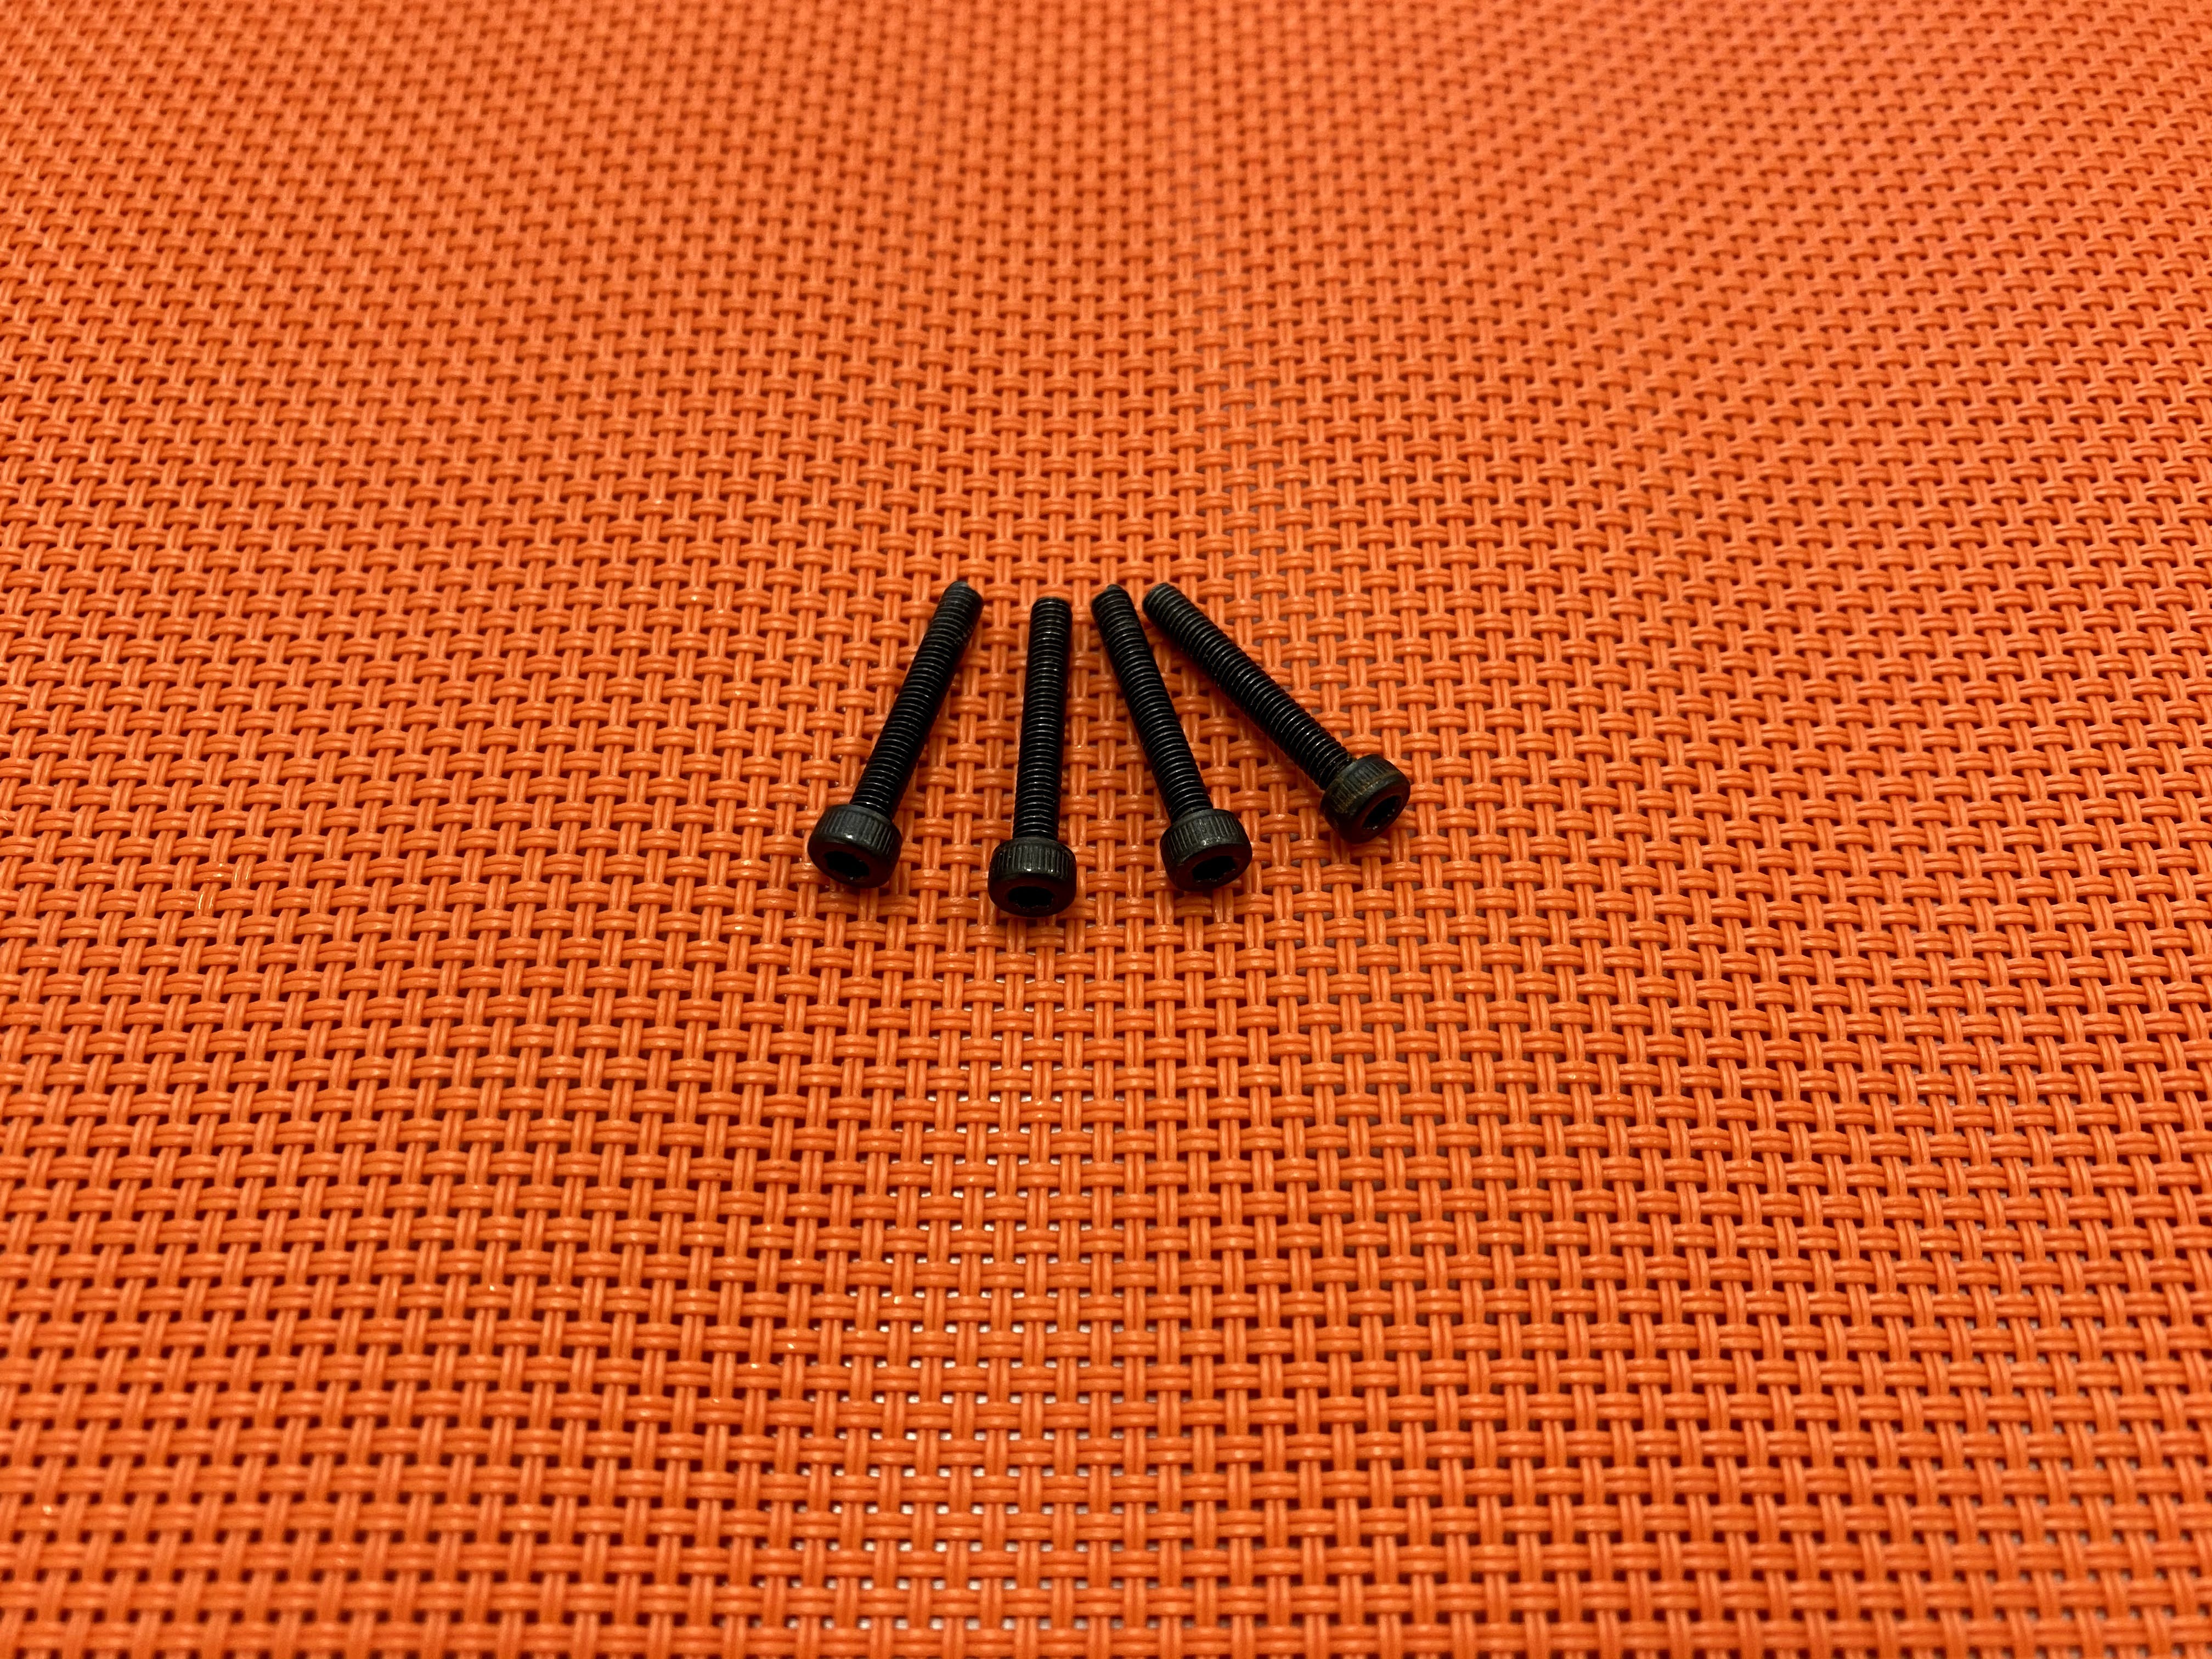
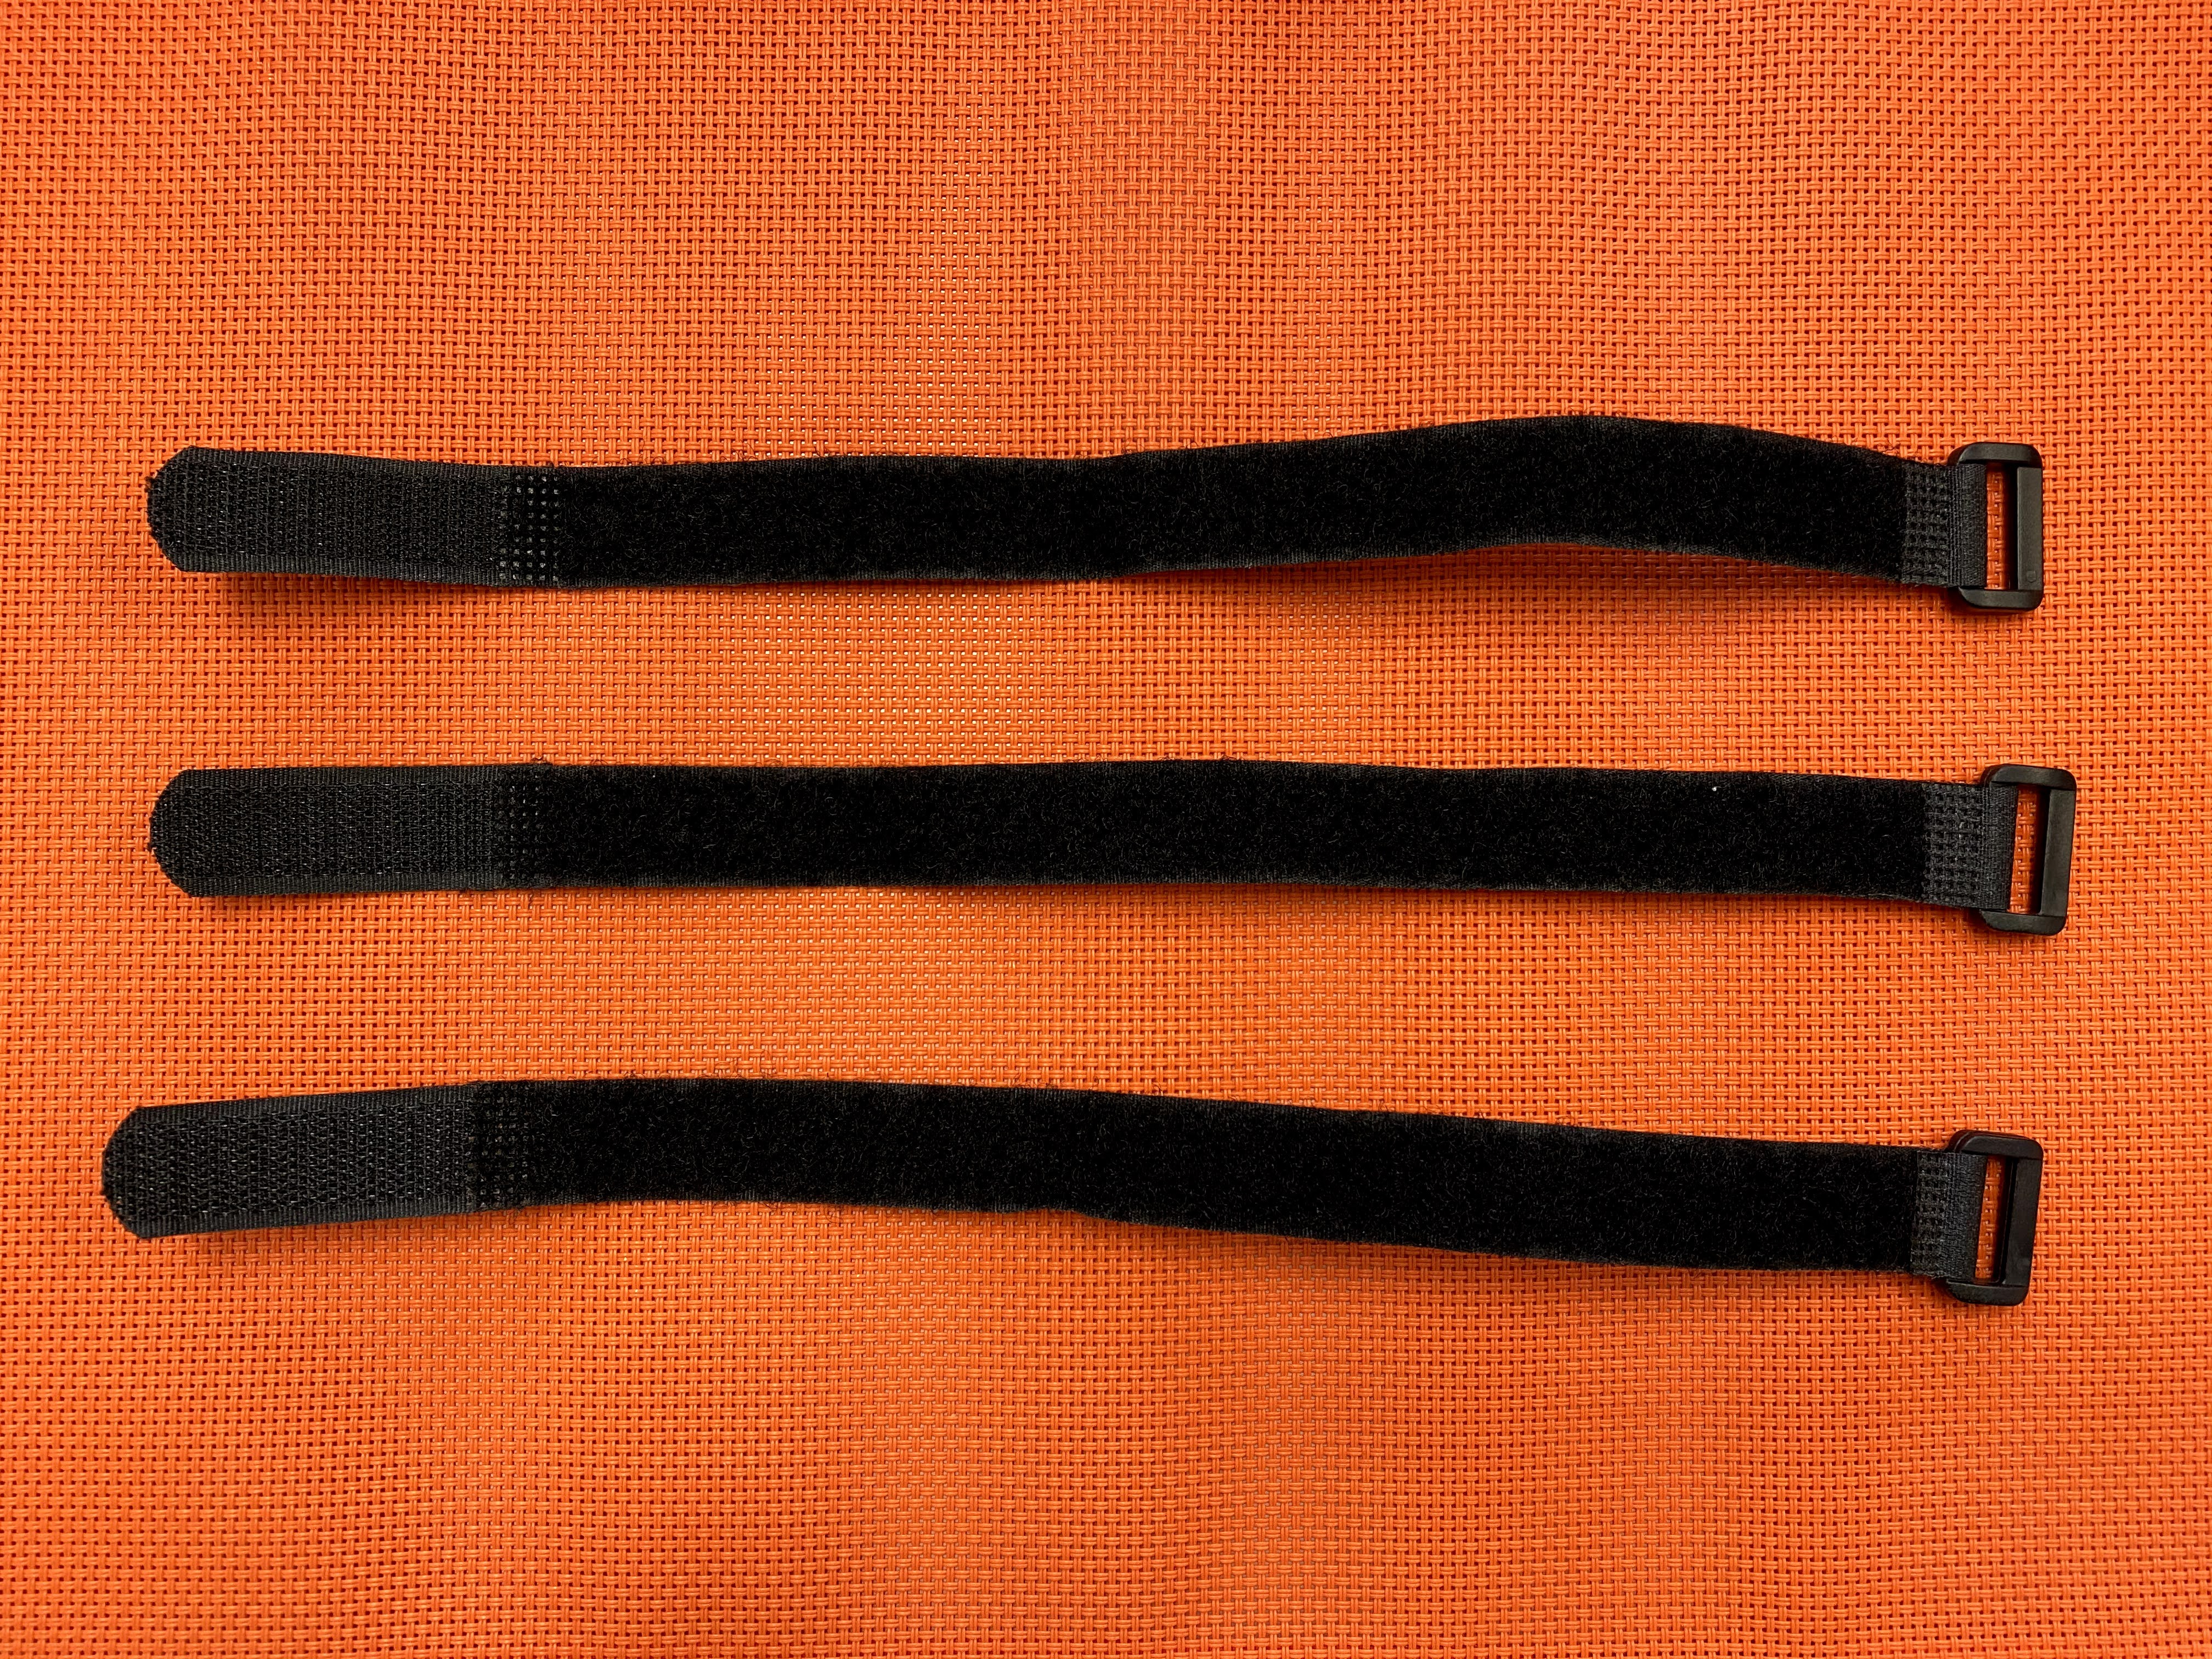
A Tiny breadboard for easier connection, four 20 mm M3 screws and three 20 mm width Velcro strips for assembly.
3D Printed Parts
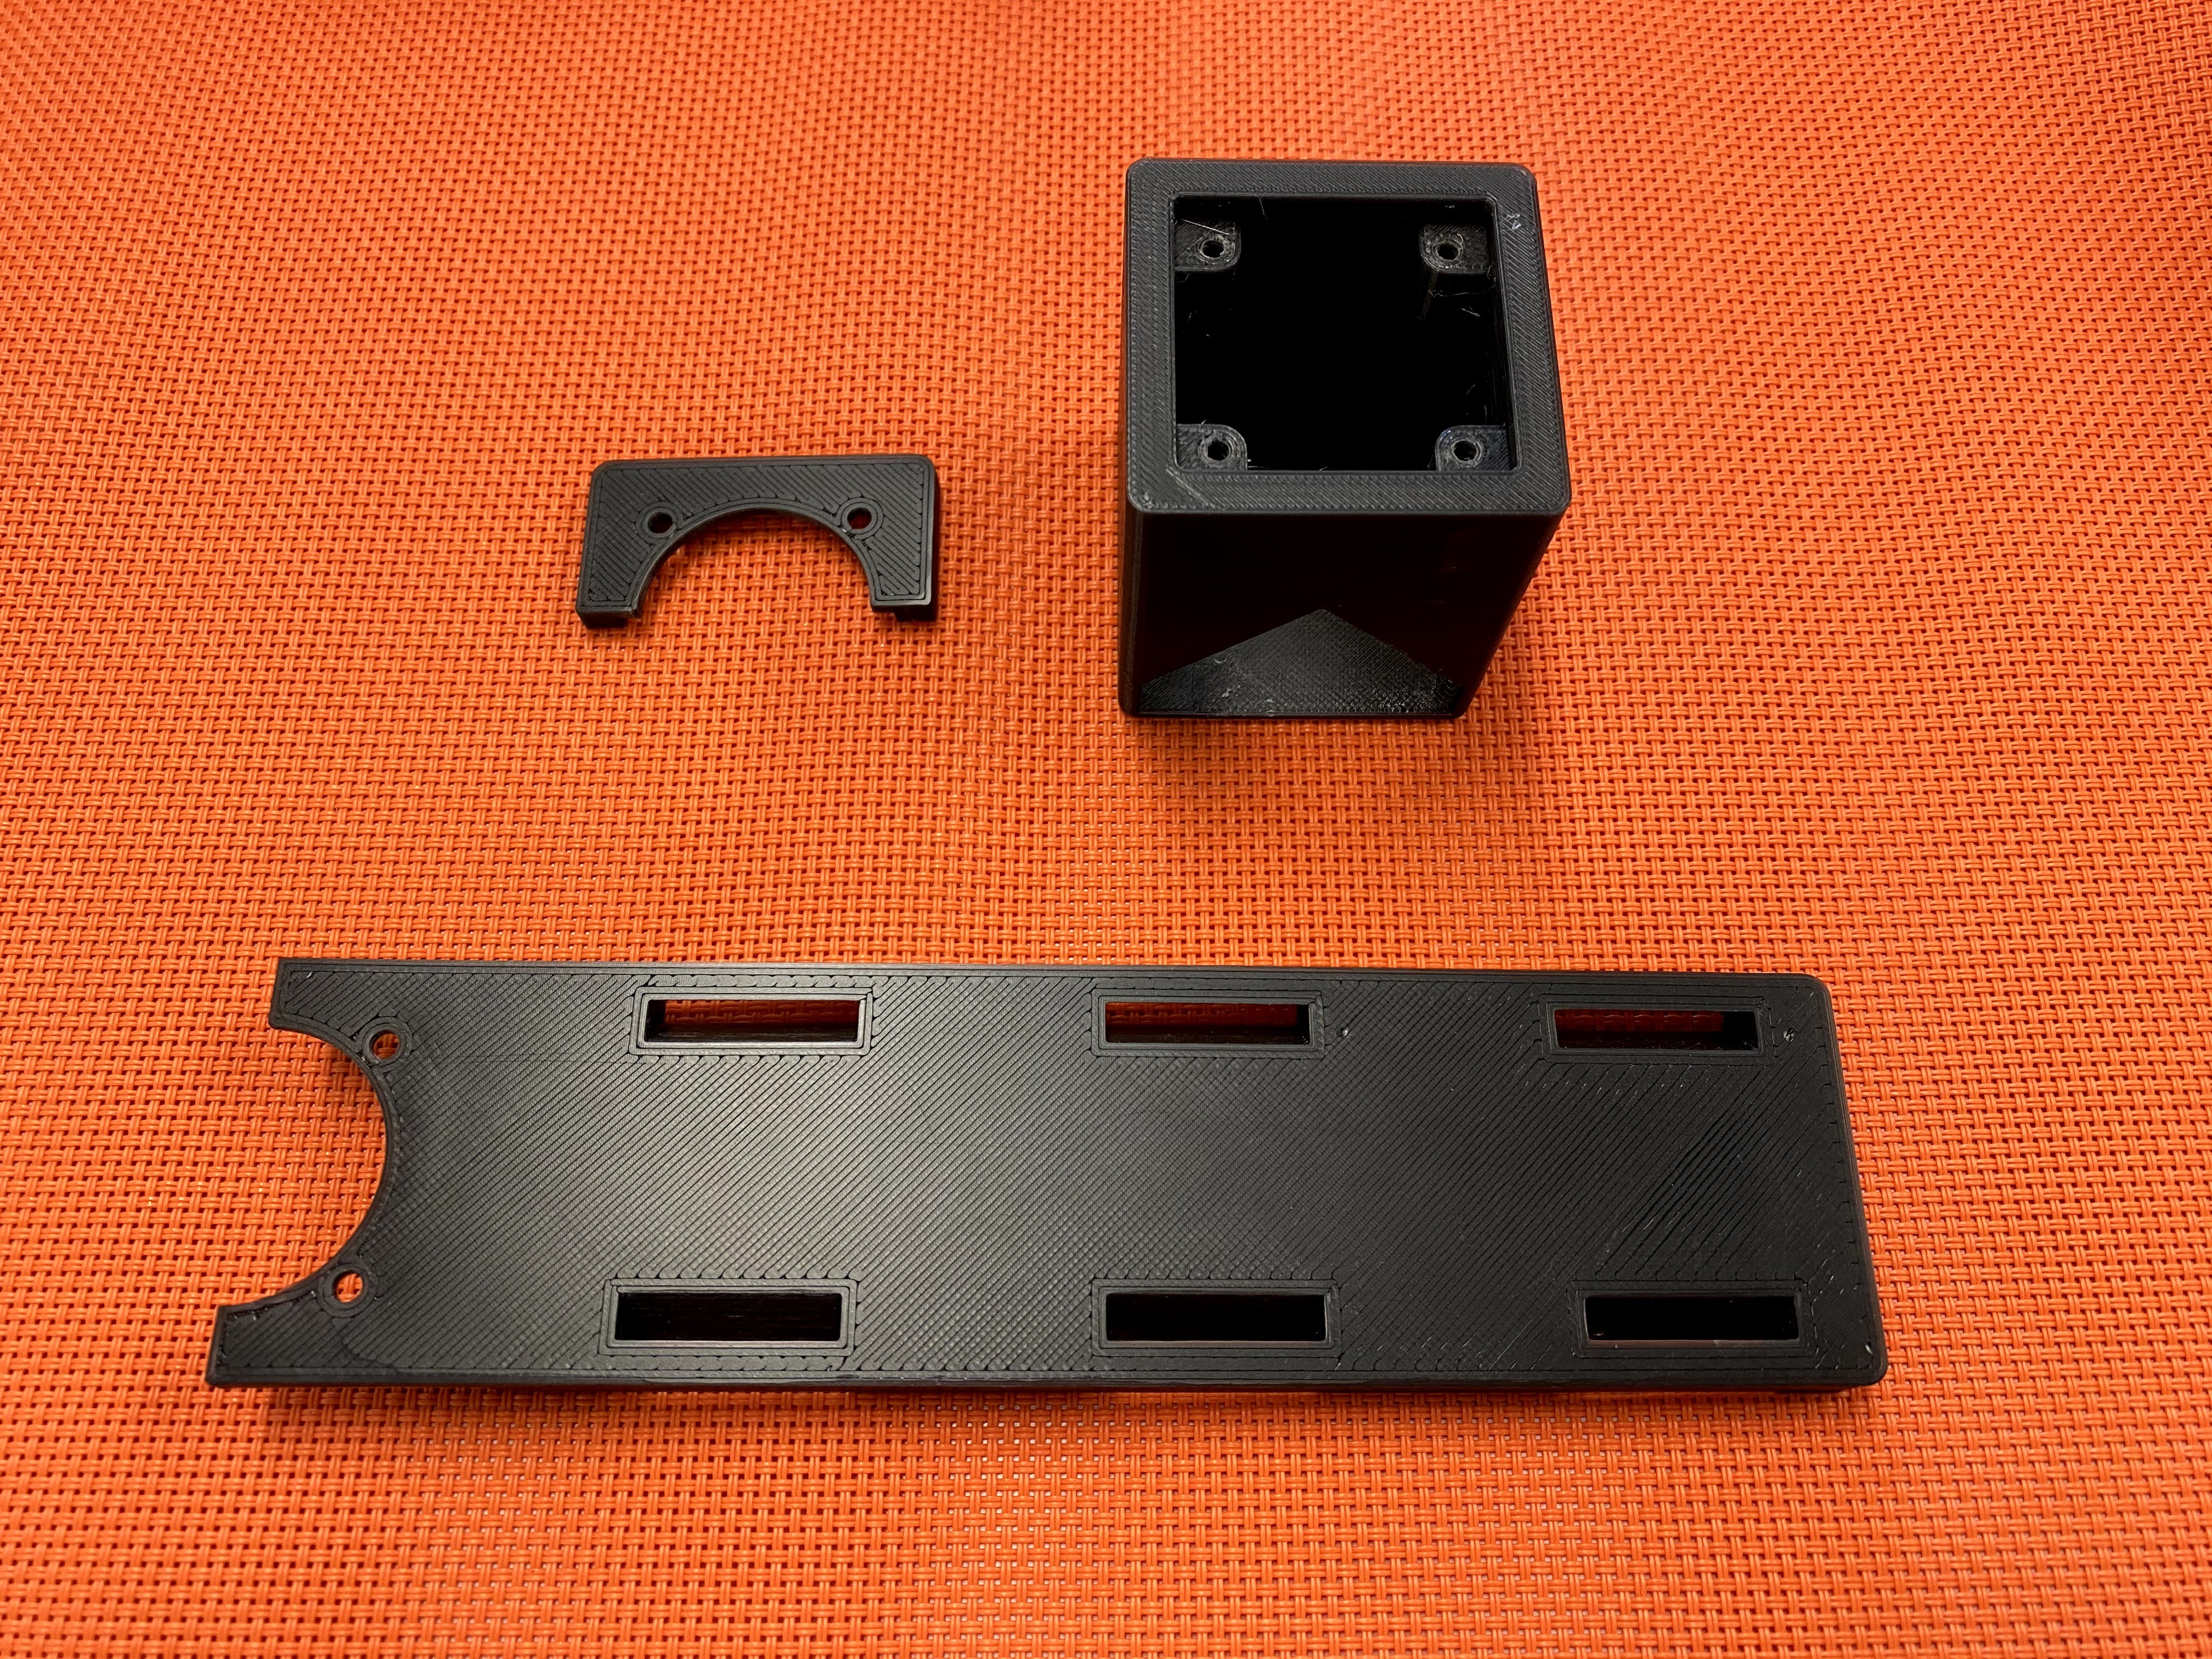
Download and print the case parts at thingiverse:
Connection
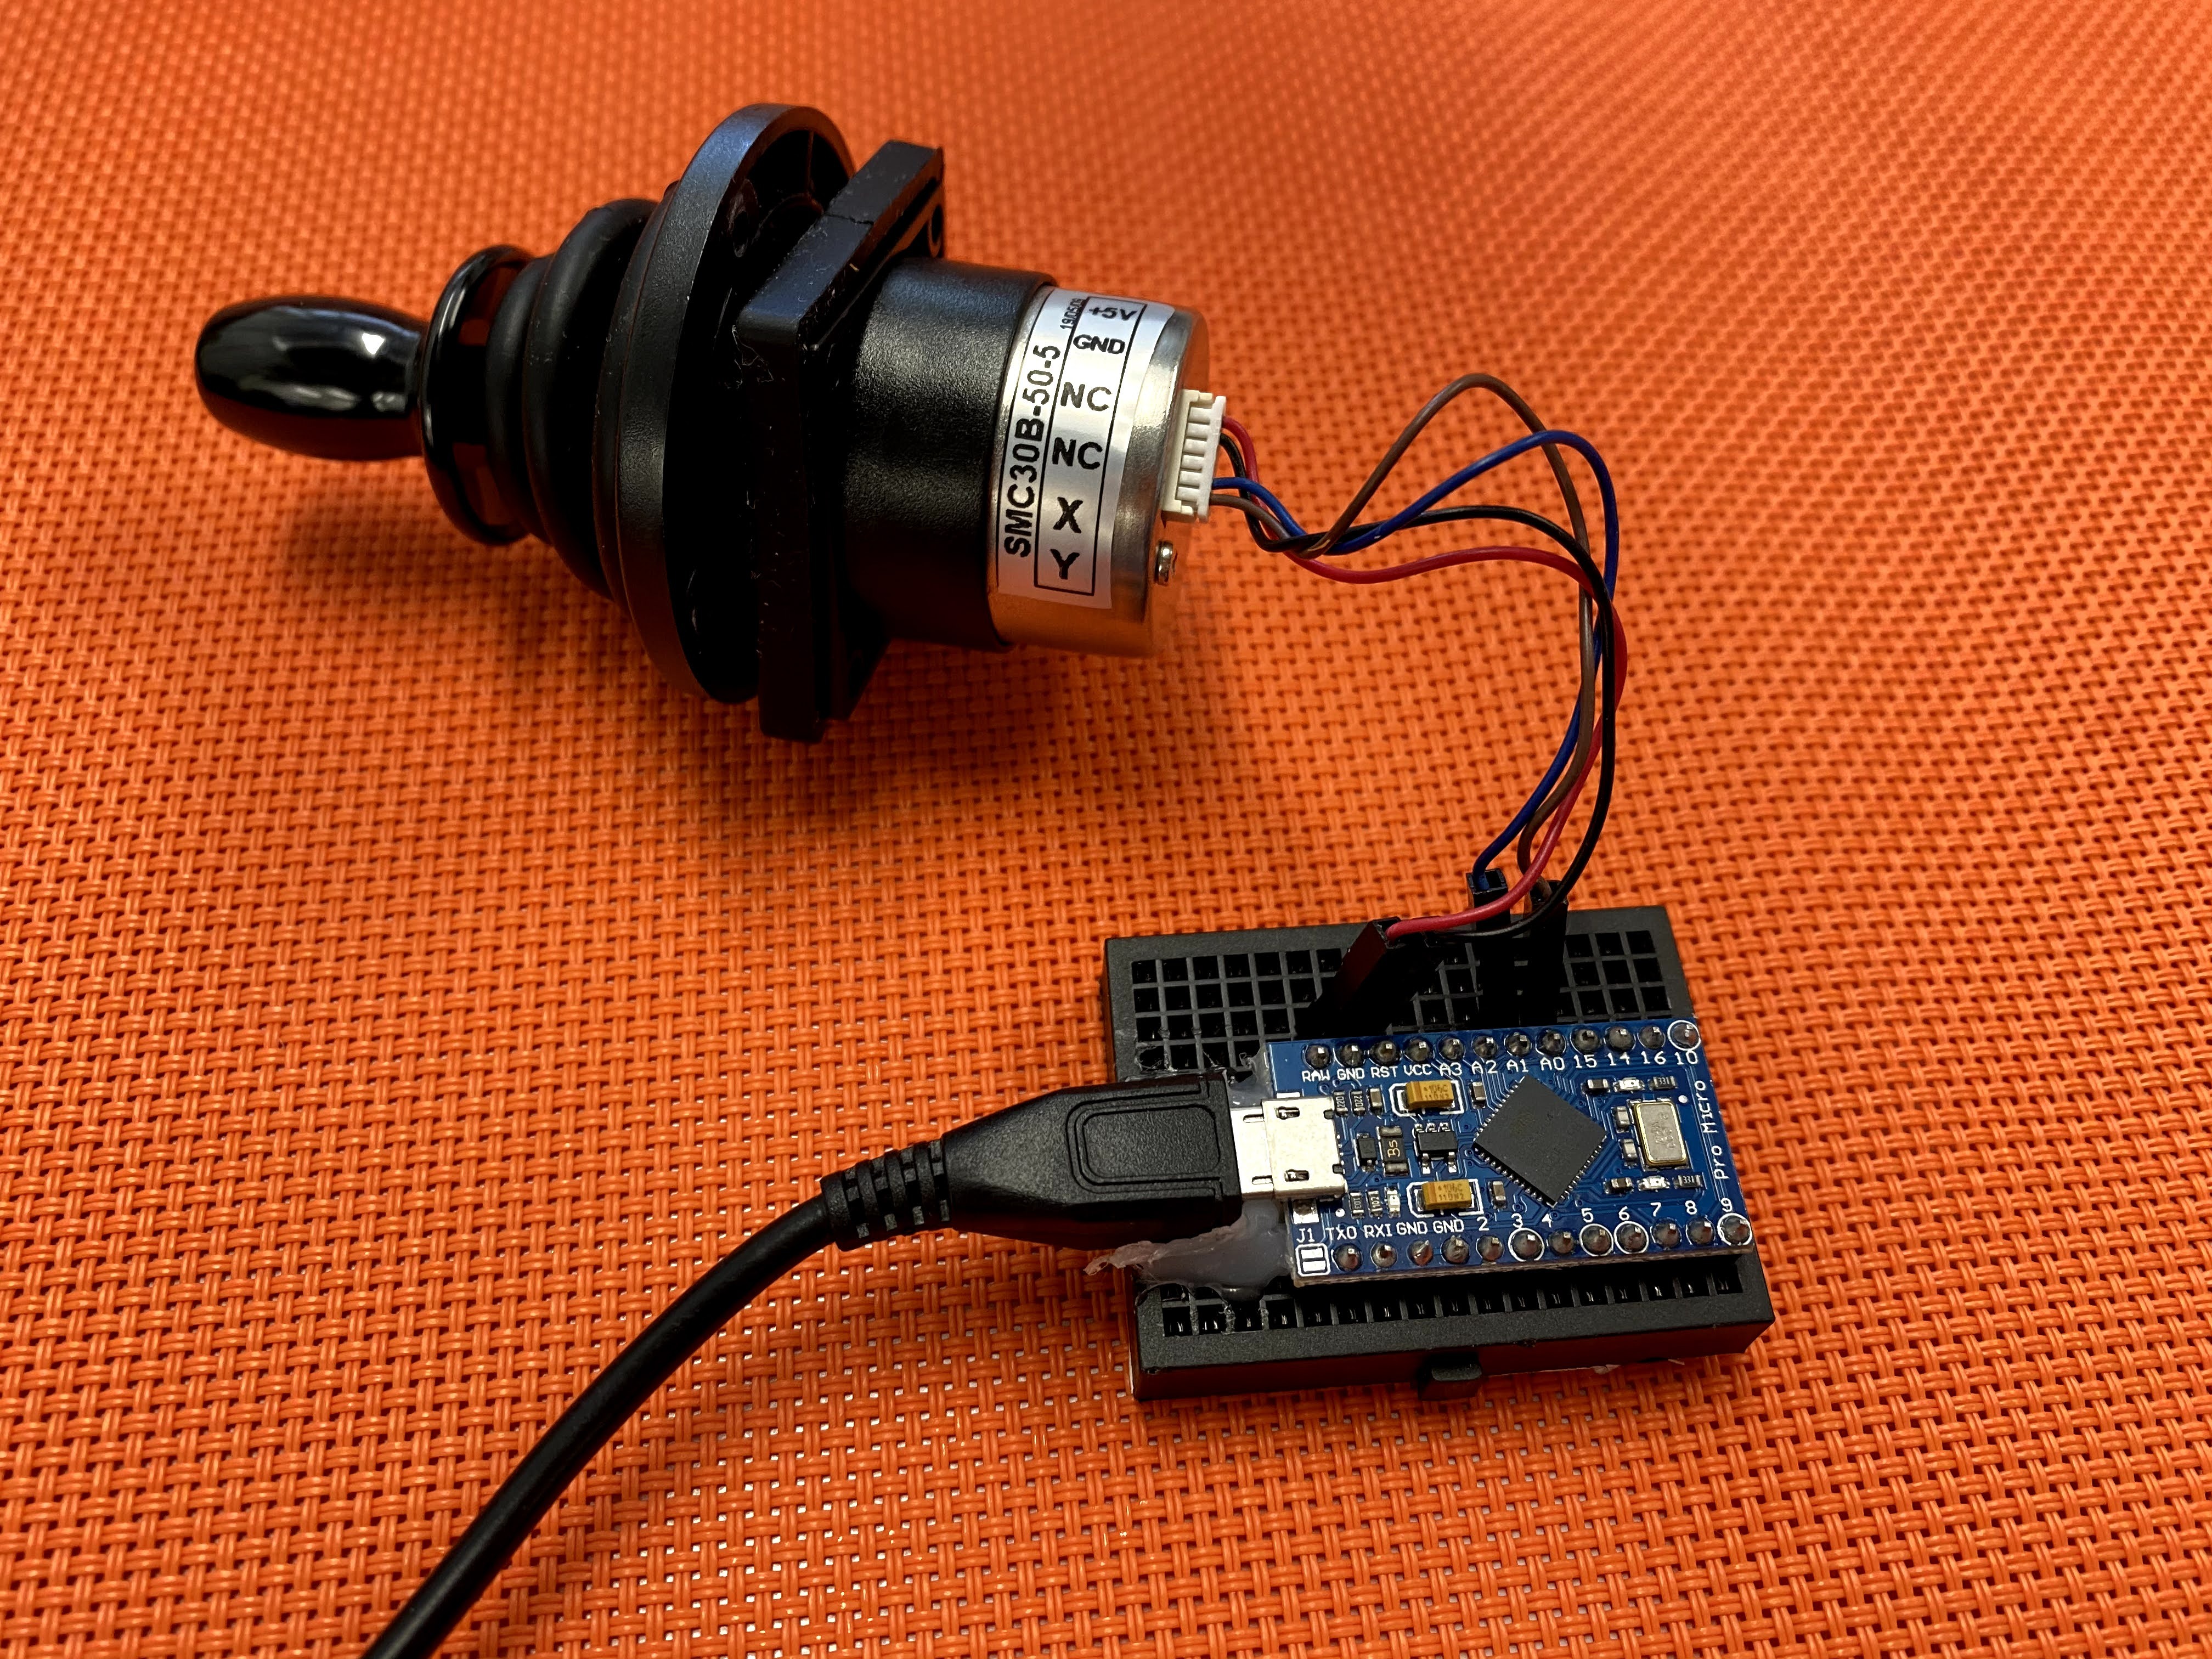
Plug the Arduino Pro Micro on the tiny breadboard and the connect the Hall Effect joystick.
Here are the connection summary:
Hall Effect Joystick -> Arduino Pro Micro

5V                   -> Vcc

GND                  -> GND

X                    -> A1 (19)

Y                    -> A0 (18)
Program
- Download and install Arduino IDE if not yet: https://www.arduino.cc/en/main/software
- Download USBJoyStick source code: https://github.com/moononournation/USBJoyStick
- Connect Hall Effect USB Joystick to computer
- Open USBJoyStick.ino in Arduino IDE
- Select Tools menu -> Board -> Arduino Leonardo
- Press Upload button
- Check connected device become a USB HID Joystick (for Windows you can check at Device Manager or Control Panel -> Printers & scanners)
Assembly
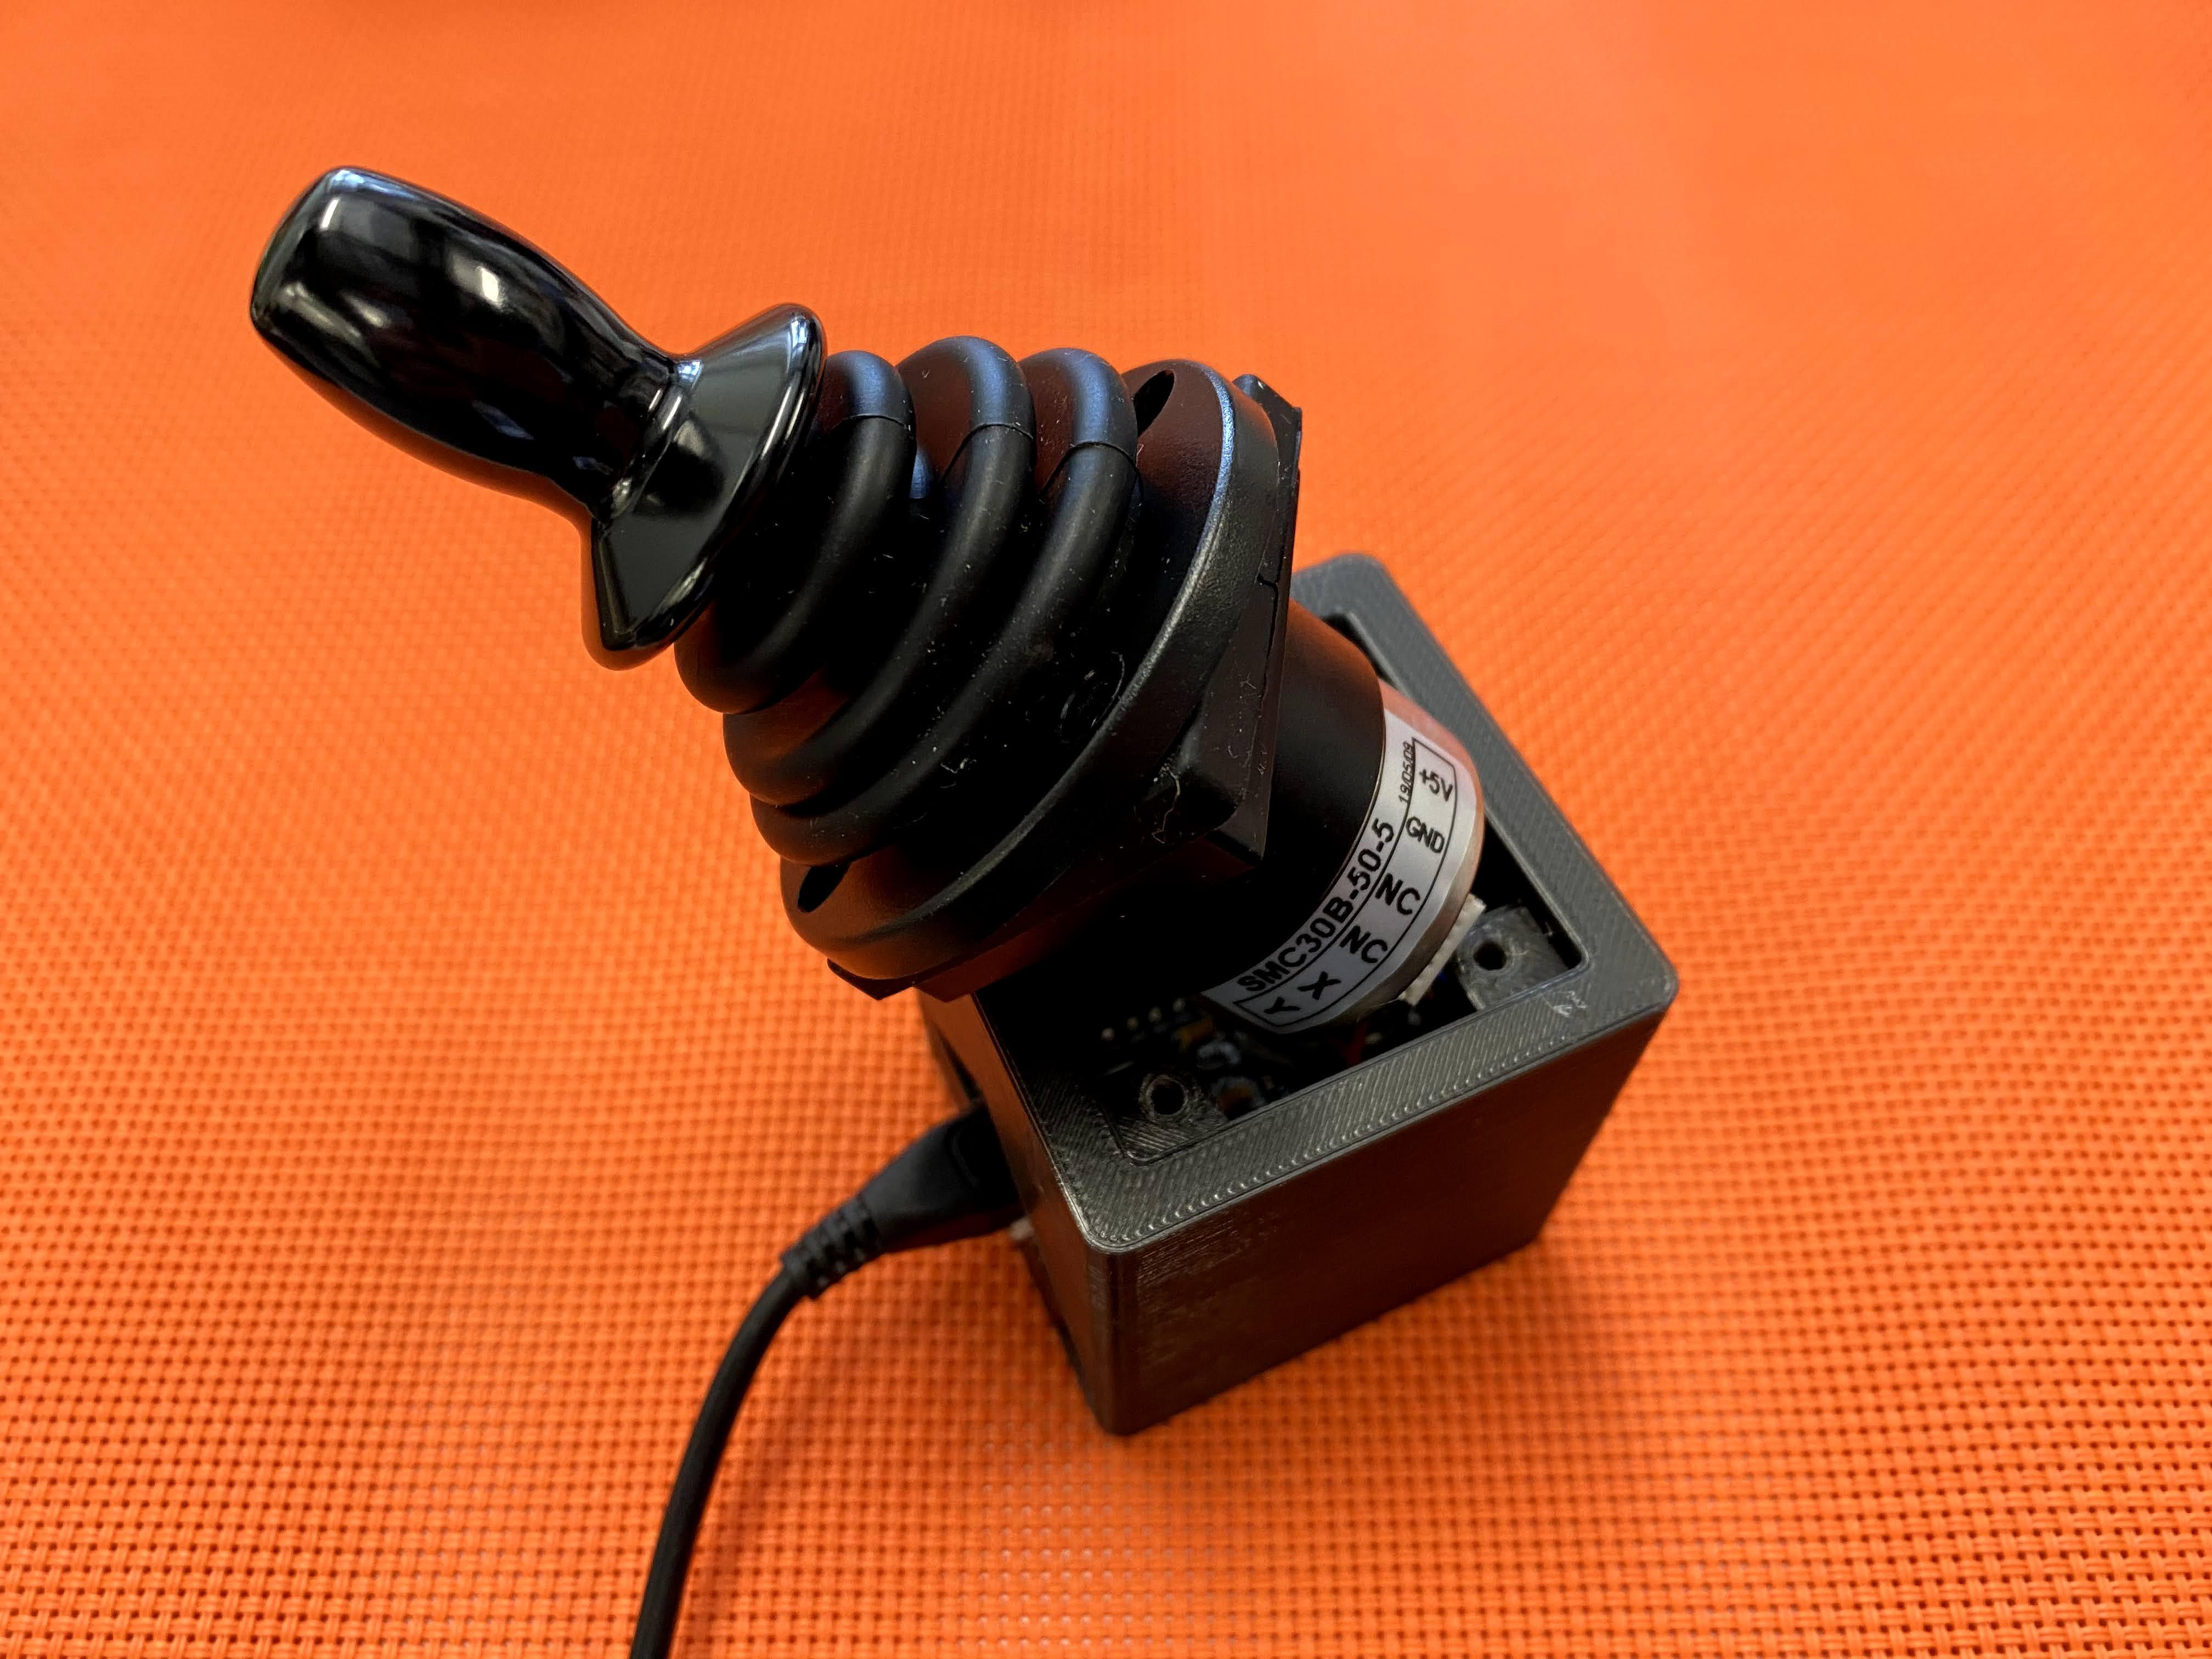
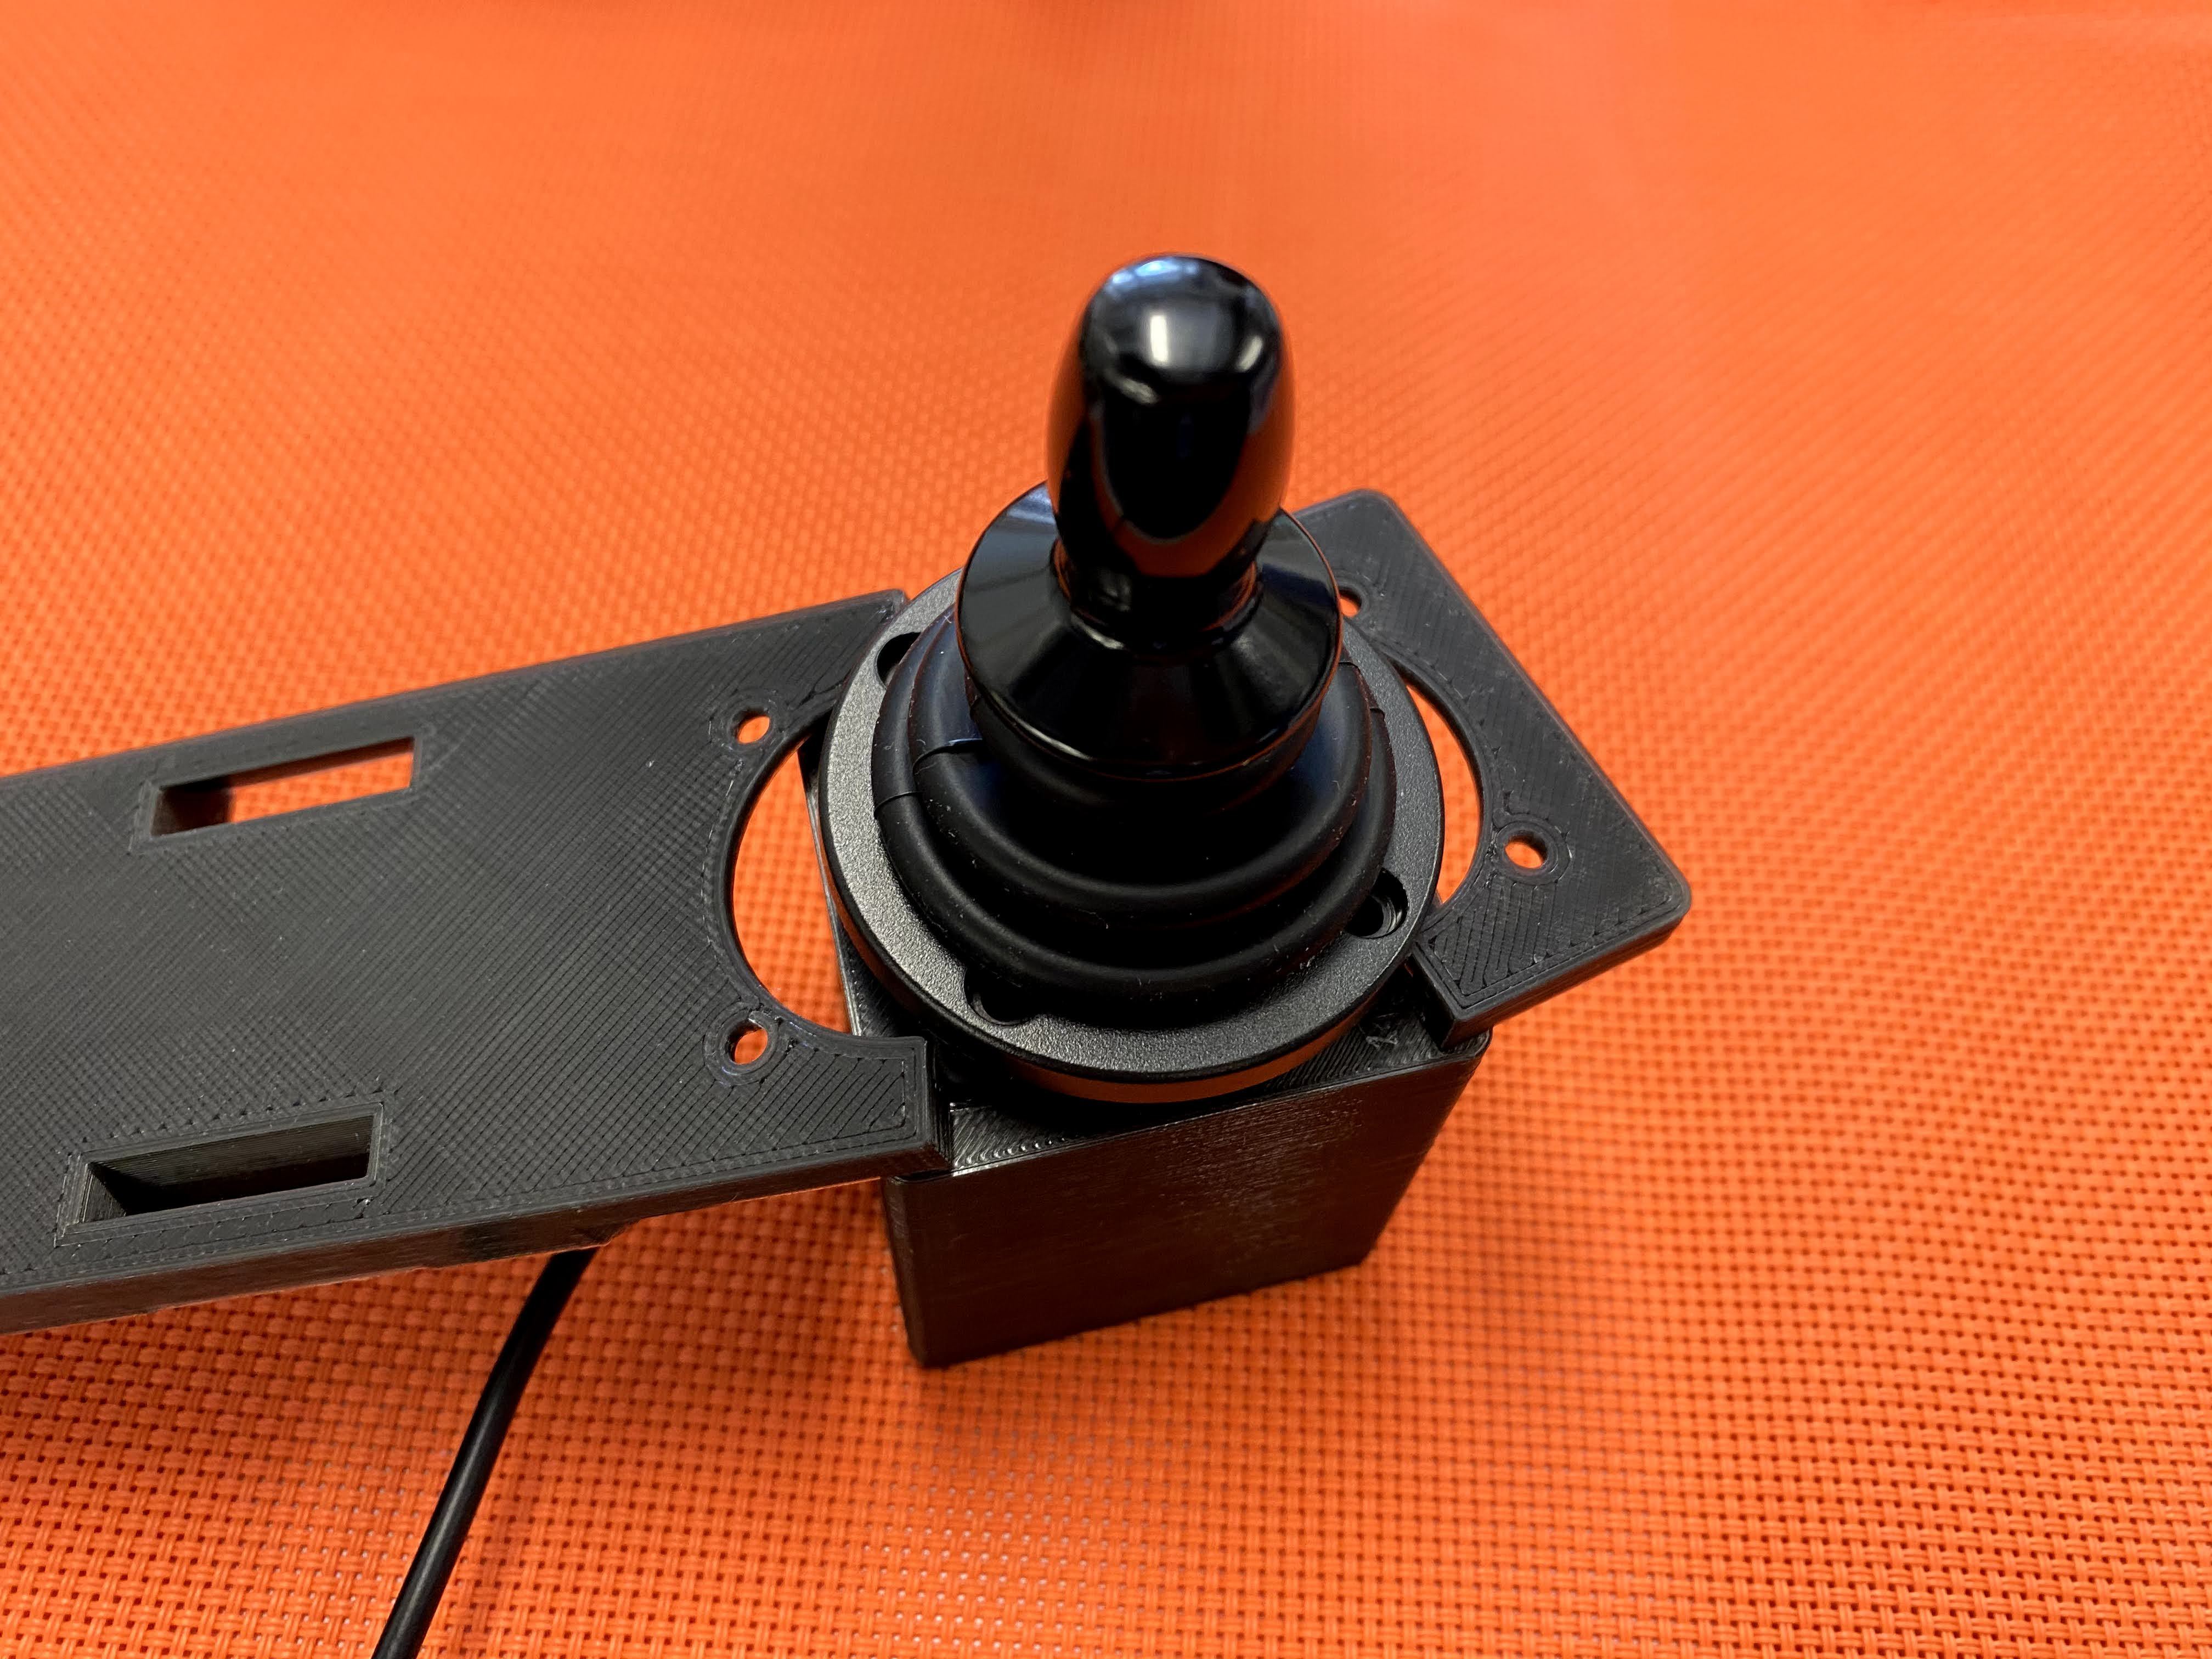
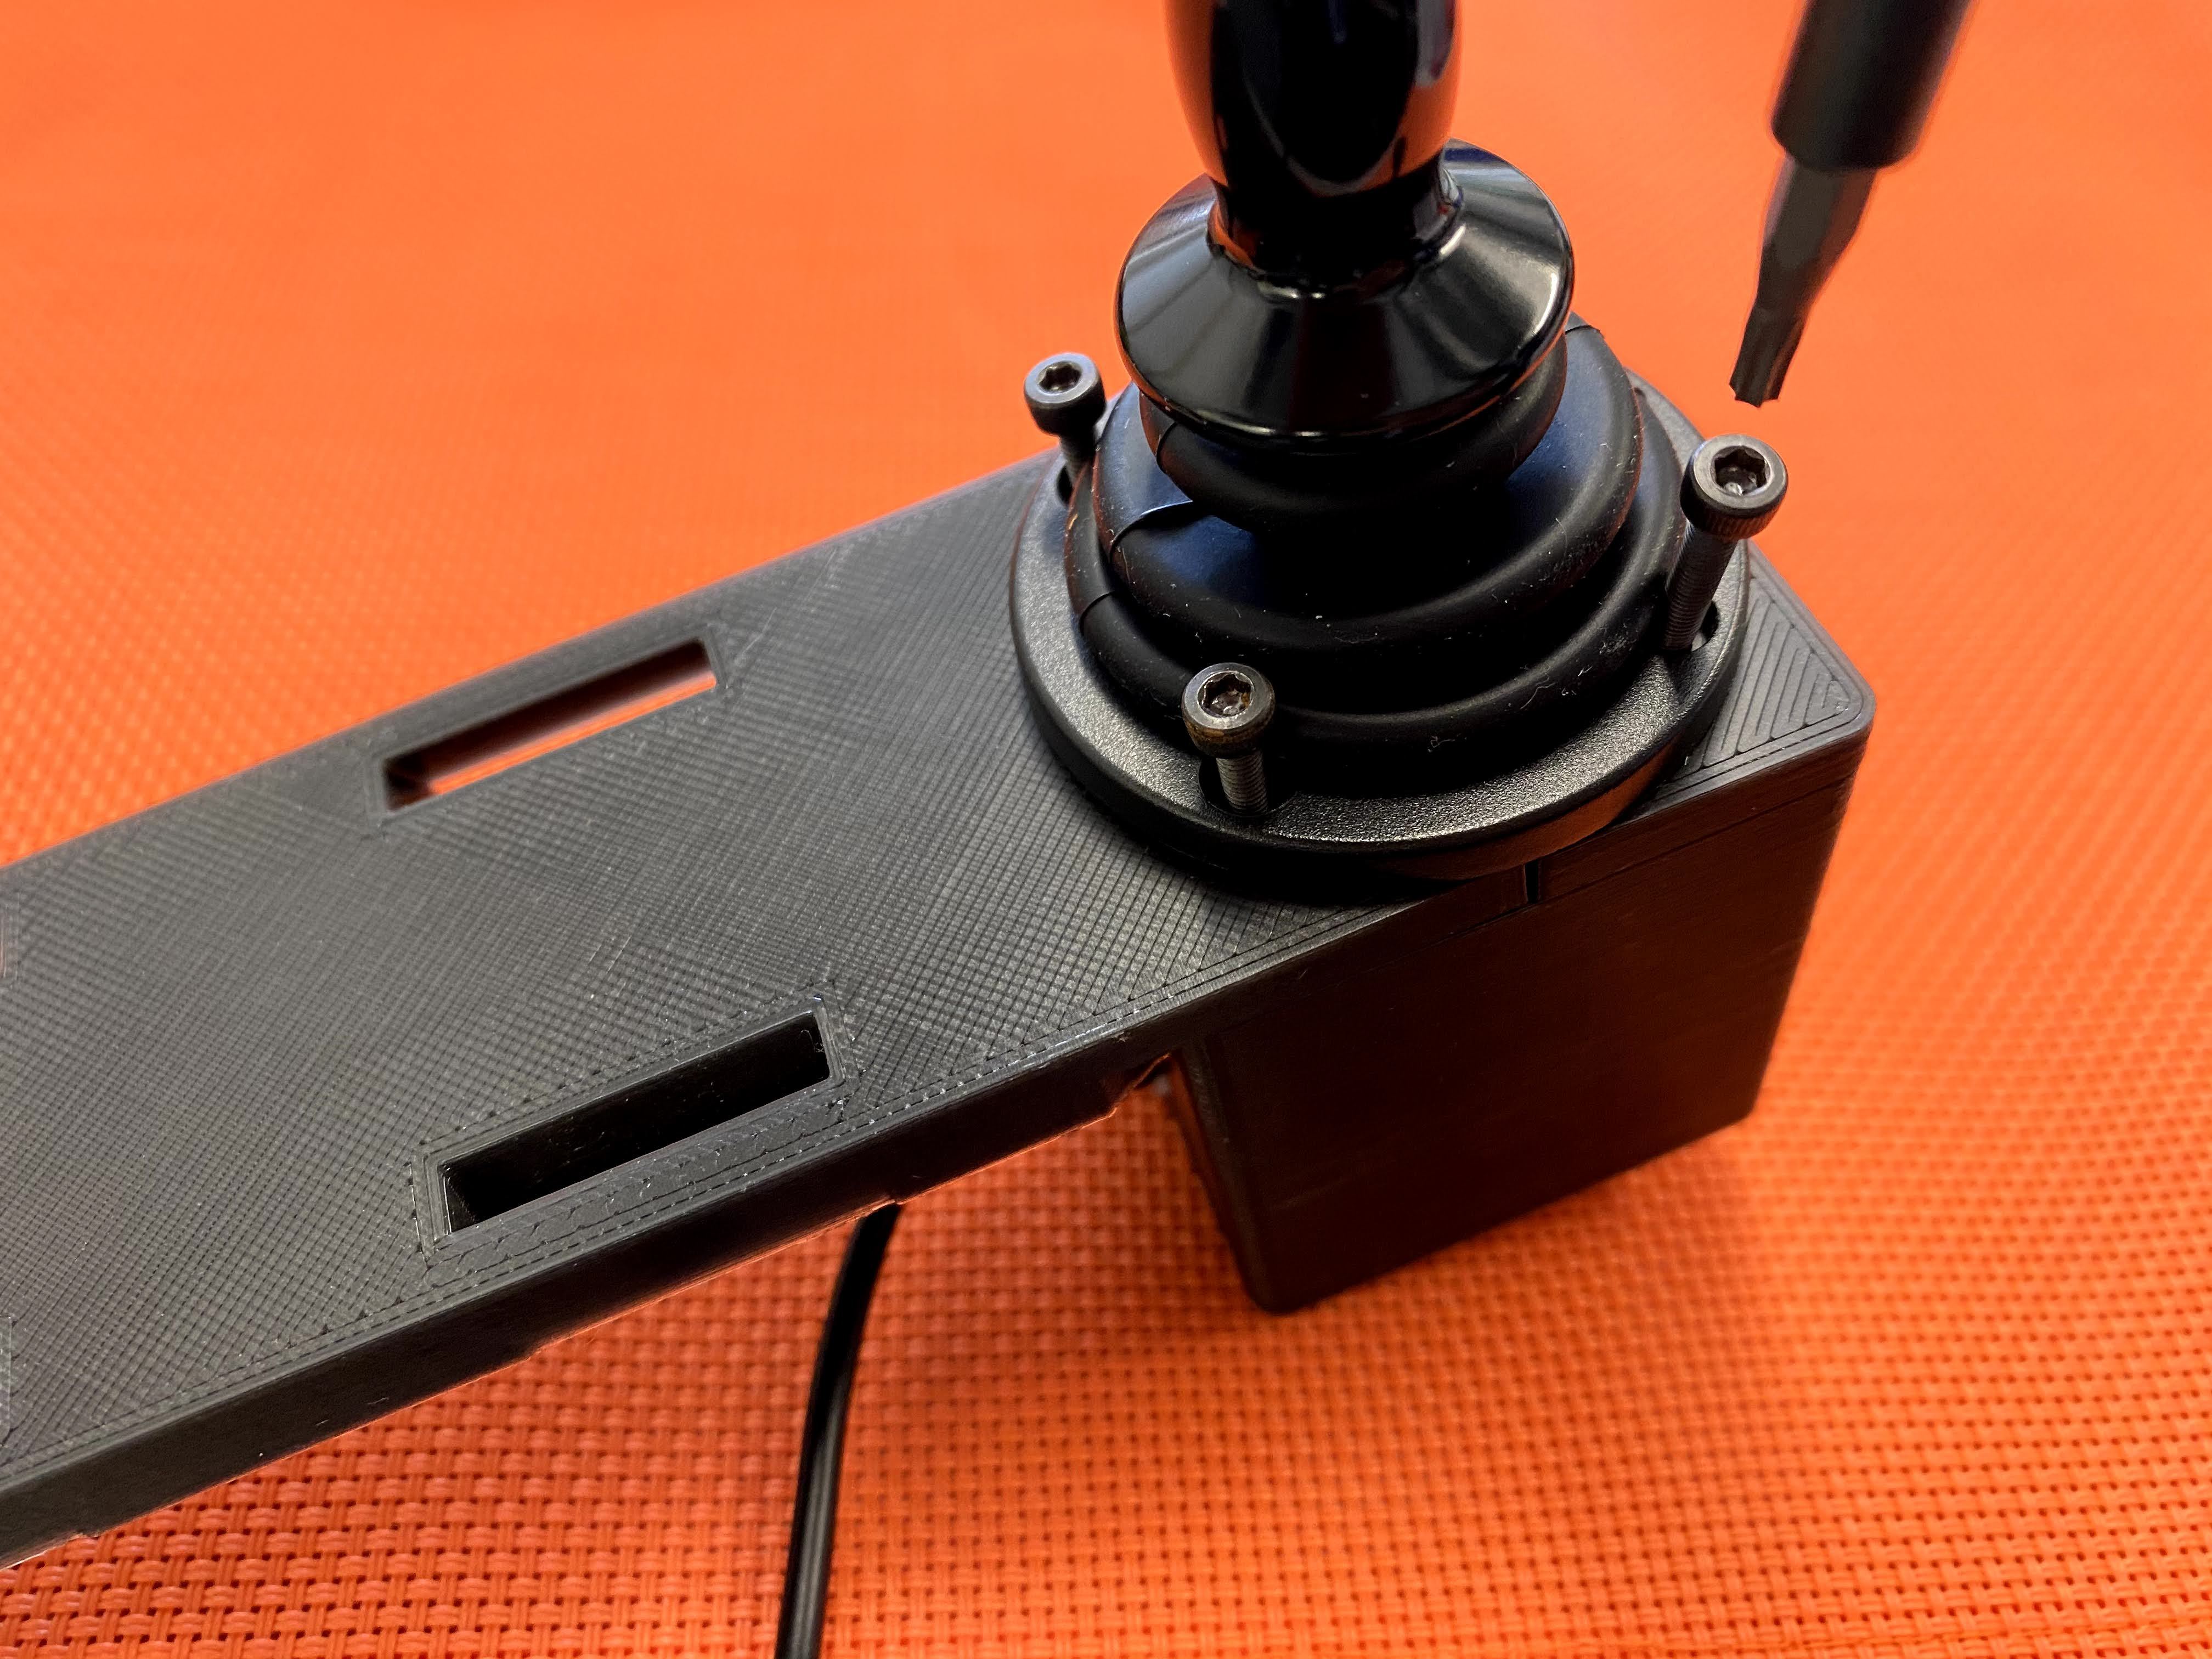
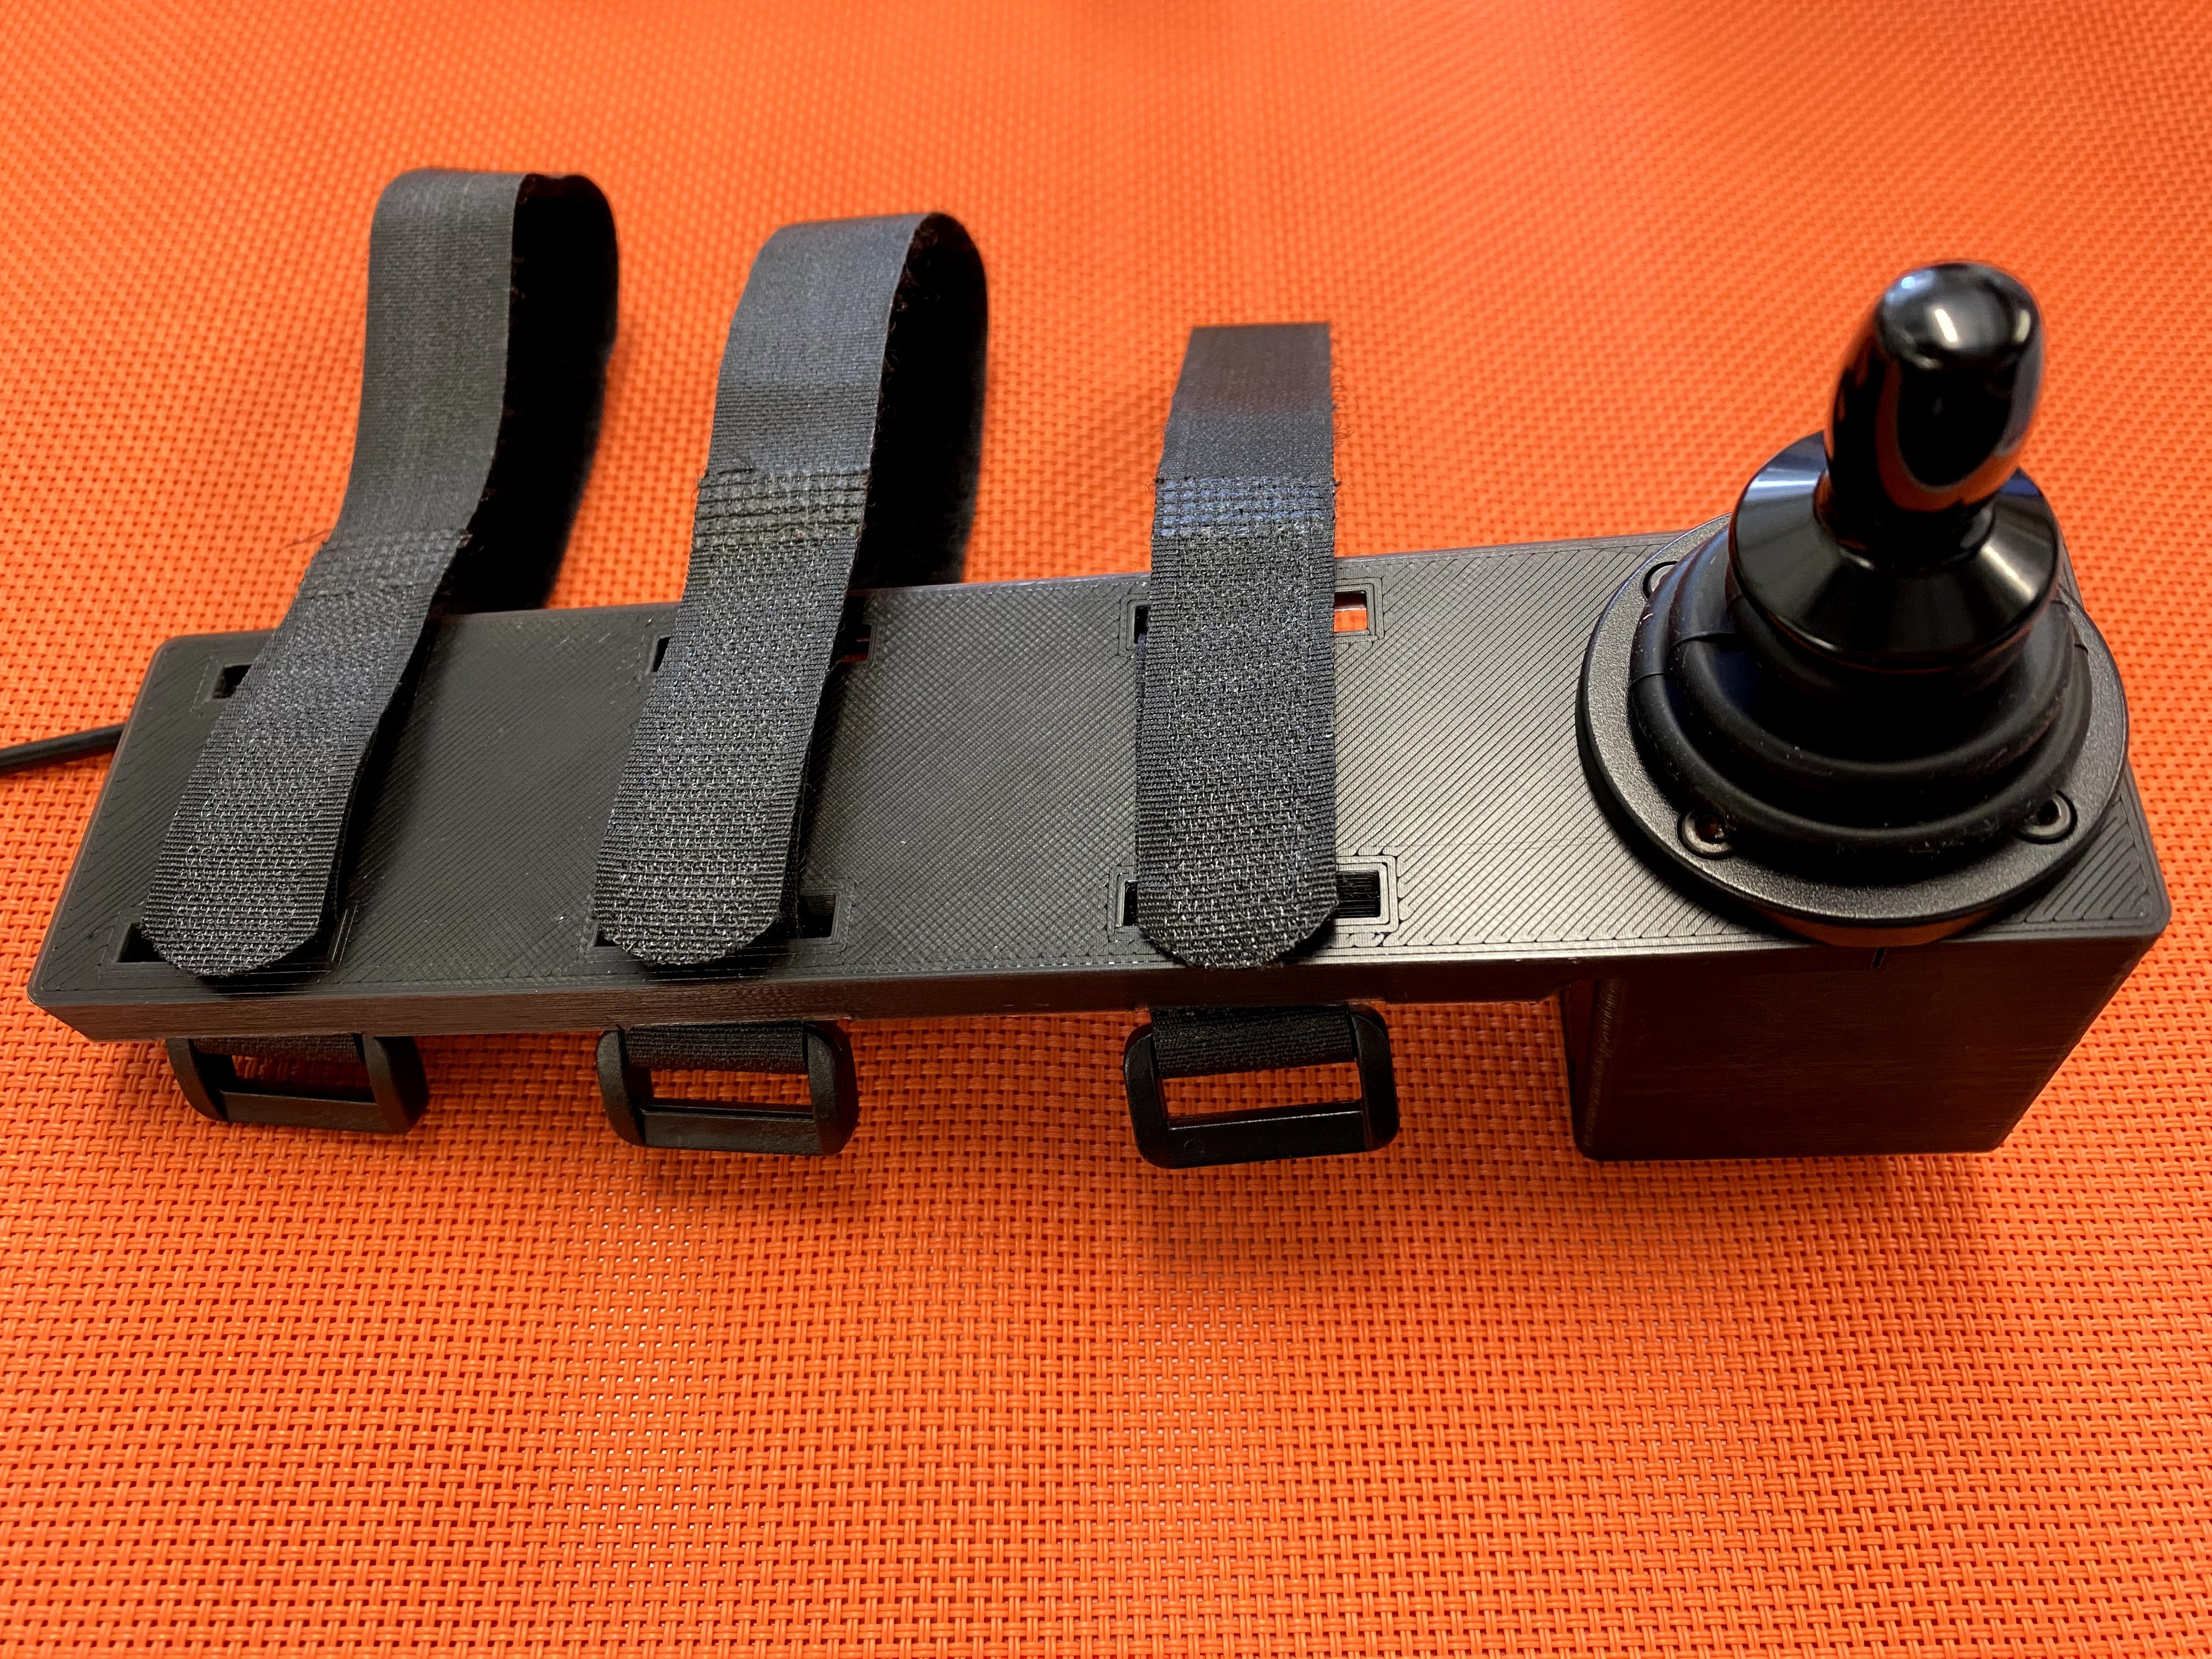
- Stick the tiny breadboard inside the case
- Put the joystick in
- Assembly the case parts
- Screw up
Gallery
