Hacking My RC Car Using Arduino and Android Smart Phone
by ahmicmahmoud in Circuits > Arduino
29283 Views, 262 Favorites, 0 Comments
Hacking My RC Car Using Arduino and Android Smart Phone
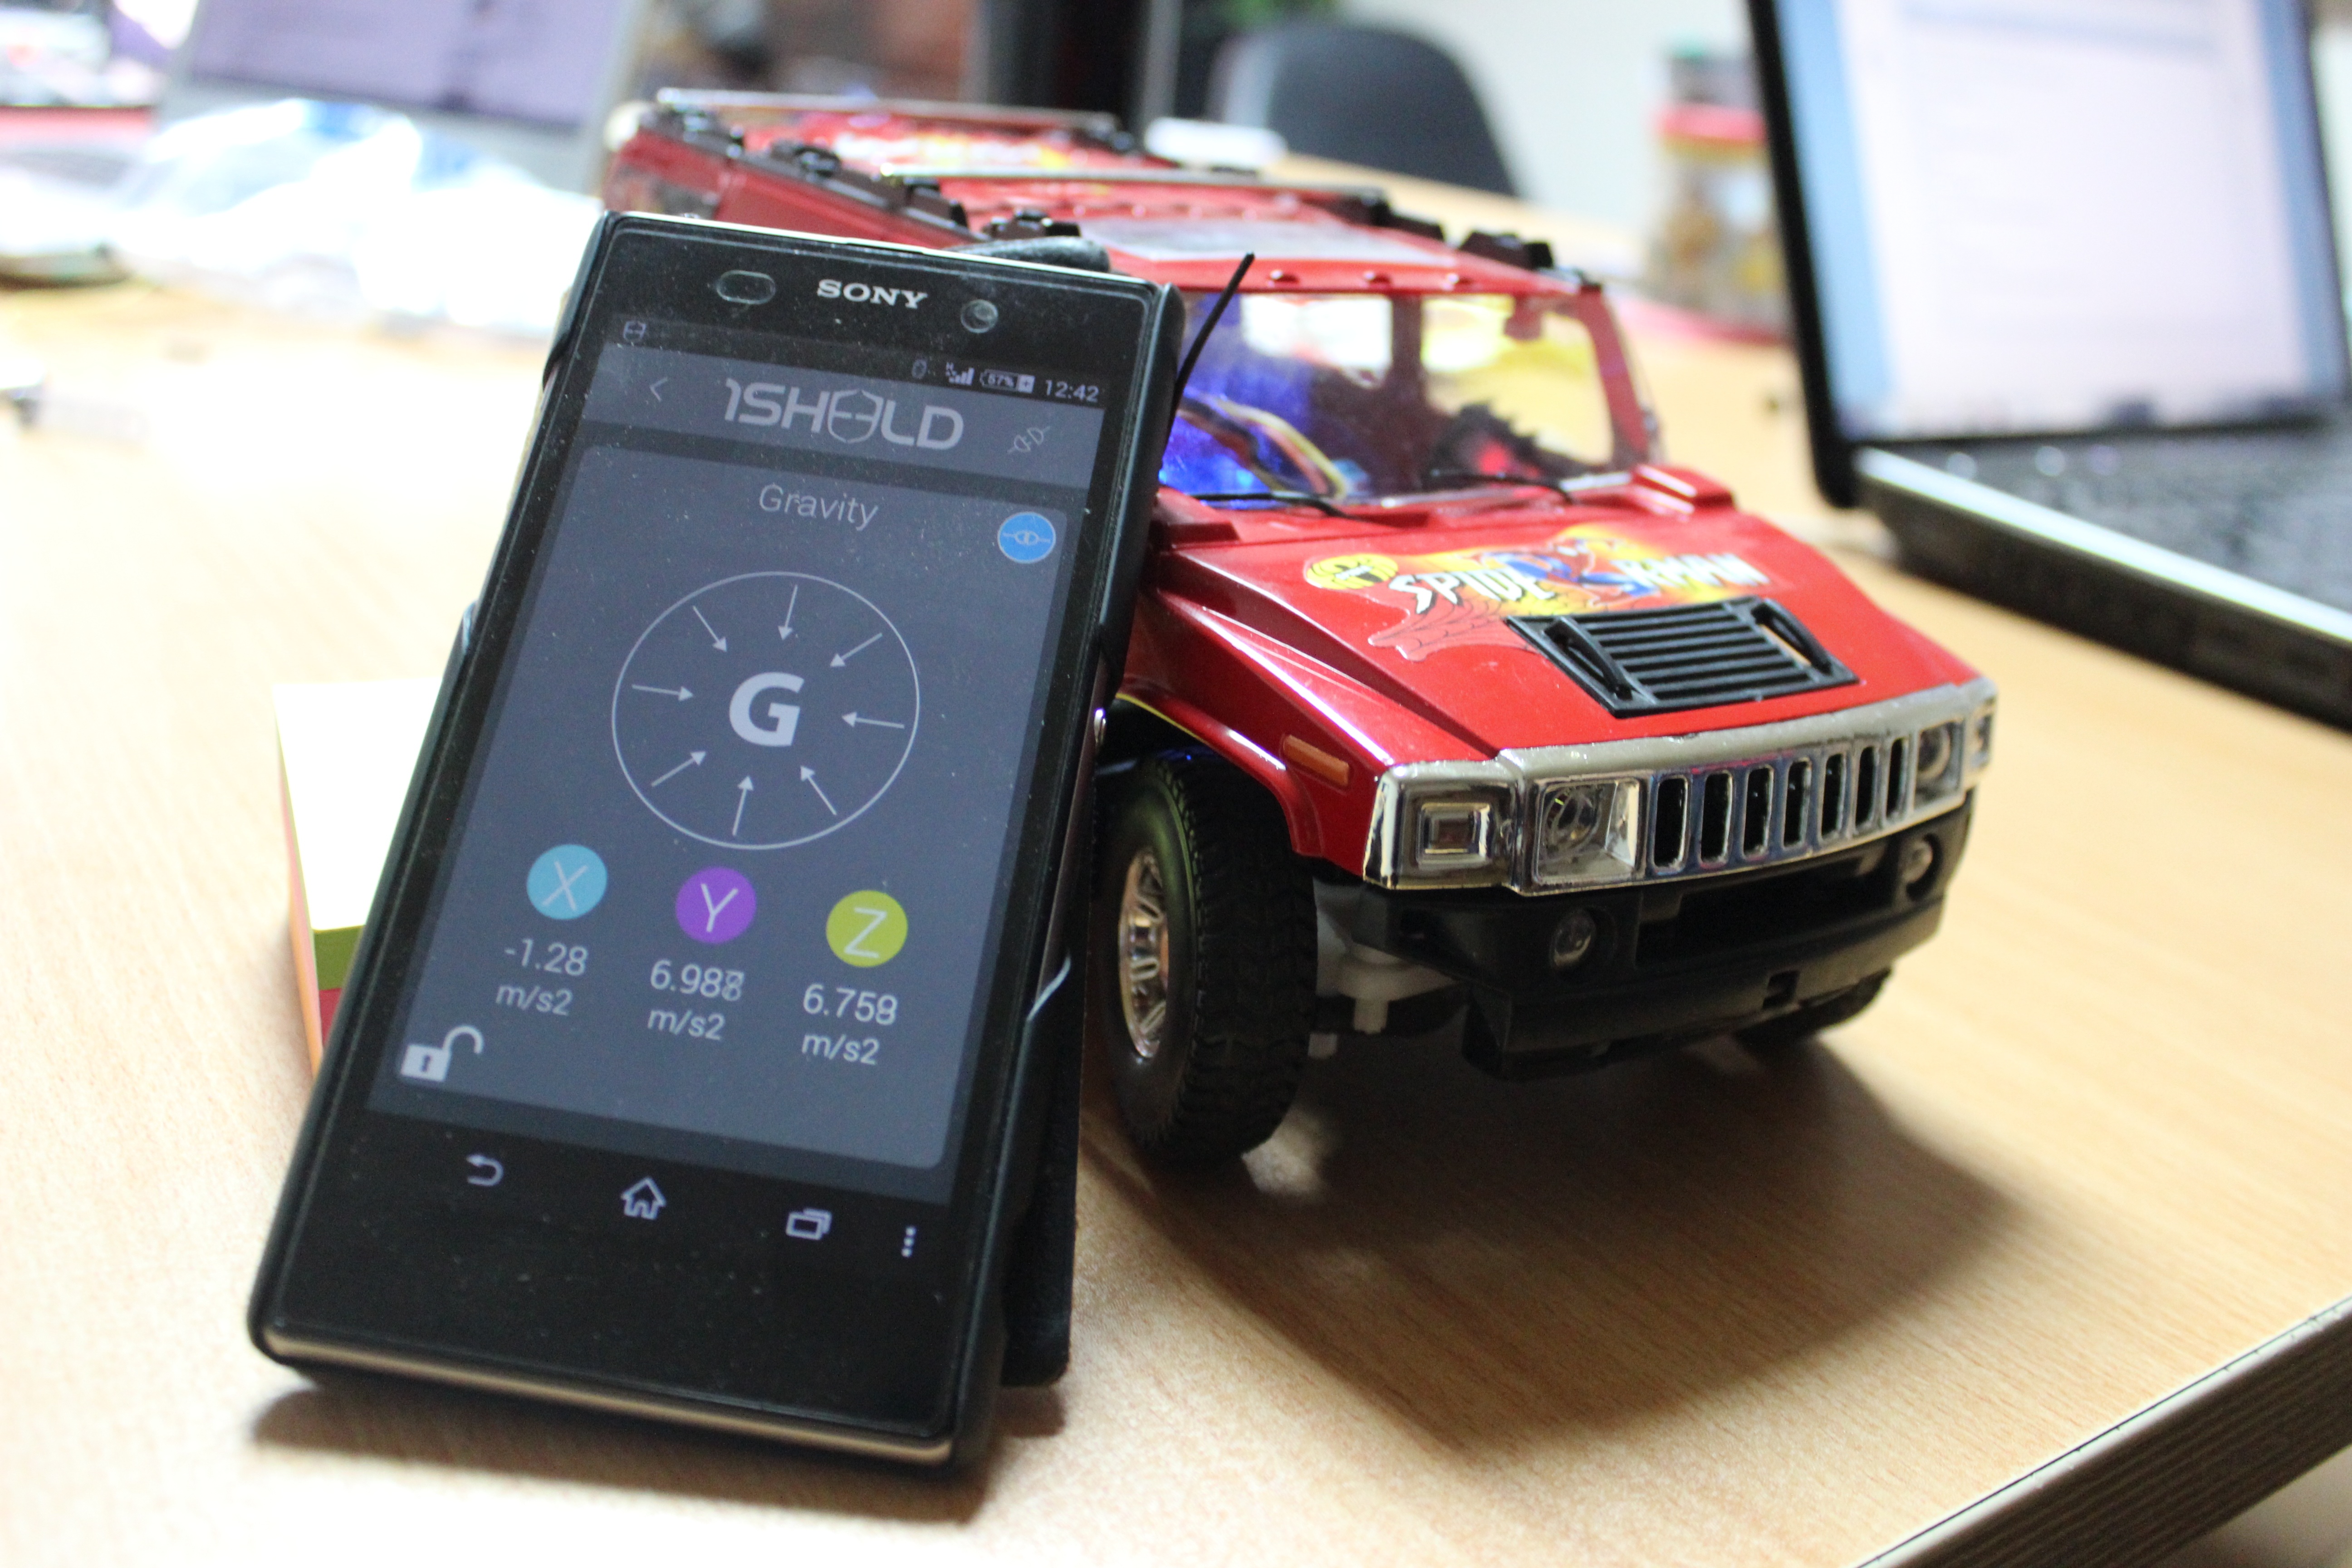
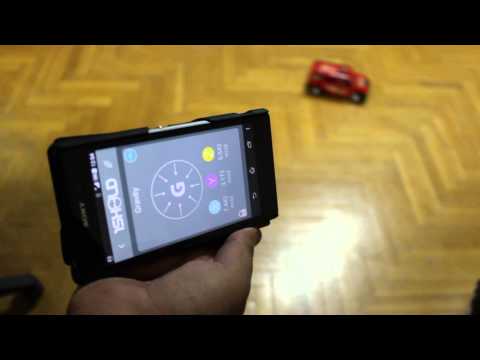
Have an old toy car? I hacked mine using Arduino and an H bridge circuit to control the motors, used my Sony Z1 Android phone to control it with the recent 1Sheeld I got from Kickstarter.
I thought to use the Gyroscope sensor in to drive it but after experimenting, I used the gravity sensor instead, will explain in details why later in step 5.
Required Stuff
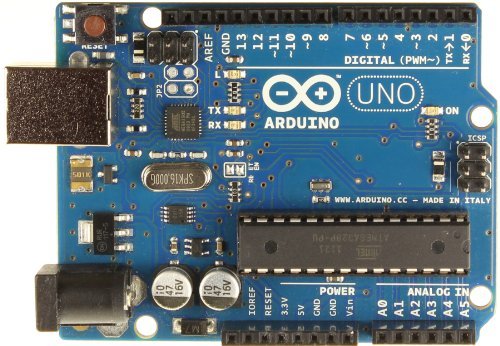
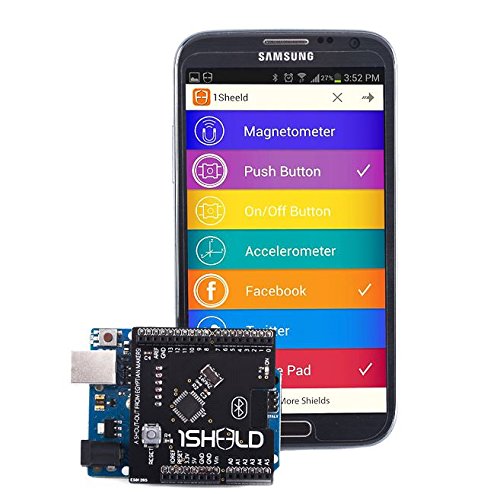
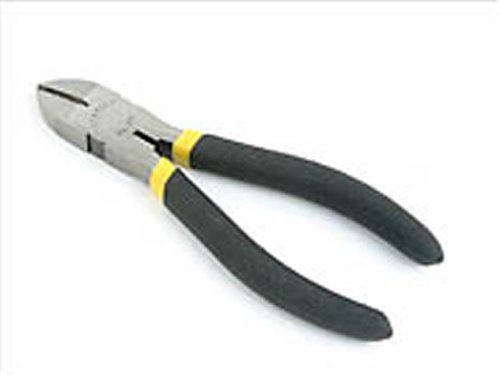

Required components:
1- Android smartphone / tablet ( x1)
2- Arduino uno ( x1) $26
3- 1Sheeld ( x1) $60
4-Cheap RC car ( x1) (you can get it from a toy store)
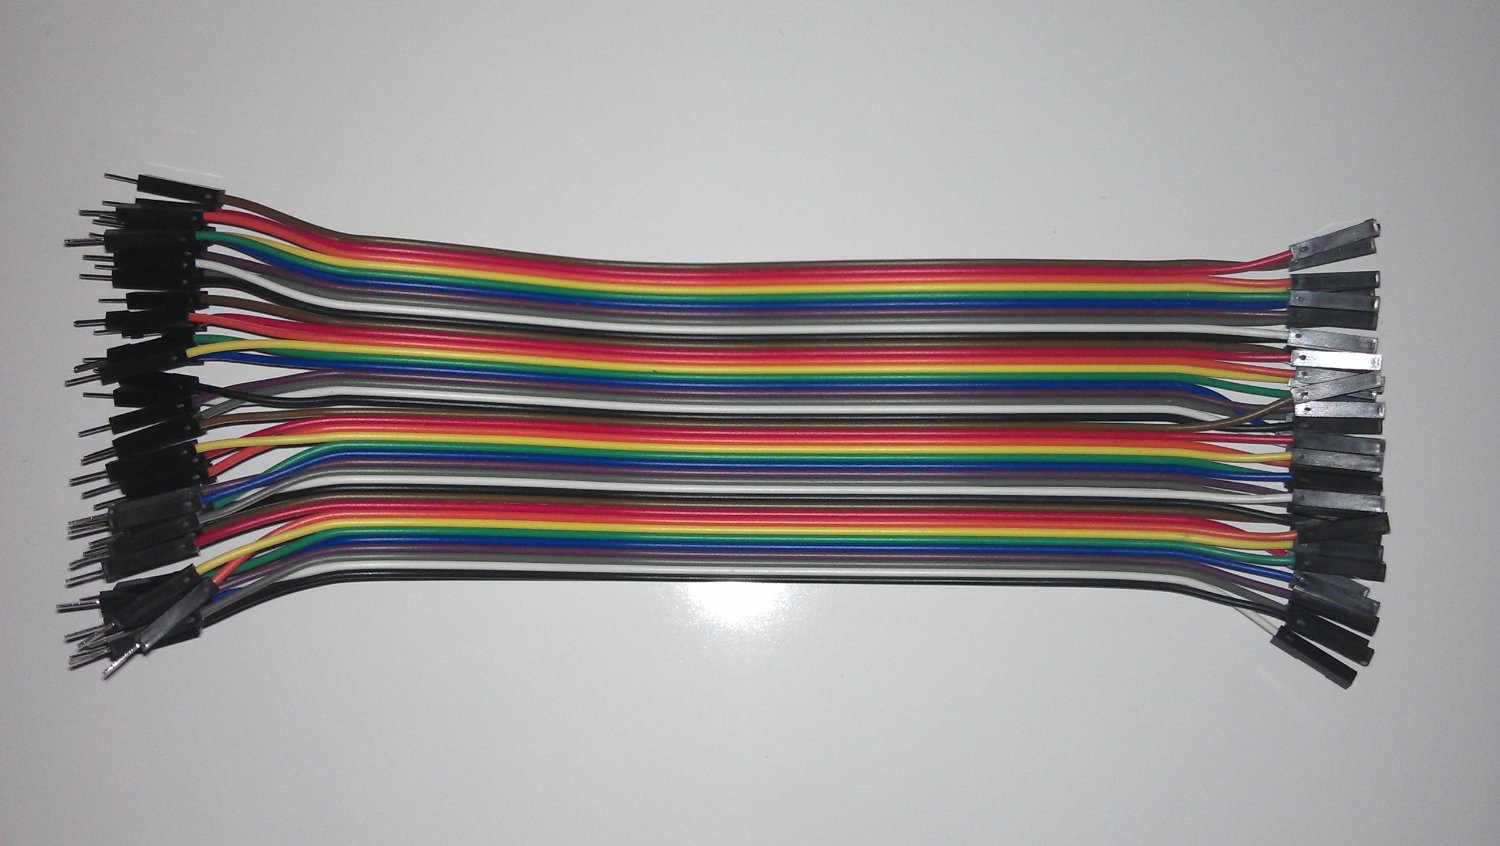
5- Connectors male female (x4) $5.45 per 40 set
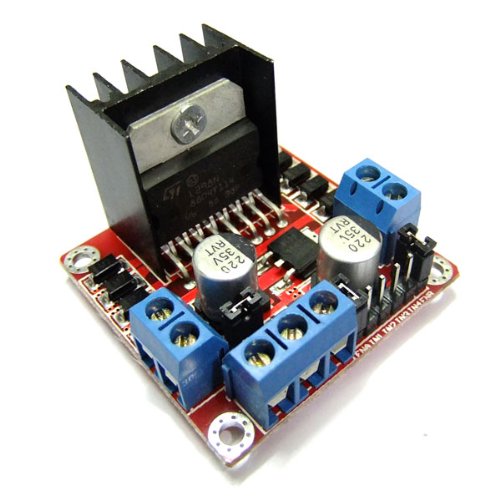
6- H bridge ( x1) $9.51
7-- Mediabridge USB cable (x1) $7.99
8- Male Dc Plug (x1) $2
Required tools:
1- Screwdriver
2- Wire cutter
Prepare RC Car
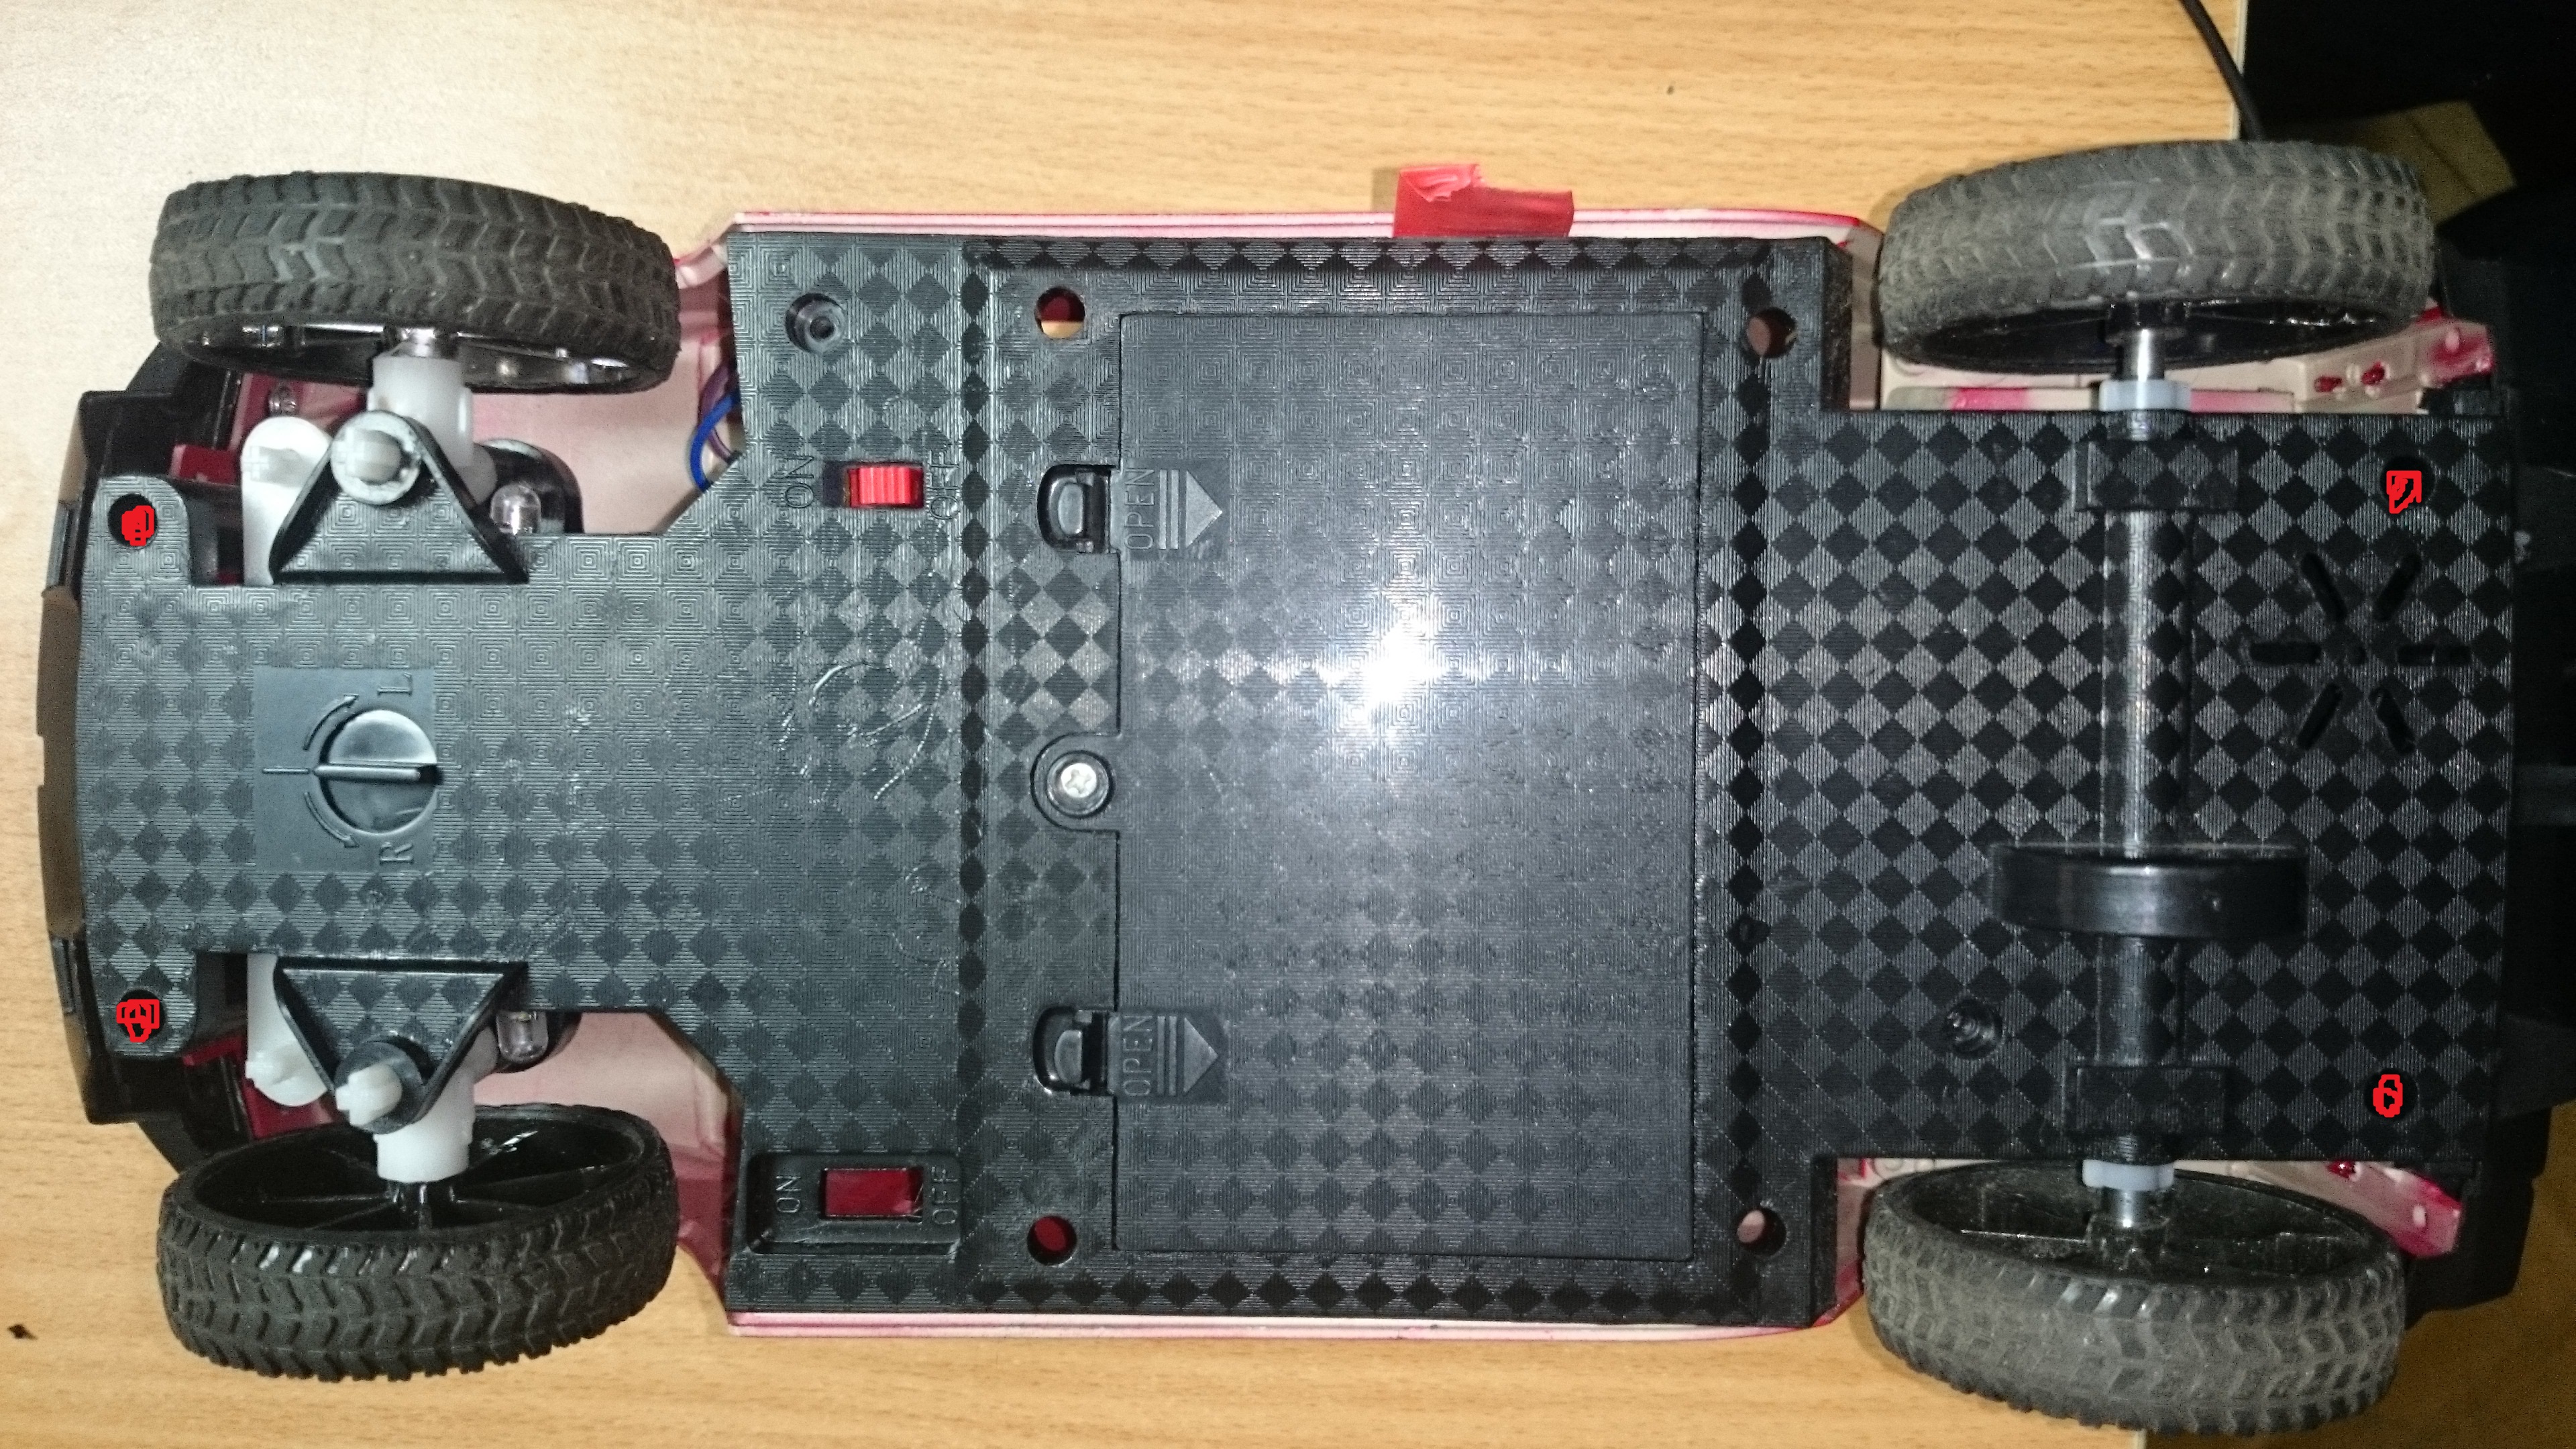
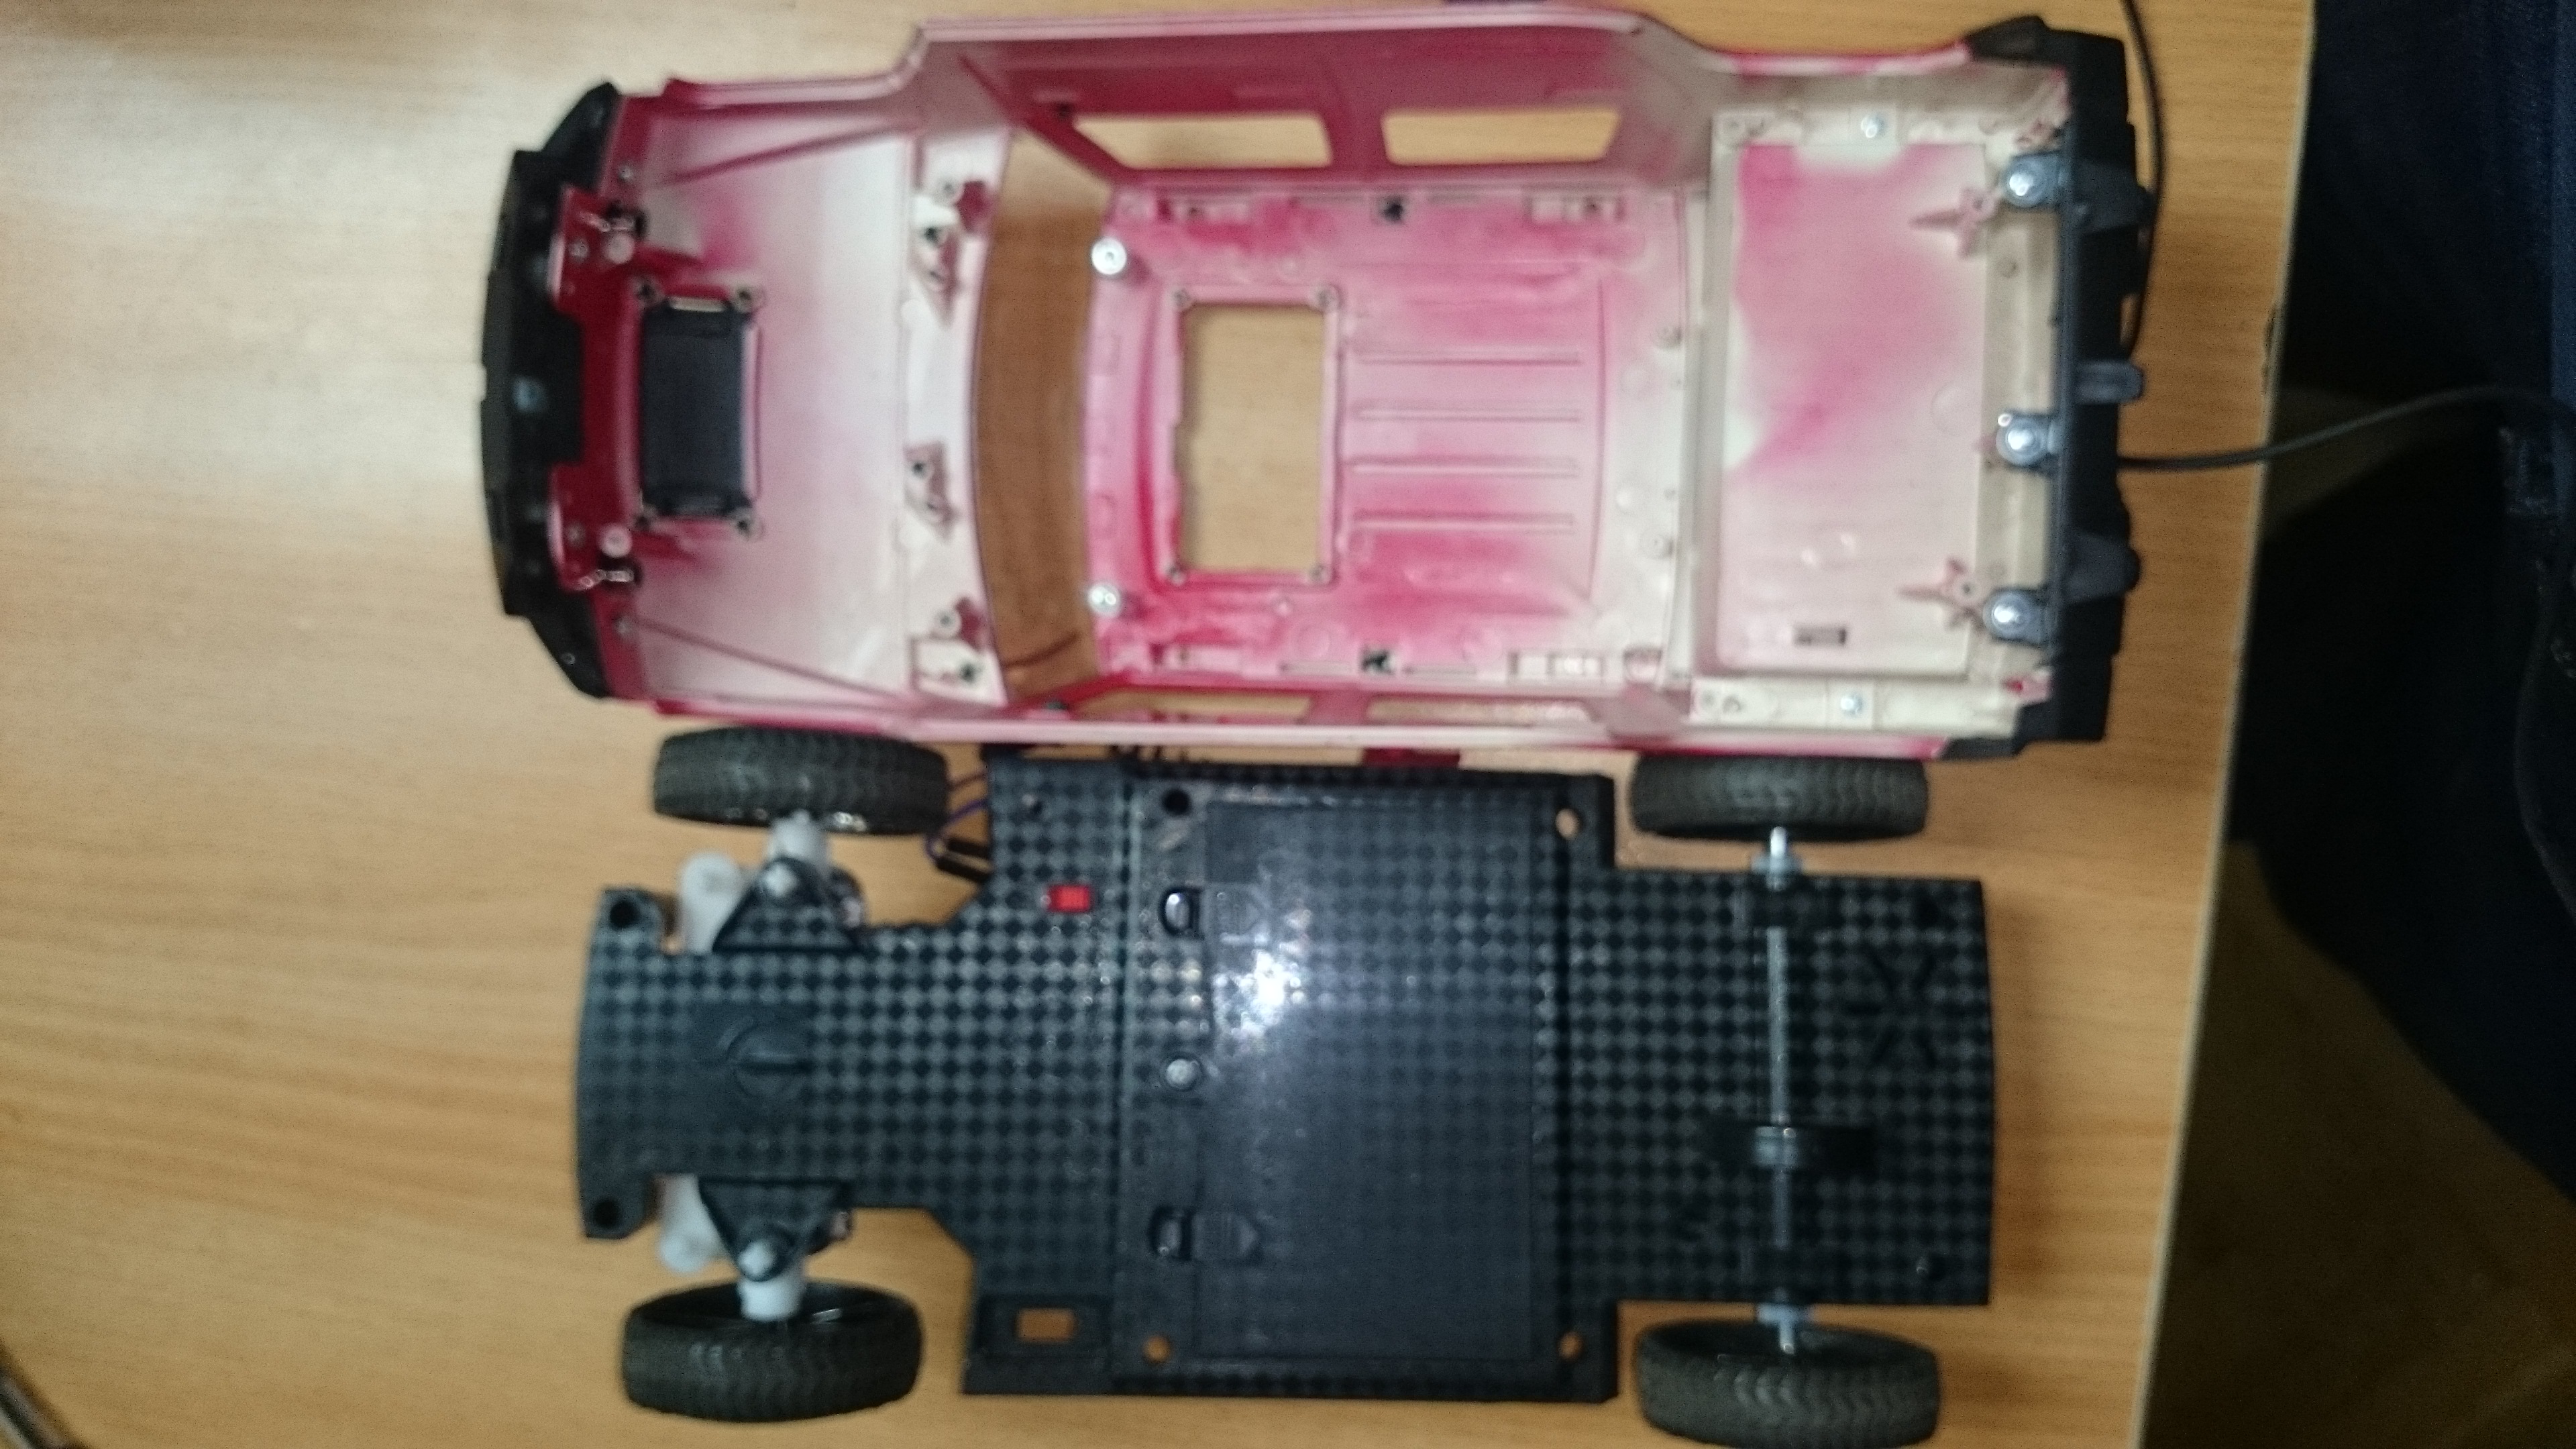
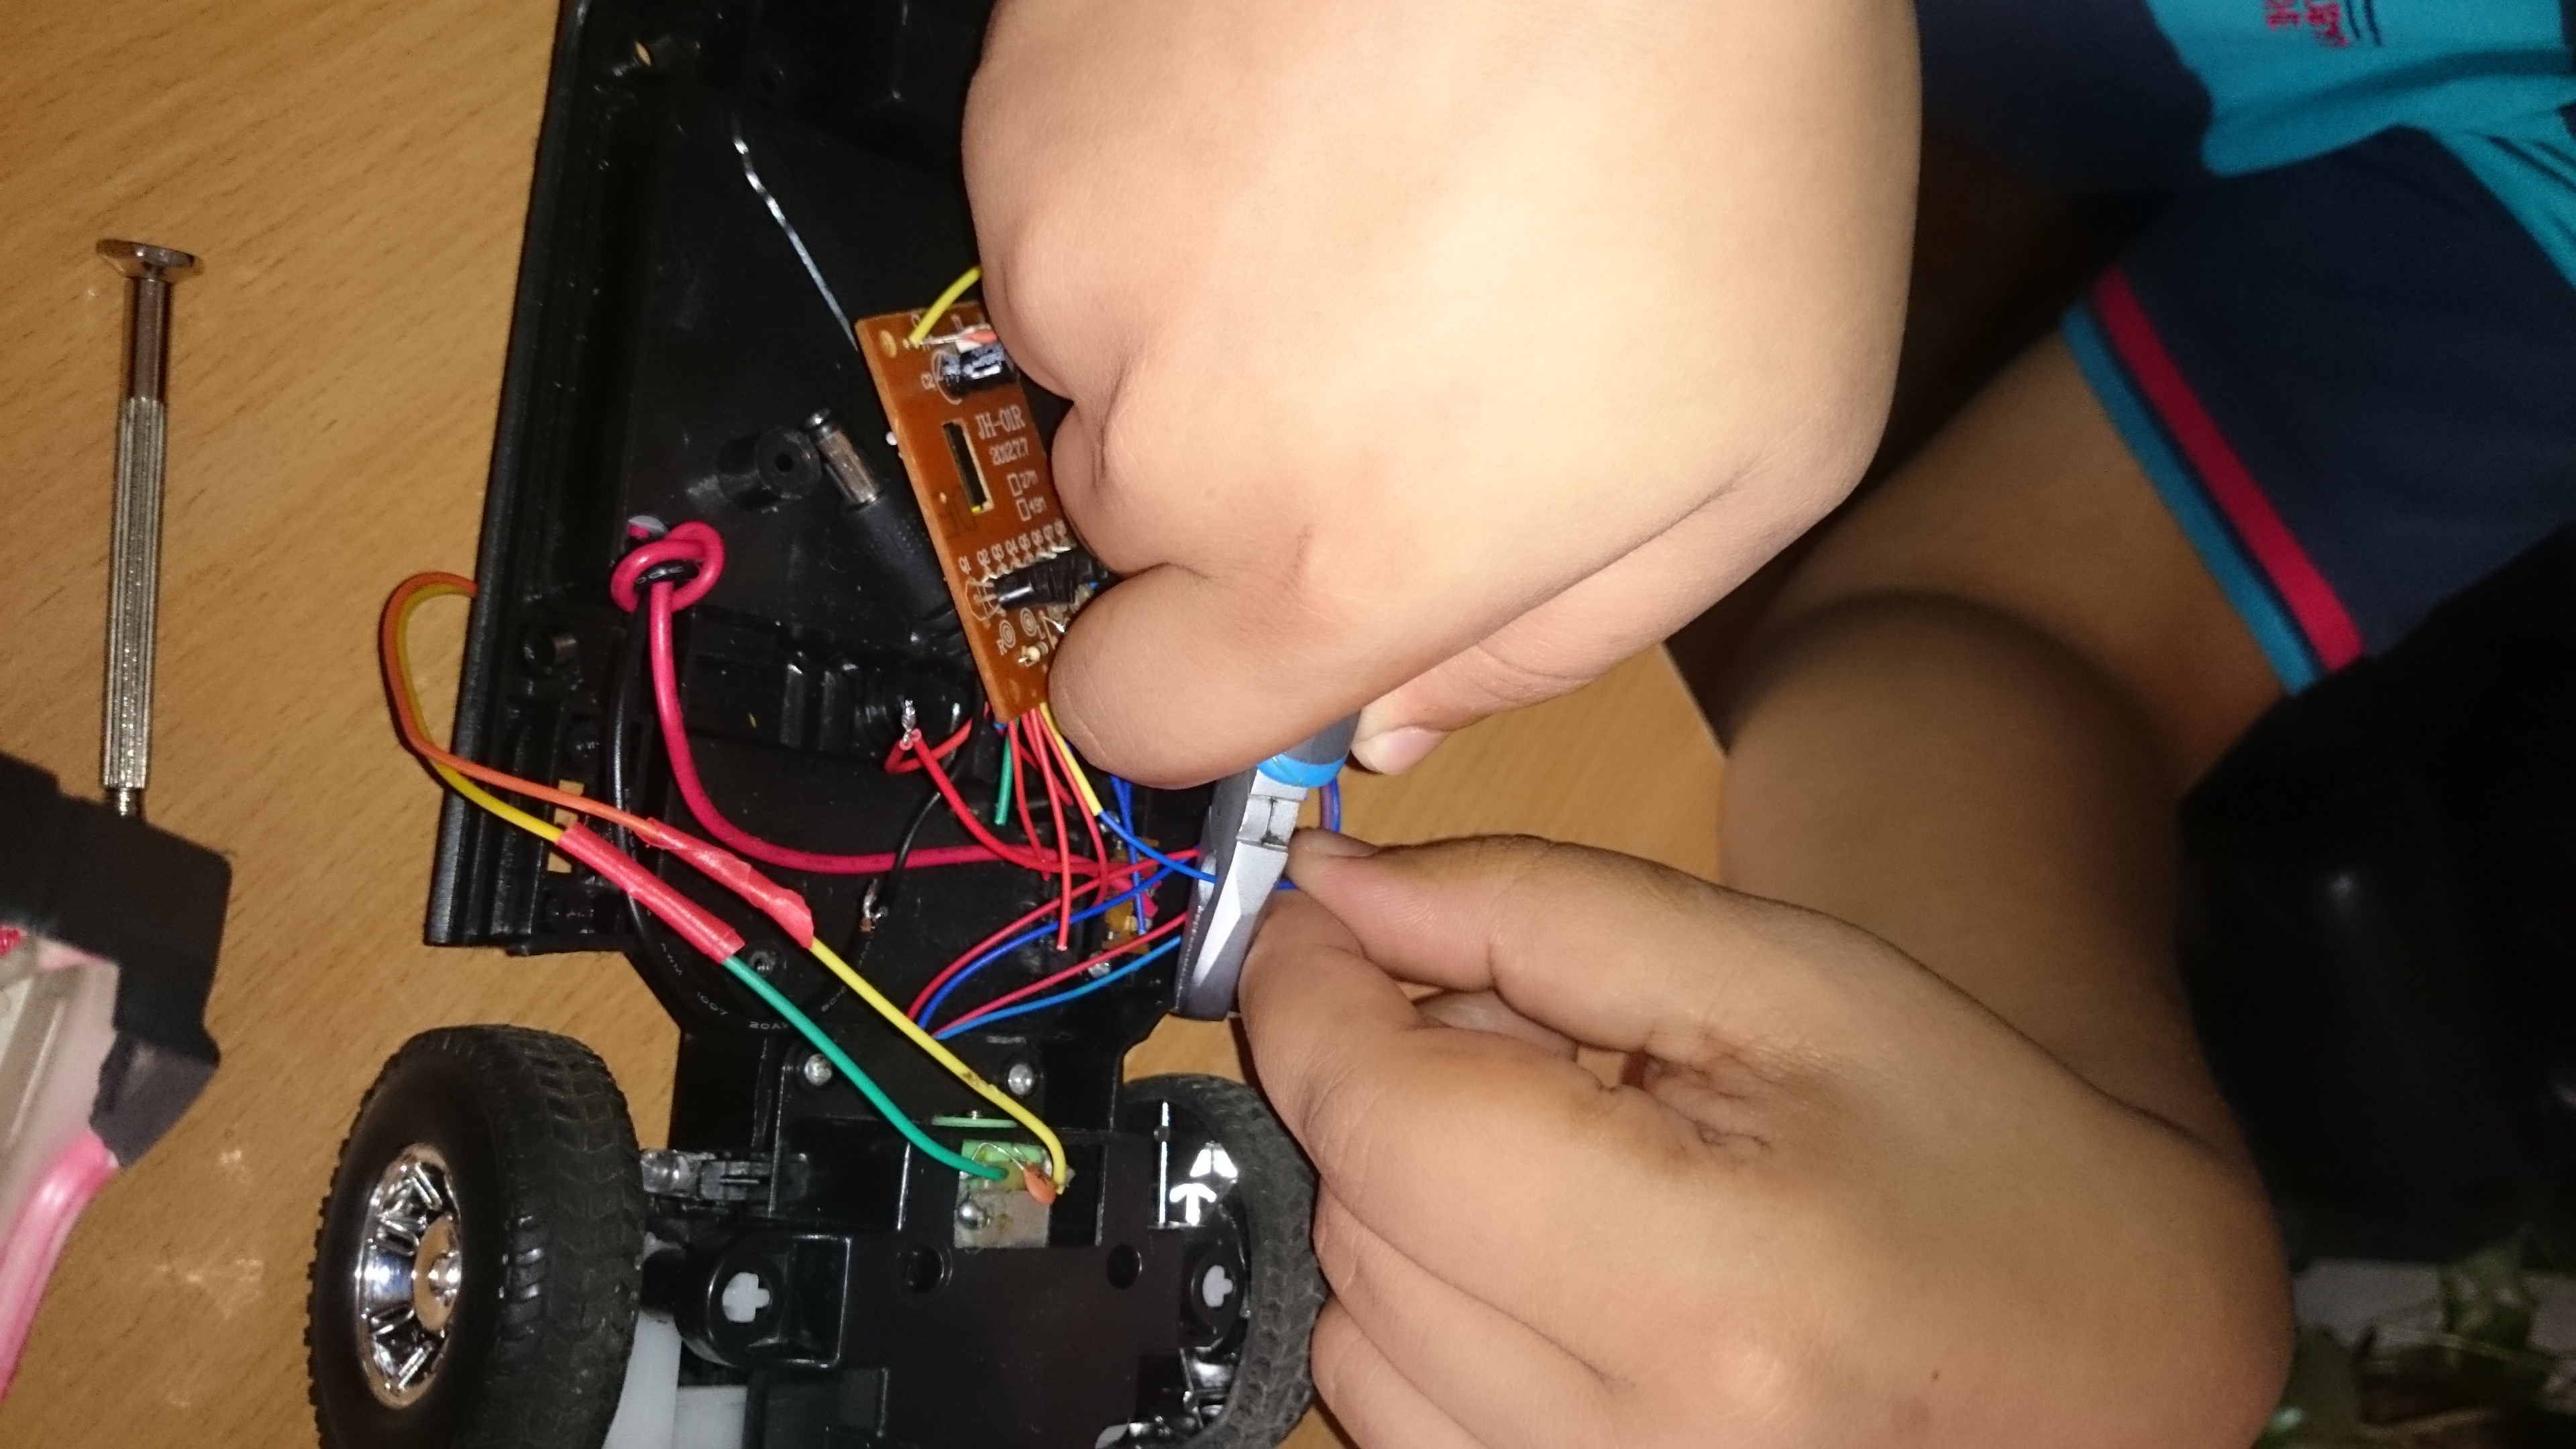
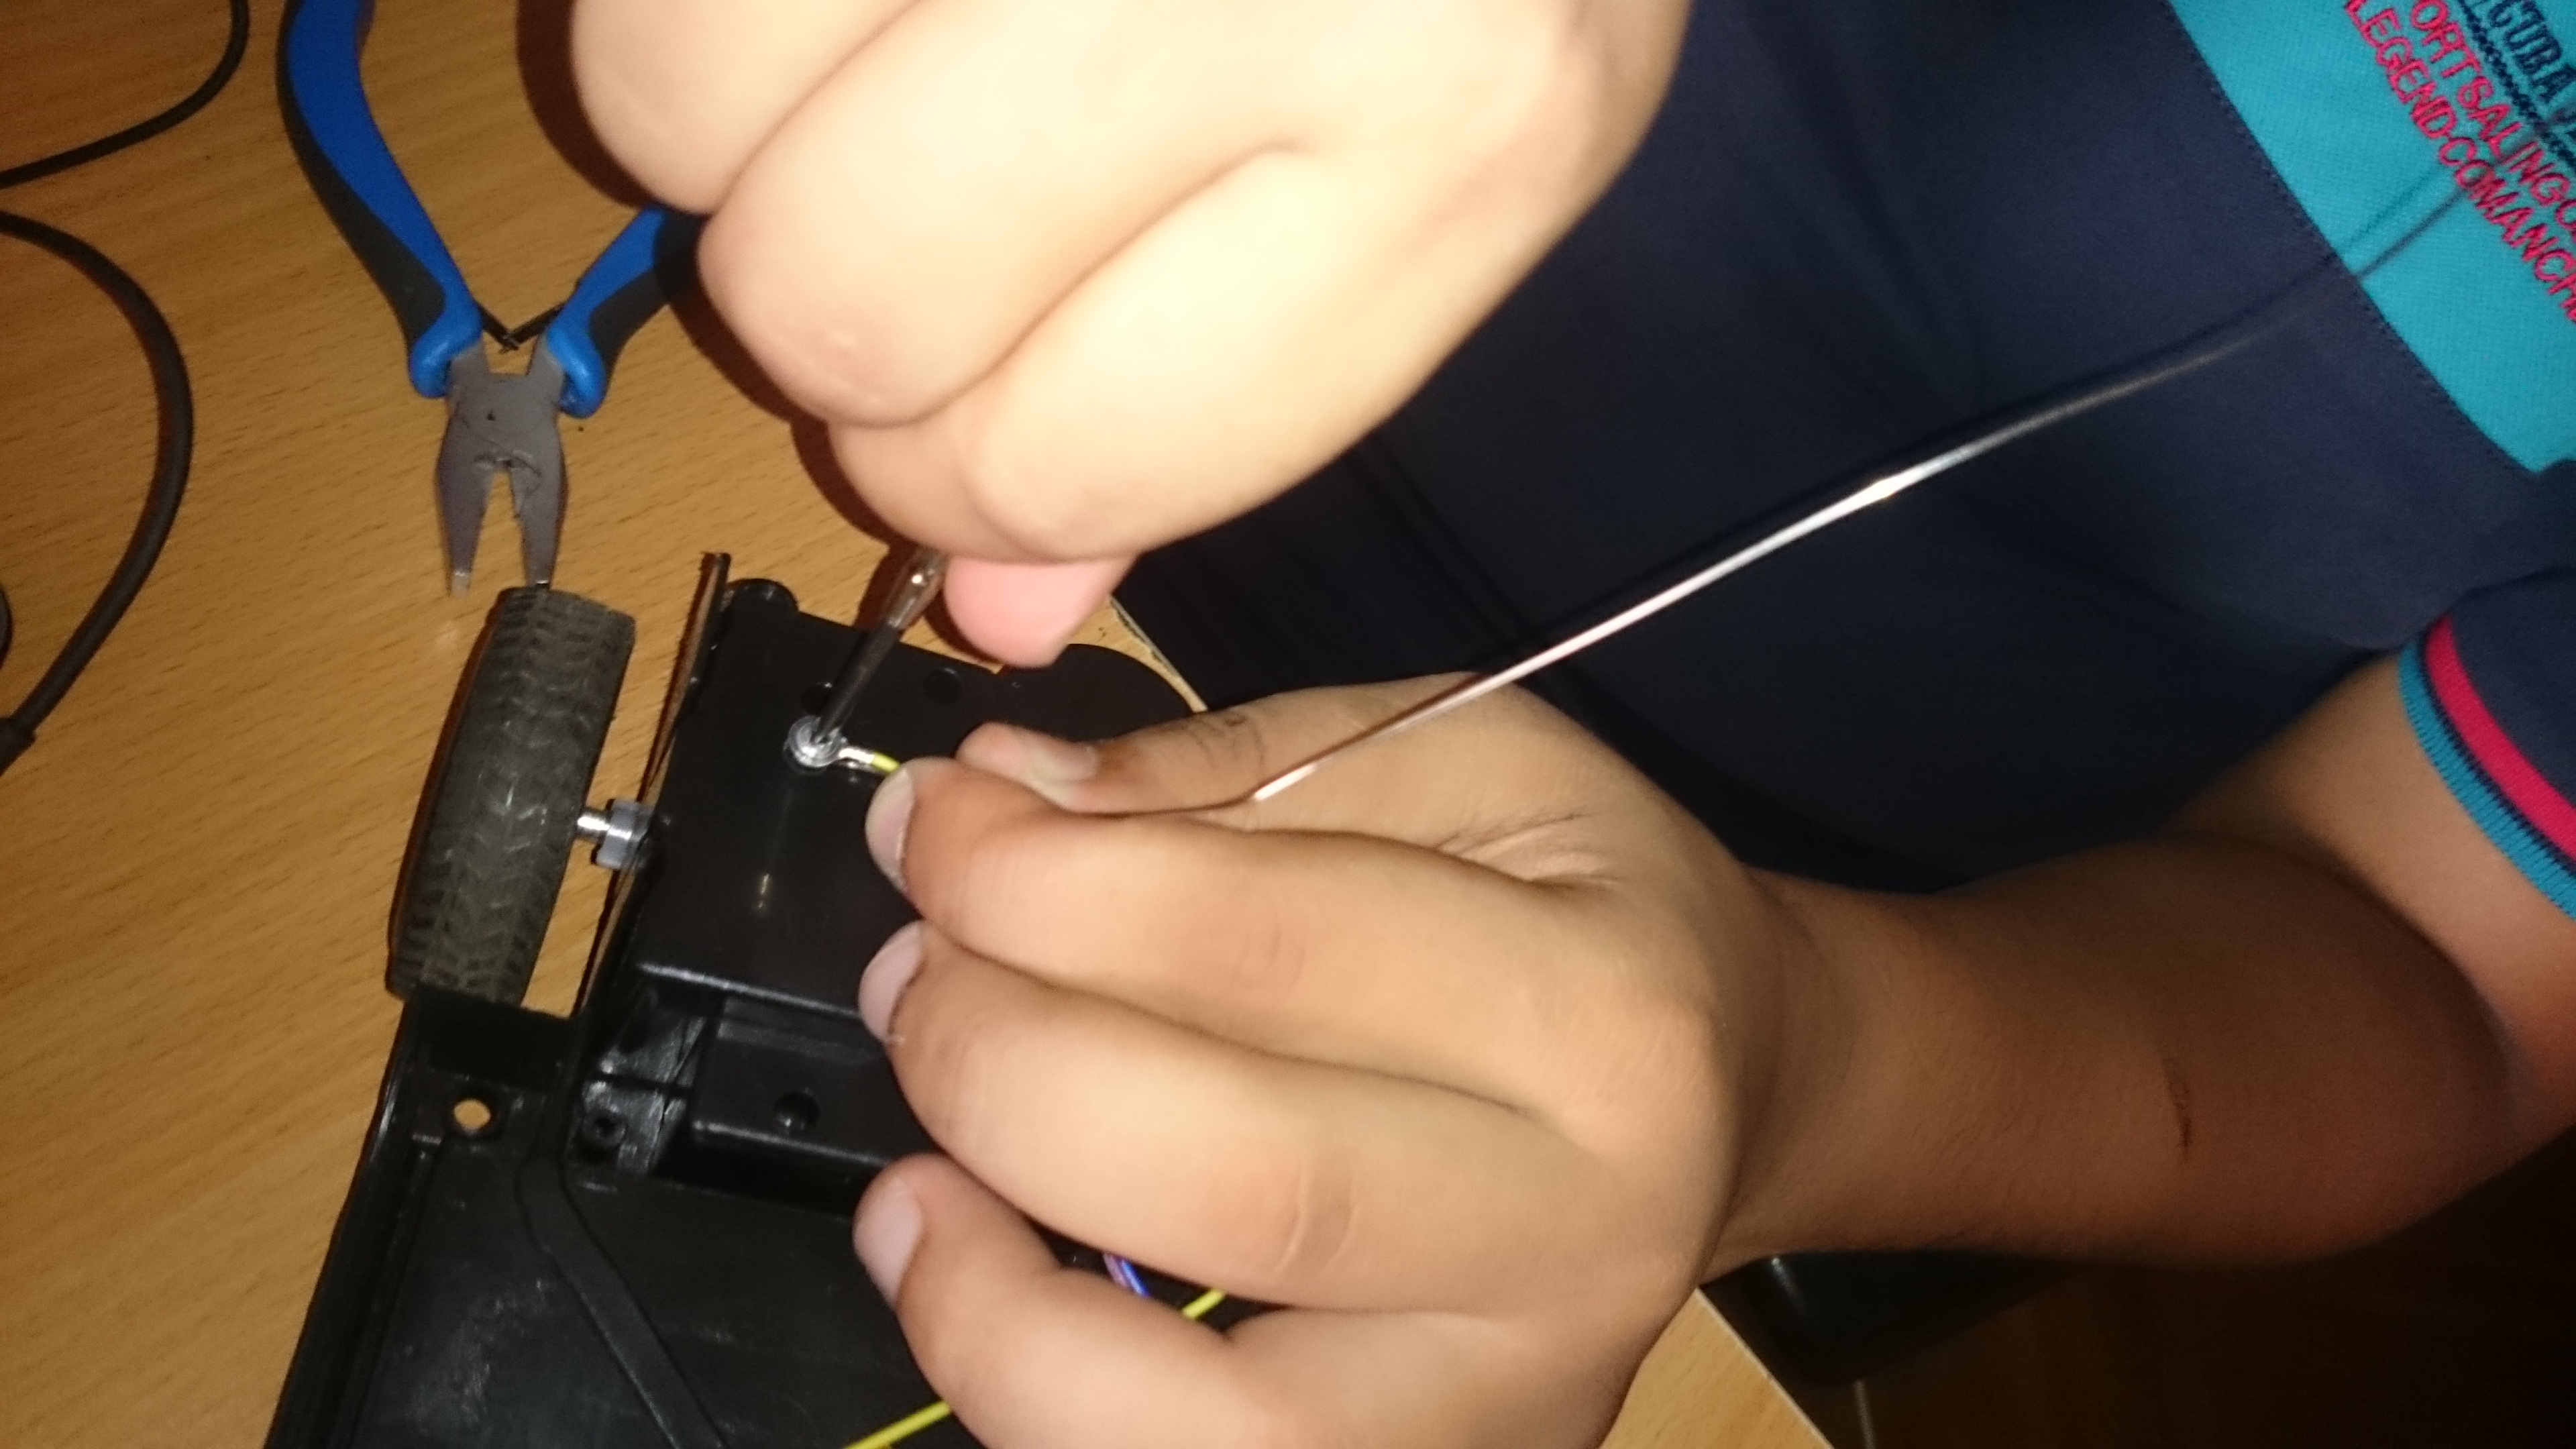
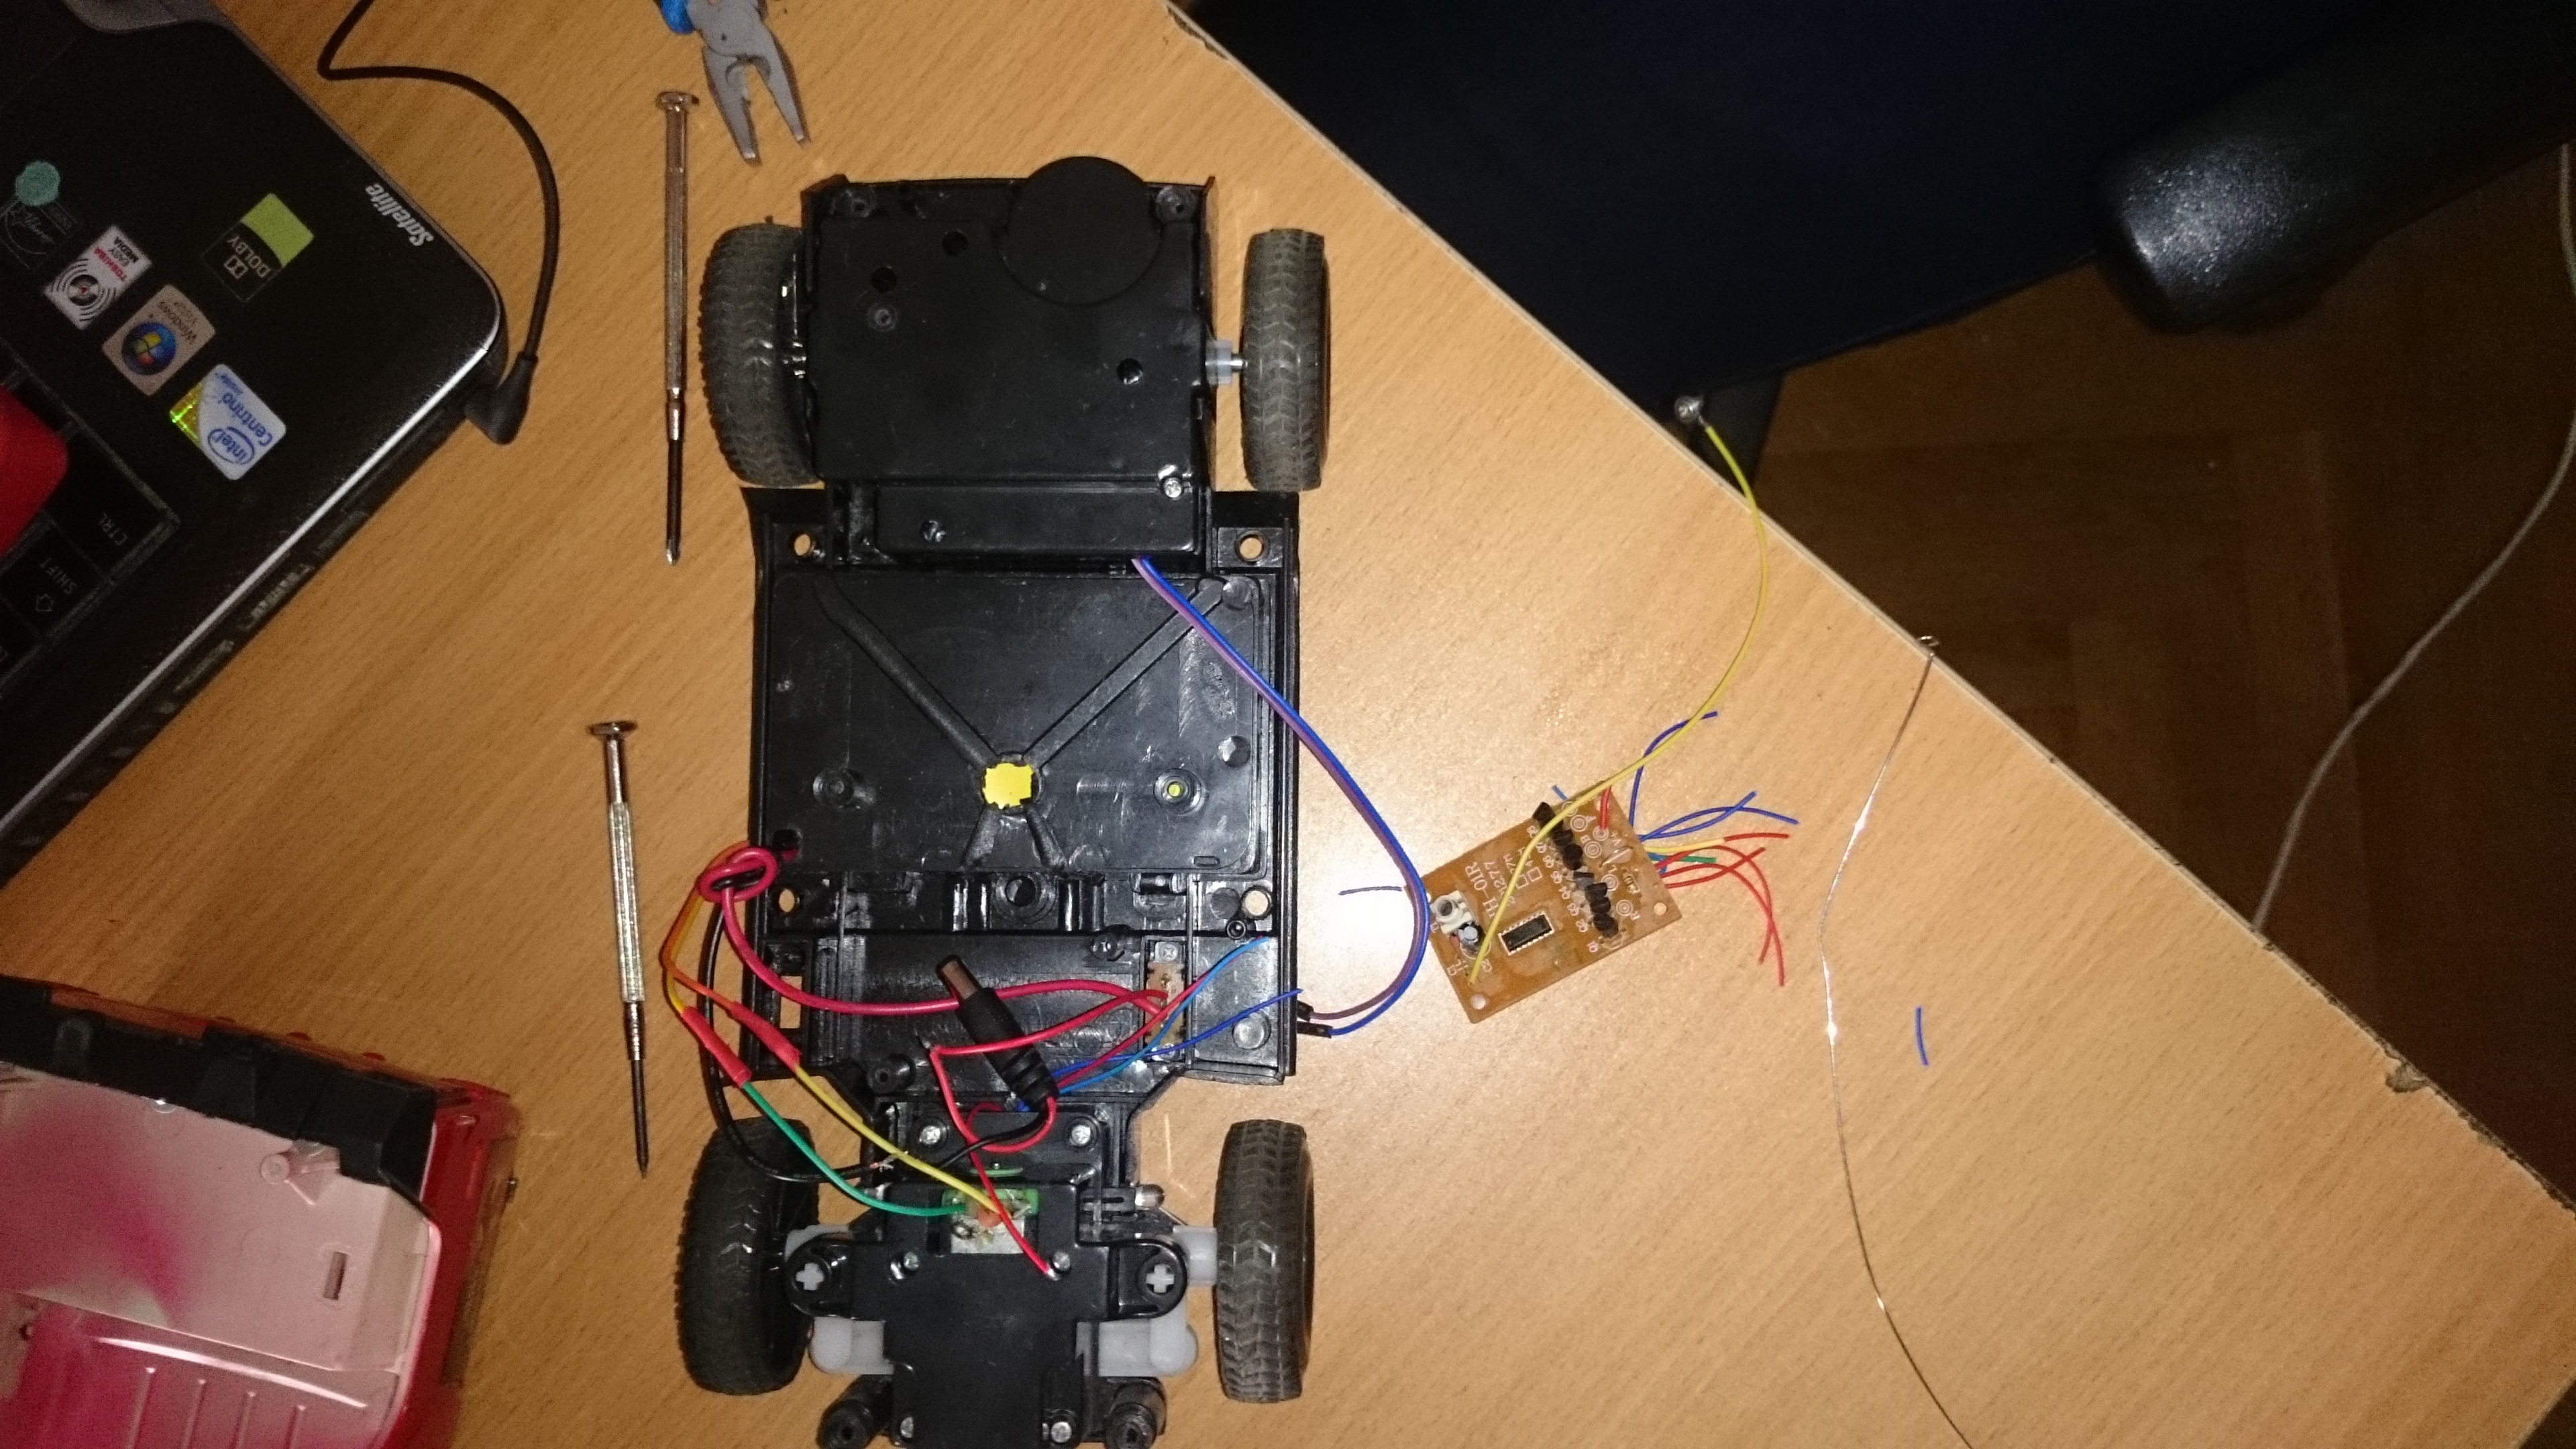
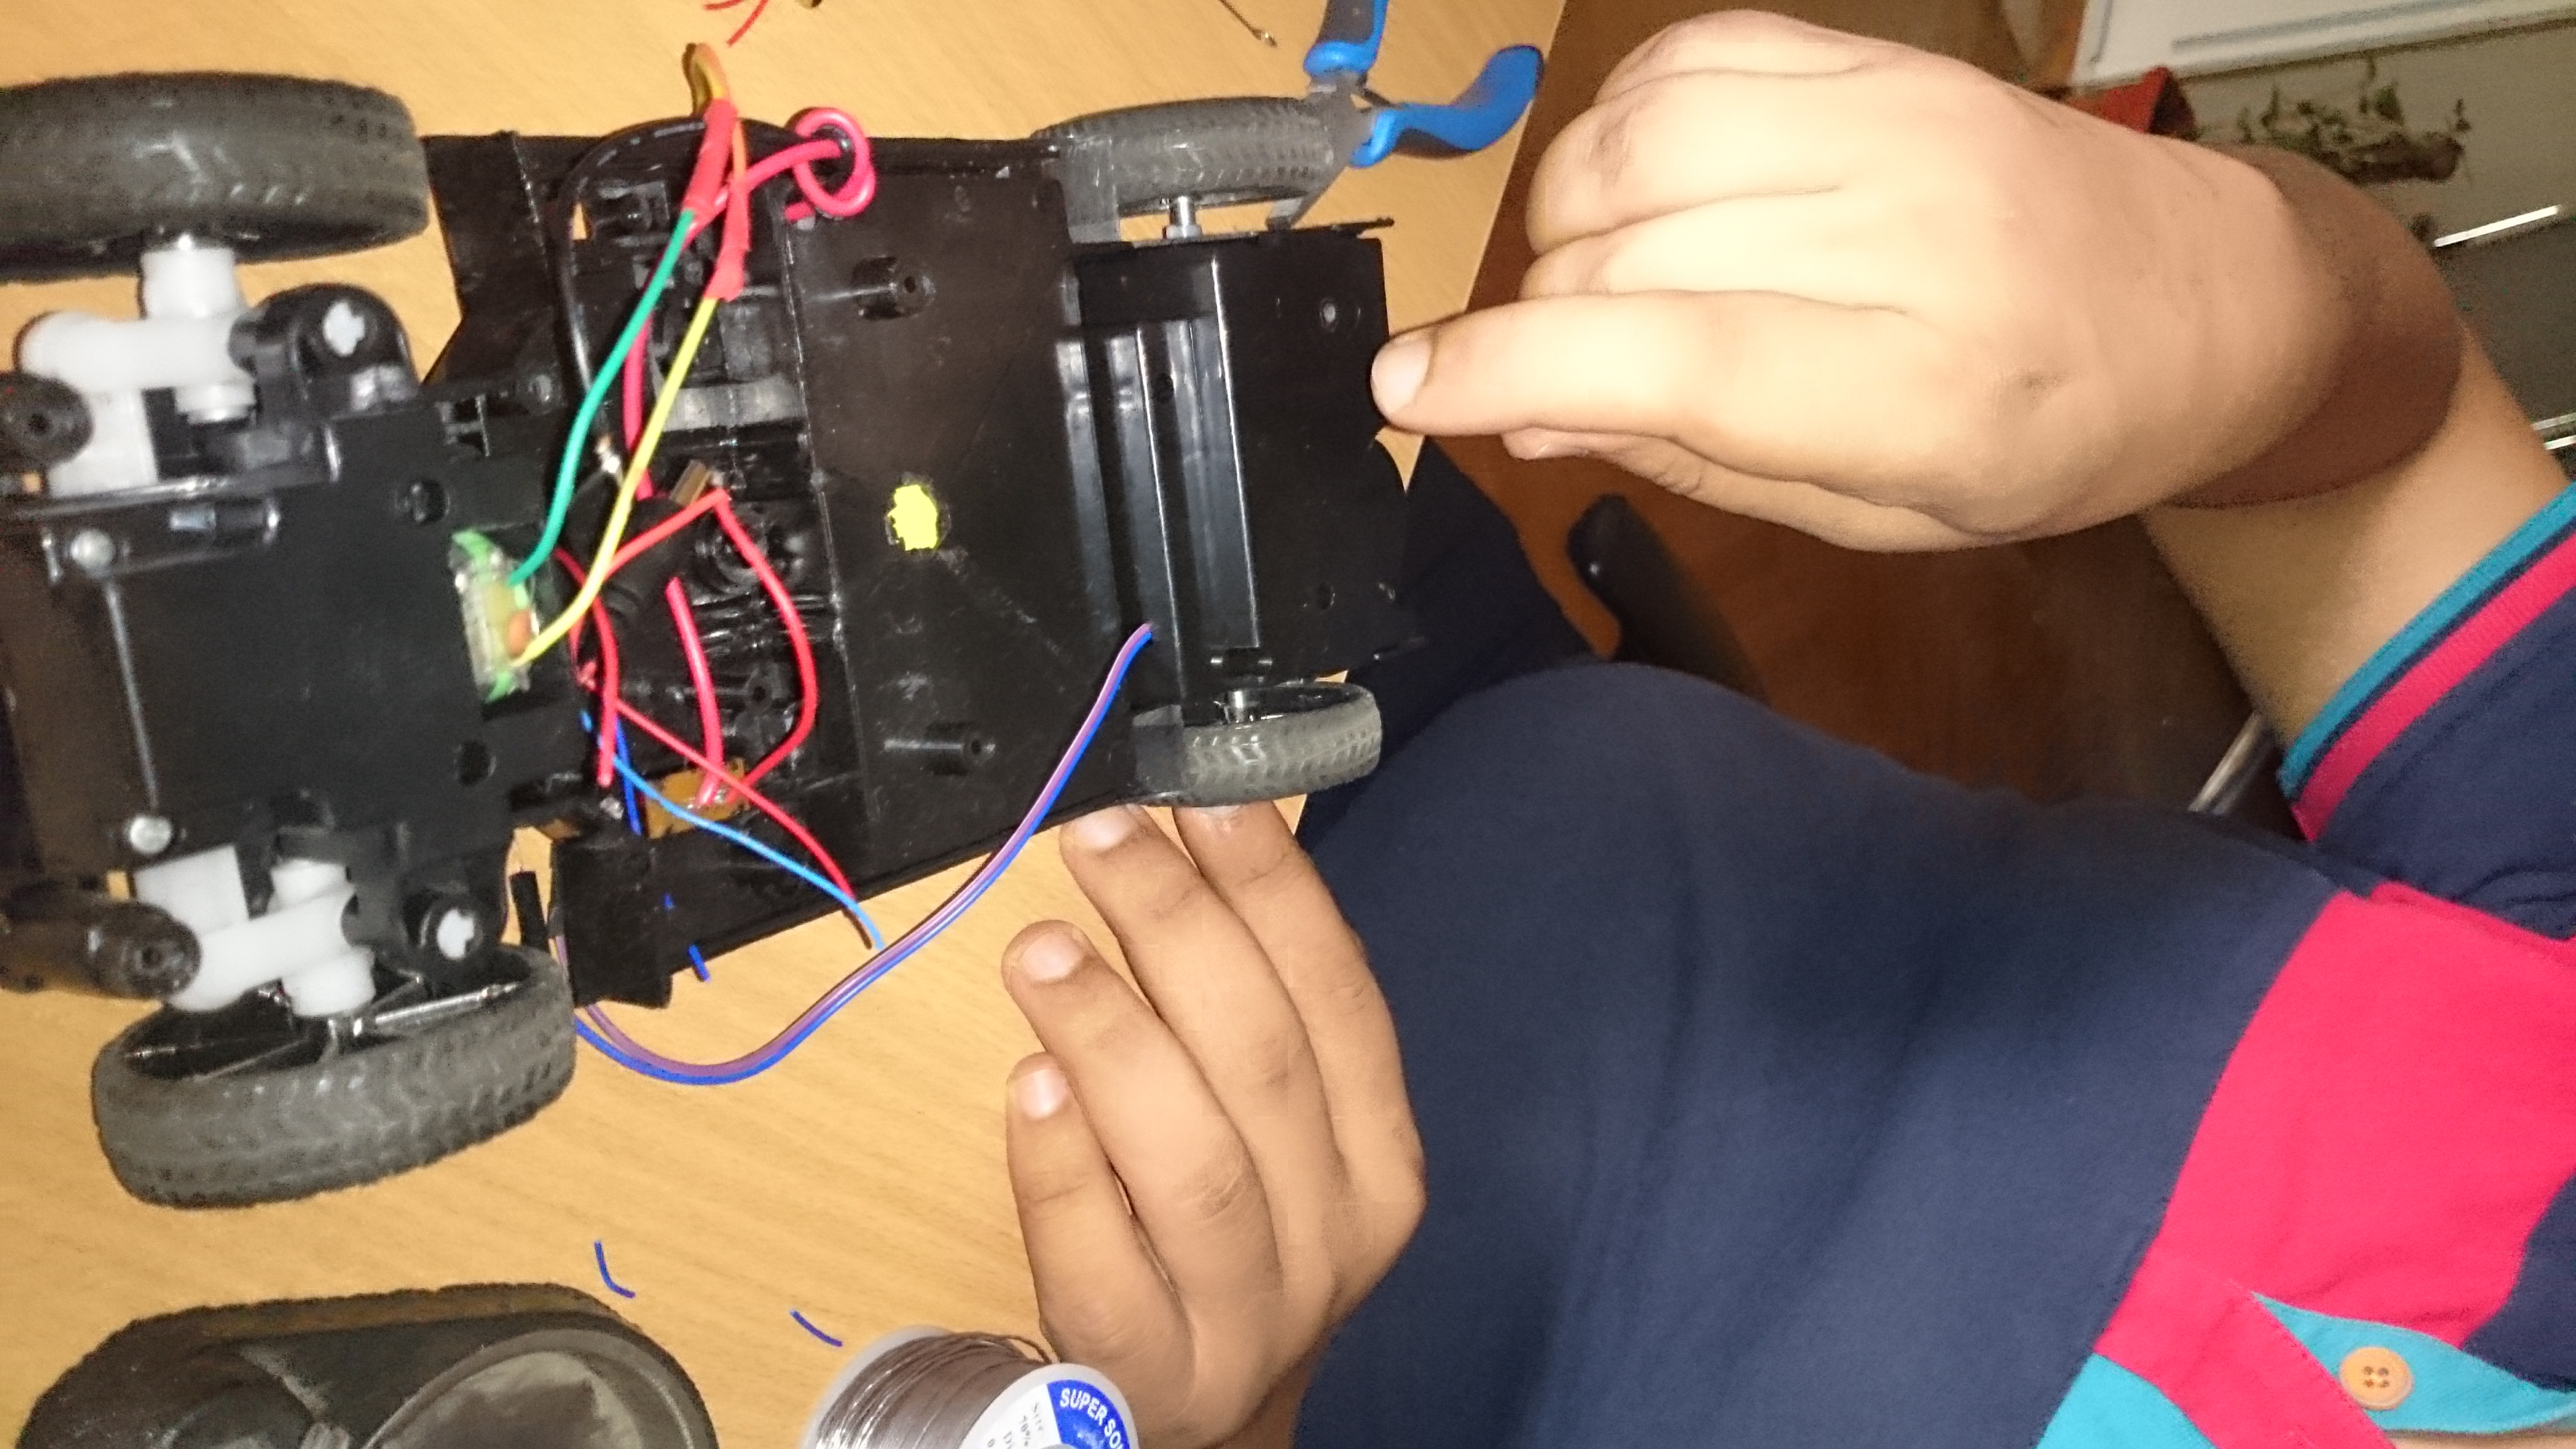
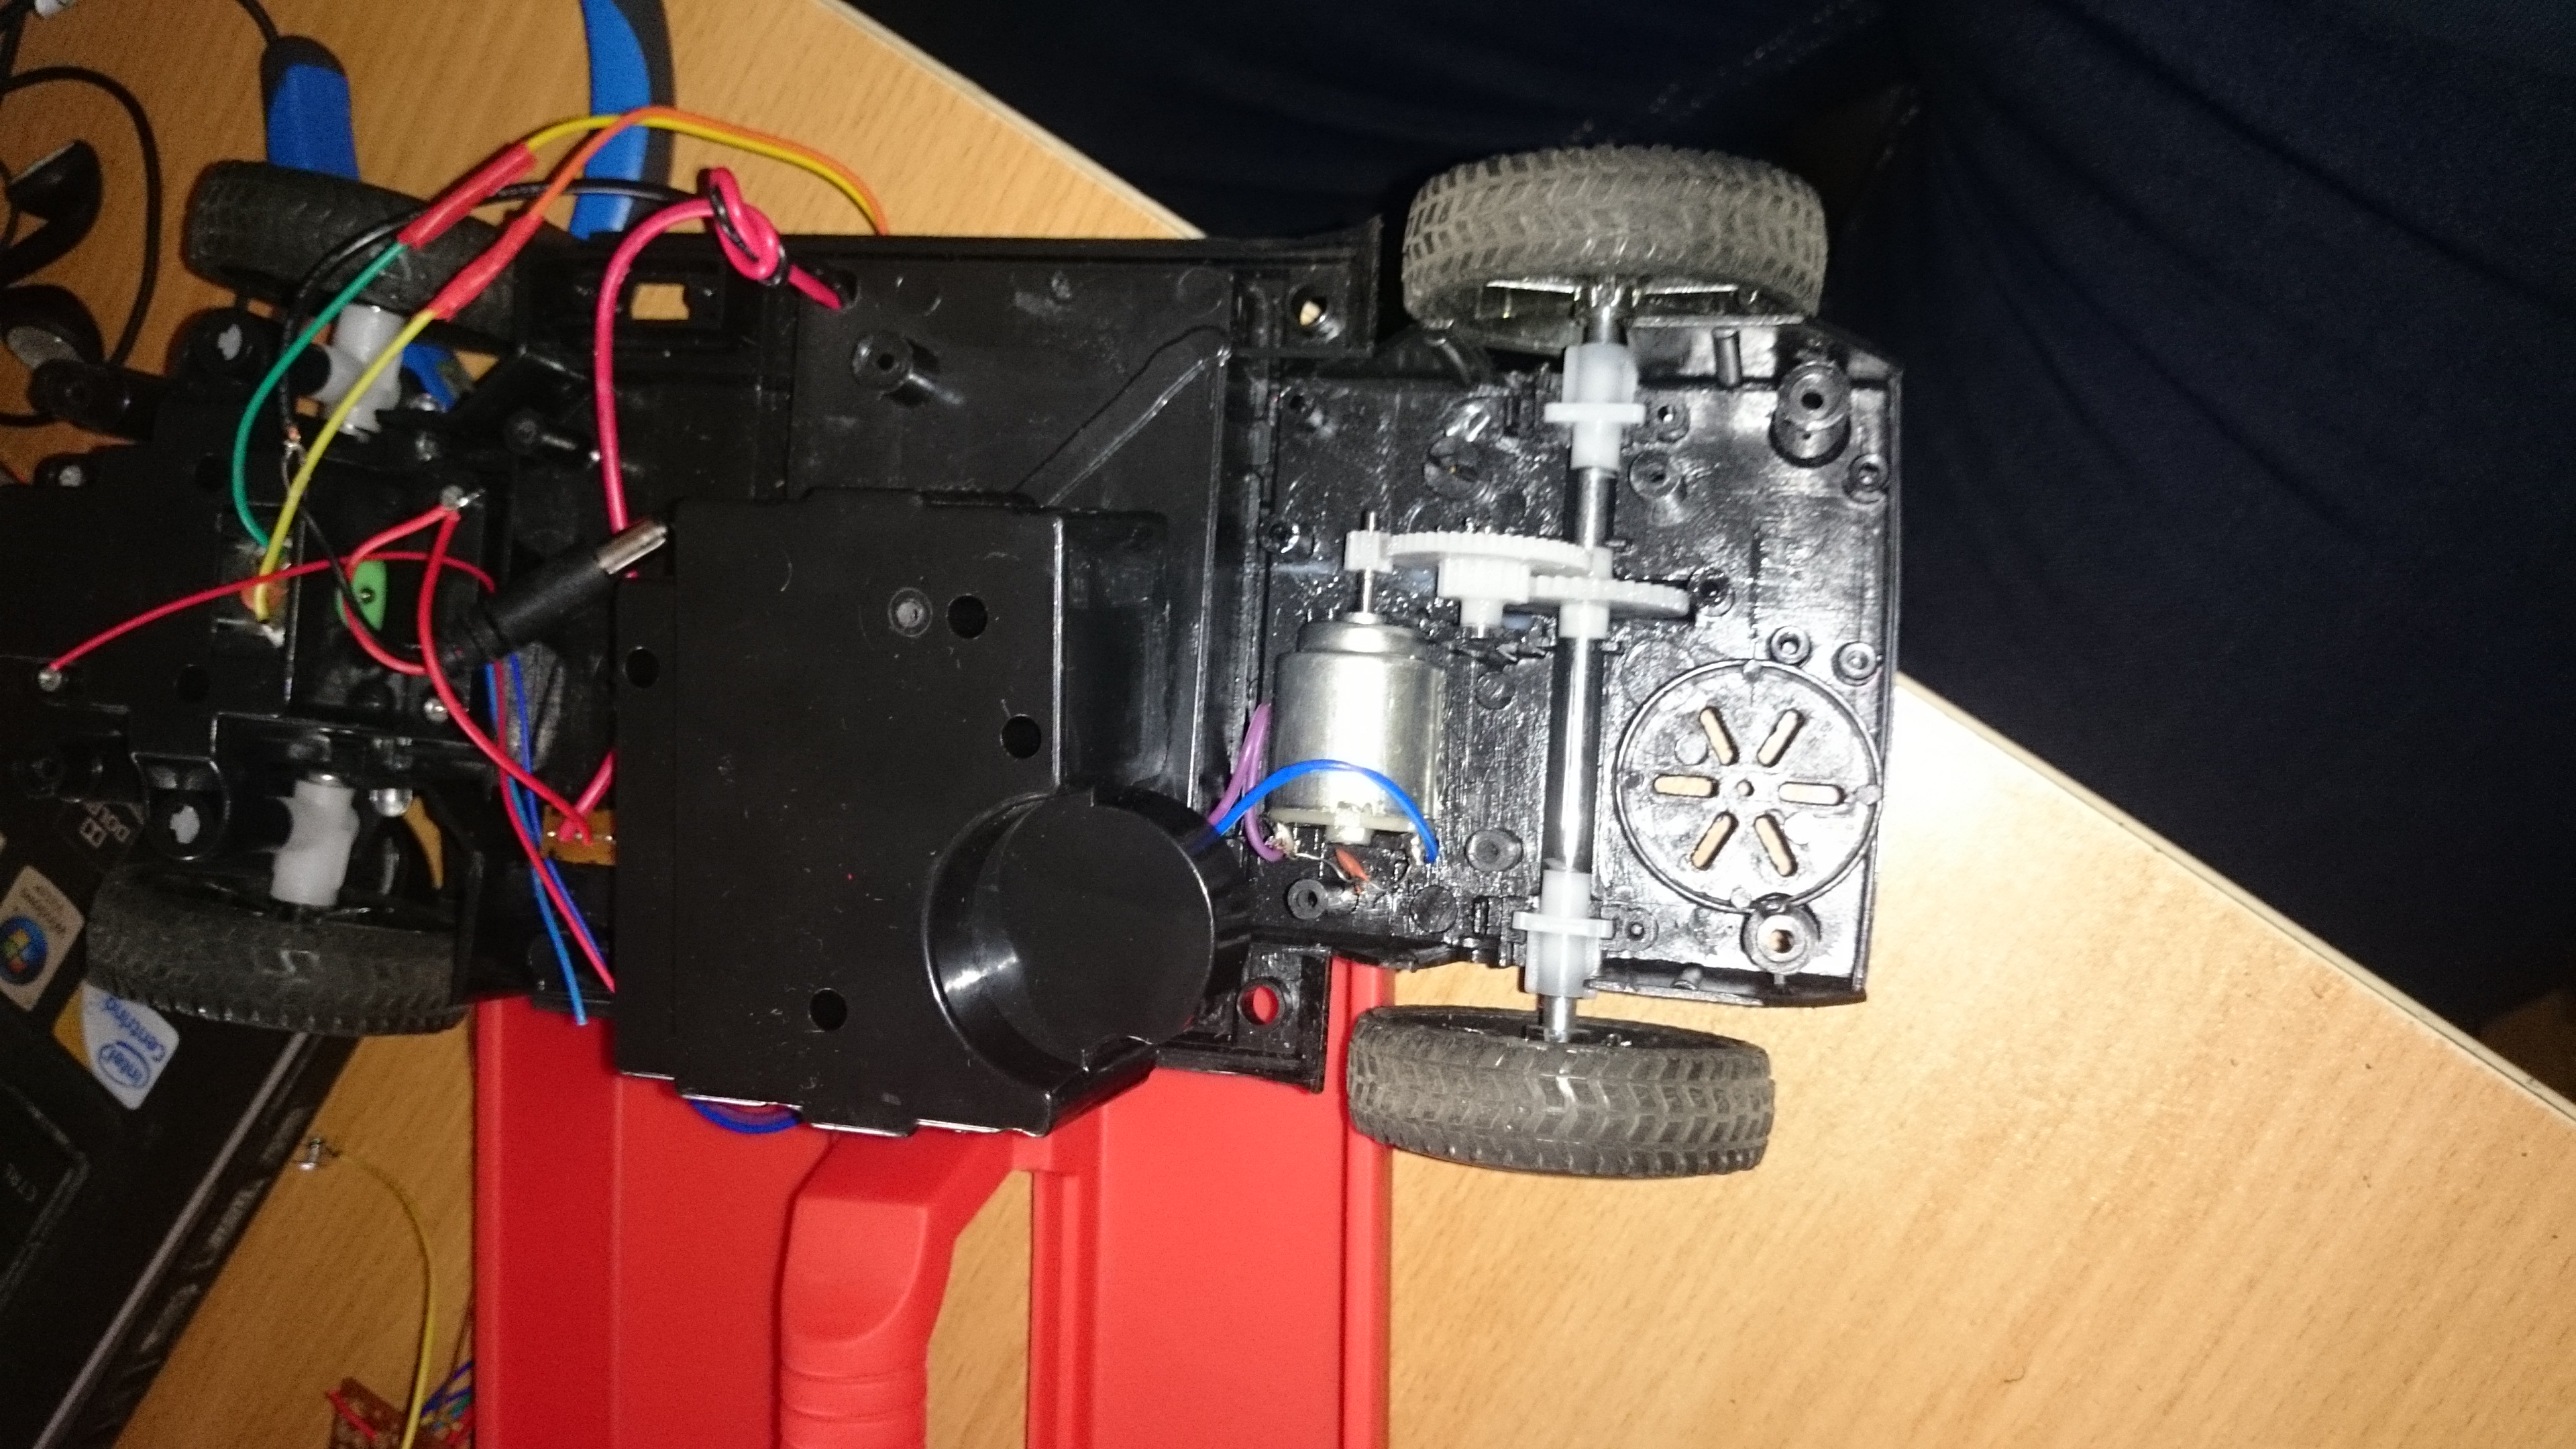
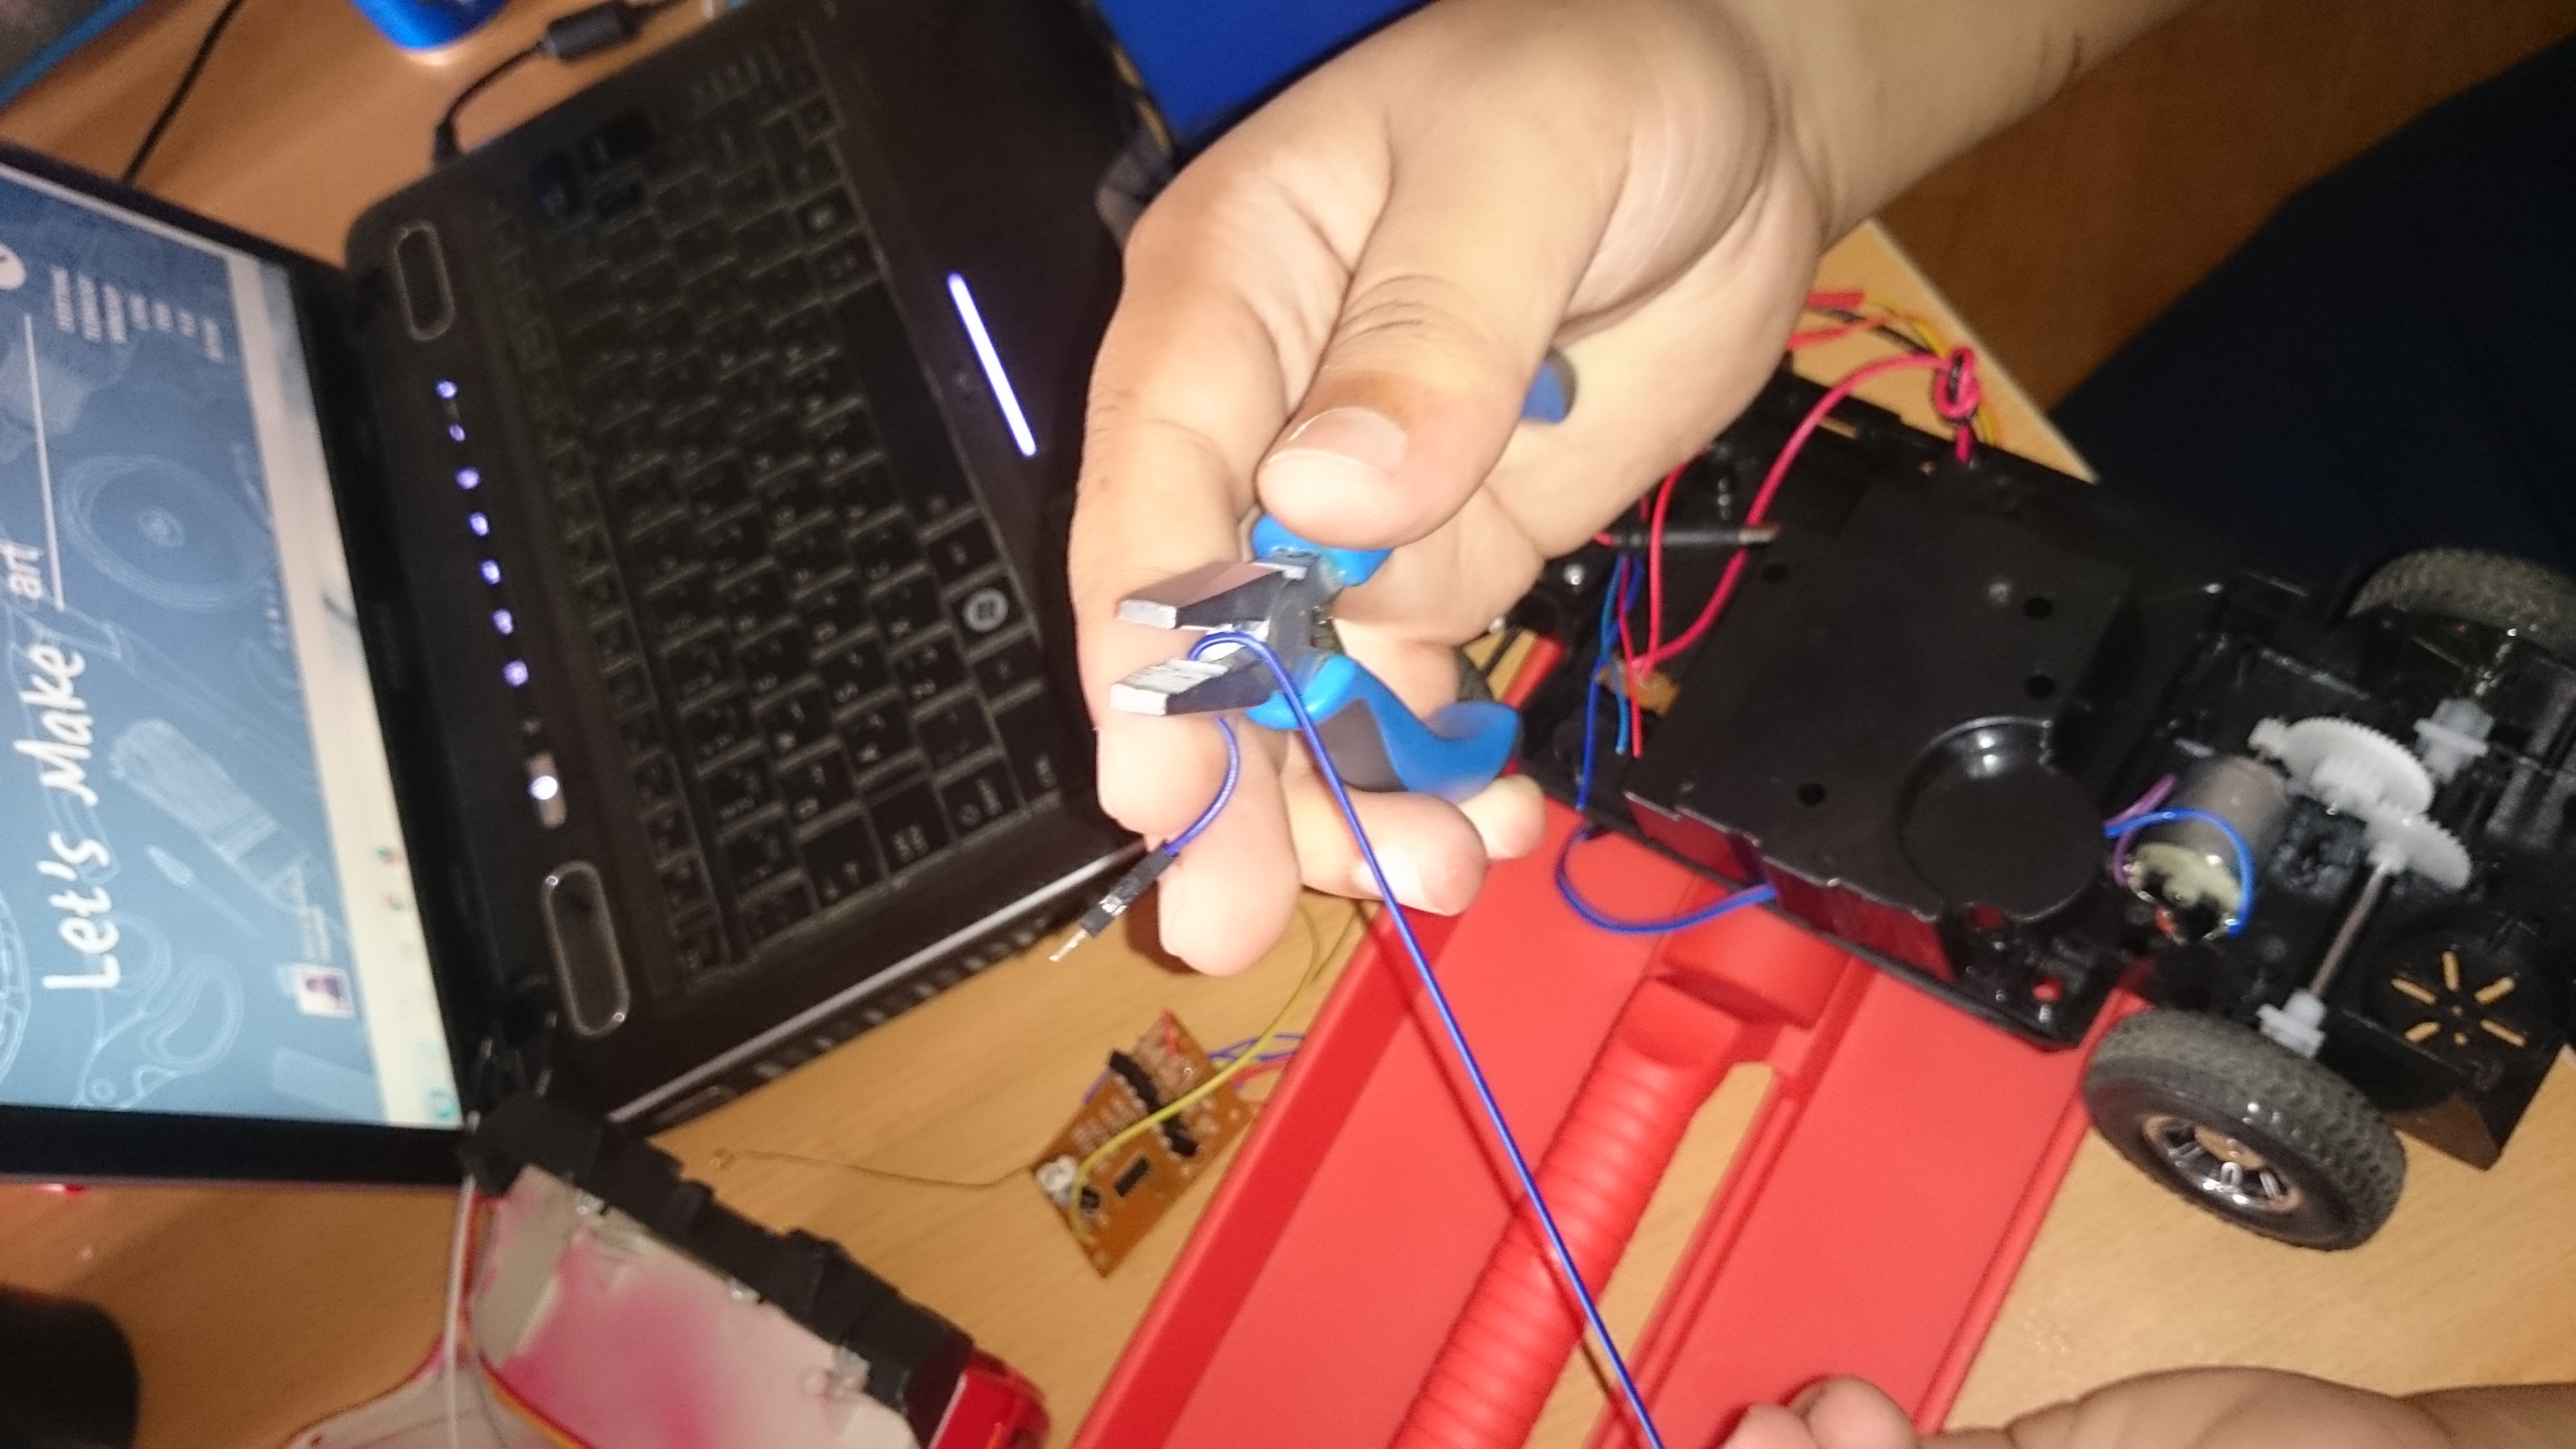
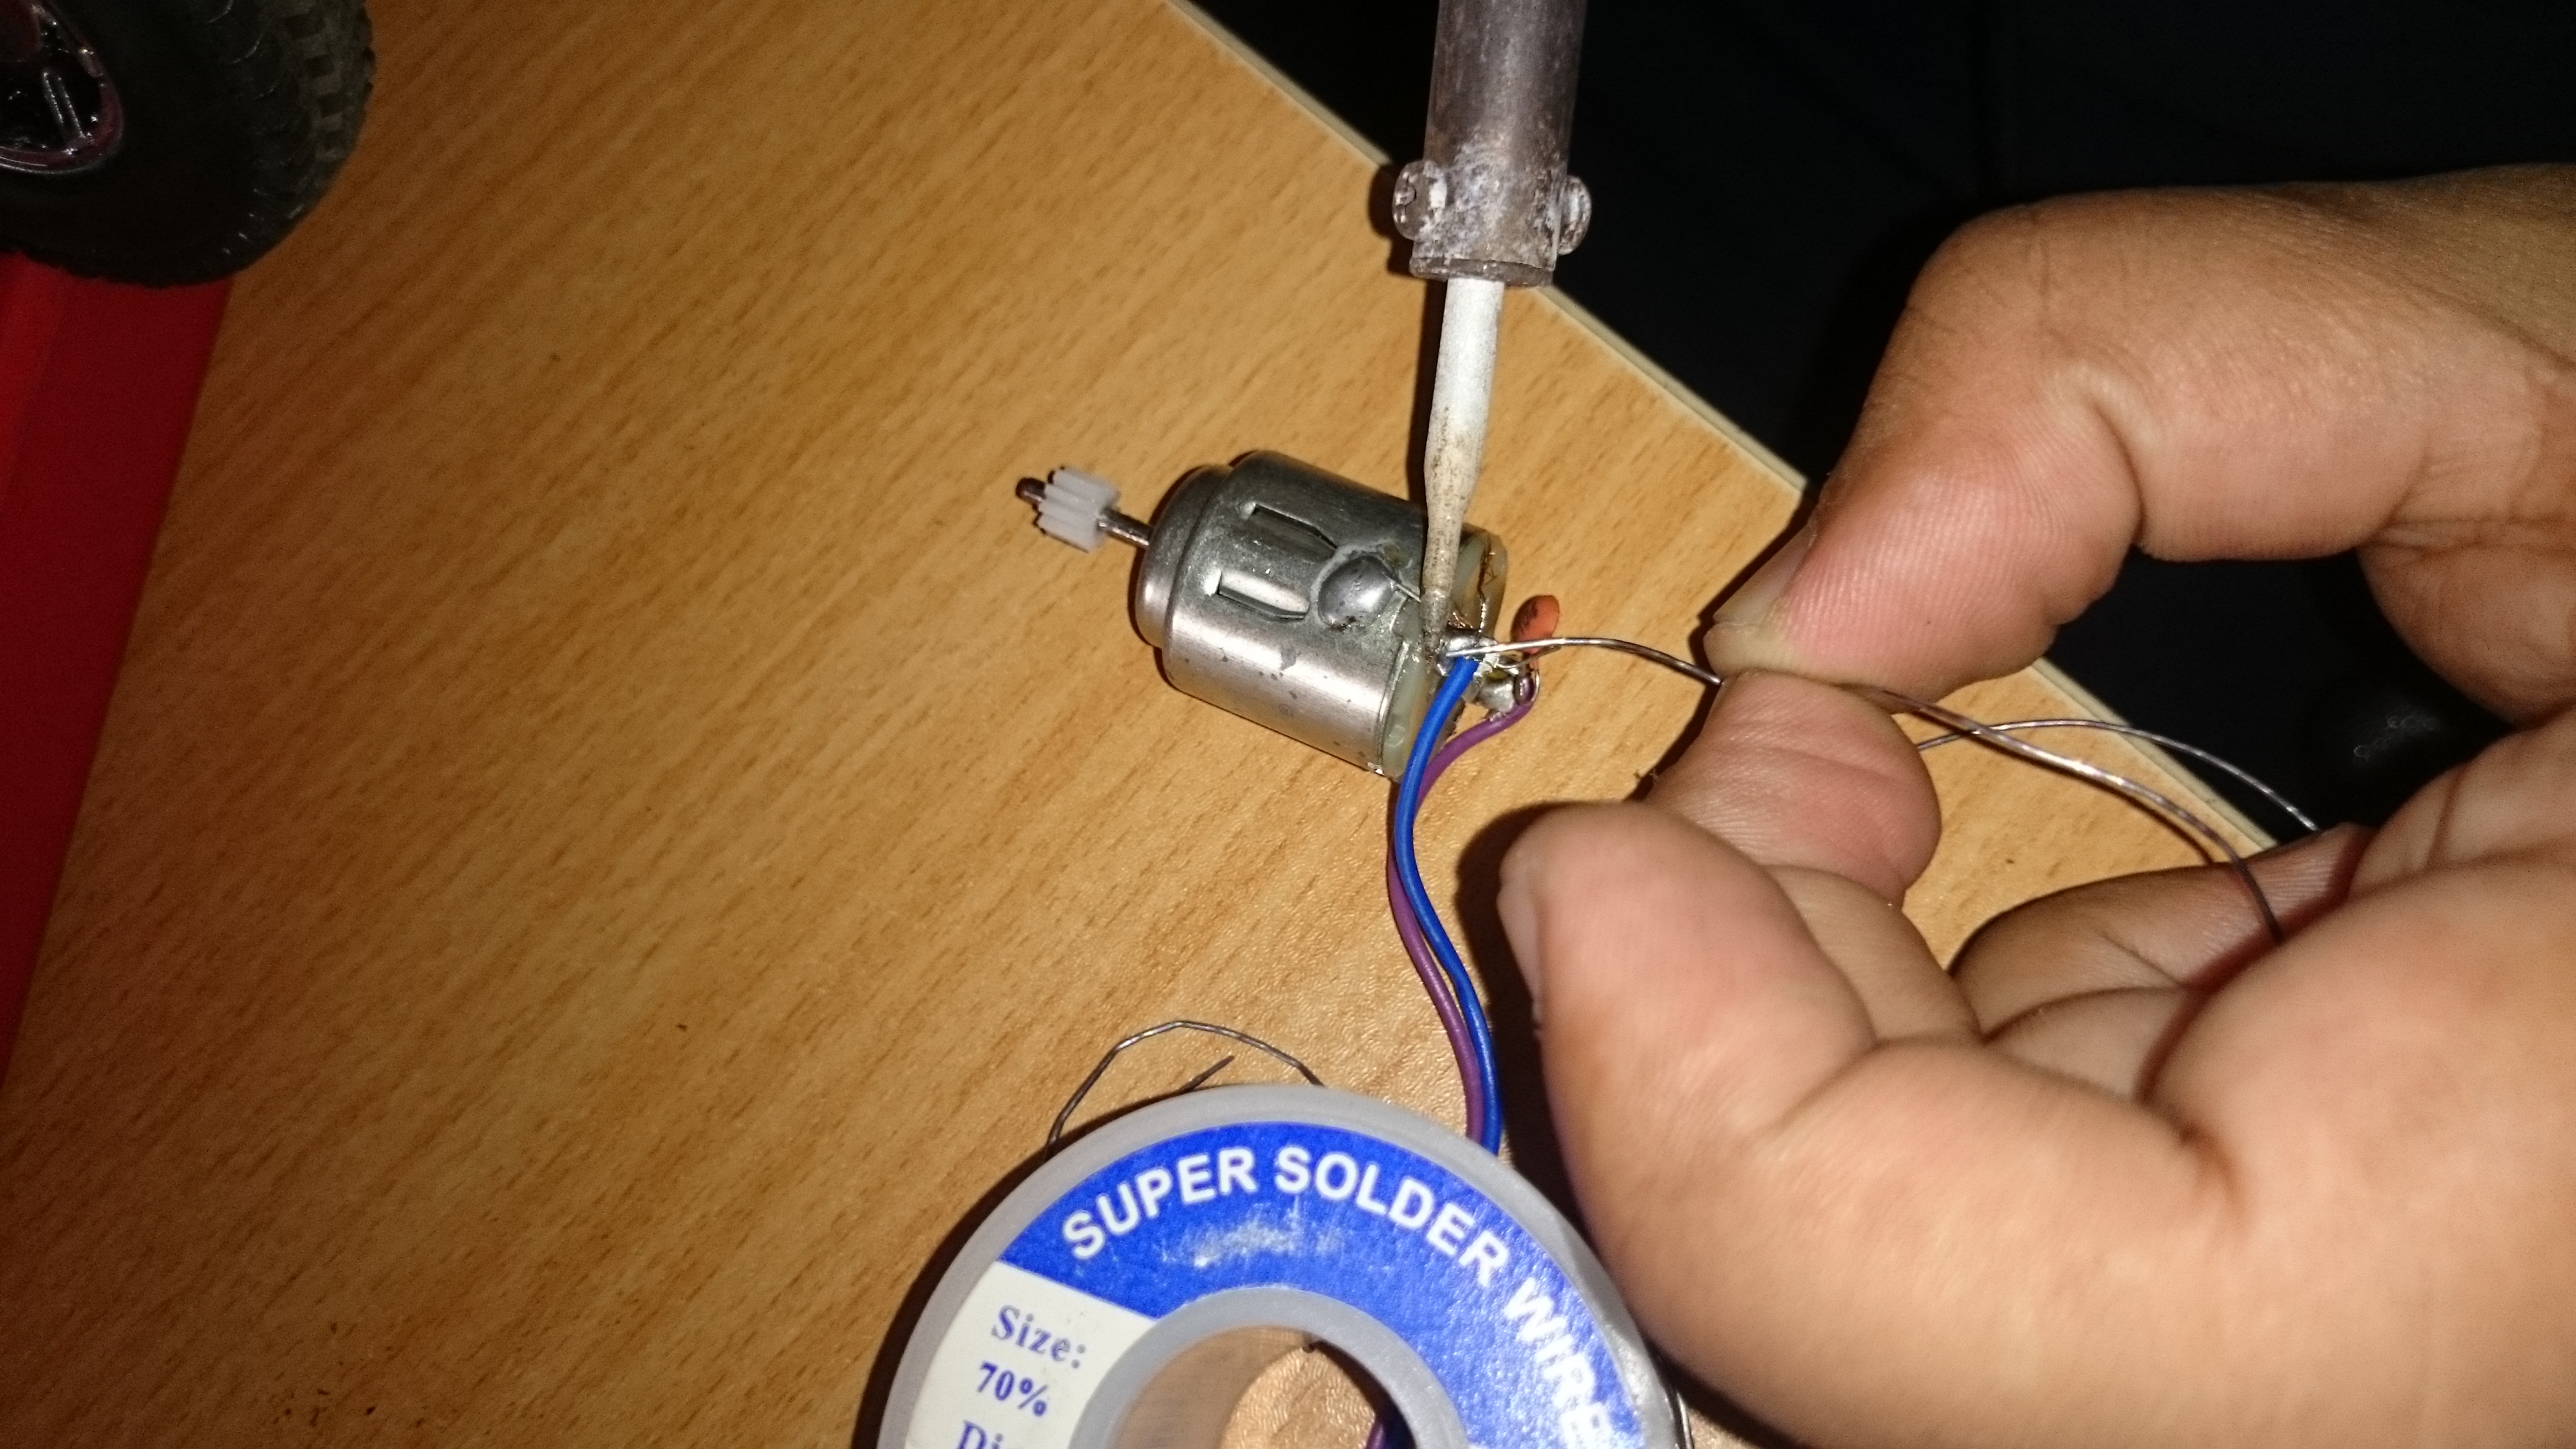
Here, you can find the steps for dis-assembly of the RC car:
1- Remove the bottom base screw of the RC car.
2- Remove the upper part.
3- Cut the wires from the original car PCB.
4- Remove the motor casing.
5- Cut the motor wires (as they are too short in my case).
6- Solder new ones (cut the jumper from the female side to prepare the wire for soldering).
Connect H Bridge
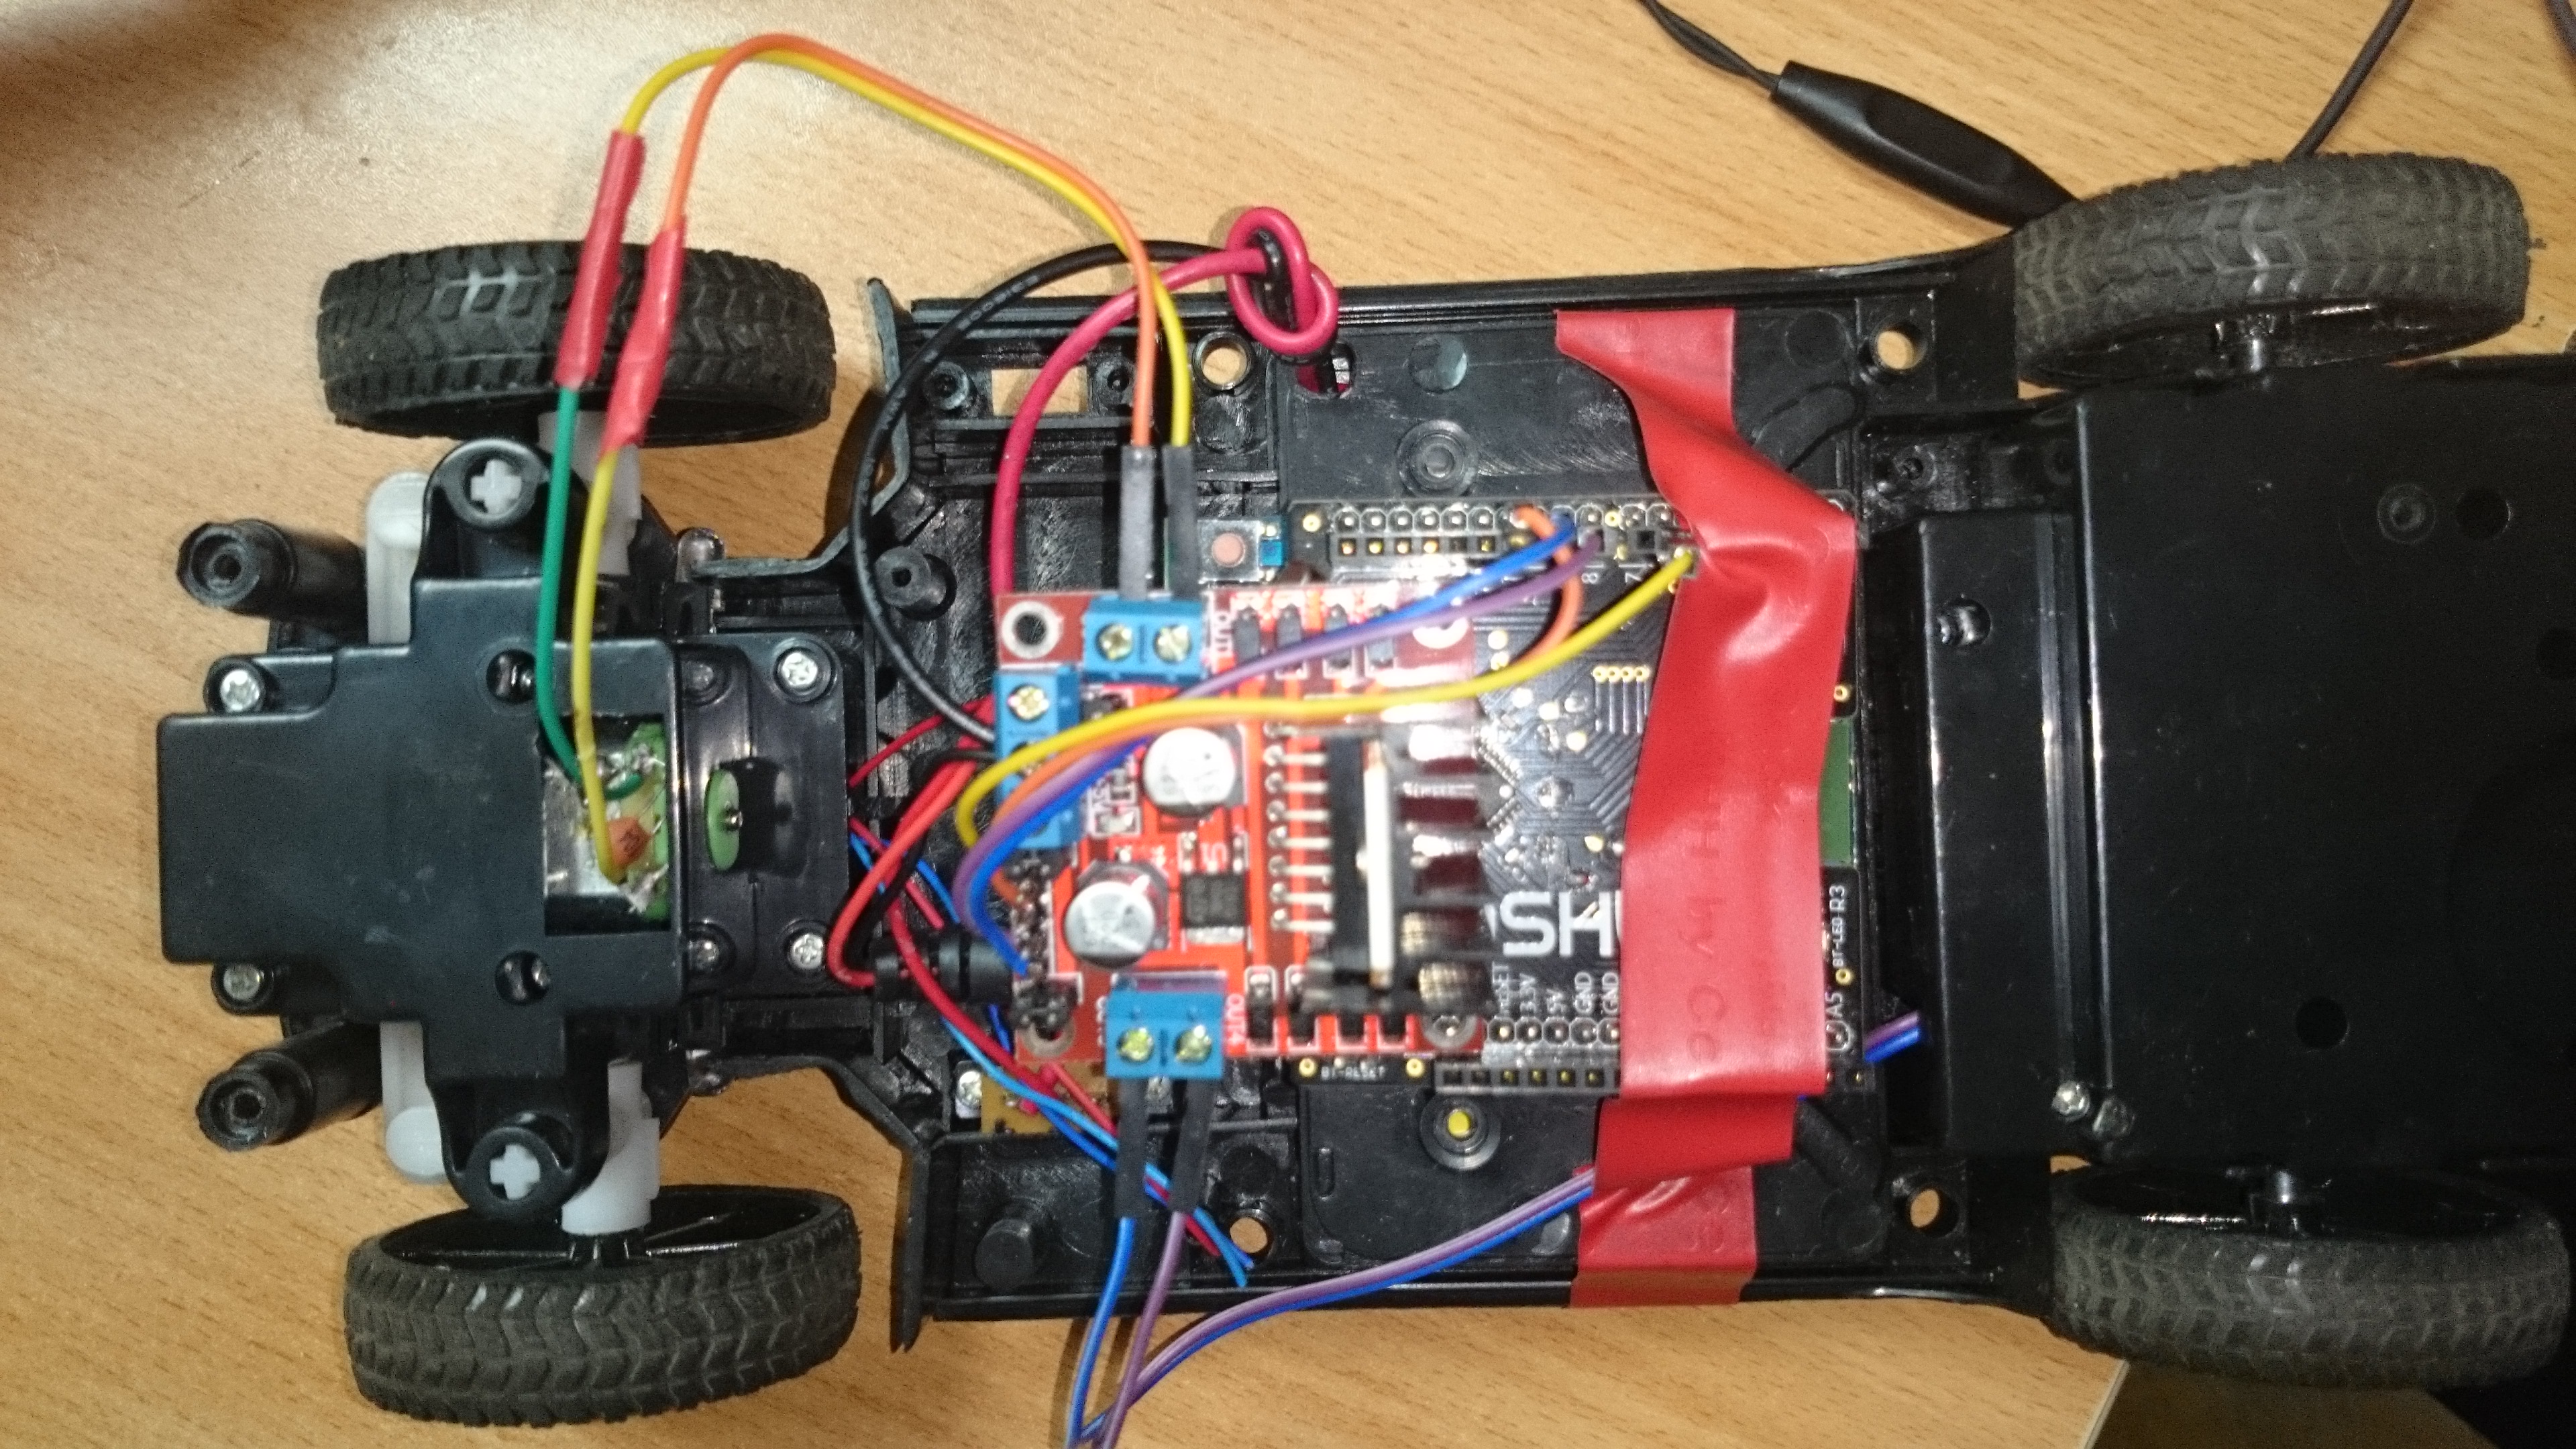
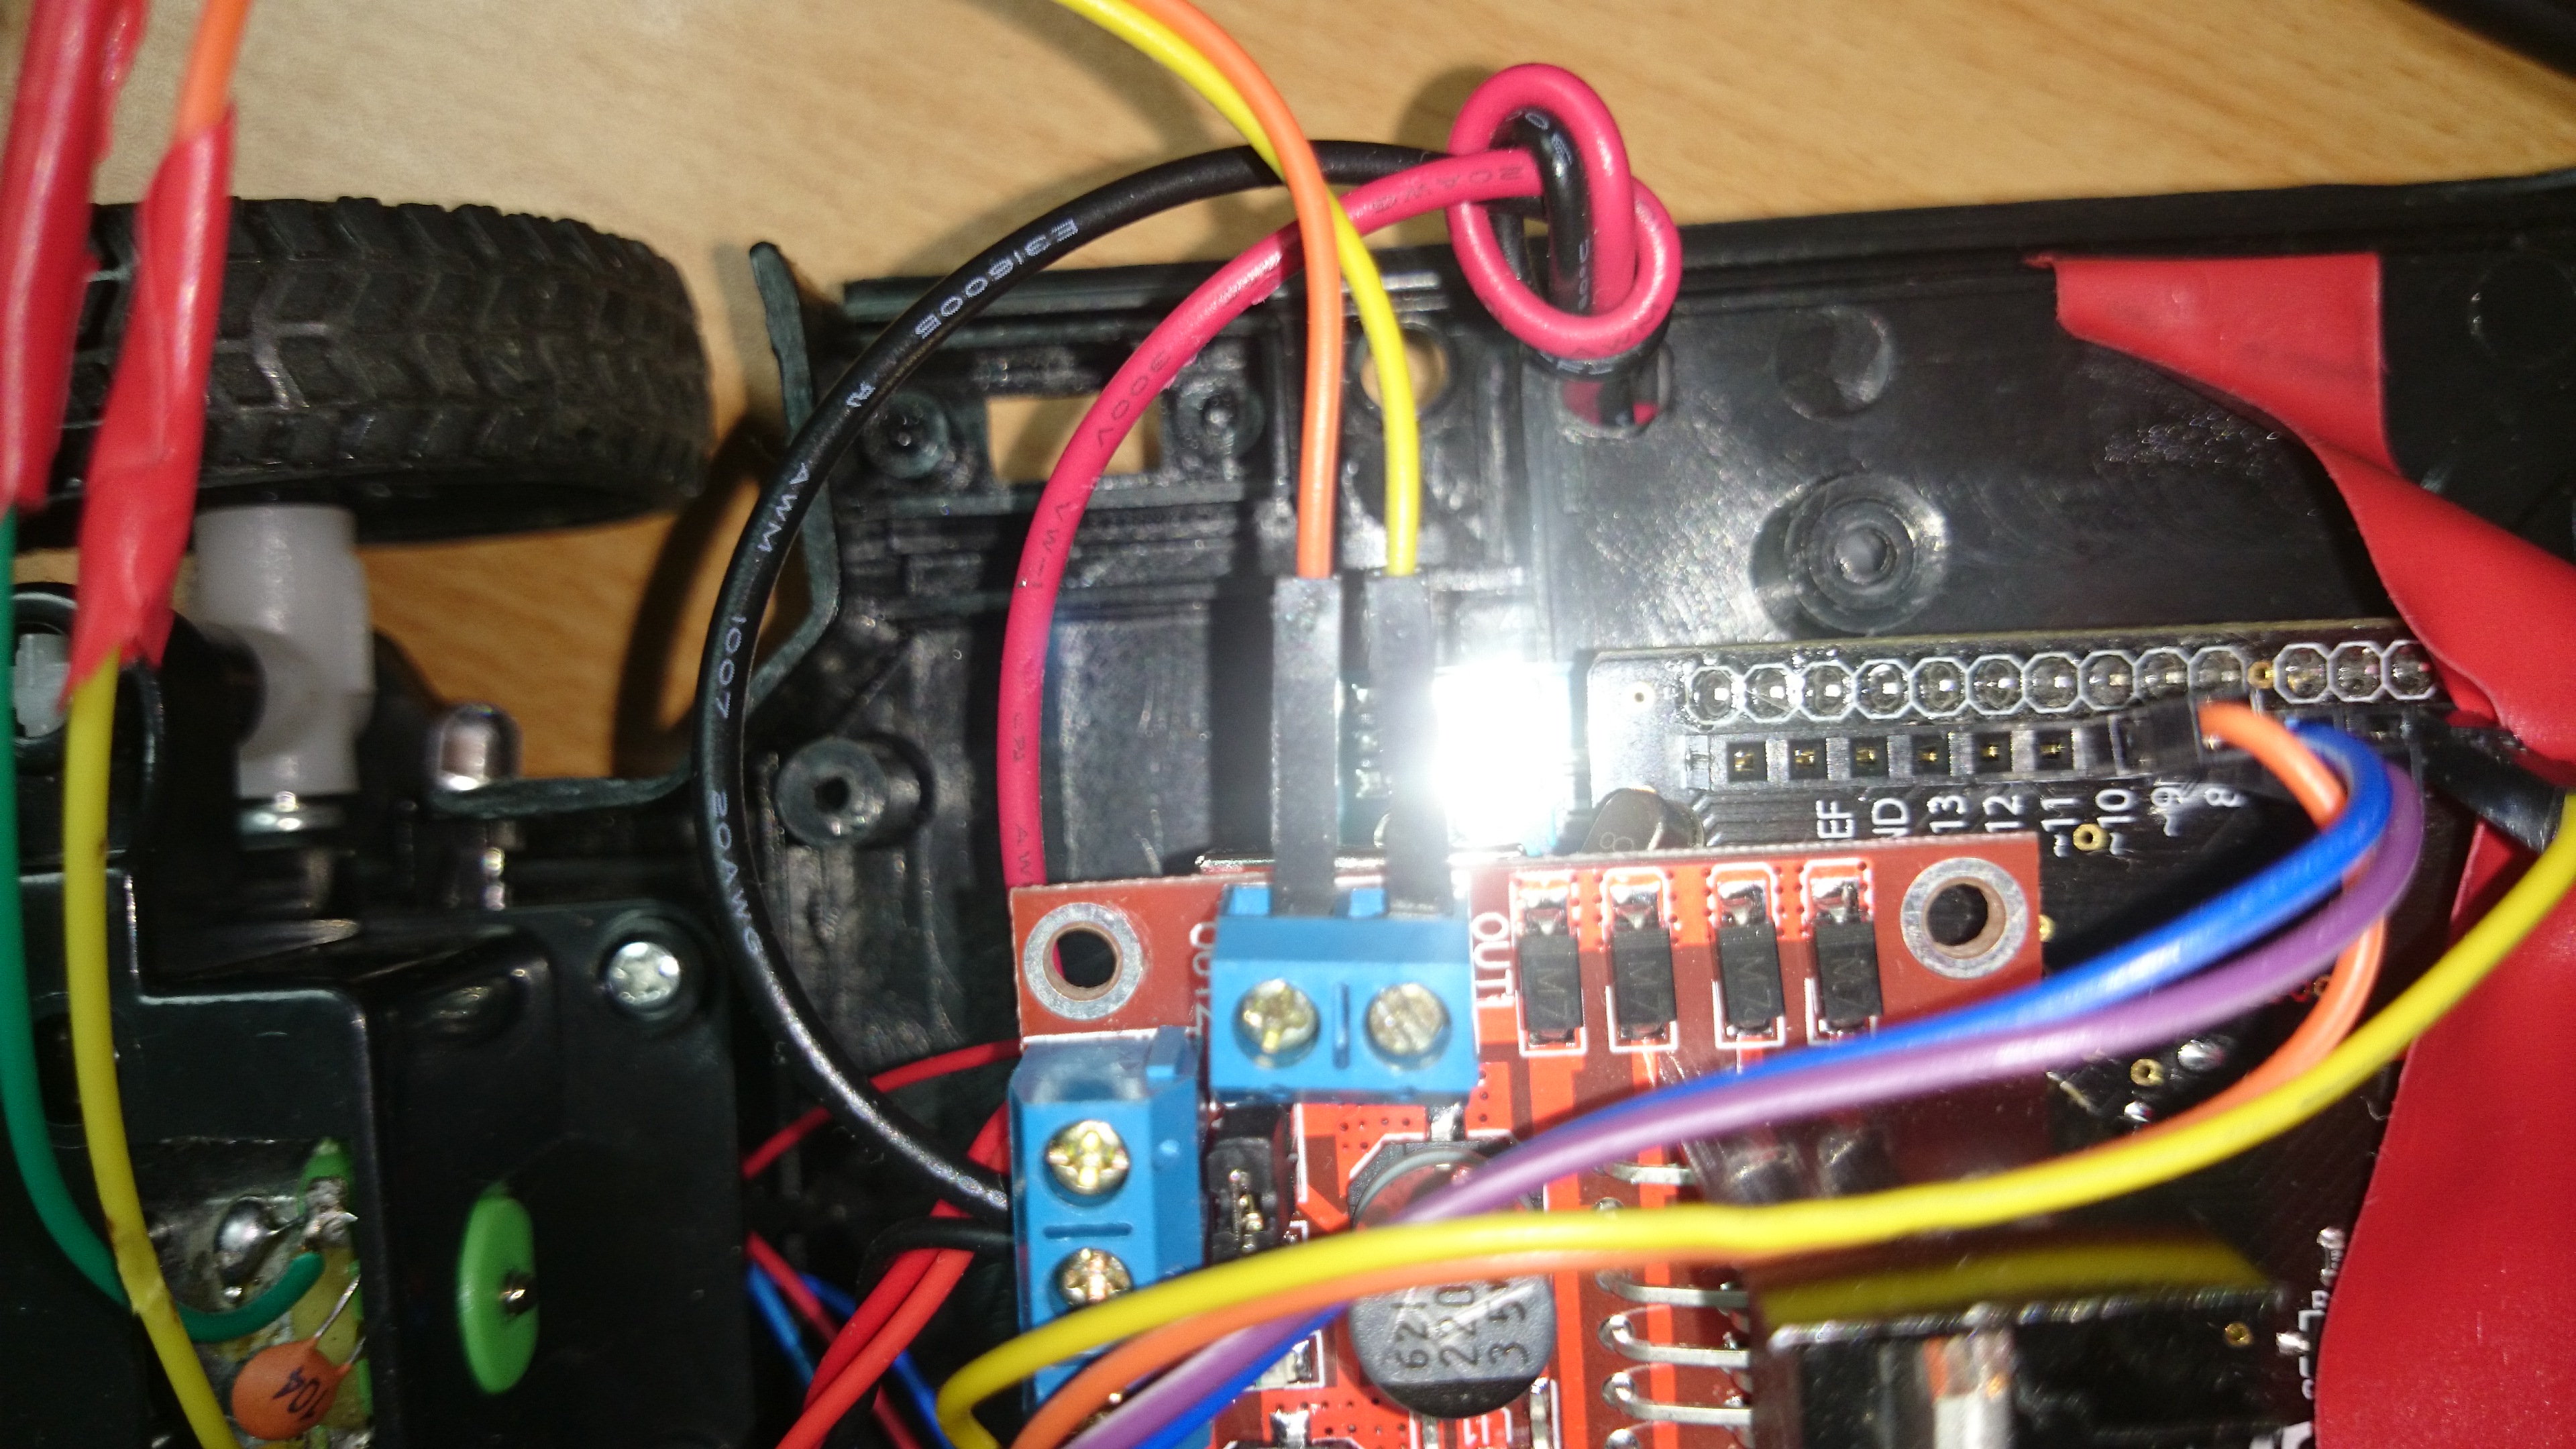
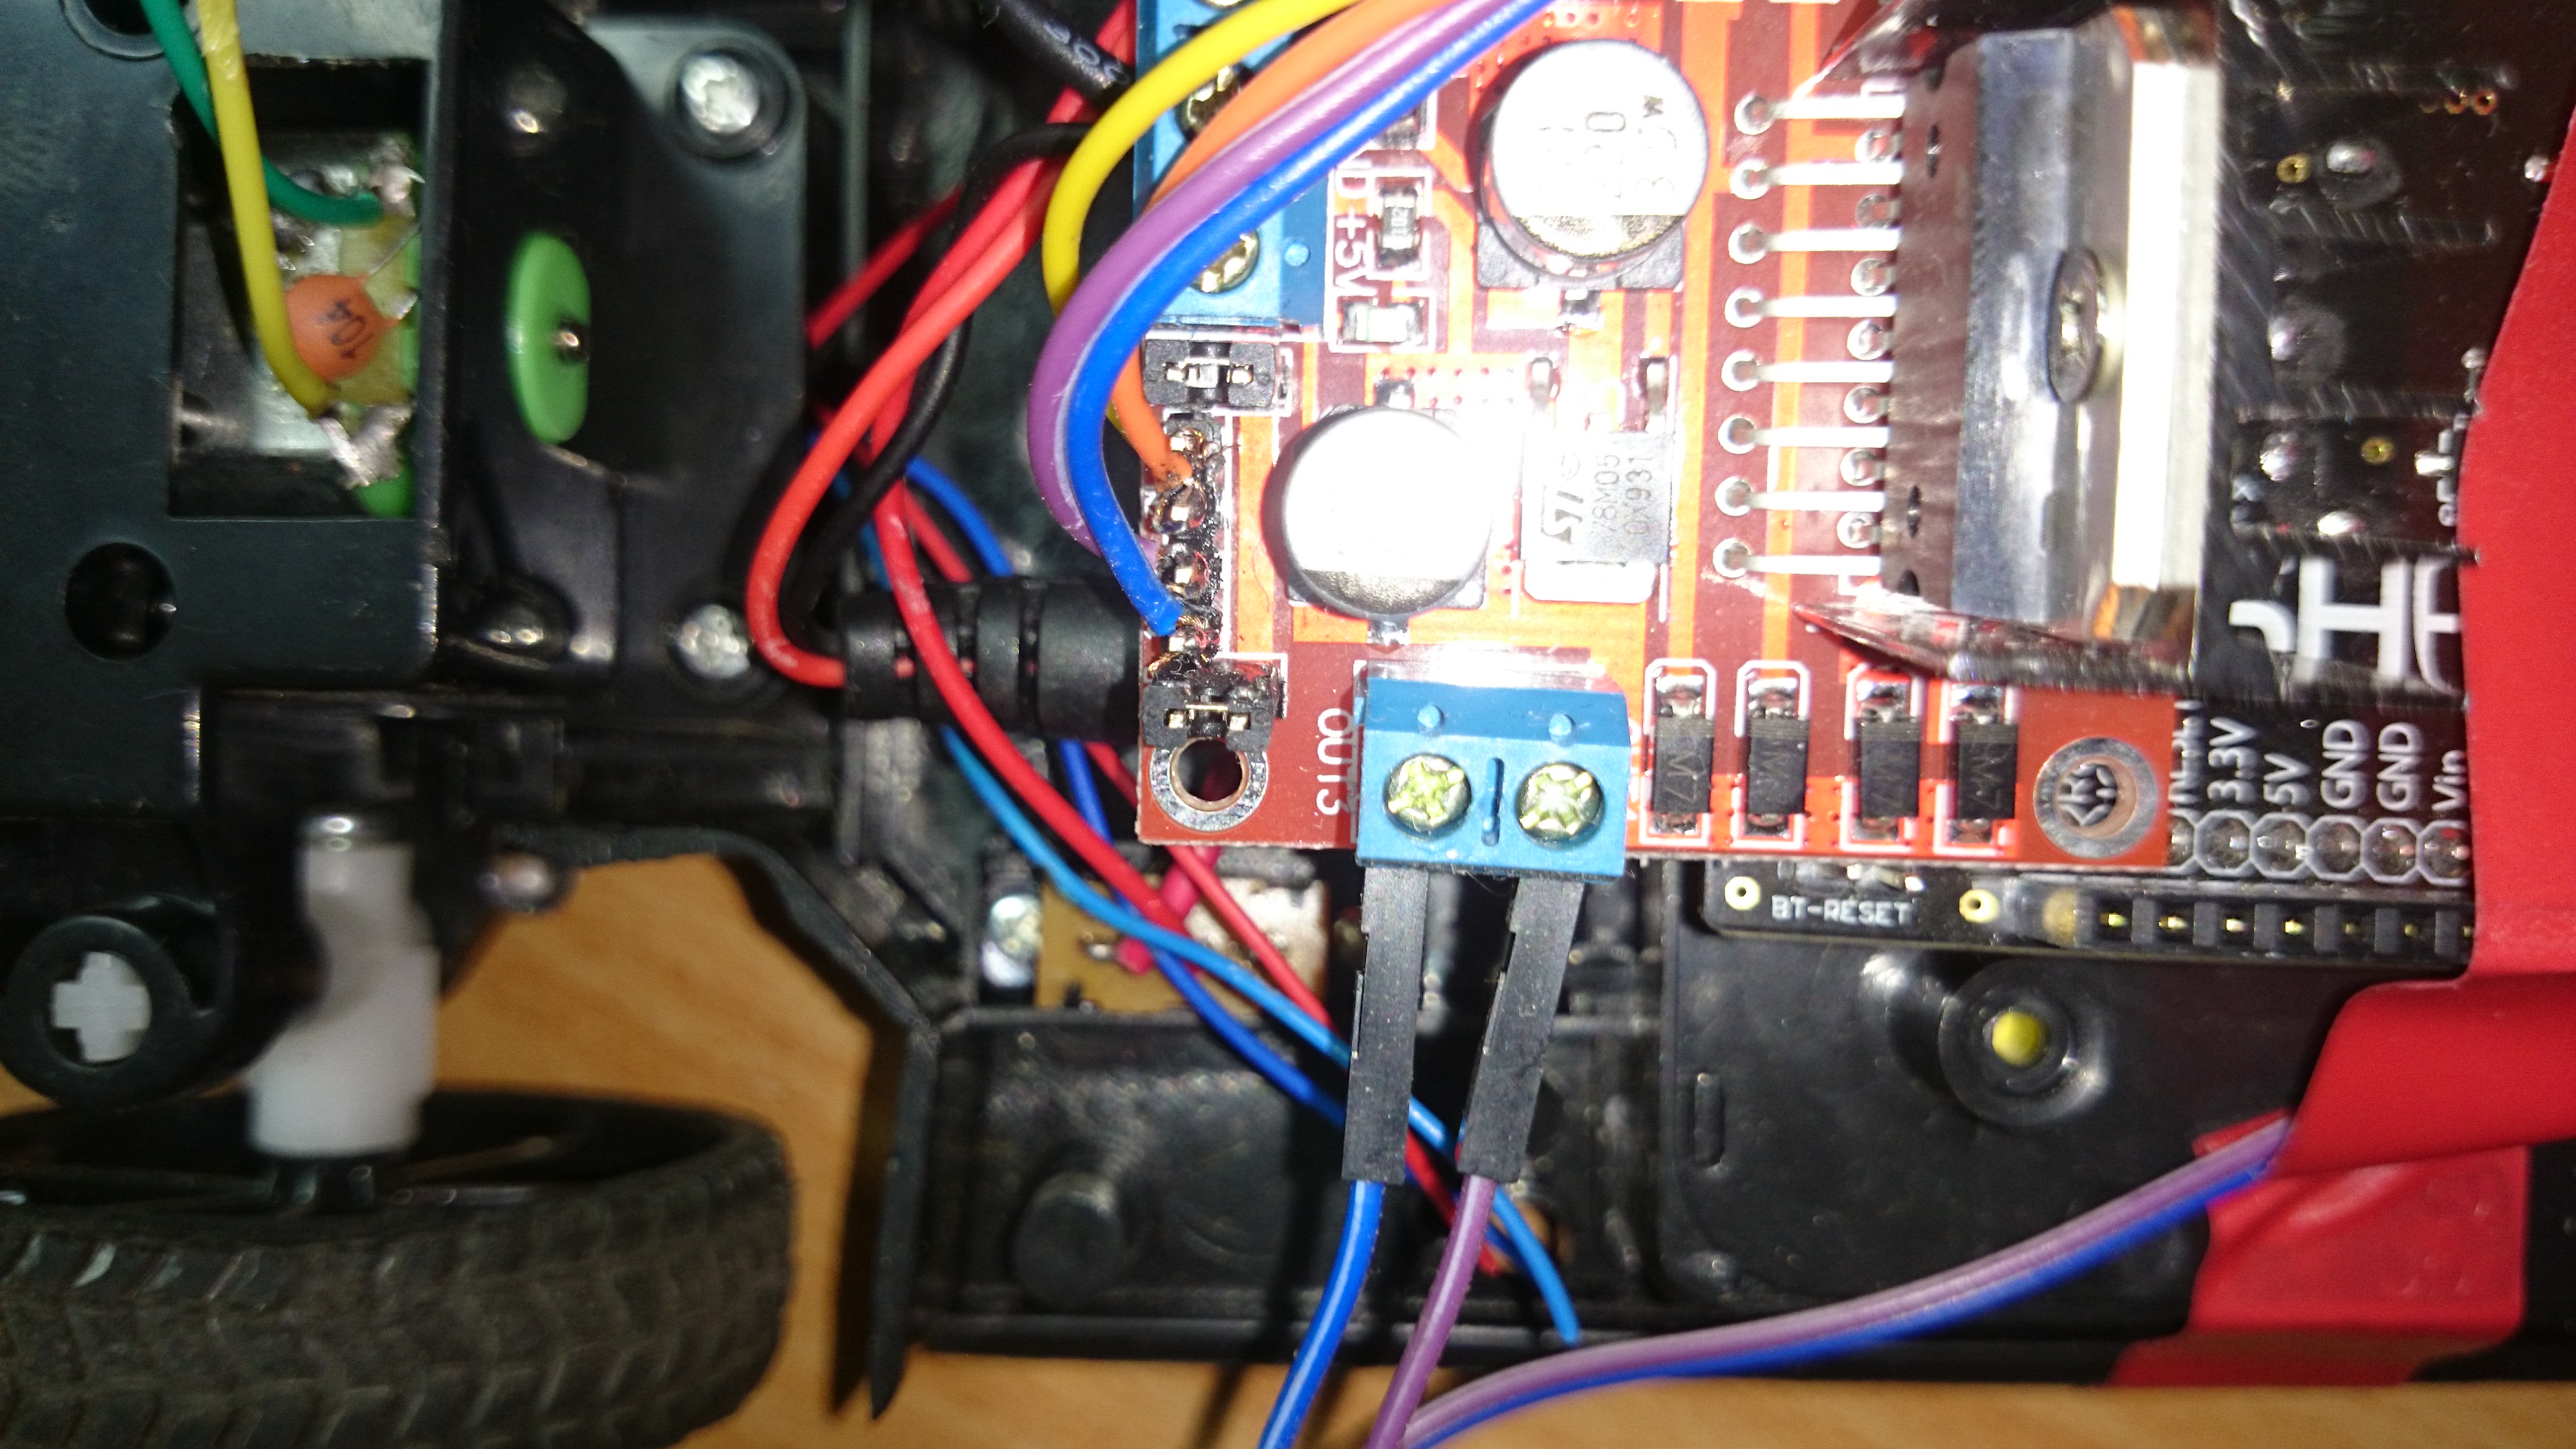
1- Connect the H bridge board with the motors.
Connect the motors terminal in H bridge where every motor take two exit
Front motor
Ch 1 to yellow cable.
Ch 2 to orange cable.
Rear motor
Ch 3 to Purple cable.
Ch 4 to blue cable.
2- Connect the battery
Connect the positive pole of the car battery to the H bridge where indicated on board "red cable".
Connect the negative pole of the car battery to H bridge where indicated on board "black cable".
3- Connect the male power plugs
Red with red and black with black.
Arduino,1Sheeld and H Bridge
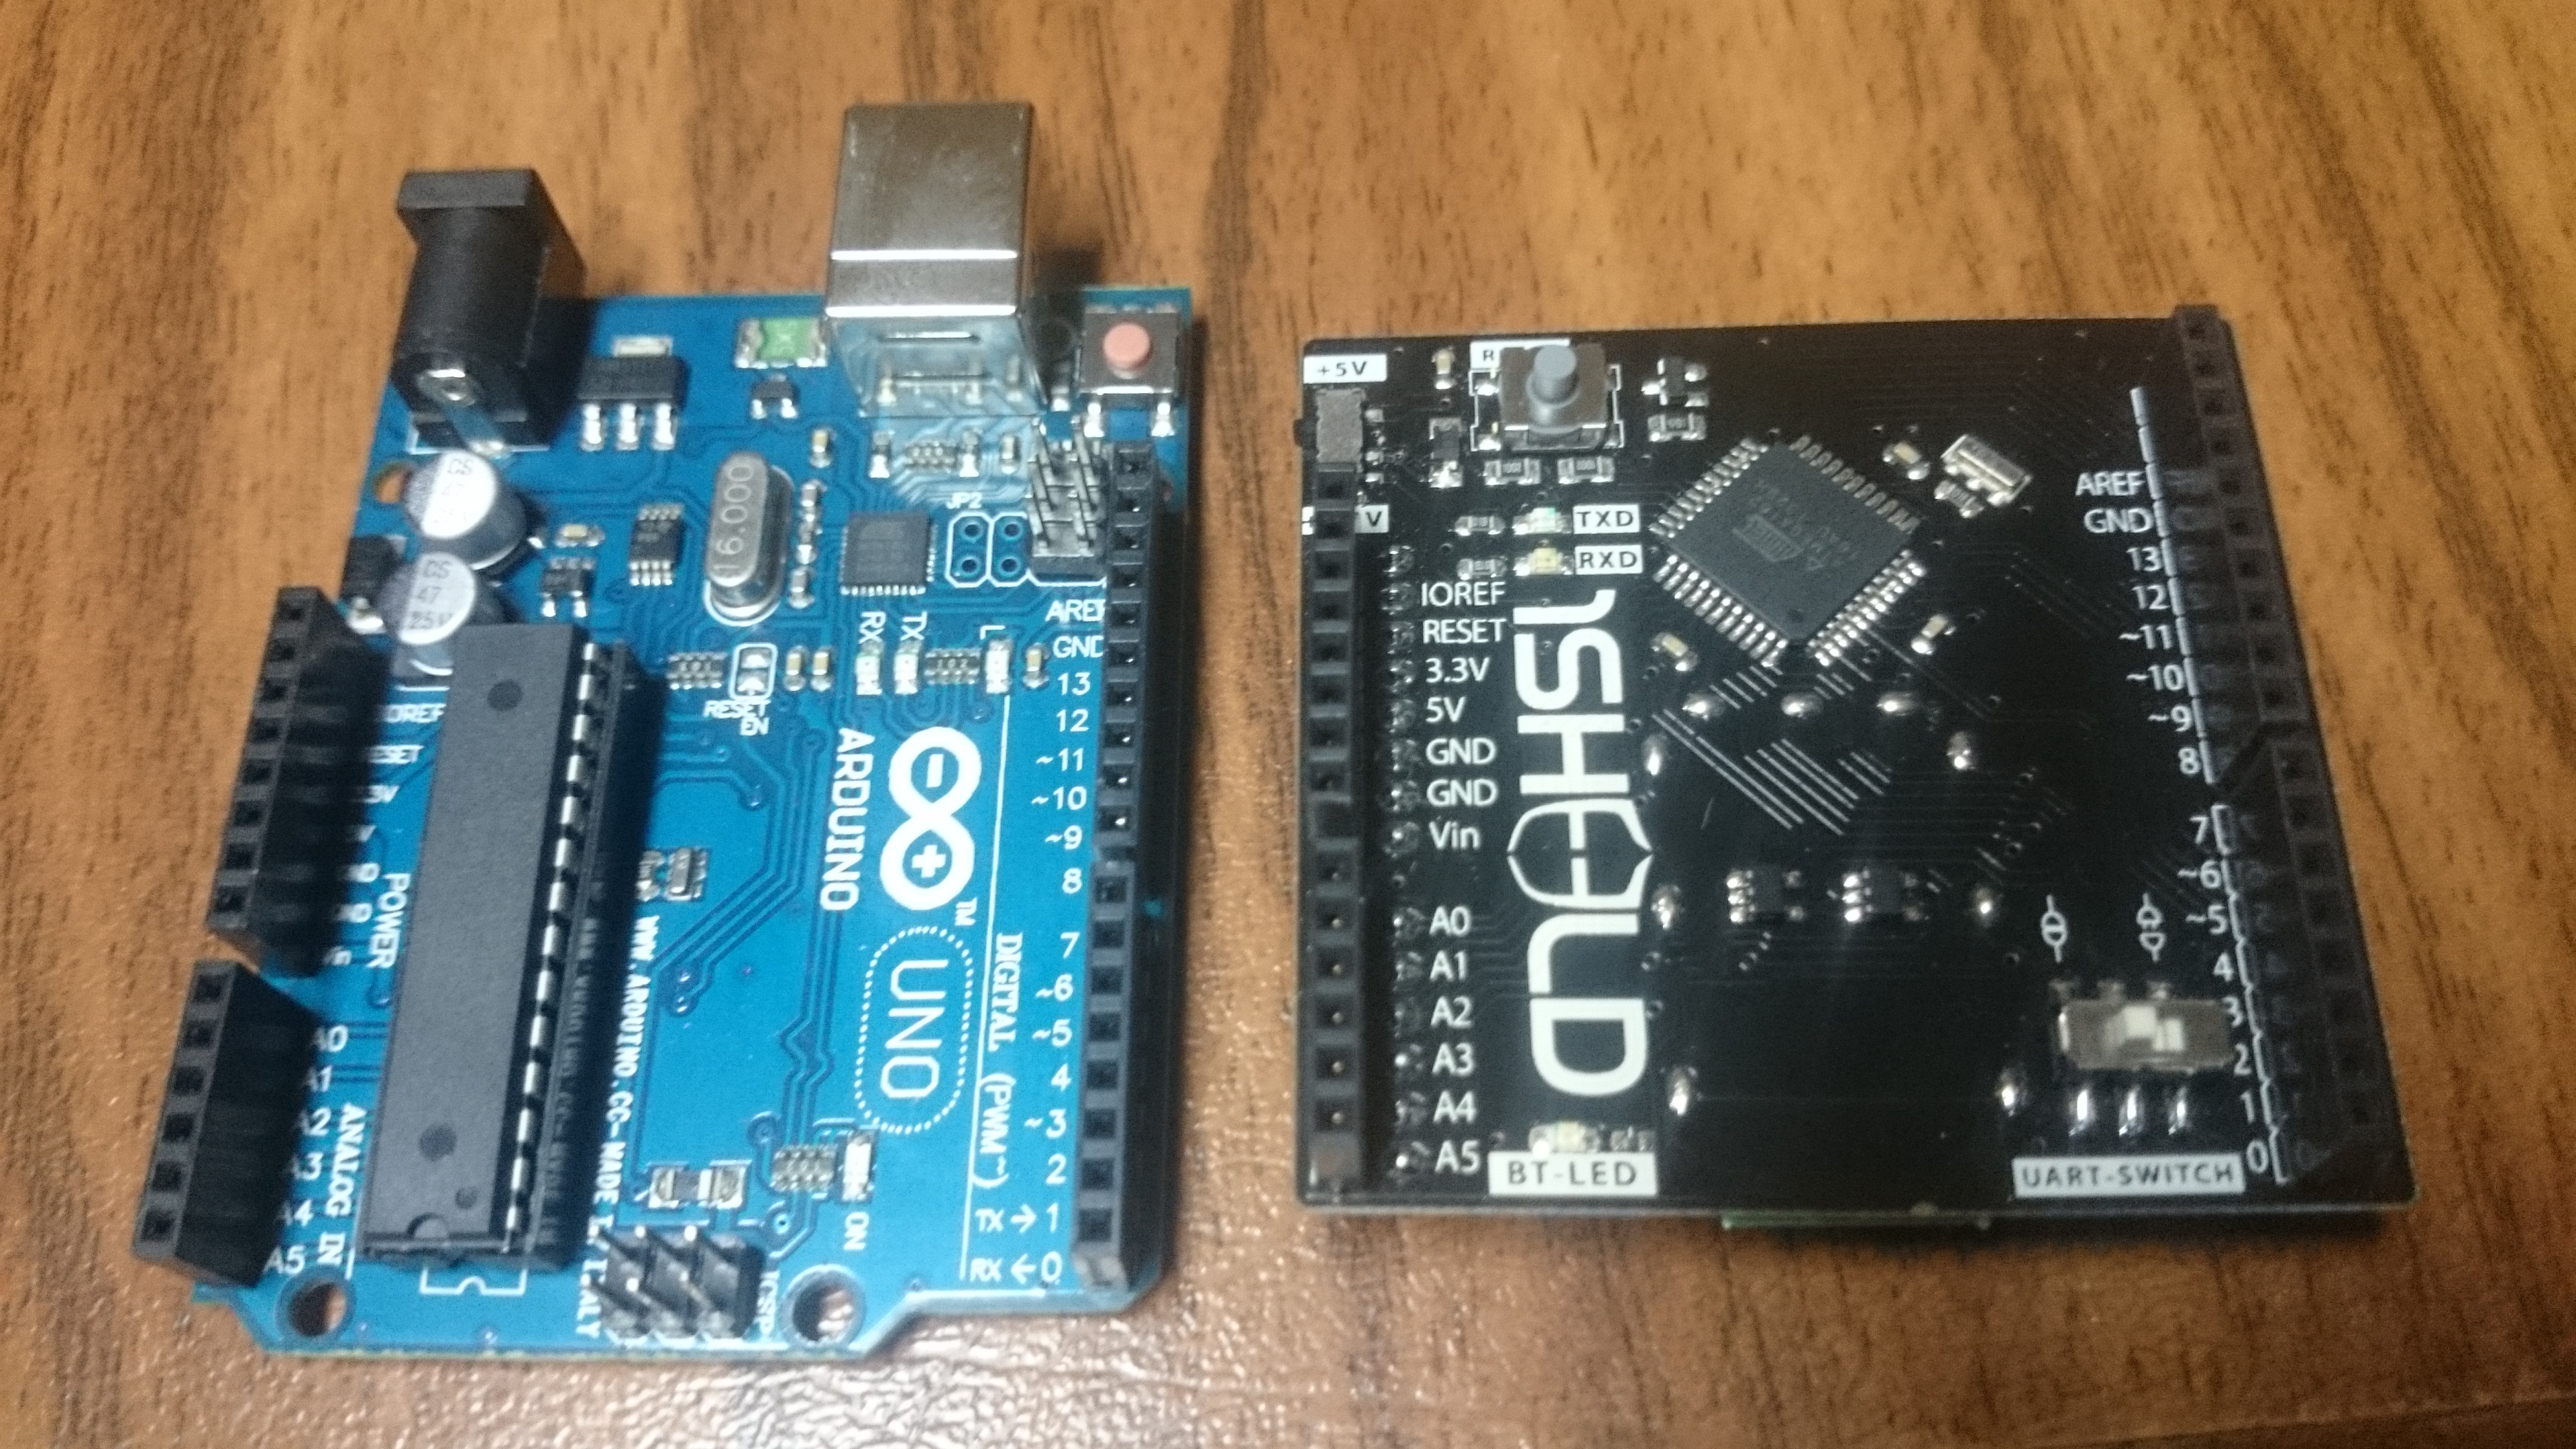
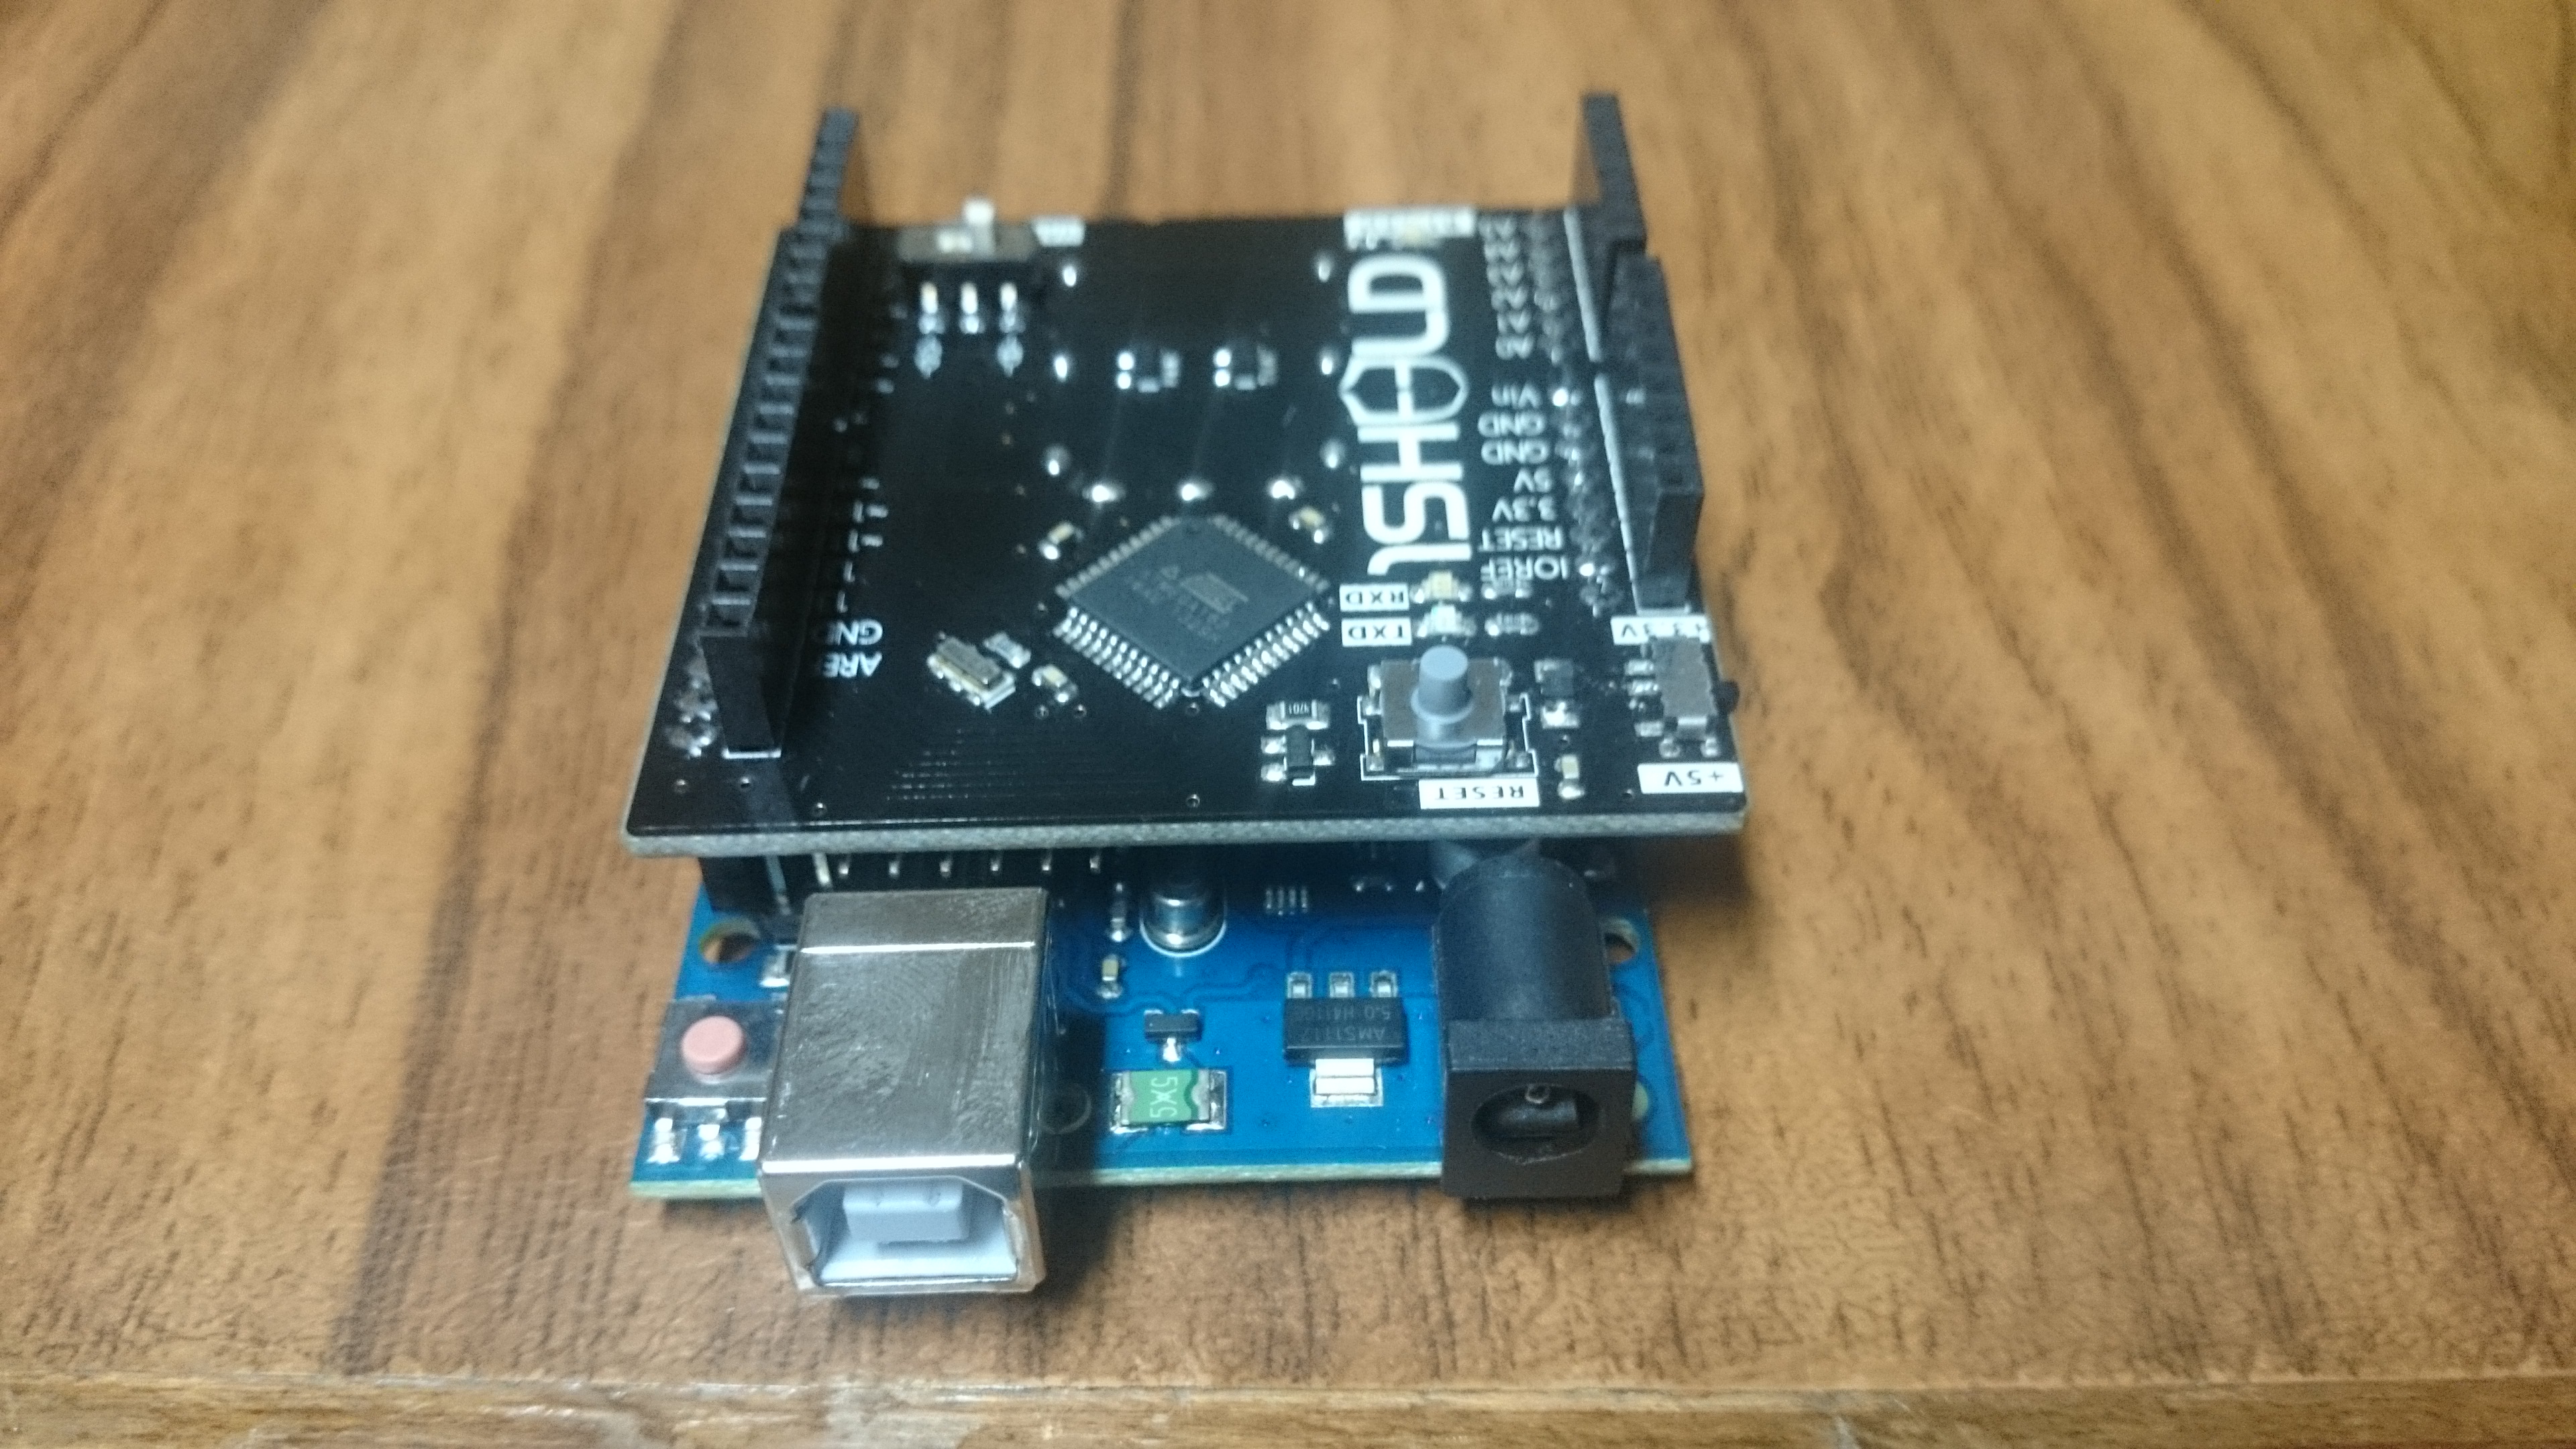
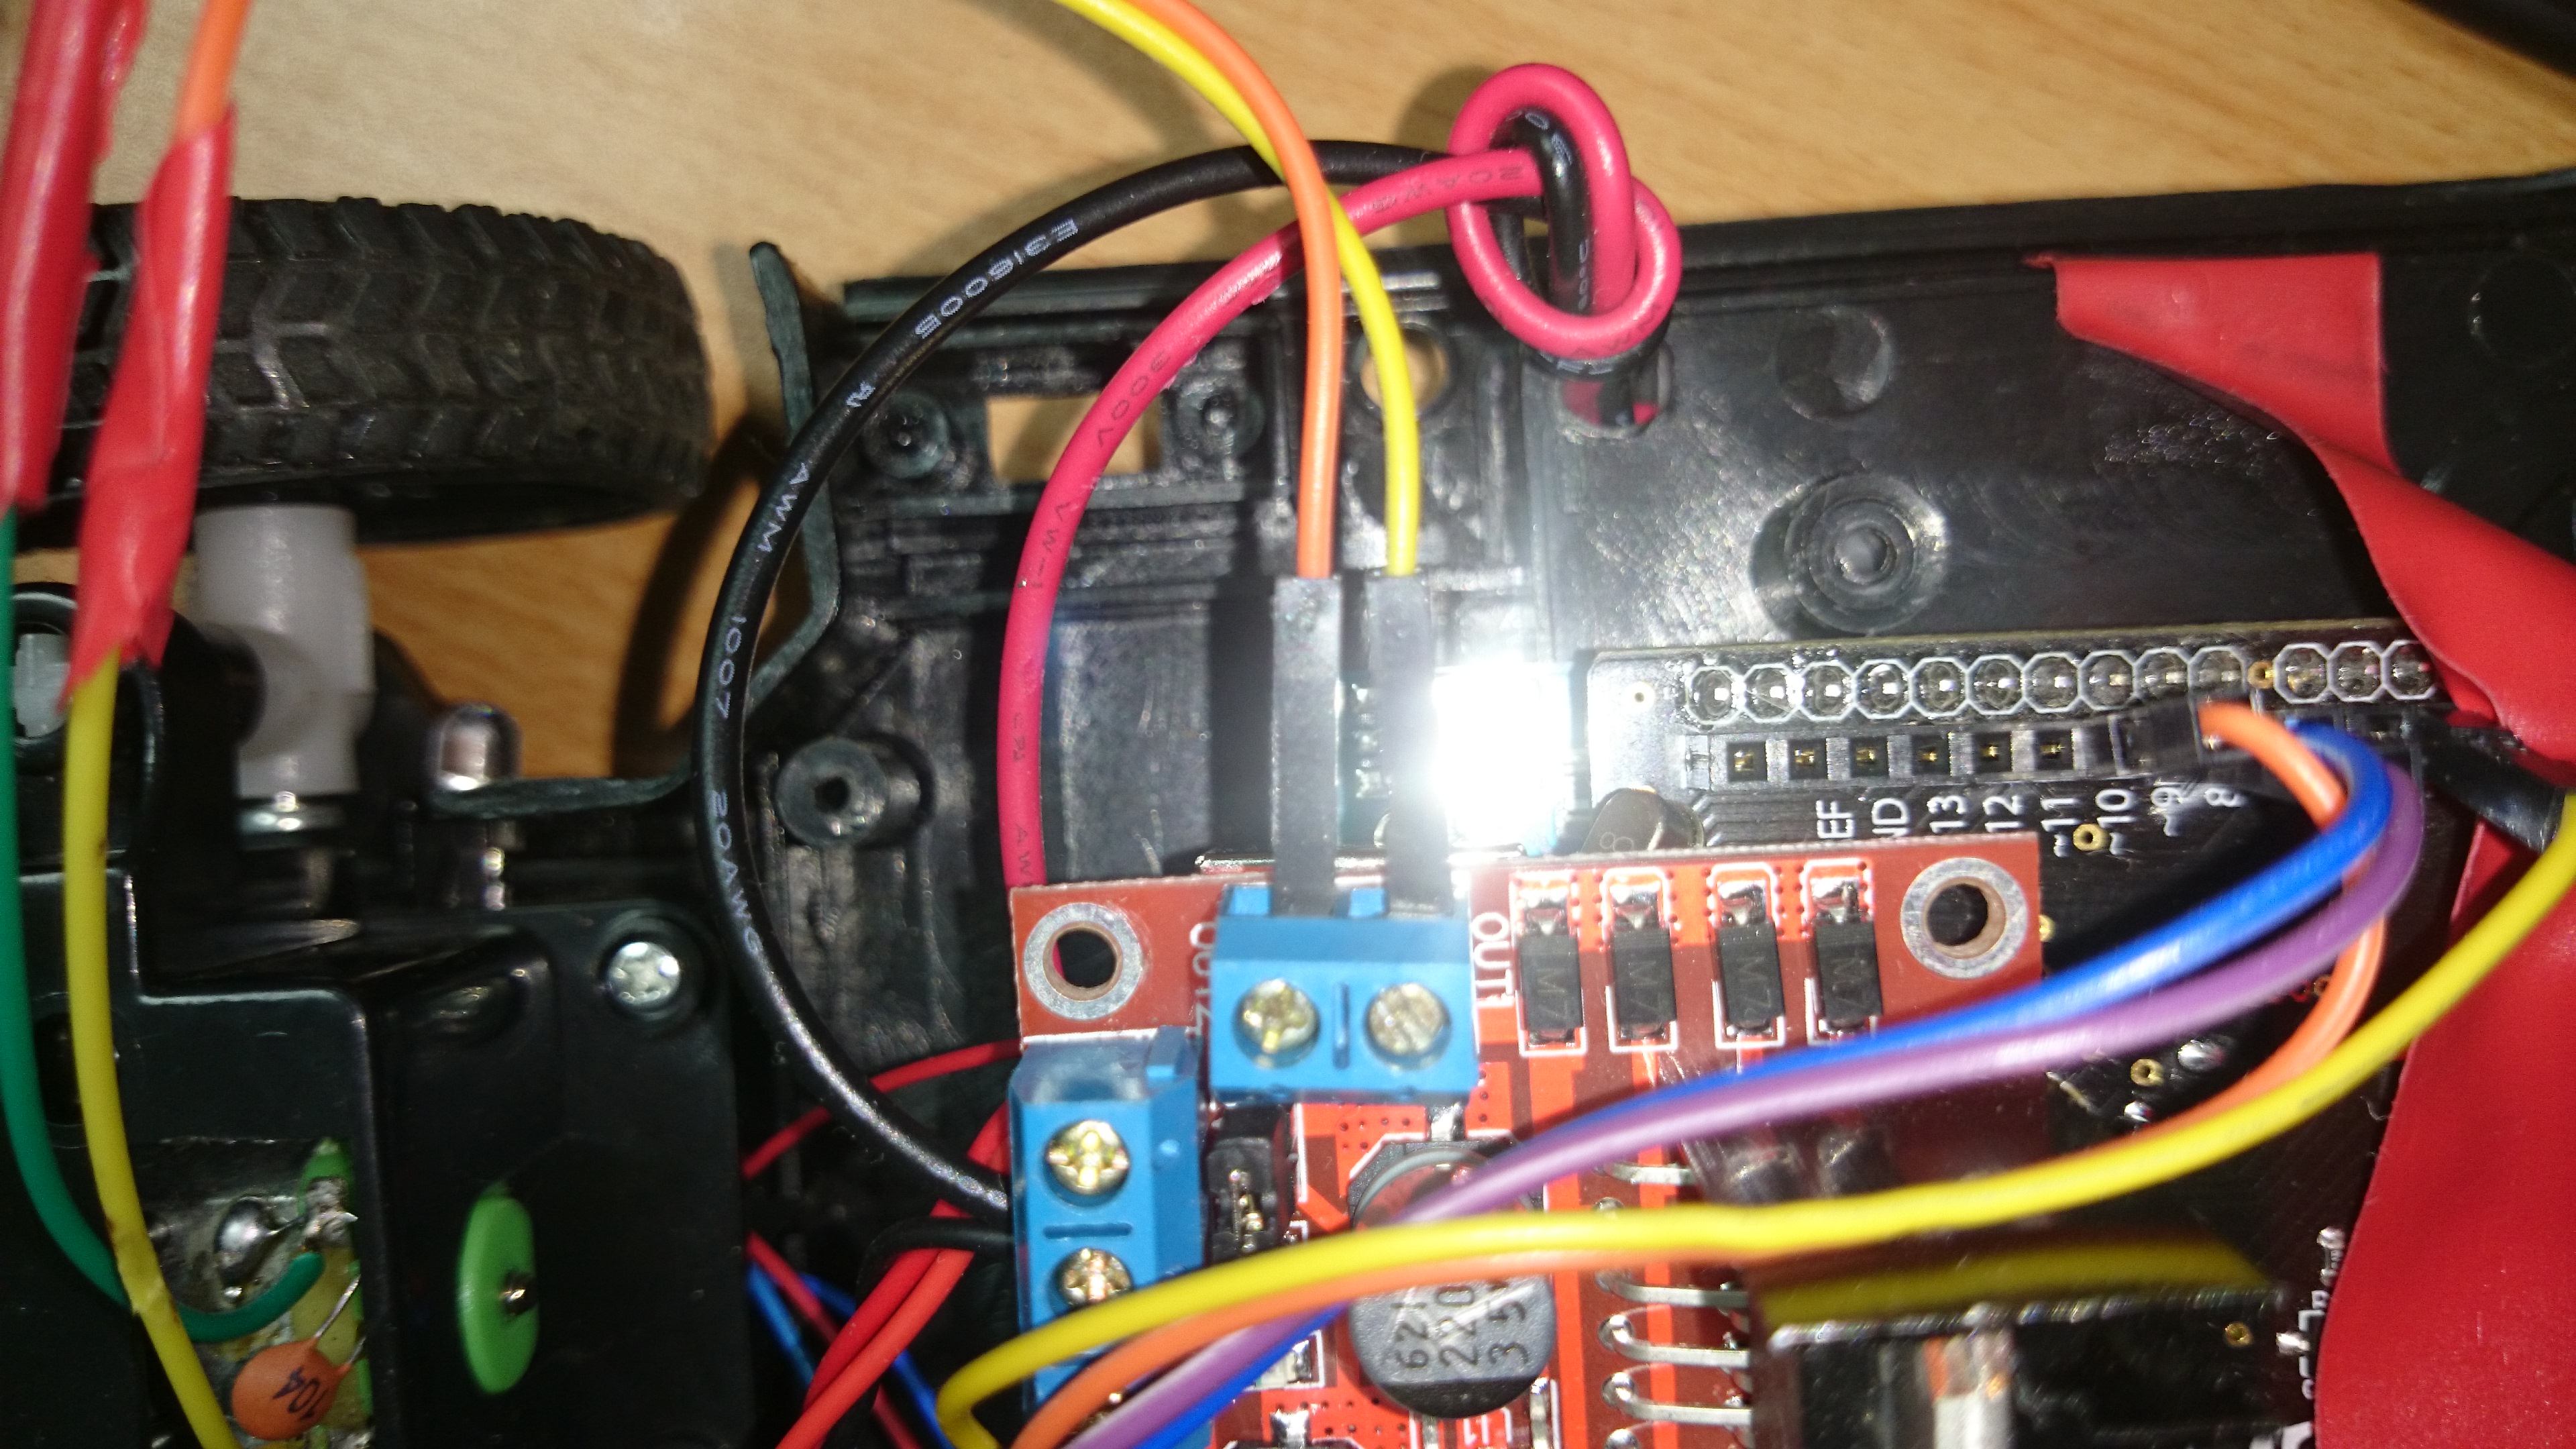
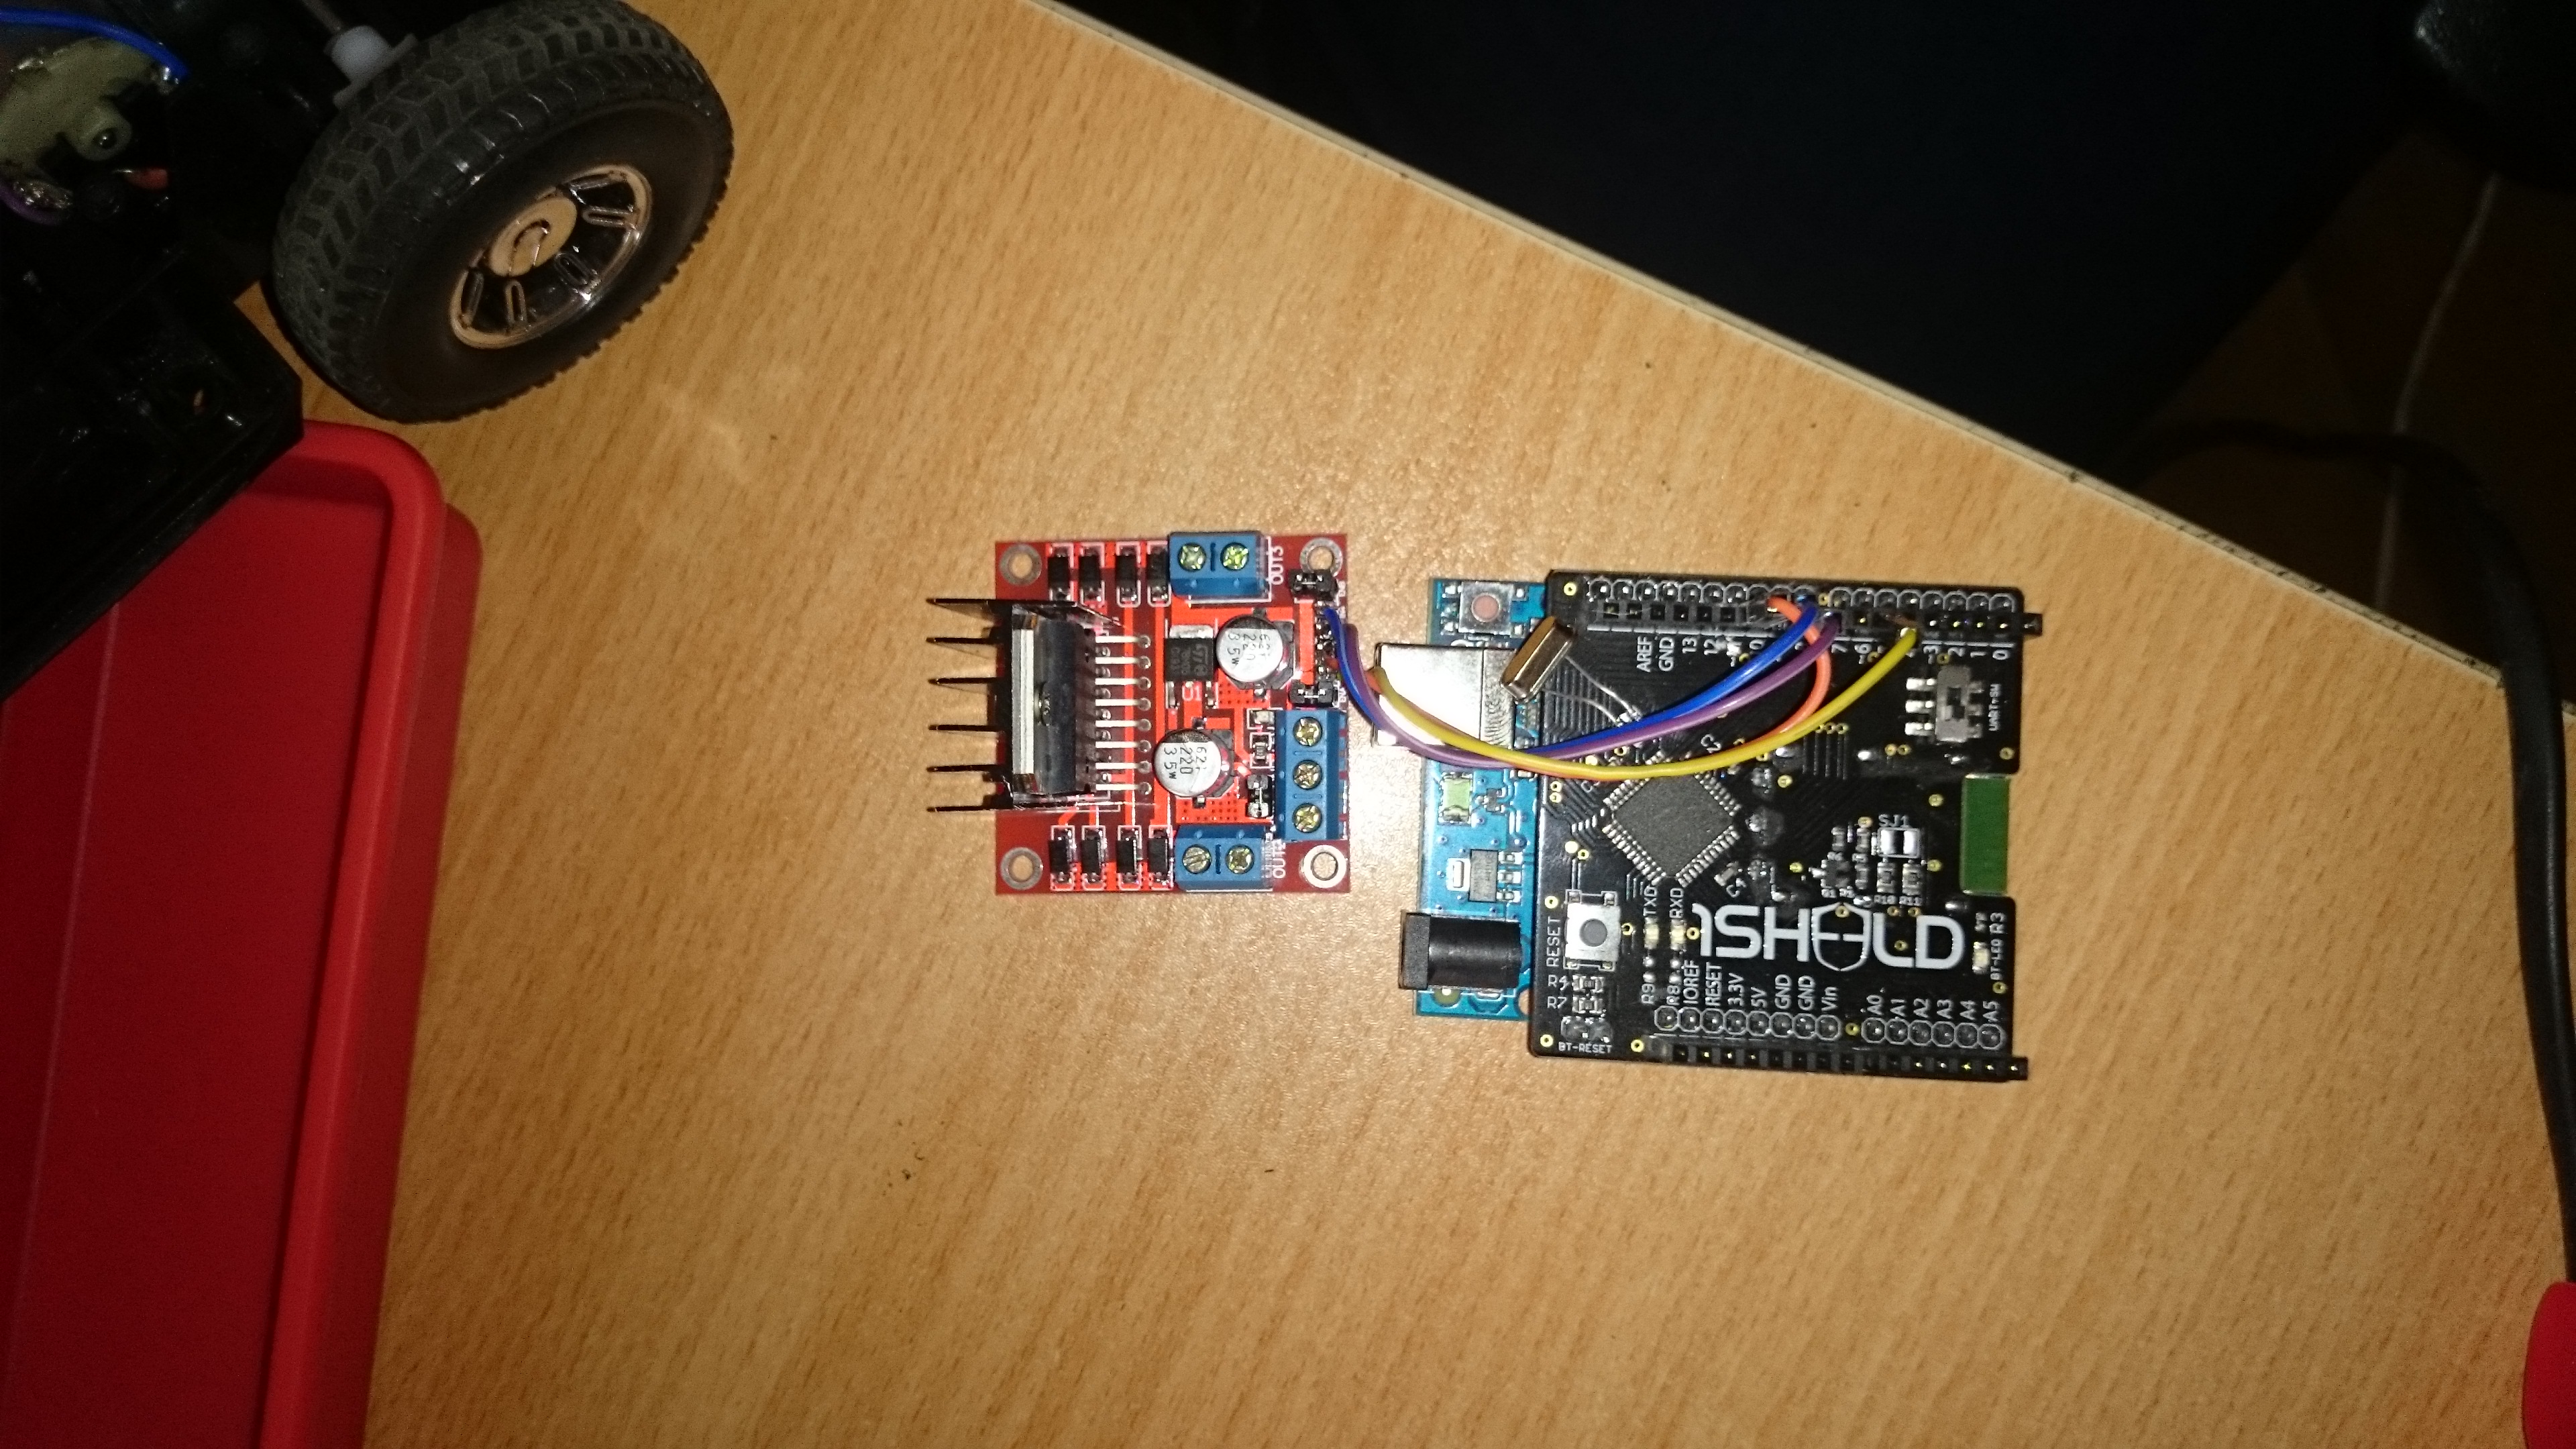
1-Connect 1Sheeld on top of your Arduino board.
2-Connect the H bridge with 1Sheeld
Connect IN 1 in h bridge "yellow cable in picture " to pin 6 in 1Sheeld.
Connect IN 2 in h bridge "orange cable in picture" to pin 11 in 1Sheeld.
Connect IN 3 in h bridge "Purple cable in picture "to pin 9 in 1Sheeld.
Connect IN 4 in h bridge "blue cable in picture" to pin 10 in 1Sheeld.
Arduino Sketch
1- Now connect Arduino to your computer using USB cable.
2- Download Arduino IDE on your computer.
3- Download 1Sheeld library.
4- Put 1Sheeld library in Arduino-1.0.5-r2\libraries.
5- Copy the Arduino code below and paste it in your sketch.
If you want to control with complete speed ,without using PWM in control there is the code below.
//  have fun with smart car
//  control using gravity sensor
//  Author:Ahmed mahmoud
//  Date:18 Augst, 2014

include <OneSheeld.h>

float x, y ;  //  define xand y to store values
int forward = 9;  //  define forward direction
int bacward = 10;  //  define backward direction
int right = 11;    //  define right direction
int left = 6;      //  define left direction
void setup()
{
	//  define output ports

        OneSheeld.begin();
        pinMode(forward, OUTPUT);
        pinMode(bacward, OUTPUT);
        pinMode(right, OUTPUT);
        pinMode(left, OUTPUT);
}

void loop()
{
      // get sensor value
        x=GravitySensor.getX();
        y=GravitySensor.getY();

        // control right and left using y sensor direction
	 if (y >= 1)
{
       digitalWrite(right, HIGH);
       digitalWrite(left, LOW);
}
else if ( y <= -1)
{
  digitalWrite(right, LOW);
  digitalWrite(left, HIGH);
}
 else
{
 digitalWrite(right, LOW);
 digitalWrite(left, LOW);
}//forward and backward
 if (x >= 2)
{
 digitalWrite(forward, HIGH);
 digitalWrite(bacward, LOW);
}
else if ( x <= -2)
{
 digitalWrite(forward, LOW);
 digitalWrite(bacward, HIGH);
}  else
{
 digitalWrite(forward, LOW);
 digitalWrite(bacward, LOW);
}
}
If you want to control with varible speed using PWM in control, here is the code below.
//  have fun with smart car
//  control using gravity sensor
//  Author:Ahmed mahmoud
//  Date:18 Augst, 2014

#include <OneSheeld.h>
float x, y , xval, yval;  //  define xand y to store values ,and abslute value also
int forward = 9;  //  define forward direction
int bacward = 10;  //  define backward direction
int right = 11;    //  define right direction
int left = 6;      //  define left direction
void setup()
{
	//  define output ports

        OneSheeld.begin();
        pinMode(forward, OUTPUT);
        pinMode(bacward, OUTPUT);
        pinMode(right, OUTPUT);
        pinMode(left, OUTPUT);
}

void loop()
{
      // get sensor value
        x=GravitySensor.getX();
        y=GravitySensor.getY();
        xval=abs(x)*20;  //save abslute value for x and multbli it in 20  ( how get multibli number "1023/sensor range" )
        yval=abs(y)*30;  // save abslute value for x and multbli it in 30
        // control right and left using y sensor direction
	 if (y >= 1)
{
       analogWrite(right, yval);
       digitalWrite(left, LOW);
}
else if ( y <= -1)
{
  digitalWrite(right, LOW);
  analogWrite(left, yval);
}
 else
{
 digitalWrite(right, LOW);
 digitalWrite(left, LOW);
}//forward and backward
 if (x >= 2)
{
 analogWrite(forward, xval);
 digitalWrite(bacward, LOW);
}
else if ( x <= -2)
{
 digitalWrite(forward, LOW);
 analogWrite(bacward, xval);
}  else
{
 digitalWrite(forward, LOW);
 digitalWrite(bacward, LOW);
}
}
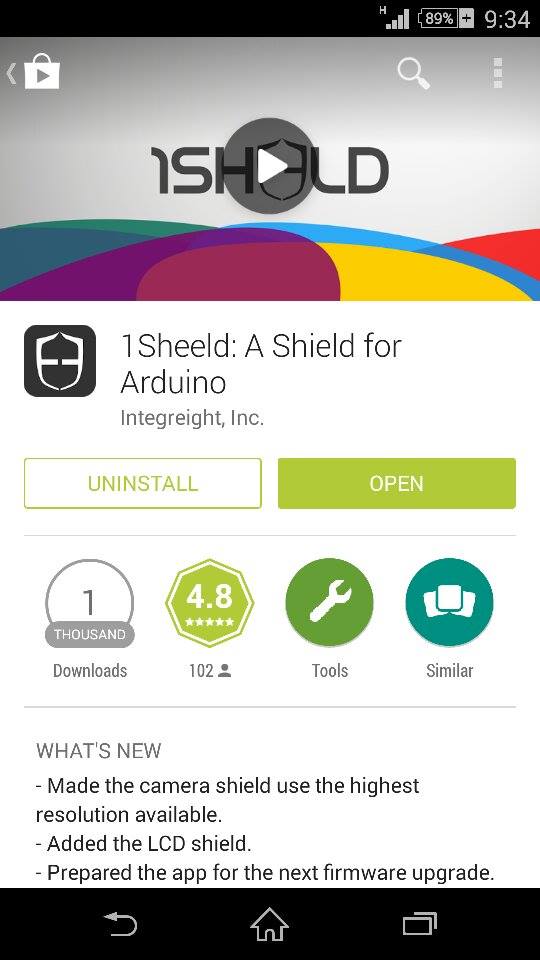
7-Download 1Sheeld from app store to your smart phone.
Finally,connect Your Smart Phone and Have Fun
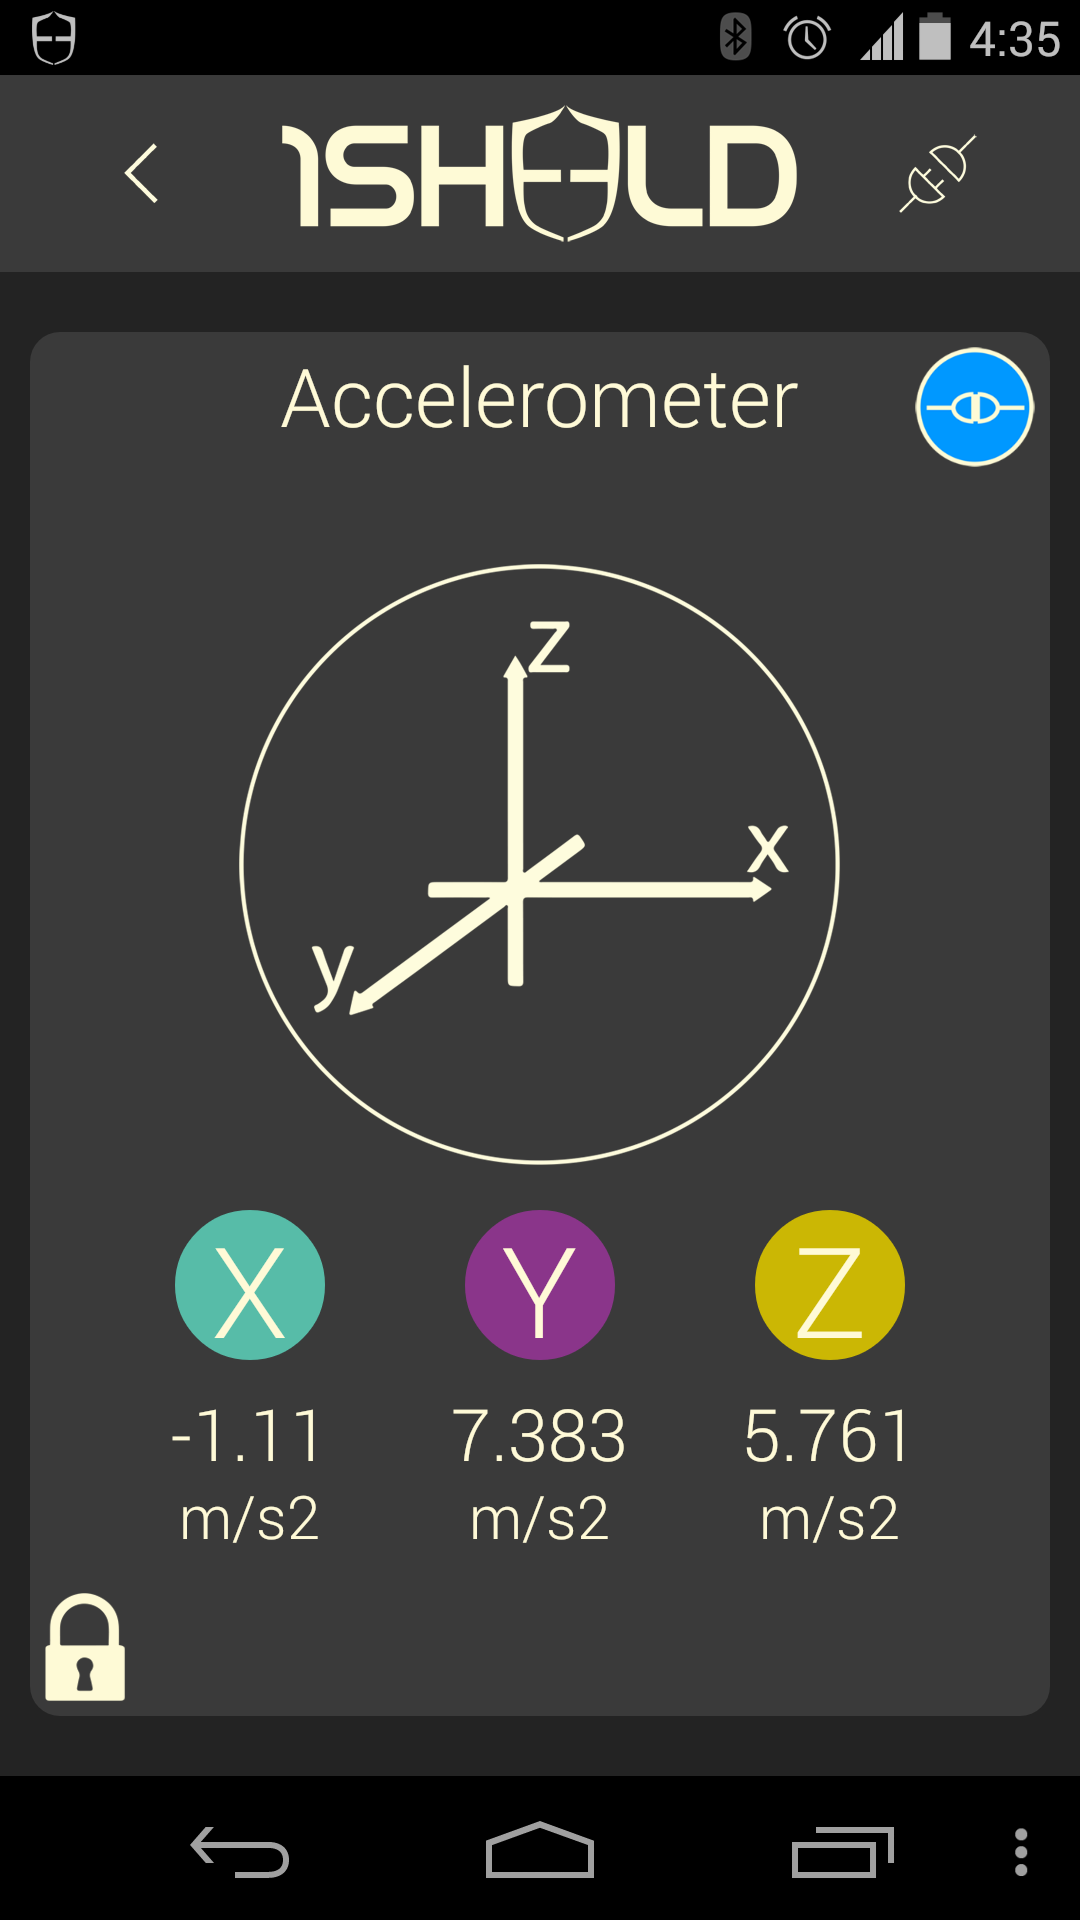
1- Open app
2- Connect 1Sheeld with your smart phone
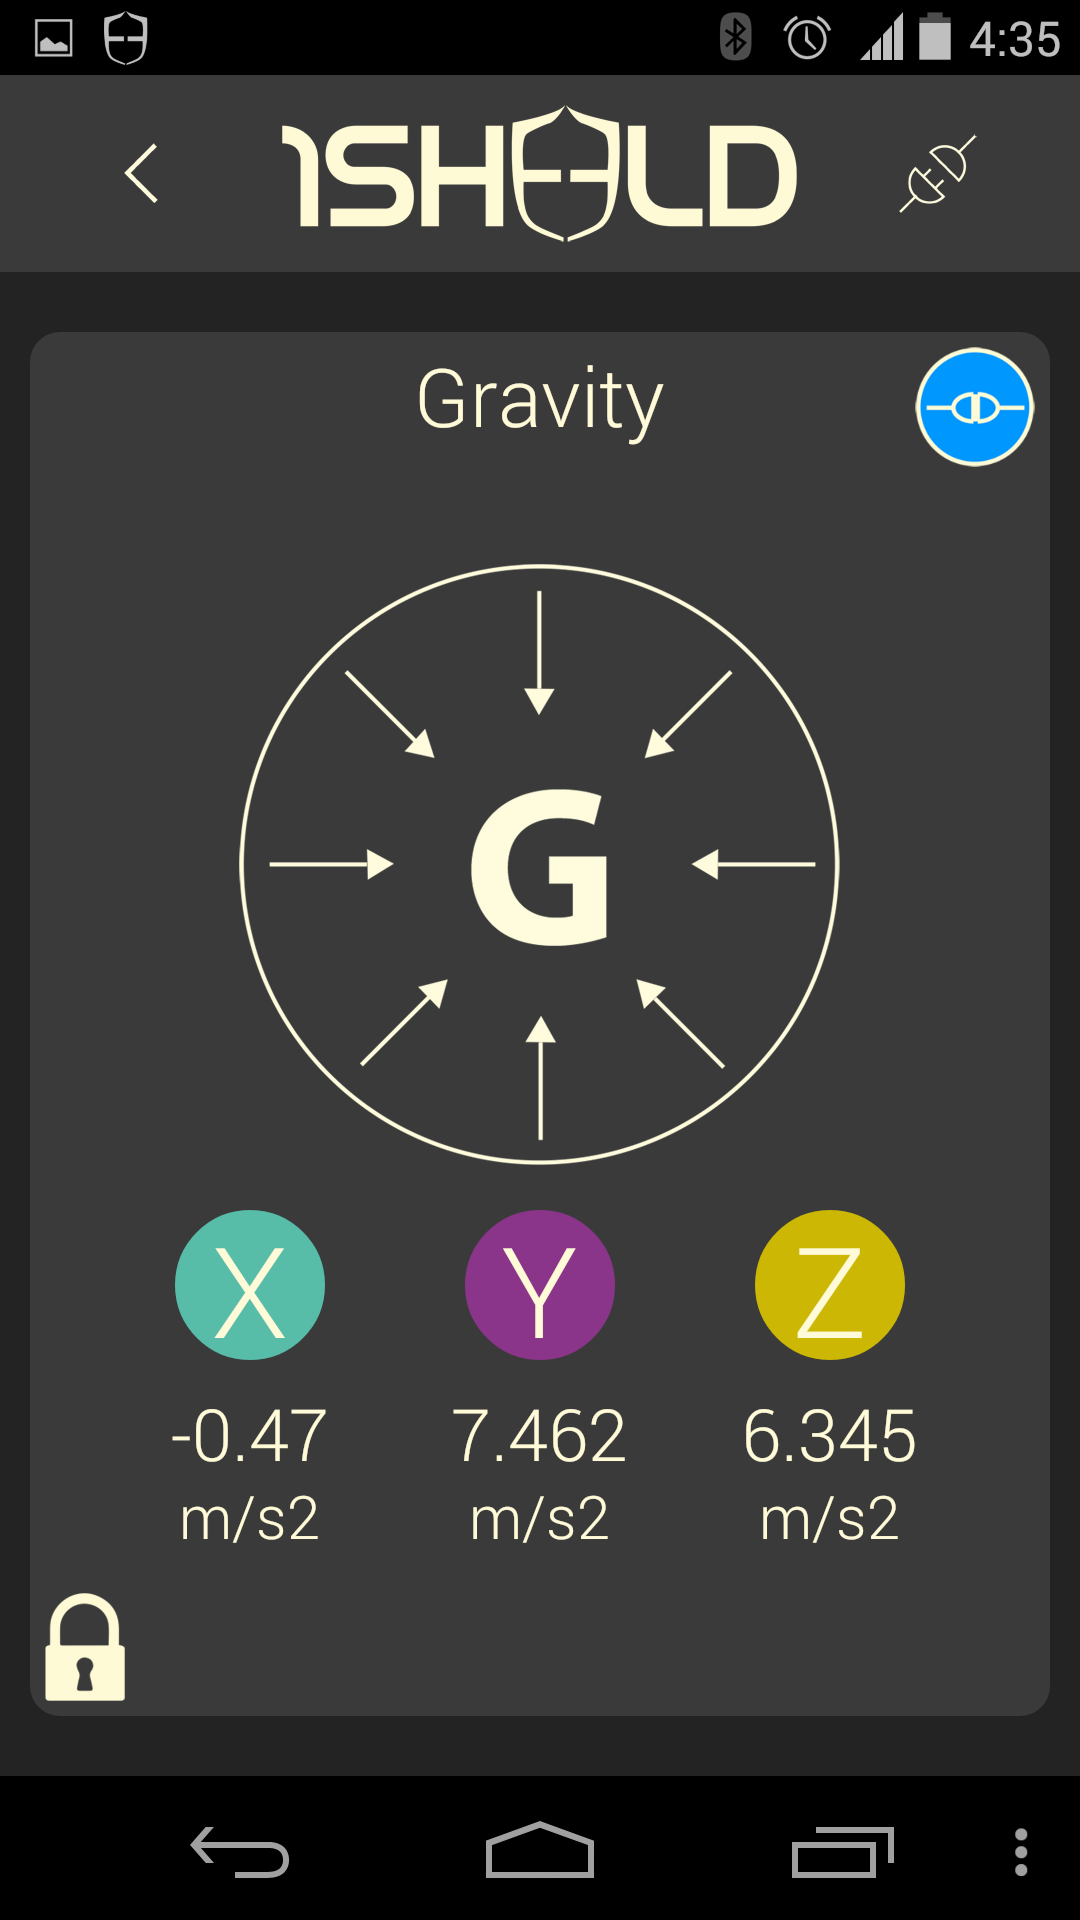
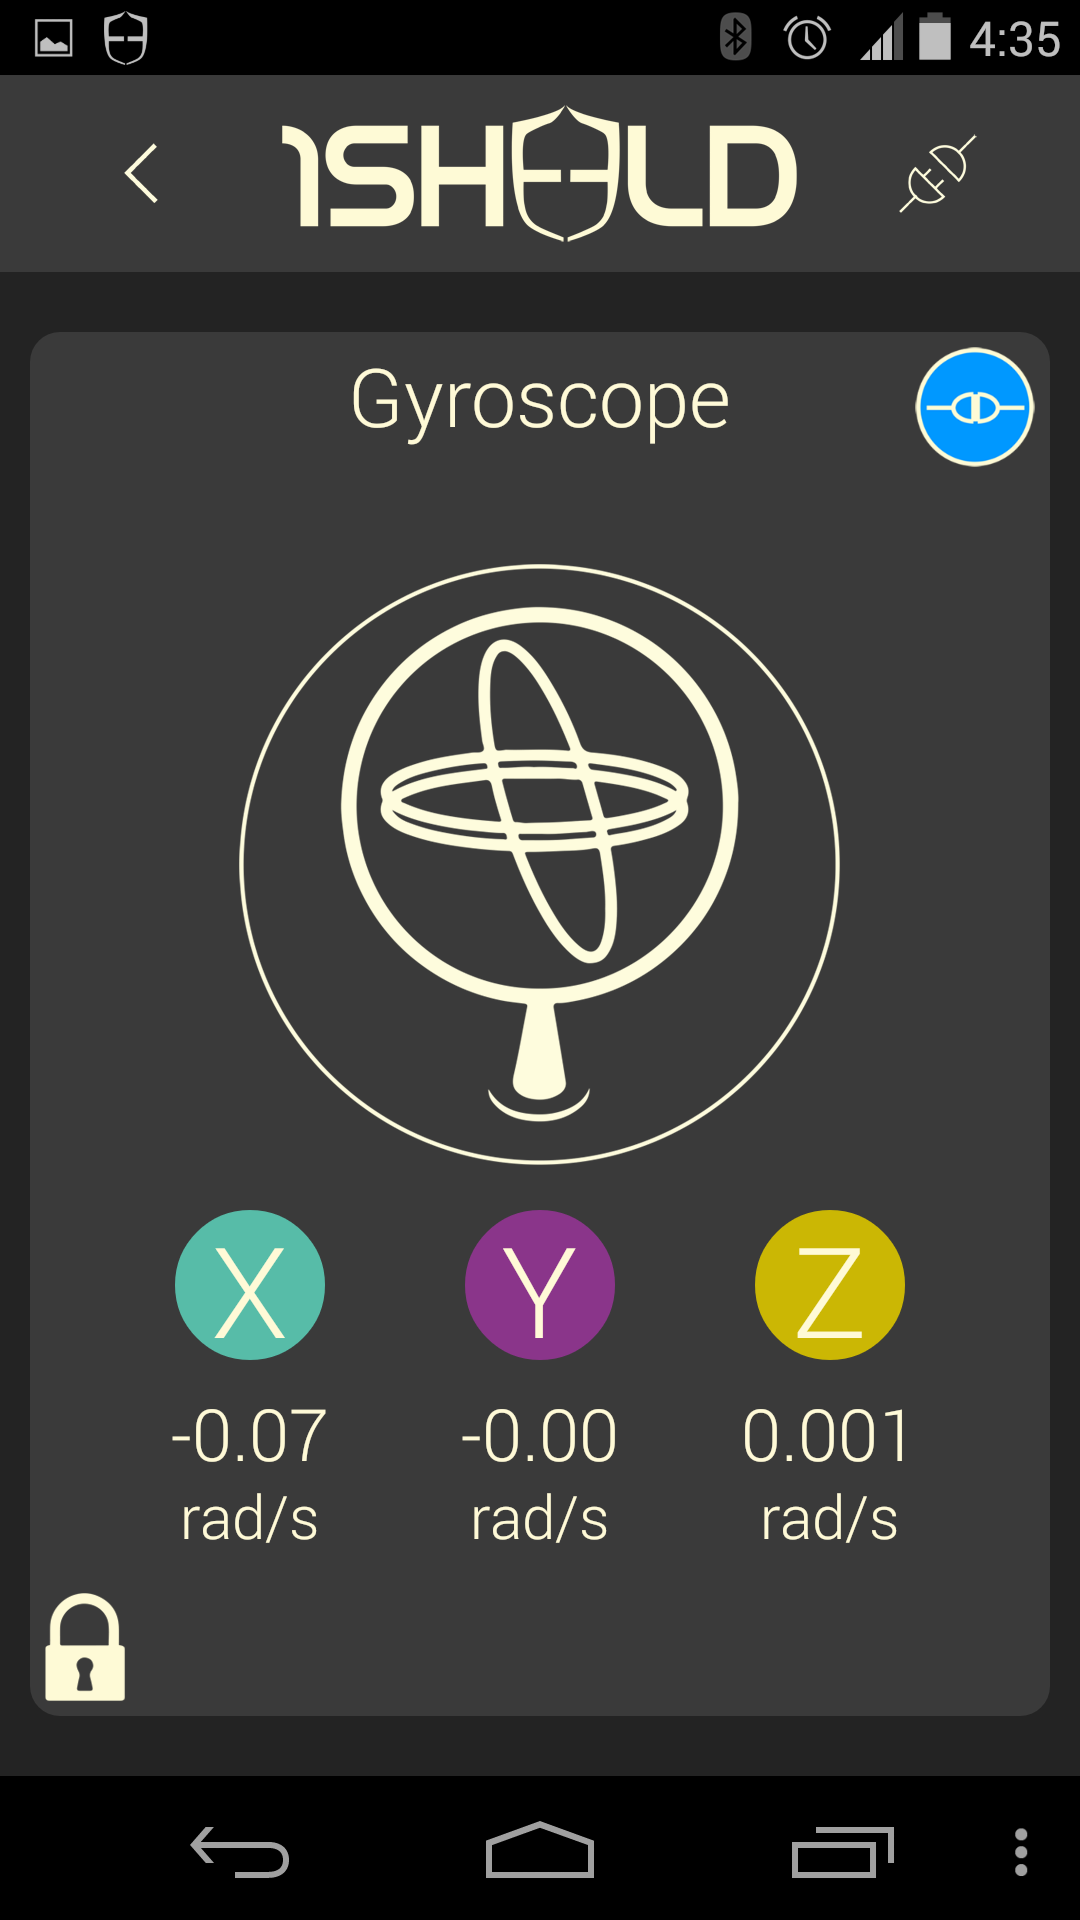
3- Choose gravity sensor
There are three sensor can do the same function but I choice gravity sensor to get my the required accuracy, Comparing the three sensor value, We can notice that gravity sensor value has various value in small range which help to making strong control
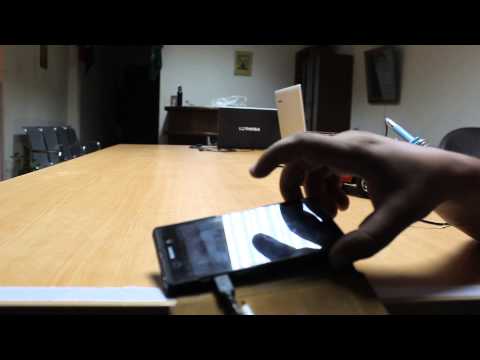
4- Test
5- Have fun