Hacking a Strobe Blacklight for Steady-On and External Control
by fadecomic in Circuits > LEDs
3244 Views, 9 Favorites, 0 Comments
Hacking a Strobe Blacklight for Steady-On and External Control
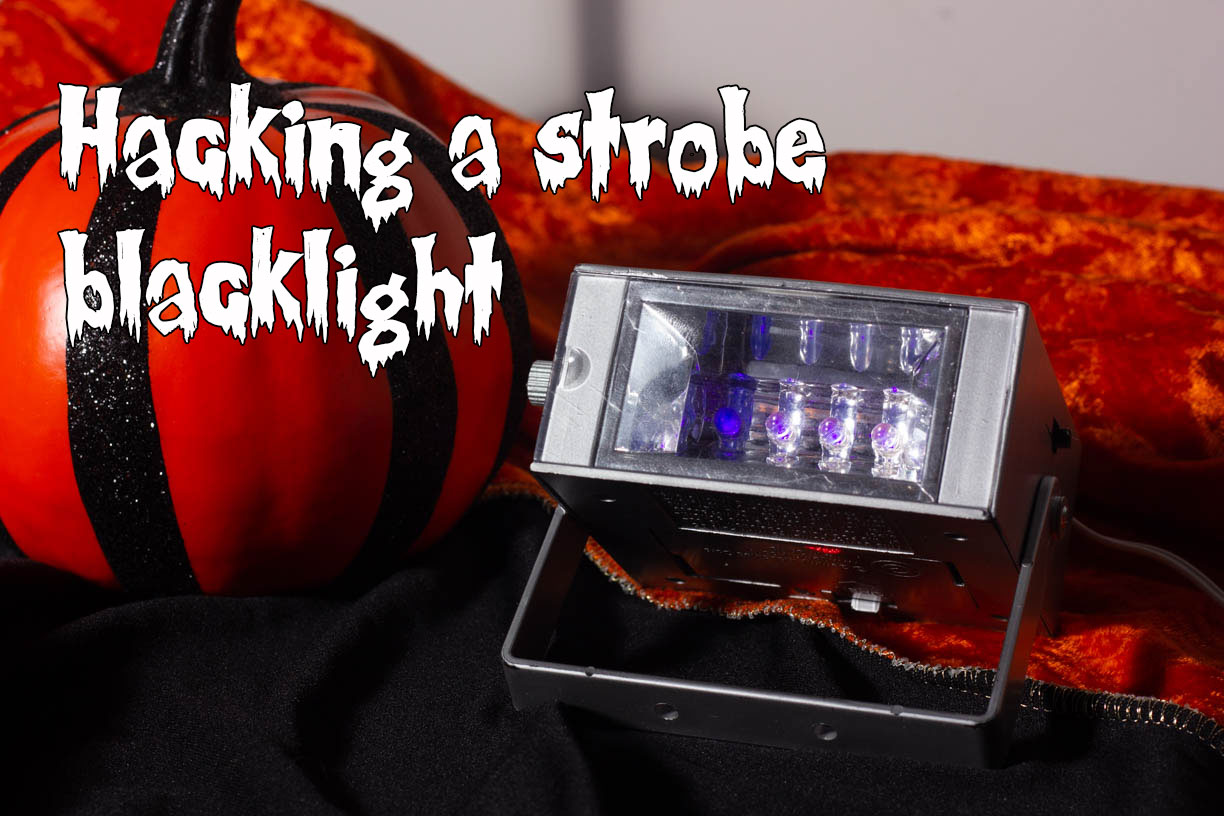
Every year, the big box stores sell strobe blacklights made with UV LEDs. There's a knob on the side that controls the strobe speed. These are fun and inexpensive, but they lack a continuous on mode. What's more it'd be nice to control the light externally using a button, a step plate, or a microcontroller like an Arduino. It would be even better if we could control the brightness of the blacklight externally, too, using PWM. Good news! I'll show you how.
Parts list
- 1x strobe blacklight prop (Target has these locally in the US)
- 1x slide switch (SPST) I'm linking an SPDT switch just because they're easier to find and cheaper. We'll just ignore the other throw.
- 1x 2n7000 MOSFET or 2n3904 transistor. I'm using the MOSFET mostly because it requires virtually no current to activate. But really, either works fine here.
- 1x 1M Ohm resistor
- Wire. I used two conductor solid wire I had leftover from another project. You'll need enough to reach from the strobe to whatever is controlling your strobe
- Solder, soldering iron
Disassemble the Strobe
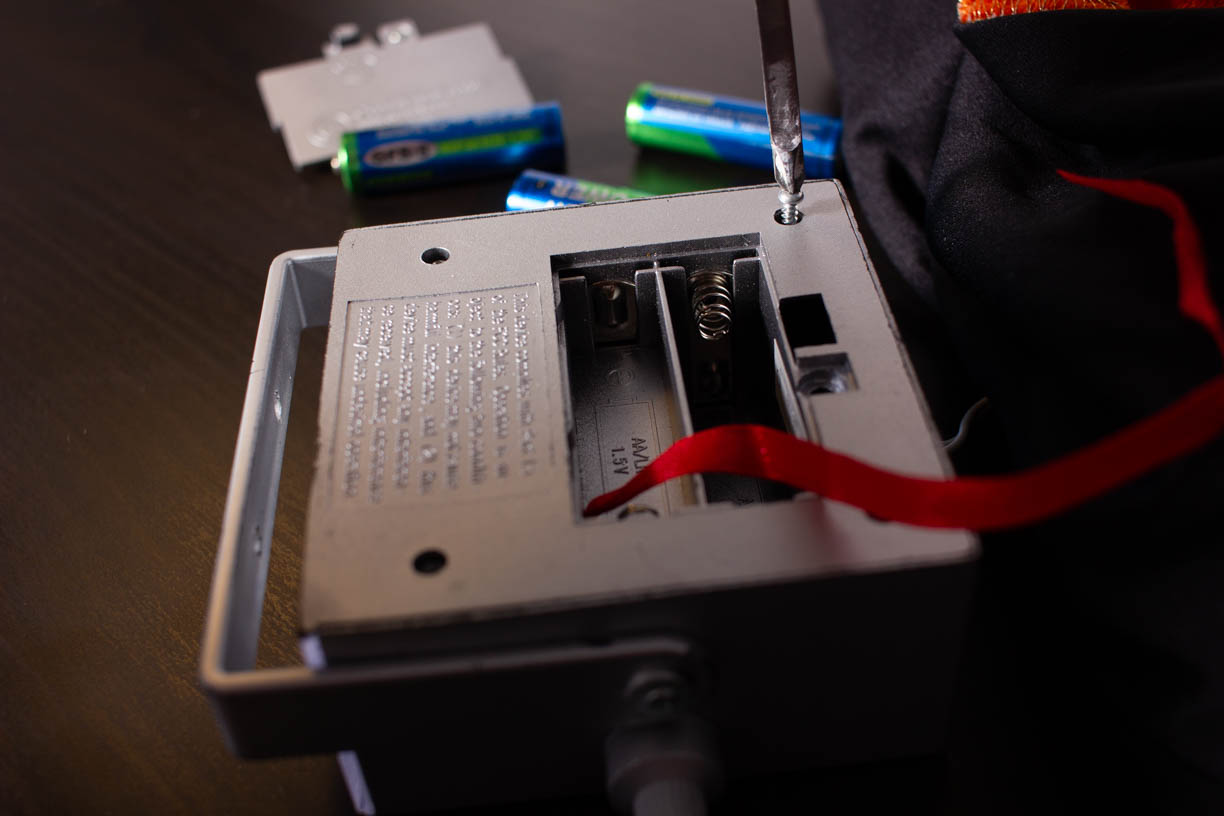
Your model may vary, but this was what I had to do.
- Remove the battery cover screw and remove batteries
- Remove the remaining bottom screws
- Separate bottom from body.
- Remove the lens and the reflector (with LEDs) by sliding them out
- Pull the decorative knob off the potentiometer
- Remove the nut holding the potentiometer in place and slide it out.
I noticed some of the models have a potentiometer with an 'off' position, and some models have a separate on-off switch. You can leave that switch as it is. You'll also notice a small circuit board that contains the flash circuitry, but it's been covered with epoxy so that we cannot tamper with it. So just leave it alone.
Add a Switch to Bypass the Potentiometer
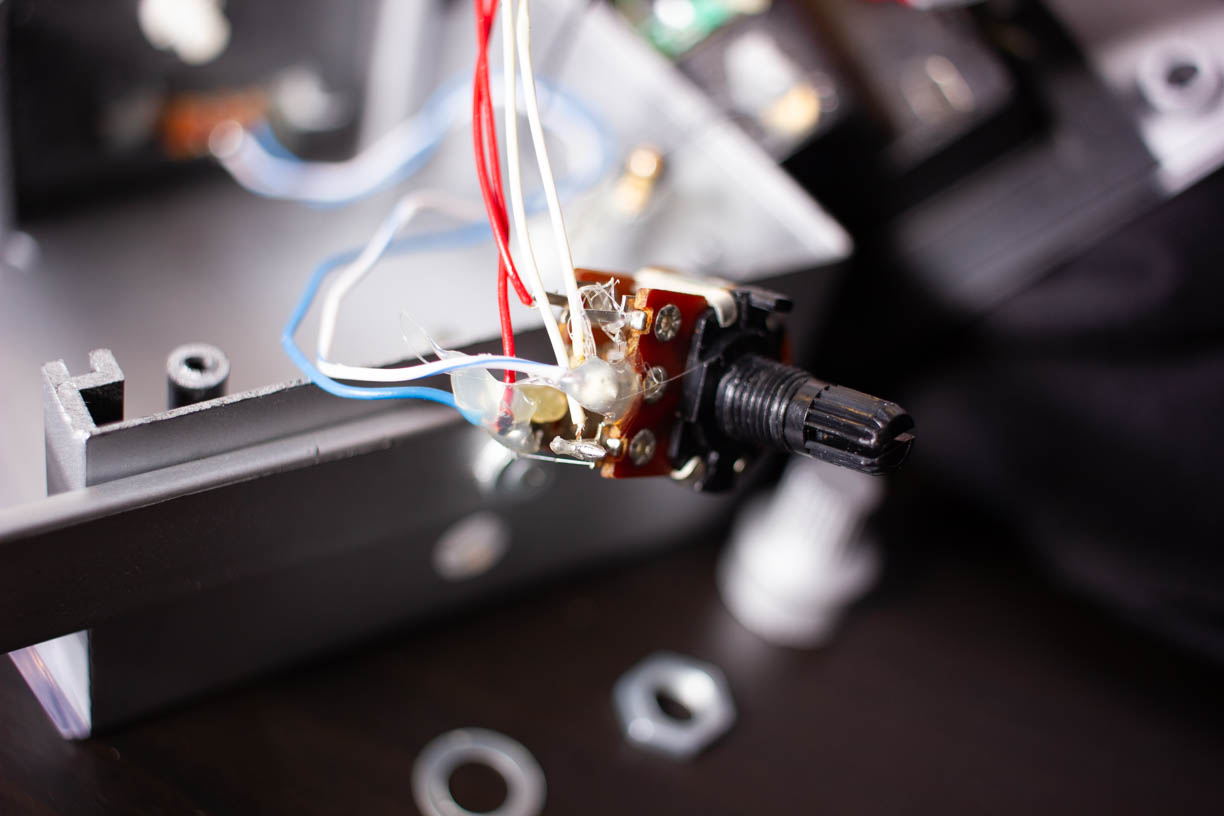
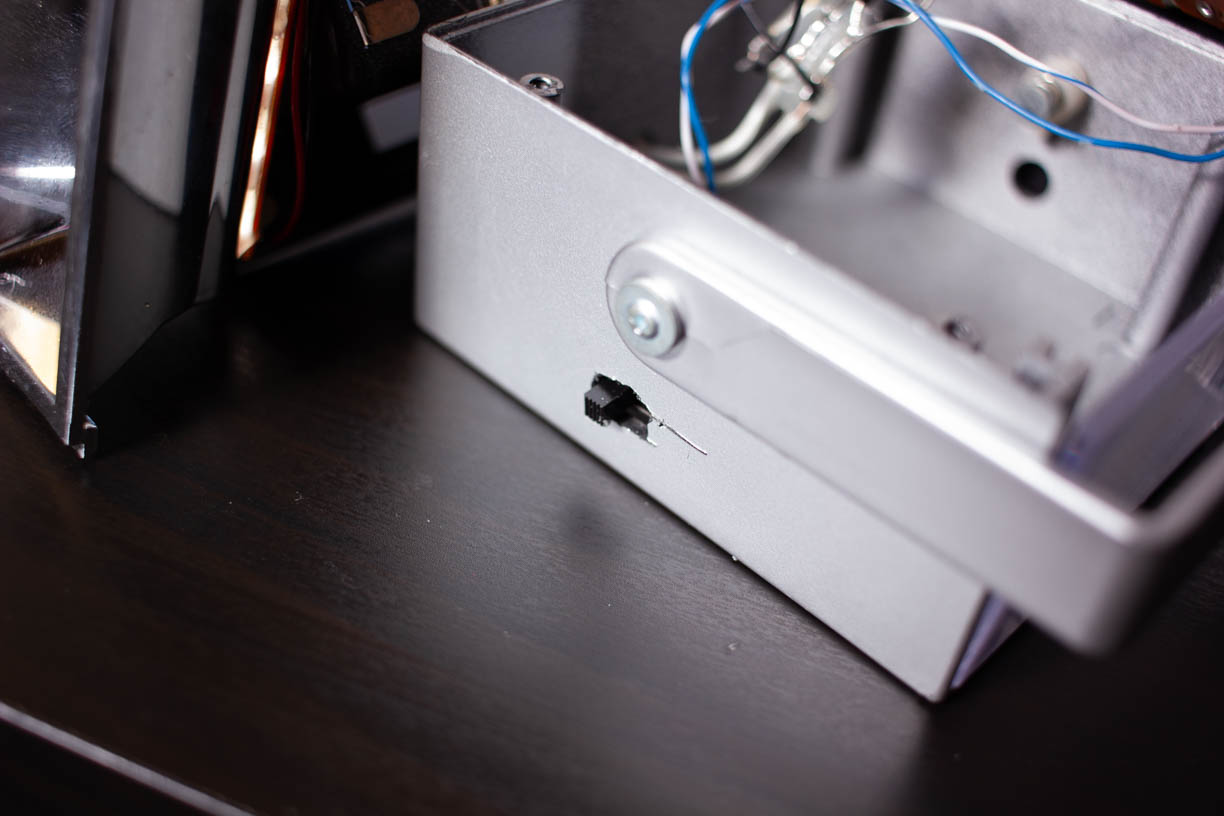
The potentiometer controls the flash rate. Let's defeat it in order to enable a continuous-on mode. My strobe has what appears to be a dual gang potentiometer, which means two pots on one shaft. I cannot tell what is going on inside the circuit board, but it's some kind of astable oscillator circuit, and these pots are the timing resistors, since they're wired as variable resistors. We just need to short across one of the resistors to set its value to zero, making the part of the oscillator cycle it controls have a time of zero.
You can learn more about 555 astable oscillators here. It may not be a 555 based timer, but the idea works.
- Turn on the strobe
- With a piece of wire, experiment by shorting across the wire connection points on the potentiometer until you find a combination that keeps the light on steady. It really depends on the particular version of this strobe light you have.
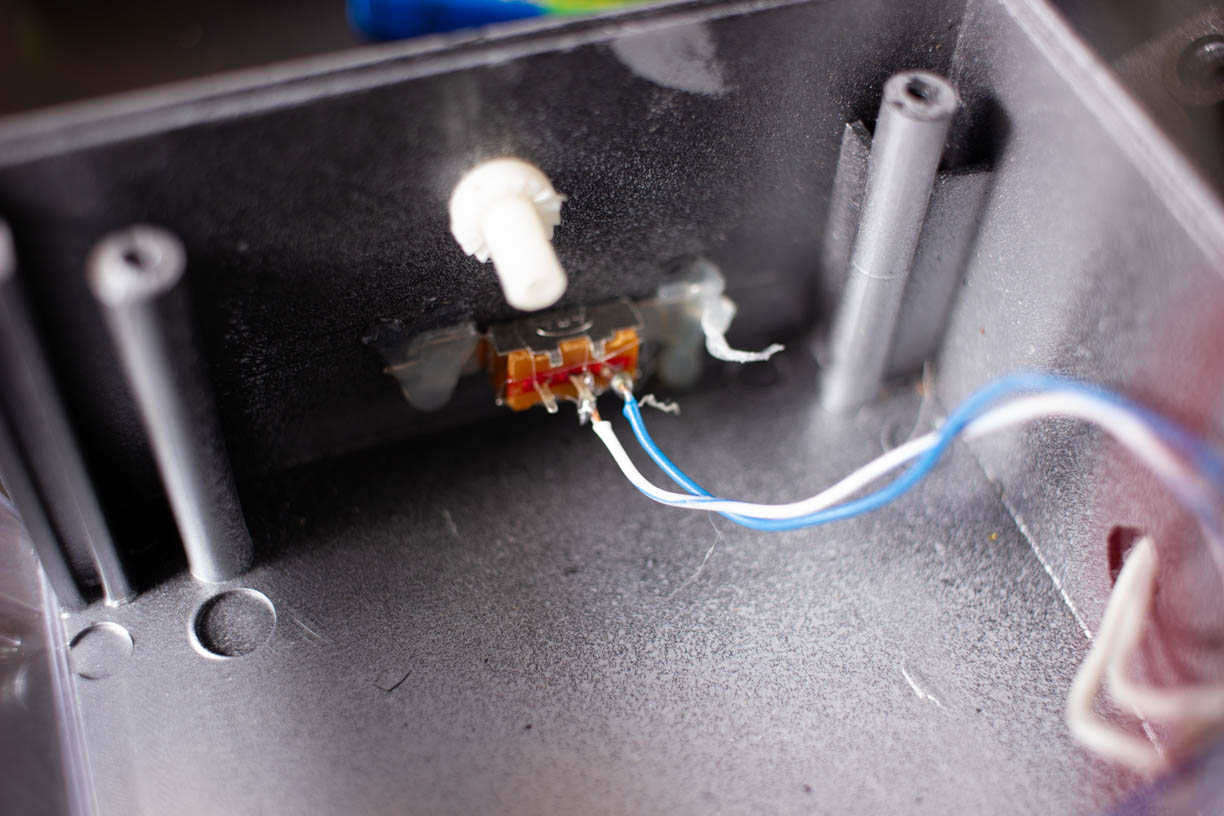
- Solder a wire to each of the two potentiometer lugs you found, and then solder the other two ends to a switch. If you're using a SPDT switch like me, just solder to the inner lug and one of the outer lugs of the switch.
- Cut a hole in the side of the strobe light case big enough for the switch. Be sure to locate the switch where it will not interfere with the bottom cover of the light when you reassemble.
- Hot glue the switch into place.
- Replace the strobe light batteries and test.
WARNING: turning the switch to "steady" may trap the strobe in a steady OFF state. If that happens, just slide the switch back to strobe and try again.
Add a MOSFET
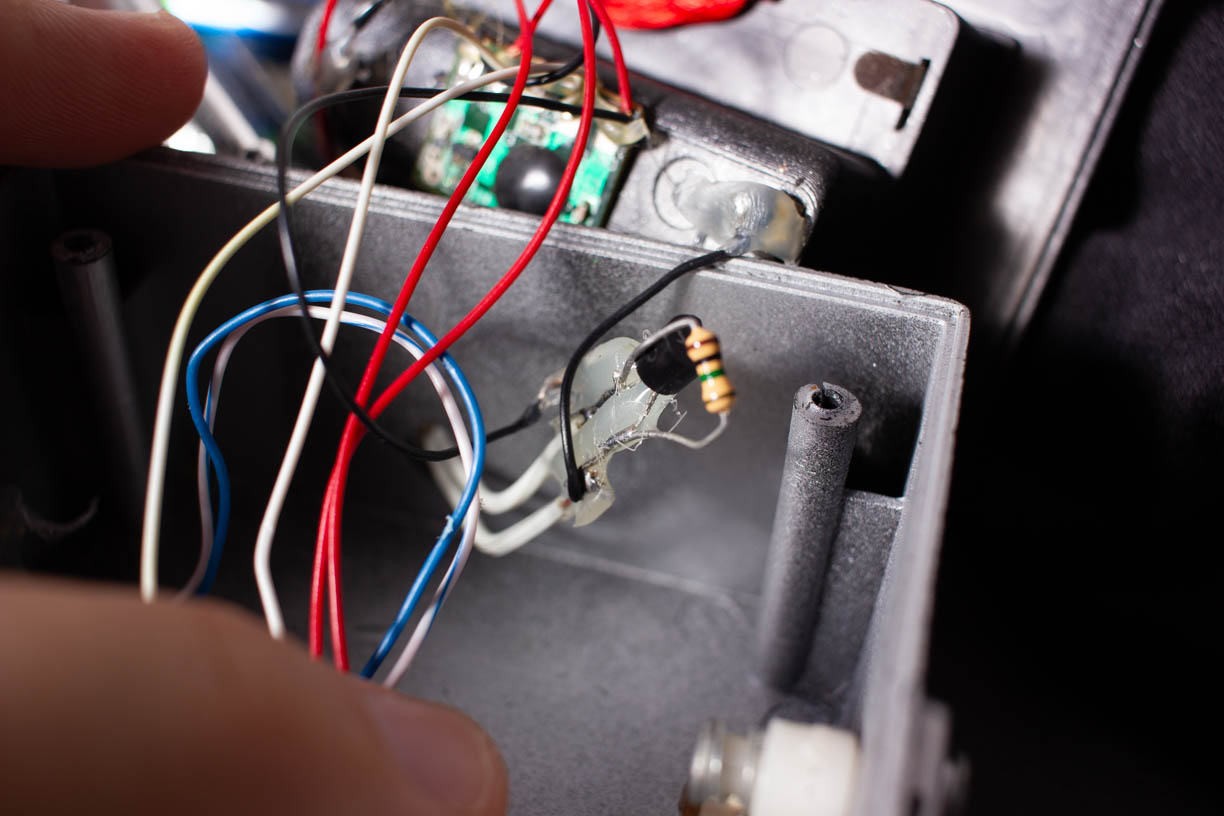
- Find the ground wire to the battery box
- Cut the wire
- Using a pinout diagram for your MOSFET, solder the side of the ground wire connecting to the strobe light to the drain pin (D) of the MOSFET.
- Solder the battery box ground side to the source pin (S) of the MOSFET.
- Solder one leg of the 1M resistor to the source pin as well.
- Solder the other leg of the 1M resistor to the gate pin (G). The resistor just ensures the MOSFET stays off when nothing is connected to the gate. MOSFETs are very sensitive, and even your bare fingers can turn them on without a ground resistor. That has neat applications, but we don't want it to happen here.
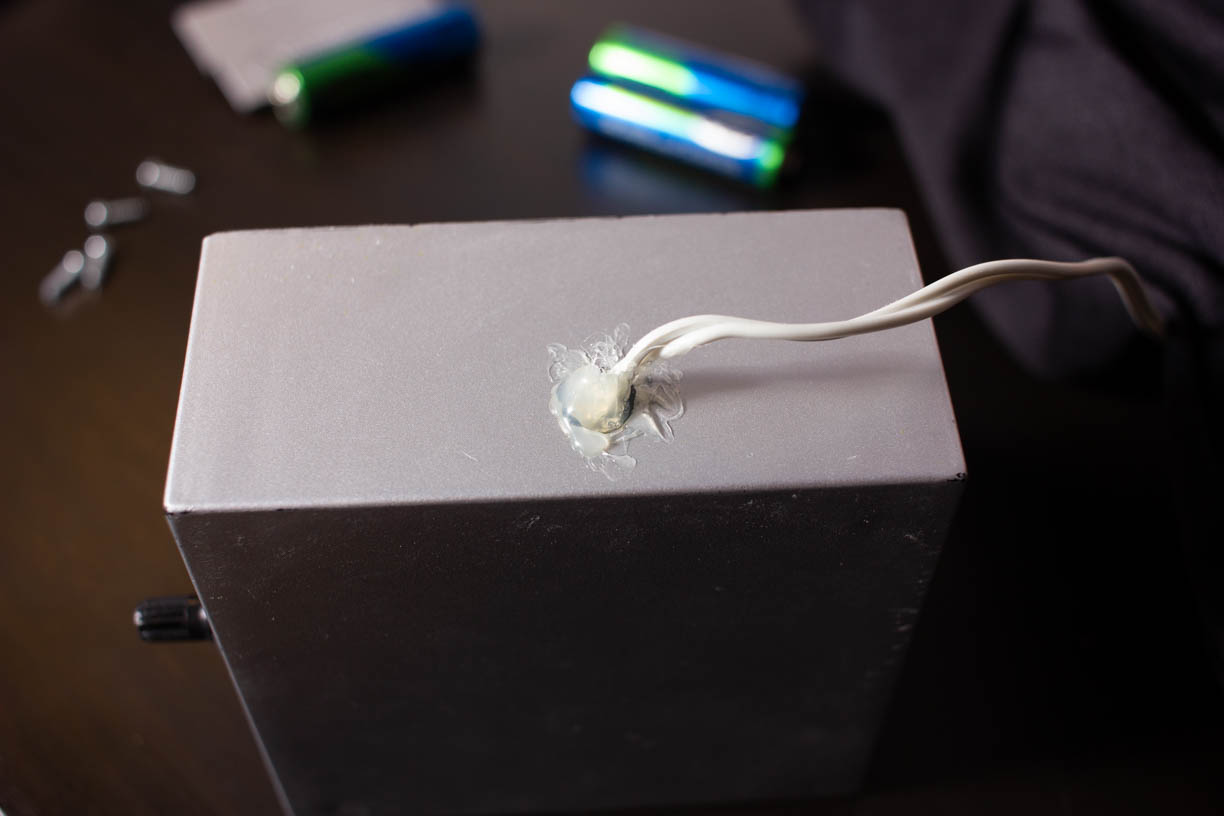
- Drill a hole in the back of your strobe light's case and route the two conductor wire through it.
- Solder one wire to the source pin of the MOSFET
- Solder the other wire to the gate pin of the MOSFET
- Mark the other end of the wires as ground and control.
I recommend using tape, heat shrink tubing, or hot glue to insulate the connections to the MOSFET. Use hot glue to secure the incoming two conductor wire in the hole you drilled earlier.
Test
Turn on the strobe. You'll notice immediately that it no longer works. It will only work if you attach a voltage and a ground to the control wires. You can test the controls by touching the wire ends to a battery of some sort. The strobe should come on. If you slide the steady/strobe switch to steady, the light should come on steady.
Reassemble
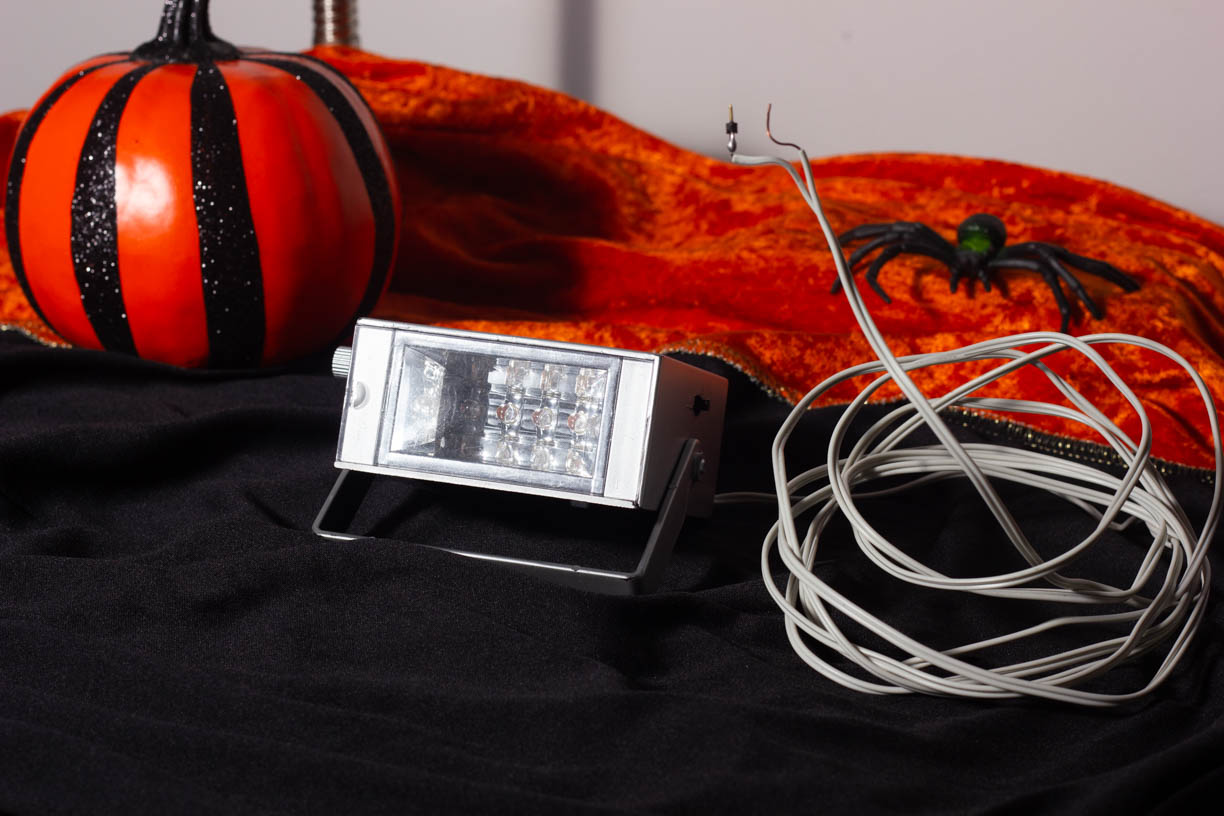
This step might be tricky, because there's not a whole lot of space inside the strobe case. You'll likely have to manipulate the MOSFET into one of the free spaces inside. Don't forget to slide the reflector and lens into place before reassembling.
Screw everything back together in reverse order of disassembly and test again.
Control It!
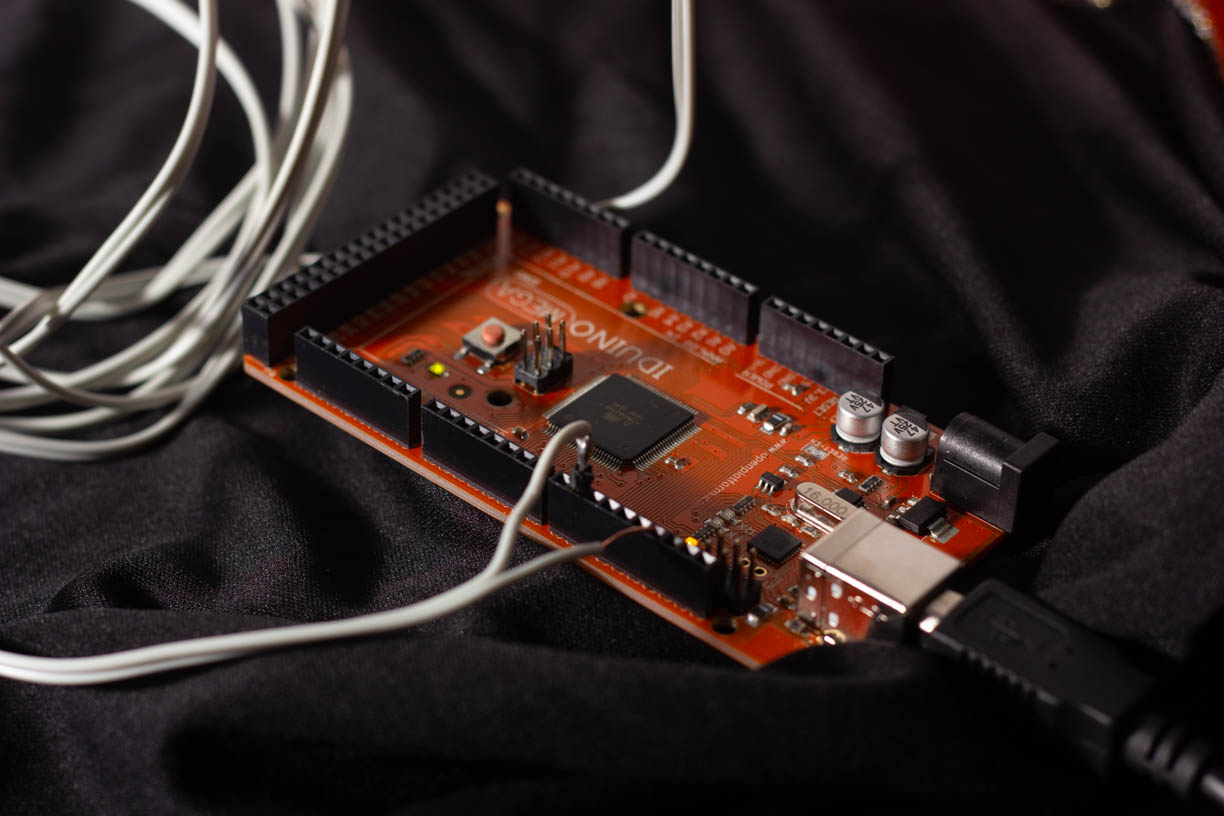
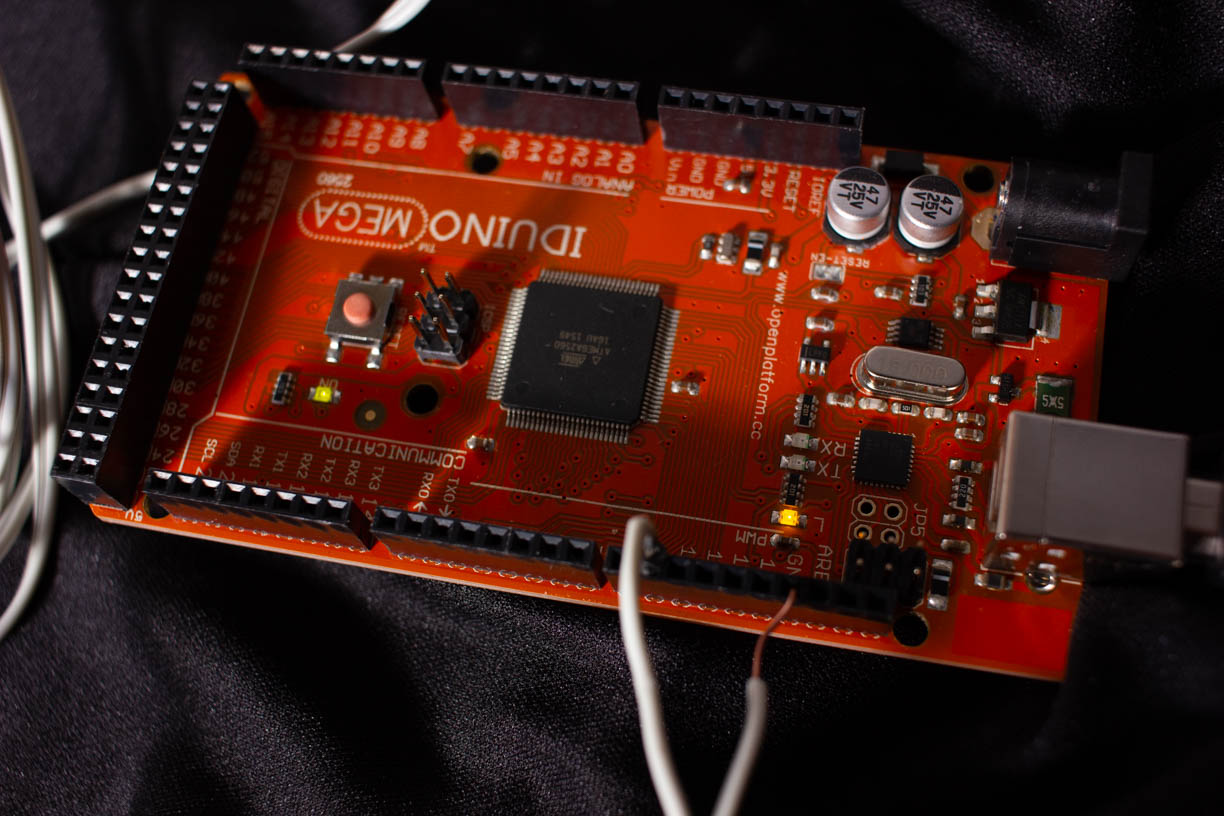
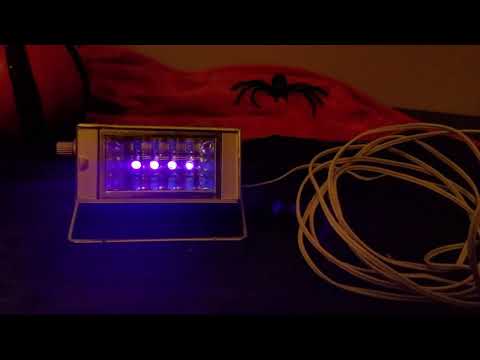
Just remember that the external control you use must be powered. If you used a MOSFET instead of a transistor, it doesn't need to be a whole lot of power. You could, for example, use a switch plate, but you'll need a battery (and a high value resistor or you'll kill your battery) in it.
Controlling from an Arduino
Your strobe is now Arduino compatible. Simply attach the ground wire from the control line to one of the ground pins on your Arduino, and the control wire to one of the digital pins. If you'd like to control the brightness of the strobe, chose one of the PWM capable pins (marked with a ~ on the UNO).
Test that it works
- Switch steady/strobe switch to steady
- In the Arduino IDE, go to File->Examples->01.Basics->Fade
- Make sure the pin number in the sketch matches the PWM pin you plugged your control wire into
- Upload the sketch
The strobe should fade on and off.