Light Therapy Goggles
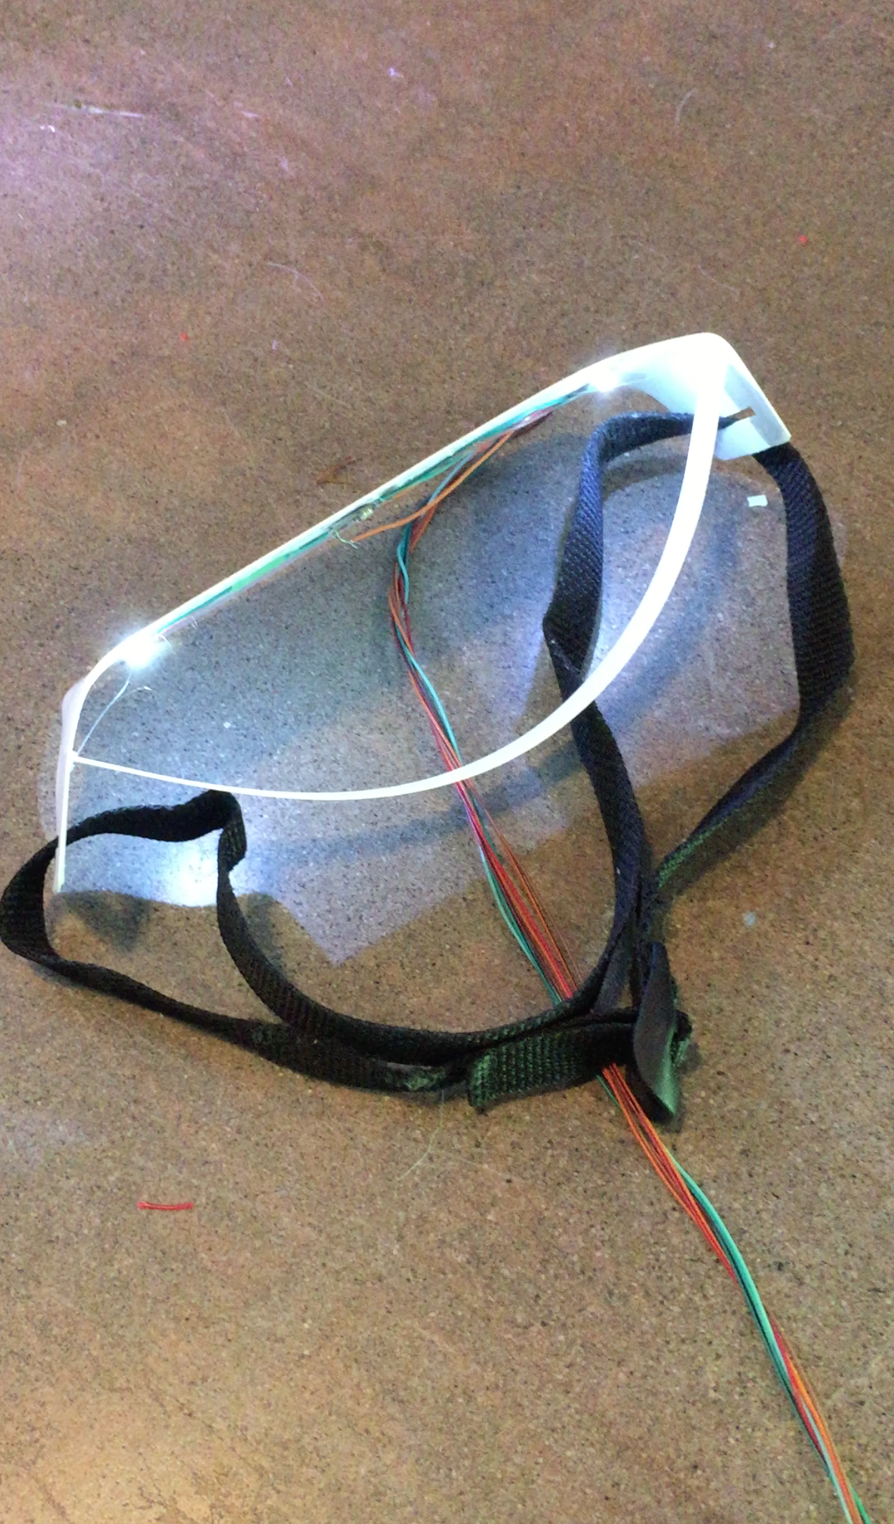
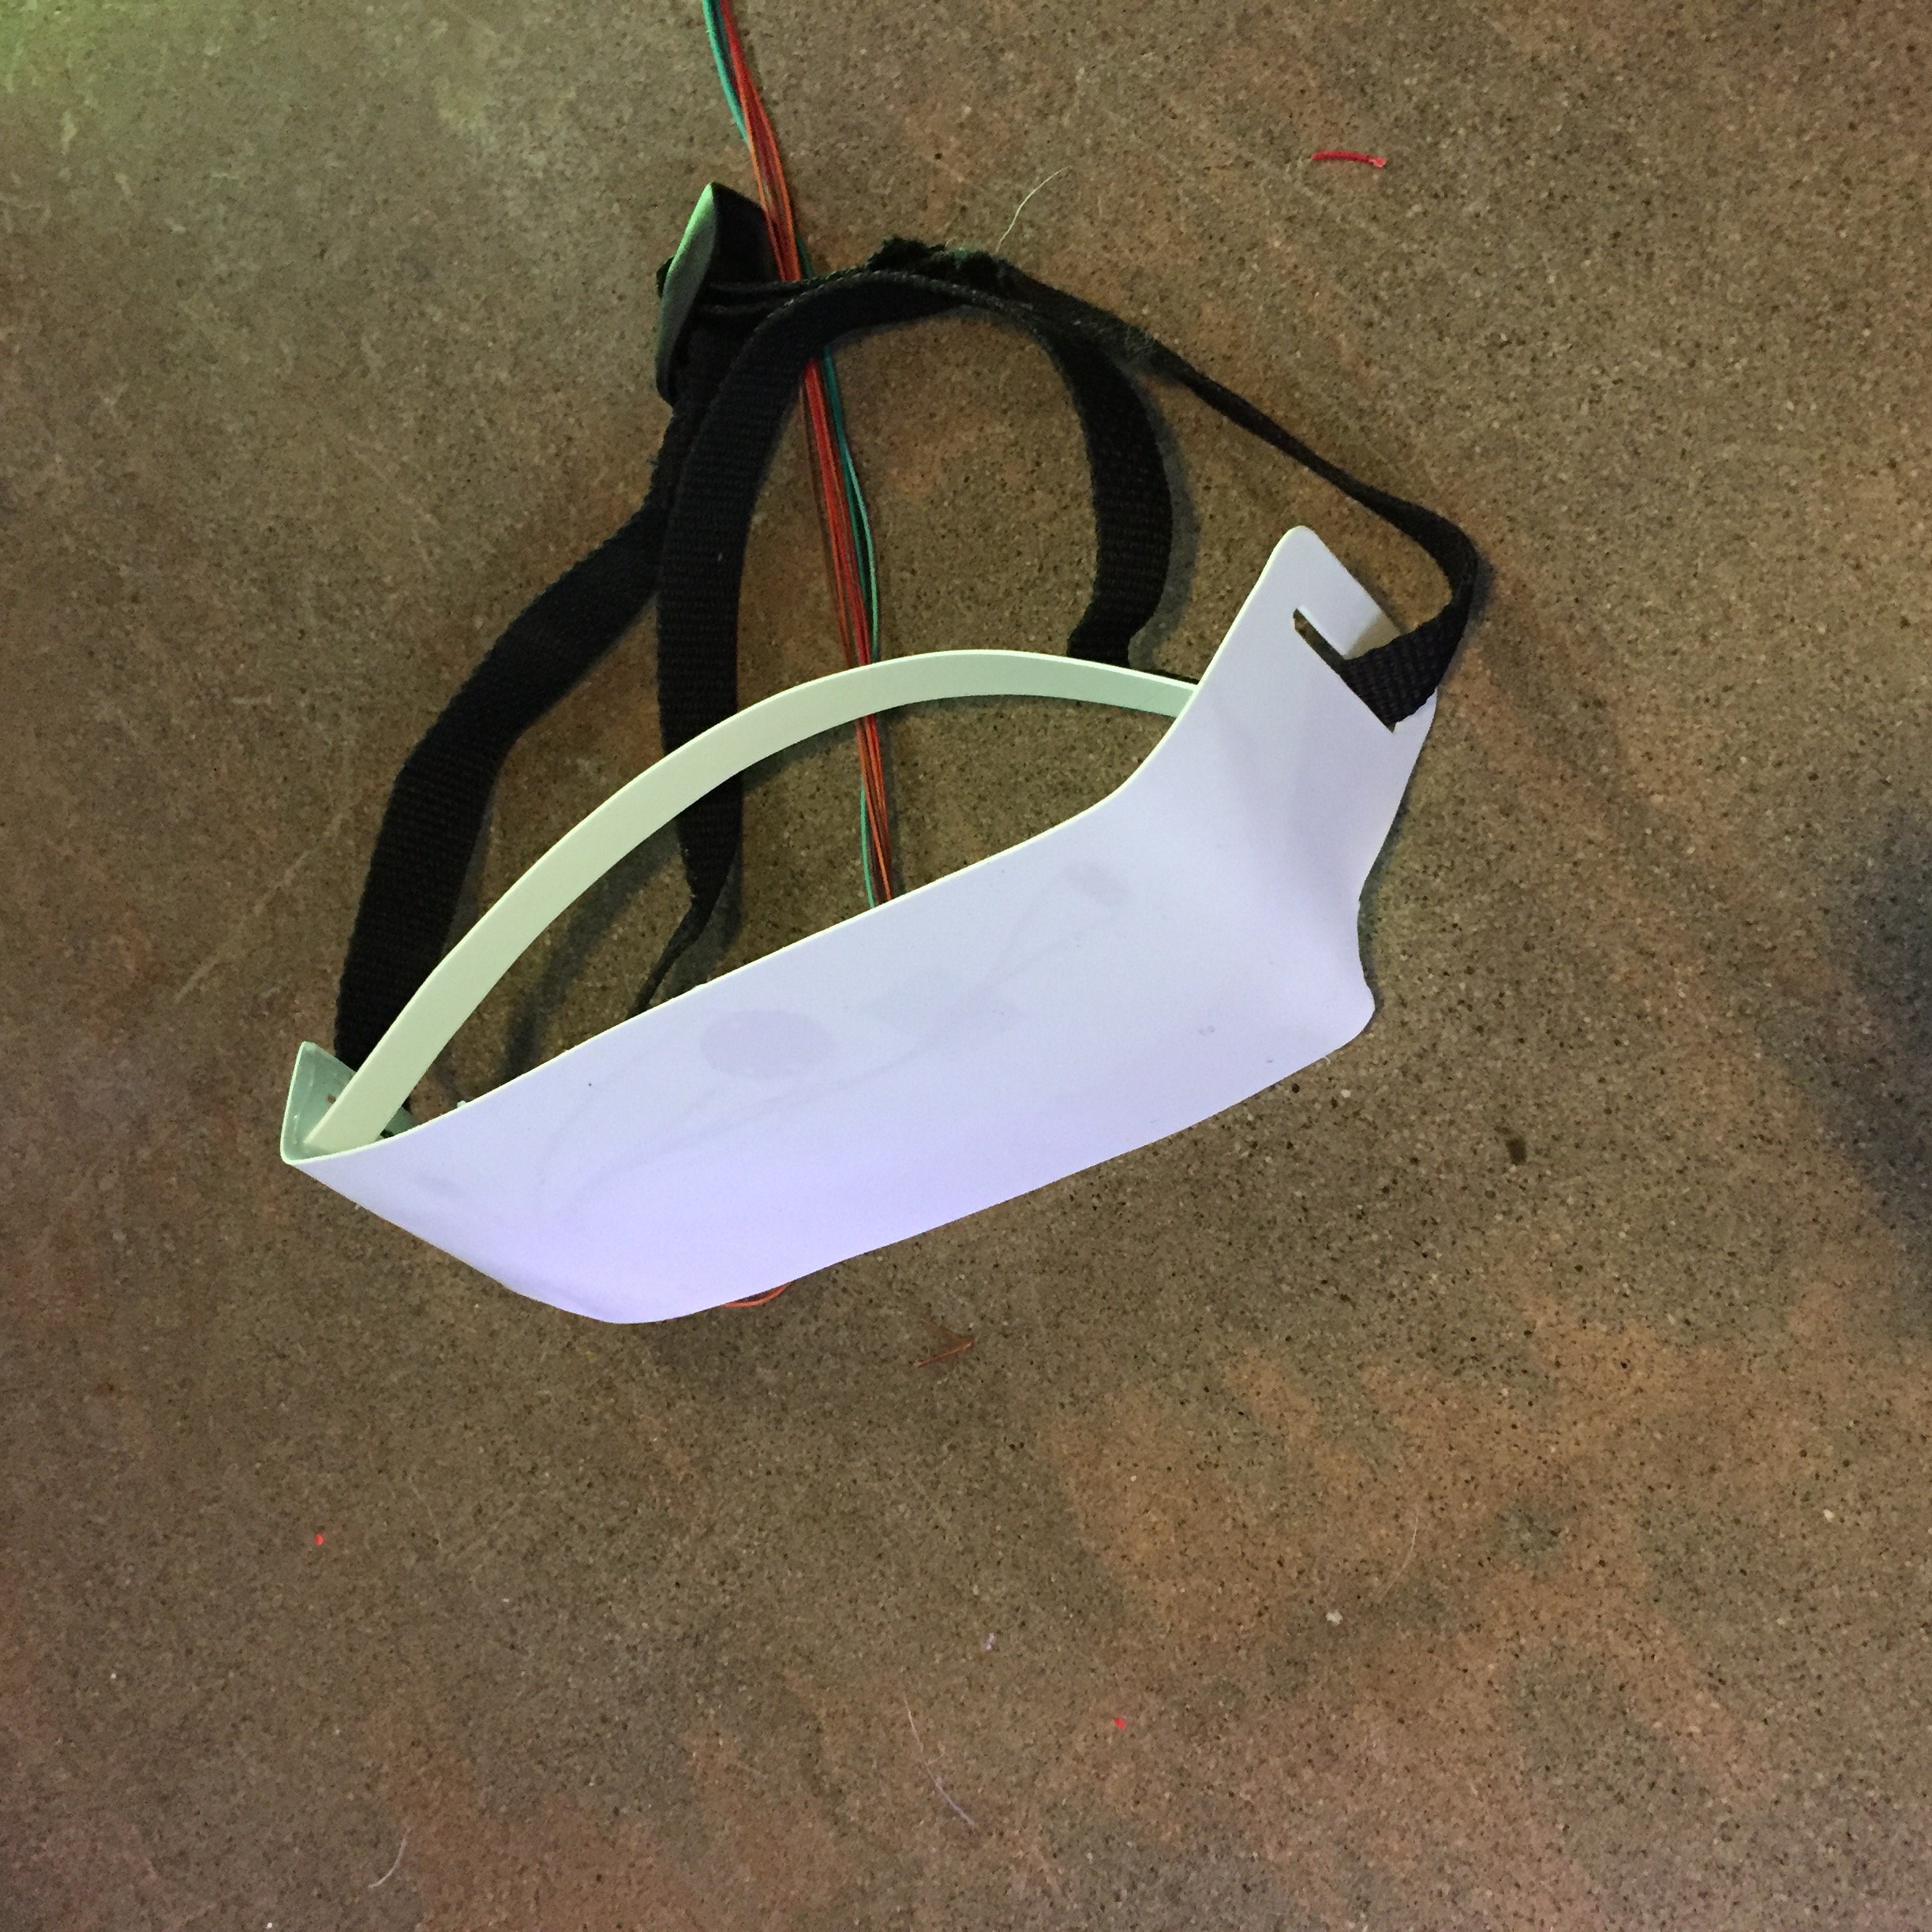
W A R N I N G : THIS PROJECT DEALS WITH FLASHING LIGHTS. IF YOU HAVE PHOTOSENSITIVE EPILEPSY OR FEEL YOU MIGHT BE SUSCEPTIBLE TO A SEIZURE I WOULD ADVICE NOT TO PROCEED
/ / / / / / / / / / / / / / / / / / / / / / / / / / / / / / / / / / / / / / / / / / / / / / / / / / / / / / / / / / / / / / / / / / / / / / / / / / / / / / / / / / / / / / / / / /
I recently listened to Radiolab's episode titled Bringing Gamma Back and was inspired to build a type of light mask that could simulate the light wave therapy that was spoken about in that episode. The theory is that strobing lights in a particular rhythm, 40hz, can have tremendous neurological advantages. "They were able to turn back on a part of the brain that had been shut down by Alzheimer’s disease."
http://www.radiolab.org/story/bringing-gamma-back/
The Radiolab discussion is on a study on rats but since it is such a simple and easy treatment why not build something and give it a try myself. I have only used it for a couple minuets and I can say the results were mild though I did feel slightly more energetic and positive the rest of the day.
This instructable is on how to build a light therapy mask with two white LED's and a single colored LED. The color LED is more optional though changing the overall ambiance of the mask can have interesting results. All the LED's are controlled by an Arduino UNO.
MATERIAL LIST
MASK
MATERIALS
+ Polystyrene sheet 0.030" http://www.dickblick.com/products/plastruct-styren...
+ Nylon webbing https://www.amazon.com/Cosmos-Inches-Yards-Webbing...
+ Plastic Buckle https://www.amazon.com/10-Inch-Release-Plastic-Bu...
+ PDF printout
+ Tape
TOOLS
+ GlueStick http://www.dickblick.com/products/blick-glue-stick...
+ X-Acto Knife http://www.dickblick.com/products/x-acto-1-knife/
+ Hot Glue Gun http://www.dickblick.com/products/surebonder-mini-...
+ Heat Gun http://www.homedepot.com/p/Kawasaki-10-Piece-12-5-...
ELECTRONICS
+ Arduino UNO https://www.arduino.cc/en/Main/ArduinoBoardUno
+ LilyPad LED White x2 https://www.sparkfun.com/products/10081
+ LilyPad TRI-Color LED https://www.sparkfun.com/products/8467
Step 1: Cut Out the Mask
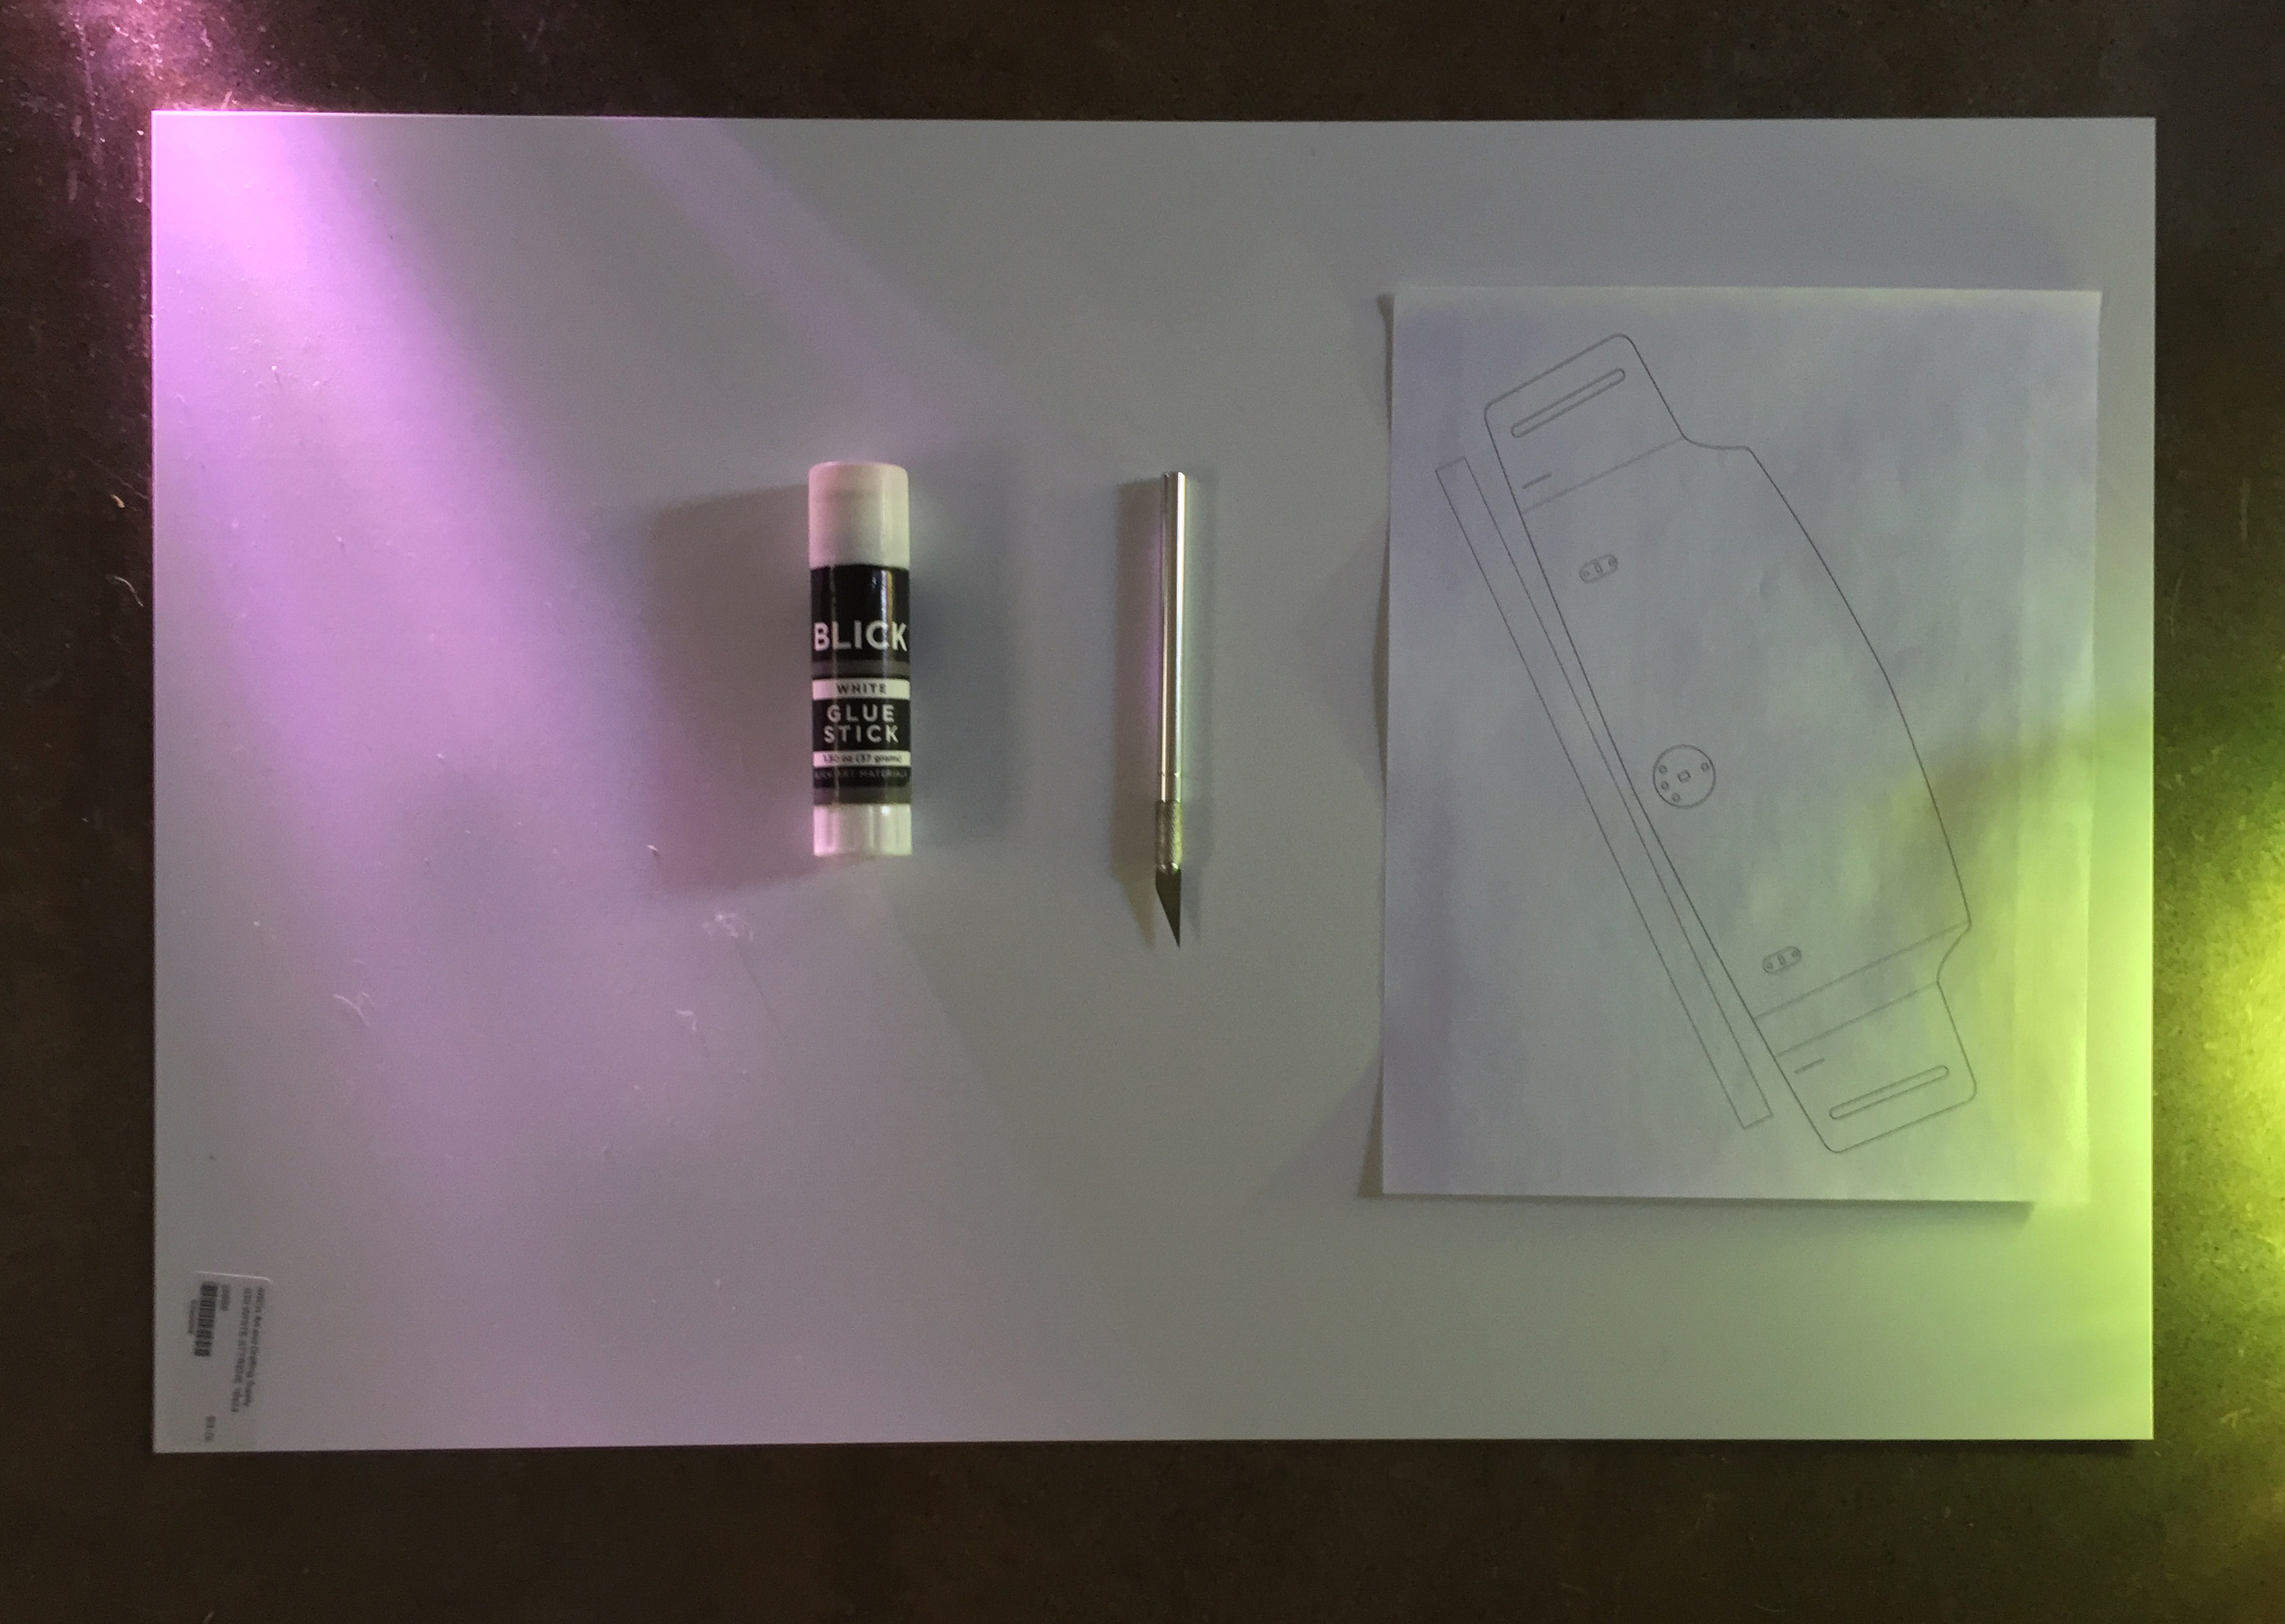
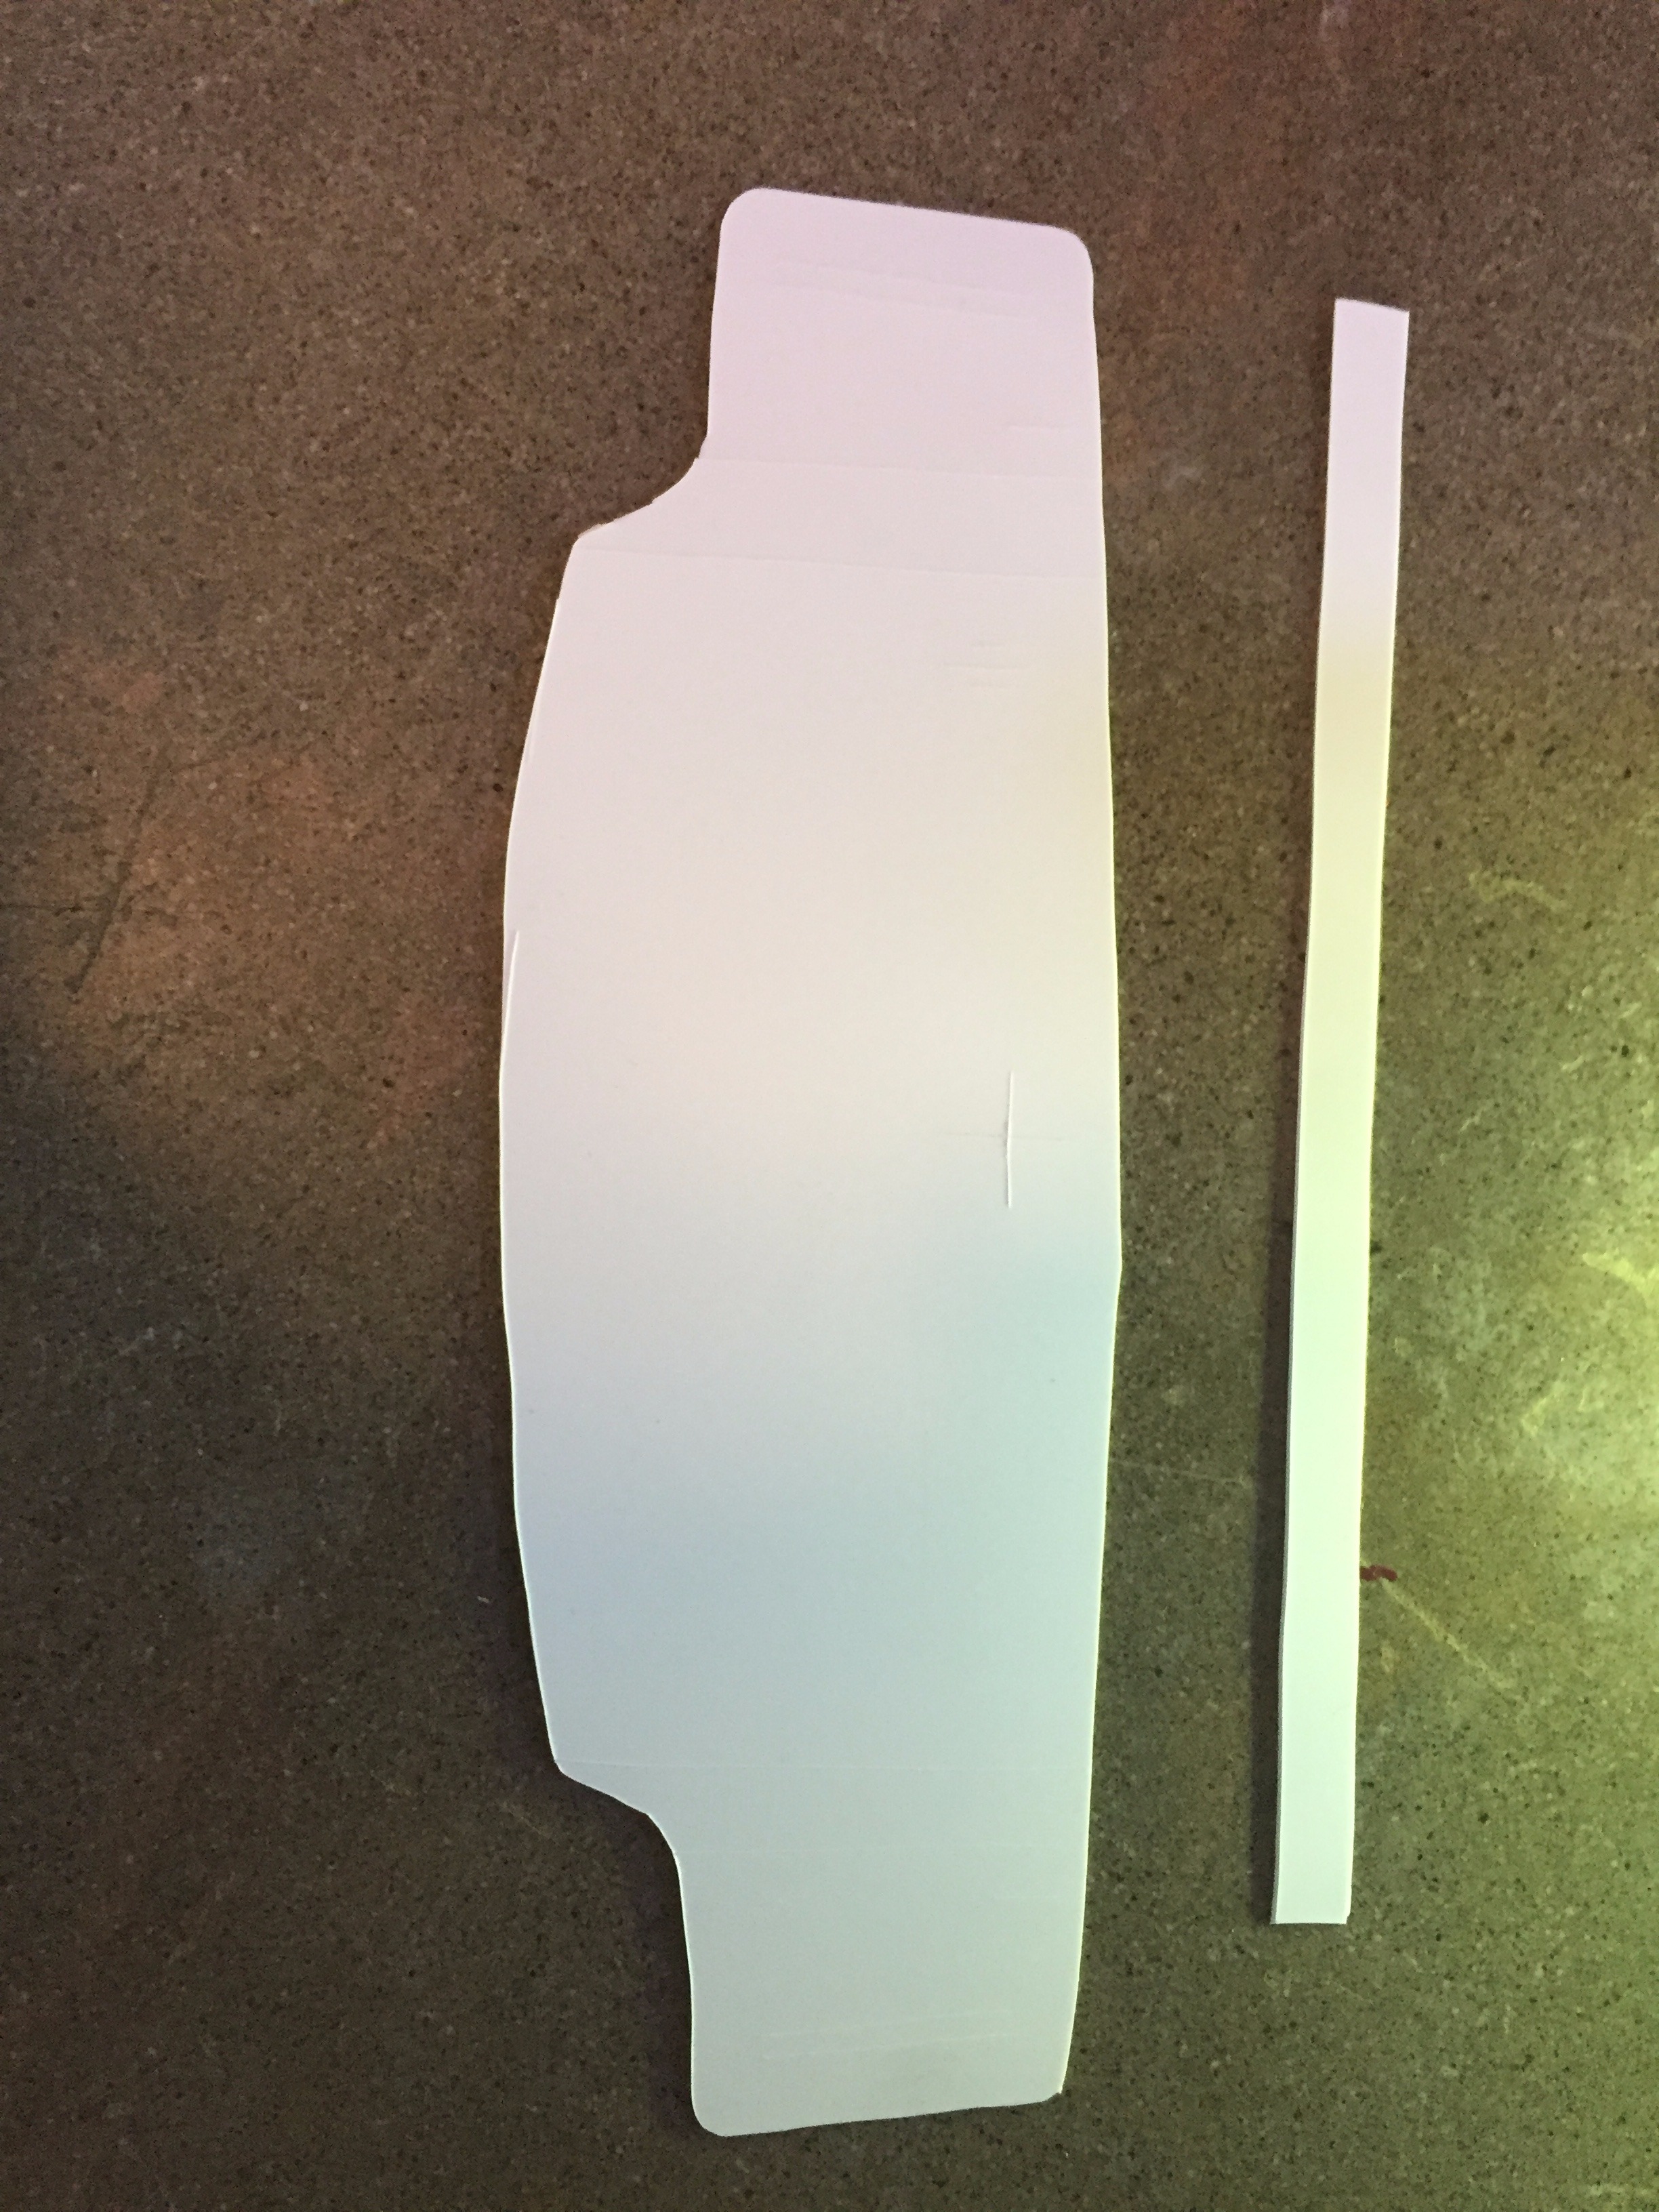
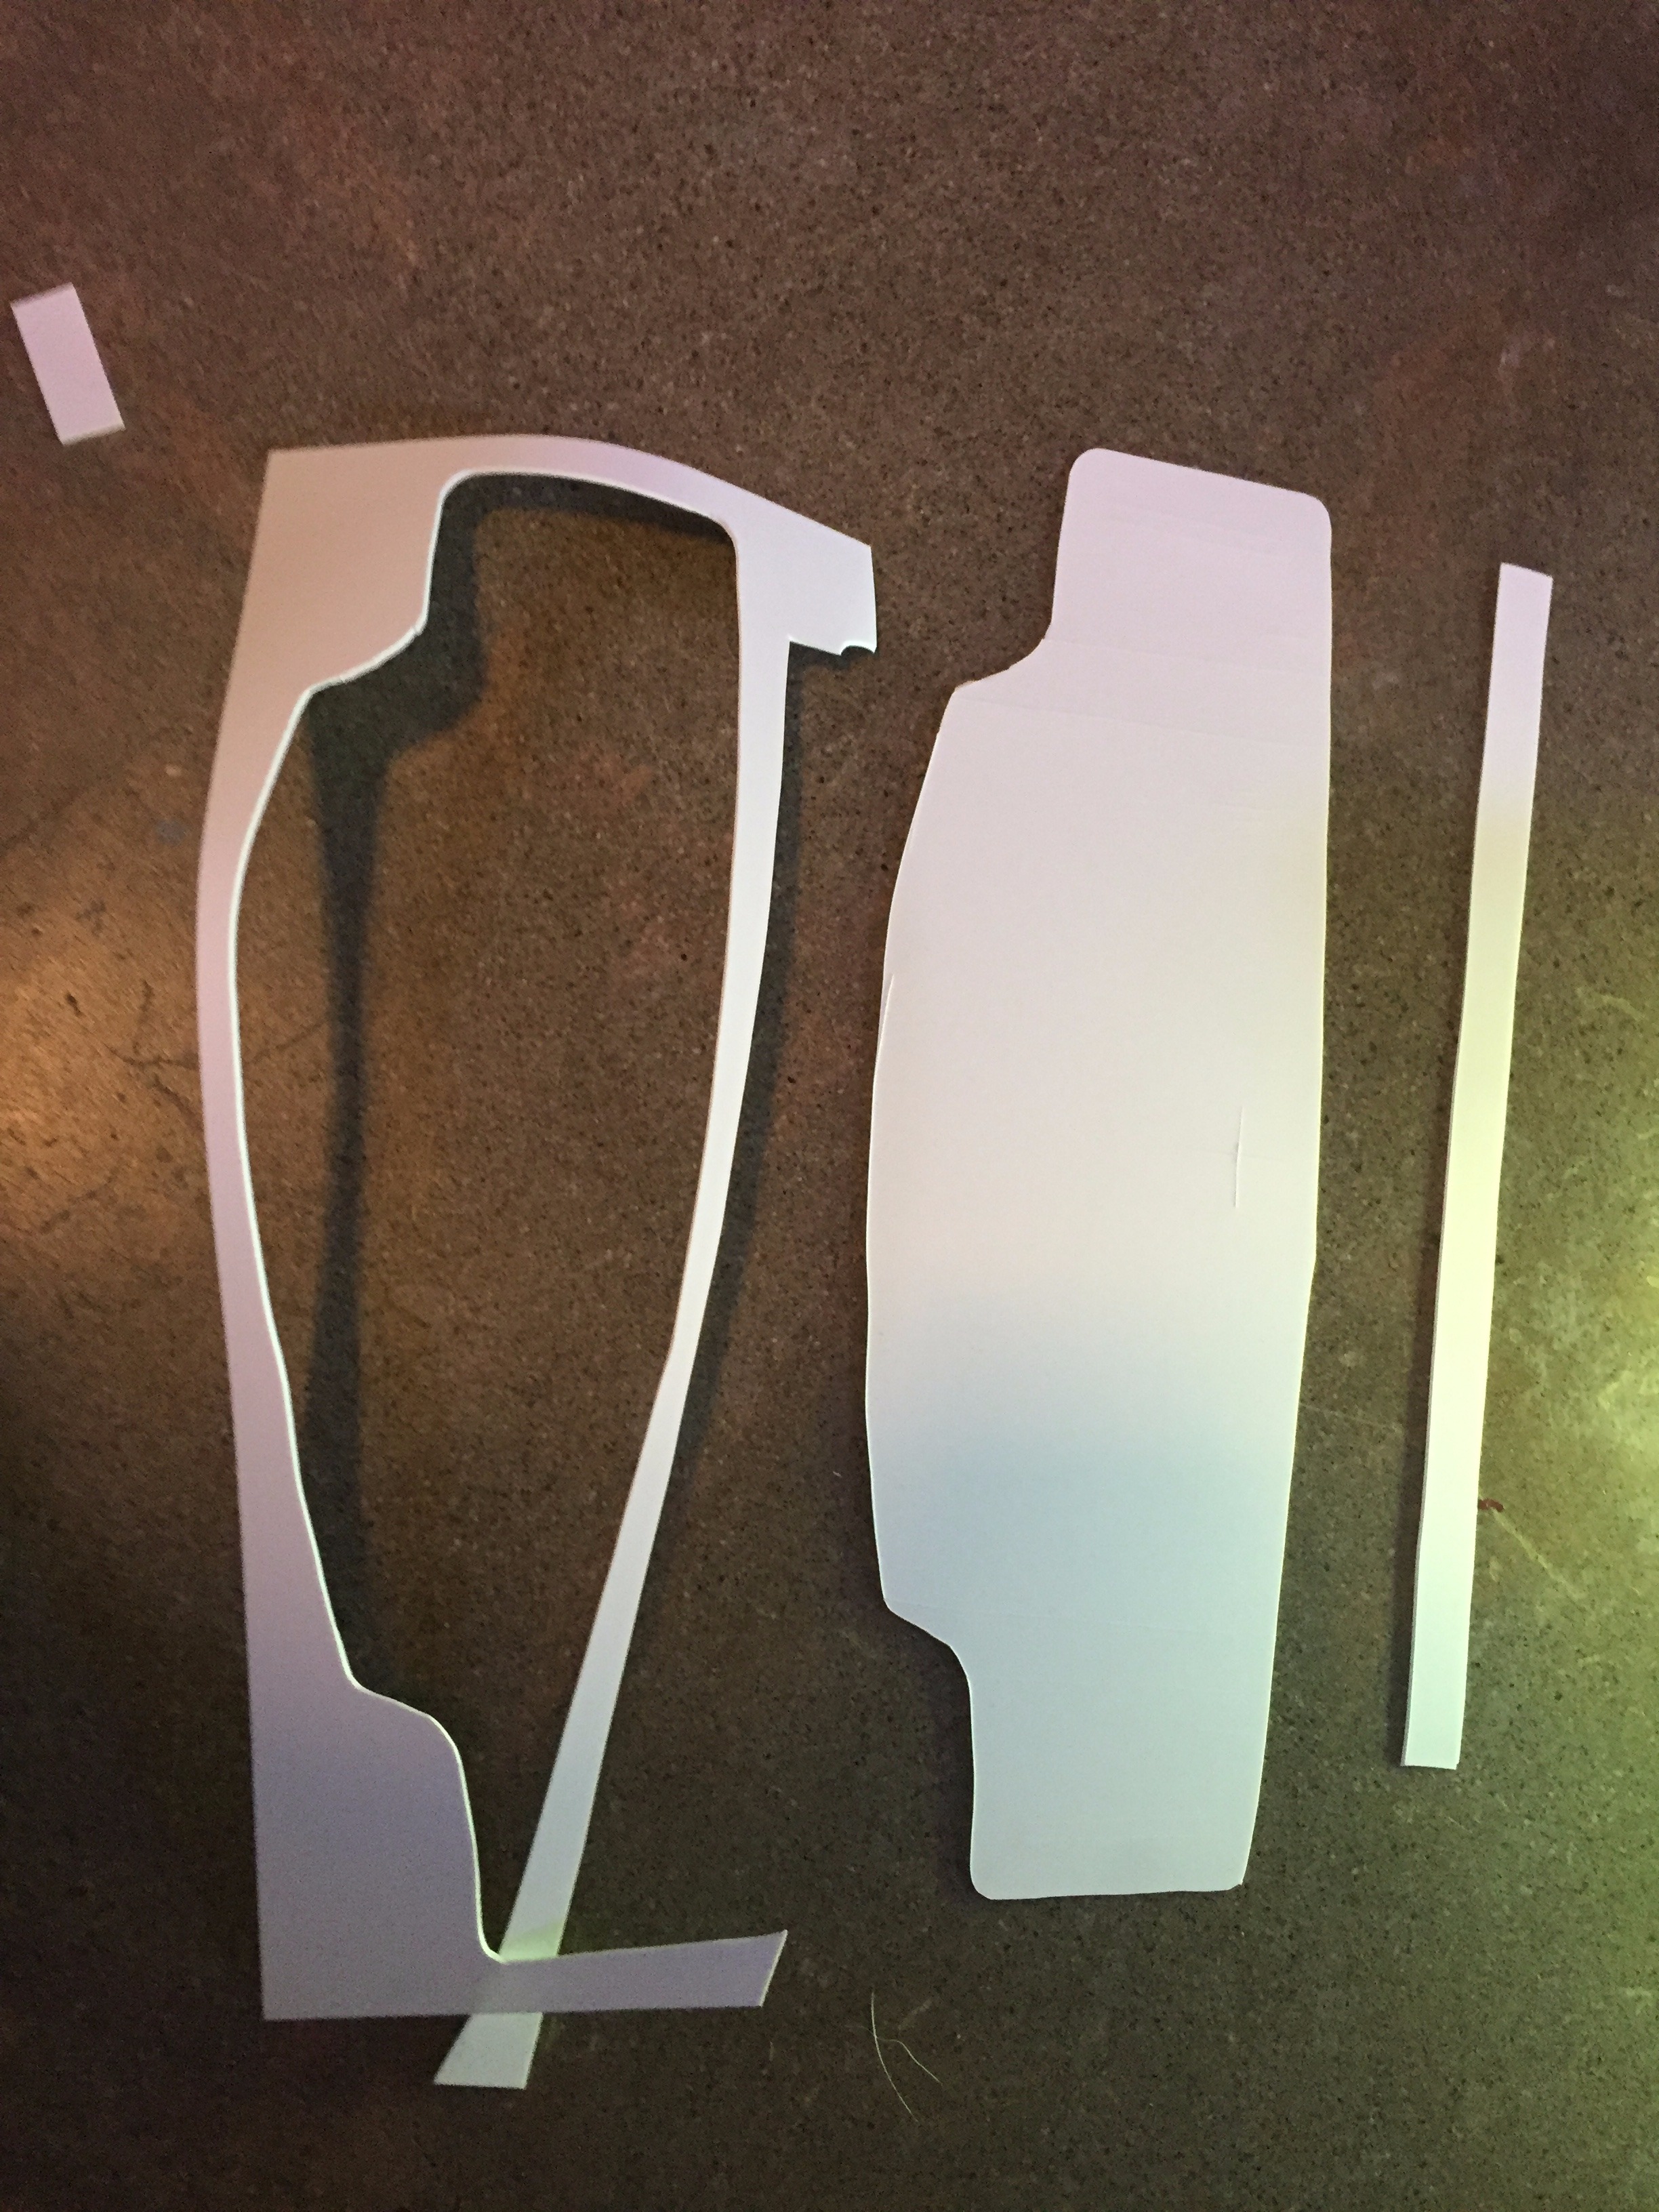
M a t e r i a l s
+Polystyrene
+GlueStick
+X-Acto knife
__________________________________________________________________________________________
1. Print out the pdf. on 8" x 11" paper
2. Glue the paper to the styrene
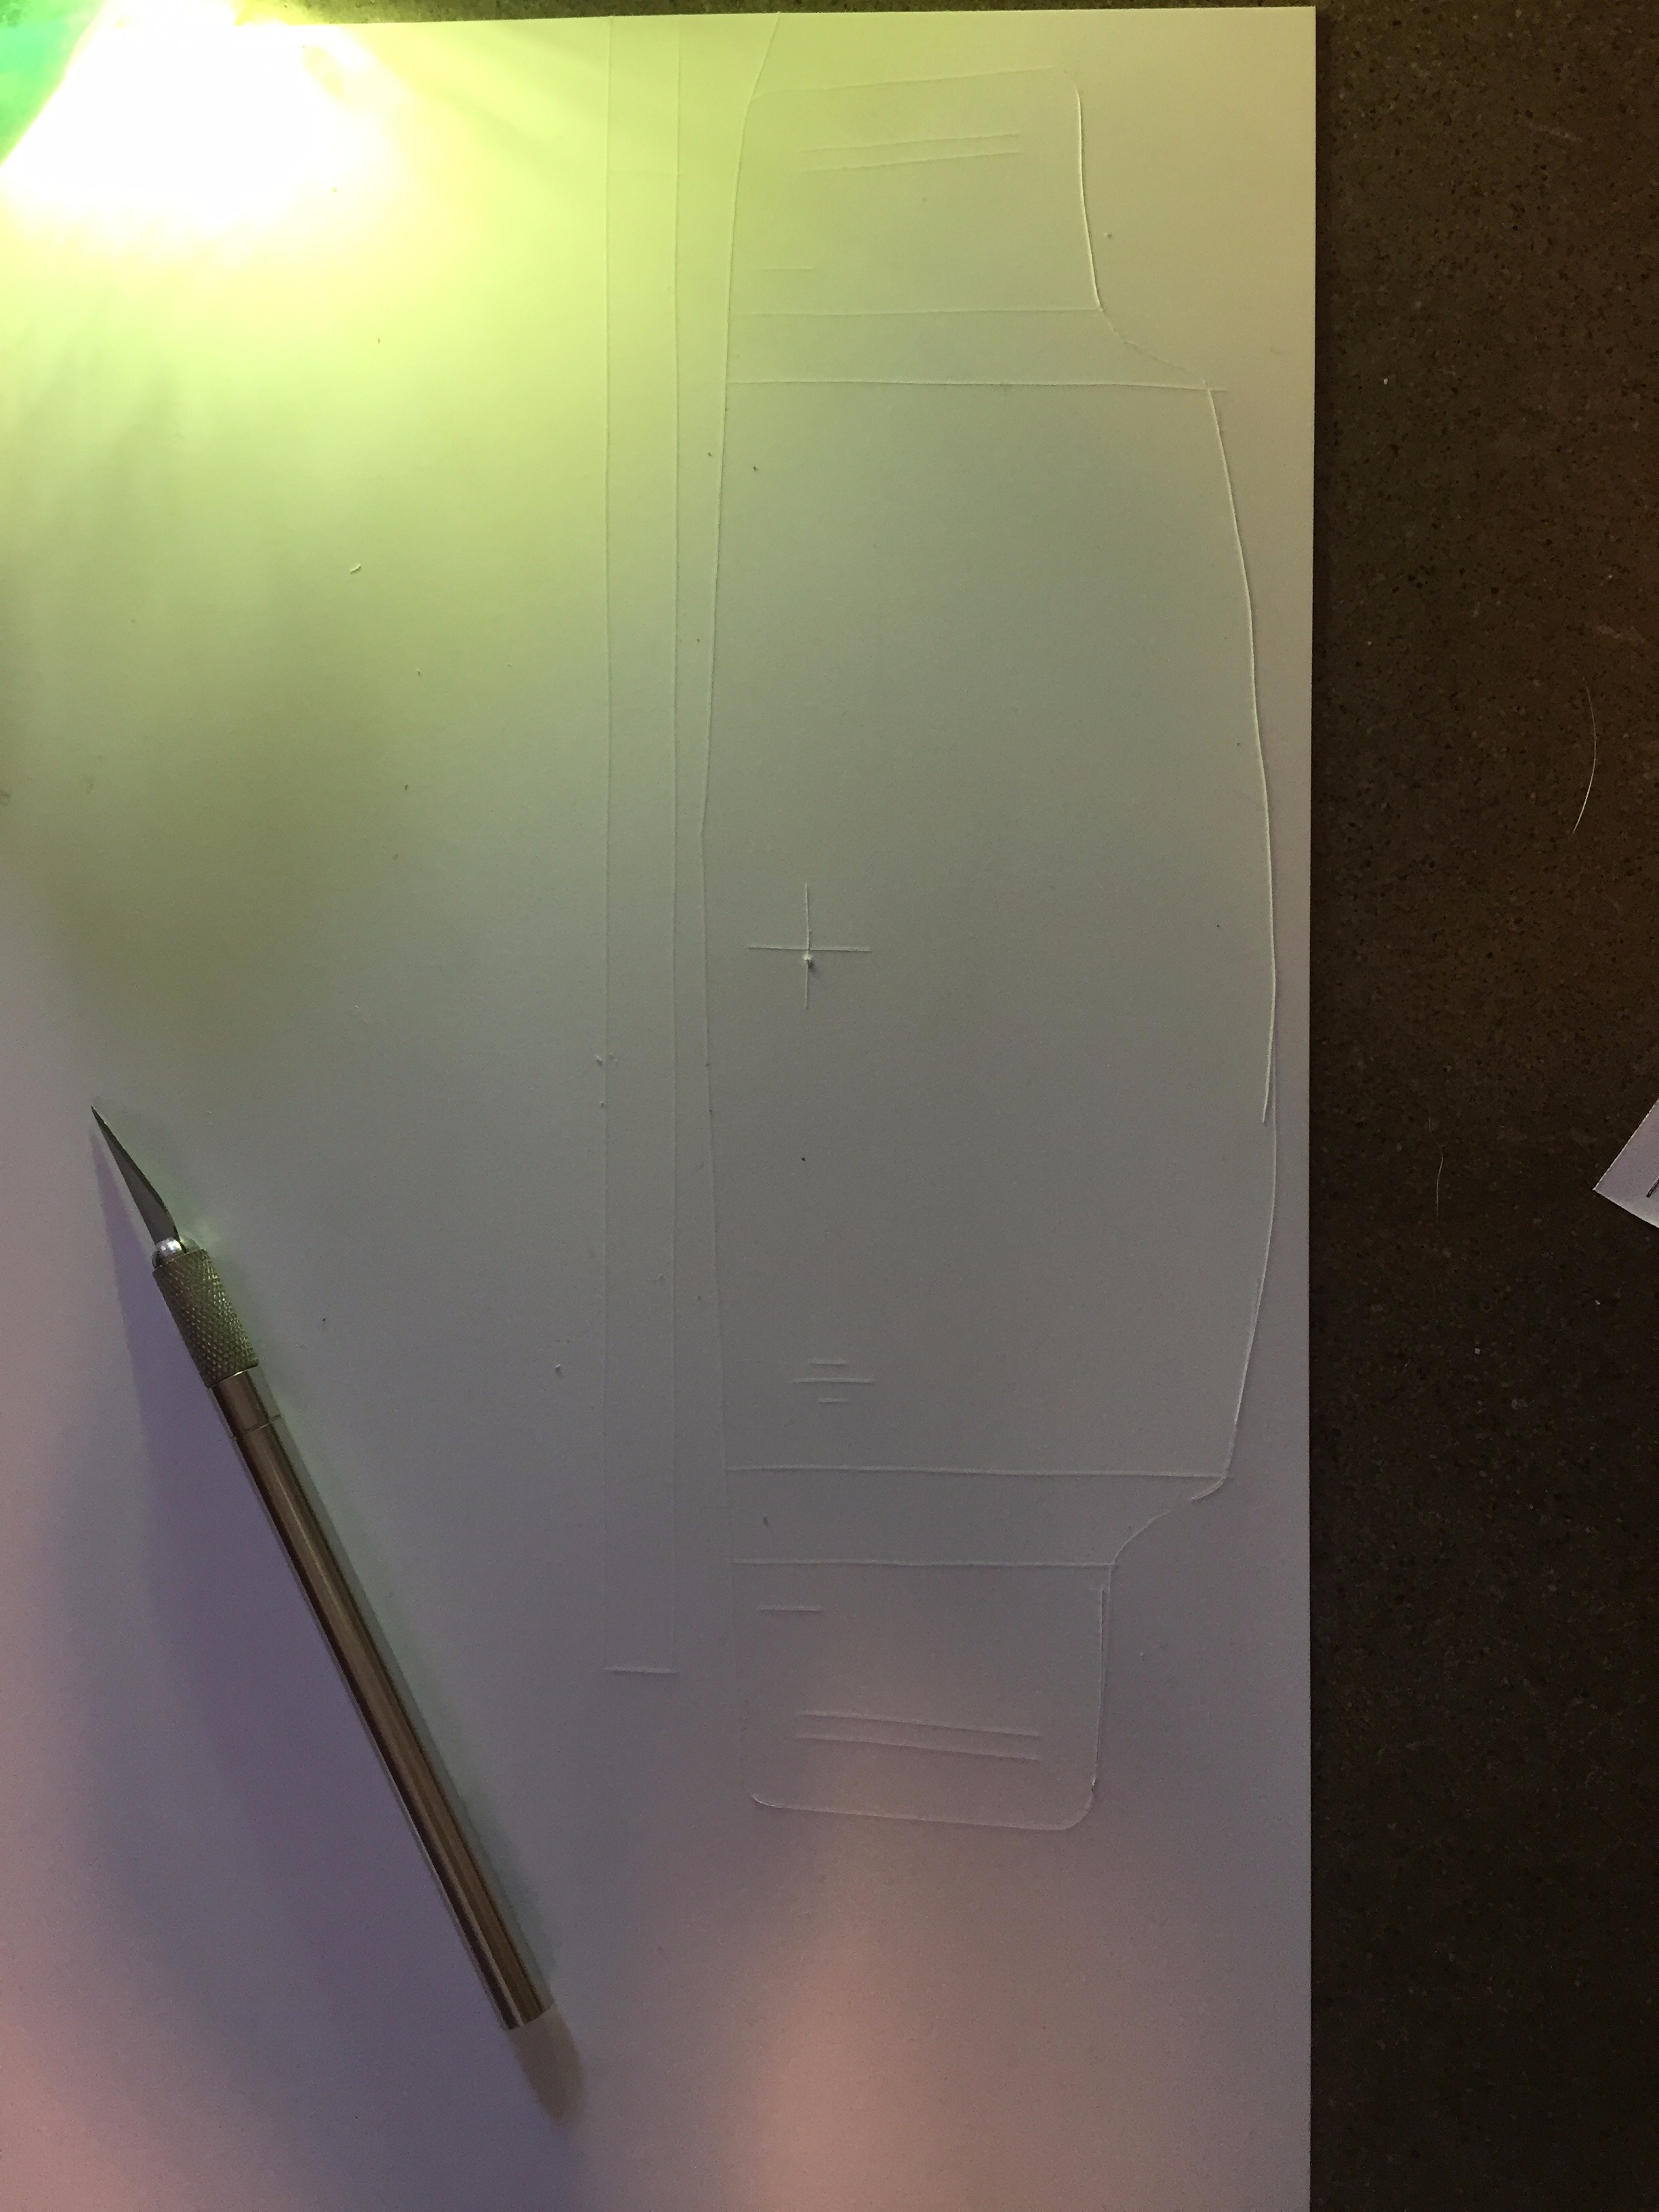
3. Use the knife to score the styrene
- Use heavy pressure for the black lines
- You don't need to cut the styrene completely through if you score it deep enough it will just tear along the score line
- For the red lines lightly score the styrene for measurement reference
Downloads
Step: 2 Shape the Mask
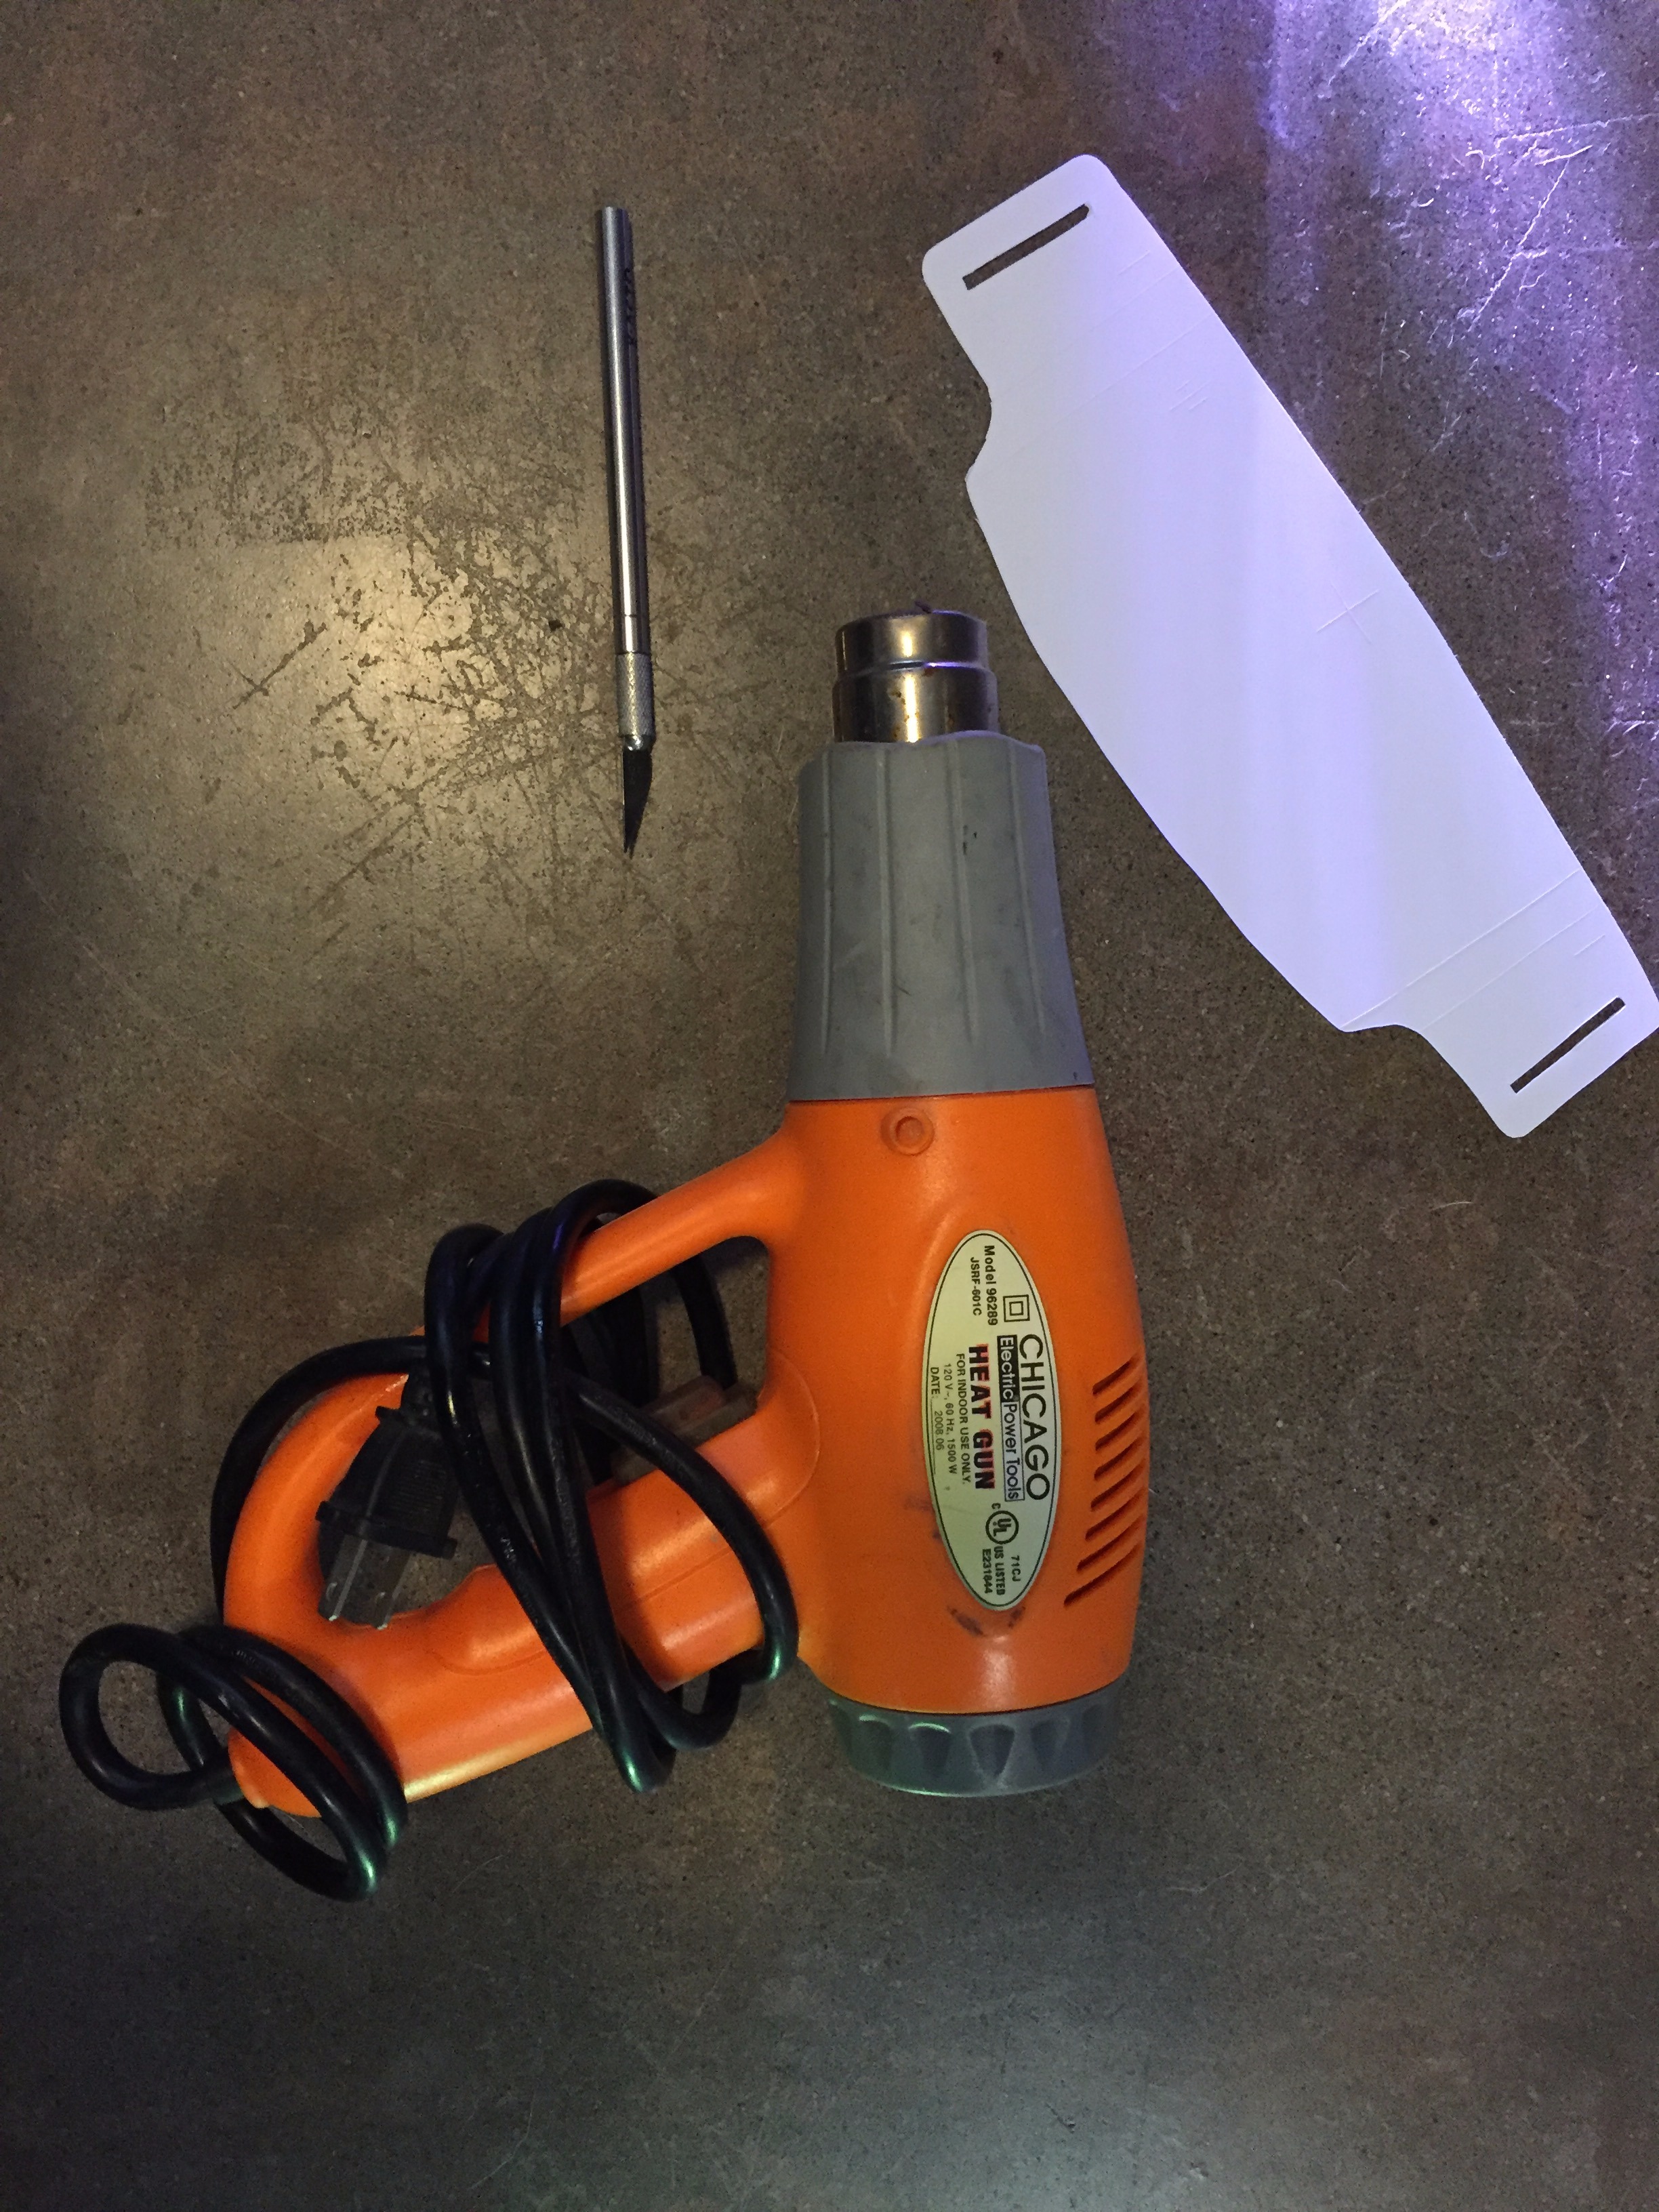
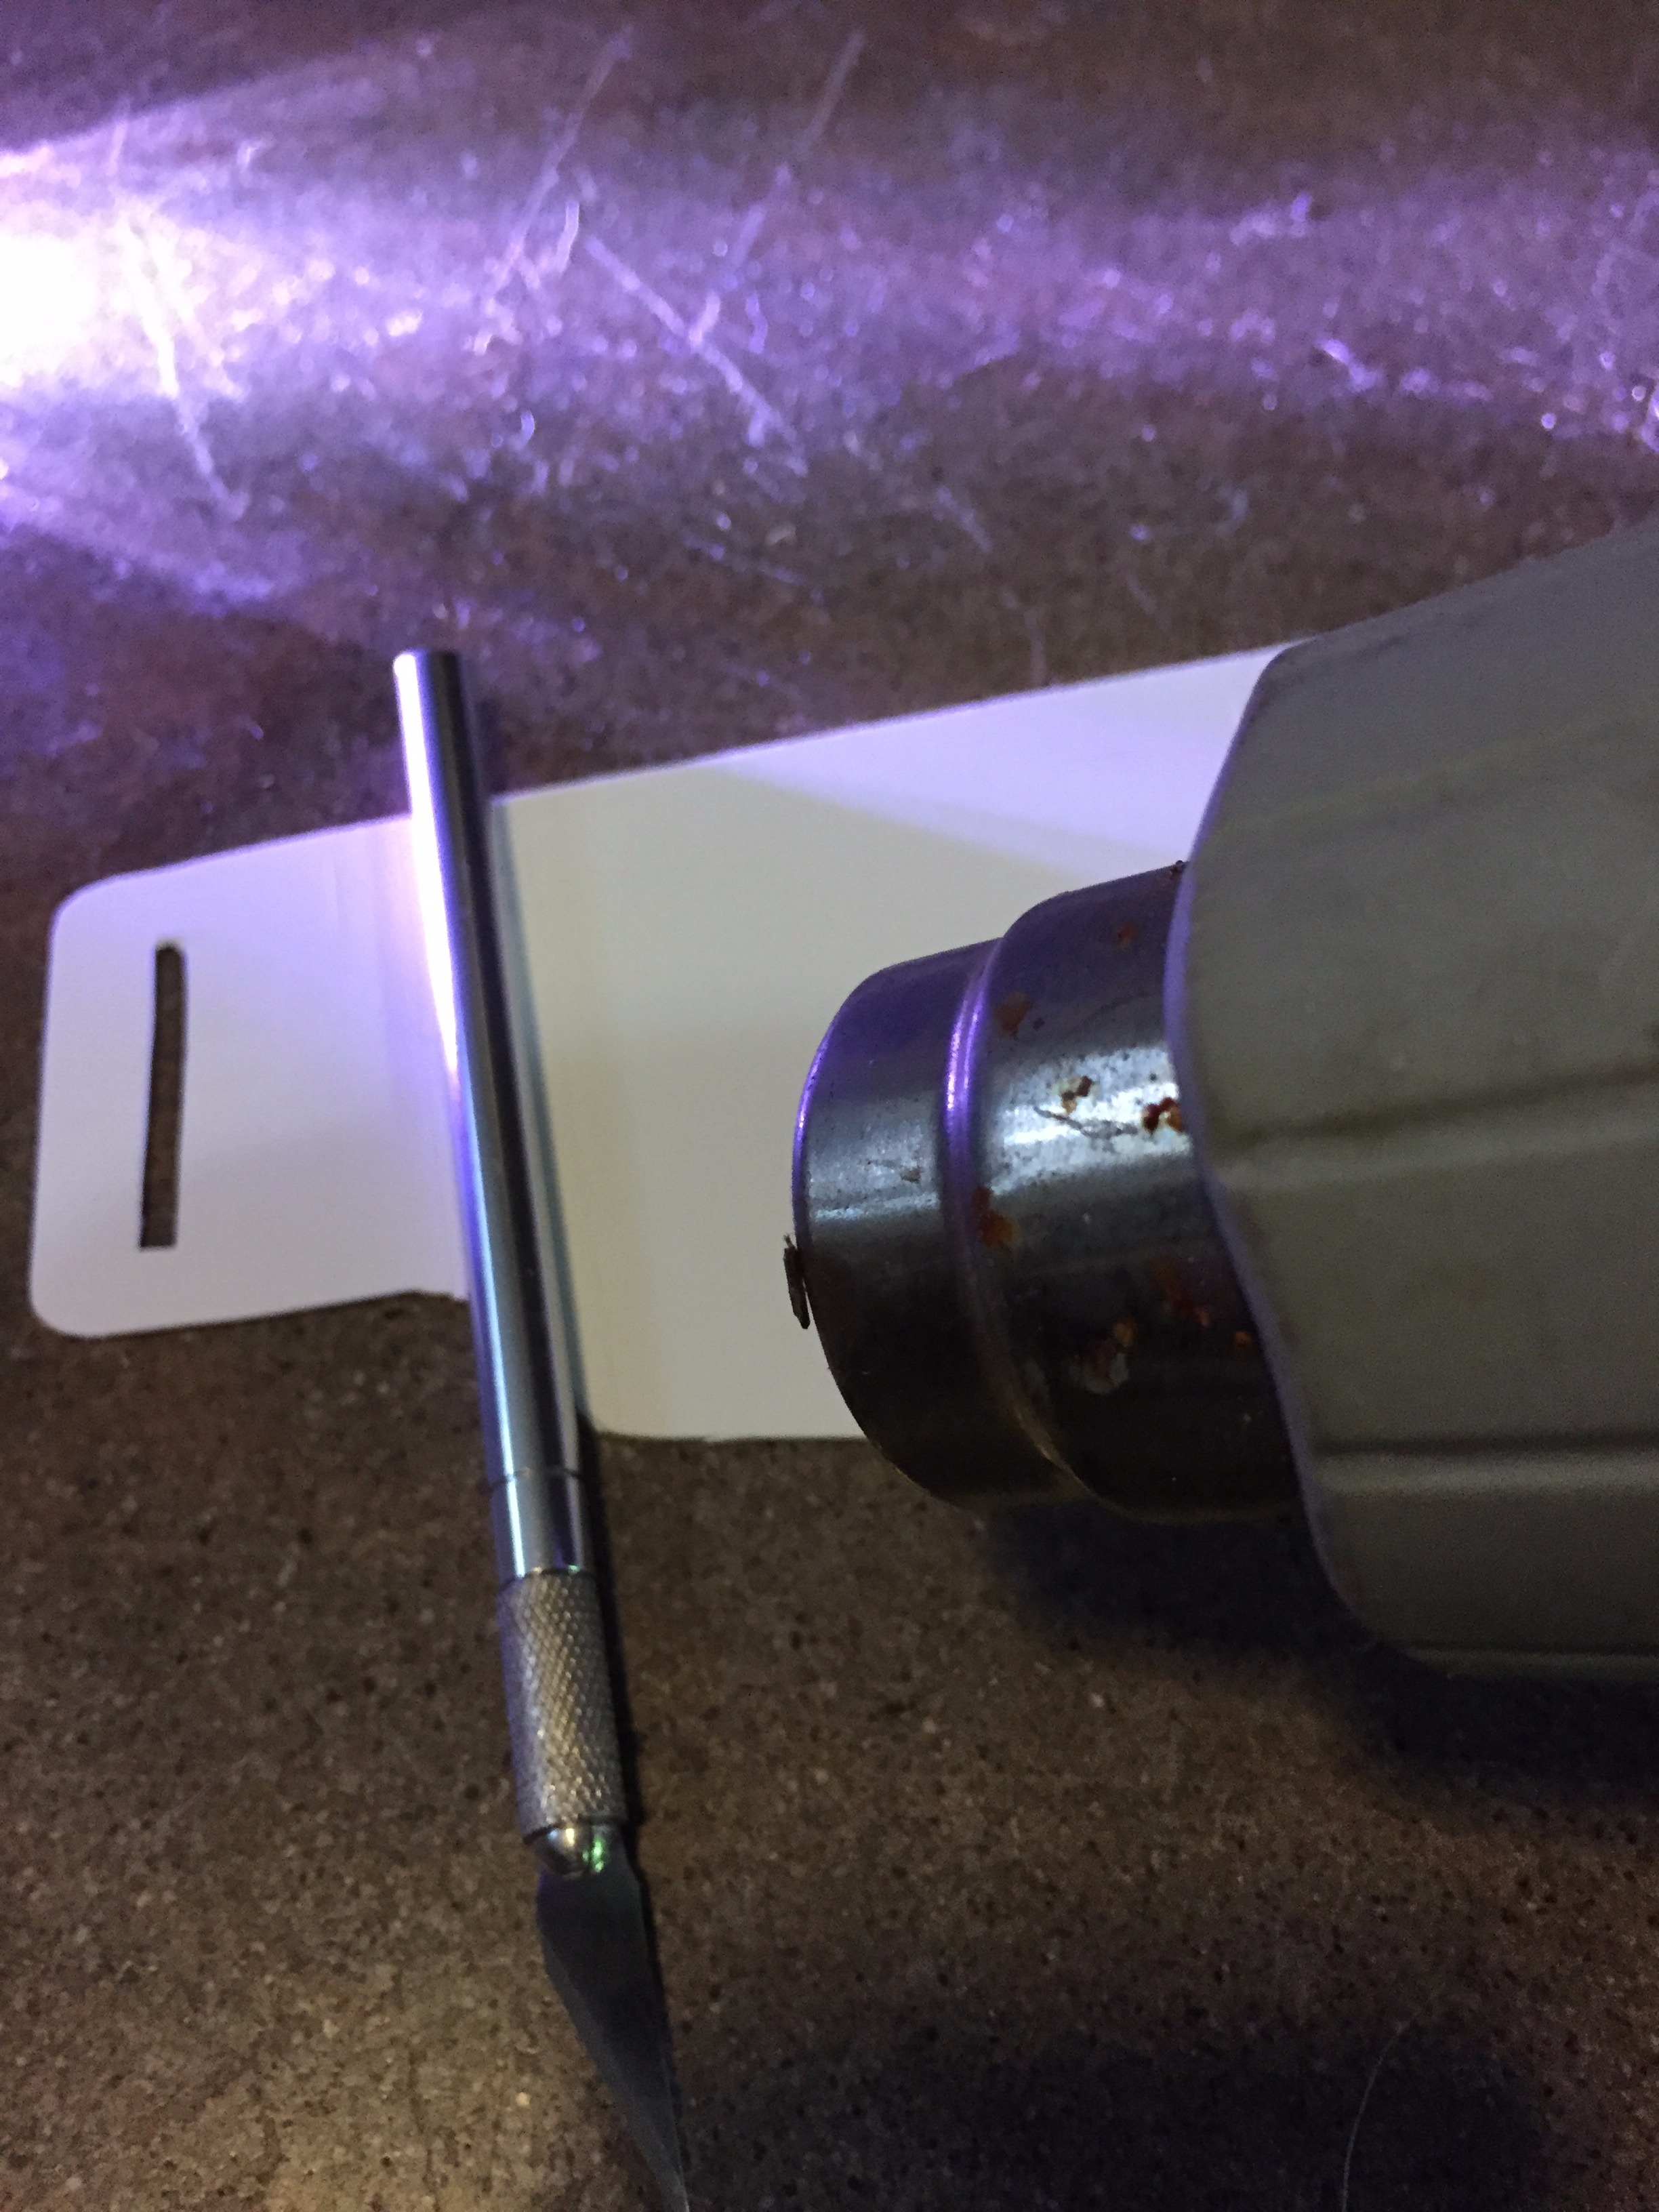
M a t e r i a l s
+ Heat Gun
+X-Acto Knife
__________________________________________________________________________________________
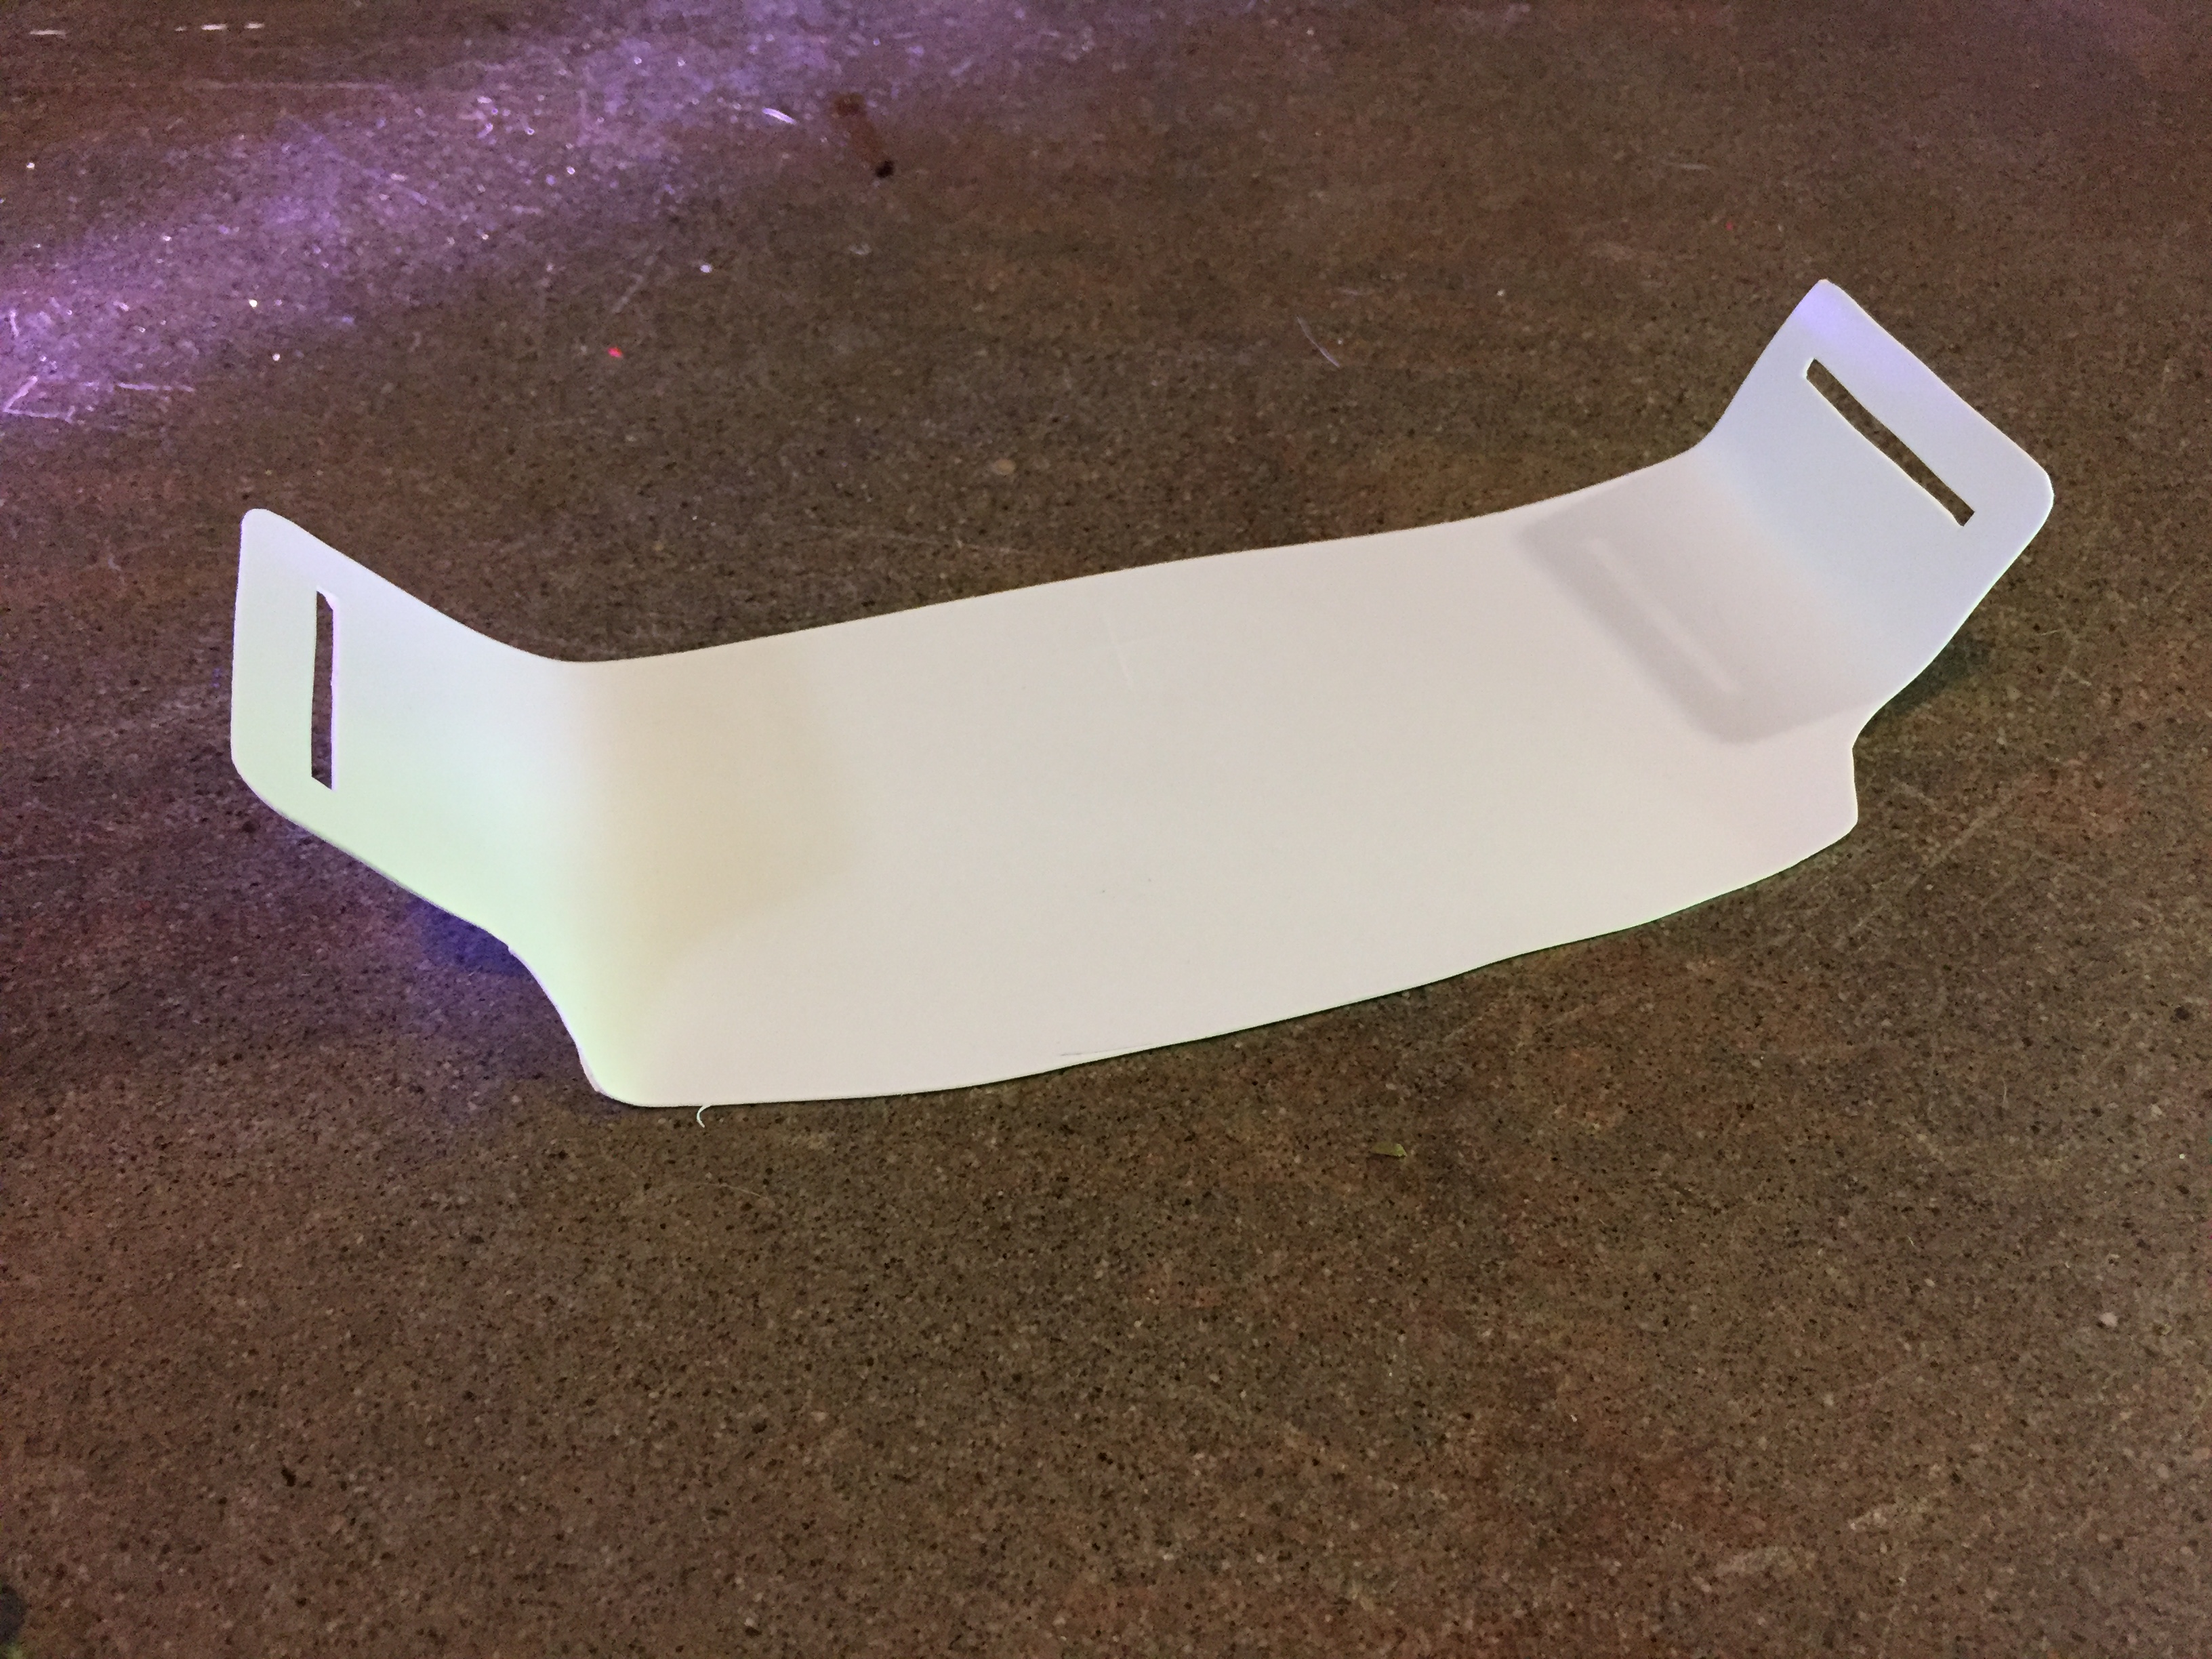
1. Using the heat gun on high slowly heat up the section between the red scored lines
- Use the body of the x-acto knife to bend the sides, I bent it up to around 35 - 40 degrees
STEP 3: Add the LED's
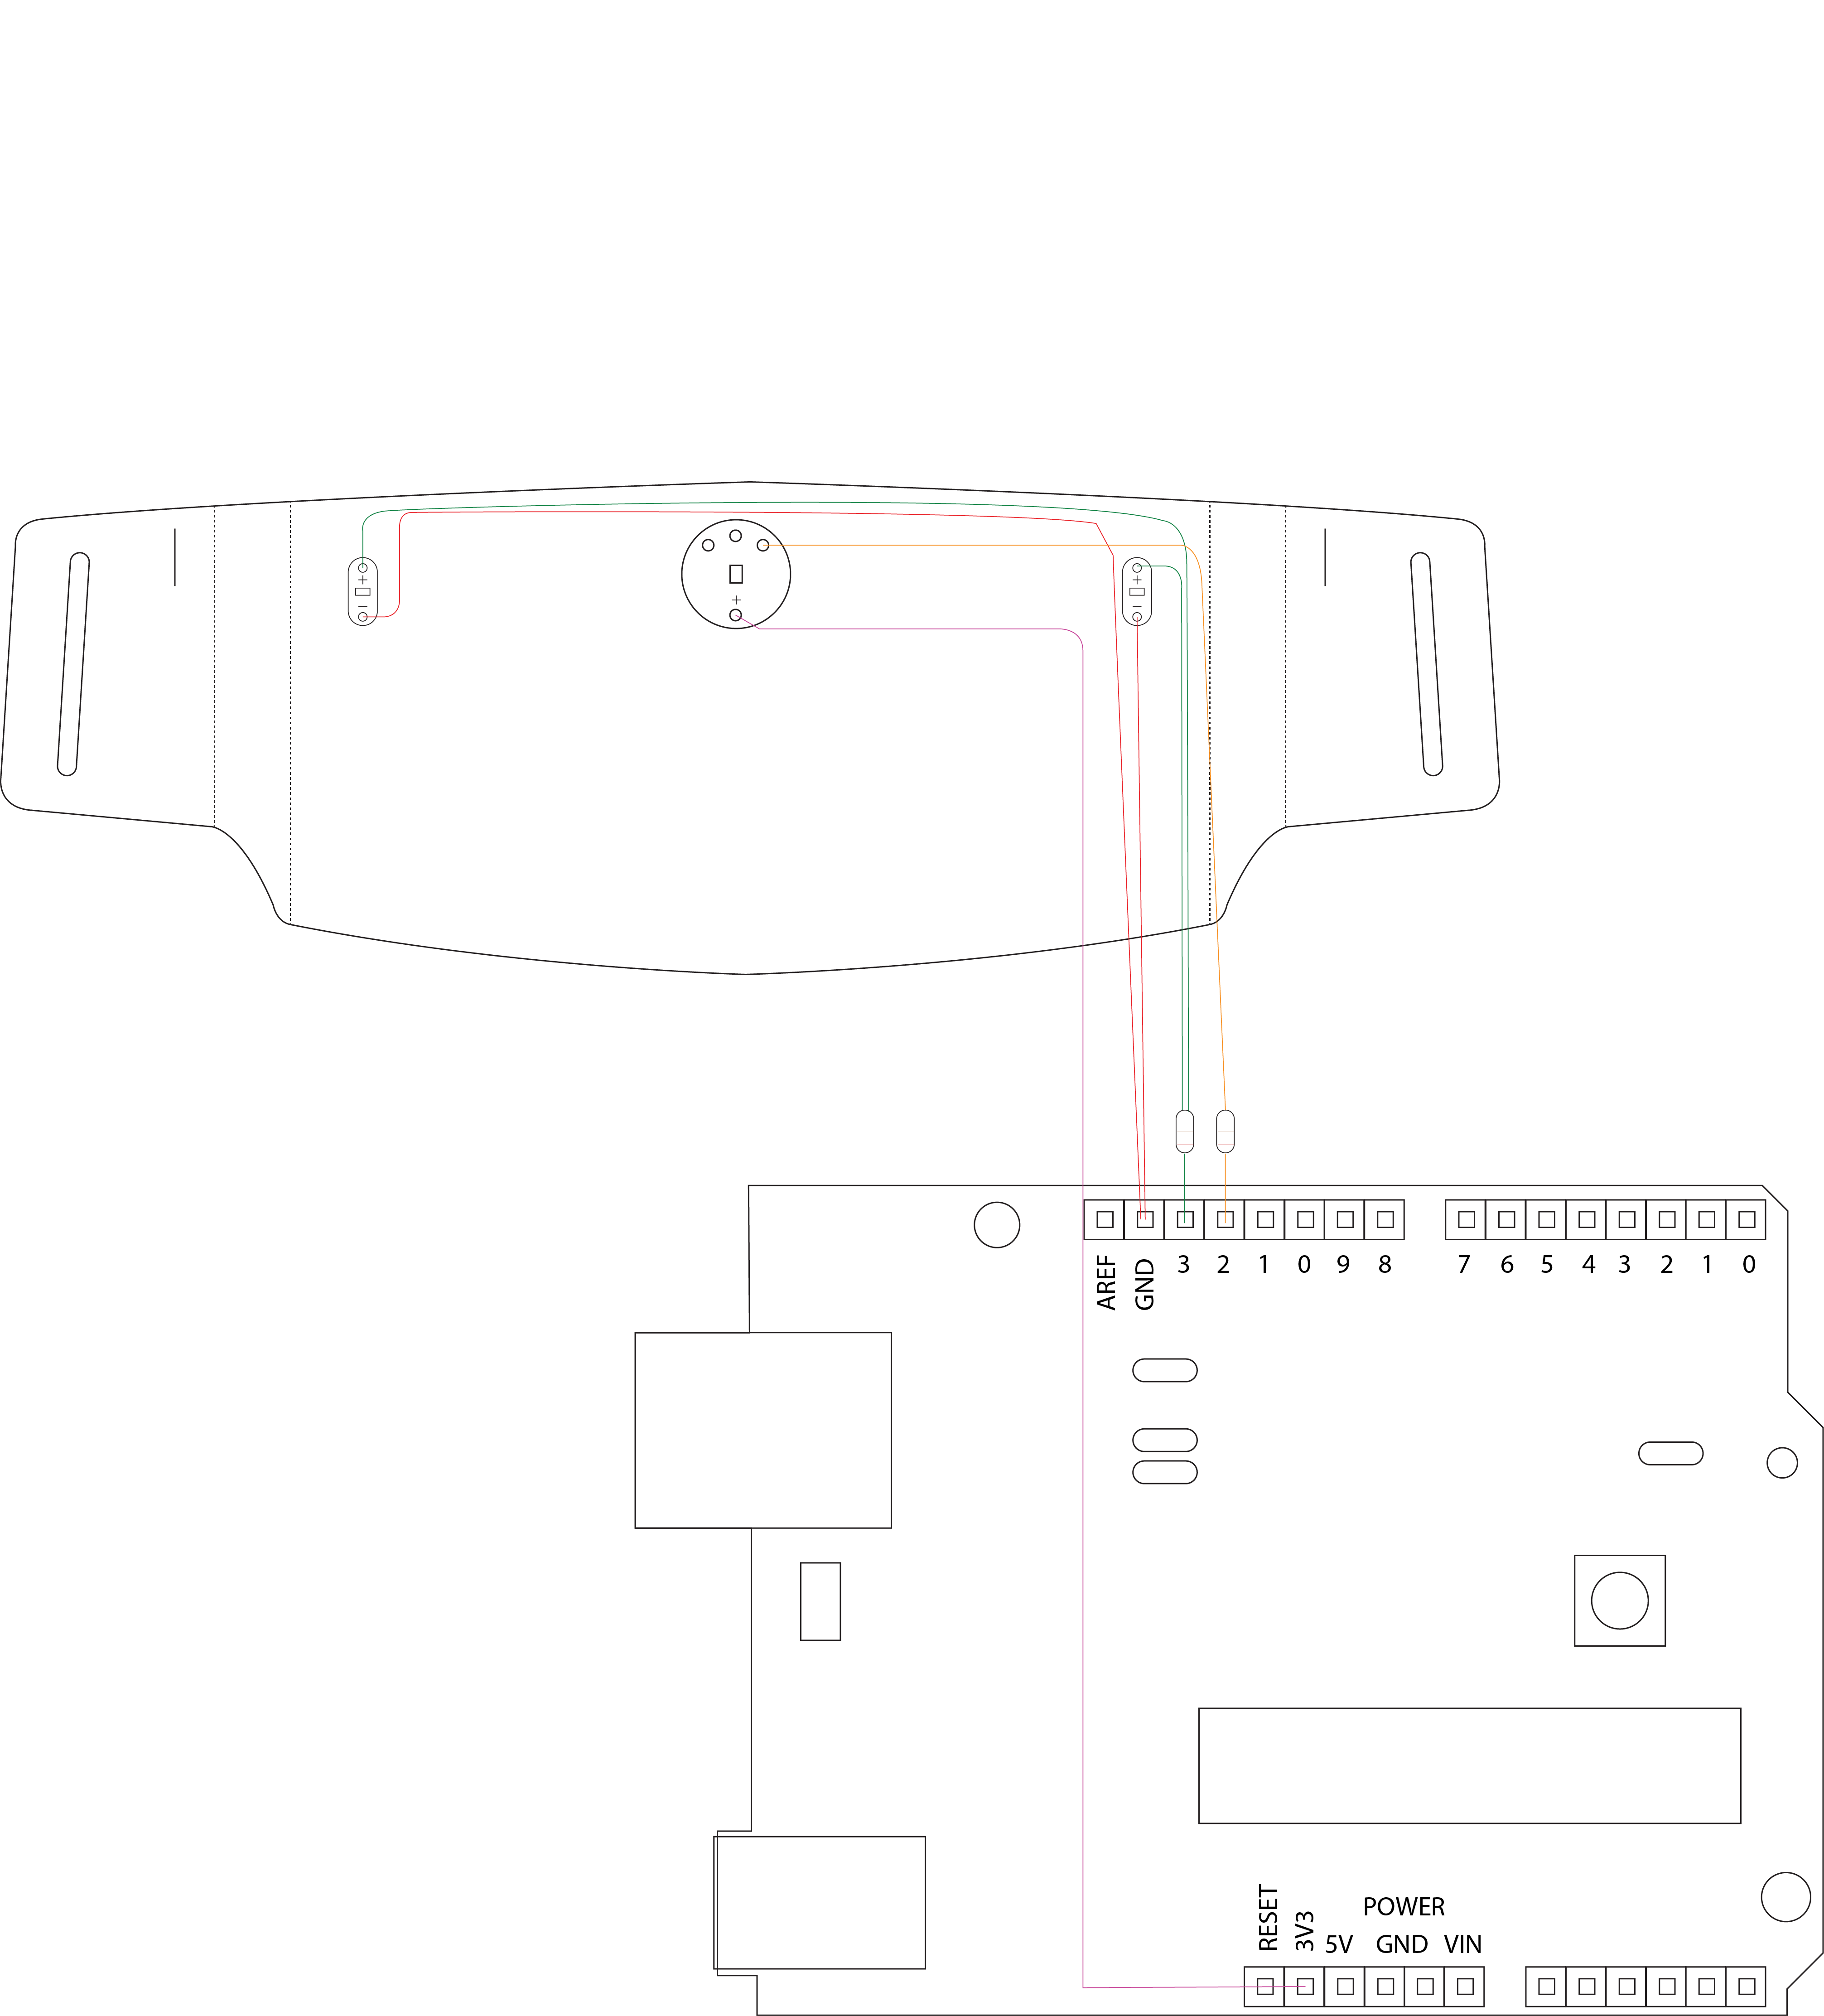
M a t e r i a l s
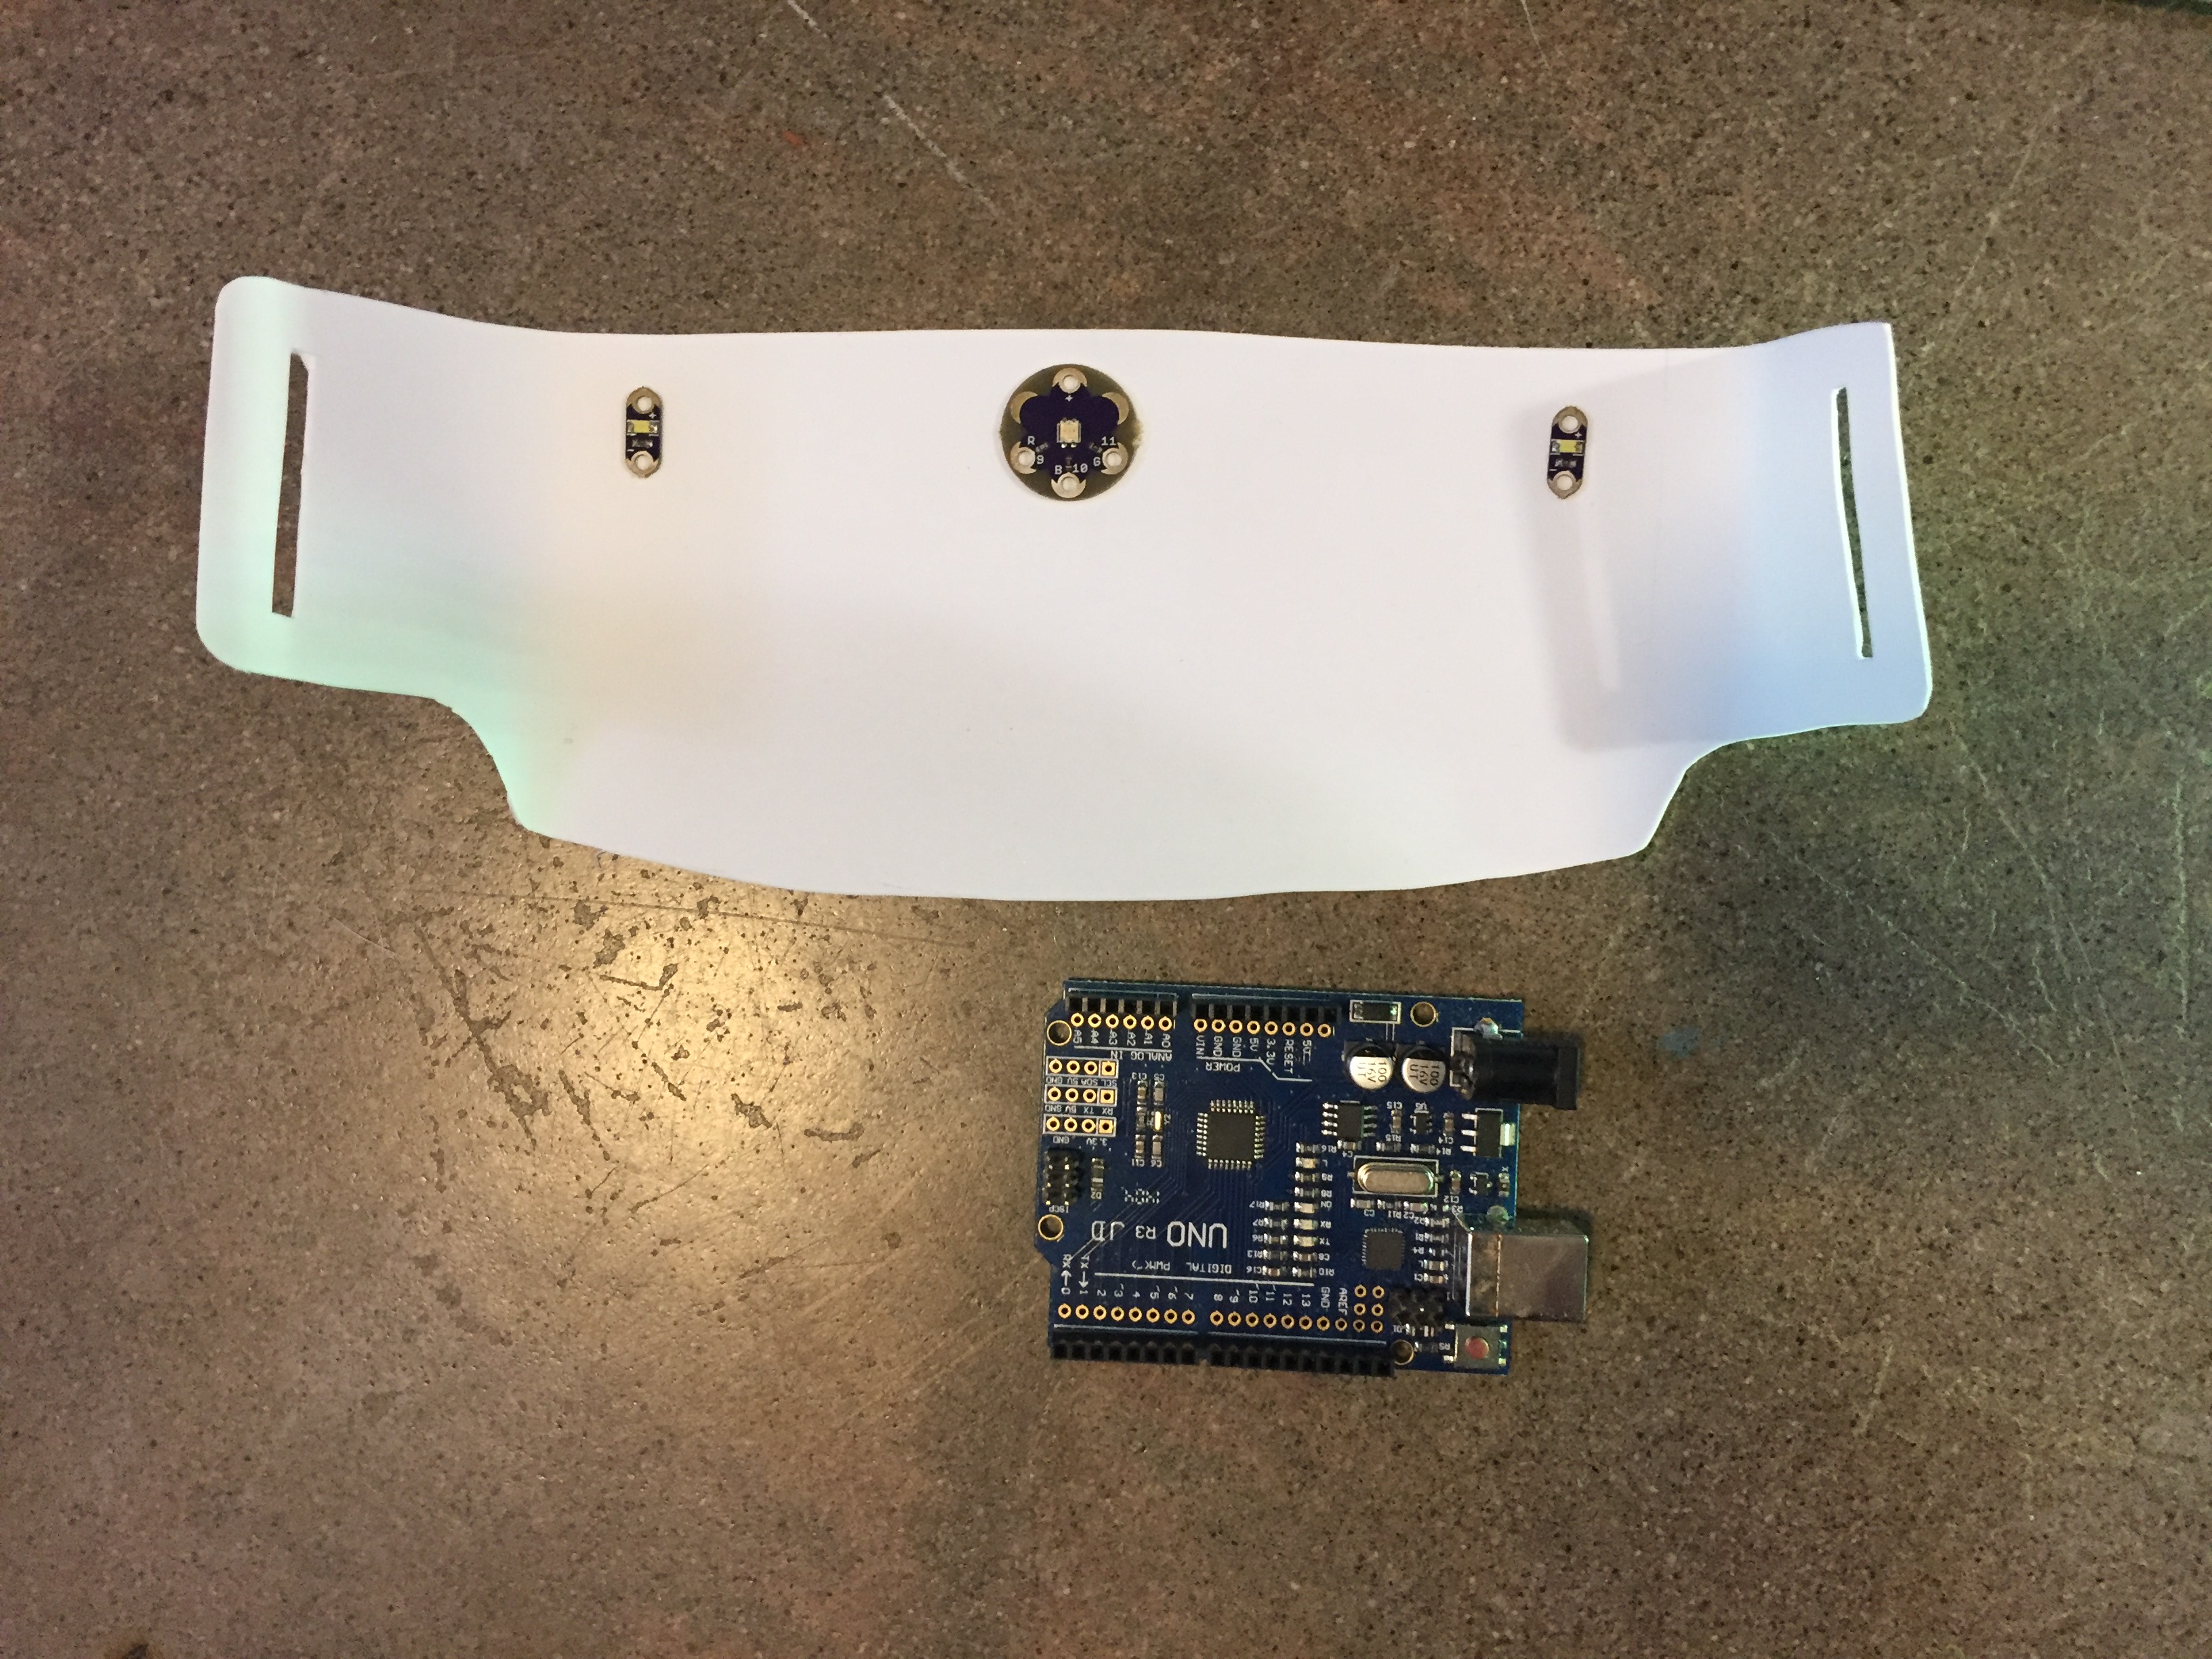
+ Arduino UNO
+ x2 White LED
+ Tri-color LED
+ x2 220 ohm resistor
+Stranded Wire
__________________________________________________________________________________________
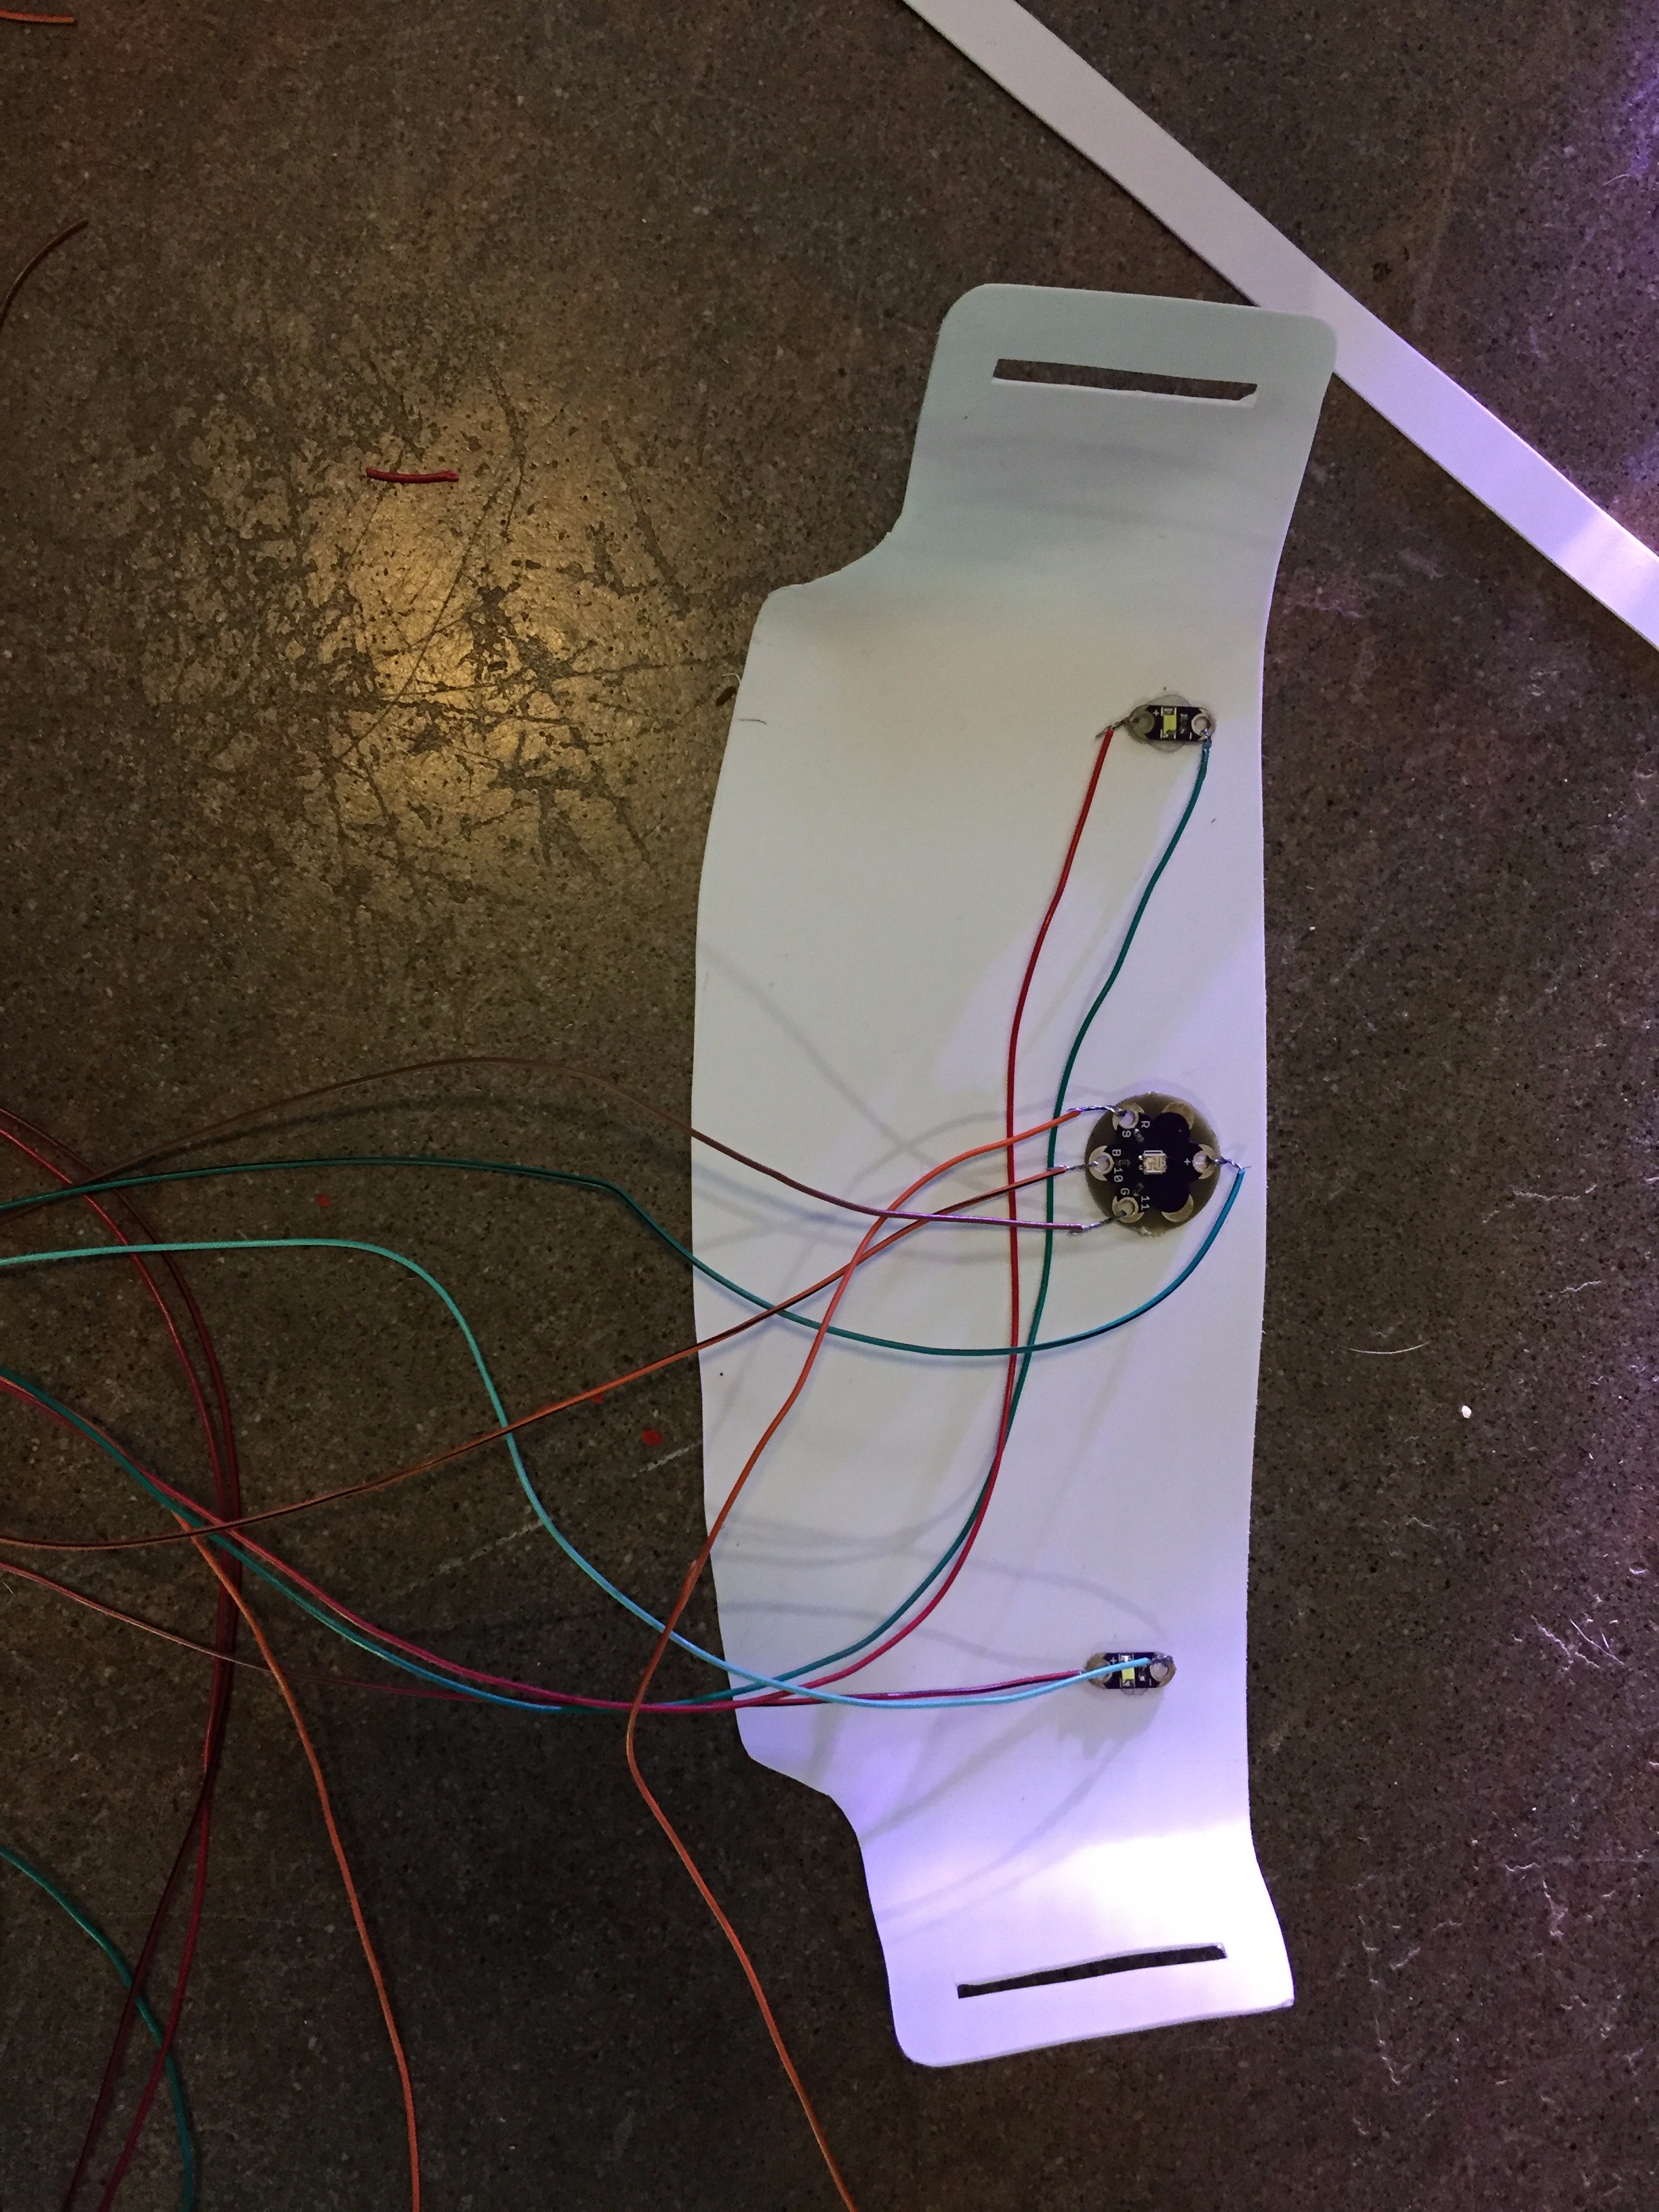
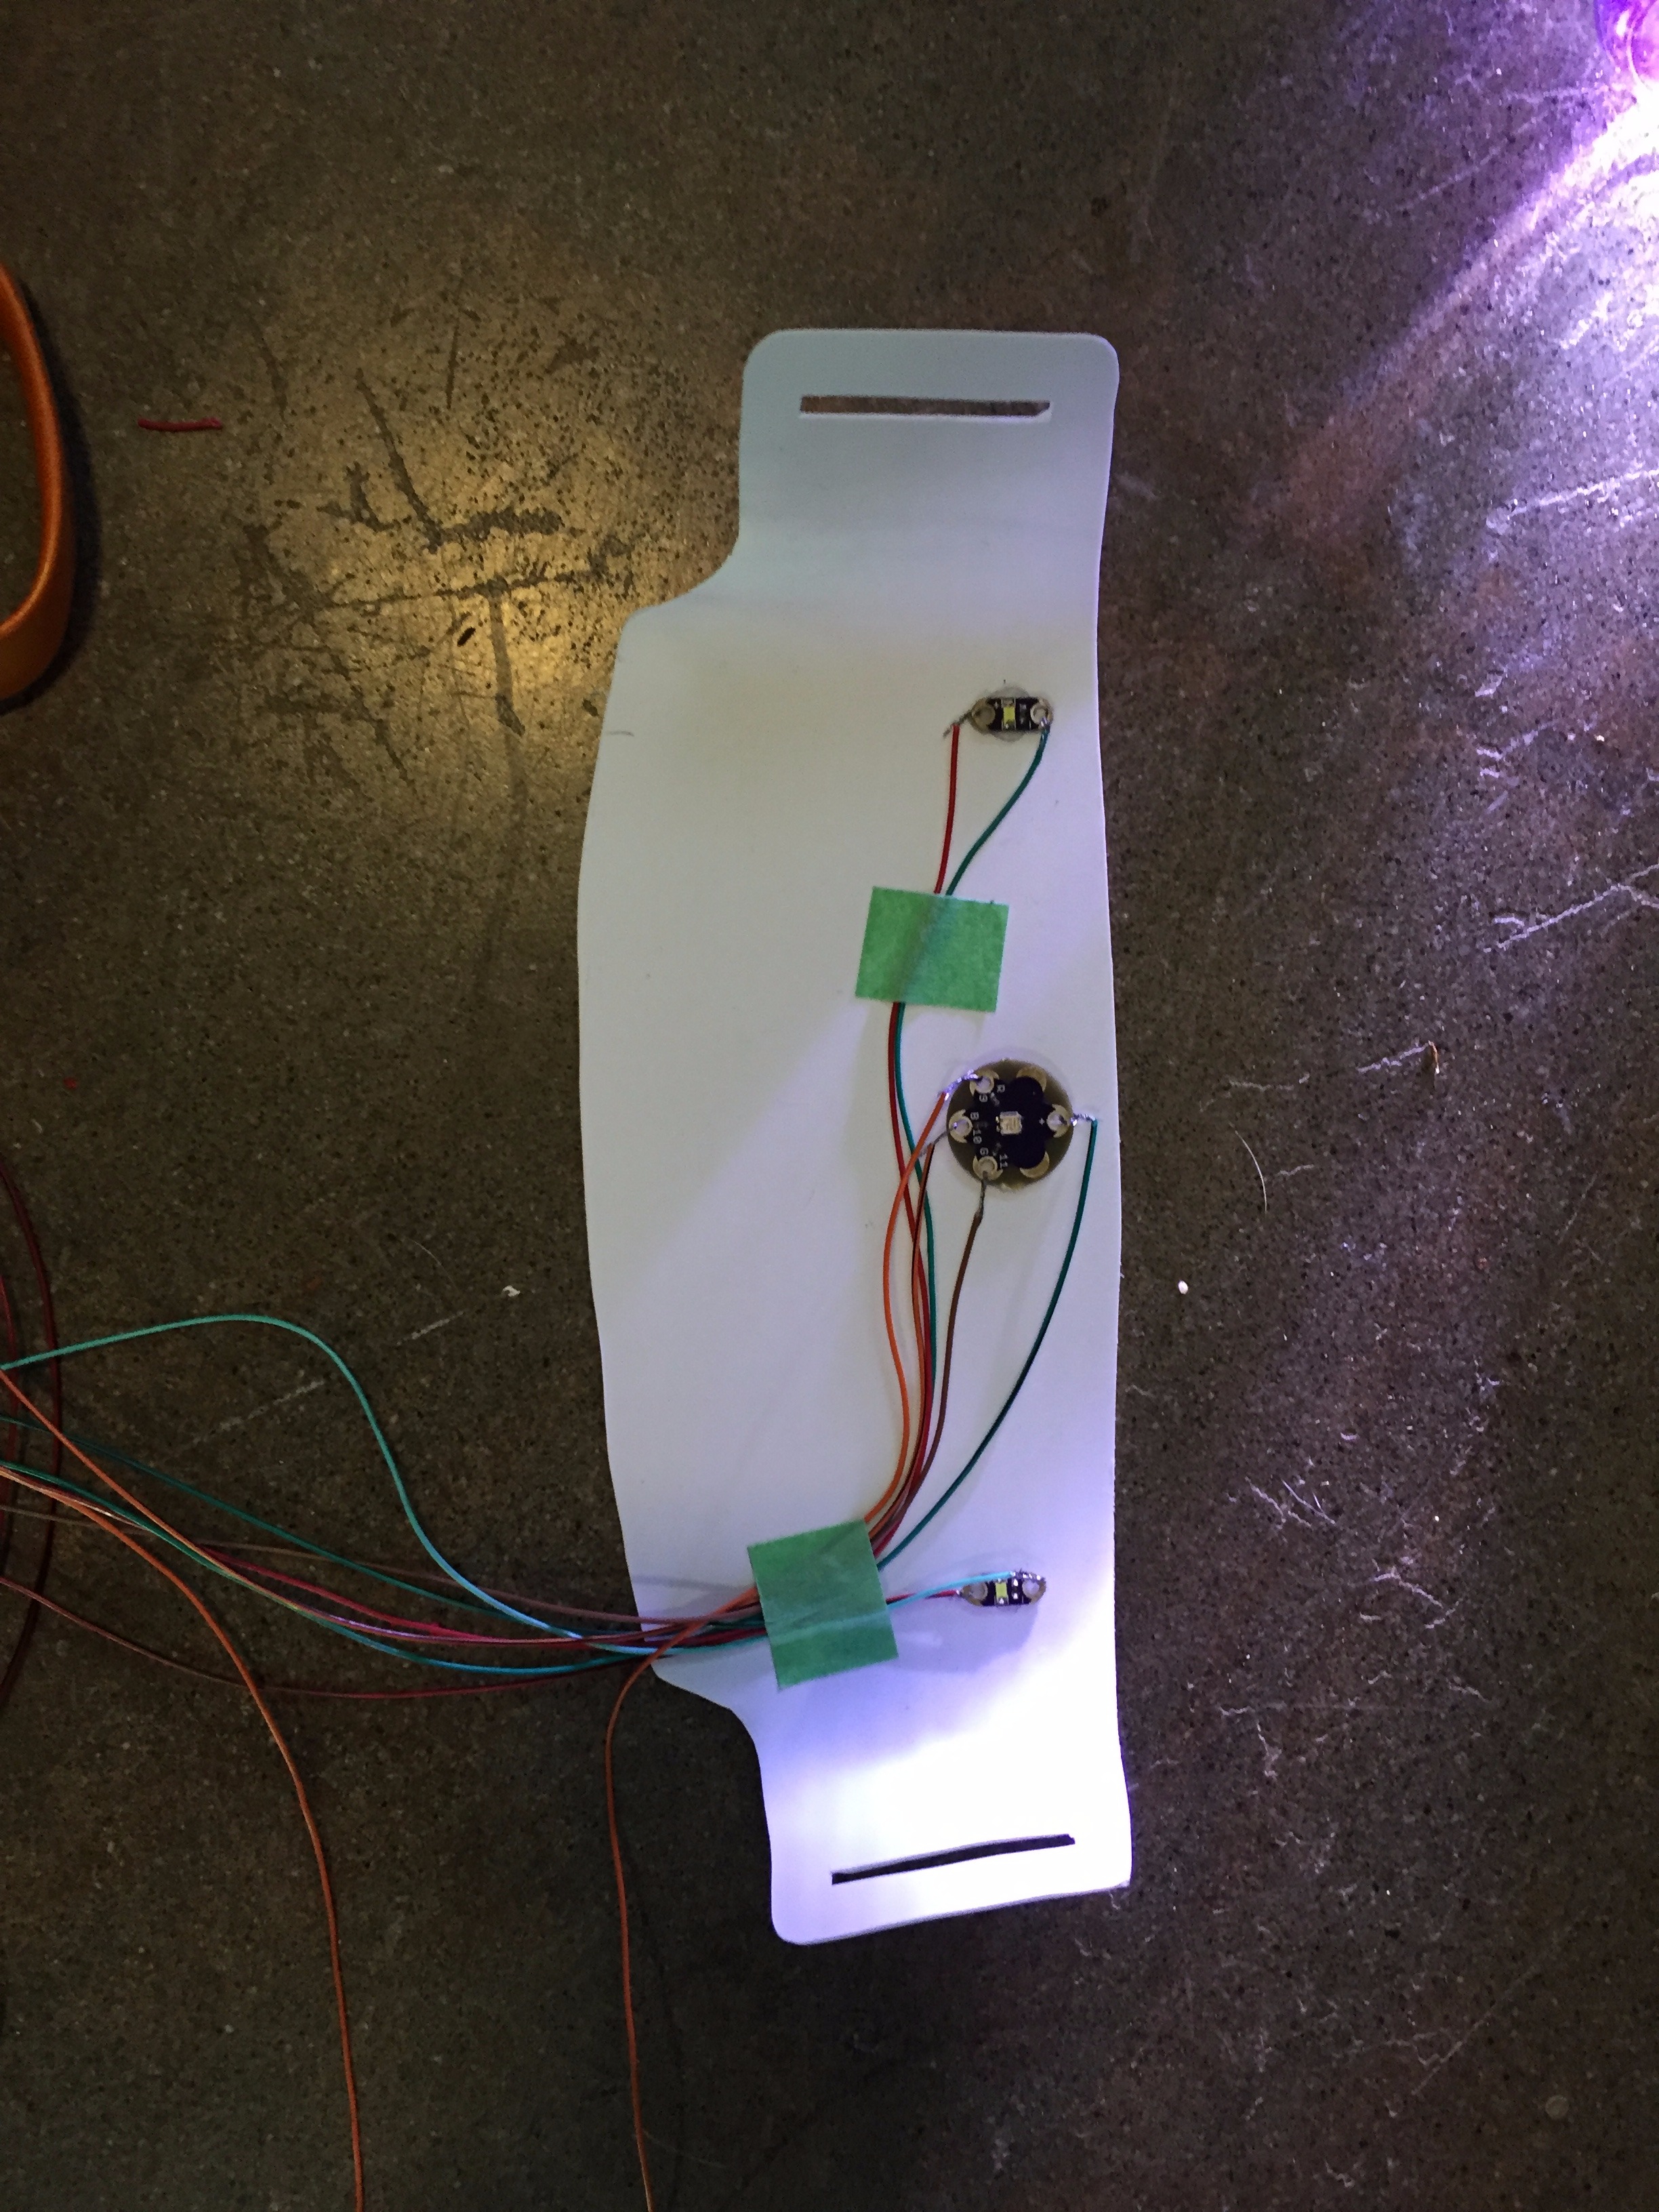
1. The nice part about the Lilypad LEDs and other electronics is the fact that you can just tie the wire to them, no soldering needed.
- Attach the white leds to terminal 3
- Attach the resistors
2. Attach one of the colored LED to terminal 2
- optional, Mix the colors by adding another terminal
- I recently discovered this jacket https://www.vollebak.com/product/baker-miller-pink... which uses a variety of techniques to help you relax, one of which is its pink color. This is the inspiration for adding the colored LED, have fun, experiment with different colors.
Step 4: Add the Stand Off
M a t e r i a l s
+ Polystyrene
+ Hot Glue gun
__________________________________________________________________________________________
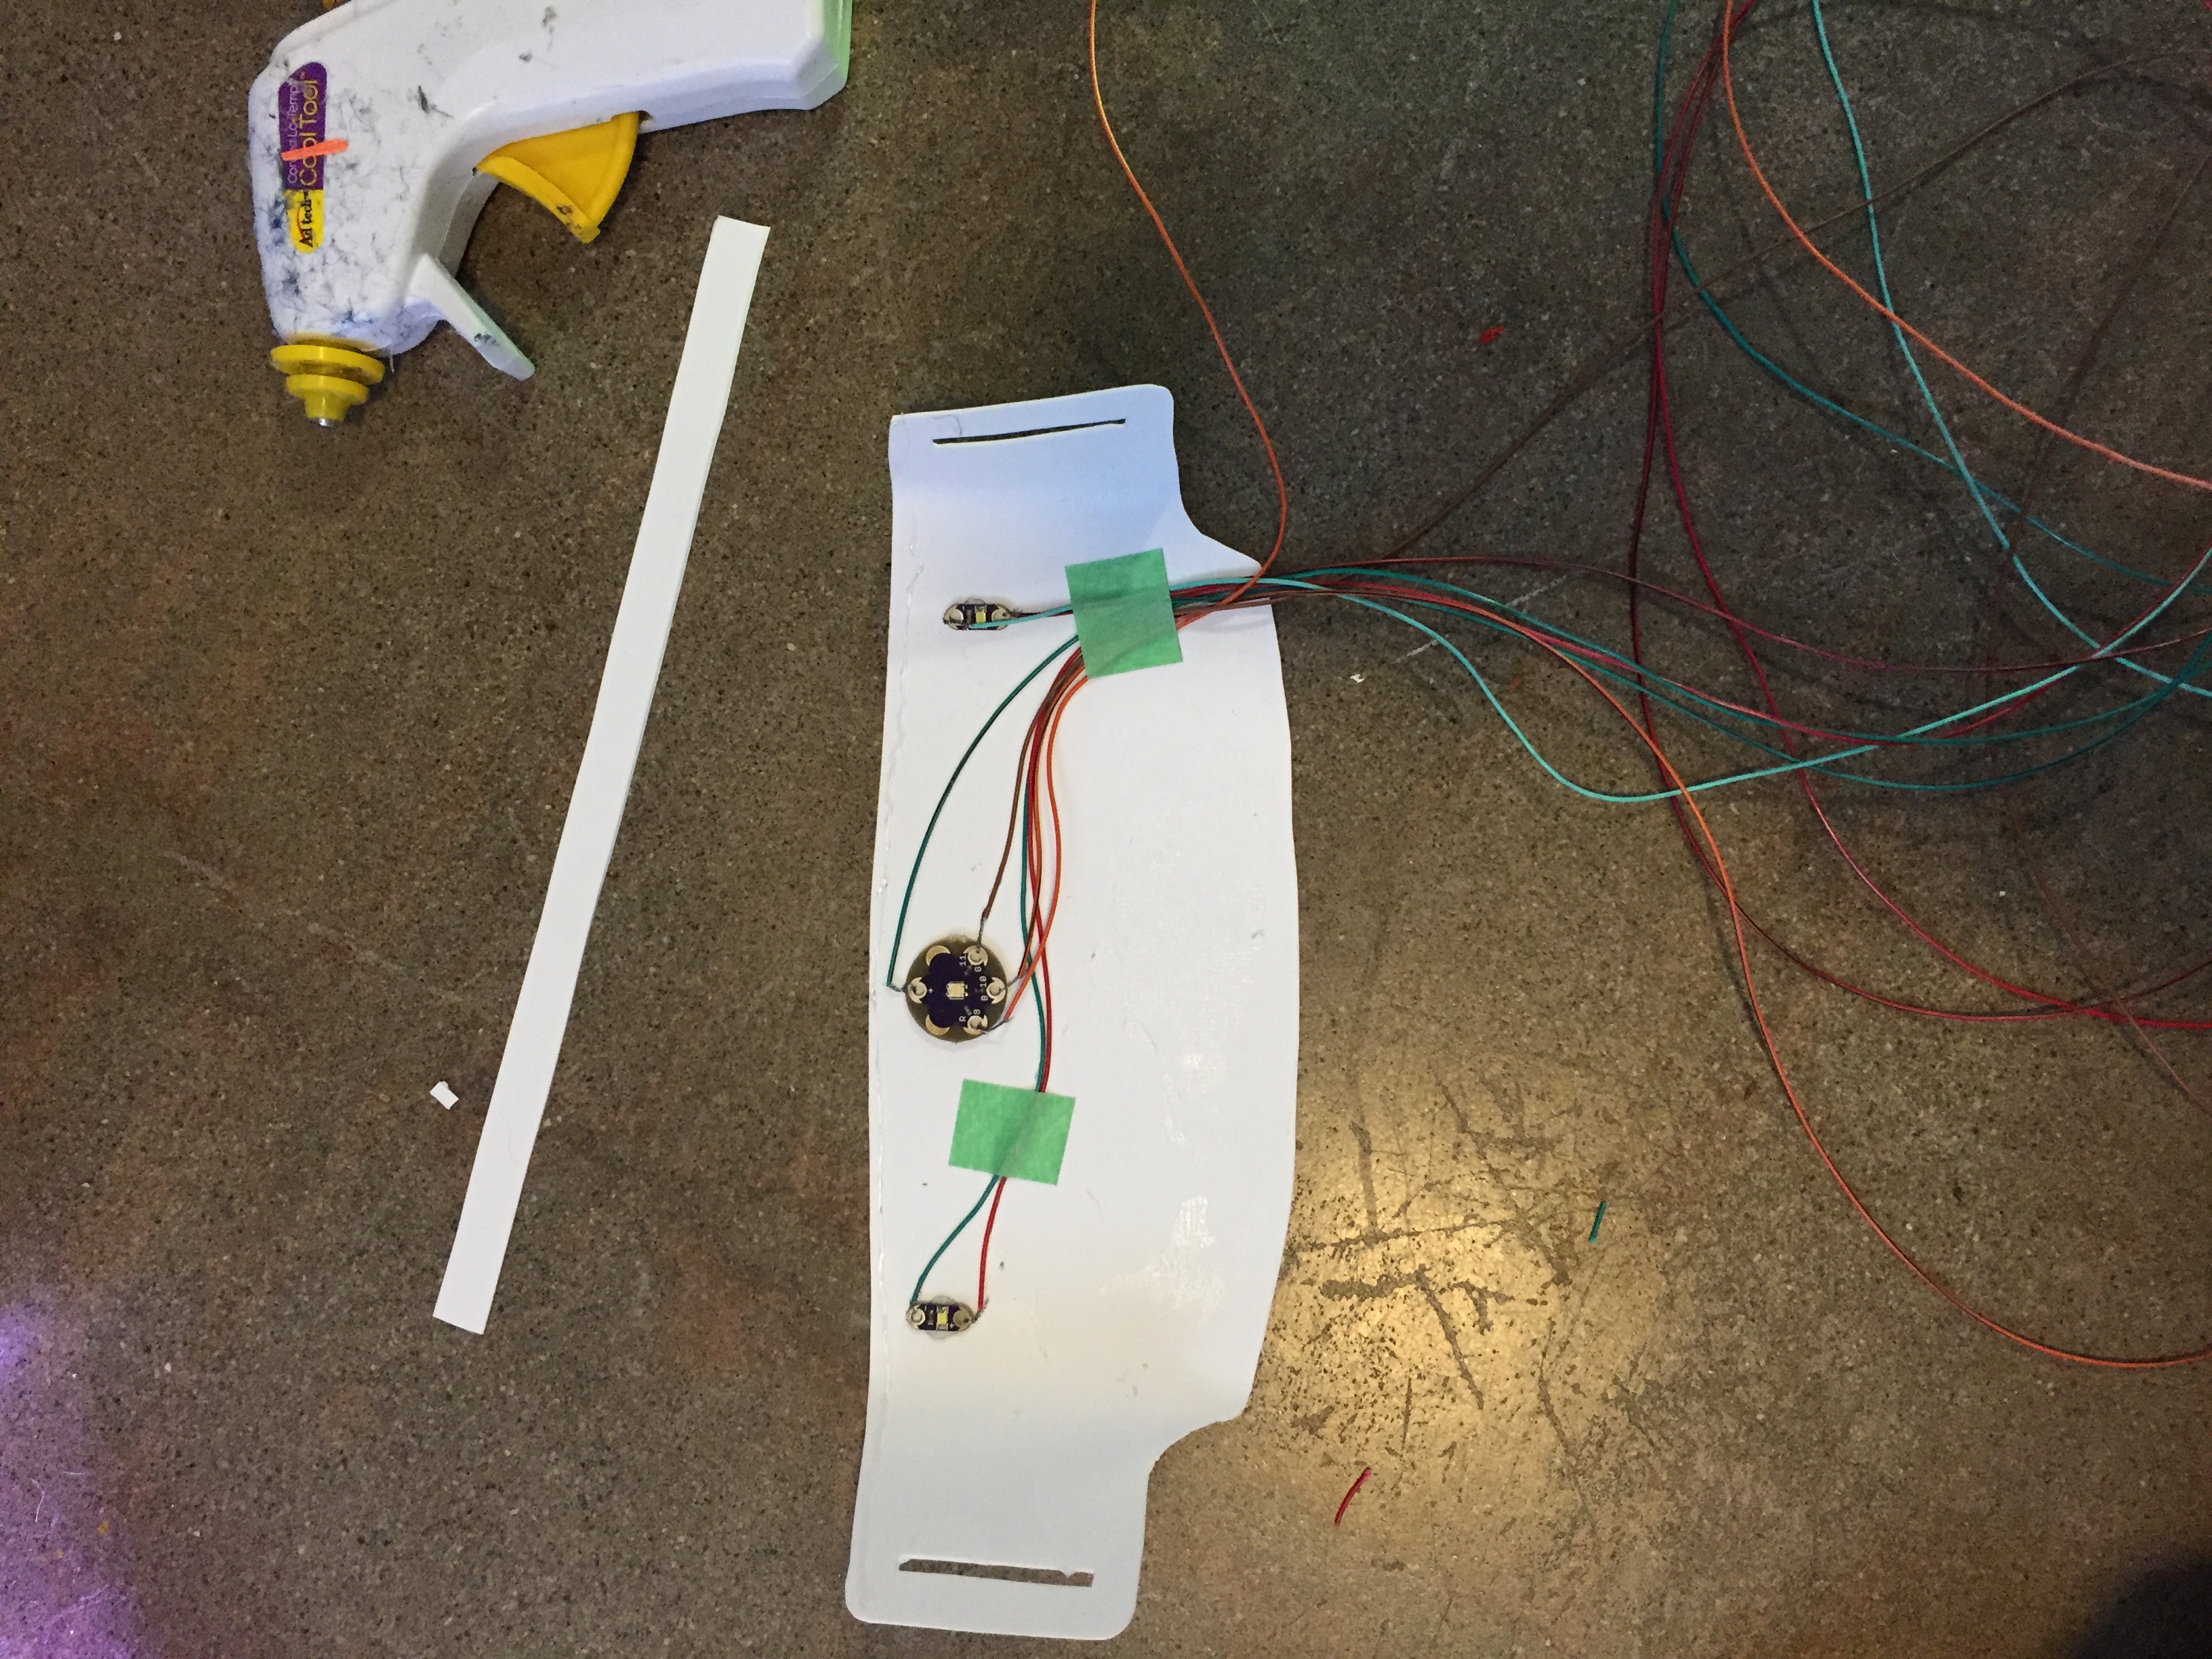
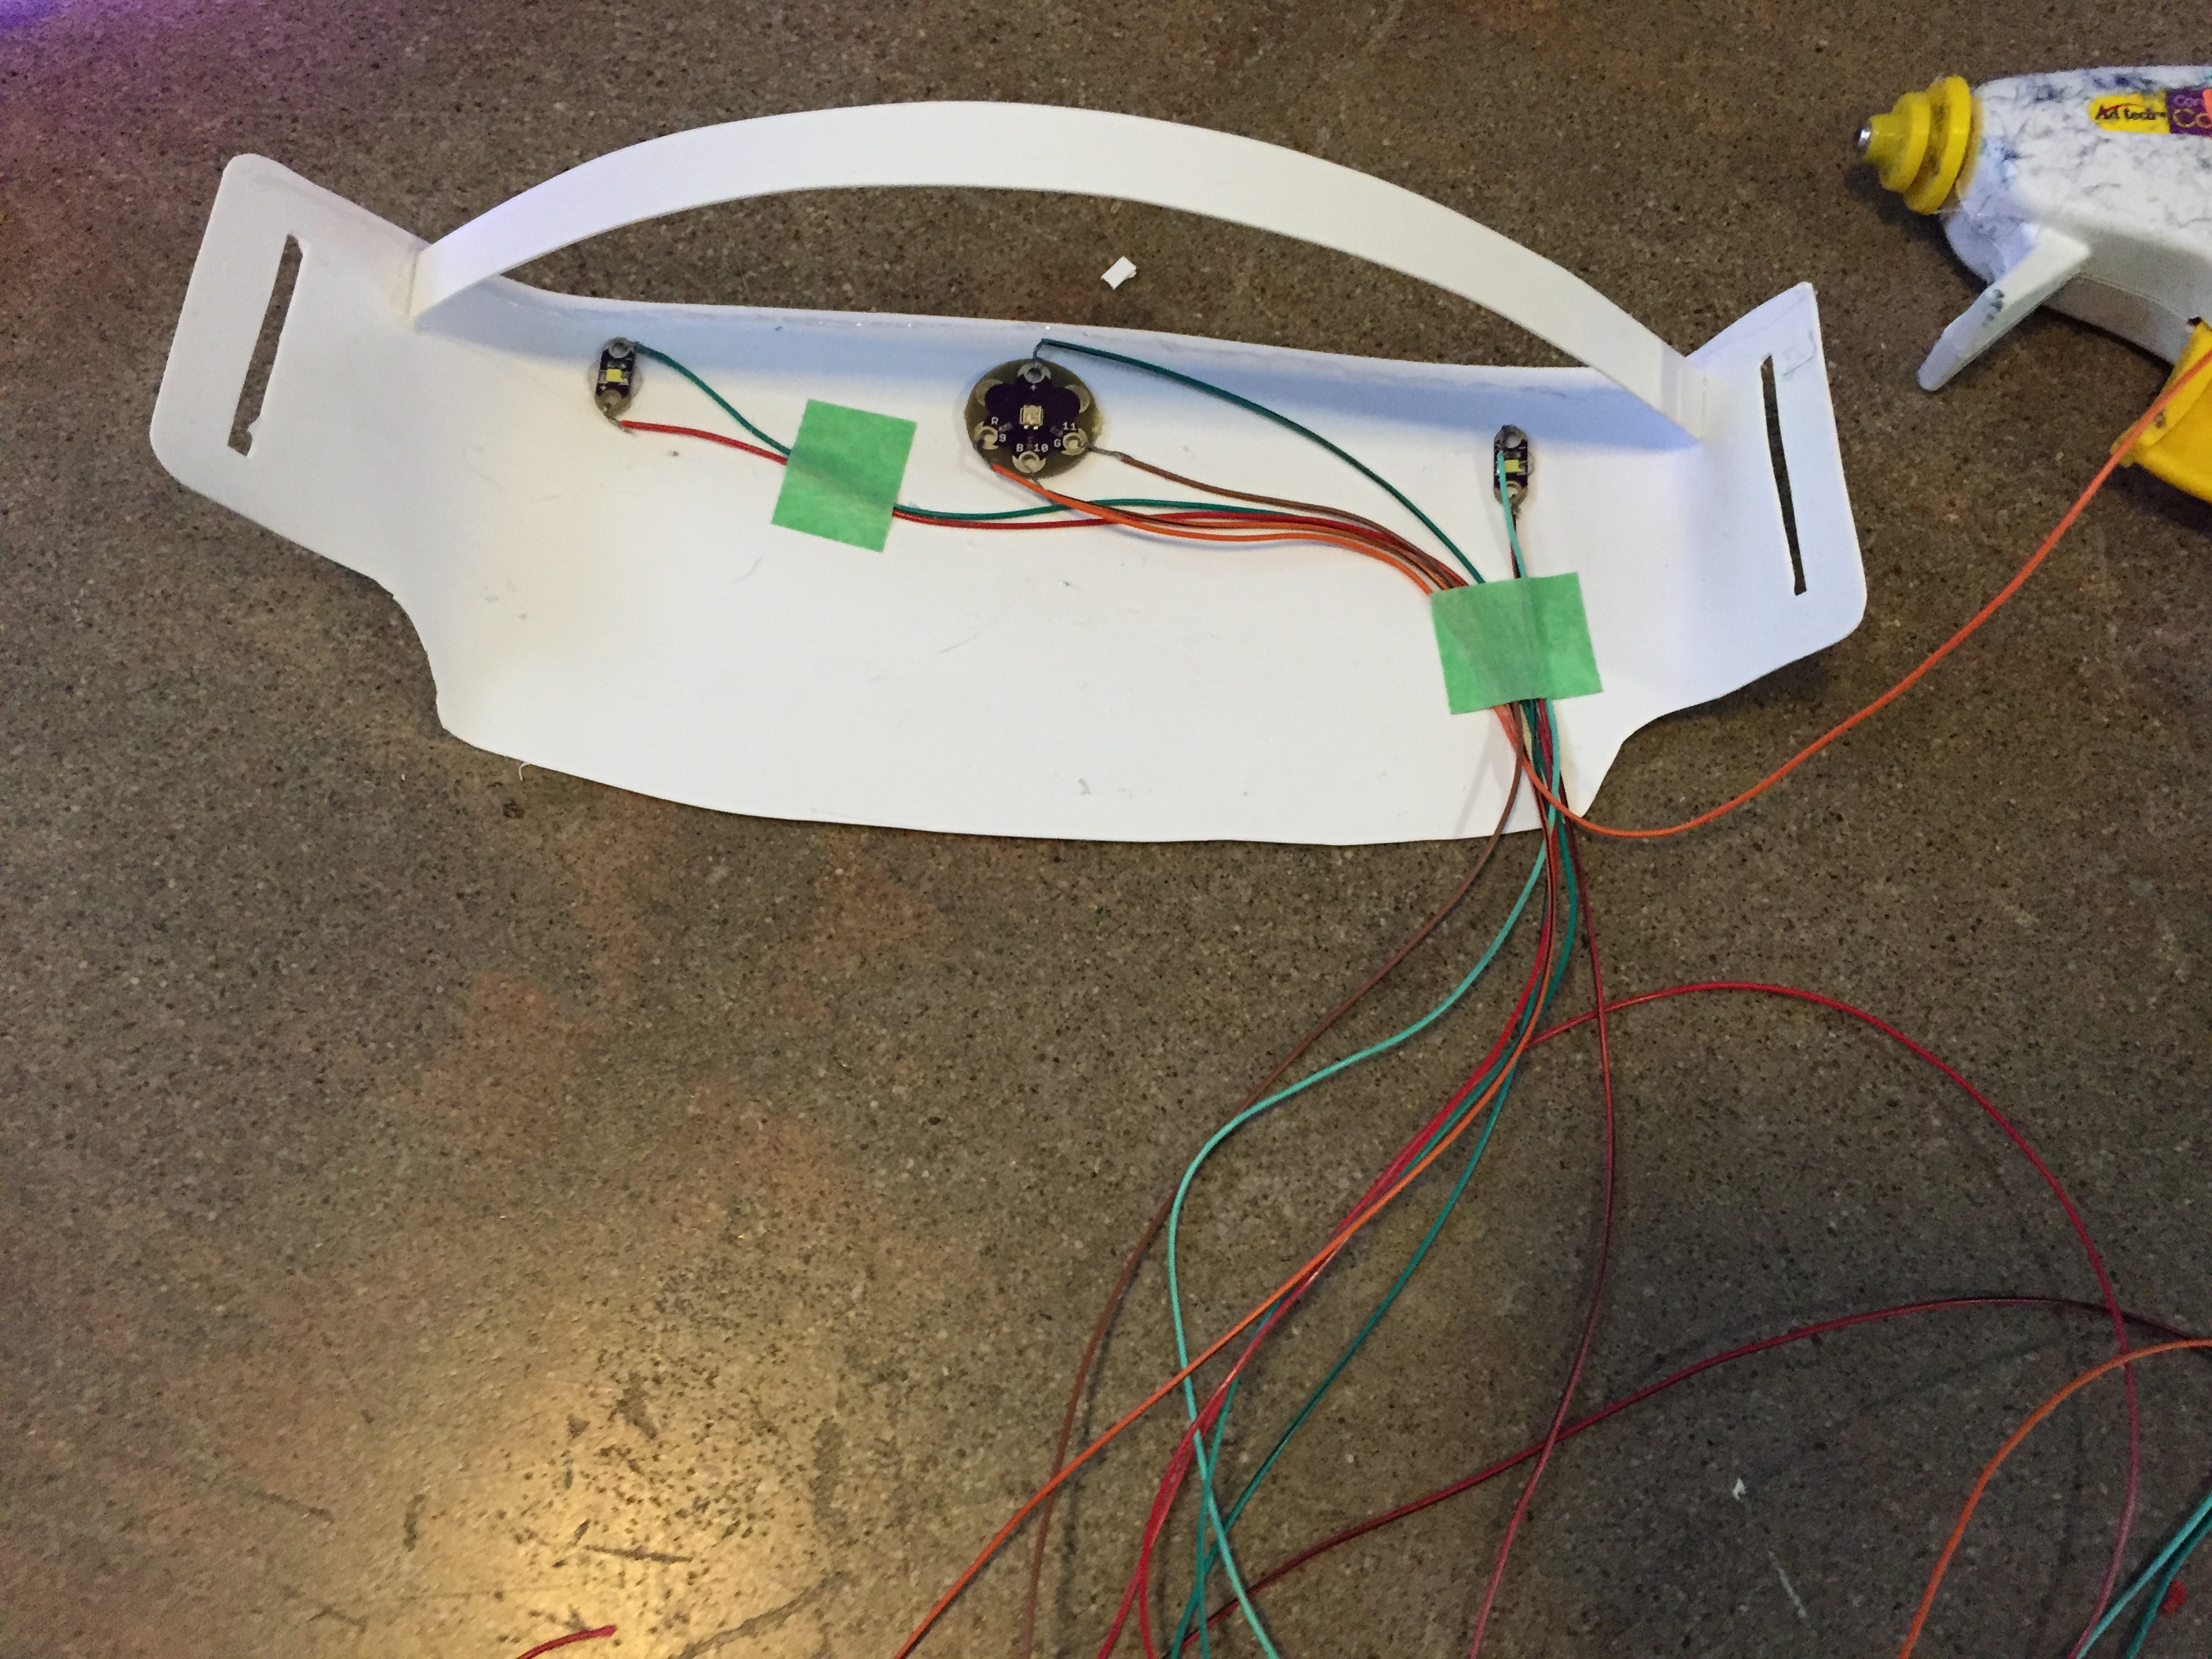
1. Using the straight piece of styrene you cut out earlier bend and glue it into place
- This piece should offset the mask from your eyes so that the mask and light is slightly away from your face
Step 4: Add the Nylon Strap
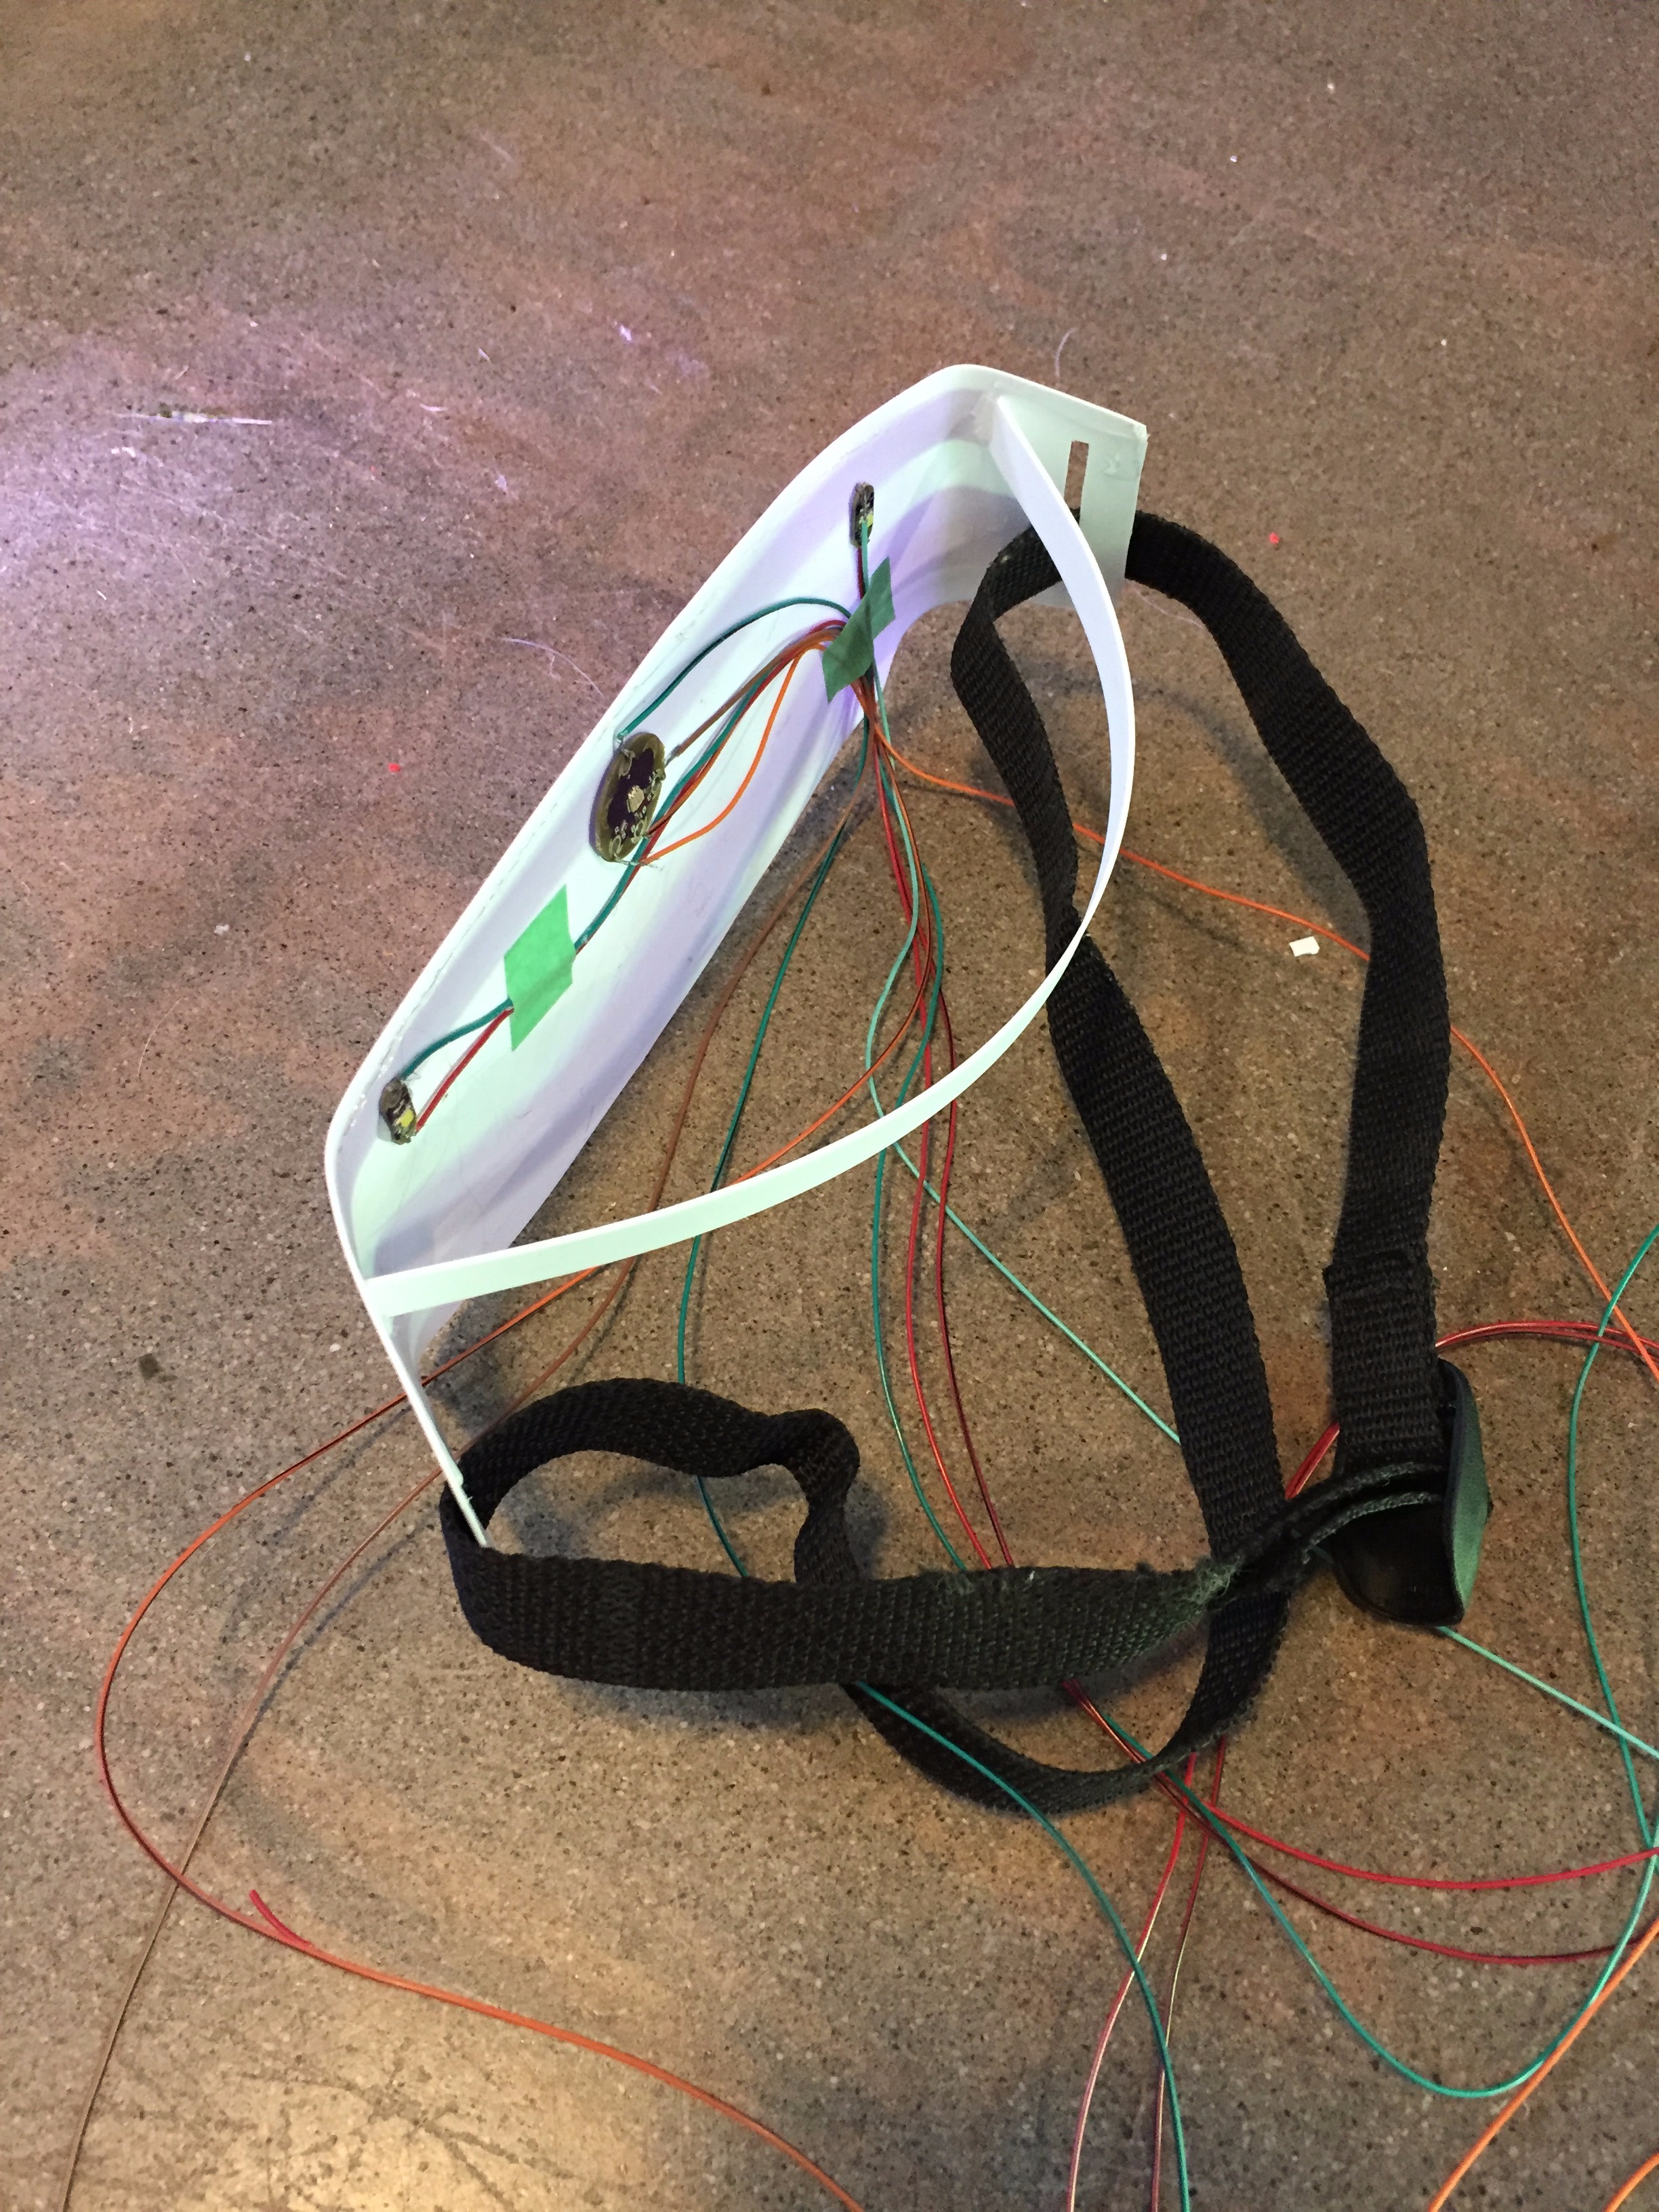
M a t e r i a l s
+ Nylon Webbing
+ Clip
__________________________________________________________________________________________
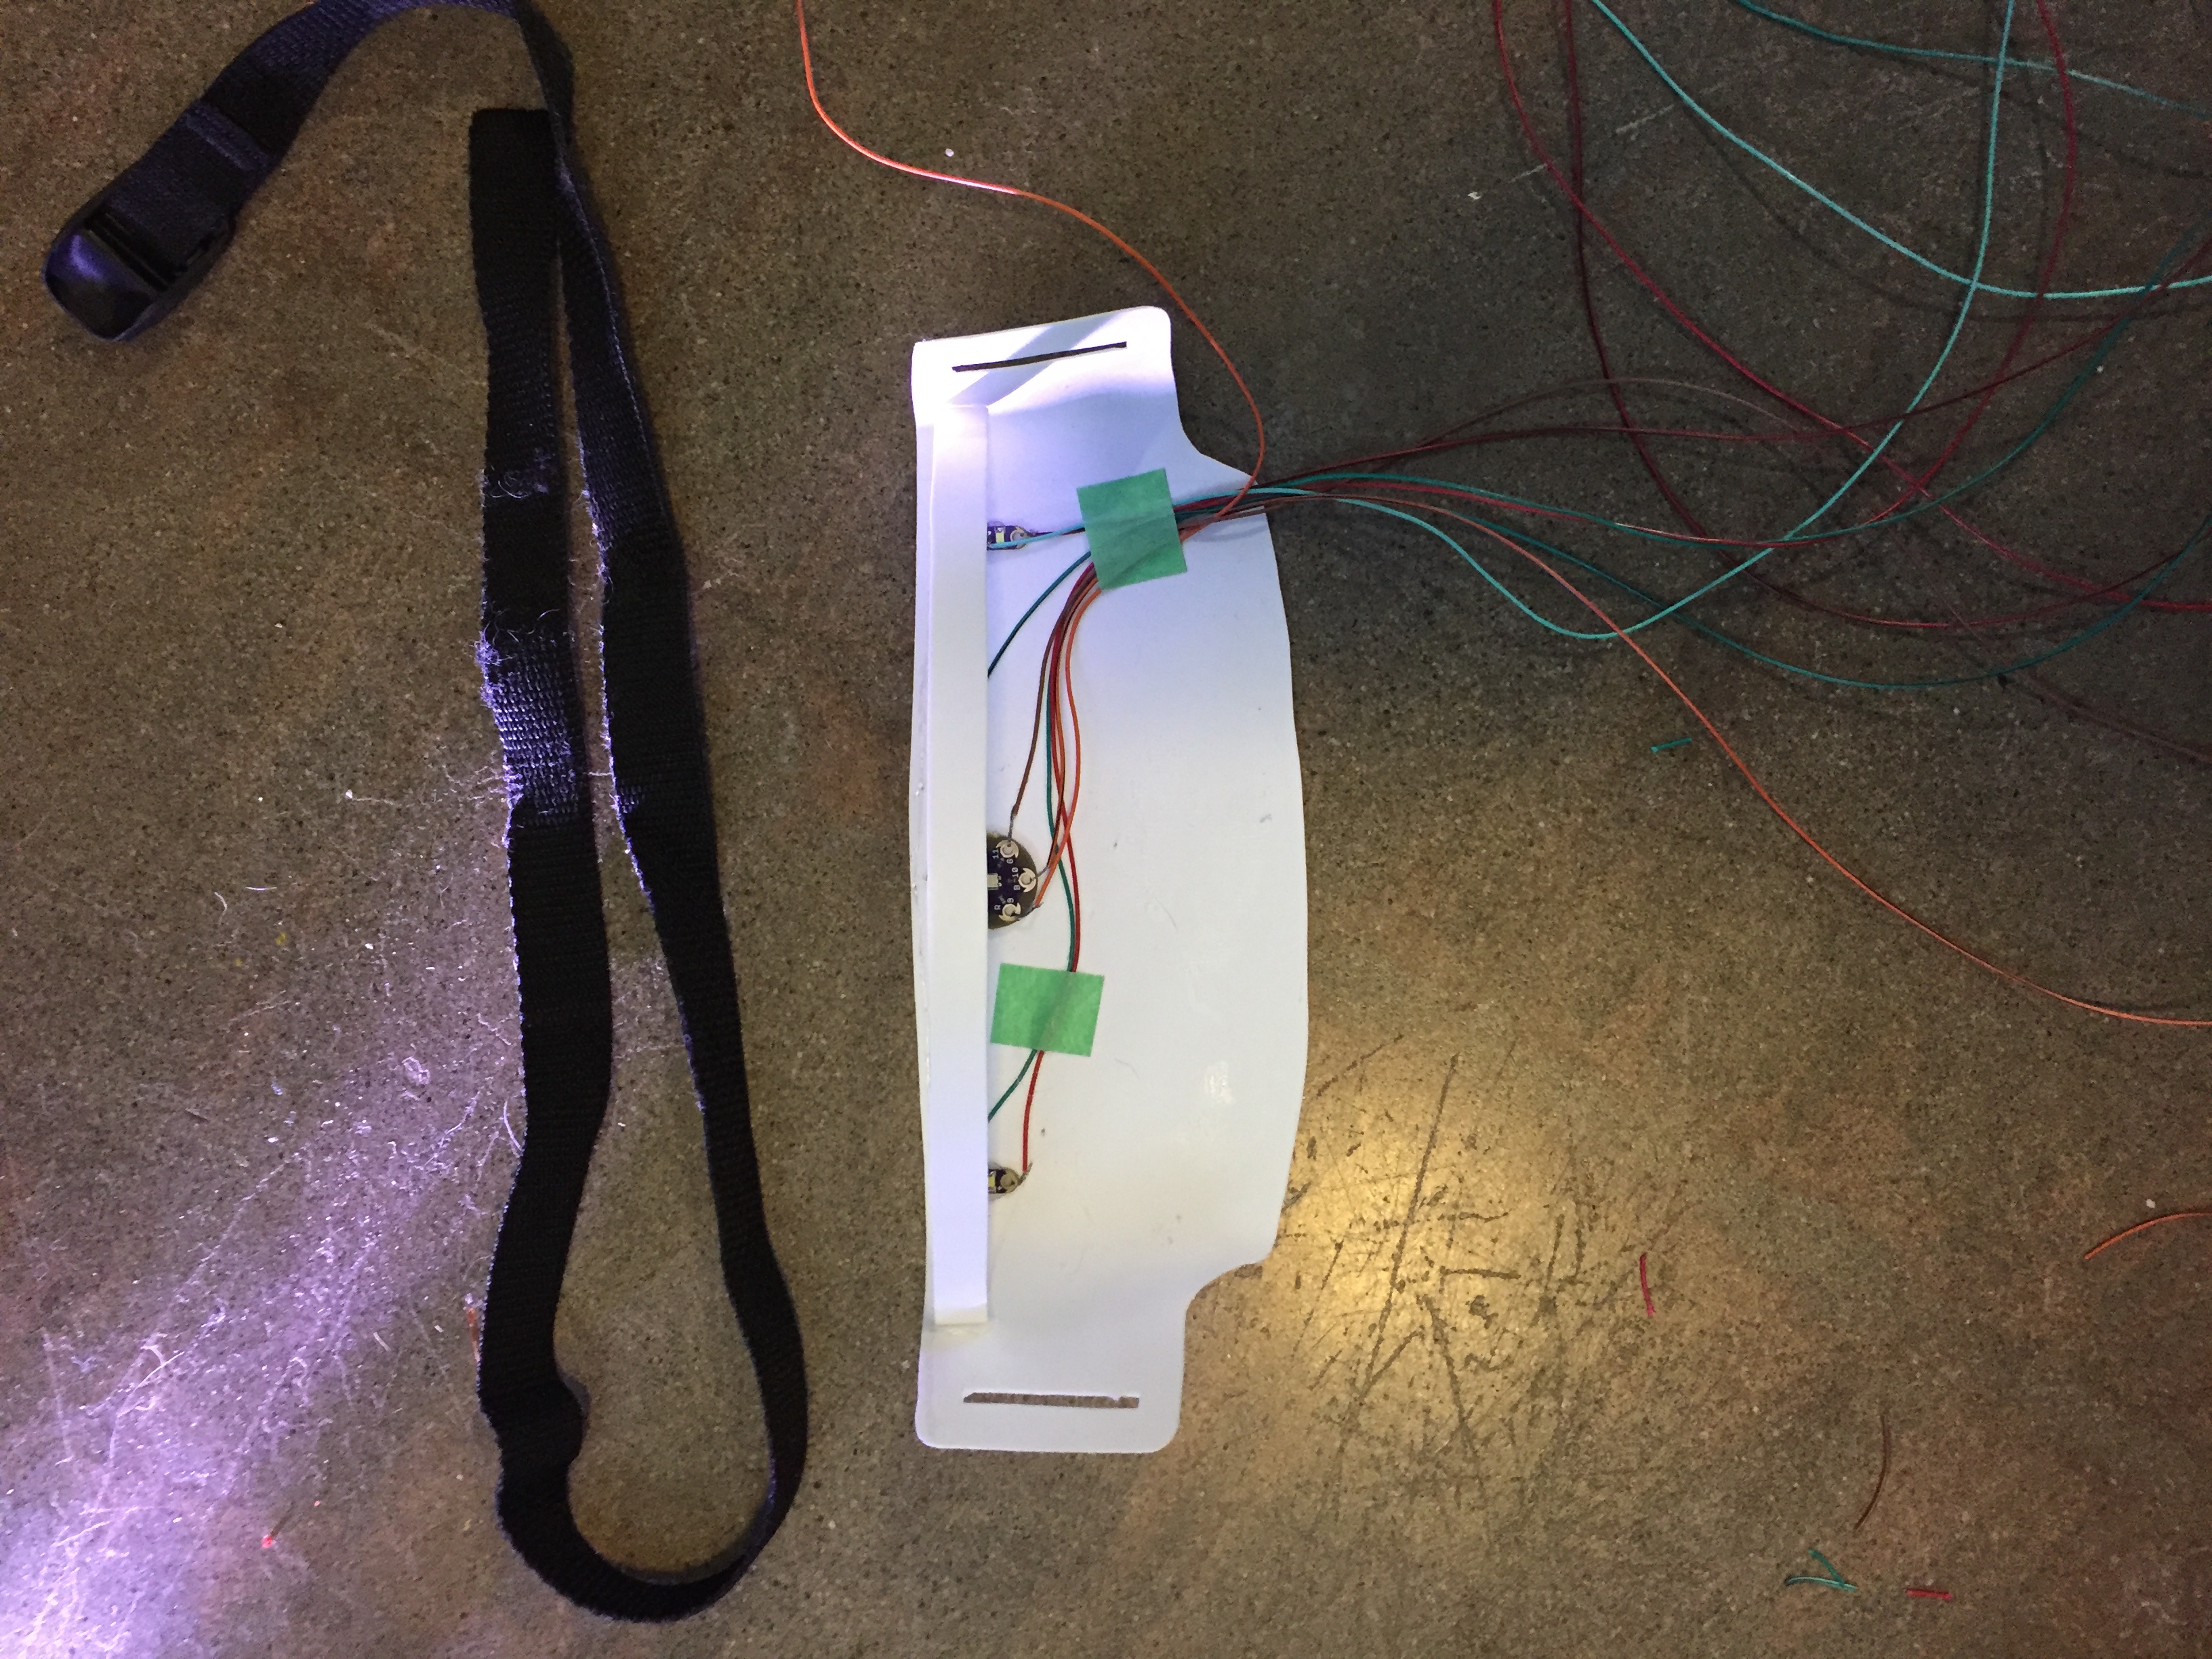
1. Attach the nylon strap to the end slots
- The mask should be tight enough to stay on your head but not too tight so that it crushes the stand off completely. You want it to be slightly away from your face, its actually surprisingly comfortable.
Step 5: Upload the Code
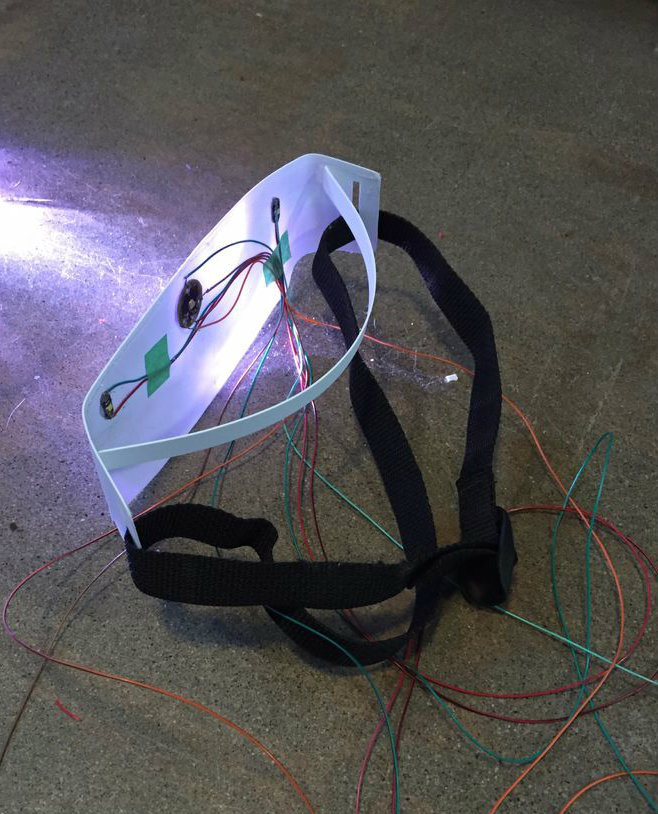
<p>// the setup function runs once when you press reset or power the board</p><p>void setup() {<br>  pinMode(3, OUTPUT);
  pinMode(2, OUTPUT);</p>}
  // The first code strobes the white leds at 40hz or 40 times a second
  // the loop function runs over and over again forever
void loop() {
  digitalWrite(3, HIGH);
  delay(40);
  digitalWrite(3, LOW);
  delay(40);

// This controls the colored LED
// replace the pin to change the color
  digitalWrite(2, HIGH);
  delay(1);
  digitalWrite(2, LOW);
  delay(1);
}