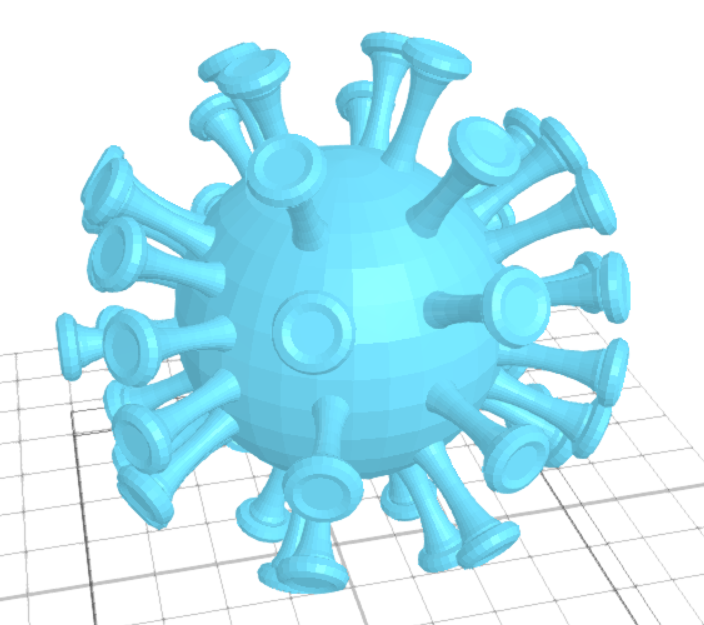
HOW TO CREATE a 3D VIRUS USING 3D MODELLING SOFTWARE
by Simran Khuntia in Living > Health
554 Views, 1 Favorites, 0 Comments
HOW TO CREATE a 3D VIRUS USING 3D MODELLING SOFTWARE
.png)
3D Designing is becoming famous among numerous enterprises and experts. With 3D designing, one can create 3D models that can be used to imagine genuine blogs. In this blog, we are 3D designing a virus in SelfCAD. If you have not endeavoured it yet, SelfCAD is one of the most clear yet proficient 3D designing programs for clients, everything being equal. Beginning with organising the 3D shapes, we will change it with tools like Scale, fillet, add subtleties, and so forth. SelfCAD is one of the most shocking 3D modelling software, including various highlights to organise the 3D Objects.
You can also go through our other articles such as how to design a 3D phone in SelfCAD!
Thus, we should begin.
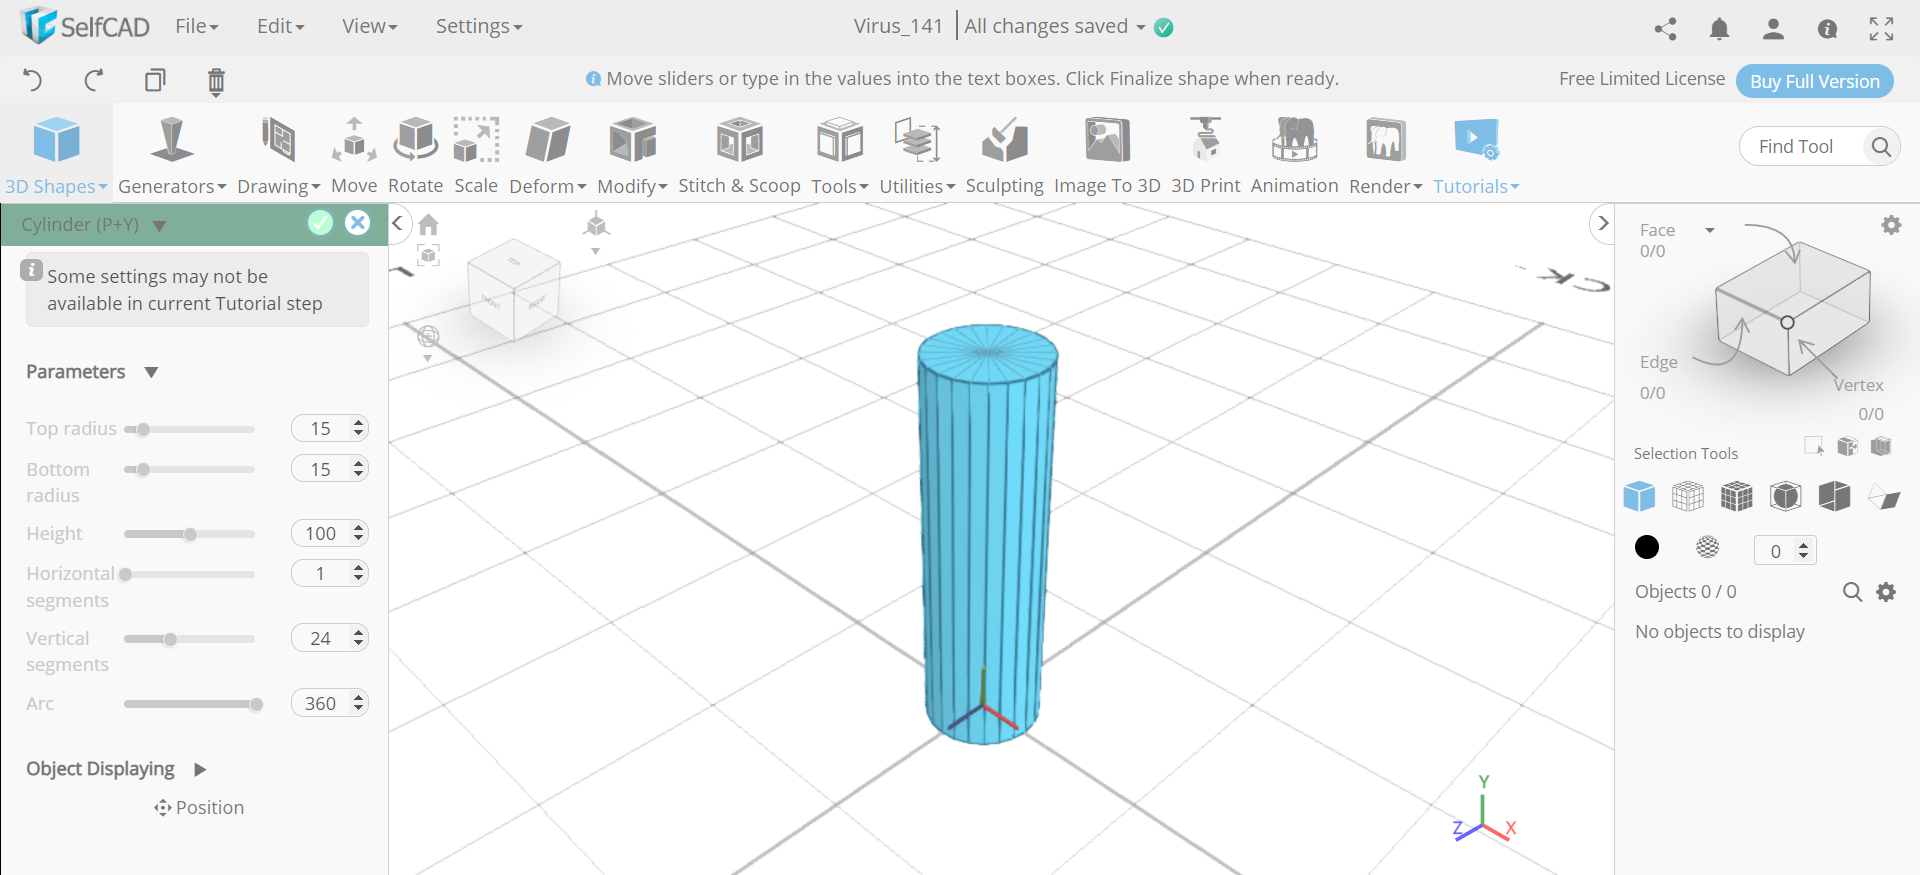
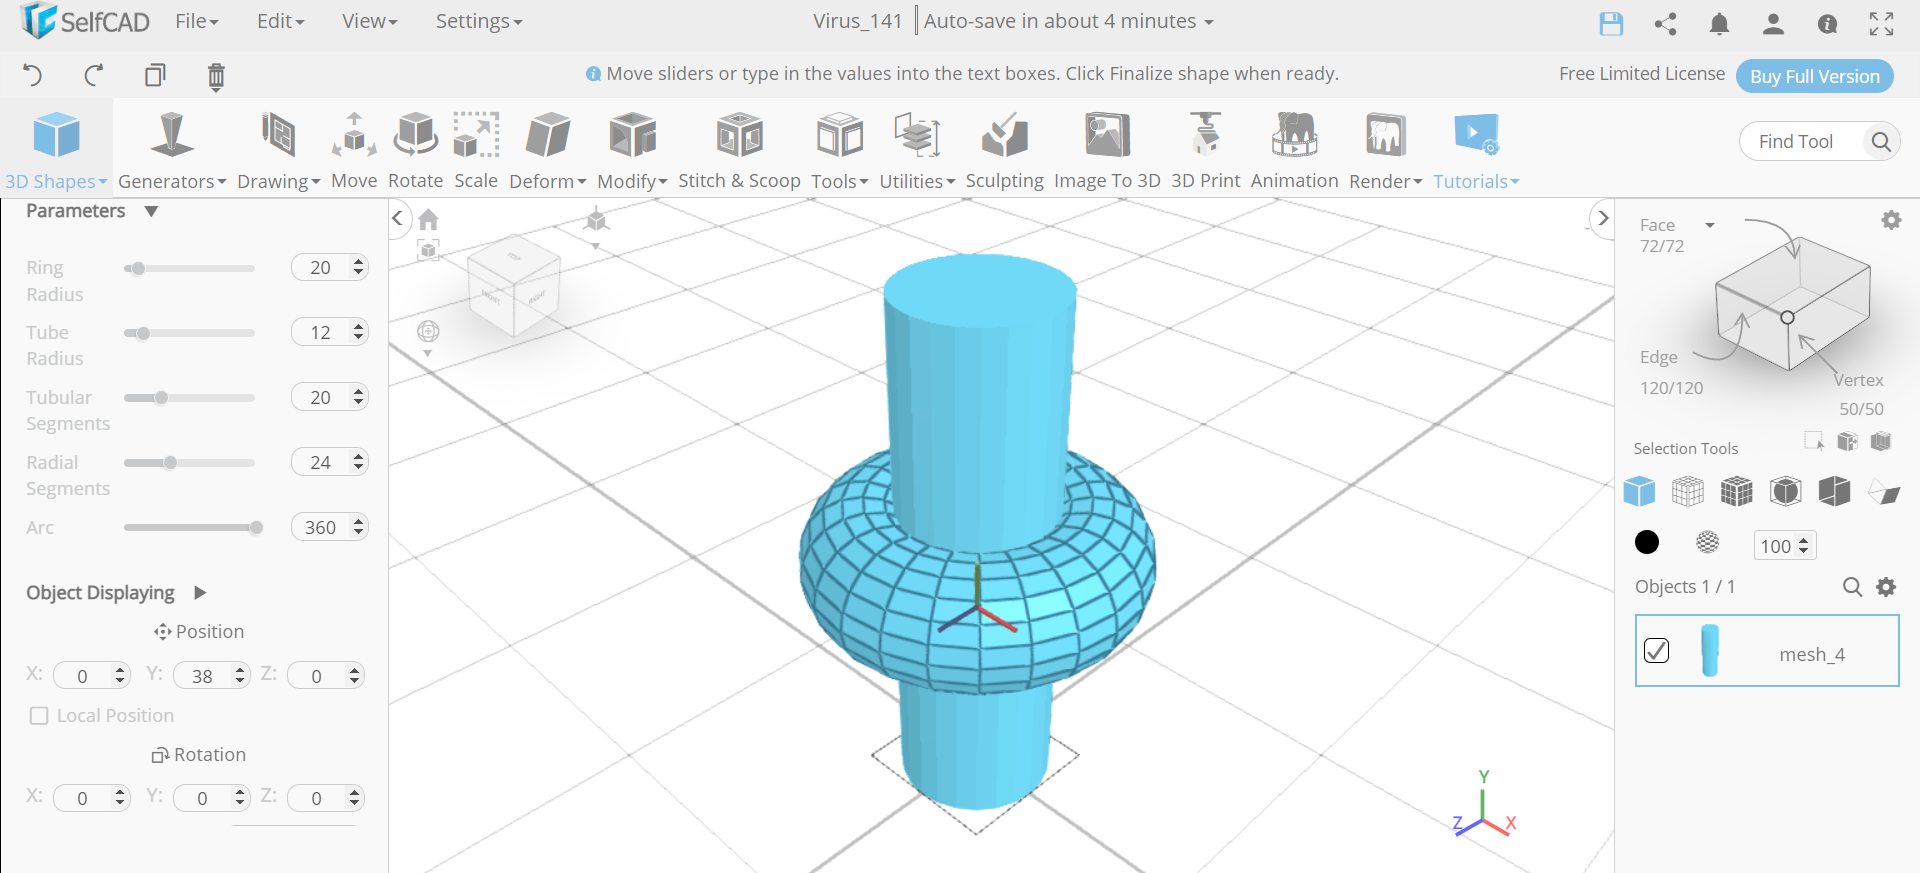
Insert a Cylinder and a Torus to the Working Interface
.png)
.png)
First of all, from the 3D shapes category insert a cylinder to the working interface. Set top radius and bottom radius to 15 each. Then insert a torus and set its ring radius to 20, tube radius to 12, tubular segments to 20, position y to 38.
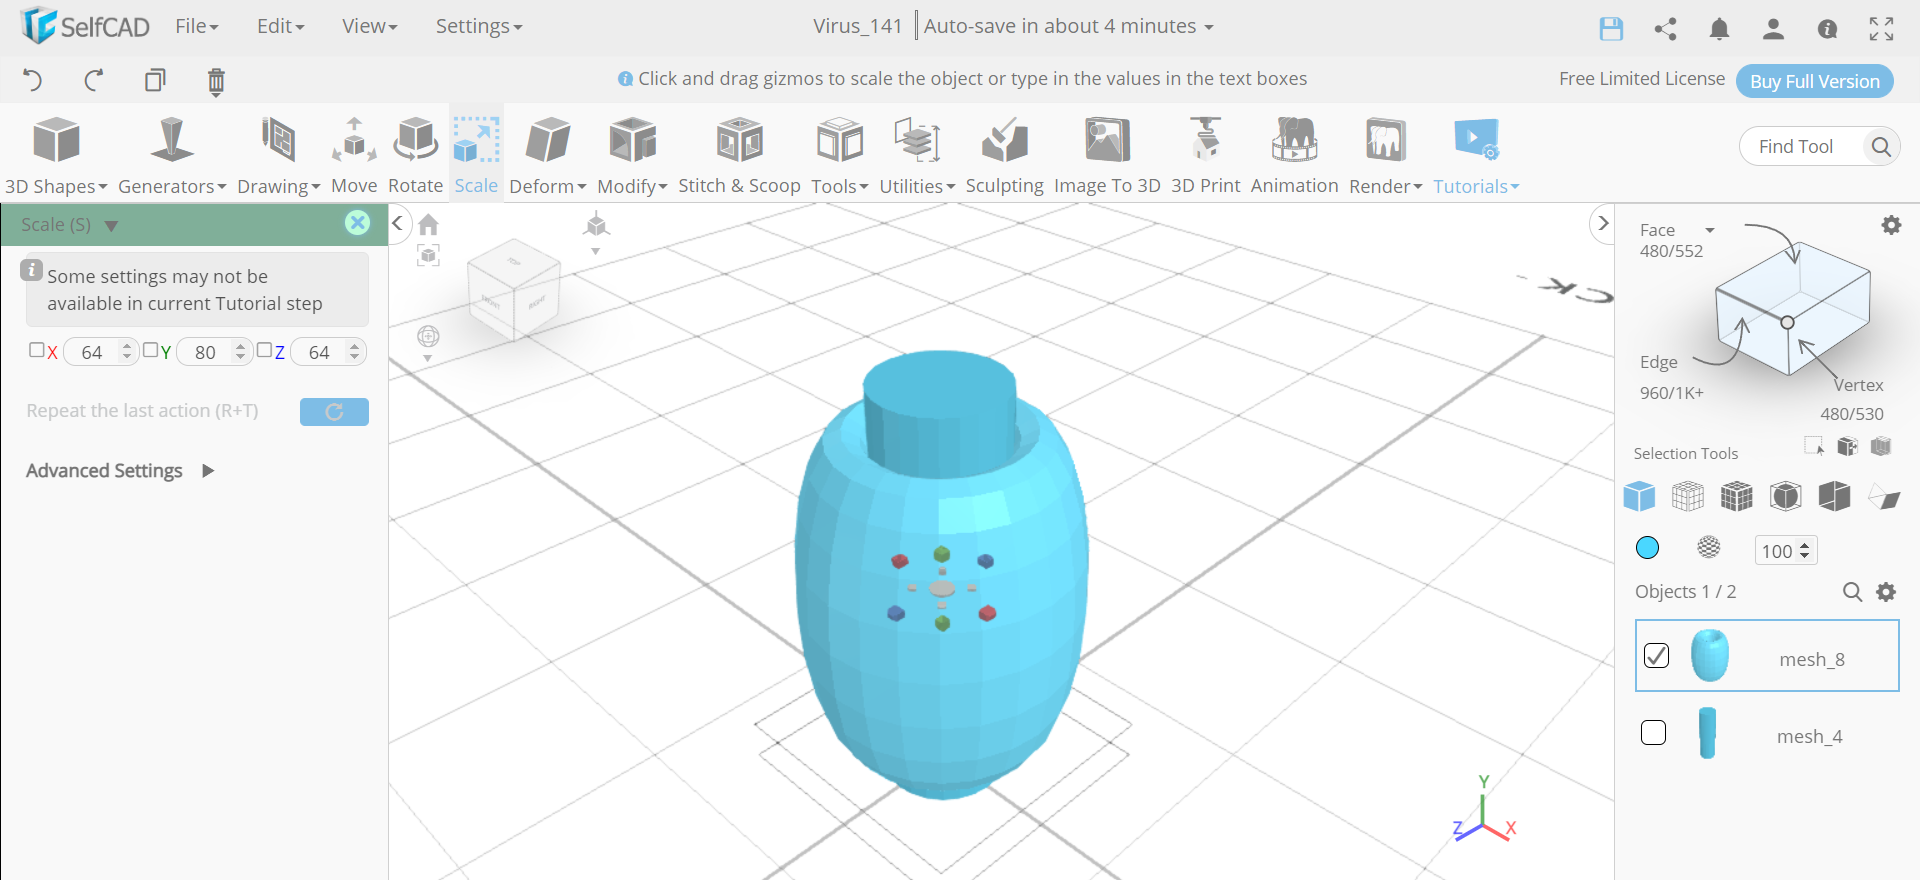
Scale the Object and Subtract Its Mass
.png)
.png)
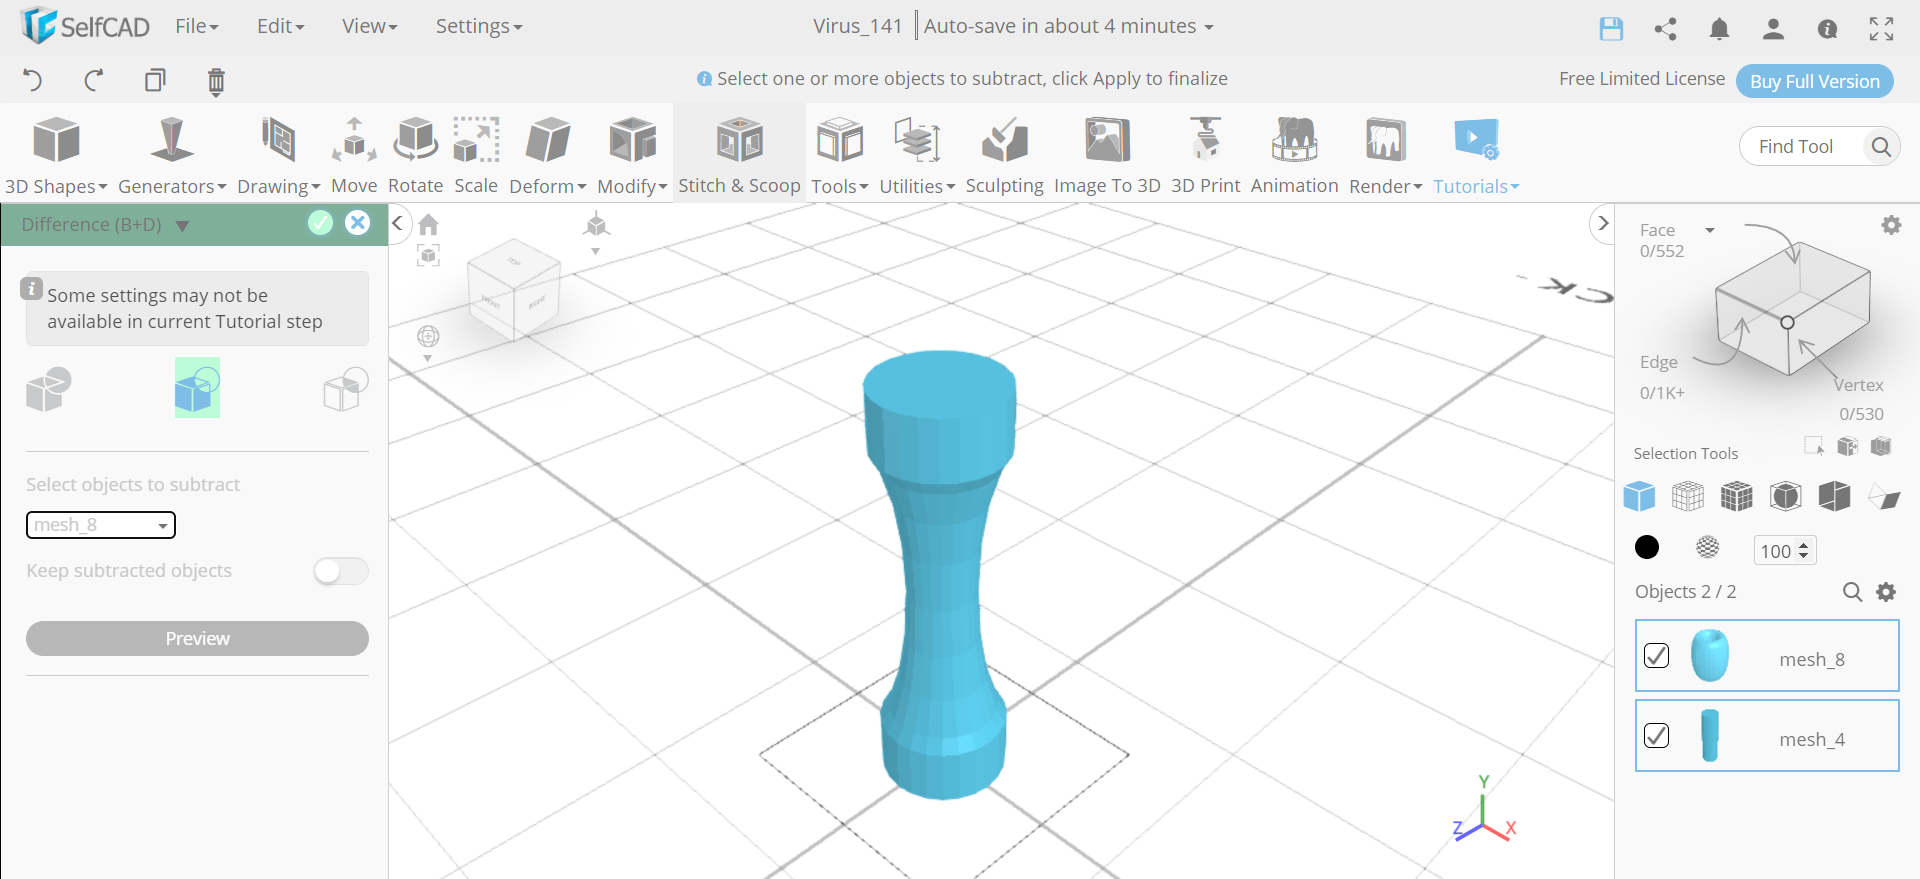
Next, select the scale tool and set y to 80. Then select both the objects, go to stitch and scoop and select the difference option. Choose mesh_8 to subtract.
Insert a Torus and Select the Object
.png)
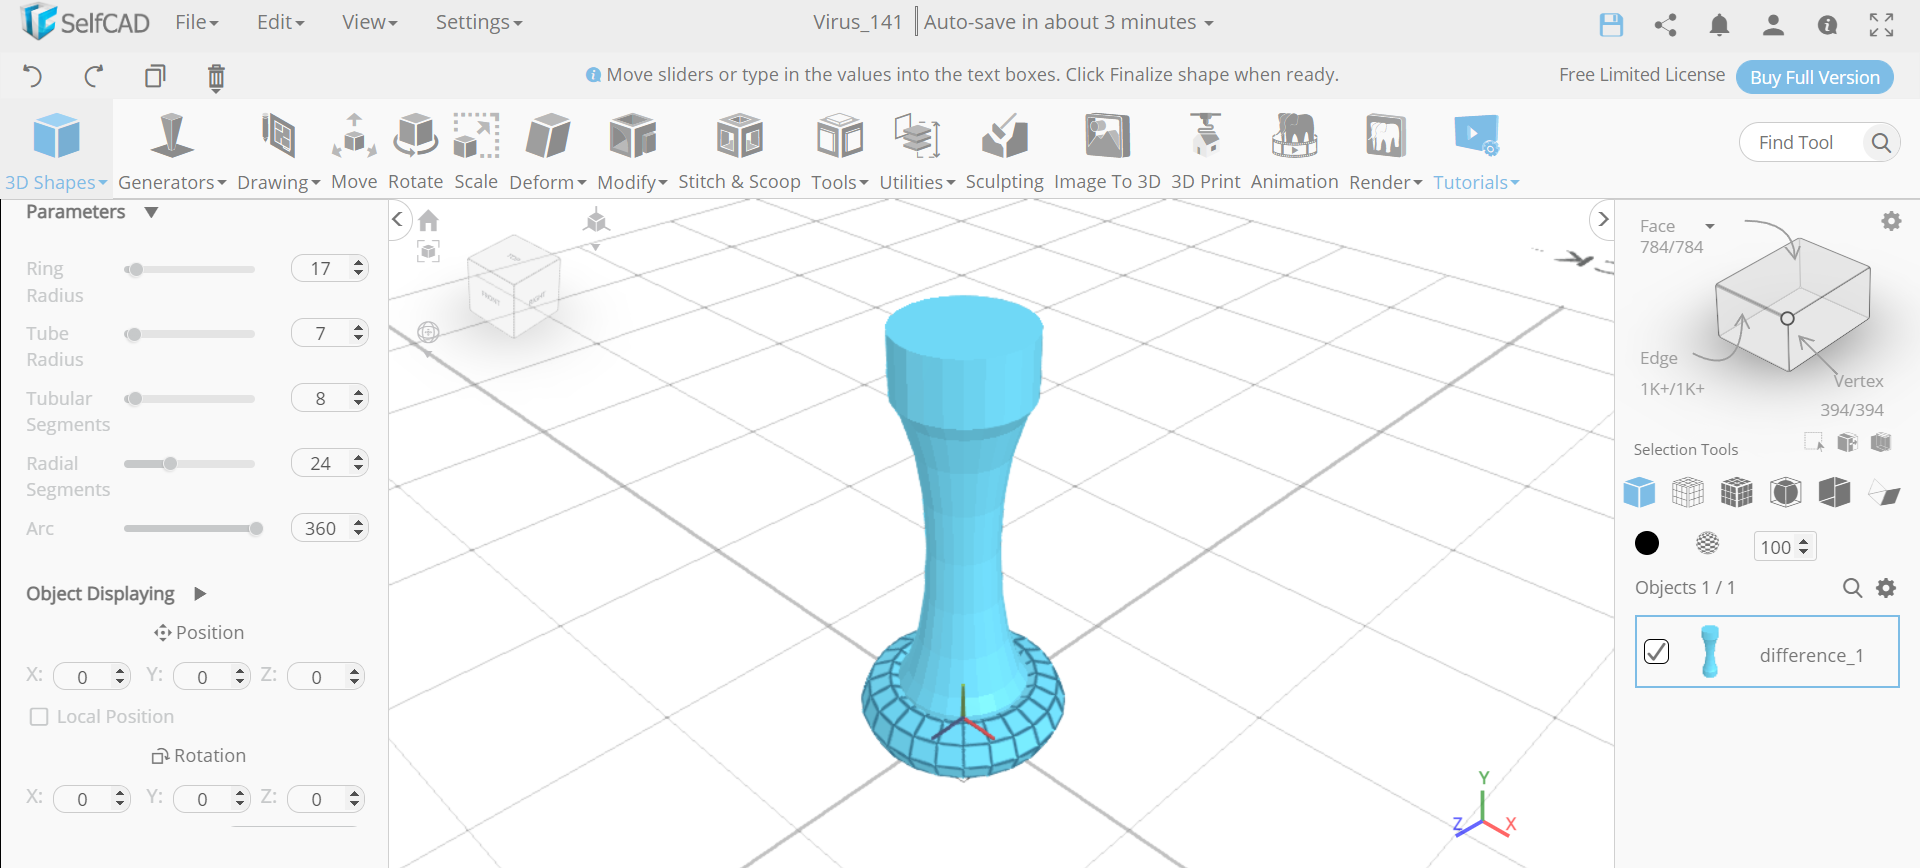
Now, we will insert another torus and set its ring radius to 17 and tube radius to 7. Then select difference_1 and deselect mesh_12.
Move the Objects and Make Them a Union
.png)
.png)
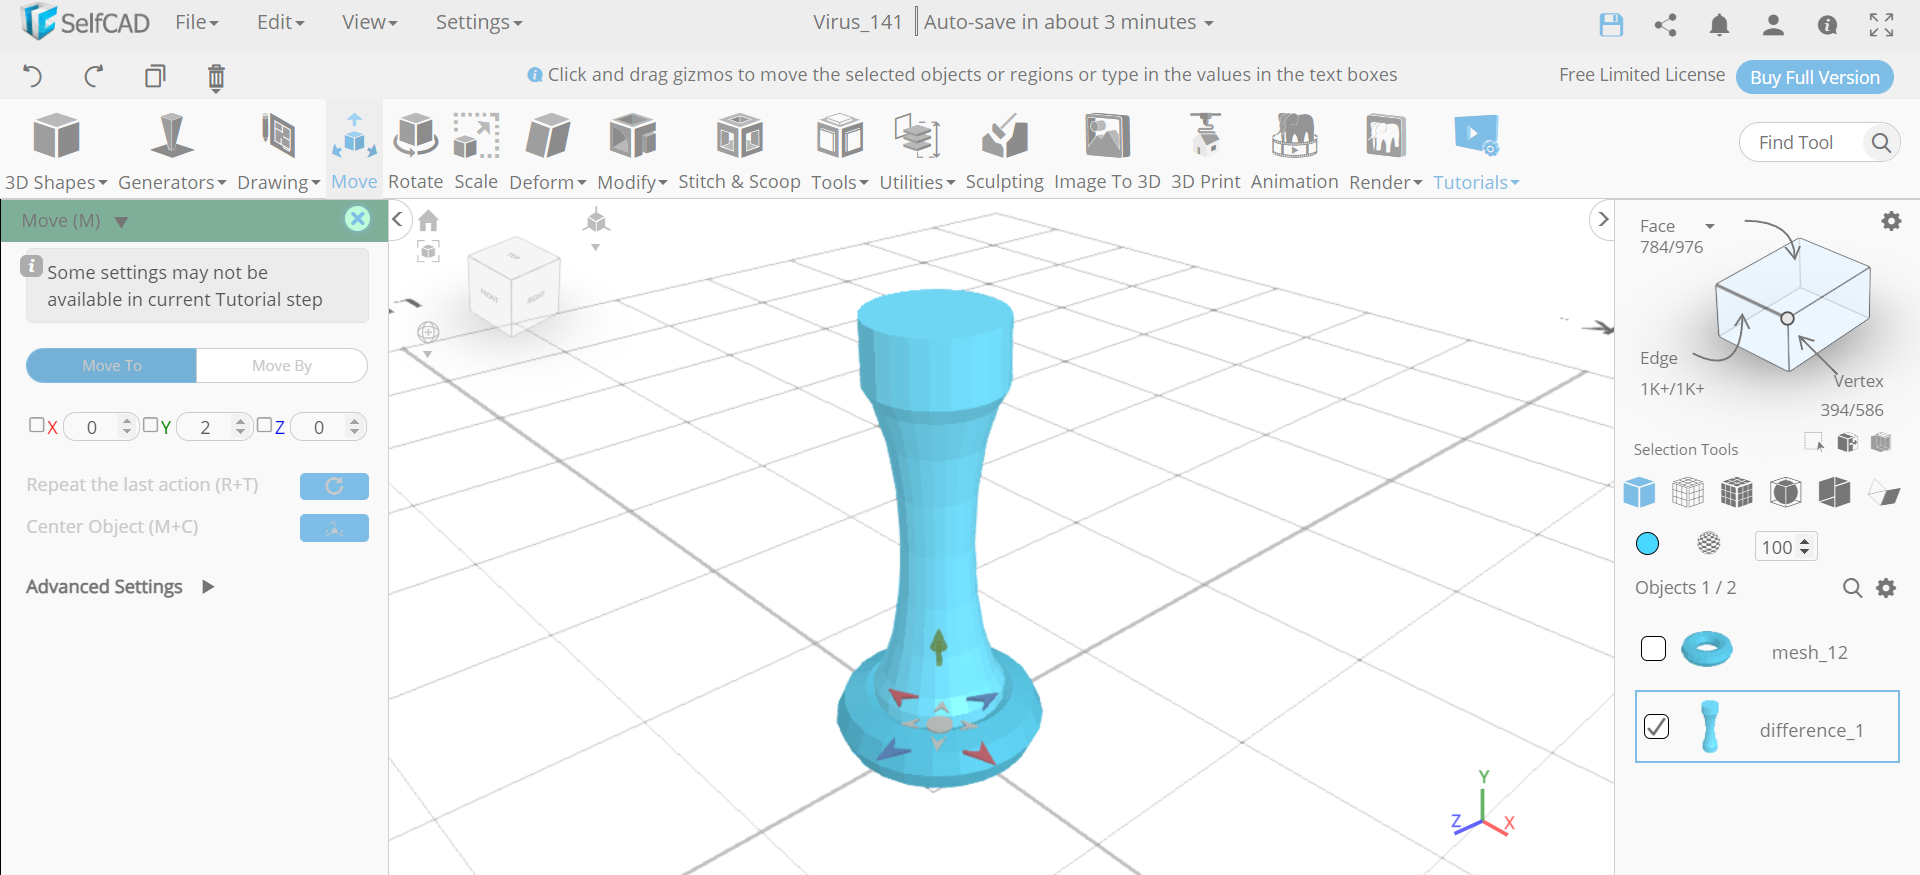
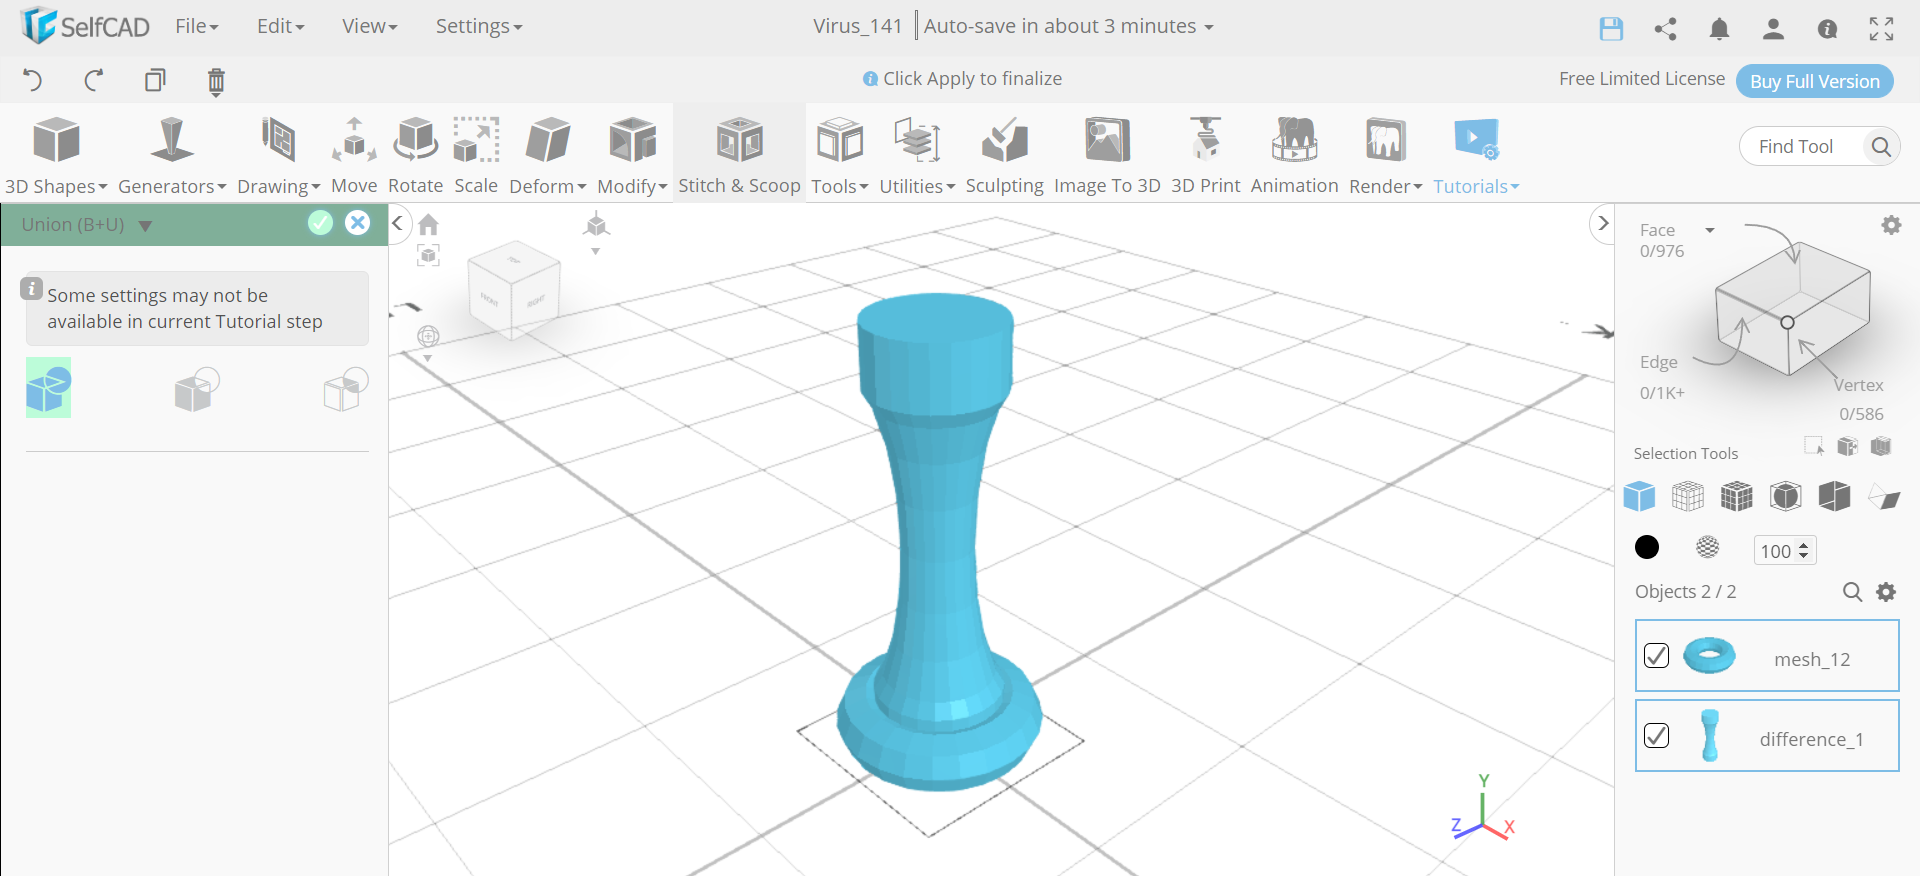
Next, select the move tool and set y to 2. Then select both the objects and make them a union.
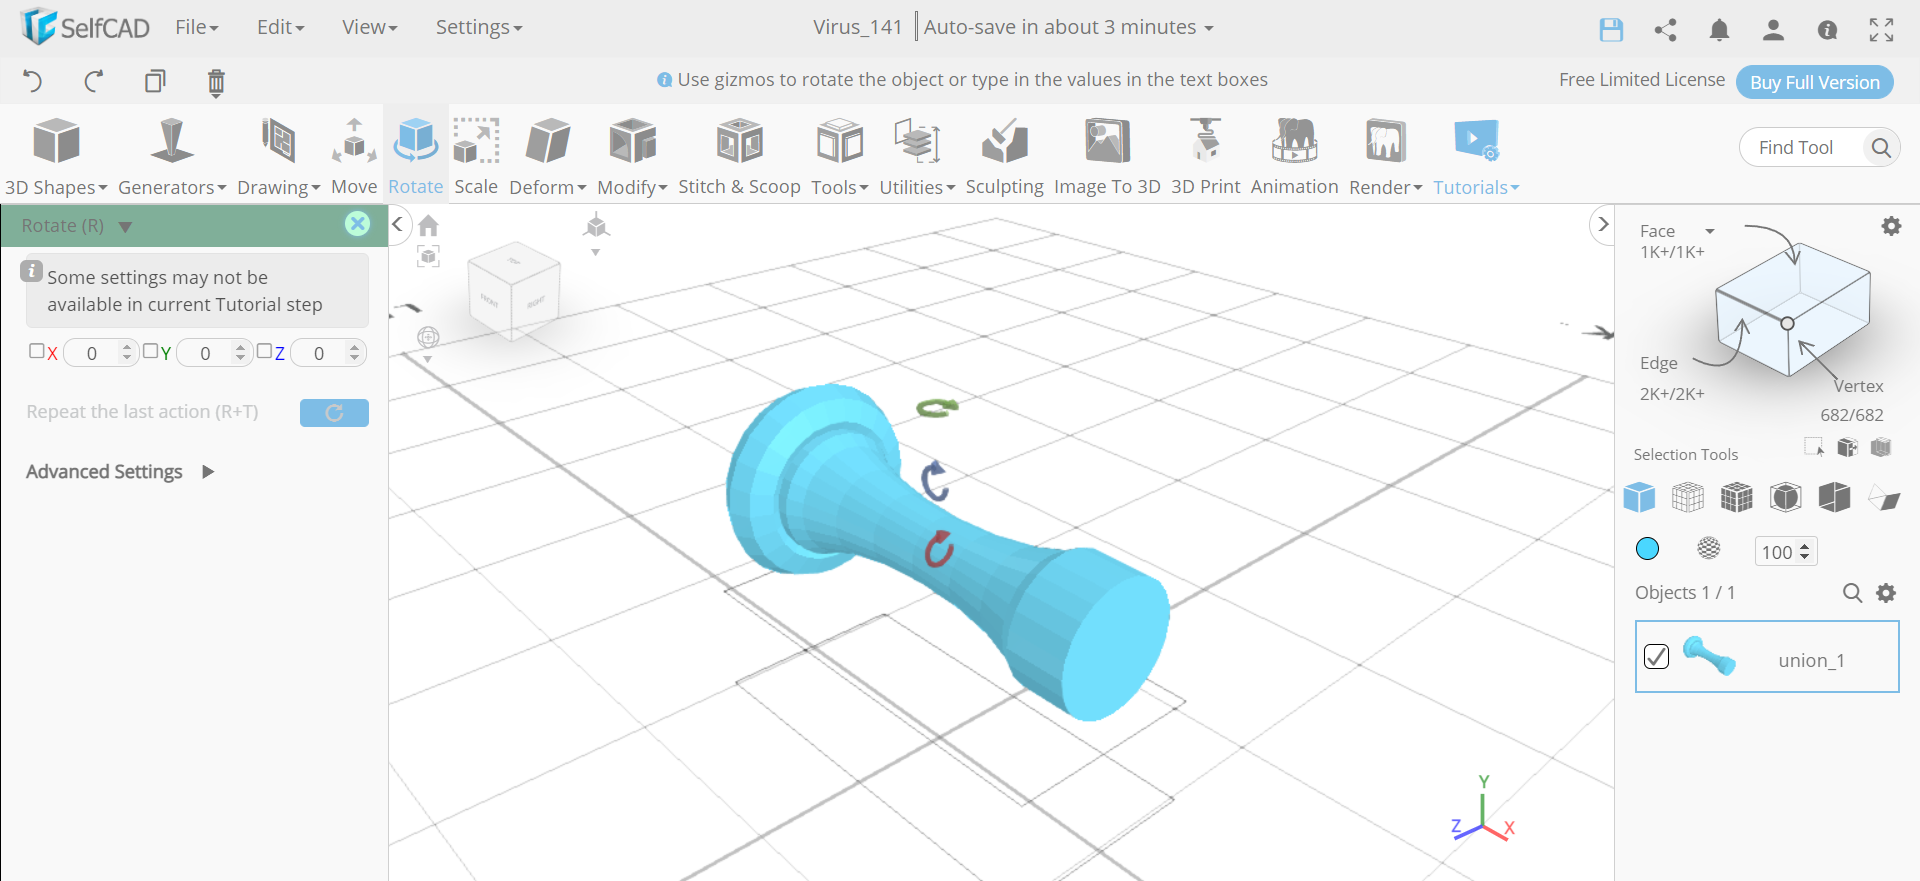
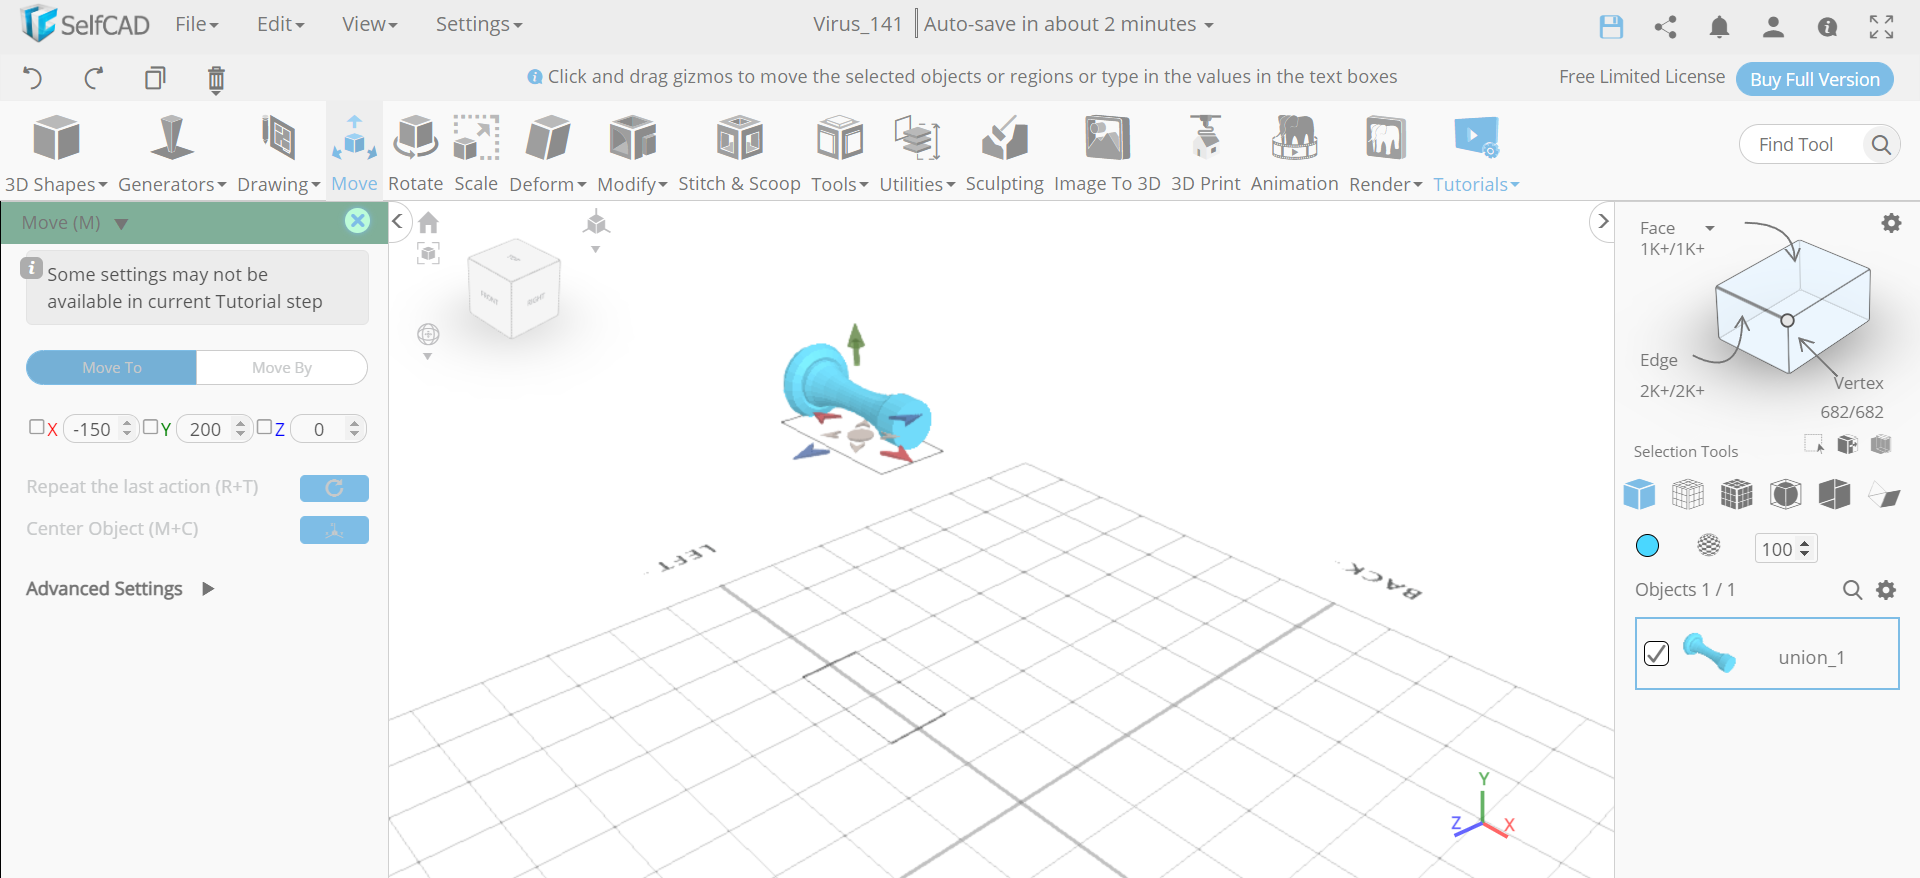
Rotate the Object and Move It
.png)
.png)
Now, we will select the rotate tool and set z to 90. Then move the object along the y axis to an amount of 200 and x axis to an amount of -150.
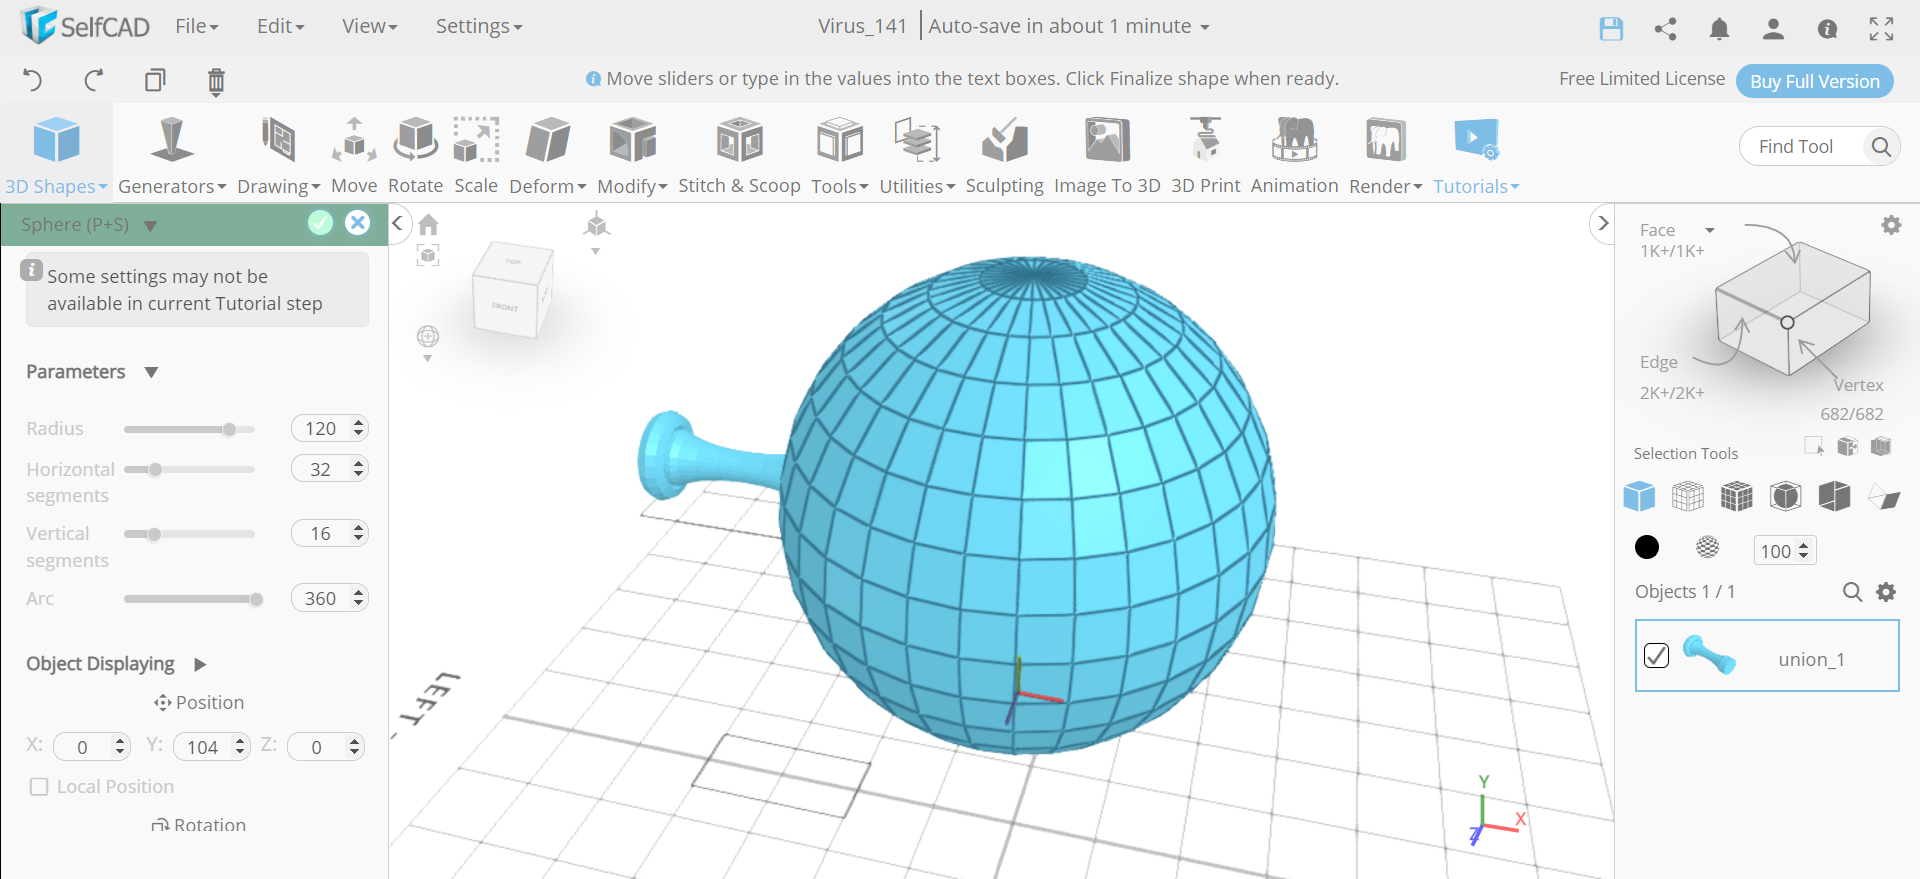
Insert a Sphere and Select the Objects
.png)
Next, insert a sphere and set its radius to 120 and position y to 104. Then select union_1 and deselect mesh_16.
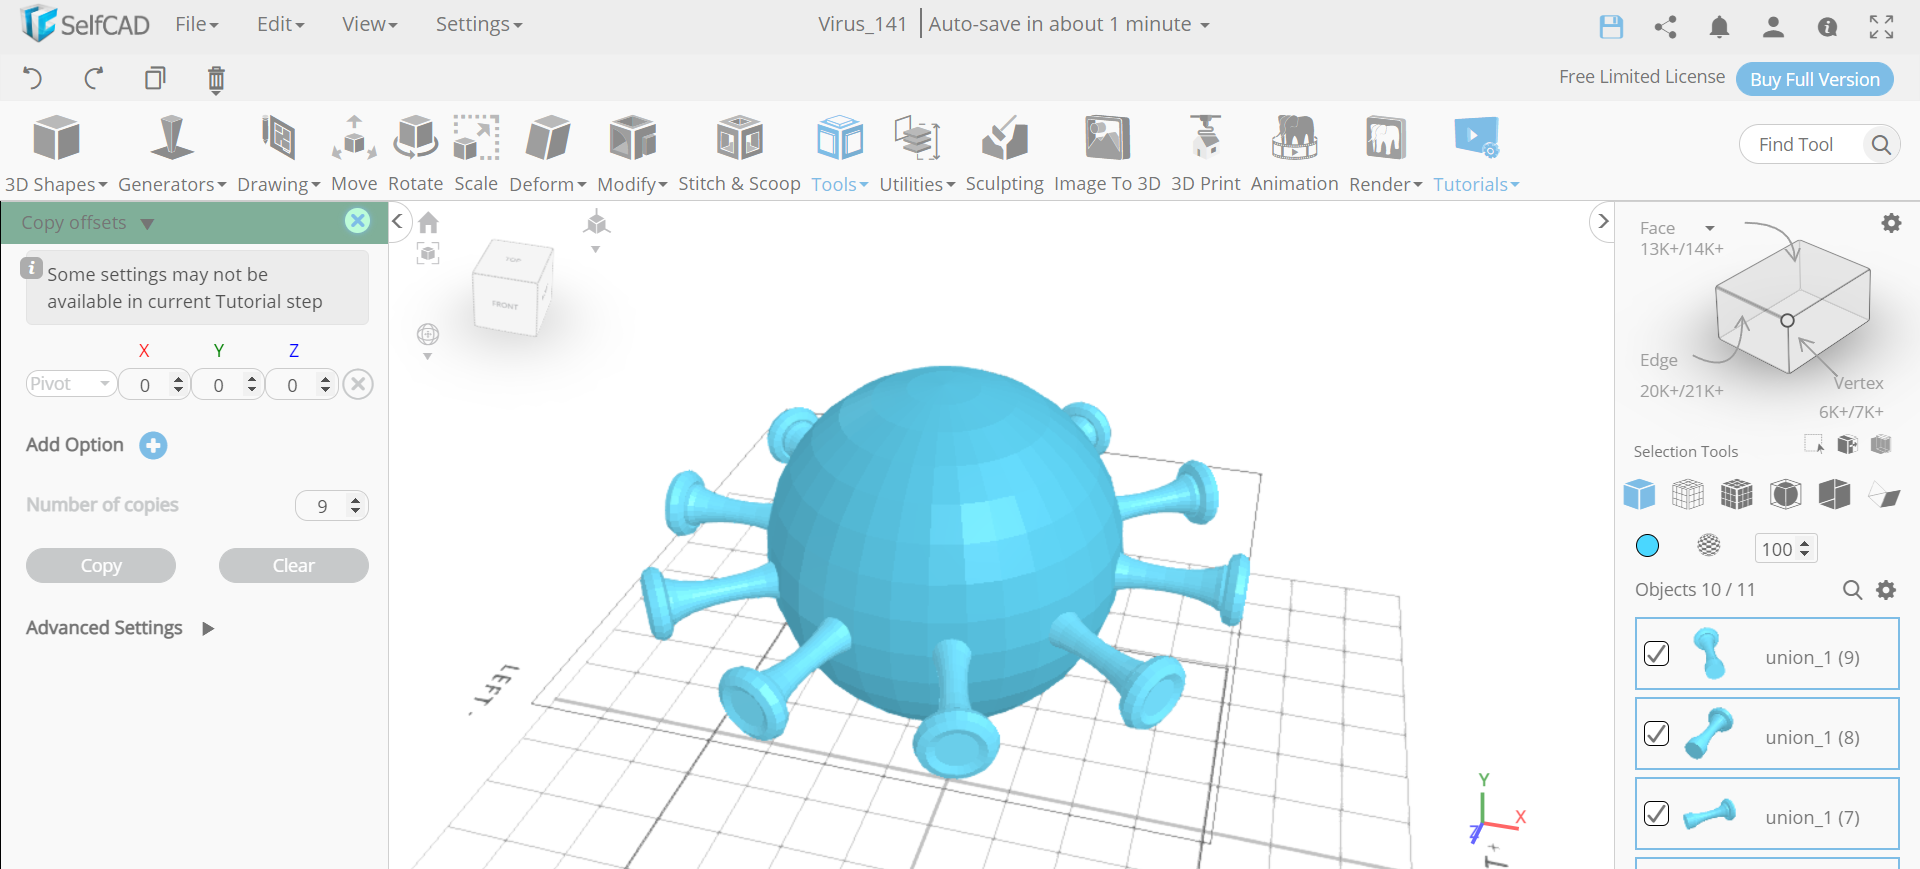
Copy the Object
.png)
Now, from the tools category select the copy offset option. Set operation to pivot and amount of copies to 9 and create copies. After that, deselect union_1 and union_1(5).
Copy the Row and Rotate It
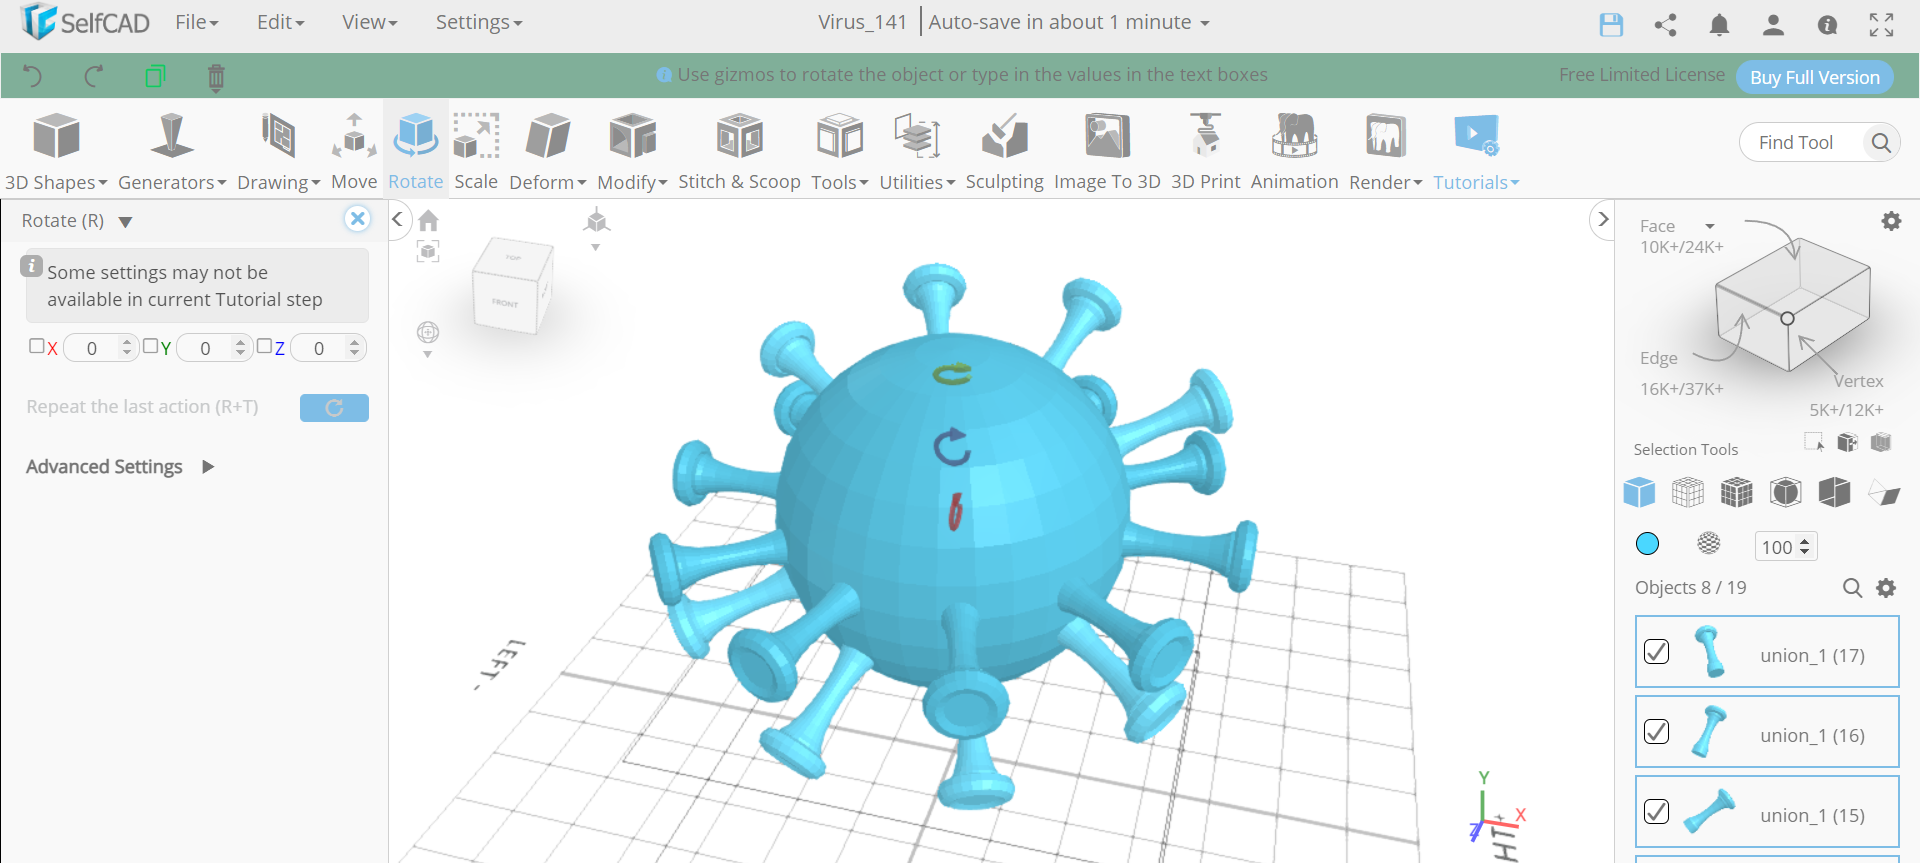.png)
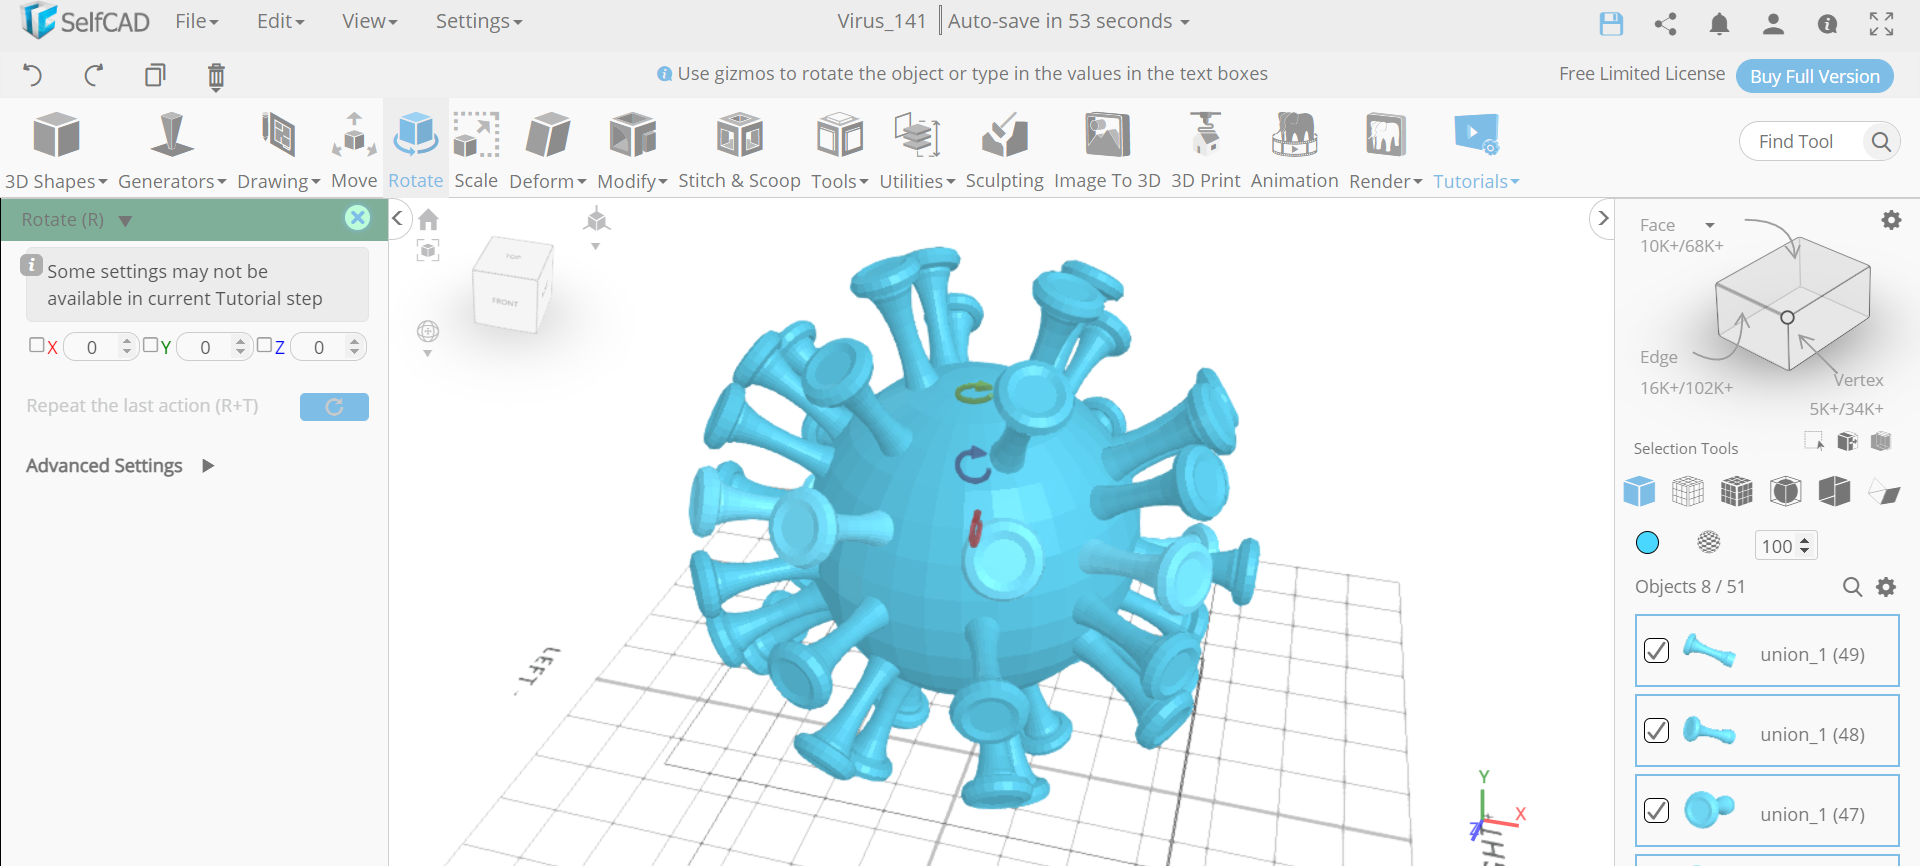.png)
Next, copy the selected objects using the copy option and rotate them along the x axis with an angle of -30 degrees. Then repeat the same step for about 3-4 times.
Make the Whole Object a Union
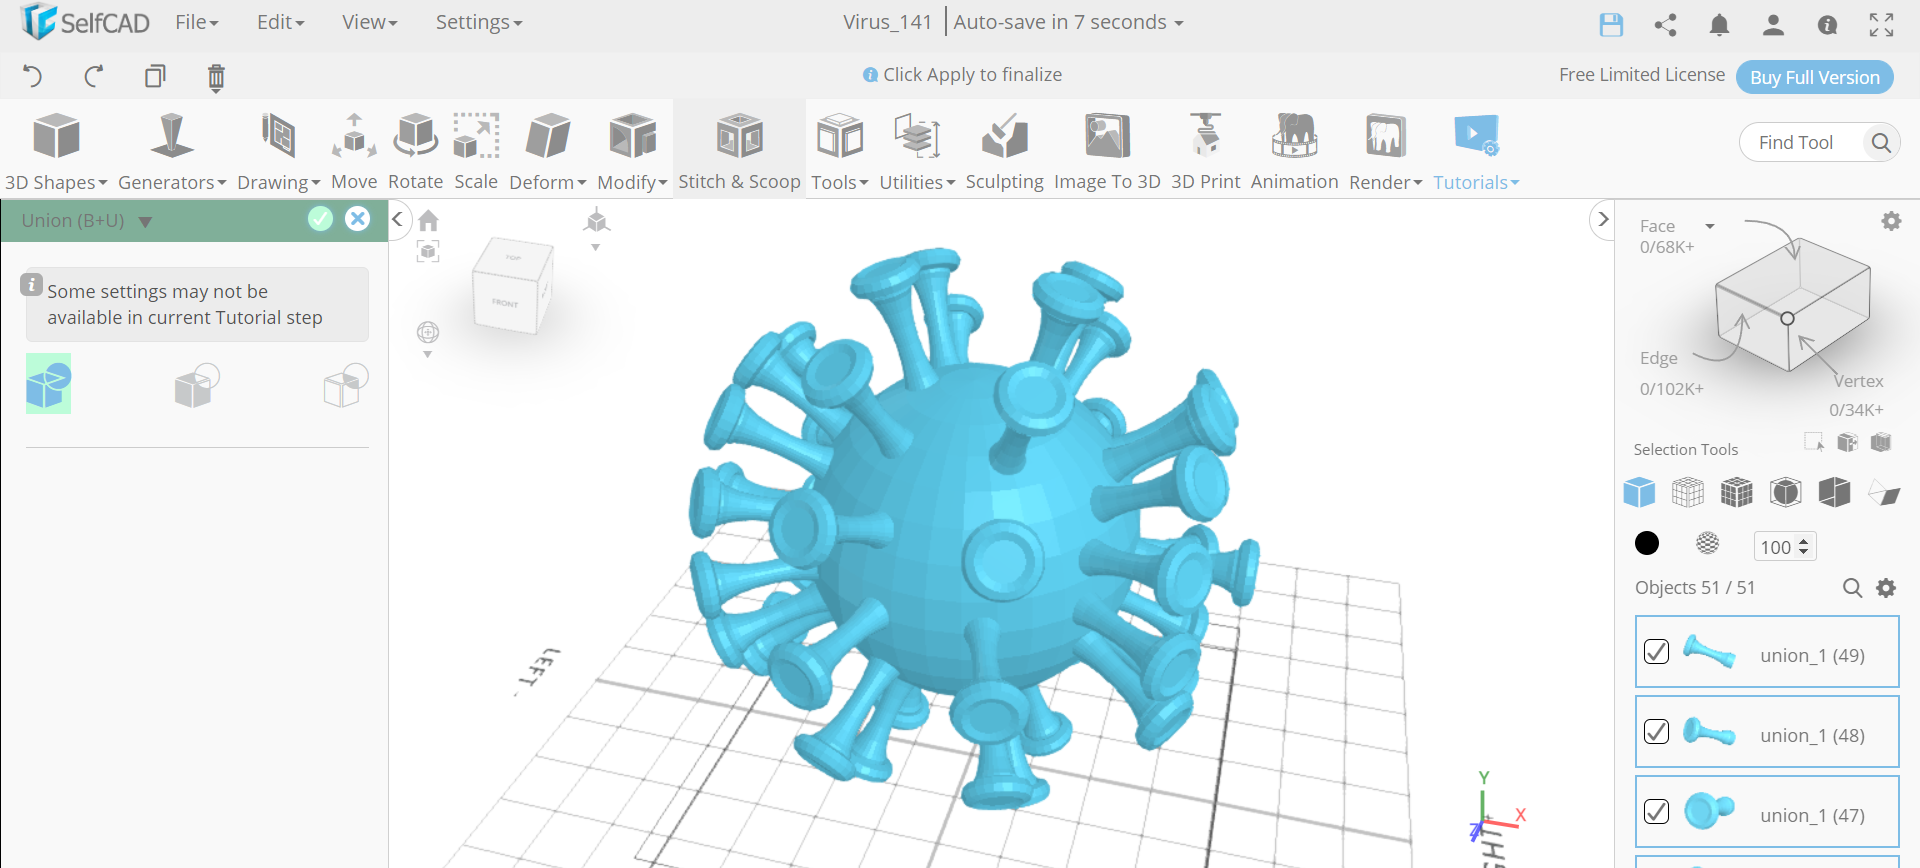.png)
Now, from the edit menu we will select all the objects and make them a union.
CONCLUSION: HENCE, WE HAVE CREATED a 3D VIRUS IN SelfCAD
3D modelling characters isn't muddled. You basically have to have the fitting tools with you. We've figured out savvy ways of making a simple virus utilising the rotate tool and different tools of SelfCAD. You can sort this out effectively too. Moreover, you can play with the accessible tools and even utilise something very similar to methodology to make your own design.