HOW TO CREATE a 3D PRINTED COASTER SET IN 3D MODELLING SOFTWARE
by Simran Khuntia in Living > Organizing
293 Views, 1 Favorites, 0 Comments
HOW TO CREATE a 3D PRINTED COASTER SET IN 3D MODELLING SOFTWARE
.png)
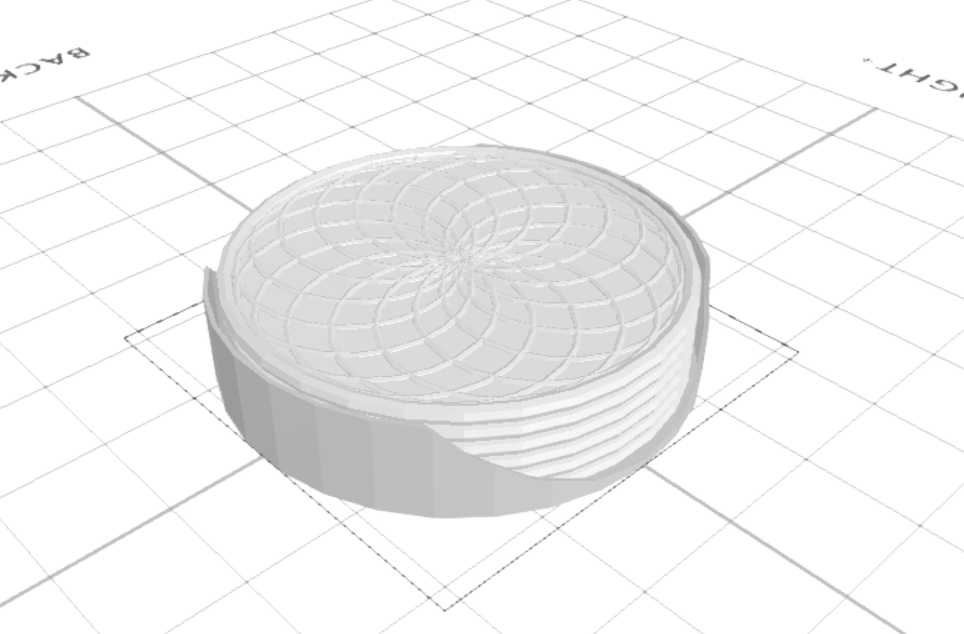
3D Designing is ending up being prominent in different fields. With 3D designing, one creates 3D models that can be utilised in promoting and in different regions and they can likewise be 3D printed. In this tutorial article, we will make a 3D printed coaster set in SelfCAD. Expecting you have not been aware of it yet, SelfCAD is one of the most simple-to-utilise yet strong 3D modelling software for clients, all things considered. We chose to involve SelfCAD as it has every one of the key components one expects for their 3D displaying and 3D printing errands.
To 3D design the printed coaster set, we will start with the cylinder, then transform it with tools like copy offsets, 3D shapes, etc.
You can also visit our webpage and go through our other similar articles such as how to design a 3D soap dish.
In this way, we should get everything rolling!
Insert a Cylinder and a Torus
.png)
.png)
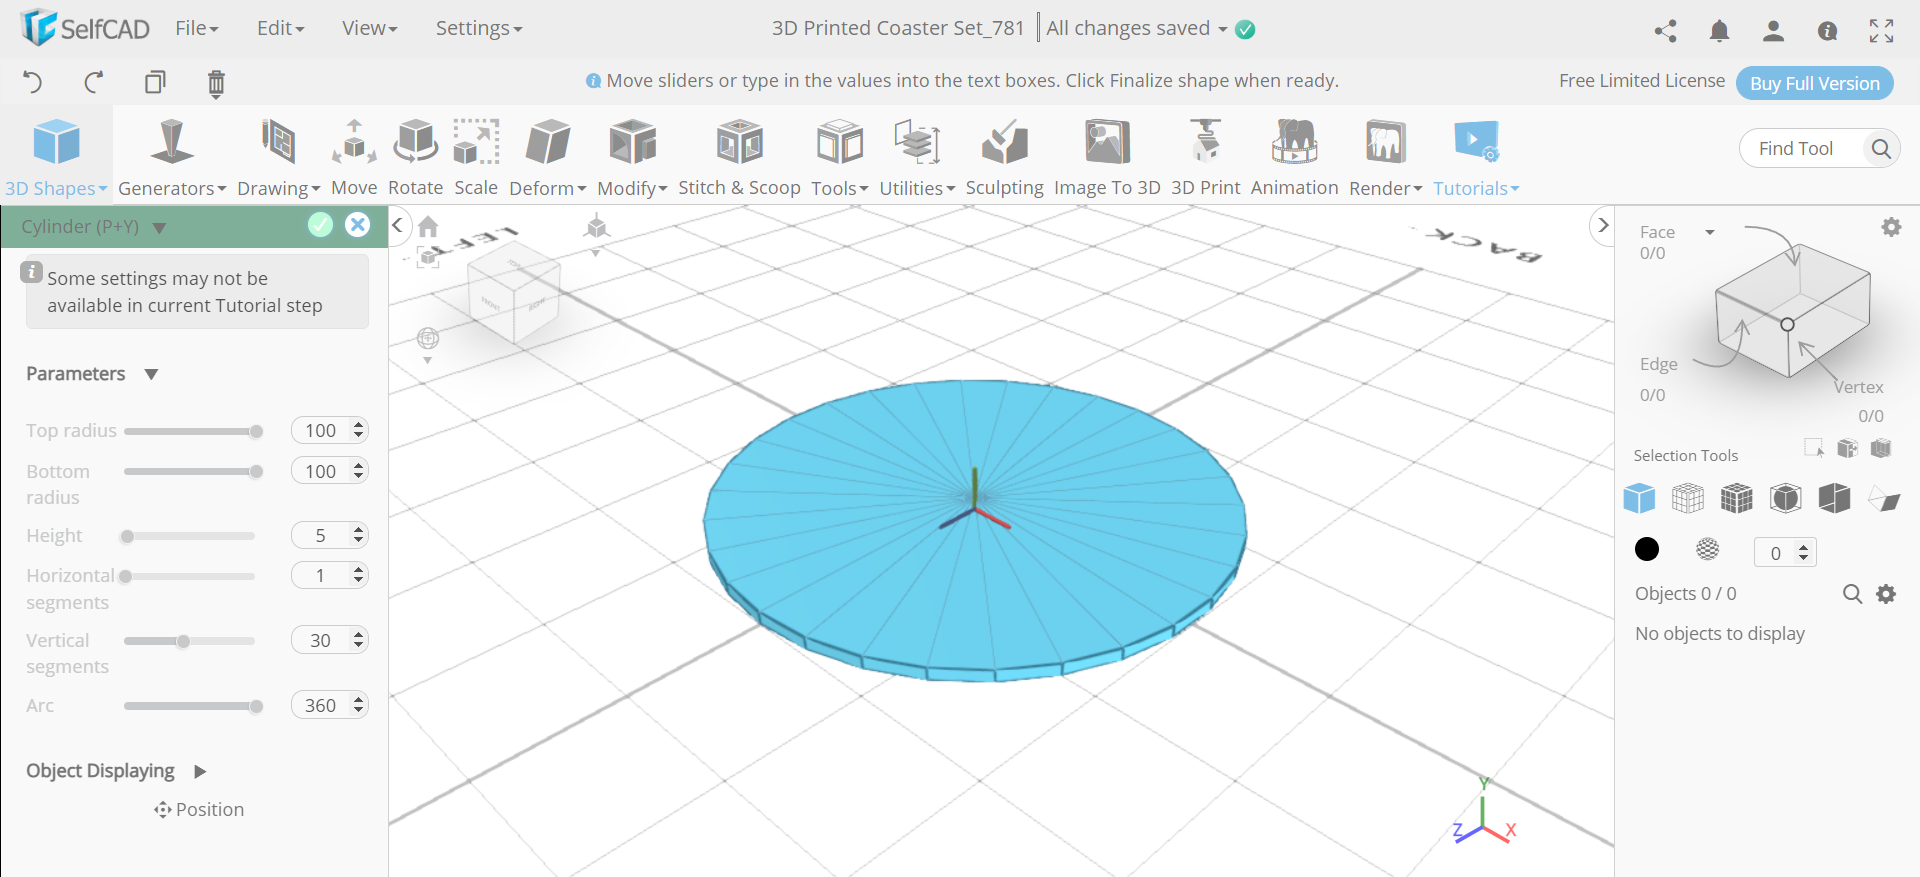
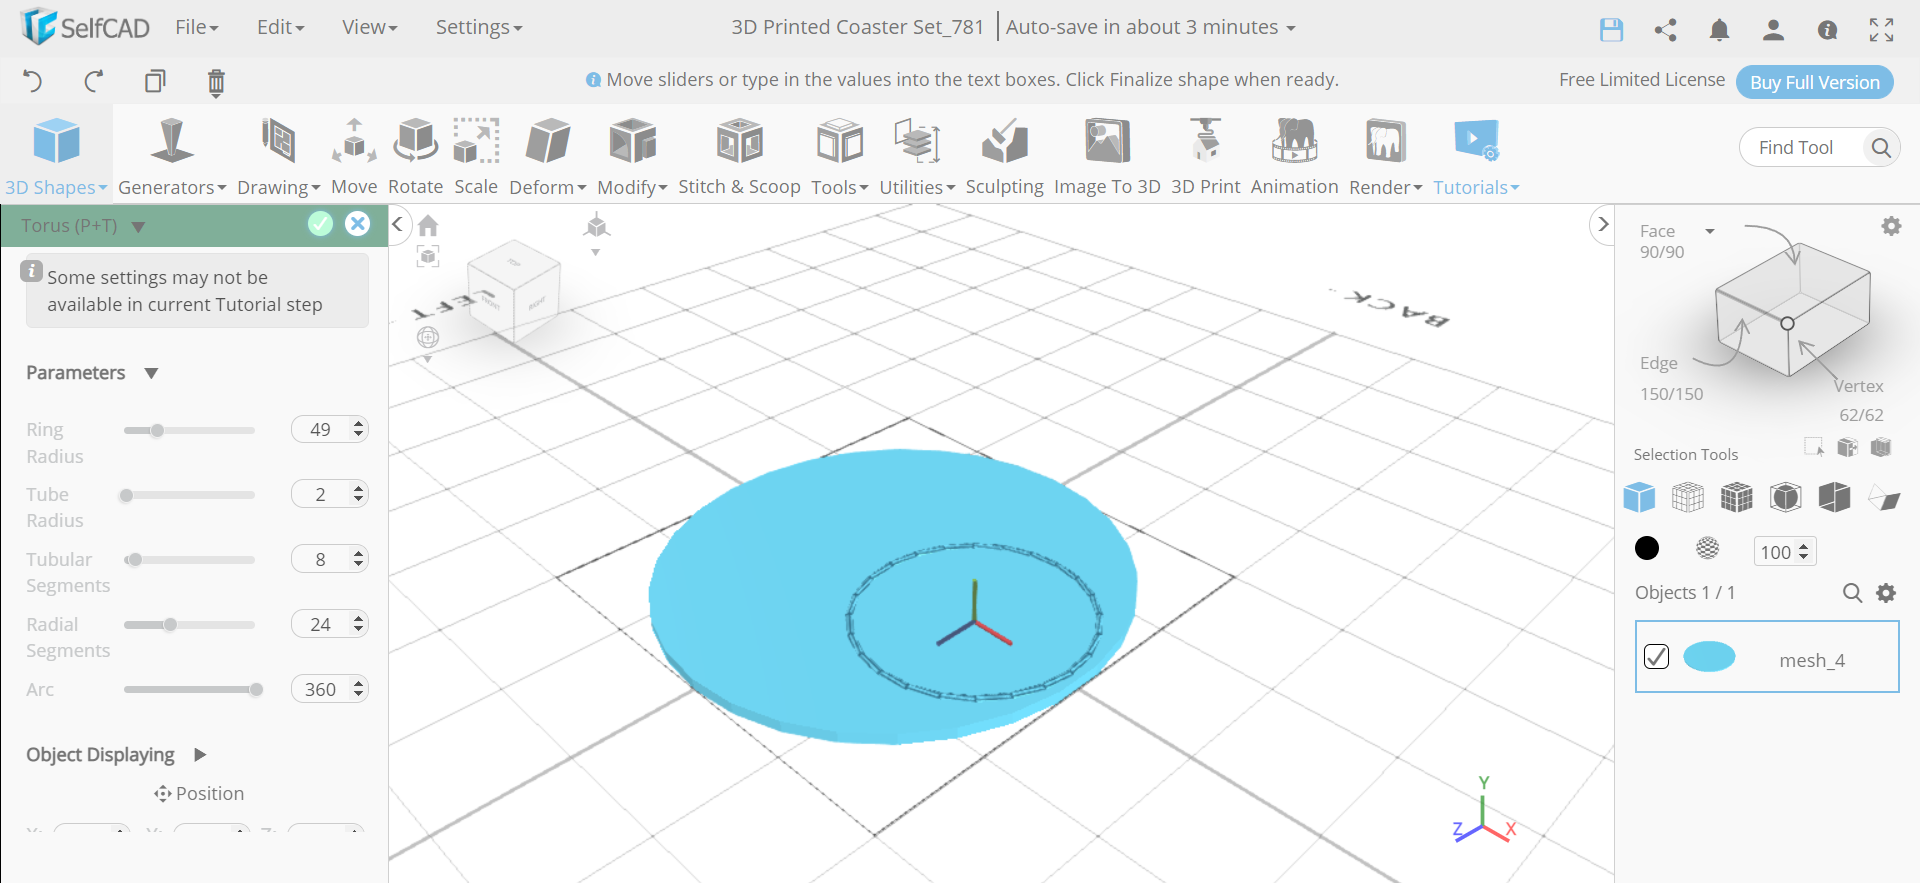
First of all go to the 3D shapes and insert a cylinder to the working interface. Set the top radius to 100, bottom radius to 100, height to 5 and vertical segments to 30. Then insert a torus from the 3D shapes. Set the ring radius to 49, tube radius to 2, position x to 46 and position y to 2.
Create Copies of the Torus
.png)
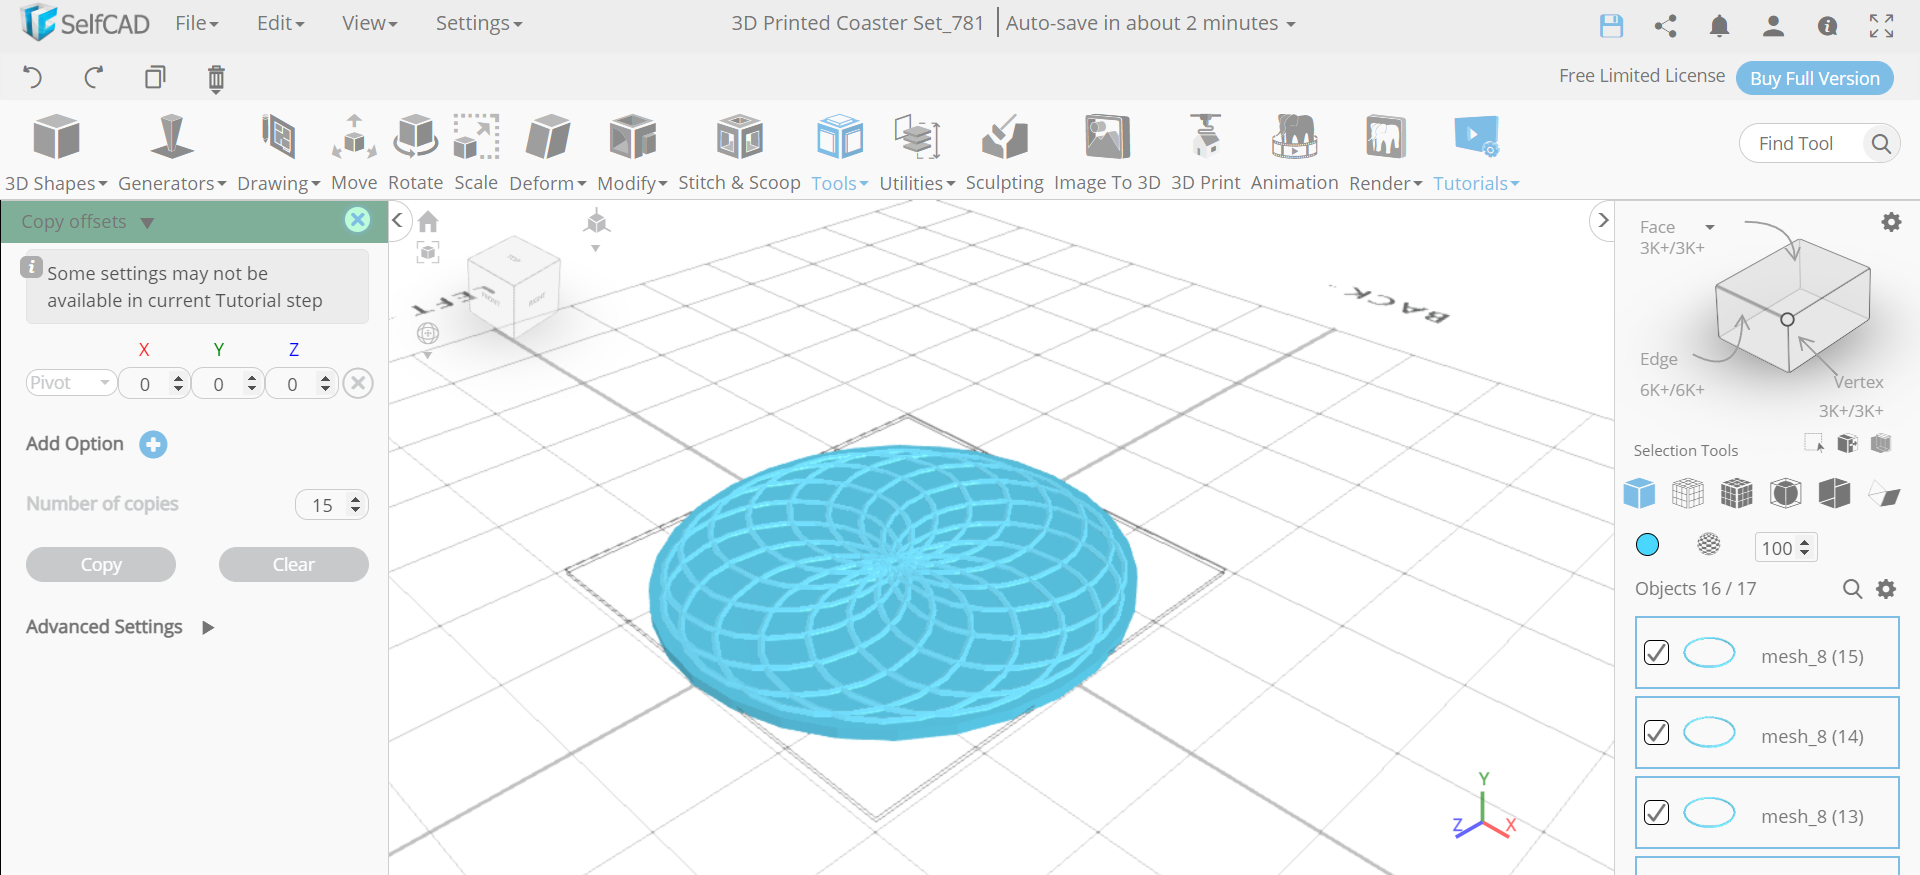
Next, from the tools, we will select the copy offsets option. Set the position to pivot and number of copies to 15. Then click on the copy button to create copies.
Insert Another Base Torus and Make All the Objects a Union
.png)
.png)
.png)
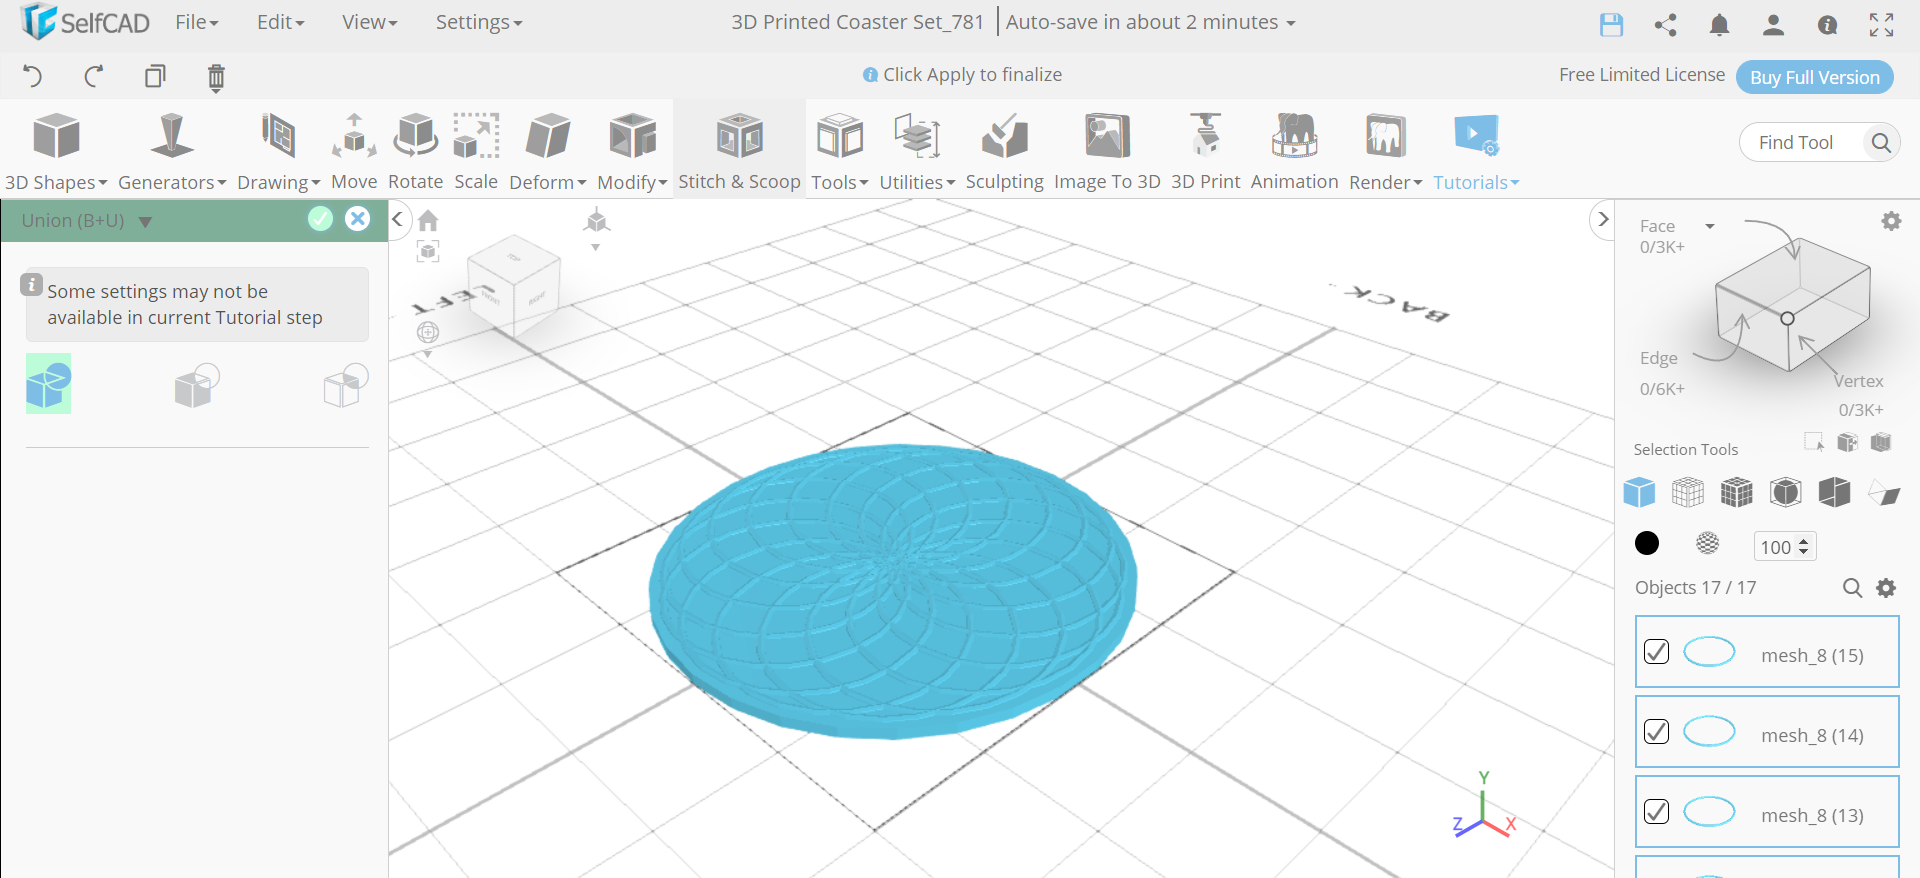
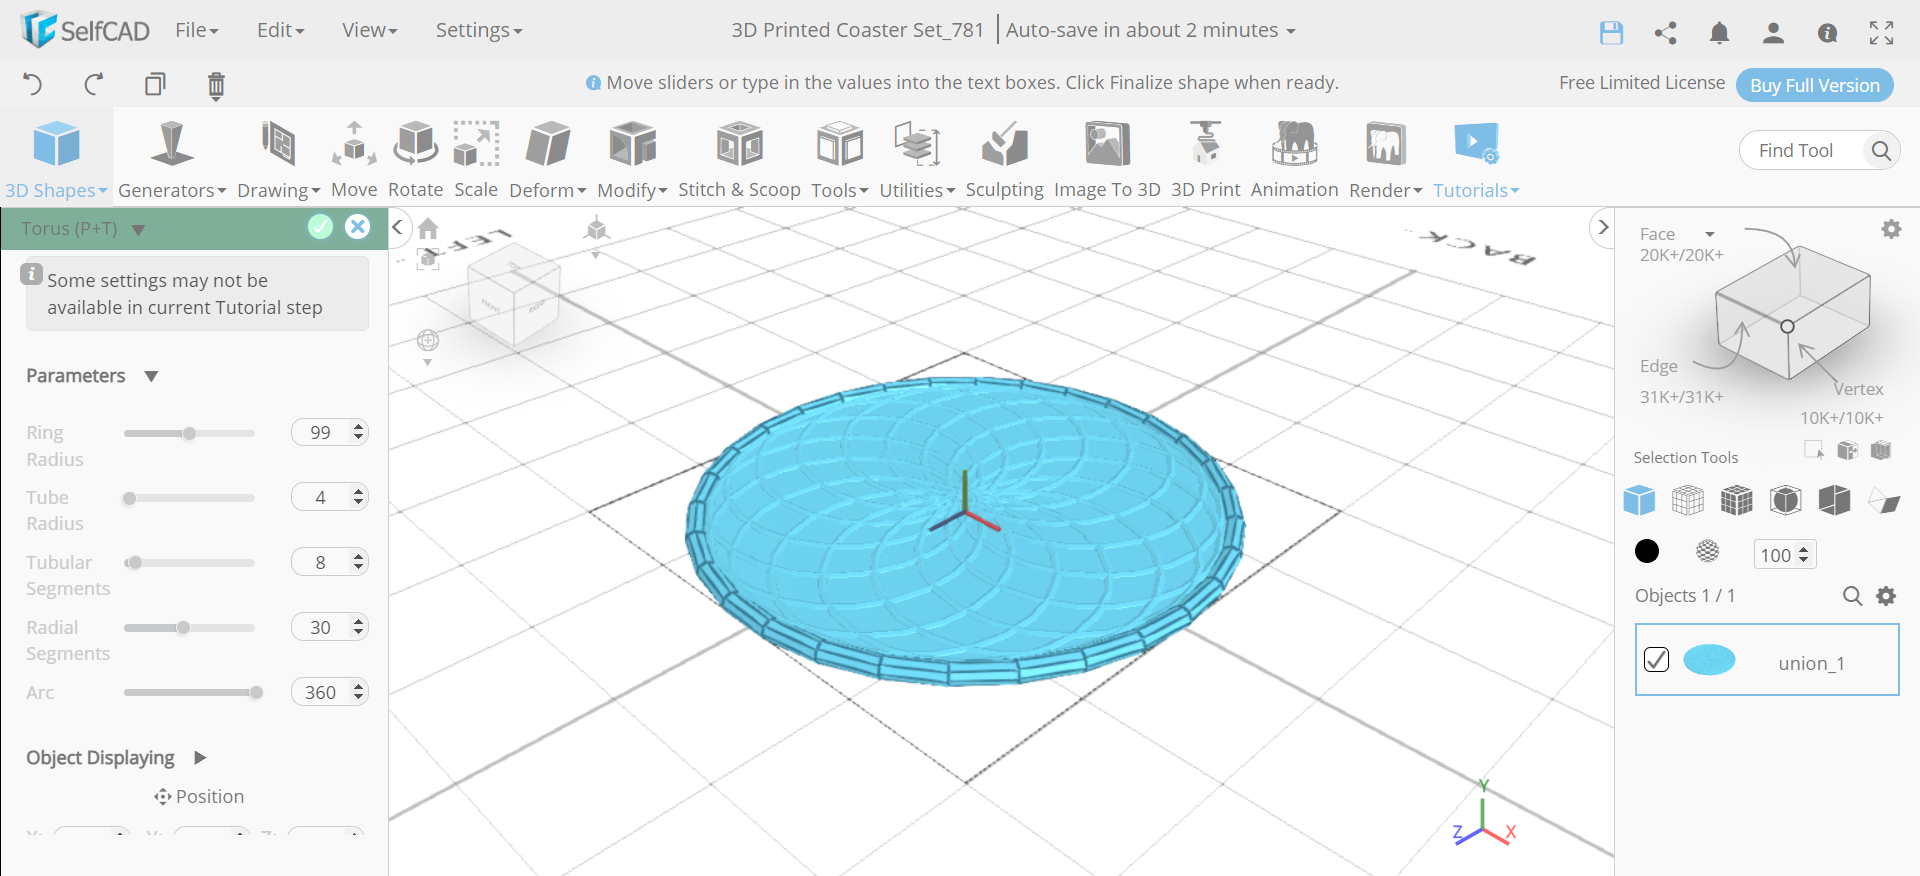
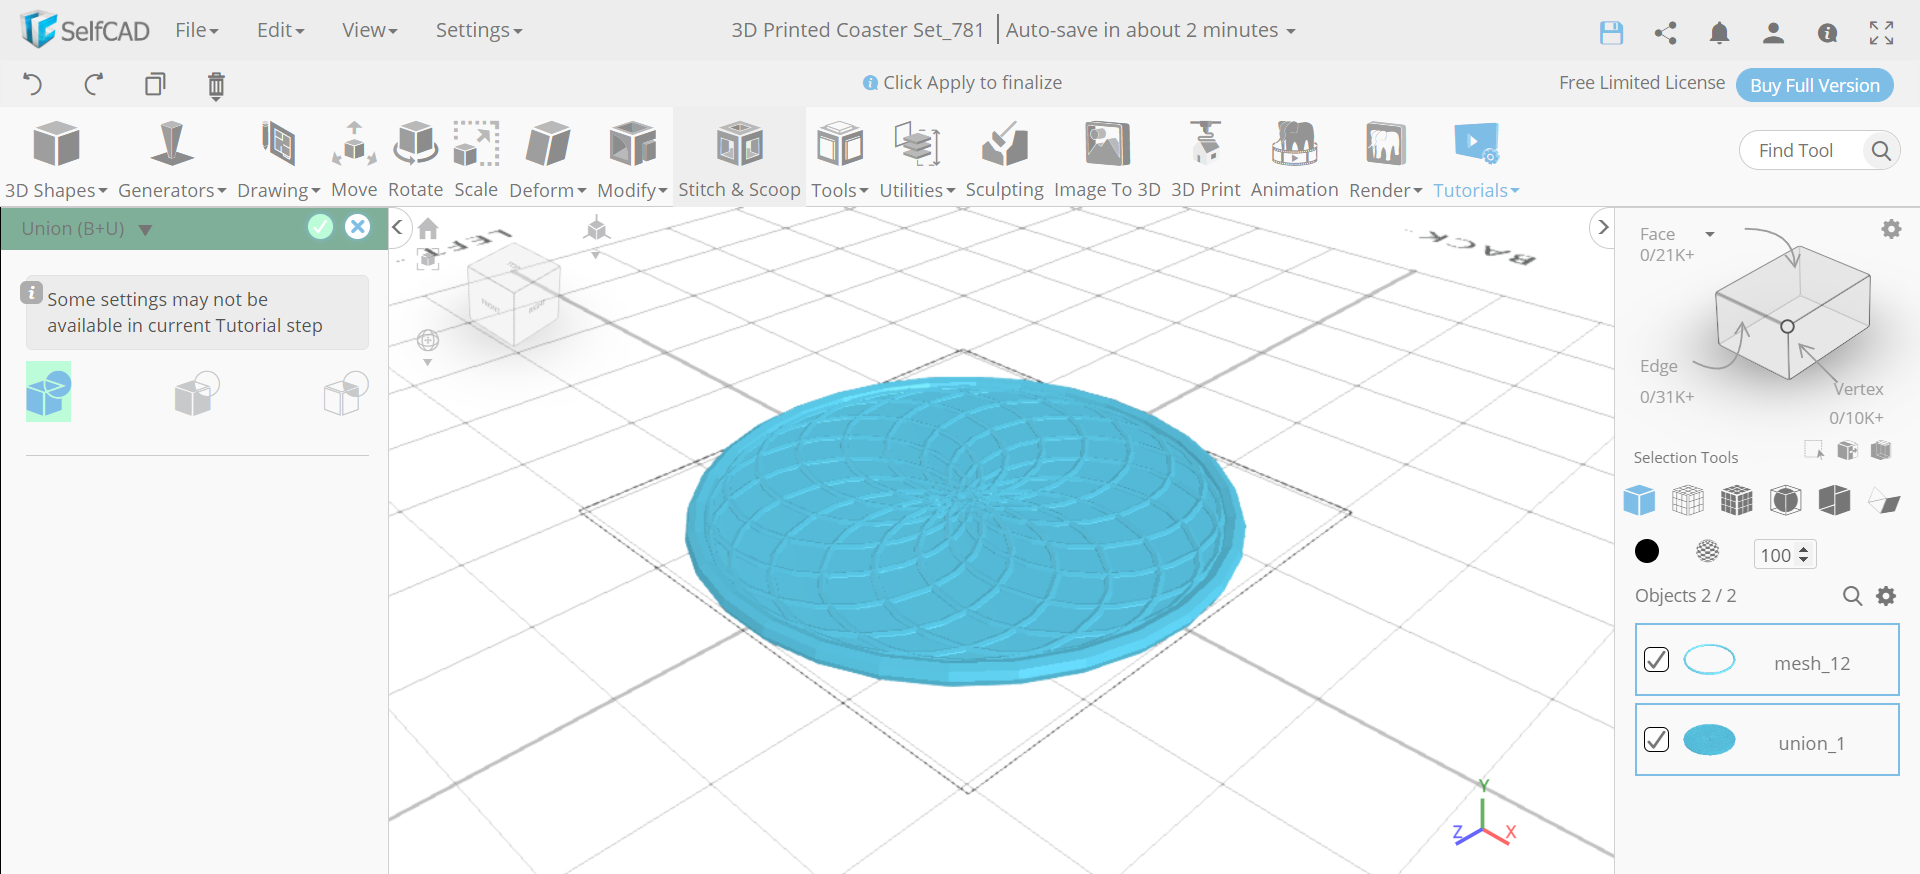
Now, select all the profiles, go to the stitch and scoop and make them a union. Then insert a torus again and set its ring radius to 99, tube radius to 4, and radial segments 30. After that, select all the objects and make them a union.
Colour the Object White and Create Copies of It
.png)
.png)
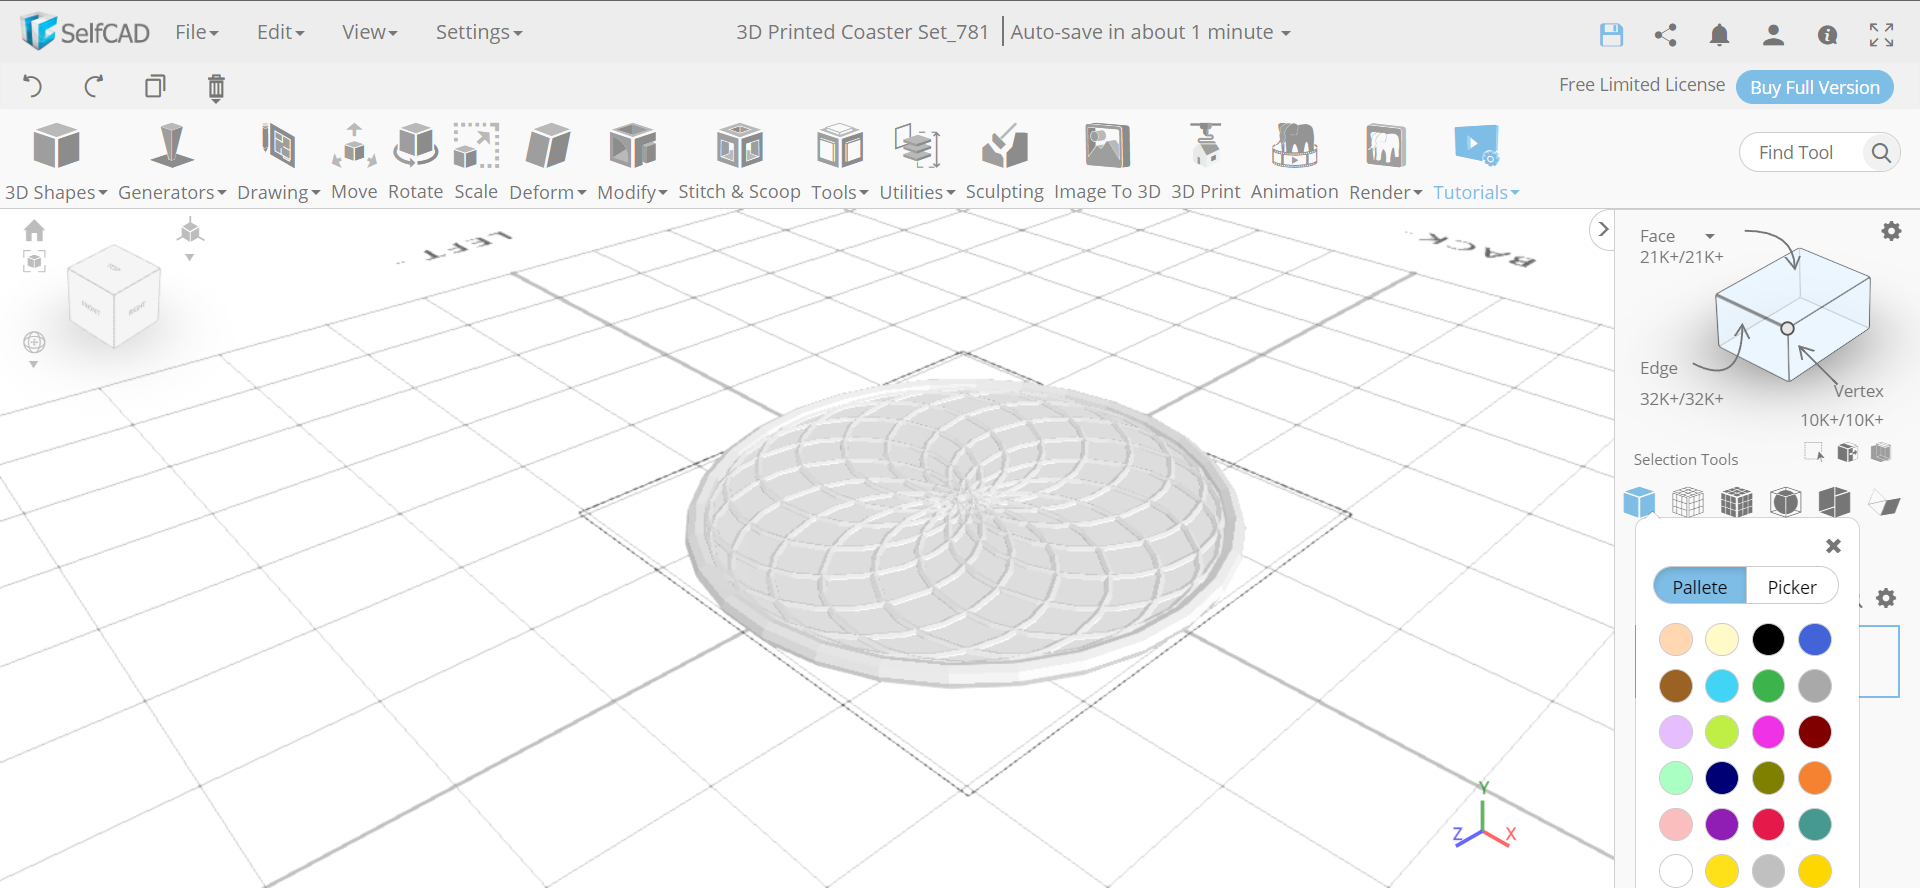
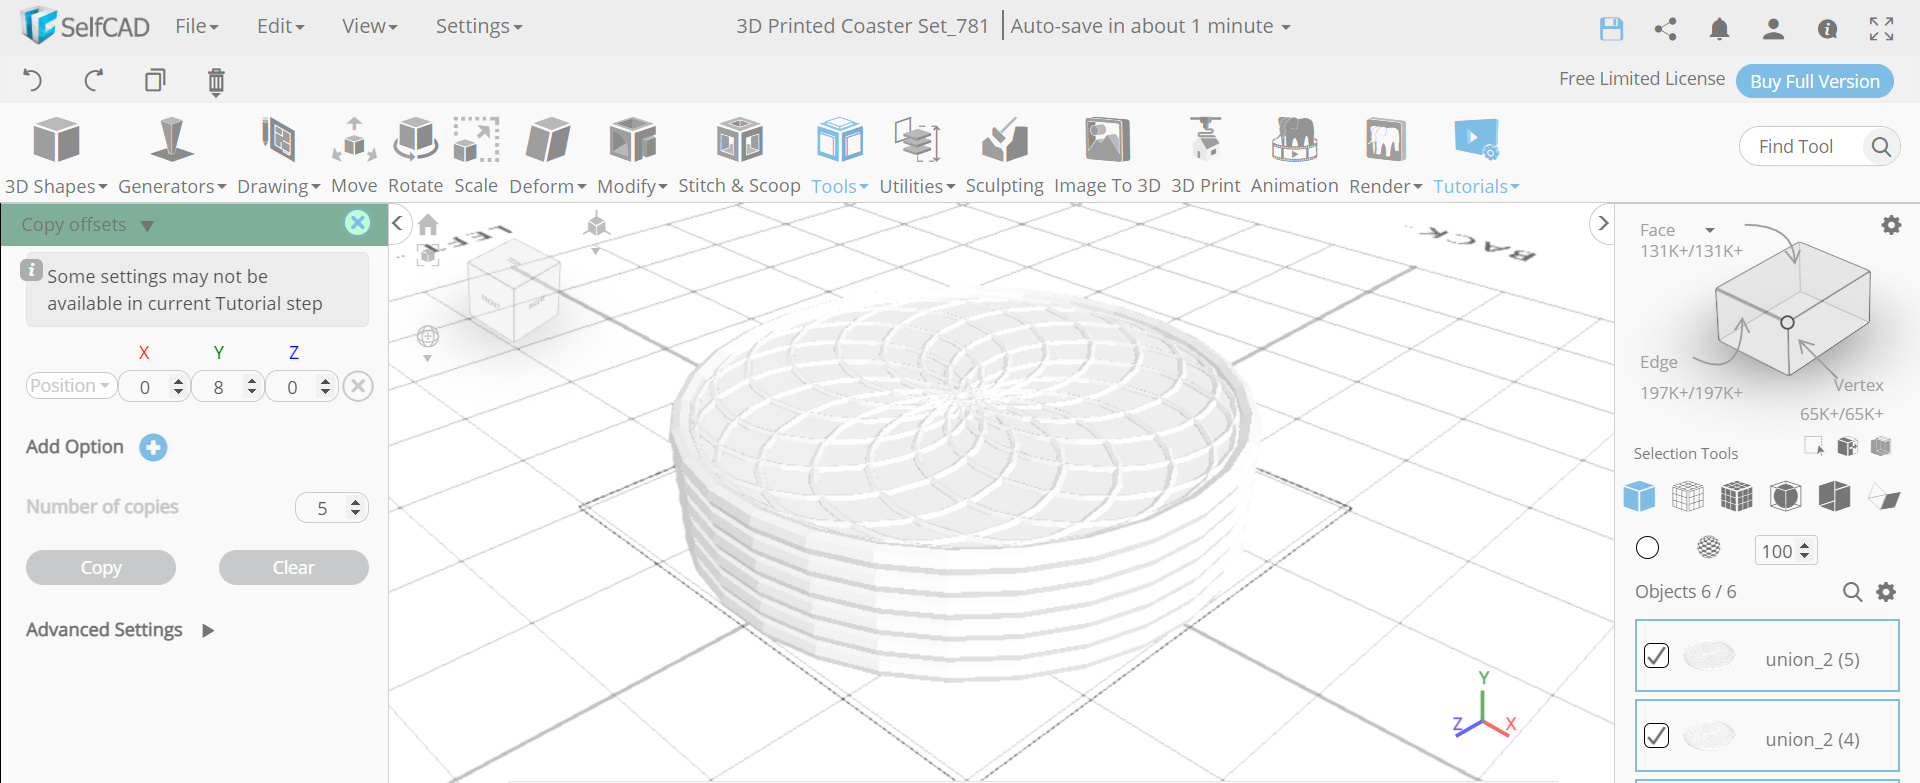
Next, we will go to the colour picker option and change the object’s colour to white. Then select the copy offsets option and set y to 8 and amount of copies to 5. After that click on the copy button.
Insert Two Cylinders With Different Dimensions
.png)
.png)
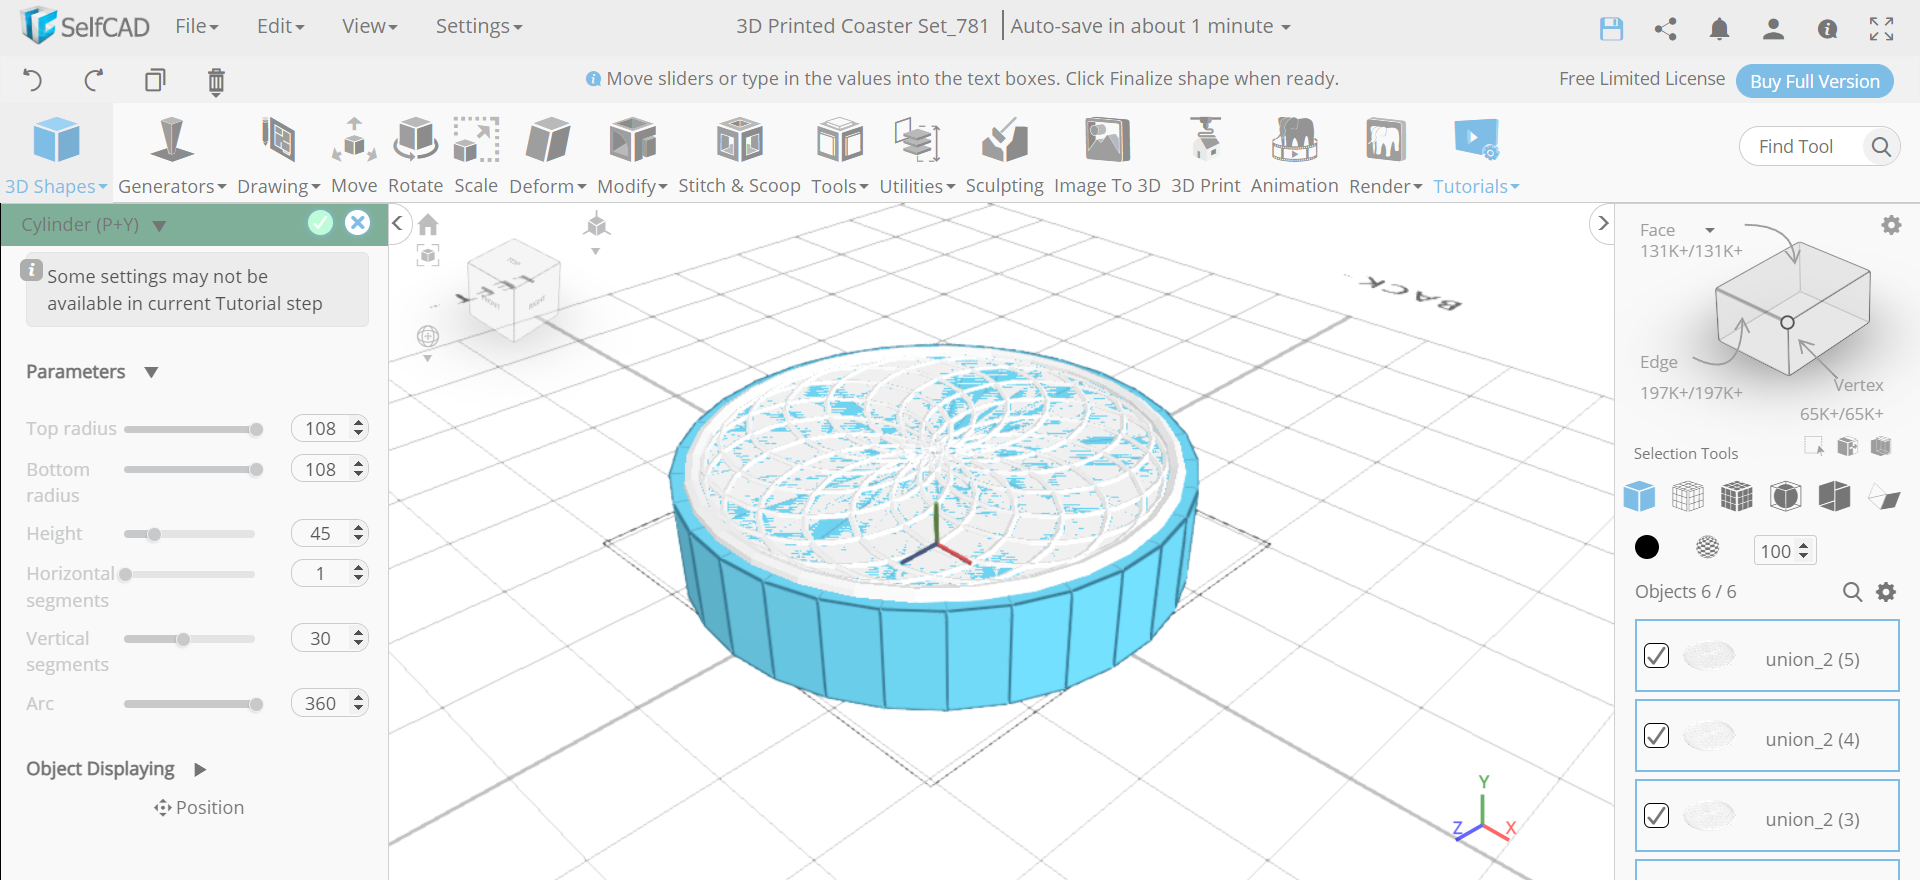
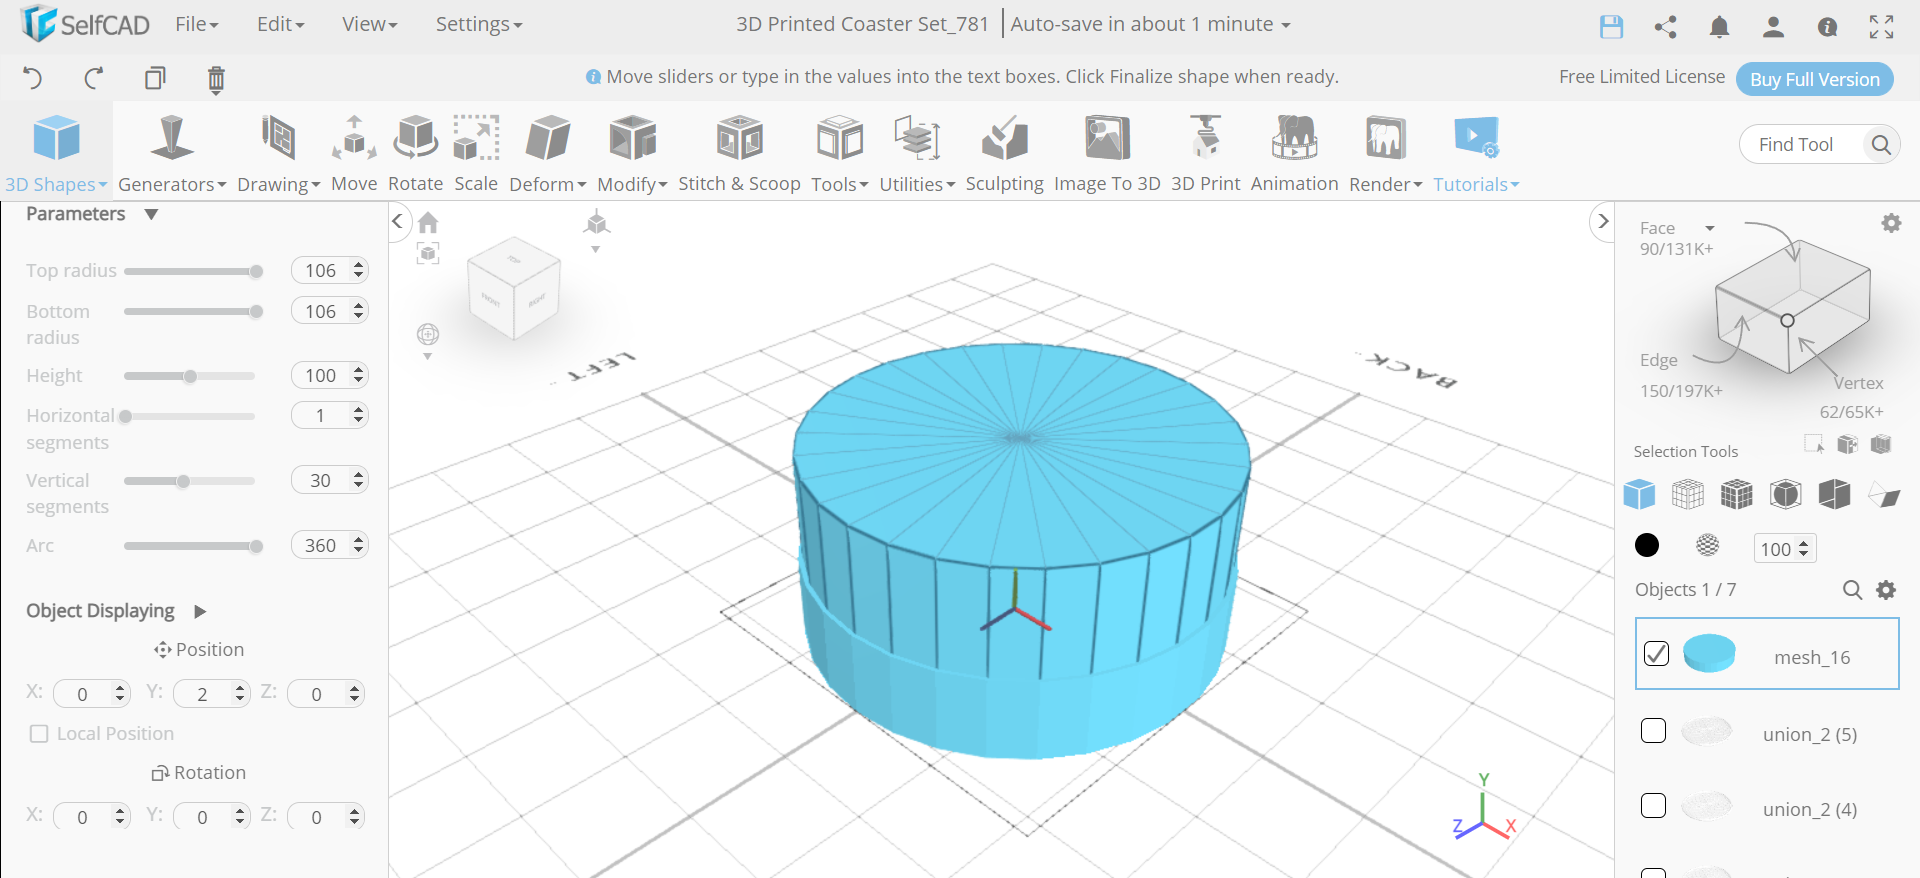
Now, insert a cylinder to the working interface and set its top radius to 108, bottom radius to 108, height to 45 and vertical segments to 30. Then insert another cylinder to the working interface and set its top radius to 106, bottom radius to 106, height to 30 and position y to 2.
Subtract the Cylinders and Add Another Cylinder
.png)
.png)
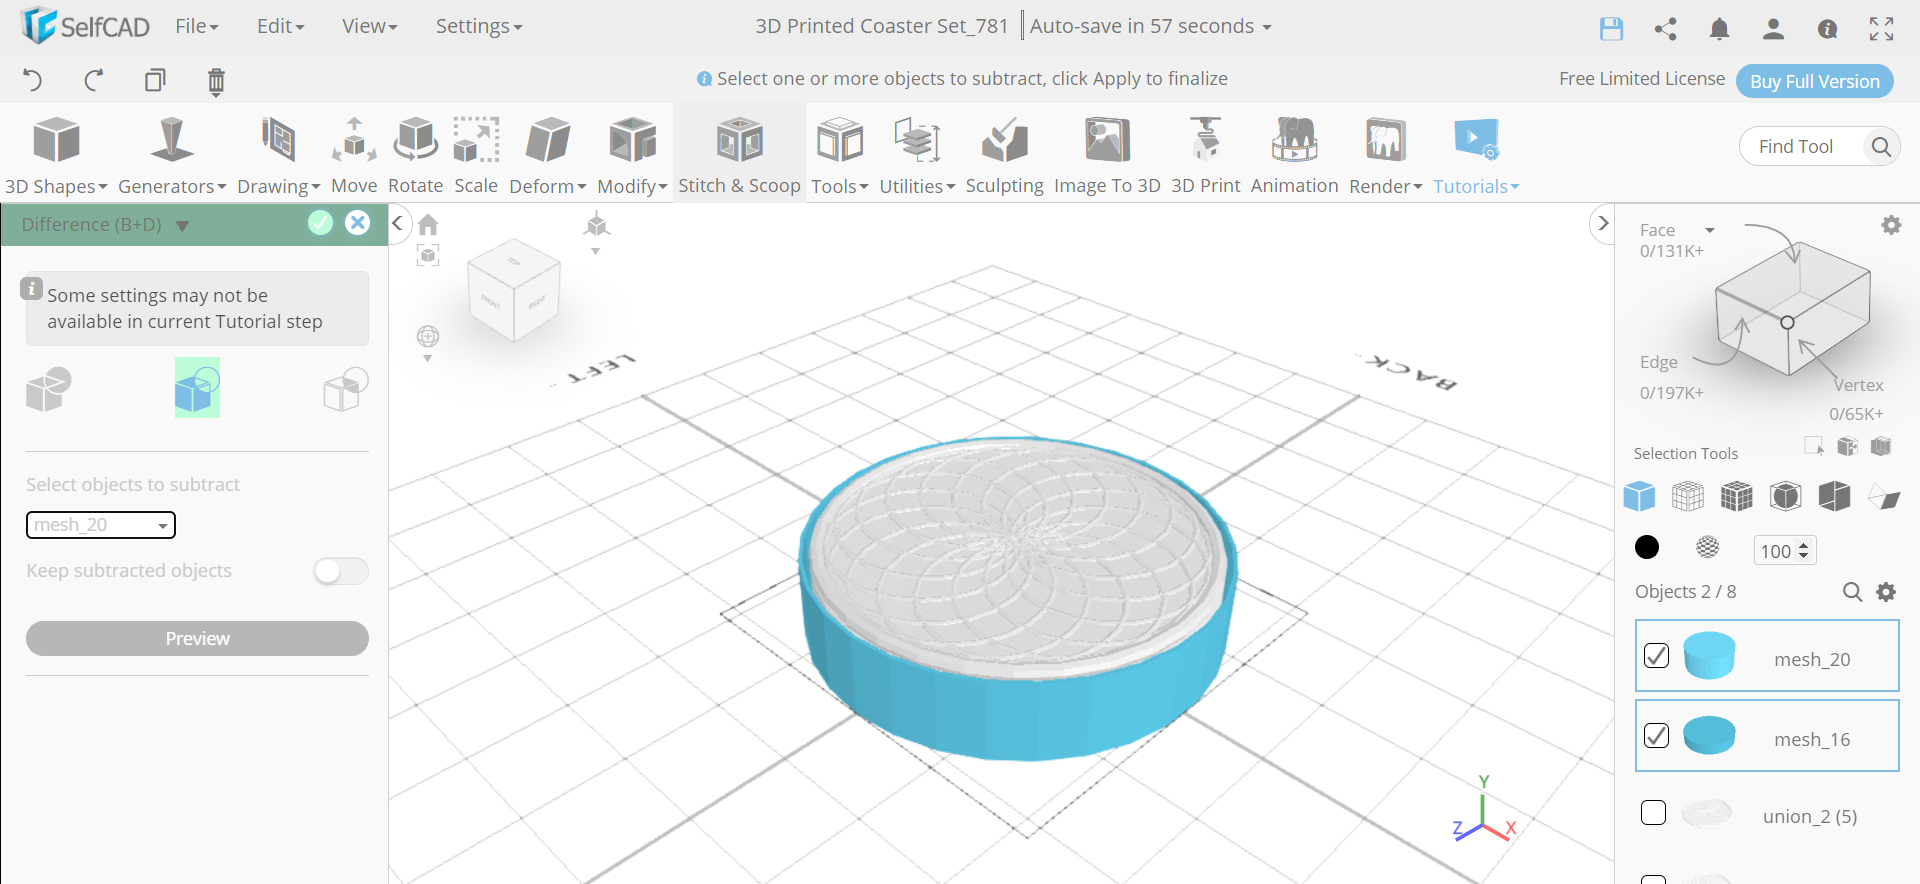
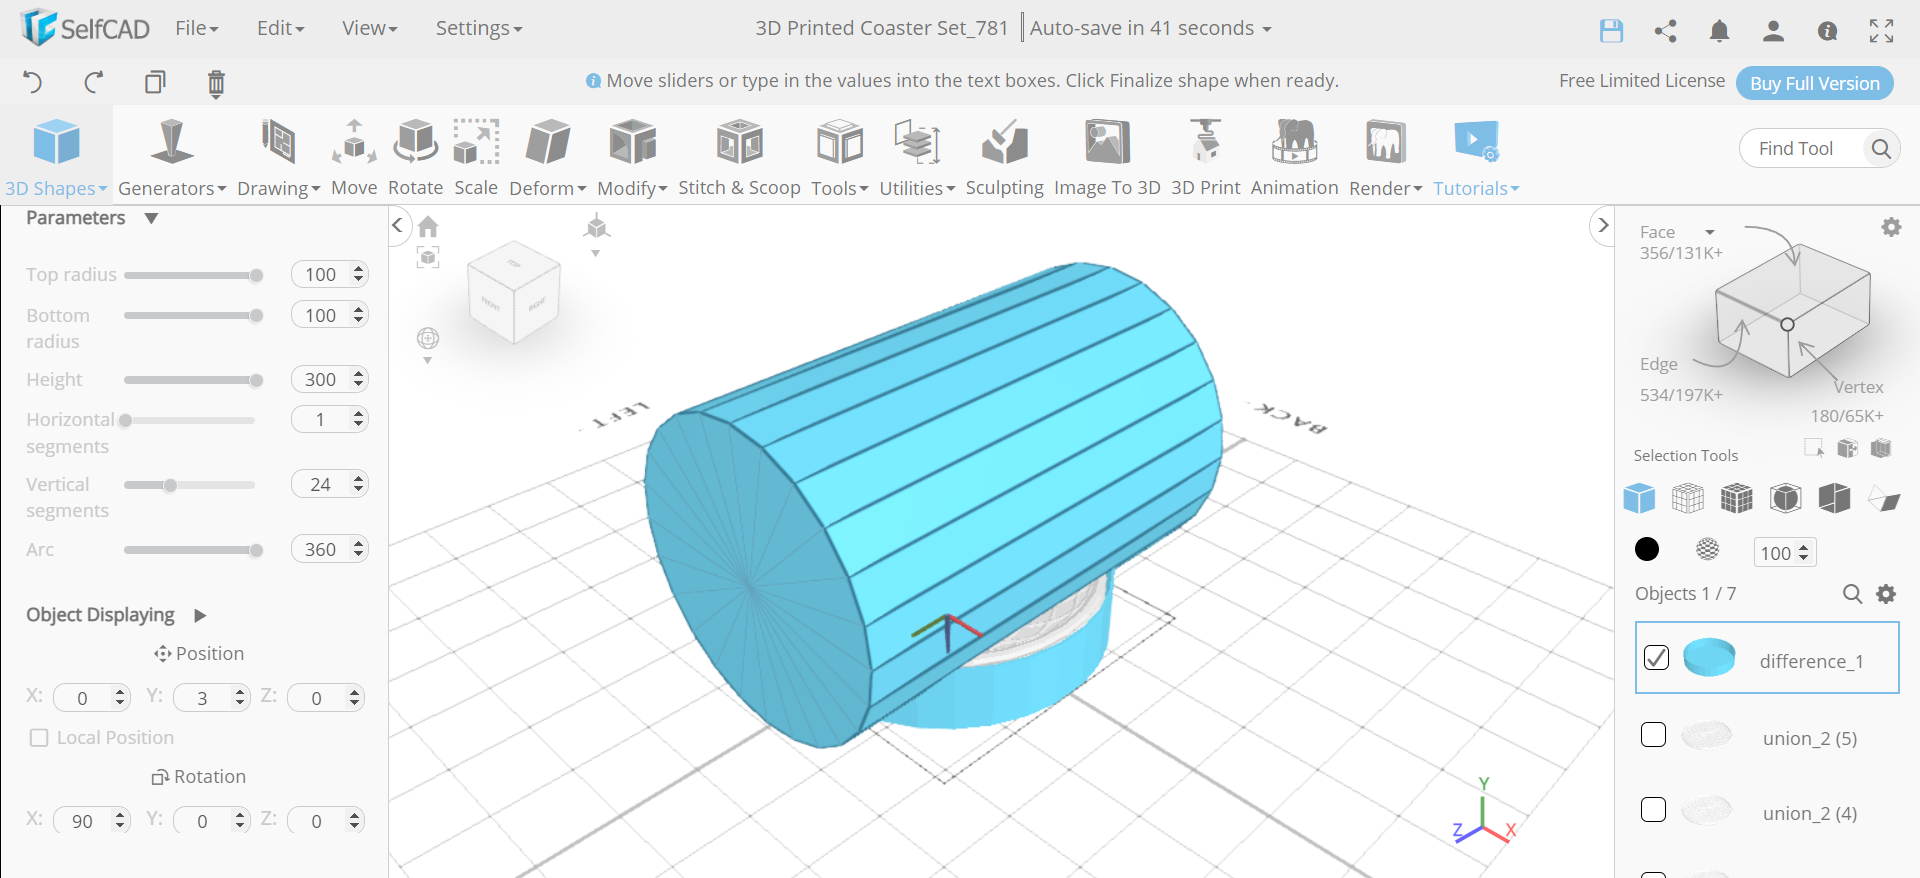
Next, select mesh_16 and mesh_20 and from stitch and scoop select the difference option. Choose mesh_20 to subtract. Then insert another cylinder to the working interface and set its top radius to 100, bottom radius to 100, height to 300, rotation x 90 and position y to 3.
Subtract the Mass and Change Its Colour to Silver
.png)
.png)
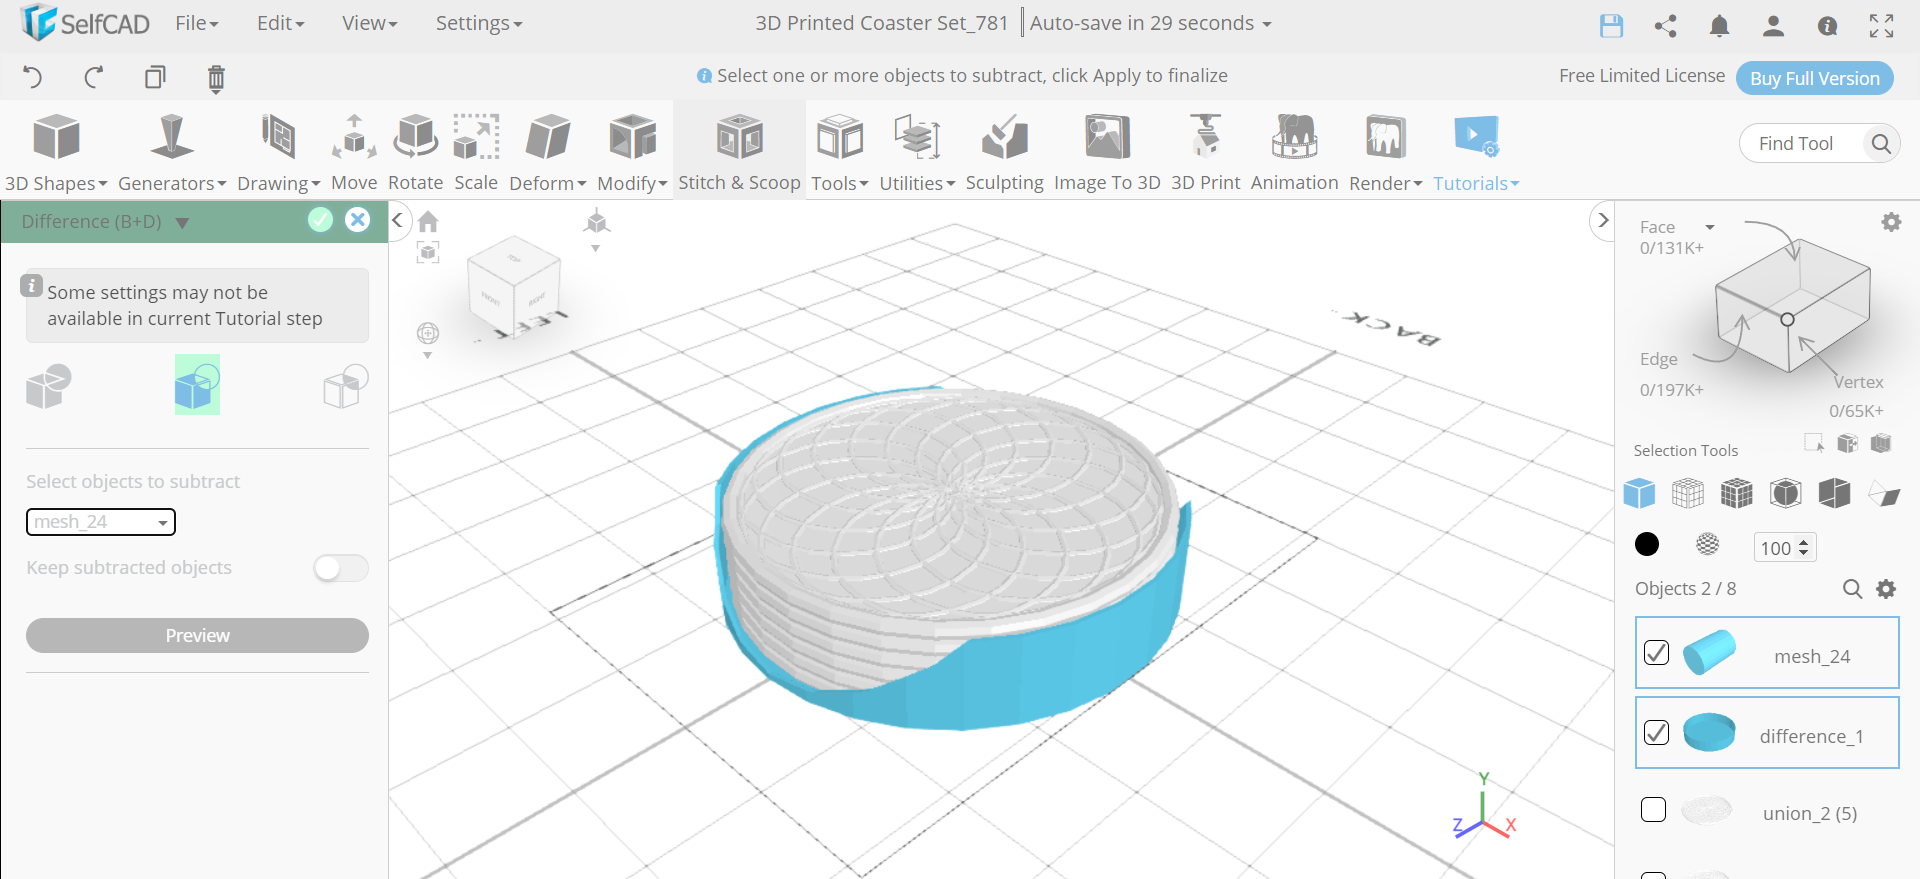
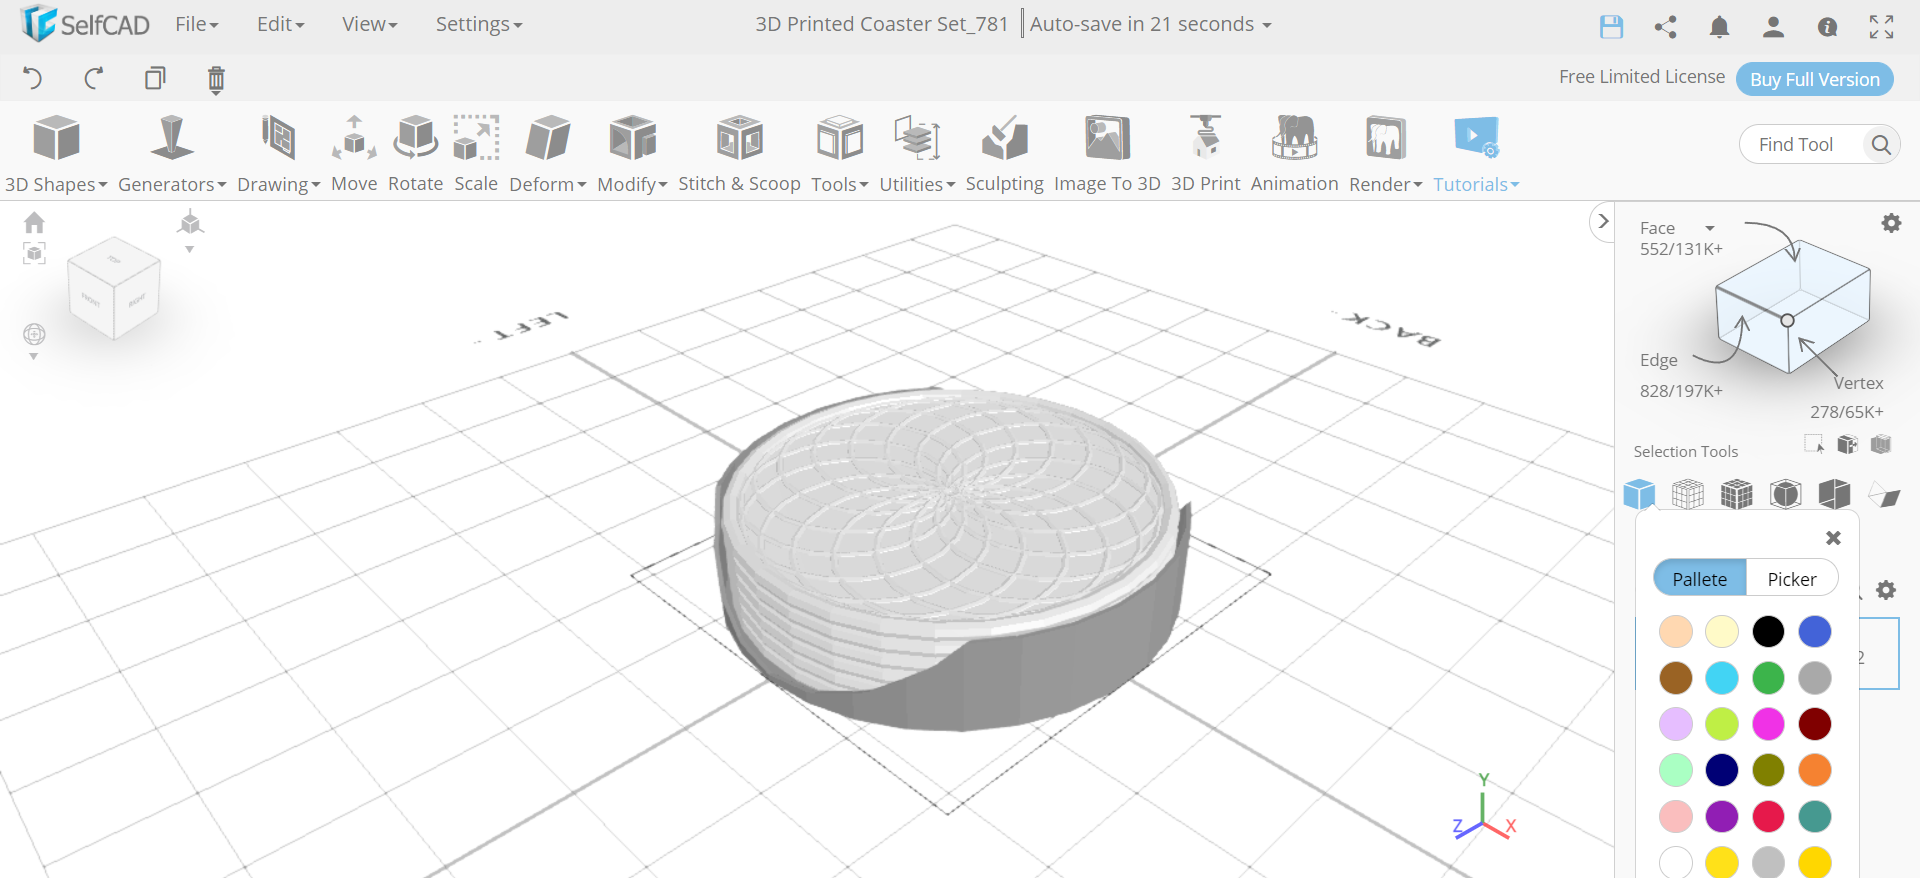
Now, we will select mesh_24 and difference_1 and difference them by keeping mesh_24 to subtract. Then change its colour to silver.
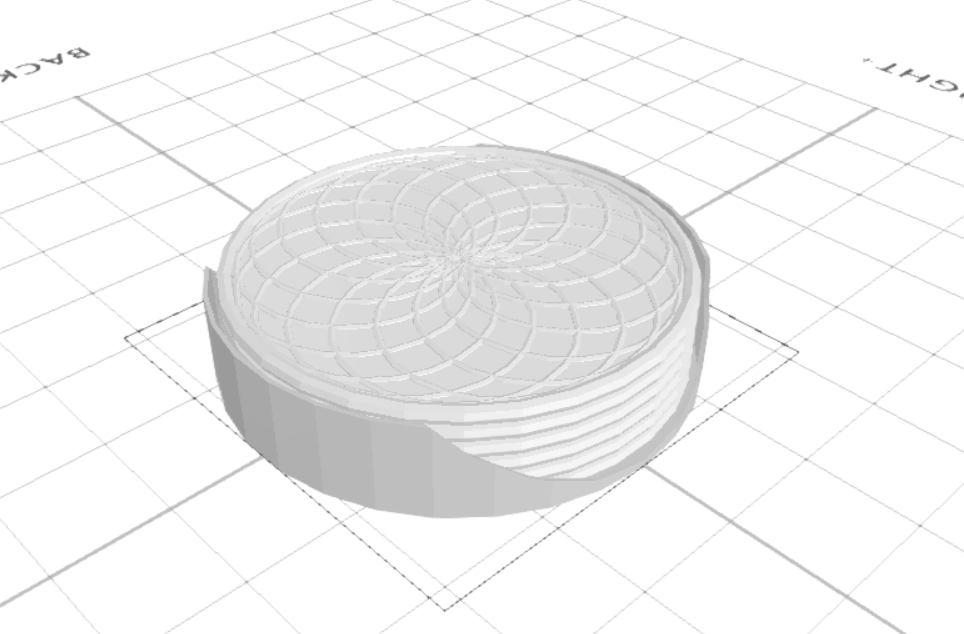
CONCLUSION: HENCE, WE HAVE DESIGNED a 3D PRINTED COASTER SET IN SelfCAD
.png)
We made a basic 3D printed coaster set utilising SelfCAD. You can use similar procedures to 3D design various models easily. After you are done with 3D modelling, you can utilise the in-fabricated slicer of SelfCAD to create the G-Code that you can ship off your 3D printer for 3D printing.