HOW TO CREATE a 3D CARDBOARD TEDDY IN 3D MODELLING SOFTWARE
by Simran Khuntia in Craft > Cardboard
347 Views, 1 Favorites, 0 Comments
HOW TO CREATE a 3D CARDBOARD TEDDY IN 3D MODELLING SOFTWARE
.png)
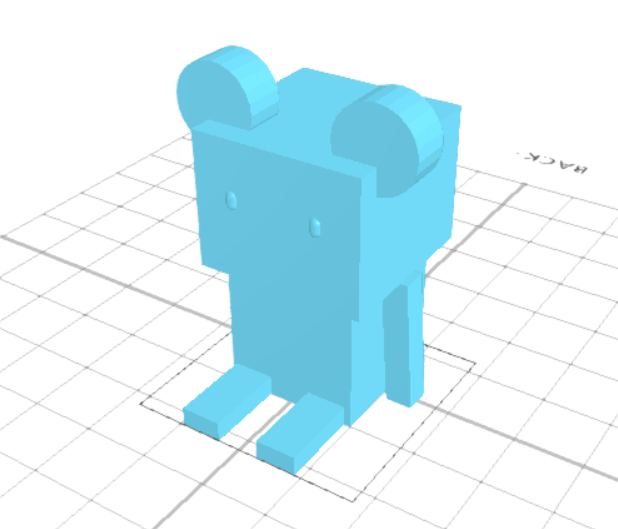
In this tutorial article, we are going to 3D design a cardboard teddy. The 3D modelling software that we are utilising is SelfCAD. With SelfCAD, you can without a doubt make 3D models without utilising a gigantic heap of energy learning, and you can make both essential and complex designs without taking a ton of time. The tools of SelfCAD that we will use are the 3D Shapes, Edge selection, Move tool, Union, and so on.
We will start by 3D designing a cube and evolving it. By simply figuring out how to 3D design a cardboard teddy, you will, likewise, get to know how to utilise the different tools of SelfCAD.
You can also visit our webpage and go through our other similar articles such as how to design a 3D pillow!
How about we Start!
Insert Two Cubes of Different Dimension
.png)
.png)
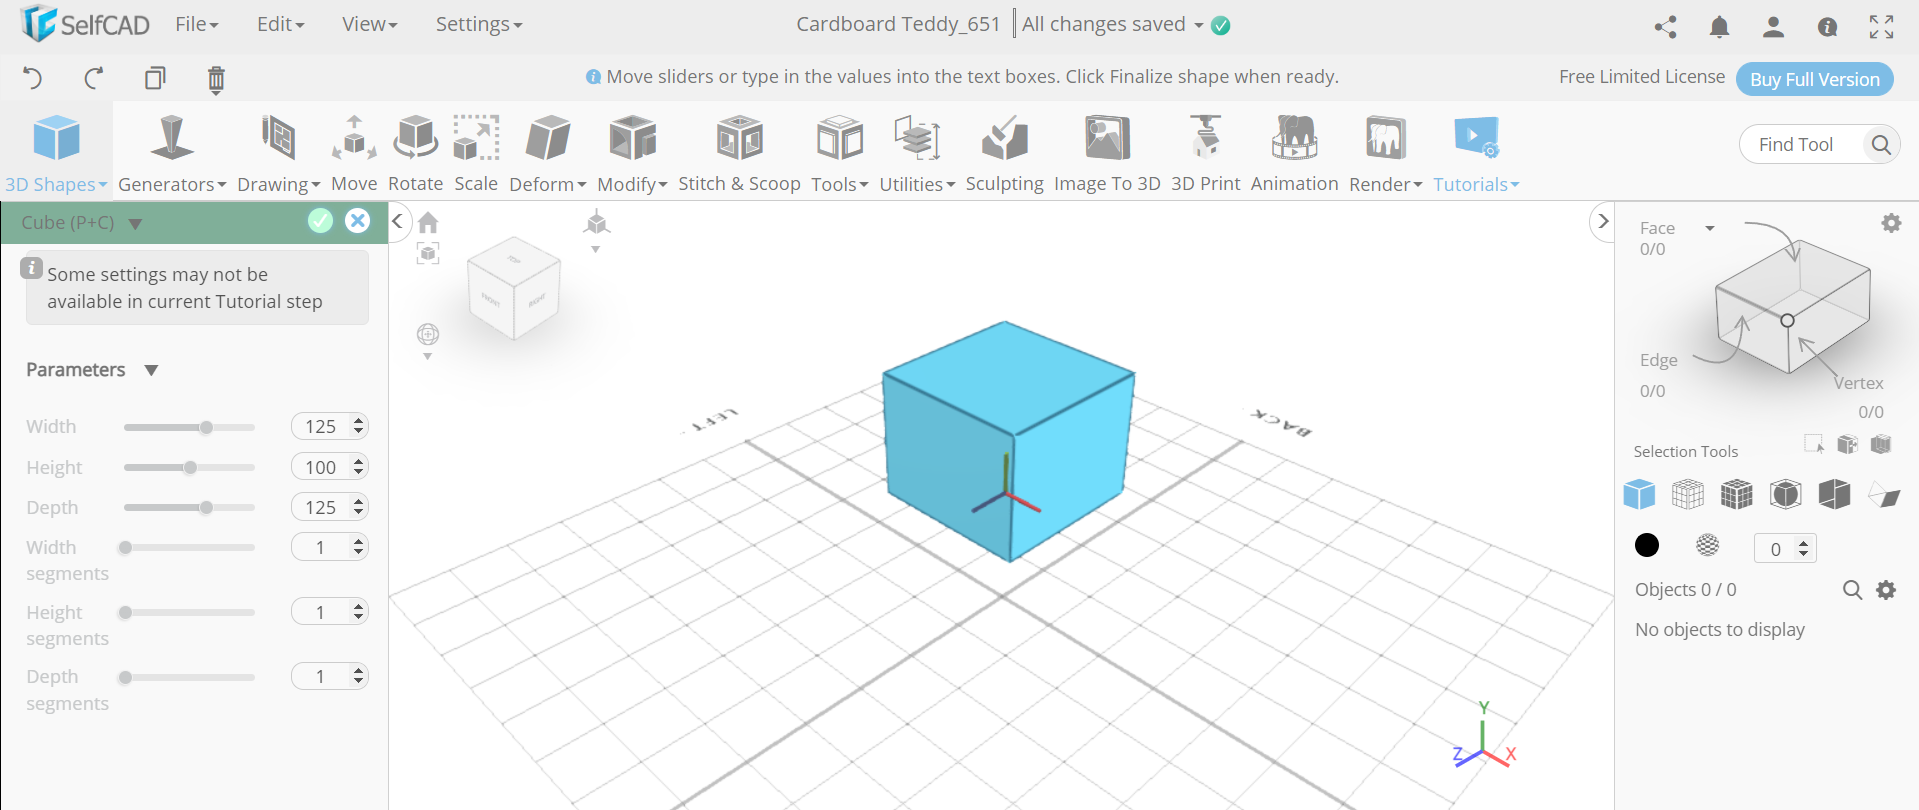
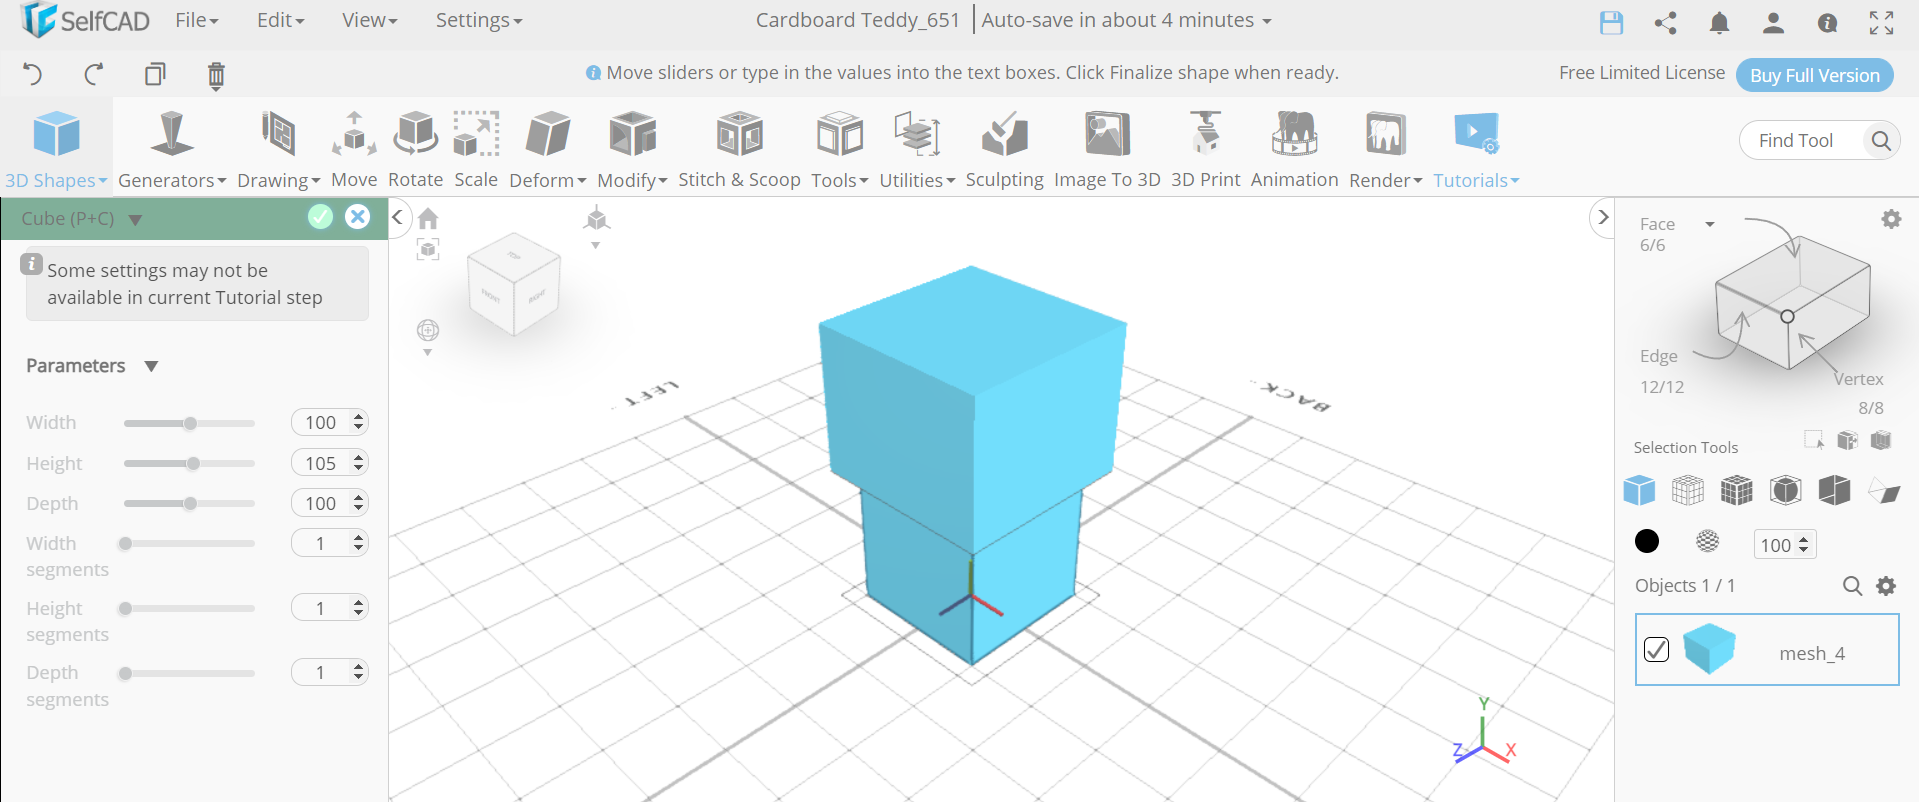
First of all, from the 3D shapes category, insert a cube. Set width to 125, depth to 125 and position y to 100. Then insert another cube and set height to 105.
Insert Another Cube and Copy It
.png)
.png)
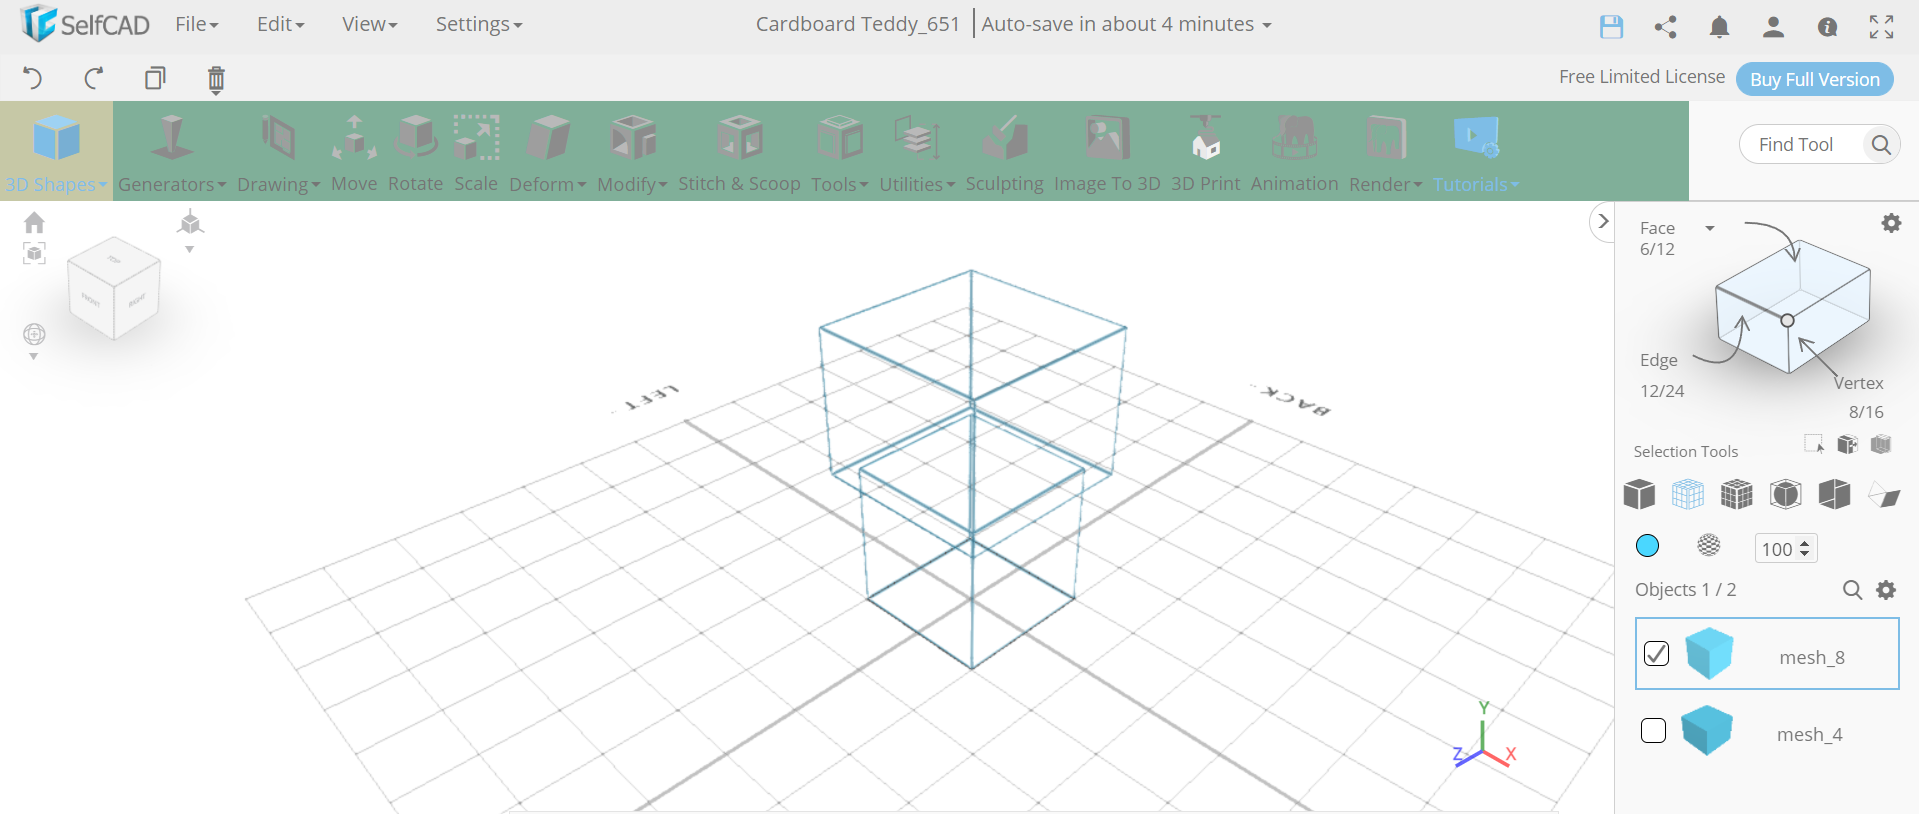
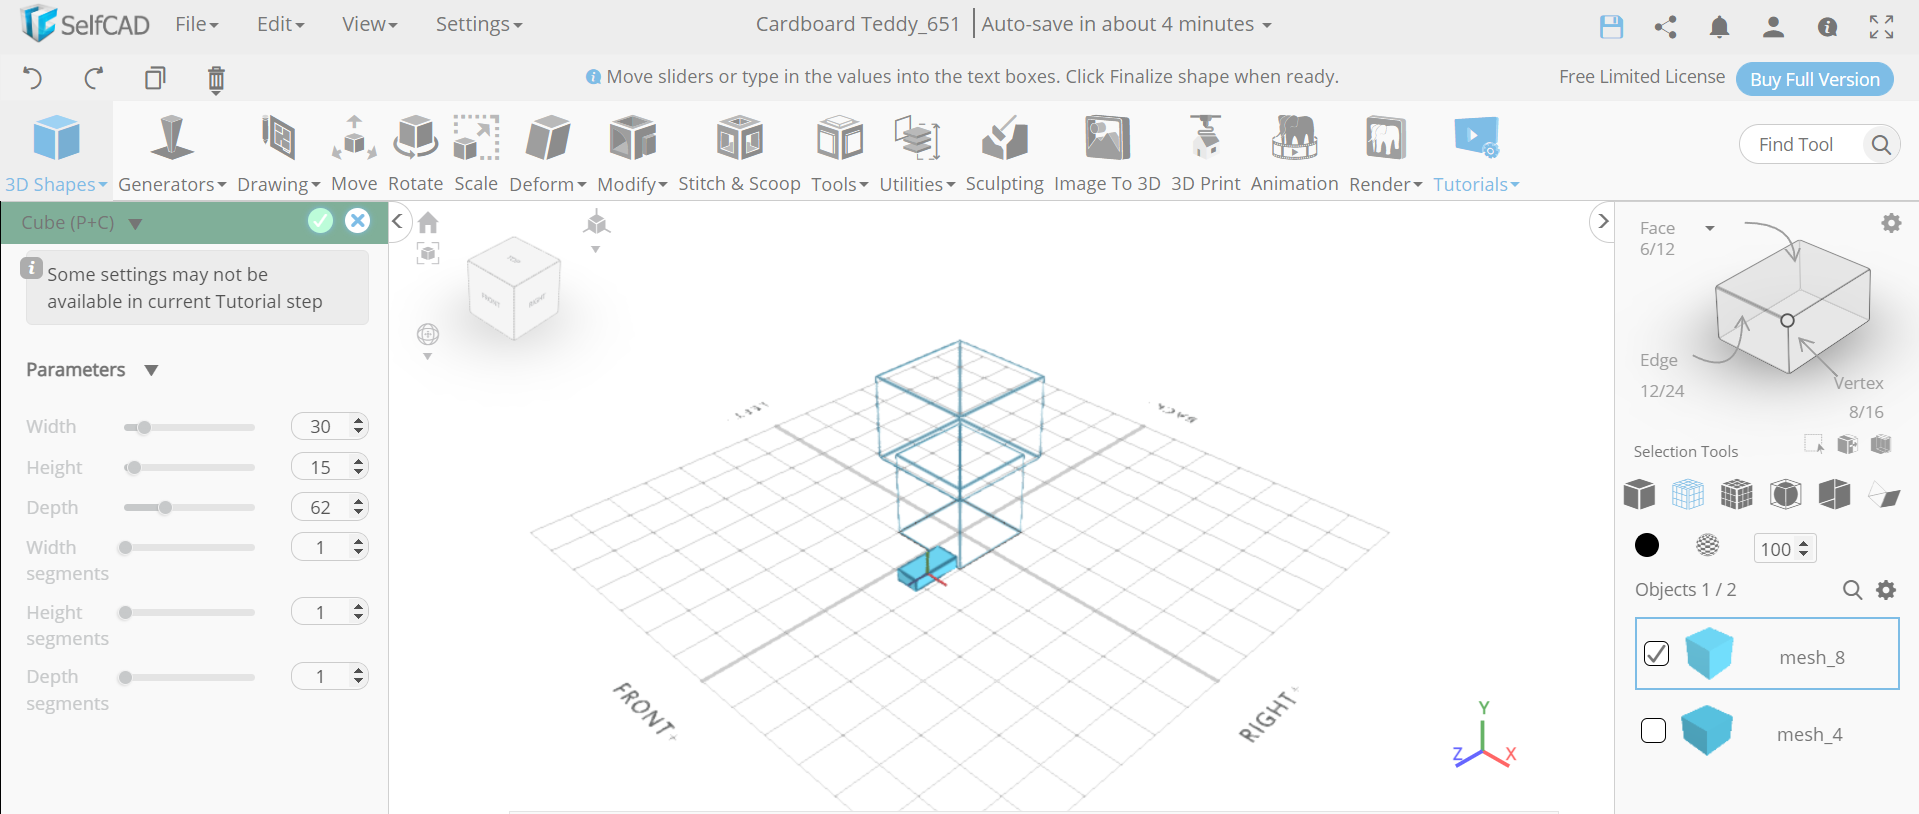
Next, set the rendering mode to wireframe and insert another cube. Set its width to 30, height to 15, depth to 62, position x to 30 and position z to 80. Then click on the copy button to copy the selected object.
Move the Cube and Insert Another One
.png)
.png)
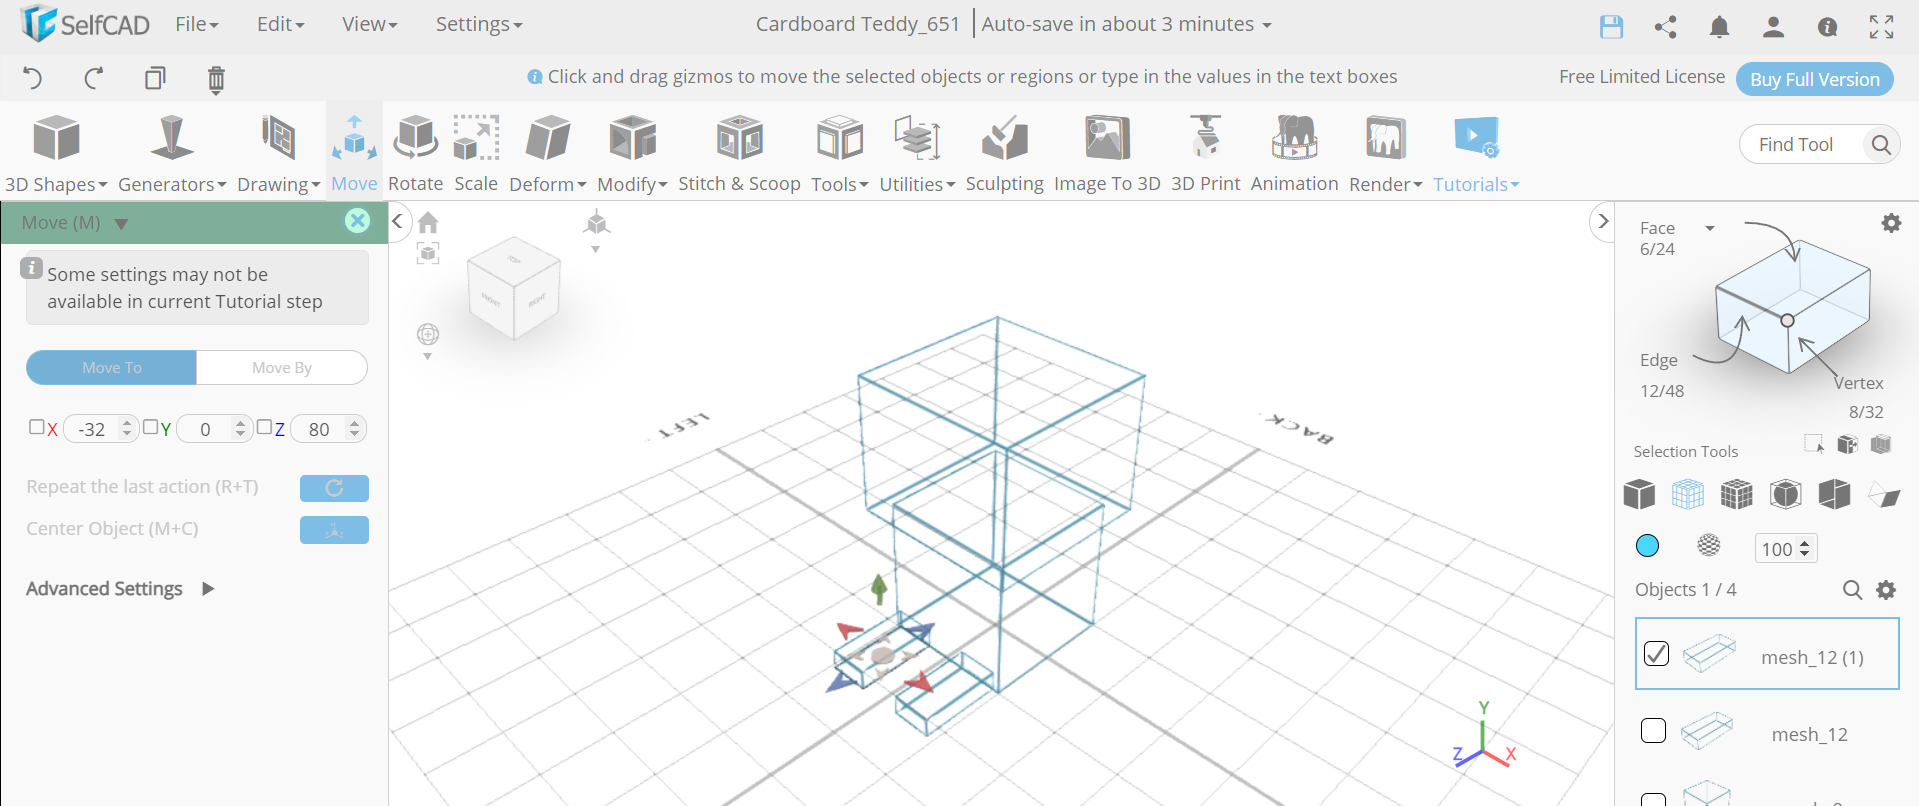
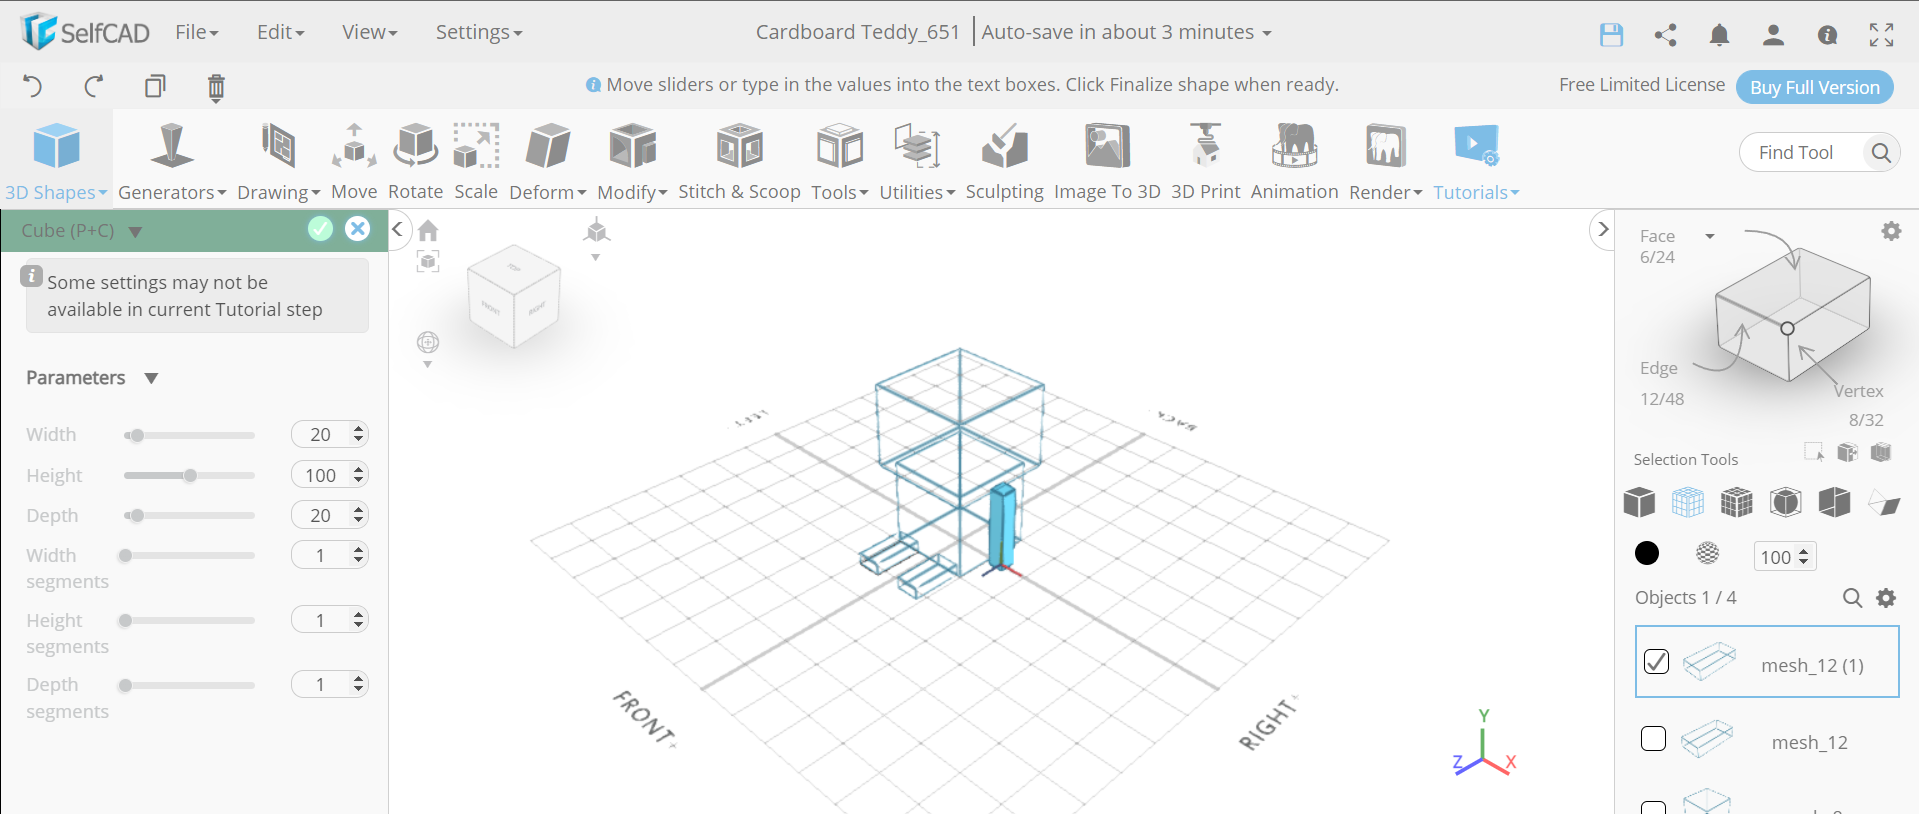
Now, we will select the move tool and set x to -32. Then insert another cube and set its width to 20, depth to 20 and position x to 65. After that, opt for edge selection.
Copy the New Cube Too and Move the Selected Edges
.png)
.png)
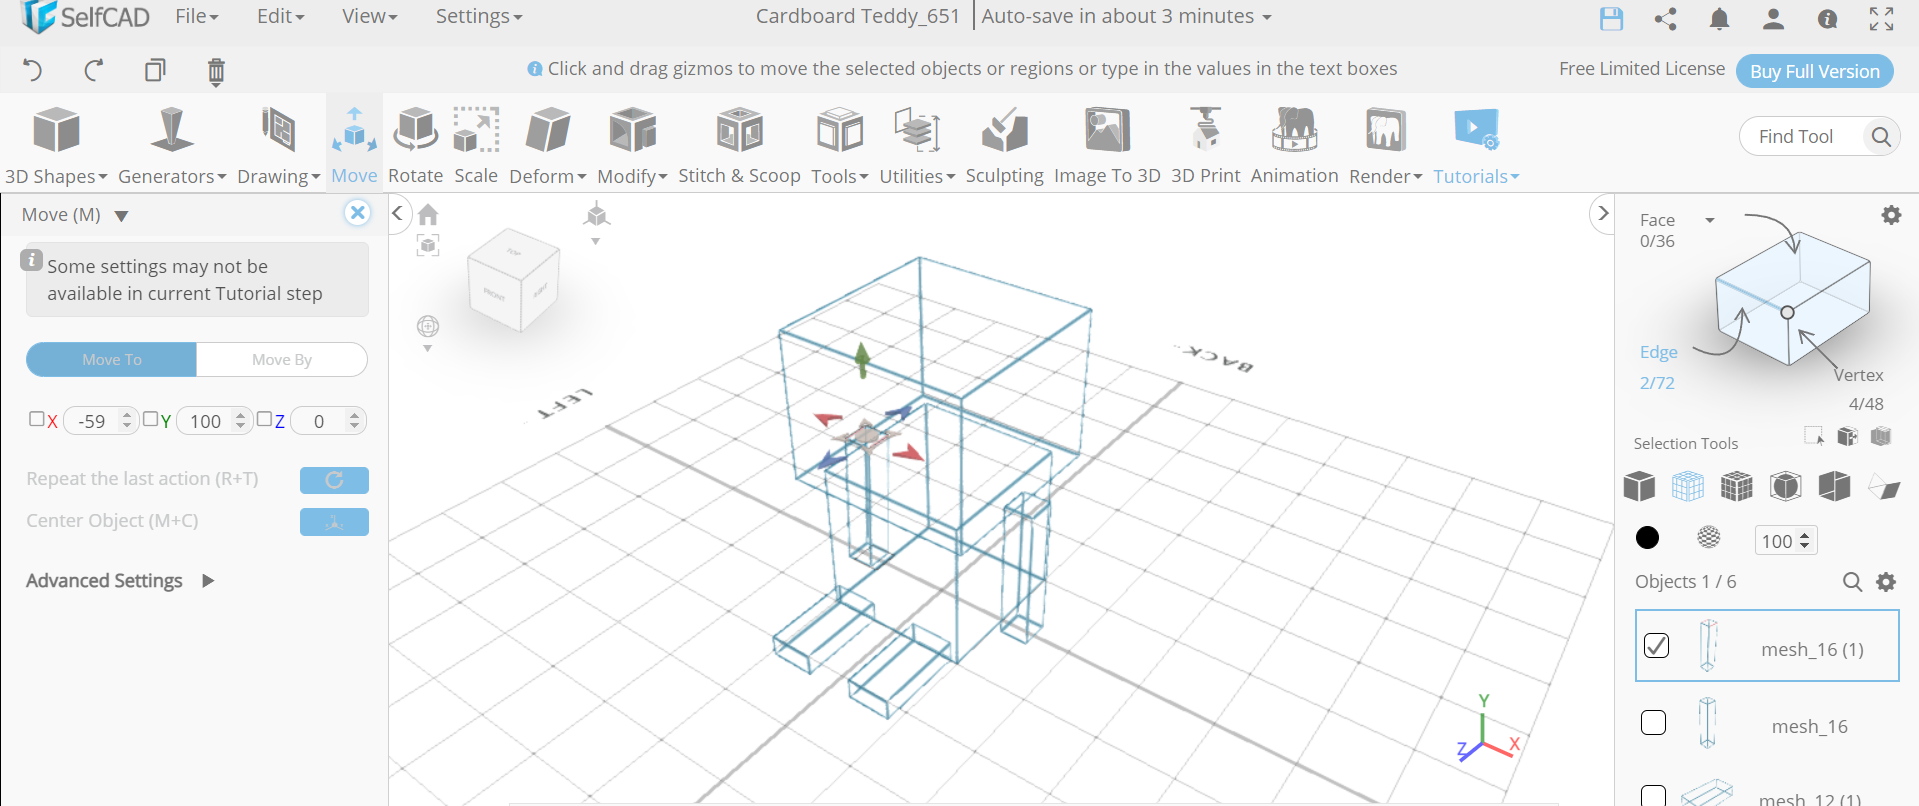
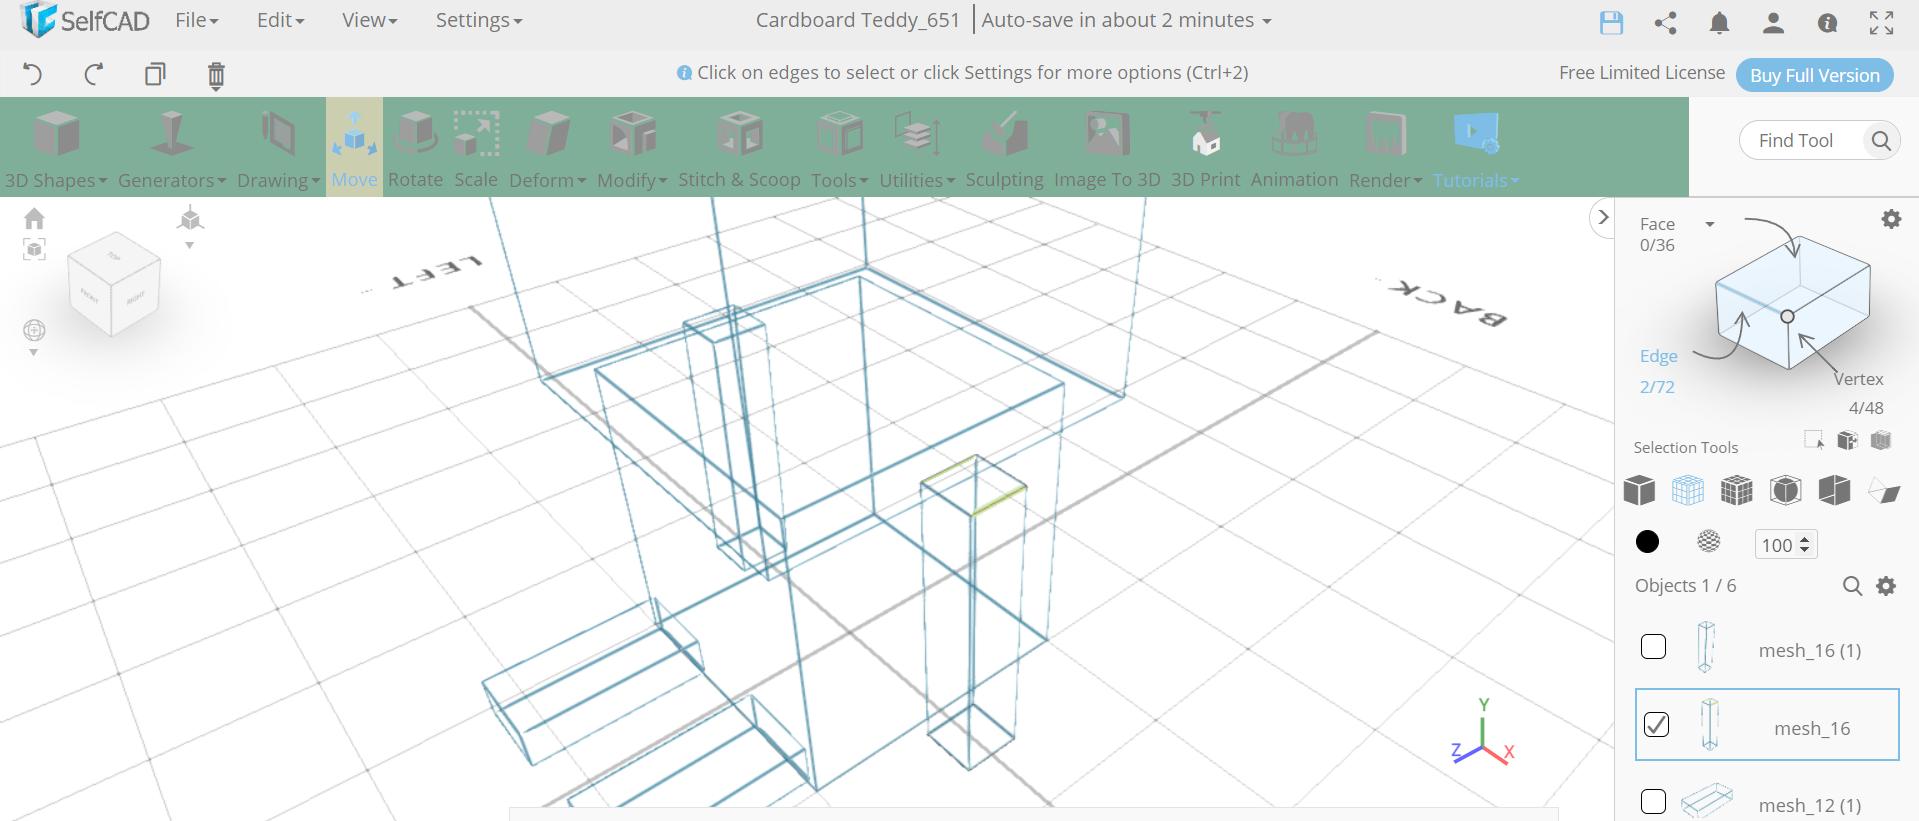
Next, copy the selected object and move it by setting x to -64. Then, select the edges as shown in the image and move by setting x to -59.
Repeat the Same Step With the Other Side and Insert a Cylinder
.png)
.png)
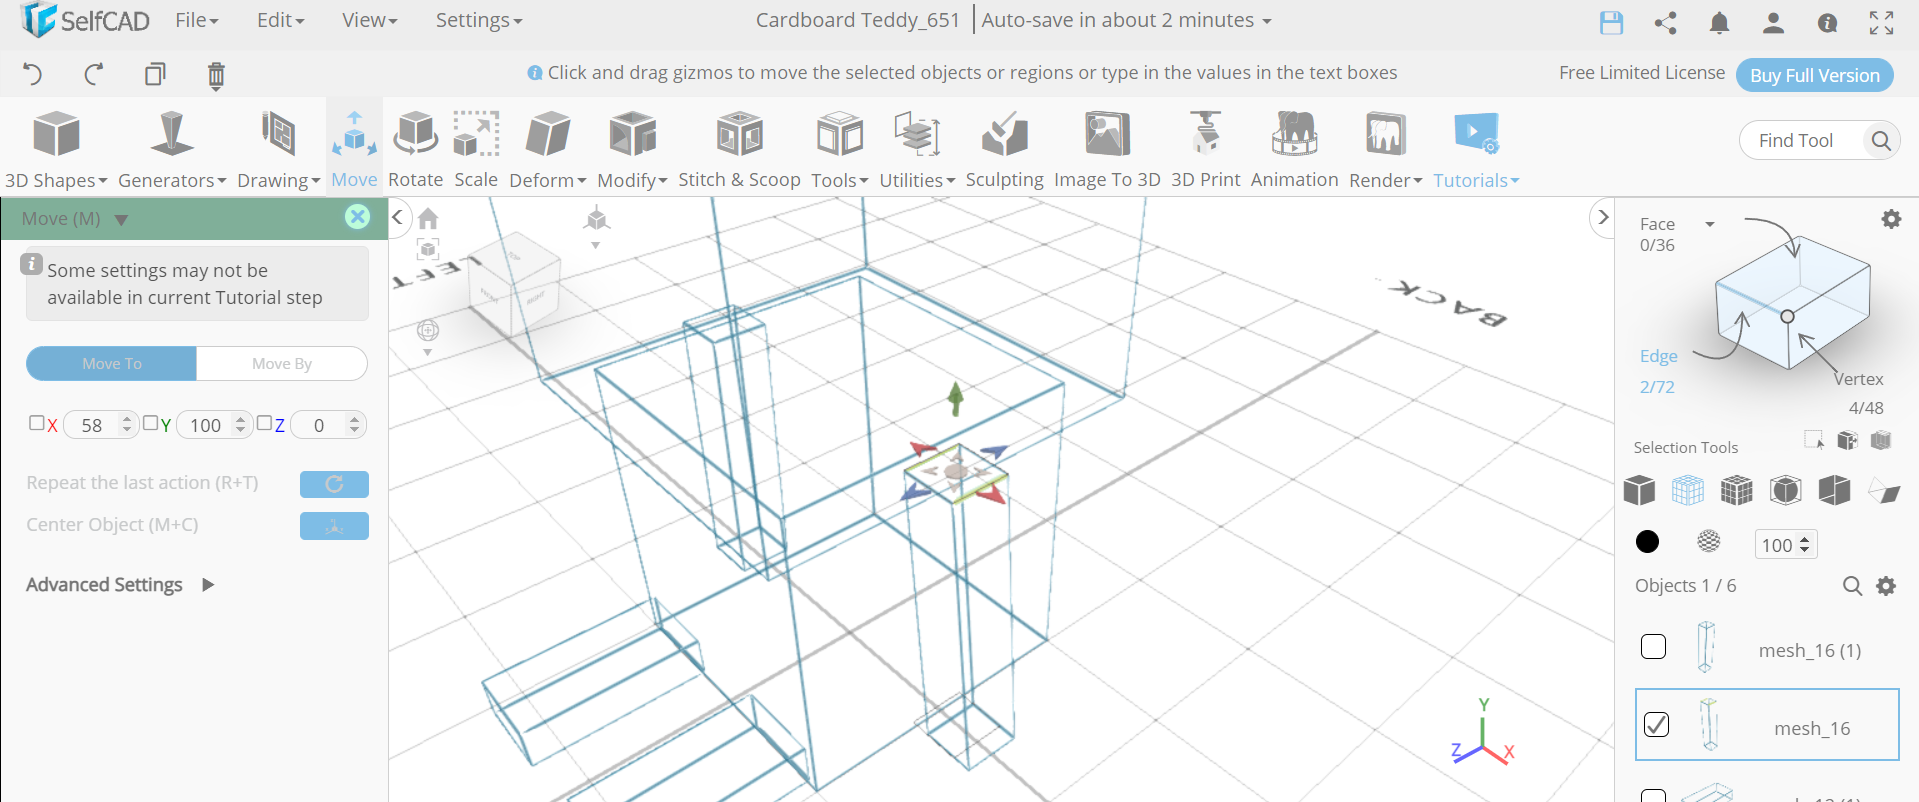
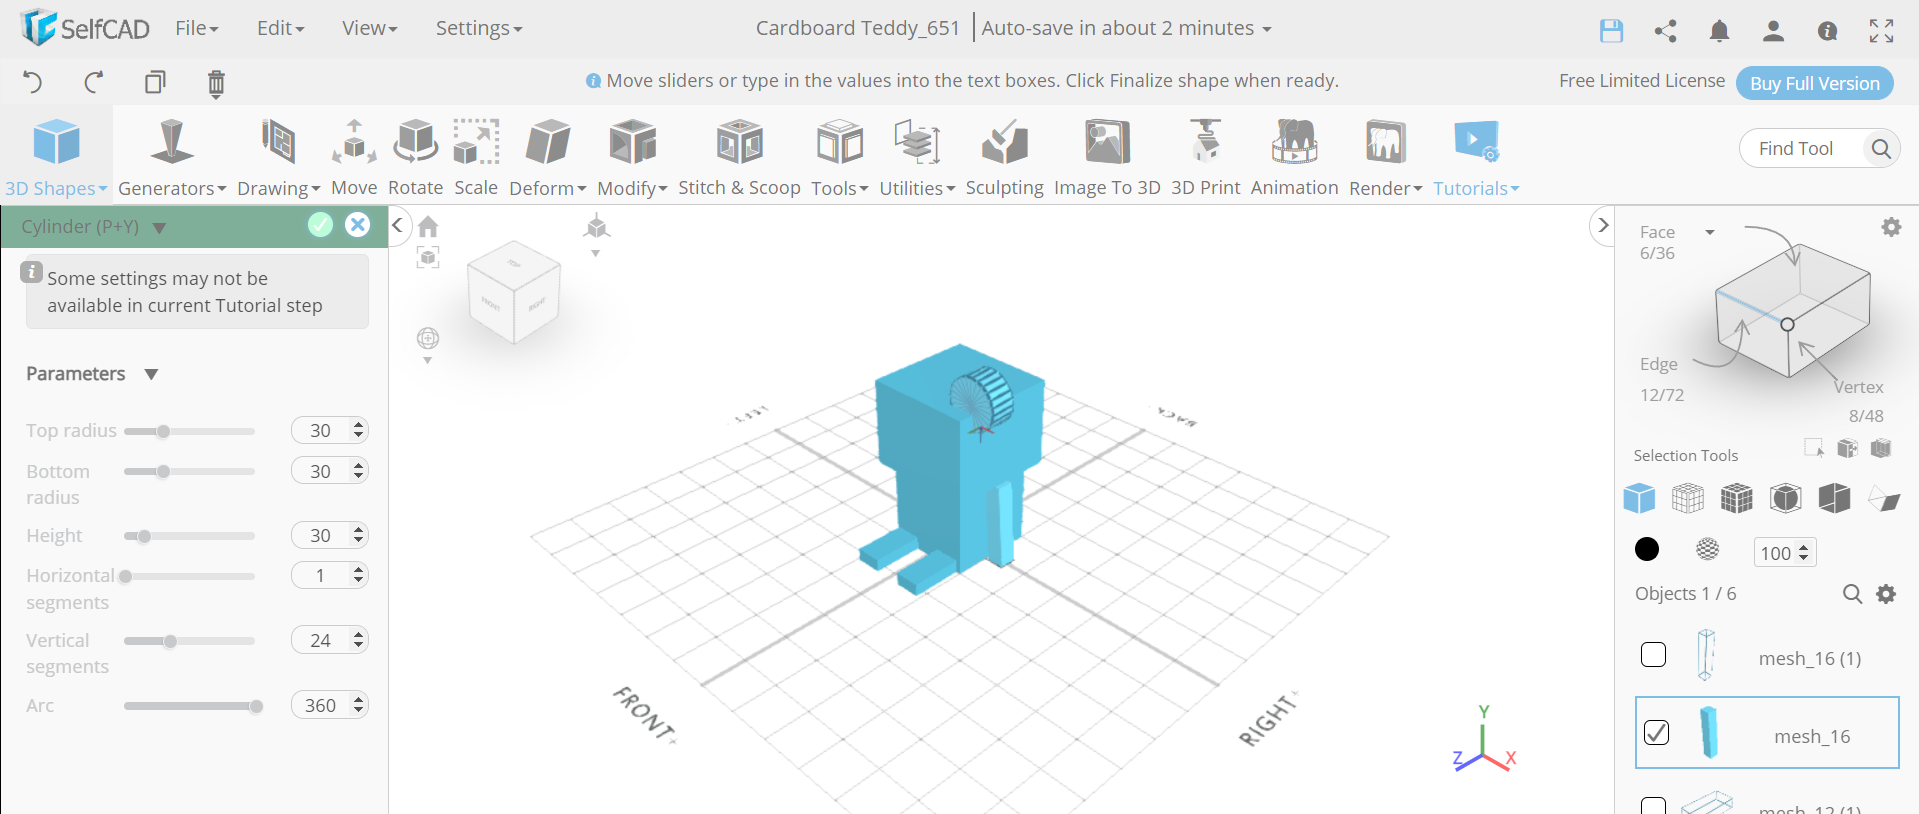
Now, we will select mesh_16 and repeat the same step by keeping x to 58. Then change rendering mode to solid. After that, insert a cylinder and set its top radius to 30, bottom radius to 30, height to 30, position x to 60, position y to 180, position z to 30 and rotation x to 90.
Copy the Cylinder and Insert a Capsule
.png)
.png)
.png)
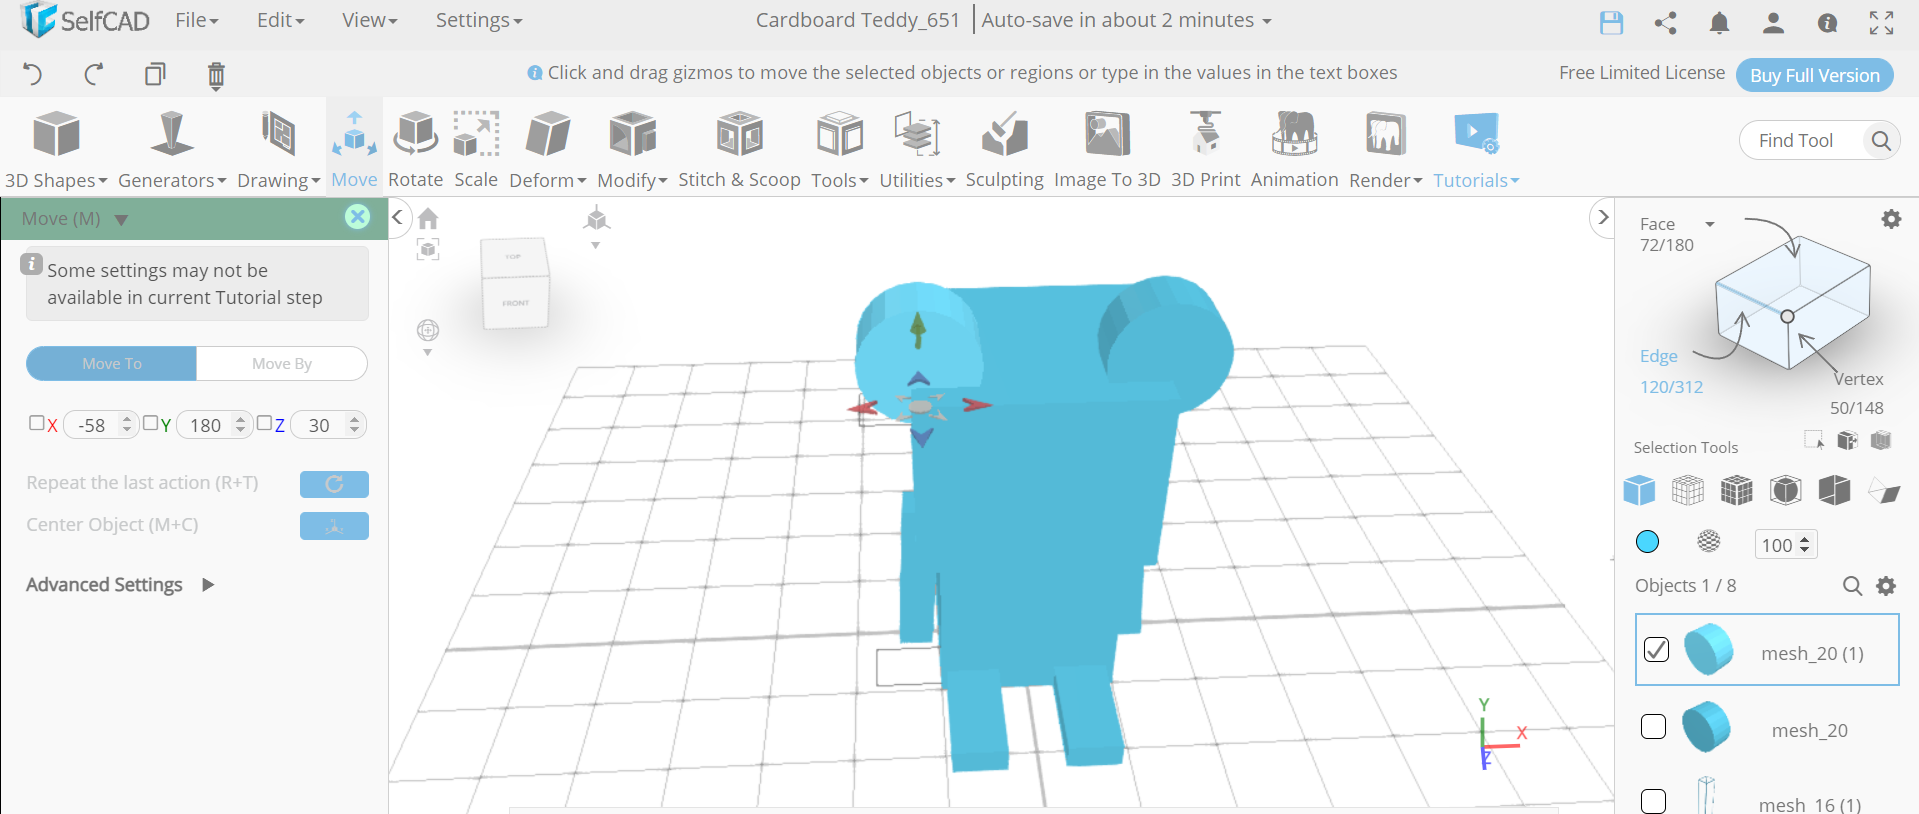
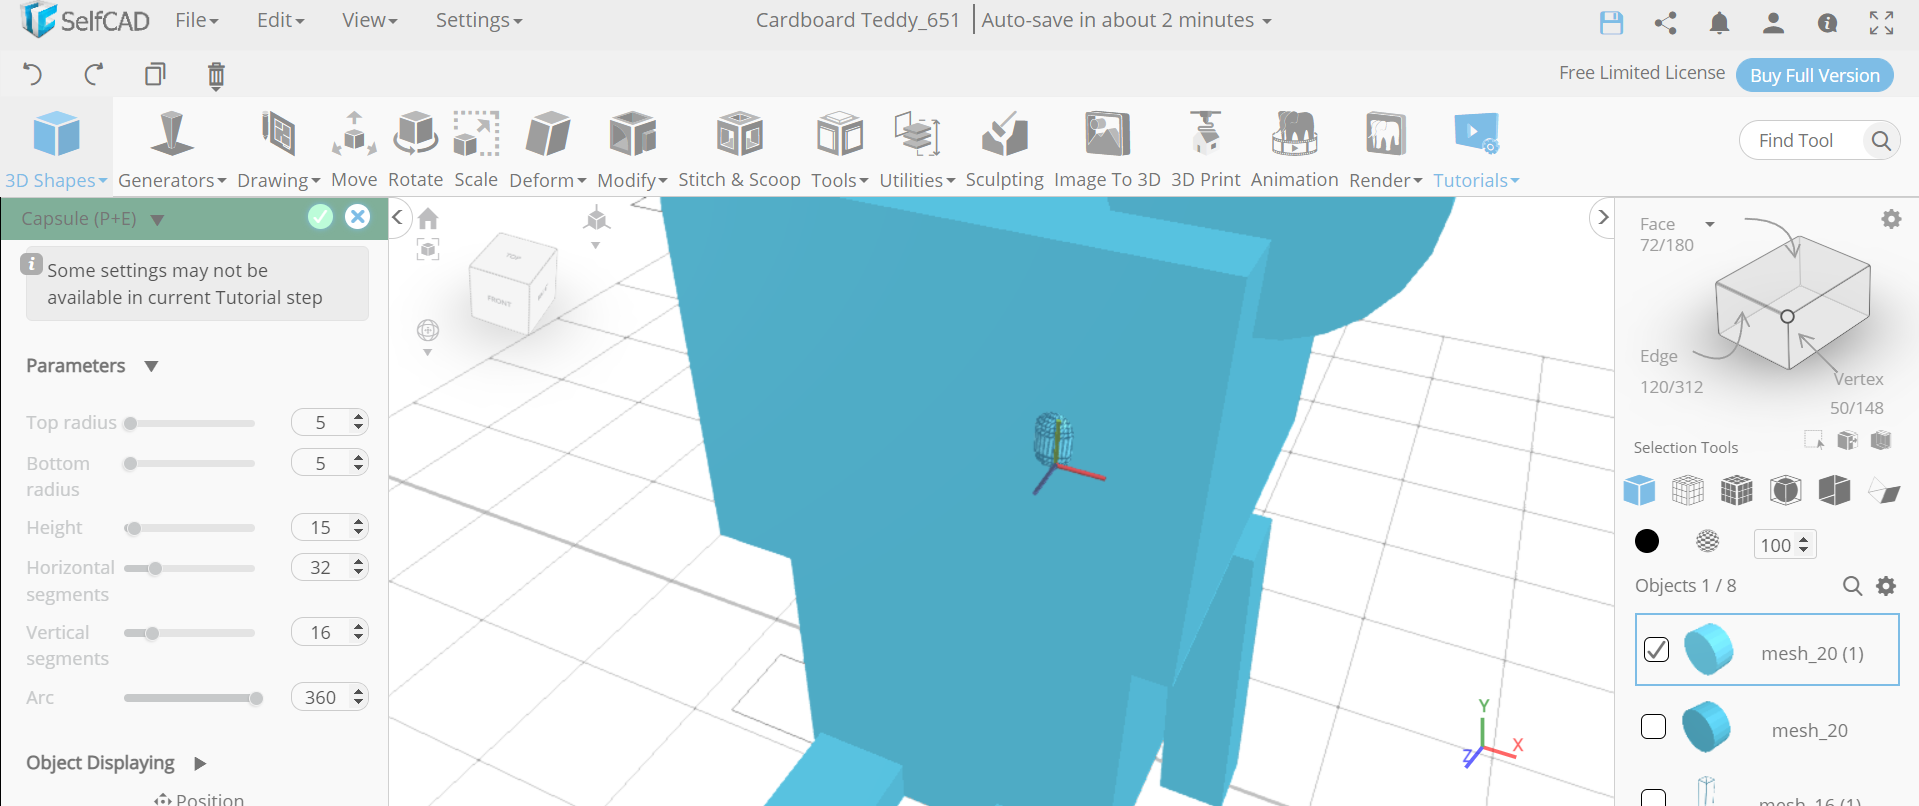
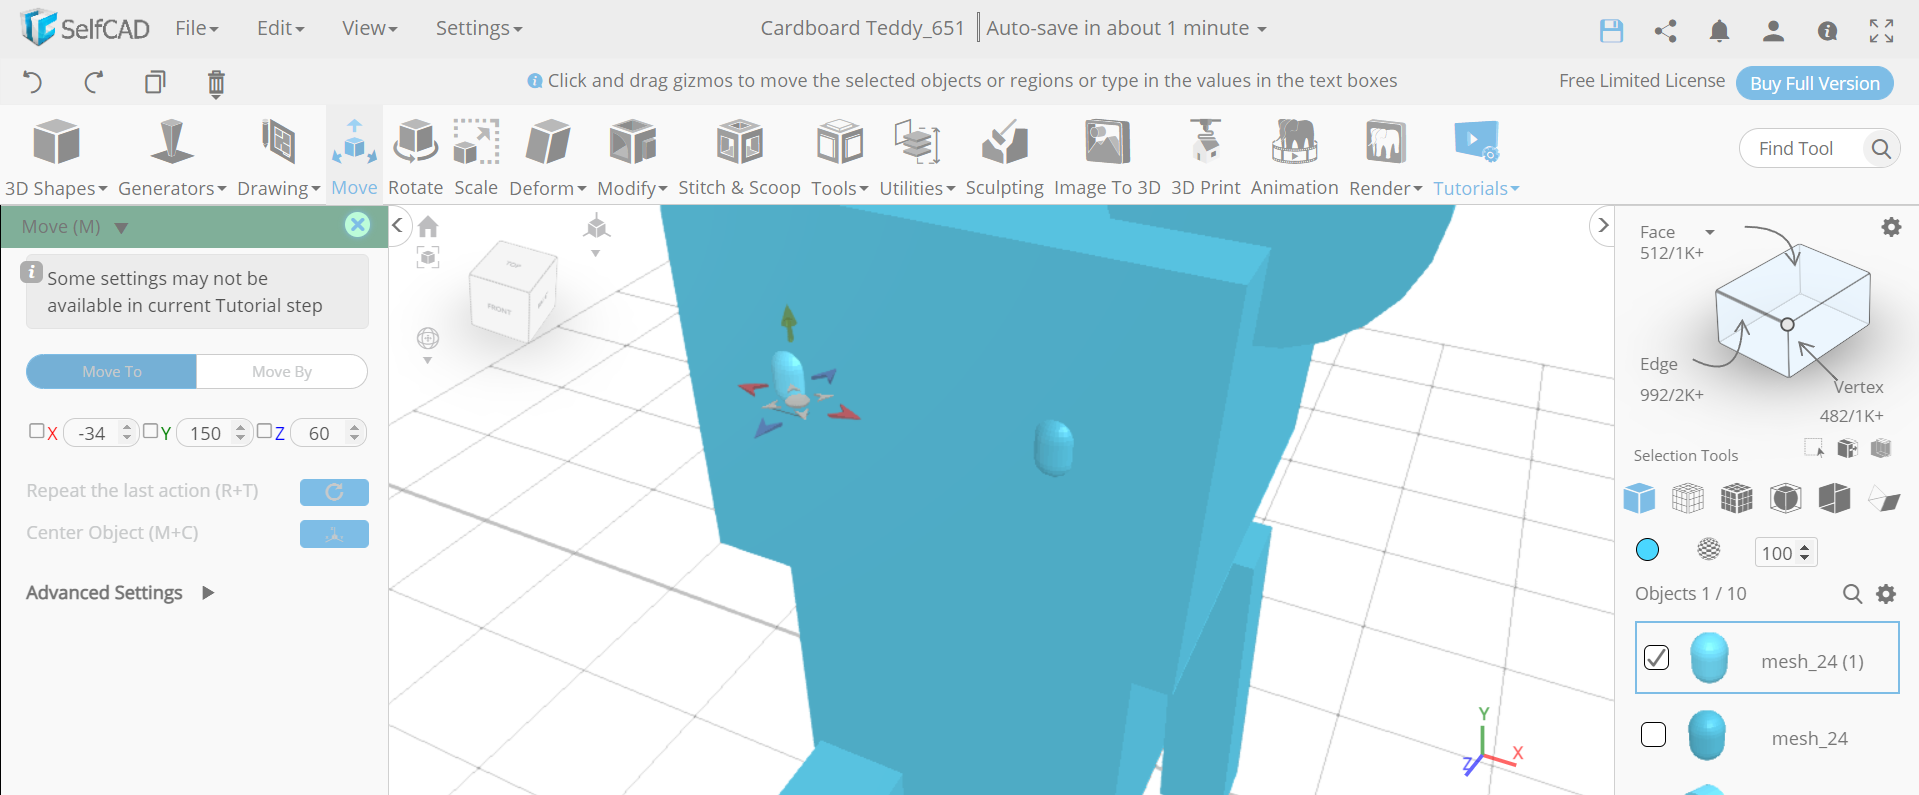
Next, copy the selected object and move it by setting x to -58. Then insert a capsule and set its top radius to 5, bottom radius to 5, height to 15, position x to 30, position y to 150, and position z to 60. After that, copy the selected object and move it by setting x to -34.
Make All of the a Union
.png)
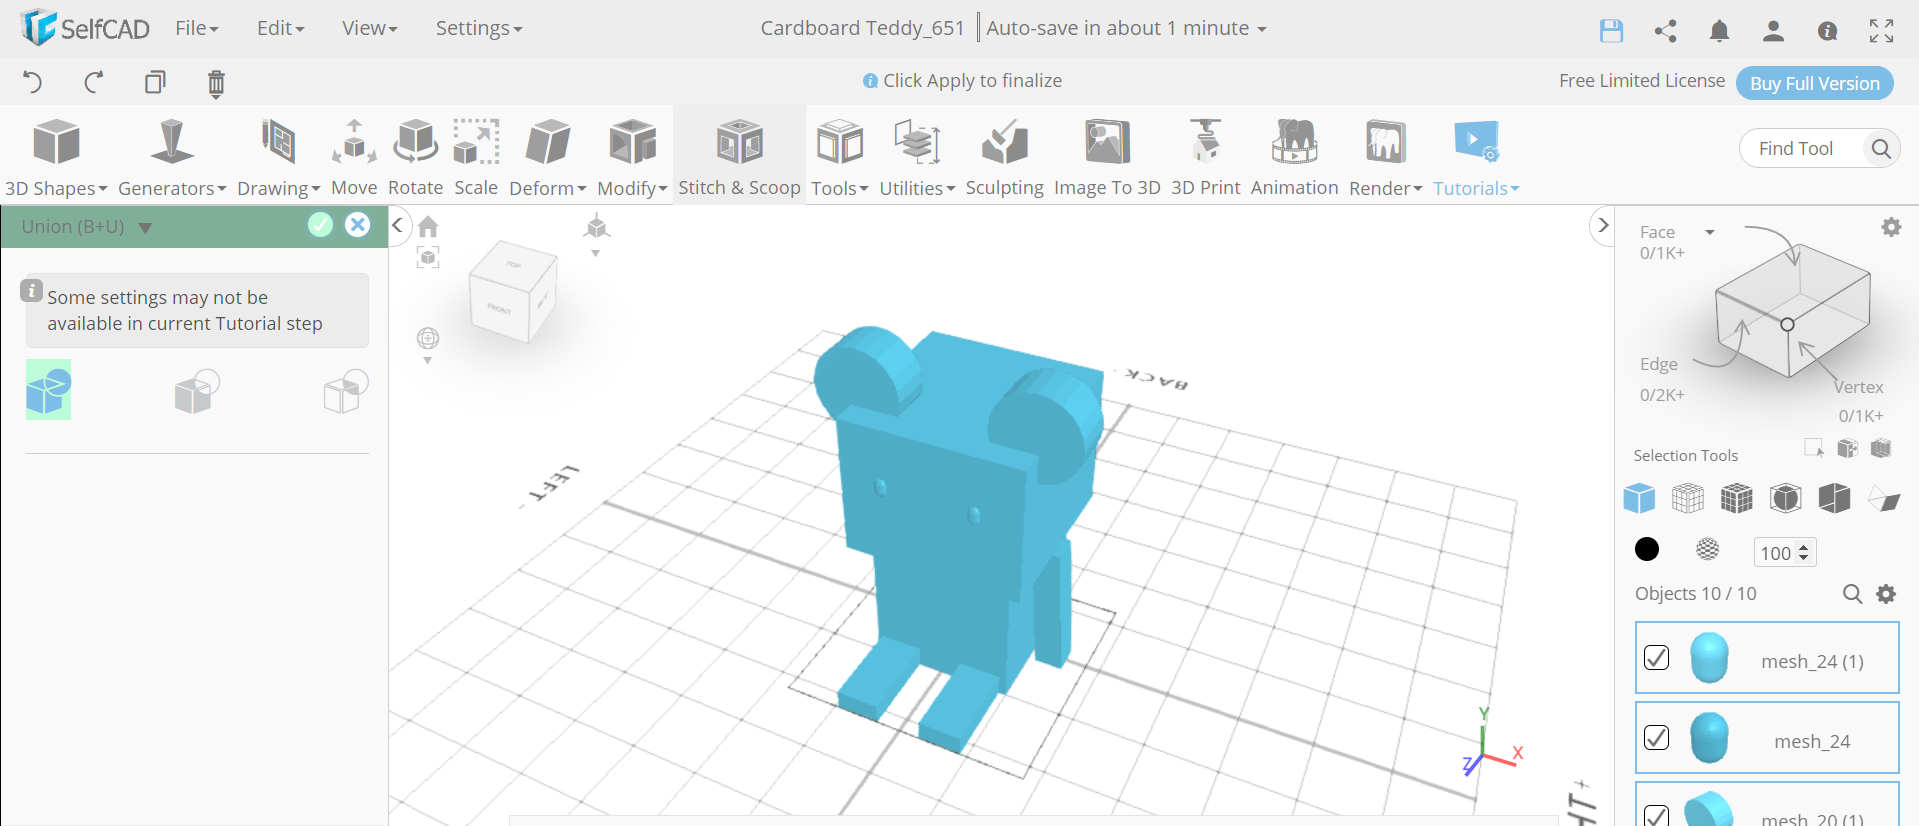
Now, select all the objects, go to stitch and scoop and make them a union.
CONCLUSION: HENCE, WE HAVE CREATED a 3D CARDBOARD TEDDY IN SelfCAD
3D designing in SelfCAD is more straightforward as we have seen previously. We have 3D designed with different parts and devices of SelfCAD. It is engaging to 3D design an article that might be basic, enormous, or complex. Similarly, you can utilise a practically identical technique to 3D design other 3D objects of your desire. Thus, we trust you notice the tutorial articles are enlightening and strong.