HIPSTERIZE - Beginner Tutorial to Clean and Easy Photo Manipulation
by kennybriolotta in Craft > Digital Graphics
7100 Views, 134 Favorites, 0 Comments
HIPSTERIZE - Beginner Tutorial to Clean and Easy Photo Manipulation

This is gonna be a really concise tutorial, no useless words so let's go !
CHOOSE YOUR IMAGE
You can choose every picture you want (higher quality = better result).
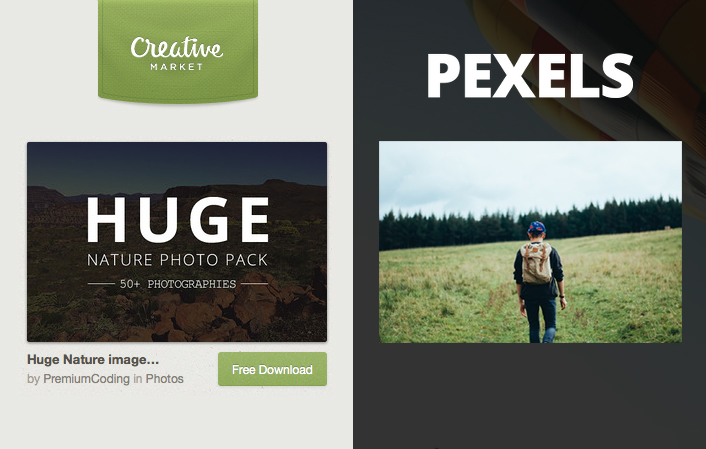
Nature picture is highly recommanded for awesome effect, check out :
Creative Market - HUGE NATURE PHOTO PACK
If you need free high quality photo stock, check out :
PEXELS
PHOTOSHOP BEGINNING
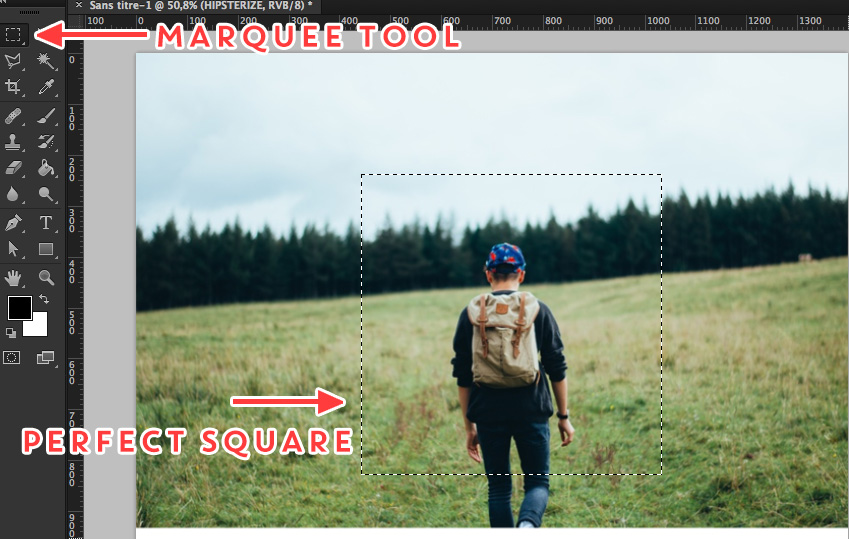
Put your image into photoshop
Choose the "Rectangular marquee tool" (shortcuts : M).
Hold "Maj" and make a perfect square in the center of your image.
TRIANGLE
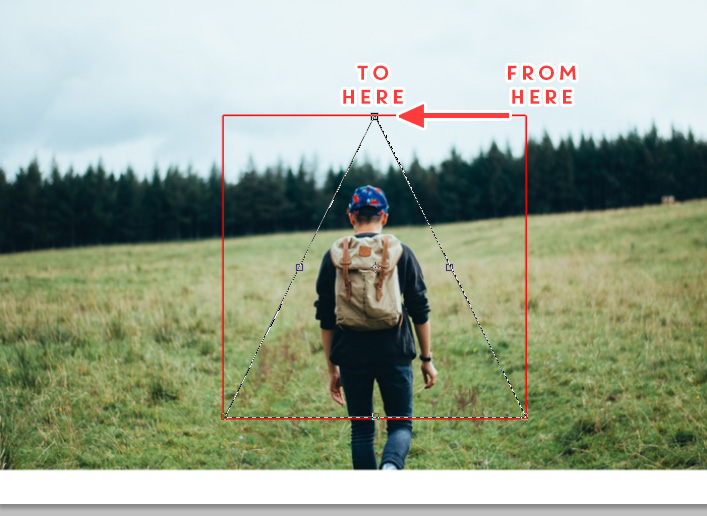
Right Click on your selection then:
- Select "Transforming Selection"
- Then "Right Click" on your selection, and select "Perspective"
- Put your mouse on Top Right Corner, stay pushed on Alt, then reapproach the two point to the center (as seen on the picture)
MAGIC
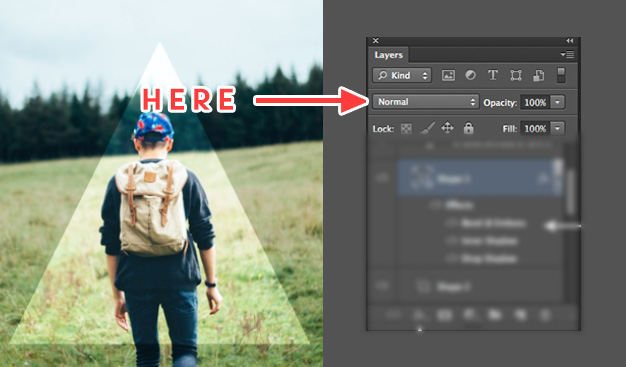
- Click "Enter"
- Then just "Cmd + C" and "Cmd + V" (or Ctrl C, Ctrl V for windows users)
- Now, change your "Layer Blend Mode" in your "Layer Panel" (As seen on the picture)
- Select "Screen" or "Overlay"
- BAM, Hipsterized !
TEXT

You can add some text with the "Text tool" (shortcut : T).
Now that you know how to Hipterize your own image, you can try a lots of differents modifications:
Multiples Triangles, Add Some Circles, Text, ... Let the Hipster part of yourself run WILD !
Thanks for watching ;) And don't hesitate to post your result in the comment or question if you've got one!