HDR Looking Effect With Only 1 Photo!
by your dog in Design > Digital Graphics
71677 Views, 8 Favorites, 0 Comments
HDR Looking Effect With Only 1 Photo!
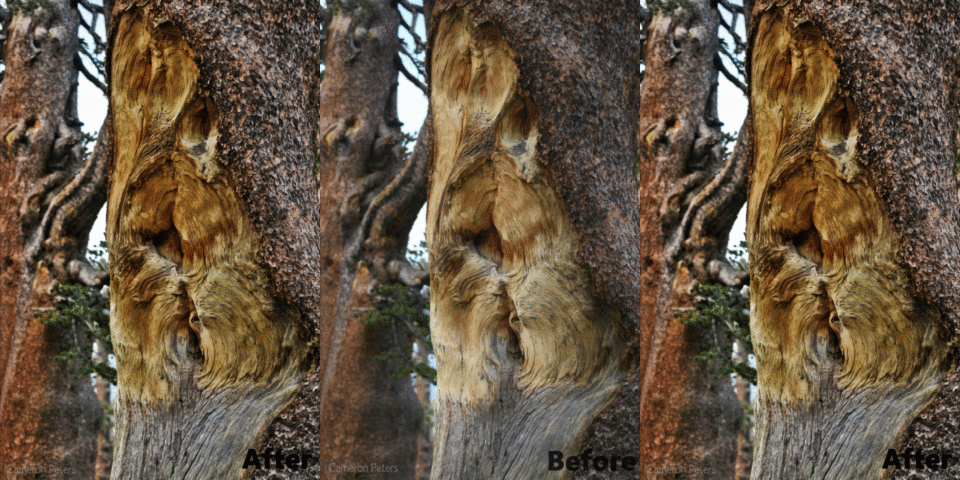
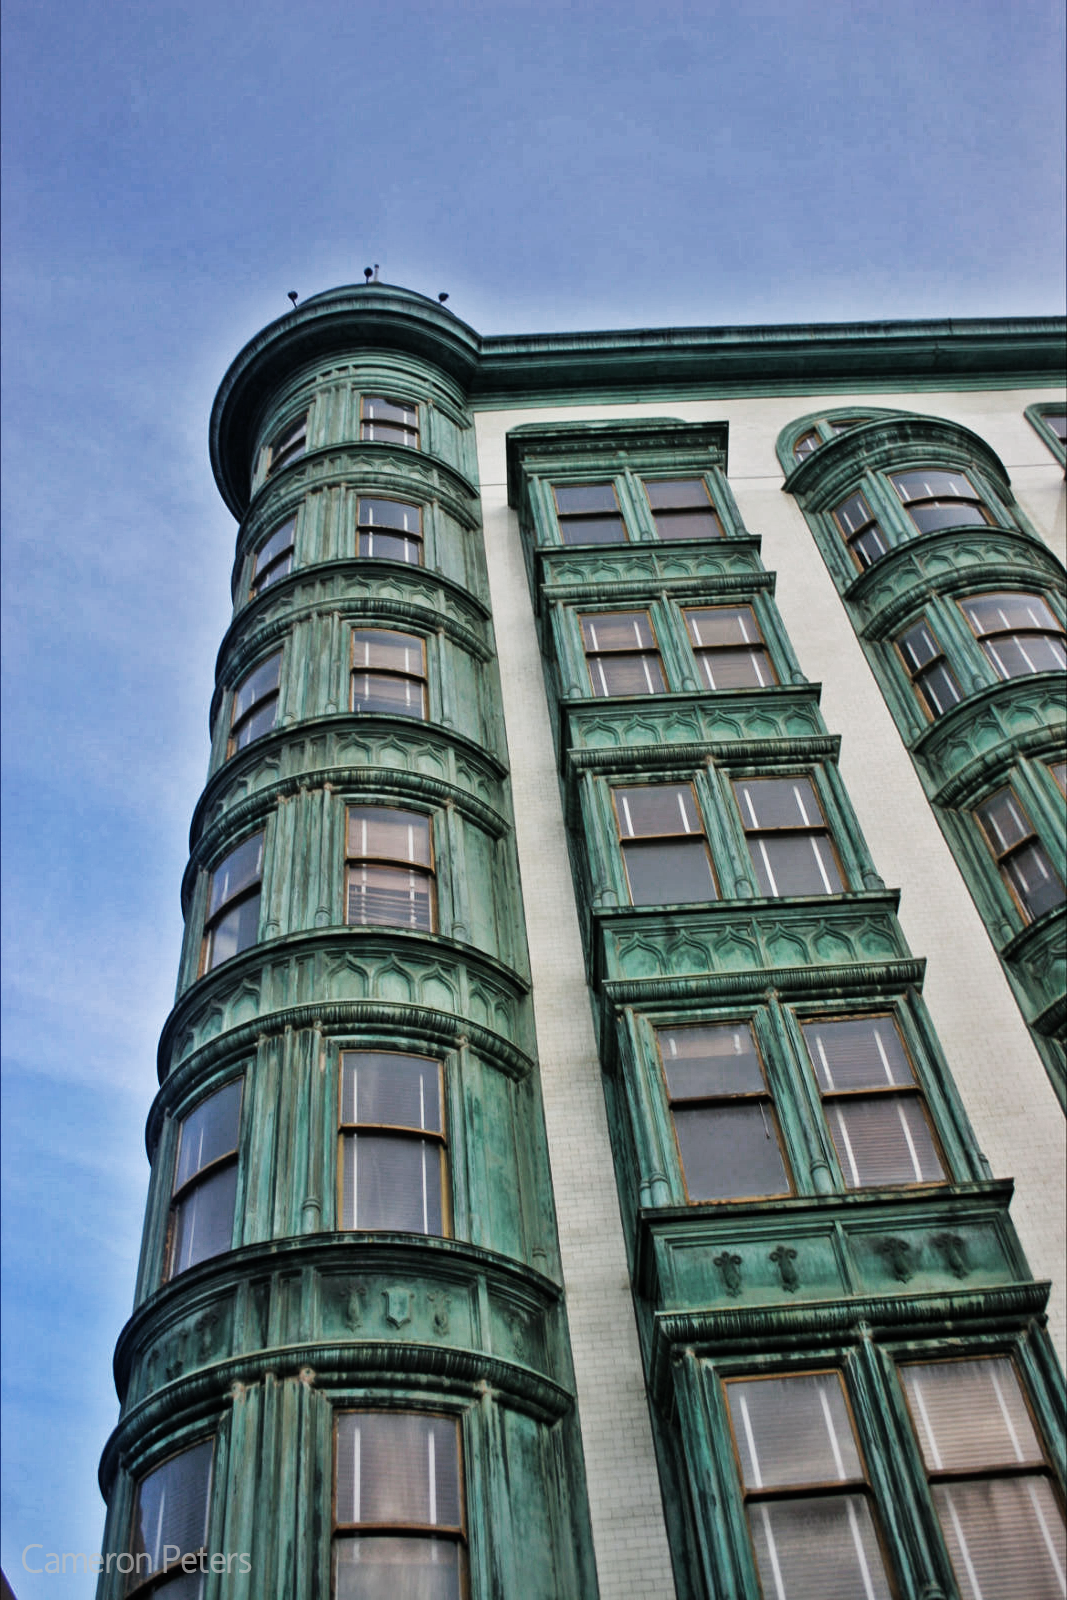
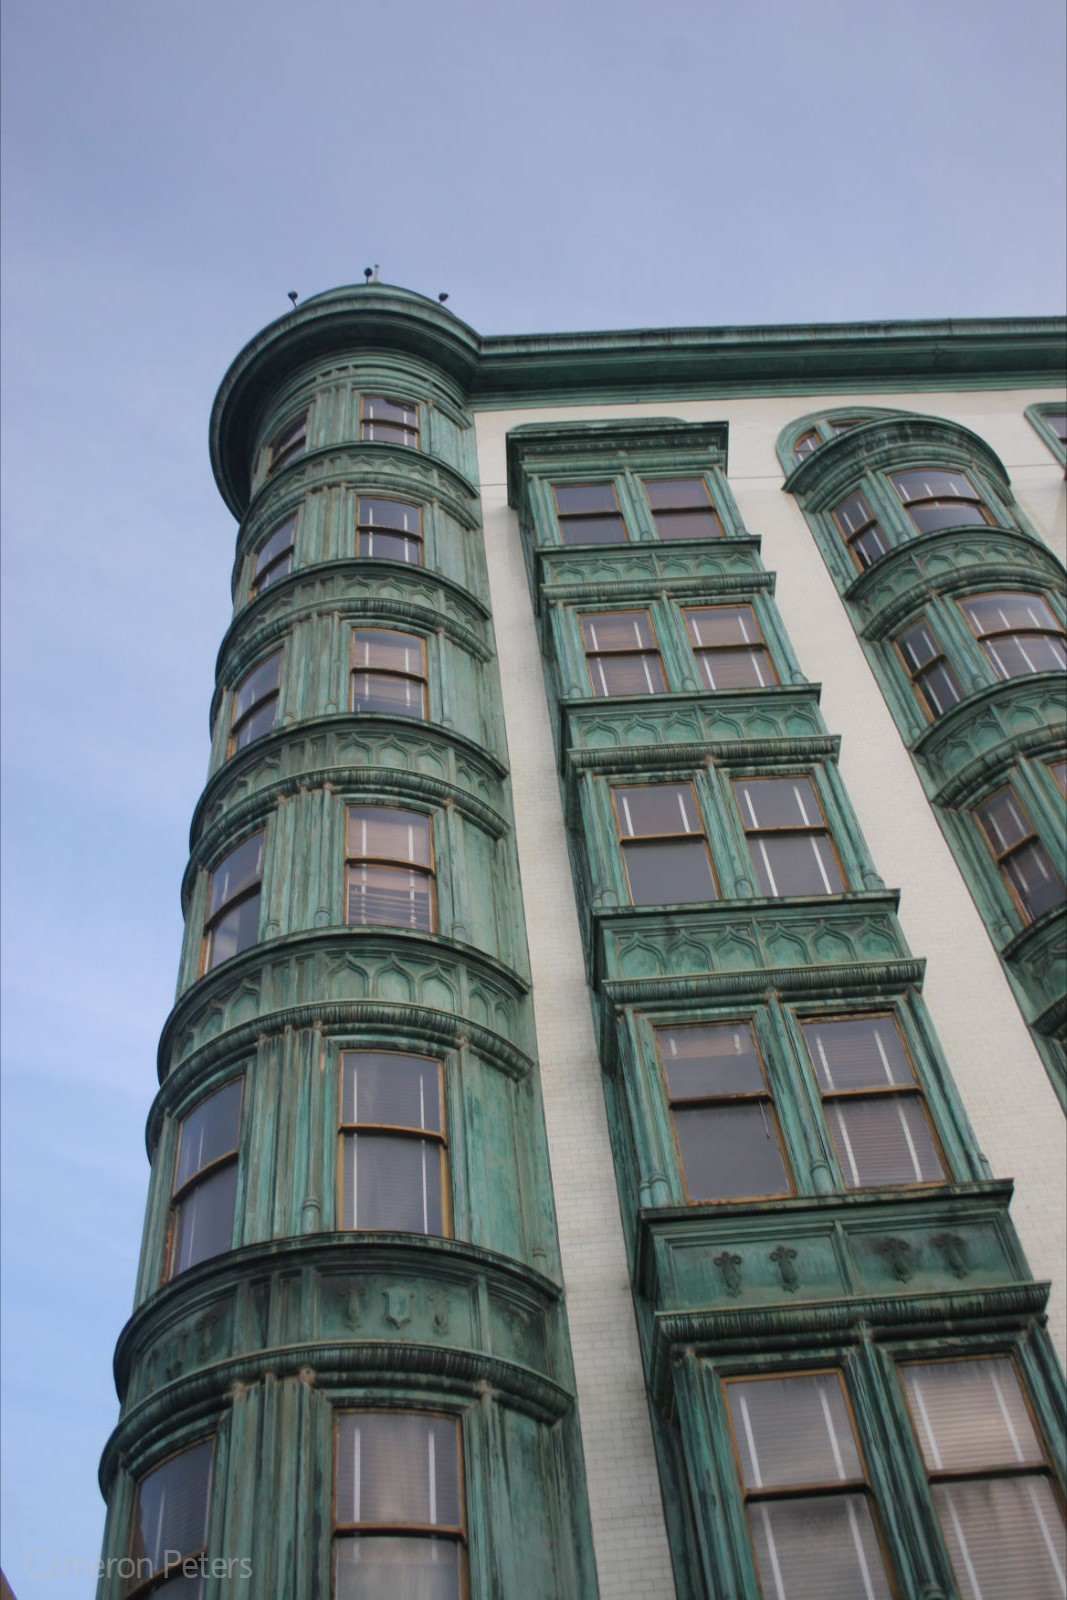
Normally when you are creating a High Dynamic Range picture, 3 or more images that have been taken at different stops are blended to create 1 photo with all the color and light as the original 3. The effect is stunning if done properly. This instructable features a simpler way to create the effect of an HDR image, using only 1 photo. This is not a true HDR, but it creates a very similar effect. If you have an iPhone running on iOS 4.1 or higher, there is a feature built in that essentially does this.
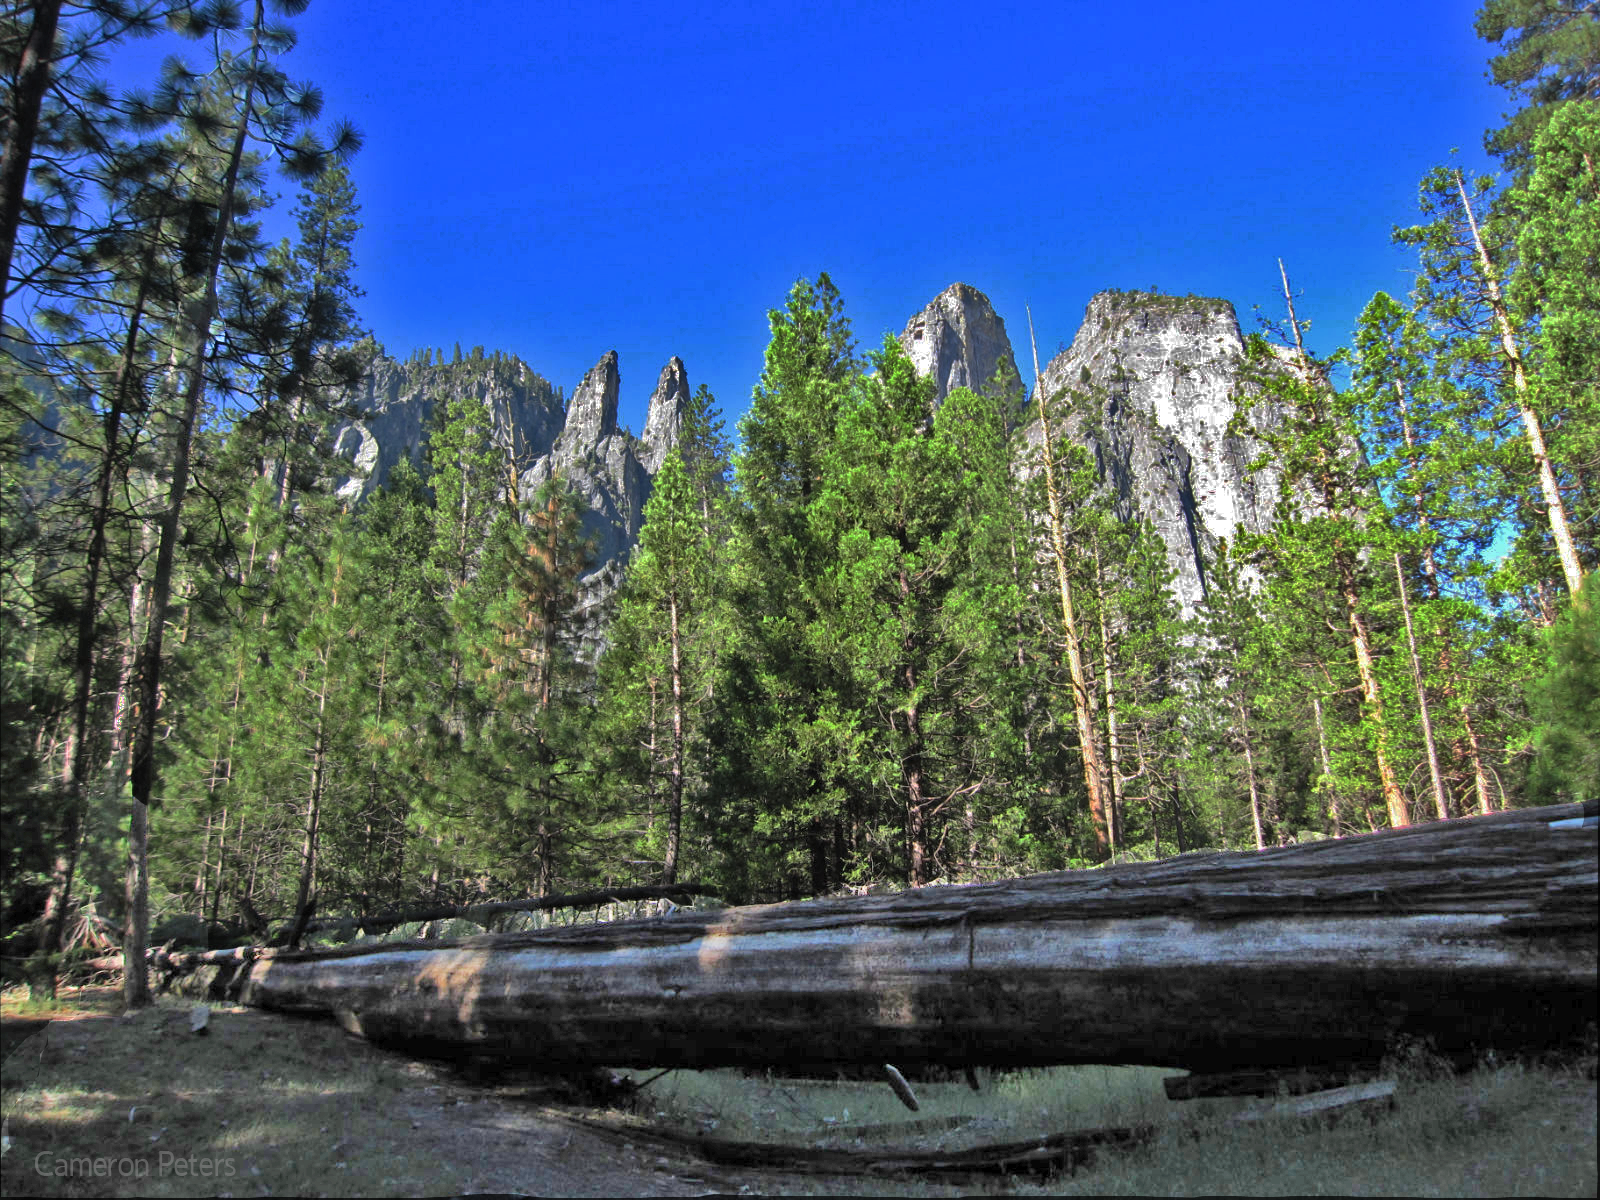
Photo 1 and 2 are from a hike I took last year.
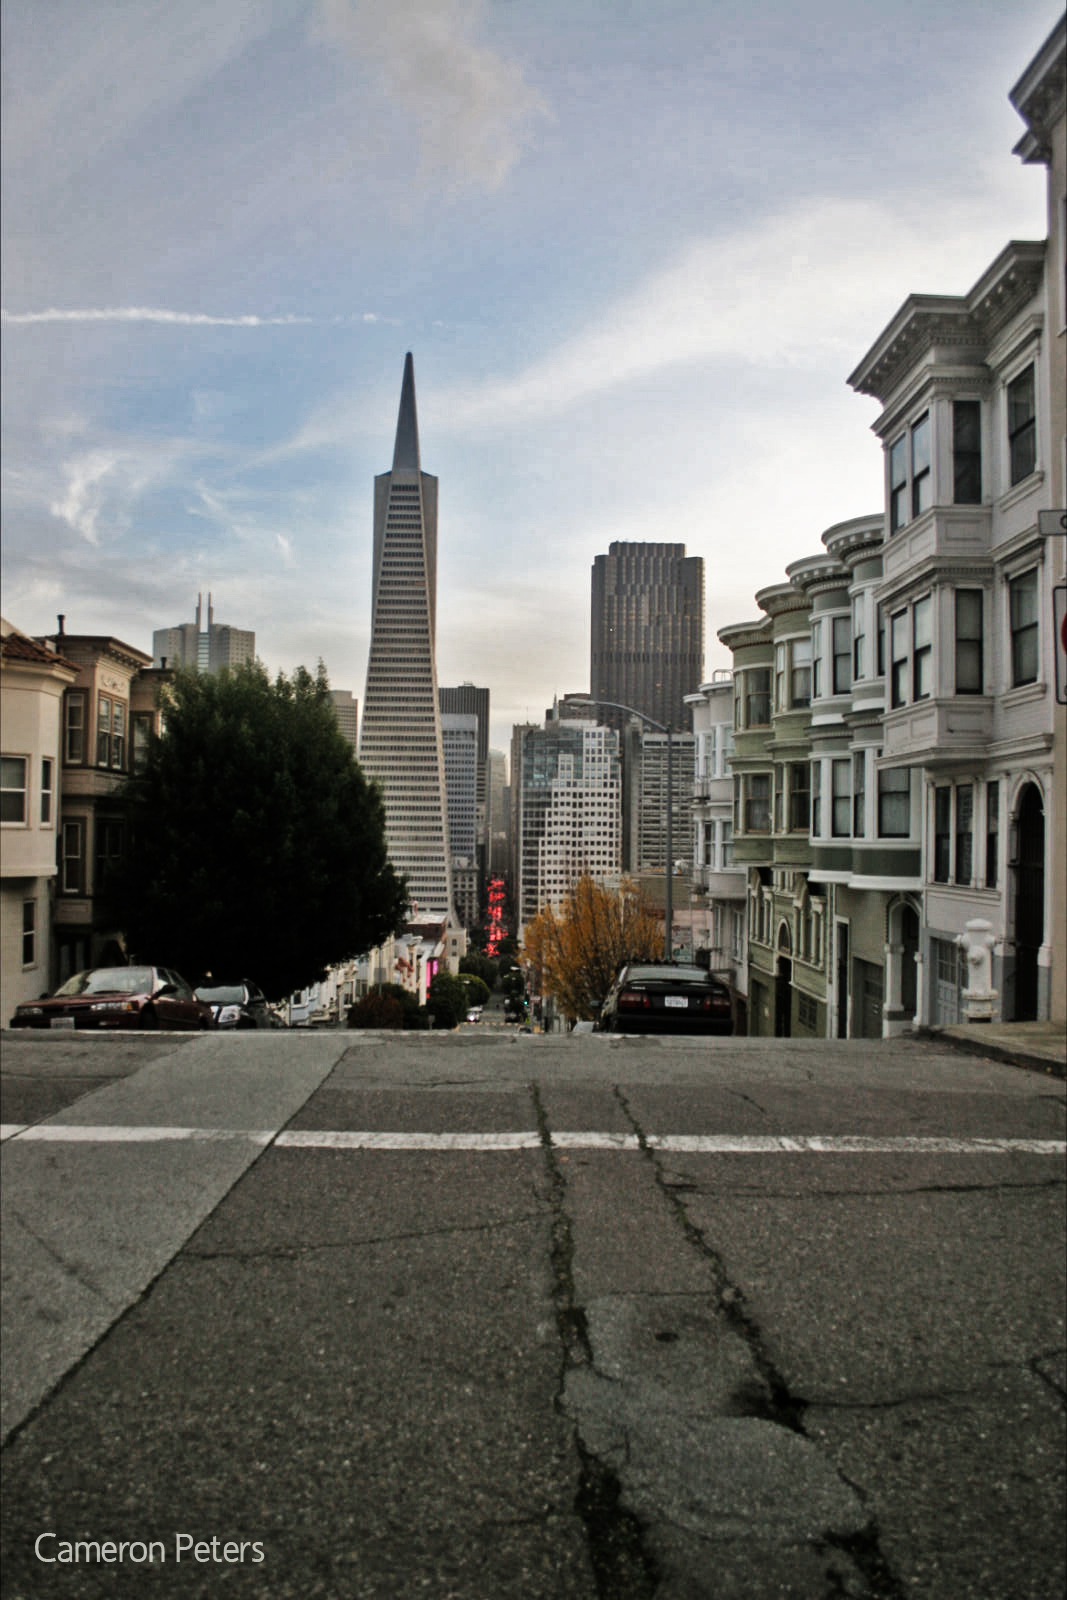
Photo 3 and 4 are of a building in San Francisco.
Photo 1 and 2 are from a hike I took last year.
Photo 3 and 4 are of a building in San Francisco.
Materials
Obviously you are going to need a computer, and your picture you wish to HDR-ify. The software I used was CS5, but other versions of Photoshop will probably work too.
If you do not have CS5, you can always download a free trial from Adobe
If you do not have CS5, you can always download a free trial from Adobe
Pick Your Picture!
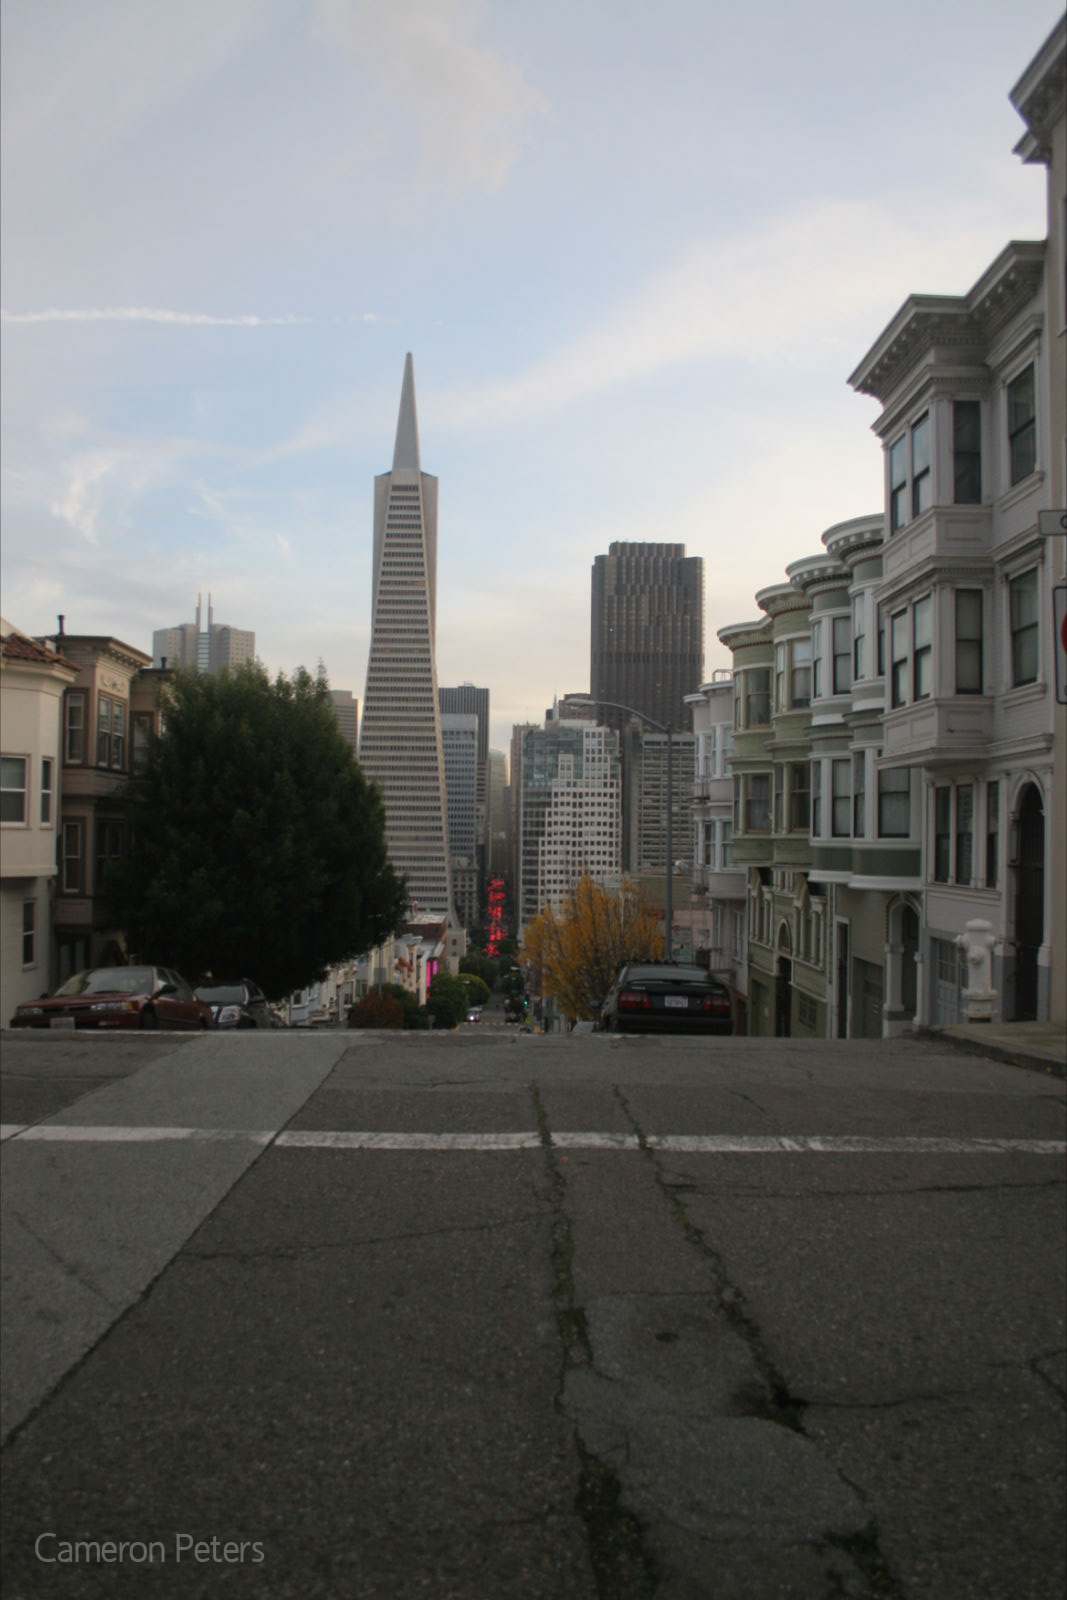
The first thing you want to do is pick your picture. It does not have to be spectacular. It is good though to select something with some potential, with things like neat shadows or clouds. I chose one I took in San Francisco.
Shadows and Highlights
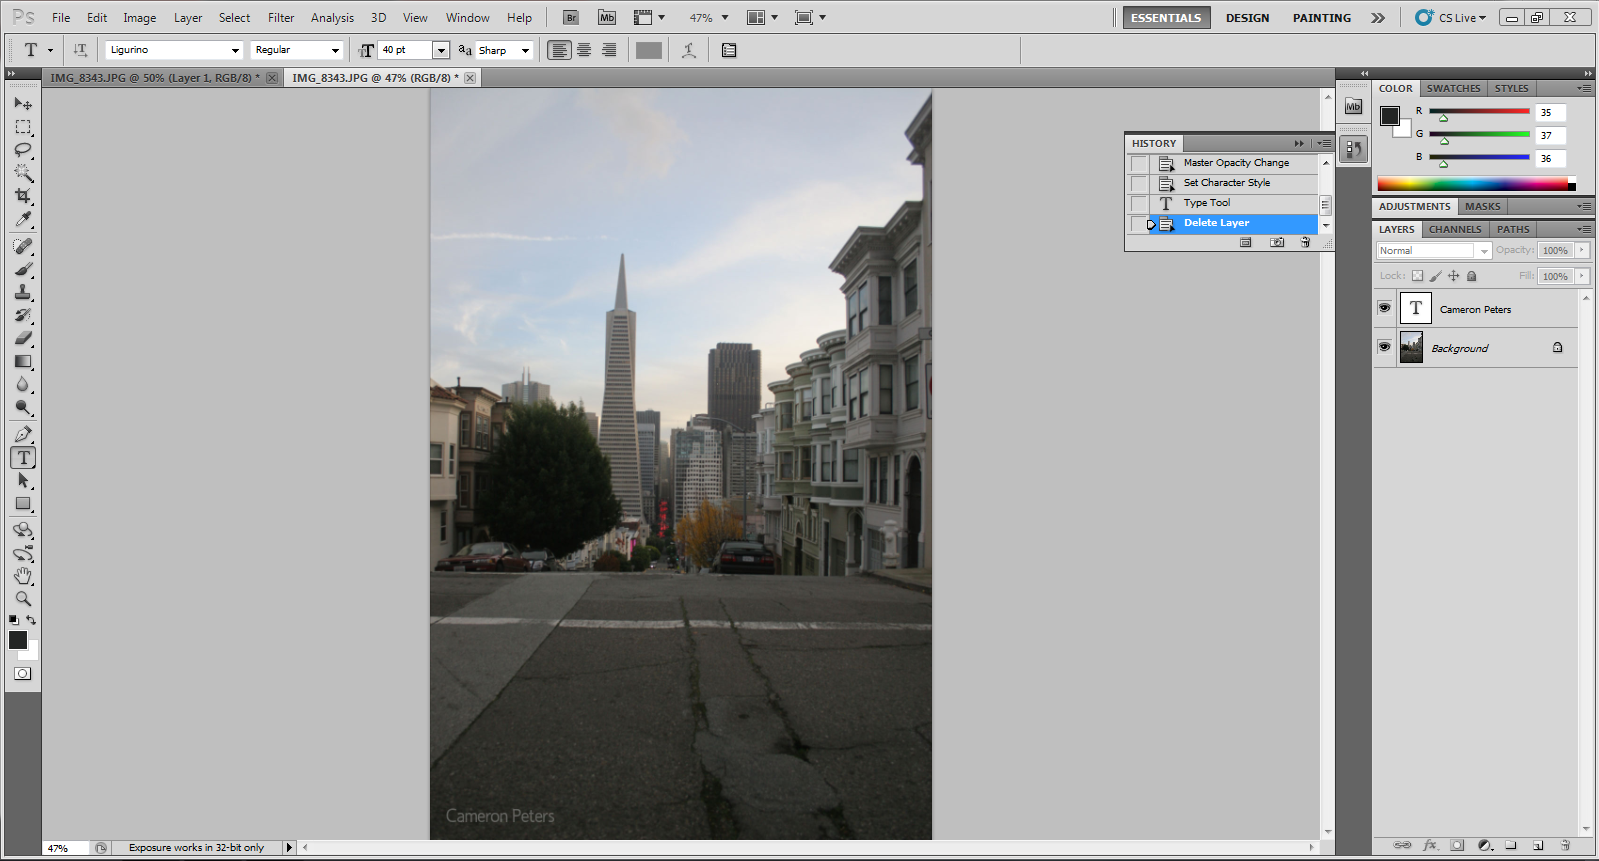
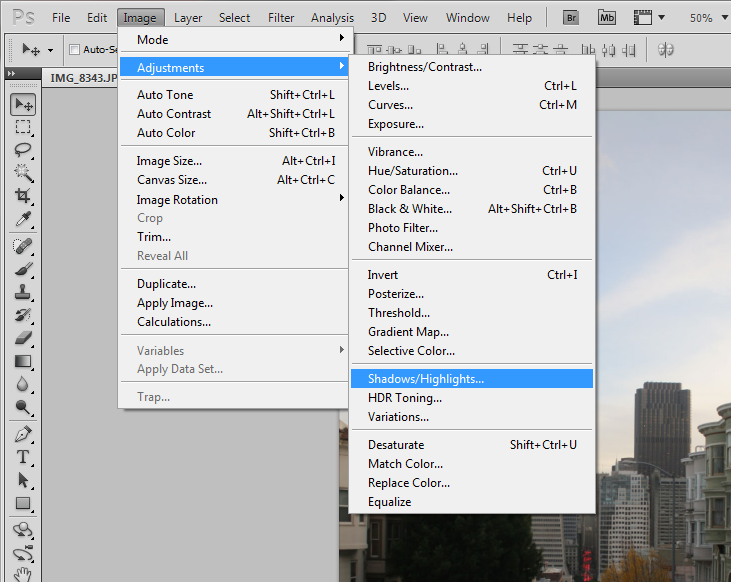
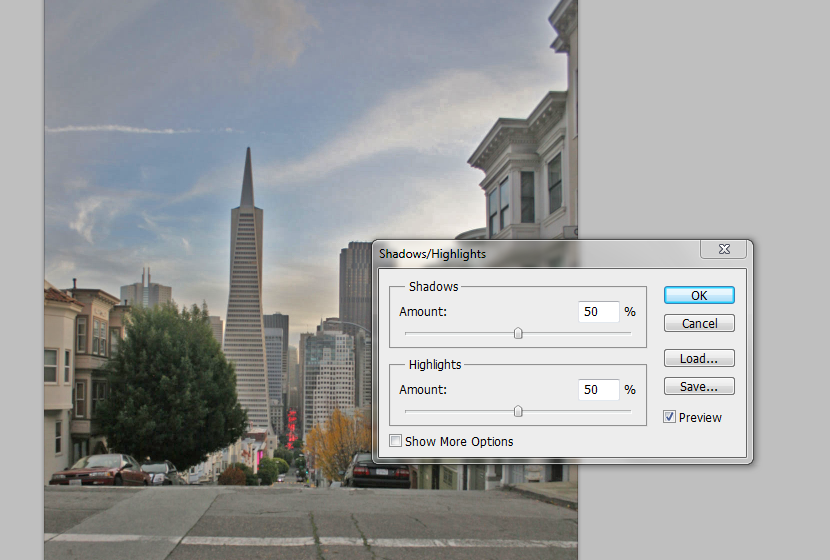
Open Photoshop and import your picture. (Do not make any layers ye.t) The first thing you are going to do is go to Image>Adjustments>Shadows/Highlights. Set Shadows, as well as Highlights to a number around 50%.
Desaturate and Hard Light
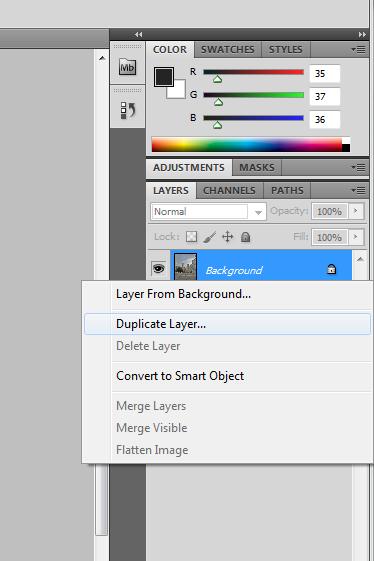
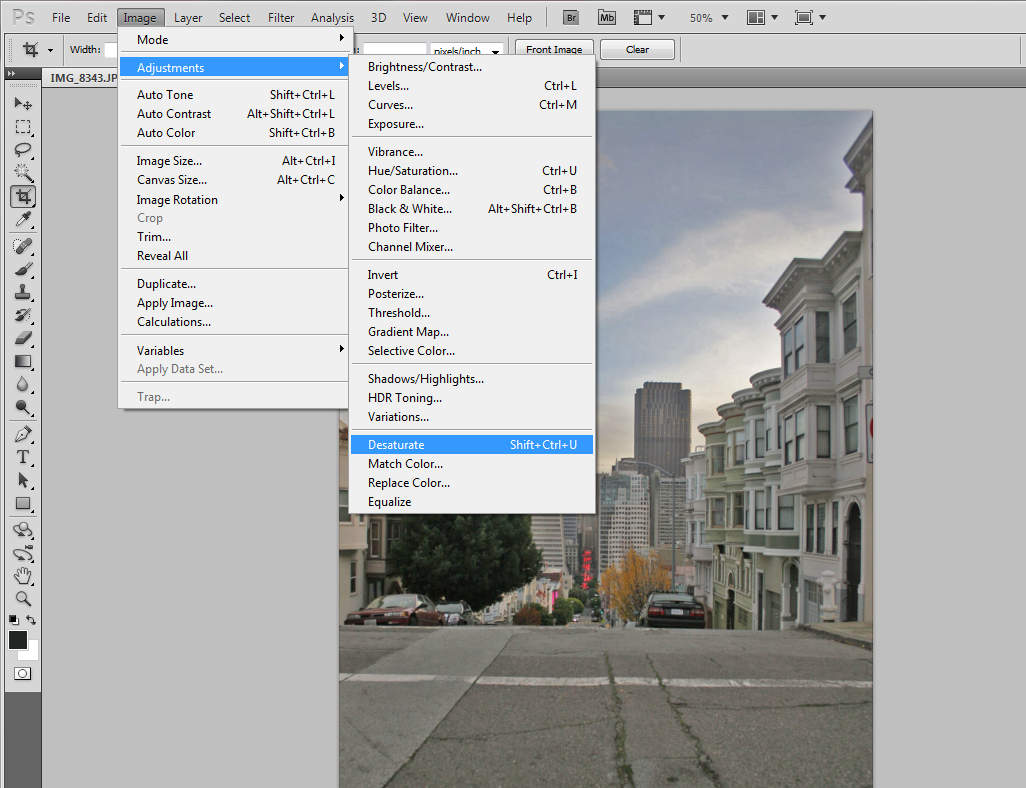
Now you want to create a copy of the first layer. (Right click on background, open "Duplicate Layer", click OK.) After that is done, make sure that the new layer is selected, then navigate to Image>Adjustments>Desaturate.
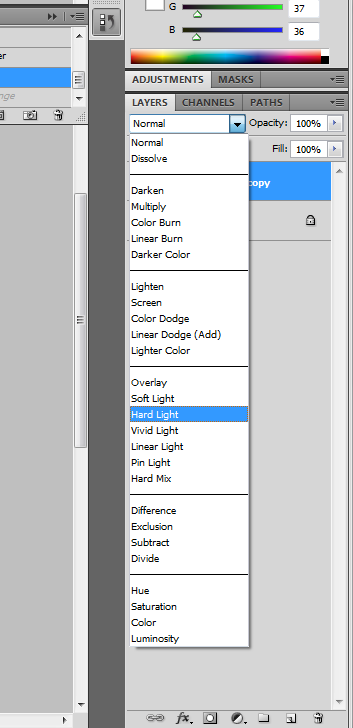
Look back over to the layers, where there is a pull down selection box. Find the "Hard Light" button.
Now it's starting to look like a real HDR!
Look back over to the layers, where there is a pull down selection box. Find the "Hard Light" button.
Now it's starting to look like a real HDR!
Gaussian Blur and Soft Light
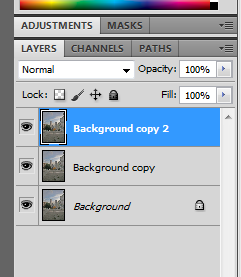
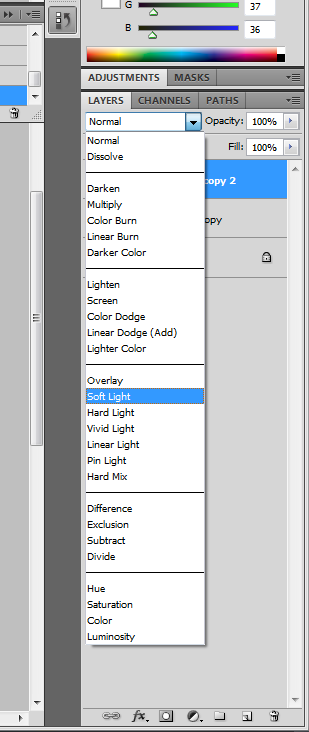
Now you are going to create a copy of the original layer and move it to the top. Go to Filter>Blur>Gaussian Blur. This opens a window; you will want to set the radius to around 40-50 pixels. This will make your picture look super out of focus, but don't worry! Go back to the layers box, open the drop down menu again, but this time select "Soft Light".
If it looks good, go ahead and save it as a .PNG. (File>Save As...)
If it looks good, go ahead and save it as a .PNG. (File>Save As...)
Results:Before/After


I think there is a very apparent difference between these 2 pictures. The new HDR'ed one has a sharper, crisper look to it. It also was brightened up quite a bit. The only downside I see to doing this is that the sky sometimes acts up and looks a little pixely.
Getting More Advanced
If you want to get more advanced, start experimenting with layer selection tools, and only edit certain parts. For example you could brighten up an area, and darken others before starting.
Examples
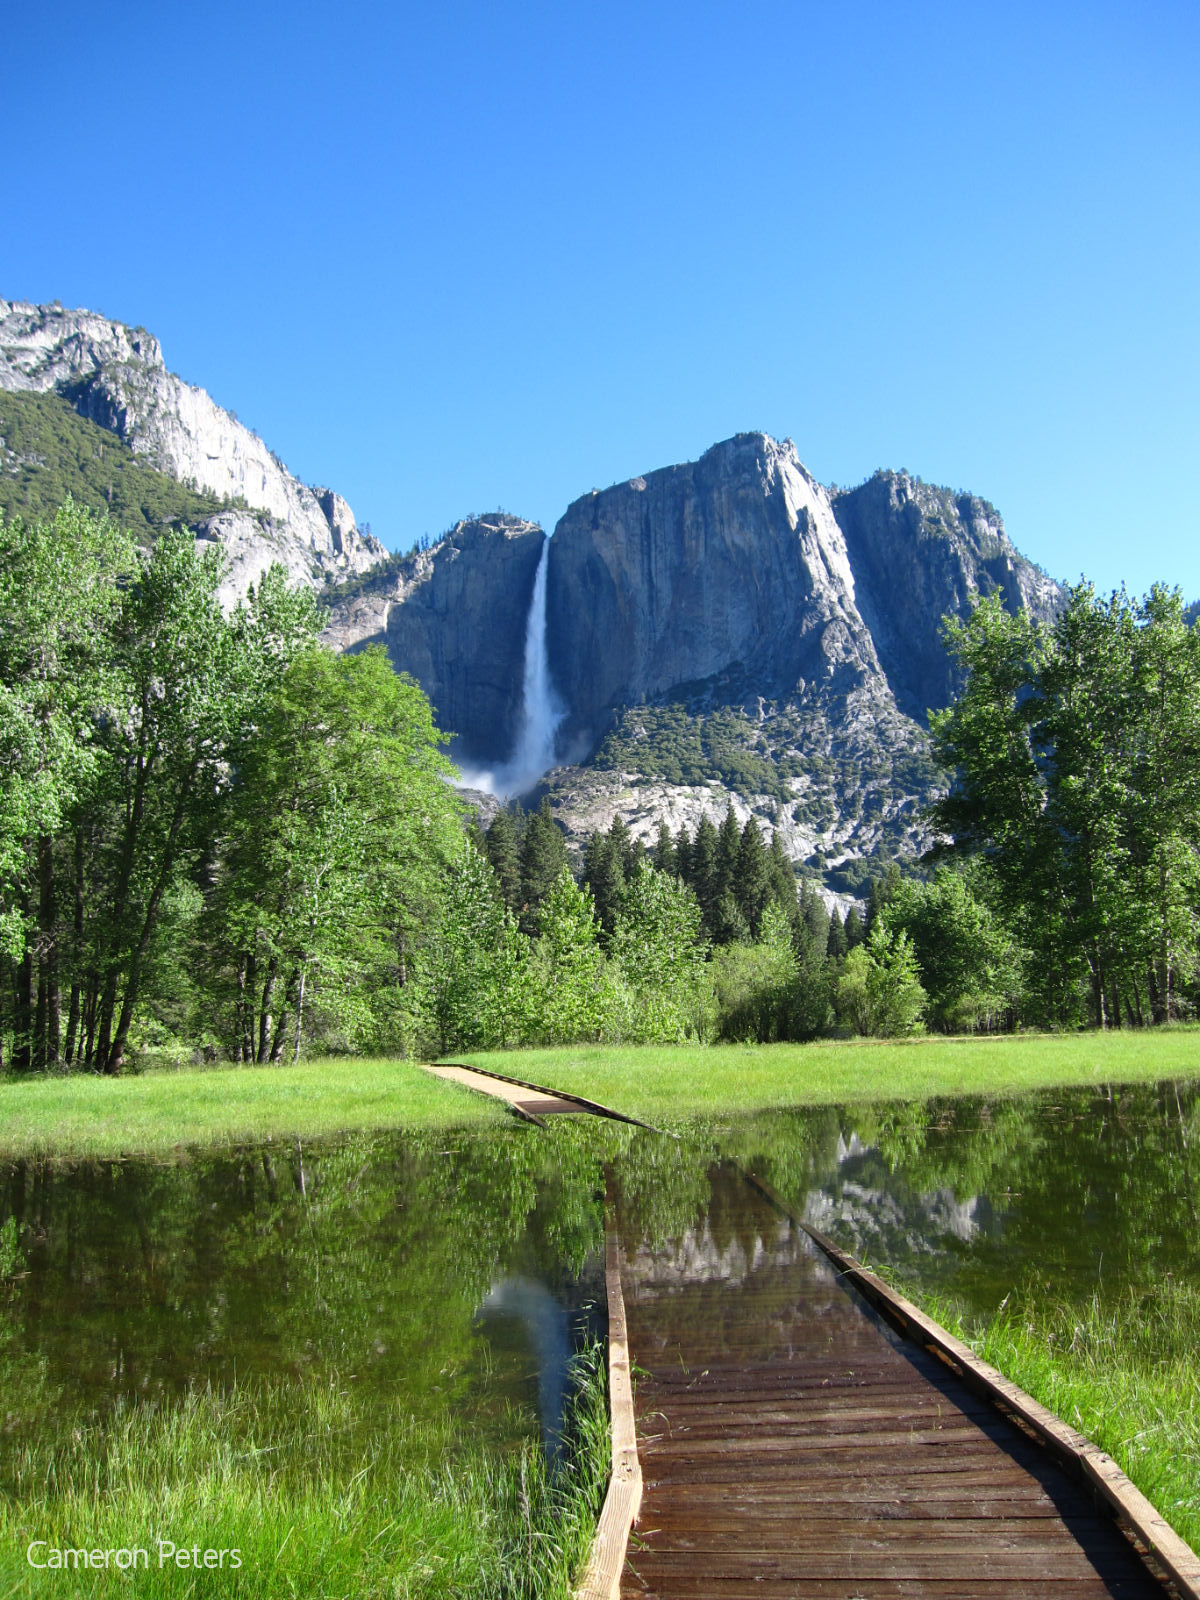
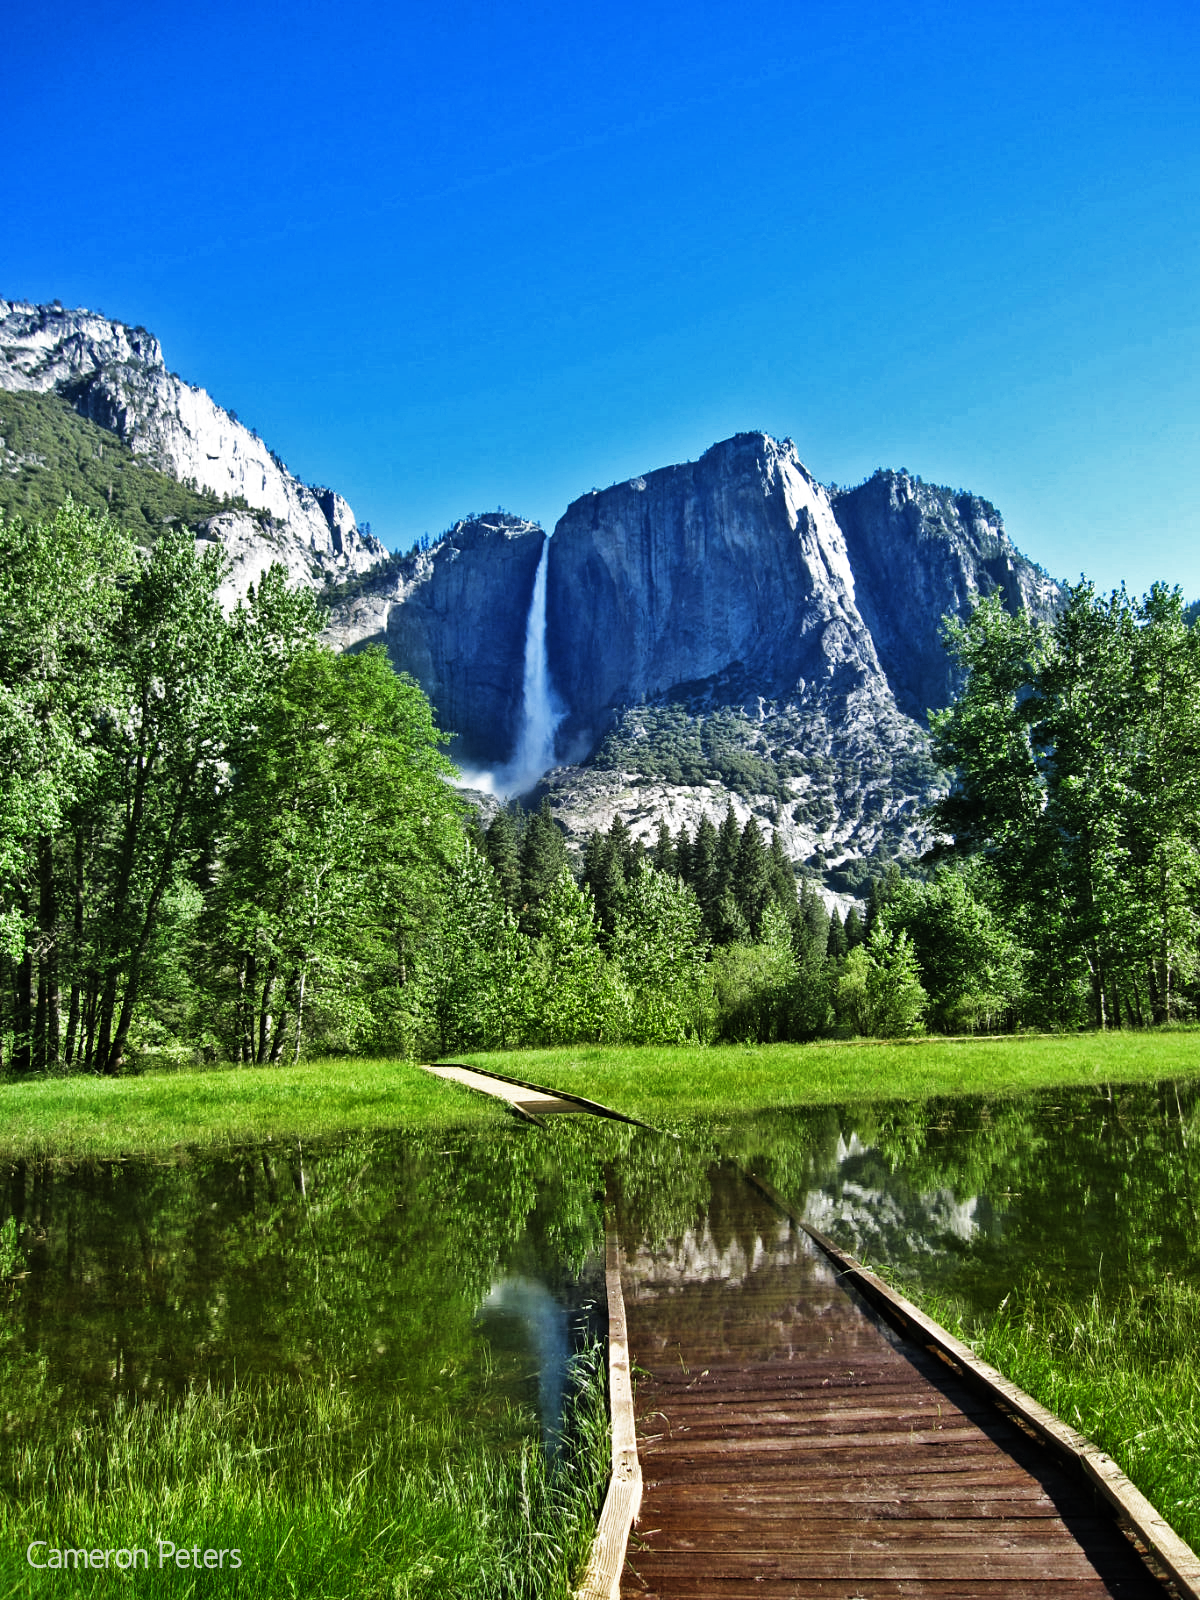
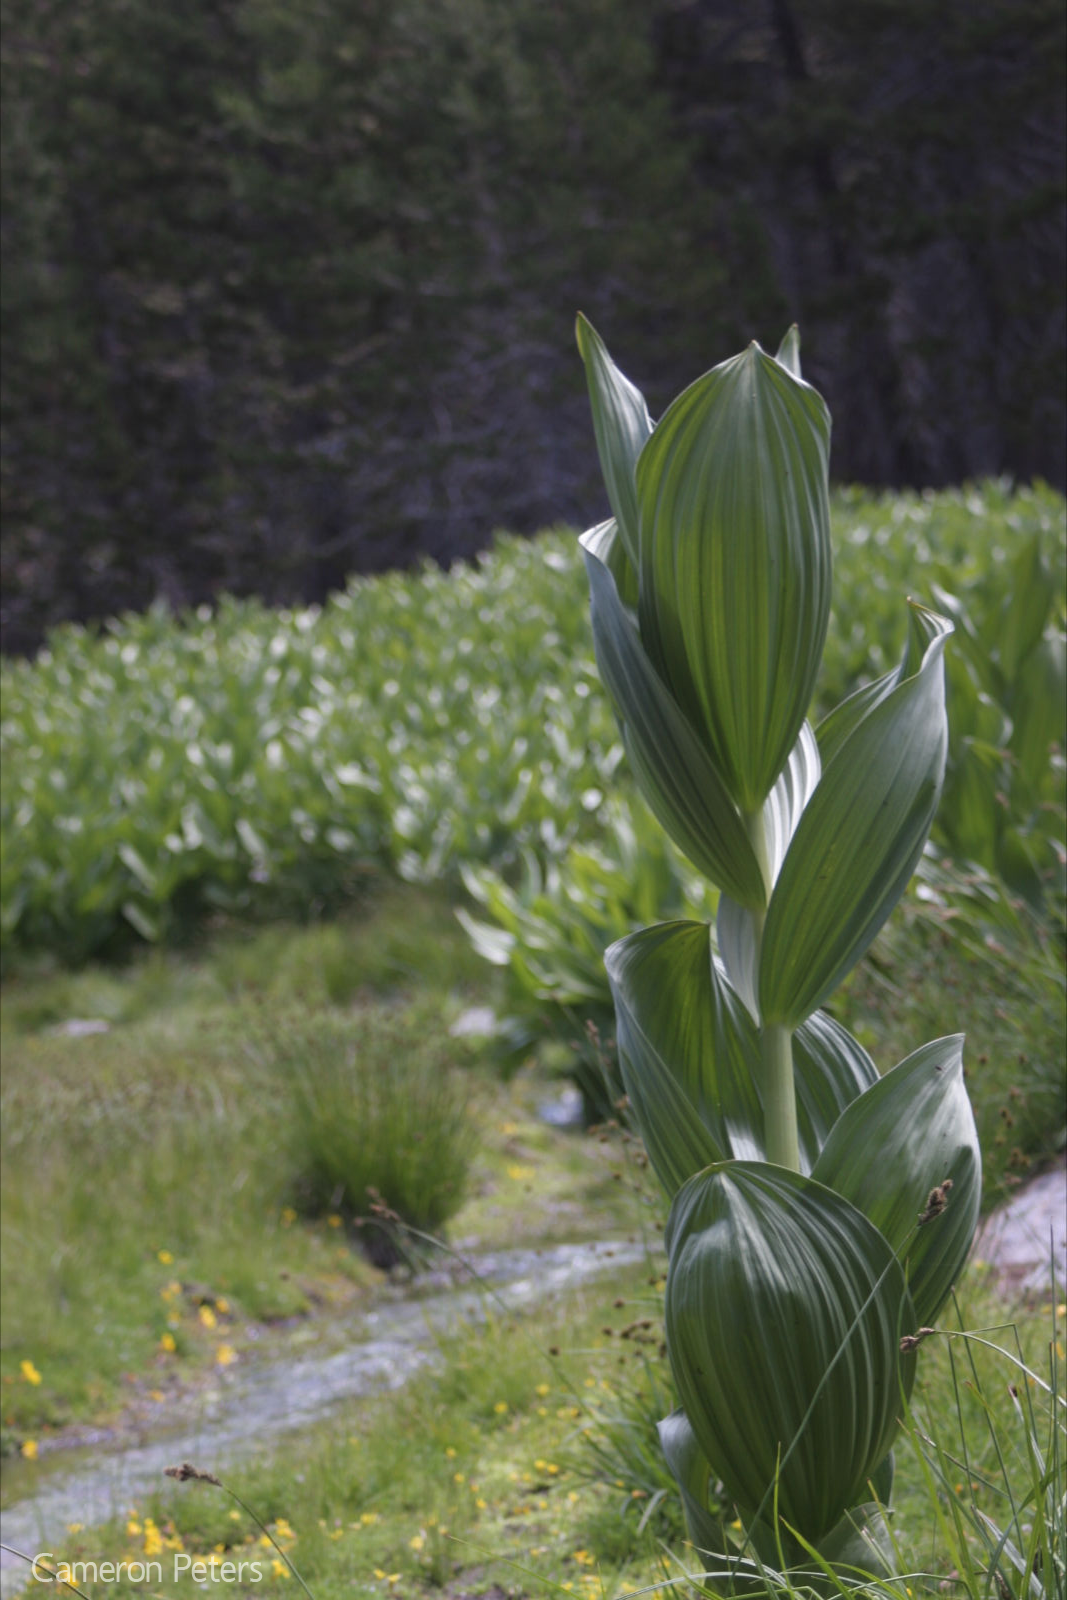
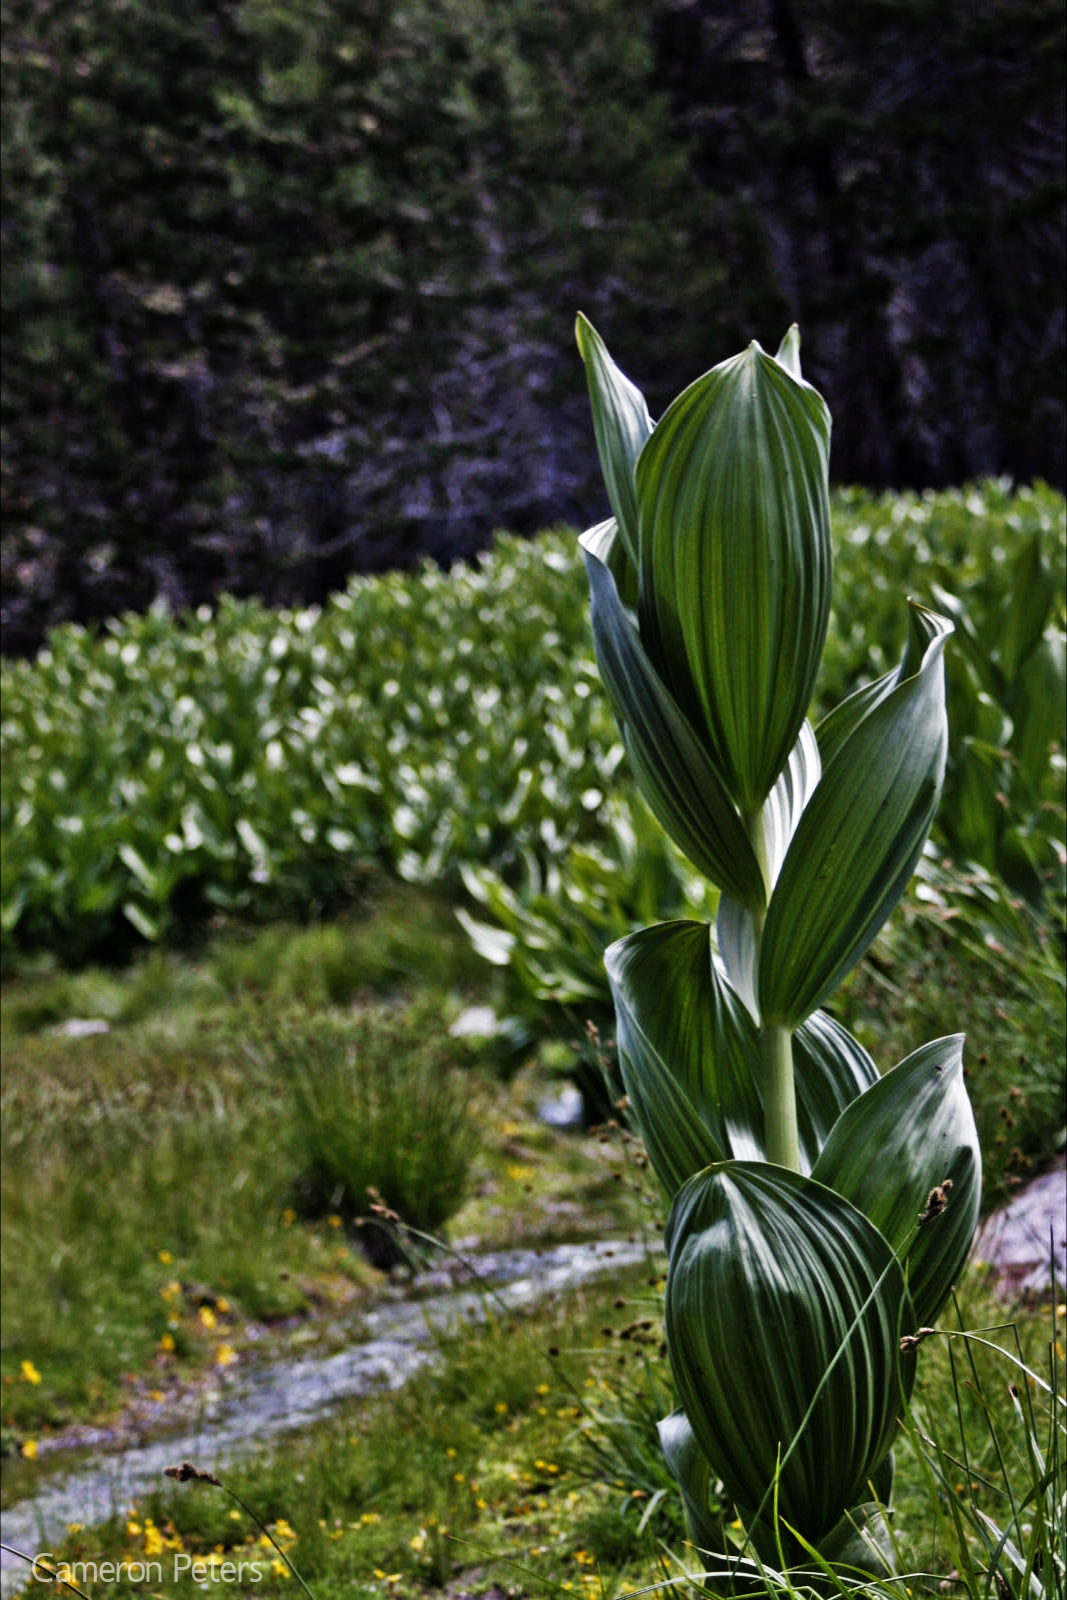
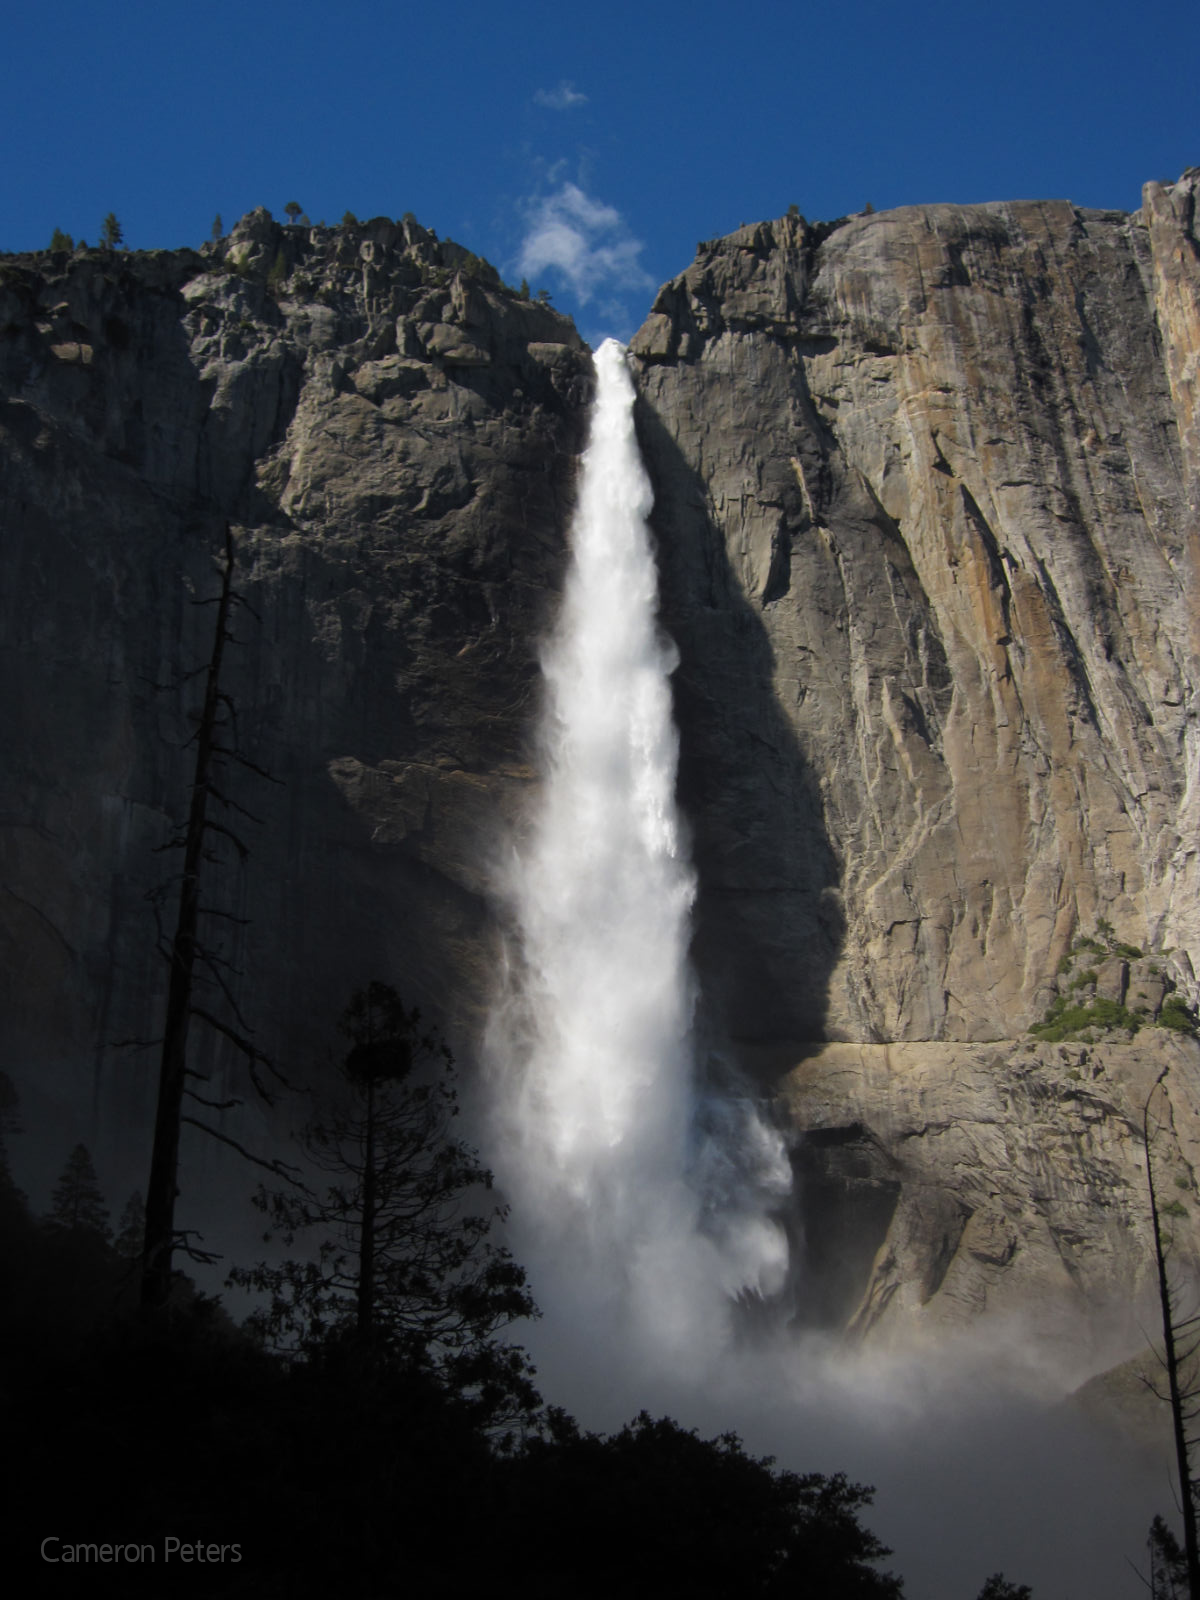
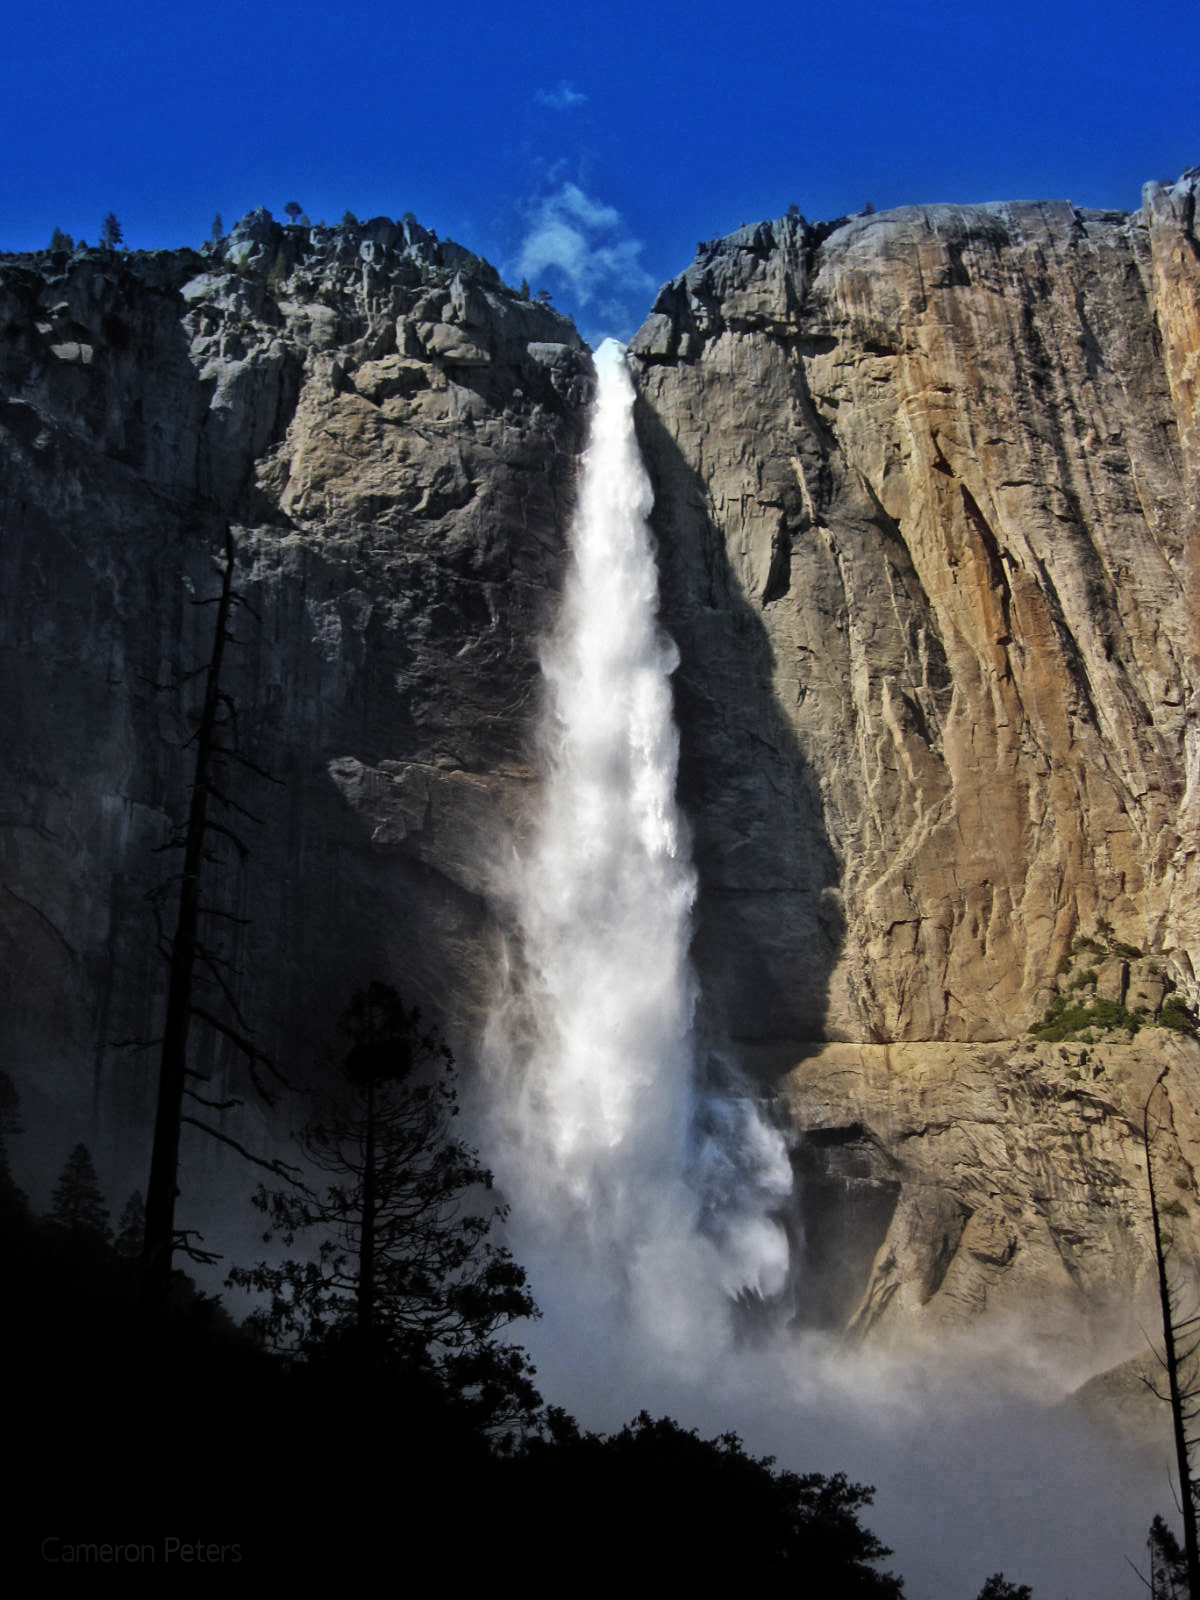
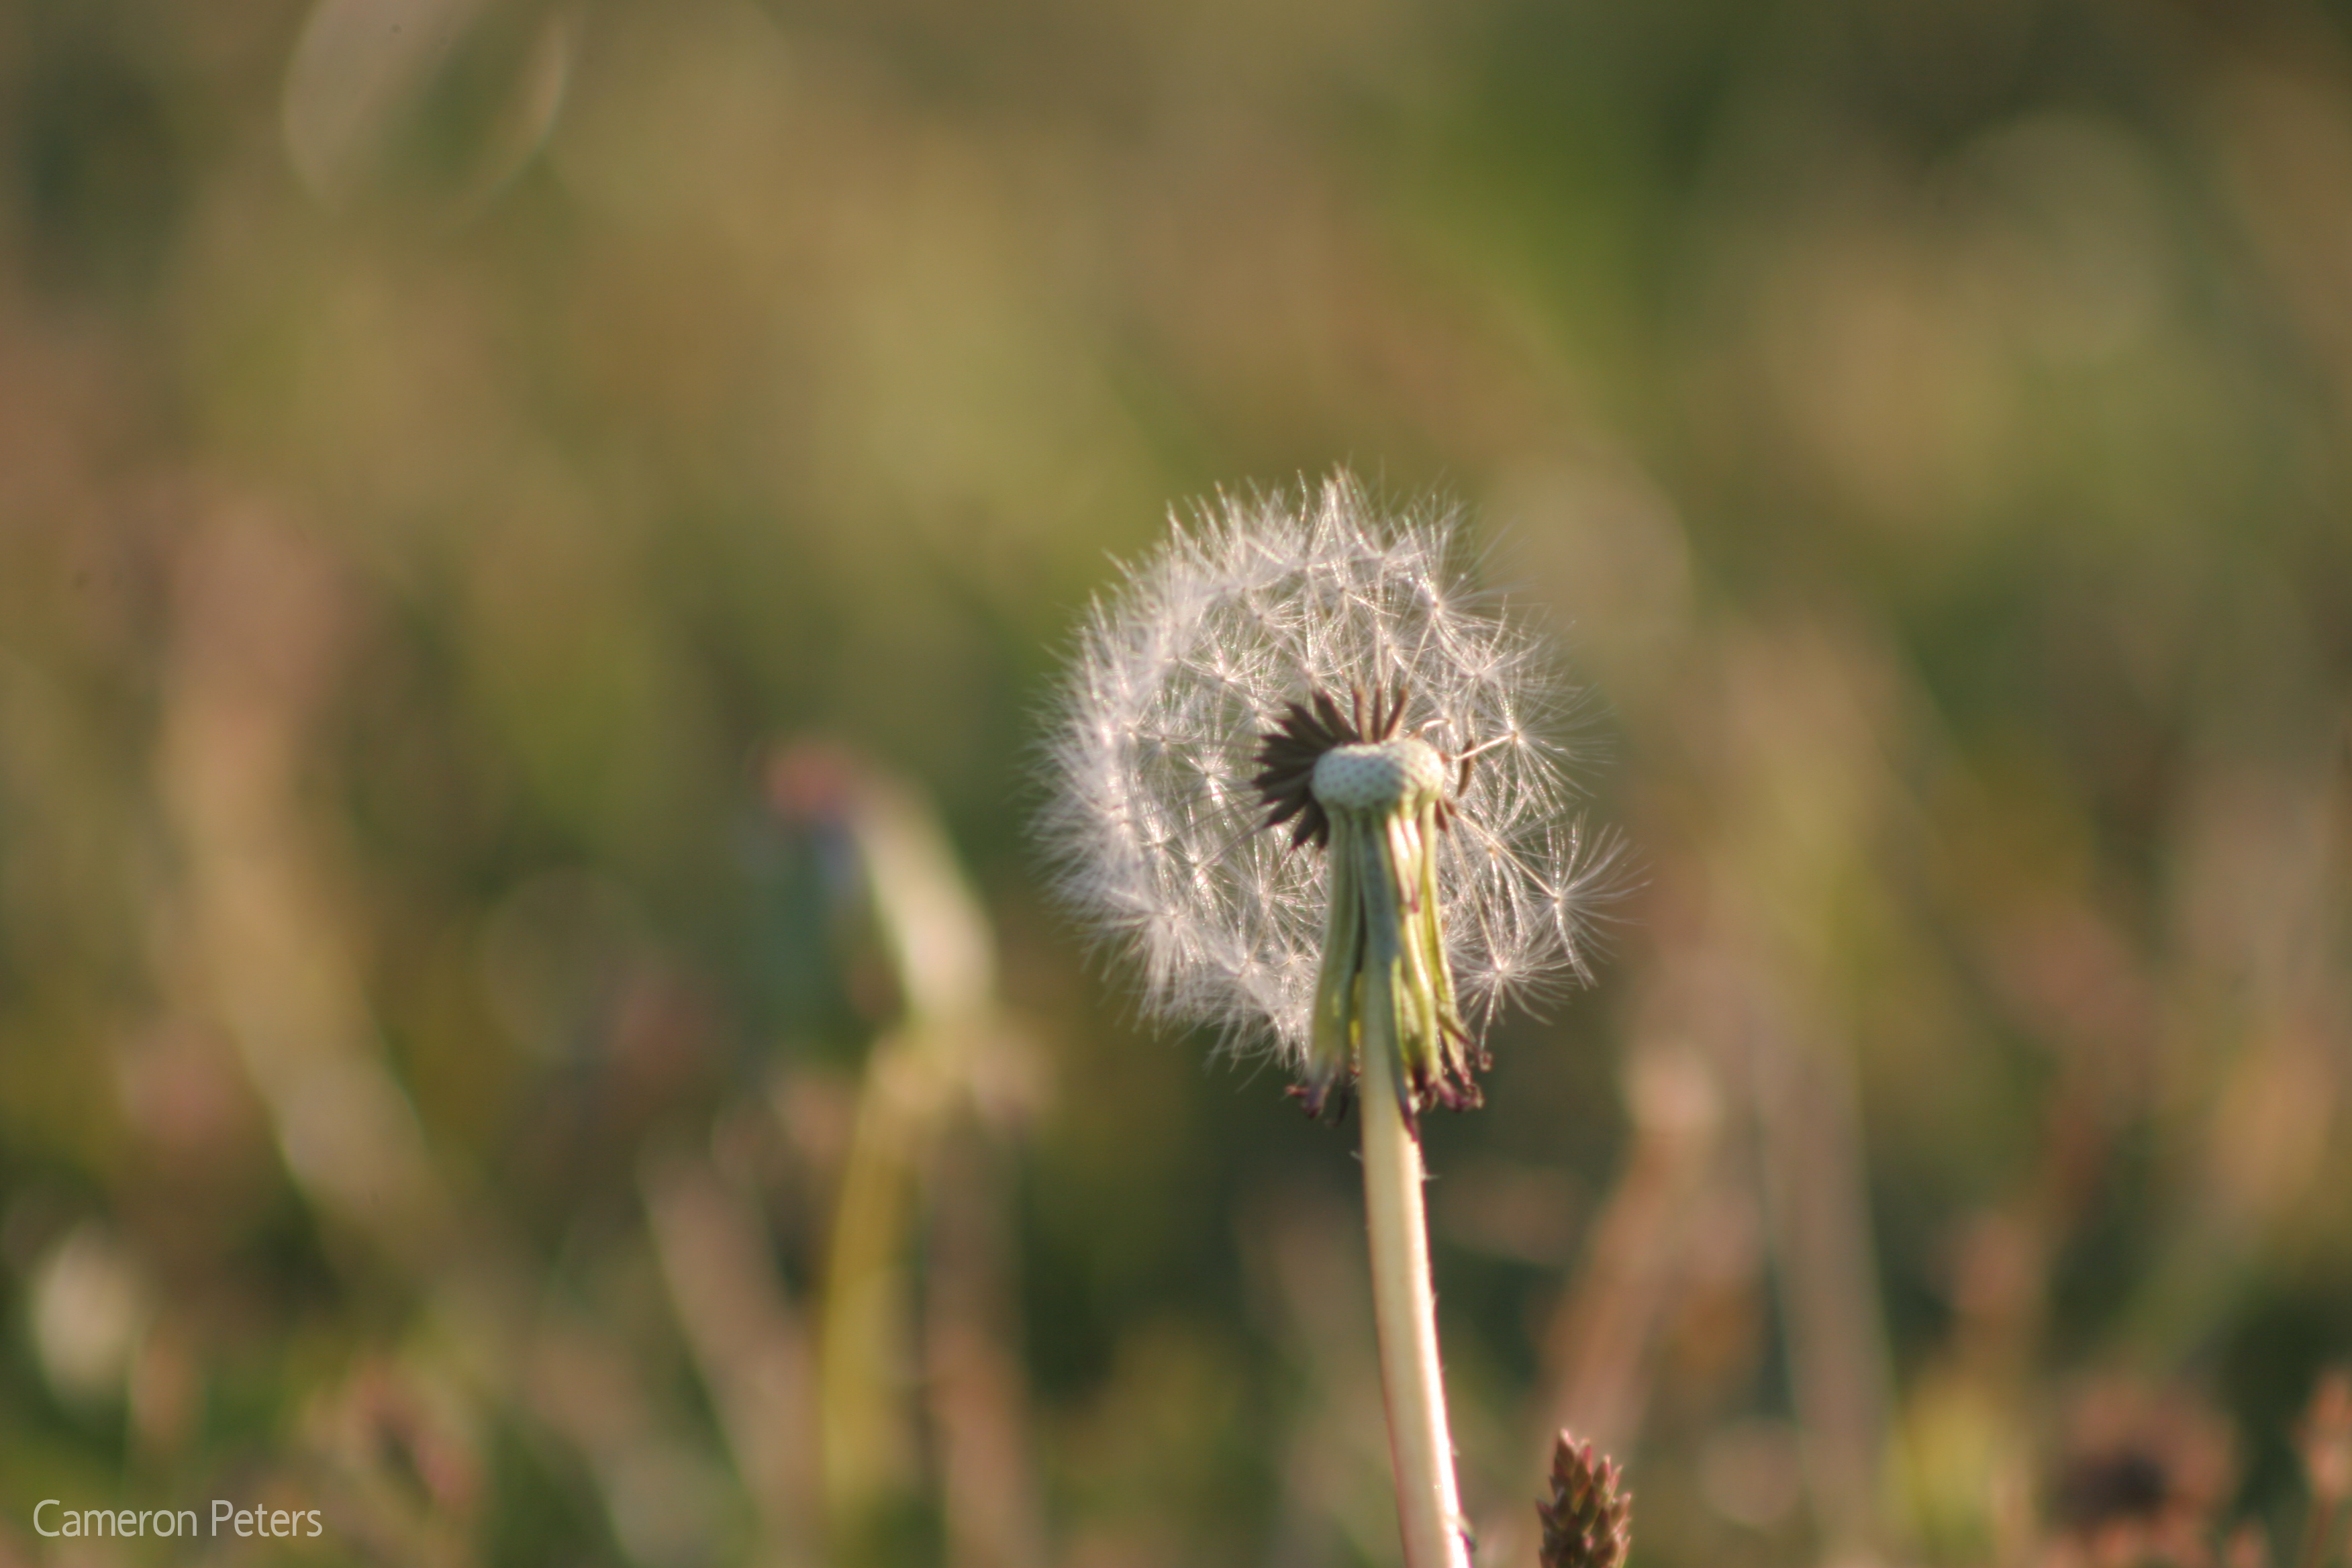
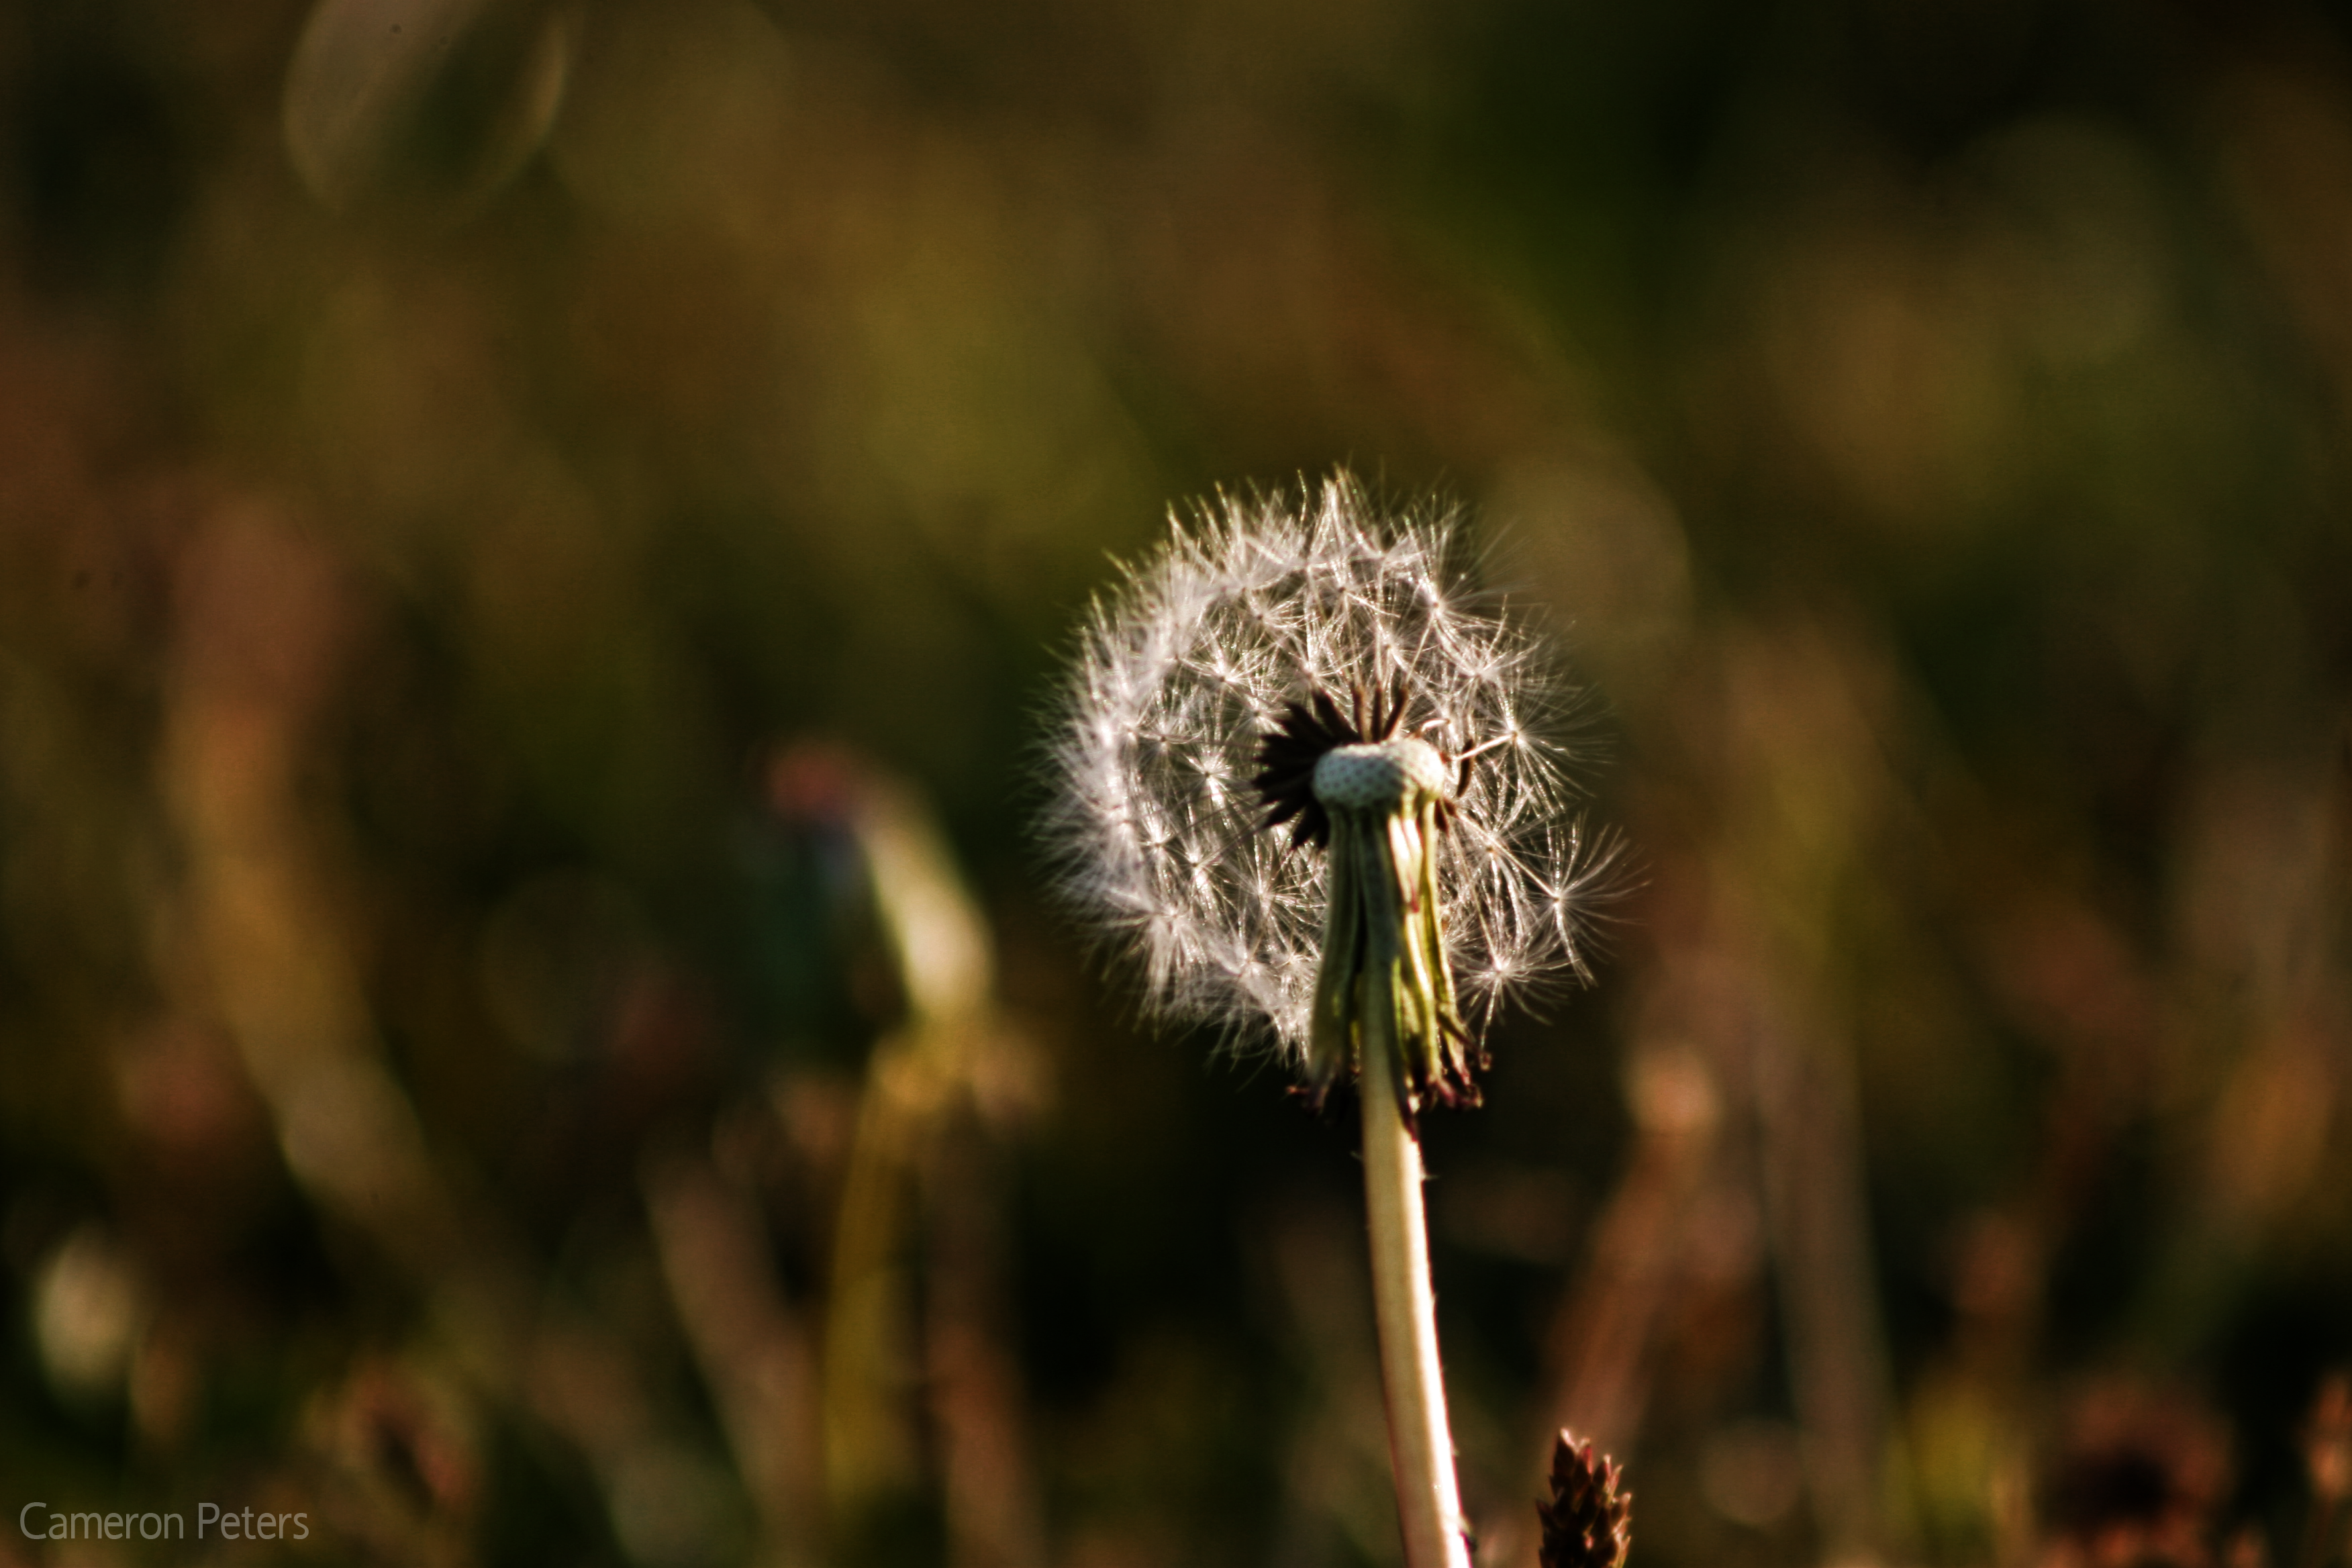
Here are some example of fake HDR photos.
If this method worked well for you, I would love to see some examples in the comments!
If this method worked well for you, I would love to see some examples in the comments!