Gum Bichromate


Gun Bichromate is an alternative photography process that creates painterly photographs.
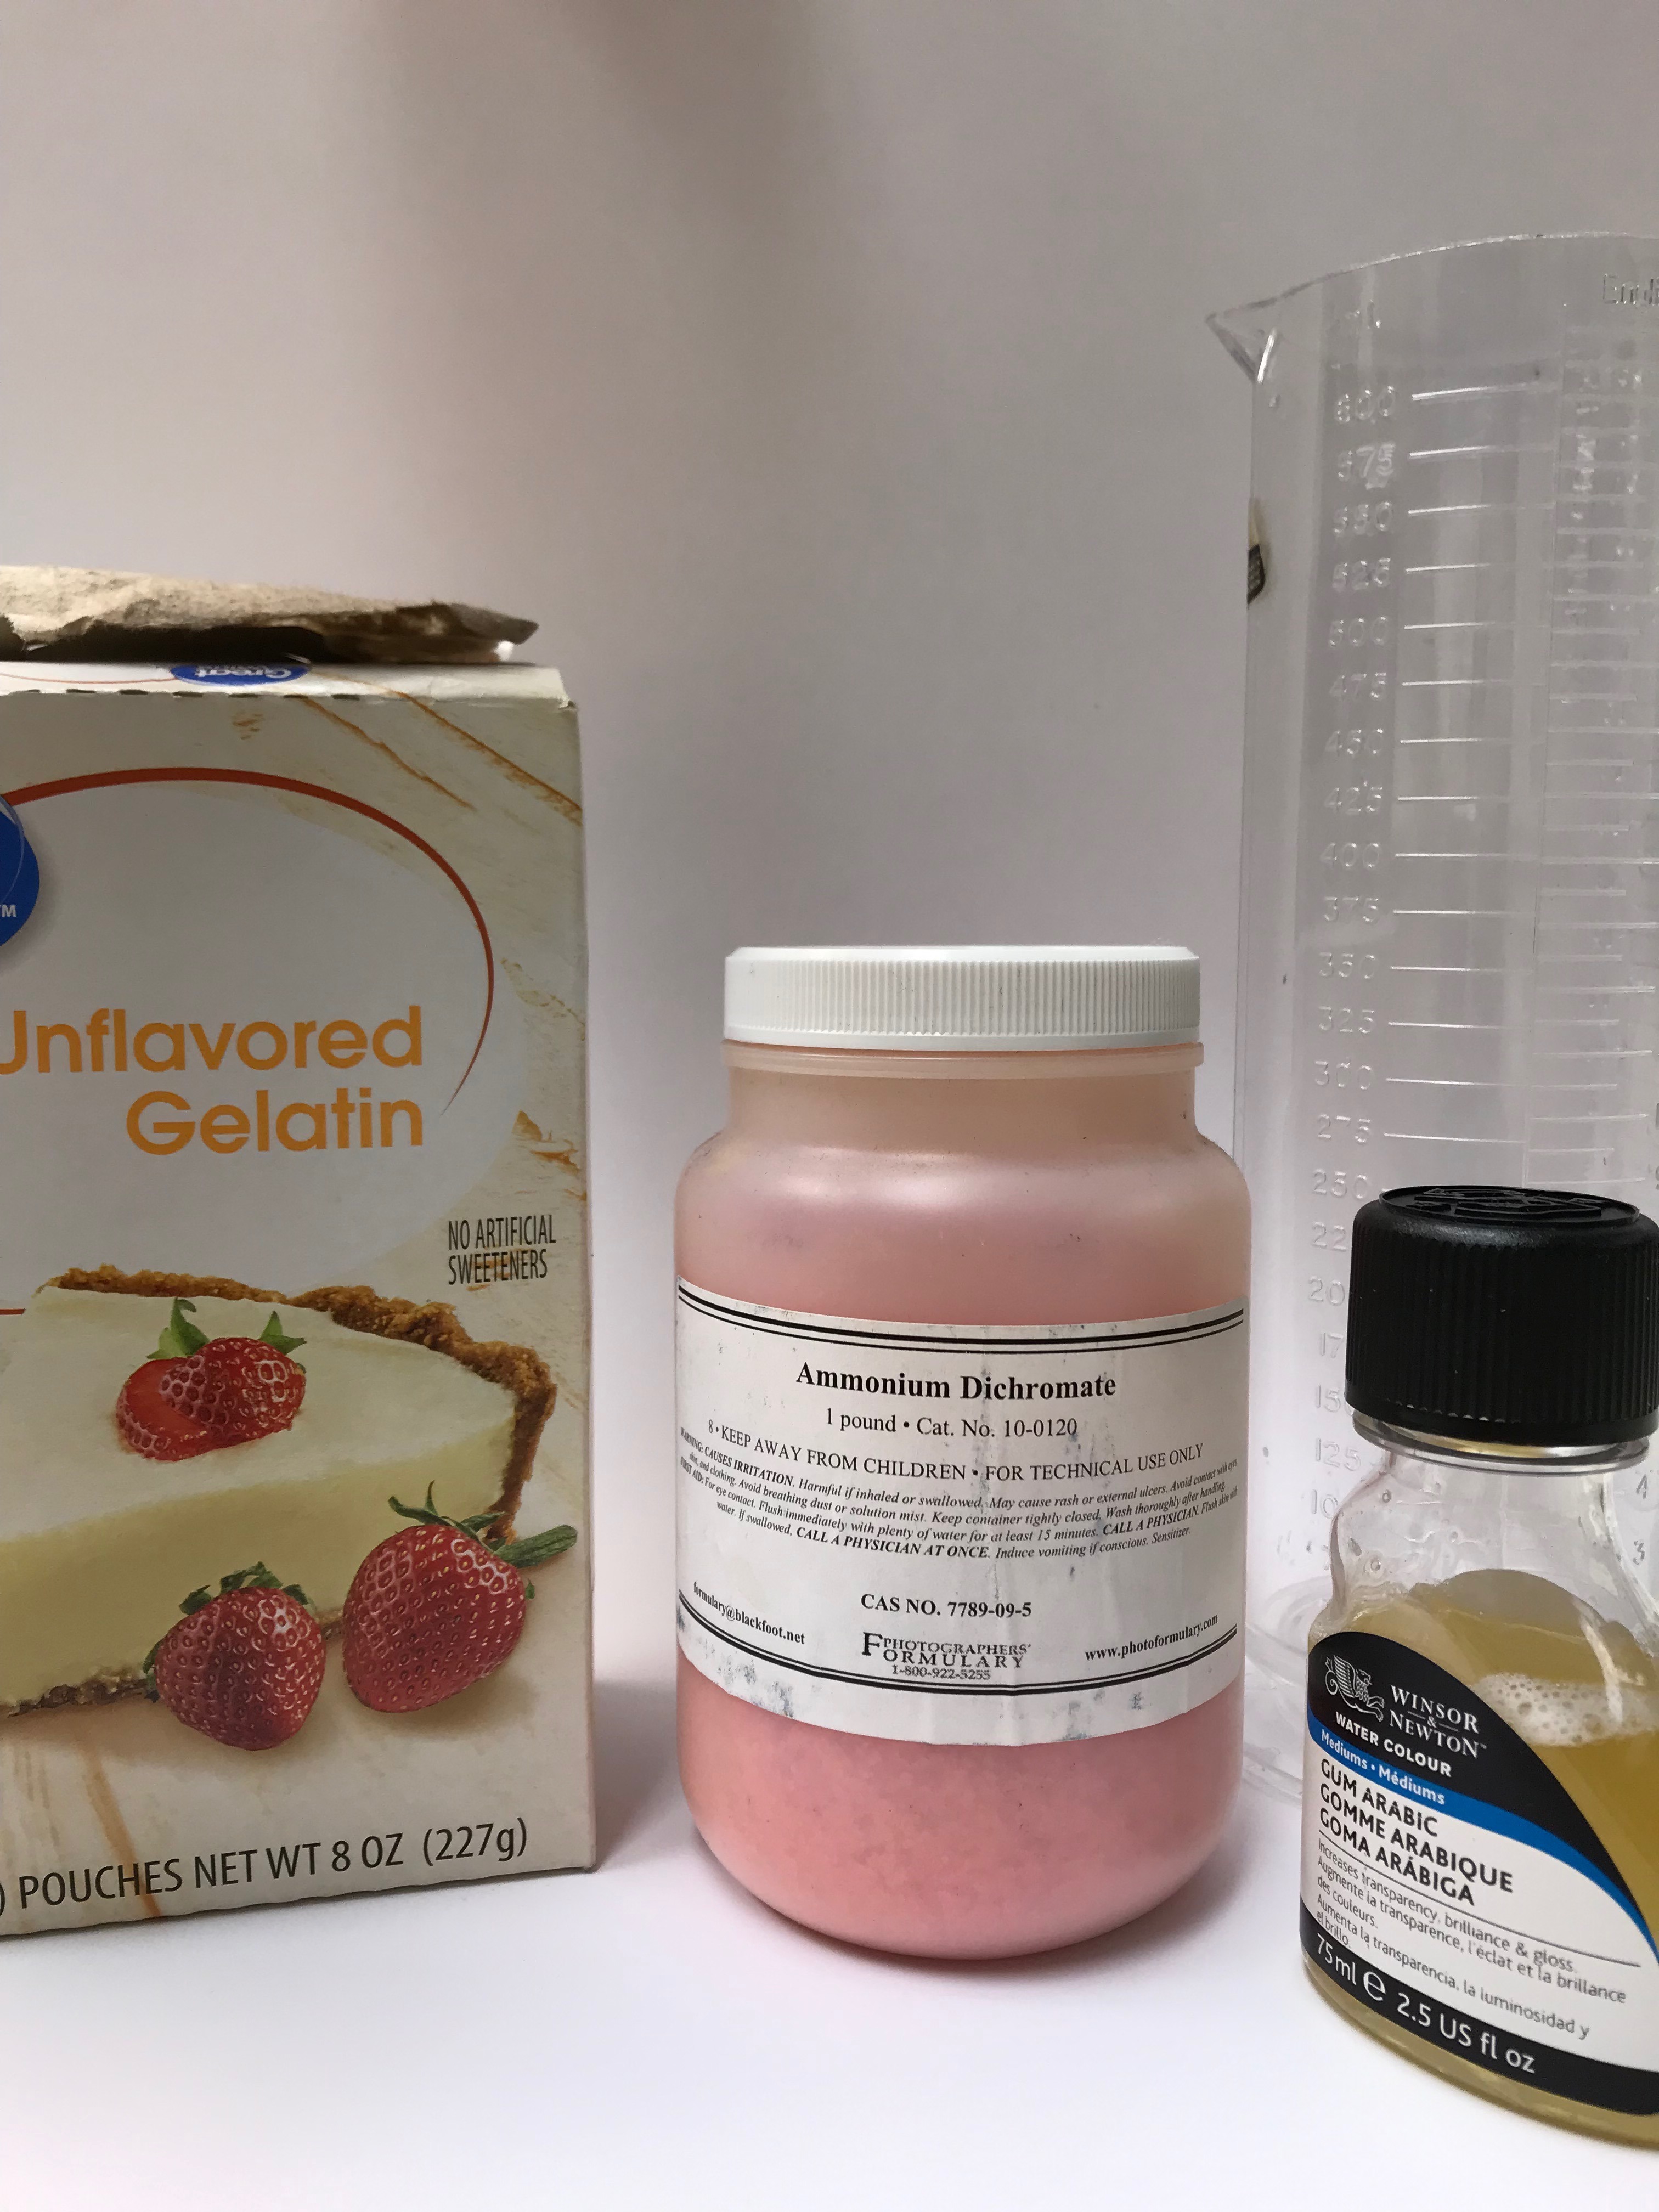
Supplies
- 6.5g Gelatin
- Water
- 5mL Ammonium Dichromate
- 10mL Gum Arabic Watercolor (Cyan, Magenta, Yellow)
- Watercolor Paper
- OHP Transparency Film
- Printer
- Access to Photoshop
Get Supplies
- Gelatin
- Water
- Ammonium Dichromate
- Gum Arabic
- Watercolor (Cyan, Magenta, Yellow)
- Watercolor Paper
- OHP Transparency Film
- Printer
- Access to Photoshop
Sizing
.JPG)
Sizing is probably the most important step (though probably the least exciting). Sizing is needed to keep the later chemicals from simply washing off your paper.
For sizing you'll need:
- 250mL of warm water
- 6.5g of Gelatin
- *Watercolor Paper
*Note: I used Arches cold press watercolor paper, but any watercolor paper will work.
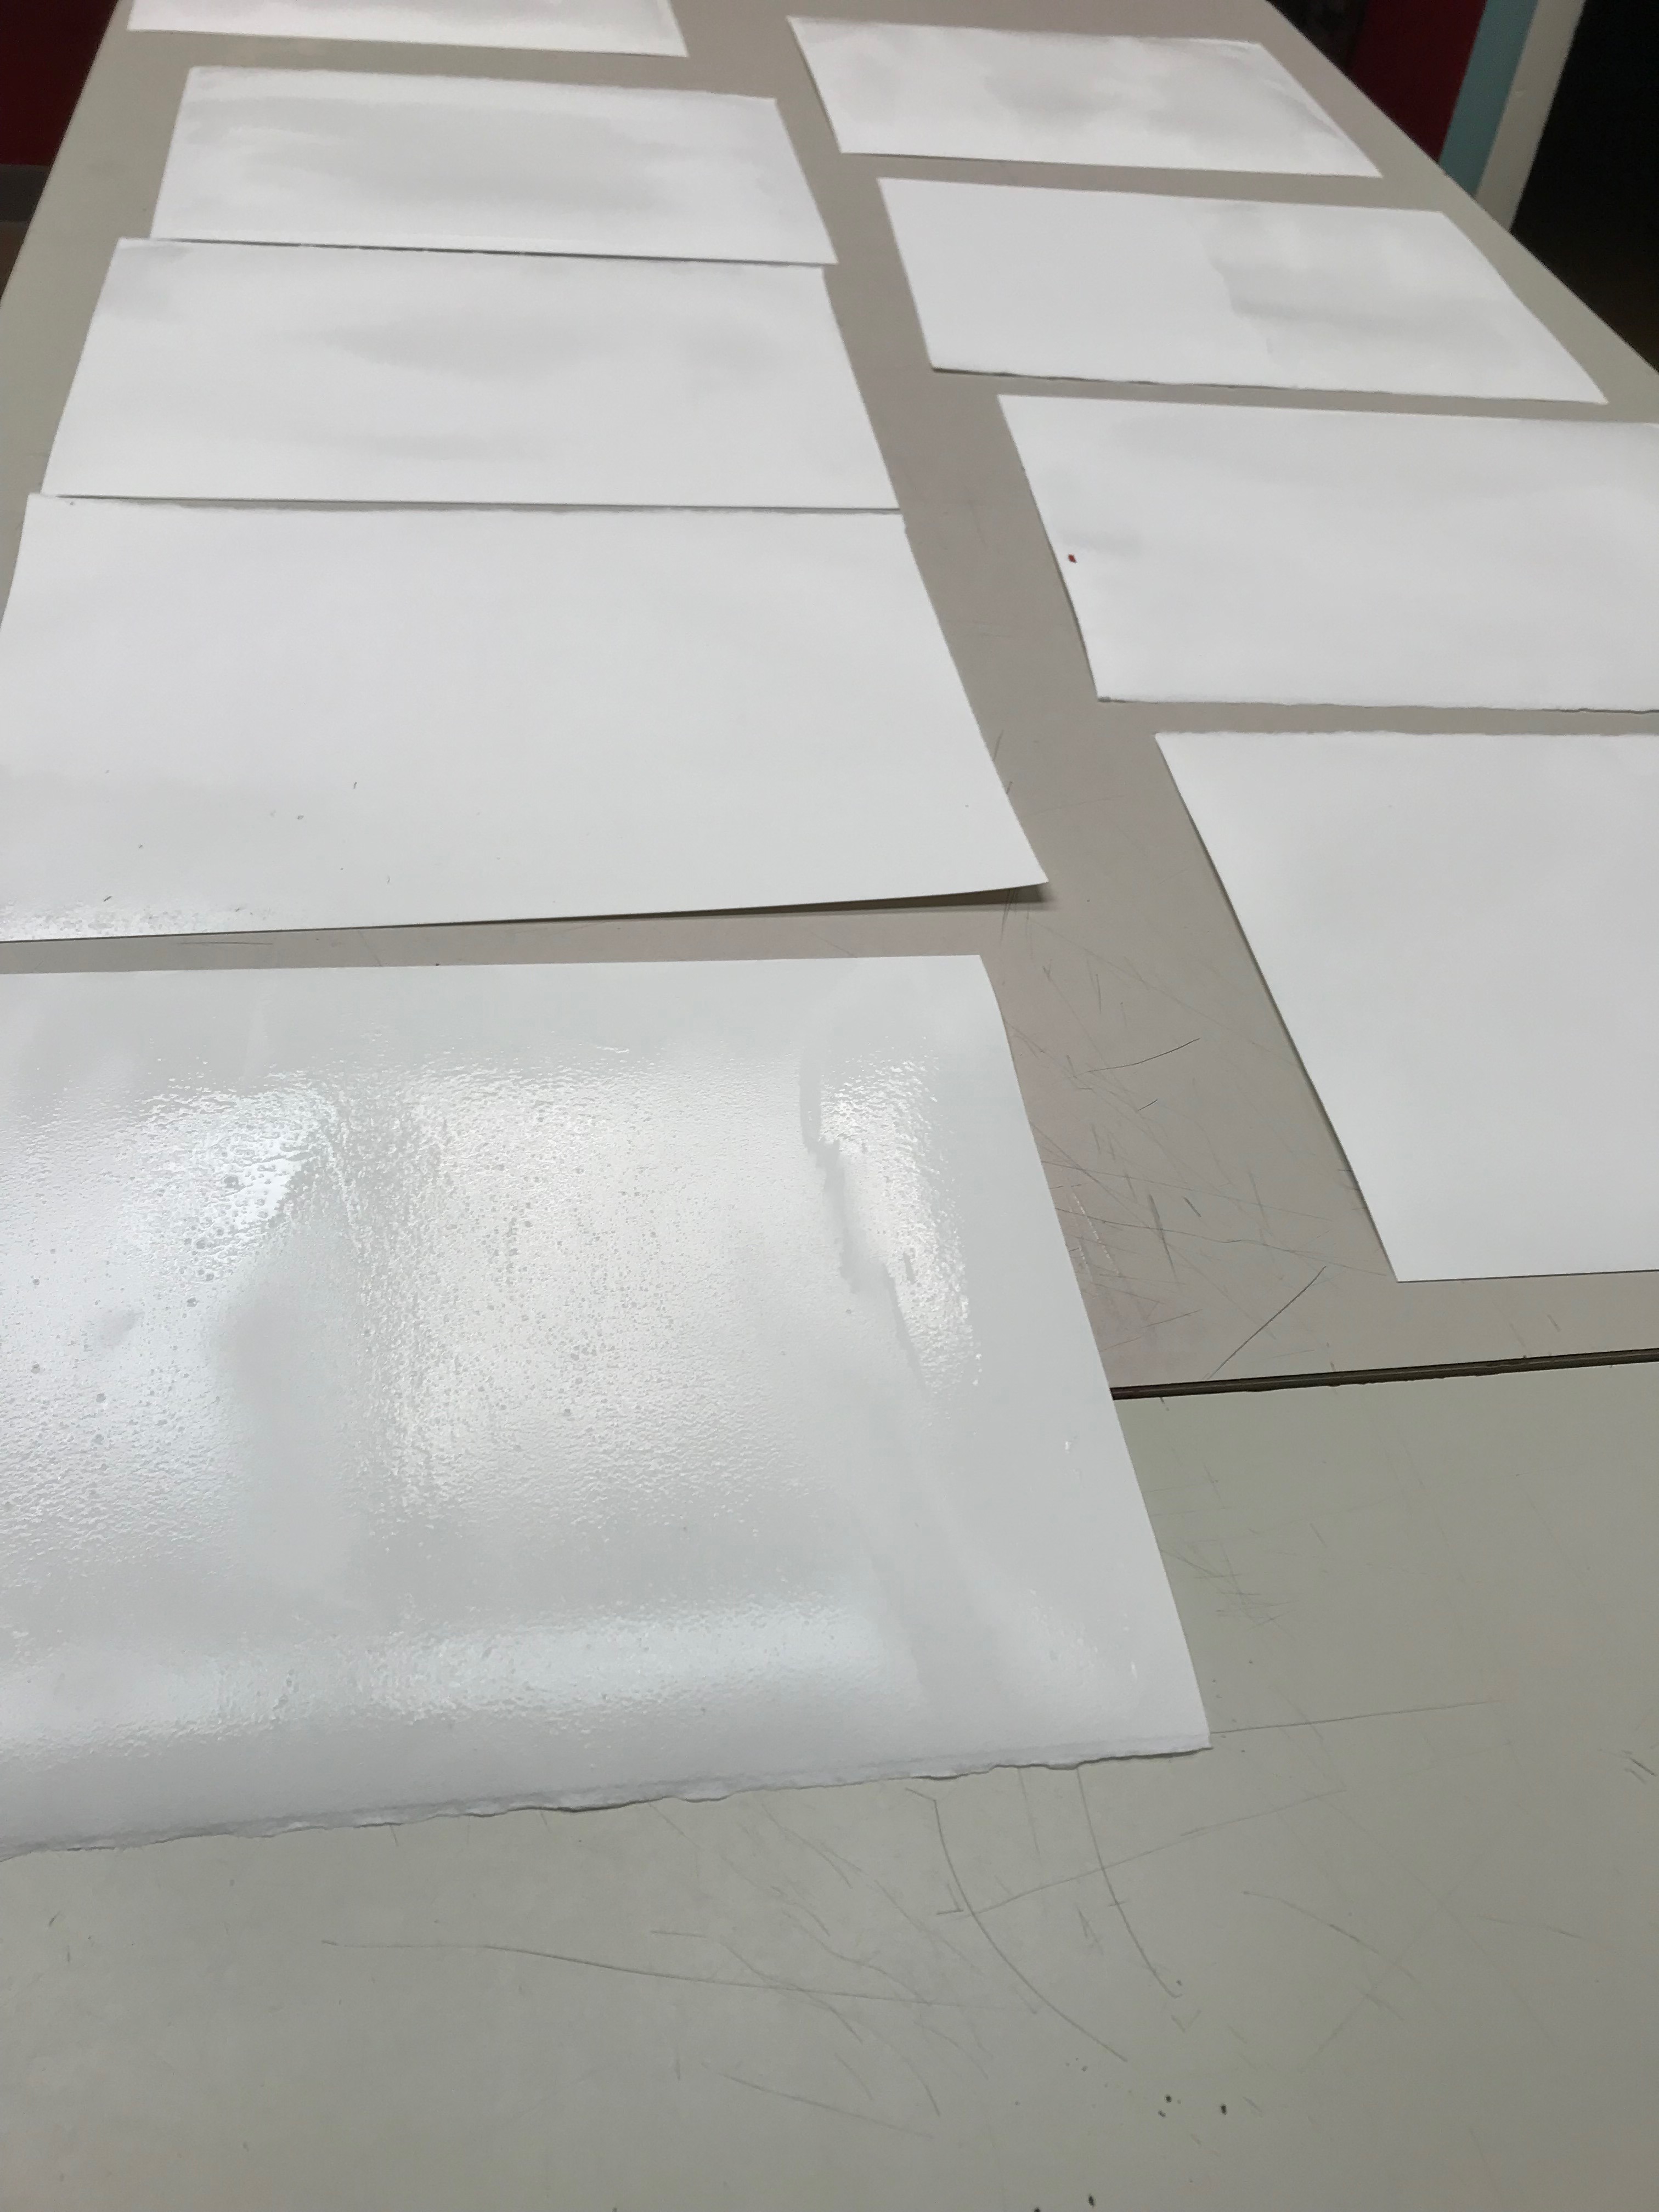
Mix the Gelatin and the Water
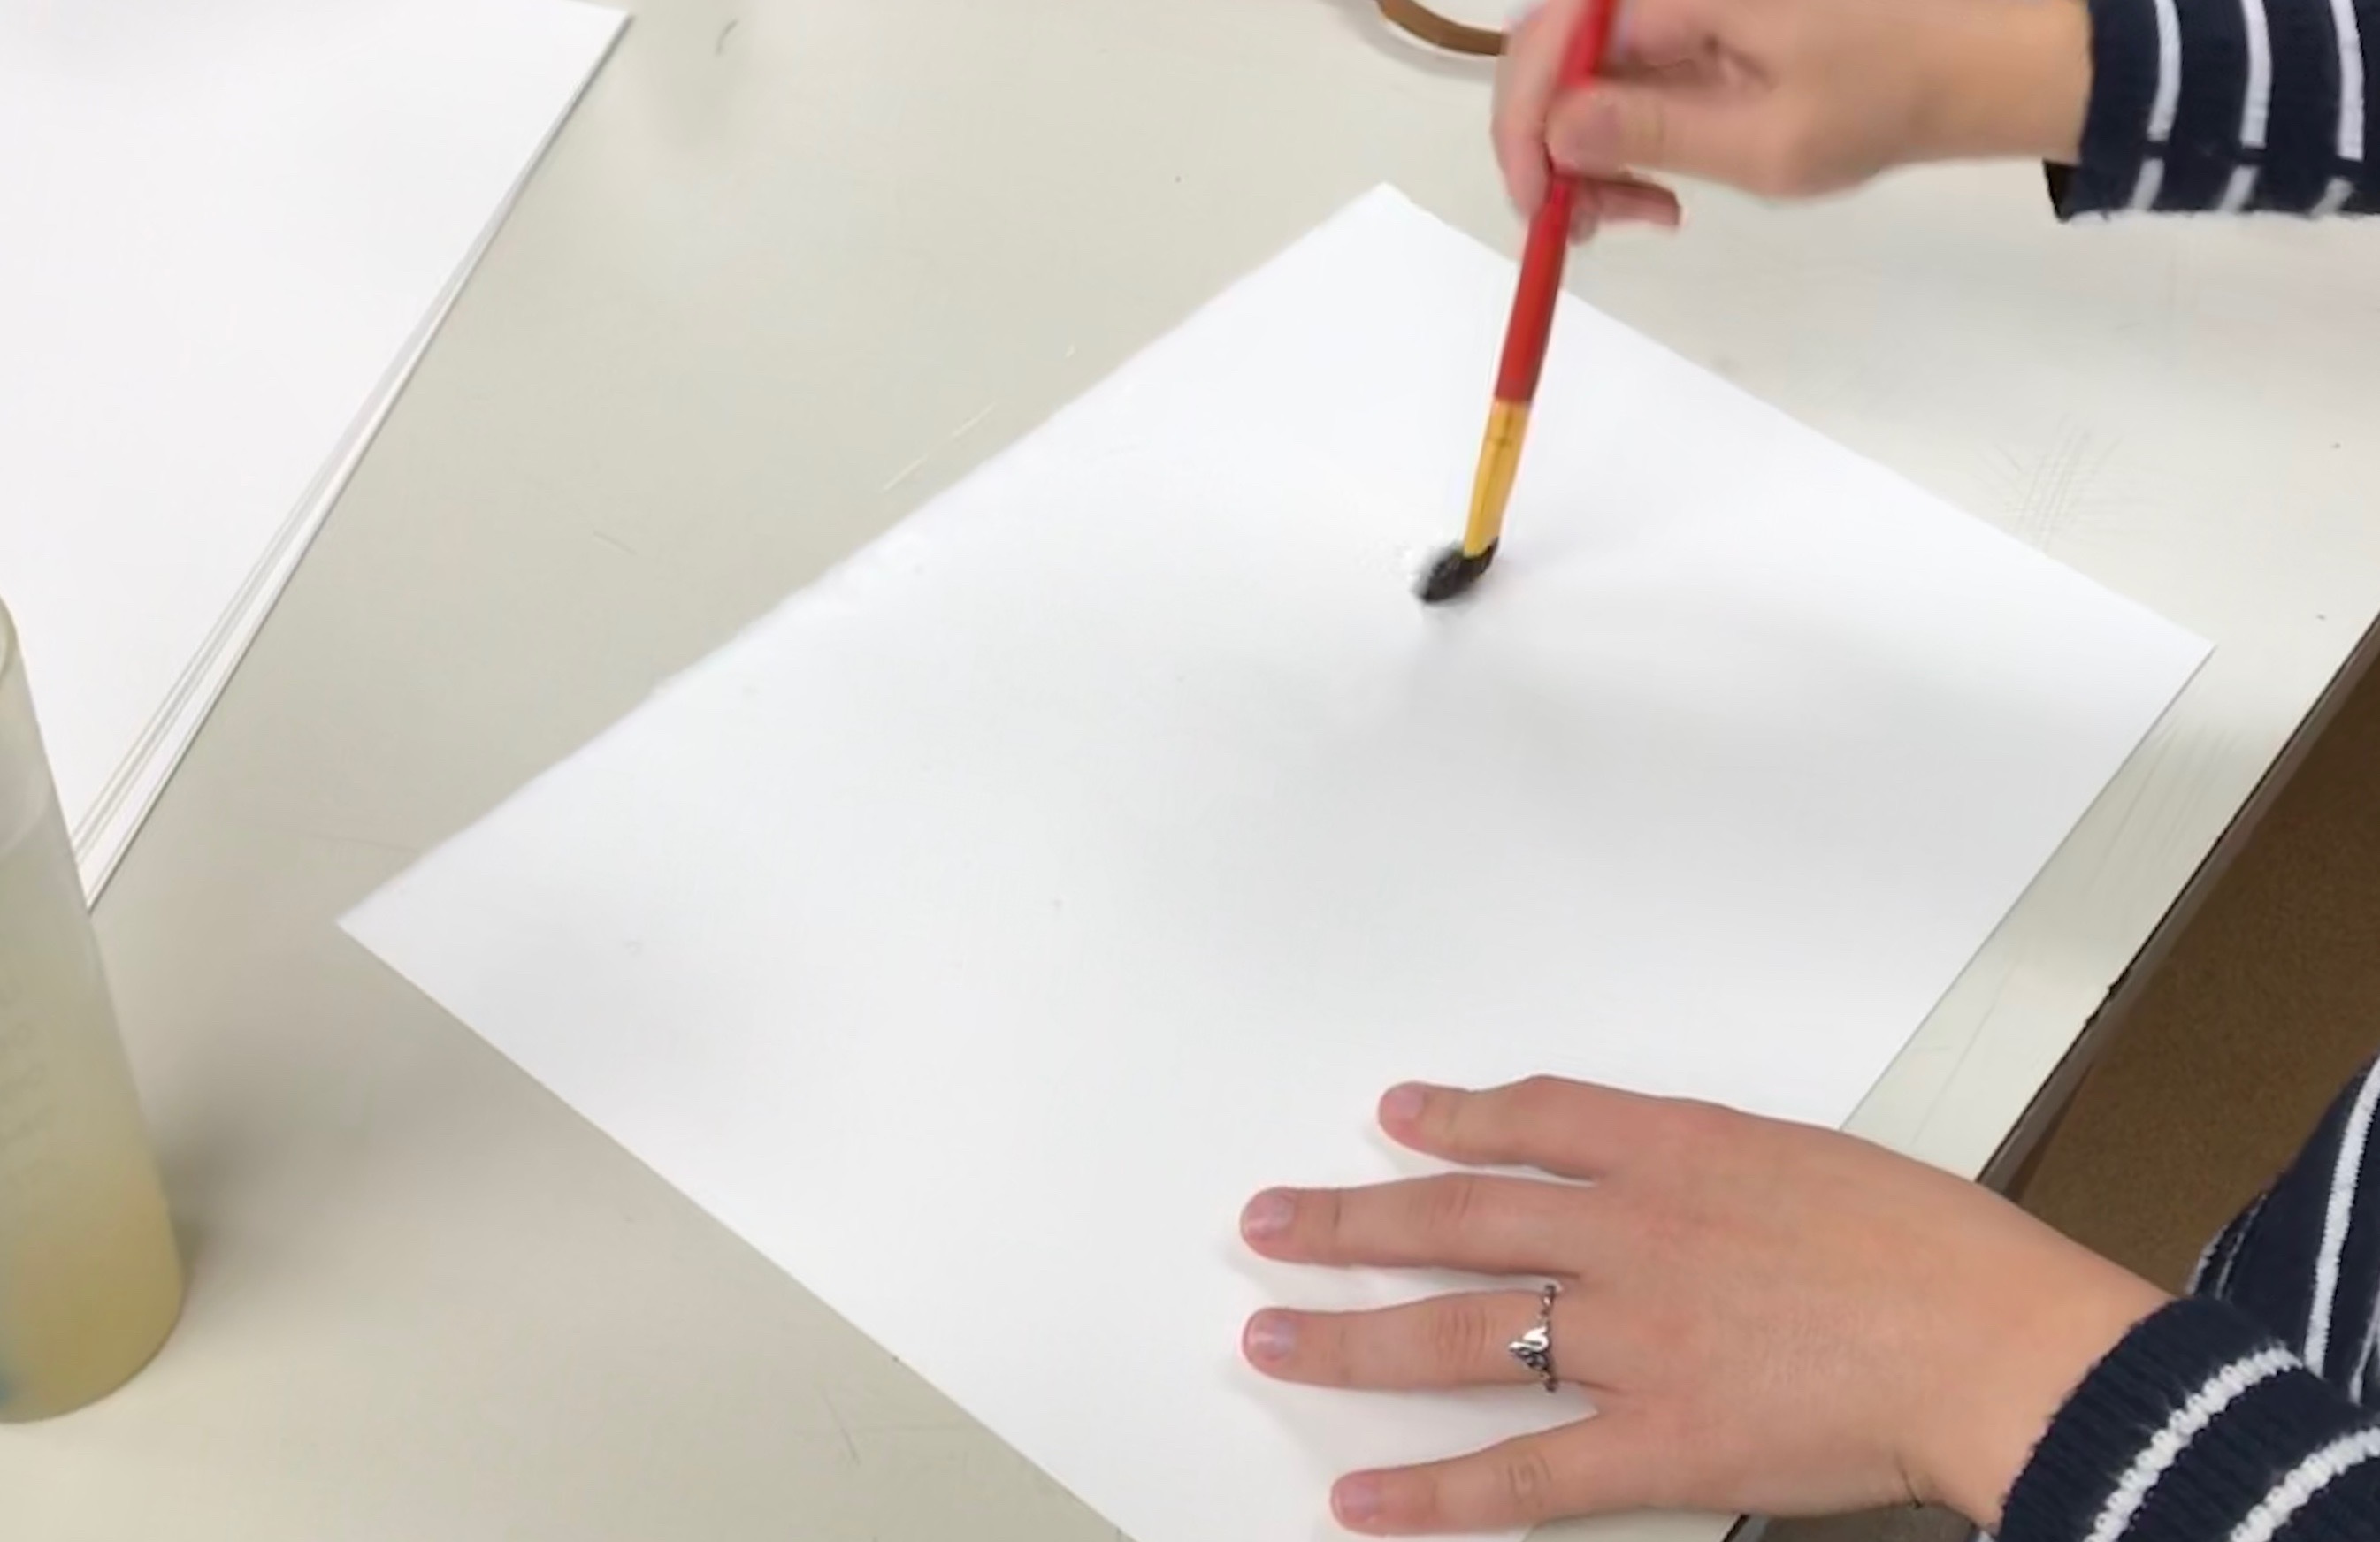
Paint the Gelatin-Water Mixture on Your Paper
Let the Paper Dry Overnight
Creating Your Digital Negatives
This is a great step to do while your watercolor paper is drying. I personally love this step, but it can be a little complicated.
What is a Digital Negative? Well, back in the dark ages when people used film cameras, photographs were captured as negatives on film. A negative is essentially an inverse of an image. The bright places are dark and the dark places are light. Essentially, we are going to be taking a digital photo and turning it into a film negative.
For this step you will need:
- A digital camera
- Photoshop
- A printer
- HPO Transparency Paper
- Masking Tape
Take the Photo
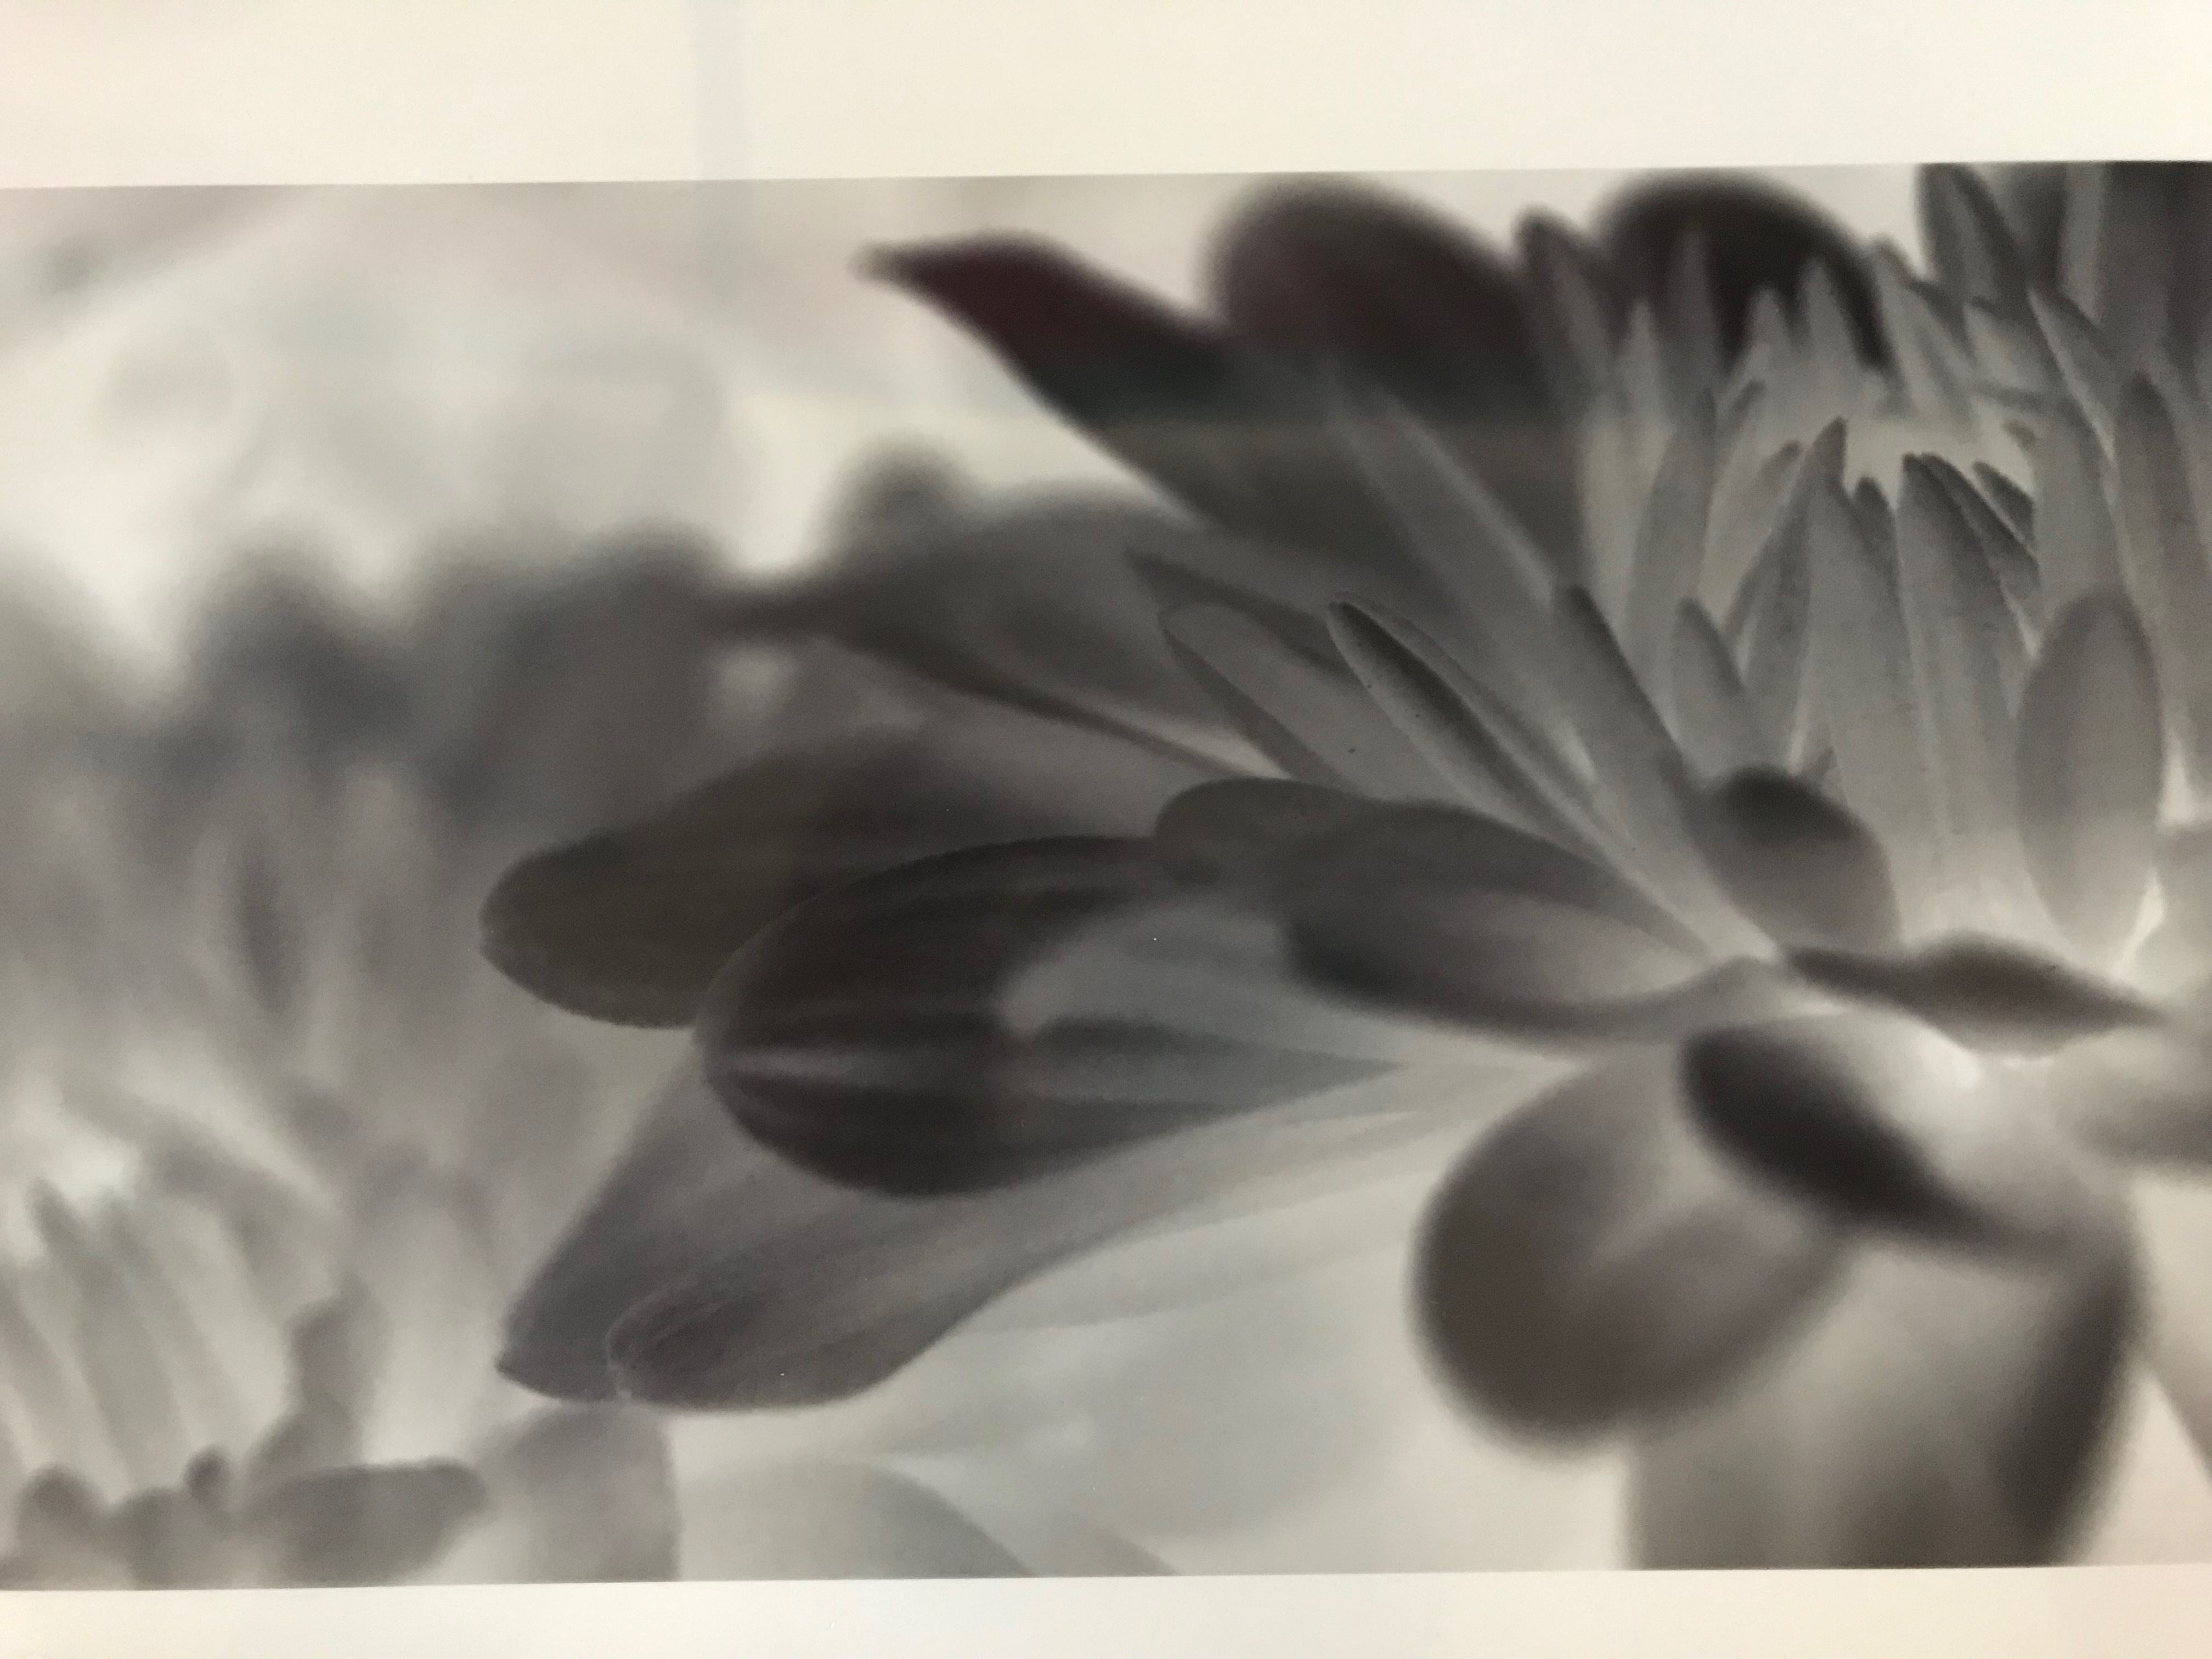
The first thing you are going to have to do is take your photo. You can use anything from a nice digital camera to your cellphone. I took a photo of a flower on my Sony digital camera.
Once you have your picture, upload it to Photoshop.
Split Channels
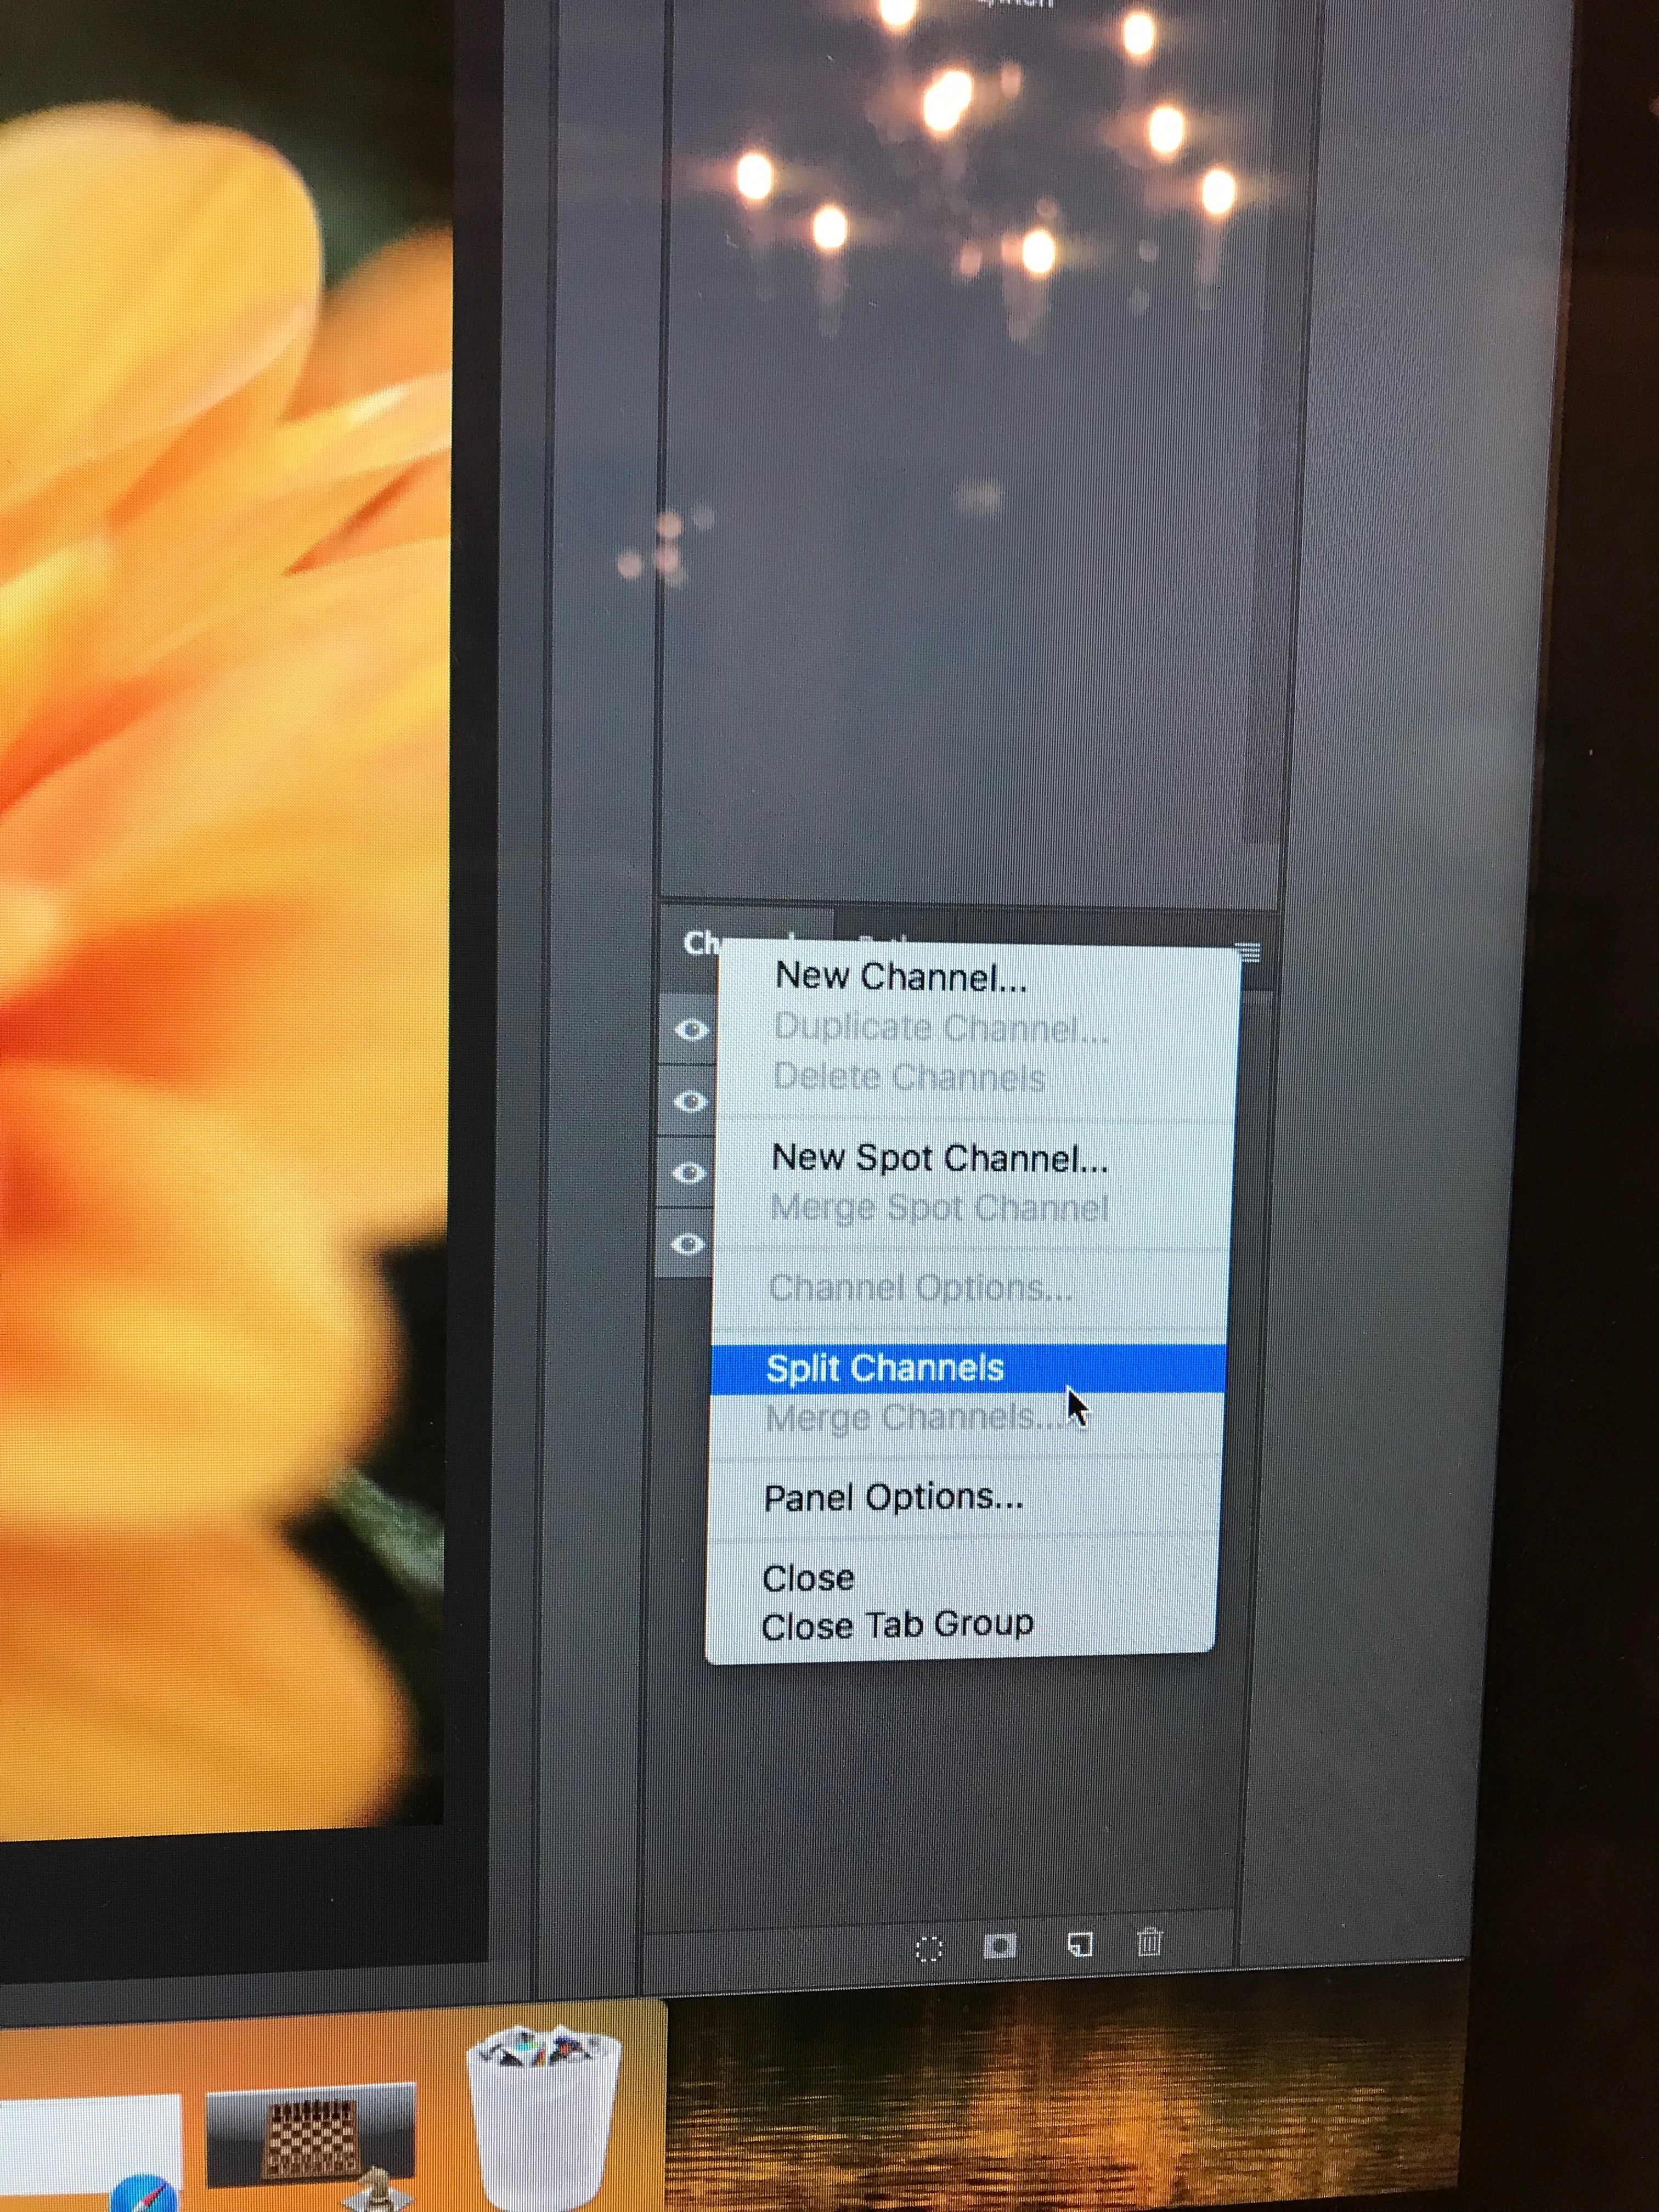
Once your photo is uploaded, go to the Channels bar. (It will probably be on the right near 'Layers.') Click the triple line drop down bar in the top right corner and click "Split Channels."
This will give you three separate tabs open labeled Red, Green, and Blue. These are your channels. One the Red Channel, the darkest places are where you have a lot of red in your image. The lightest places are where you have little to no red in your image. Same for the Green and Blue channels.
Invert Channels
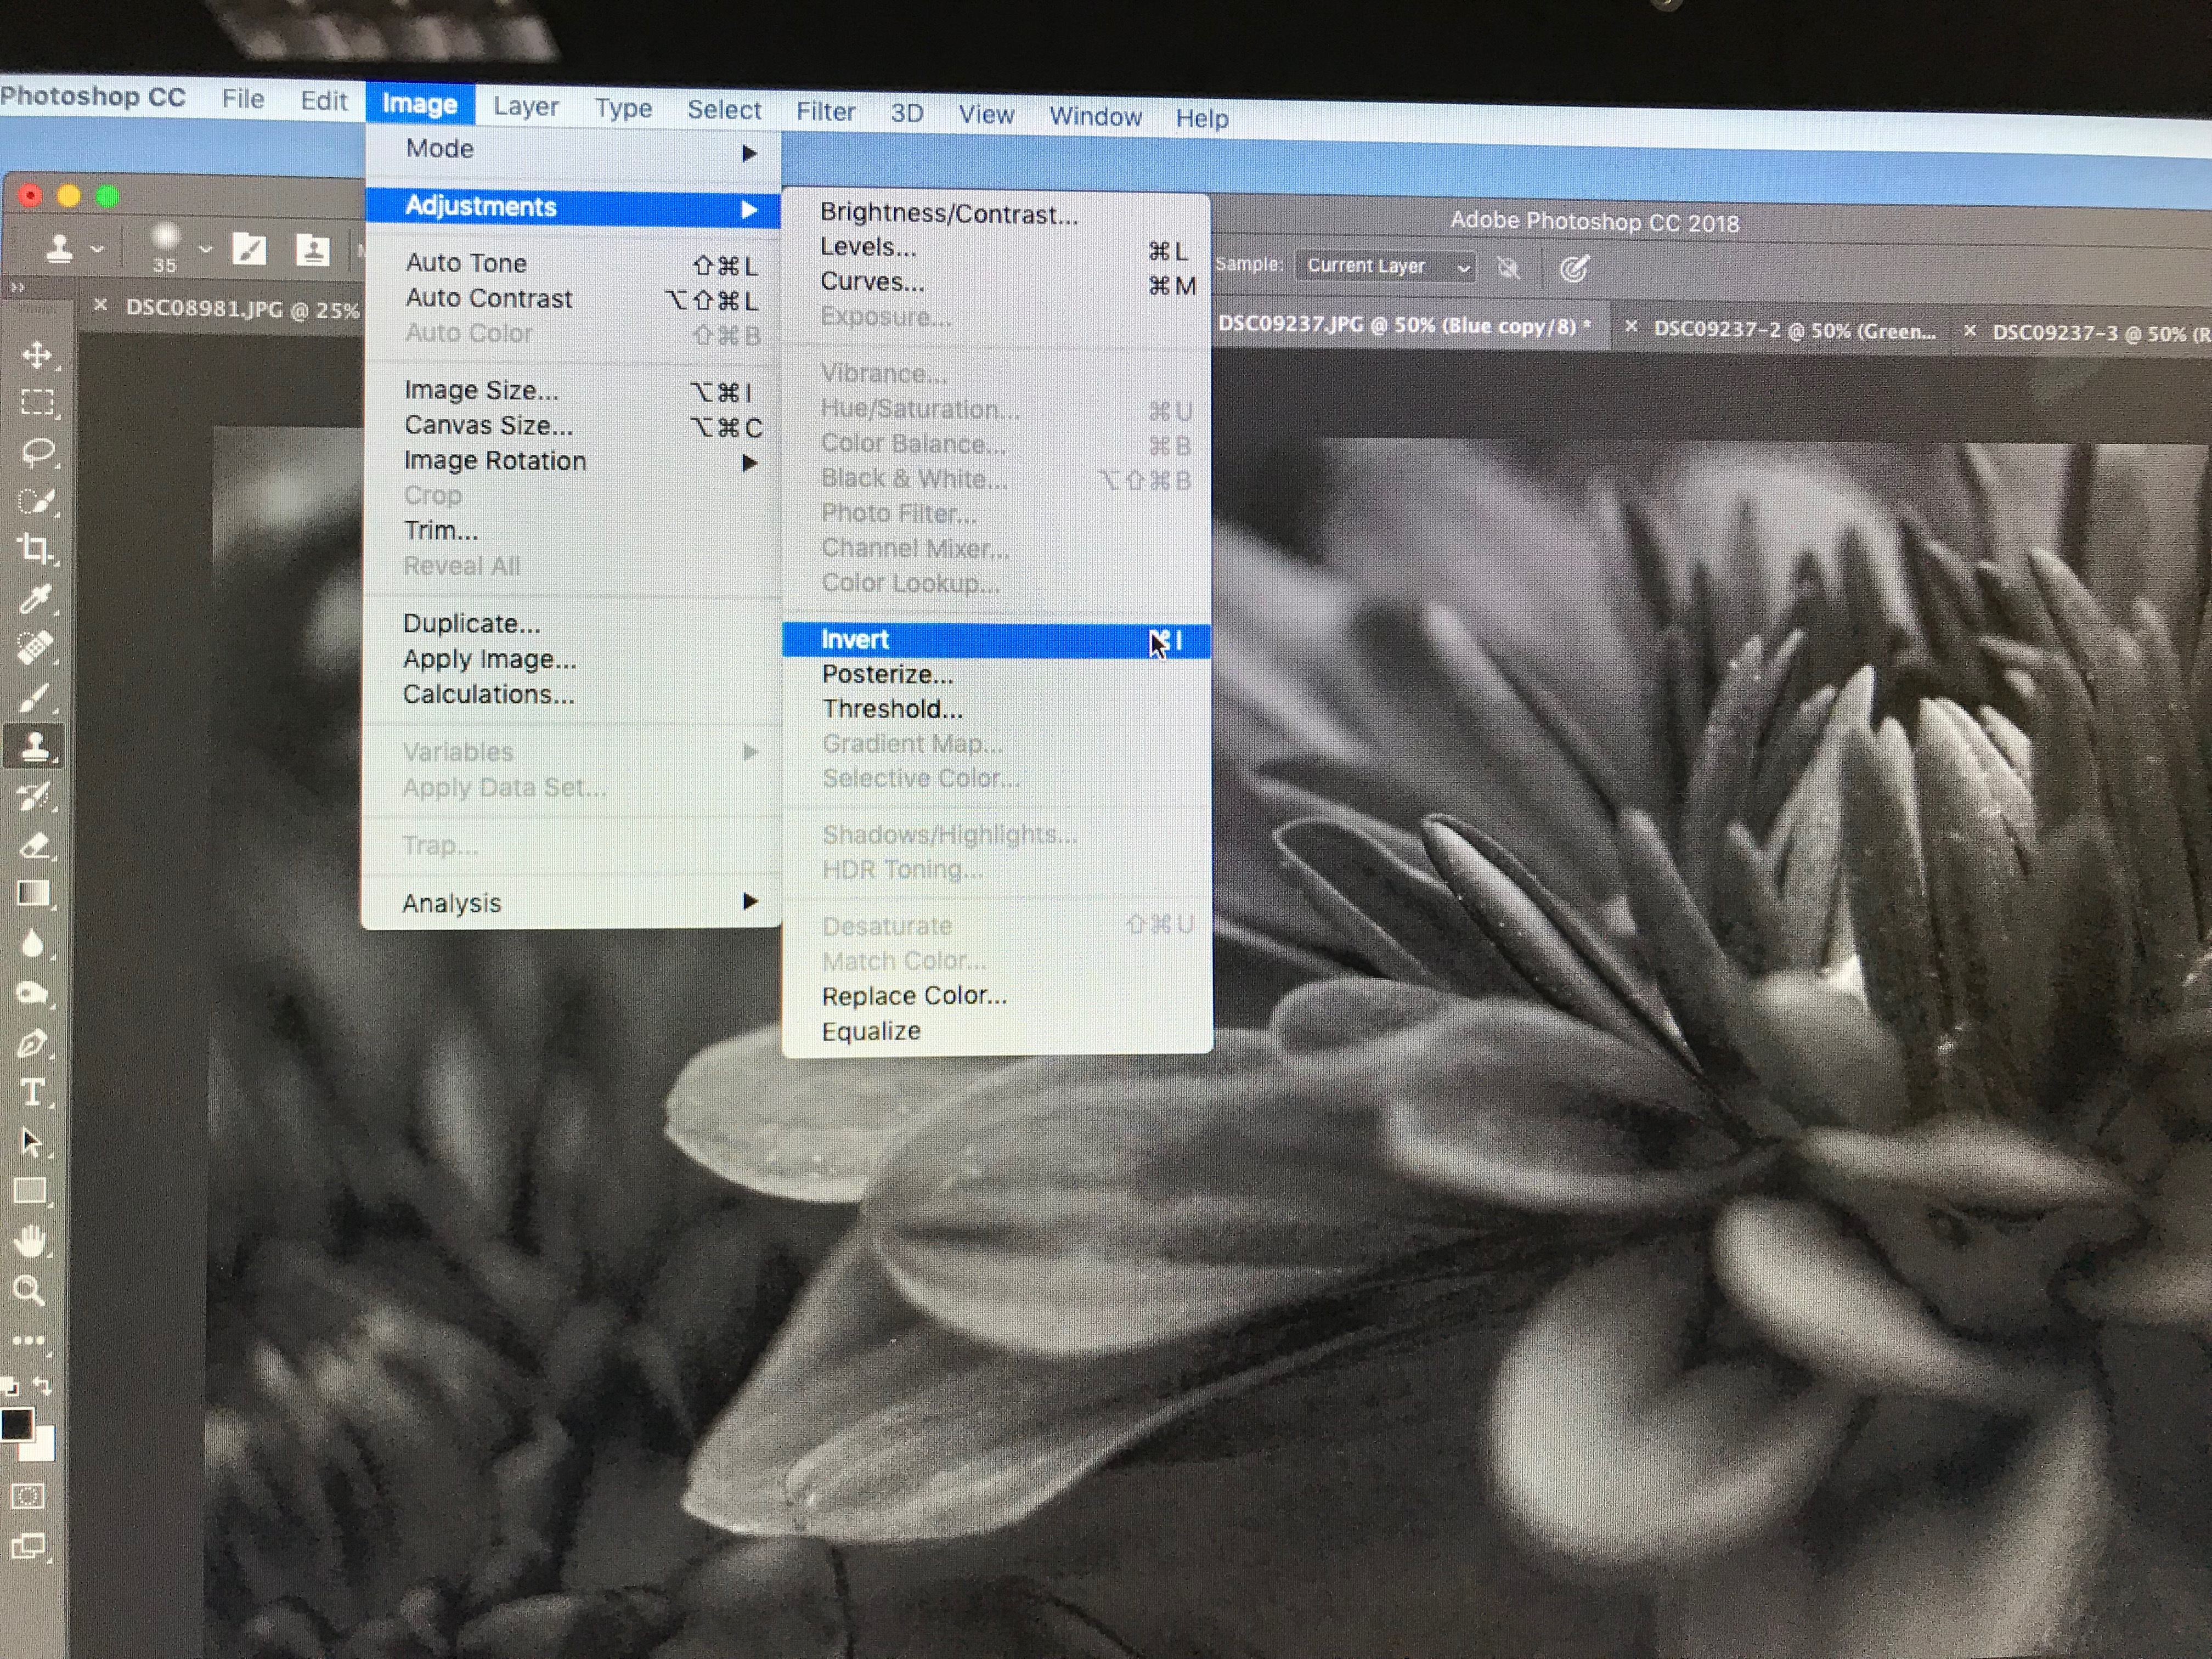
Now you are going to invert all three channels. To do this, go to Image -> Adjustments -> Invert.
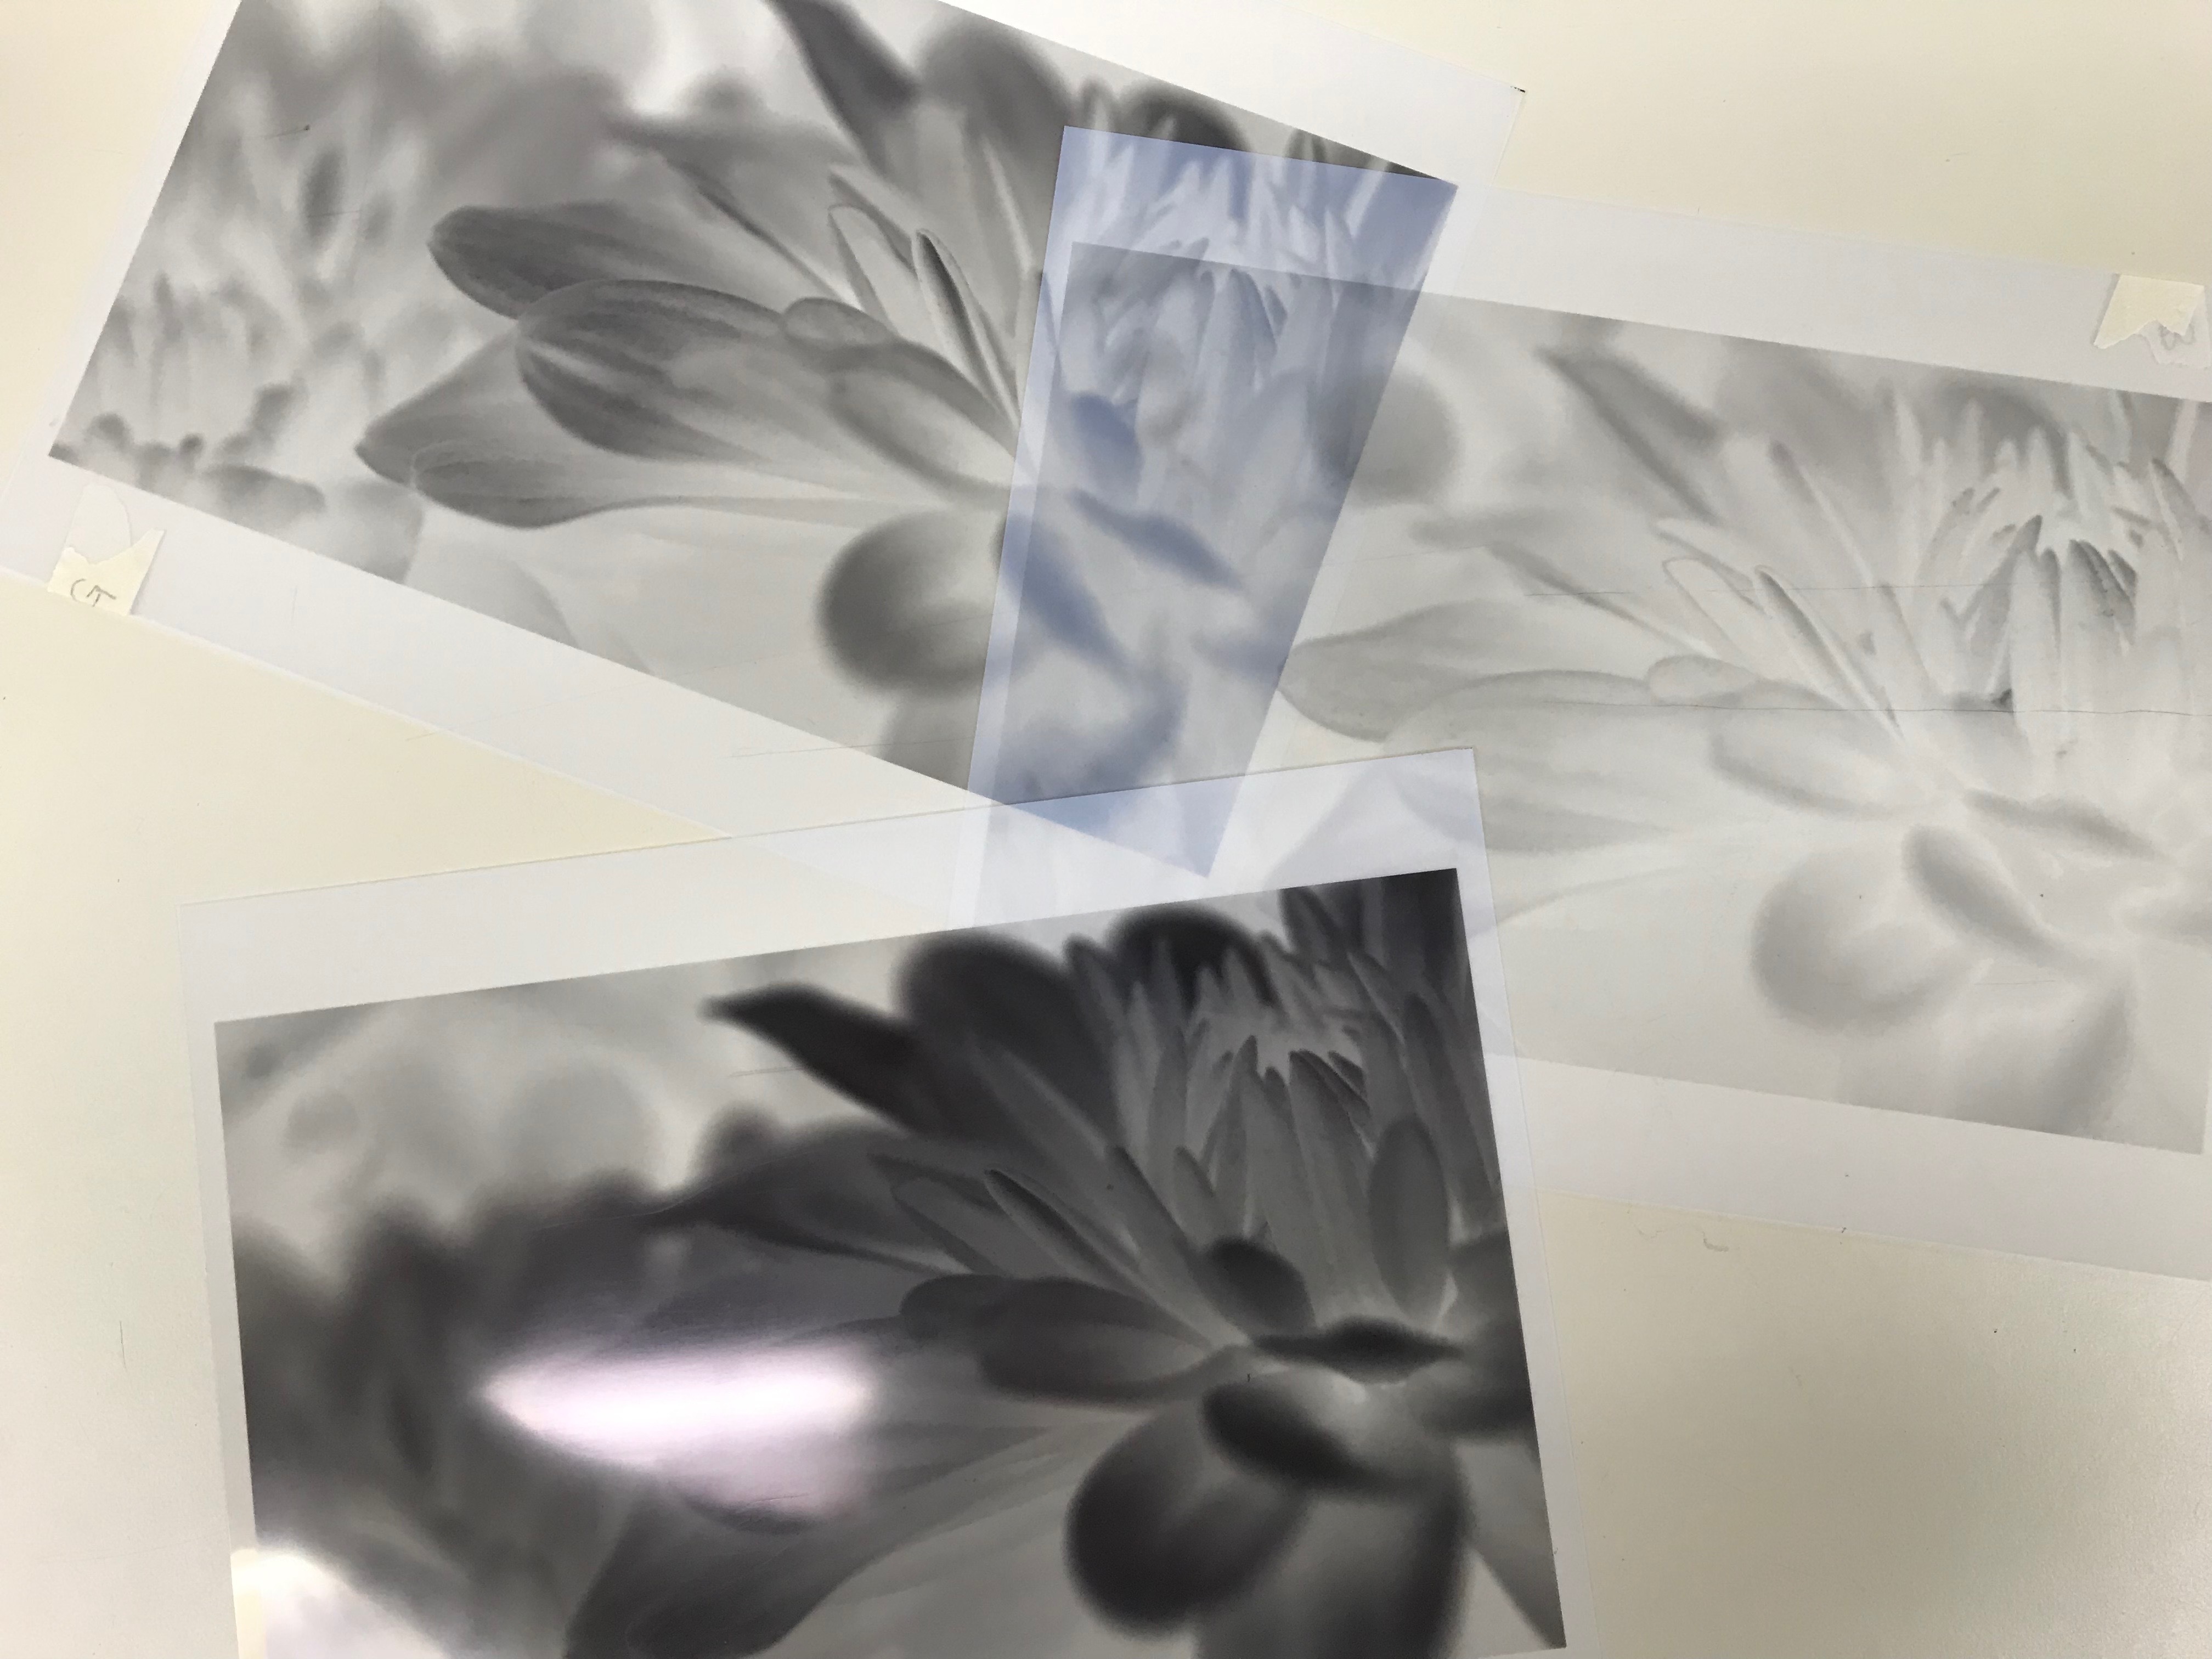
Print Digital Negatives
You've created your digital negatives! Now you just have to print it. Put Transparency Film paper into your printer (I used the Pictorico brand) and print! Keep in mind that you may have to adjust your printer settings.
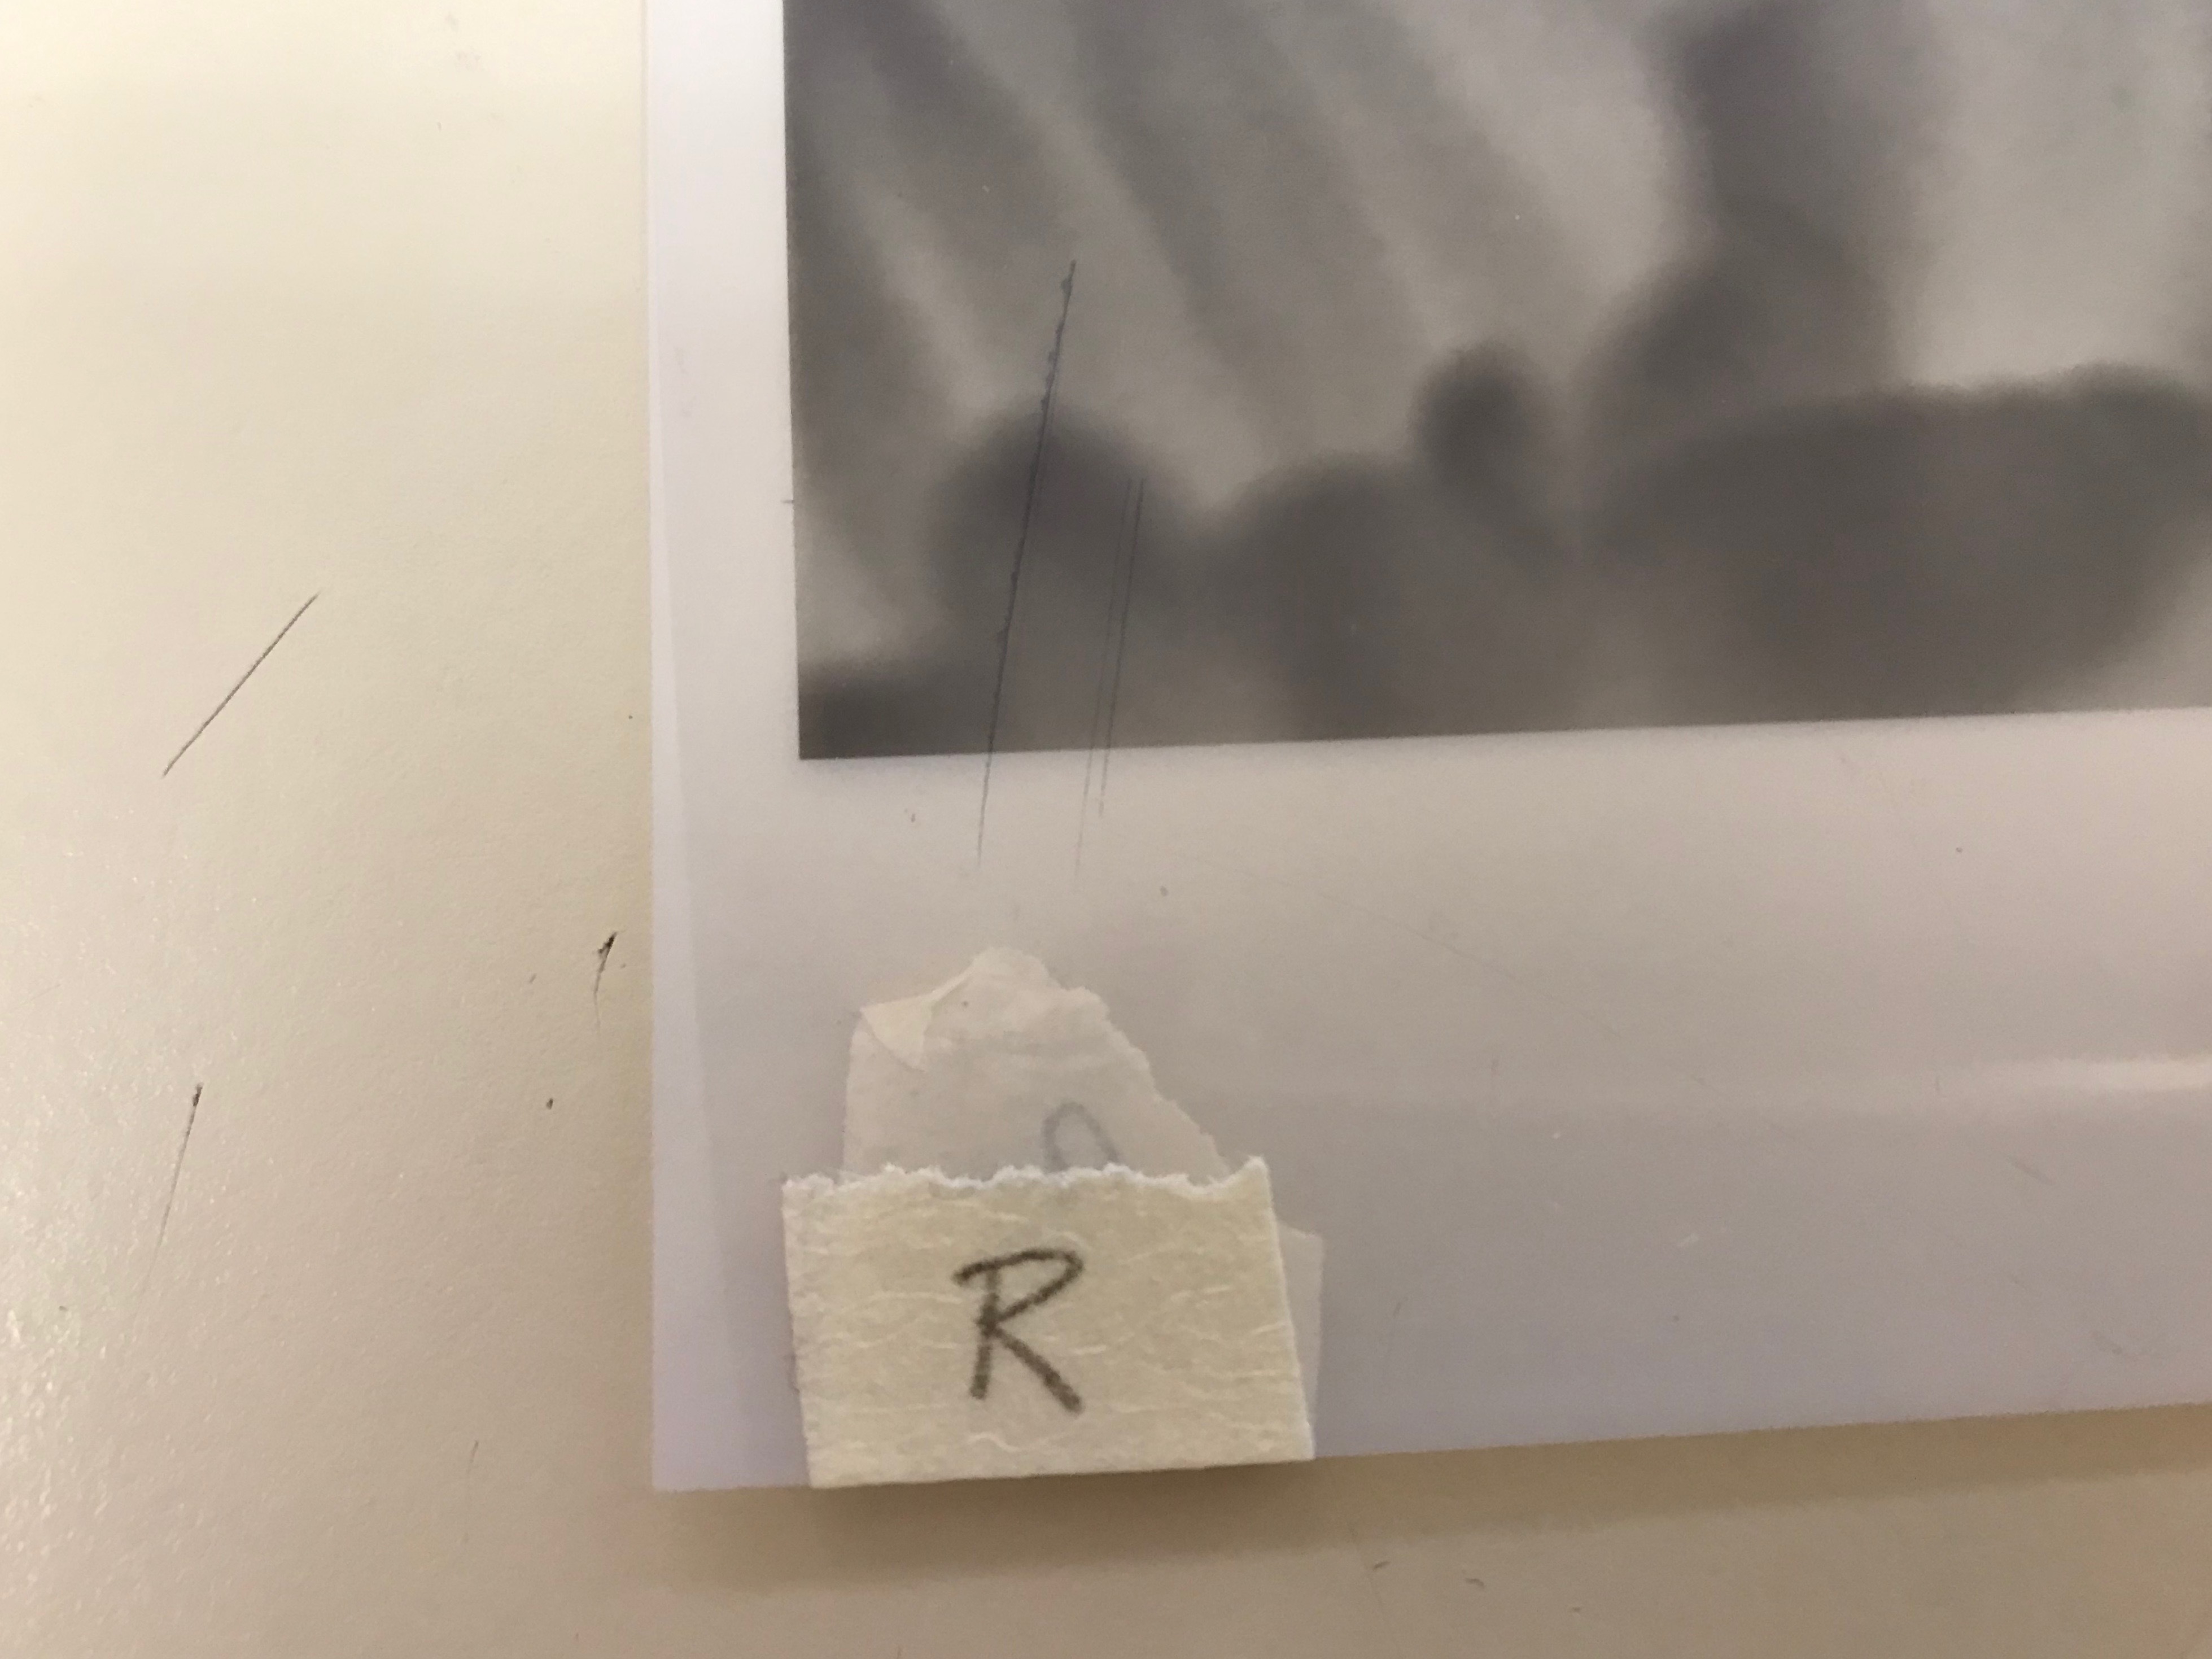
Mark Which Channel Is Which
Sensitizing
Now that you have your paper and your digital negative, you are ready to 'print' your image. To do this, you will paint a pigmented light sensitive mixture onto your paper and expose it to sunlight.
For sensitizing you will need:
- 6g Ammonium Dichromate
- 100mL of water
- 5mL Gum Arabic
- 10mL Water
- 1inch Watercolor pigments
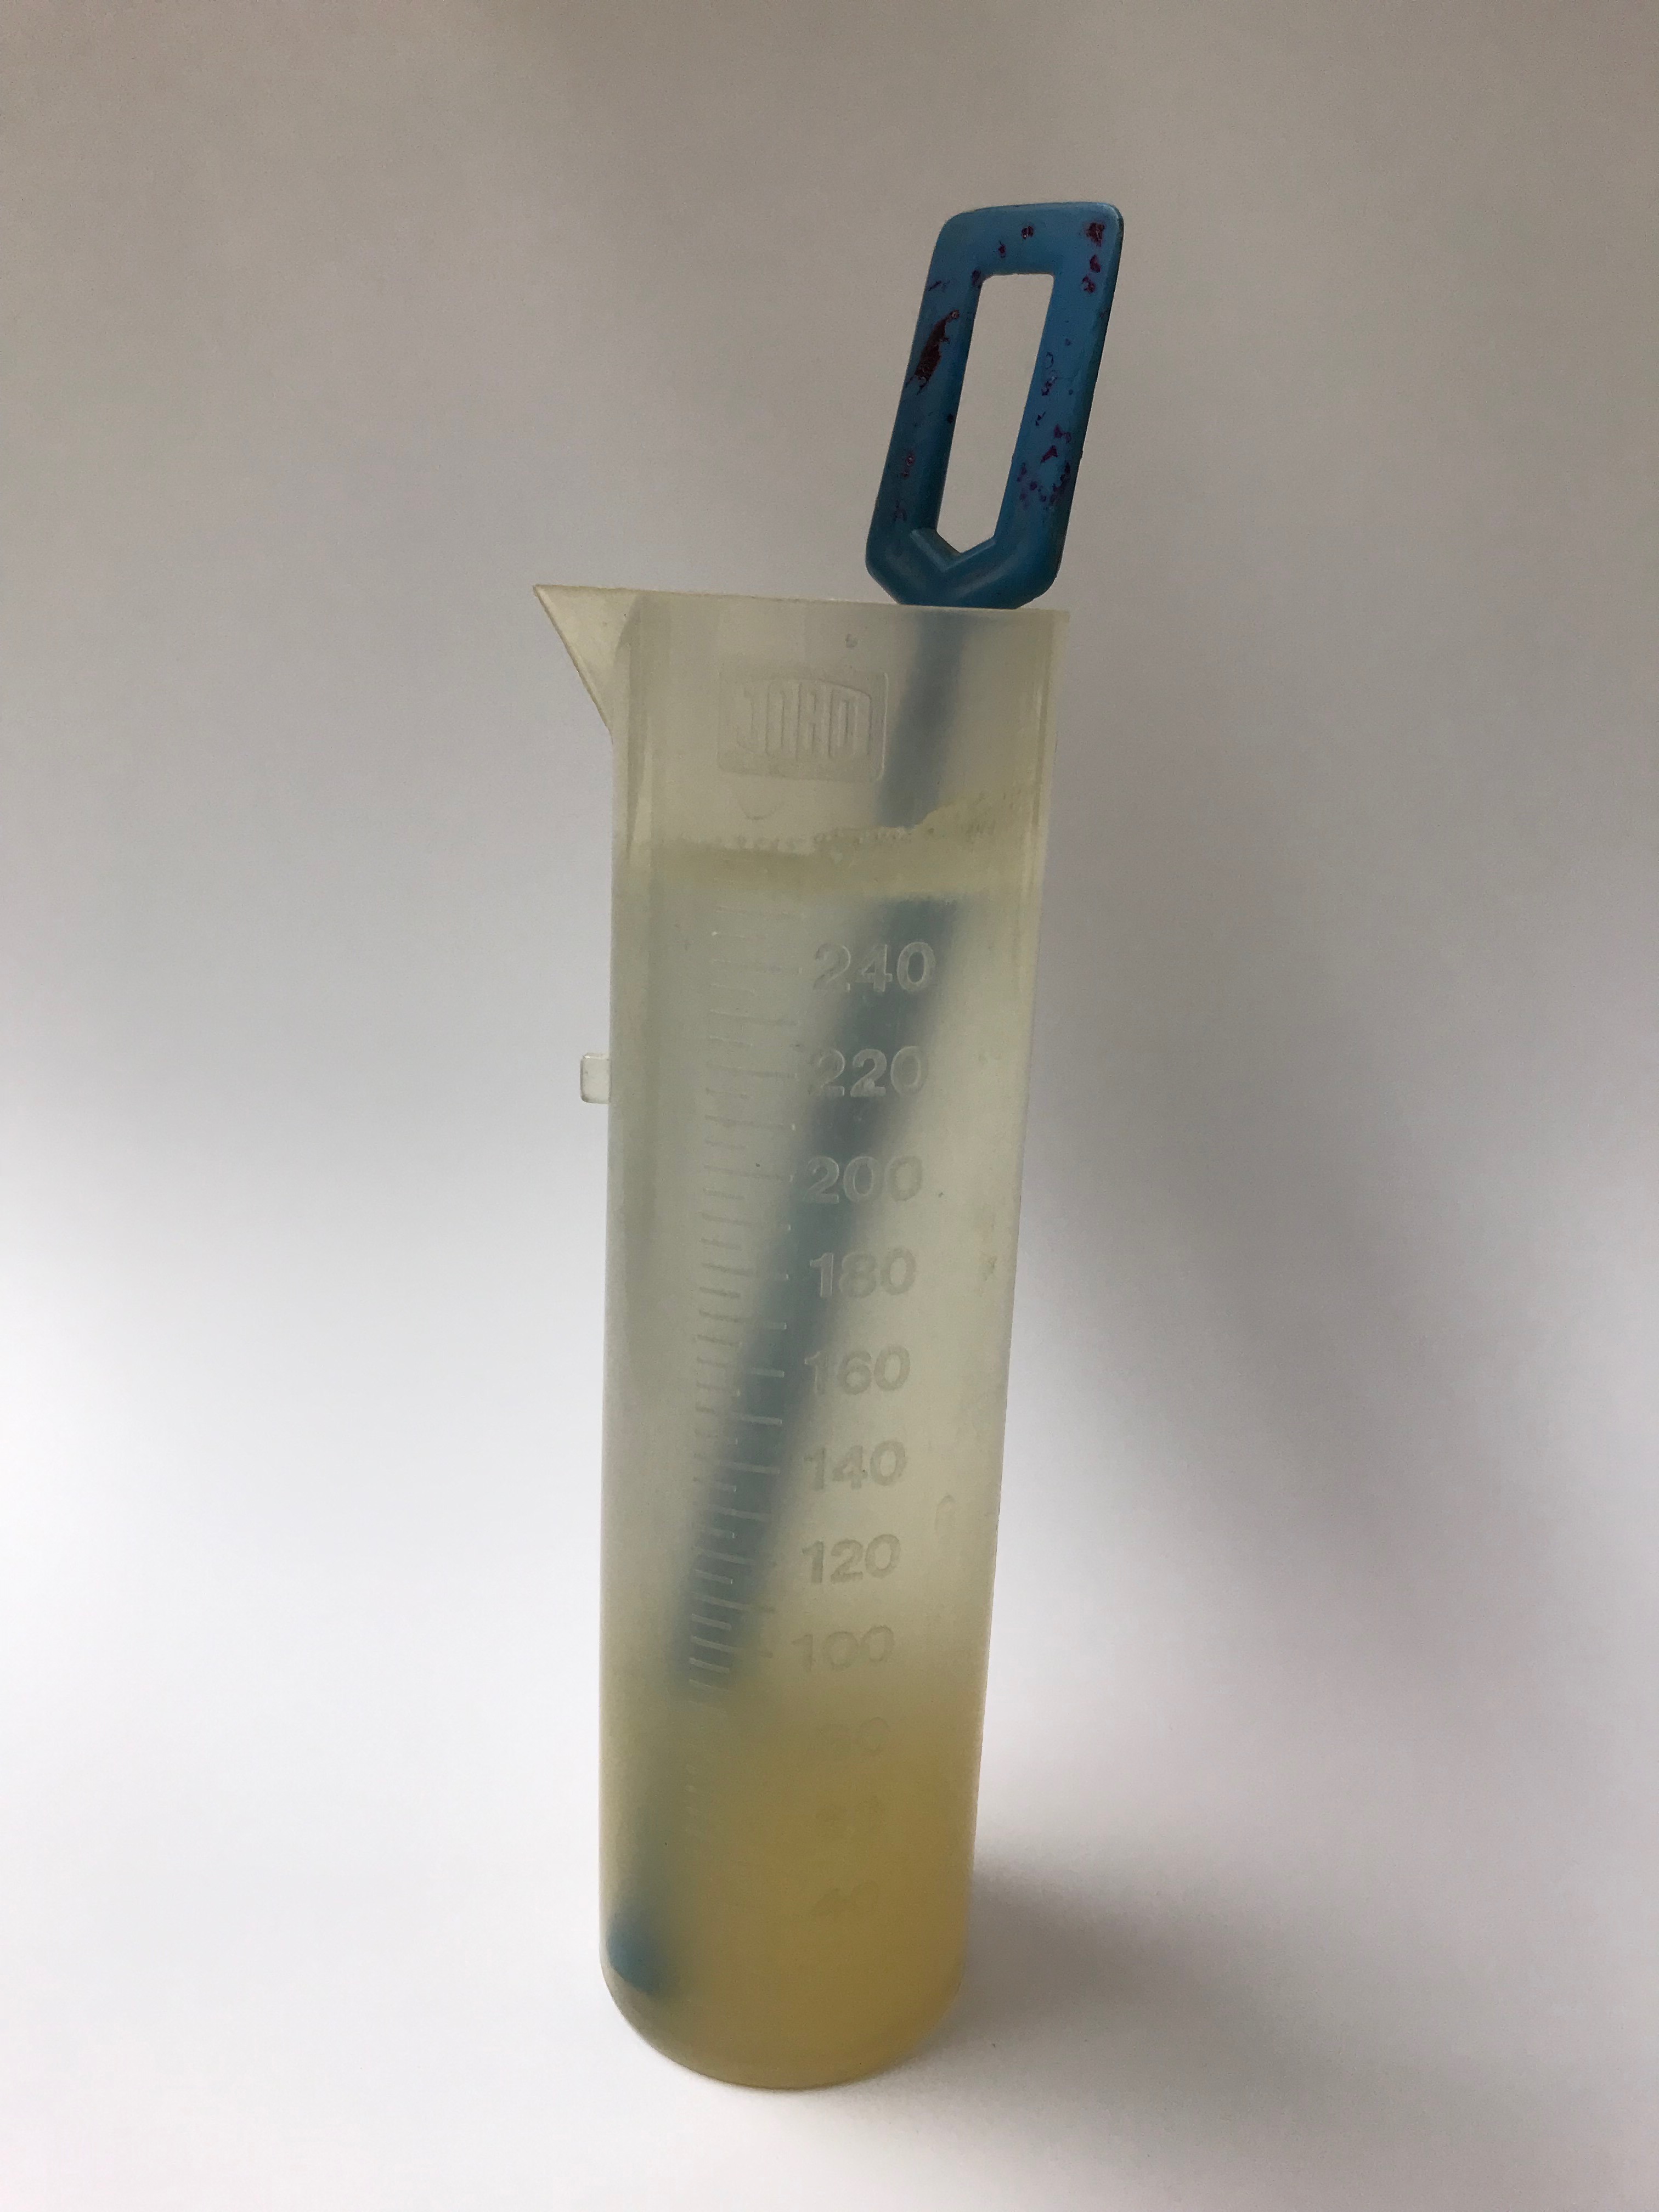
Mix the Ammonium Dichromate Solution
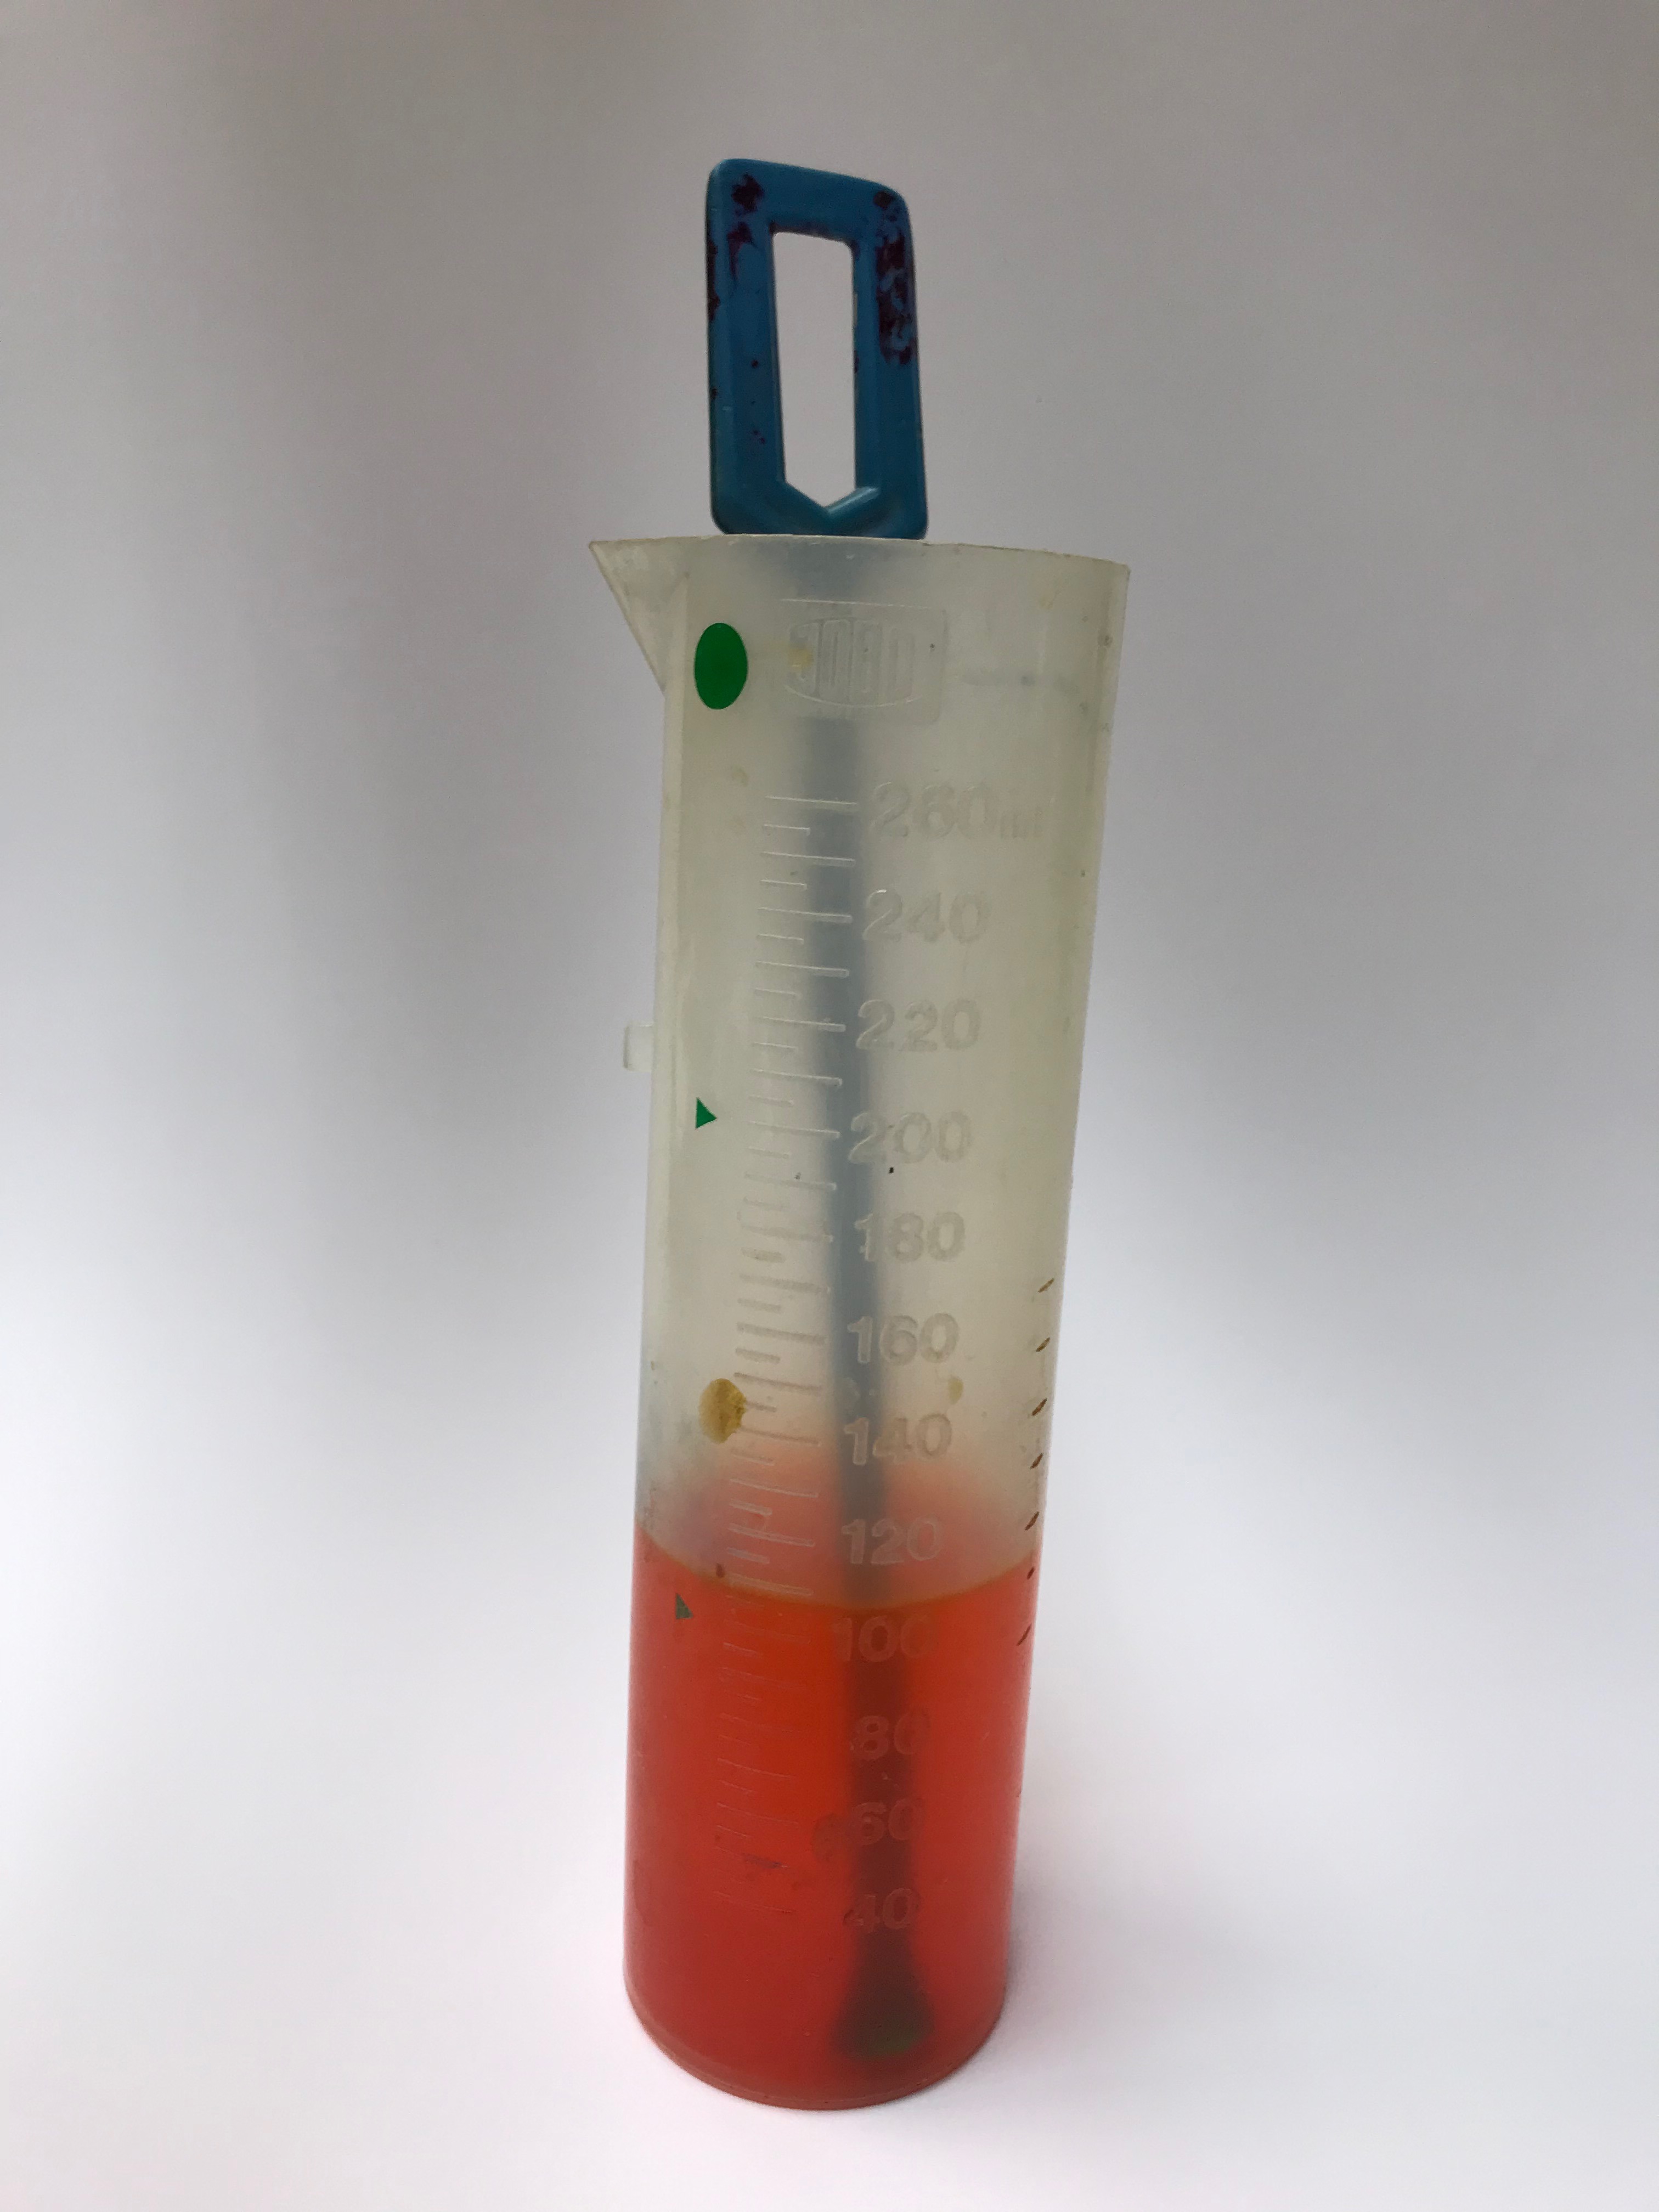
The first thing you will want to do is mix the Ammonium Dichromate into 100mL of water. This will give you an orange solution.
Mix the Other Chemicals
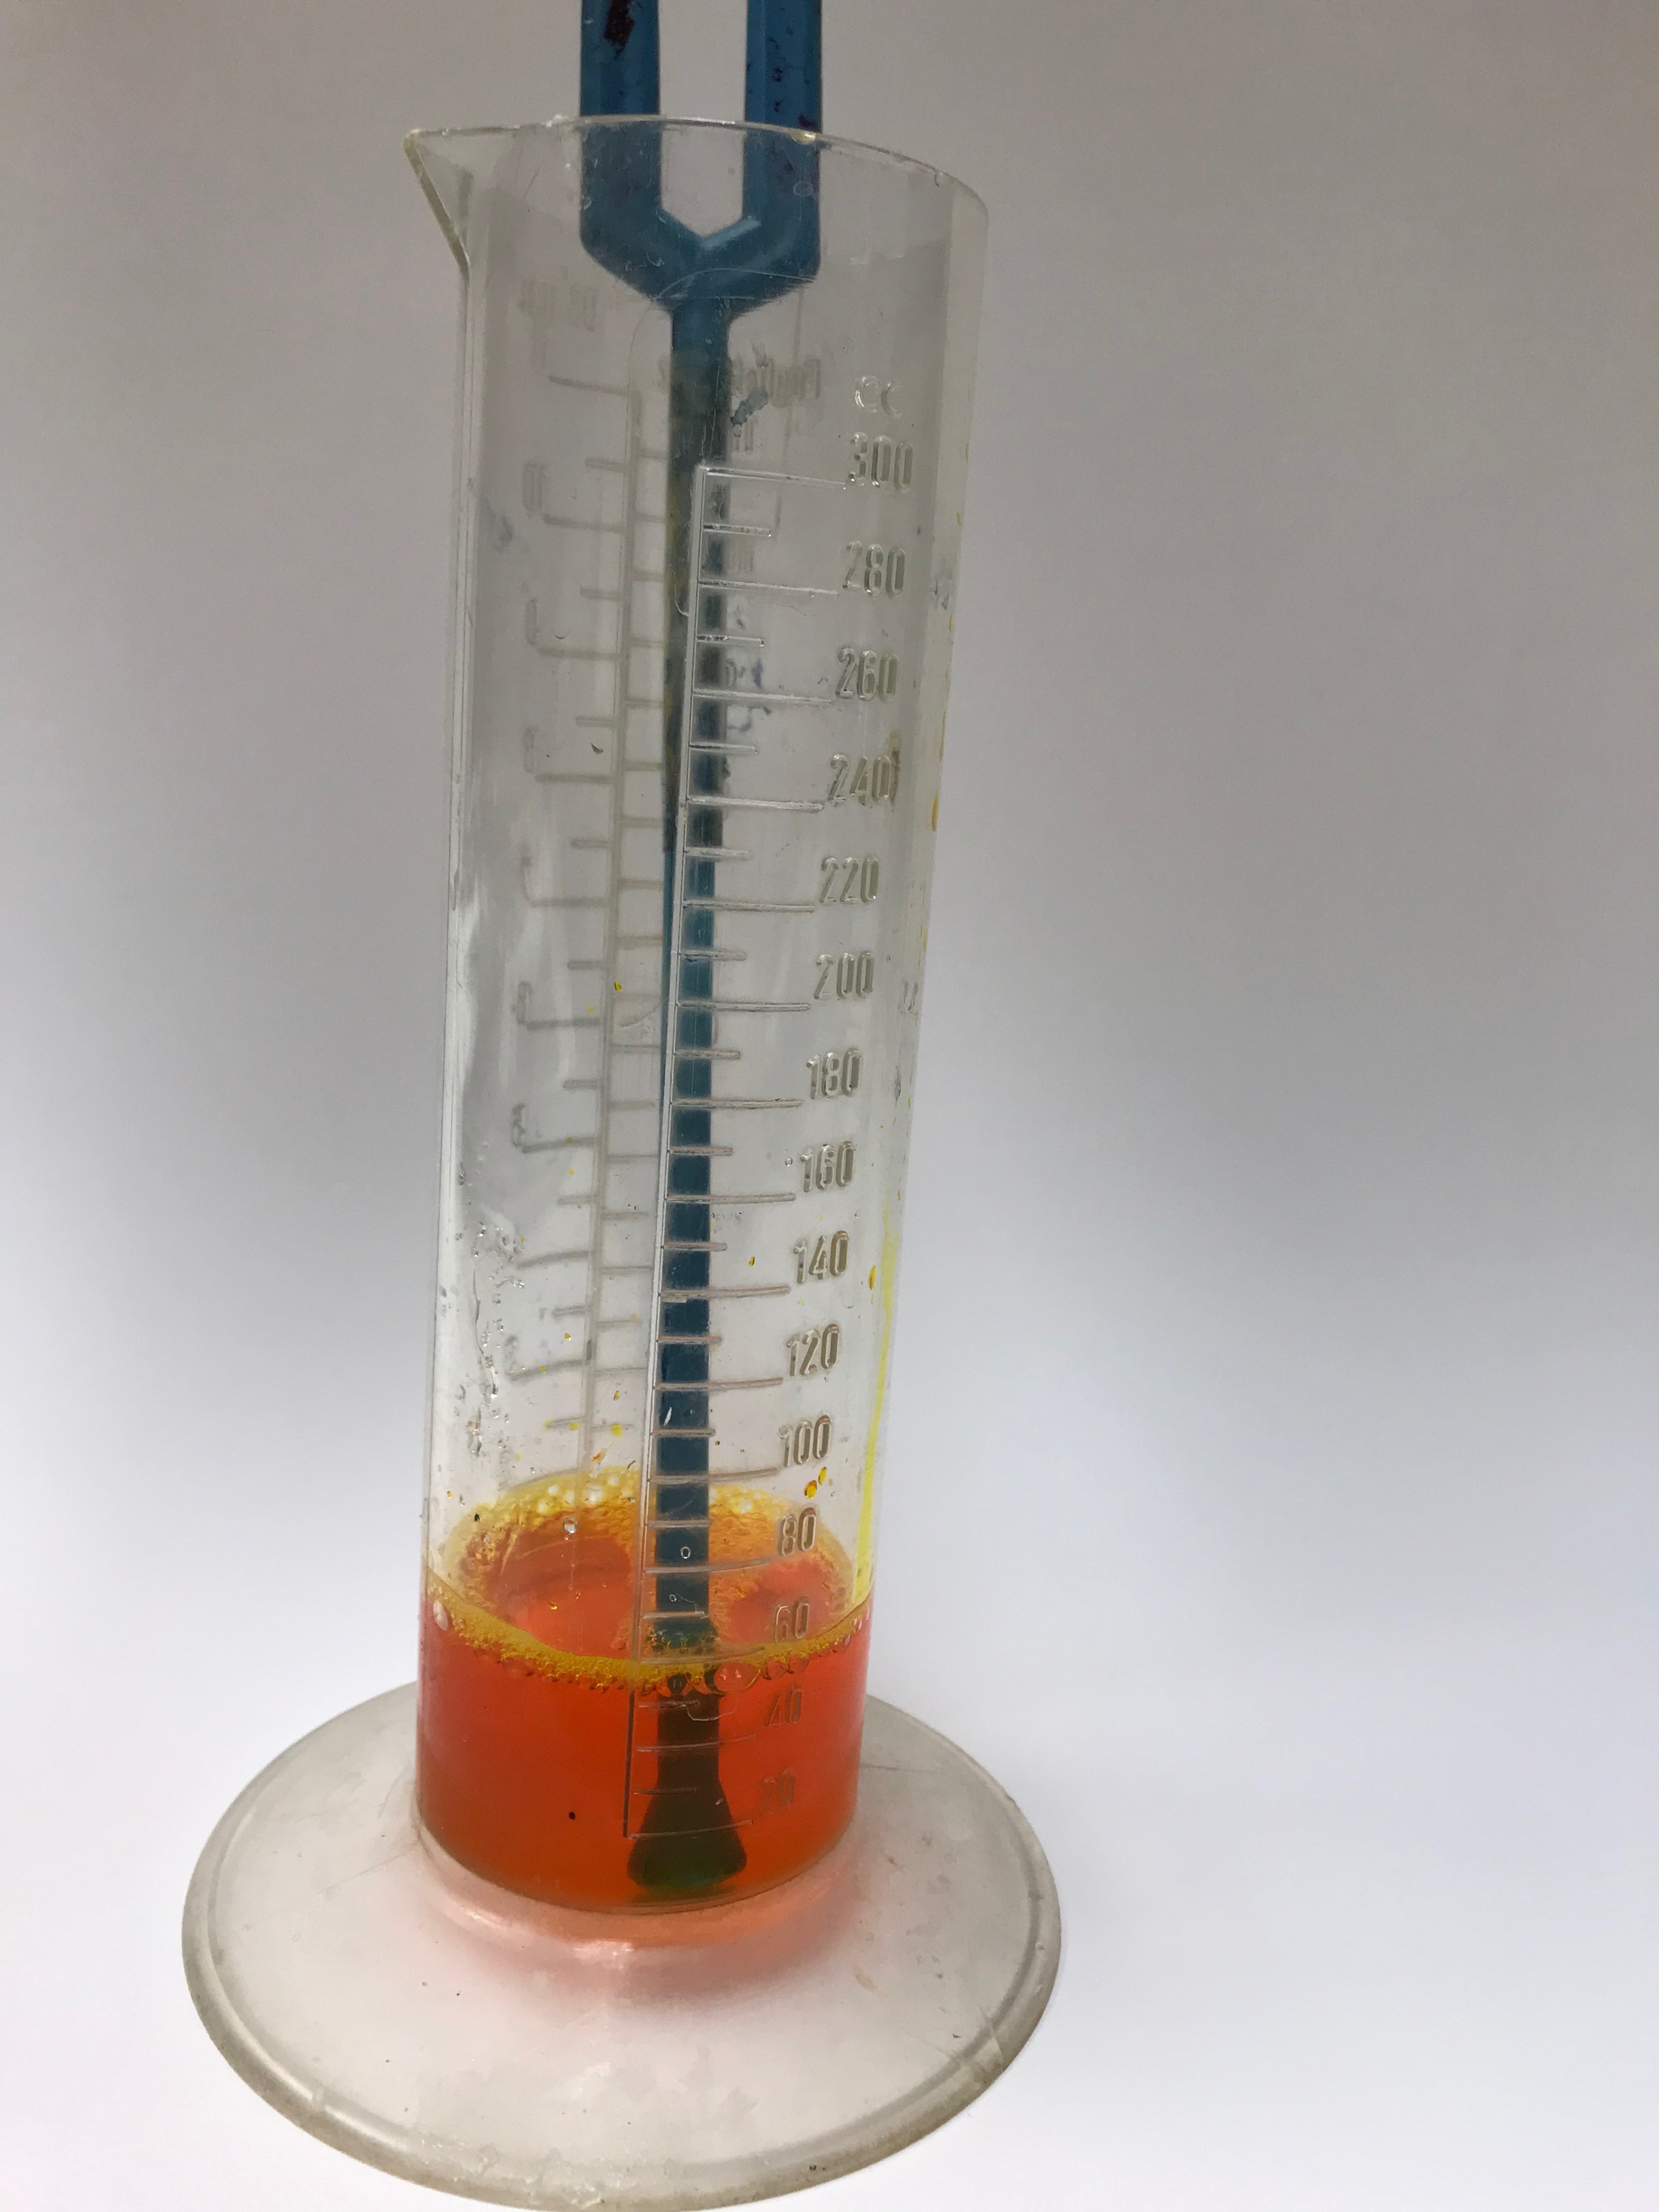
Take 5mL of the Ammonuim solution and mix it with the Gum Arabic and the 10mL of water.
Add Pigment
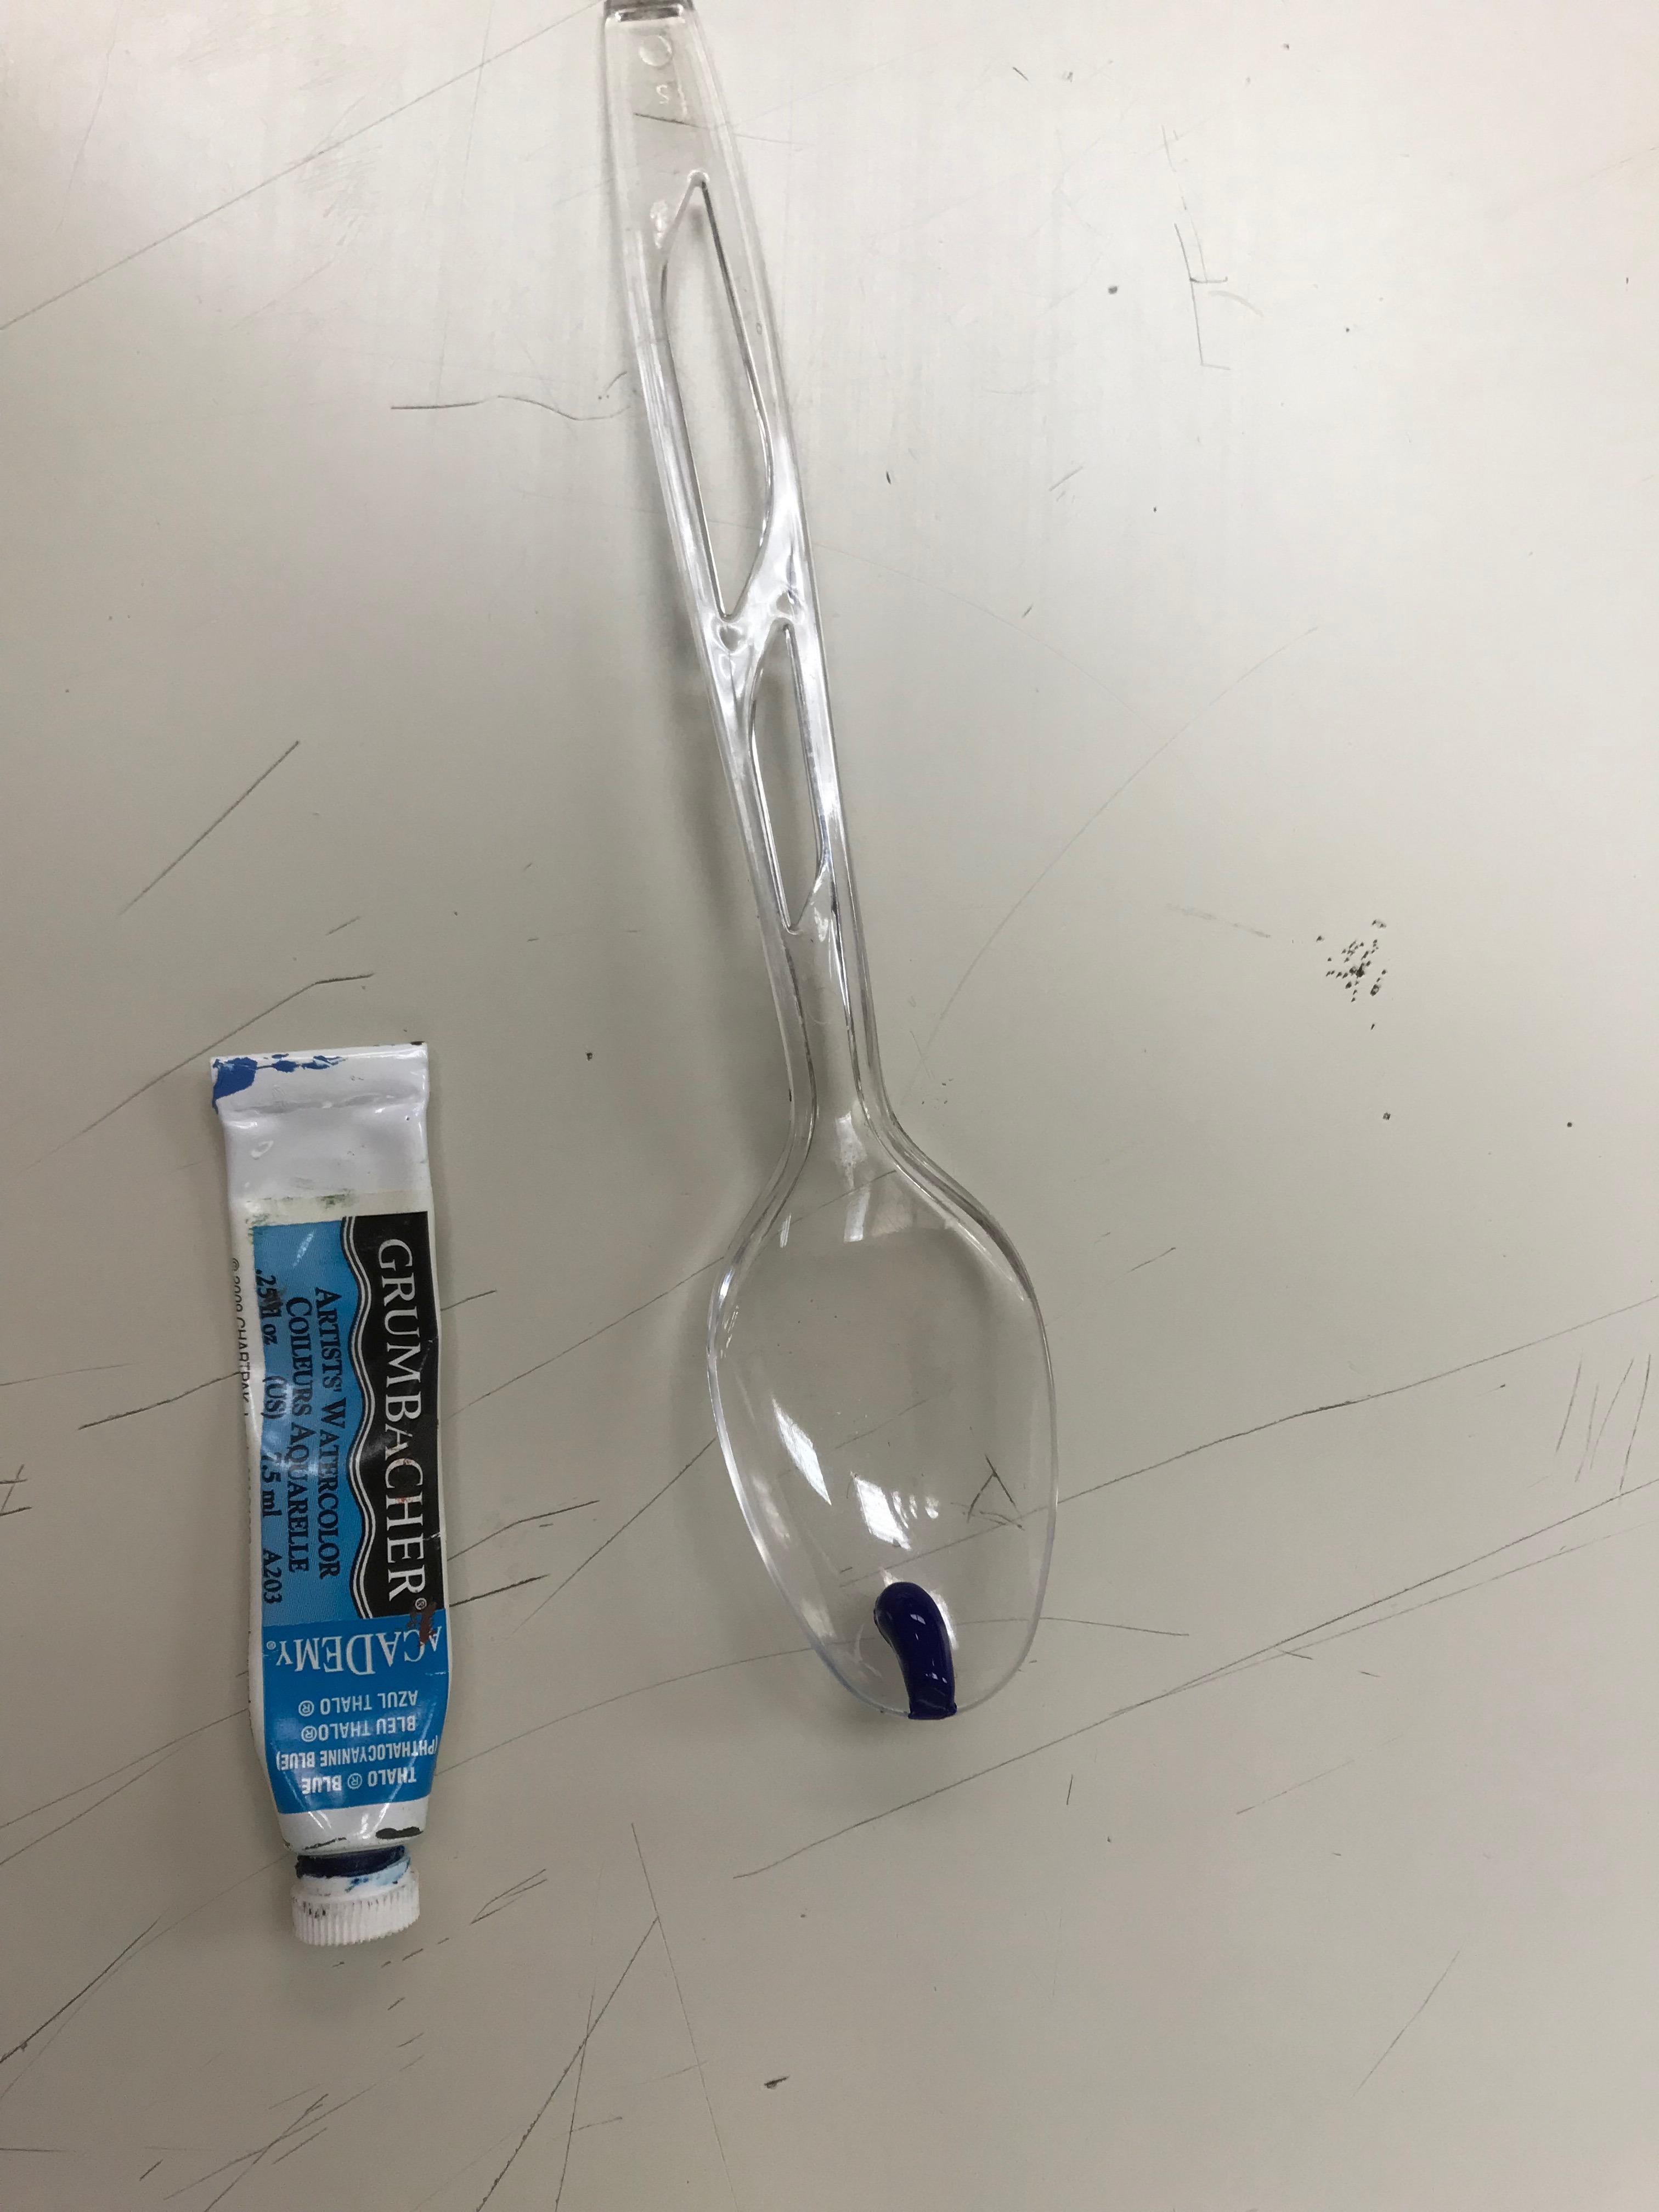
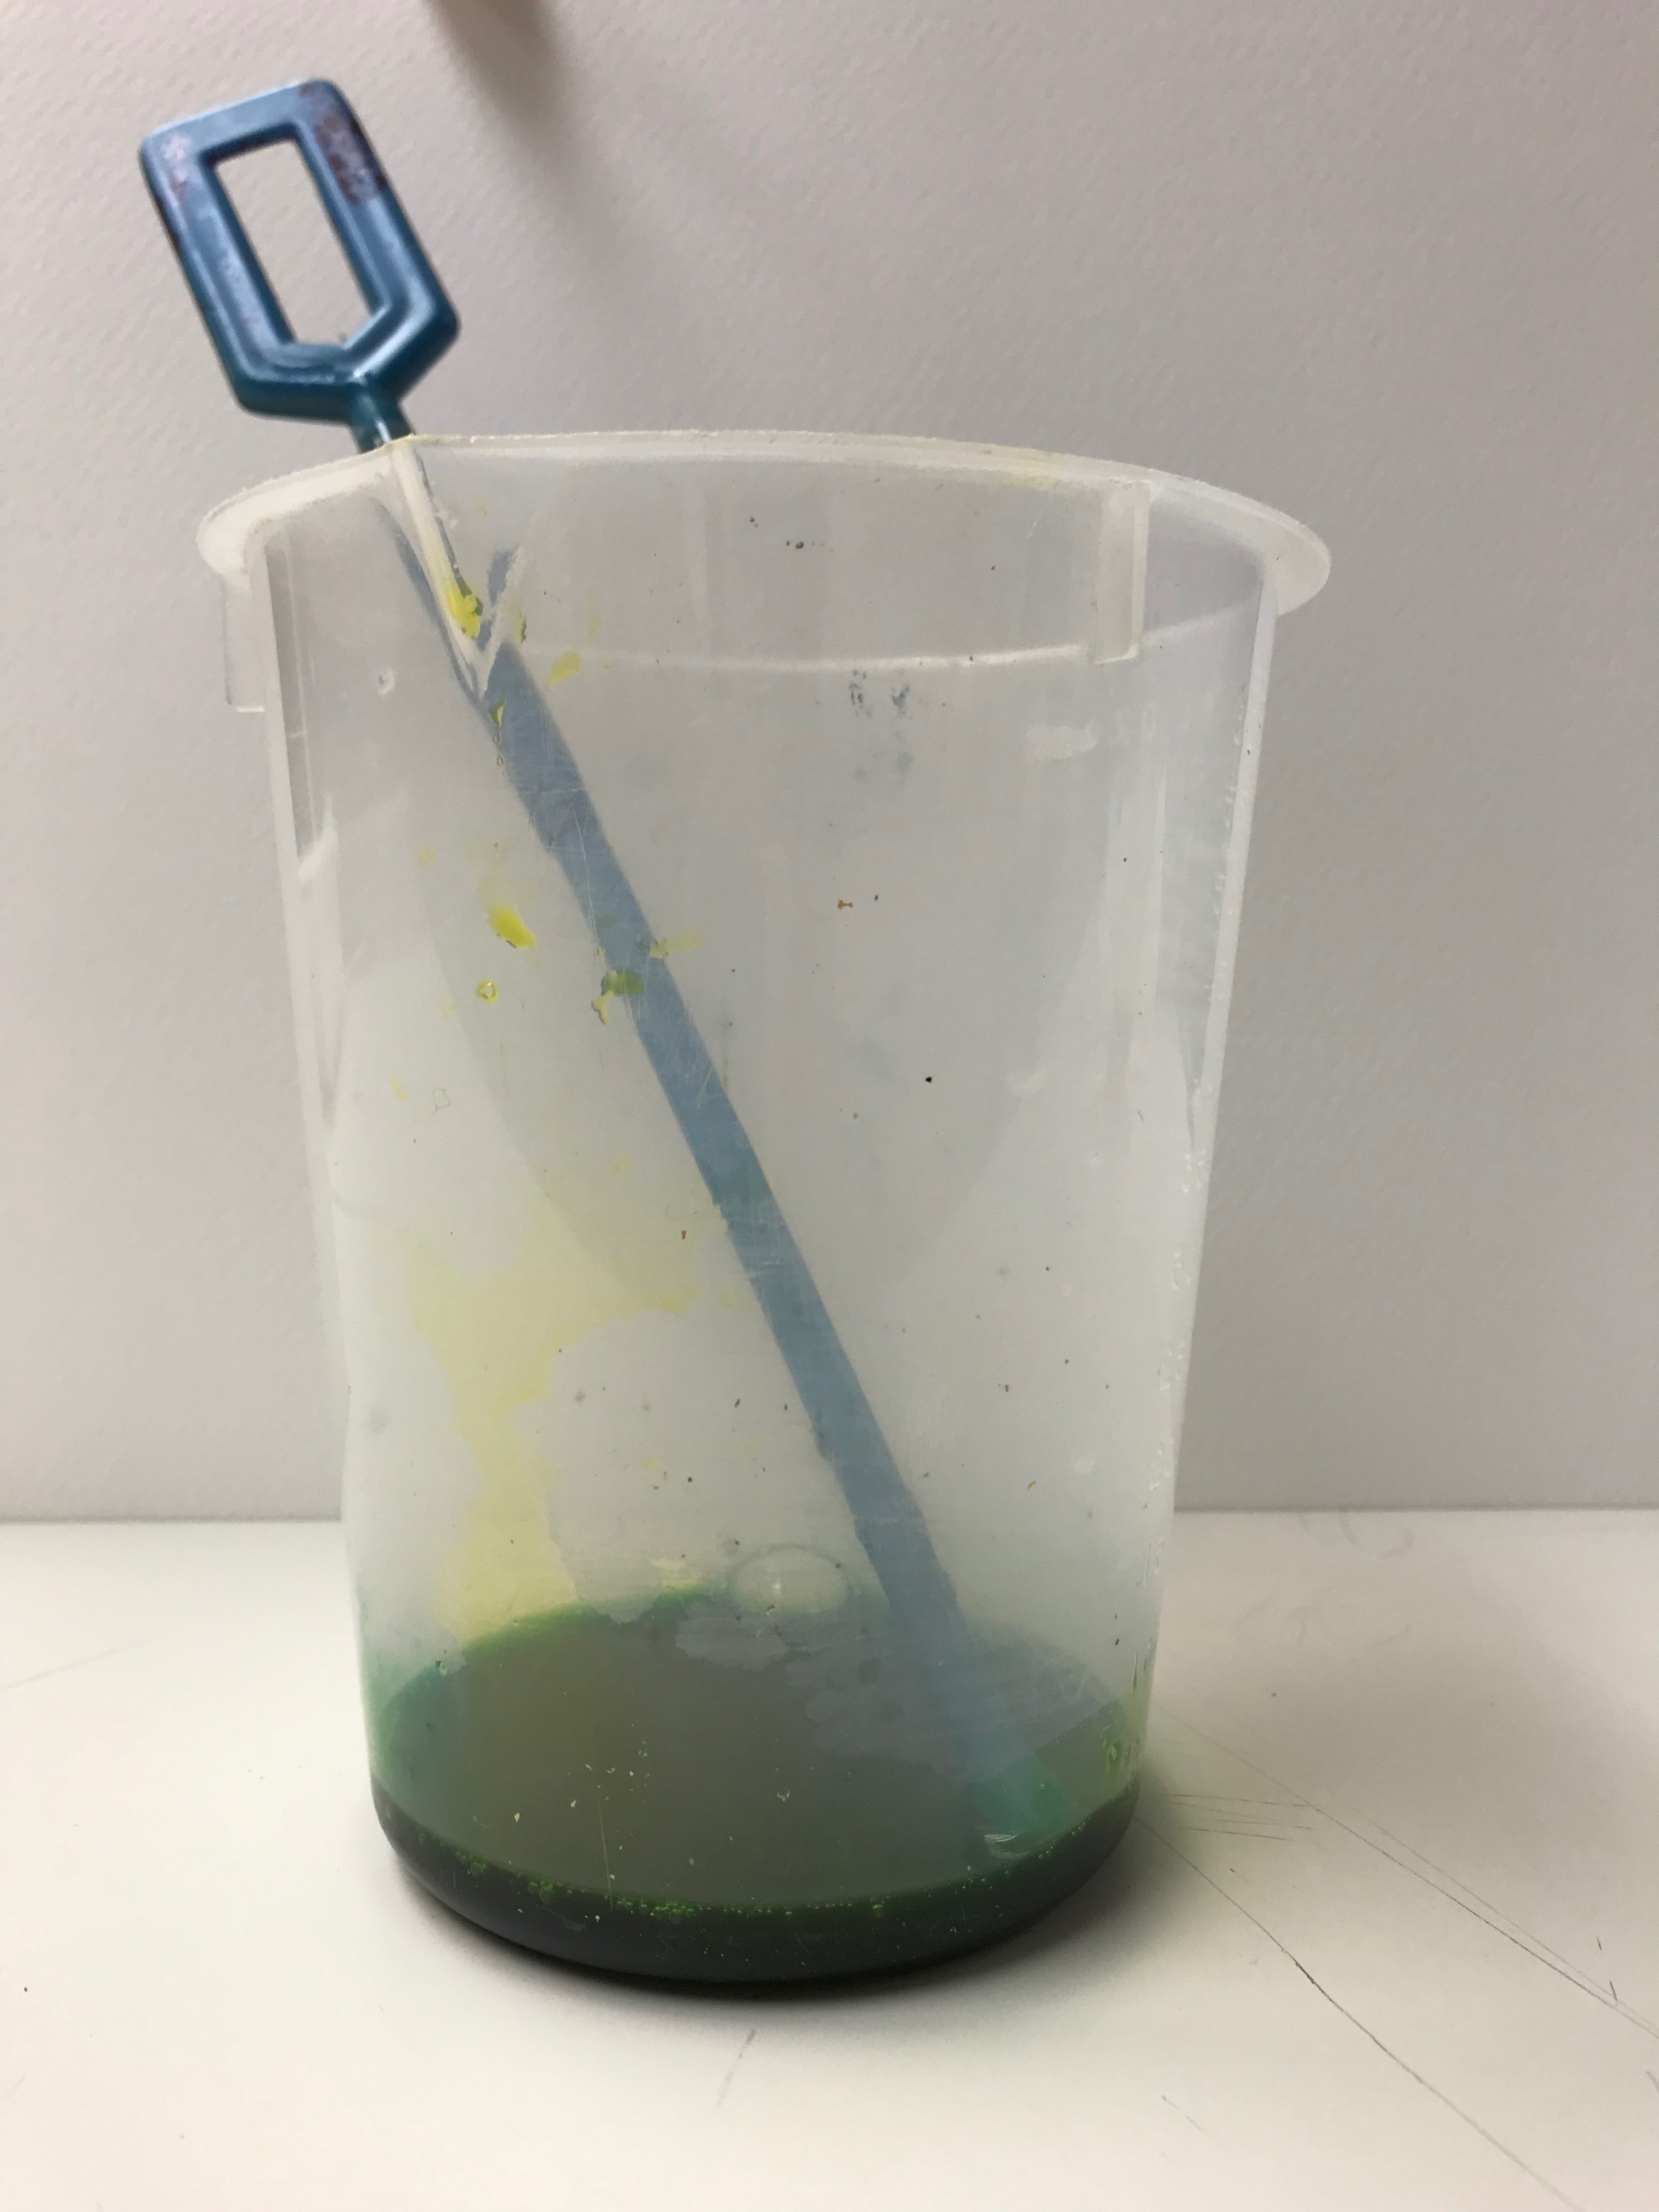
Start with the cyan pigment. Squeeze an inch onto a mixing utensil and mix the watercolor into your chemical solution.
Note: Once you add the cyan the mixture should look green.
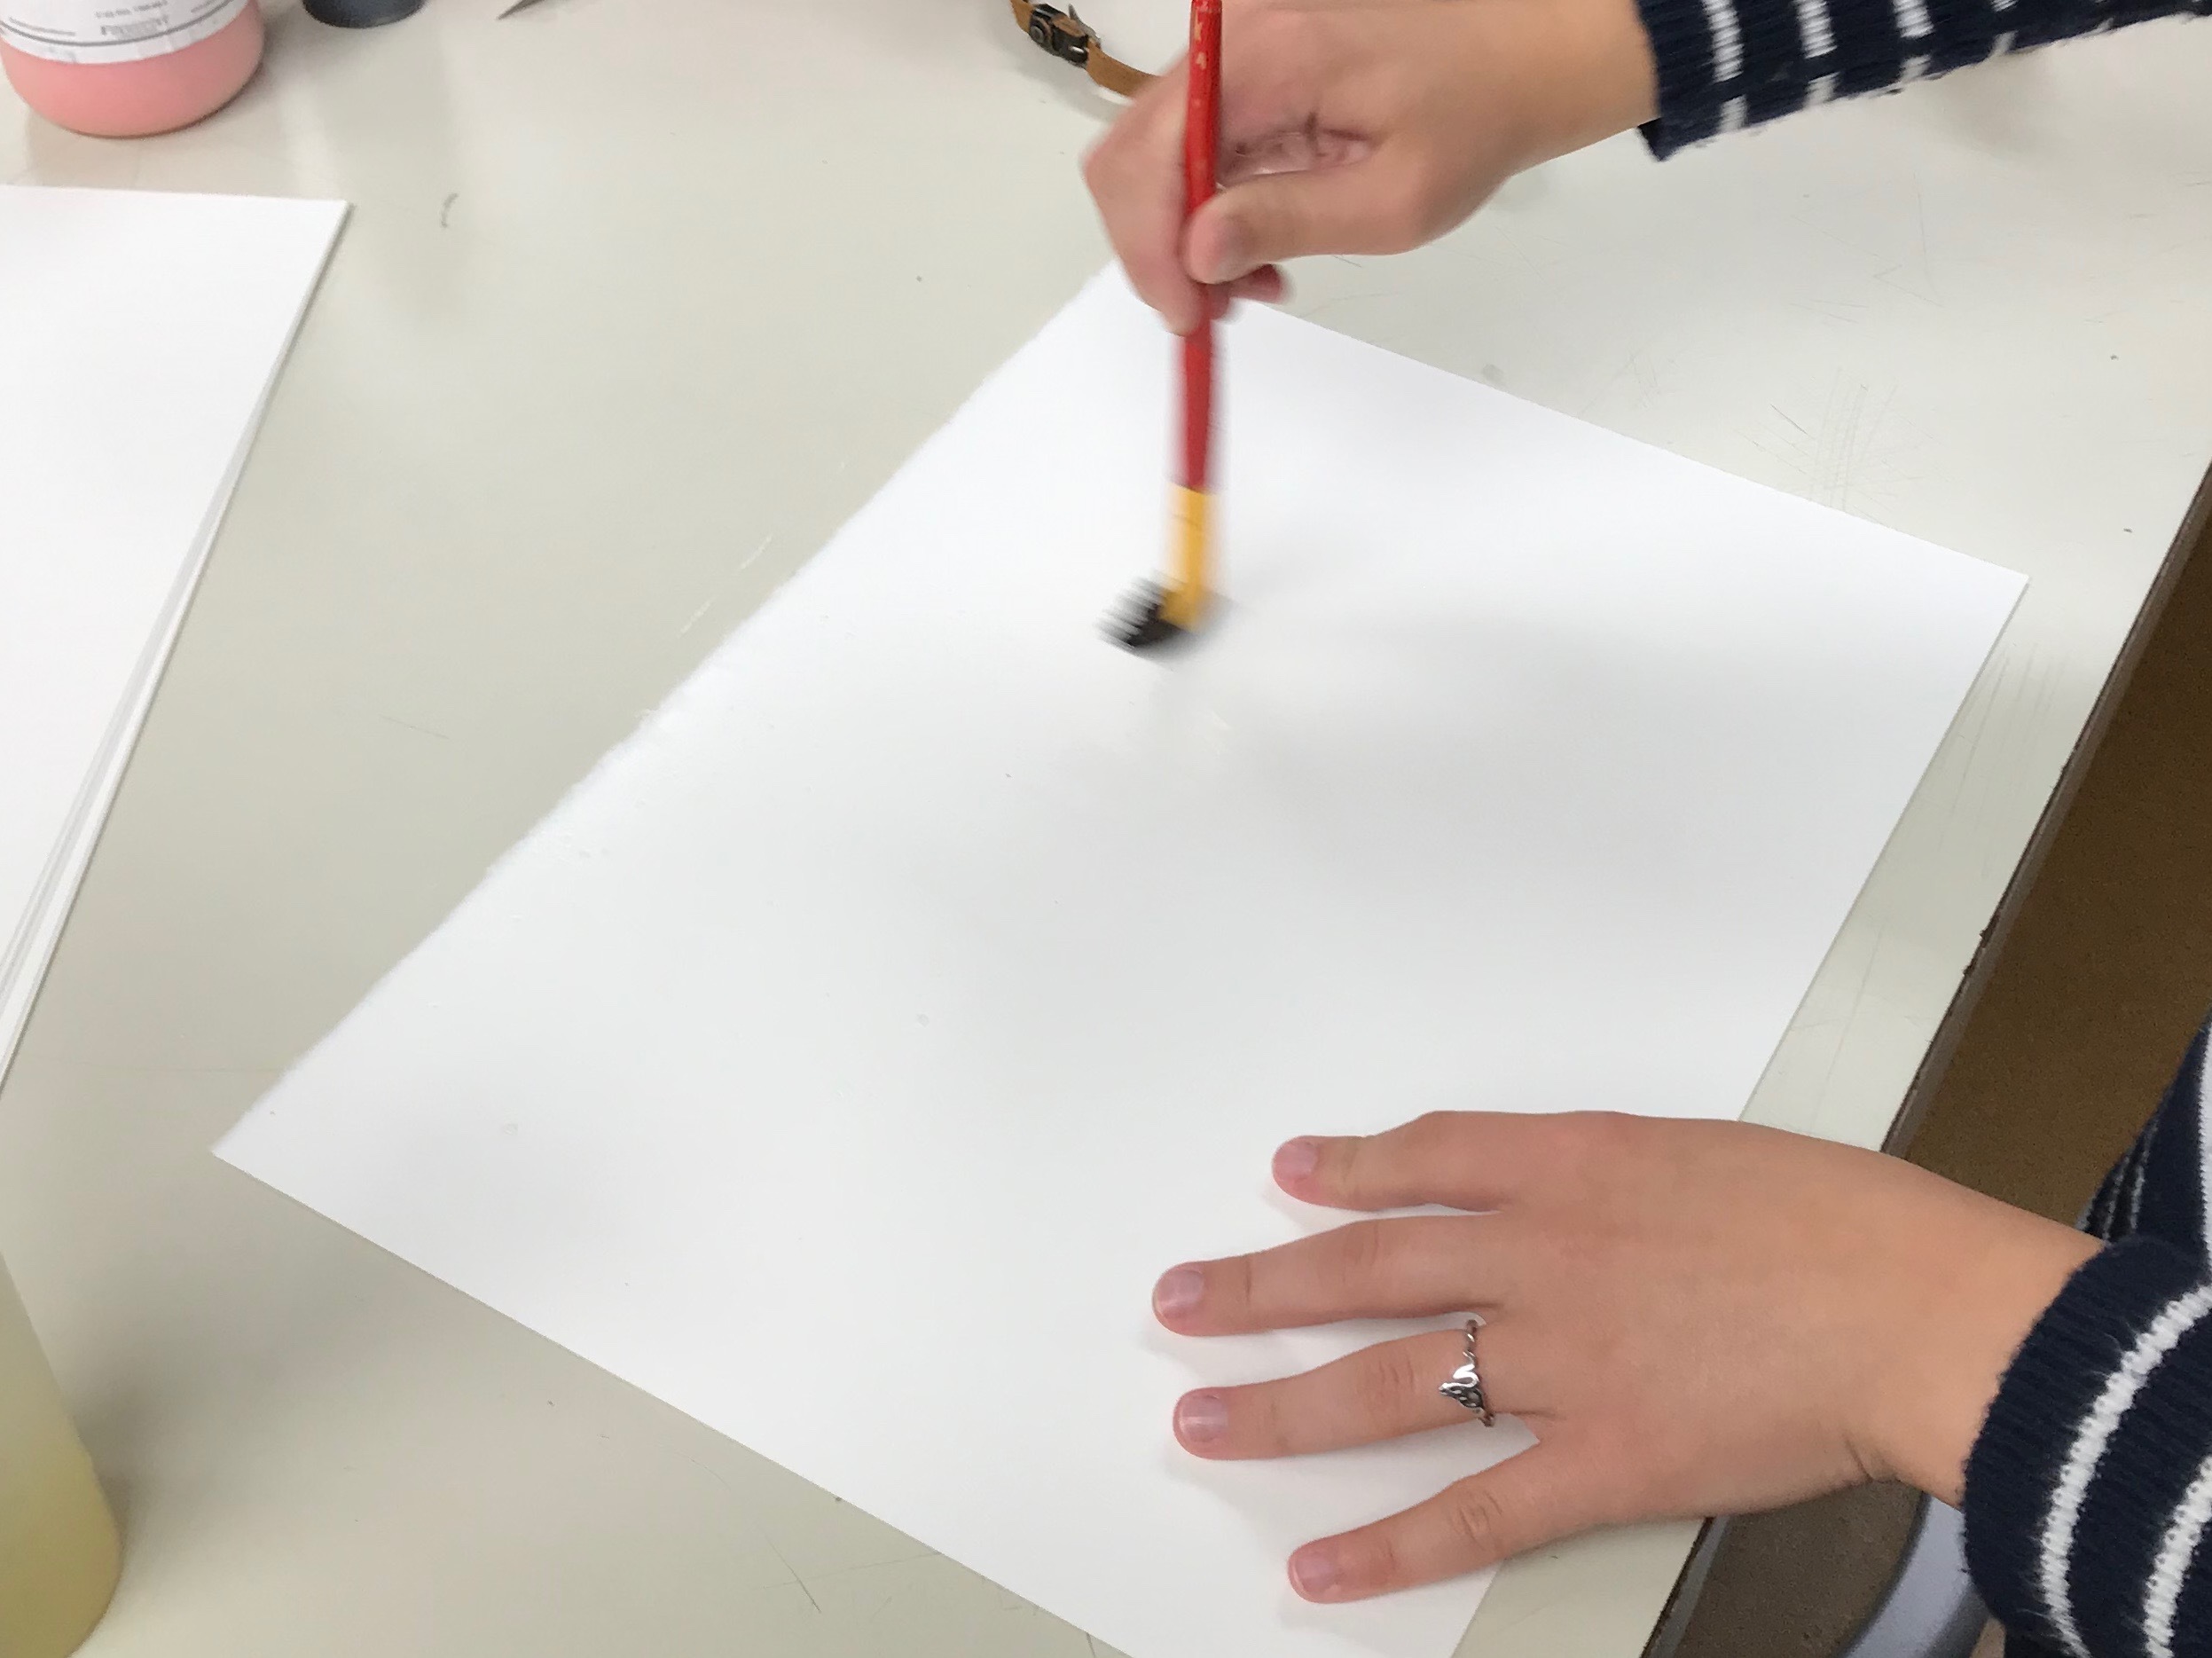
Paint on Sensitizer
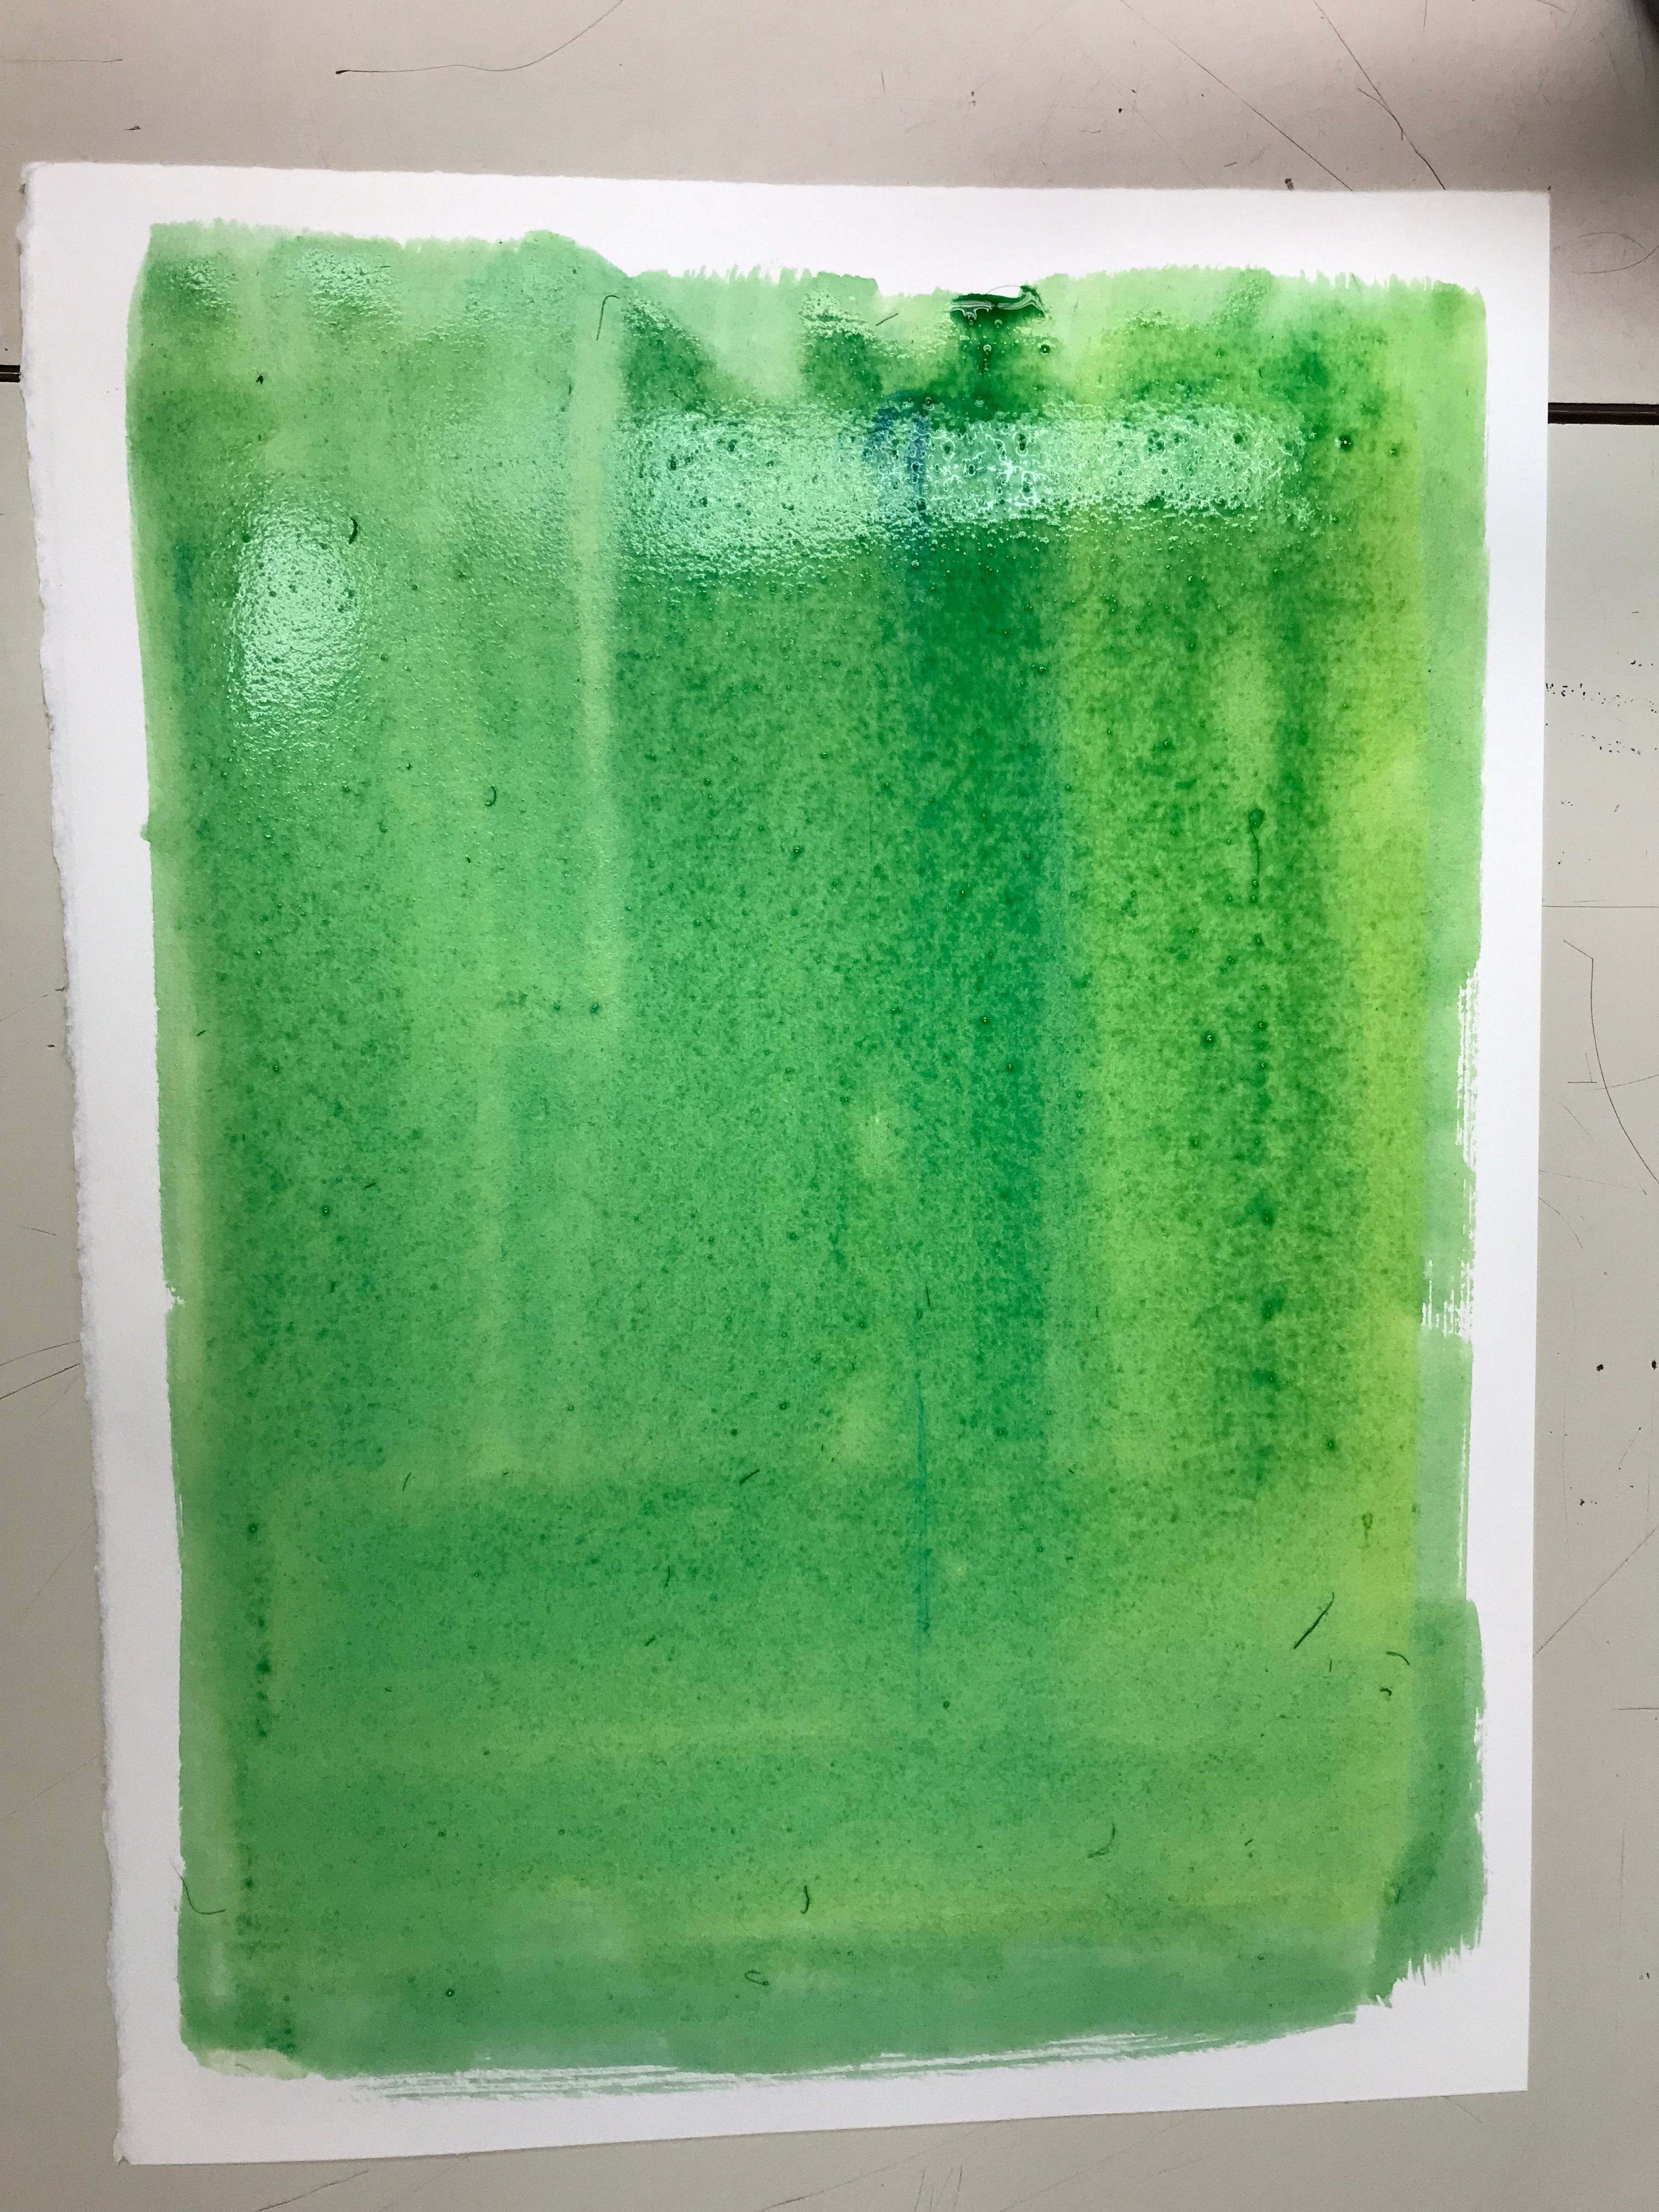
Then, (like sizing) you will have to paint the mixture onto your paper. Before you can continue, your paper needs to be dry. I used a blow dryer to expedite the process.
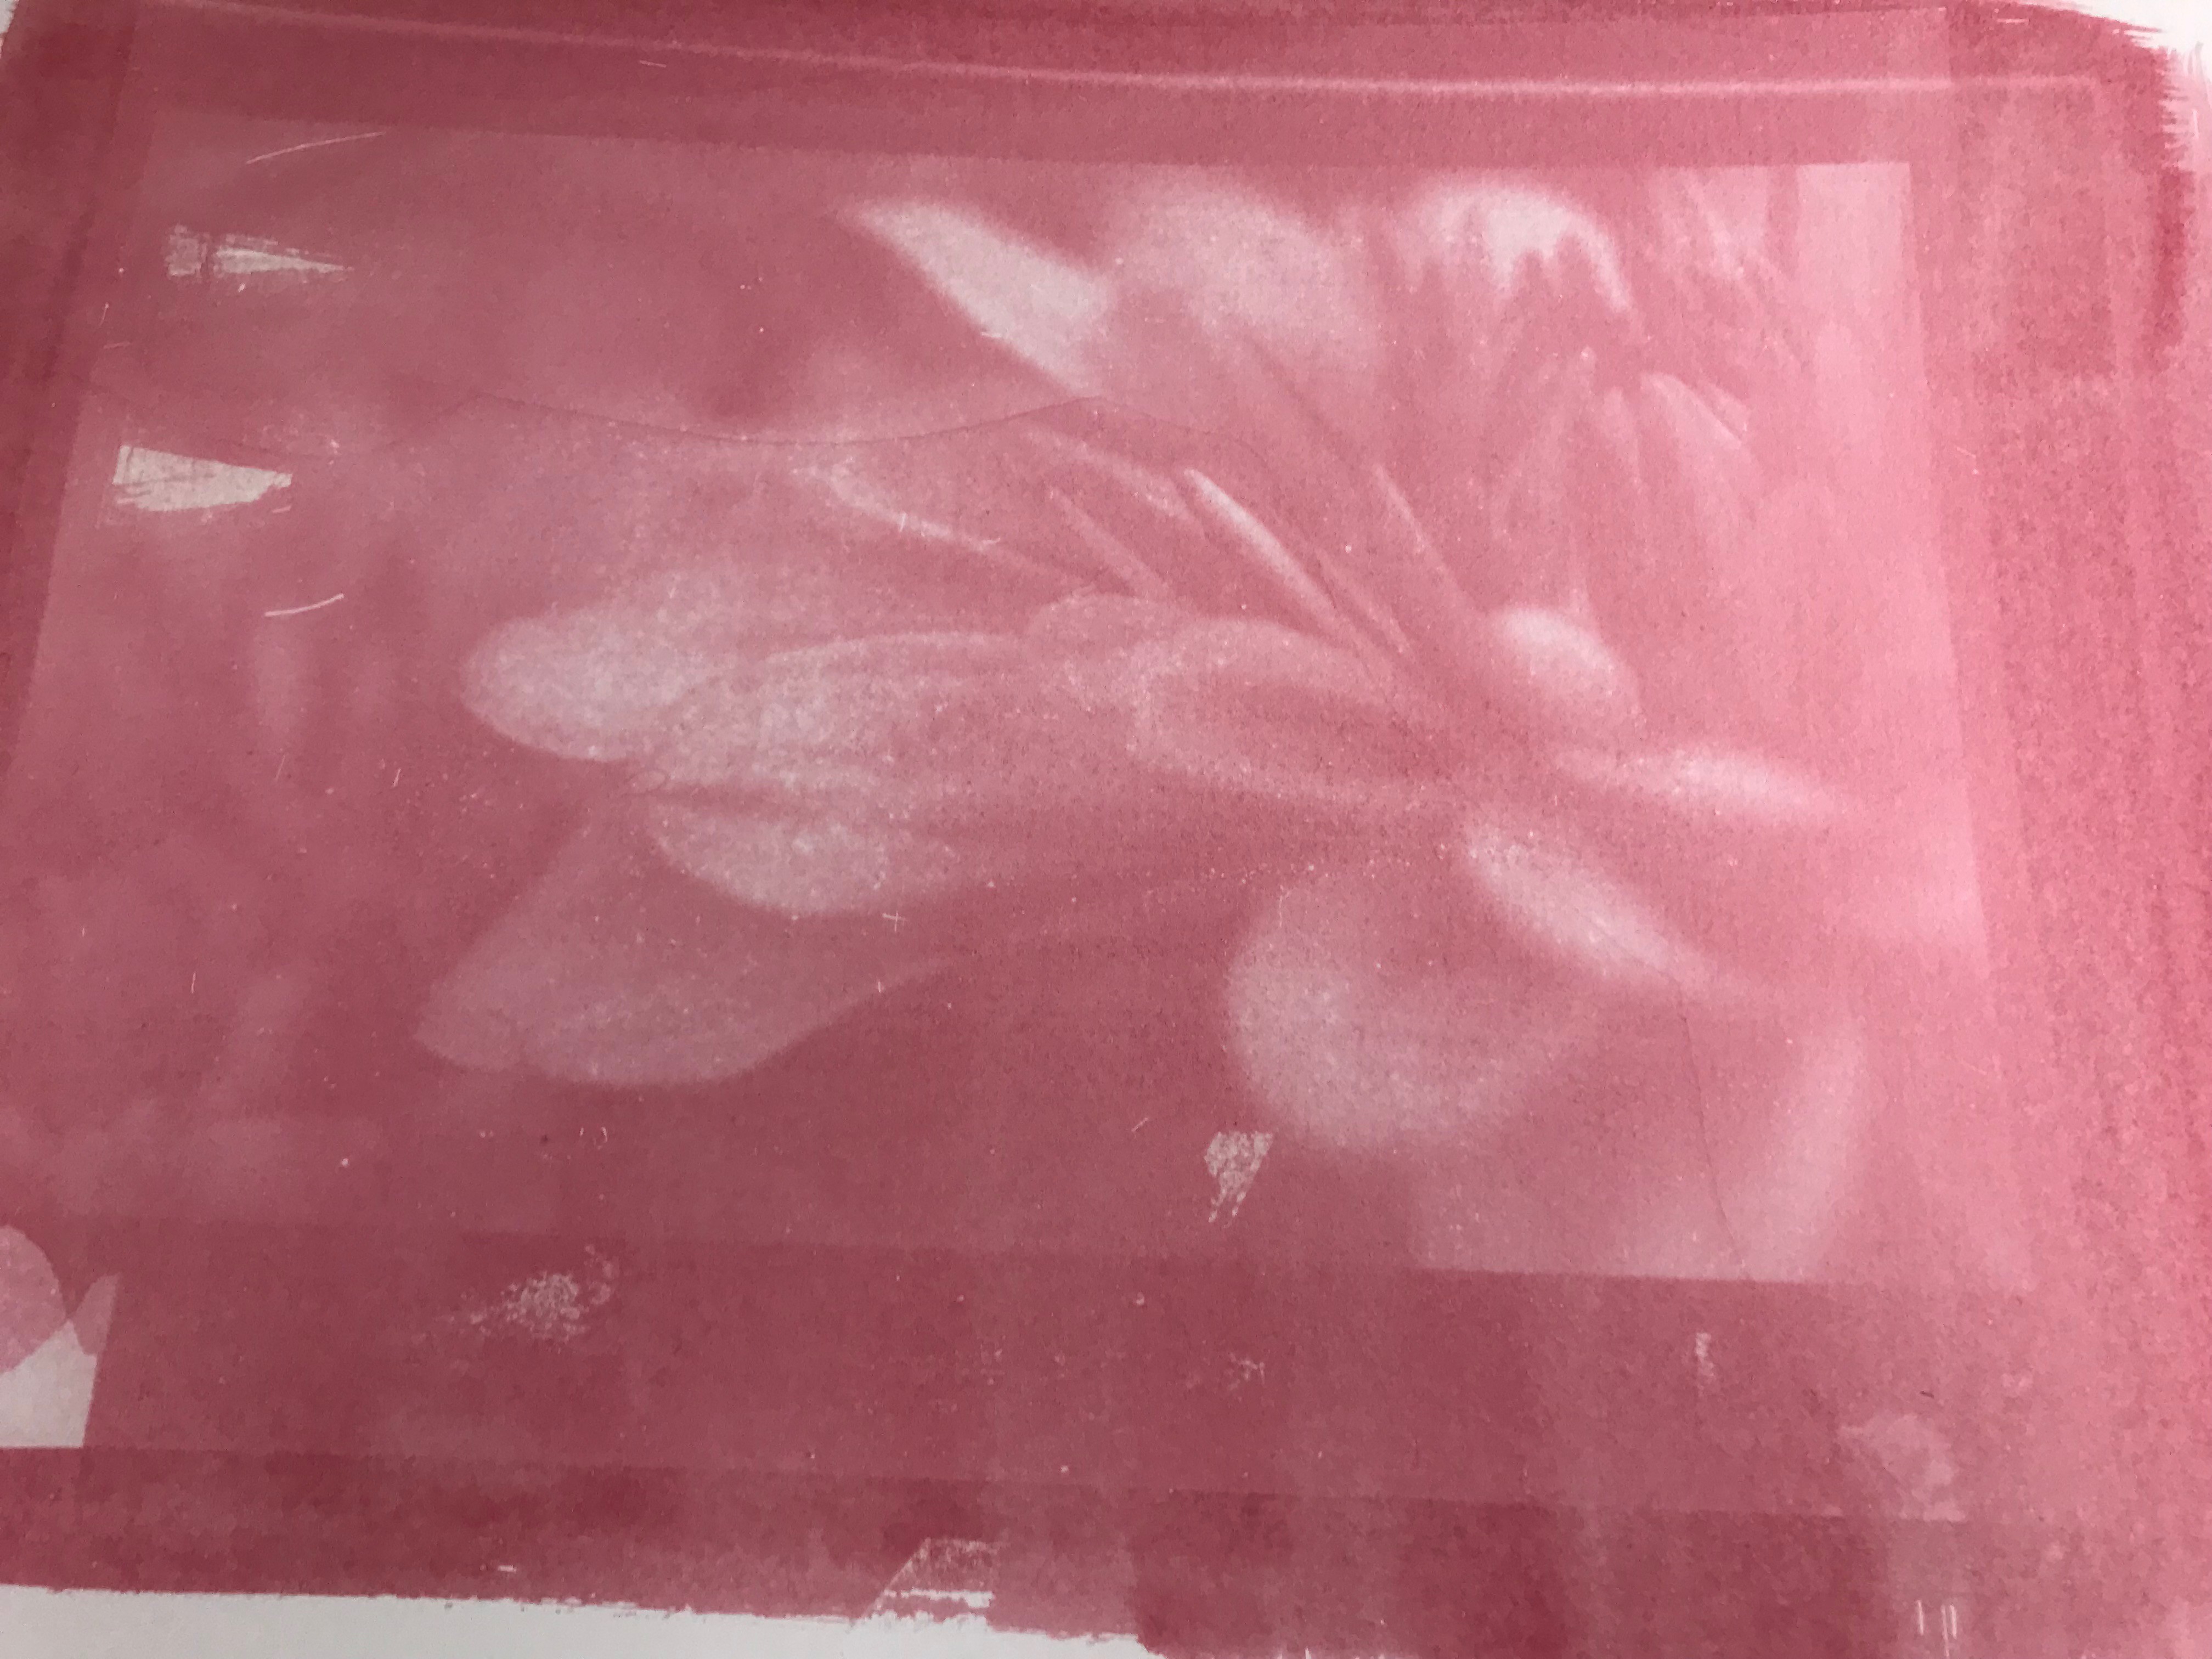
Expose
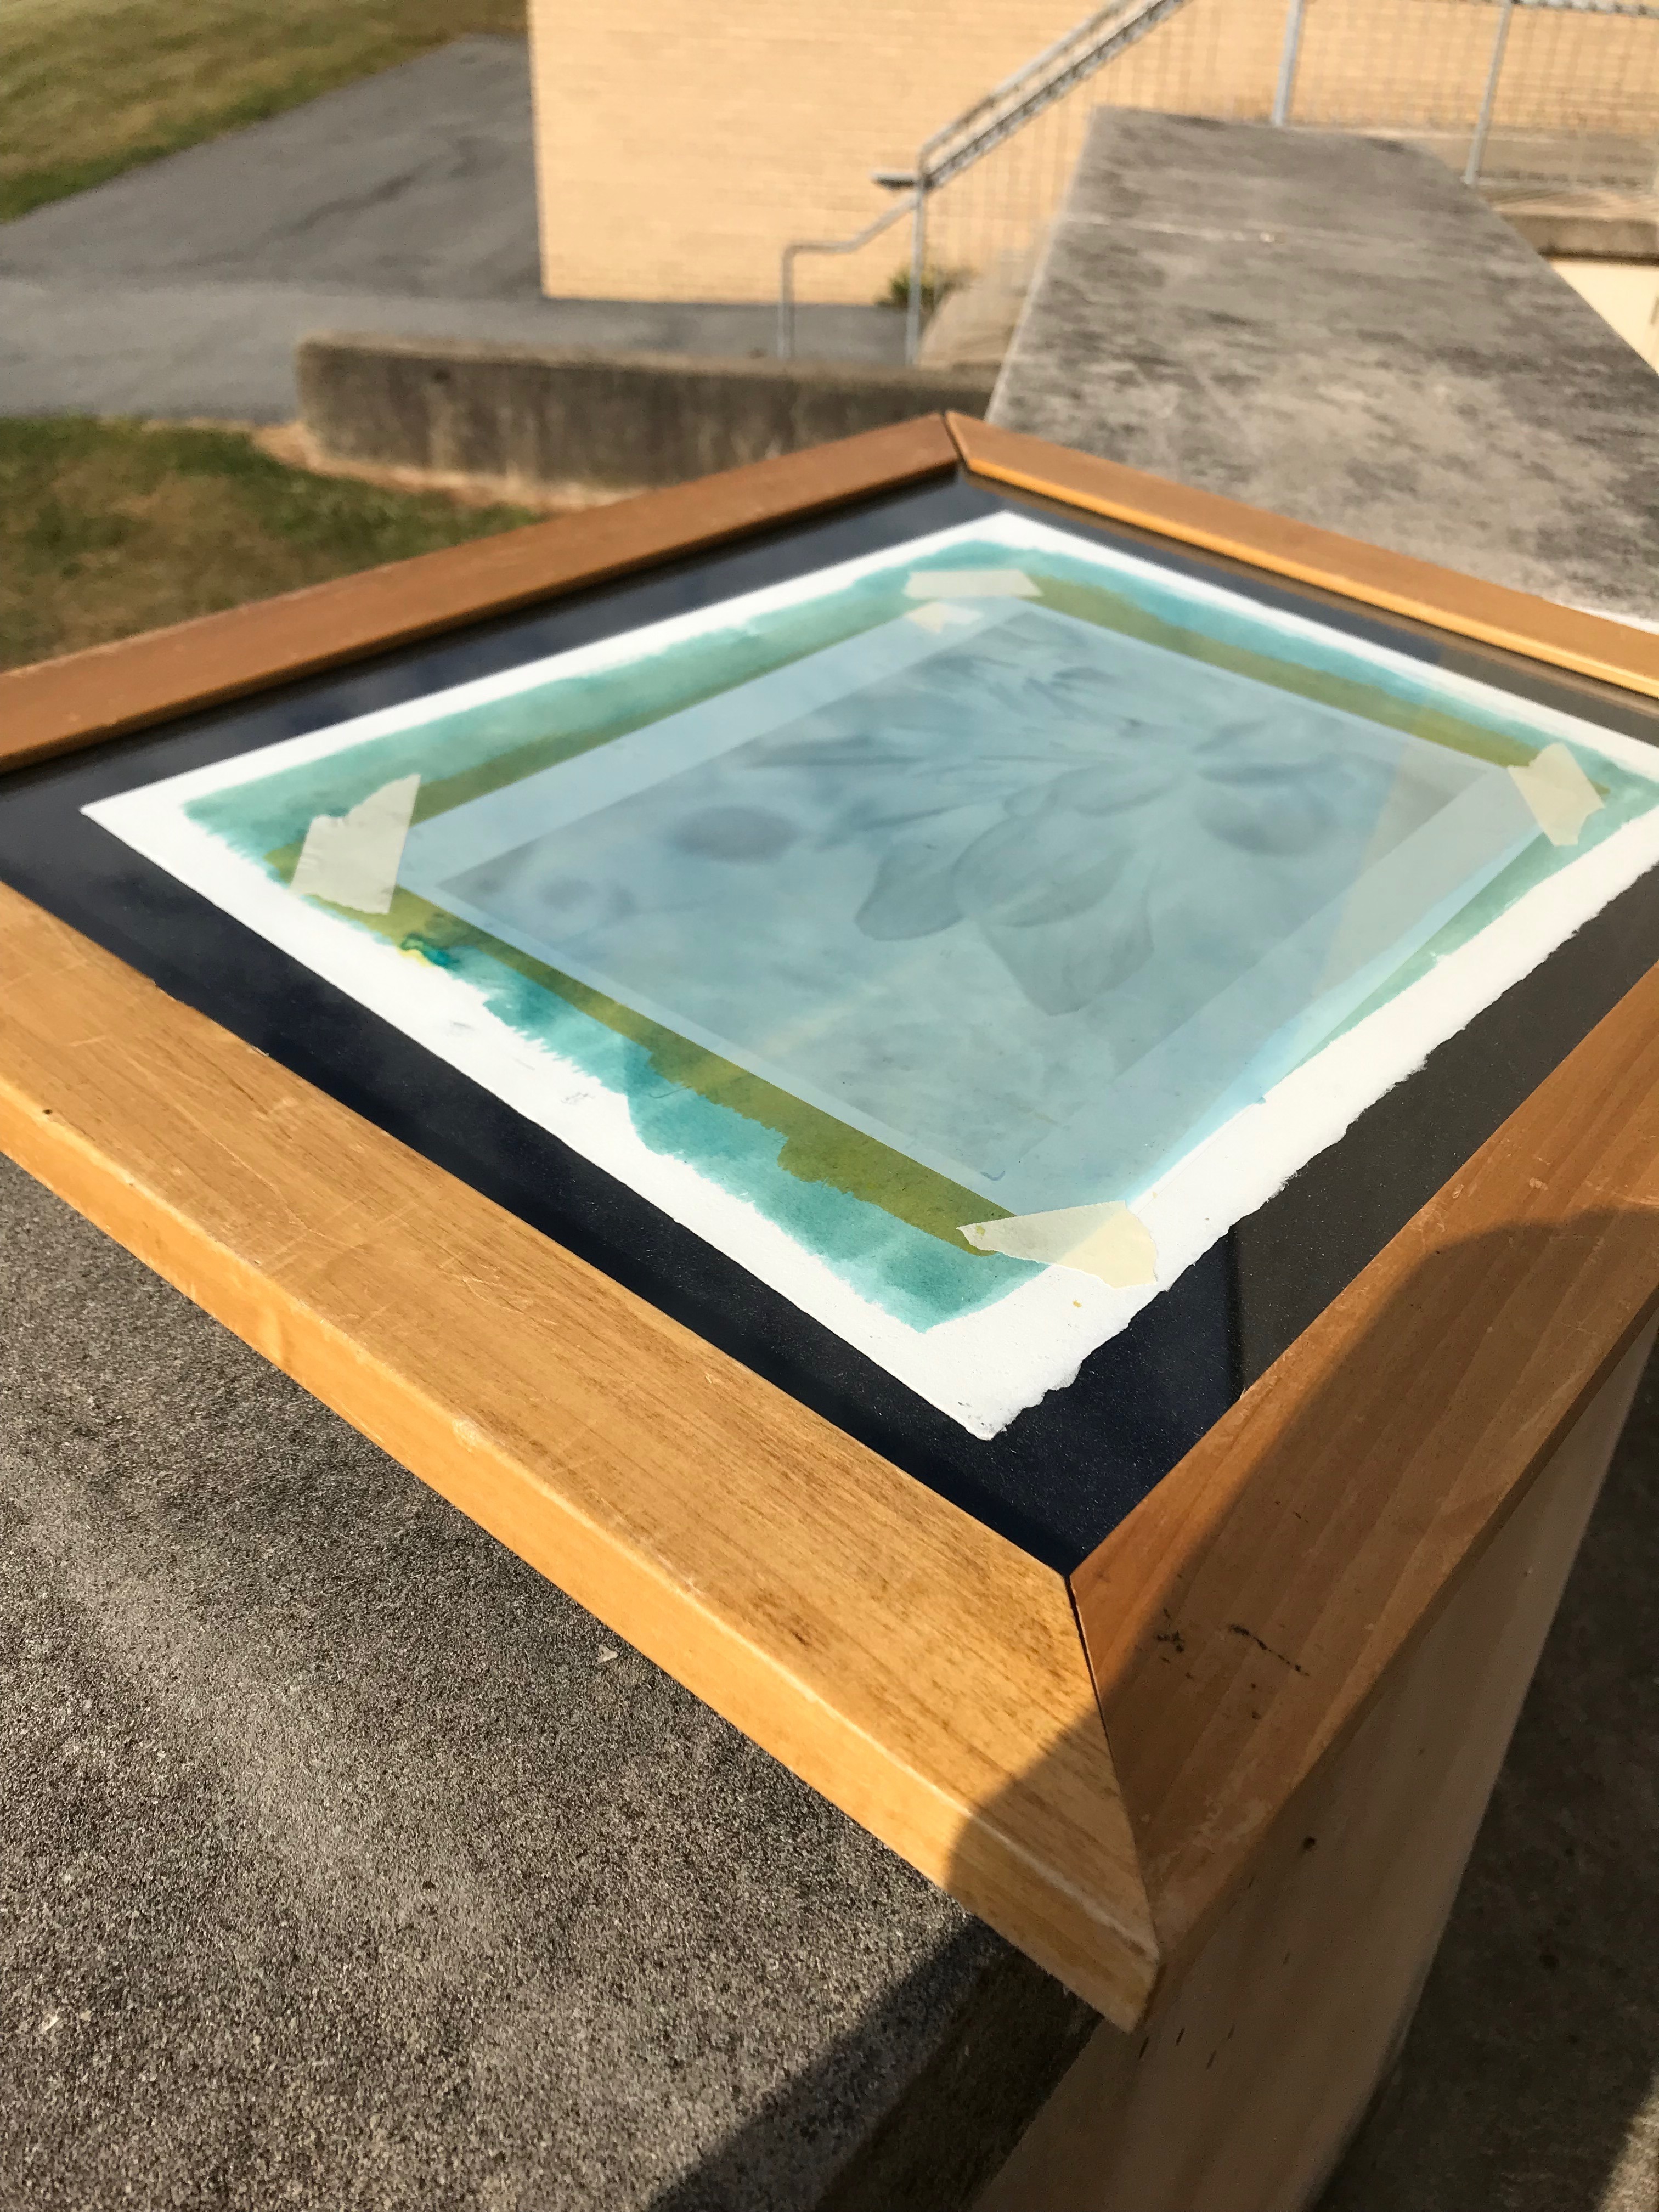
To 'print' your image, you will have to expose your paper and your negative to sunlight. Choose a sunny day and lay your sensitized paper and your negative in the sun. You time will vary depending on your negative, your sensitizer, and the quality of sunlight. Use trial and error or test strips to find the right time.
Washing
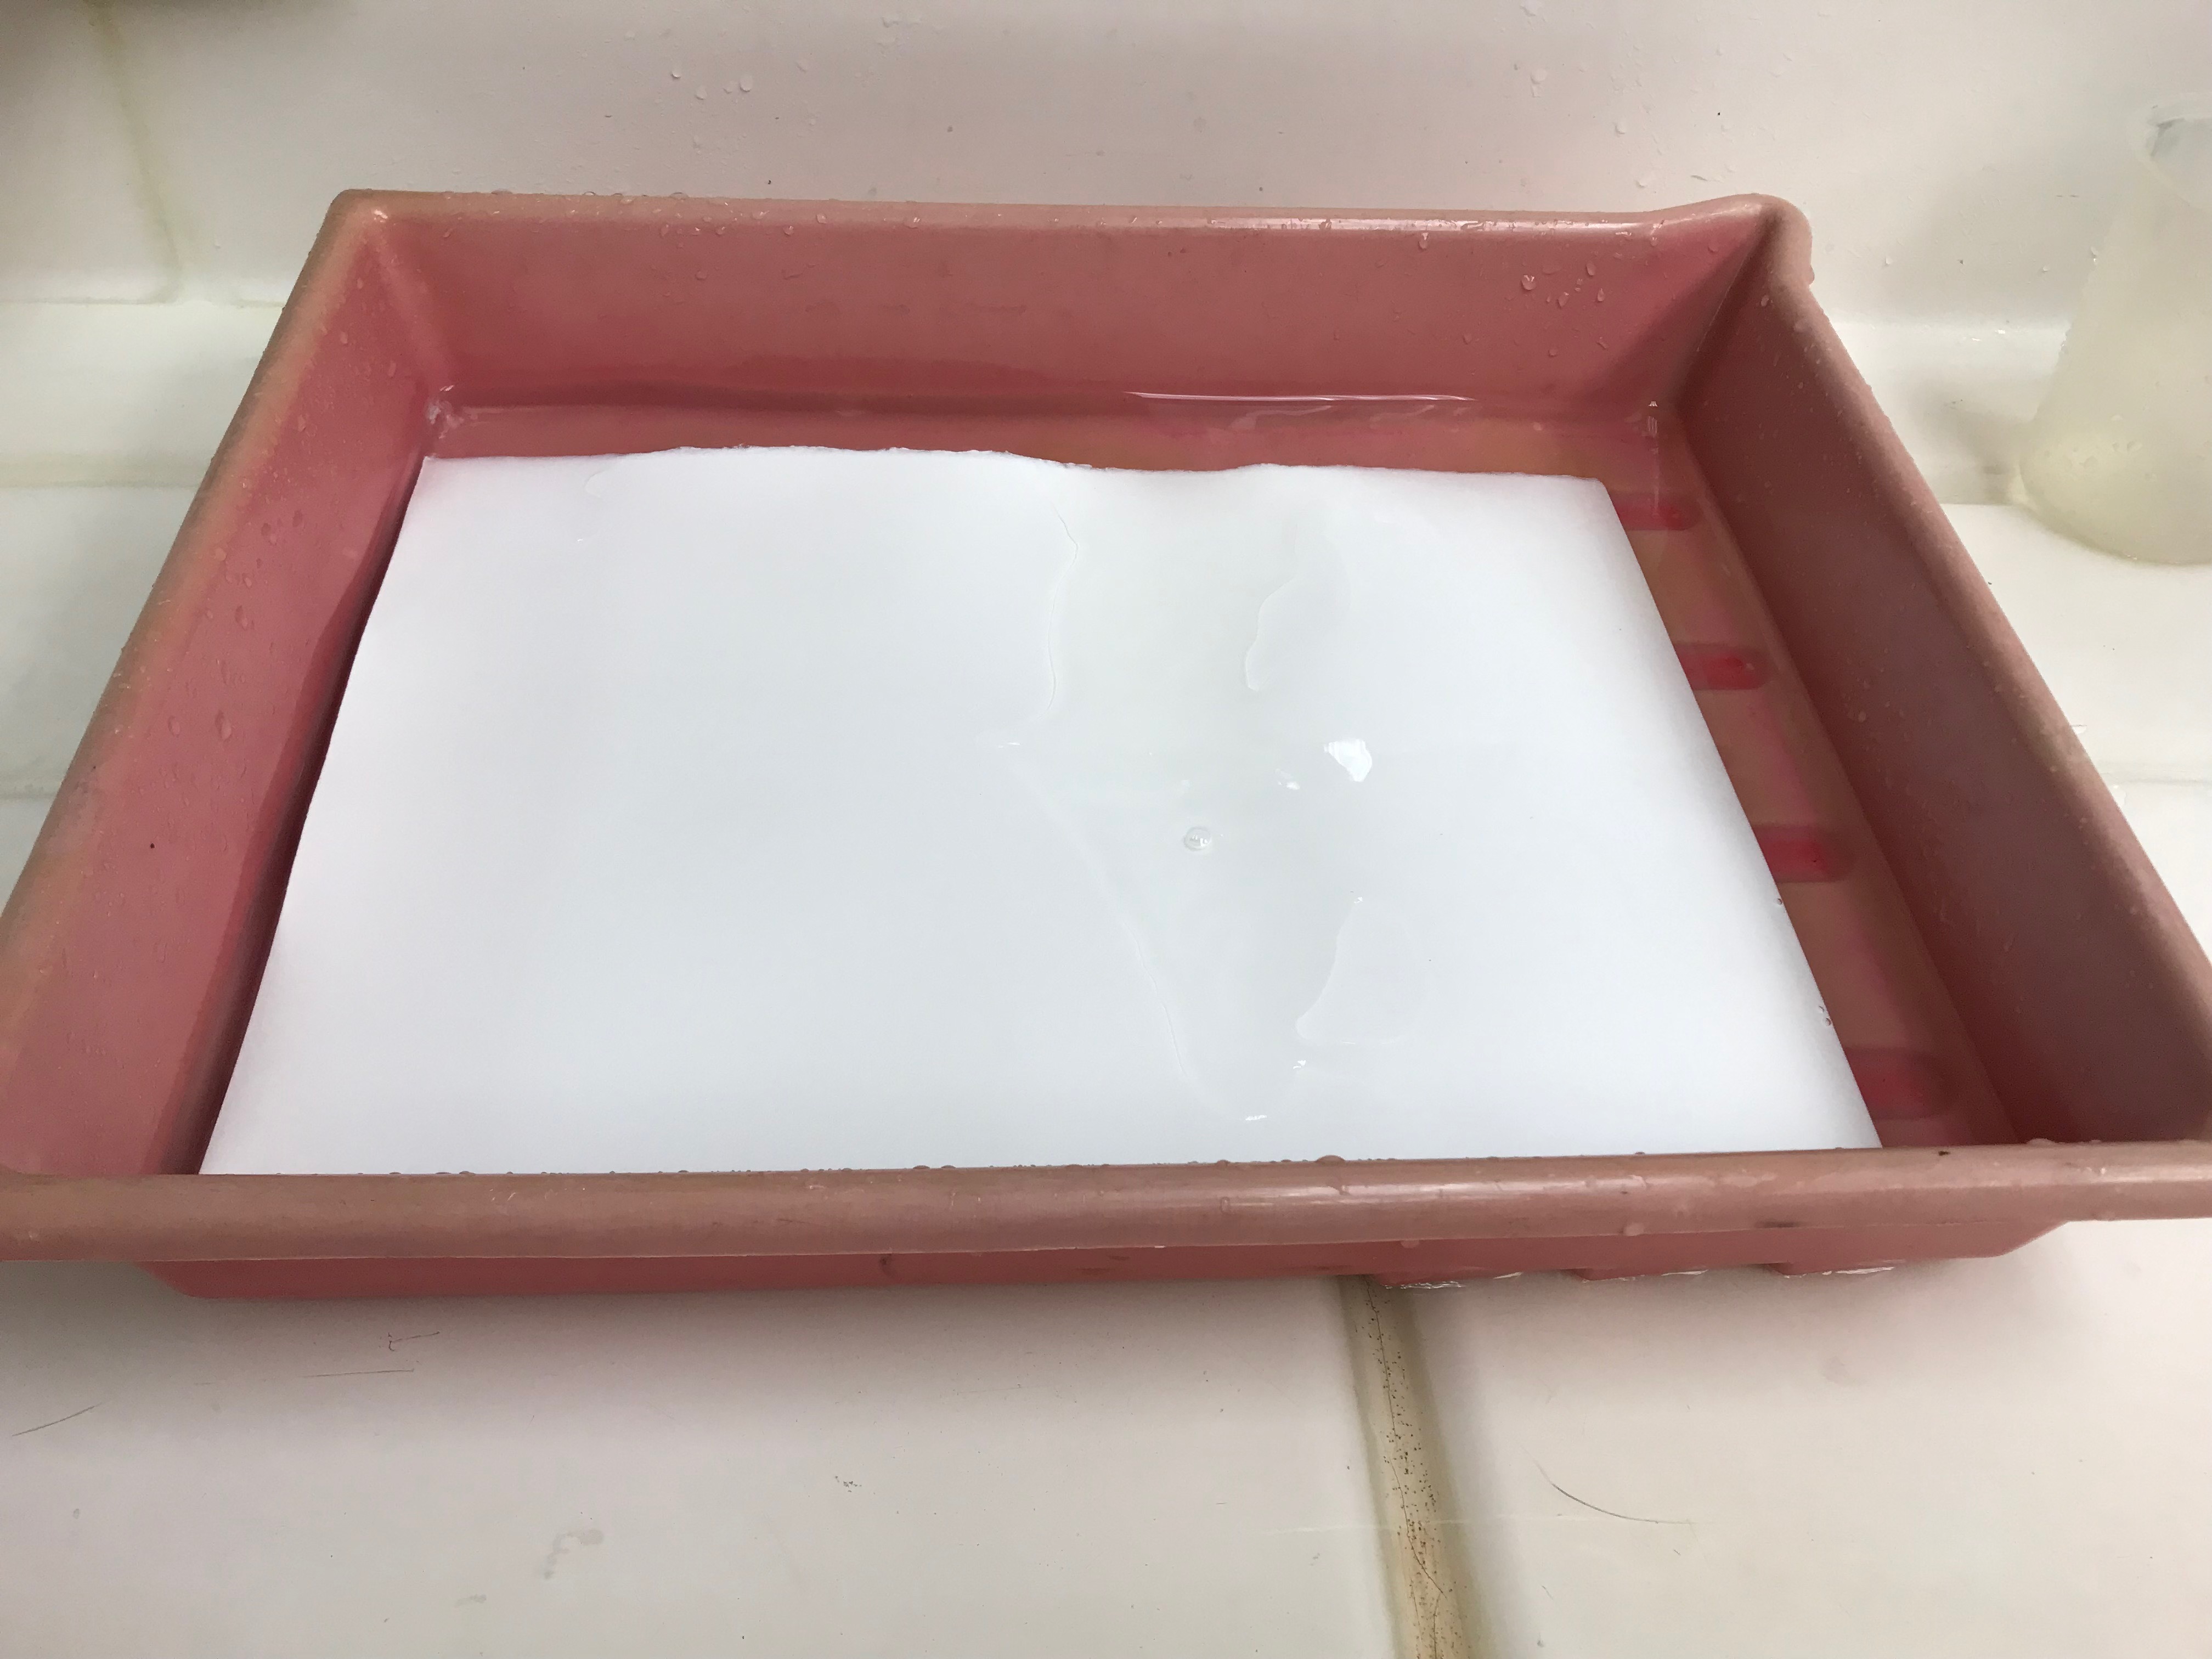
Wash off the extra pigment by placing your paper face down into a tray of water. Again, be patient! This can take anywhere from 2 to 15 minutes. Warm water works best. Wash until you get a bright white in the lightest places of your print.
Repeat
Now, you can do the Magenta and Yellow prints. Repeat the sensitizing and exposing steps using Magenta and Yellow watercolor pigments. Note: your washing and exposing times will vary depending on your pigments.
There is a lot of other things you can do with gum bichromate. You can mess with the digital negative or change the watercolor pigment color. And, if your feeling particularly adventurous, you can add layers of color by painting each layer on top of each other. If you do all three colors, you will get a tricolor print.
Good Luck!